When you make purchases through links on this site, The Track Ahead may earn an affiliate commission. Also, these posts are based off my own experiences. I am not responsible for any action you take as a result of reading this. Learn More
Background about Coolant/Antifreeze
The coolant (or antifreeze) in a vehicle plays a significant part of the vehicle’s operation. Although distilled water can be used in place of coolant in more milder climates, the purpose of coolant is to decrease the freezing point and increase the boiling point of the liquid in order to keep it from freezing or boiling, respectively.
The coolant flows through the engine block channels to reduce the operating temperature of the engine, effectively transferring the heat from the engine block to the coolant. As the coolant flows out of the engine block, it flows through the radiator. The radiator houses numerous fins and tubes that the coolant flows through. As the car moves, the air moving through the radiator reduces the temperature of the coolant, then allows the temperature-reduced coolant to go back into the engine block. The whole cycle continues again with the water pump powering the flow of the cooling liquid.
A visual display of an engine cooling system in action was shown in our post of Animagraff’s How a Car Engine Works.
Coolant/Antifreeze Safety
In case you didn’t already know, antifreeze/coolant can be fatal if ingested! Only a small amount can kill you (and even less for kids or pets!) Unfortunately, coolant is a sweet-tasting substance that may attract kids or pets.
Any disposing of coolant needs to be done properly by bringing it to a local shop or store to recycle. Make sure they are brought to the recycler in it’s OEM containers or at least in labeled containers. Don’t even think about putting it in empty drink containers, which could be mistaken as a sweet beverage.
Materials Needed
7.8 Quarts (about 2 gallons) of Toyota Genuine Fluid 00272SLLC2 Long Life Coolant on Amazon.com

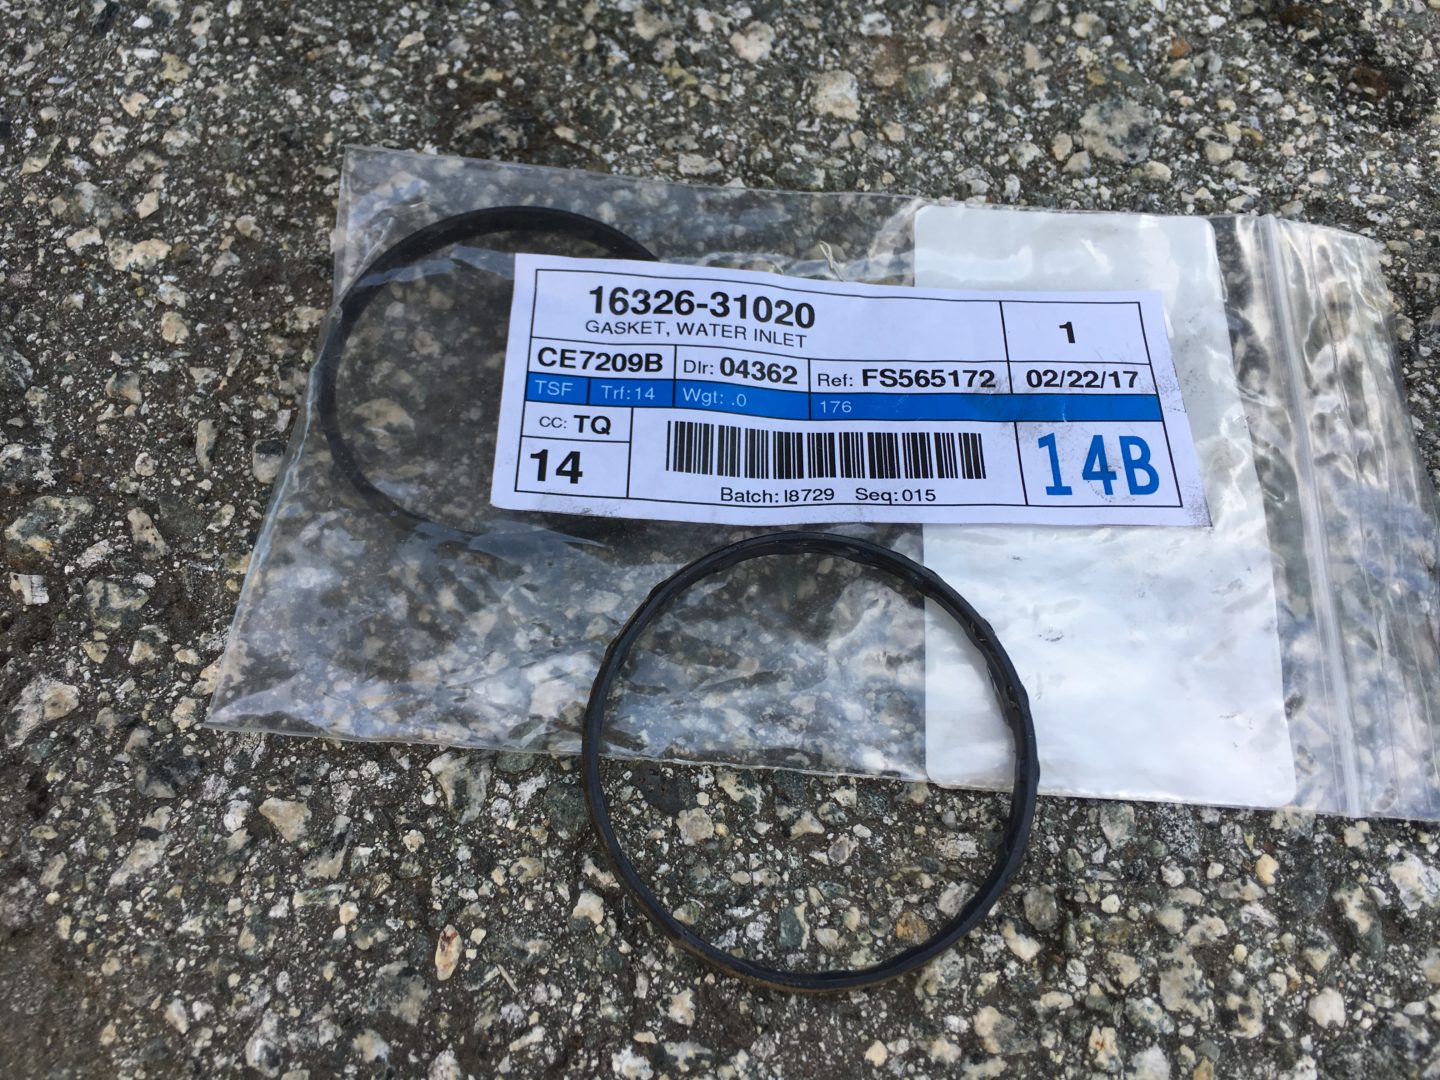
Optional: Toyota OEM Coolant Thermostat Seal 16326-31020 on Ebay.com
Since you’re removing the thermostat for the flush, you might want to replace the thermostat seal while you’re at it.
Optional: Distilled water to use for flushing the system. Best and easiest place to buy this is at your local hardware store, pharmacy, or supermarket.
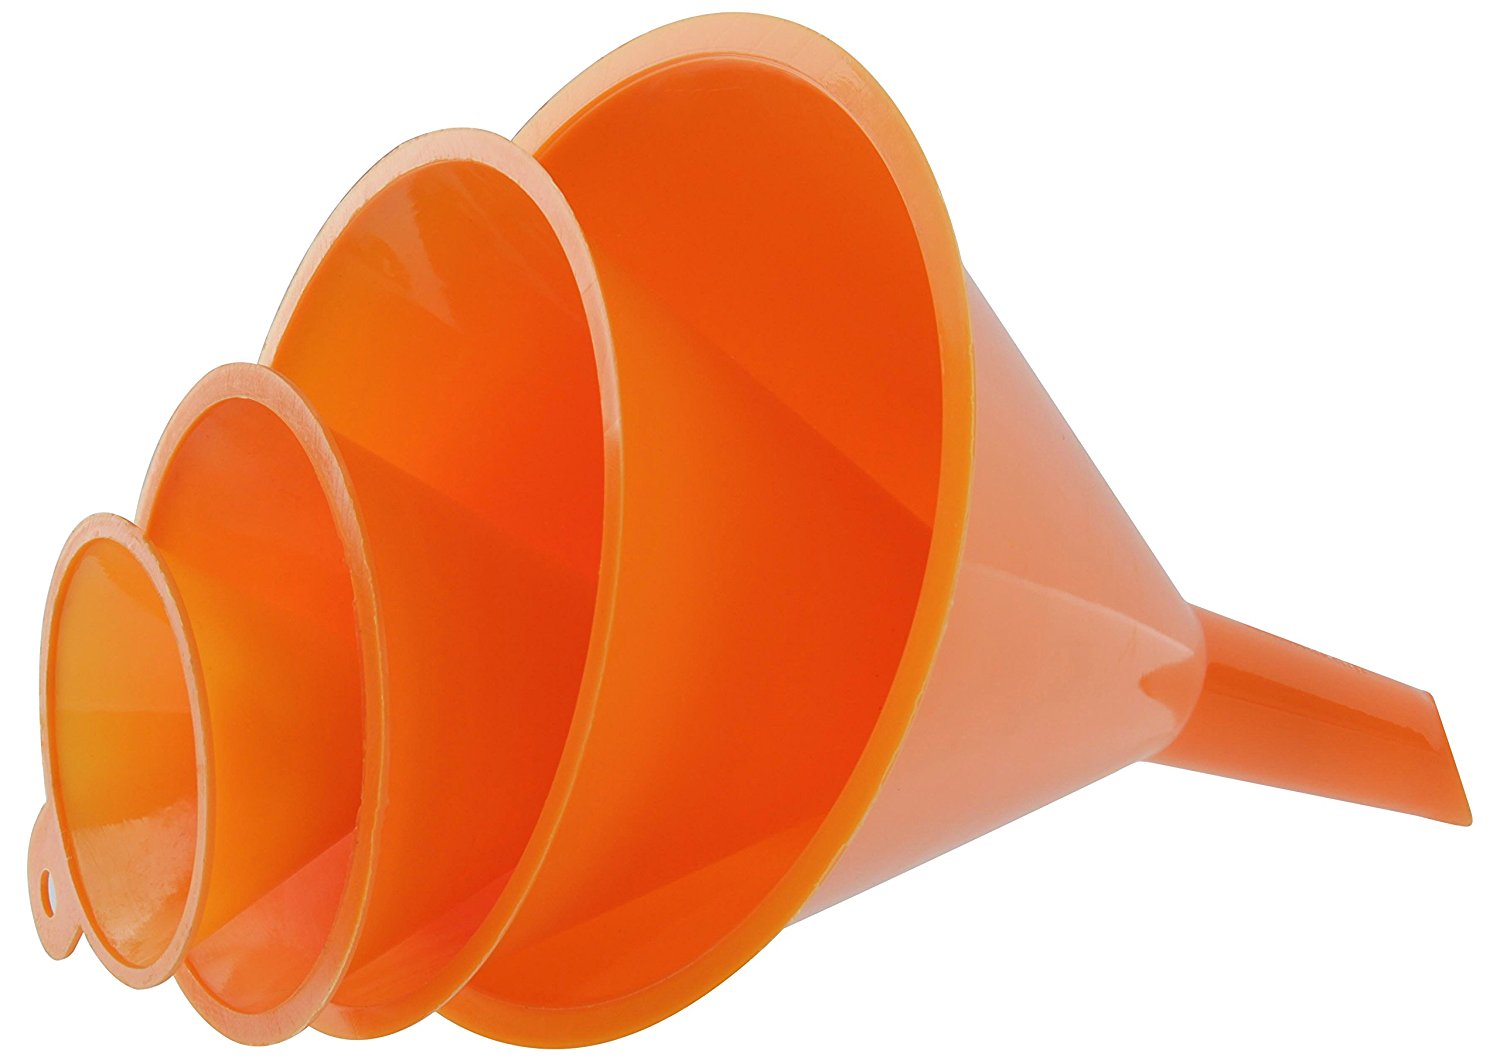
Funnels: RamPro 4-Piece All Purpose Wide-Mouth Bright Orange Plastic Funnel Set on Amazon.com
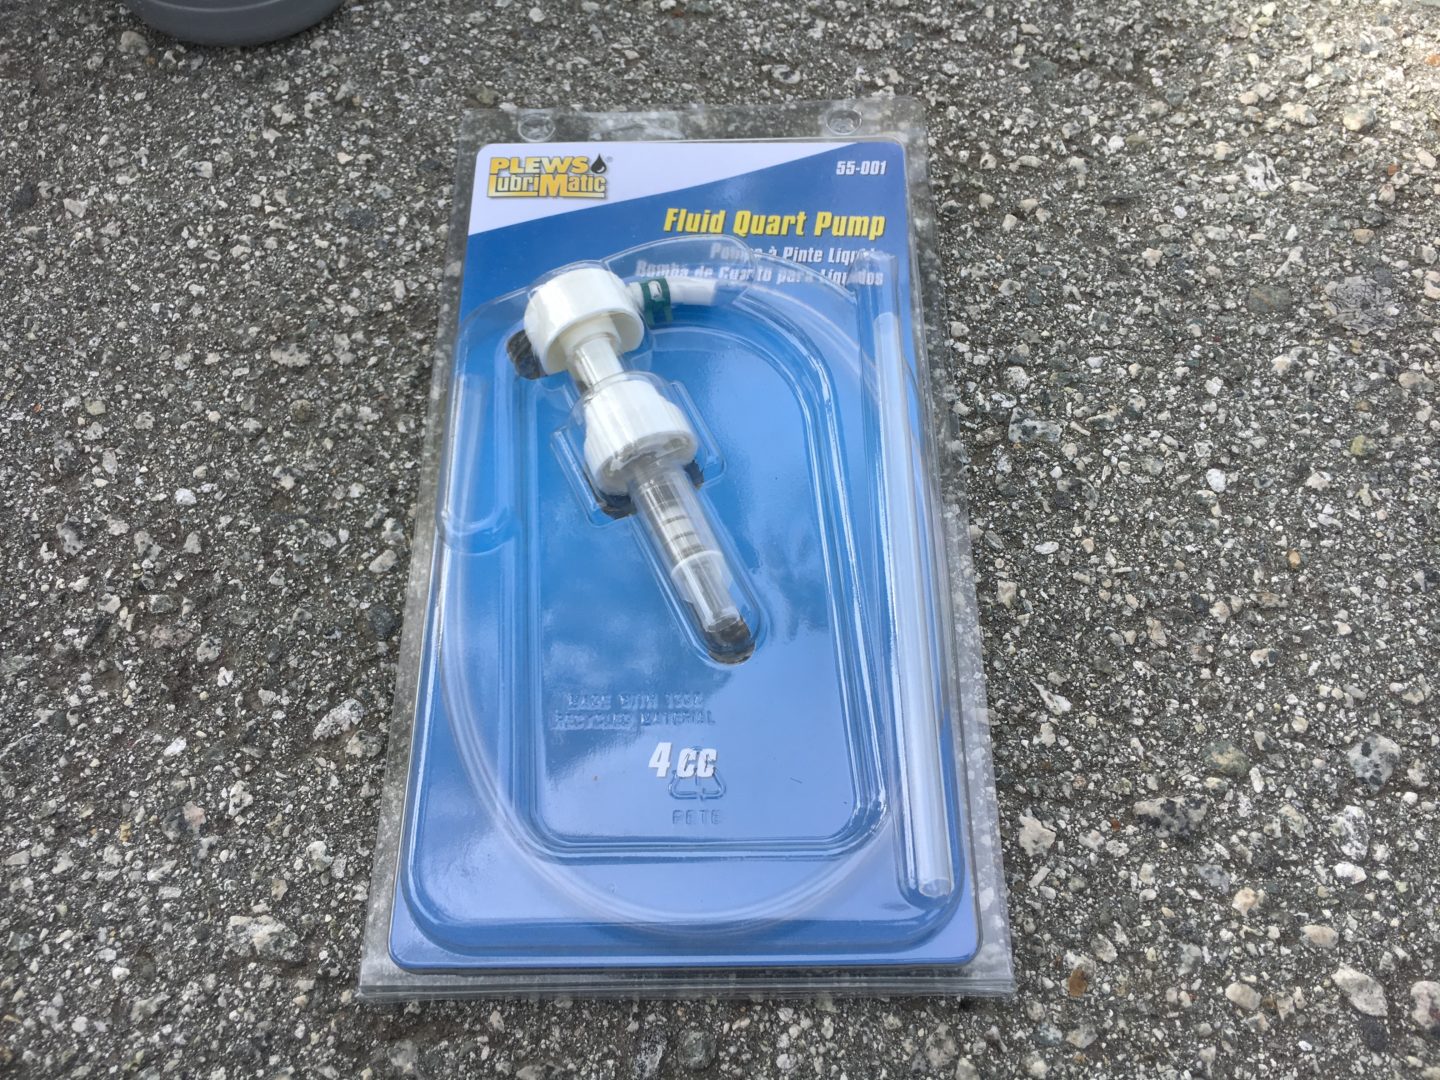
Fluid Pump – This fluid quart pump makes pumping fluid out of the coolant overflow reservoir easy.
Plews 55001 Lubrimatic Fluid Quart Pump, Fits Standard Quart Bottles on Amazon.com
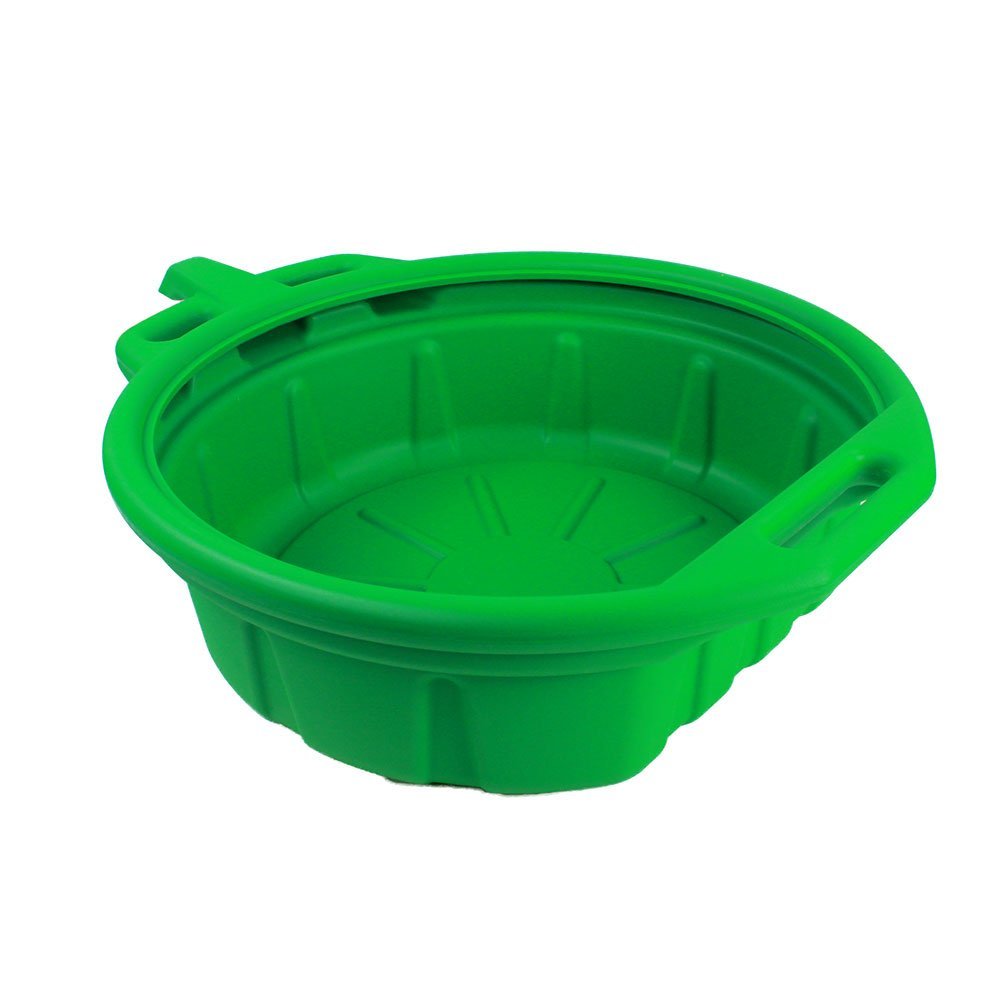
Antifreeze Drain Pan – Capri Tools CP21023 Portable Oil Drain Pan, Anti-Freeze, Green on Amazon.com
Coolant Flush and Replacement for 2003 Toyota 4Runner V6 (1GRE-FE)
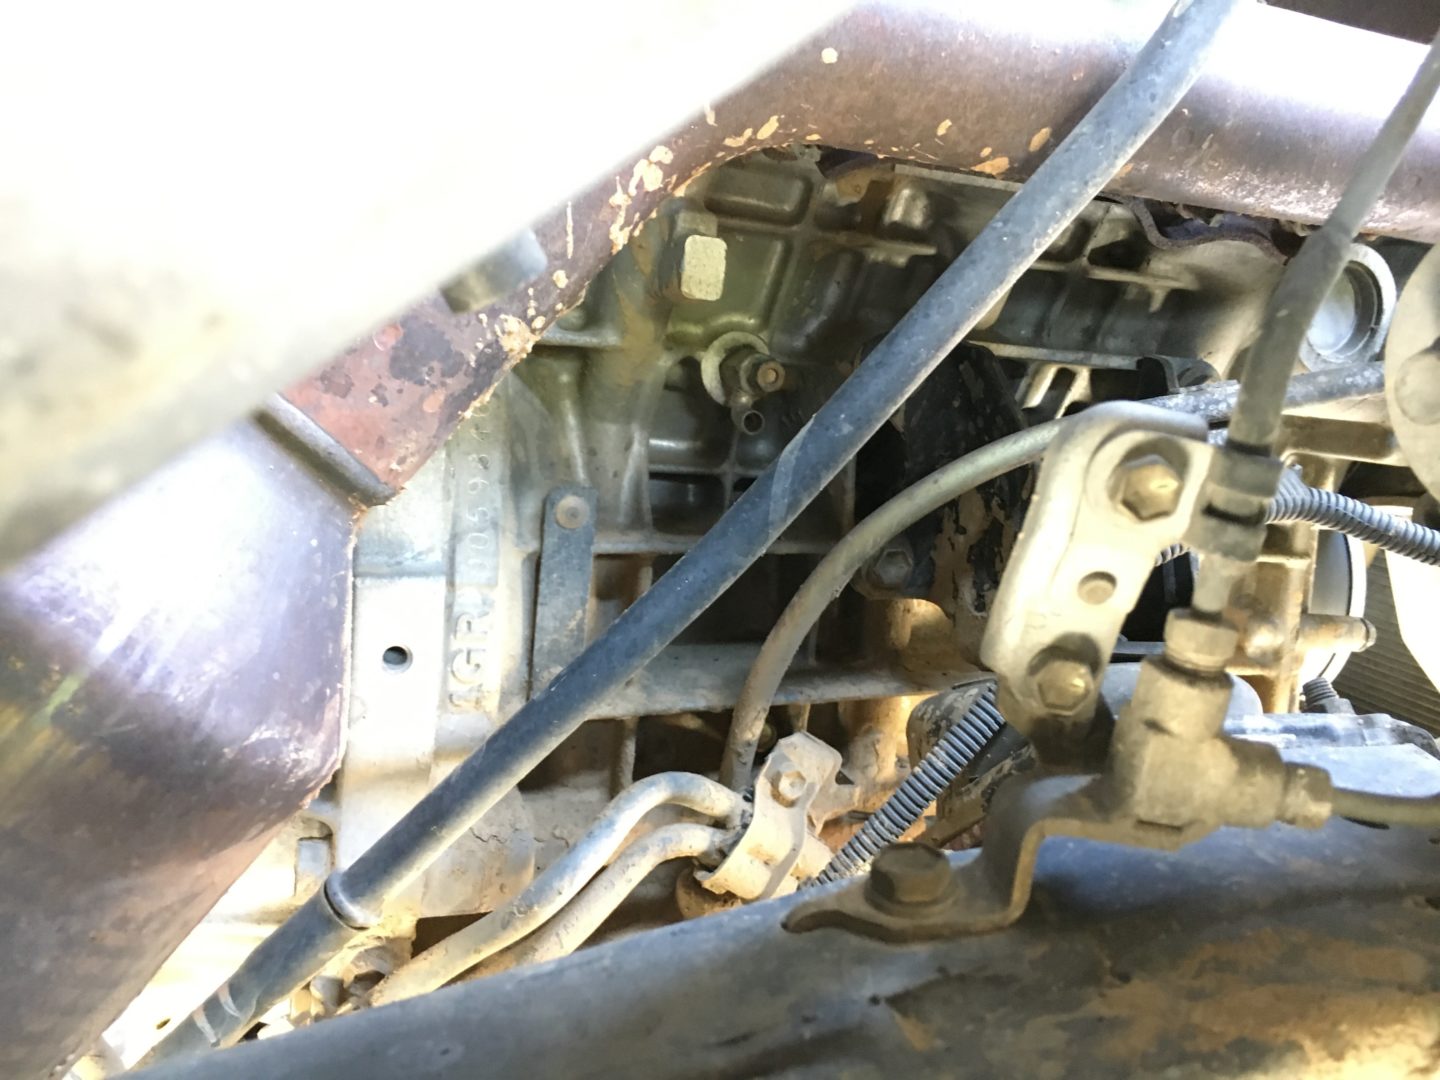
Make sure that the vehicle is plumb (and that the wheels are chocked if it’s not up on jack stands.) Begin by placing a drain pan underneath the radiator drain plug located under the driver side front bumper.
The photo below shows the drain location with the white petcock removed (it had broken in my case due to being brittle from old age.) By turning the white petcock counter-clockwise, the coolant will begin to drain out of the radiator. Tighten the petcock back by hand when it has finished draining.
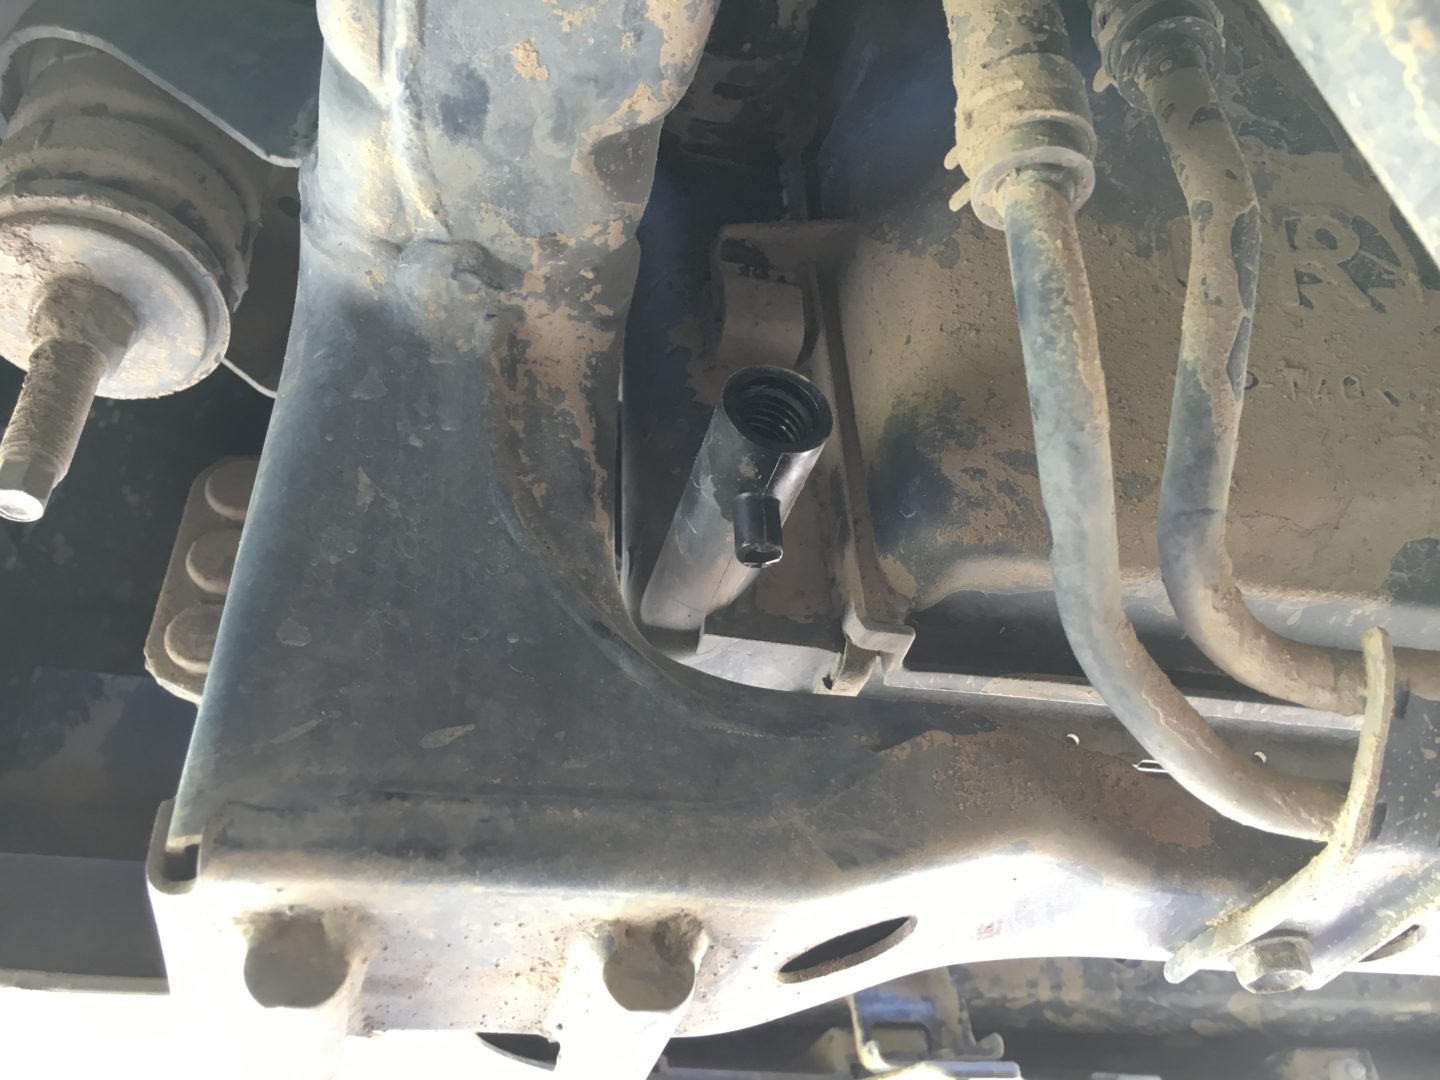
The engine block coolant drain plug is located in the center of the photo. By loosening the 10mm nut, the coolant within the engine block will begin to drain out of the spigot. Without doing this step, the coolant will only be removed from the radiator and not the engine block. Tighten this plug back up to proper torque specs.
Drain the coolant in the overflow reservoir as well. The best way to do this is with the fluid pump as shown in the materials section at the top of this post or with a syringe.
In the engine bay, there is the thermostat housing inlet:

Undo the three nuts holding in the housing and remove the clamp that is holding the inlet hose to the housing. Removing the inlet hose, you will begin to see the thermostat and gasket inside.
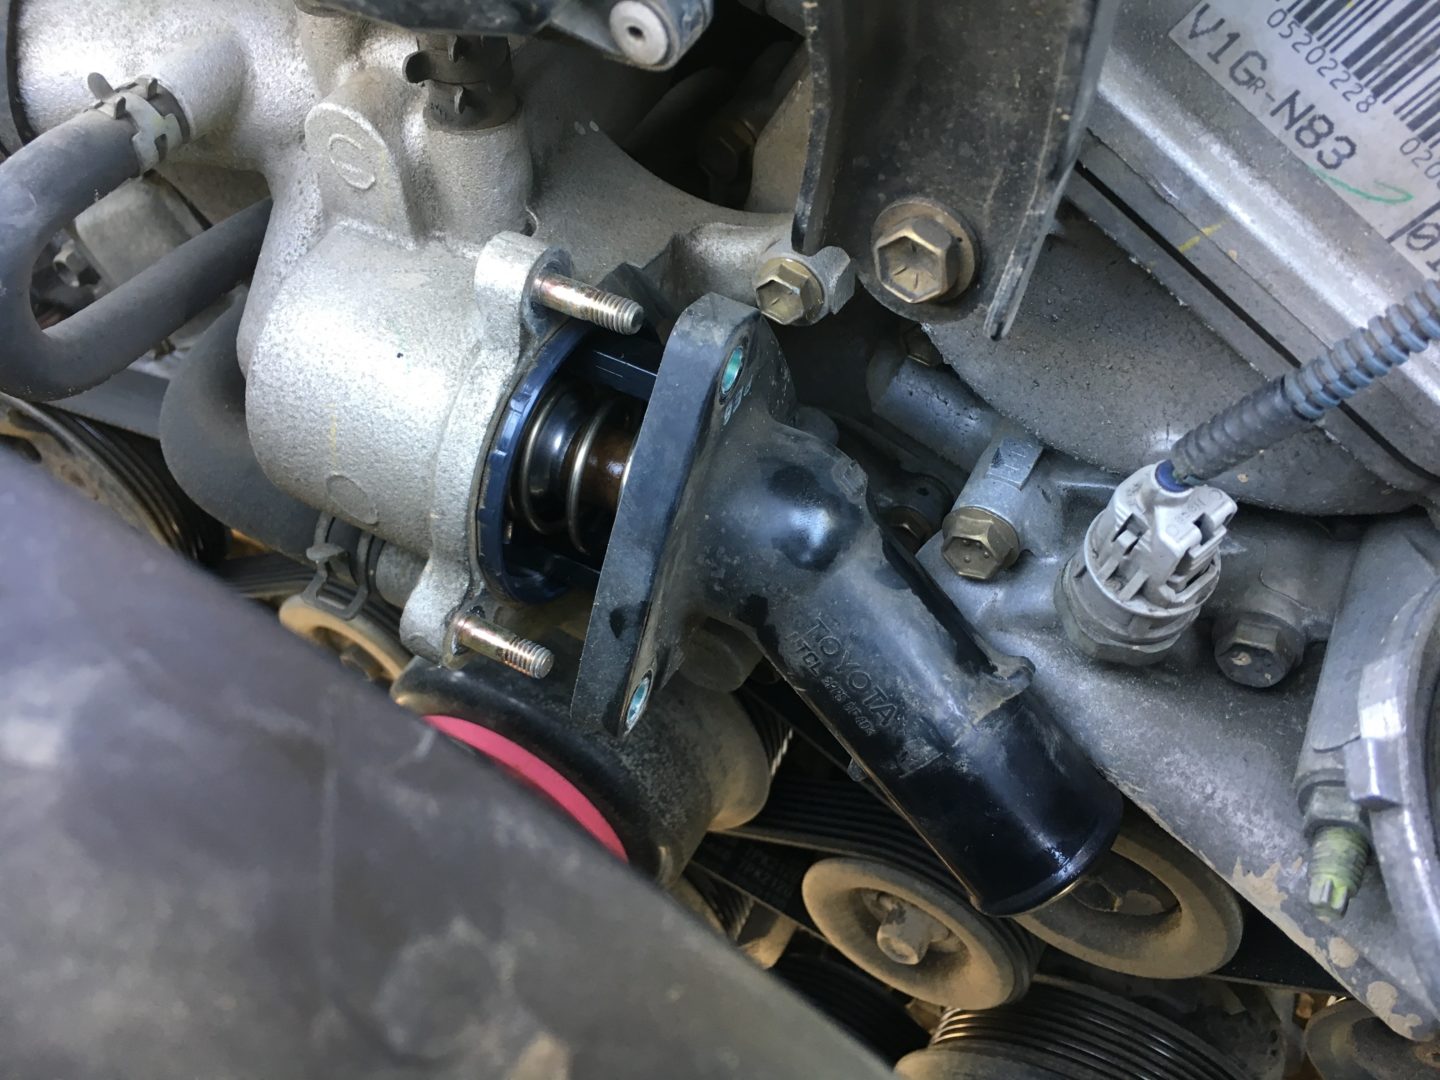
Remove the thermostat from its plastic housing. The thermostat is a bit of a pain to remove. I used a vise to hold the plastic housing, meanwhile using a set of pliers to push down on the thermostat and twisting to remove.

Replacing the gasket is straightforward, remove and replace. Here is everything ready to go back in.

Now with all of coolant drained out of the engine block and of the radiator, we can either begin flushing/refilling the coolant or simply just refill. Some will feel comfortable with a drain and refill, especially if they are confident that all old fluid has been drained. However, if you want be absolutely sure all old coolant and deposits have been eradicated from the cooling system, a proper flush is needed.
The flushing process requires you to use distilled water to refill through the overflow cap. Many people will run a garden hose or use other water sources, however doing so will introduce mineral deposits into your cooling system, eventually causing rust. This will significantly reduce the effectiveness of your engine cooling system. The best thing to use for flushing is distilled water since distilled water has removed all minerals in the water that can cause these problems.
Cover the inlet hose opening right below the fill point (done below with a rolled up blue shop towel). Then fill with distilled water until it is full. Turn on the car and let it run with the heater on high. Doing so will allow the car’s thermostat to open when the engine warms up, and in turn allowing all of the distilled water to run through the entire system. Also, burp the upper radiator hose by squeezing it; this will get more air out of the system.
When the water starts to move down the fill location (meaning the distilled water is beginning to move through the system), fill with more distilled water and let the car run a few more minutes.
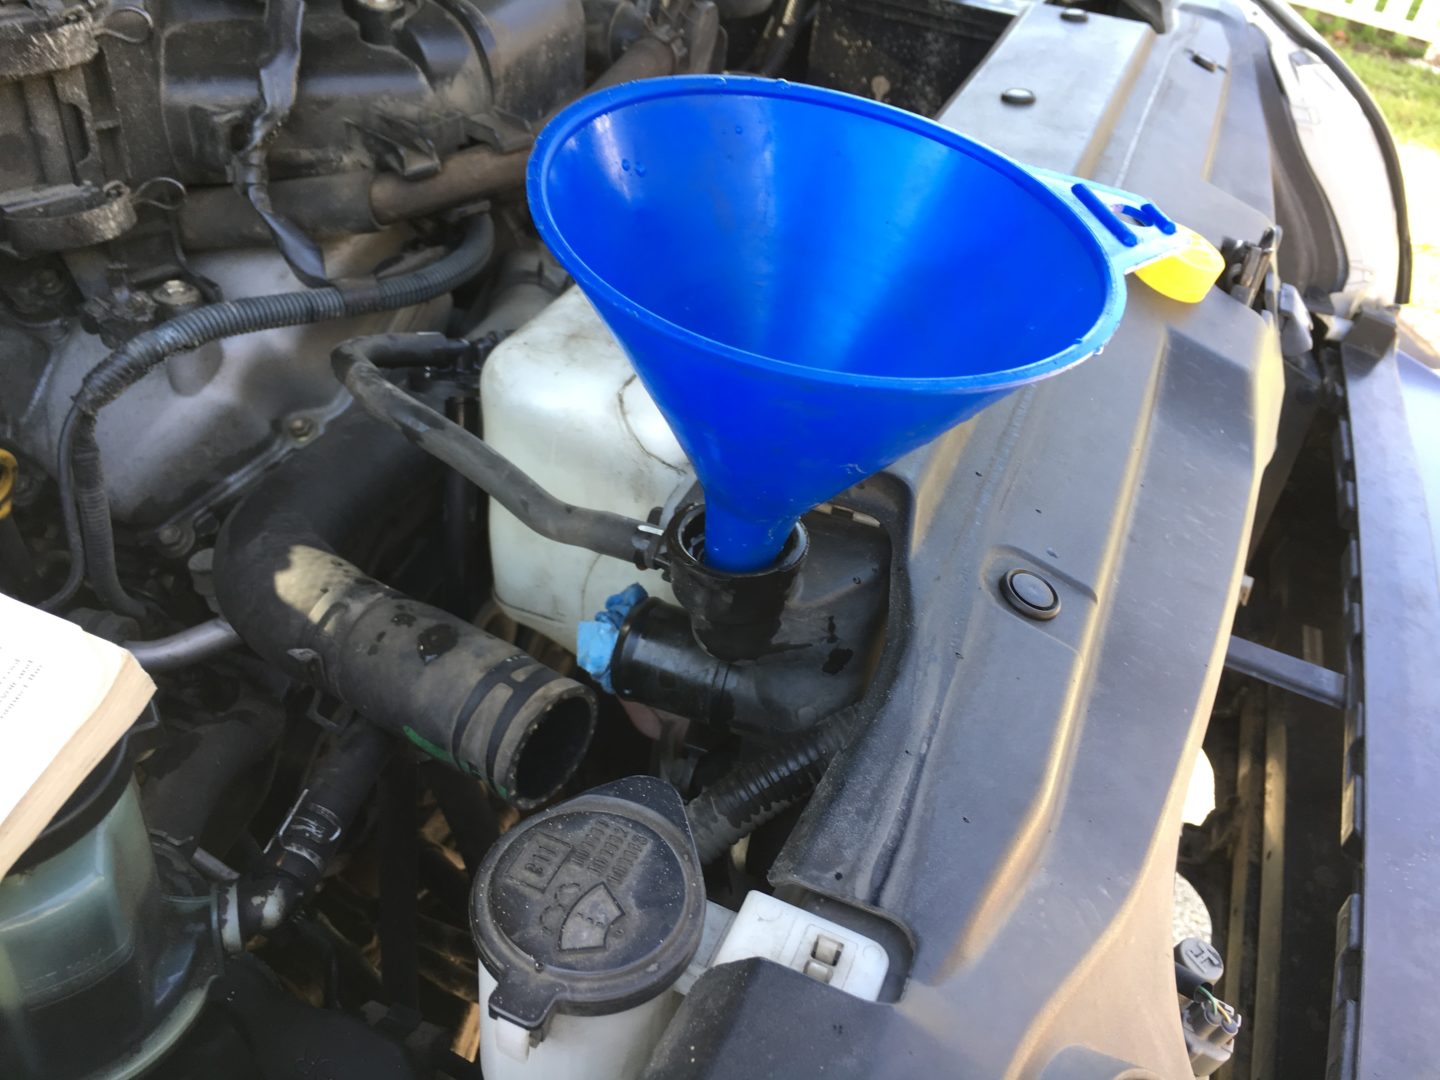
With this completed, the flushing process is complete. Turn off the vehicle and open up the two drain locations (petcock and engine block drain) to drain all of the distilled water. Finally, tighten up all the drains again to proper specifications, and then refill the car with the Toyota Super Long Life Coolant through the coolant overflow cap. Make sure the car has cooled down so that the overflow cap does not steam while opening.
When filling with coolant with the car off, ensure that the coolant is filled to the top of the overflow opening. Then close the cap (some overflow of fluid is typical and prevents air from being introduced into the system.) Turn on and run the car until it warms up, then turn off. Repeat topping off of the fluid until there is no longer a drop in fluid level through the overflow cap.
An Alternative Coolant Flush
Another way of performing a coolant flush is to do a partial drain and fill, several times in a row to get most of the existing coolant out of the system.
- Drain coolant out of the radiator through the radiator drain petcock.
- Fill coolant through the radiator overflow cap until full.
- Turn on the car with heater on, let thermostat open when car is warmed up, new coolant then mixes with old coolant.
- Turn off car, and repeat process.
- Eventually, more new coolant will be in the cooling system, with more of the existing coolant drained out.
The reason for doing this is that it is much easier to do because the refilling is done at the coolant overflow cap, and the draining is only done at the radiator drain petcock. Although the process is much longer (since you are doing this fill and drain several times), it is easier because it only involves the filling and draining at the easy access points.
The problem with doing this flush is that it is never a true flush of the engine cooling system. Essentially you are only flushing and refilling the coolant within the radiator. The existing coolant in the engine block stays there. It is not until the car is turned on and warmed up, that the new coolant mixes with the old coolant. Doing this drain and fill will leave the cooling system with a mix of old and new coolant, but doing the process over and over again will result in more new coolant than old after many cycles.
Other issues with this alternative coolant flush procedure is that it is costly (since you need more coolant to do the required number of fills/flushes.) Furthermore, you produce more waste as a result of so many flushes. Finally, it simply takes much longer to do the procedure with filling and draining the cooling system so many times. Even with so many flush cycles, you will never achieve a full removal of existing coolant (and in turn minerals and deposits) that will decrease the effectiveness of the cooling system.
: 4th Gen Toyota 4Runner")

: 4th Gen Toyota 4Runner")
: 4th Gen Toyota 4Runner")

: 4th Gen Toyota 4Runner")
: 4th Gen Toyota 4Runner")

