One of the worst feelings you can have is driving a car with a sticky steering wheel. Personally, I’ve driven company vehicles for my day job with several that were more than 10 years old and have been changed hands many times. Some of them had some really tacky-feeling steering wheels. Although the steering wheel might be tacky due to the steering wheel material itself, in most cases it is simply due to the steering wheel being dirty.
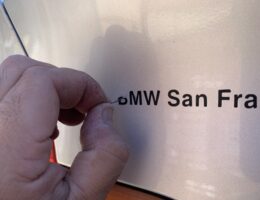
If you’re thinking about removing decals from your car’s paint, you have to look at a few variables before deciding on if and how you are going to remove the decals. If your car is brand new or fairly new, the decals may come off easily with minimal work. If the decals have been on for quite a long time (say a few years or longer), it will more difficult the longer it has stayed on your car’s paint. Sometimes you just have to weigh the potential risks of removing old decals with the benefit of how your car will look afterwards. The older the vehicle, the more likely the possibility of you causing more damage to the car’s paint from removing the decal.
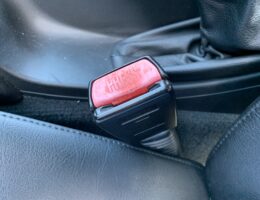
Car detailing is sometimes really all about the details. These small details when looking at them individually may seem inconsequential, but taking a step back it can make a dramatic difference. Take the typical seat belt buckle with the little red button on it. These little plastic buttons look great when they’re new, but over many years, the plastic oxidizes and eventually the red color fades. Then, you’re left with a faded red seat belt button that is commonly found on older vehicles.
When removing old decals off of your car, there are two stages to doing it. The first is the safe and effective removal of the decal, and the second is the elimination of decal residue. The decal residue can make a “ghost image” appear even though the window looks clean and free of residue. The longer the decal has been on the glass, the more likely you will having this “ghosting” effect left behind.
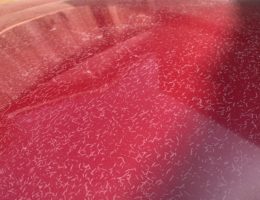
The question that is always asked is, can you repair crow’s feet? The short answer is no, you cannot just repair it. Typically people ask if they can repair crow’s feet with the idea that it could potentially be polished, filled in with something to improve the appearance, or basically do some quick fix to resolve the issue. This is simply not possible as crows feet is the phenomenon where the clear coat has delaminated from the underlying base coat. The only way to fix crow’s feet in car paint is to sand down all of the loose clear coat, and to repaint the panel.
After washing and detailing cars for 20-odd years, I’ve tried wearing all kinds of footwear over this time. When we didn’t have many options in the beginning, people would just wear sandals, regular sneakers, work boots, or even go barefoot! Heck, even today people still use these options. But in the past decade, we’ve seen so many more options come into the playing field, so there’s much more of a selection to choose from if you are looking for footwear to use when you’re washing your car.
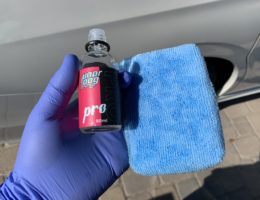
There’s one major thing I love about Undrdog Pro Coating and that is how easy it is to apply, even when you doing it outside. Since I don’t have a sheltered parking spot, nor a large enough of a garage to park a car, applying a ceramic coating (with its inherent finicky flash times) outdoors can be tricky. But with Undrdog Pro, I never felt the product dry up or flash too quickly; it just went on and buffed off effortlessly. So for now, I’m incredibly happy with this product, but the real test is how long this product lasts.
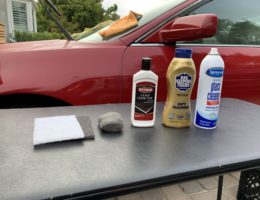
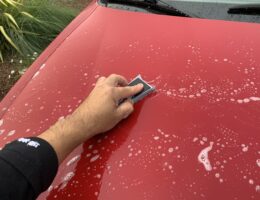
There’s more than one way to do a deep clean on your car’s windows. There’s the method of using an abrasive like a polish such as Bar Keeper’s Friend or Weiman Cooktop Cleaner if you already own these household items. However, my preference for cleaning windows is to use either 0000 steel wool or a white scotch pad along with glass cleaner.
On this guide, I’m focusing on removing heavy orange peel and the techniques used to do this. Typically the process involves sanding or wet-sanding the vehicle from lower to higher grit, then following up with an aggressive compound to buff/polish the small scratches out. I will be demonstrating both dry and wet-sanding techniques, as well as following up with a Meguiar’s compound, microfiber cutting pad, and a long throw polisher to finish it off.

