When you make purchases through links on this site, The Track Ahead may earn an affiliate commission. Also, these posts are based off my own experiences. I am not responsible for any action you take as a result of reading this. Learn More
If you’re thinking about removing decals from your car’s paint, you have to look at a few variables before deciding on if and how you are going to remove the decals. If your car is brand new or fairly new, the decals may come off easily with minimal work. If the decals have been on for quite a long time (say a few years or longer), it will more difficult the longer it has stayed on your car’s paint.
Sometimes you just have to weigh the potential risks of removing old decals with the benefit of how your car will look afterwards. The older the vehicle, the more likely the possibility of you causing more damage to the car’s paint from removing the decal.
Should I Remove The Decal From My Car’s Paint?
I’ll preface this tutorial with this: if your decal has been on your car for longer than a few years and especially if it has been on for a longer amount time (say 10 years or longer), there is a greater chance of the clear coat and paint chipping/peeling off along with your decal when you are remove it from the paint. Even being extra careful with the decal removal, you can’t do anything about decals that have been baked into the clear coat and paint from being on there for many, many years. Therefore, when you remove the fused decal and paint, you risk pulling it all off in one piece.
I stress this warning because if your decal has been on your car’s paint for a very long time, it is possible that it could look worse after you remove it. I know we like to remove decals to leave a nice clean look to the car, but you do have to weight to risks when undertaking a decal removal on an older car. After you remove the decal, you might find yourself with unsightly paint chips and wishing that you could turn back time and just leave the decal alone.
Tools & Materials You’ll Need
I normally go through several stages of removing decals on cars. I first start out with the removal of the decal, then the adhesive removal, and finally the polishing of the paint. If your car is brand new, you might be able to forego the last step. However, if your car is older, you will likely need to go through all steps in order to remove the decal completely.
Decal Removal Stage
Heat Gun: Wagner Spraytech HT1000 Heat Gun
Plastic Razor Blades: Petiy Plastic Razor Blade Scrapers
Adhesive Removal Stage
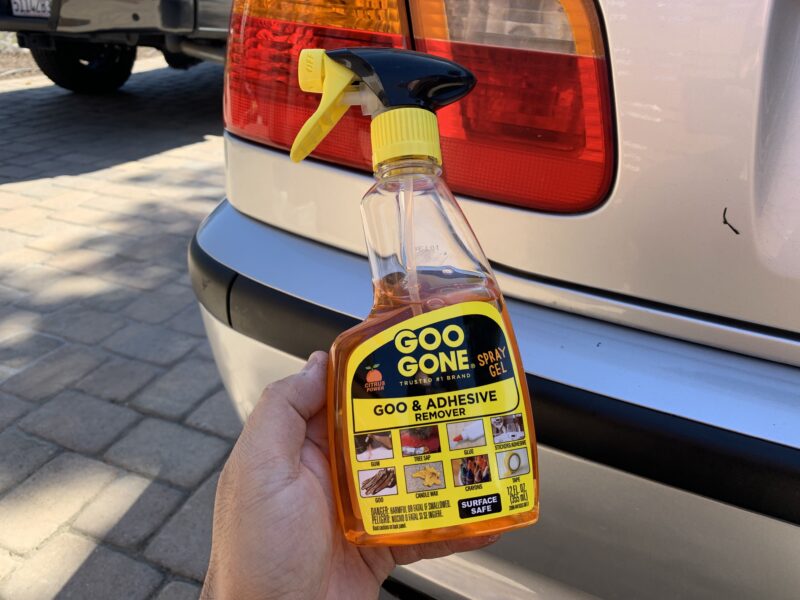
Adhesive Remover: 3M Adhesive Remover, Goo Gone Spray Gel, Goo Gone Liquid
Plastic/Saran Wrap
Rubber Eraser Wheel: ABN 4-in Rubber Eraser Wheel
Polishing Stage
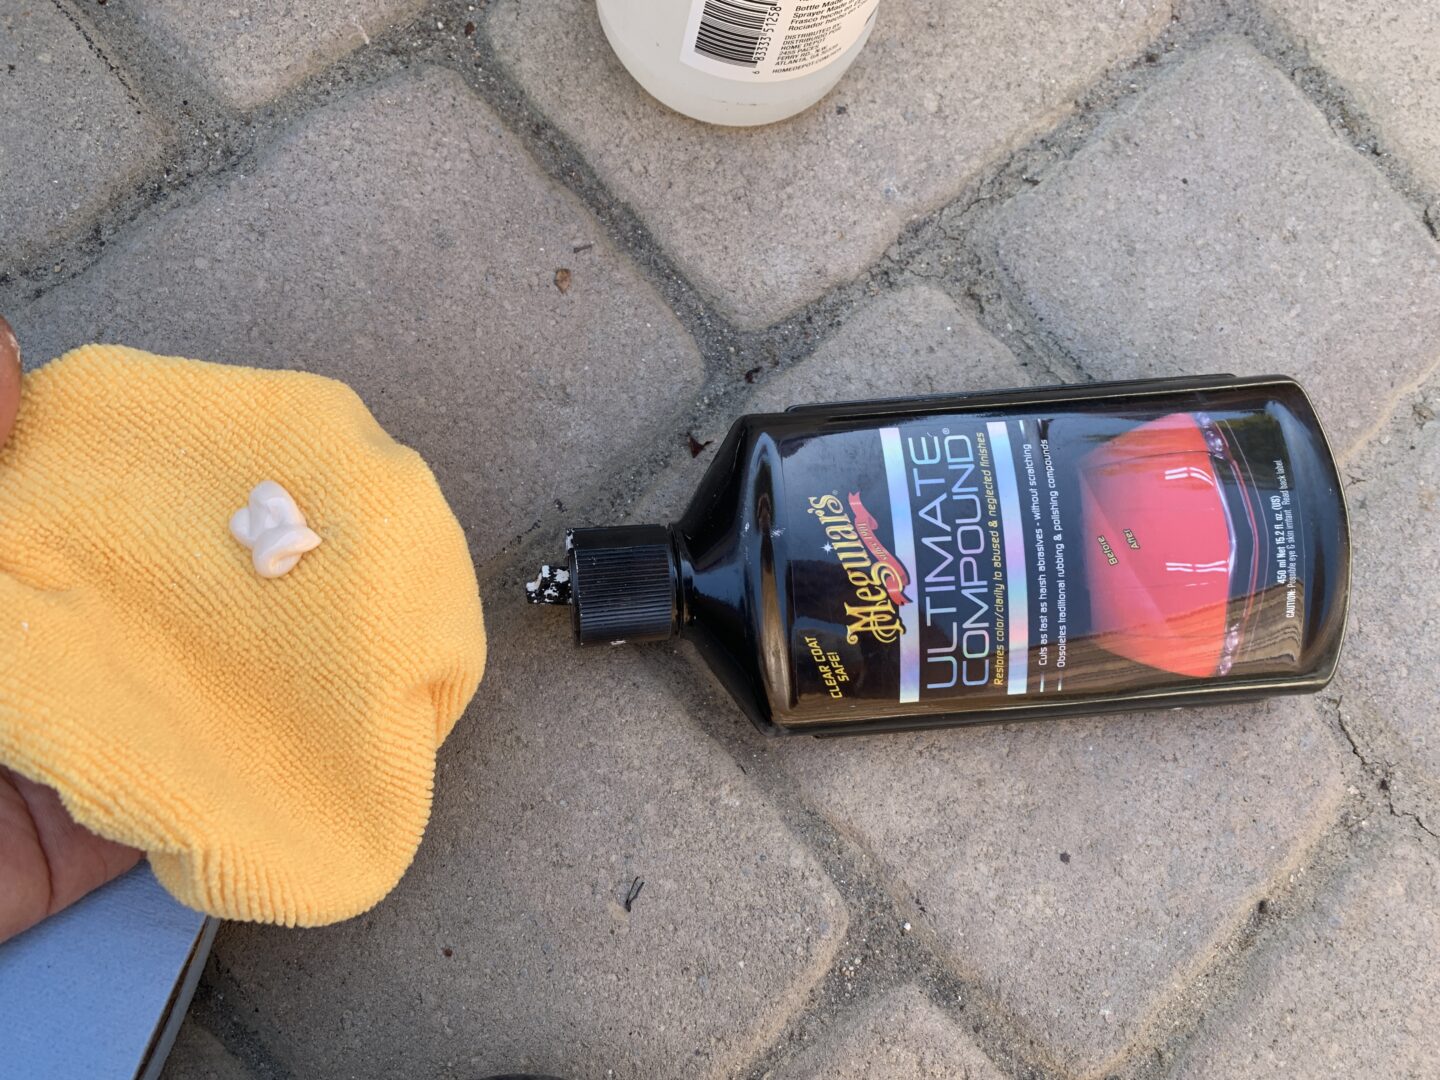
Compound: Meguiar’s M105 Ultra-Cut Compound (8 oz) / Meguiar’s Ultimate Compound, (20 Oz)
Microfiber Towel or Polishing Pad: AmazonBasics Microfiber Cloths (24-Pack) / Chemical Guys Hex-Logic Heavy Cutting Pad (Yellow)
How to Remove Car Decals Without Damaging Paint
I’ll be demonstrating the process of removing decals off two vehicles for this tutorial. One is my new truck where I removed the decal immediately after buying the truck. The other example is an old dealership decal that has been on the car for almost 20 years! These are two examples that lie on the opposite sides of the spectrum— one where the decal can easily be removed without causing damage to the paint, and another where it’s inevitable that there will be damage to the paint underneath during the removal process.
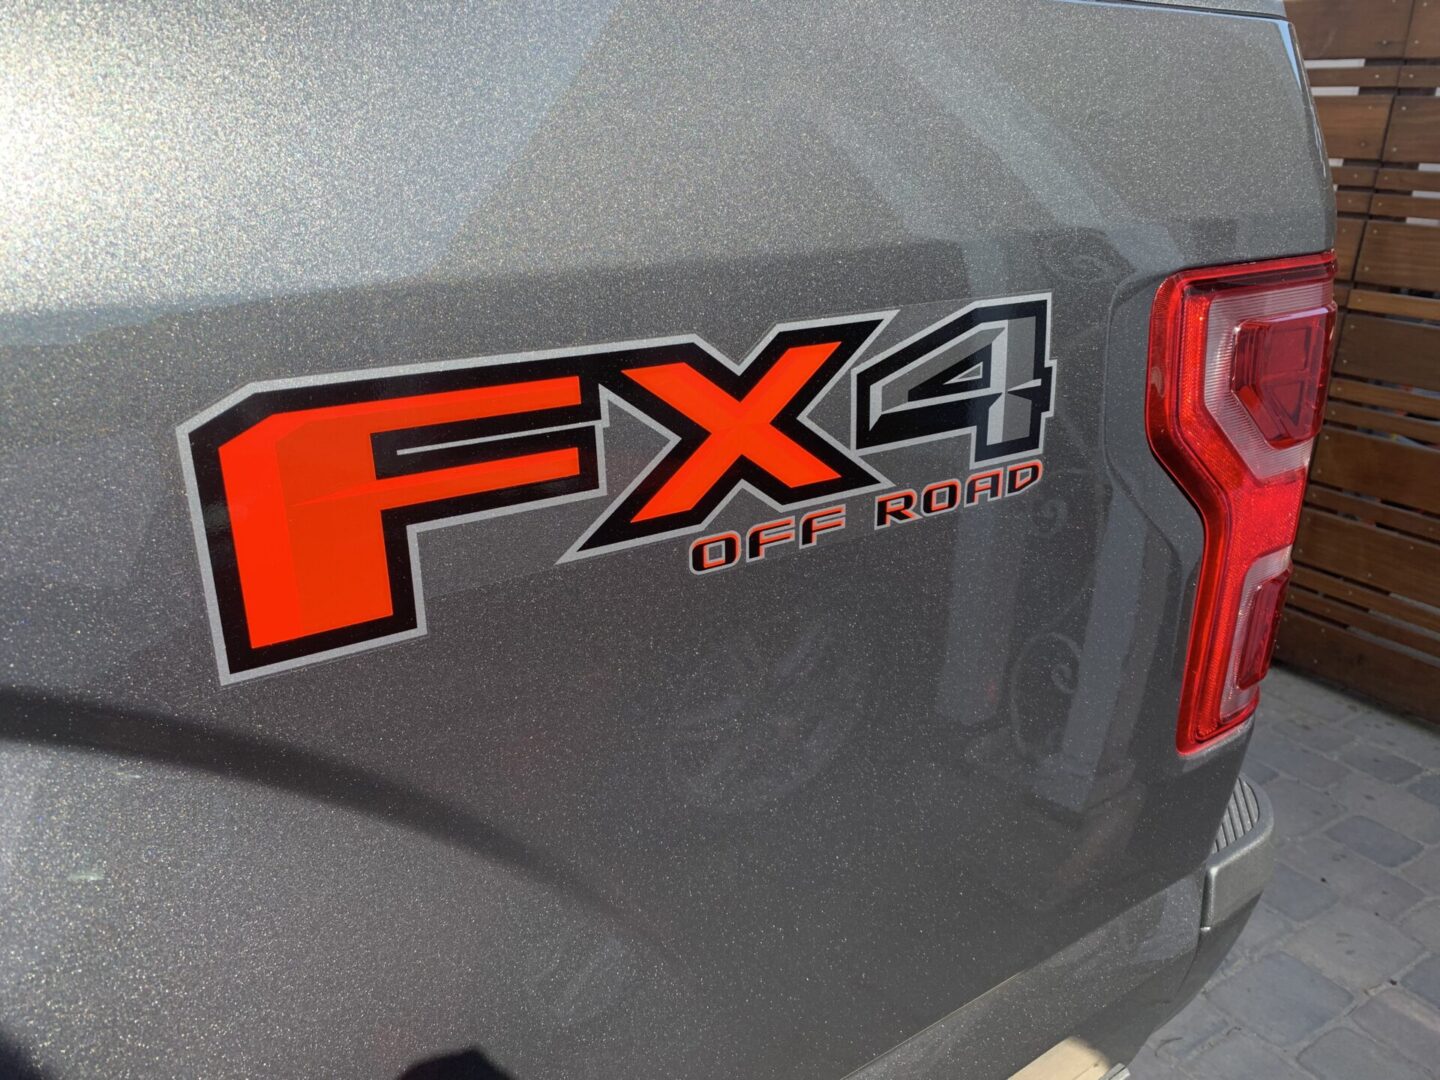
Removing Decals from a New Car
I’ll start off with removing a decal on a new car because it involves fewer steps and it will show you that removing a decal off a new car is actually quite easy. Sometimes you can just peel it off with your hands, although using a heat gun to heat up the decal while pulling it off makes it easier to do.
You shouldn’t let the heat gun heat up any spot too much; heat it up just enough so that the adhesive (under the decal) begins to loosen up. Probably about a few seconds at any particular spot. Usually, a new decal is easy enough to just pull off by hand. In fact, if it’s a very hot day and your panel is warm or hot already, you may not even need a heat gun to loosen up the adhesive.


You should pull the decal off slowly and pull back at approximately a 45-degree angle from the surface of the car. Pulling the decal off in this way helps to minimize the amount of excess adhesive left behind (less work for you later during cleanup). Also if you pull too fast, this increases the chance of adhesive not pulling up with the decal, leaving excess adhesive stuck to the car’s paint.
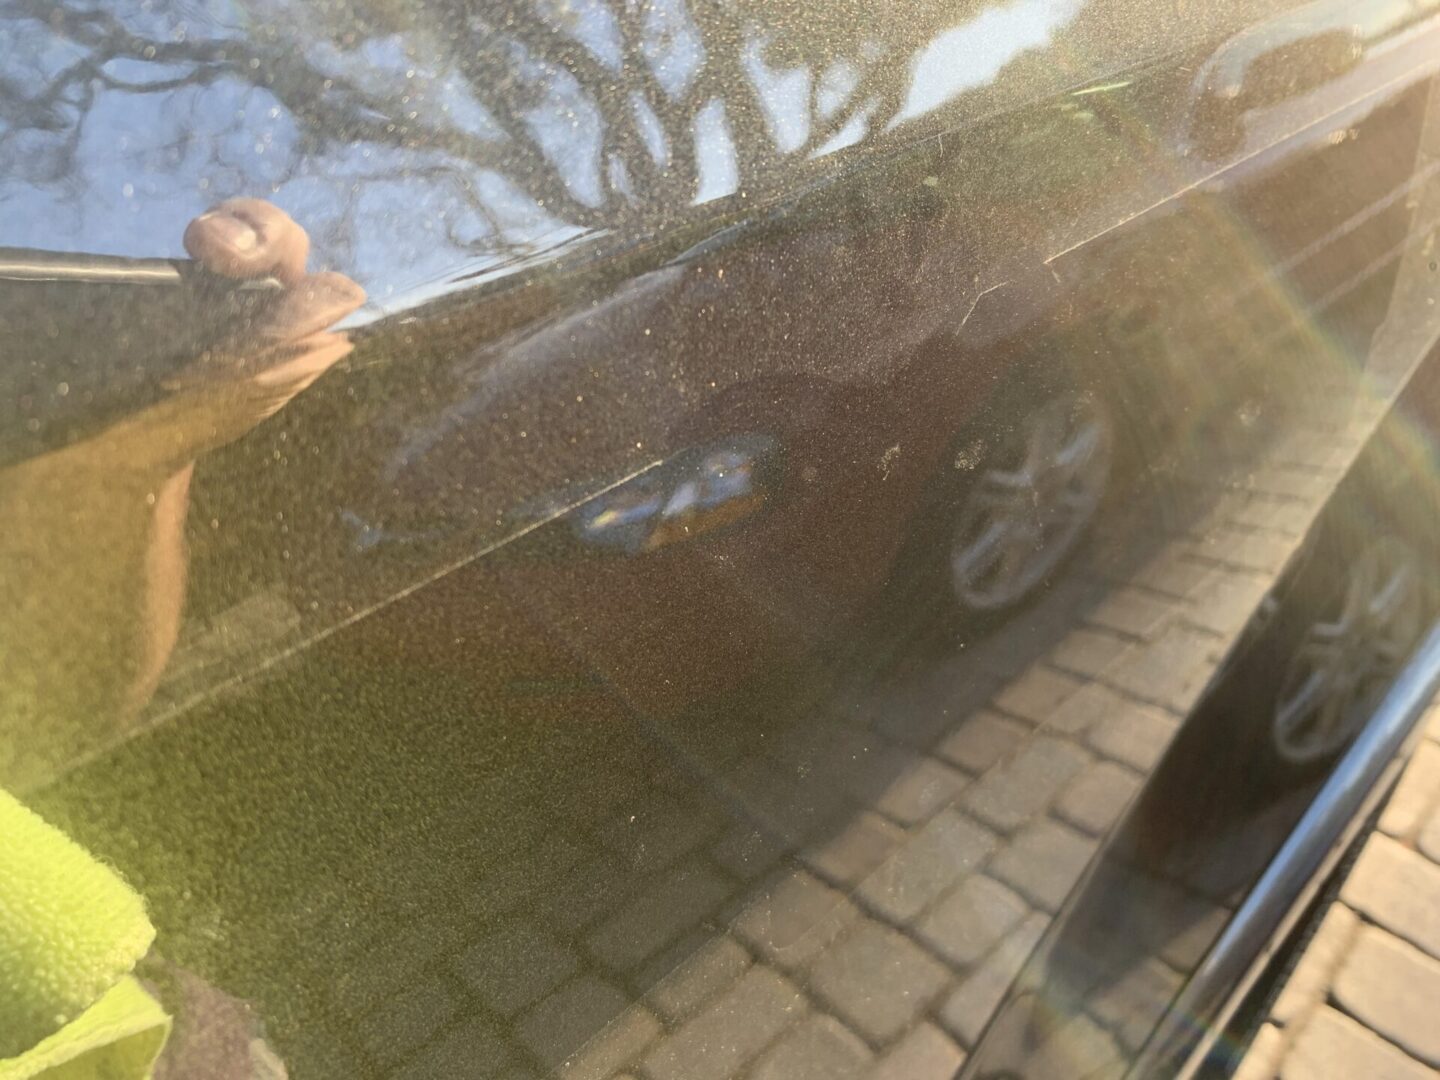
After you remove decals off a new car by heating and peeling it off, you can usually get away with cleaning off the excess adhesive (if any is left at all) and be done. However, be warned that even though it may look completely clean, there might be a “ghost image” of the decal left behind especially after it has dried. Look at the spot from different angles to ensure that there is nothing left behind.
If you do see a ghost image of your decal left behind, you will need to use some adhesive remover and a microfiber towel to clean the area again and then check again. If it is still there, you may require the use of a compound and polish along with a microfiber towel or polishing pad to erase the decal’s shadow image left behind. You might also need the use of a rubber eraser wheel to remove extremely hard or caked-on adhesive.
If you have to polish or compound, I will demonstrate more of this polishing stage on my other example further down this post. In most cases, removing a decal on a new vehicle will only require adhesive remover, if at all.

Removing Decals from an Older Vehicle
Removing decals that have been on a car for a long time can be tricky. If it has been on for say, less than five years, it probably won’t take much to fully remove the decal. If the decal has been on longer than say 5+ years, it may take more work (i.e. polishing the paint afterwards) to do the job.
If it has been on 10+ years, you should reconsider removing it if you really care about keeping your paint intact. With the decal being on the car for this long, you have a higher chance of the decal fusing with the clear coat and paint underneath, causing damage during the removal process. If you truly can’t stand the look of your decal and would rather some minor paint damage over the look of the decal being there, then go for it. Hey, it’s possible to have a decal on for longer than ten years and still be able to remove it without damaging the car’s paint, but just be prepared for the worst case scenario.
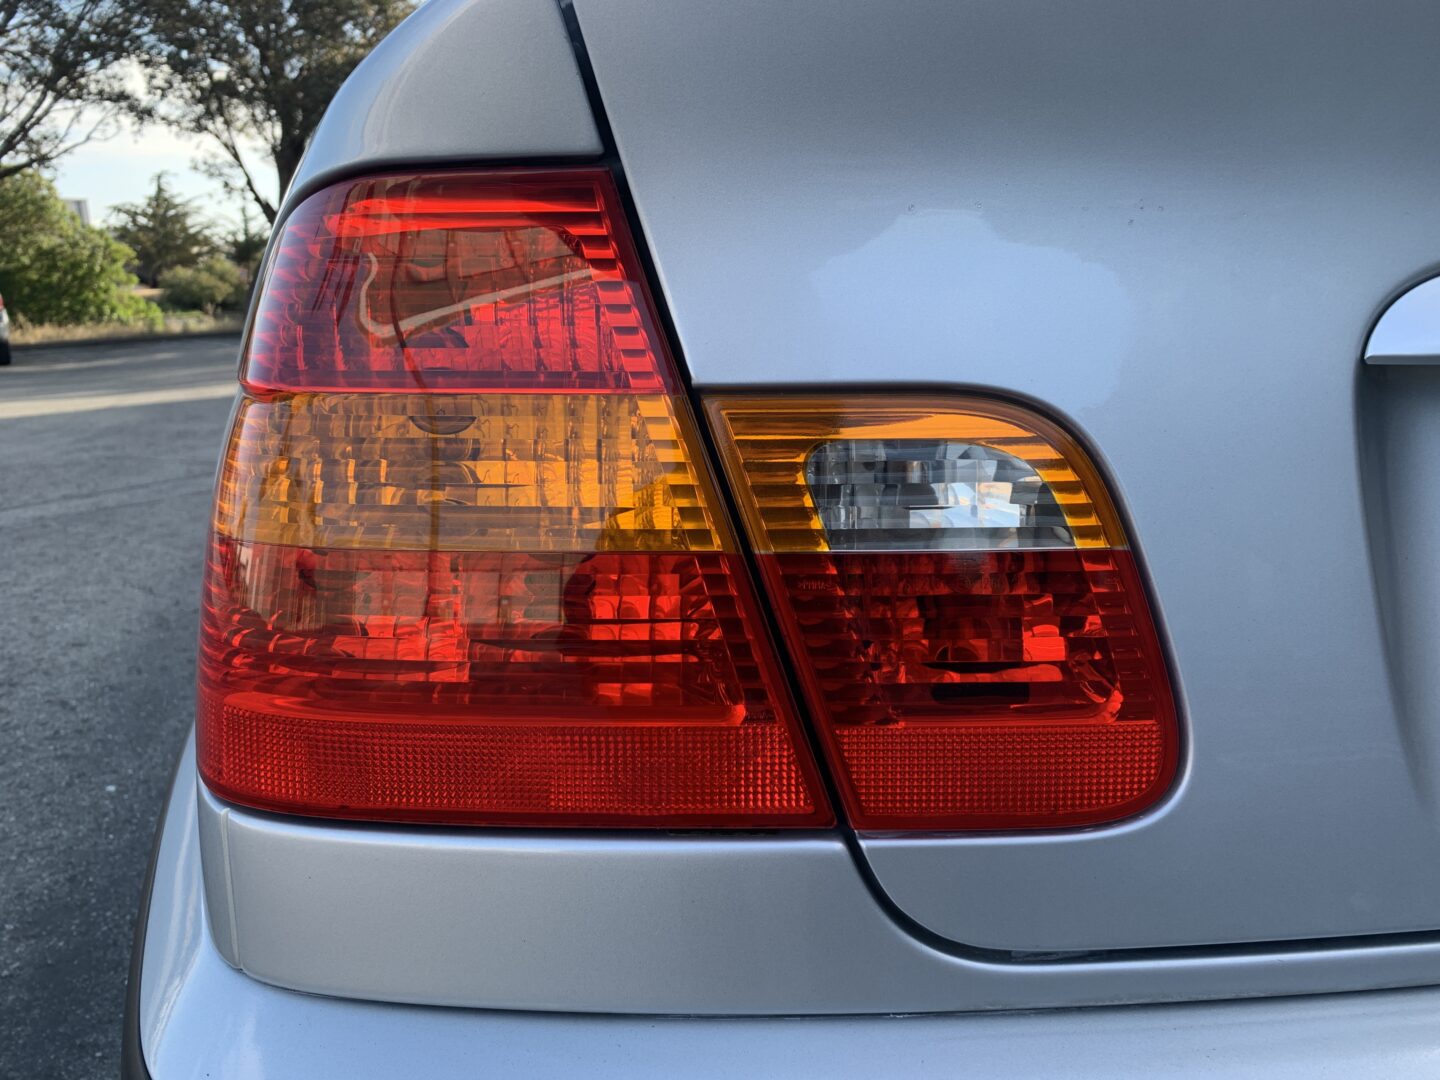
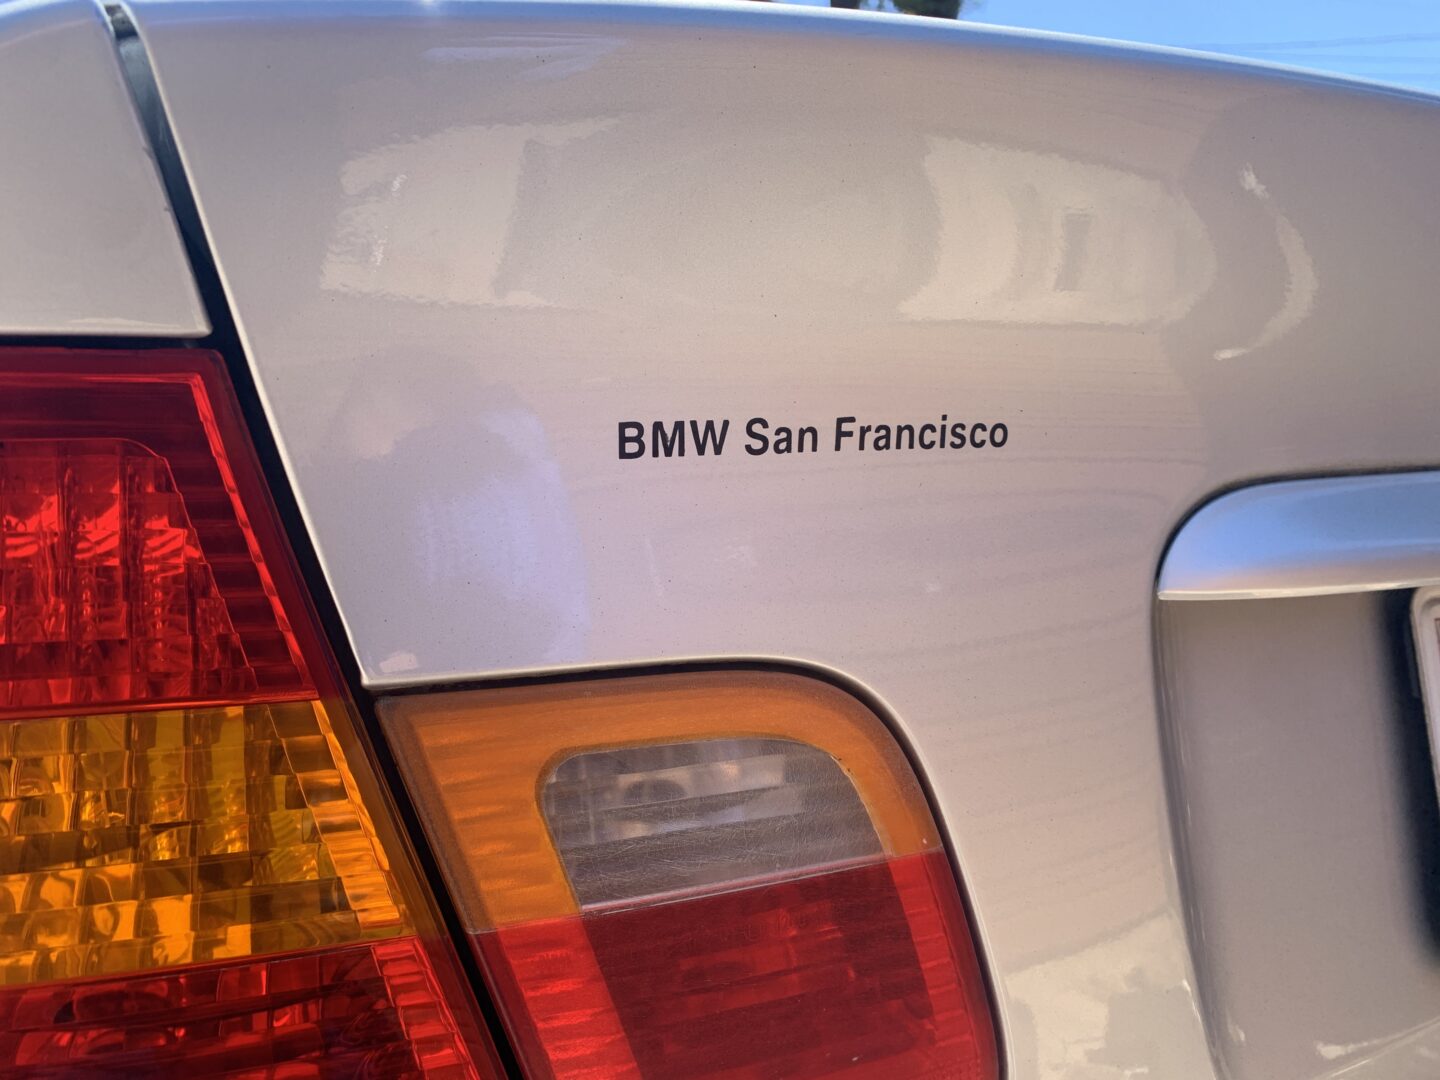
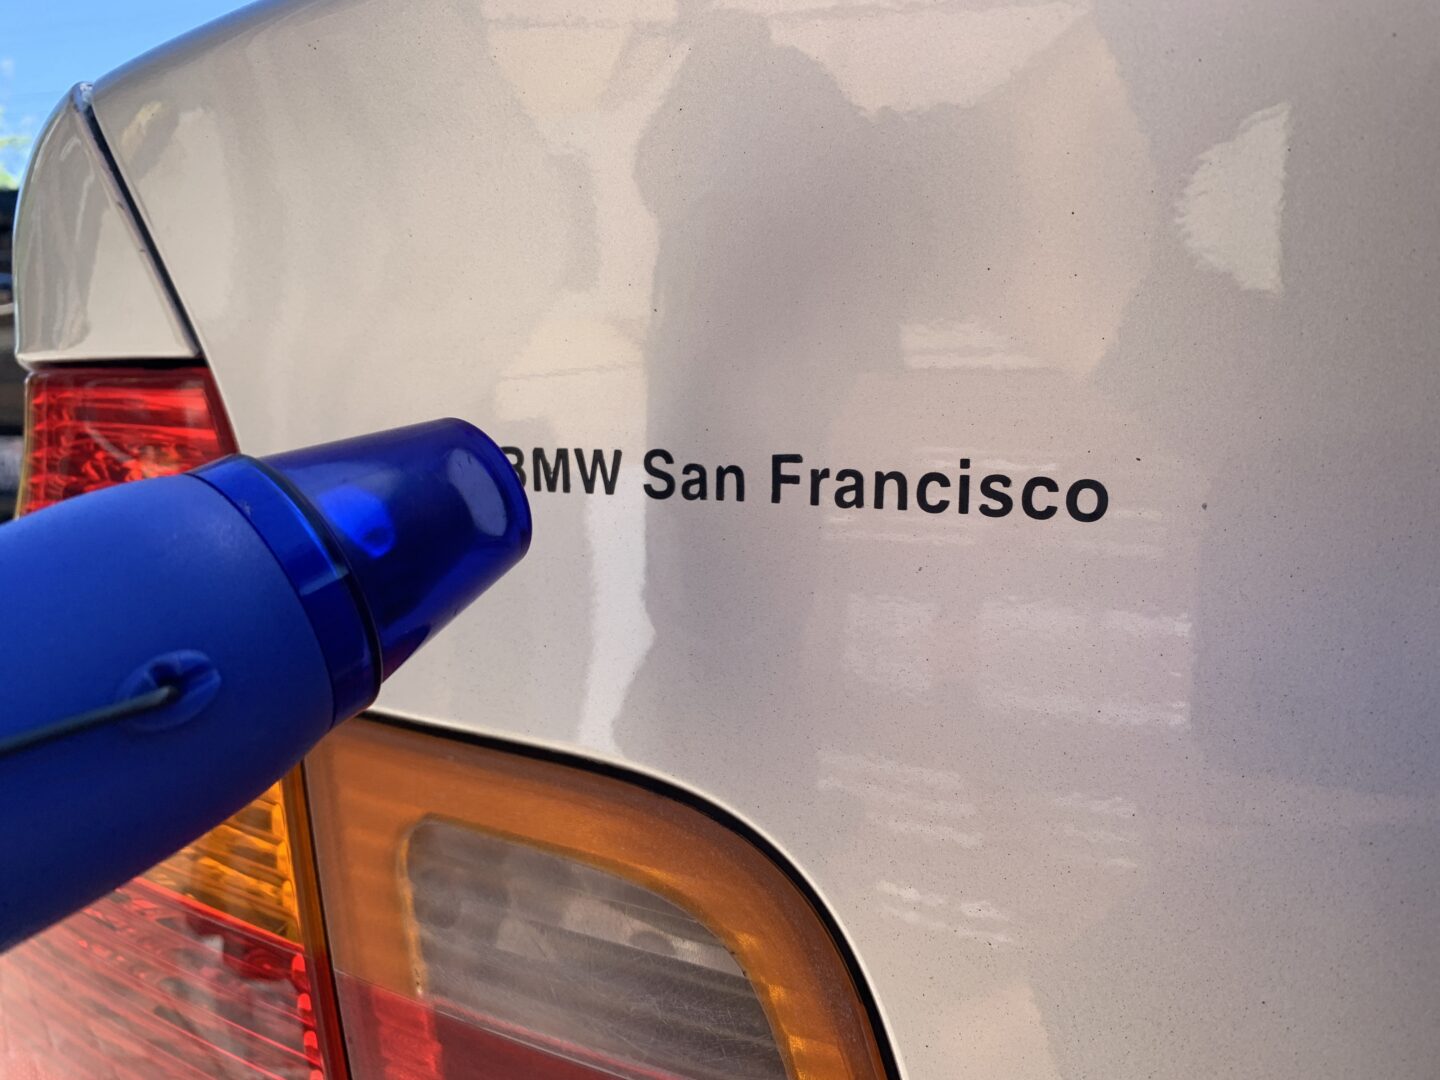
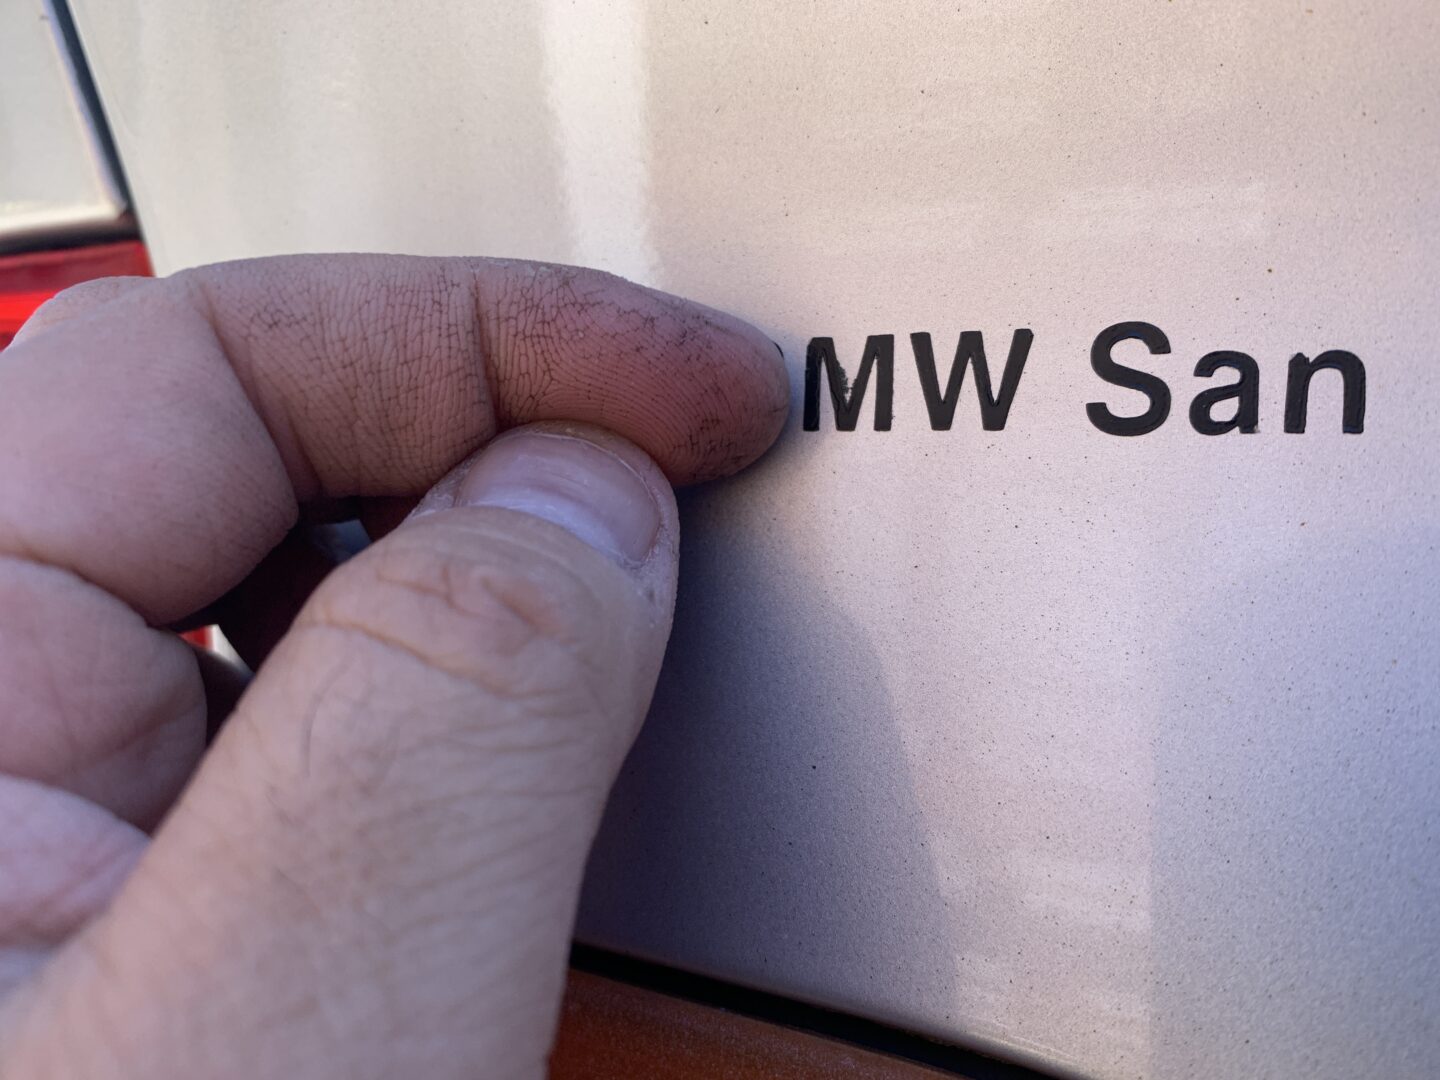
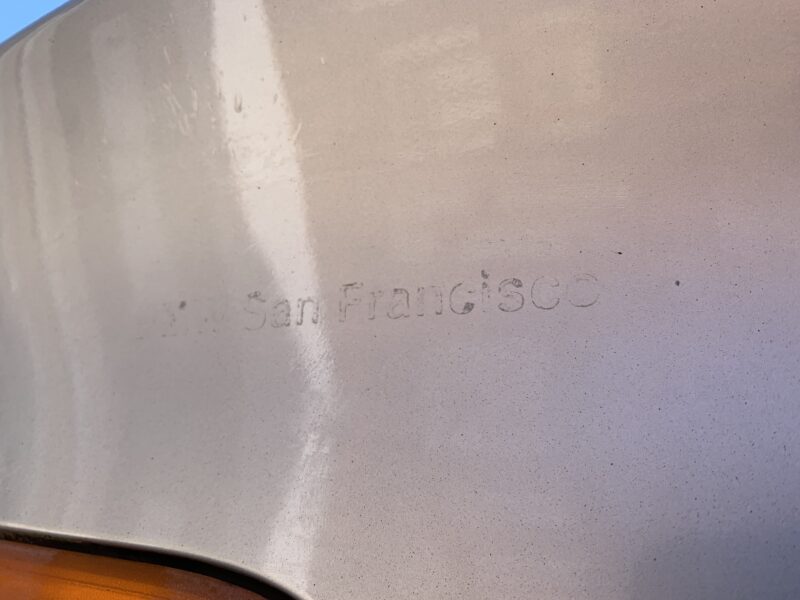
This ‘BMW San Francisco’ sticker has been on this car for almost 20 years, so I’m expecting to have some minor damage to the paint from the decal removal. Sometimes you can’t get around it because if the decal has fused with the clear coat, it’s inevitable to peel up clear coat/paint along with the decal during the removal process.
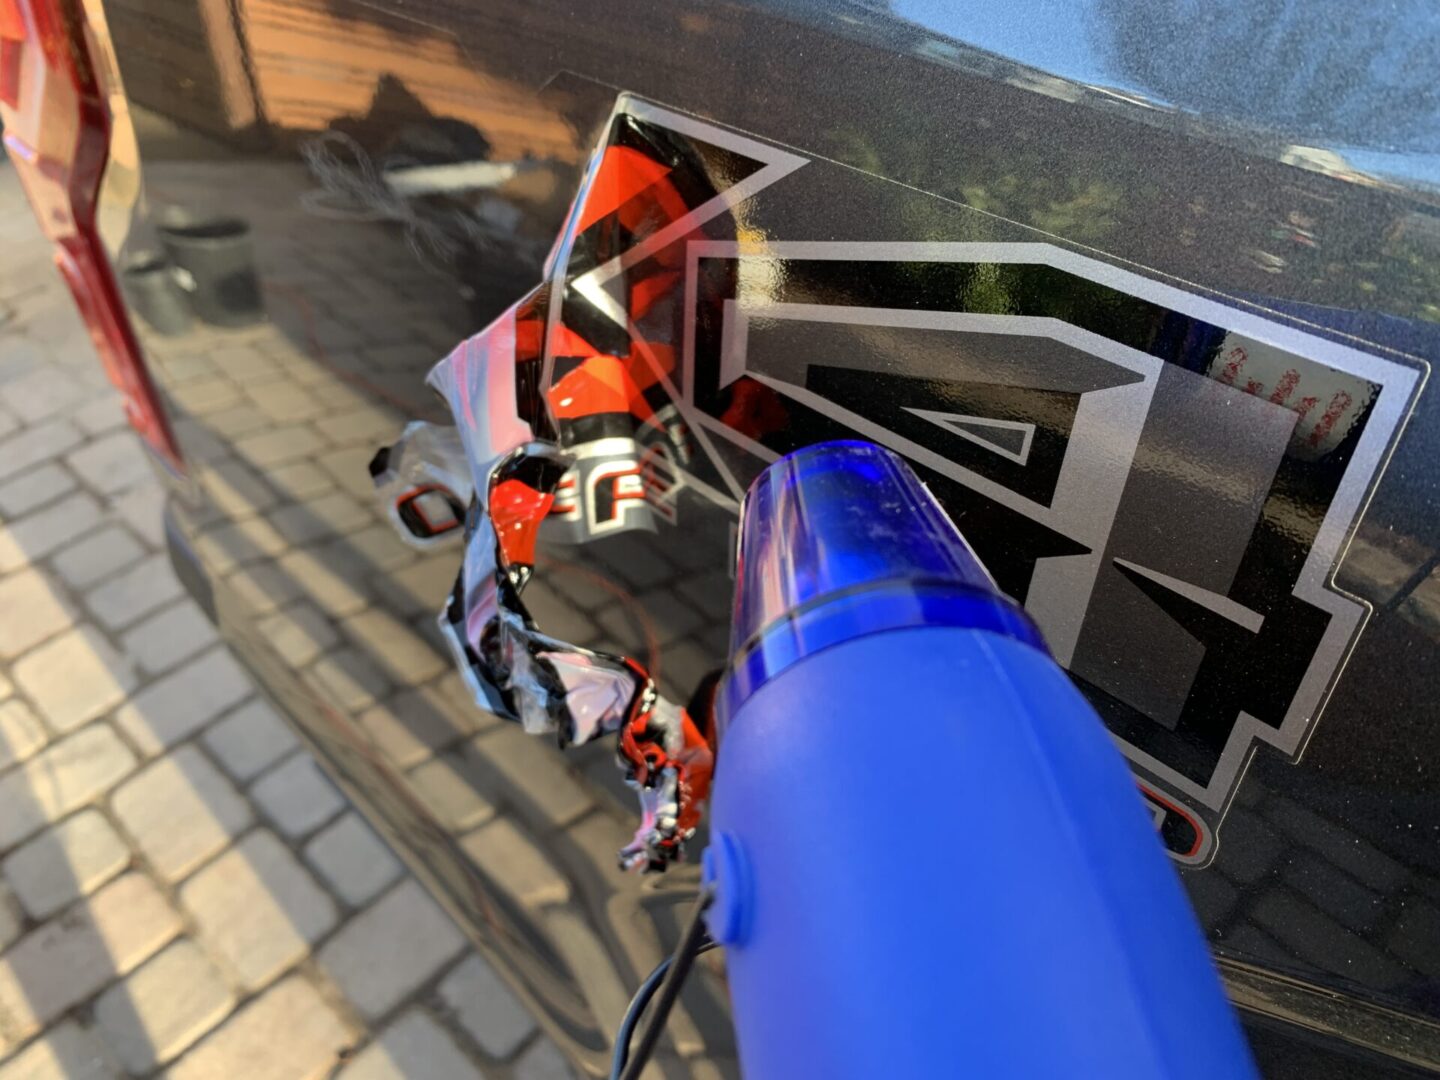
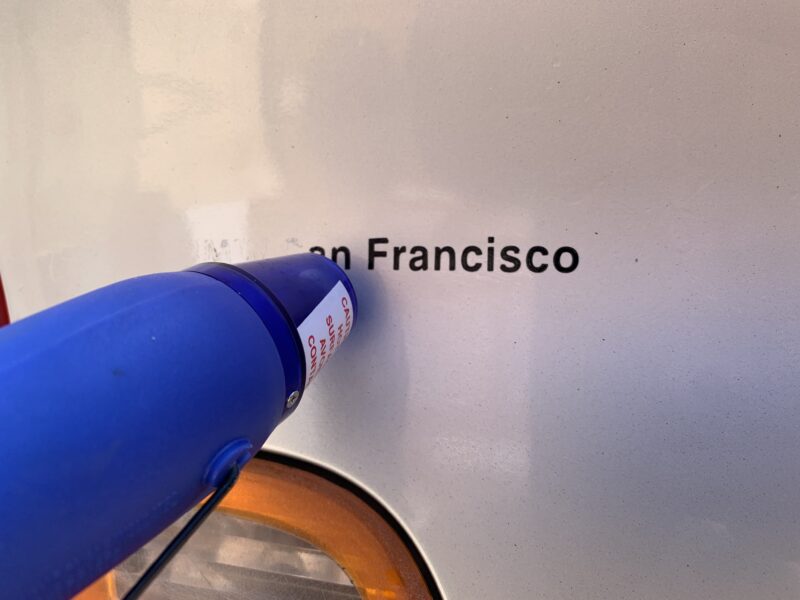
Okay, enough with the warnings. The removal process of the decal is similar to the removal of a newer decal. Use a heat gun to loosen up the decal and then peel it off carefully. You might have luck with a plastic razor blade to scrape and separate the decal from the car’s paint.
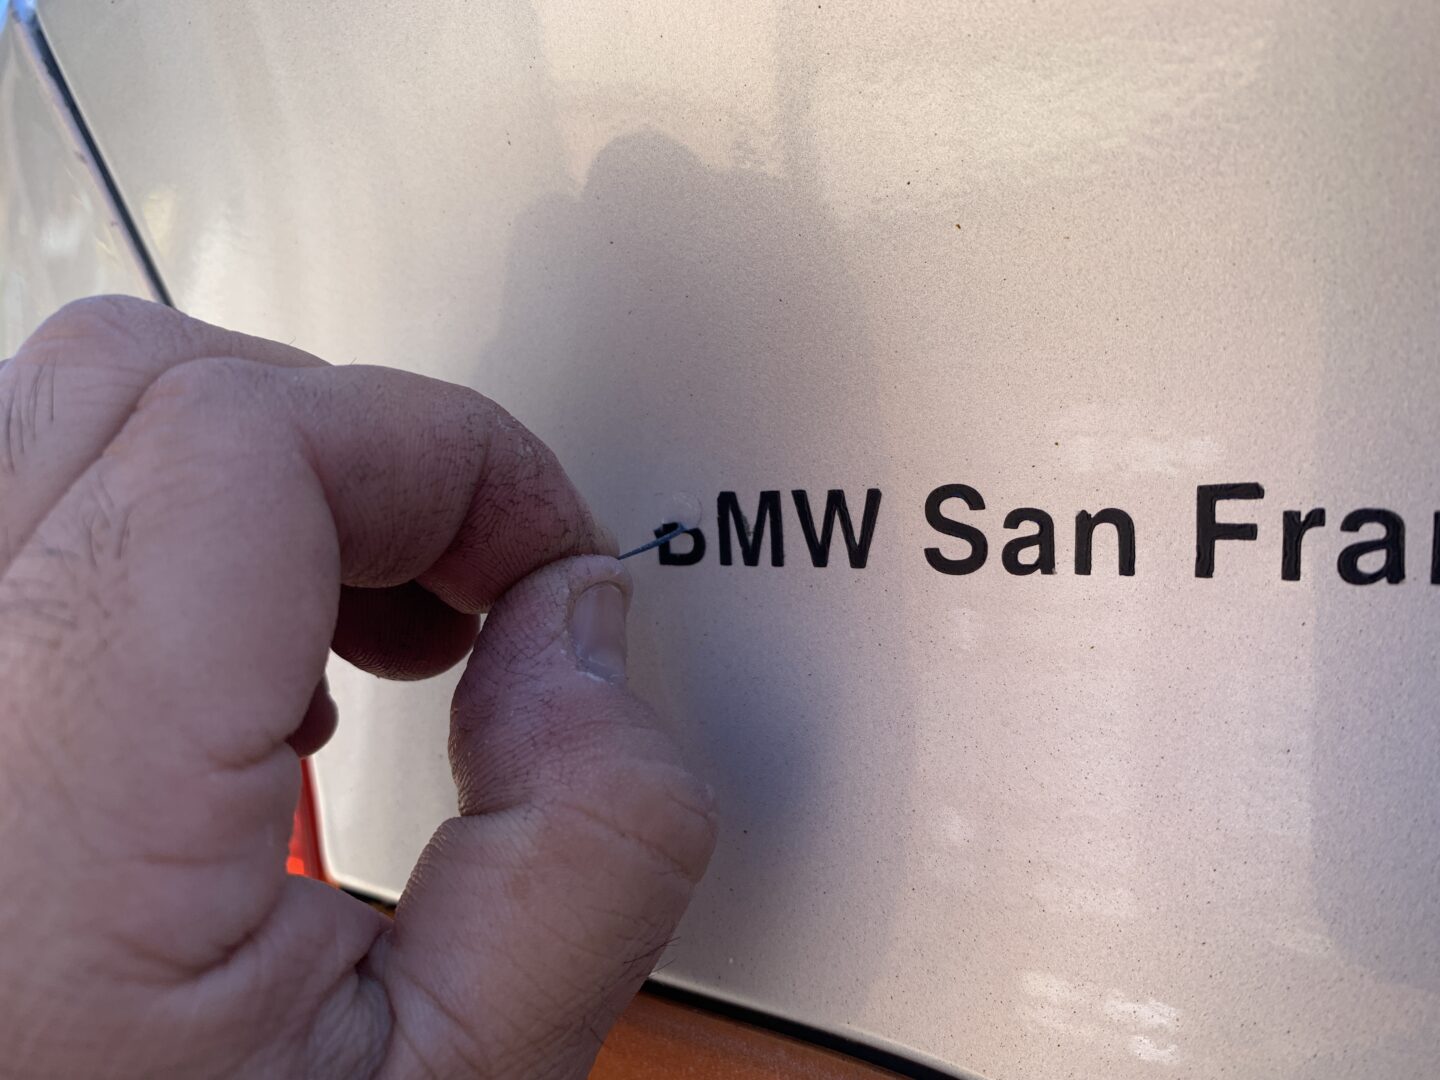
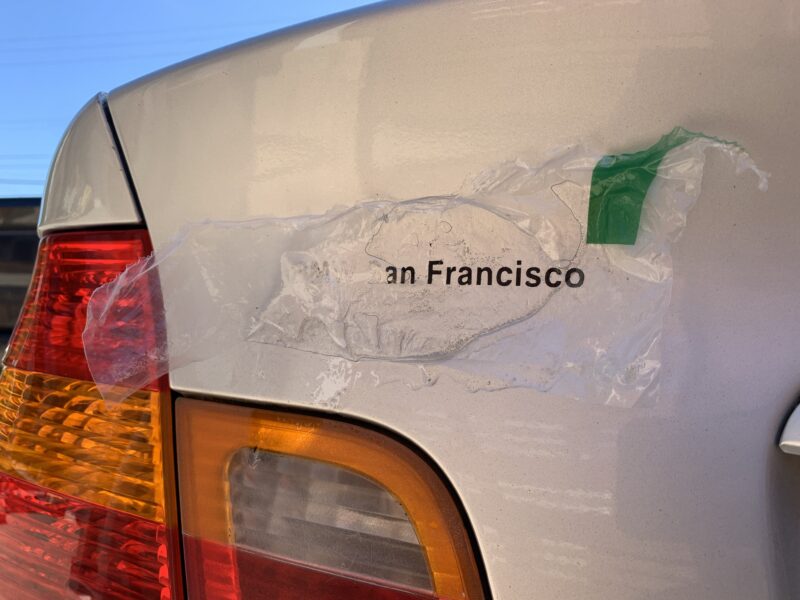
It also helps to apply some adhesive remover to the area, then throw on a bit of plastic or Saran wrap (you can even use a plastic bag) to let the adhesive remover sit on the decal for about 5-10 minutes. Then remove the plastic, wipe it off, and try peeling the decal off again while applying heat as needed. Continue peeling the decal until it is completely removed. The adhesive remover with plastic also helps with removal of the leftover adhesive on the car’s paint.
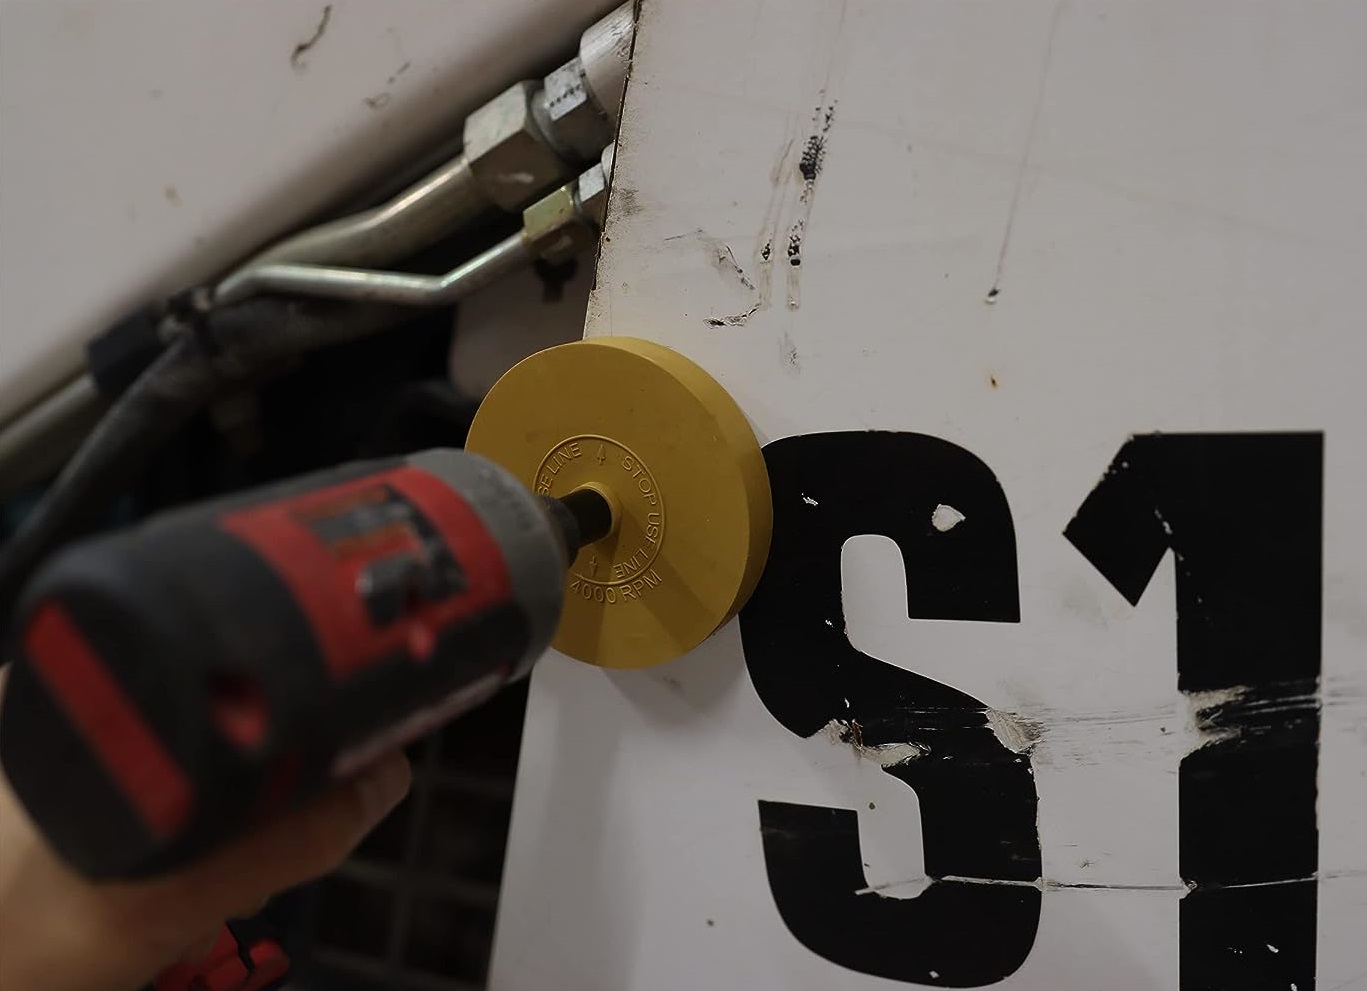
If the adhesive left on the car is extremely hard or is difficult to remove with just adhesive remover, you might need to use a rubber eraser wheel. This tool attaches to your power drill and the rubber wheel spins and takes off the stuck-on adhesive. The rubber wheel will not damage your paint as long as you don’t keep the wheel in any spot for too long and you are careful in your use of the wheel. The spinning wheel should be barely contacting the adhesive to remove it without applying too much pressure of the wheel on the paint surface.
A lot of times after the adhesive is removed, a ghost image of the decal will be left behind. This is basically an image of the decal (from the adhesive residue) that looks identical to the actual decal that you removed. If you have a machine polisher and polishing pad, you should definitely use that as it is very effective for this polishing stage. However, if you don’t have that, you can simply use a microfiber towel or a polishing pad and polish by hand. Apply some compound and rub in circles and at different angles. Polish by hand and perform several passes, then wipe away and check your results.
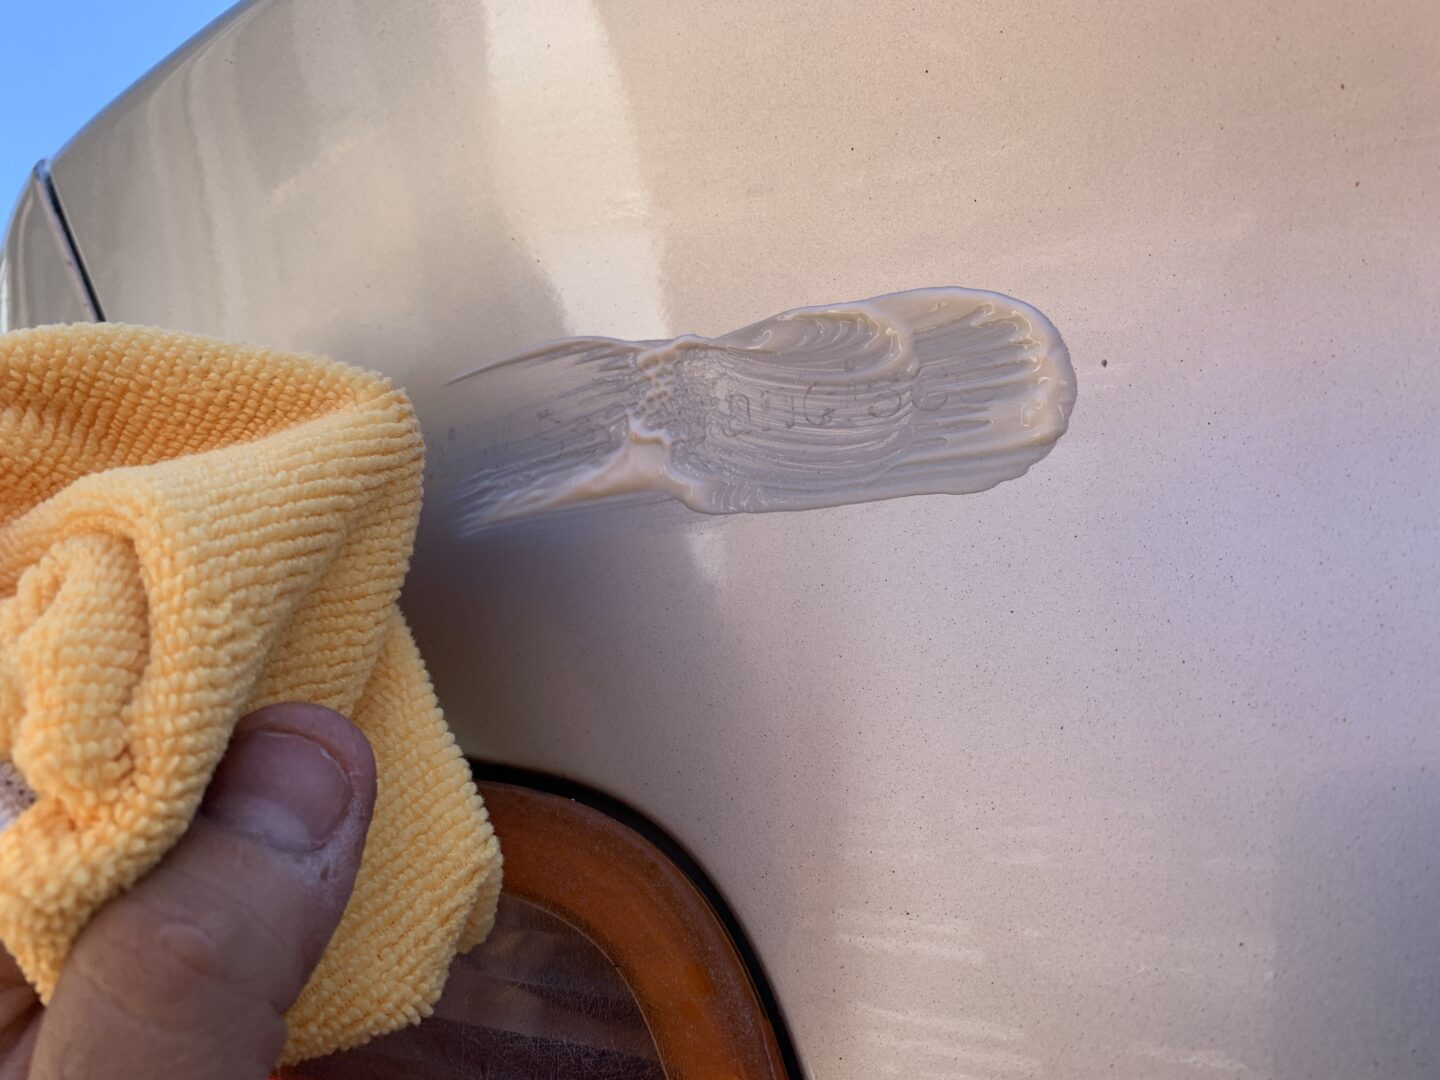
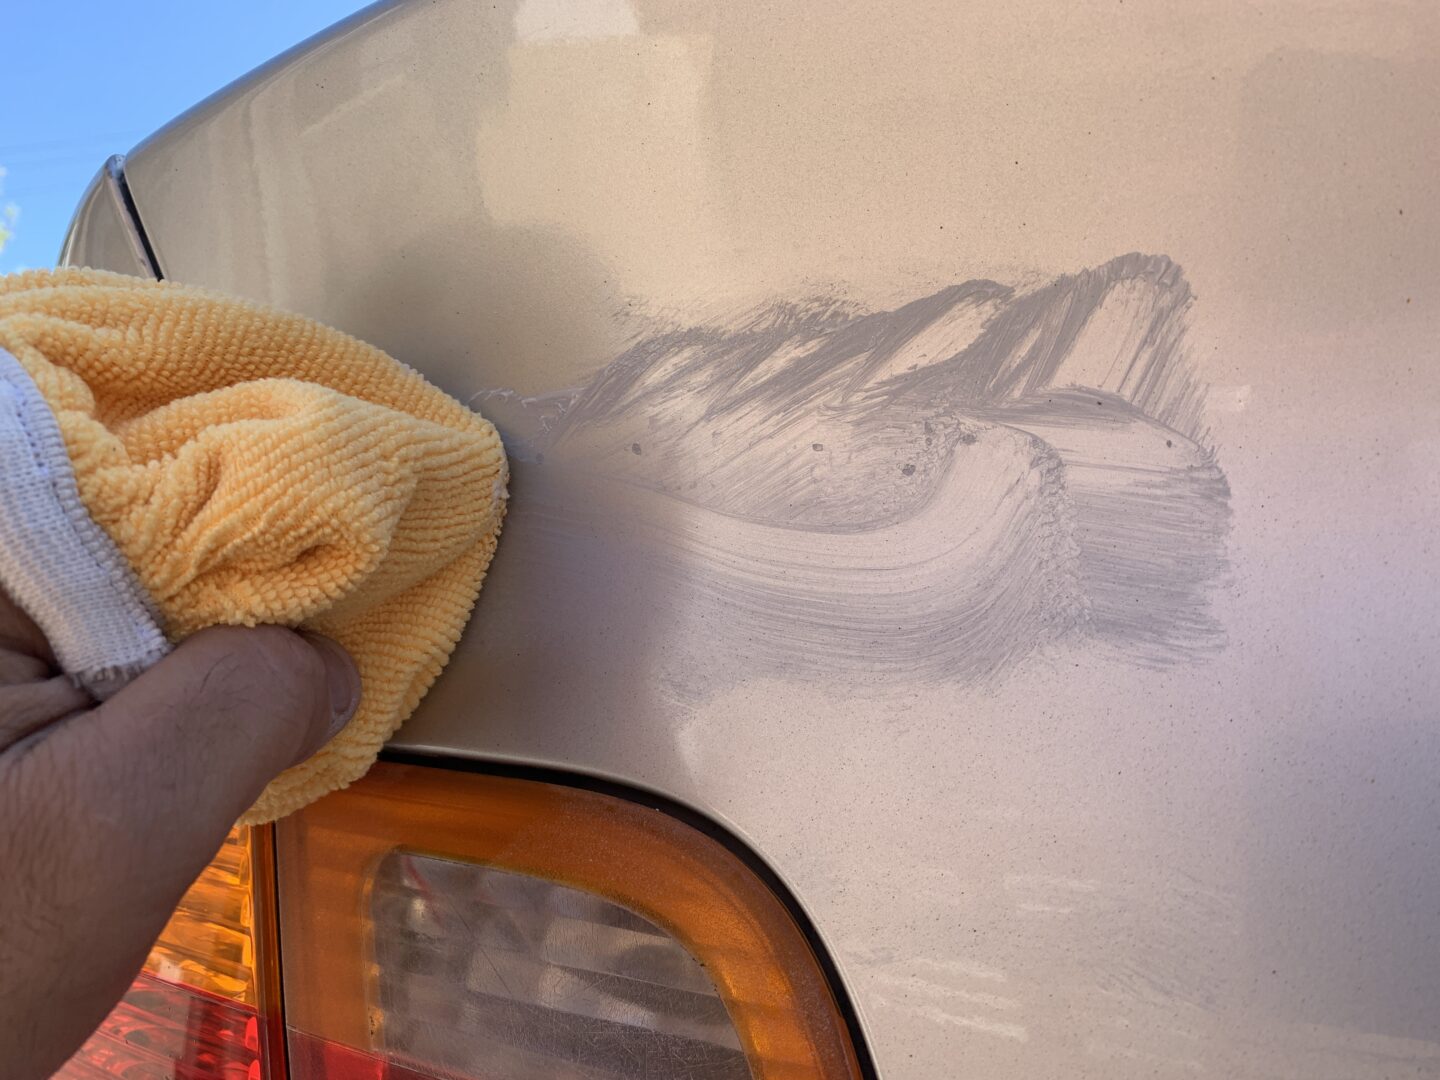
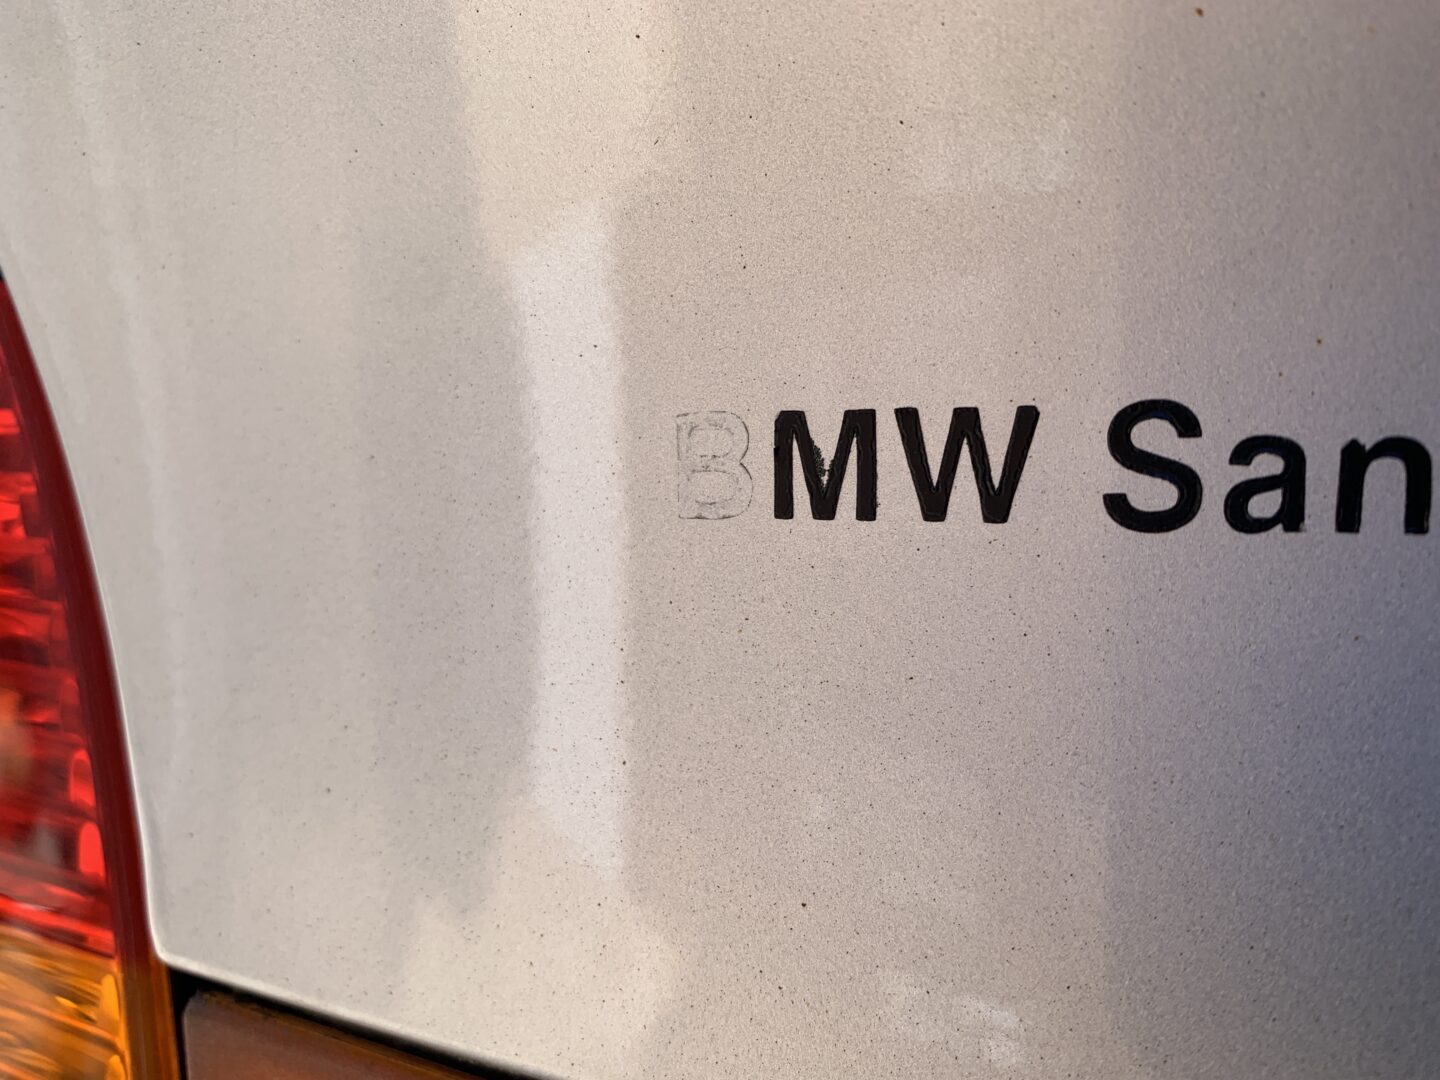
The compound not only removes the minimal amount of residual adhesive (causing the ghost image), but it also produces more clarity in the paint. As you can see below, while peeling off the 15+ year old sticker, some of the clear coat and paint had pulled off as well, leaving these small paint chips behind. There’s not much you can do at this point, except for possibly applying some touch-up paint to the affected areas. However, in my experience, touch-up paint can be finicky and if not applied perfectly, can sometimes make the area look worse.
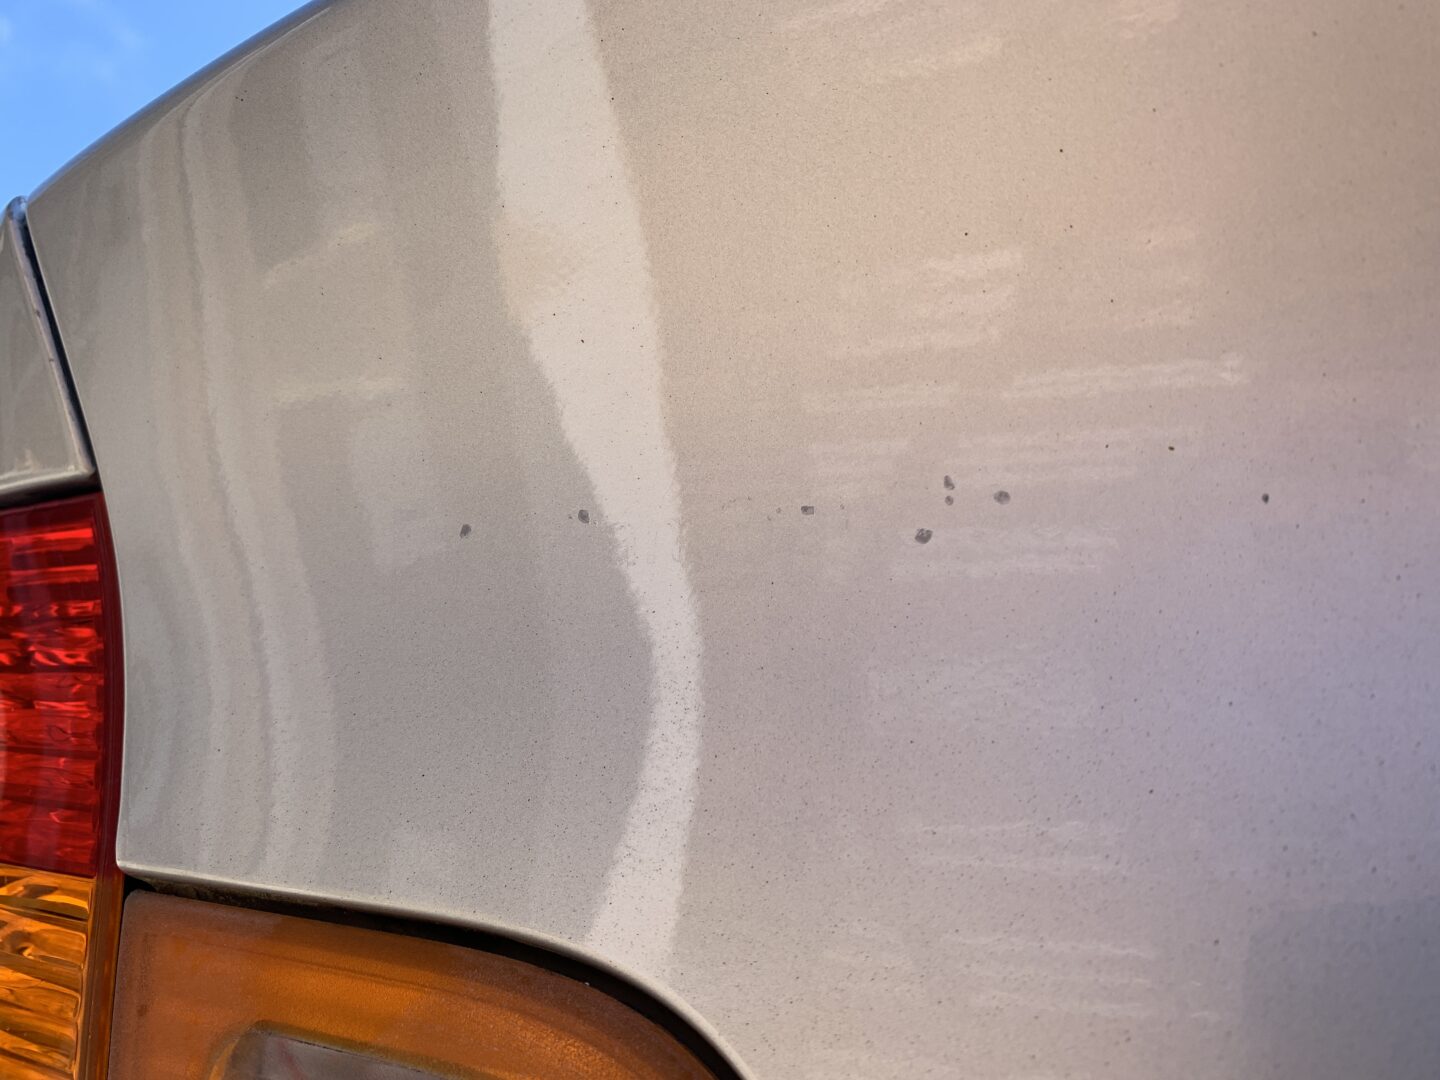
If you look up close, you’ll probably notice these small paint chips, but if you take a step back, it may not be too noticeable. So, choose wisely and truly consider if you must remove that decal that you are wanting to desperately get rid of especially if the decal has been on your car for more than decade.