
When you make purchases through links on this site, The Track Ahead may earn an affiliate commission. Also, these posts are based off my own experiences. I am not responsible for any action you take as a result of reading this. Learn More
My 2020 Ford F-150 came with a bare bed; no bed liner and no bed accessories. I do enough hauling to necessitate more tie-down points than the four small brackets that are located at each corner of the truck bed. Aside from getting a spray-in bed liner installed, I also needed more points for securing cargo.
Ford offers a cargo system called Boxlink, that allows you to install specific accessories to either add additional tie-down anchor locations or mounting points for accessories. The Boxlink system starts off with reinforced mounting plates on each side corner of the truck bed. Other accessories can be secured onto these mounting plates. In my case, I wanted to add cleats for additional tie-down points.
The installation of Ford Boxlink plates and cleats is a simple job to do, you just need to be aware of a few things. A T-30 Torx bit is needed to secure the mounting plates and there is a bit of finesse needed to get the Boxlink cleats to fit when a spray-in liner has been previously installed.
Tools & Materials
A note on these parts: I used Ford OEM Boxlink mounting plates and cleats for this install. There are many aftermarket options available, with some having decent reviews. The OEM Ford Boxlink products will provide you with the best fitment and finish. You may go with aftermarket products at your own risk; I’ve heard of some complaints of durability of the finish, as well as some minor fitment issues.
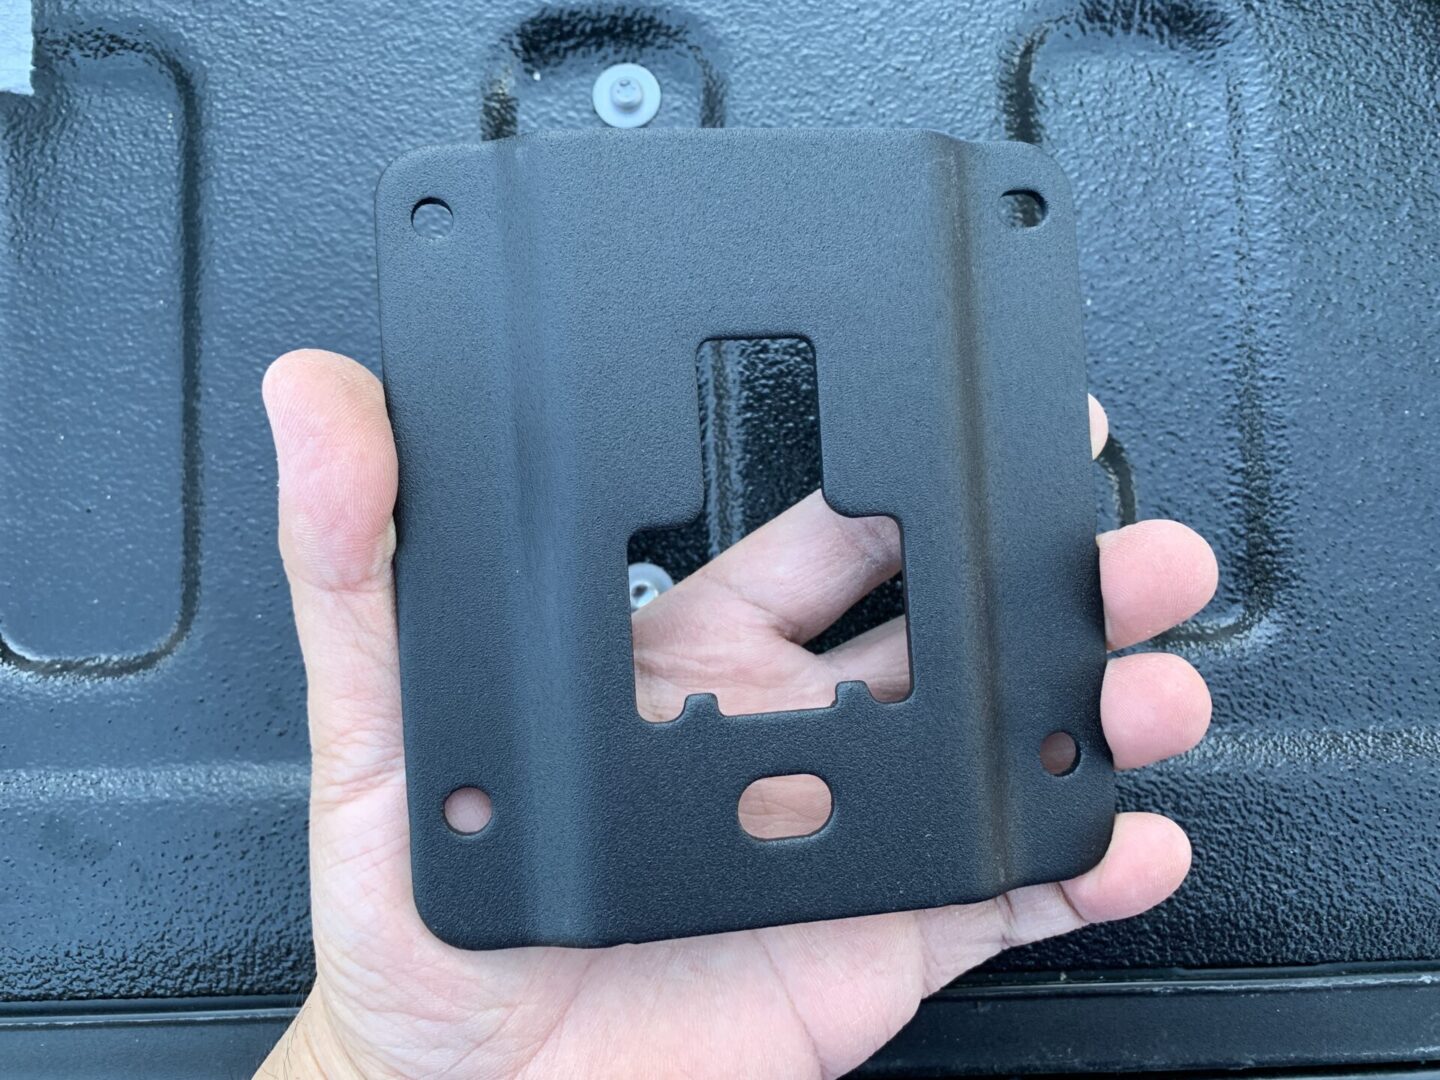
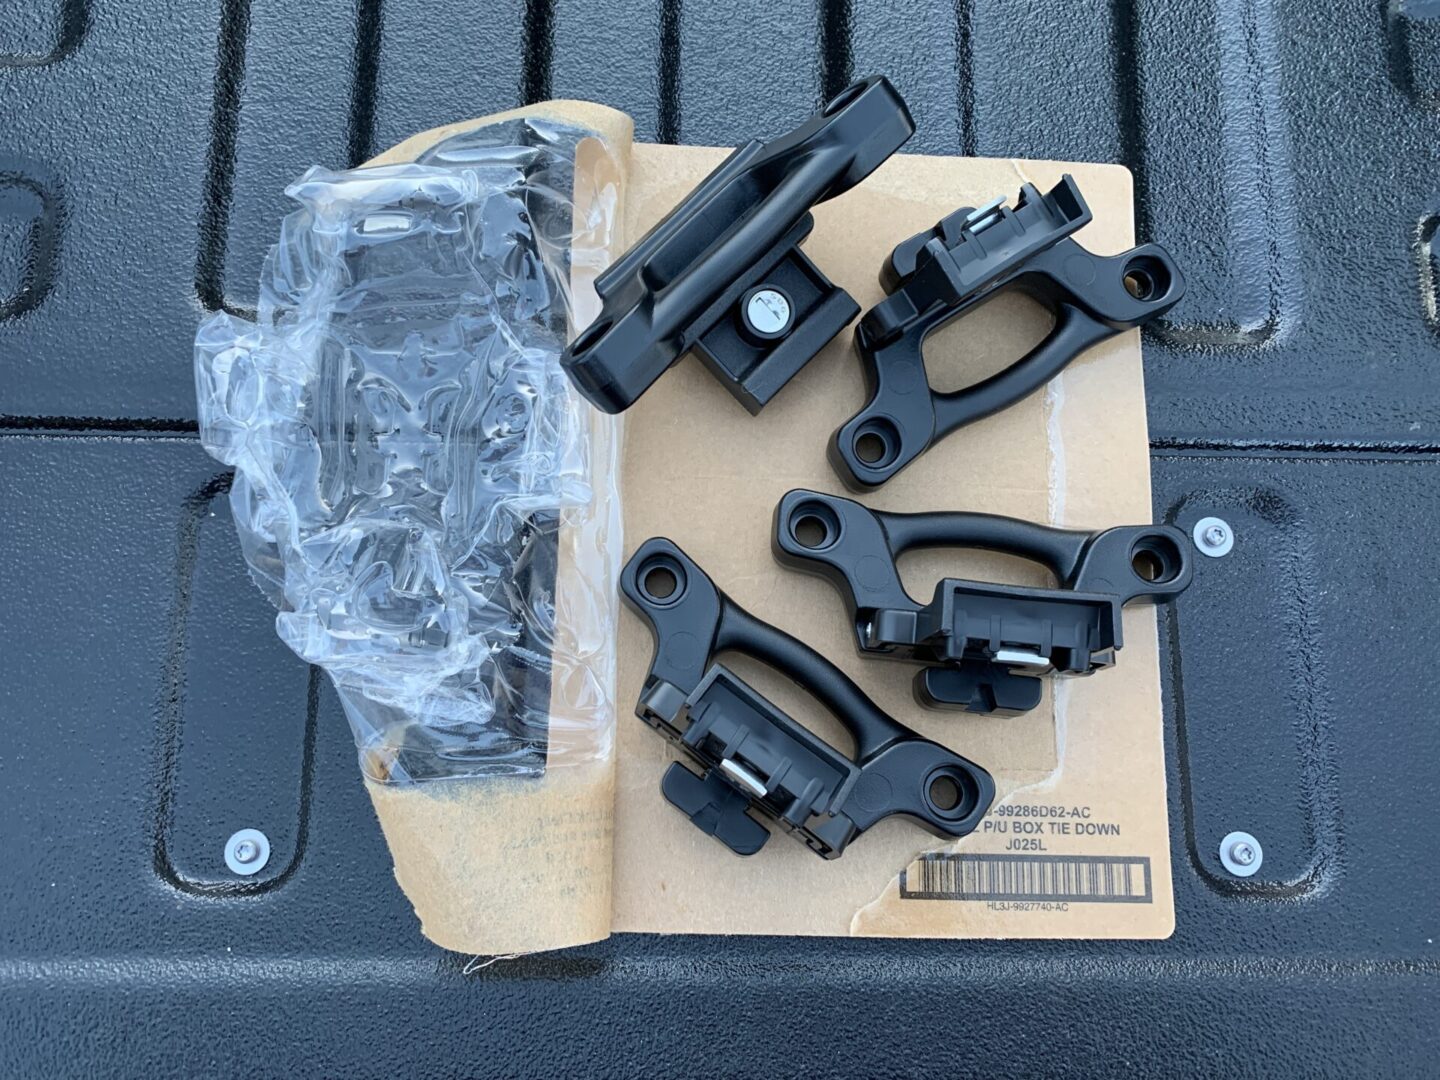
2015-2020 F-150 Boxlink Mounting Plates
These Boxlink mounting plates are the base parts that mount to the bed of your truck. This can accept a variety of Ford Boxlink attachments, but in this case I am installing cleats. The plates screw directly to the sides of the truck with four self-tapping screws through each plate.
OEM mounting plates use regular T-30 torx screws, meanwhile aftermarket ones tend to use T-30 security torx screws. The aftermarket plates usually include a security torx bit that works with a drill, but the OEM plates don’t include a torx bit.
Ford Genuine OEM (FL3Z-9928408-AB): Genuine Ford Mounting Plates / Search on Ebay
Aftermarket Options: Ronin Cargo Tie Down Brackets (2015-Present) / AORRO Tie Down Brackets (2015-Present)
Boxlink Cleats
Boxlink cleats are installed into the Boxlink mounting plates and are used for extra tie-down anchor locations. The cleat slides up and into the mounting plate, which can be locked for security.
Ford Genuine OEM (HL3Z-99000A64-A): Ford Genuine HL3Z-99000A64-A Bed Cleats / Search on Ebay
Aftermarket Options: iFJF Boxlink Tie Down Anchor Cleats / ISSYAUTO 2015-2021 F150 Boxlink Cleats
Torx Bits
A regular T-30 bit is needed to install the Ford OEM mounting plates, but the aftermarket options will require a security T-30 bit. The aftermarket plates usually include a security T-30 bit that can be used with a drill for installation. The Ford OEM mounting plates do not include any torx bits, so if you do not have a T-30 torx bit, you will need one.
Craftsman 7 Piece Evolv Torx Bit Socket Set, 9-01005
Torque Wrench
I used a torque wrench to tighten the mounting screws. It may be difficult to gauge how tight the screws are being installed as the mounting screws are self-drilling. Therefore, I used a torque wrench and torqued these screws to spec to ensure they were installed correctly. You may also encounter some unsettling cracking/popping noises when you tighten these screws into an existing spray-in bed liner, so using a torque wrench keeps your nerves settled. However, the torque required for the Boxlink plates is quite low, so you may opt to just hand tighten these screws.
EPAuto 1/2-inch Drive Click Torque Wrench, 10~150 ft./lb., 13.6 ~ 203.5 N/m
Socket Wrench Set
Hopefully you already have a socket wrench set so that you can install the mounting screws, but if you don’t then this is a basic set that will get you started. If you need help picking a mechanics tool set, check out this article.
DEWALT Socket Set, 3/8-Inch Drive, SAE/Metric, 34-Piece (DWMT73804)
Installation of Ford Boxlink Plates
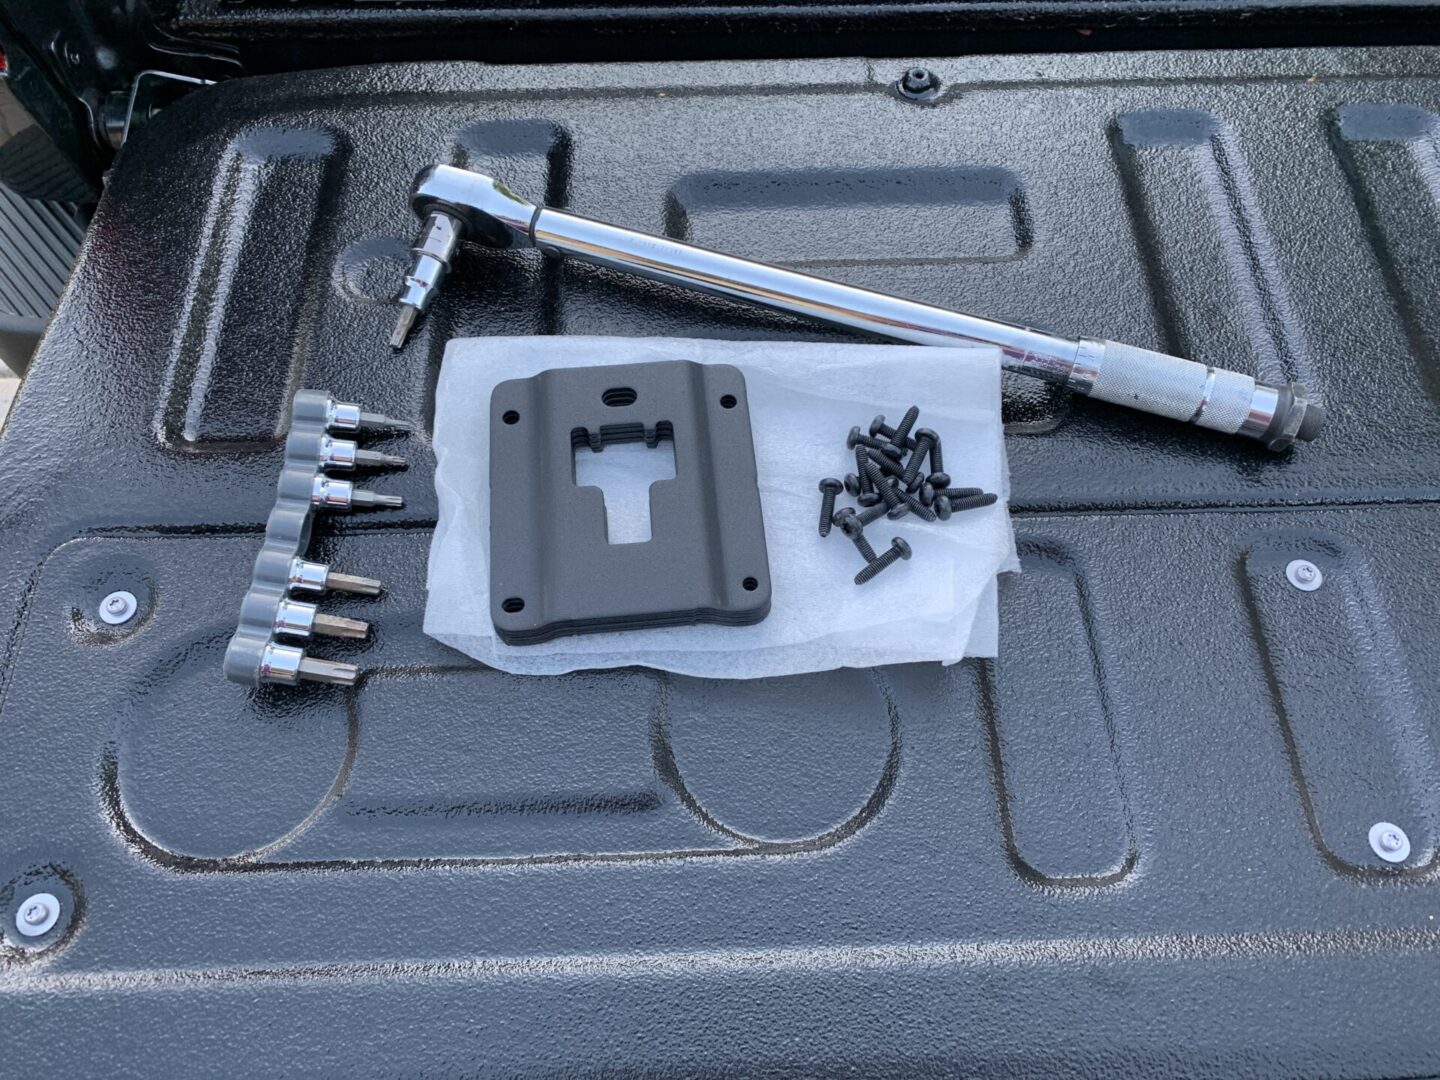
Start by getting everything ready: Boxlink plates, self-tapping screws, T-30 torx bit, and a torque wrench.
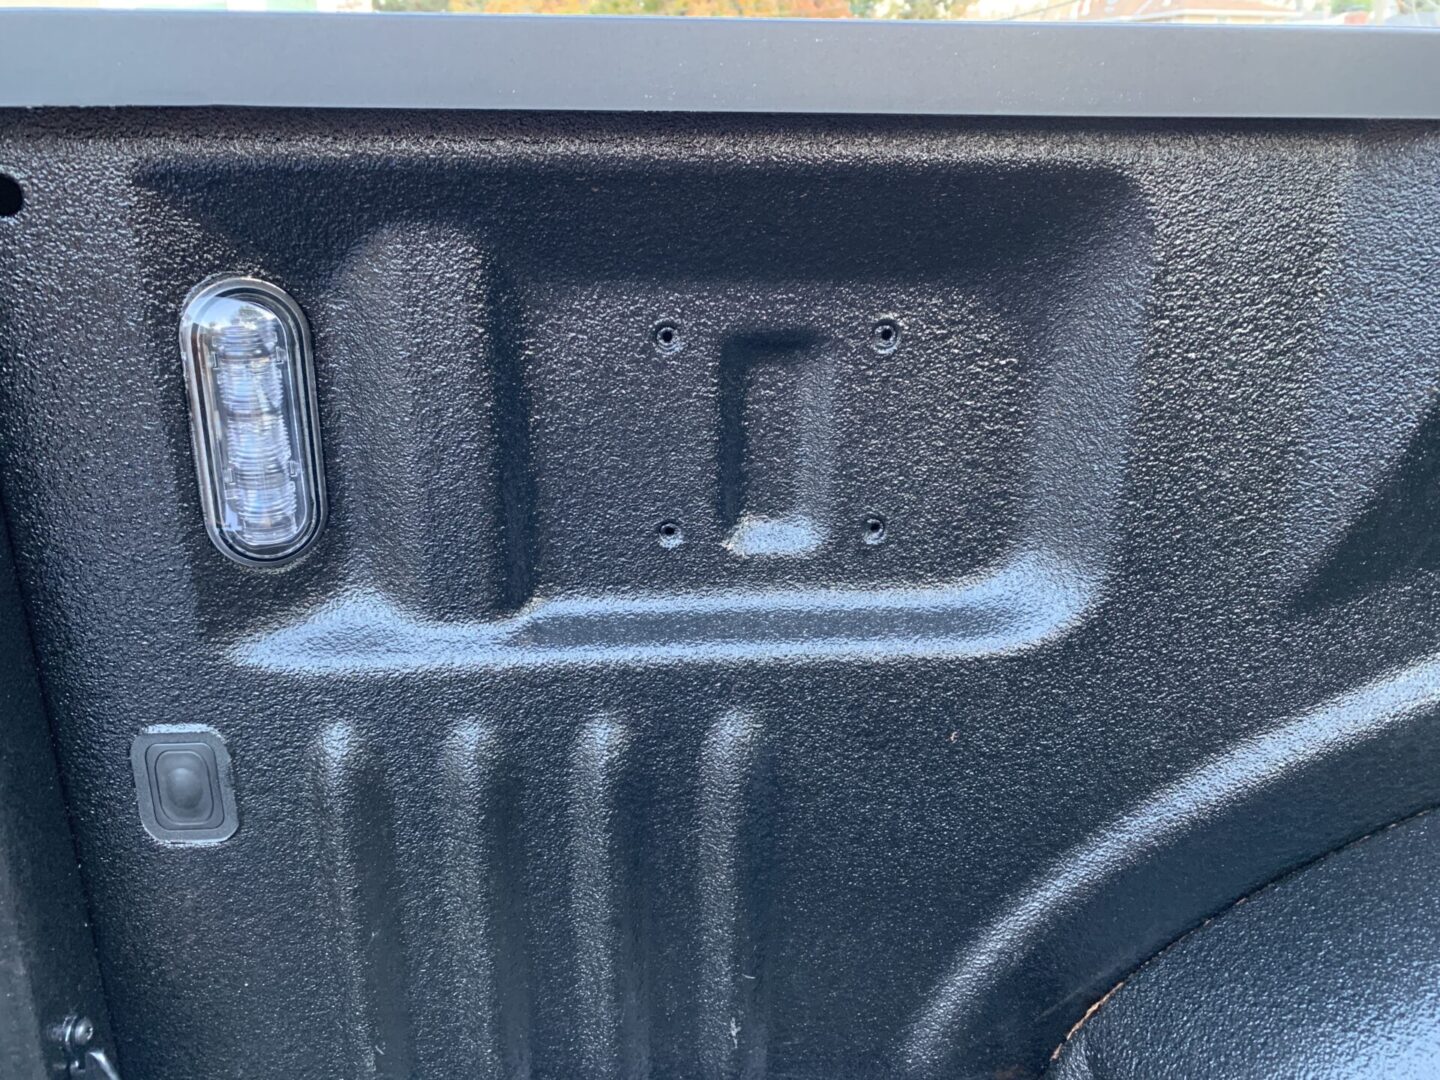
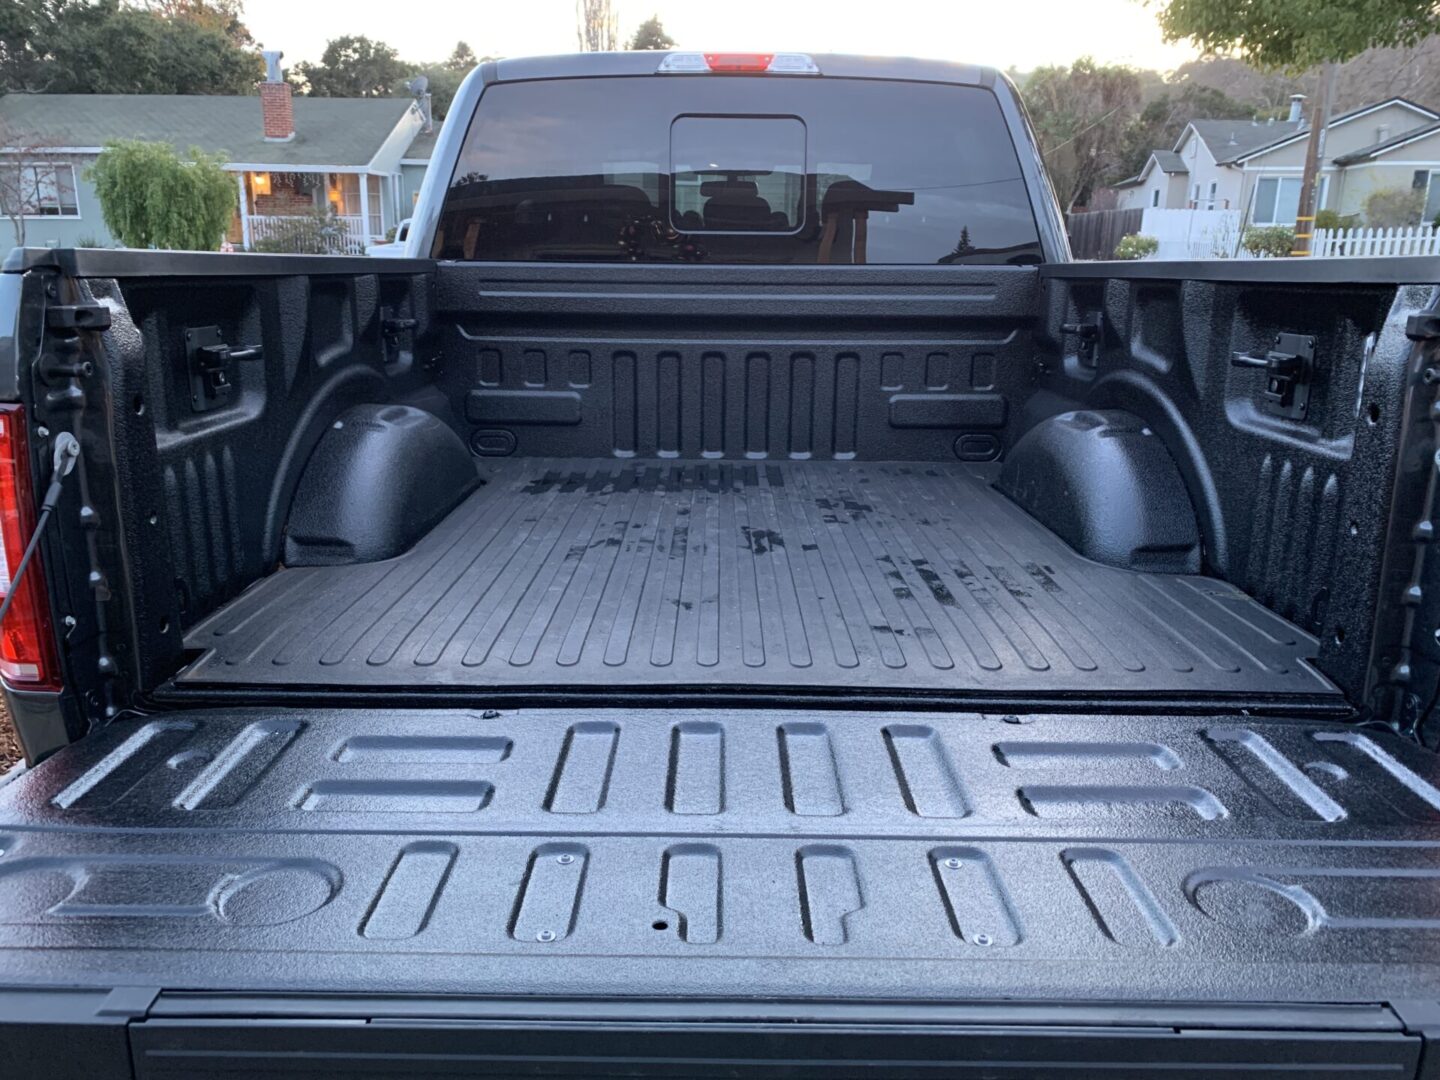
Here are some before photos of my 2020 Ford F-150 with a spray-in bed liner (and rubber bed mat) already installed. As you can see below, the spray-in material does not cover the mounting holes where the plates will go.
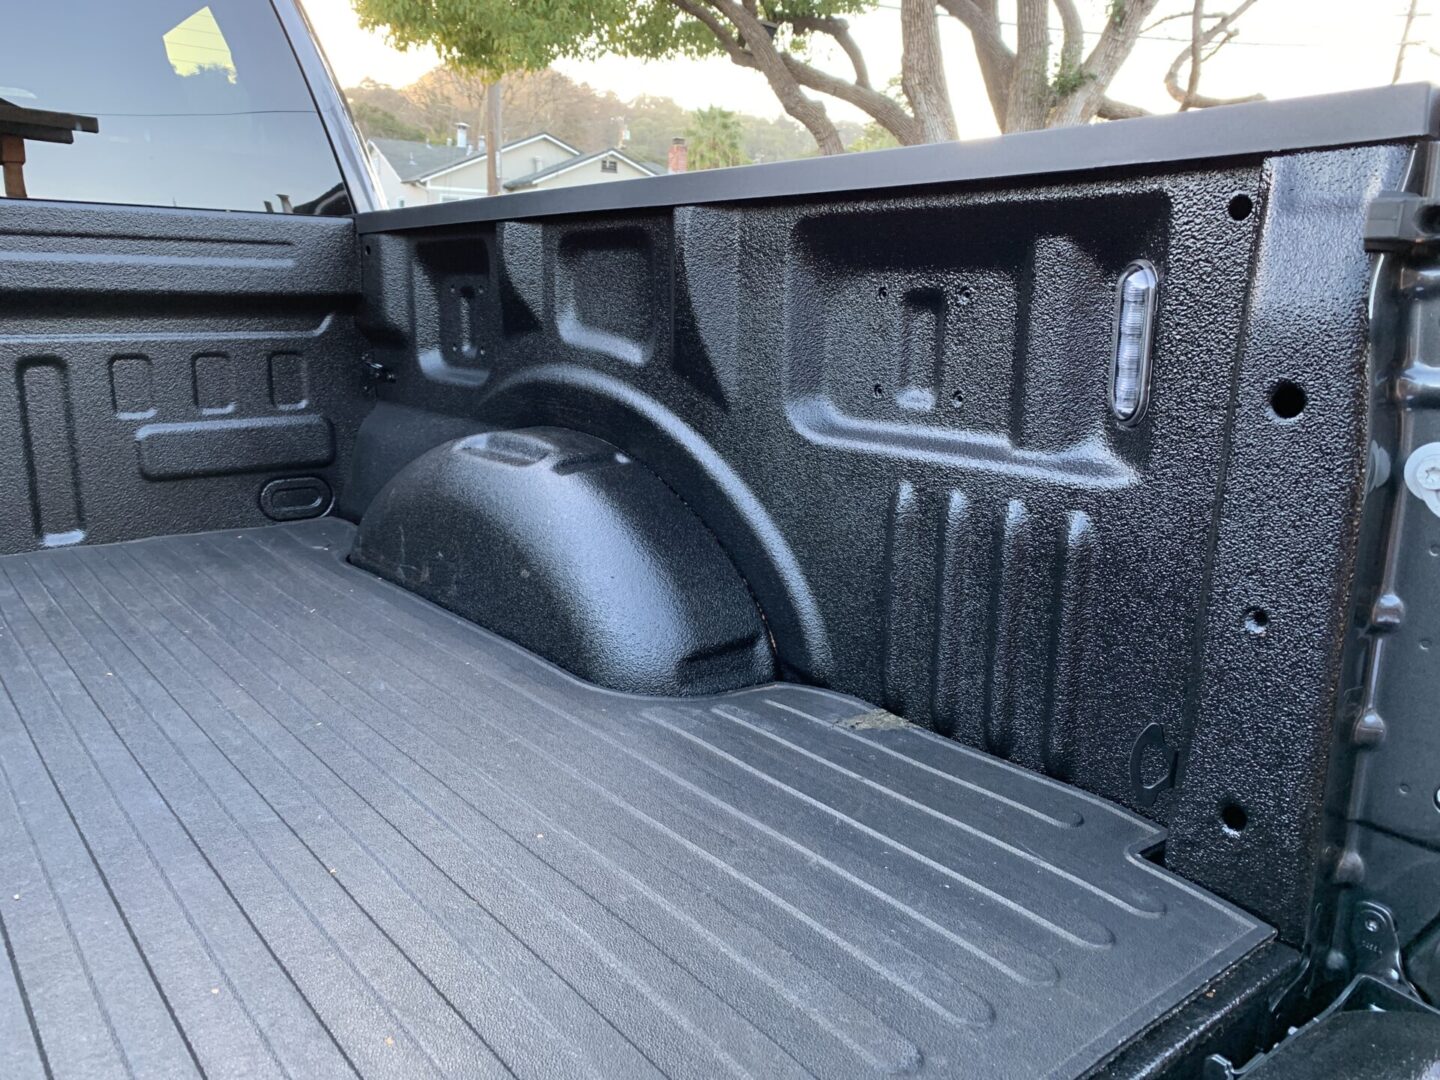
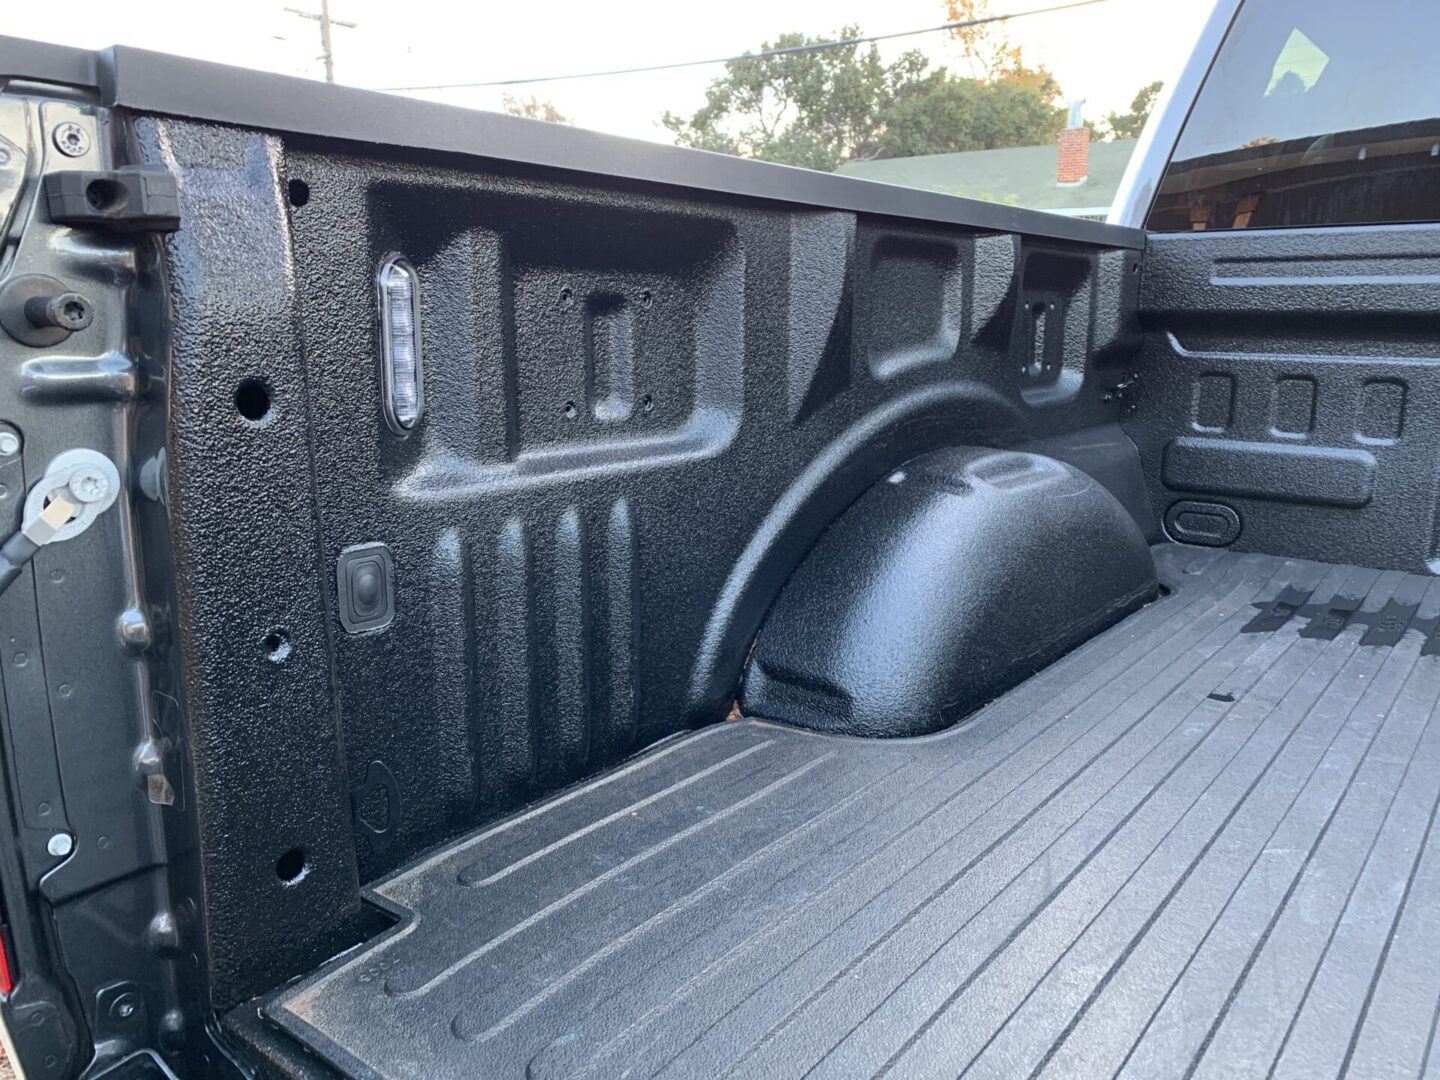
Another close-up of the mounting location.
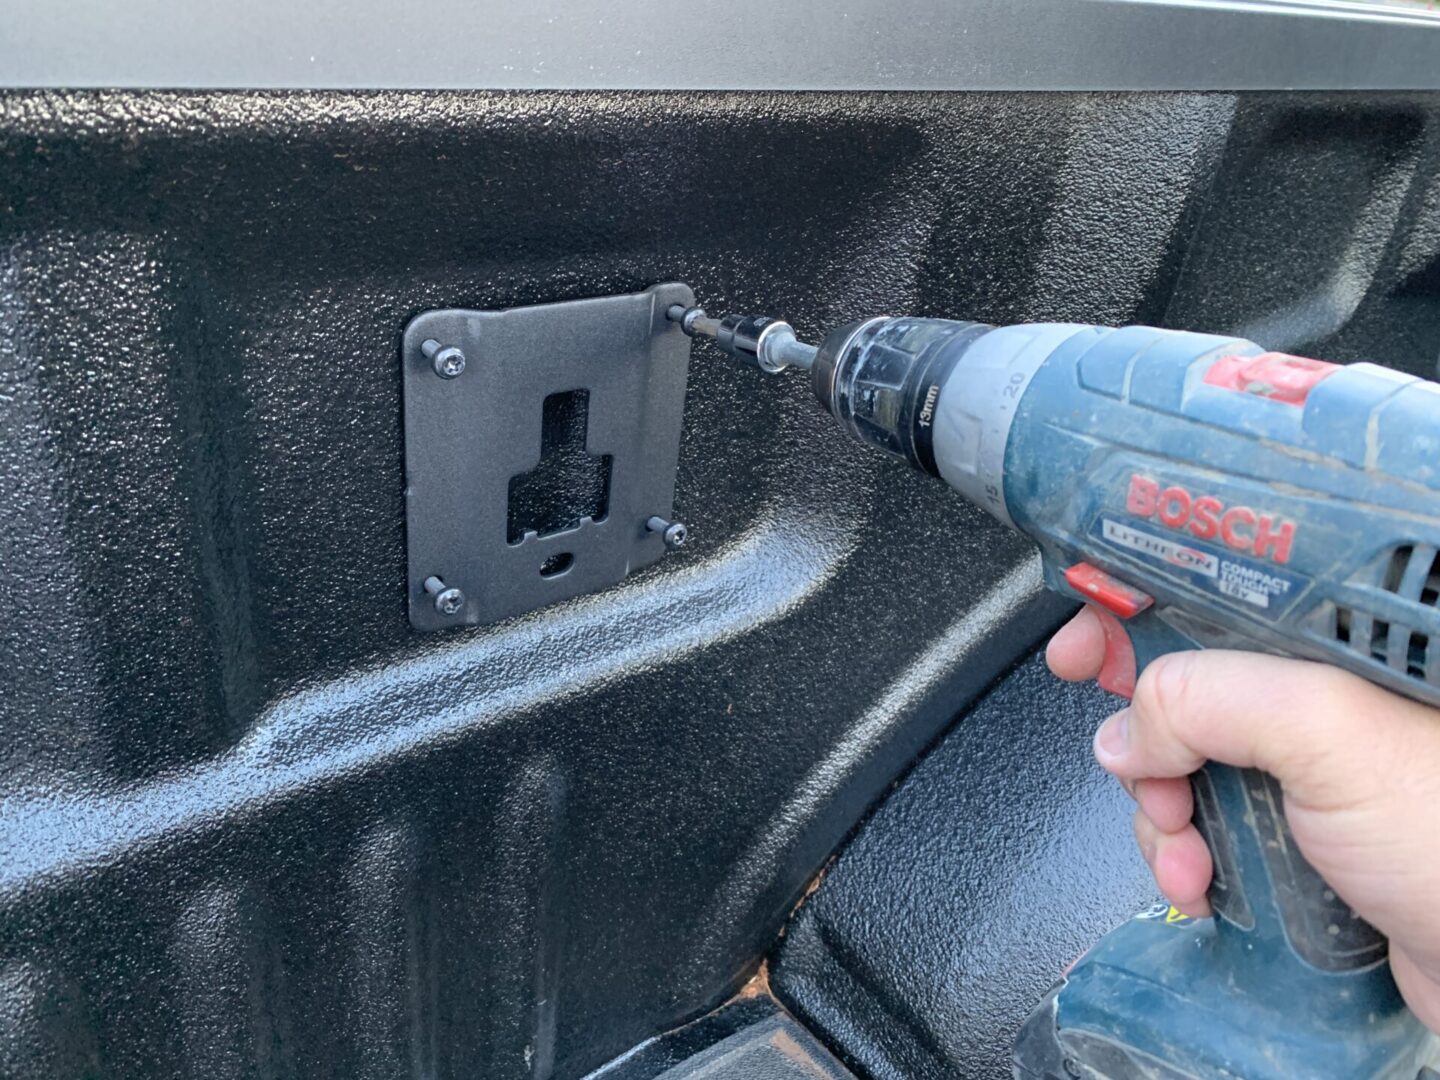
Using the T-30 torx bit (or if you’re using aftermarket plates, you may be using a security torx bit), get the self-drilling screw in by hand and ensure that it is straight and not cross-threading. Once you get it in by hand a bit, use a power drill to get it most of the way in. Repeat for all four corners.
Ensure that the plates oriented so that the “T” opening is upside down as shown below.

Set torque wrench to 106 lb-in and torque down all the screws.
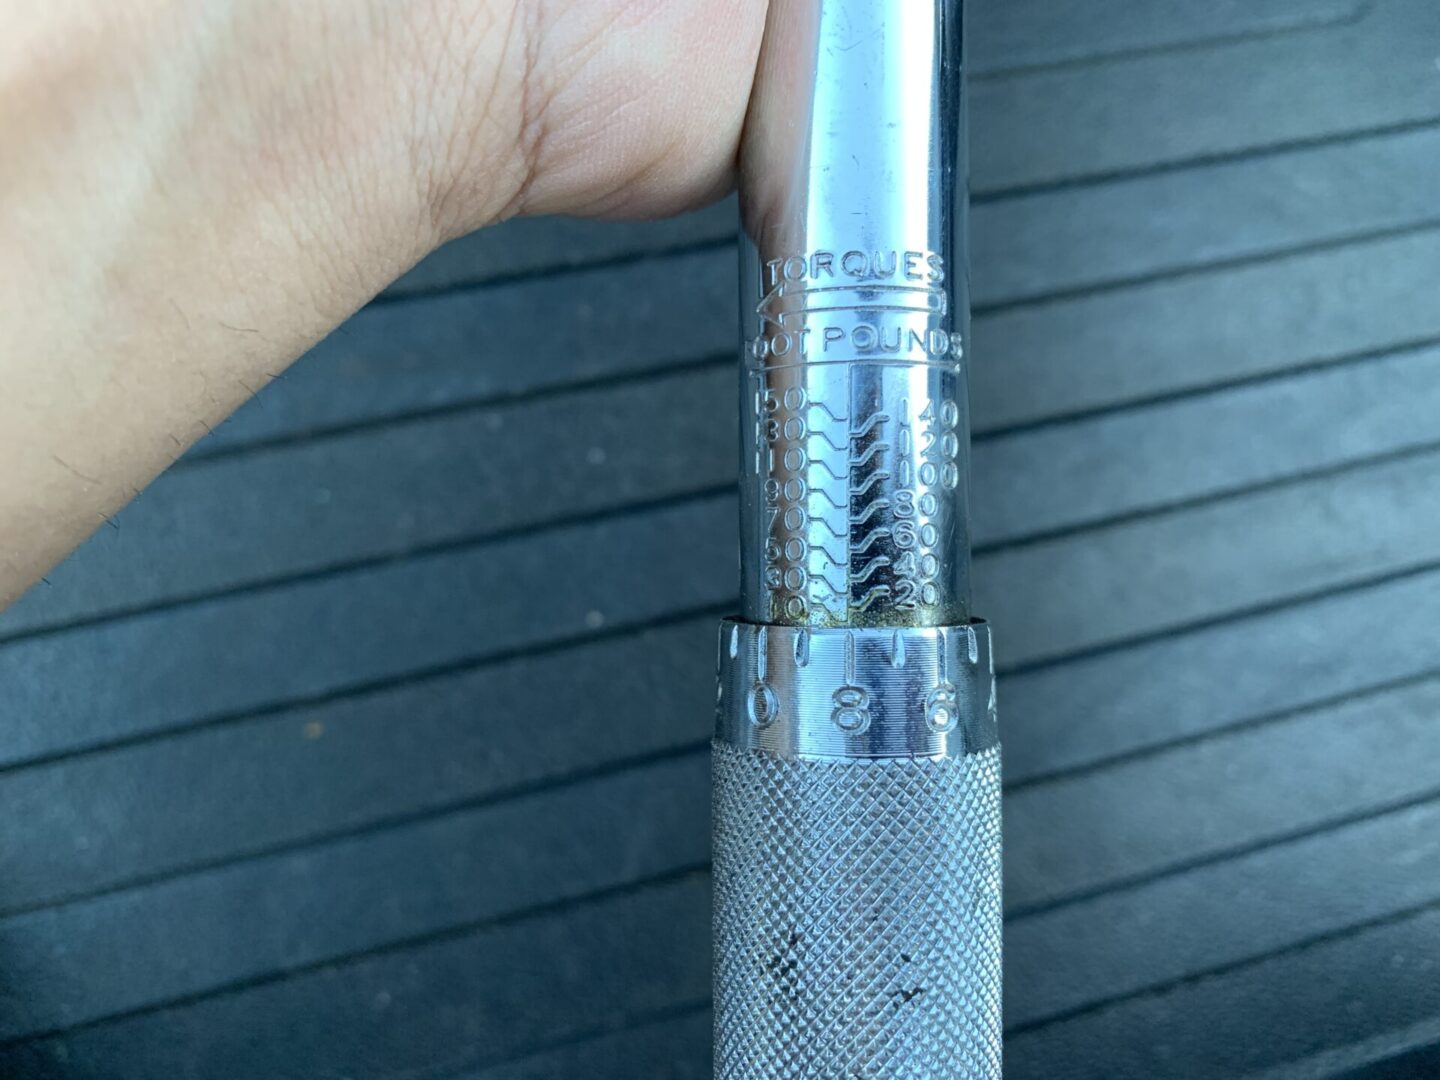
If you have a spray-in bed liner like me, you might experience some unsettling popping/cracking. Using a torque wrench helps you unsettle some of the nerves here, however the torque is very low so I can imagine hand-tightening all of these screws with a socket wrench would for the most part suffice.
Installation of Ford Boxlink Cleats
The Boxlink tie-down cleats come with four cleats and a set of keys to secure them once they are installed.
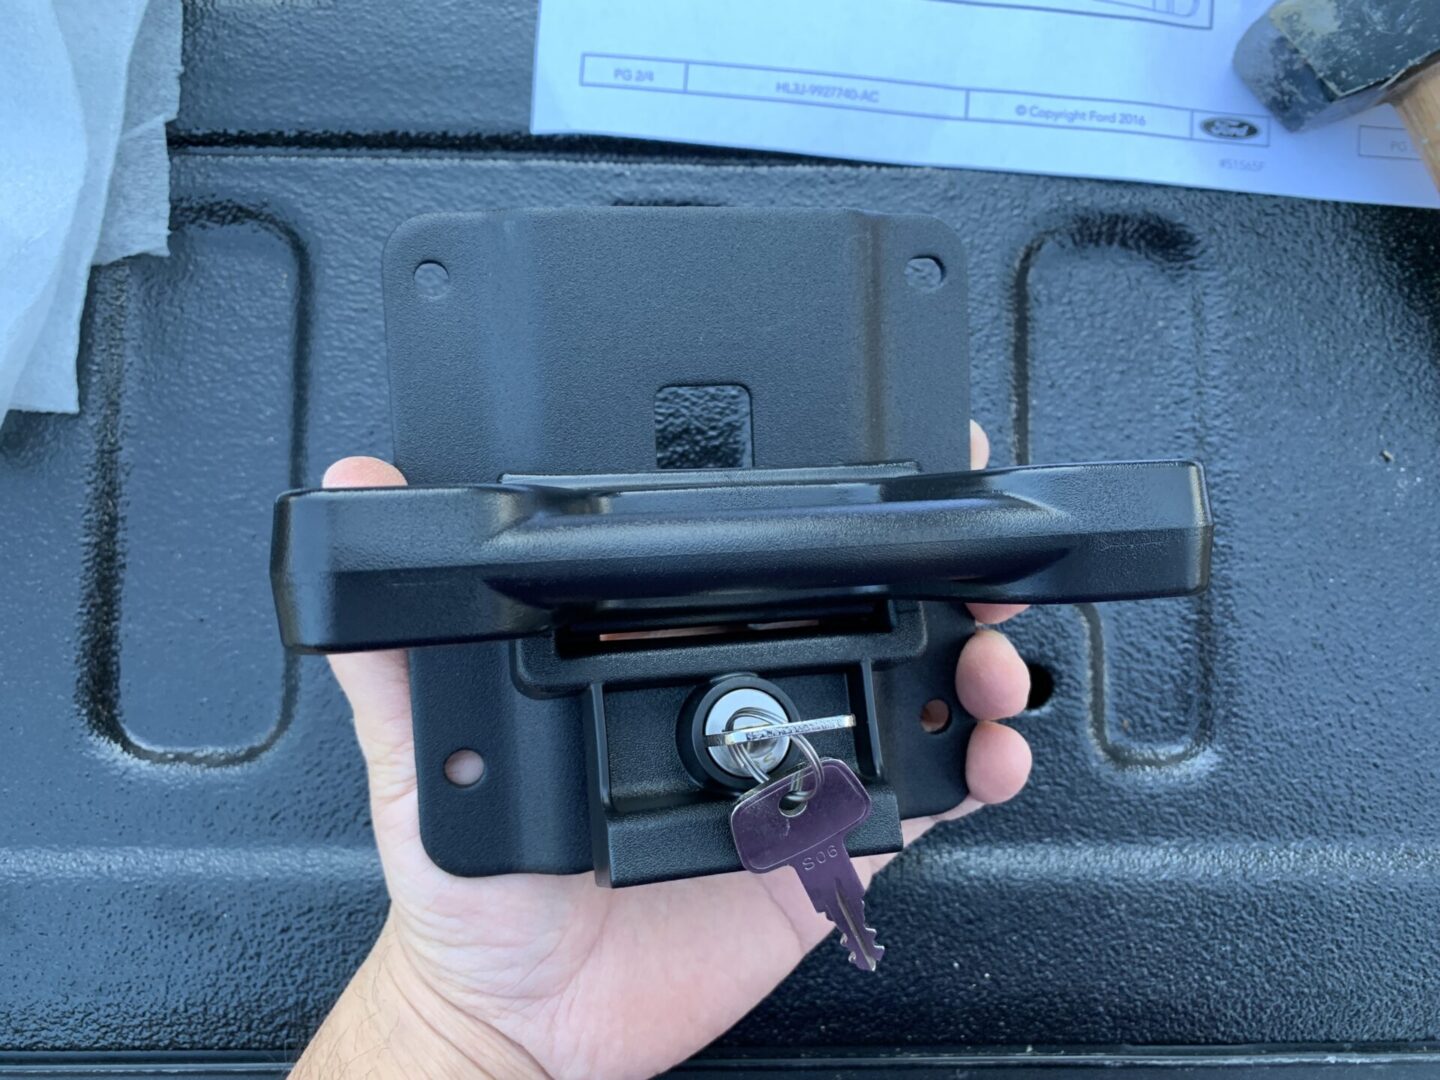
You’ll first need to have the key inserted and the cleat unlocked. With the cleat unlocked, you can lift up the cleat. This will allow you to push it into the Boxlink plate slot and then slide it up to secure it into place.

If you don’t have a spray-in bed liner, the cleat should slide right up into place. Then you can swing the cleat lock housing down, turn the key to lock, and then remove the key.
The issue with installing Boxlink cleats into a truck bed when there is already a spray-in bed liner installed is that there is a built-up thickness of spray-in liner material so there is not enough space between the liner and the mounting plate for the cleat to slide up into.


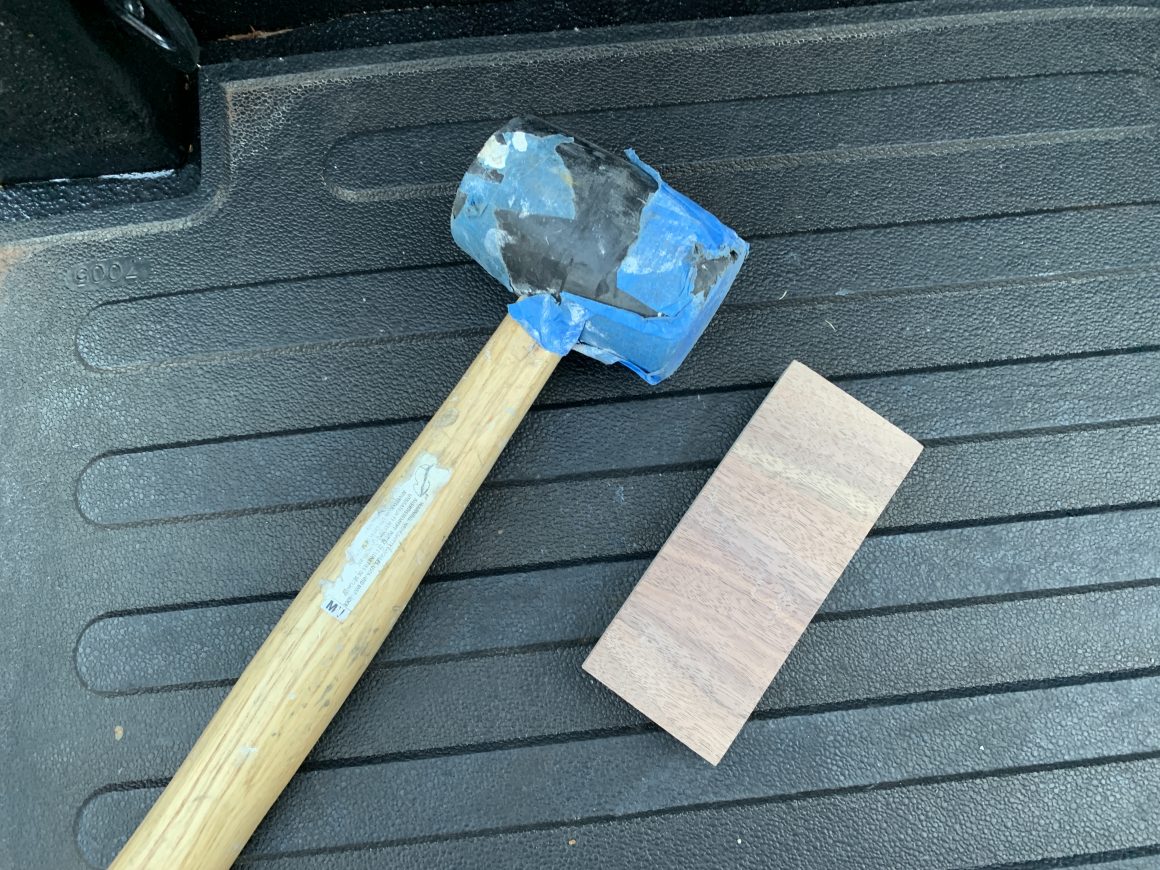
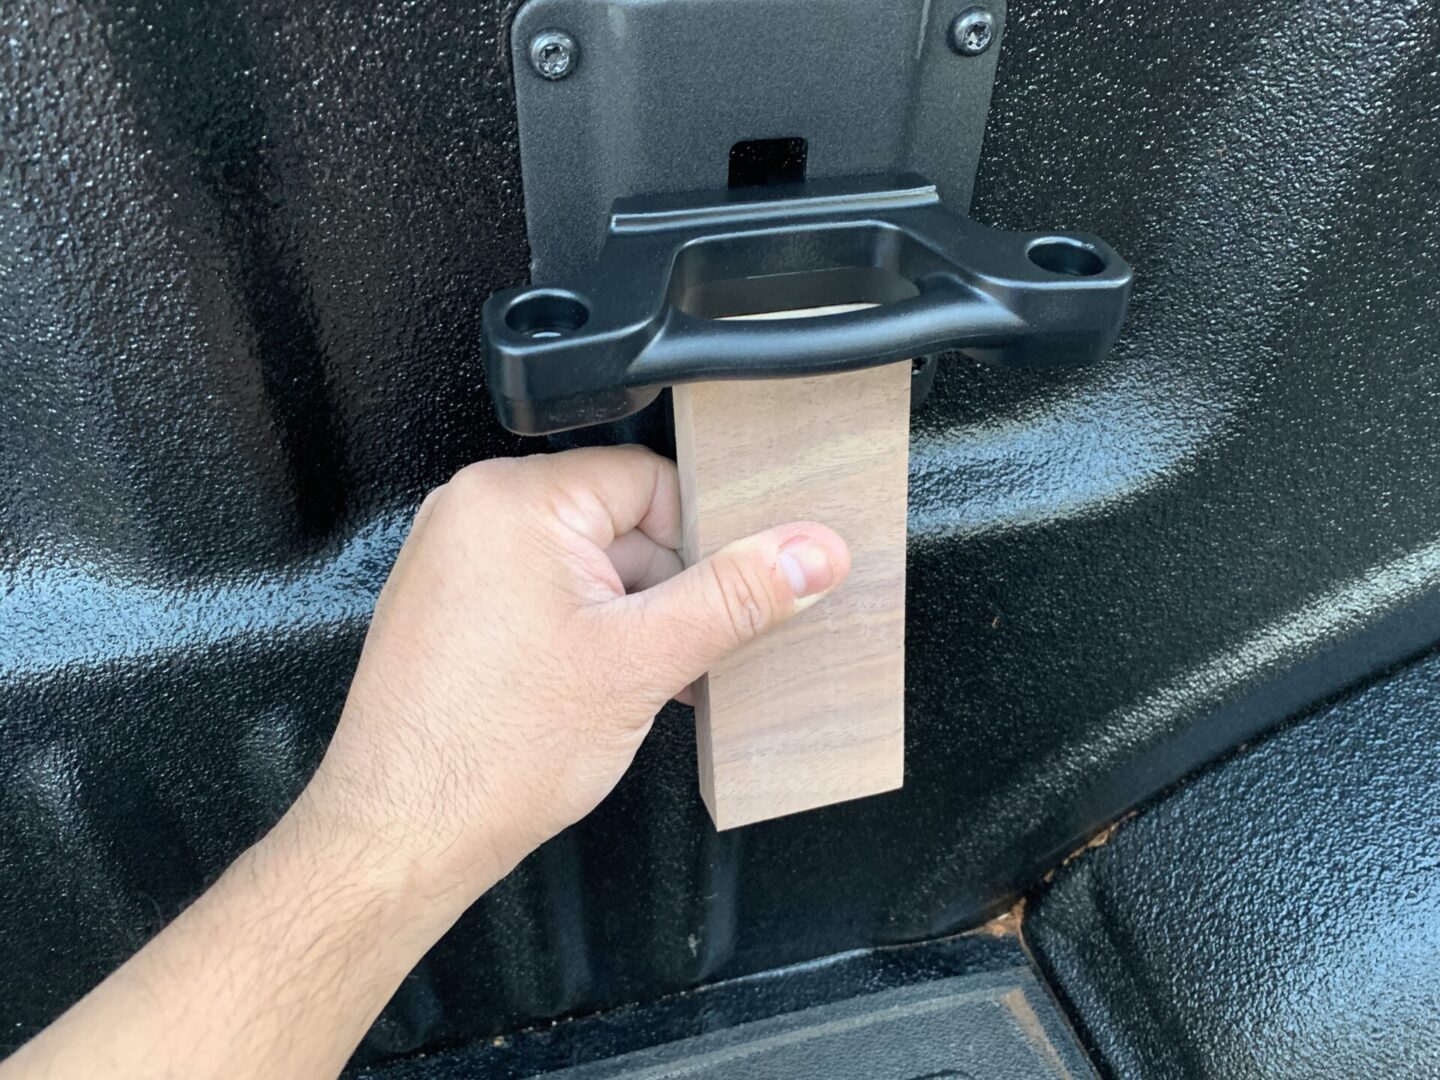
Because the extra spray-in liner material is barely keeping the cleat from sliding up into place, you need to apply some force on the cleat to get it wedged into place. The fix for the cleat not being able to slide up behind the mounting plate is simple. Get a small block of wood with a mallet or hammer.
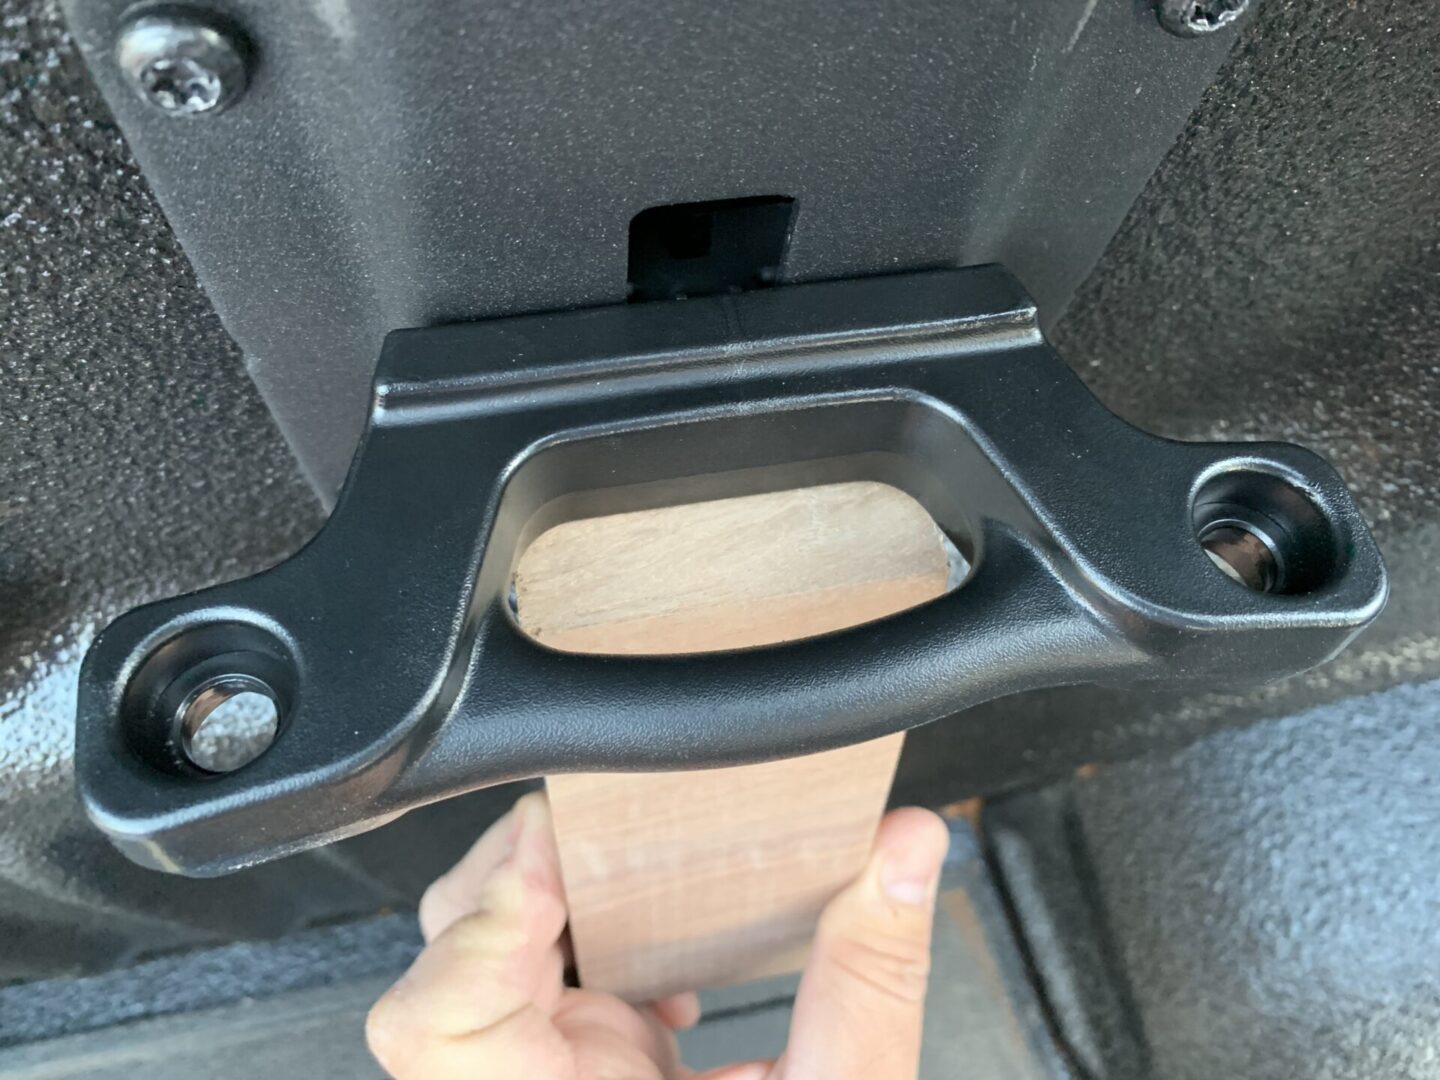
Position the block of wood underneath the cleat as close to the mounting plate as possible as shown below. Then use the mallet or hammer to hit the block of wood from below. As you hit the bottom of the piece of wood upwards against the cleat, it will force the cleat to slide itself upwards behind the mounting plate. Eventually you will be able to tap it all the way into place.
Once it is in place, you can swing the lock housing down, turn the key to lock, and remove the key. Now it is locked in placed and fully secure.

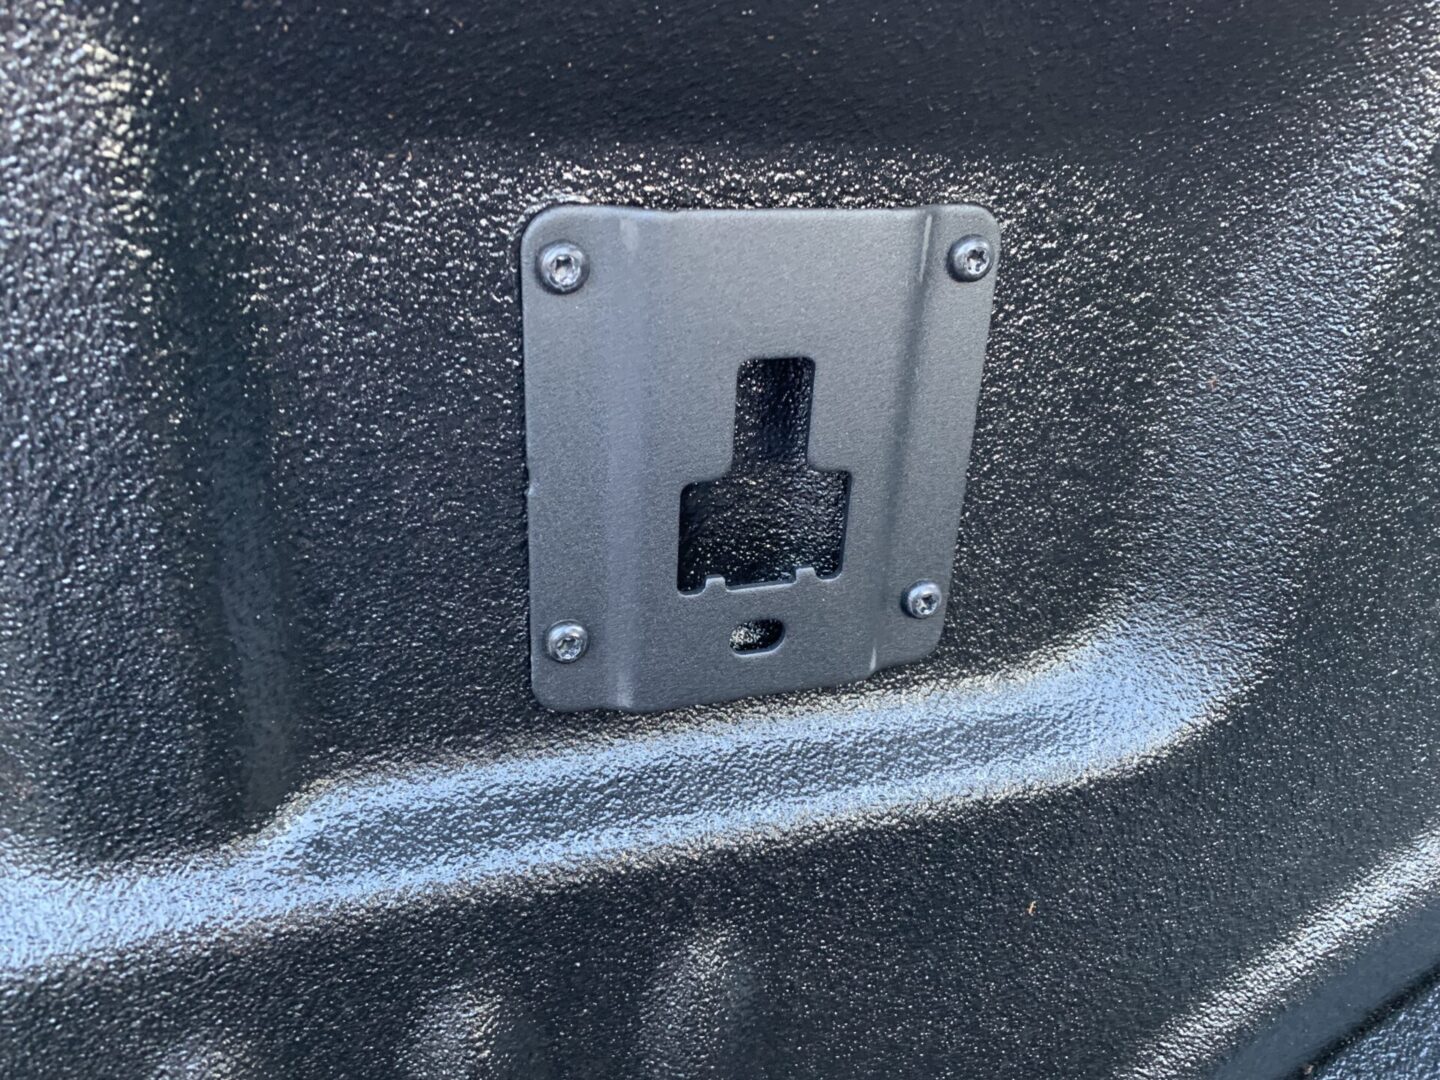
Below is the after shot with all four of the Ford Boxlink mounting plates and cleats installed. I’m very happy with the outcome and satisfied with the added number of tie-down anchor locations in the bed of my Ford F-150.
")
")


")


: 13th Gen Ford F-150")
: 13th Gen Ford F-150")
1 Comment
I had mounted the Ford units onto my already bed treated 2018 F-250 Super Duty. The screws are self tapping – but they are Carbon Steel. After 32 months I had a hit / skip doing enough damage to have the dealer just swap with a new tear-off bed. The Box links obviously had to be swapped, and self tapping screws are usually a one time use.Given the were in Aluminum, they are likely able to be reused –EXCEPT– marrying AL with steel always make steel fail in the marriage. My screws are already showing rust thru the black finish. The locking tabs are very rusted as well, Ford never gave them any Mylar.
If you look at mounts on tailgates with you will see Mylar tape the engineers demanded for a reason.
Ford does not sell those screws separately. They happen to be a 6.0 X 1.0 Metric thread about 125 mm long. I am replacing the stock Ford screws with SS cap screws and SS washers and some blue lock-tight.
The metric tap is also required.
A slightly more involved installation is needed for a better tie-down product I installed on two trucks prior to this generation. The Hi-lift company in Indiana sells a rail system with moveable hooks every five inches; your bungee cords are always capable of being the correct length. It’s called “slide-n-lock” .and rated at 1000 pounds for each SS ring point.
I have ZERO representation for the Company and I live over three hours east of Bloomington.
The more involved part is that I found with this Ford generation, you might need a counter sink to drill and recess new hardware bolting.on their other mount points.