When you make purchases through links on this site, The Track Ahead may earn an affiliate commission. Also, these posts are based off my own experiences. I am not responsible for any action you take as a result of reading this. Learn More
Brake Pads Done, Now the Rotors!
In my last post, I wrote about the replacement of my brake pads on my 2003 Toyota 4Runner. My main goal was to eliminate the vibration that occurred whenever I braked, so I replaced my brake pads and rotors. After the full brake pad and rotor replacement, I concluded that the vibration I experienced was due to the brake parts that were previously installed on my car. With the new brake pads and rotors, I felt zero vibration with braking.
After lots of research on T4R.org, I narrowed my choices down to utilizing OEM brake pads and Brembo Blank rotors. I found a good deal on some OEM brake pads on eBay, however the Brembo Blank rotors were just too pricey for me.I went with Napa Premium rotors as they are an excellent alternative that costs much less.
Opinions about cross-drilled and slotted rotors run rampant online and you can find just as many good things said about them as bad. My takeaway from the massive swirl of information about brake rotors is for daily driving, any discussion about cross-drilled and/or vented types are practically irrelevant. Ideally, you want the most material on the rotor as possible which in this case would be a blank rotor. This means no alteration to the original rotor.
Tools & Materials
Brake Rotors (for SR5/Limited trims, not Sport Edition): Napa Premium Front & Rear
| Napa Premium | Brembo | |
|---|---|---|
| Front Rotors | NB 48880161 | 25859 for SR5 or Limited models 319mm diameter front rotors *405 51126 253 for Sport Model 338mm diameter front rotors |
| Rear Rotors | NB 4886929 | 25676 |
C-Clamp: C-Clamps on Amazon
Disc Brake Quiet: CRC 05016 Disc Brake Quiet – 4 Fl Oz.
Brake Caliper Lube: Permatex 85188 Ultra Disc Brake Caliper Lube, 0.5 oz.
How to Replace Front Brake Rotors

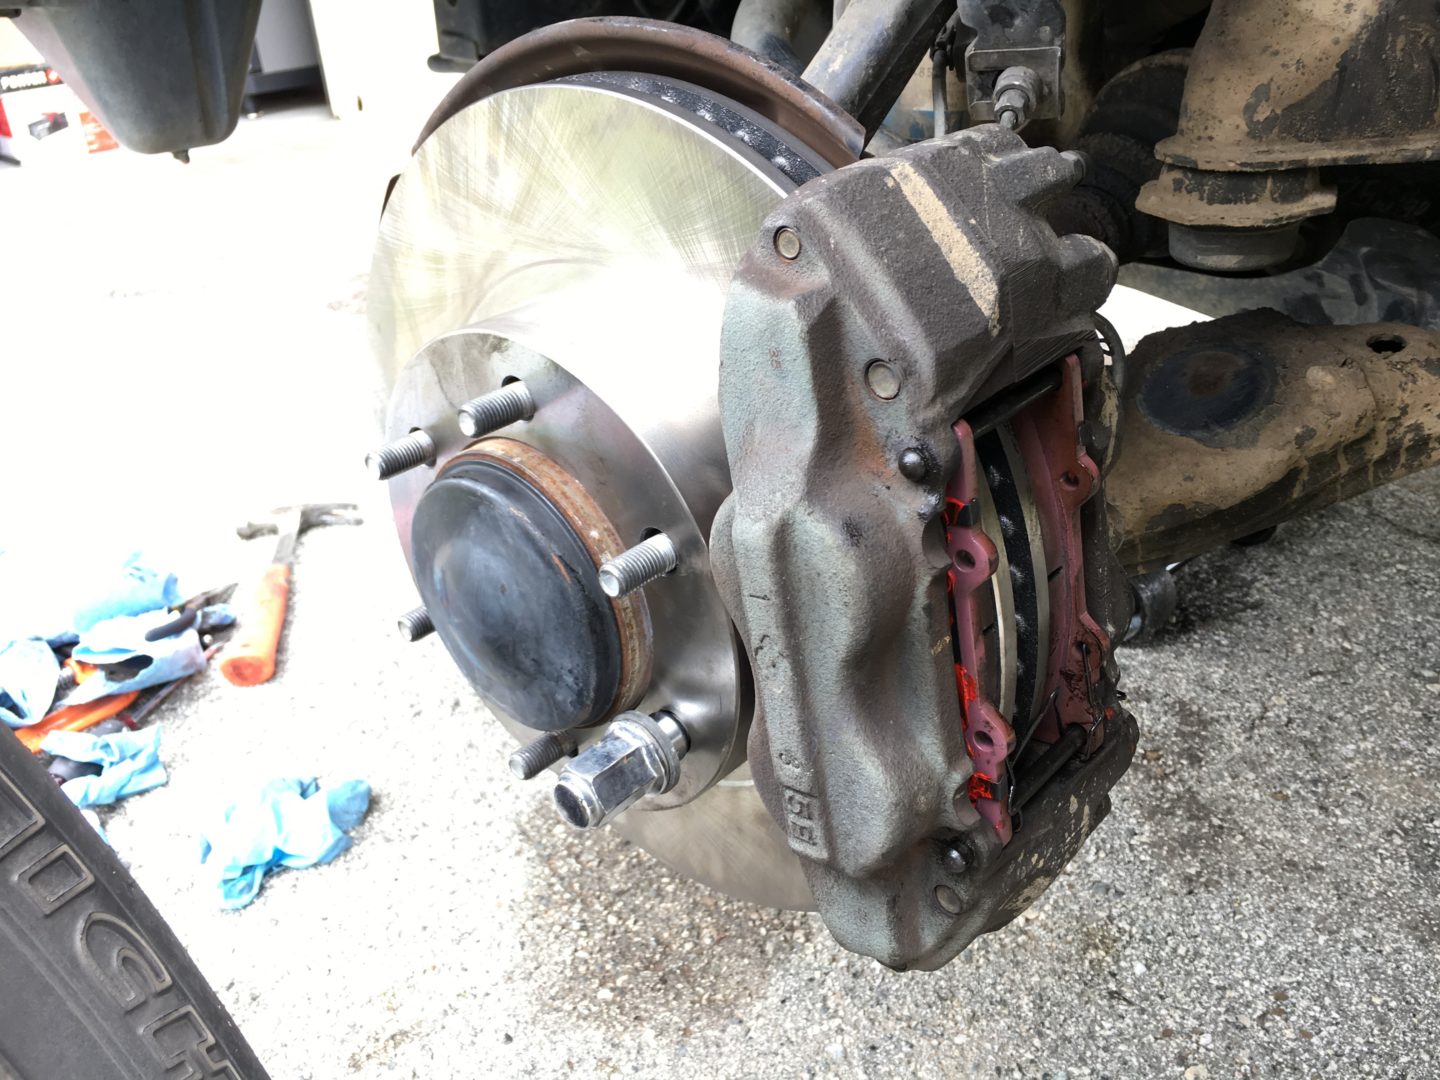
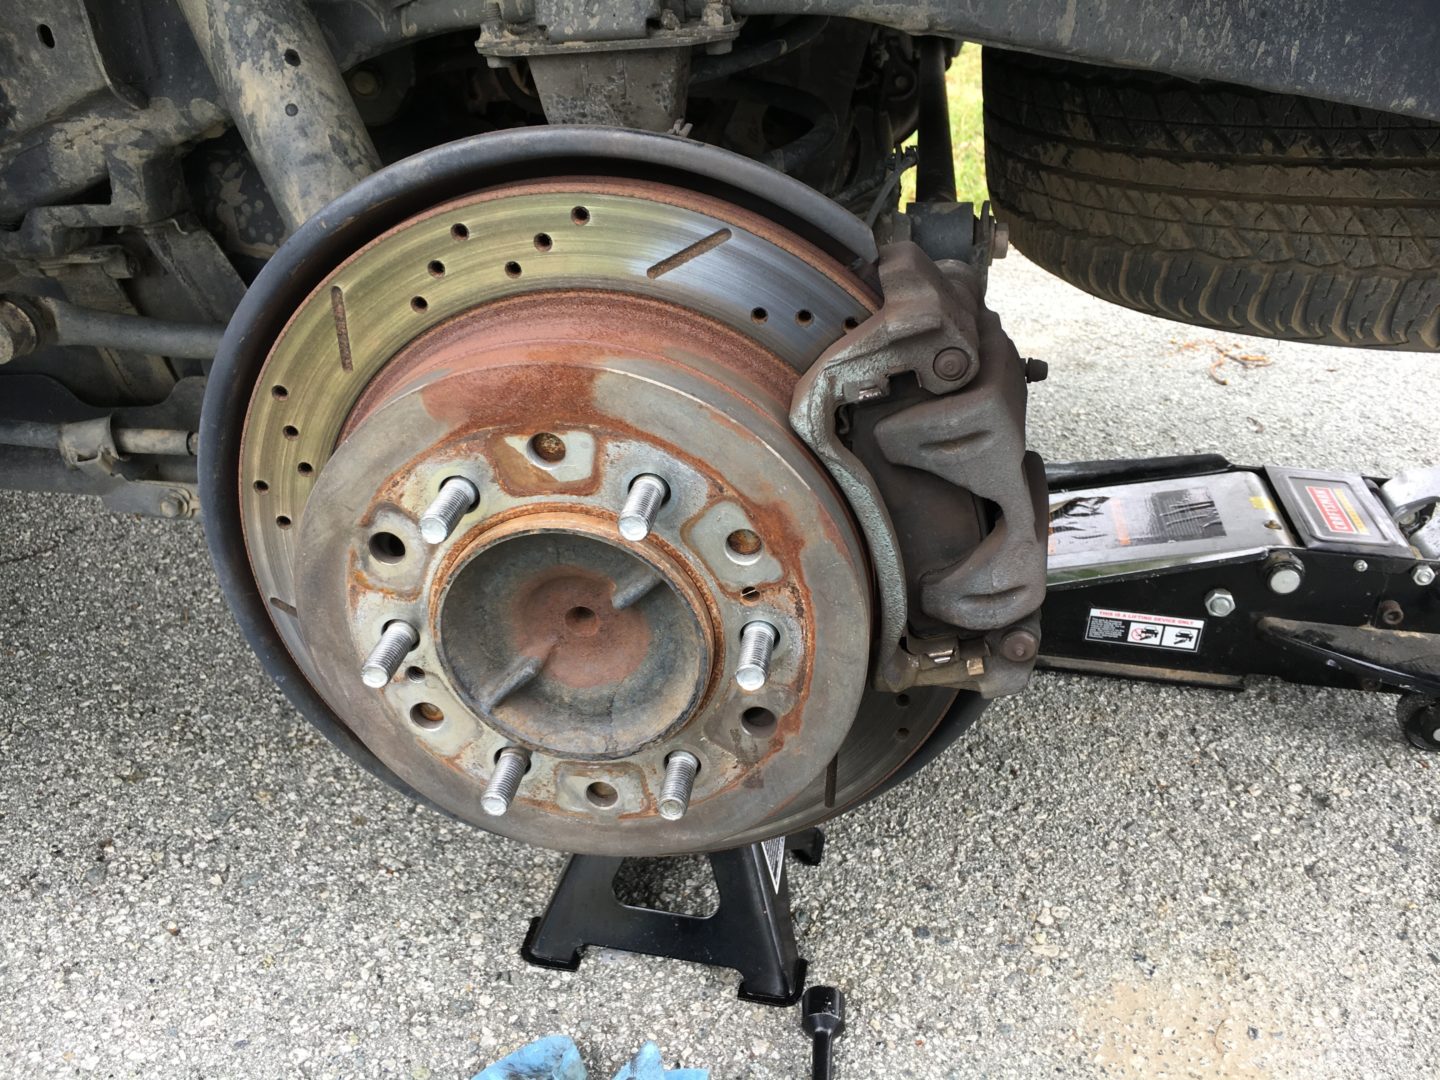
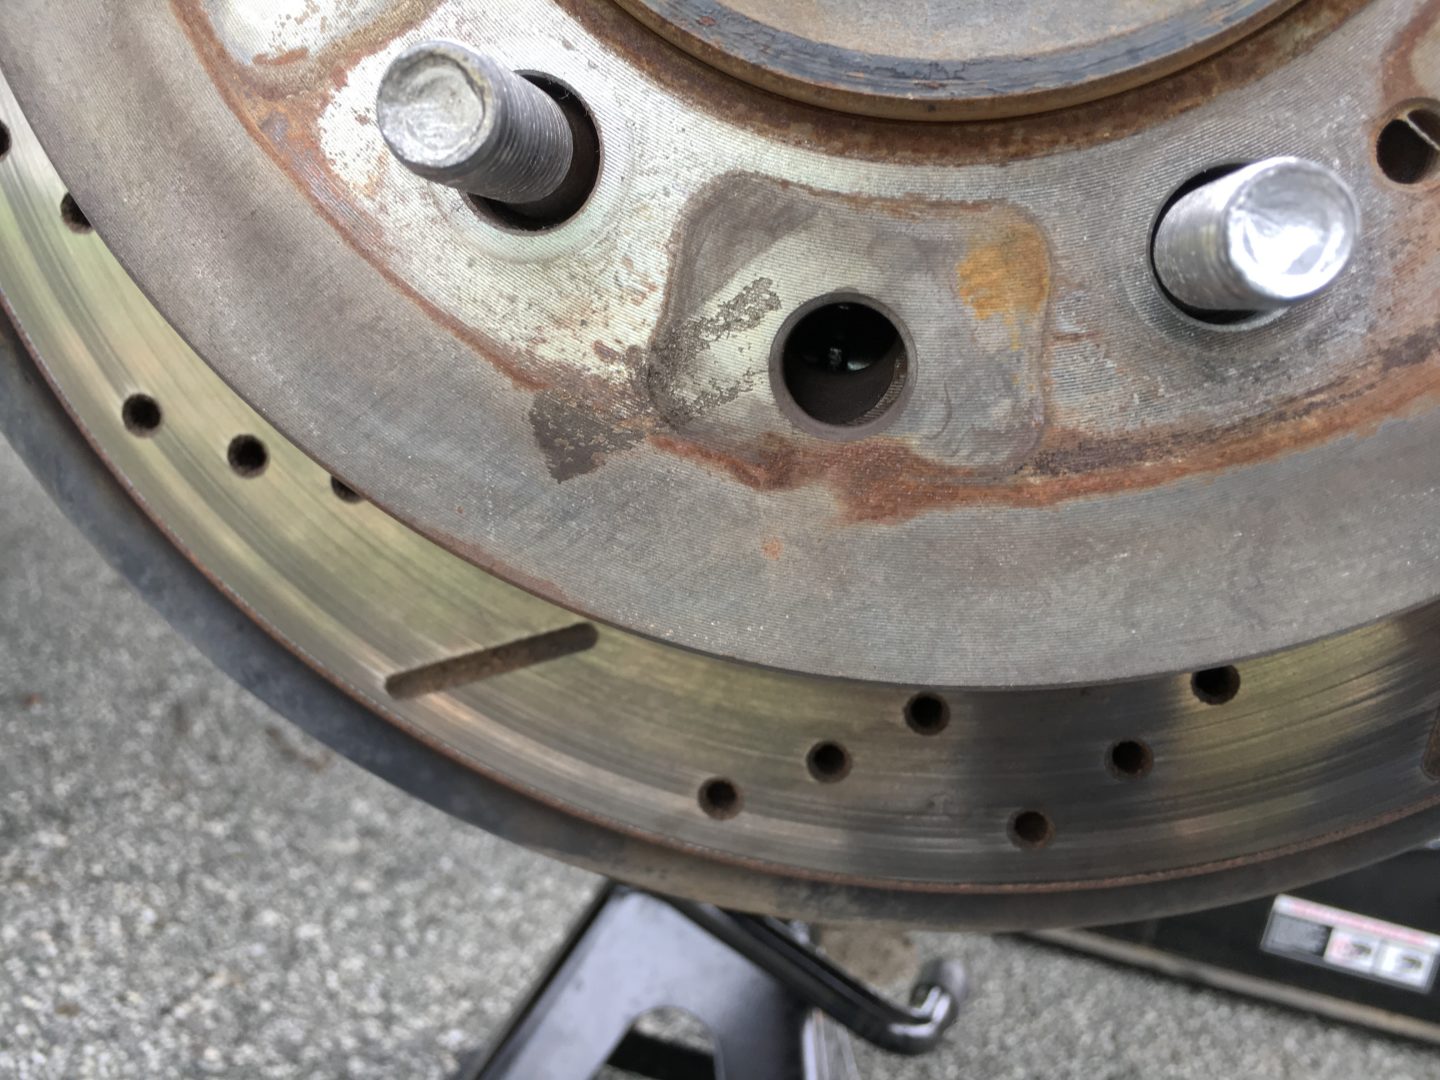
This is the existing brake rotor that will be removed. I will be replacing these slotted and drilled rotors with blank ones.

Closer section view of the front brake pads and rotor. The vented rotor (that rust belt) is going to be replaced.
Back side of front brake caliper where you can see the two caliper mounting bolts (two larger bolts towards the top of photo) that hold the caliper in place. If you are only replacing the brake pads, you would not need to remove these mounting bolts necessarily, however since I was replacing the rotors as well, I had to take these bolts out.
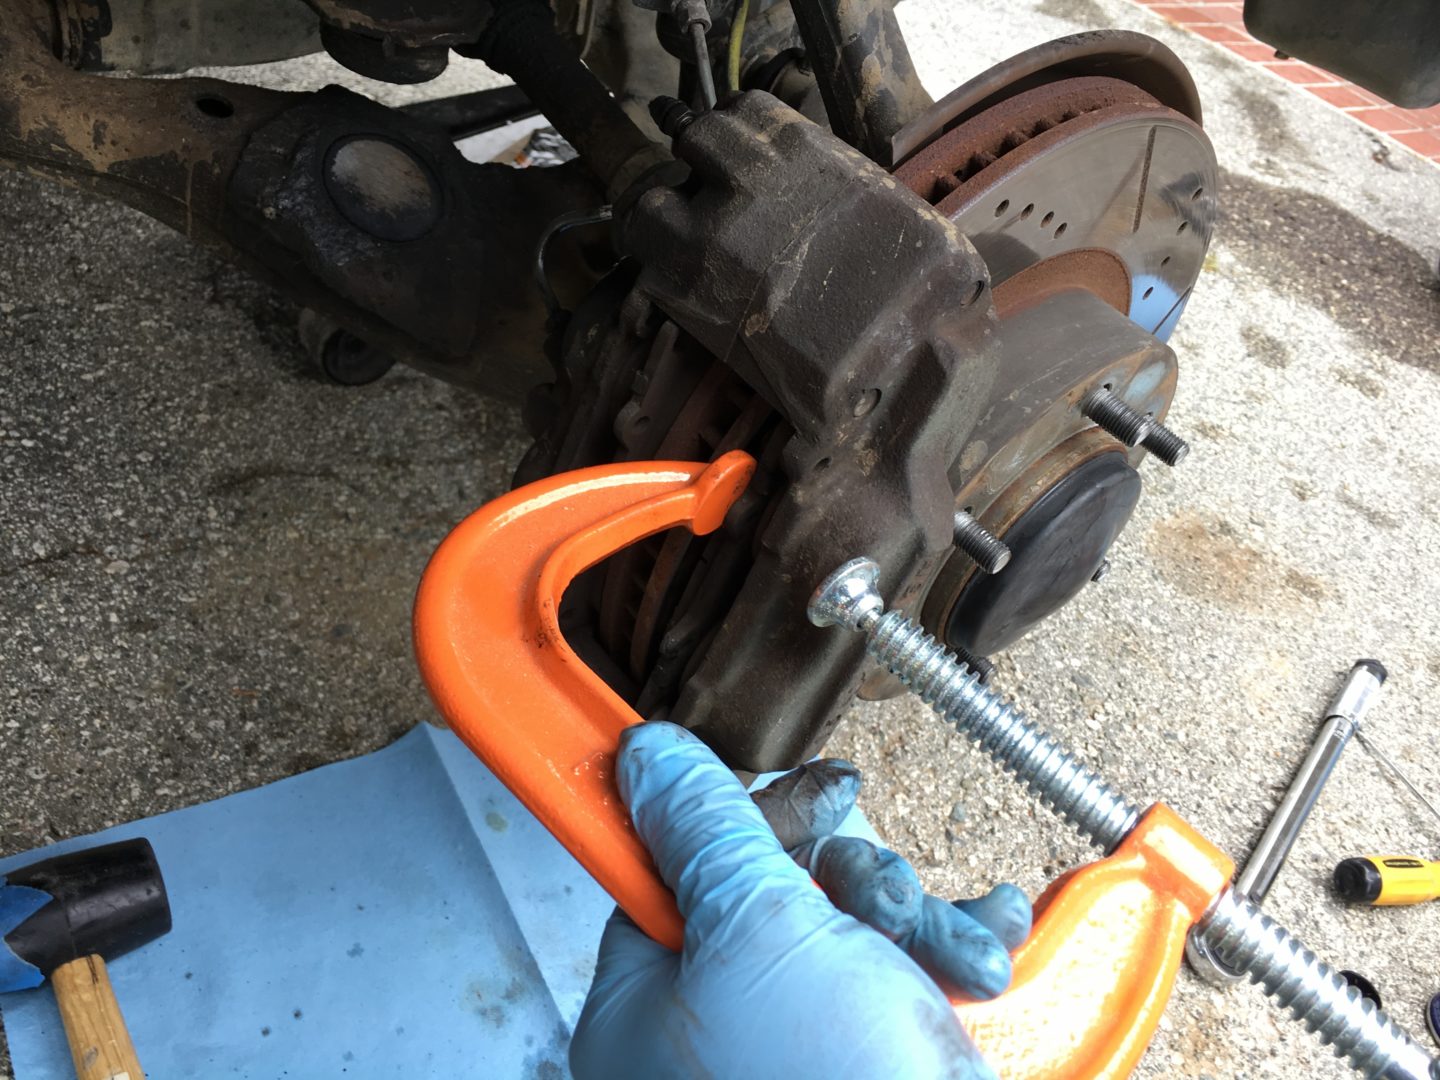
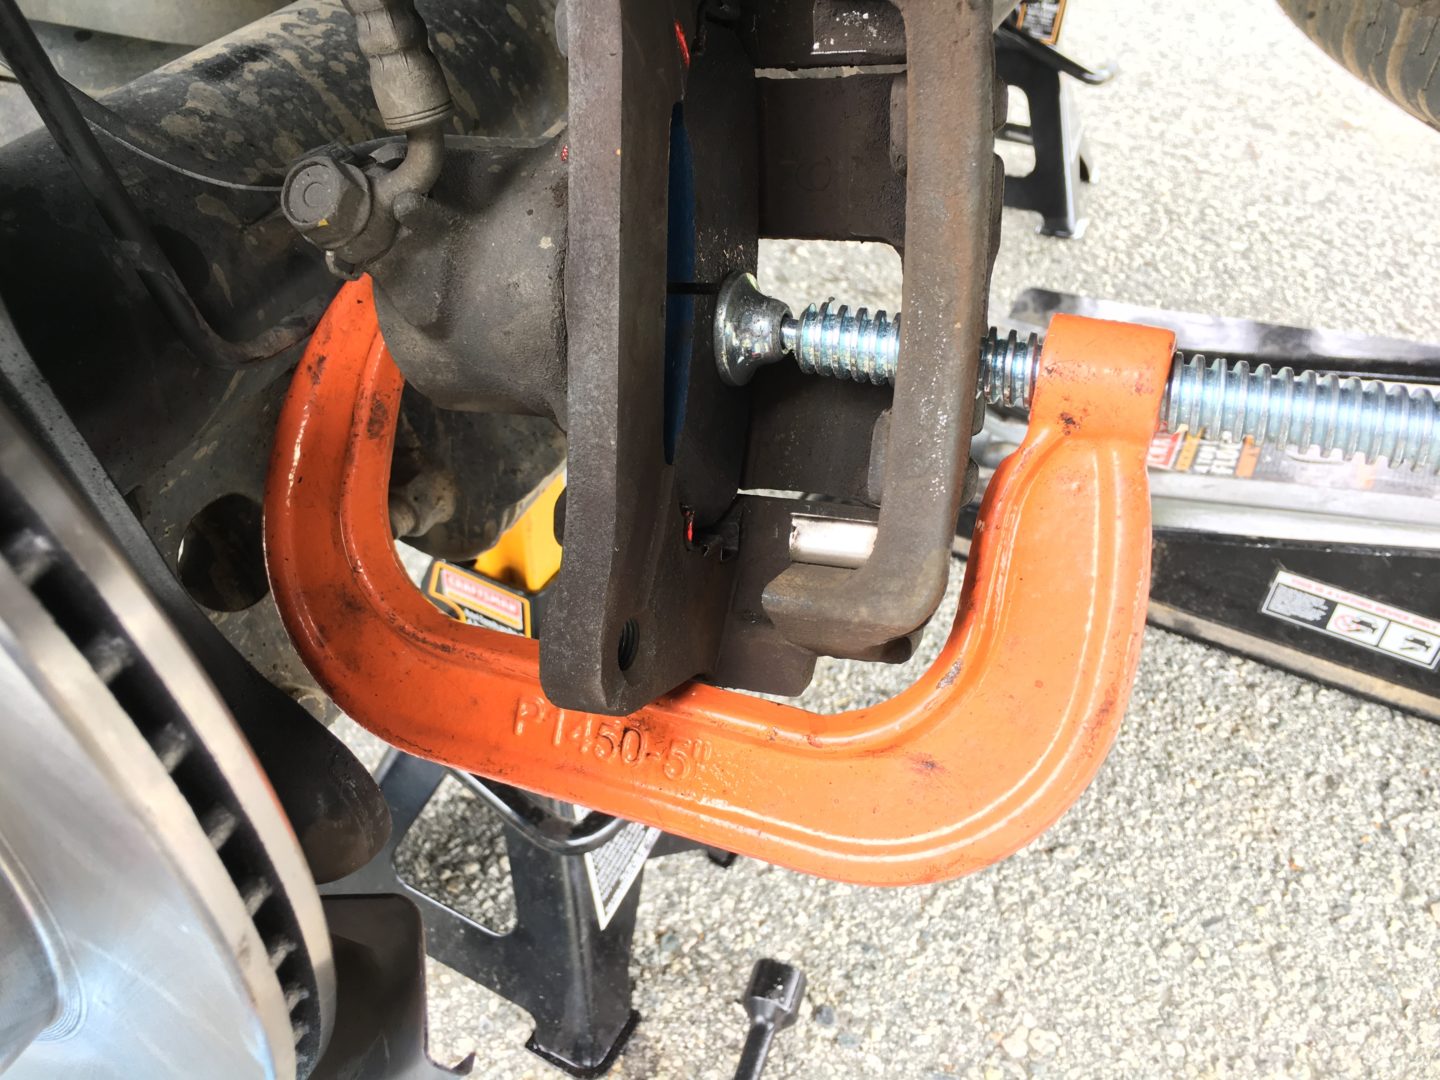
Start by using a c-clamp to depress the brake caliper pistons. Press between the brake pad and caliper itself to release pressure.
It’s a tad difficult to get a good surface to push against, but this was enough for me to loosen up the pressure.

With the pressure loose and the caliper mounting bolts removed, the brake pads should be able to slide out and the caliper left hanging. You don’t want to let it hang and cause the brake line to break or rupture. I used a wire between the caliper mounting bolt hole and whatever I could find above it.

You will find it difficult to fit the new rotor (and brake pads) in if the caliper pistons are not fully depressed. Use a c-clamp to fully depress the caliper pistons on both sides.

A comparison of the older rotor (left) and the new Napa Premium Blank rotor (right)
For the front rotors, it is as simple as using a mallet and knocking the rotor out a few times after the brake caliper/pads are removed. The front rotor will slide out and the new one will slide right in. Use a lug nut as seen in the picture above to screw in one of the lugs to ensure a tight and even fit of the new rotor as you reinstall the caliper and pads.
How to Replace Rear Brake Rotors
The rear rotors are a bit more difficult to replace than the fronts. An extra step will be required to remove and reinstall the rear rotors due to the emergency brake system.
Here are the rear brake rotors with caliper still intact.
Using the same process as the front brakes, remove the two caliper mounting bolts and relieve pressure on the caliper piston to remove the caliper.
Hang the rear caliper with wire (or something similar) to keep the brake lines from being stretched or broken.
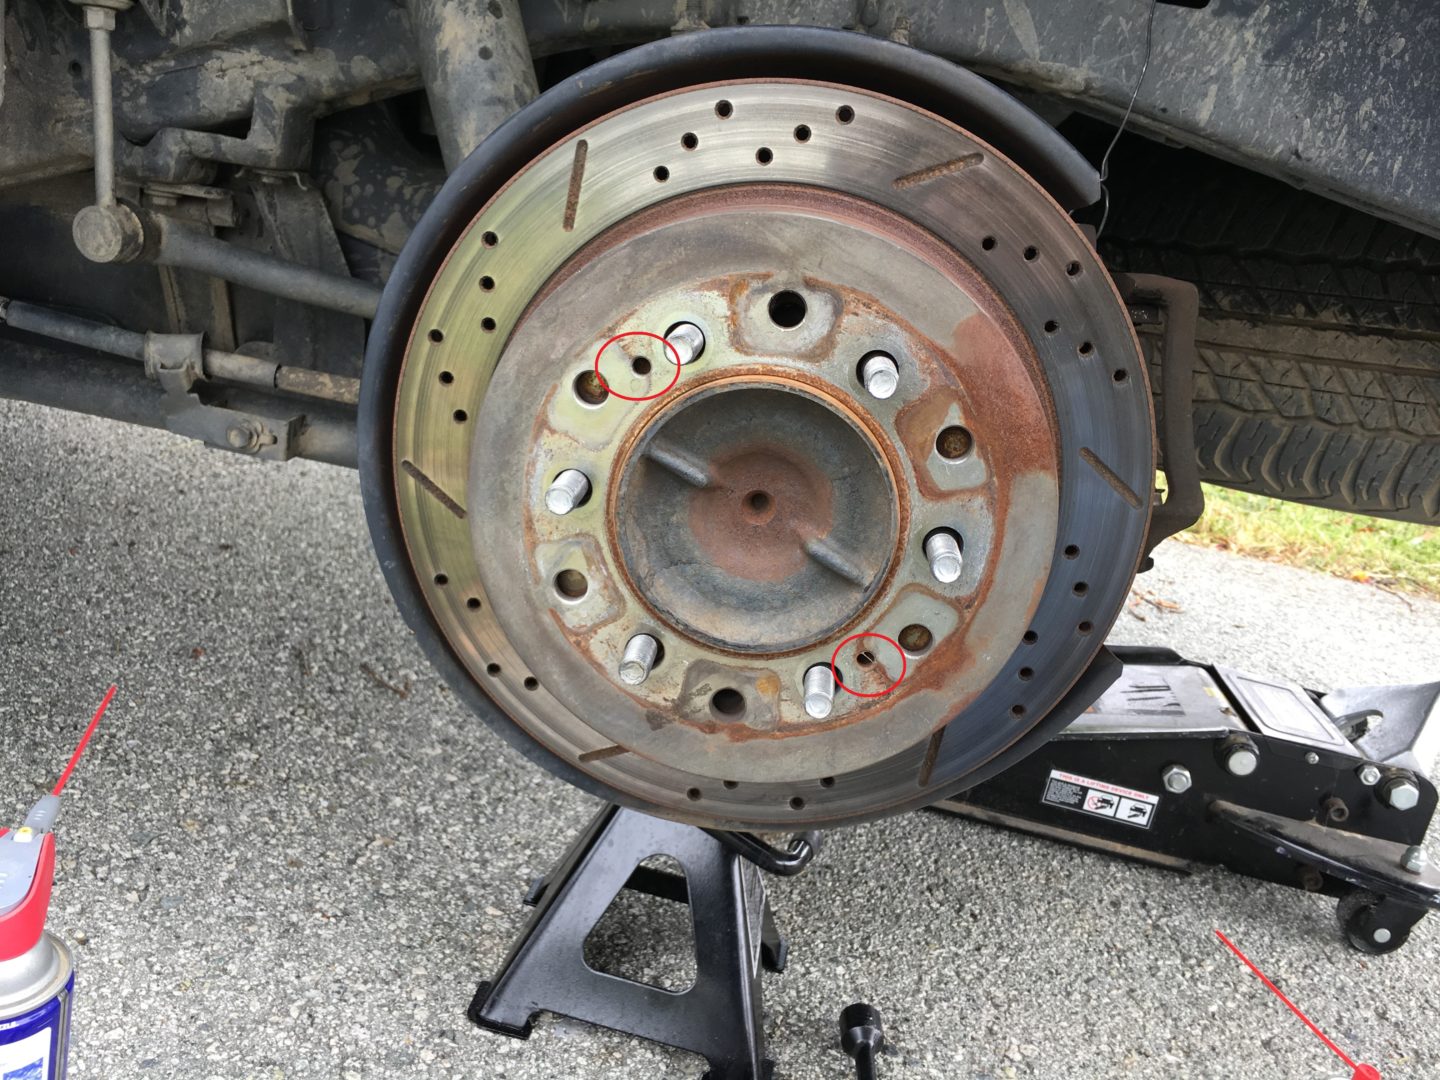
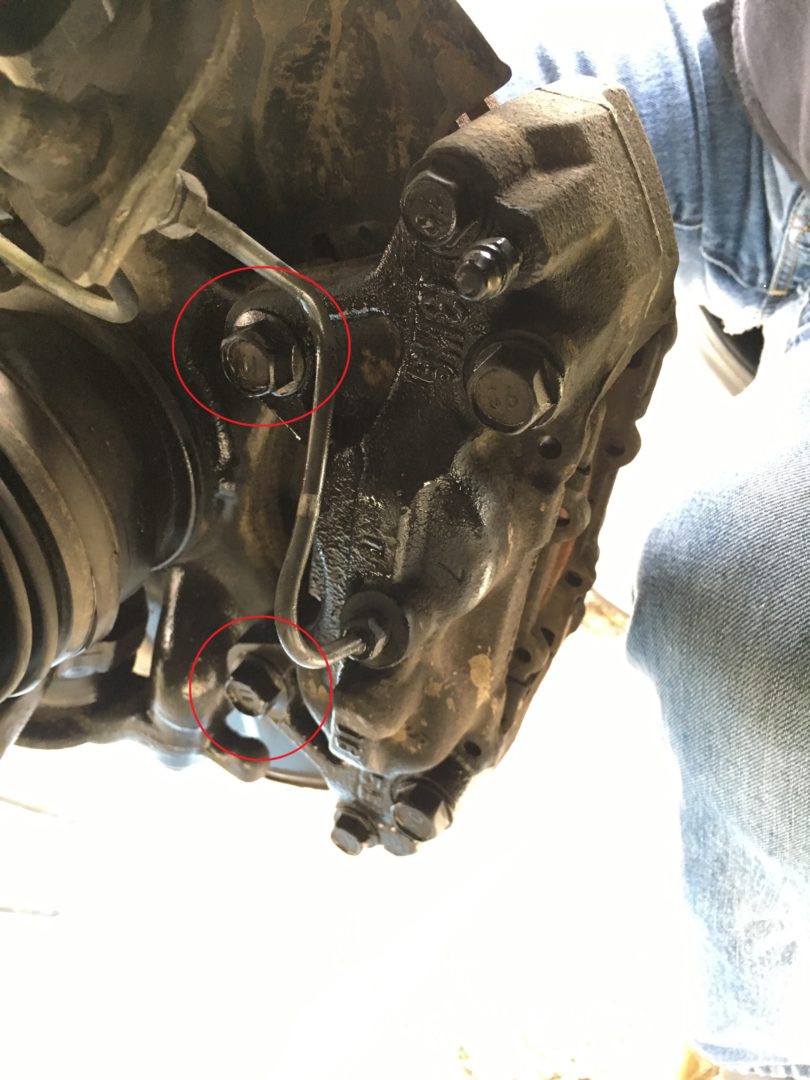
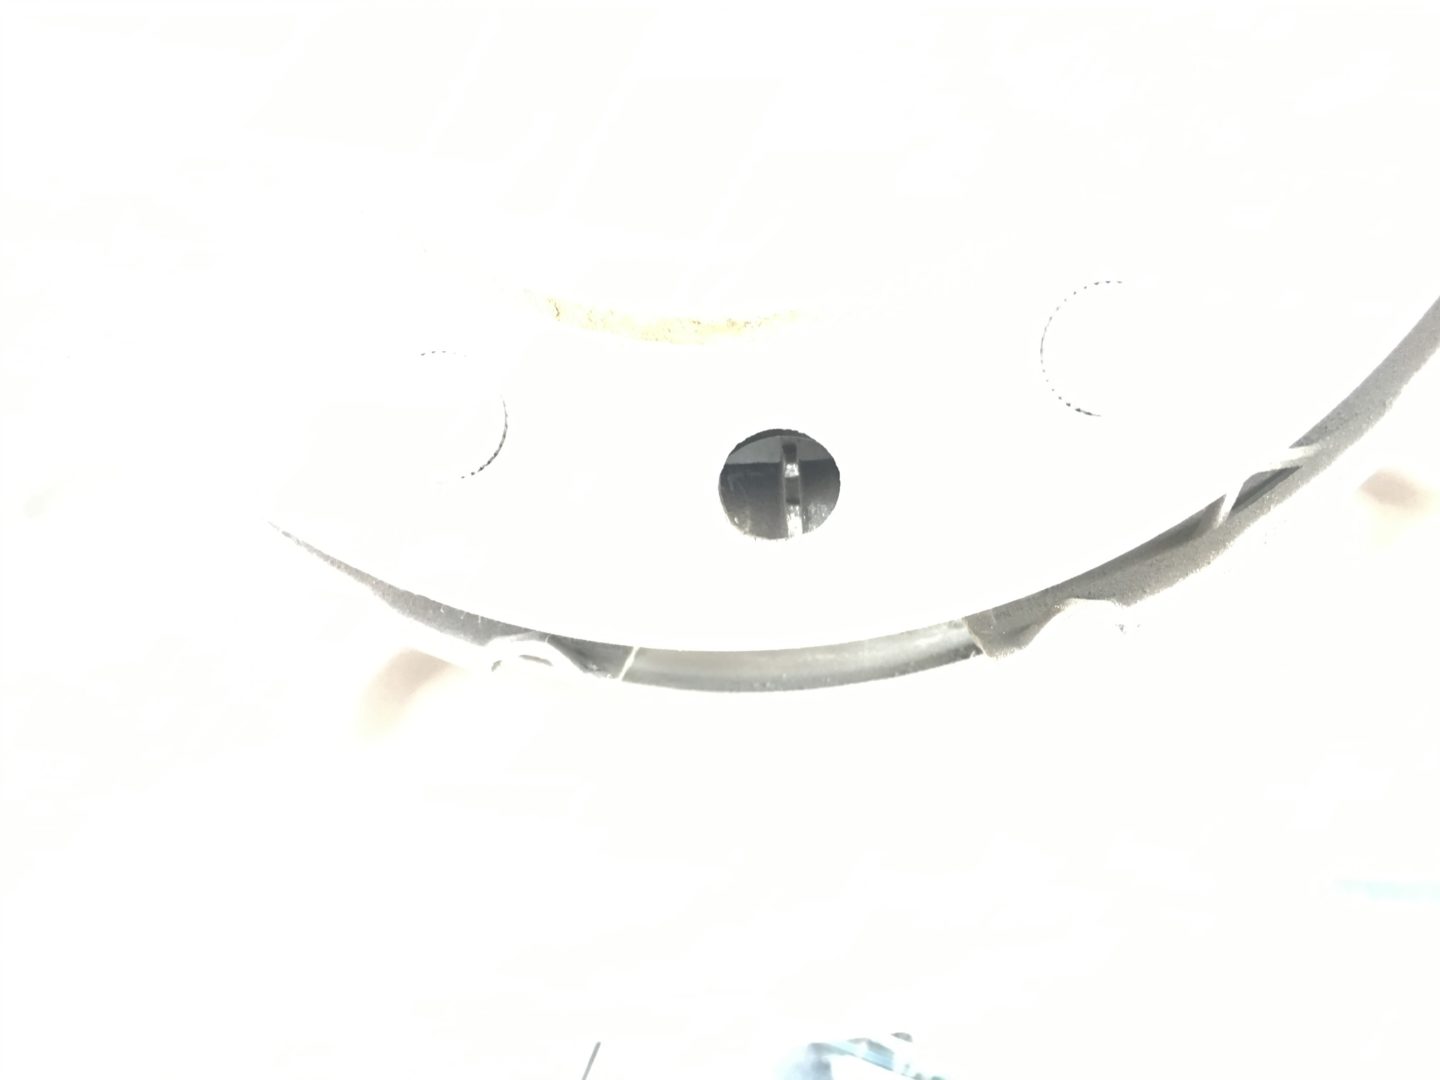
The rear brakes look similar to the front brakes. Notice the two extra holes (circled in red) on the rotor. Behind these holes are little cranks that manually operate the spring action of the emergency brakes. If you tried to remove the rear brake rotor at this point, it would not be possible. This is due to the emergency brake system that is holding the brake rotor in place. Even with the emergency brakes off, the spring system behind the rotor needs to still be manually loosened in order to remove the rotor.
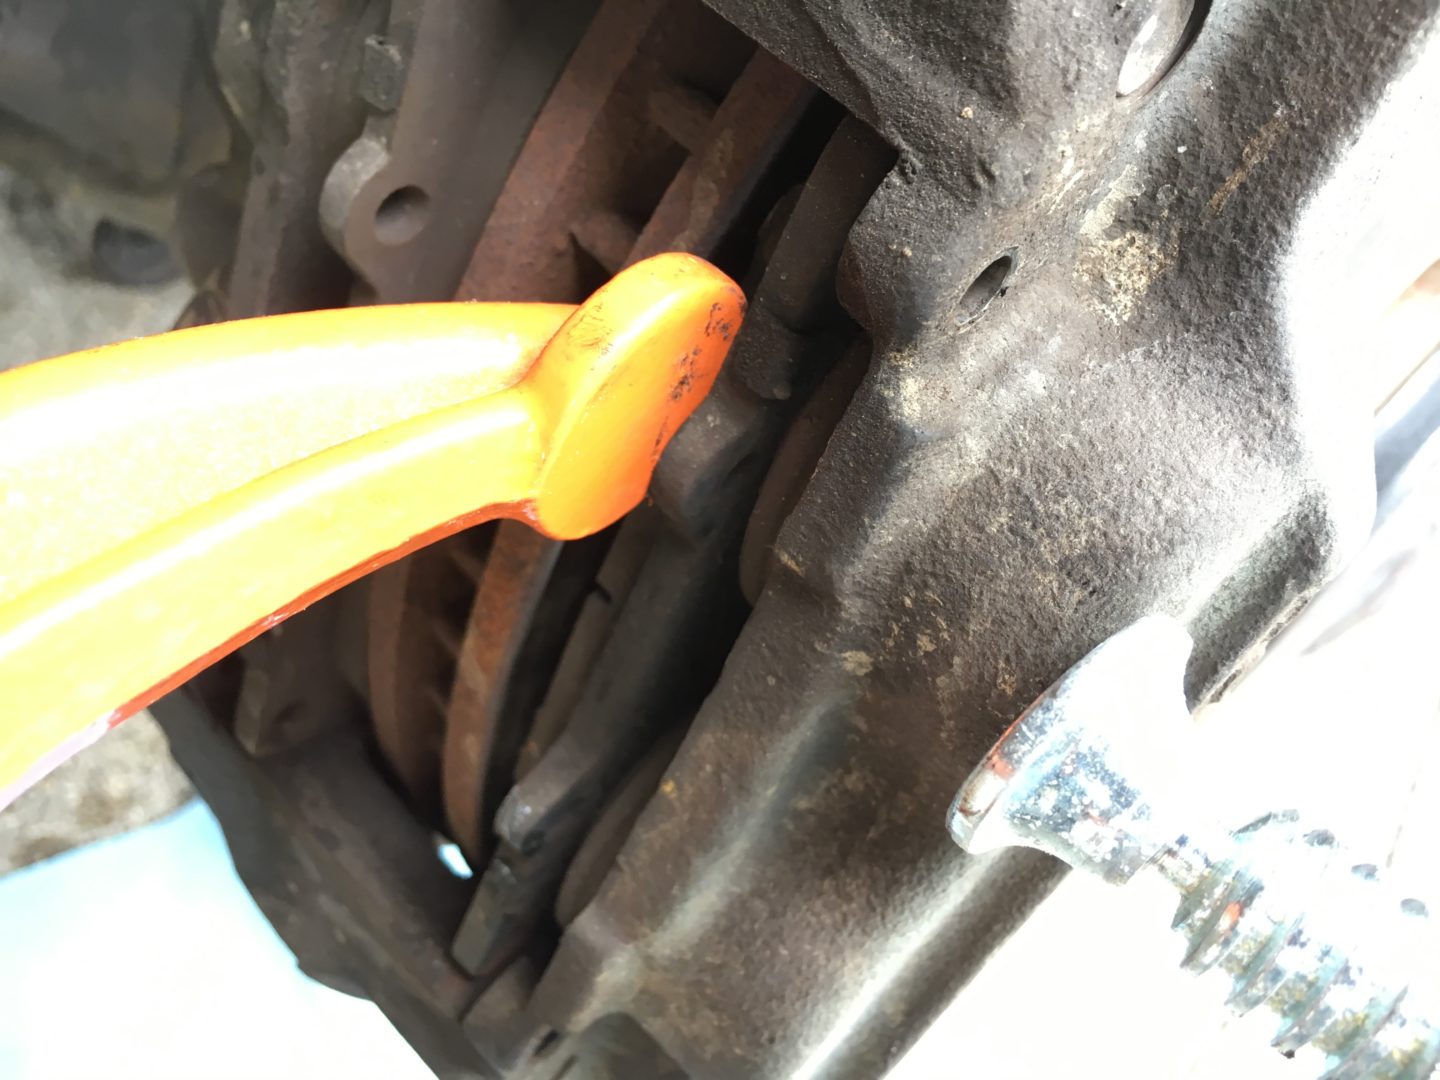
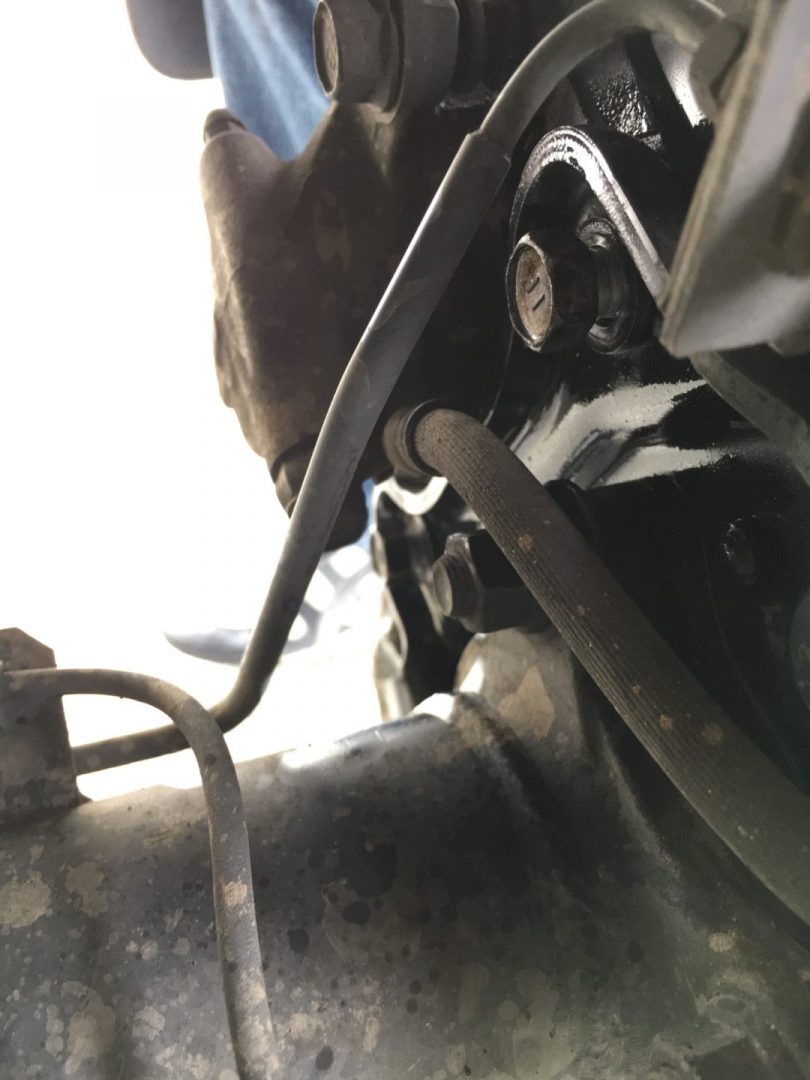
Take a closer look at the hole with the spring mechanism inside…
See the crank inside of that hole? You’ll need to take a flat head screwdriver and loosen that little instrument. As you loosen it with the screwdriver, you will both hear and feel the spring mechanism moving and eventually loosening its grip on the brake rotor. Then you can knock the rotor off with a mallet like you did with the front brake rotor.
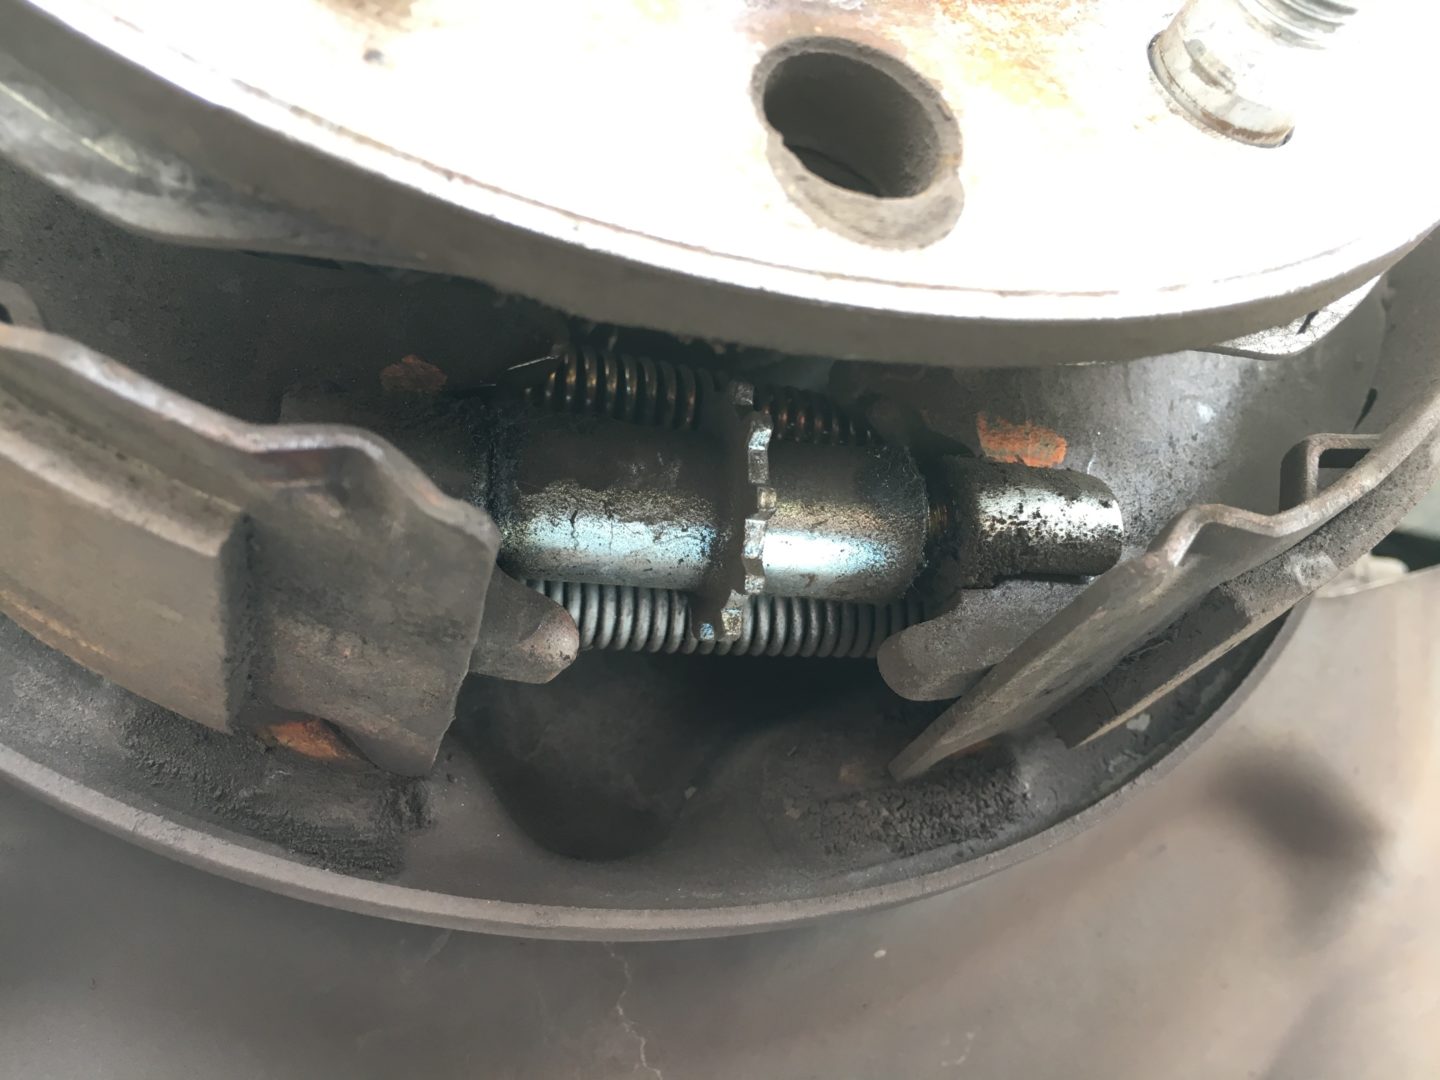
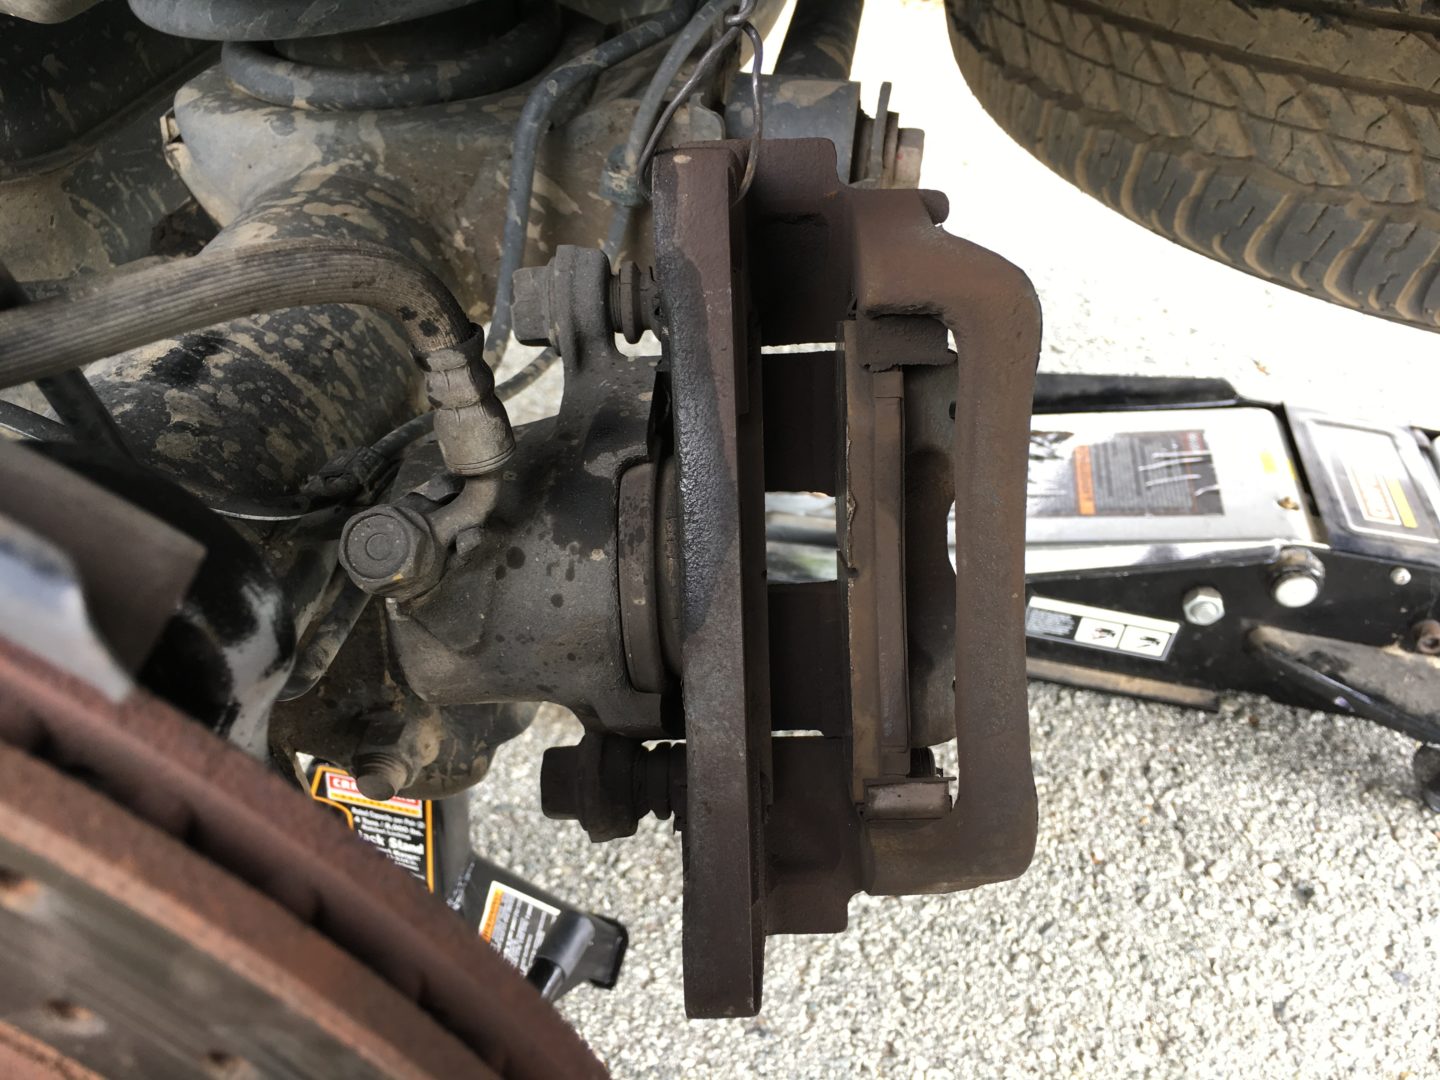
With the rear brake rotor loosened and removed, you will see what you are working with behind the rotor. Do this same process for both rear rotors to remove the existing brake rotors.
Again, just like the front brakes, a c-clamp is instrumental in getting the brake piston opened up in order to fit the new rotor and brake pads during re-installation.

When putting the brake lines back into place, ensure the clip holding the line securely in re-installed properly.
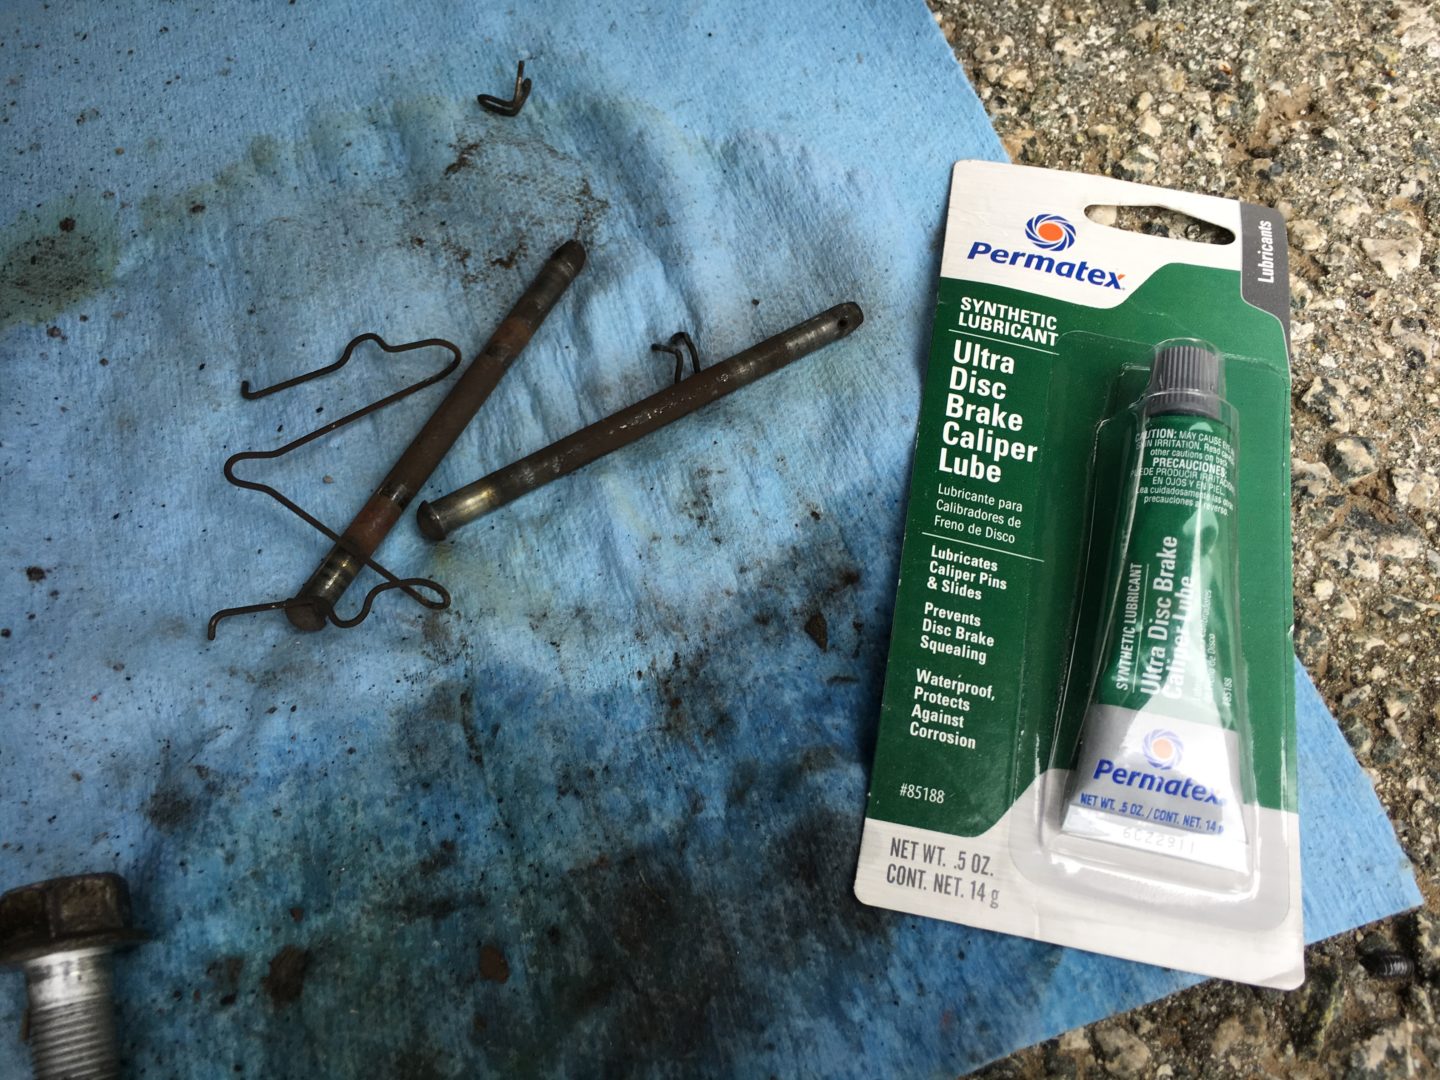
Oh, and don’t forget to lube up those pins and clips with lube to further reduce any noise during braking operation!

All lubed up and ready to put back through the back of the brake pads.
Ensure that the pins are inserted while the center clip is in place and is in the proper position. The mini safety clip at the end will keep the pins from coming out.
Since the brake calipers were depressed manually when the brake pads were installed, the first few depressions of the brake pedal will feel loose. After a couple of pumps on the brakes, the brake pad should return back to normal.
Since the brake calipers were depressed manually when the brake pads were installed, the first few depressions of the brake pedal will feel loose. After a couple of pumps on the brakes, the brake pad should return back to normal.
If you’re looking for more write-ups on brakes on the 4th generation Toyota 4Runner, I have them here:
Brake Pad Replacement
Brake Caliper Replacement
How to Bleed Brakes by Yourself
Brake Pad Break in
The last thing to do before operating the vehicle normally should be a proper embedding procedure of brake pads. This embedding process helps transfer an even layer of the brake pad onto the rotor, which can improve pedal feel, reduce or eliminate brake squeal, prevent (and often cure) brake judder, reduce brake dust, and extend the life of pads and rotors (Zeckhausen).
The general procedure is to make a series of hard but steady stops in order to heat up the brake caliper/pads. This allows the transfer of deposits from the brake pad to the caliper. Care must be taken not to keep the brake pedal depressed for a long period of time since they brakes are very hot. An excellent brake bedding in procedure can be found here from Zeckhusen Racing. Another good reference for a break in procedure for brakes is TireRack.


")
2 Comments
Ive practically rebuilt my whole vehicle just using your website. Much obliged. I purchased every recommendation you’ve mentioned. Really helpful.
Quick note* CRC Disc Brake Quiet 05016, 4 Fl Oz link points to the caliper lube on Amazon.
Can’t say enough how much of a big fan I am of your blog. Thanks!
I’m really glad to hear that! Thank you again for the correction, I’ve updated it. This is what happens when you run the site yourself… no editor! Thanks again!