When you make purchases through links on this site, The Track Ahead may earn an affiliate commission. Also, these posts are based off my own experiences. I am not responsible for any action you take as a result of reading this. Learn More
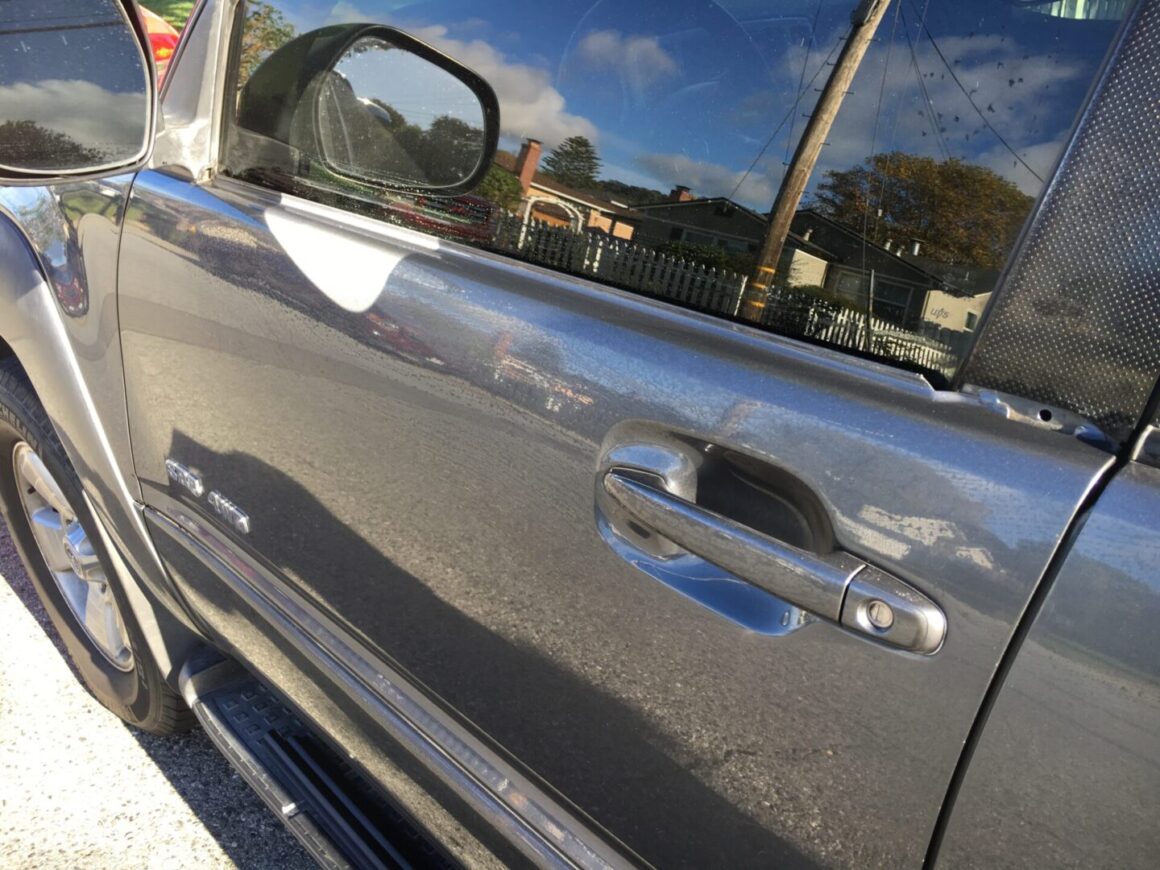
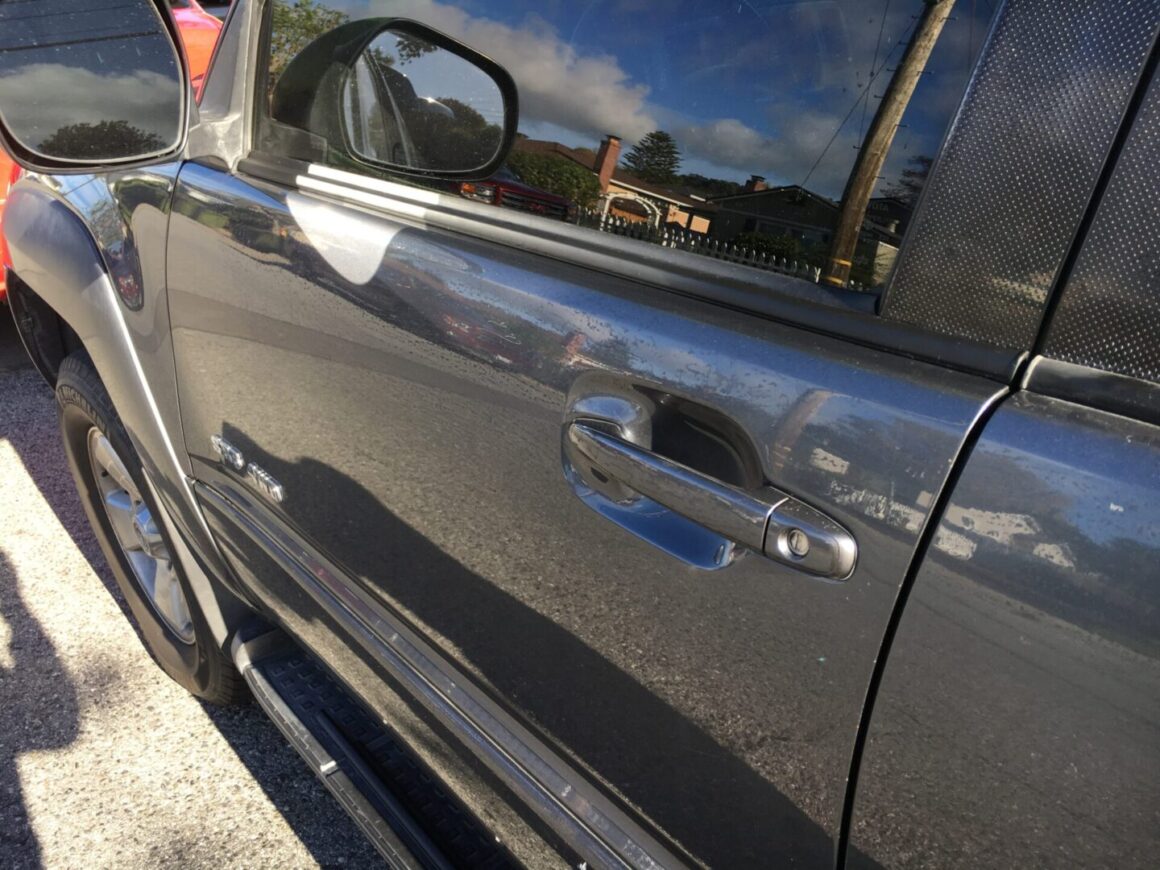
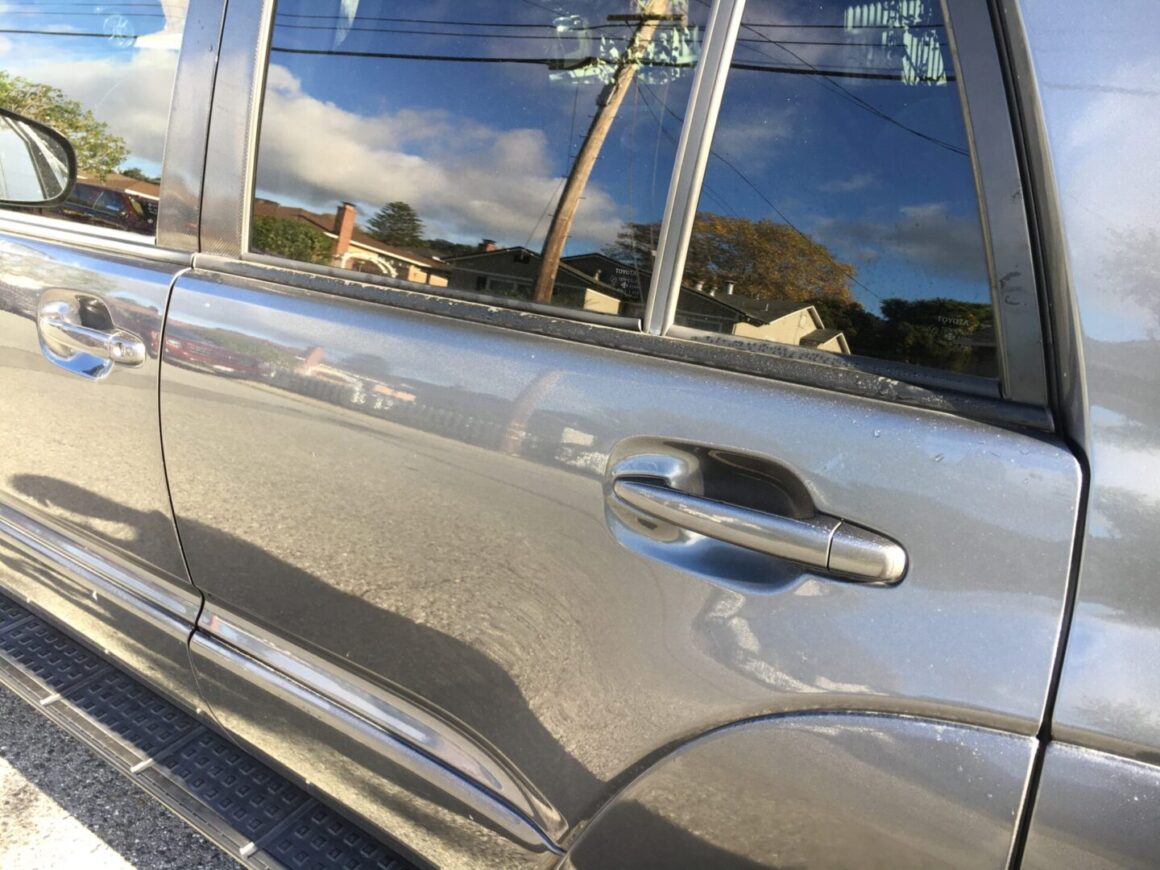
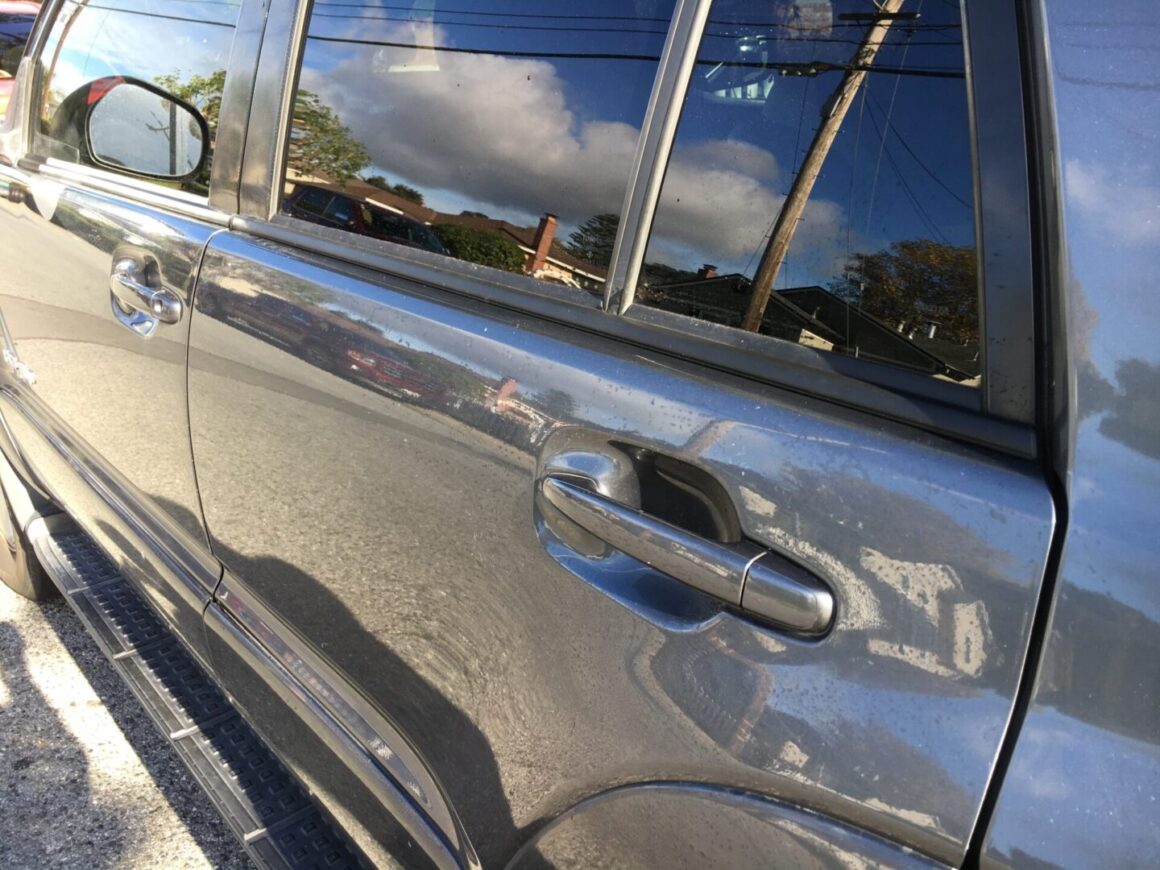
A common issue on these 4th generation Toyota 4Runners is the deterioration of the window moldings or weatherstripping over time. These are the rubber molding pieces that sit atop each of the doors (and liftgate) and between the door and window. This window molding helps keep water from running down the window and into the inside of the door frame.
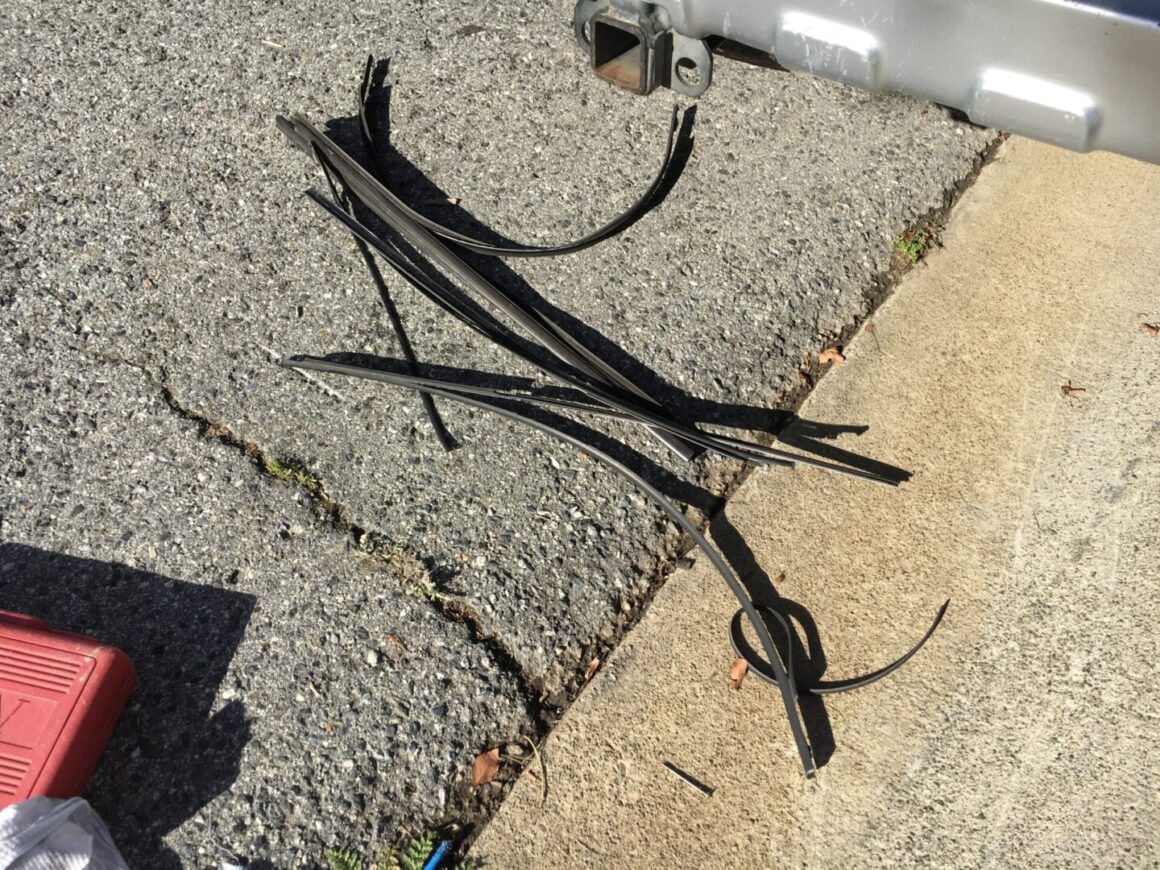
When the weatherstripping fails, it usually peels or breaks apart, leaving voids between the door frame and the window. This allows excessive water to enter the door, which is not a significant issue as car doors generally have drain holes at the bottom of the door. However, if the holes get blocked, then this can flood the inside of the doors.
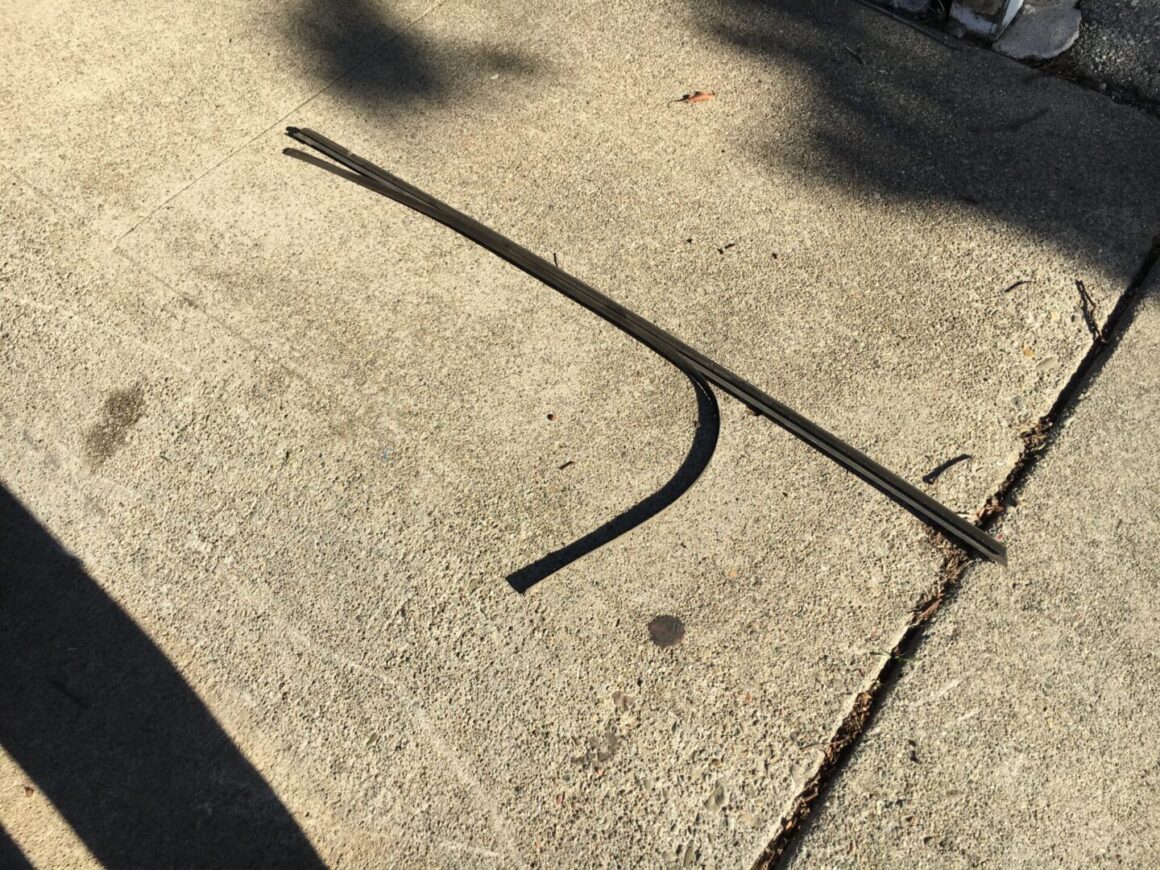
The other issue (and usually the reason for replacing) is that the weatherstripping may blow around while driving causing excessive wind noise and distractions. It also doesn’t look good when you have your window moldings ripping apart and blowing around while you’re driving. Luckily, it is extremely easy to replace the window moldings and doesn’t take much time too.
Tools and Materials
Torx Bit or Screwdriver
Hopefully you have a Torx bit or screwdriver, which can usually be found in a mechanics tool set. If you don’t, then I’ve provided a link to a set below that you can use for this job and infinitely many others.
RONMAR 13-Piece Magnetic Torx Screwdrivers Set, Security Tamper Proof, T4-T40
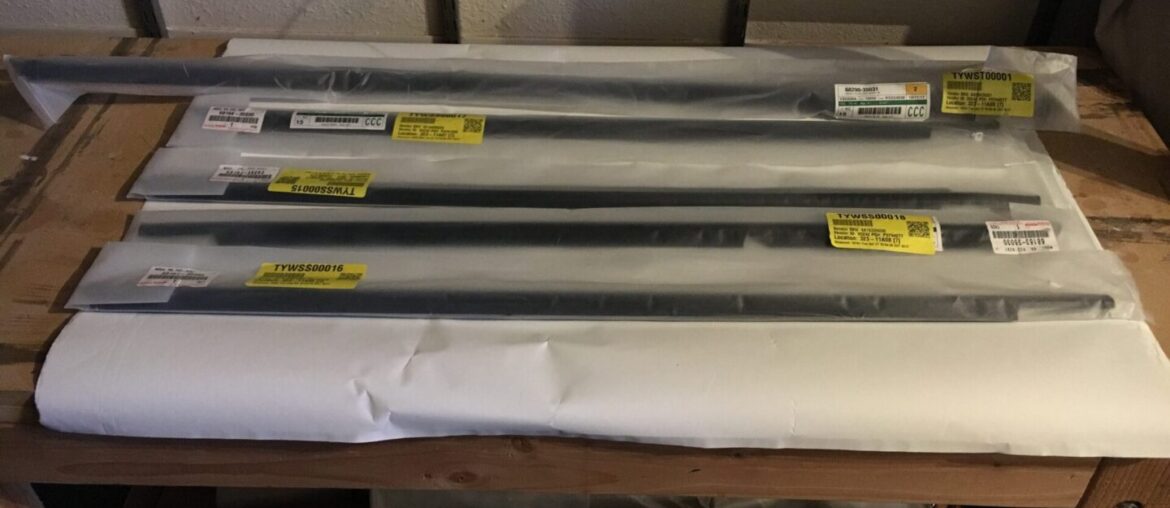
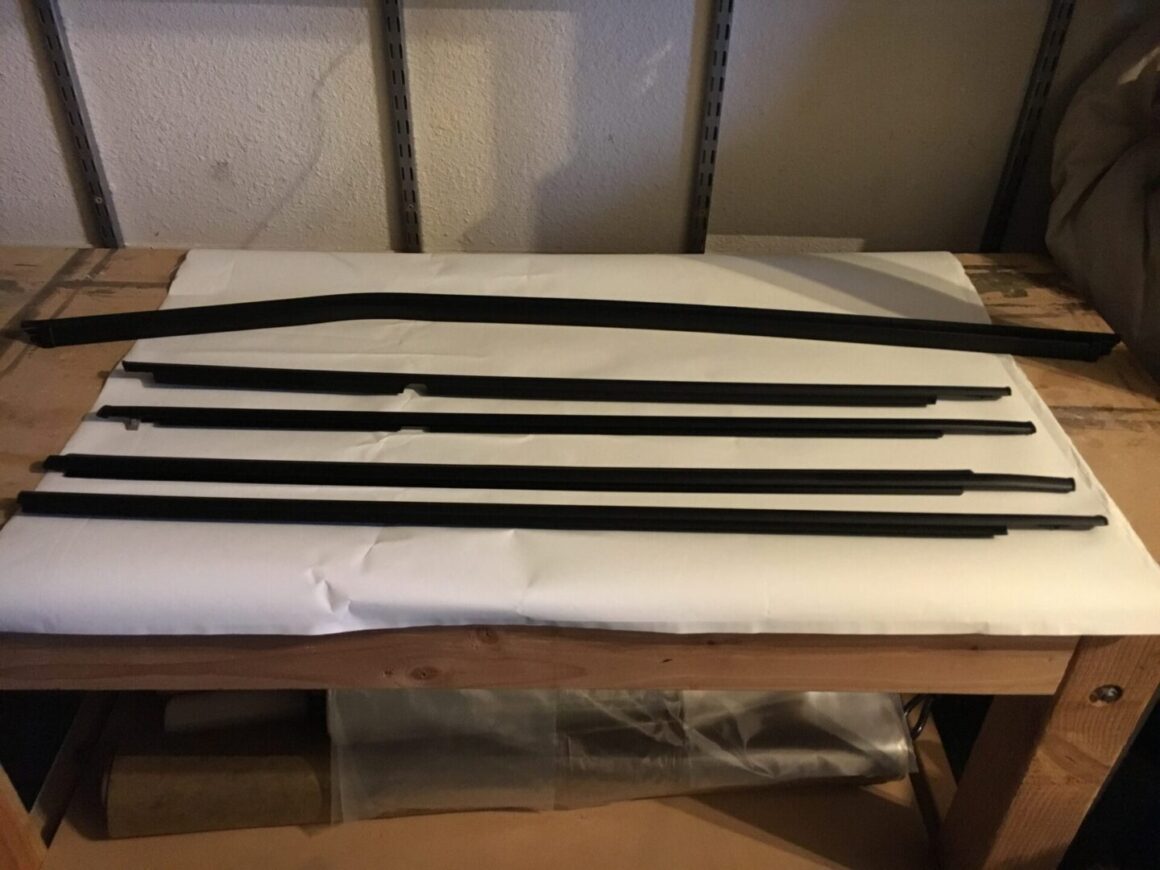
Window Moldings/Weatherstripping
68161-35060 Front Right (Passenger Side): Amazon / Ebay
68162-35060 Front Left (Driver Side): Amazon / Ebay
68163-35030 Rear Right (Passenger Side): Amazon / Ebay
68164-35030 Rear Left (Driver Side): Amazon / Ebay
68290-35031 Back Window (Lift Gate/Trunk): Amazon / Ebay
How to Replace Side and Rear Moldings/Weatherstripping
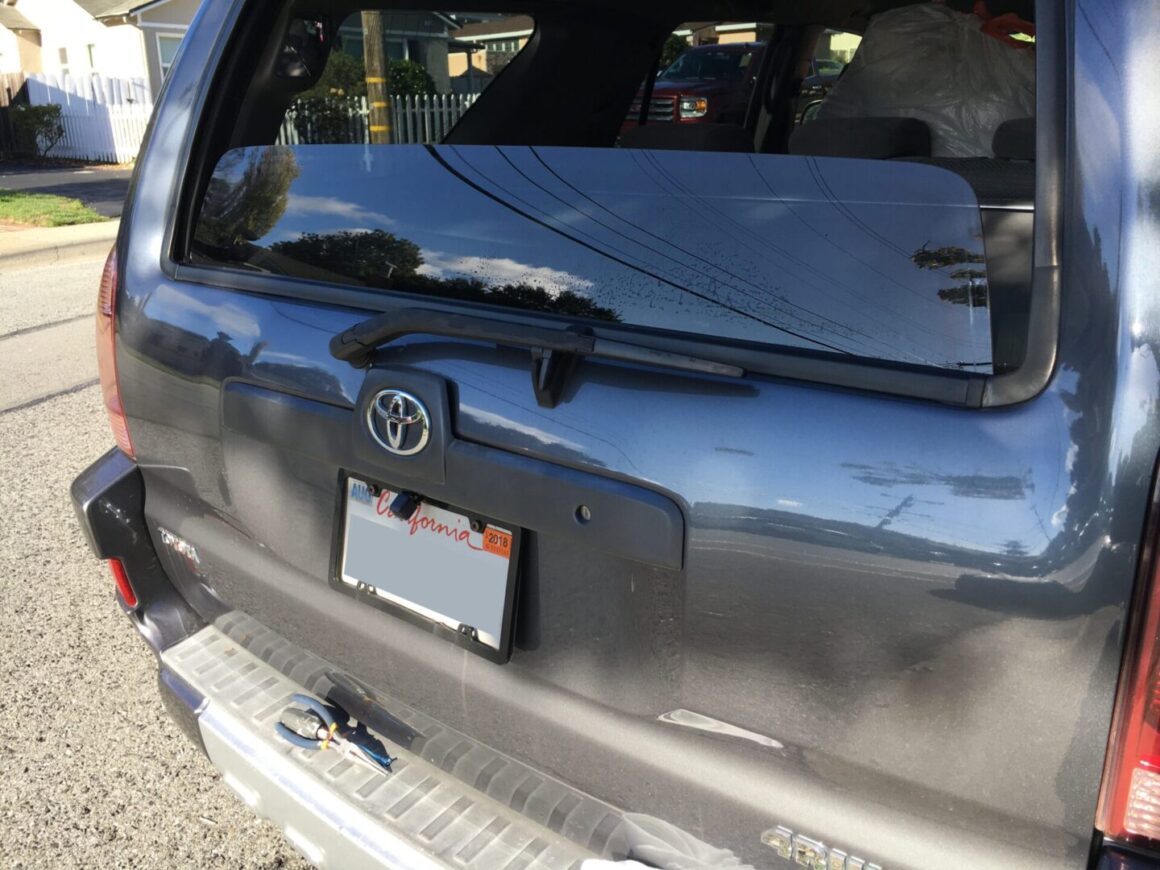
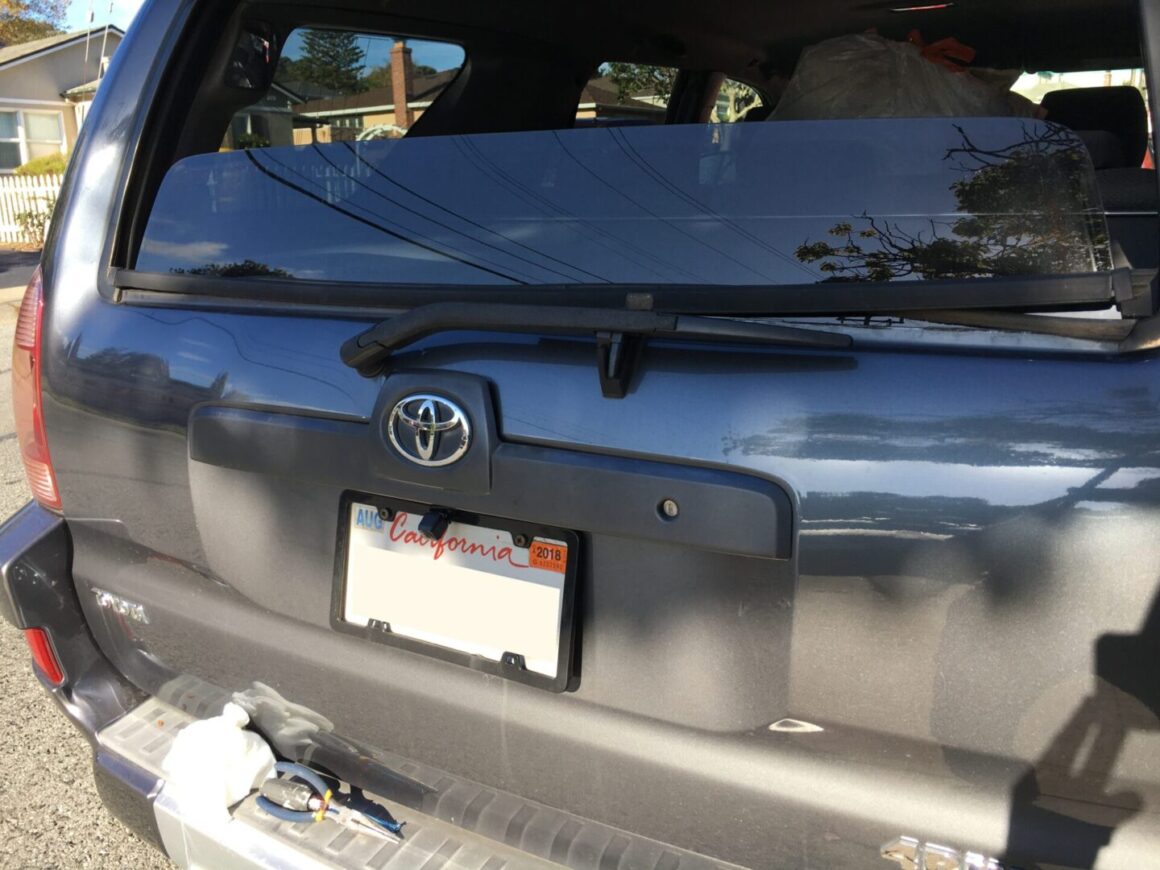
Starting with the rear hatch window, roll down your window completely to get the most amount of working space. The molding can simply be pulled up with your hands, so get a good grip on the rear molding and simply pull upwards. The molding should pull off very easily.
When the molding is off, wipe the area clean and then install the new molding. Be sure to line up the sides the same way it was removed, and guide the molding at the support point for the rear wiper. Once it is in, you can move on to the rest.
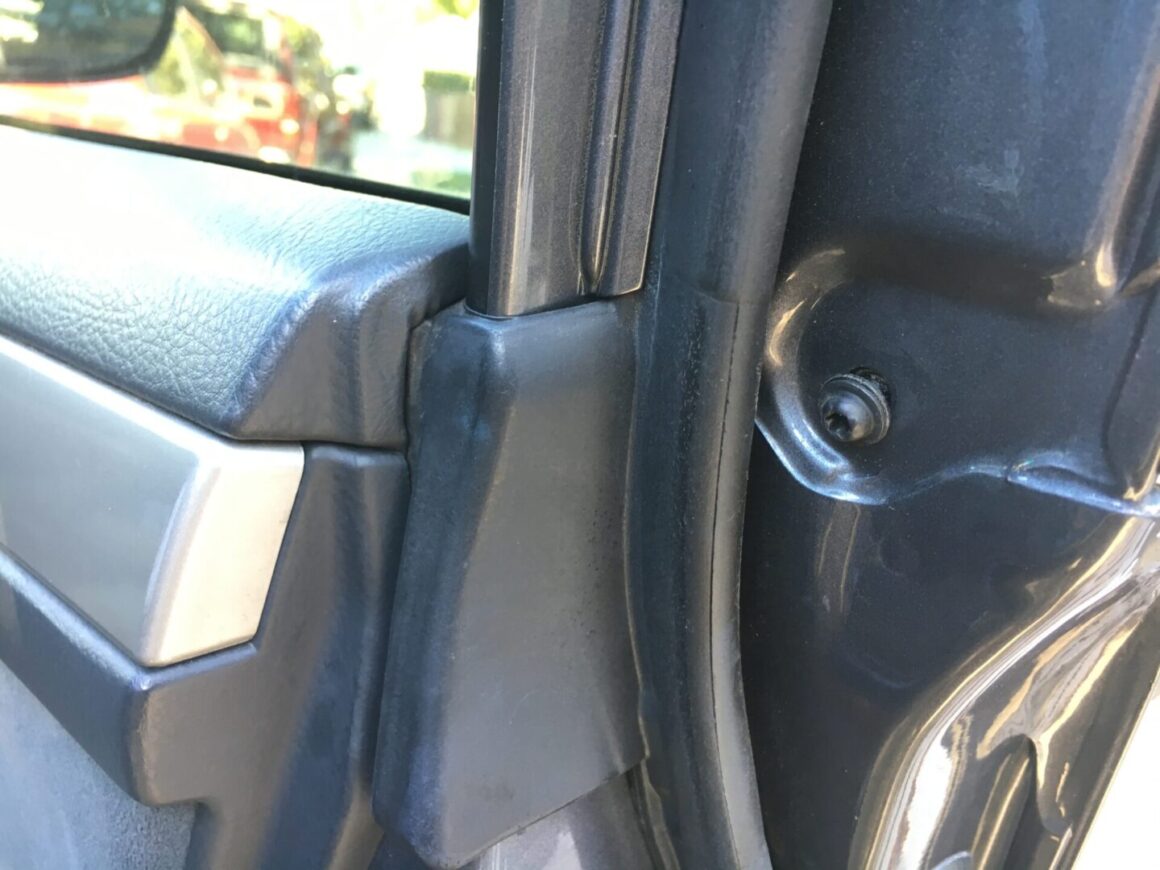
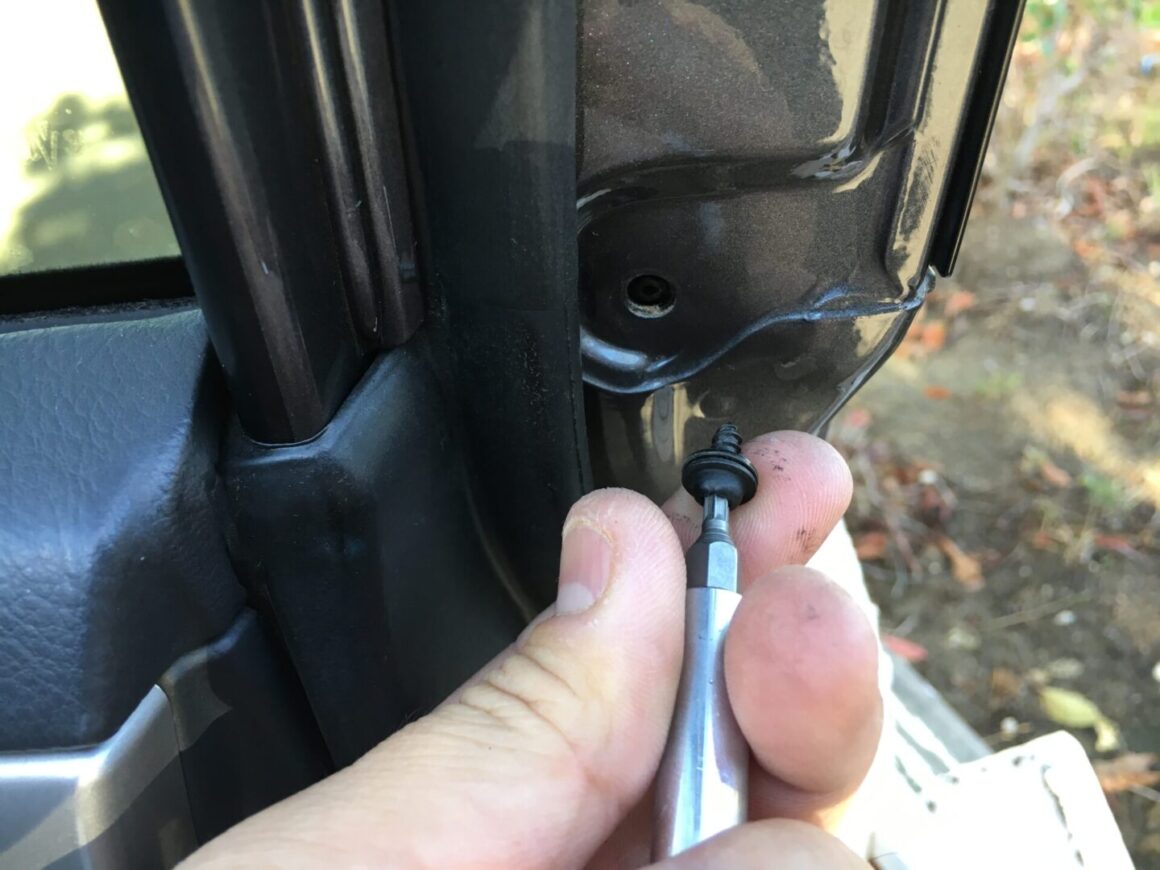
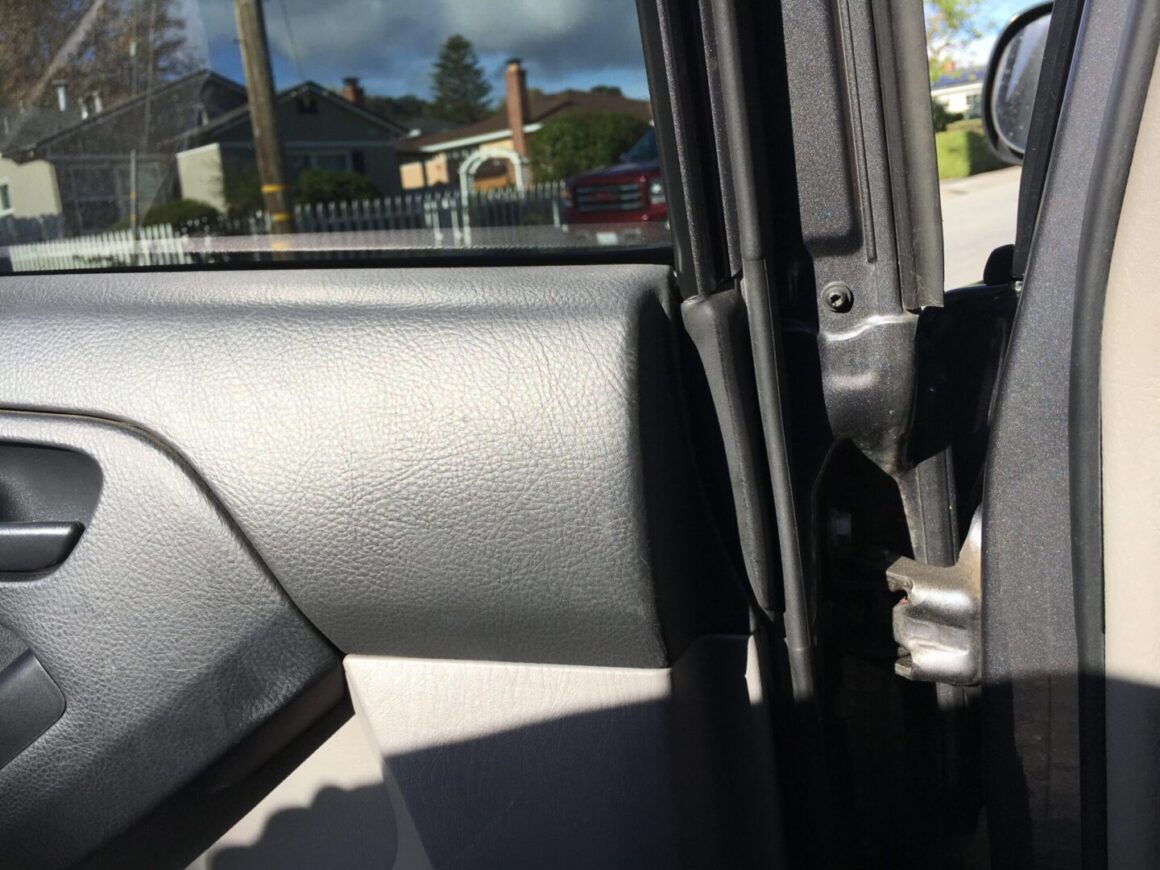
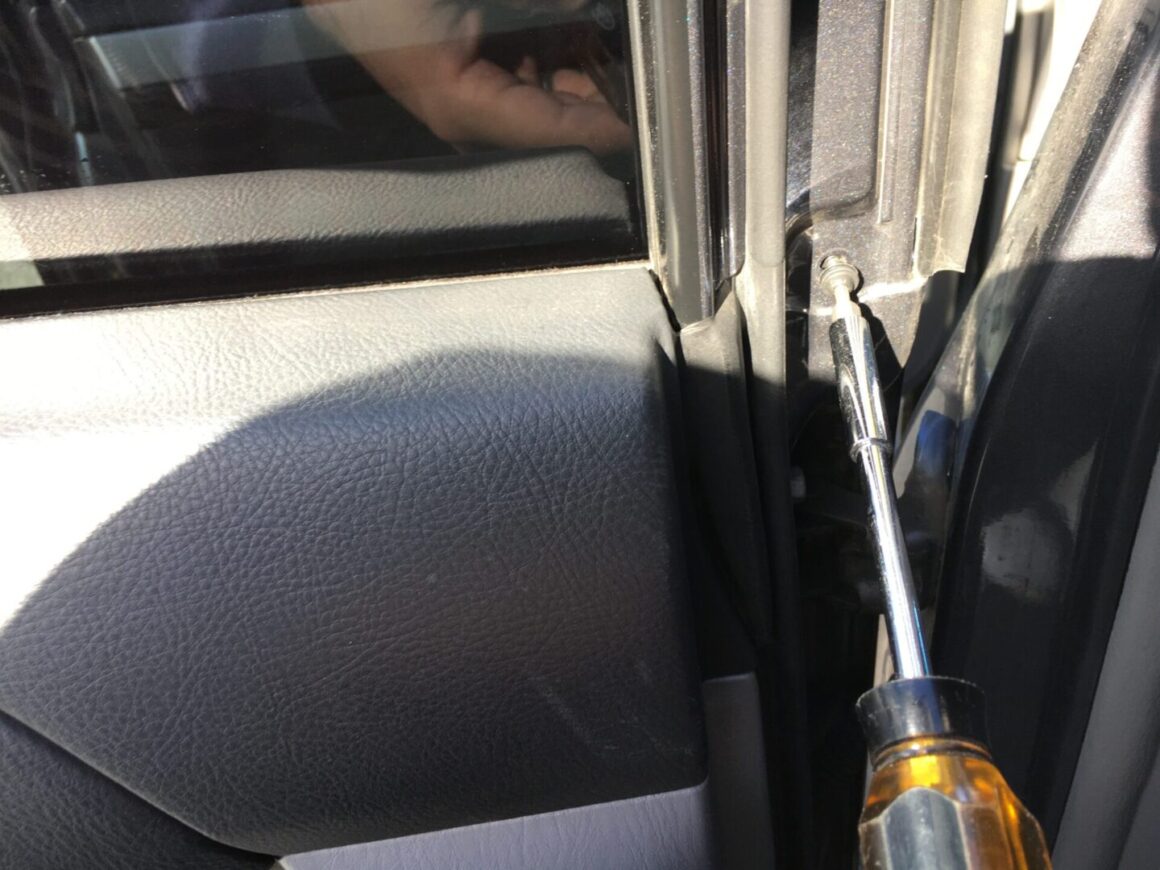
For the remaining front and rear windows, you will need to remove a torx screw on the inside part of the door in order to remove the weatherstripping. Open each door and remove the torx screw as shown below. After the screw is removed, go back to the outside of the door and pull up on the weatherstripping with your hands.
Again, wipe the area clean before installing the new weatherstripping/molding. Then hand-tighten all of the torx screws back to secure the molding in place.
With all of the molding/weatherstripping replaced, you should notice a big difference if your old ones were in bad shape. After I replaced mine, I had less issues with water leaking into my doors and the excessive wind noise I was hearing while driving was gone.

