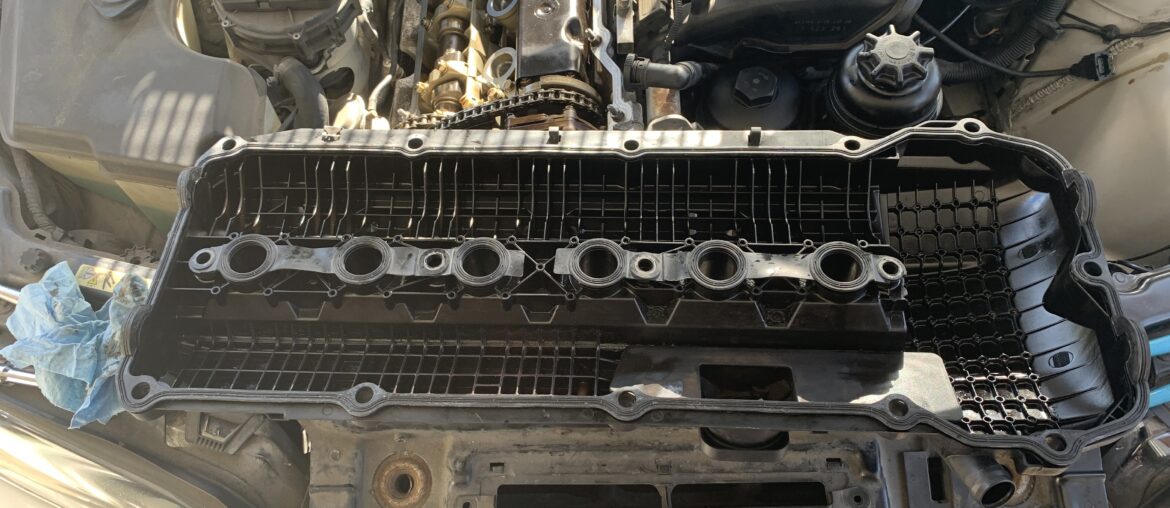
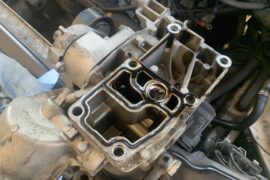
If you’re familiar with the BMW E46, you may already know that they are notorious for leaking oil. As of the time of this post, E46’s on the road are 15+ years old, so most of them will experience oil leaks to some degree. The most common oil leaks on the E46 are at the oil filter housing gasket, the oil pan gasket, and the valve cover gasket. On this particular post, I will be covering the valve cover gasket replacement on the BMW E46, which will apply to all BMW 323i, 325i, 328i, and 330i models.
One of the major indications that you have a valve cover gasket leak is oil leaking down the side of the engine. Because the valve cover gasket is located at the top of the engine, it can leave oil stains along the sides and bottom of the engine due to gravity. For this reason, oil leaking from the valve cover gasket can make a real mess. It can also make it difficult to determine where the oil leak is actually coming from.
The reason why the valve cover gasket fails over time is because it experiences constant heat cycles, as well as exposure to hot oil constantly. Eventually, the gasket becomes hard. Since the valve cover gasket works best when it is still pliable (which allows it to effectively seal the gap between the valve cover and the engine block), it will eventually leak if it is instead turns into a hard material.
Valve Cover Torque Specifications
When the valve cover gasket is replaced, the valve cover will need to be torqued down to a specific value to allow the gasket to create a proper seal. Tightening the valve cover too low or too high of a torque will cause issues with oil leaks.
The valve cover should be torqued down to a measly torque of 6 ft-lbs (or 8 Nm). This is a very small torque, which should be applied using a 1/4″ drive torque wrench. If you use a 3/8″ drive torque wrench (or god forbid a 1/2″ drive torque wrench), you won’t be able to achieve the precise and miniscule torque required to properly torque down the E46 valve cover.
What Type of RTV Sealant Should be Used?
First of all, the valve cover gasket itself should be doing the bulk of the sealing function between the valve cover and the engine block. However, you do need to apply several dabs of RTV sealant at certain locations–typically areas that have corners or bends where the valve cover gasket may not provide a perfect seal. I will show the 10 locations that you need to apply the RTV sealant to on the BMW E46 later in this tutorial.
There are several types of RTV sealants that can be used, however you should verify that the sealant is made for higher temperatures and is oil-resistant. My personal favorite is Permatex’s ULTRA Black, which meets both of these criteria. JB Weld also sells one calls JB Weld Ultimate Black, which is similar.
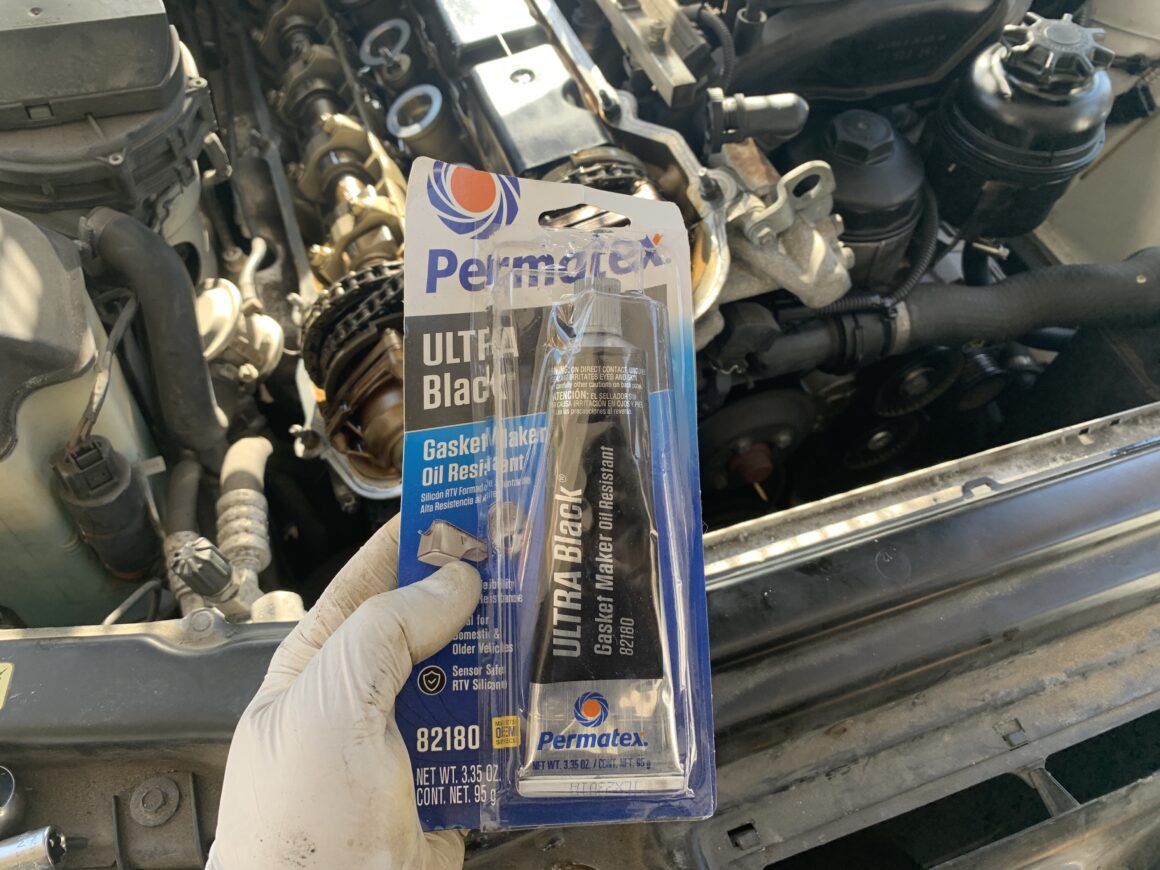
Permatex’s ULTRA Black and JB Weld Ultimate Black are not to be confused with the standard Black RTV, which is not for engine applications. Many folks also like to use Red RTV, which can also be used as it is intended for high temperature applications. Even though RED RTV is used for high temp environments, both Permatex Ultra Black and JB Weld Ultimate Black are sufficiently capable to handle high engine temperatures.
Tools & Materials
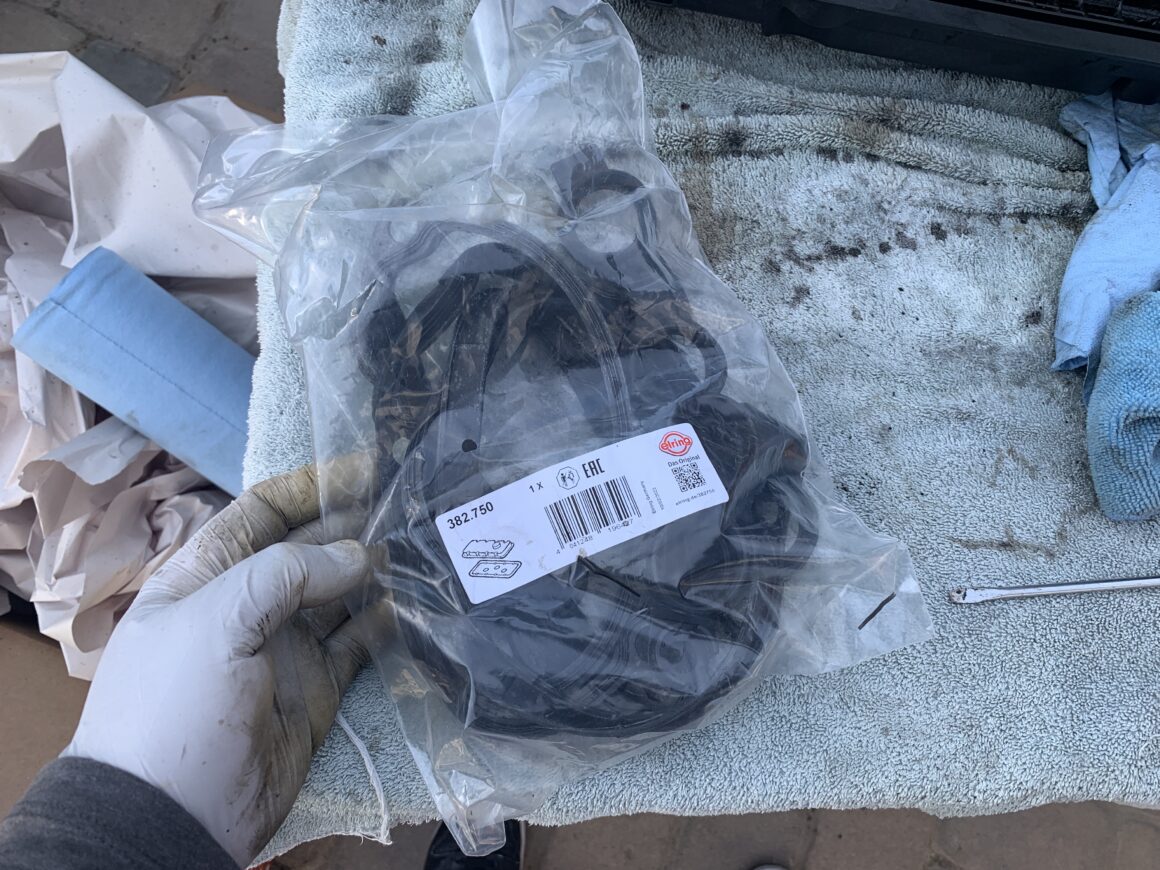
Valve Cover Gasket
The most popular valve cover gasket that E46 owners go to are the BMW OEM valve cover gasket or the one made by Elring. Other ones used are made by Victor Reinz and Fel Pro, although I’m not sure how well they compare to the Elring or OEM ones. In my opinion, I believe it’s best to get a valve cover gasket set that includes the rubber grommets as well.
Keep in mind that in 2002, there was a change to the ignition coils on the E46. As a result, the valve cover had a slight design change. Therefore, there will be a particular valve cover gasket if your vehicle production date is 09/2002 or earlier, and another one if the production date is 09/2002 or later.
To be sure you’re getting the correct part, always enter your vehicle information into any given part website (or even on Amazon or Ebay if you’re shopping there) to verify. Especially if you’re buying an aftermarket gasket, definitely enter your vehicle information to ensure you’re getting the right prt.
BMW OEM Valve Cover Gasket Set:
Production date up to 09/2002 (BMW Part #11129070990)
Production date 09/2002 or later (BMW Part #11120030496)
Aftermarket Valve Cover Gasket Set:
FEL-PRO VS 50626 R Valve Cover Gasket Set
Victor Reinz 15-33077-01 Engine Valve Cover Gasket Set
MAHLE Original VS50368 Gasket
RTV Sealant
Check out the section earlier on this page addressing the question ‘What Type of RTV Sealant Should be Used?” for more information on this subject. I’ve included two of the most commonly used RTV sealants used in conjunction with the valve cover gasket made by Permatex: Ultra Black RTV and Red High Temp RTV.
Permatex Ultra Black RTV Sealant
Permatex Ultra Red High Temperature Gasket Maker
Socket Set
If you don’t have one already, get a mechanics tool set which in many cases will include a 5/8″ spark plug socket for the spark plug removal portion of this job. The rest of the set should be more than plenty for the tools required to remove the valve cover and gain access to the valve cover gasket.
If you are looking for a mechanic’s tool set, check out this guide to choosing the right mechanic’s tool set. Your typical mechanic’s tool set should include all the sockets and spark plug socket that you’ll need for this job: CRAFTSMAN Mechanics Tool Set, SAE / Metric, 135-Piece
Torque Wrench
A torque wrench is needed to torque the valve cover down during the reinstallation, but you will also need one to torque down the spark plugs during the reinstall. A 1/4″ drive torque wrench is a must for the small torque value of the valve cover bolts, and a 3/8″ drive will work for your spark plugs.
EPAuto 1/4-Inch Drive Click Torque Wrench (20-200 in.-lb. / 2.26 ~ 22.6 Nm)
EPAuto 3/8-Inch Drive Click Torque Wrench (10-80 ft.-lb. / 13.6-108.5 Nm)
Razor Blades
WORKPRO Utility Knife Blades, SK5 Steel, 100-Pack with Dispenser
Nitrile Gloves
MedPride Nitrile Exam Gloves, Powder-Free Box/100 – Small | Medium | Large
Shop Towels
Scott Shop Towels Original, Blue, 12 Rolls/Case, 660 Towels/Case
Valve Cover Gasket Replacement on a BMW E46
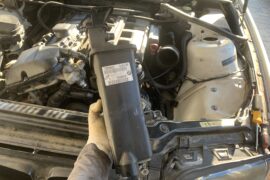
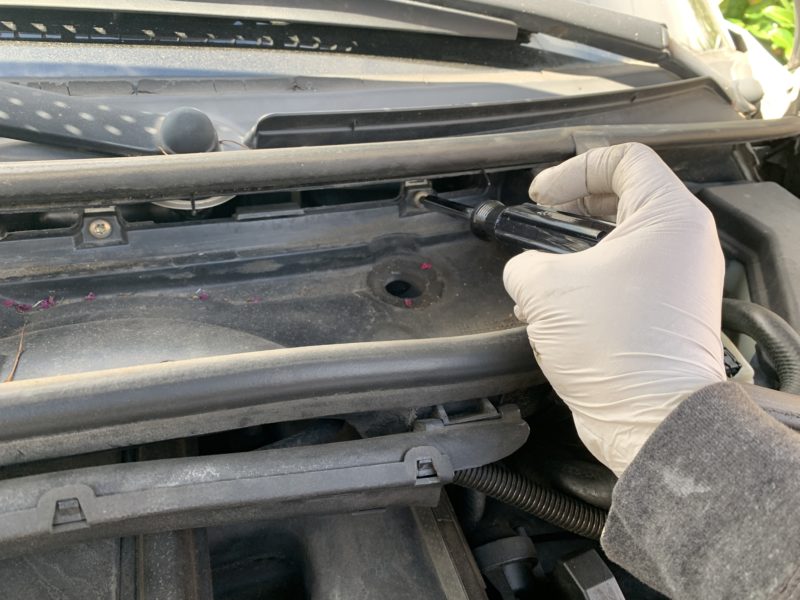
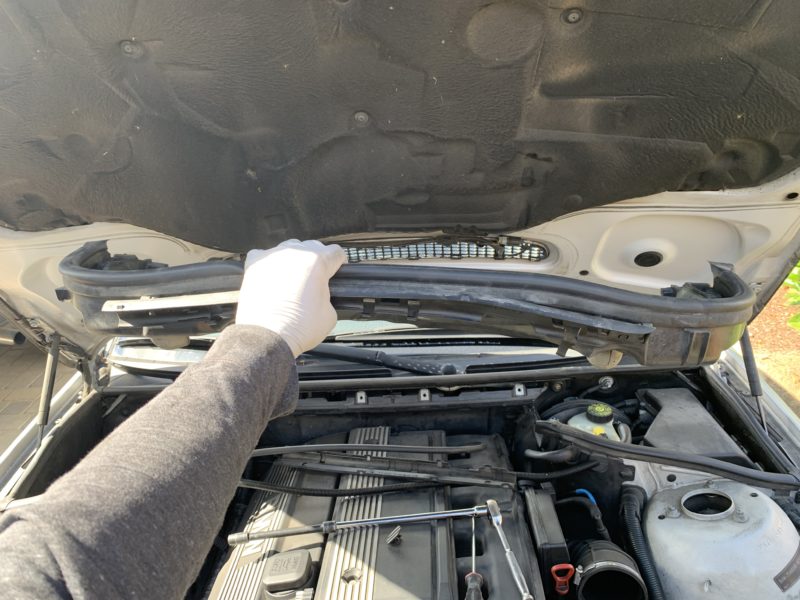
First, remove the cabin air filter housing. Twist the three lock tabs to unlock the cabin filter cover and then remove the cabin air filter. Then, remove the (4 qty) Torx T-30 screws that hold the cabin air filter housing to the frame. Remove the housing.
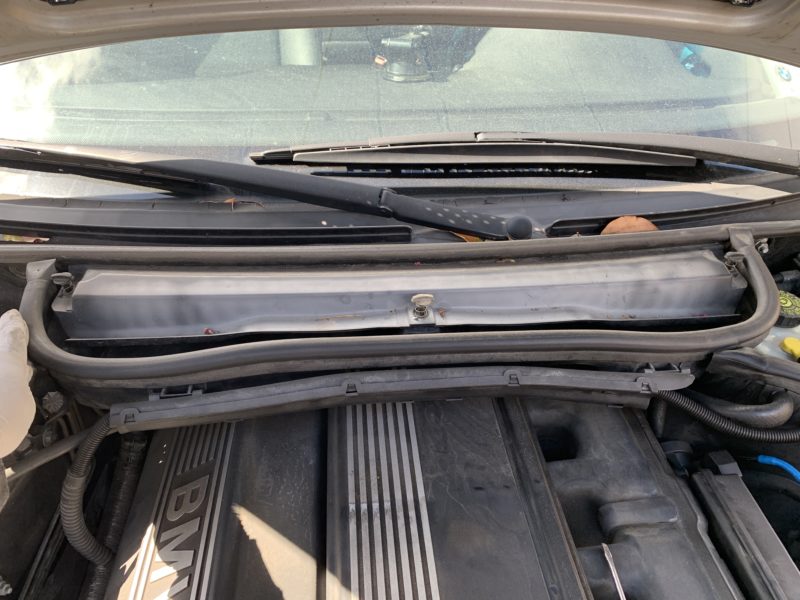
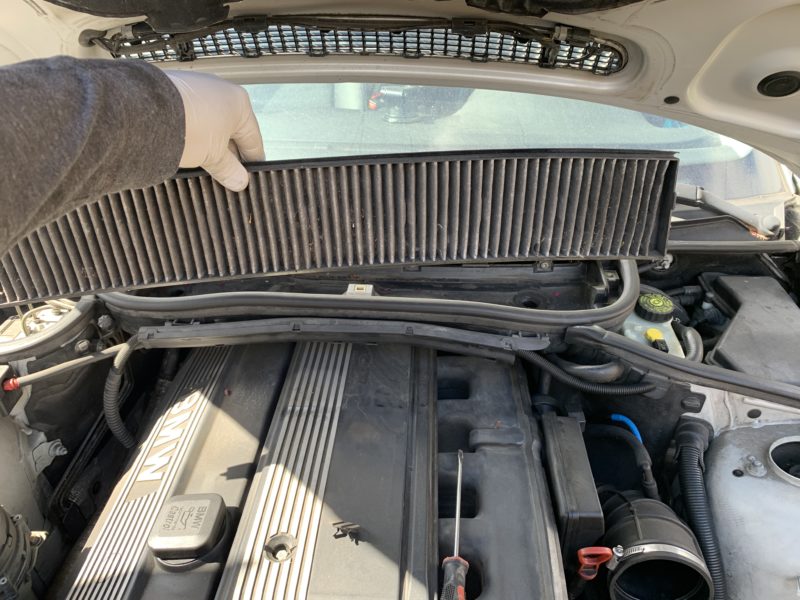
Then, remove the (4 qty) engine cover clips on both engine covers and then remove the (4 qty) 10mm bolts underneath. You’ll have to unscrew the oil filler cap in order to remove the passenger side engine cover. Set the engine covers, bolts, and cover clips aside.
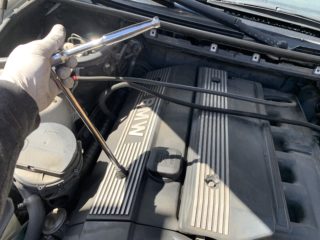
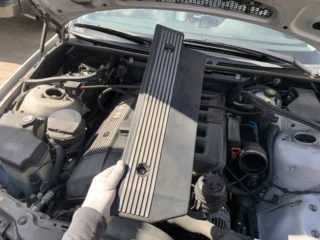
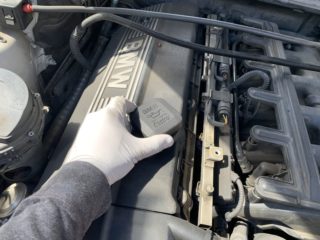
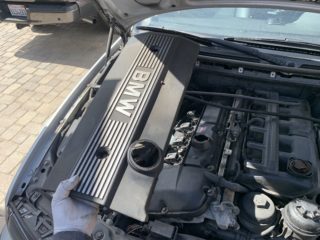
Replace the oil filler cap so that there’s no chance of anything falling into the oil filler opening. Remove the connectors to the ignition coils and then the ignition coils themselves. You might need the help of a flat head screwdriver to carefully pry the ignition coils off.
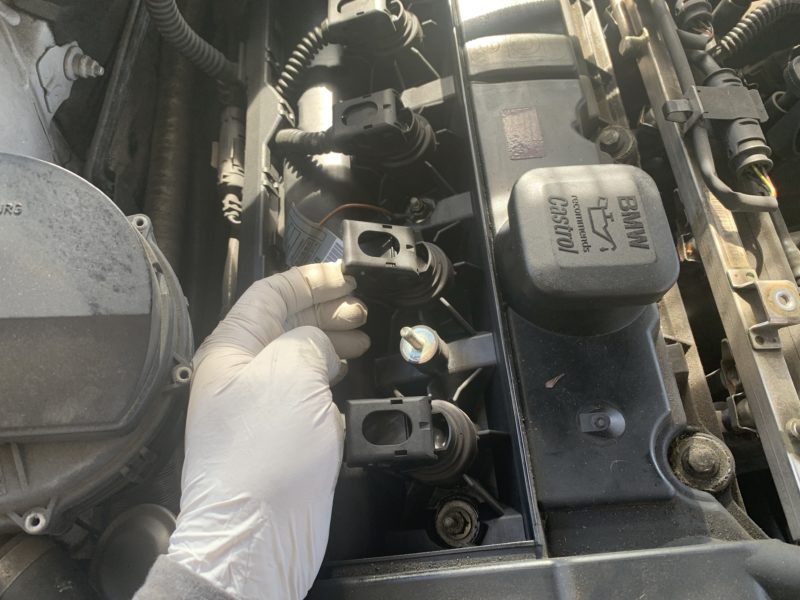
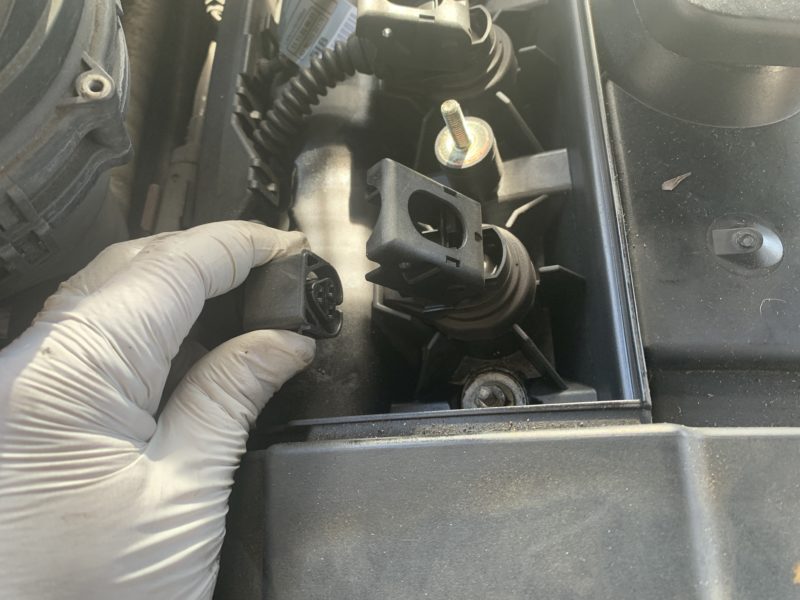
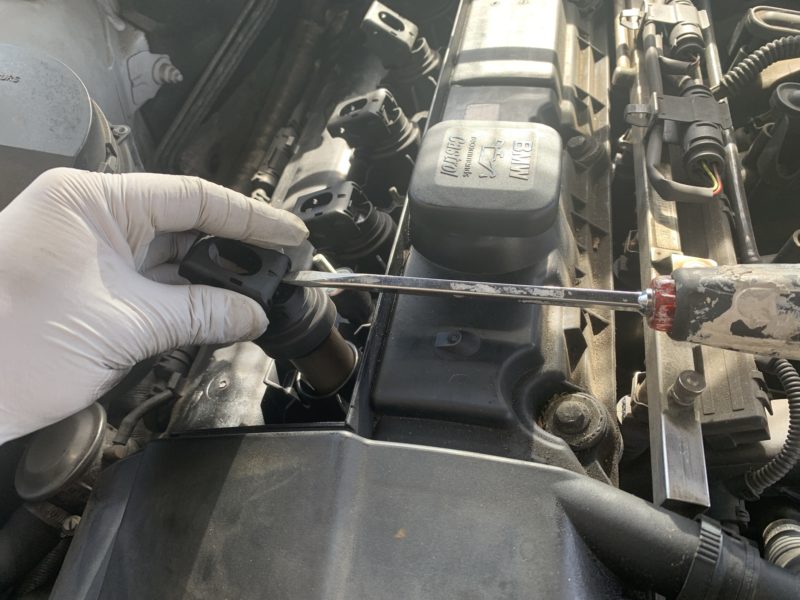
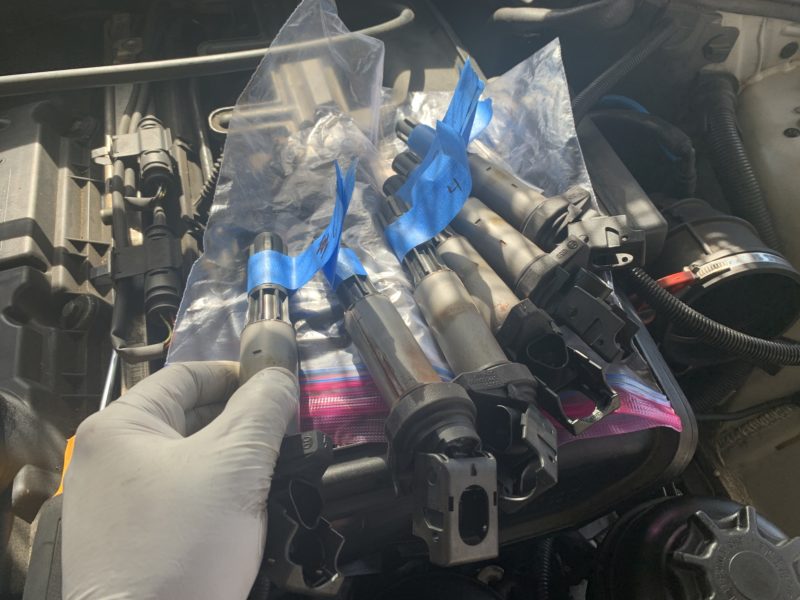
Remove the spark plugs using a long extension with a spark plug socket, and a ratcheting wrench.
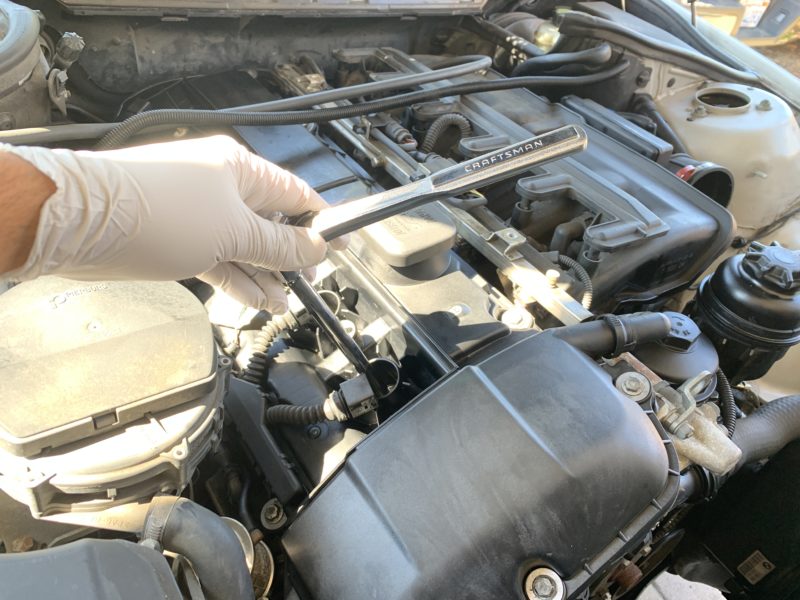
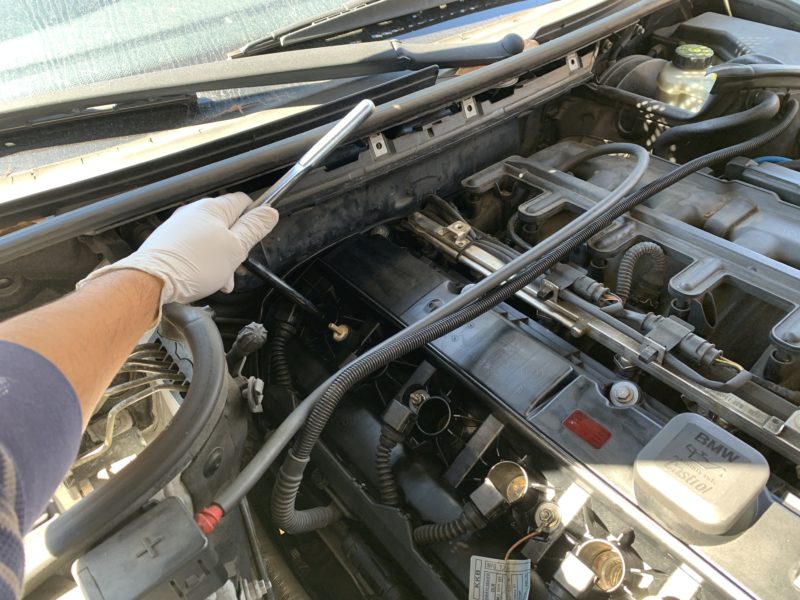
Remove the CCV (crank case valve) by hand; you might need to use pliers to remove it if it’s stuck. If you must use pliers, tape up the jaws of the pliers to protect it from damaging the plastic CCV connector.
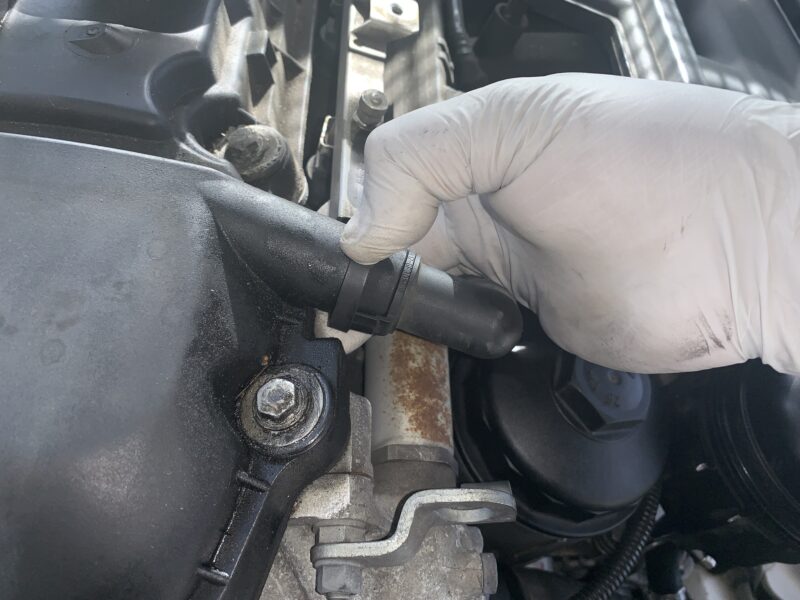
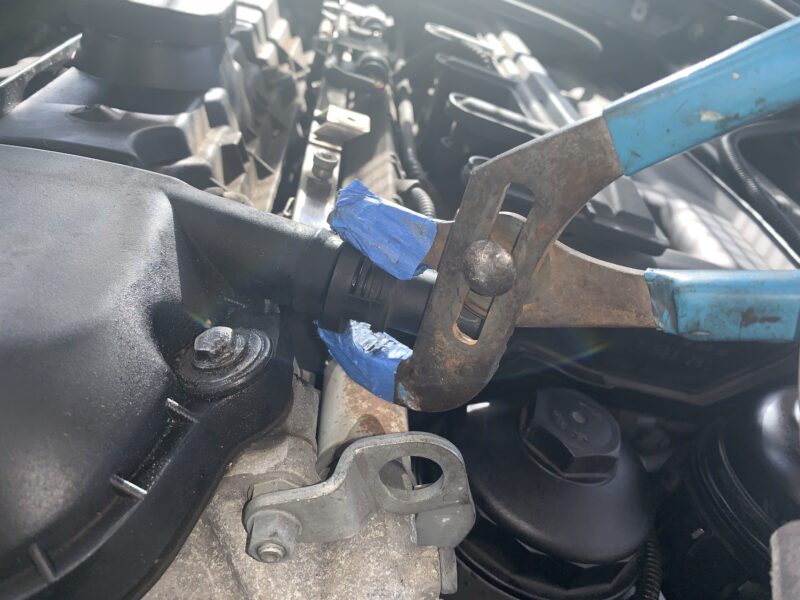
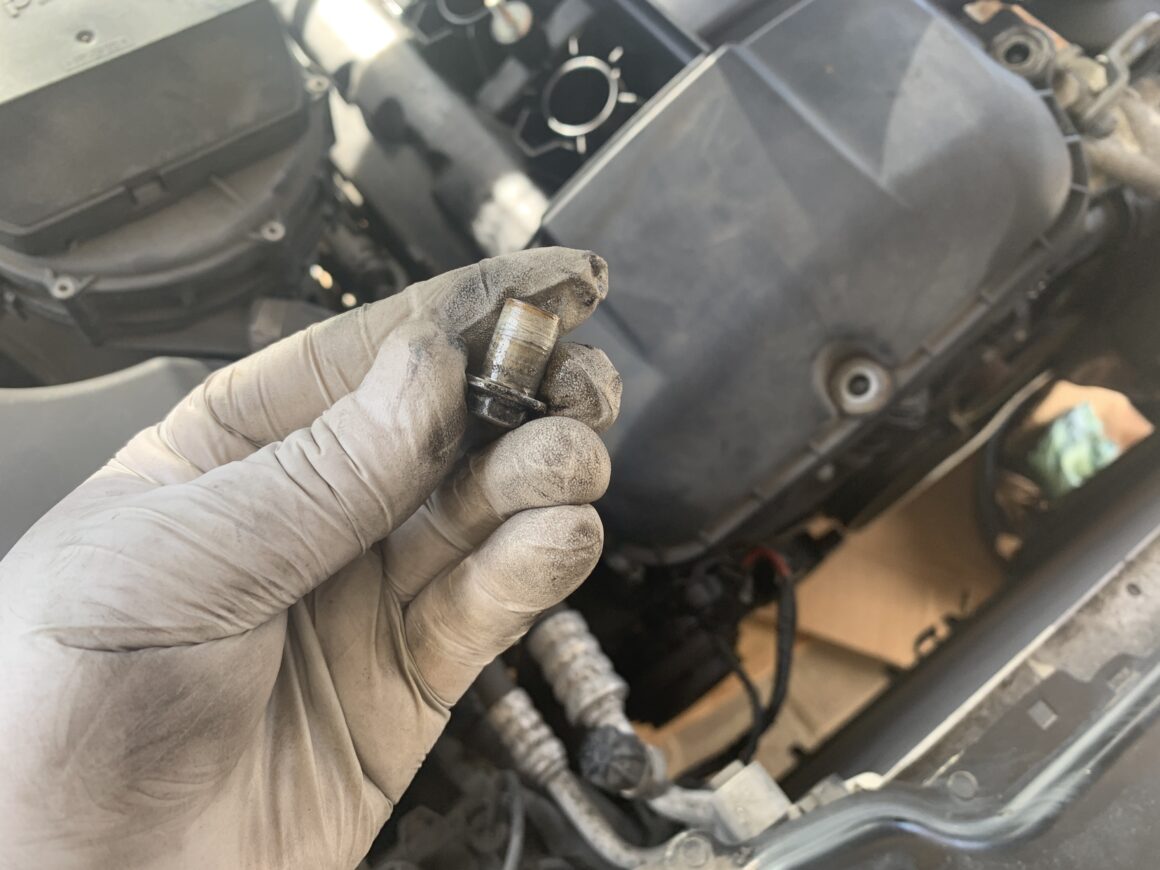
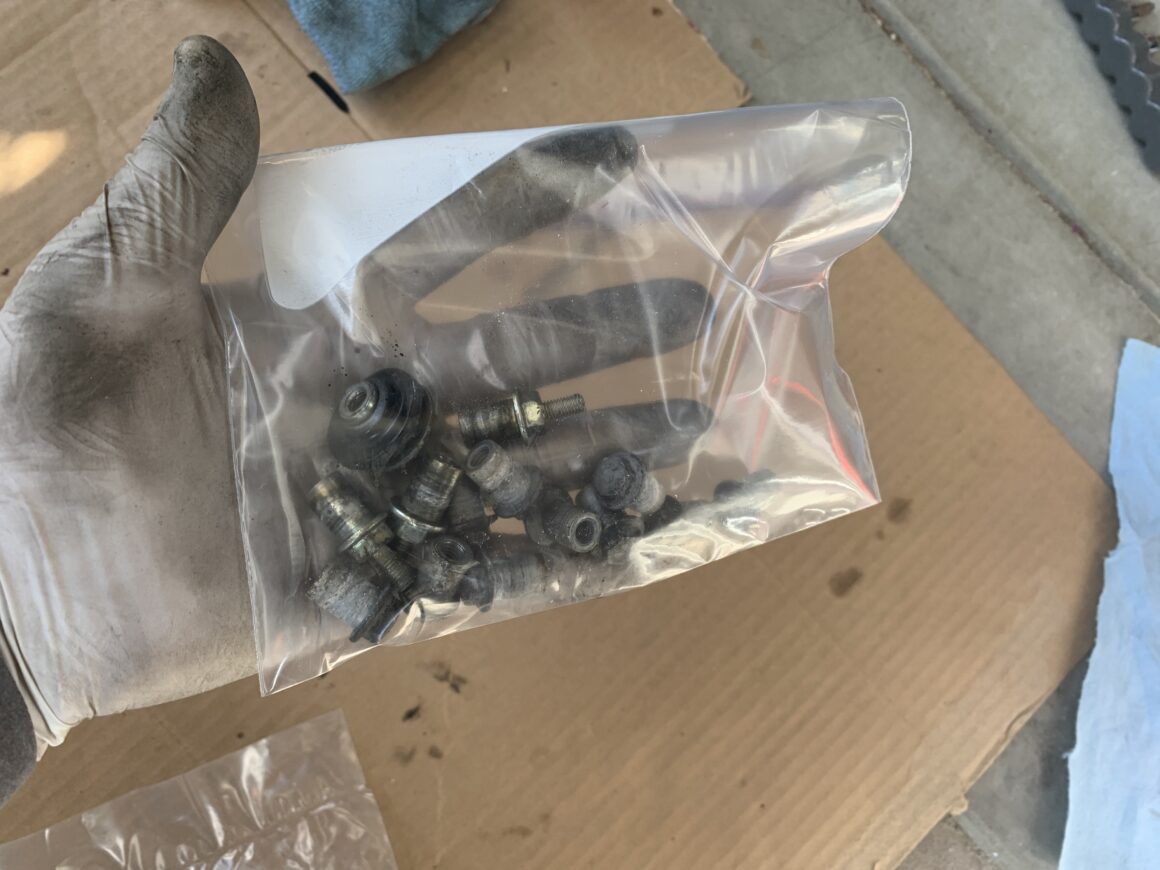
Now, remove all of the (15 qty) 10mm valve cover bolts all around the perimeter of the valve cover. There will be a mix of these types of bolts as seen below.

Unclip the ignition coil harness by lifting it up and off the valve cover. Also take the oxygen sensor connectors and pop them off and move them out of the way. You also have a vacuum hose to move off to the side; replace this vacuum hose if it is damaged.
Finally, use a flat head screwdriver and carefully pry as shown to break the valve cover loose. Be extremely careful as you don’t want to damage the mating surface between the valve cover and the engine block. Now, you can lift the valve cover off by hand and take it out of the engine bay.
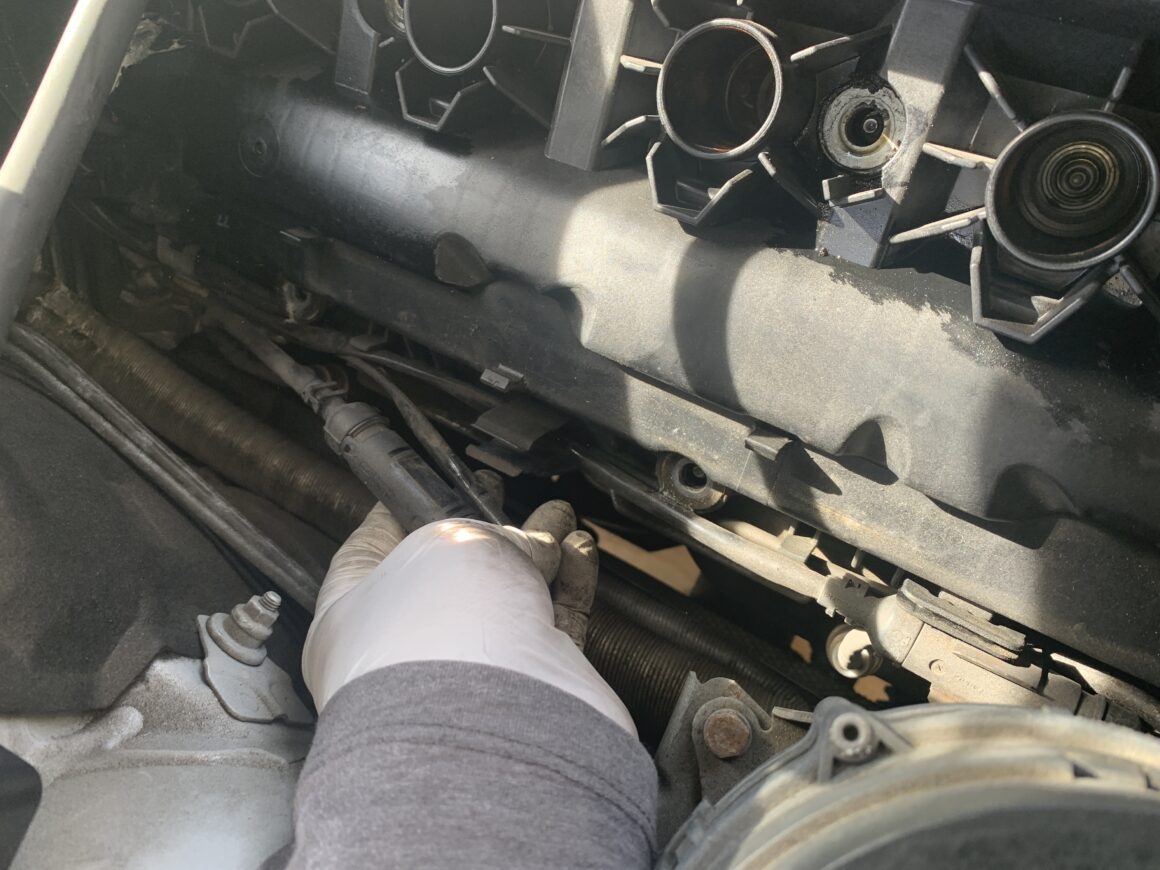
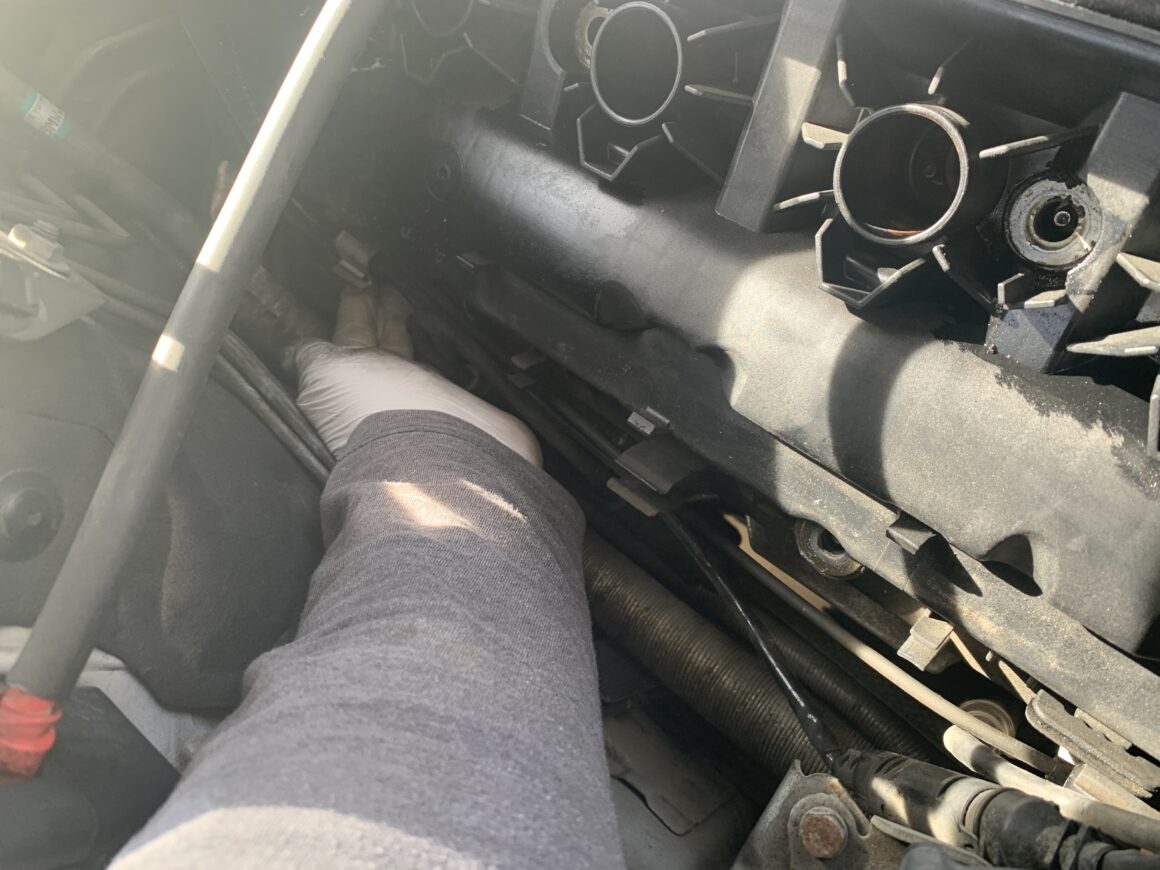
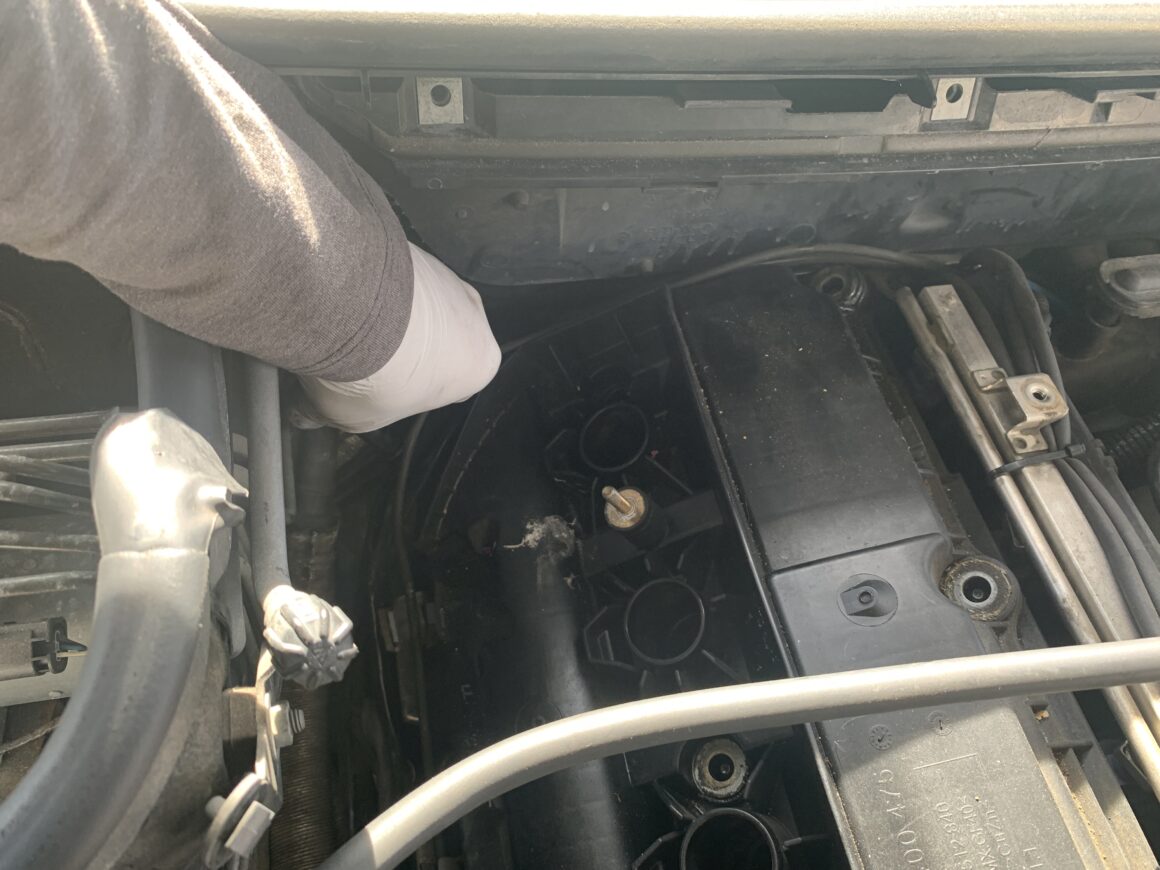


Have a look at your engine head and evaluate its condition. You should also inspect it to see if any remaining sealant or pieces of valve cover gasket have fallen into the cylinder head. Remove any bits if they have. Also, use a razor blade to clean off the gasket surface of any old gasket or sealant material.
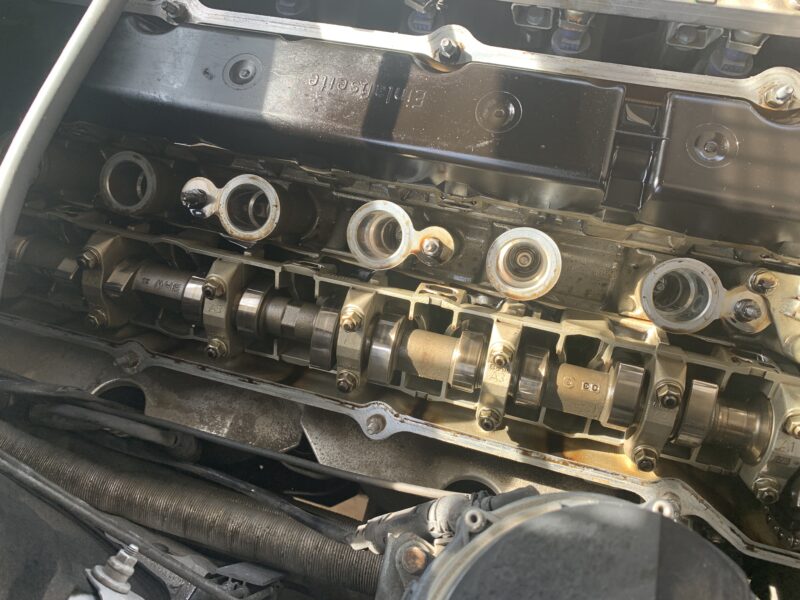
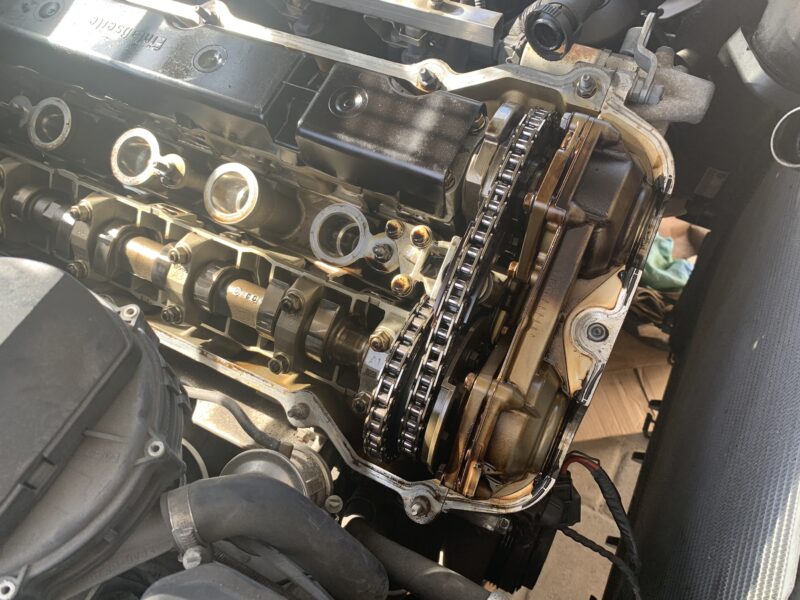


With the valve cover off, you can remove the old gasket. The older it is, the more likely it will be hard and brittle. Be careful removing the gasket as the inside of the valve cover has plastic pieces that can also break. Also remove the old rubber grommets from the valve cover fasteners.
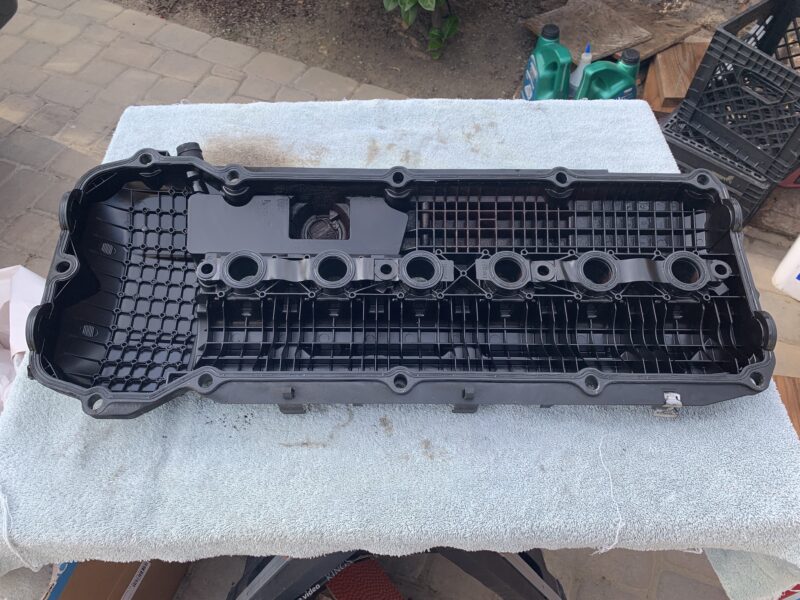
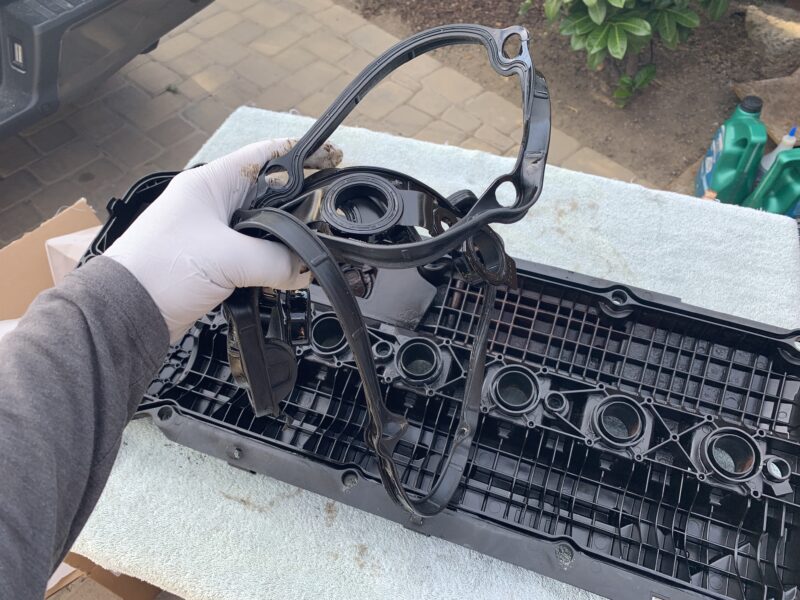
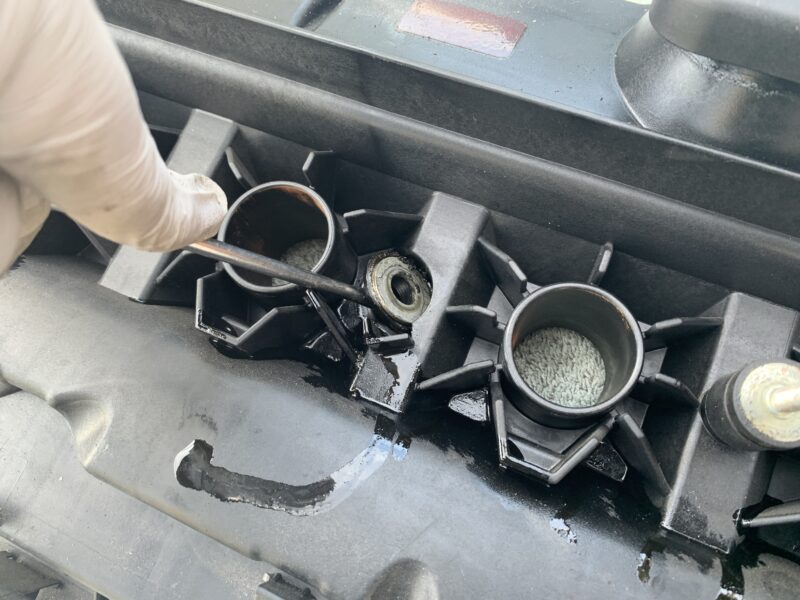
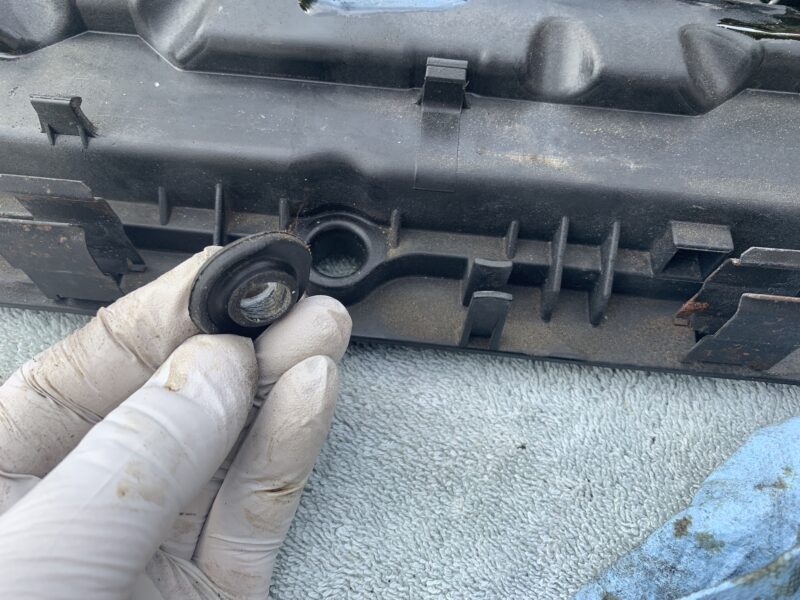
It may be a good idea to clean the valve cover now since you already have it out of the car. I used some engine degreaser along with a detailing brush to clean it up.
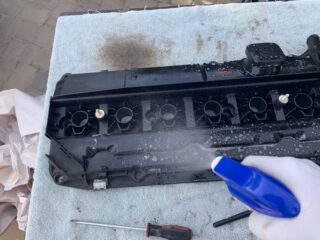
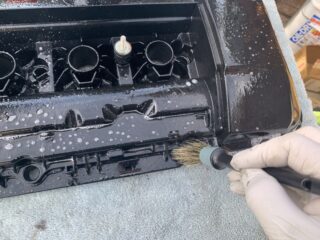
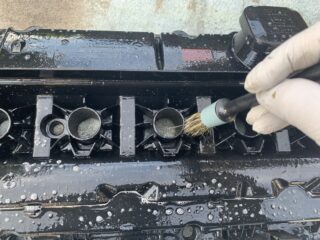
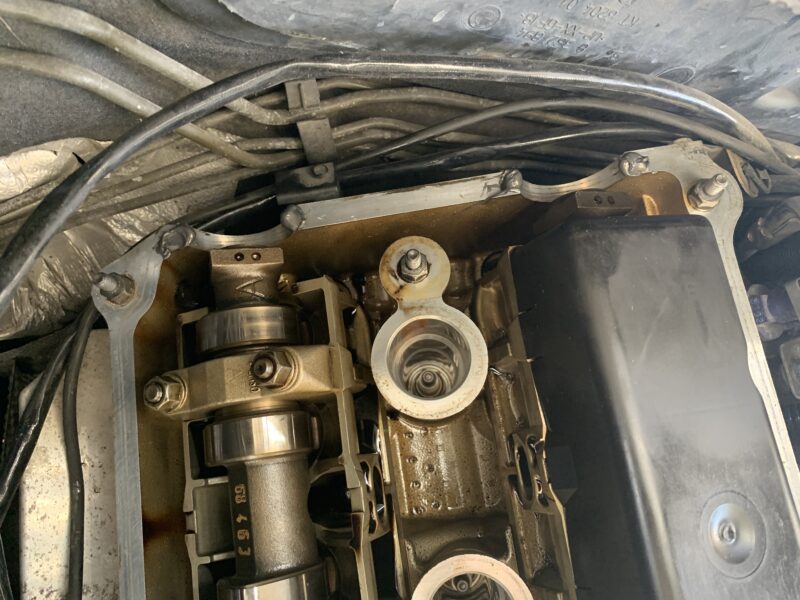
Now, we need to apply RTV sealant to certain spots on the cylinder head prior to installing the valve cover and gasket back on.
Apply the RTV sealant in these 10 locations. There are 2 spots where the cylinder head and timing chain area meets. There are 4 corners in the front and 4 corners in the back that you need to apply a dab as well. The 3rd and 4th photos below show all 10 locations for the RTV to be applied. You don’t want to do anything other than just a dab, as you want the valve cover to compress and squeeze the gasket maker out evenly forming a tight seal.

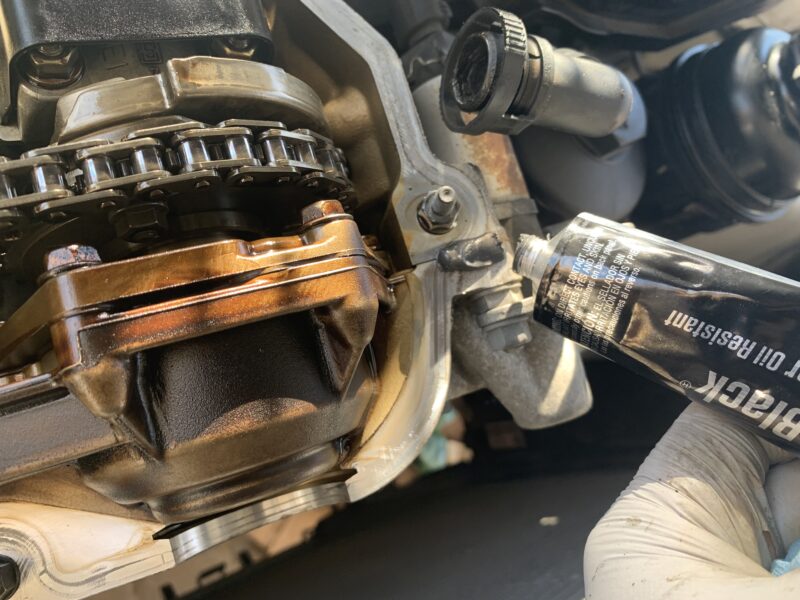
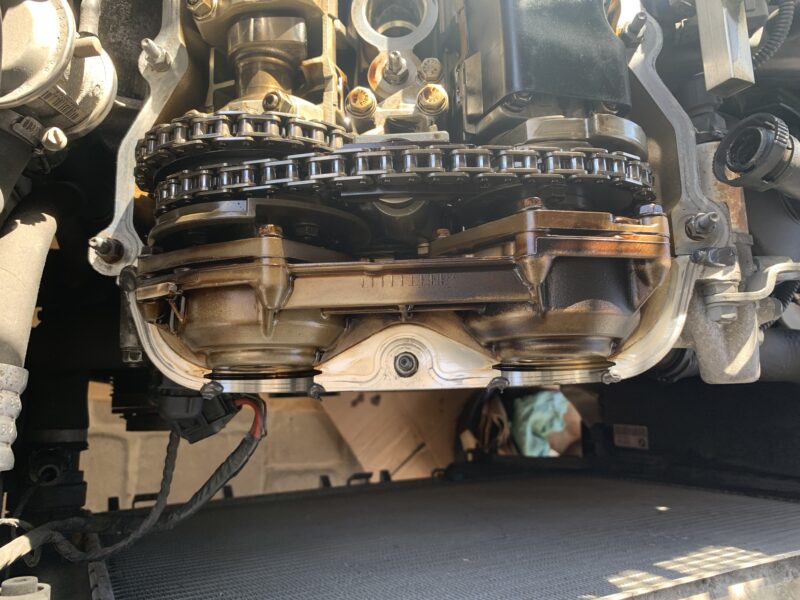
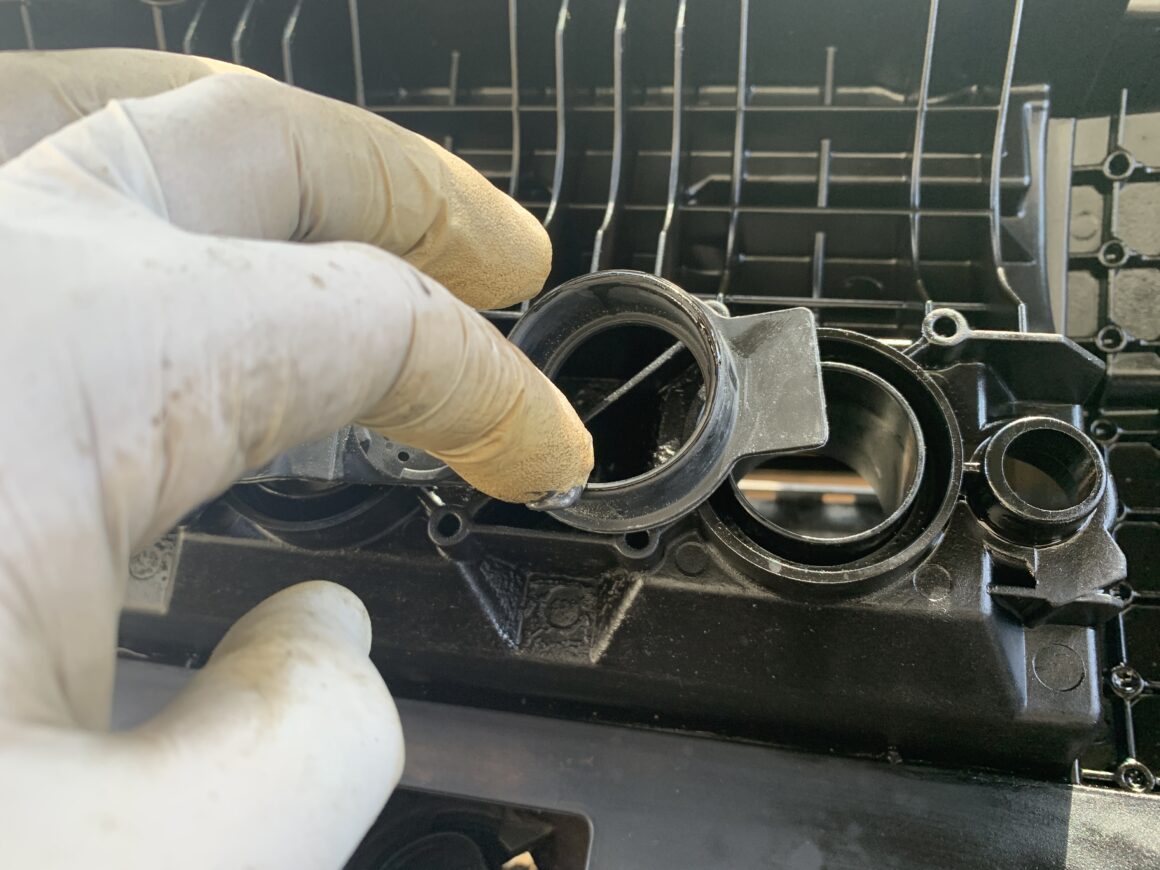
Now, take your new valve cover gasket and prepare it for installation. Because you will be installing the gasket onto the valve cover first, then installing the valve cover, you may want to apply a bit of RTV just to hold the gasket in place. When you turn the valve cover around (with the gasket on), it is easy for it to fall out due to gravity. You really don’t want that gasket moving around when you’re installing the valve cover back on, as it might not seat properly, leading to oil leaks.
Apply just enough RTV so that the gasket stays stuck onto the valve cover even when it’s turned over. Don’t apply too much as you still want the gaskets themselves to do their job.

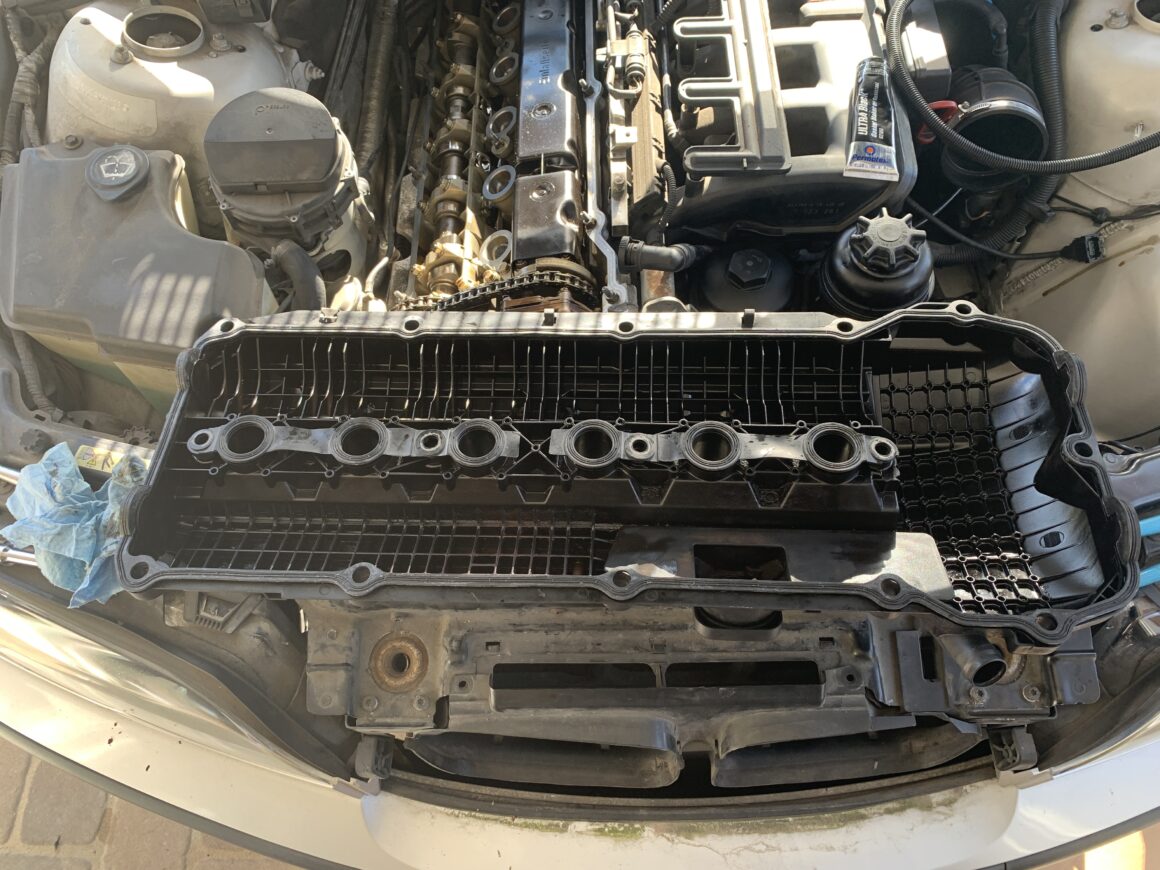
Carefully turn your valve cover over with the installed gaskets and lower it ever-so-lightly and exactly into its position. You do not want to lower it and make adjustments after the valve cover is down–this will cause a poor seal and possibly cause your valve cover to leak again.
Once the valve cover is carefully lowered down into its correct position, you may press the valve cover down firmly; ensuring that it is seated properly. Now, use the grommets and washer provided with your gasket, and start installing the fasteners back on the perimeter and inside of the valve cover.
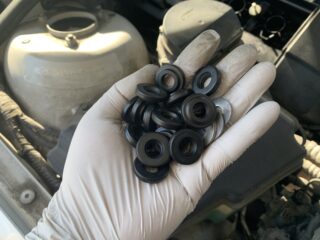
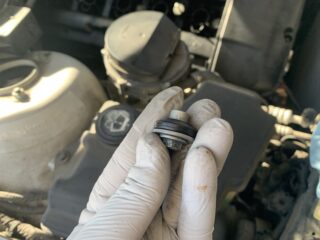
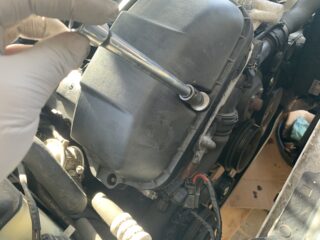
I like to a ratchet extension with the 10mm socket (without the ratcheting wrench) and tighten all the bolts by hand very, very lightly all around. Then, I’ll use a 1/4″ torque wrench and torque down all of the bolts down to 6 ft-lbs (8 Nm).
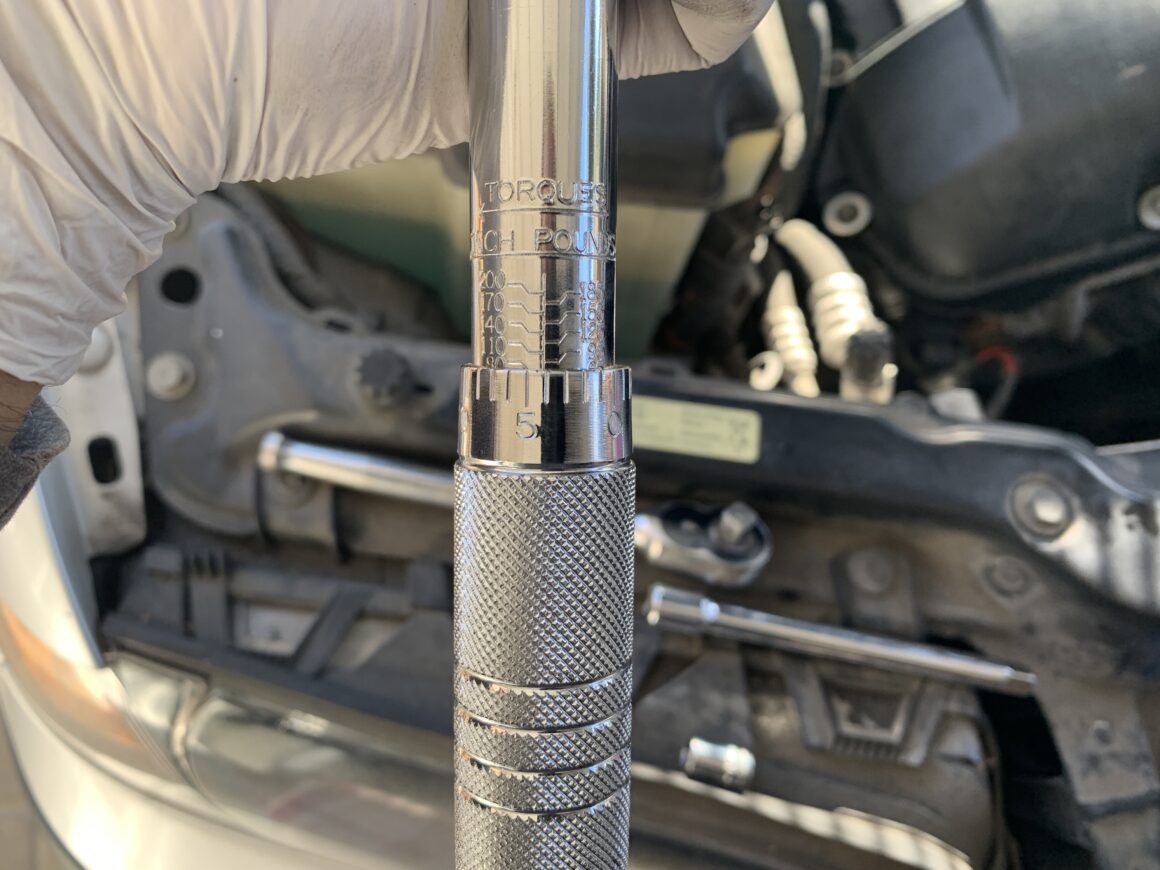
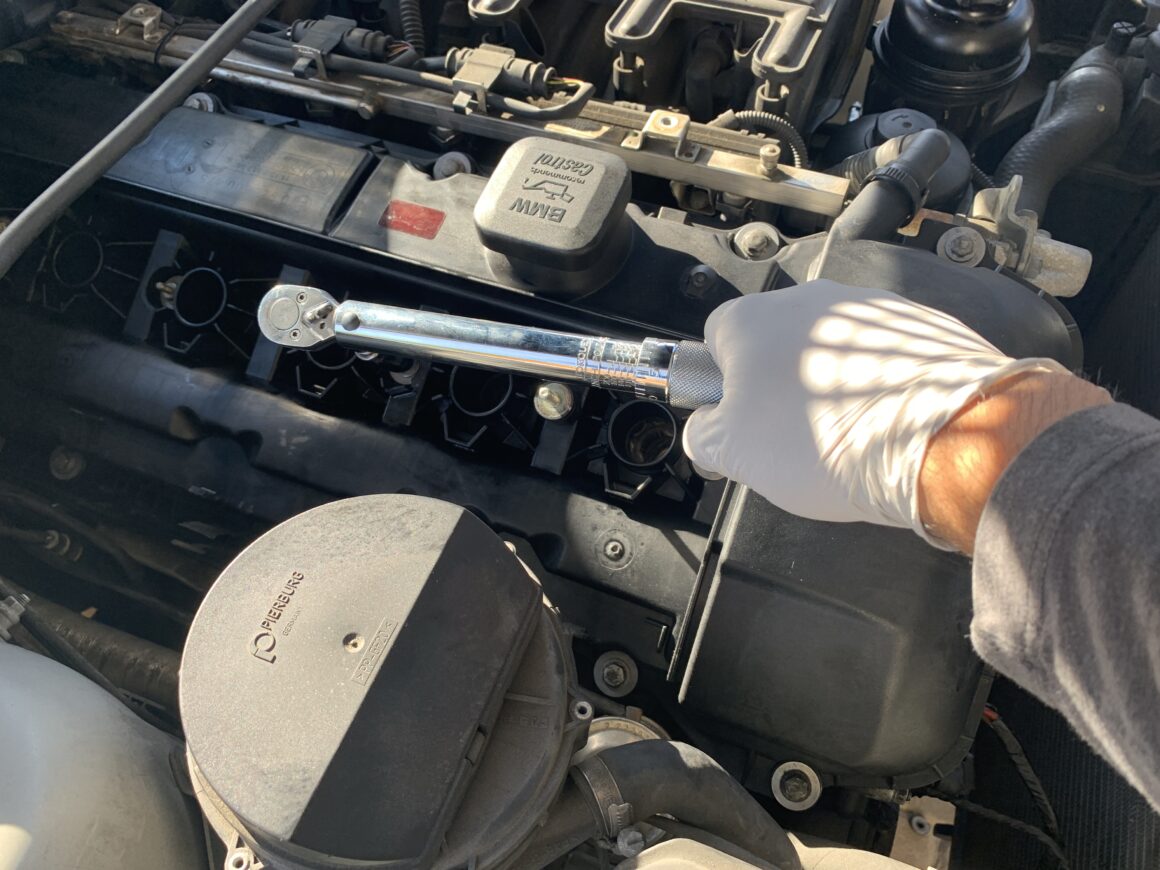
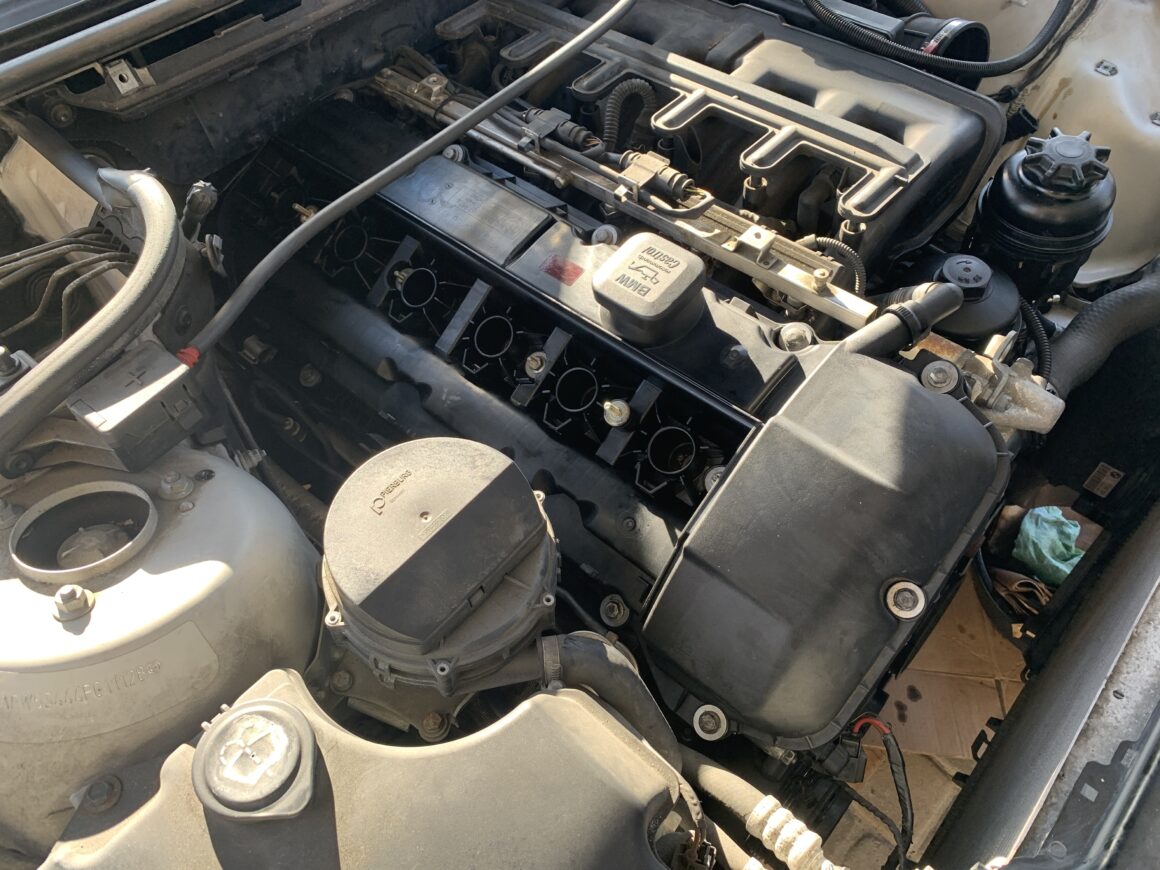
After you’ve tightened down all of the valve cover bolts, you can then reinstall everything else that you’ve removed in reverse of removal. Sometimes, you hear of people still having a leak from their valve cover gasket even after replacing them.
I believe that this happens for several reasons: the valve cover was installed without using any RTV sealant in those places I previously mentioned, the reinstallation of the valve cover with gasket and sealant was sloppy and the sealant/gasket didn’t make a proper seal, and/or the valve cover bolts were not torqued down to the correct specs.
If you follow this guide and ensure you don’t fall into any of these traps, you will be successful in replacing the valve cover gasket and stopping this common oil leak on your E46. Best of luck!

