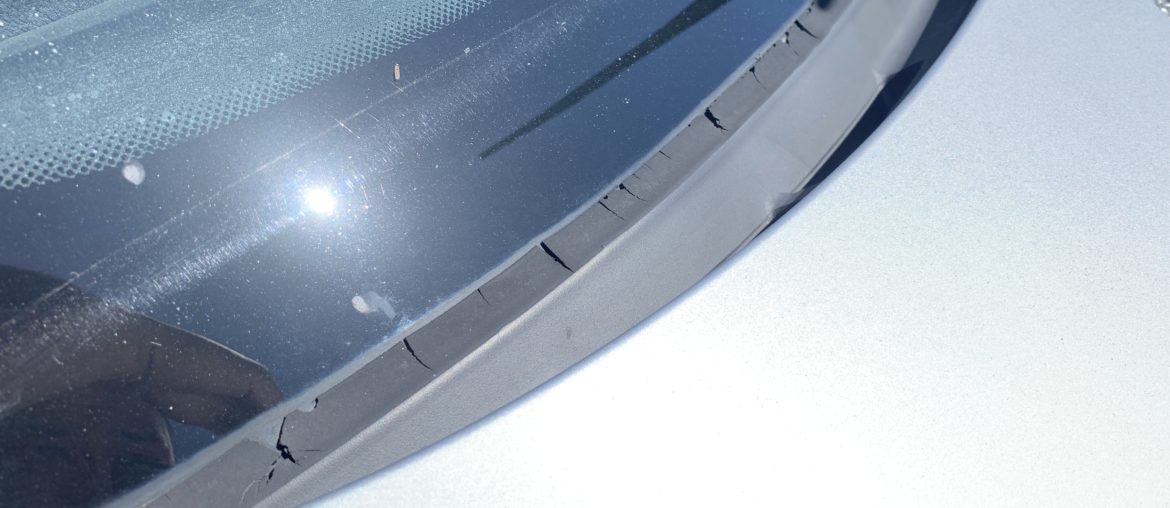
If there is one thing that is guaranteed to be broken on almost every single BMW E46 out there, it has got to be the windshield cowl. This is the rubber molding that sits at the base of the windshield. This rubber molding will get brittle from sun exposure over time and will eventually crack and break apart. If your E46 doesn’t have this problem, it has either been replaced recently, or it is only a matter of time before it happens.
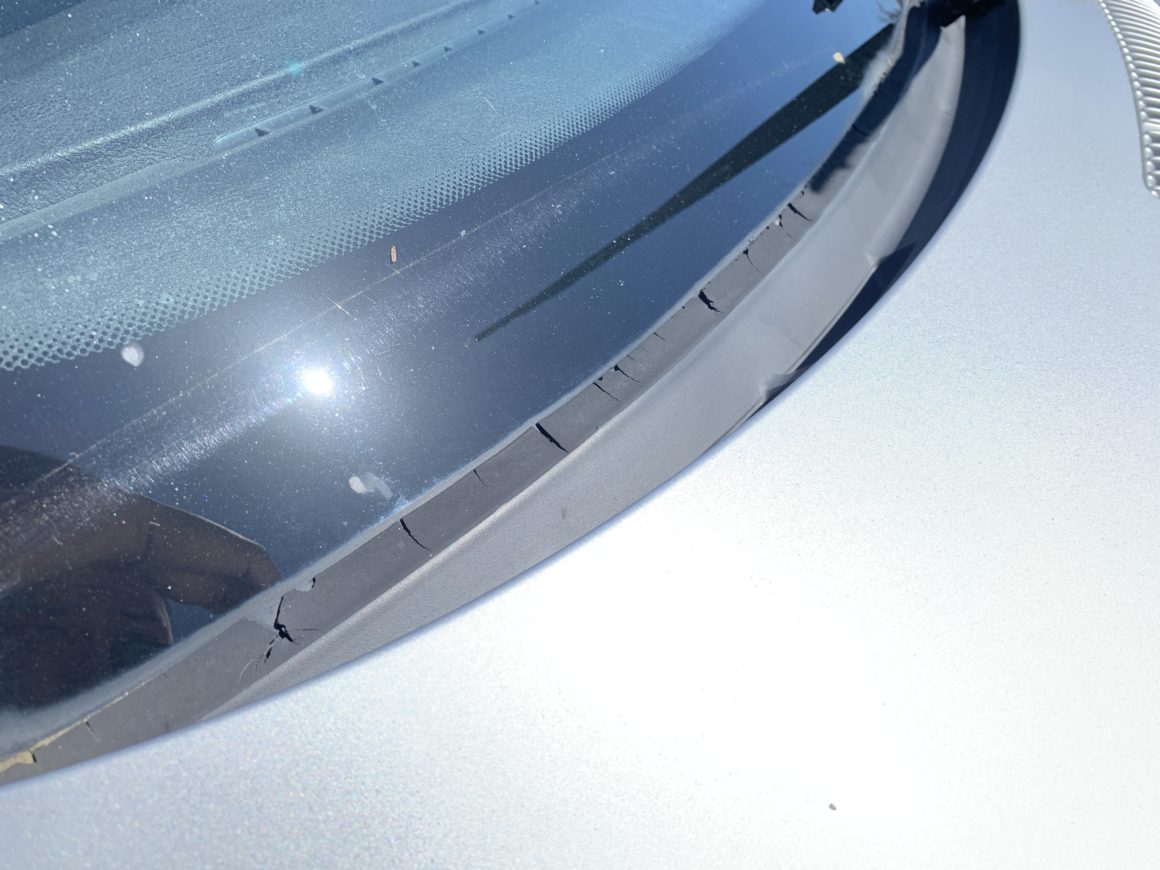
The quick and proper fix is to replace the windshield cowl, which I will show in this post. However, I do want to touch on the “repair” method as well. Since Genuine BMW windshield cowls can cost just over $100 and aftermarket ones can cost a bit under $100, so many E46 owners may be tempted to repair it instead. The cost for repairing it is about $10, but in my opinion it’s just not worth doing.
Fixing v. Replacing the Windshield Cowl
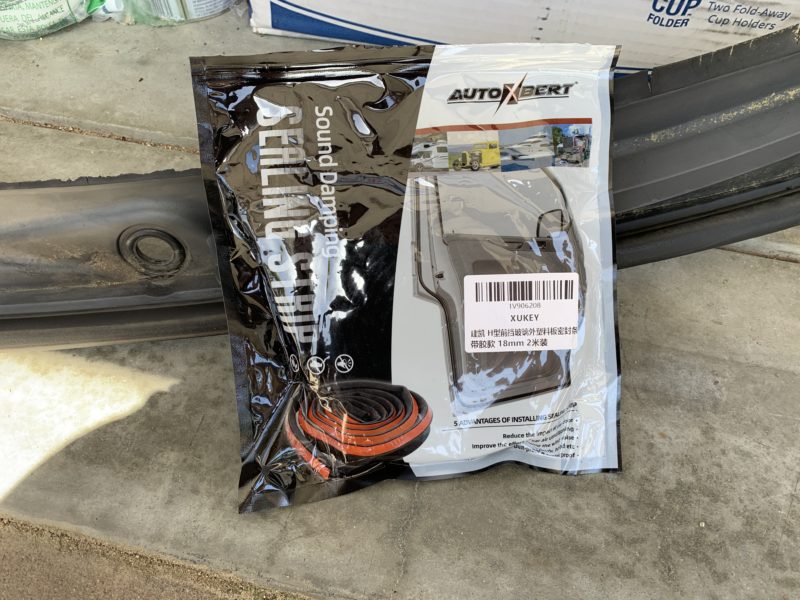
Repairing the windshield molding may seem enticing because it costs a tenth of replacing, but I tried doing this myself and ultimately found it to be an inadequate repair and it doesn’t look very good. Essentially, the repair involves you cutting off the damaged portion of the windshield cowl and applying an H-shaped weather-stripping to it.
The repair sounds like it could work, and it kind of does. But, it doesn’t fit perfectly especially at the ends of the cowl, and it doesn’t have a nice seamless look when you’re done. If you can’t stand the look of your cracked windshield cowl and you can’t afford $100 to replace it, installing this weather-stripping might be an option.
Have a look at my attempt with this repair and you can decide yourself if this option might work for you. Personally, I recommend replacing the trim altogether; although it costs a lot more, it does give you a perfect looking windshield molding in the end.
H-Shape Weather Strip Molding Trim on Ebay
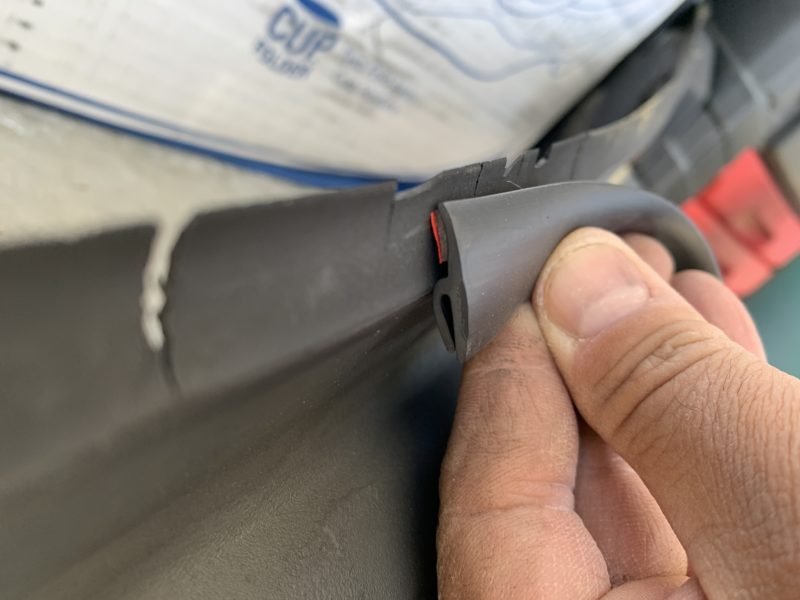
As you can see from the cross section of the H-shaped weather-strip, the U-portion fits around the existing molding (you have to cut the cracked portion off) and then the other side with the sticky tape attaches to the windshield.
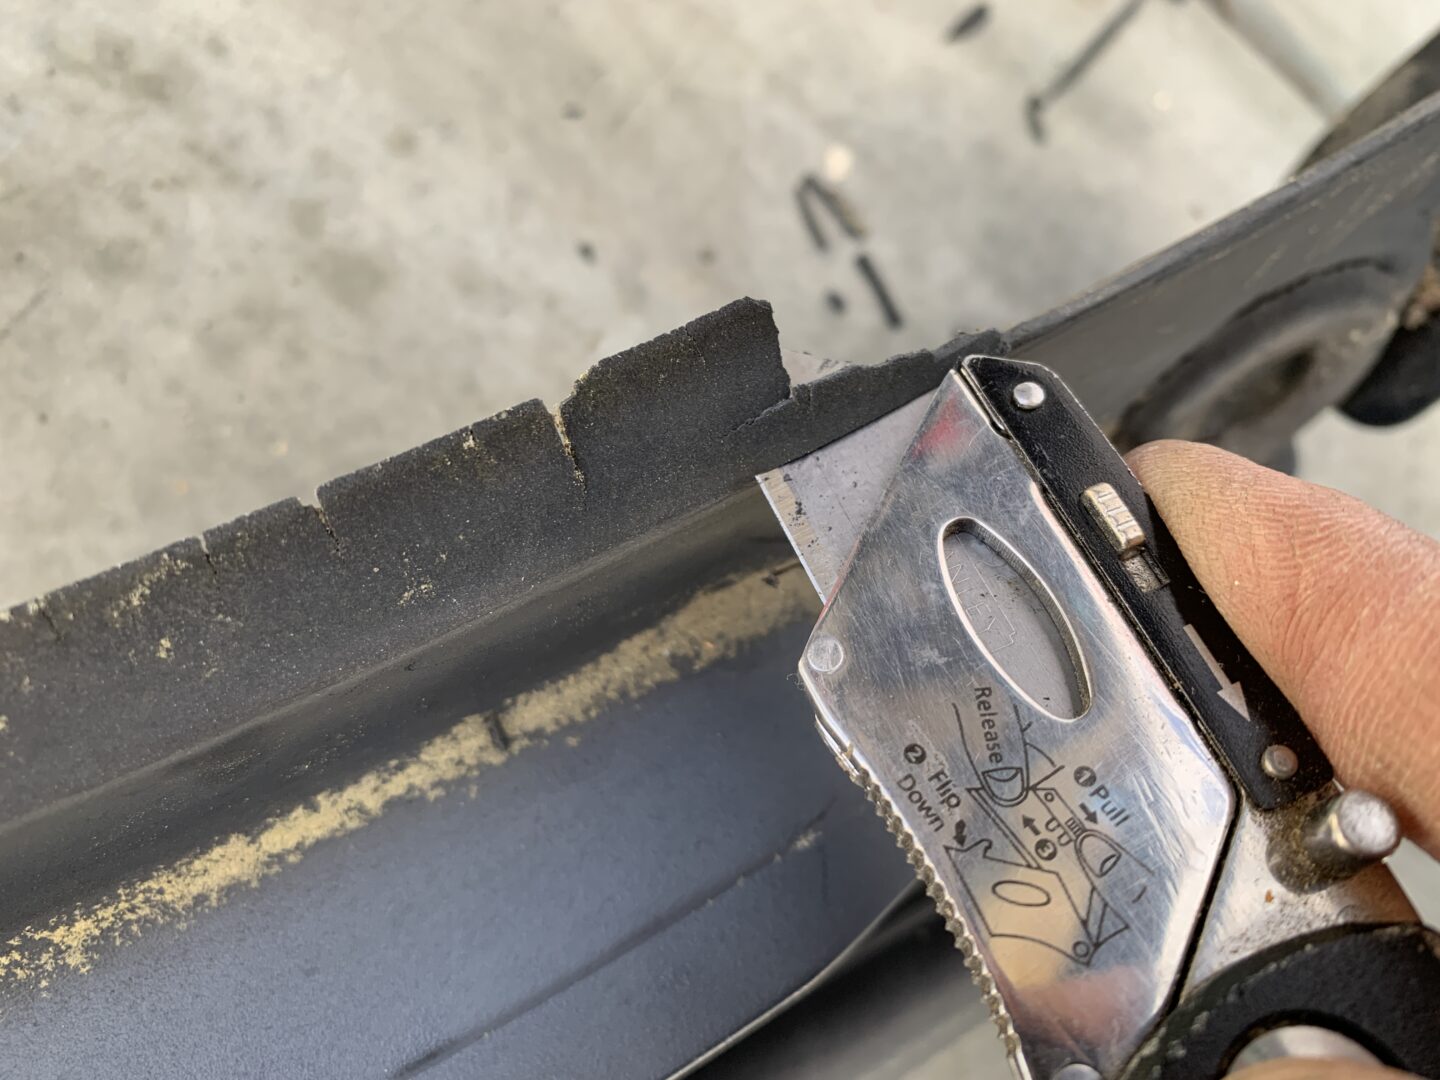
A utility knife cuts through the rubber molding very easily. You slice through the damaged section and eventually you are left with a clean cut edge along the top of the windshield cowl.
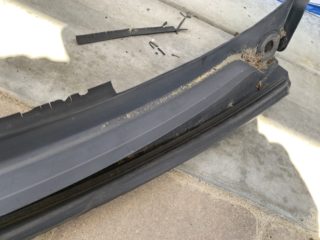
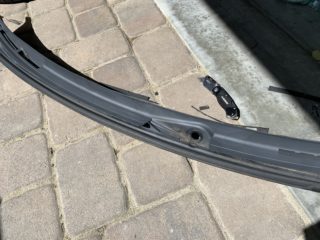
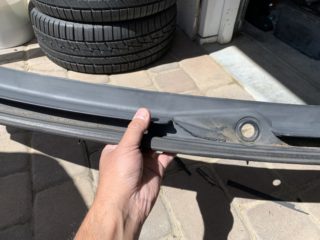
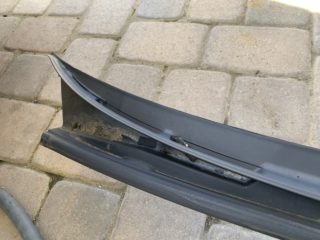
After you clean the windshield cowl you can apply the H-shaped molding. The H-shaped weather-stripping needs to be cut to length, and then fit onto the cowl. After the U-portion of the weather-stripping fits over the existing windshield cowl, the other sticky side (red tape will be removed to reveal sticky surface) can then be stuck onto the windshield.
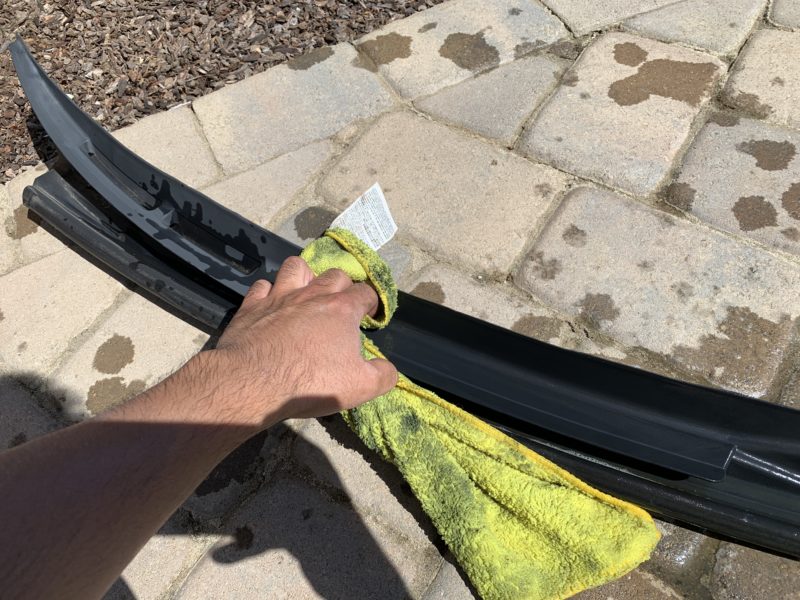
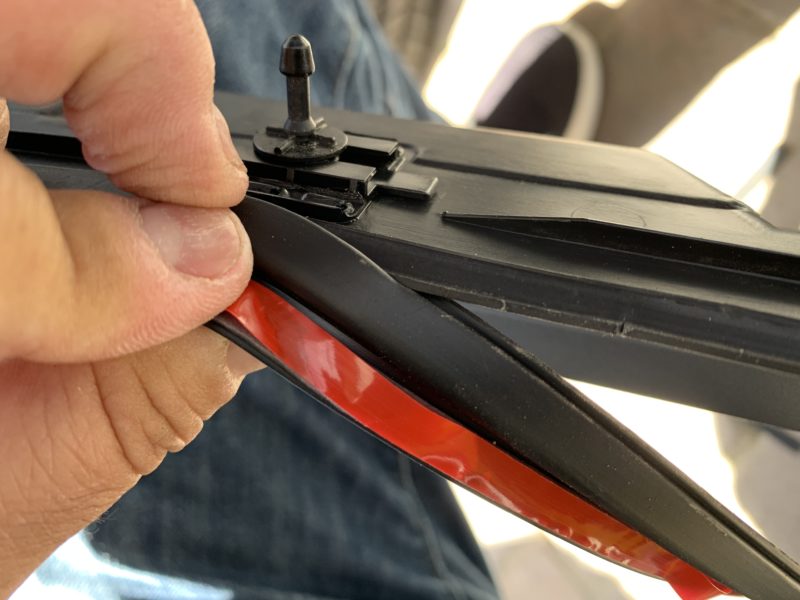
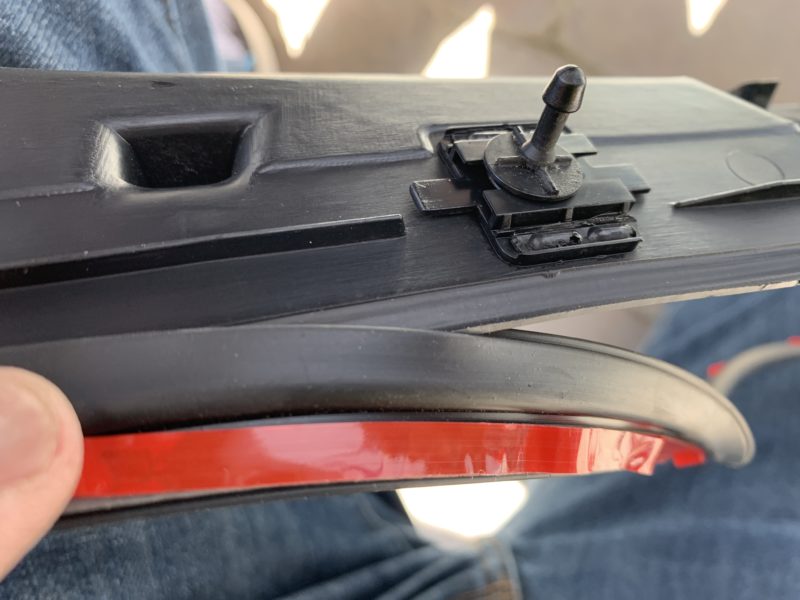
I didn’t feel that the sticky surface had enough reach to actually adhere adequately to the windshield. After I applied this H-shaped weather-stripping to the windshield cowl, it just sat the surface of the windshield. It may have looked better if the sticky surface could actually adhere to the windshield, but it didn’t. As a result, it looked a bit wavy, which doesn’t look good. From far away, it’s less noticeable.
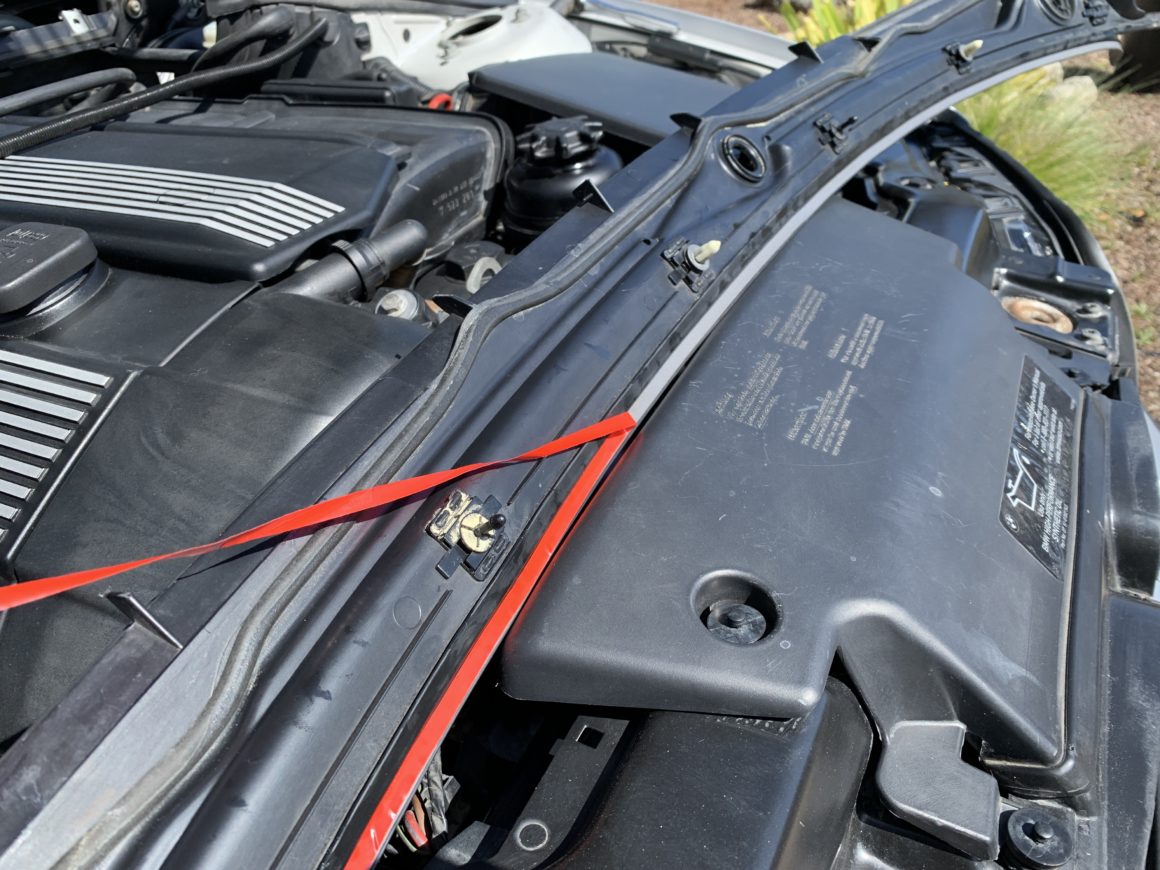
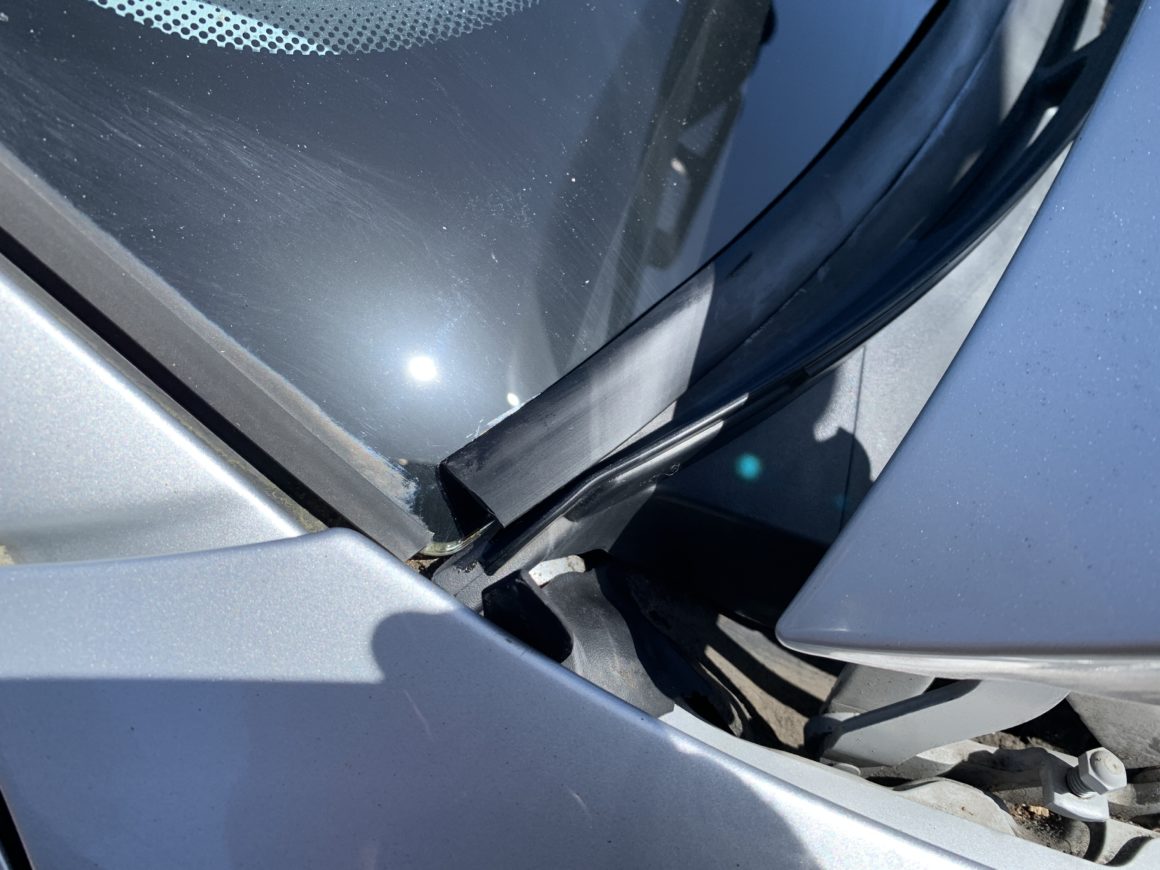
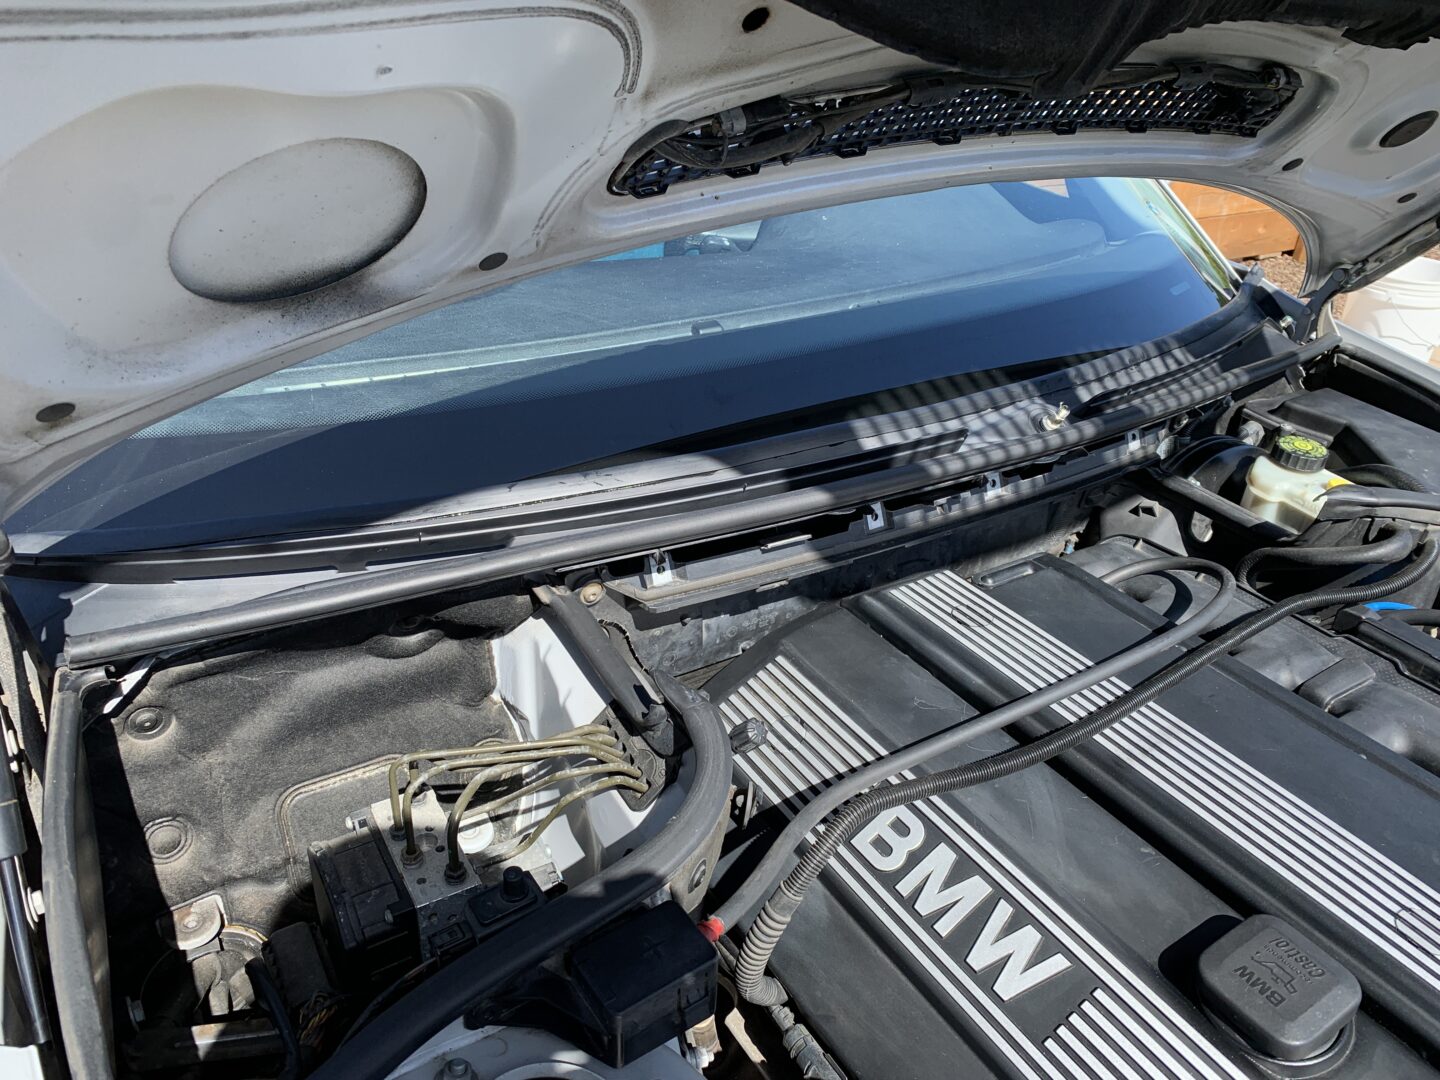
In the end, I decided I wanted a seamless look and therefore I opted to purchase a replacement windshield cowl. The same process applies for replacing the windshield cowl as repairing it, but it’s actually easier because once you get the windshield cowl out, it’s basically a swap out.
Tools & Materials
You’ll need a large flat head screw driver (one that you don’t mind getting damaged) and a hammer (I prefer a heavier hammer like an Engineer’s hammer). These tools are used to remove the wedge bolts that hold the wiper arms in place. You’ll also need a replacement windshield cowl, of course.
Windshield Cowl
You basically have two options for windshield cowls: a Genuine BMW windshield cowl (Part #: 51718208483) or an aftermarket windshield cowl. They both cost around $100, but the Genuine BMW one costs a bit more. In all honesty, I think whether you go with aftermarket or the OEM BMW part, it’s going to be similar in quality– it’s basically a molded piece of plastic and rubber. There are different aftermarket brands, but they all probably come from the same place.
Genuine BMW (Part #: 51718208483): Ebay
Aftermarket on Ebay: Option 1 / Option 2 / Option 3 / Option 4
Replacing the Cracked Windshield Cowl on a BMW E46
The windshield wiper arms need to be removed in order to take the windshield cowl off. This part can be a bit tricky. First, pry up on the plastic caps covering the wiper arm bolts. Then, use a 14mm socket to remove the bolts off each wiper arm.
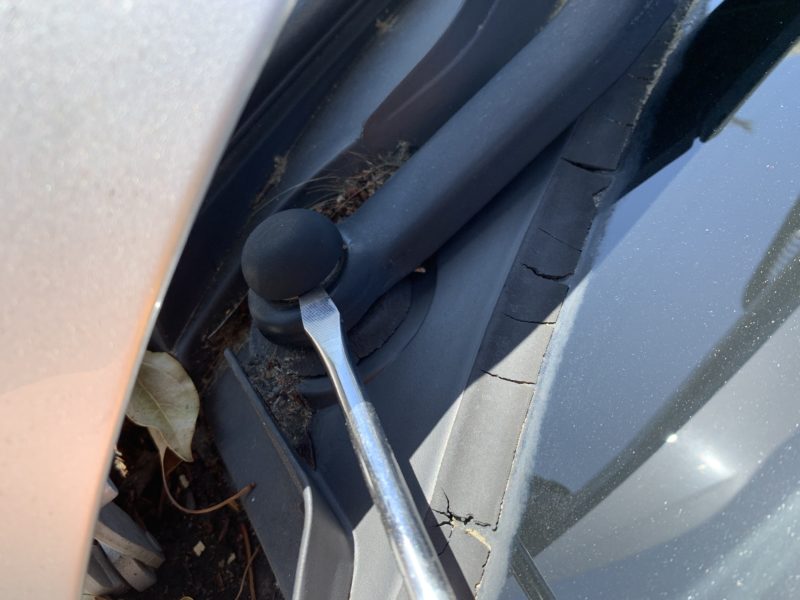
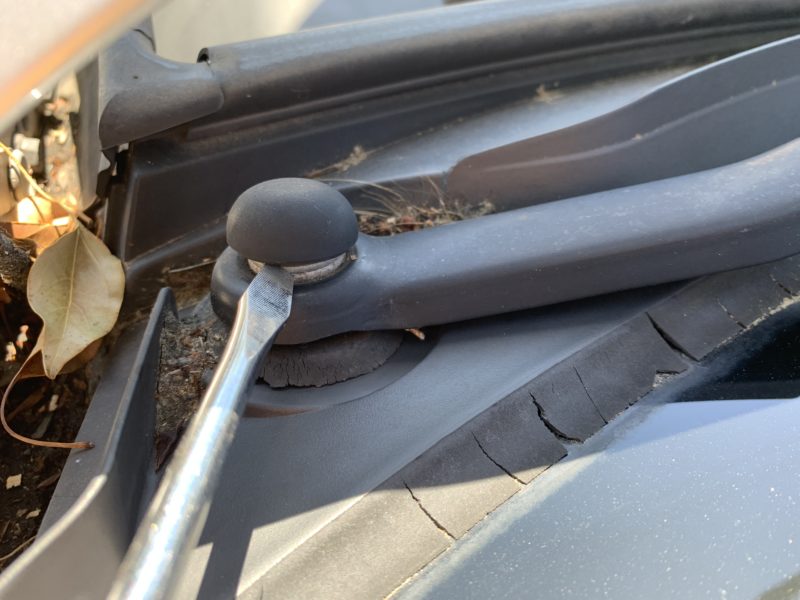
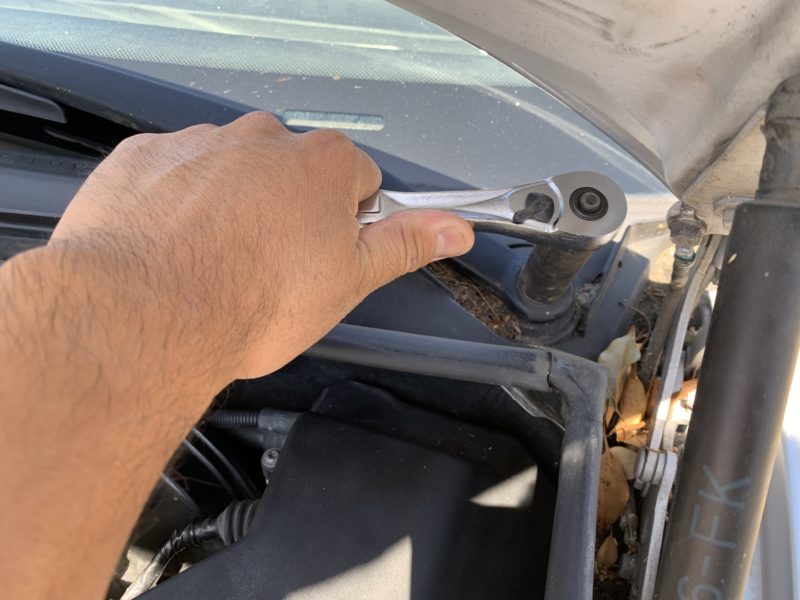
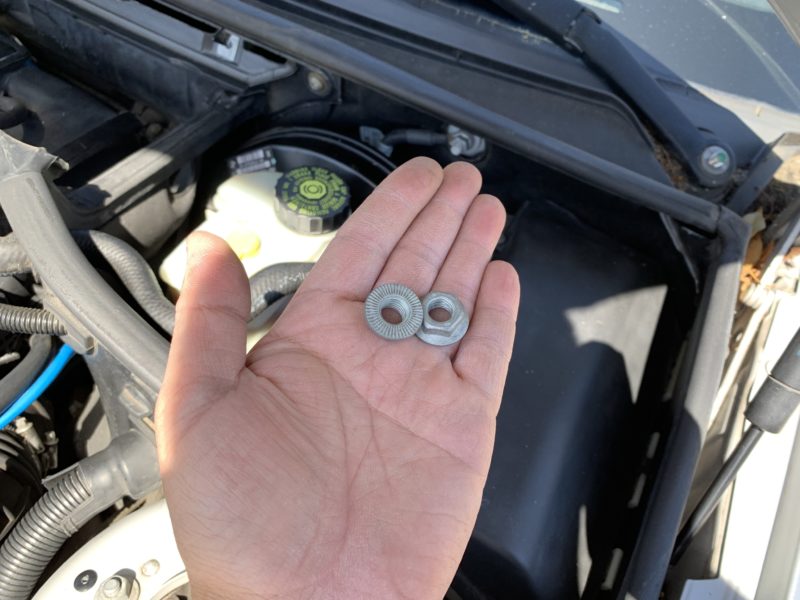
It would also be a good idea at this point to use a paint pen or permanent marker to mark the location of the wiper arm to the base so that you can align it correctly when you reinstall it later.
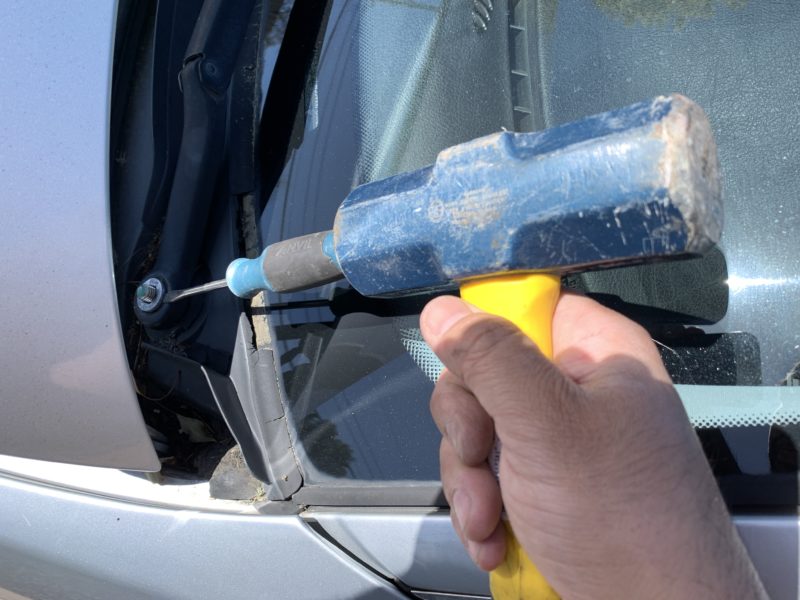
After the wiper arm bolts are removed, you’ll notice the wiper arms are held in place with these special wedges. There is a way to remove these with regular tools. Use a flat head screwdriver (one that you don’t mind getting the tip damaged), and use it like a chisel. You will then hammer the screwdriver into the wedge bolt from the sides, so that it slowly dislodges. Hit it from all angles. It also helps to pry upwards with the flat head screwdriver to pull it off and away from the base of the wiper arm.
I also like to use a heavier hammer like an Engineer’s Hammer, which allows you to hit it with more force with having to smack it harder. Since we’re working right next to the windshield, you might accidentally break the windshield if you’re not careful. After the wedge bolt is loosened and removed, you will be able to remove the wiper arm from the base.
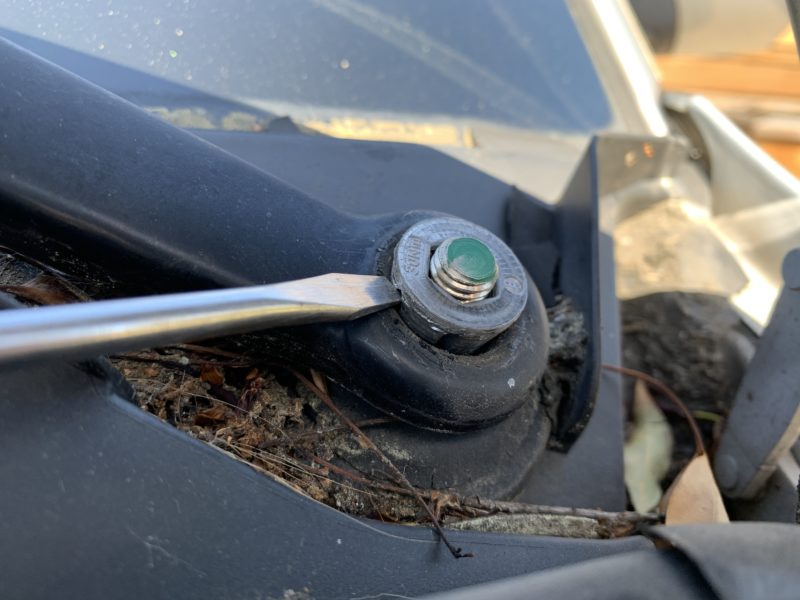
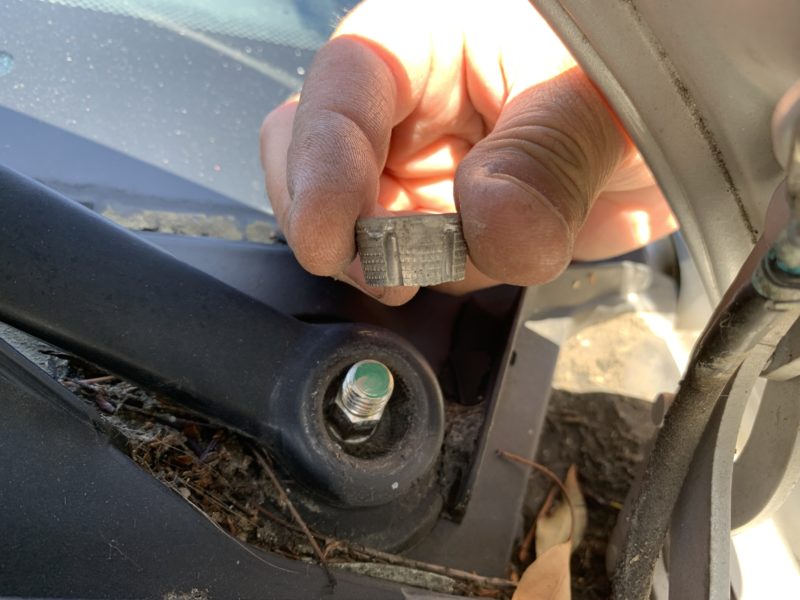
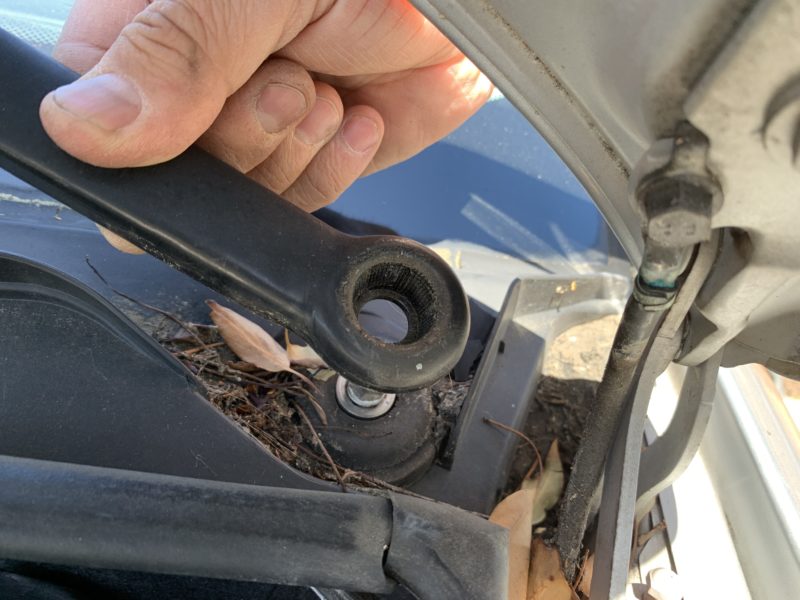
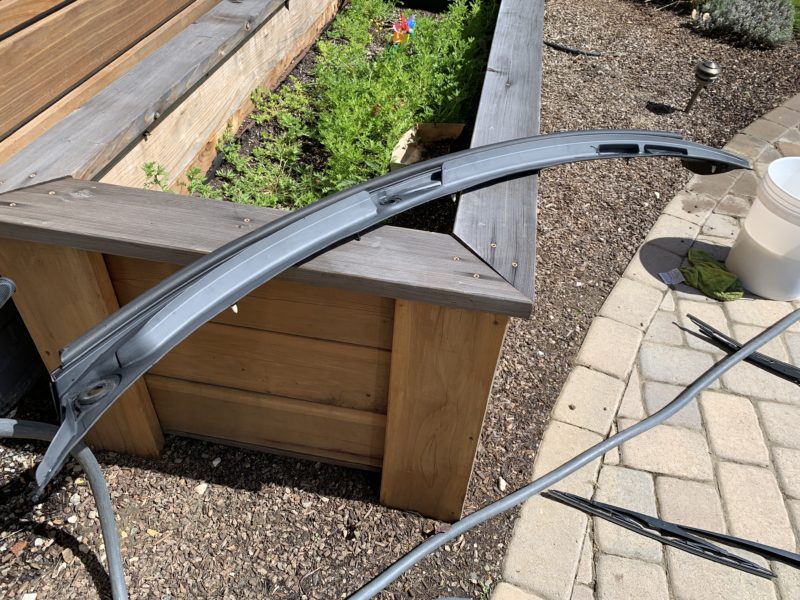
Finally, with both wiper arms removed, you can pull the windshield cowl off.
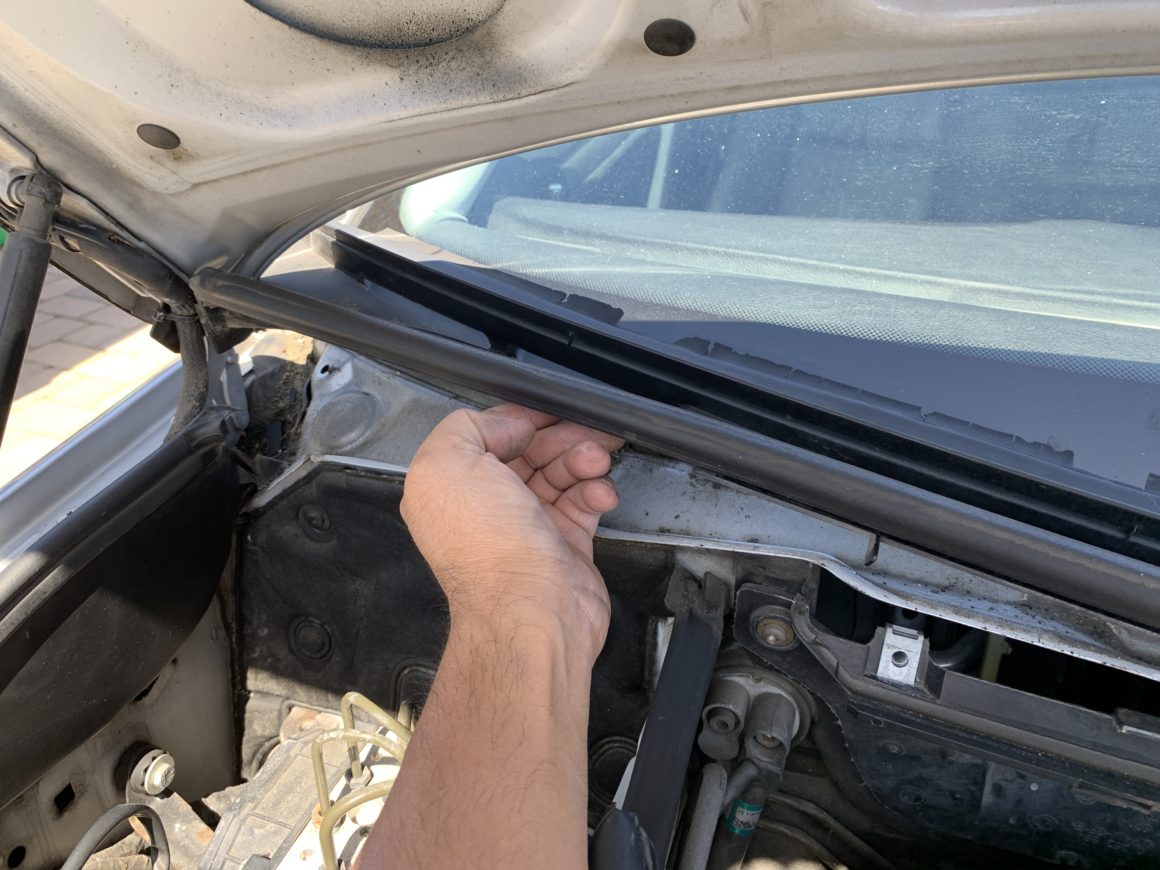
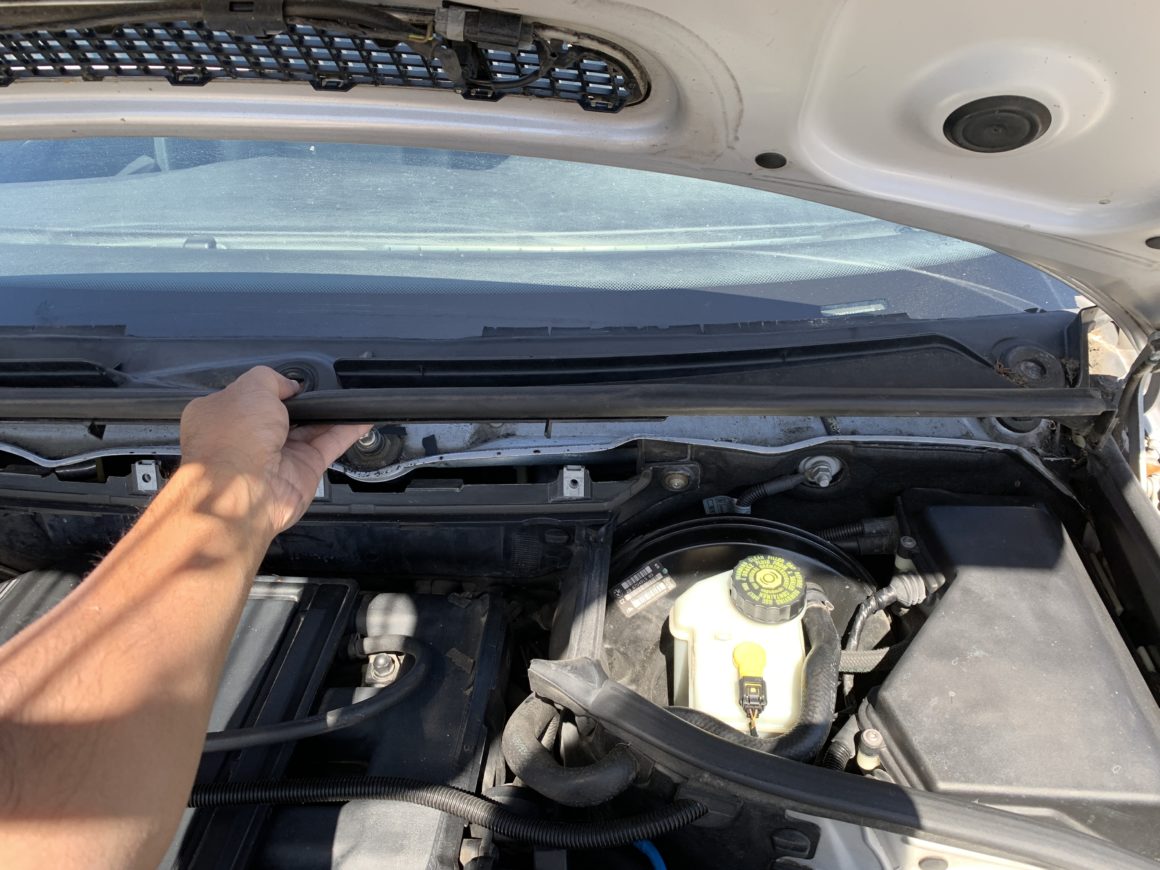
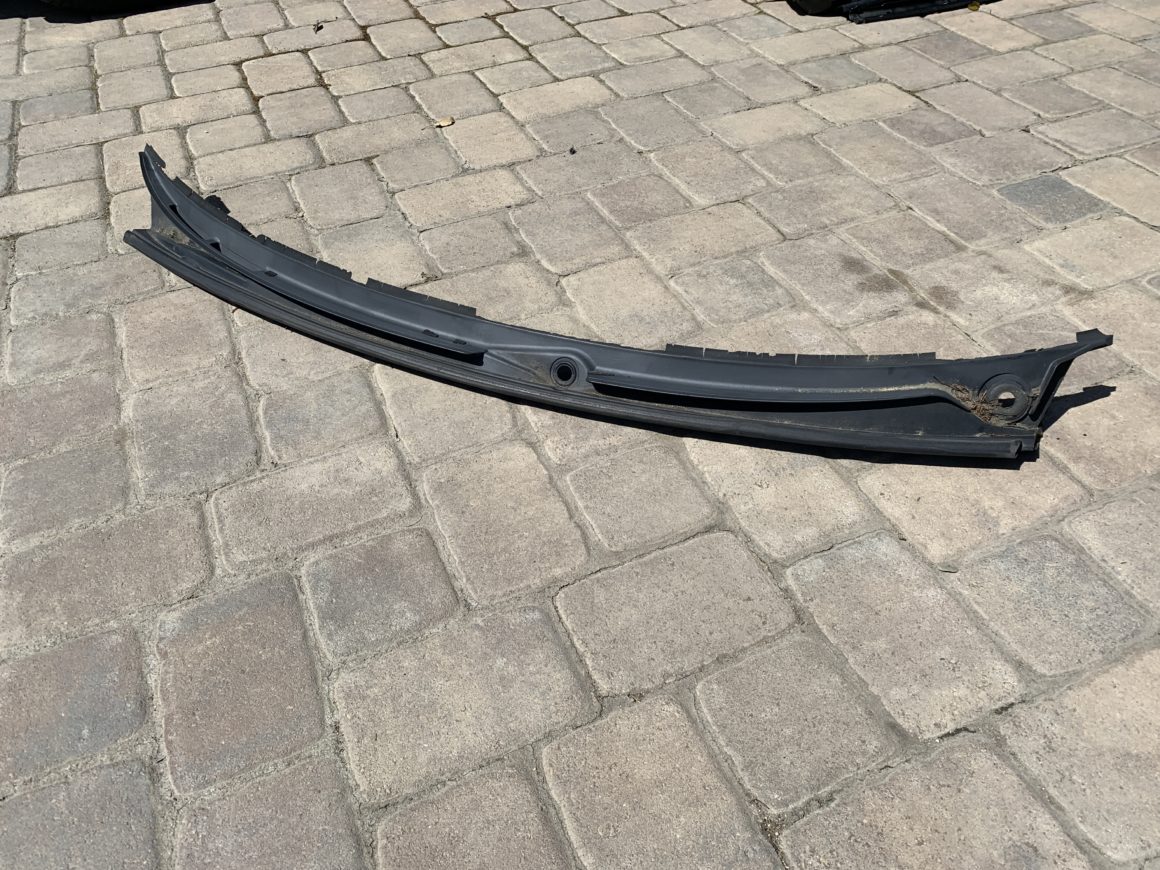
This is a good time to use a vacuum with a skinny attachment to vacuum up all the leaves and debris behind the windshield cowl. Then, wipe down the area if you wish.
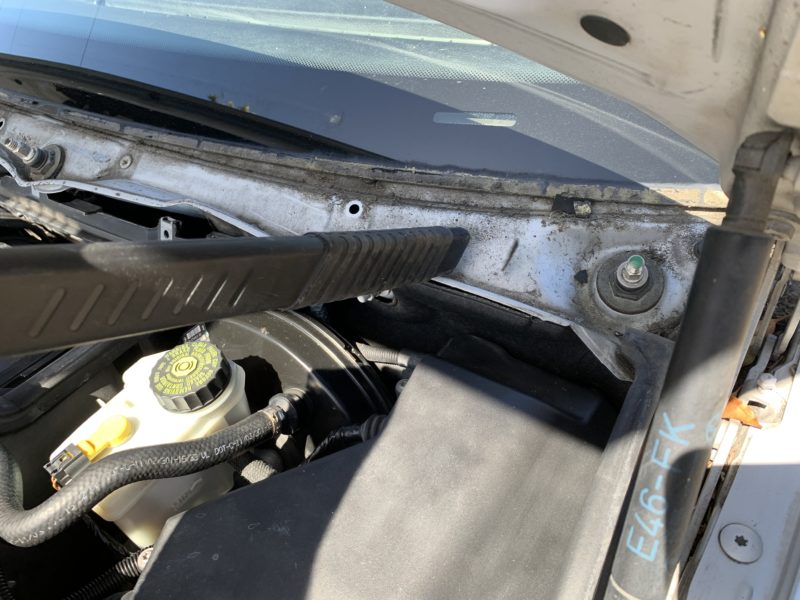
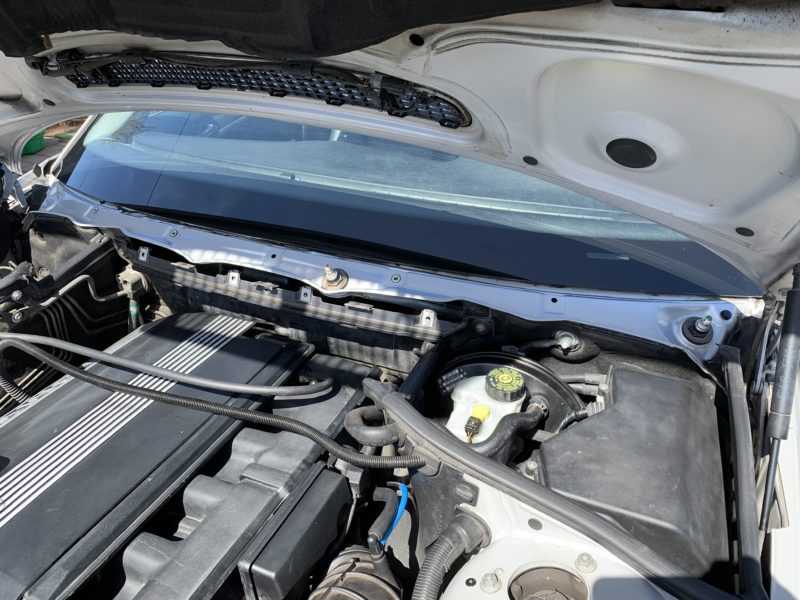
Now, the new windshield cowl will go back in the same way the old one was removed. Make sure the new pins of the windshield cowl pop into place properly. If there are any old pins still stuck, remove those before installing the new ones. The new windshield cowl should come with new pins and clips, so just make sure that each of the (7 qty) holes have a matching pin and clip so that the windshield cowl attaches securely to the vehicle.
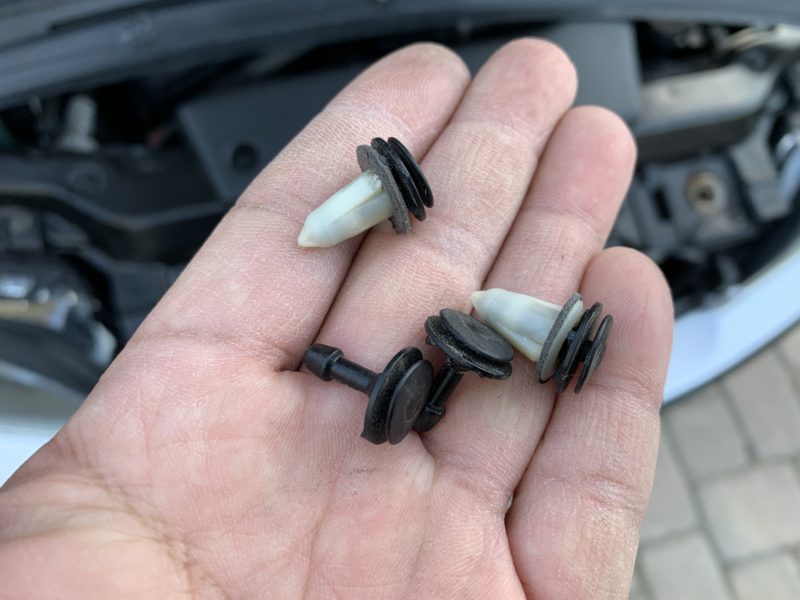
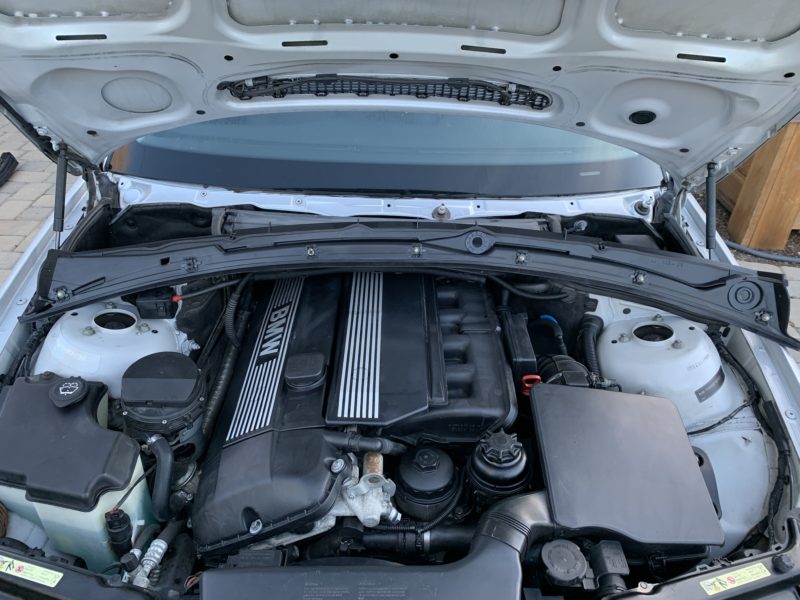
Once the new windshield cowl is installed, you can then replace the wiper arms in the proper alignment. Re-install the wedge bolts by knocking them in lightly with a hammer, this time hitting directly down onto the wedge. If you hammer them in too much, you will change the angle of the wiper arm which can cause it to scrape against the windshield when you use the windshield wipers.
With the wedge bolts tapped in lightly and the wiper arms aligned correctly, re-install the bolts and tighten them snug. Then put the plastic caps back on and you are all done.
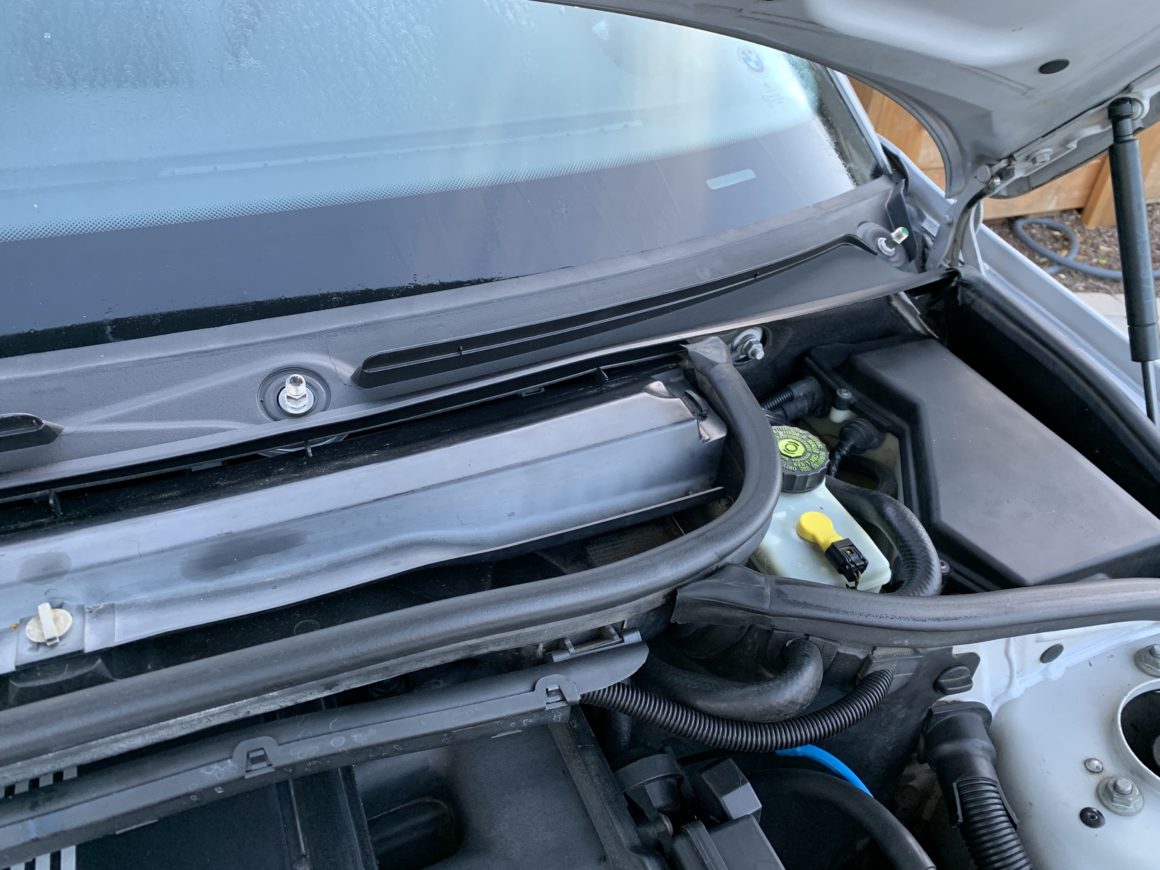
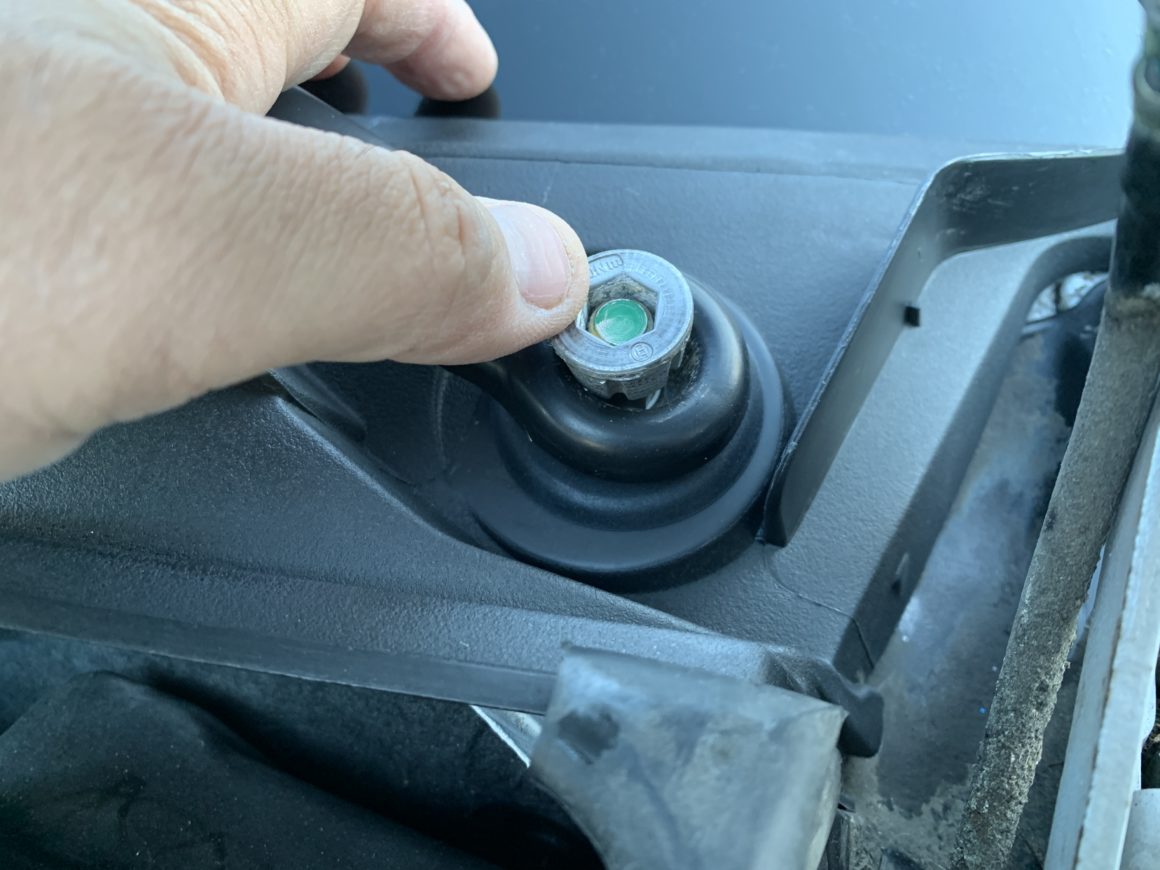
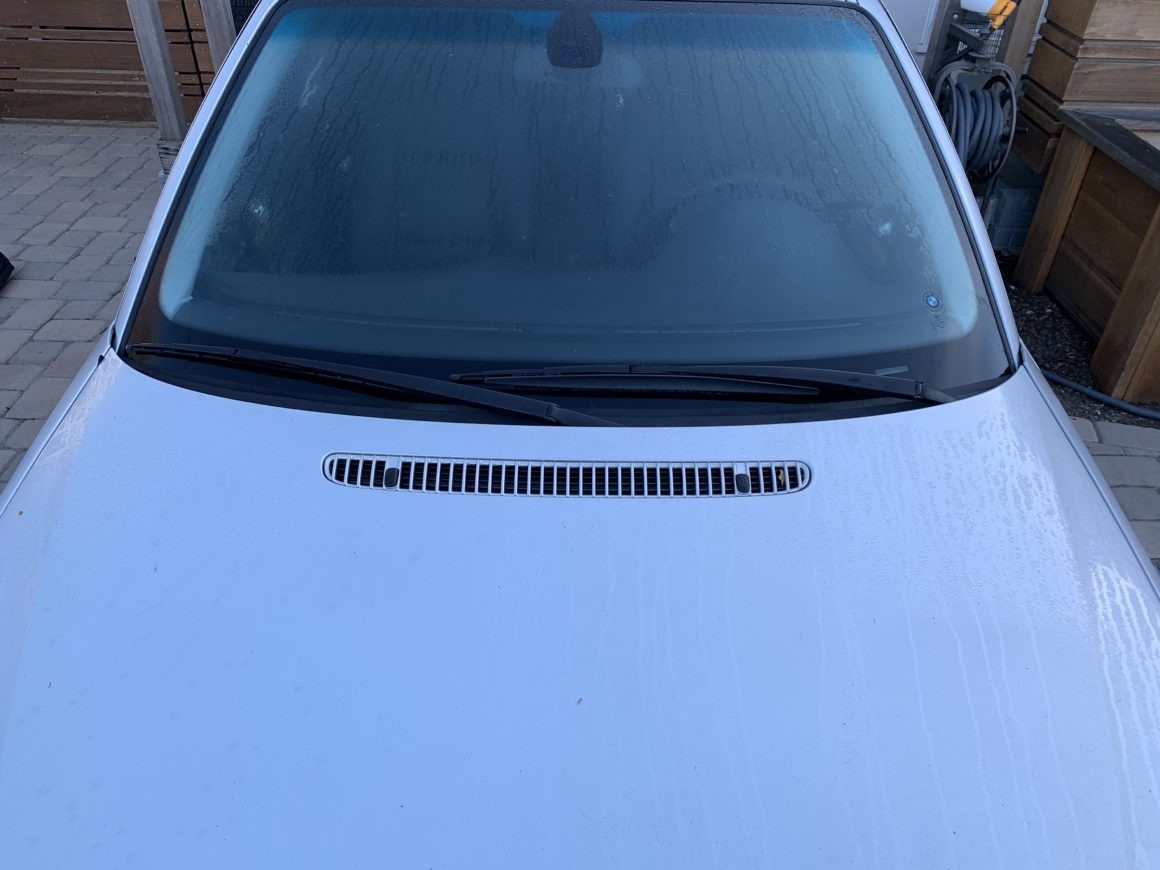
Test out your windshield wipers and ensure the wiper arms are indeed aligned correctly and that there is no scraping during operation. If you are experiencing issues, remove the plastic caps and wedge bolts again and readjust accordingly.

