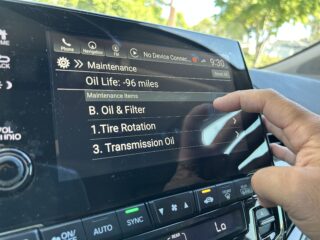
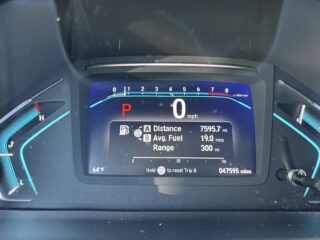
Every so often, your 5th generation (2018-2024) Honda Odyssey may show the sub code ‘3‘ along with a main code of ‘A‘ or ‘B‘. The A or B main codes indicate if you need to do an oil change (code A) or an oil change along with other inspections (code B). The main code will be followed by a numerical sub code. So in my case, it looks like the vehicle is giving a ‘B‘ and a ‘13‘ code, but it is actually giving a ‘B‘ main code and two sub codes ‘1‘ and ‘3‘.
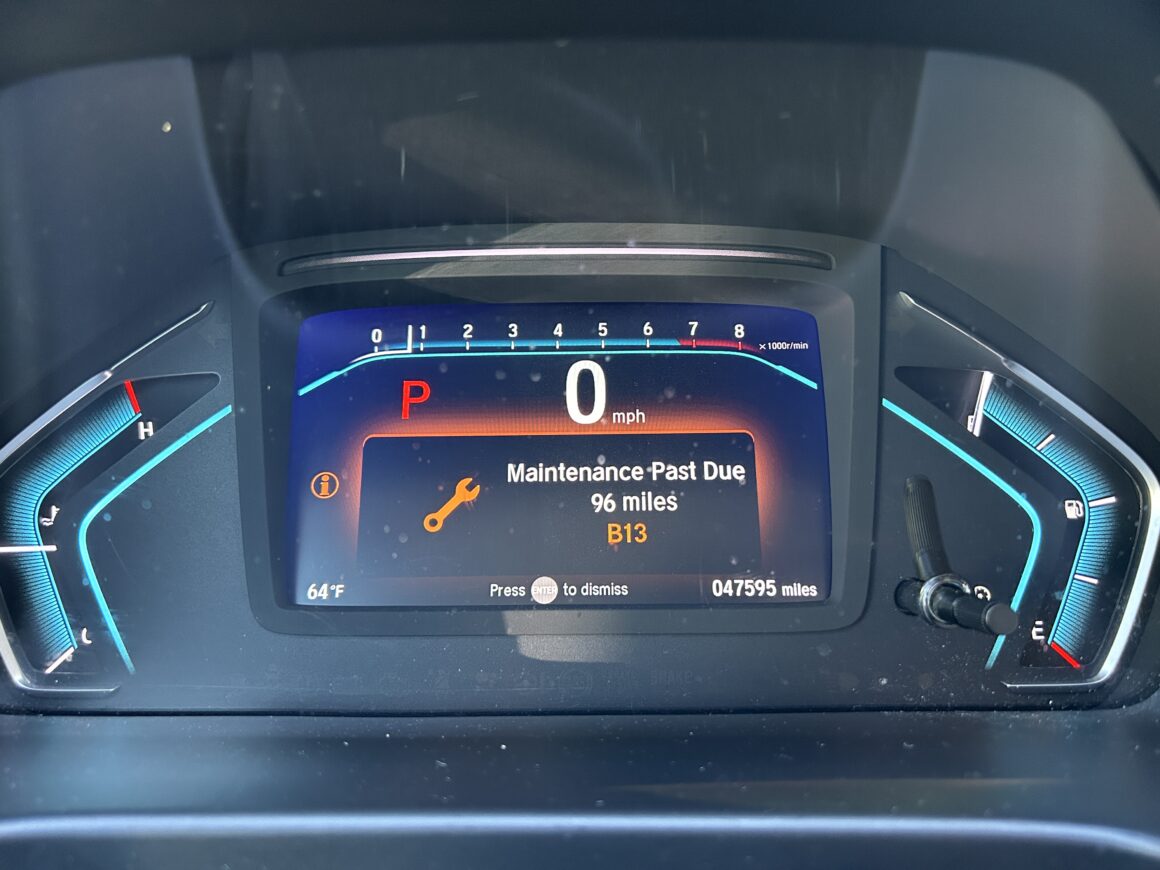
A sub code ‘3‘ means that it is time to change the transmission fluid on the Honda Odyssey. Typically Honda suggests changing the transmission fluid on your vehicle every 90,000 miles, however the Maintenance Minder takes precedence over the generally suggested maintenance interval. Therefore, it is typically wise to change the transmission fluid when the Maintenance Minder says it’s time to.
For more information on these codes, check out this post for the full table of Maintenance Minder codes and what they mean.
Changing the transmission fluid is a bit more involved than say, an oil change, however it is a very doable job for anyone with the right tools. Doing this job will require you to lift your vehicle, remove some splash guards underneath the vehicle, and perform a series of steps in order to properly complete the job.
On this post, I will show how to do the job from beginning to end. These steps and series of photos will pertain to the transmission fluid replacement on a 5th generation Honda Odyssey with the 10-speed transmission. This tutorial does not apply to the 9-speed transmission that can be found on this generation Honda Odyssey.
The 5th generation Honda Odyssey (2018-2024) offers two transmissions: a 9-speed ZF transmission and a 10-speed transmission developed by Honda themselves.
If you have a 2018-2019 Honda Odyssey LX, EX, or EX-L trims, your car has a 9-speed transmission. If you have a 2018-2019 Honda Odyssey Touring or Elite trim, or if you have a 2020-2024 Honda Odyssey (any trim), you have a 10-speed transmission.
Tools & Materials Needed
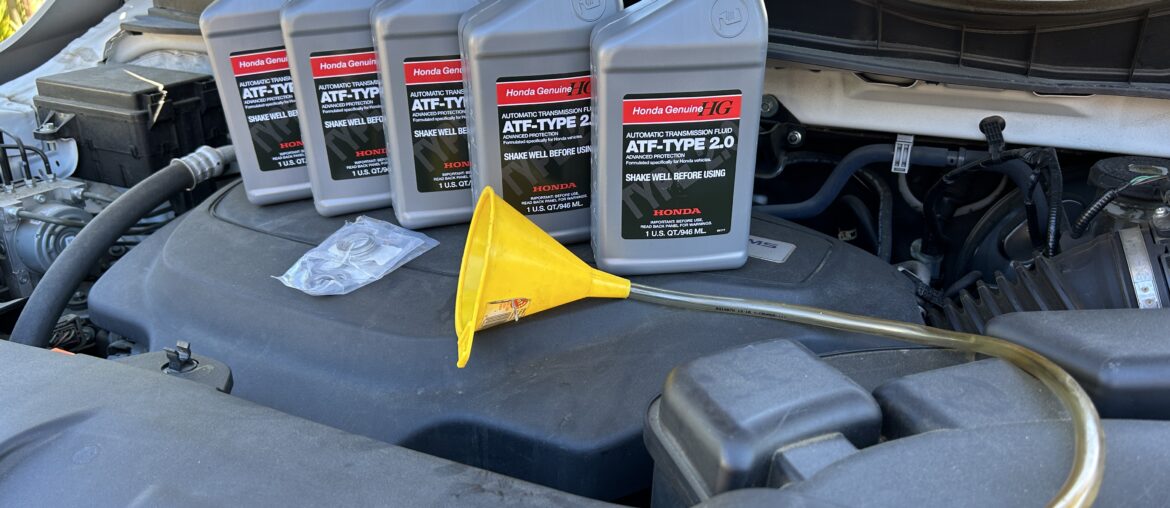
Honda ATF Type 2.0 (Automatic Transmission Fluid)
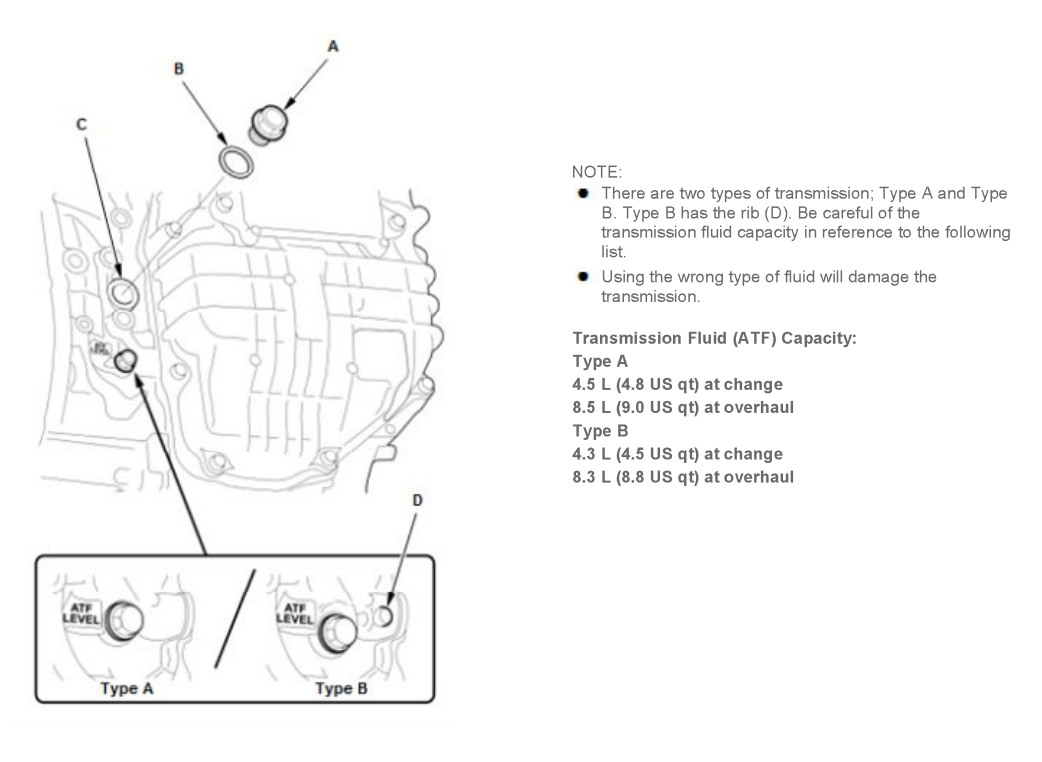
The 2018-2024 Honda Odyssey with the 10-speed automatic transmission actually has two types. There’s a Type A that takes 4.8 quarts of fluid or a Type B that takes 4.5 quarts (see below diagram to determine which type you have.) Either way, if you purchase 5 quarts of transmission fluid (Part #:08200-9015), you will be covered. Because of the way we fill the transmission with fluid (filling until it overflows out of the level hole), it doesn’t really matter which type you have as 5 quarts is more than either capacities.
From my experience, Honda ATF Type 2.0 is a tad difficult to find for sale online. I’ve seen it online on Ebay and some online Honda parts websites. You can also purchase this fluid directly from the parts counter at your local Honda Dealership. A fair price is around $10-$12 per quart. Be aware of sellers inflating the price to over $20 per quart due to the scarcity of this product online. If you experience this, then just go to your local Honda Dealership to buy direct.
Purchase Honda ATF Type 2.0 on: Ebay
Funnel and Hose
This is necessary to refill the transmission fluid due to the fill location.
Arcan 3-Piece Multi-Purpose Funnel Set
10ft x 5/8″ ID Clear Vinyl Tubing
Washers for Drain Plug, Level Plug, and Fill Plug
Technically you should remove old washers (also called gaskets) from the drain bolt, level bolt, and fill bolt, and replace them all with new washers.
Drain bolt washer: 90471-PX4-000 (18mm)
Level bolt washer: 90471-59C-000 (10mm)
Fill bolt washer: 94109-20000 (20mm)
The level bolt washer was difficult for me to find online for some reason. These washers also all tend to be sold at high prices if you purchase just 1 quantity each.
Personally, I purchased a level bolt washer at a local Honda dealership. You can also find these on Ebay as well. The drain bolt and fill bolt can both be found in a set of five each on Amazon, which is what I purchased.
(5 qty) Drain Bolt Washer 90471-PX4-000 + (5) Fill Bolt Washer 94109-20000
Torque Wrench
LEXIVON 3/8-Inch Drive Click Torque Wrench 10-80 Ft-Lb/13.6-108.5 Nm
Mechanics Tool Set or Socket Set
For this job, you’ll need a 3/8″ extension, 10mm, 12mm, and 17mm socket. For the sockets, you can’t use deep sockets because there’s not a lot of room in front of the transmission.
If you don’t have a mechanics tool set, here’s a nice starter set that I recommend: DEWALT Mechanics Tool Set, 84-Piece. If you’re in the market for a mechanics tool set, check out this article for things to consider prior to purchasing one.
Nitrile Gloves
MedPride Nitrile Exam Gloves, Powder-Free Box/100 – Small | Medium | Large
Shop Towels
Scott Shop Towels Original, Blue, 12 Rolls/Case, 660 Towels/Case
How to Change Transmission Fluid on a 5th Gen Honda Odyssey (2018-2024)
In order to change the transmission fluid, you’ll need your vehicle lifted so you can gain access from underneath. My preferred method is to use a floor jack and/or ramps to get the vehicle up and then support the entire vehicle up on jack stands. If you want more information on how to safely lift and support your 5th gen Honda Odyssey, read this post for more information.
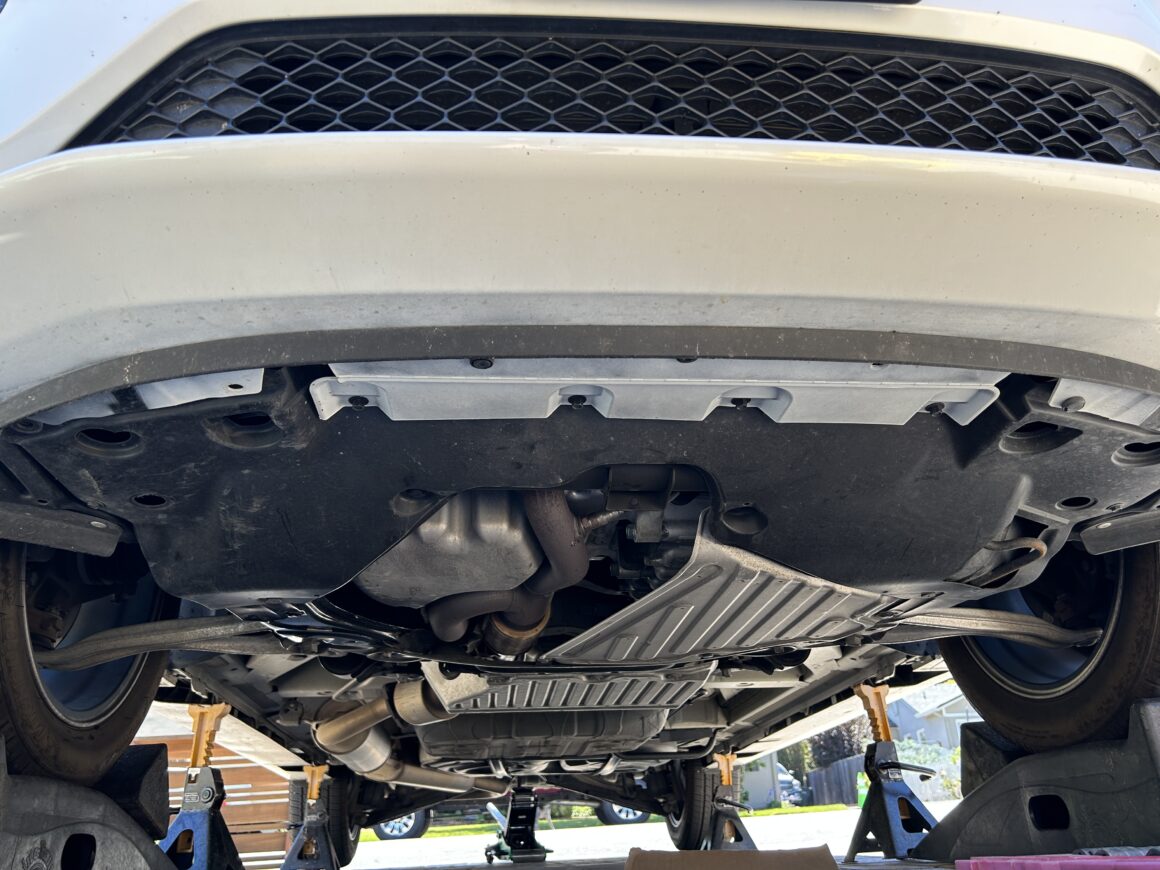
Once your Odyssey is safely lifted and and supported with jack stands all around, you now have access to the undercarriage. You should also ensure that while it is supported, it is also level. This is important when you are refilling and checking the transmission fluid level later. I used a standard carpenter’s level to check against the bottom of the vehicle to ensure the car was for the most part level.
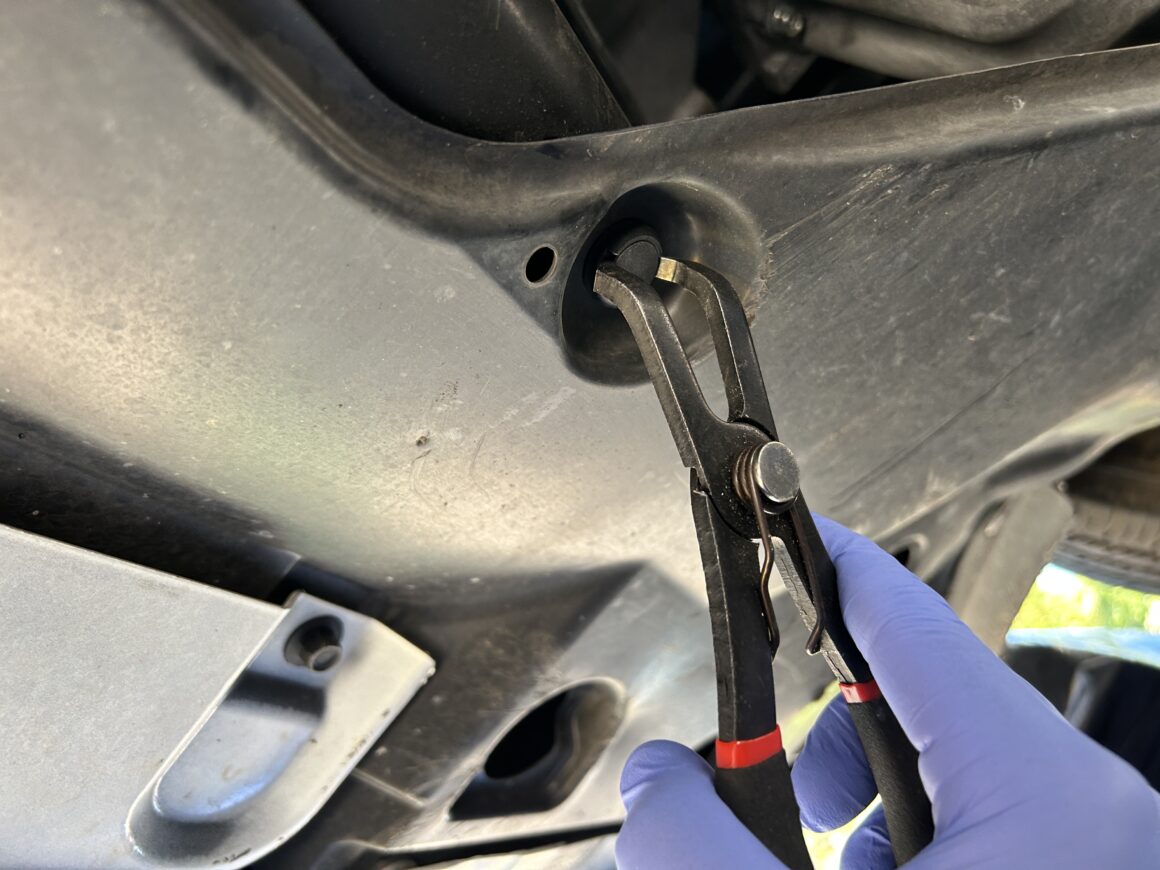
Using a trim clip removal tool (or a flat head screwdriver and long nose pliers) as well as a Phillips head screwdriver and a 10mm socket, remove all of the clips to the front plastic splash guard. There’s a variety of fasteners here, so keep note (or take photos along the way) so you know which clips and screws go where.
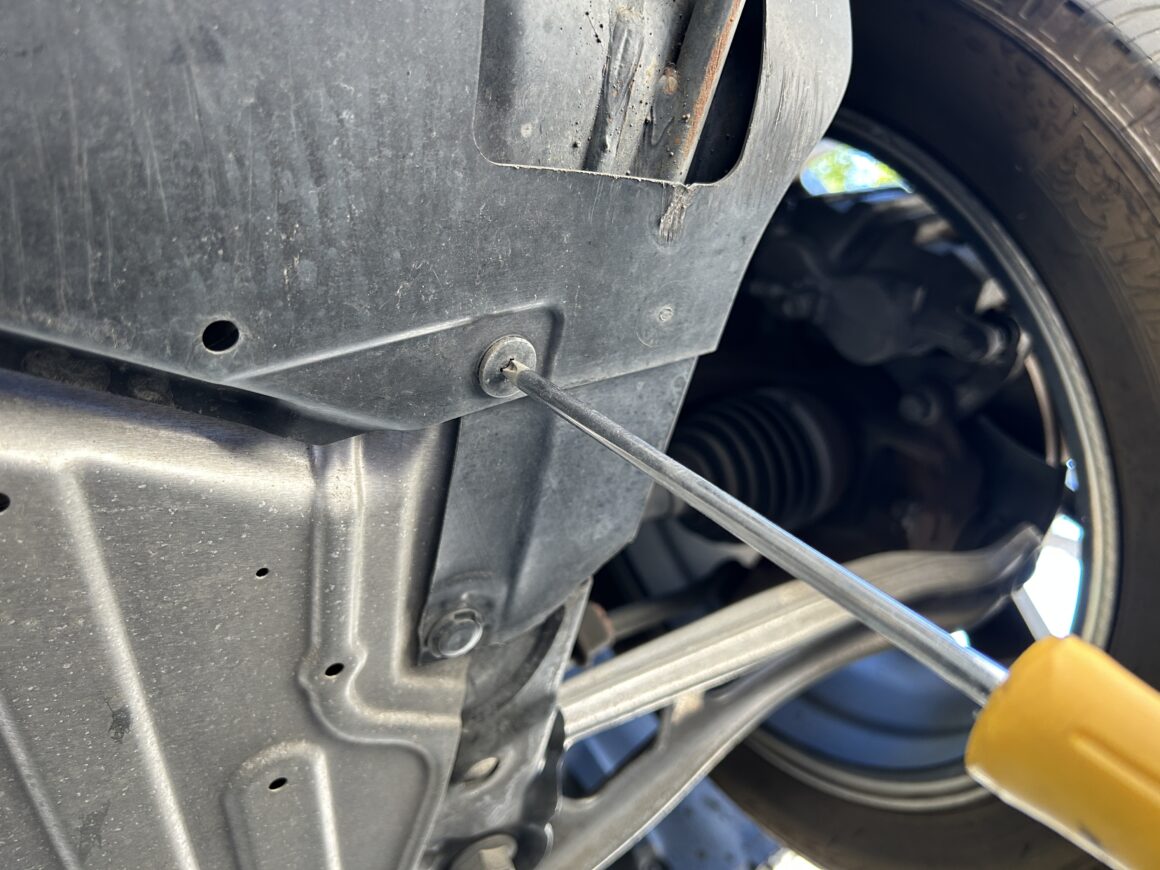
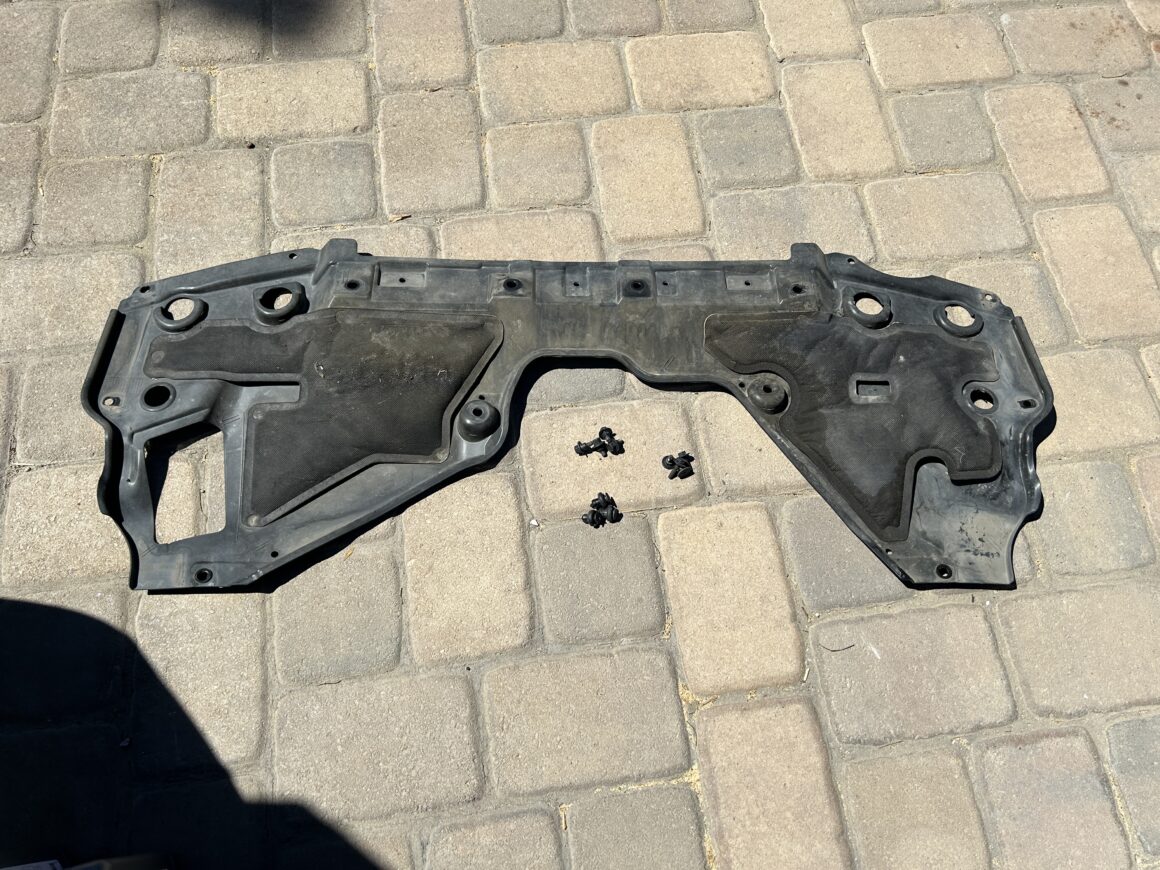
There is also a smaller metal skid plate that needs to be removed. Like the plastic splash guard, it also has a variety of fasteners that need to be removed. Some of these fasteners are shared with the plastic splash shield.
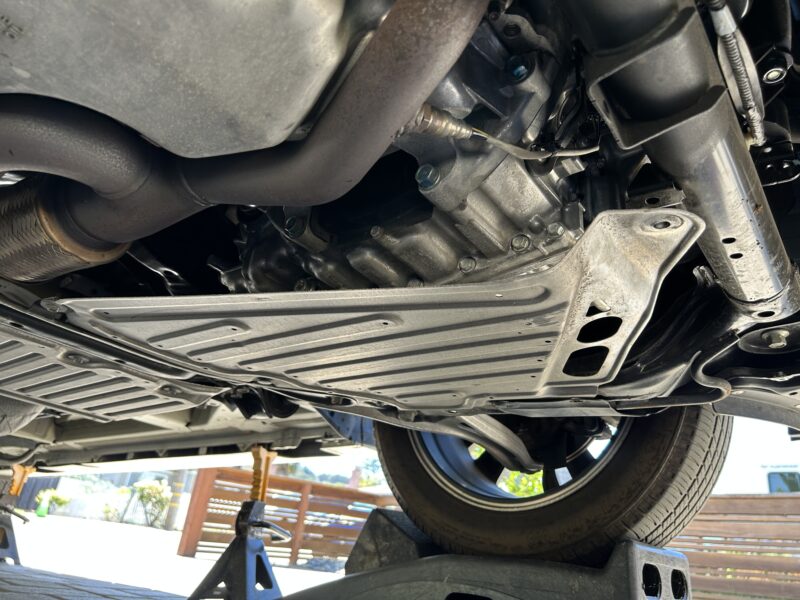
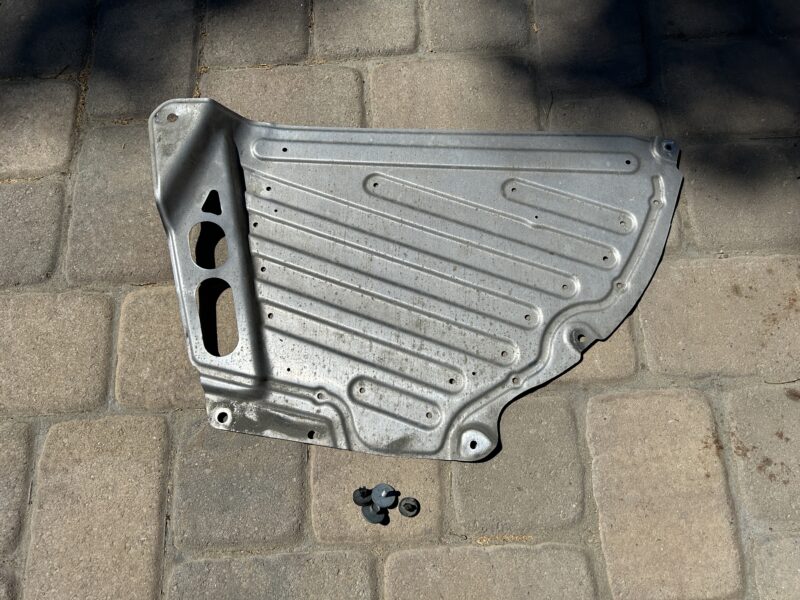
With the the splash guard and skid plate removed, you now have access to the 10-speed transmission from underneath. There are three plugs that you will be working with: the drain plug (3/8″ extension), the level plug (12mm), and the filler plug (17mm). The drain plug is located at the bottom of the transmission. The filler plug and level plug are located higher up at the front of the transmission.
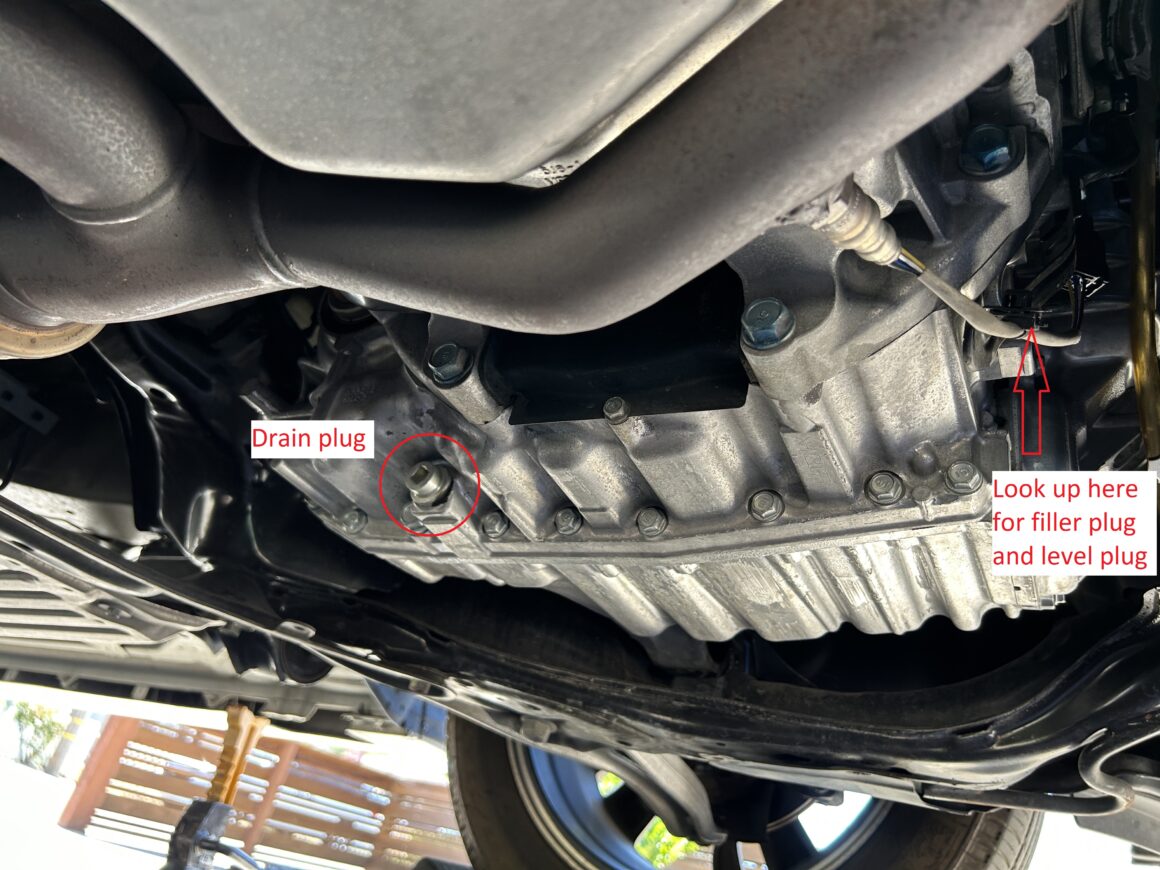
If you look up at the front of the transmission, you’ll see the filler plug located above the level plug.
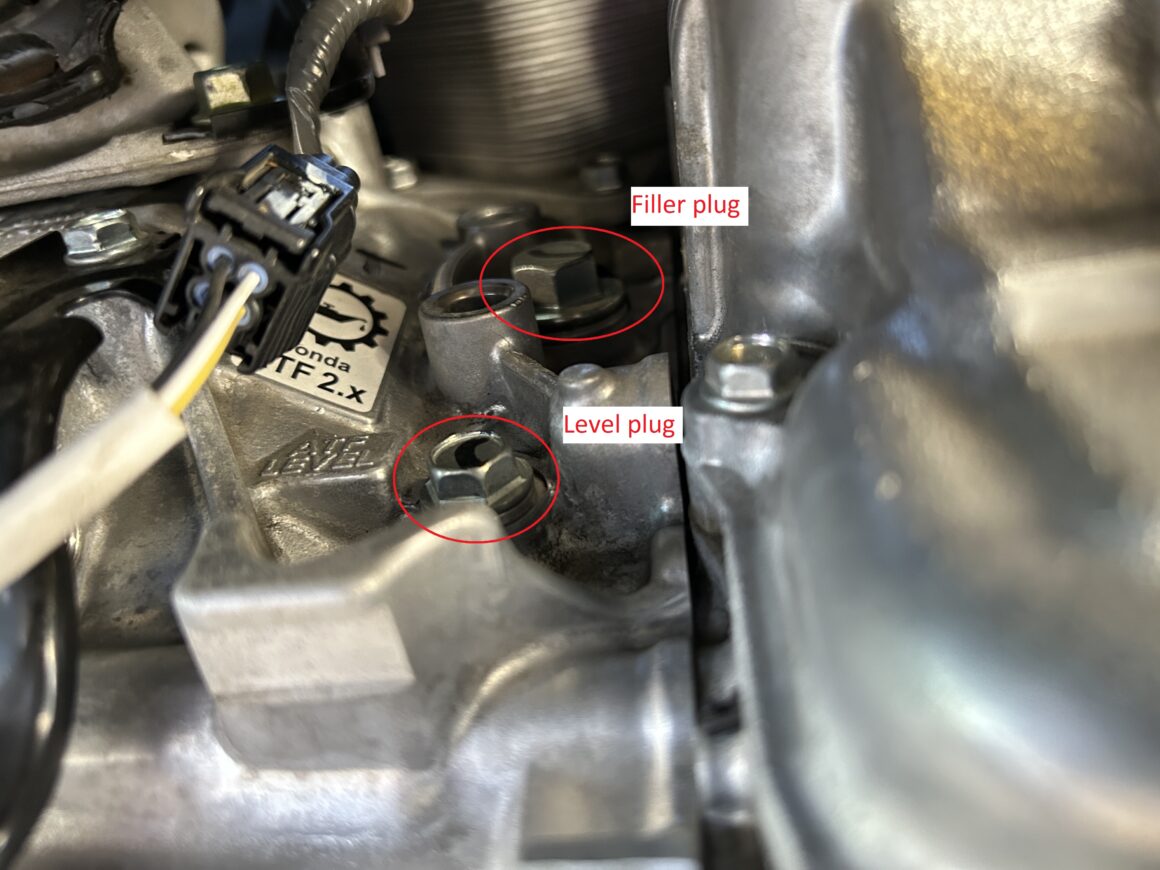
Before you remove the drain plug to drain the transmission fluid, you should always remove the filler plug first. The reason for this is because you don’t want to first remove the drain plug and drain all the fluid, and then attempt to remove the fill plug and have it get stuck. This might happen if the bolt is stripped. If this happens, you now have no way of filling the transmission fluid and have no way using your car at all.
So, starting with the filler plug, use a ratchet and a 17mm socket to remove it.
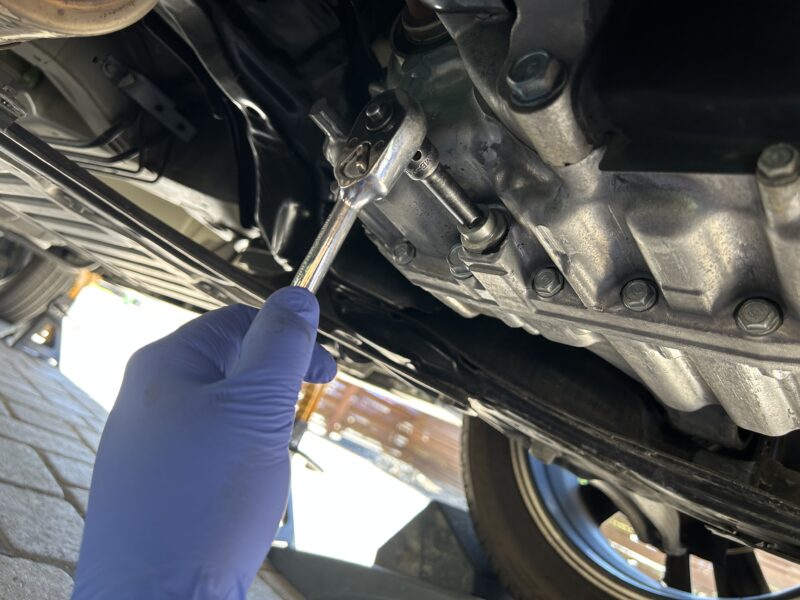
Now that we know that there’s no issue with the removal of the filler plug, we can now remove the drain plug and drain the transmission fluid. Position a drain pan underneath and then using a ratchet with a 3/8″ extension (no socket) and remove the drain plug. The 3/8″ extension fits directly into the head of the drain plug.
While removing the drain plug, allow the transmission fluid to drain out into the drain pan. Then take the drain plug and clean off any gunk and metal shavings stuck to it. The drain plug is magnetized and therefore will likely hold onto little metal bits at the bottom of the transmission.
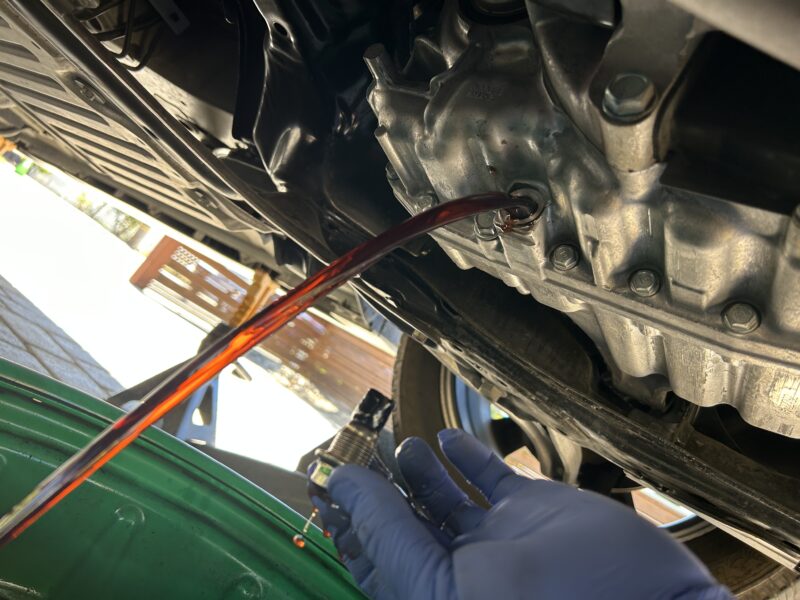
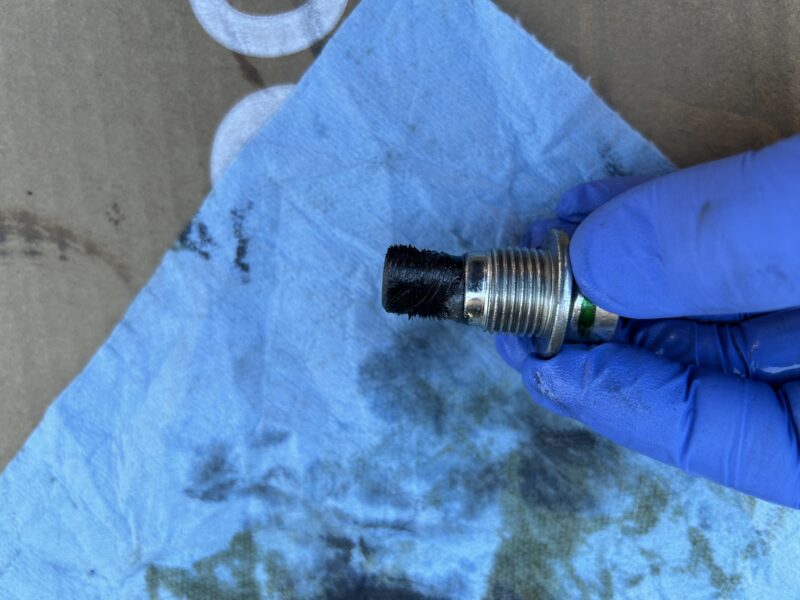
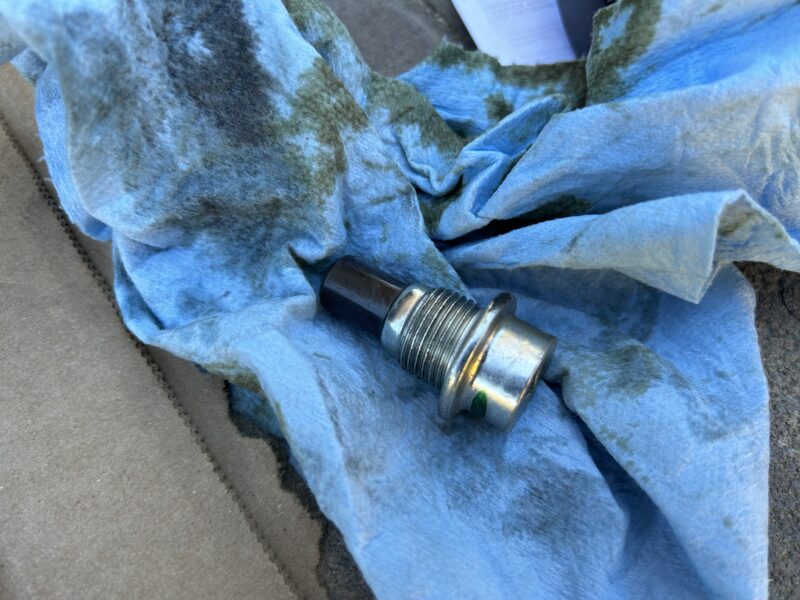
You can also now remove the level plug, it requires a 12mm socket.
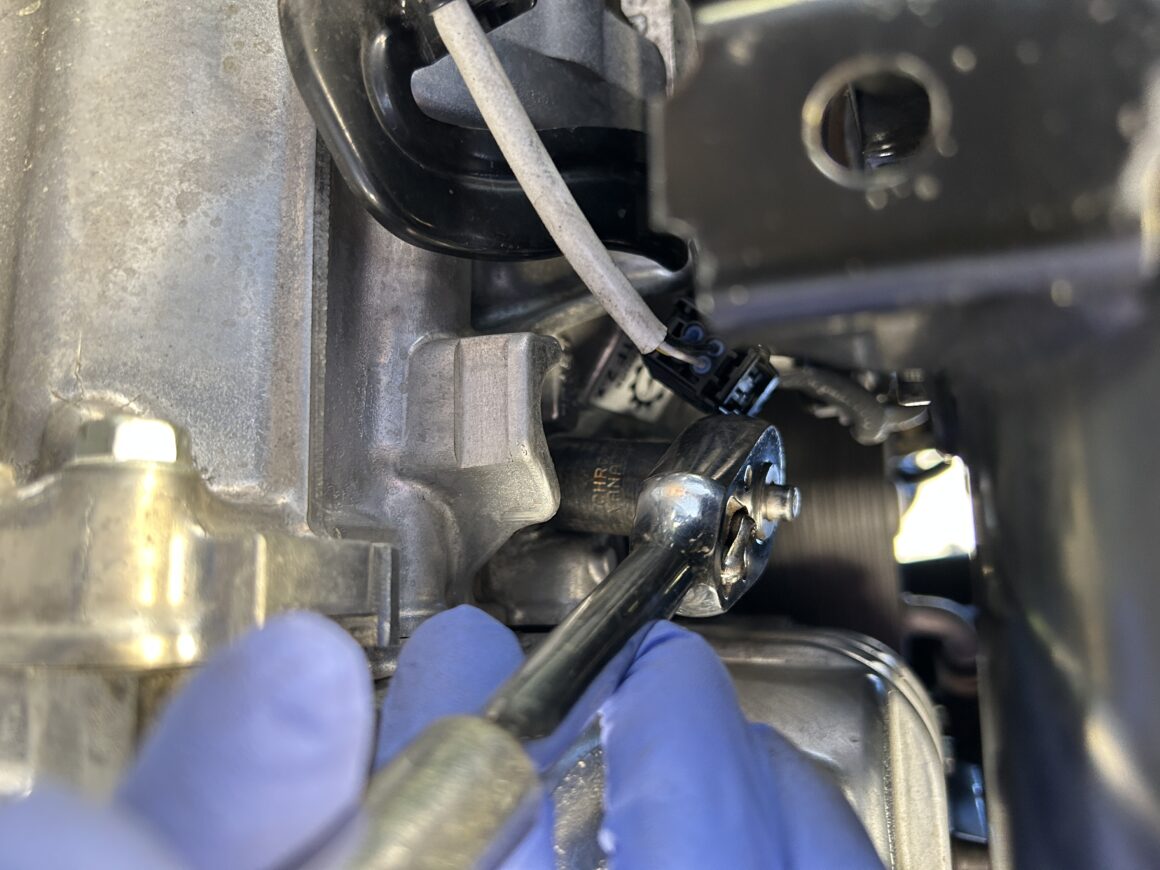
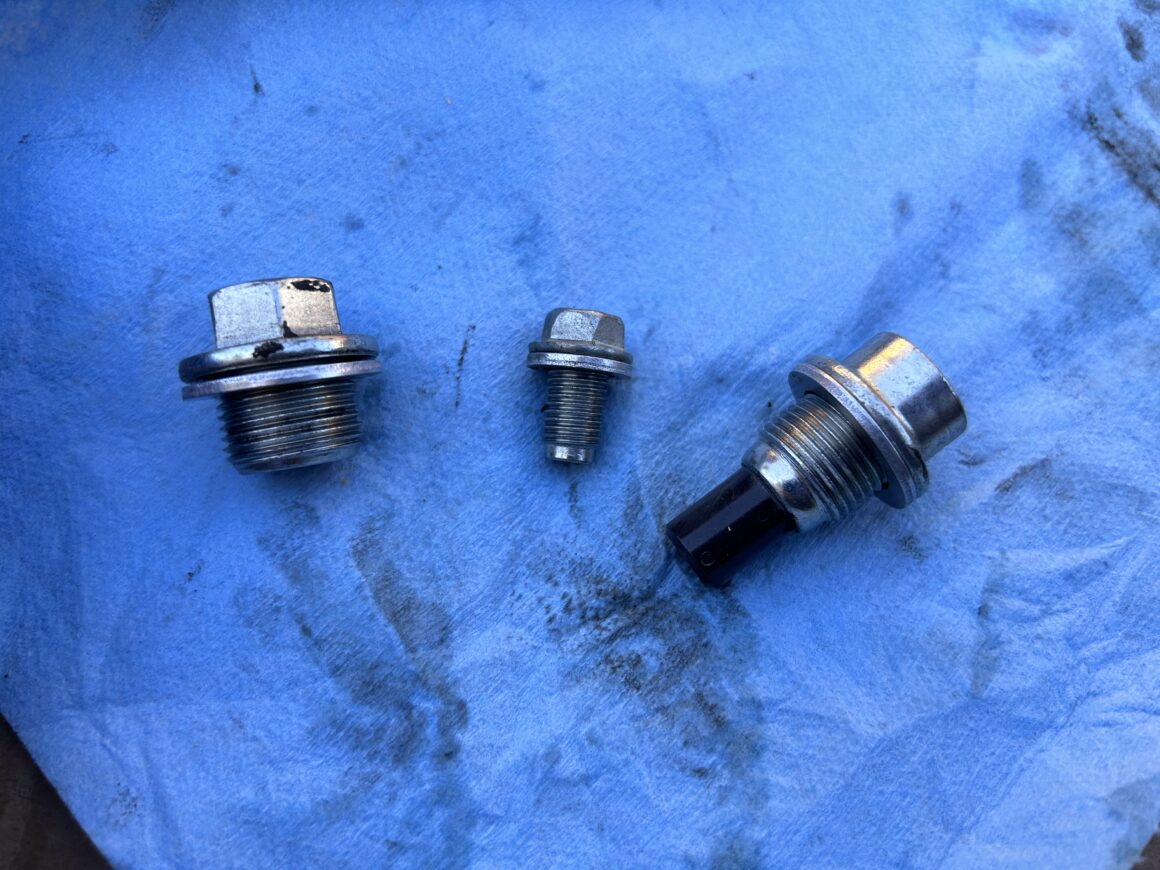
Here’s the filler plug, level plug, and drain plug removed. They are cleaned up with new washers installed. Refer to the Tools & Materials section at the top of this post for specific washer part numbers for each of these plugs.
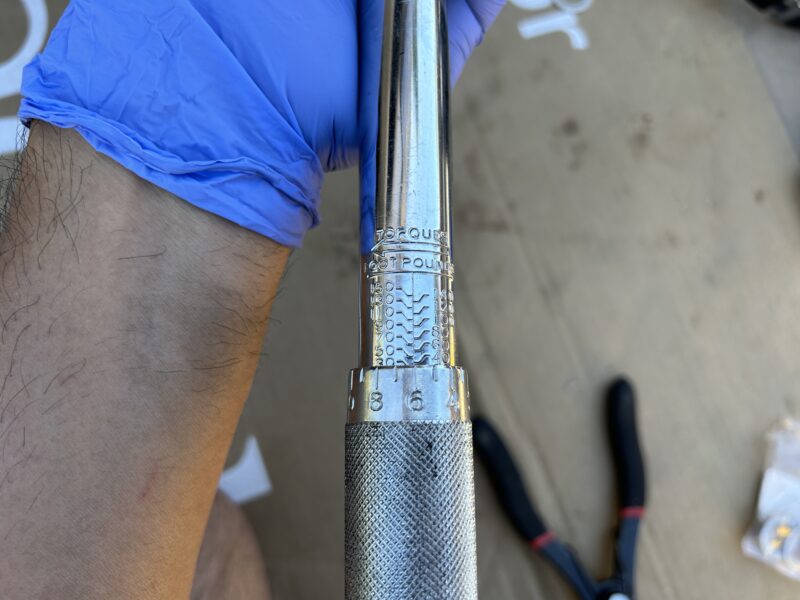
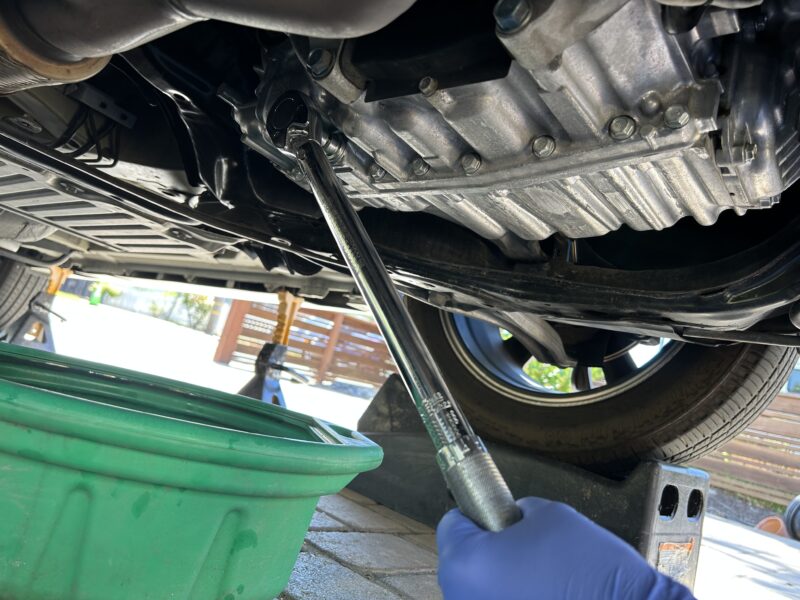
Before we start refilling the transmission fluid, we’ll need to reinstall the drain plug. With the new washer and drain plug, reinstall by hand. Then, using a torque wrench, torque the drain plug down to 36 ft-lbs (49 Nm) torque.
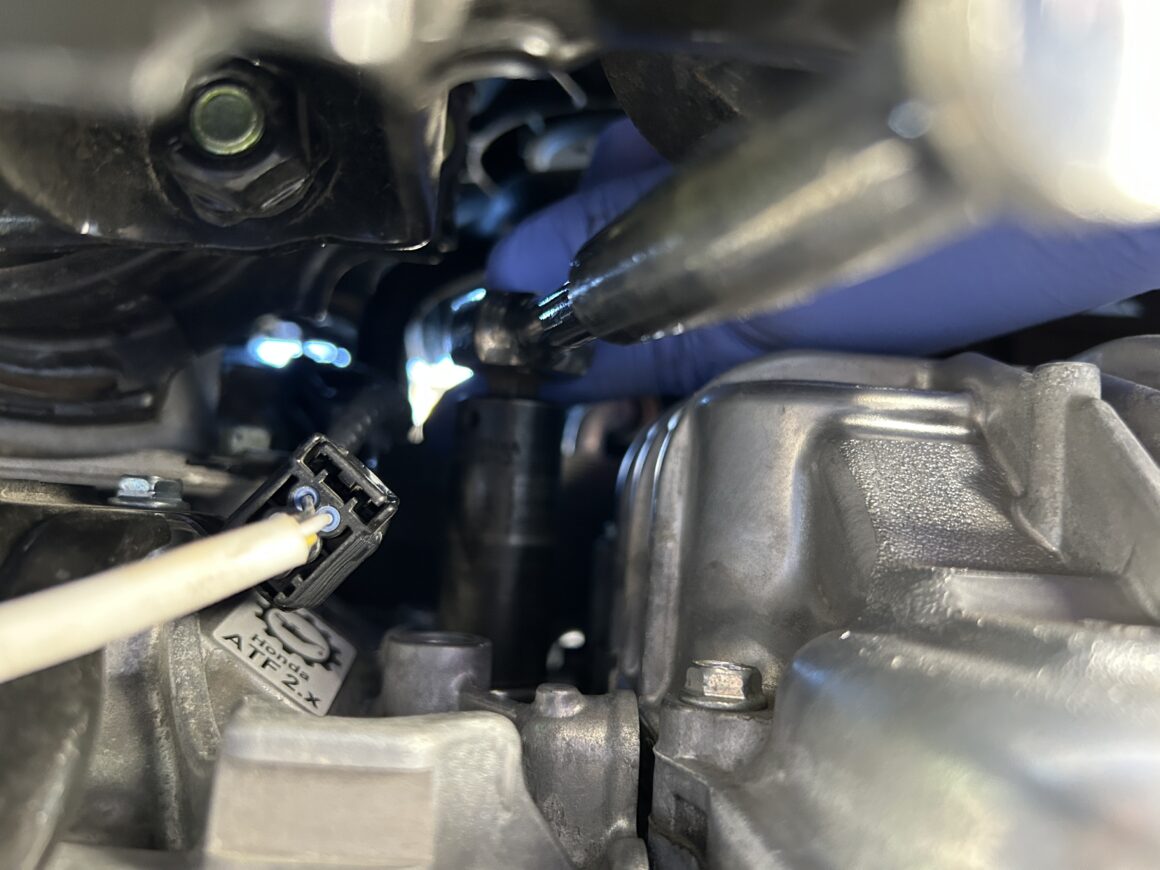
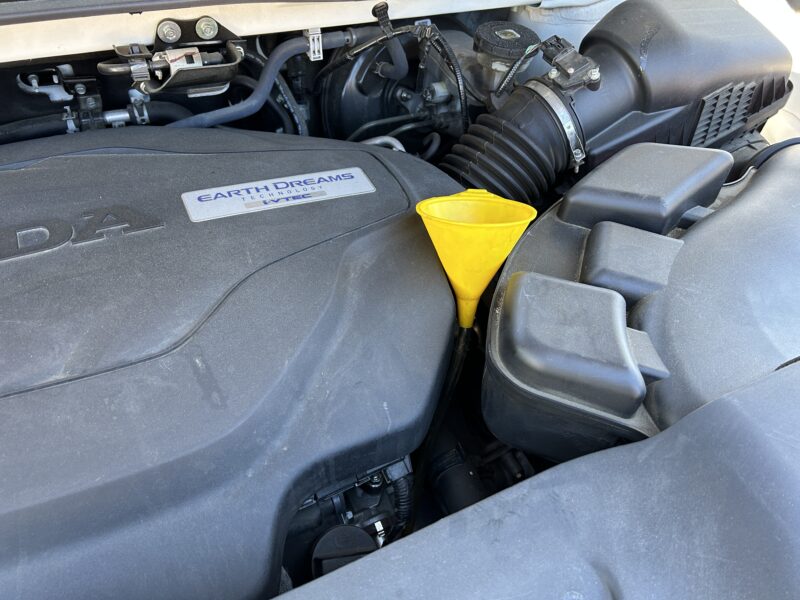
To refill the transmission fluid, you’ll need a funnel along with a small hose attached to it. Because the transmission fill hole is located about 1-2 feet down from the top of transmission, you will need to have the funnel at the top of the transmission with the hose running down and into the fill hole.
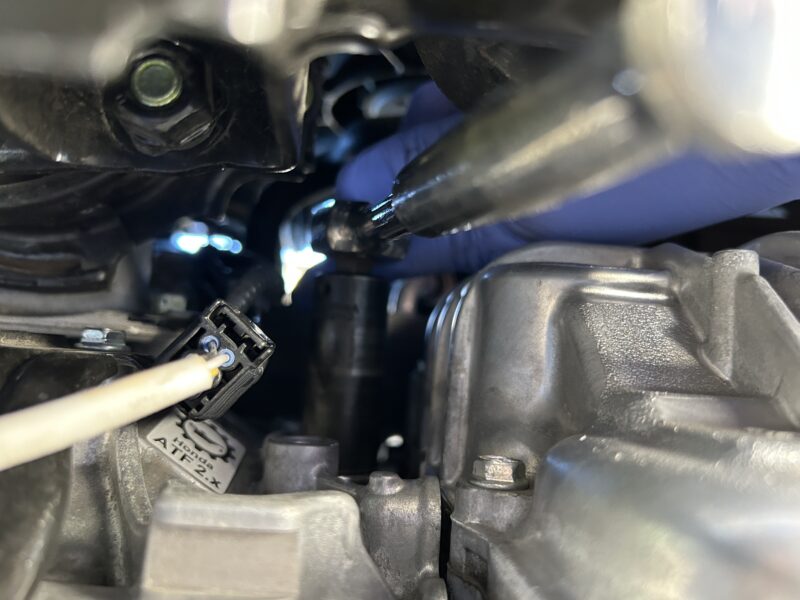
You may want to start with a 2-foot section of hose connected to the funnel. Place the funnel as shown in the photo below, then run the hose down to the opening of the filler hole. Then cut the hose about 2-3 inches below that point so that it can curve into the fill hole. The hose should now go into the fill hole without any kinks in the hose (see 2nd photo below looking up from under the vehicle.)
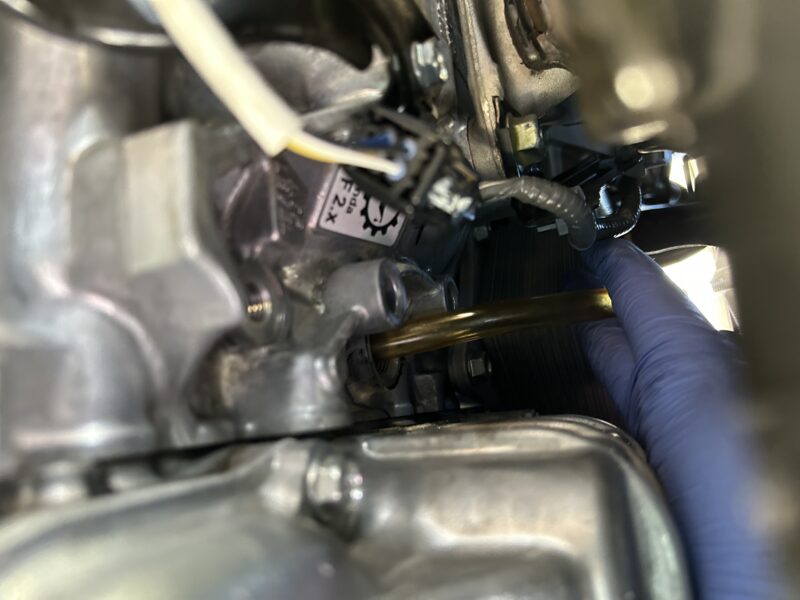
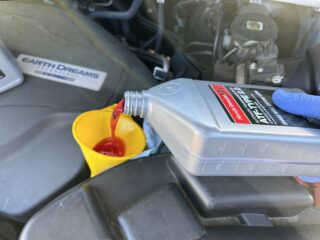
Now, you can refill the transmission fluid through the funnel and tube. The bottle of the Honda ATF Type 2.0 fluid recommends that you shake the bottle prior to dispensing. You should keep your drain pan underneath because the purpose behind the level hole is that once your transmission is full of fluid, it will begin spilling out of the level hole (which indicates that the transmission fluid is now at the correct level.) Proceed to fill your transmission with fluid until you start seeing fluid dripping out of the level hole.
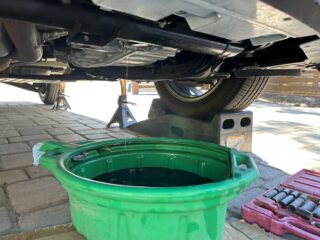
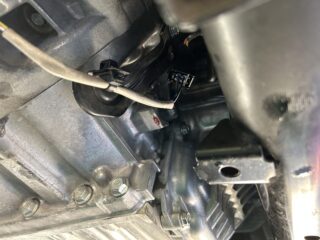
At this time, you aren’t finished yet. You must now cycle through the gears of the transmission before continuing. Replace your level plug (with old washer) and your filler plug (with old washer) just to close up the transmission again. You can simply just tighten it for now by hand, but not with a torque wrench yet.
Ensure that the vehicle is completely stable and secure sitting on all four jacking points. Start up the vehicle and let it warm up for at least five minutes. Next, while holding the brake pedal down firmly, run through the transmission gears, going from P -> R -> N -> D -> S (shift through gears with paddle shifters) -> D -> N -> R -> P. Then turn off the vehicle.
If you are not comfortable with running the vehicle while it is on jack stands, you can always bring the vehicle back down to the ground before turning on the vehicle and cycling through the gears. However, you will need to raise the vehicle again in order to refill the transmission fluid and to tighten the fill plug and level plug.
Remove the filler plug (and old washer) and the level plug (and old washer) and then add transmission fluid again until fluid starts coming out of the level hole.
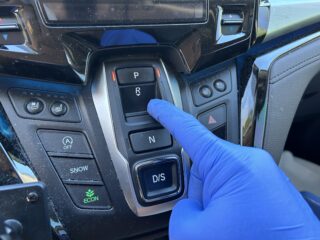
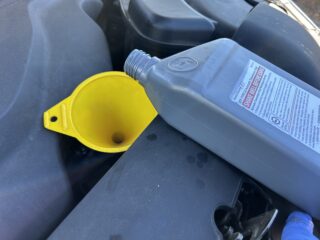
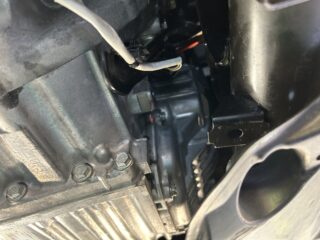
When that happens, you know your transmission is now adequately refilled with fluid. Cycling through the gears of the transmission will work the transmission fluid through the transmission, requiring you to add more fluid to get to the level where it spills out of the level hole.
You can now replace the level plug with a new washer and torque to 15 ft-lbs (20 Nm). Also, replace the filler plug with a new washer and torque to 32 ft-lbs (44 Nm). Personally, I was not able to fit my torque wrench for these two plugs, so I torqued them by feel with the approximate torque given above.
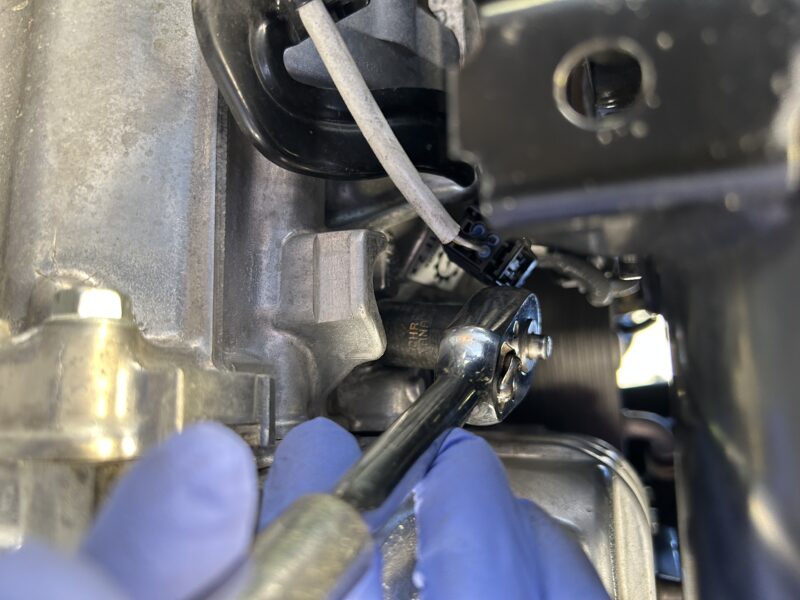
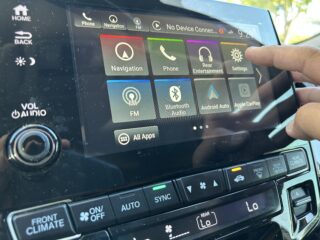
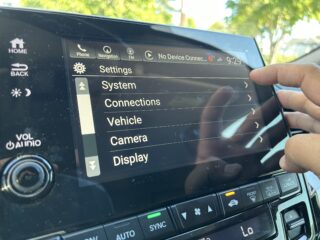
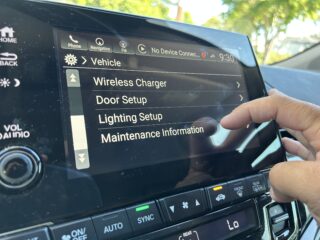
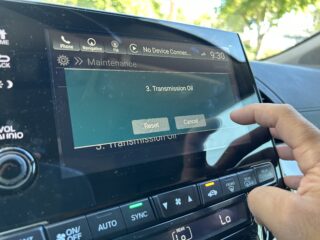
Now, you can replace your skid guards/plates and get the vehicle back down onto the ground. Test drive your vehicle and proceed to reset your Maintenance Minder for your transmission fluid service. If you need help resetting the Maintenance Minder, check out this tutorial: How to Reset the Maintenance Minder on a 2018-2024 Honda Odyssey.





4 Comments
One of the best DIYs I’ve ever seen (and I wrote service manuals for a major corporation). Nice Job!
Thank you!!
Part #:08200-09015 is incorrect
Correct: 08200-9015
Type 2.0 ATF
You’re welcome
Thanks! I updated the part numbers.