When you make purchases through links on this site, The Track Ahead may earn an affiliate commission. Also, these posts are based off my own experiences. I am not responsible for any action you take as a result of reading this. Learn More
The spark plug replacement on a 4th generation Toyota 4Runner is a job that you will need set aside 2-3 hours for. The replacement of the spark plugs themselves doesn’t take long, but most of the time will be spent removing components in the engine bay to get access to the spark plugs. I recommend using a step stool to get some additional height as you will be working closer to the middle and back of the engine bay; this is especially needed if you have a 4Runner that has a lift on it. This guide is written for the 4.0L V6 (1GRE-FE engine code) on the 4th Generation Toyota 4Runner.
Spark Plug Type and Gap on the 4.0L V6 (1GRE-FE)
The spark plug gap on the 4.0L V6 (1GRE-FE) engine on the 4th generation Toyota 4Runner is 0.043 in. (or 1.1 mm). This is also the same gap required on the 4.7L V8 engine as well.
The spark plug type that is called out on the 4.0L V6 (1GRE-FE) engine is either Denso K20HR-U11 (OEM Part #90919-01235) or NGK LFR6C11 (OEM Part #90919-01236). Both are nickel spark plugs that are used as OEM parts for this engine.
What is the Required Torque on the Spark Plugs?
The proper spark plug torque on the 4.0L V6 (also applies to the 4.7L V8) is 180 in-lbs or 15 ft-lbs torque. It’s possible to torque these down by hand without the use of a torque wrench since the torque is quite low, however there is a chance of under-torqueing or over-torqueing the spark plug.
Under-torqueing can lead to heat dissipation and blow-by issues. Over-torqueing can cause damage to the metal shell and lead to threading issues. Either of these issues is easily remedied with the use of a torque wrench and installing to the proper specs.
Tools & Materials Required
Spark Plugs
The OEM Toyota spark plug type that is called out on the 4.0L V6 (1GRE-FE) engine is either Denso K20HR-U11 or NGK LFR6C11. You will need (6 Qty) spark plugs for the V6 engine. Both are nickel spark plugs that are used as OEM parts for this engine.
Denso K20HR-U11 U-Groove Spark Plug Pack of 1 (OEM Part #90919-01235)
NGK LFR6C-11 V-Power Spark Plug, Pack of 1 (OEM Part #90919-01236)
Mechanic’s Tool Set & 5/8″ Spark Plug Socket
Typically a mechanics tool set will include a 5/8″ spark plug socket. If you are looking for a mechanic’s tool set, check out this guide to choosing the right mechanic’s tool set. If you do not have a 5/8″ spark plug socket, then you can find a standalone one here:
CRAFTSMAN 5/8″ Spark Plug Socket, 3/8-Inch Drive
A number of extensions are necessary for reaching into the engine chambers for replacing the spark plugs. Most of these extensions are usually included in a mechanic’s tool set.
DEWALT Mechanics Tool Set, 84-Piece (DWMT81531)
Torque Wrench
I recommend using a torque wrench to install each spark plug to the proper torque. As I mentioned earlier in this post, tightening by hand can lead to under-torqueing or over-torqueing the spark plugs. Either can cause can cause damage and lead to more serious issues that will turn a spark plug job into a much bigger job.
TEKTON 3/8 Inch Drive Click Torque Wrench (10-80 ft.-lb.) | 24330
Spark Plug Gap Tool
If you purchase OEM or aftermarket spark plugs, they should already come pre-gapped. However, you can never be absolutely sure that they are gapped properly. Plus, even if they are pre-gapped correctly, mishandling during transportation and/or storage can cause them to change.
I recommend using a coin-style spark plug gap tool or a set of feeler gauges to check the spark plug gap. If you want to learn more about gapping a spark plug, check out this article.
On the 4th generation Toyota 4Runner 4.0L V6 is 0.043 in. (or 1.1 mm). This gap is also the same on the 4.7L V8 engine as well.
CTA Tools Coin-Style Spark Plug Gapper
GEARWRENCH 32 Blade Feeler Gauge
Anti-Seize Thread Lubricant
This will be used to apply in small amounts to the new spark plug threads to prevent it from seizing up, which would leave you in a situation where you may be unable to remove it due to the high temperatures of the engine.
Amazon: Permatex Anti-Seize Lubricant, 1 oz. Tube
Dielectric Grease
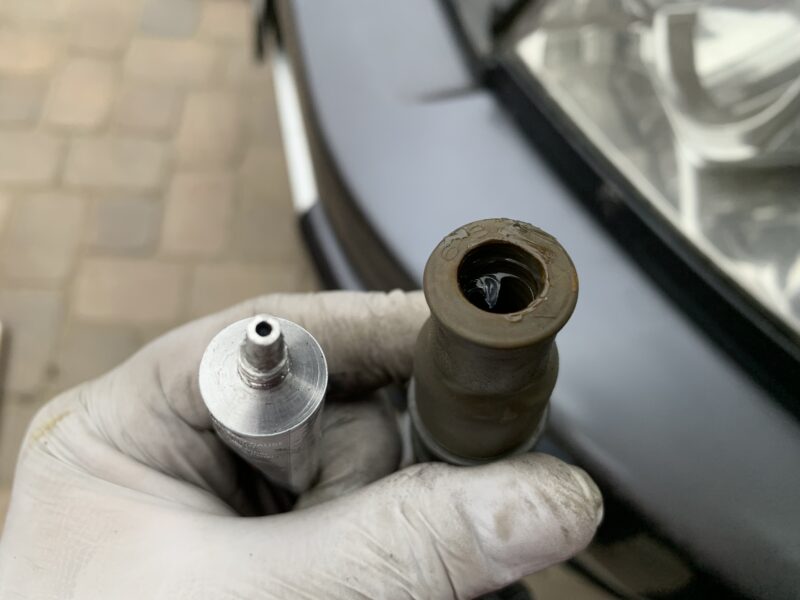
Dielectric grease is applied to the inner portion of the ignition coil boot preventing voltage leaks and protecting electrical connections from salt, dirt, and corrosion.
Amazon: Permatex Dielectric Grease, 0.33 oz. Tube
Nitrile Gloves
MedPride Nitrile Exam Gloves, Powder-Free Box/100 – Small | Medium | Large
Shop Towels
Scott Shop Towels Original, Blue, 12 Rolls/Case, 660 Towels/Case
How to Replace the Spark Plugs on a 4.0L V6 (1GRE-FE 4th Gen Toyota 4Runner
You may disconnect the negative terminal of the battery prior to replacing the spark plugs if you wish, but it is not necessary. Remove the engine cover with the two 10mm nuts. Remove the entire air intake and air filter cover (with air filter). This is done by unclipping the two clips to the air filter housing, removing the two 12mm bolts that hold the air intake to the frame, and detaching the wire that is held to the air intake hose.
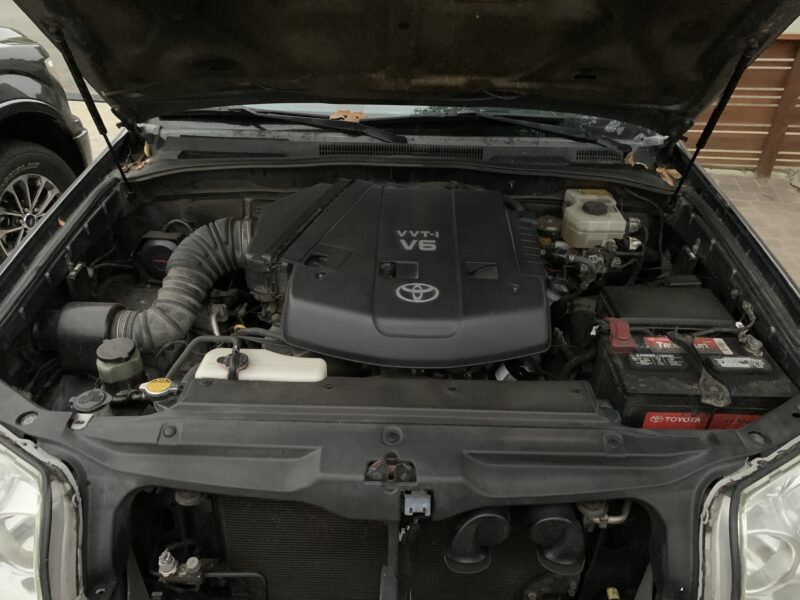
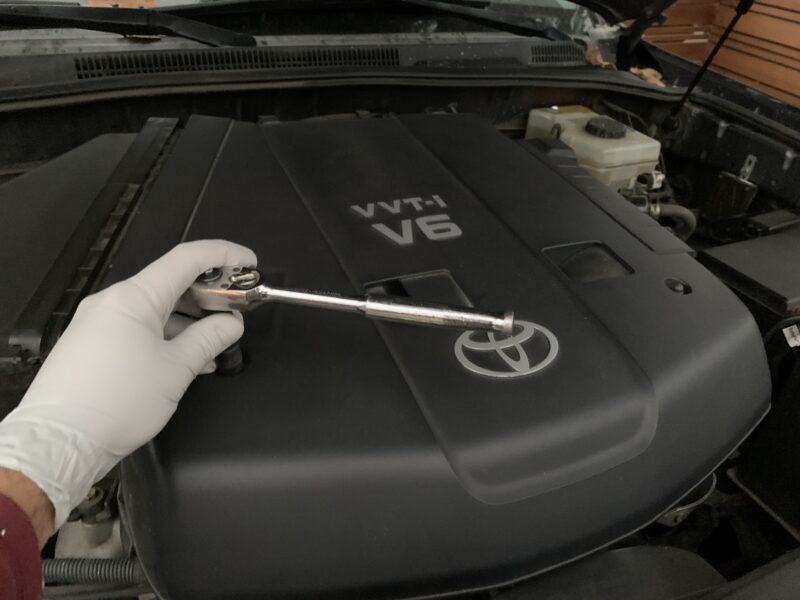
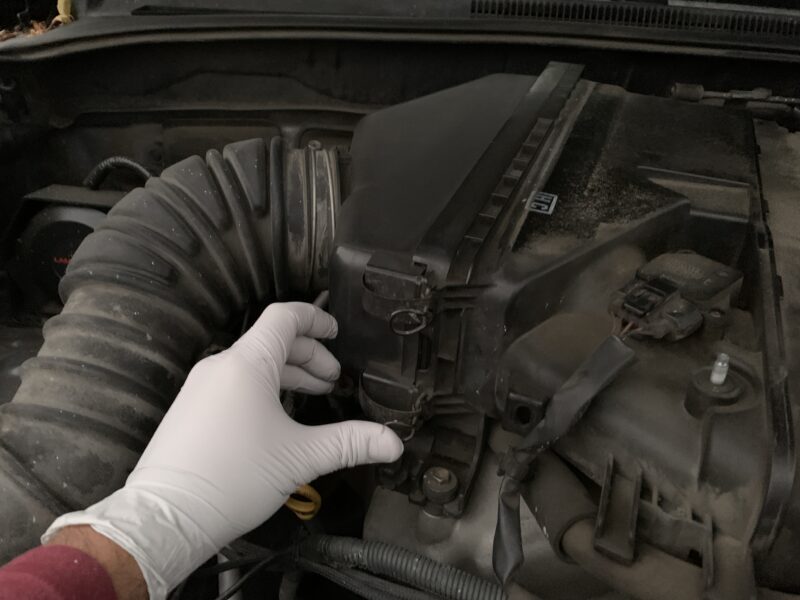
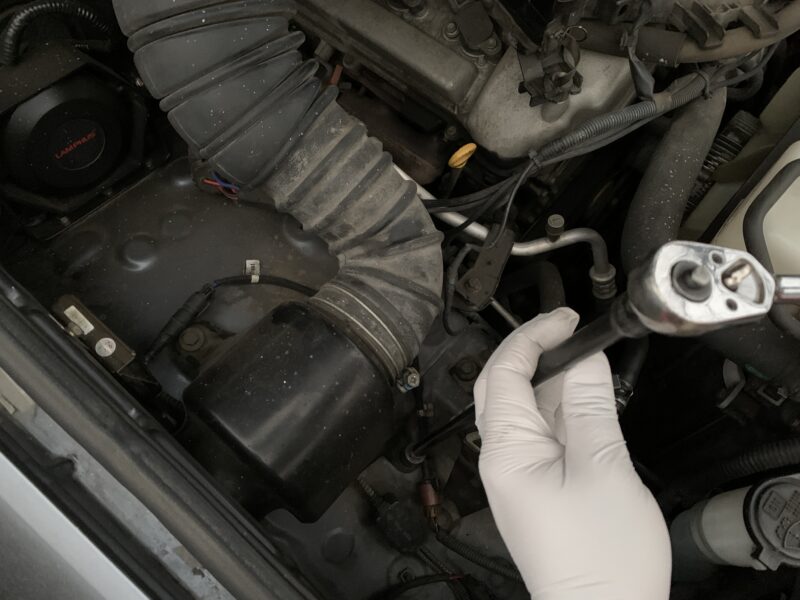
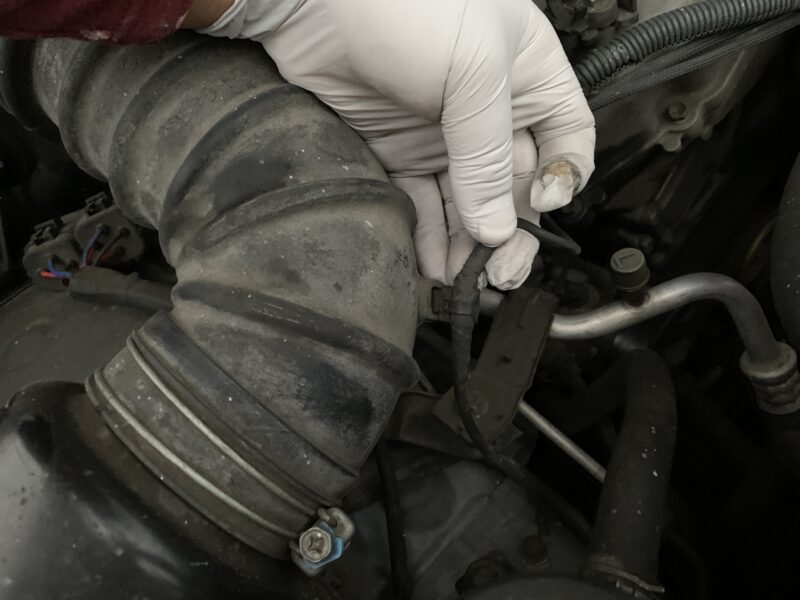
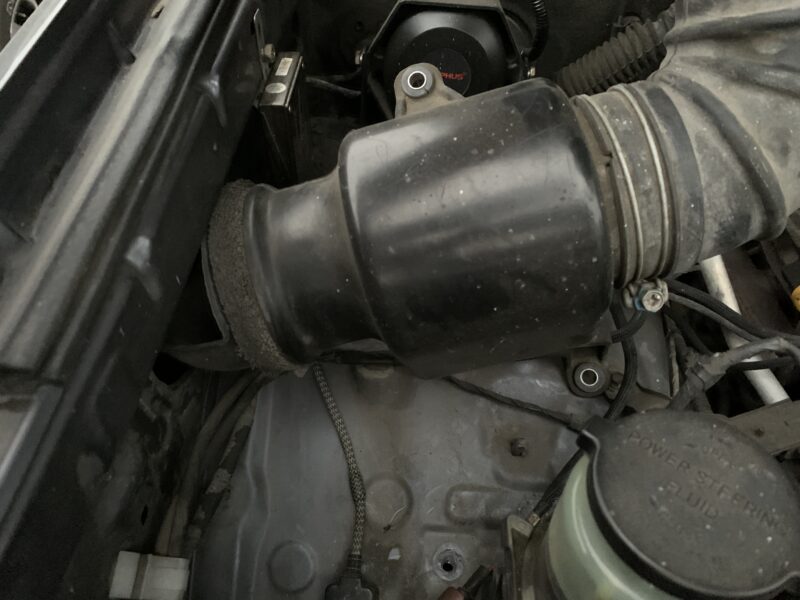
With the intake hose and air filter removed, you can actually replace the passenger’s side spark plugs at this point.
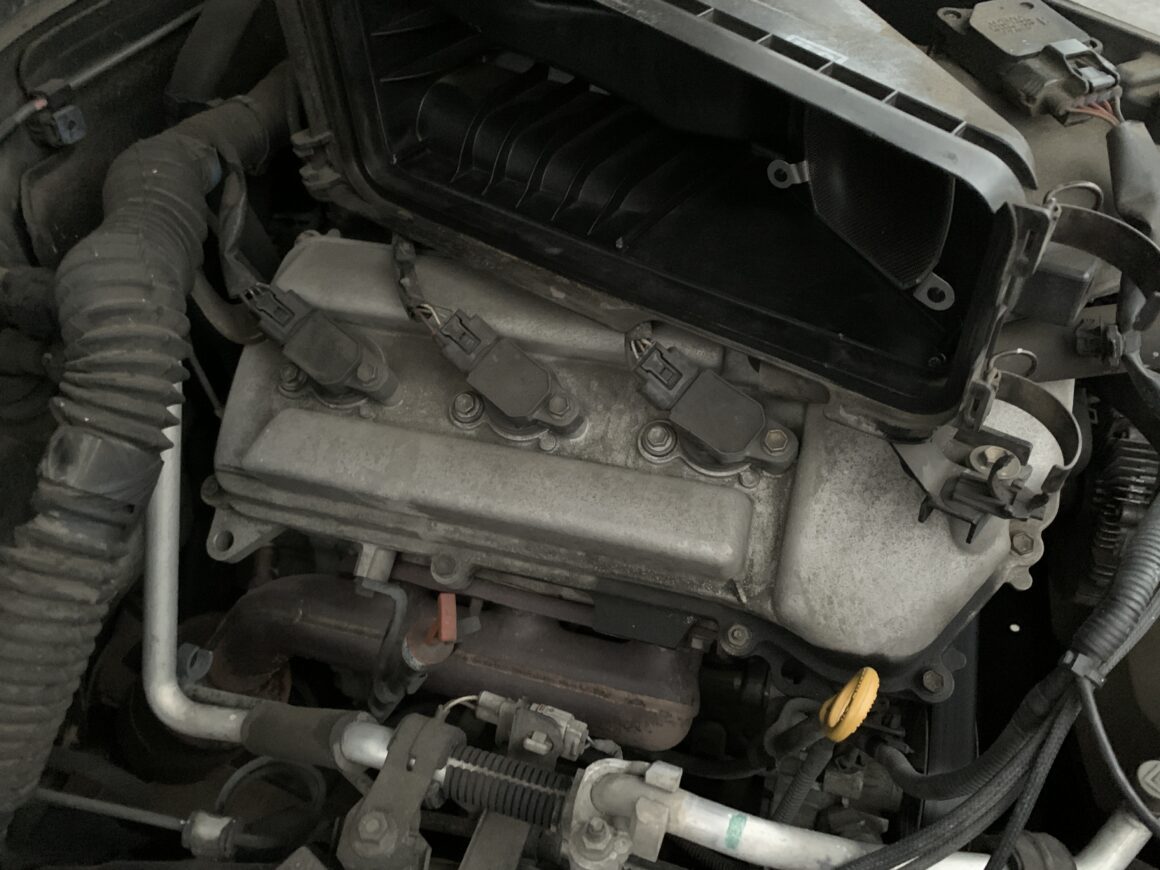
Disconnect all the connectors to the ignition coils and then remove the 10mm bolts holding the ignition coils in. Remove the ignition coils.
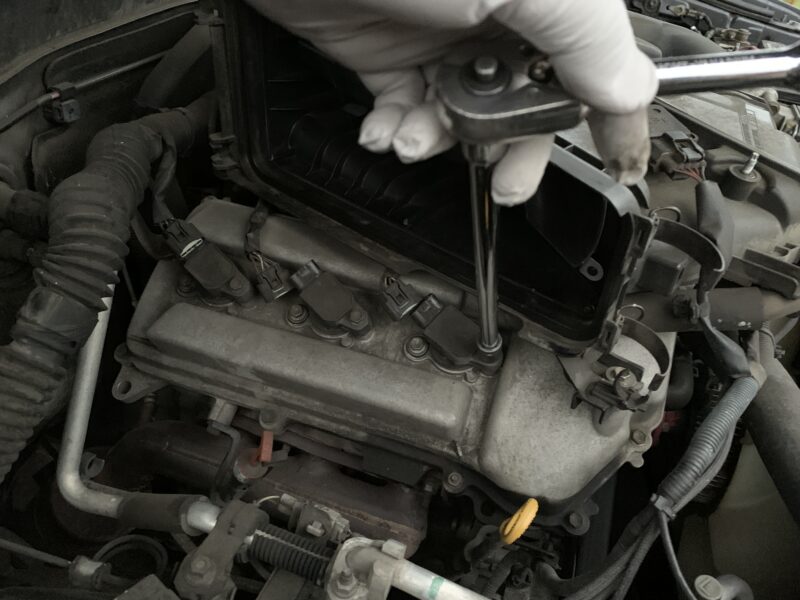
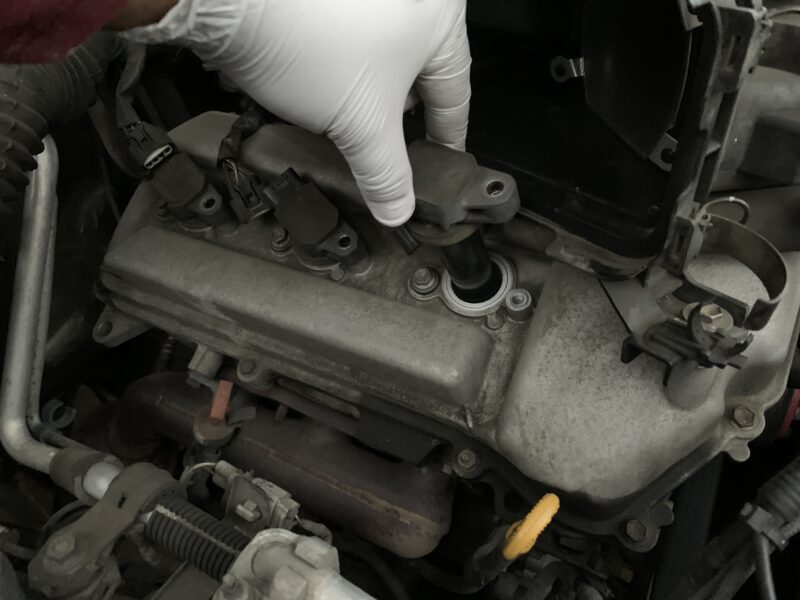
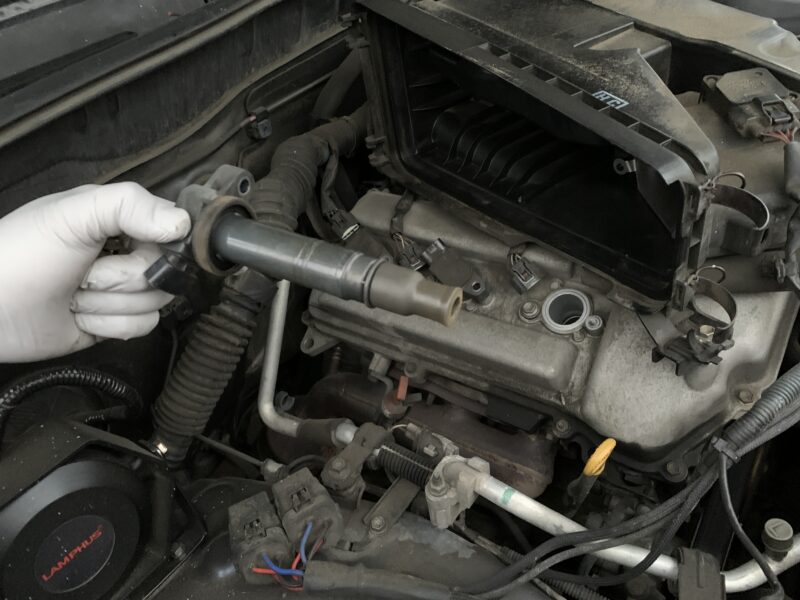
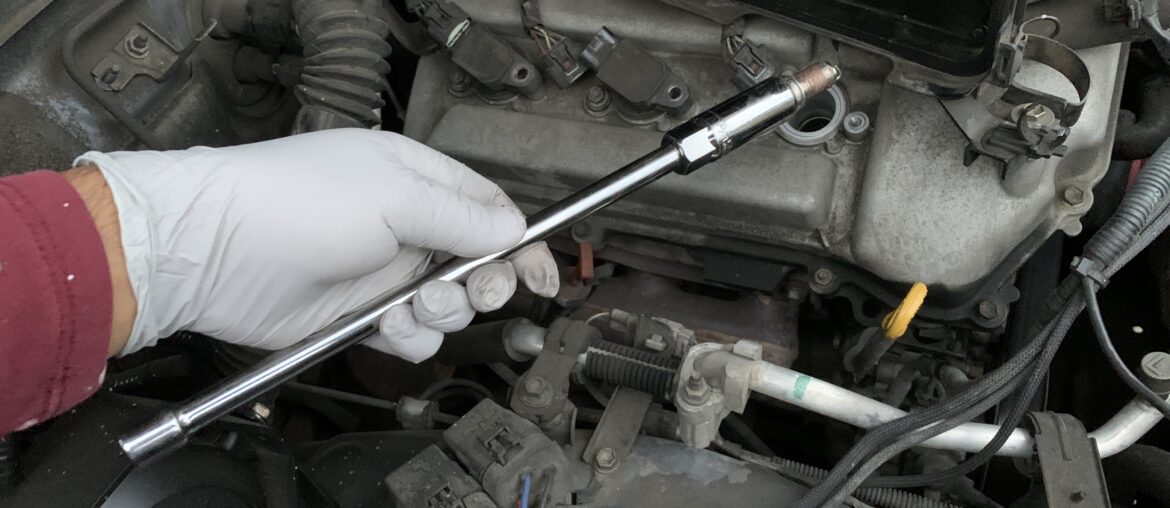
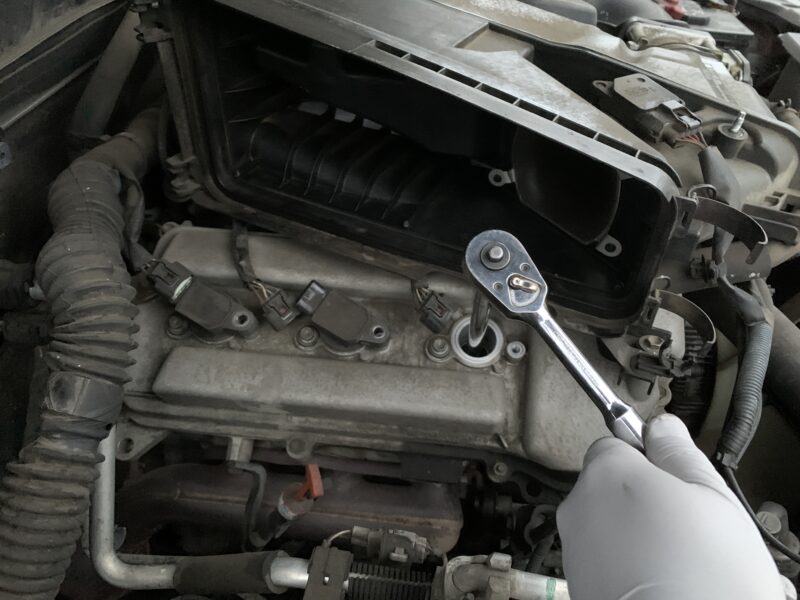
Using a ratchet with an extension and a 5/8″ spark plug socket, loosen and remove each spark plug.
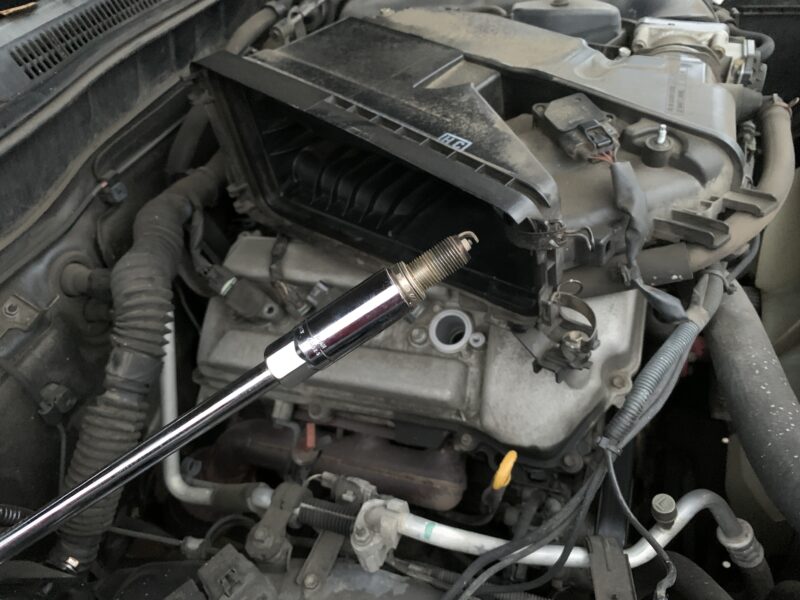
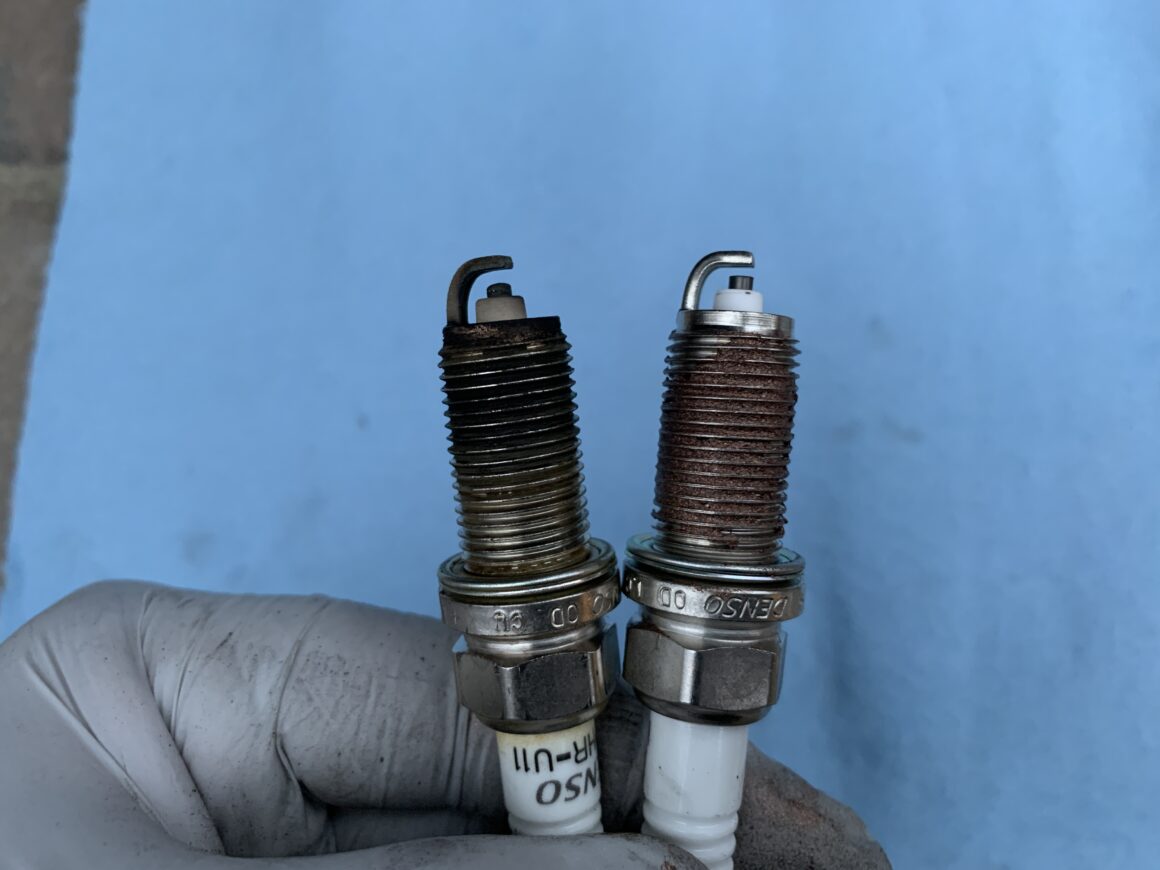
Here’s a comparison of the old spark plug with the new. You can see the previous one is a bit worn down especially with the center electrode being rounded out around the edges.
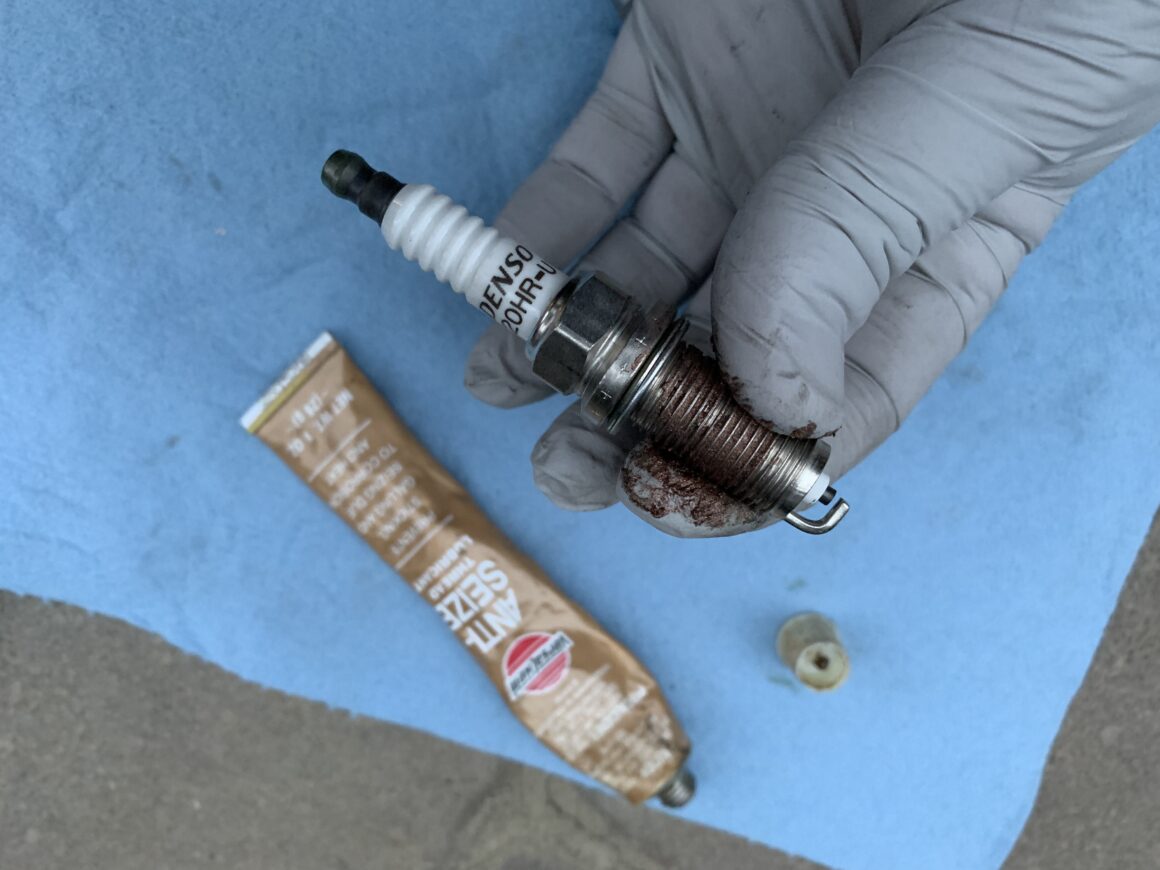
With each new spark plug, apply anti-seize to the threads.
When installing the new spark plug, attach the spark plug to the end of the spark plug socket. Using a long extension attached to it, insert the new spark plug into the spark plug well and tighten the spark plug in by hand. If the spark plug does not easily tighten via the threads and you feel resistance, stop immediately and turn the spark plug counter-clockwise several turns. Then try threading in the spark plug again by hand.
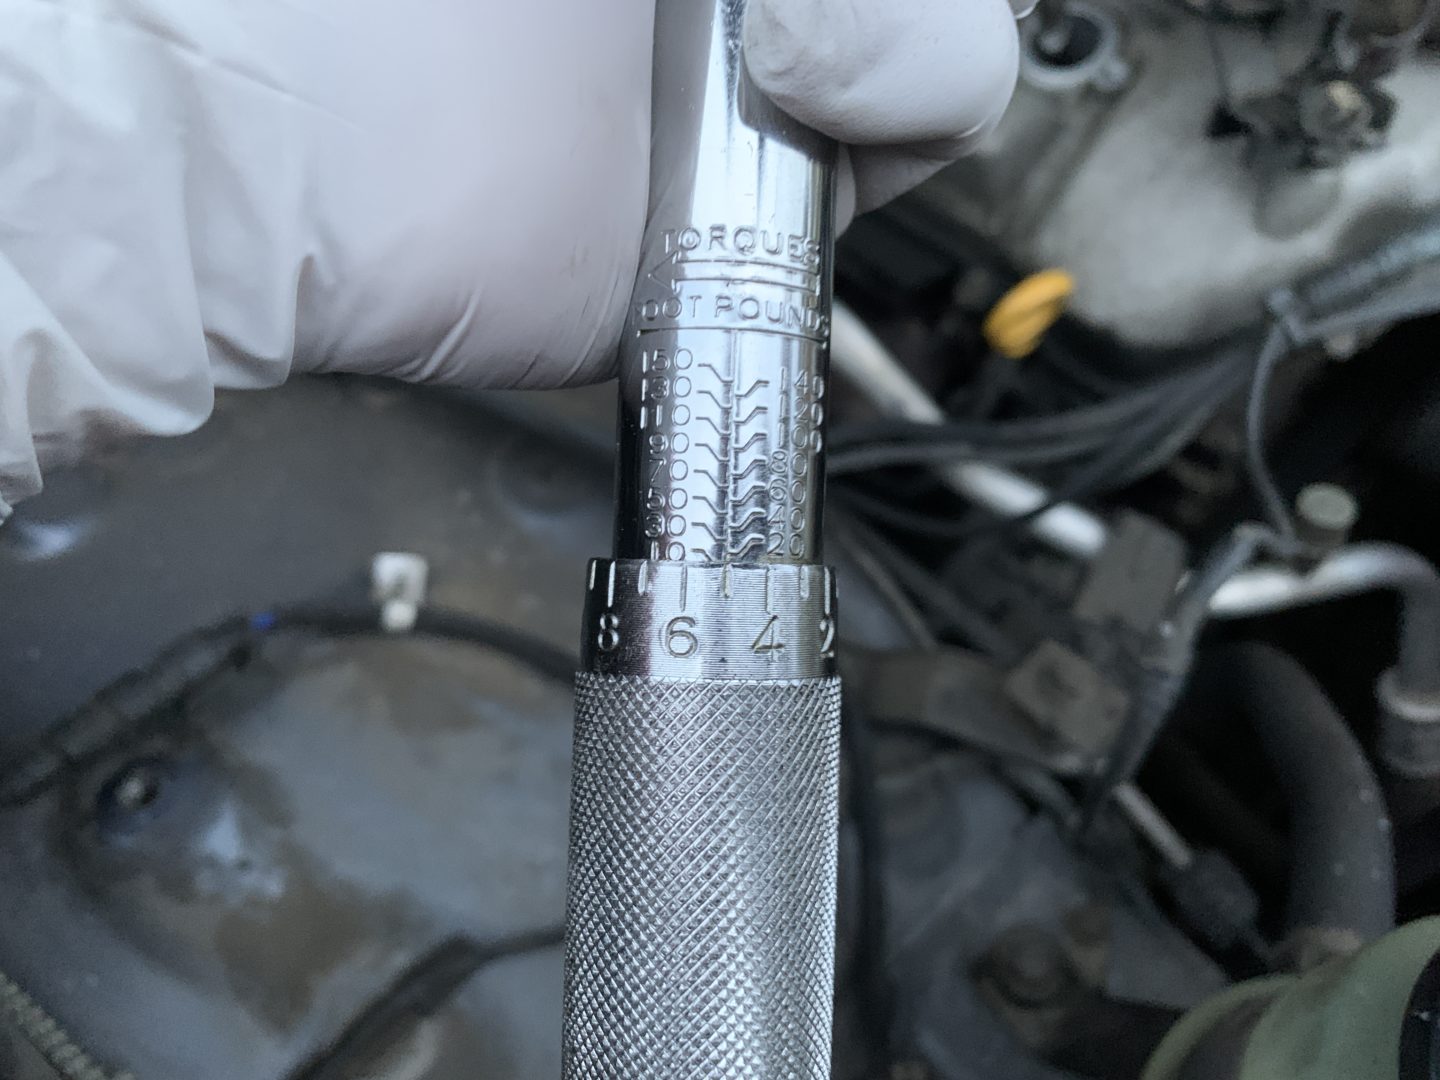
Once the spark plug is tightened in by hand, use your torque wrench set to 15 ft-lbs torque and tighten accordingly. Do this for every spark plug.



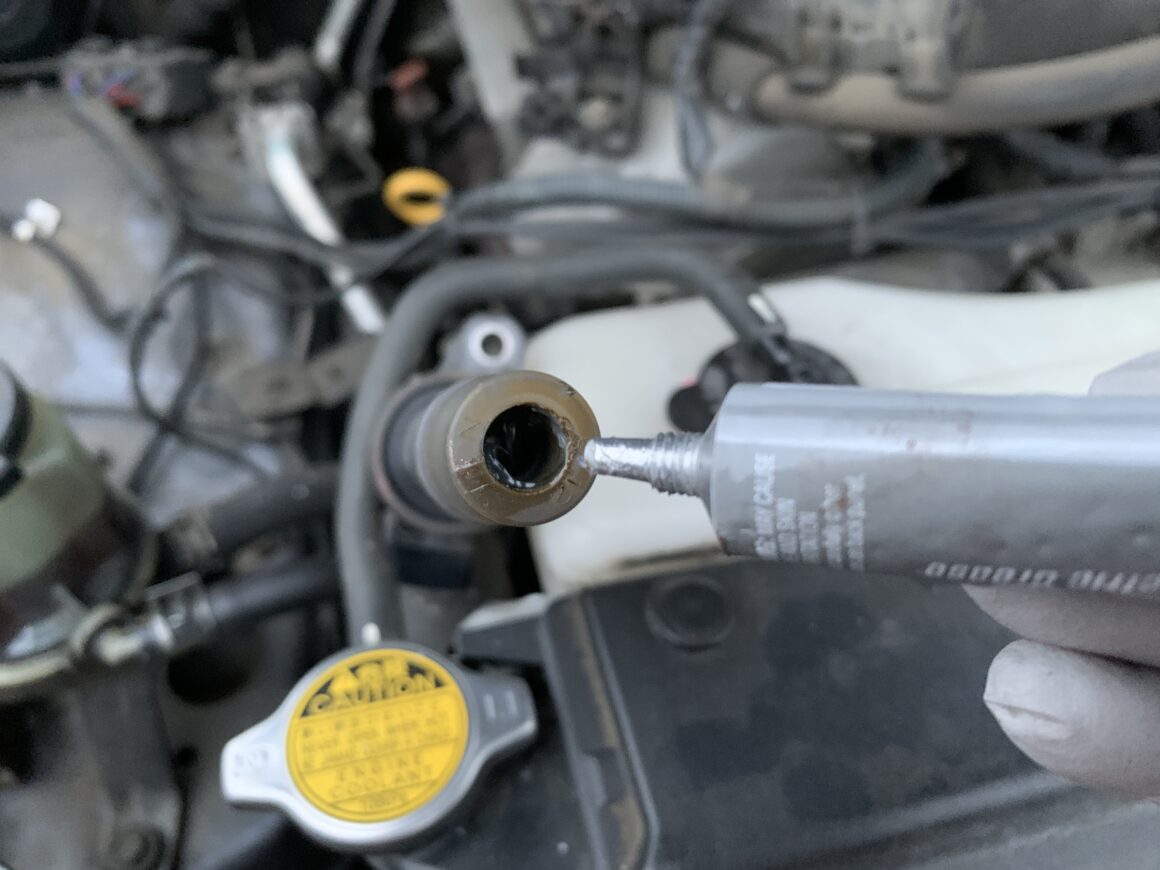
Reinstall each ignition coil and apply some dielectric grease the inner perimeter of the boot. Reinstall the 10mm bolts holding the ignition coils in and hand-tighten.
The driver’s side spark plugs (3 qty) will require removing some more components, so it is a little bit more involved than the passenger’s side.
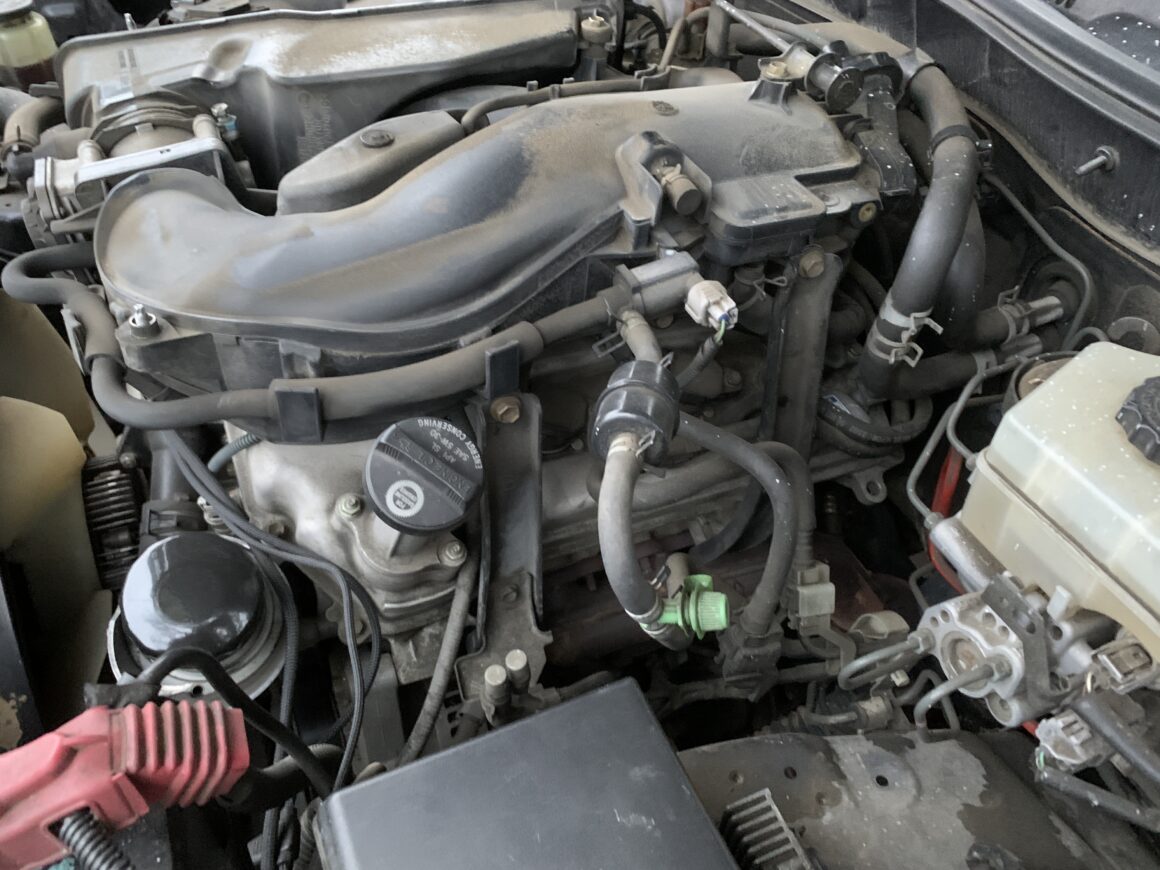
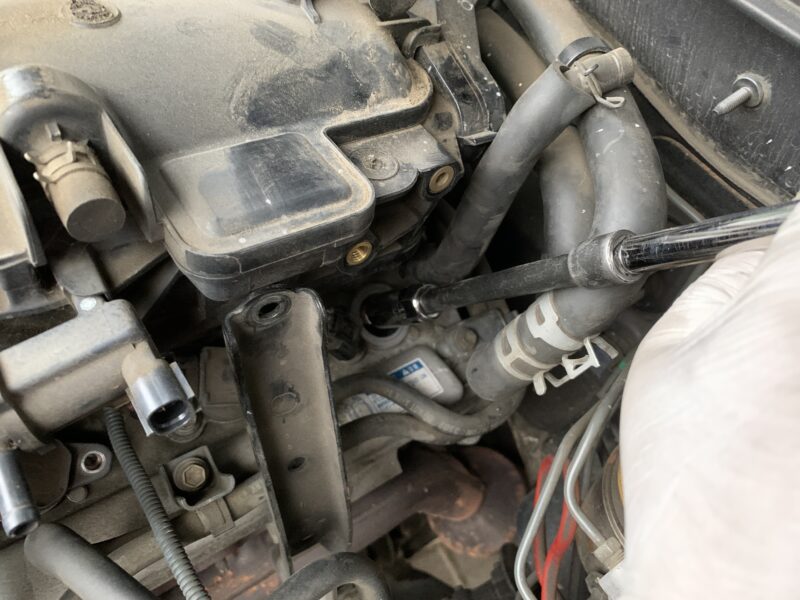
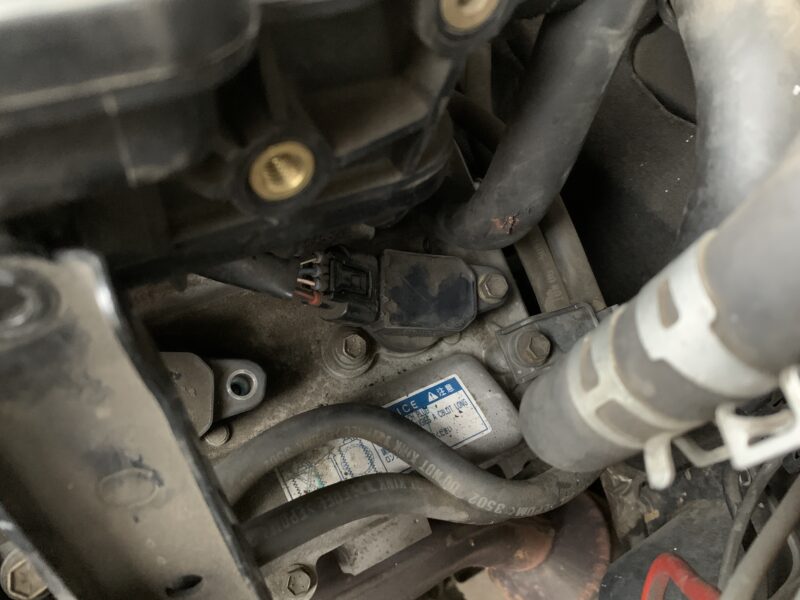
Remove the electrical connector (1st photo below) and the two vent hoses by first removing the clamp and then removing the hoses (photos 2 & 3 below).


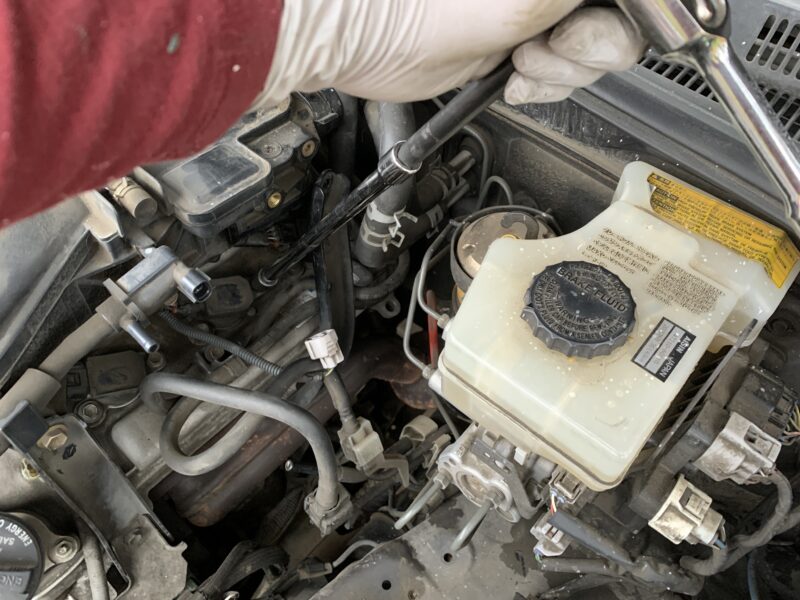
You’ll also need to pivot this black metal bracket out of the way. There is a 12mm bolt attached to the top end and another 12mm bolt attached to the bottom end. Remove the top 12mm bolt and loosen the bottom 12mm bolt. This allows you to swing the bracket out of the way by pivoting about the bottom bolt; you should then be able to access the spark plug location located near the firewall.
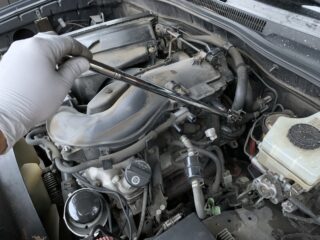
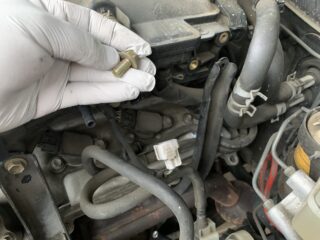
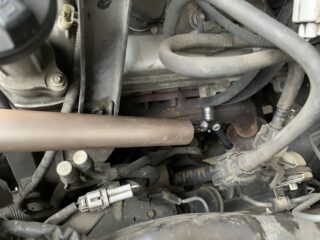
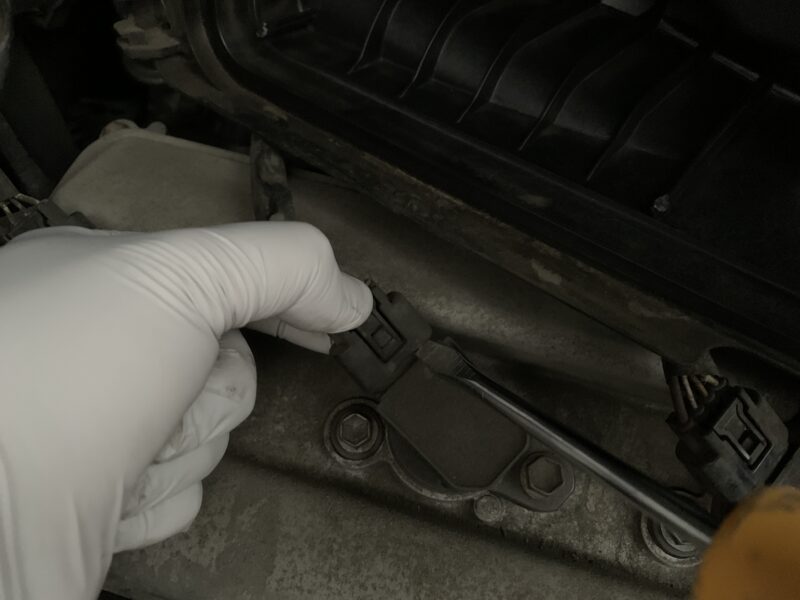
You should now have access and be able to replace all 3 spark plugs on the driver’s side. Remove each ignition coil connector, remove the 10mm bolts holding each ignition coil in, and remove the ignition coil just like you did on the passenger’s side. If you’re having trouble removing the connector, you can use a flat head screwdriver to wedge between the connector and ignition coil, and twist it while pressing the connector to free it.
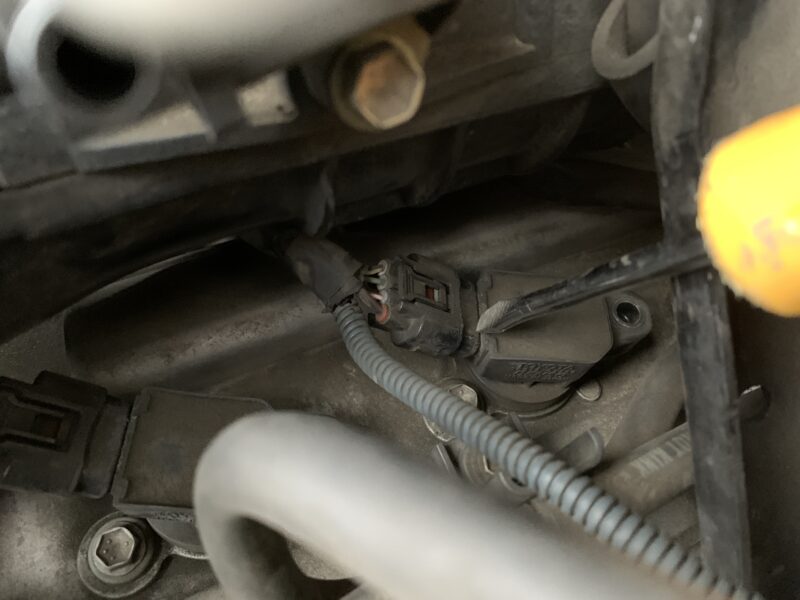
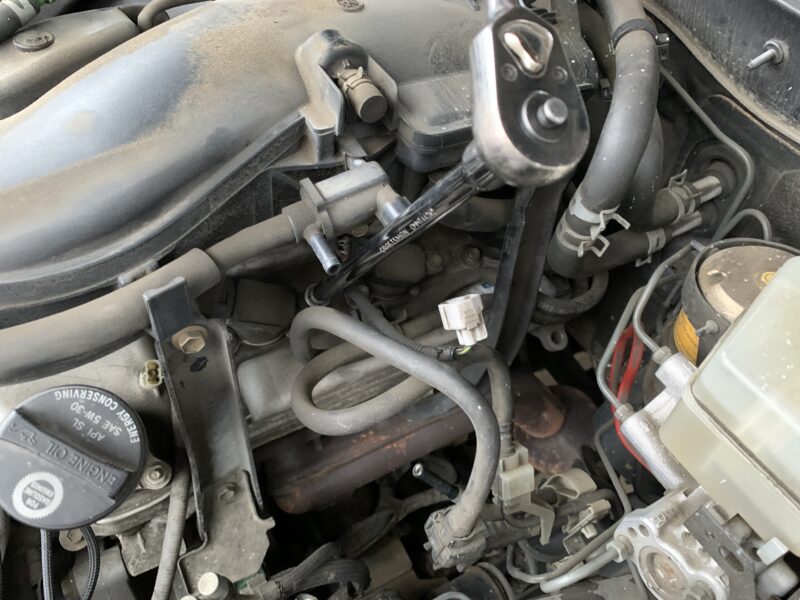
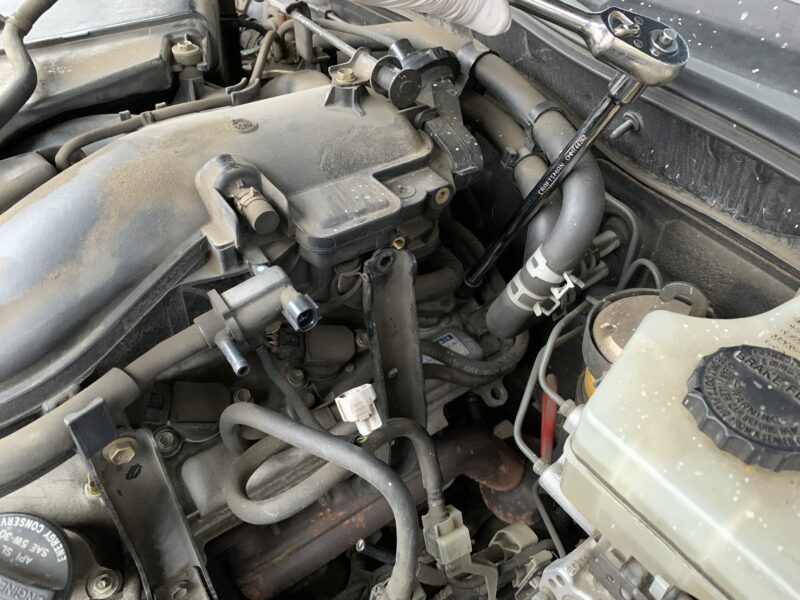
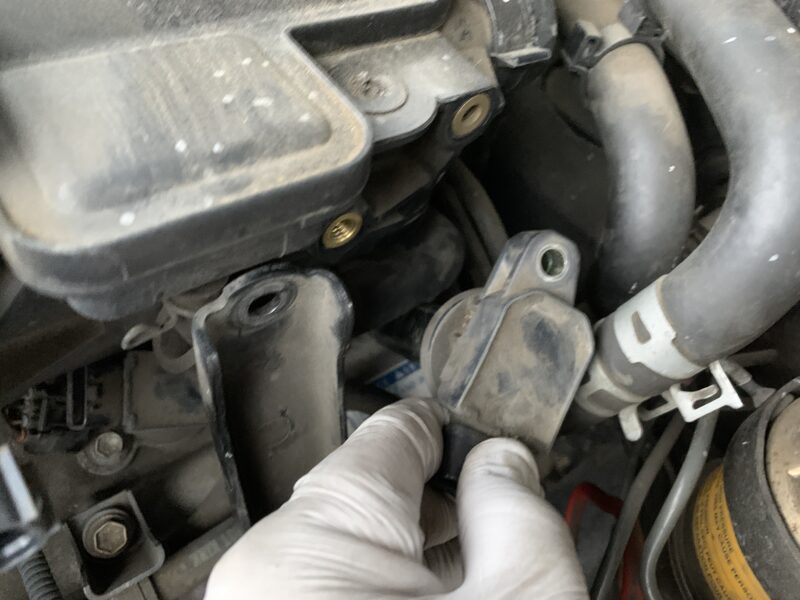
Replace the spark plugs just like on the passenger’s side. Apply dielectric grease on the inner edge of the boot and reinstall the ignition coils with the 10mm bolts, then hand-tighten. You may need an extra long socket extension (or several connected socket extensions) to remove/install the furthest spark plug located near the firewall.
Reinstall everything back in the reverse of removal and ensure that you are retightening the 12mm bolts in the bracket (where you removed the top bolt and loosened the bottom bolt.) I couldn’t find any torque values for these bolts, but they should be hand-tightened very tight based on how tight they were when they were removed. With everything reinstalled in reverse of removal, you will now be complete with the spark plug replacement.

