
When you make purchases through links on this site, The Track Ahead may earn an affiliate commission. Also, these posts are based off my own experiences. I am not responsible for any action you take as a result of reading this. Learn More
Lubricating the driveshaft (a.k.a. propeller shaft) is a key maintenance item on the 4th generation Toyota 4Runner that every owner should be doing. Armed with a grease gun and appropriate grease, it is easy to grease up the driveshaft and keep your driveline working properly. There is a bit of variability in information related to how often you should be greasing your driveshaft, as well as what type of grease you should be using on the various components of the propeller shafts. Once you navigate through the confusion around the the maintenance interval and the grease type, the maintenance itself is quite easy and ensures you keep your driveline in tip-top shape.
How Often Should you Grease the Driveshaft?
My 2003 Toyota 4Runner owners manual doesn’t say anything about how often to grease the driveshaft; it only specifies what type of grease to use. Alternatively, my Haynes Manual for the 2003-2009 Toyota 4Runner says that it should be done every 7,500 miles or every 6 months.
Personally, I’ve heard all kinds of answers to the question of how often you should grease the driveshaft. I’ve heard that you should do it every 15k miles, every 6 months, and even at every oil change. I think any of these guidelines will suffice as I personally have gone much longer than these intervals (more than I wish to disclose) and never had an issue. However, I do think it’s a good idea to choose a maintenance schedule that is reasonable and stick to it. Right now, I’m performing this service every six months as it strikes a nice balance between convenience and adequate lubrication.
What Type of Grease to Use on the Driveshaft?
Here’s another question that seems to have a different answer depending on who you ask: which grease should I be using on my driveshaft? The driveshaft is made up of several components utilizing zerk fittings for lubrication points. If you have a 2WD 4th gen 4Runner, your driveline is not serviceable and therefore there will be no zerk fittings for you to grease. If you have a 4WD 4th gen 4Runner, you’ll have two zerk fittings for the slip yoke (a.k.a. slide yoke) and four zerk fittings for the spider joint (a.k.a. universal joint.)
The type of grease that needs to be used for the slip yoke and the spider joint tends to have a lot of conflicting information. For example, my owner’s manual states that both spiders and slip yokes take lithium base chassis grease, NLGI No.2. My Haynes manual says for chassis grease, an NLGI No.2 lithium base chassis grease is to be used. And finally, I don’t personally have a shop manual but many folks online have said that the shop manual recommends using molybdenum disulphide lithium base chassis grease NLGI #2 for the slip yokes and regular lithium based NLGI #2 for the spider joints.
You’ll also hear all sorts of anecdotal accounts of Person A running lithium grease in both slip yokes and spiders going on 200k miles on their 4Runner. Conversely, Person B has run lithium grease with moly everywhere and has gone the distance too. And then of course there will be others who use lithium grease in the spiders and lithium grease with moly in the slip yoke, and make the same kind of longevity claim. Even mechanics at Toyota dealerships will have a variety of responses on which greases they use; it is usually a mixed bag of these three options.
Ultimately, I suggest you do your own research and make a decision for what you believe is best for your vehicle. Personally, I find it a bit troublesome to either using one grease gun and changing out between two different types of grease or having two separate grease guns just for the sake of greasing my driveline. Because of this and the fact that the owner’s manual and the Haynes manual allows for the use of lithium grease on both spiders and slide yokes, I feel comfortable using an NLGI No. 2 lithium grease for both slip yoke and spider joints.
Tools and Materials
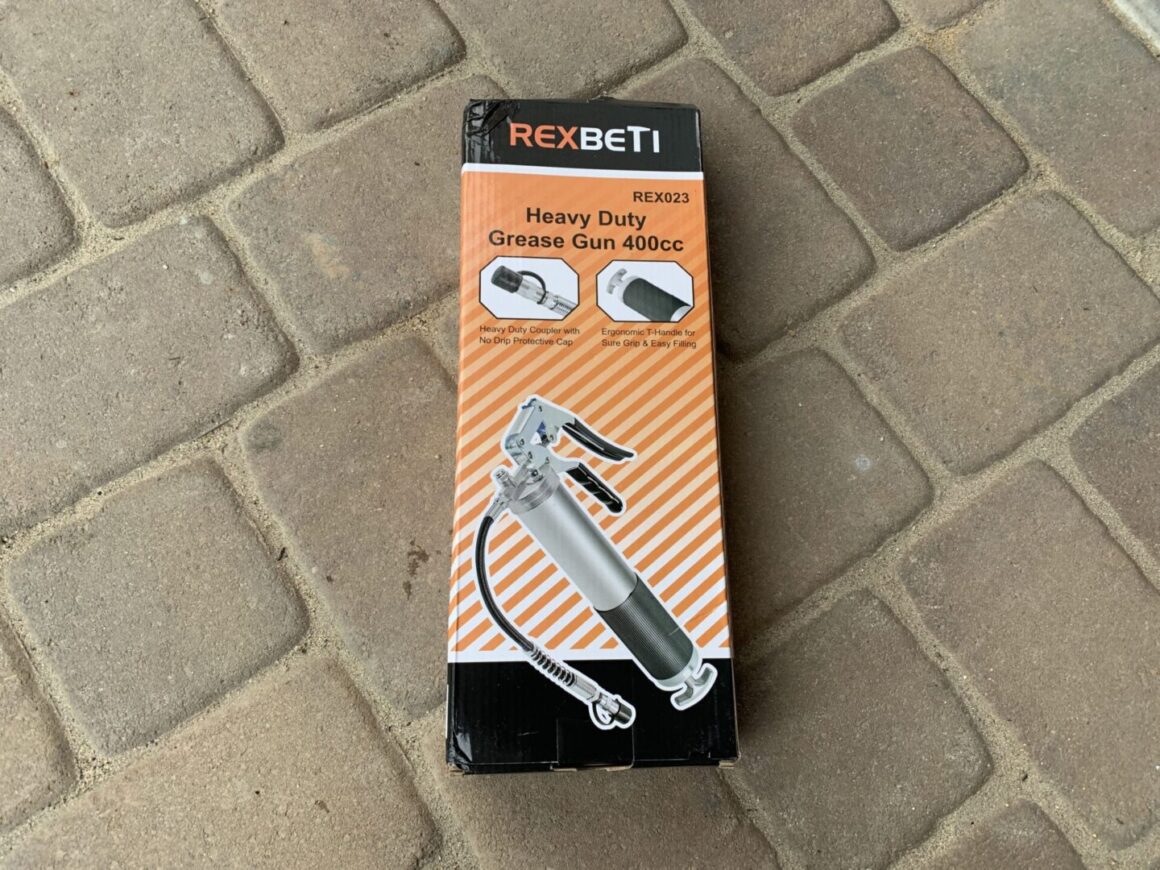
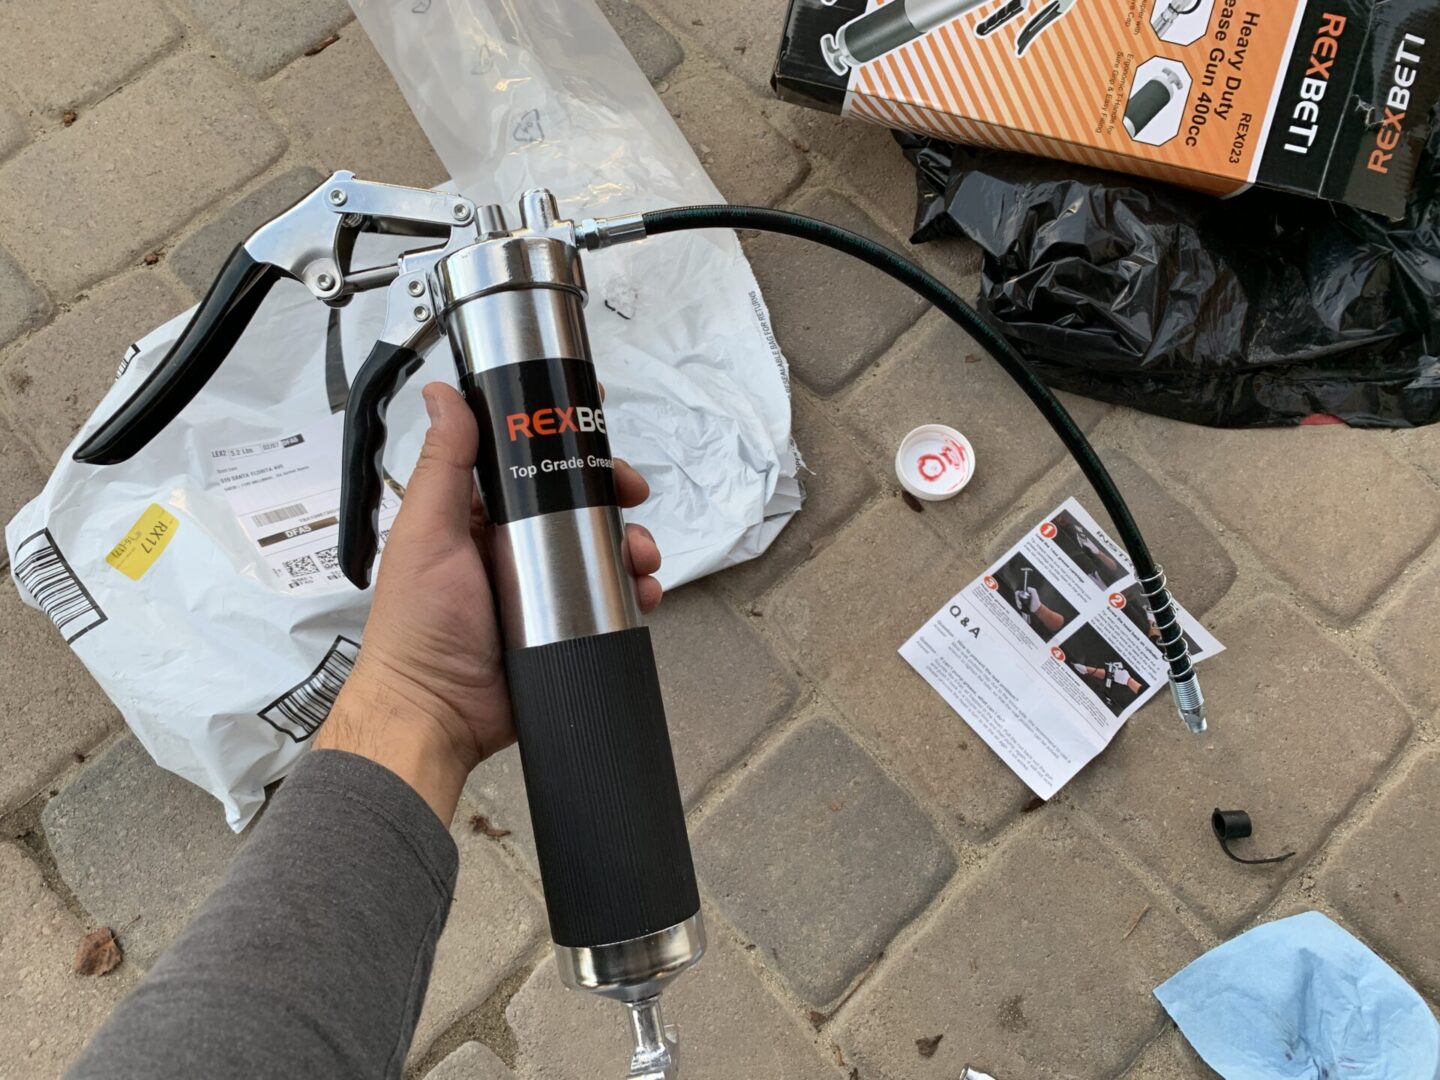
Grease Gun – Pistol Grip
There are endless options for grease guns out there, but this is the one I used. It’s very easy to get set up and it comes with two different reinforced nozzles for use with zerk fittings.
REXBETI Grease Gun, Pistol Grip Grease Gun Set with 18 Inch Flex Hose
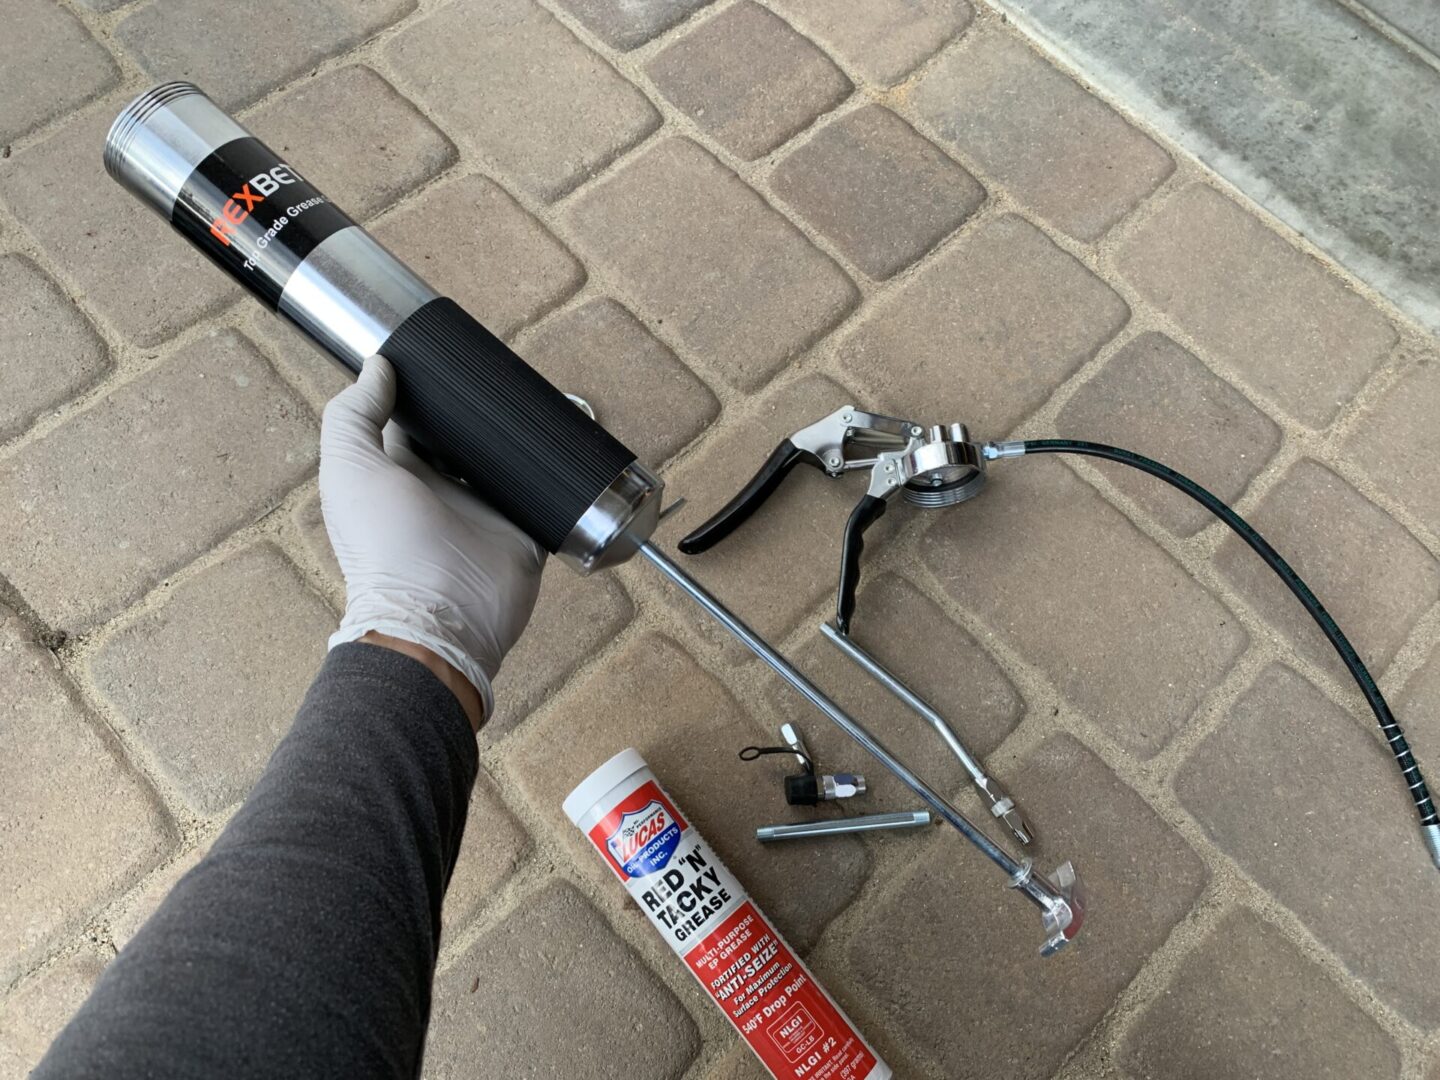
Lithium Base Chassis Grease, NLGI No. 2
My 2003 Toyota 4Runner owner’s manual, as well as my Haynes Manual (for 2003-2009 Toyota 4Runners) says that an NLGI #2 lithium base chassis grease is to be used on the driveshaft for lubrication.
Lucas Oil 10005 Red ‘N’ Tacky Grease – 14 Oz.

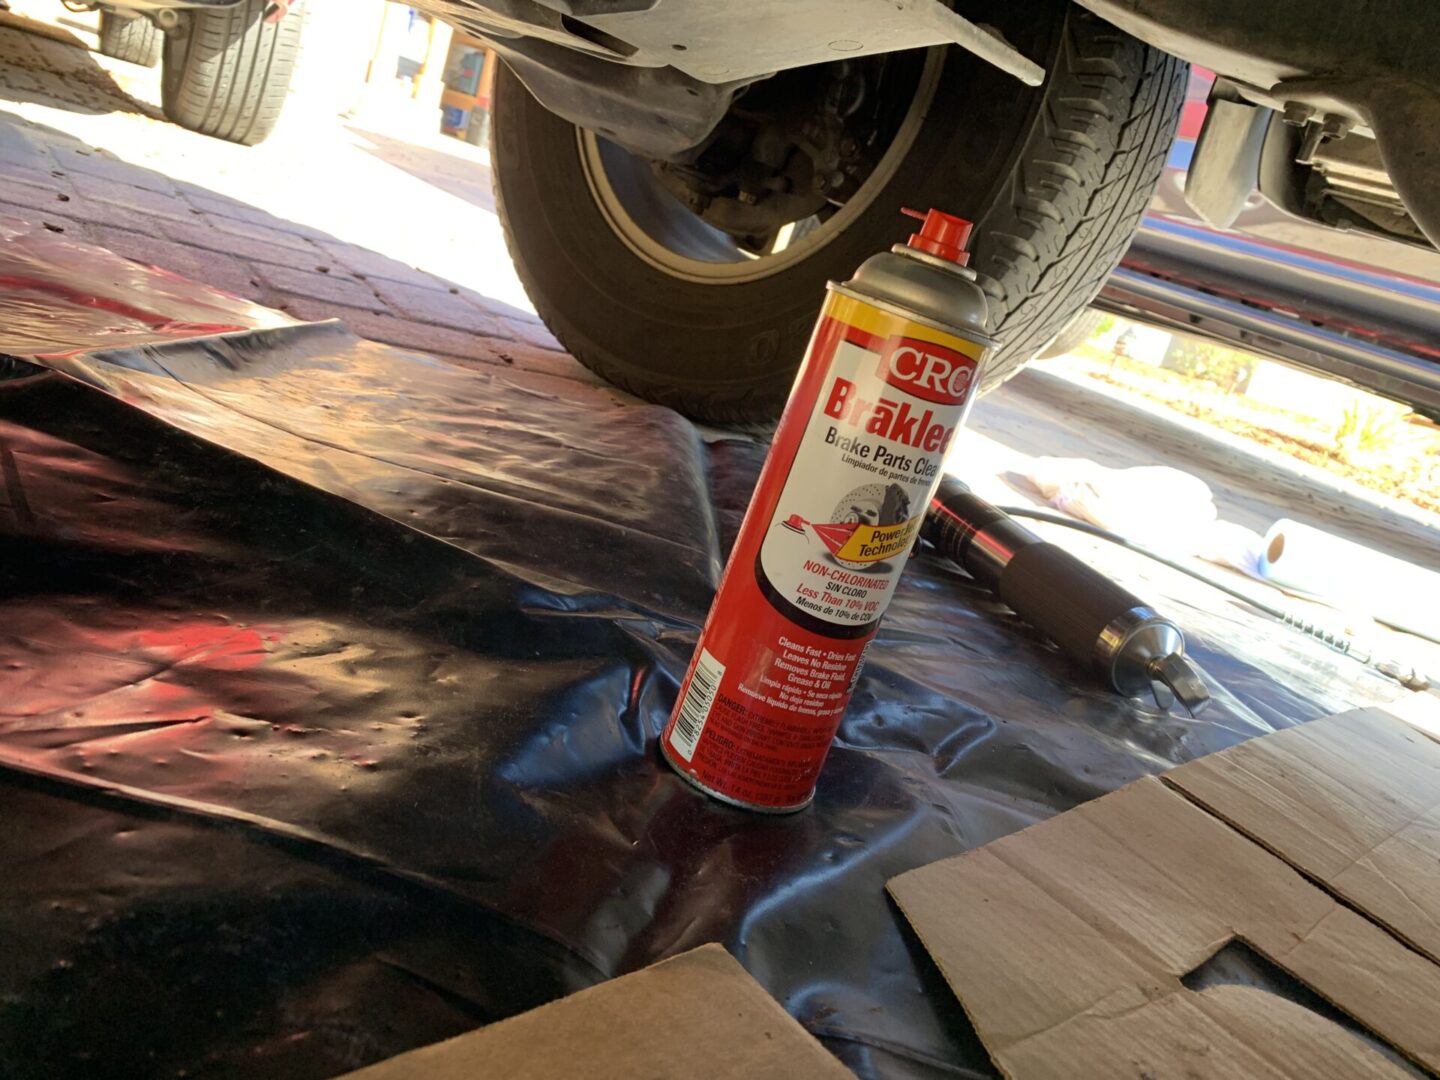
Brake Cleaner or Cleaner/Degreaser
I use either brake cleaner or some degreaser to clean the areas that I’m working. It’s especially helpful to have these cleaners around to clear all the built up grease and dirt at the zerk fittings. Sometimes you can’t even tell where the zerks are because its been caked up with so much dirt and grease. Cleaning the area usually helps uncover the locations of these fittings.
CRC BRAKLEEN Brake Parts Cleaner – Non-Flammable -19 Wt Oz (05089)
Simple Green, SMP13012, Industrial Cleaner/Degreaser, 1 Each, White
Nitrile Gloves
Greasing the driveshaft is a messy job, so you don’t want to get this all over your hands.
MedPride Powder-Free Nitrile Exam Gloves (Box of 100): Small / Medium / Large
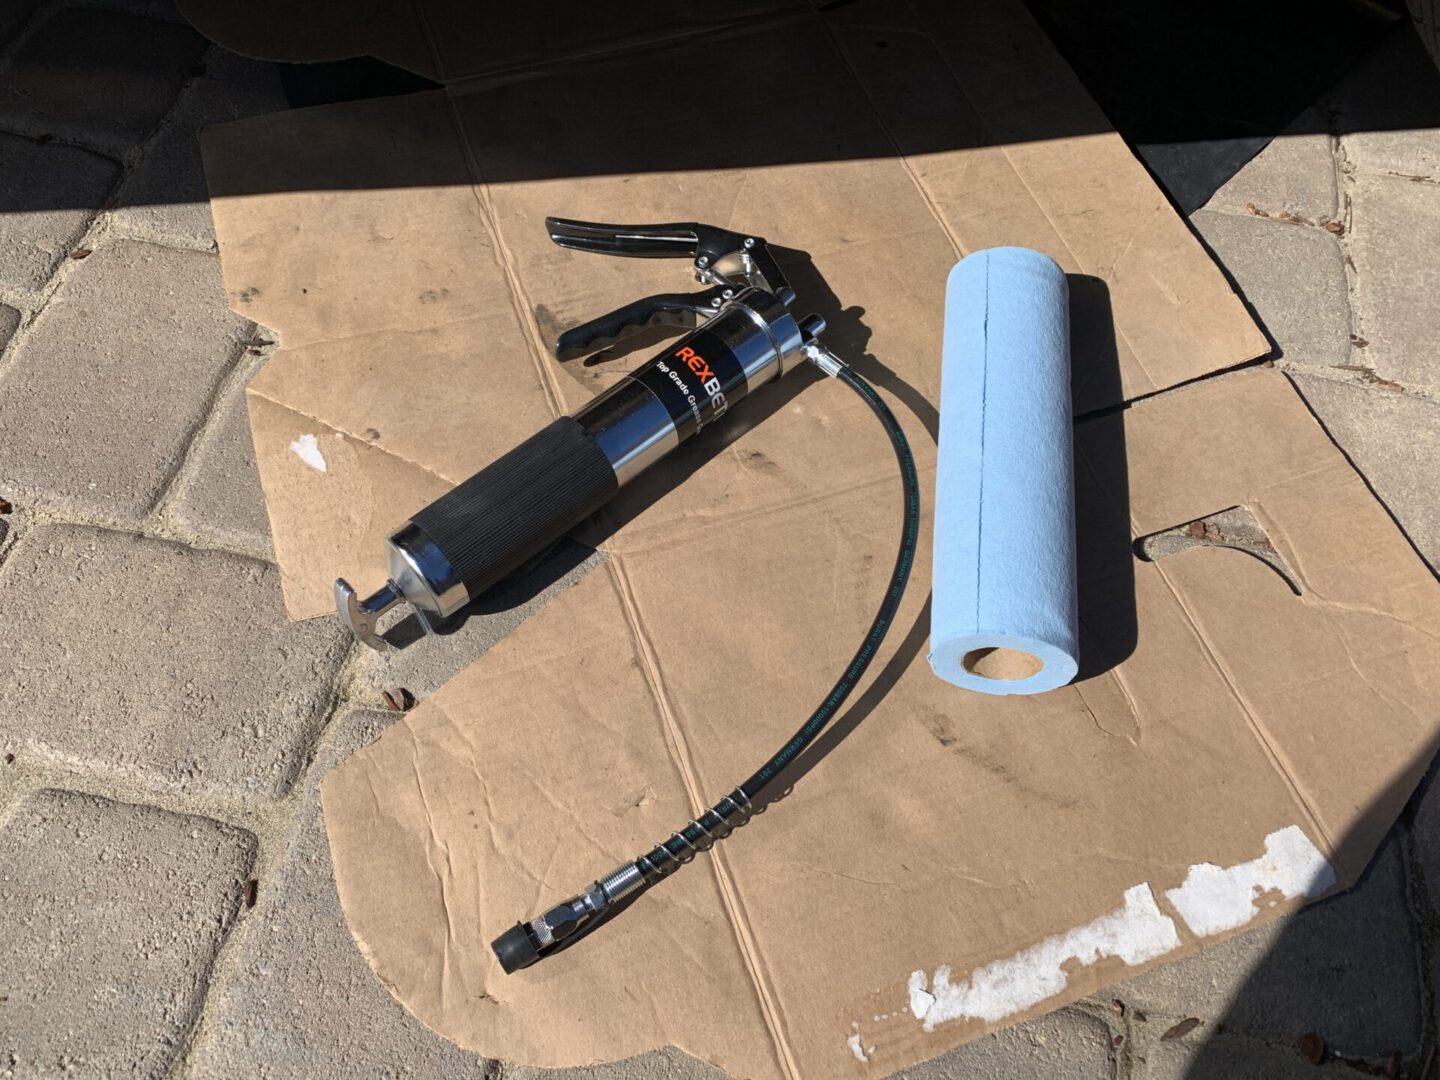
Blue Shop Towels
Again, this is a messy job and having plenty of shop towels on hand will aid in cleaning the work areas, but also with clearing away the pumped out old grease.
Scott 75130 Shop Towels, 55 Towels (12 rolls)
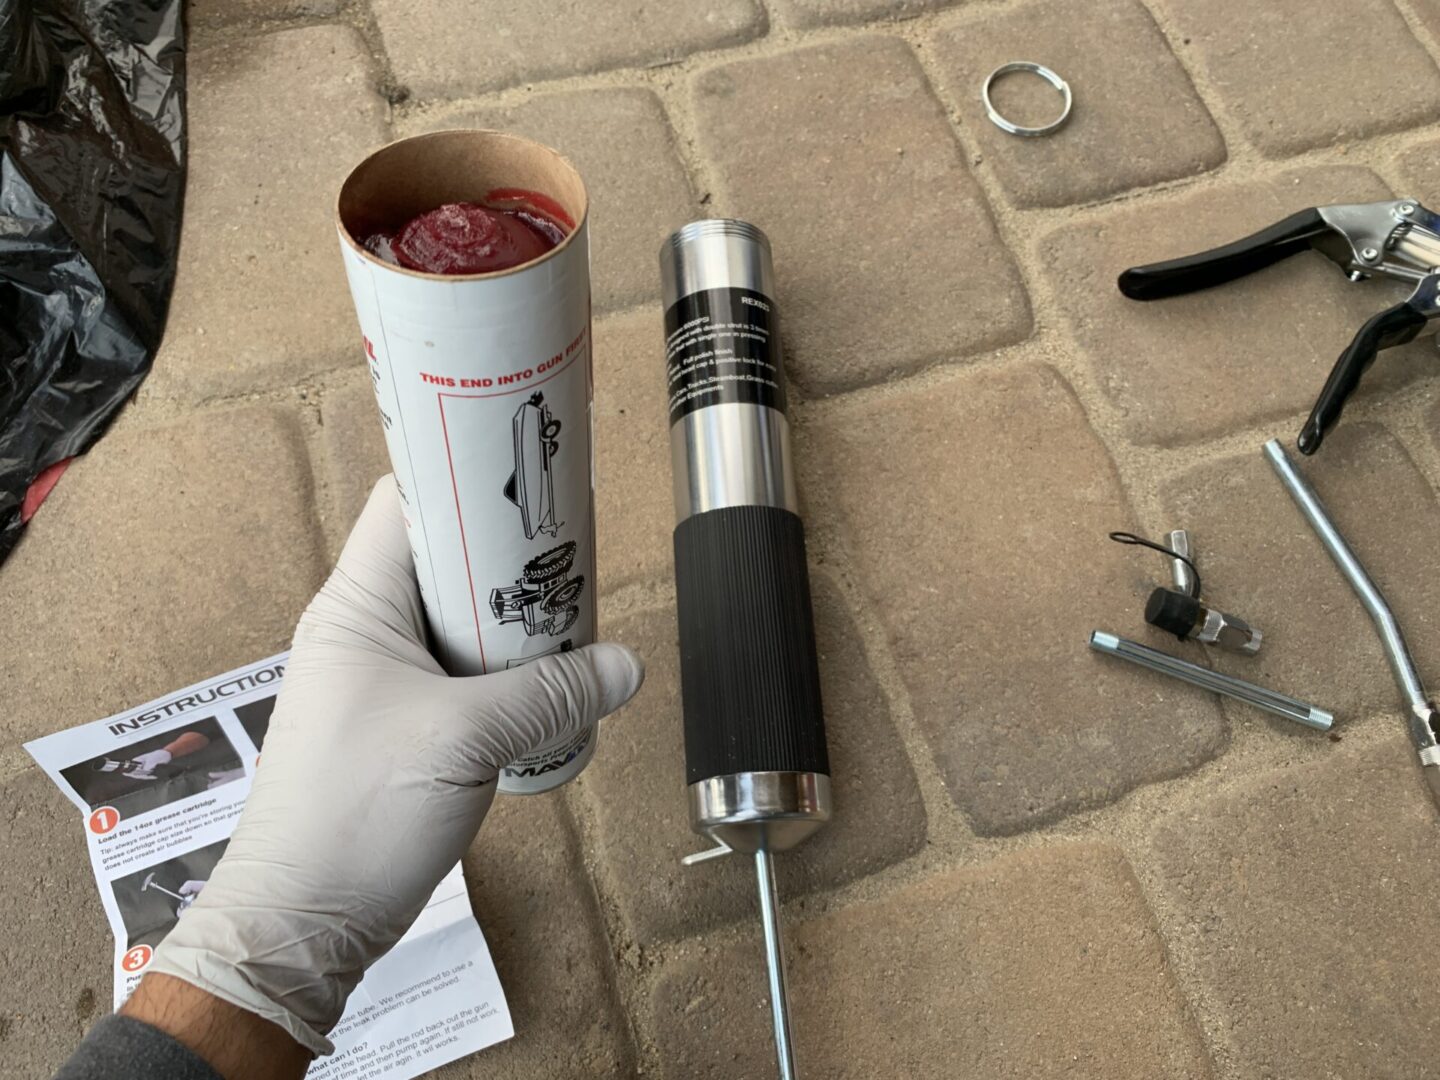
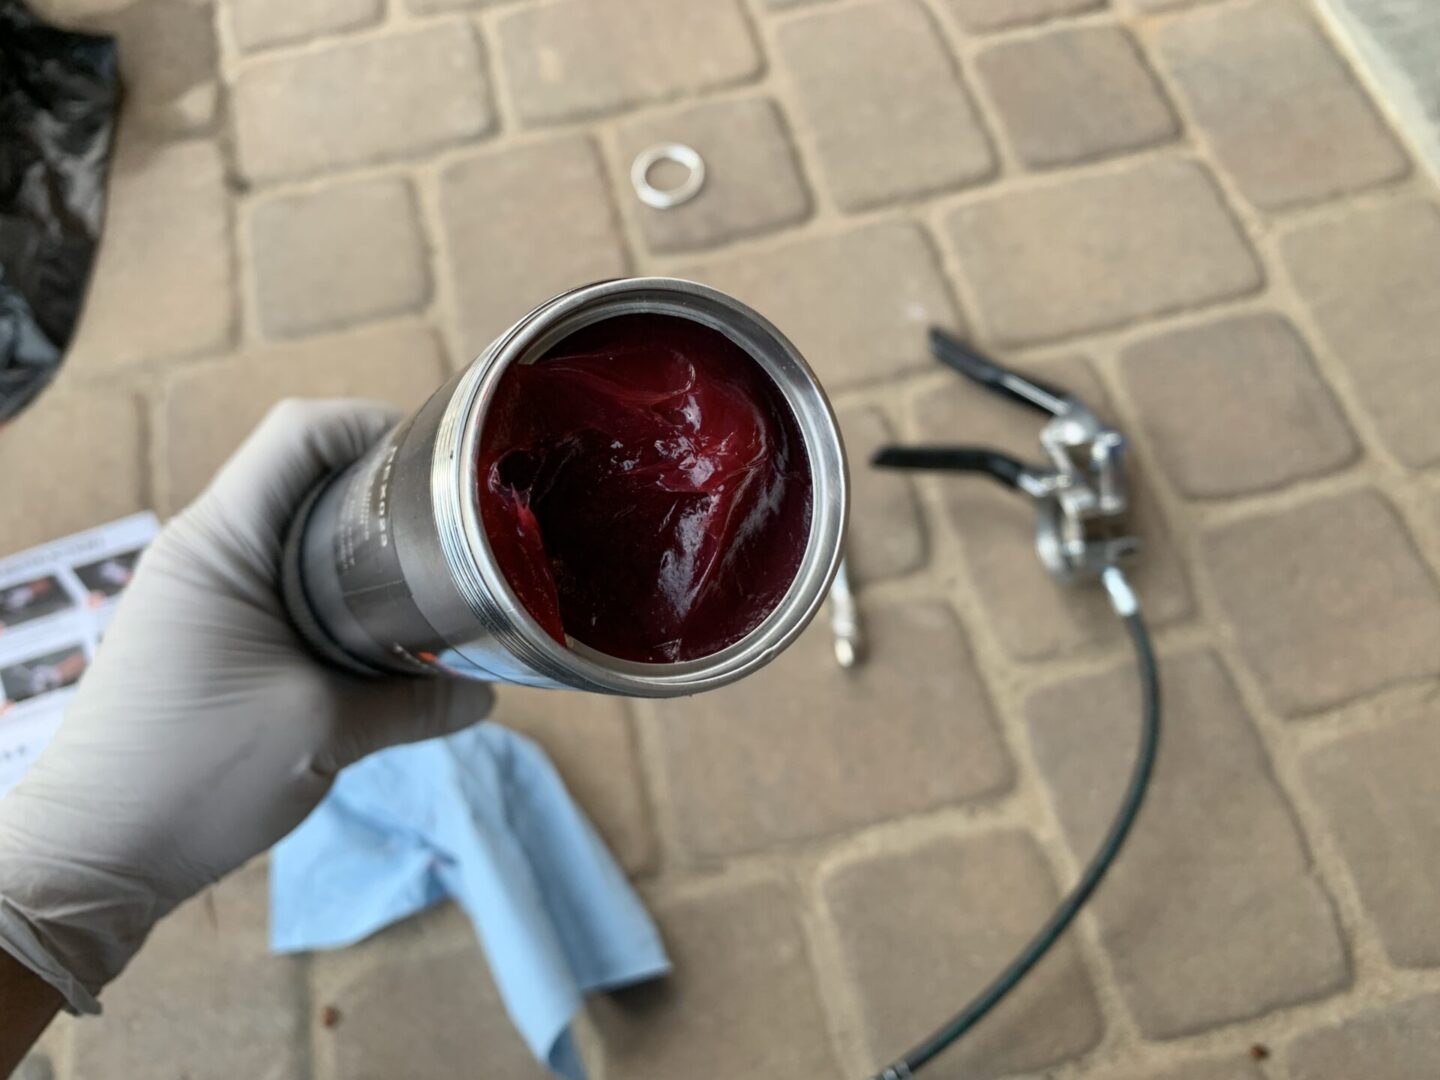
Preparing the Grease Gun with Driveshaft Grease
Before starting, you will need to assemble your grease gun if necessary. Follow the instructions that come with the grease gun. With the grease gun I purchased, I simply had to unscrew the grease gun cap (the side where the grip is located), remove the cap to the grease tube, crank the grease gun handle back all the way, insert the tube with the open side up, screw the grease gun cap back on, then pull back on the handle while releasing the stop so that the handle presses into the grease tube. You can then squeeze the pistol grip until grease just starts to come out.

How to Grease the Driveshaft on a 4WD 4th Gen Toyota 4Runner
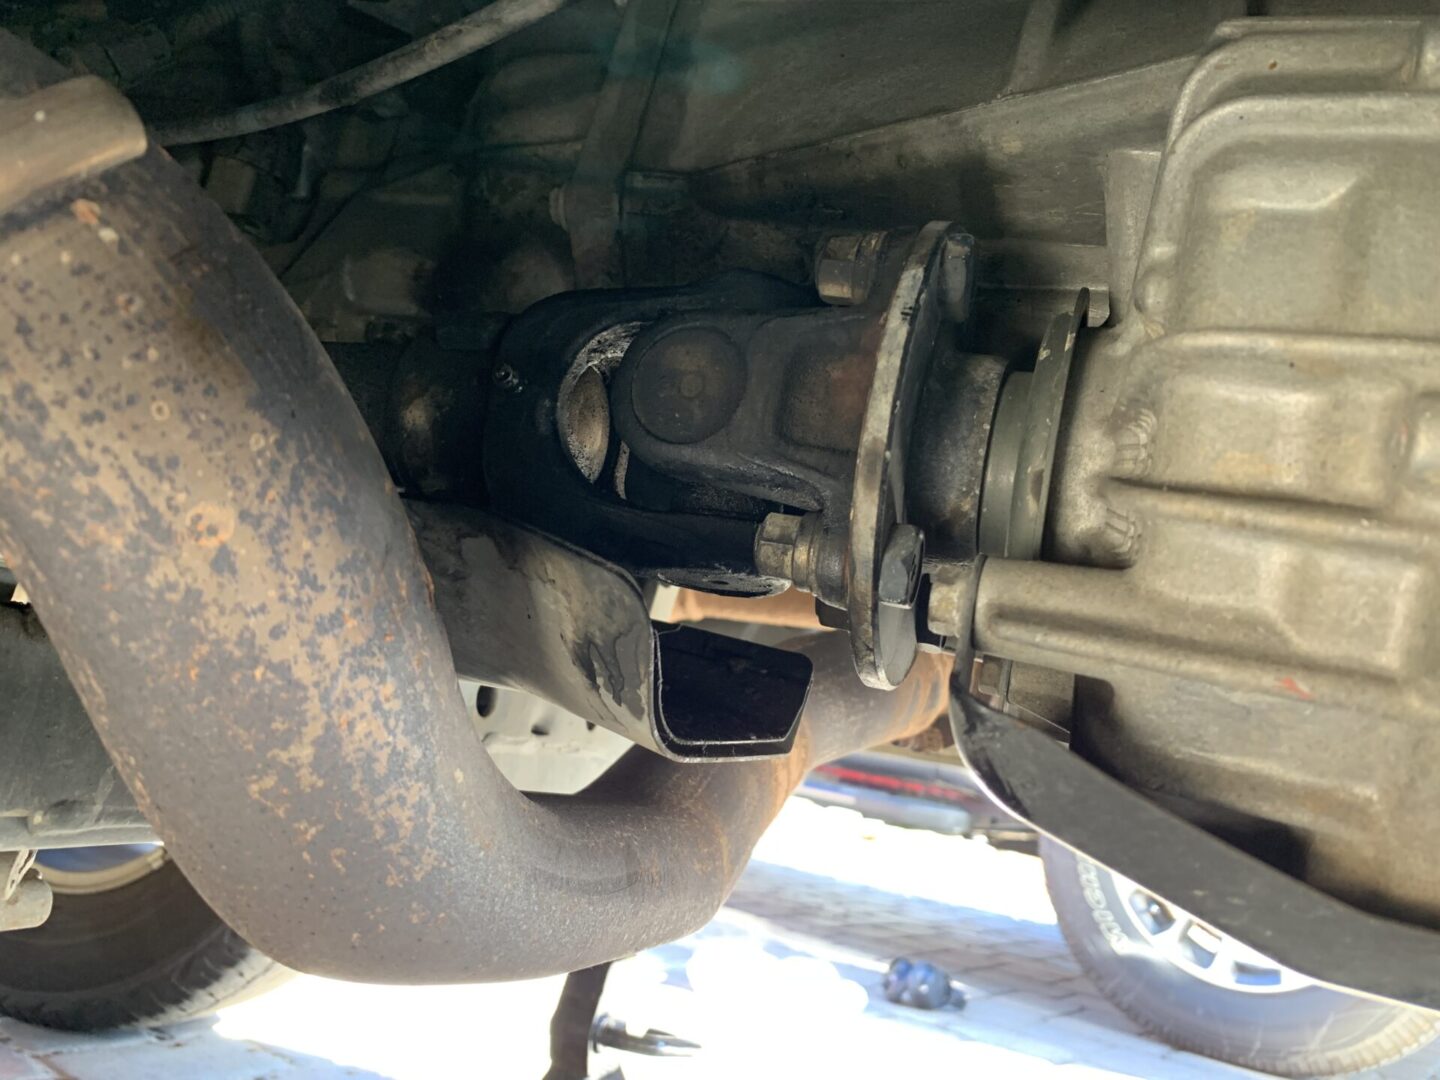
First, let’s take look at an overview of the driveshaft system. If you look at the set of three photos below, they are taken from the driver’s side of the vehicle looking at the undercarriage. The photos follow from left to right as if you were looking from the front of the vehicle to the rear.
Left photo: front differential to the front driveshaft
Middle photo: front driveshaft meets the transfer case and then continues to the rear driveshaft
Right photo: rear driveshaft to the rear differential


Driveline Grease Points on 4th Gen Toyota 4Runner – 4WD
Below is a diagram I made of the whole driveshaft assembly and where you’ll need to grease the various zerk fittings.

I won’t go into the details of what grease to use here as I went in-depth about it earlier in the post. Once you decide the type of grease you want to use and where you want to use it, have your grease gun(s) ready with your grease(s) of choice. Make sure to force out the grease until it just begins to leave the feeder tube. Wipe away the excess grease.
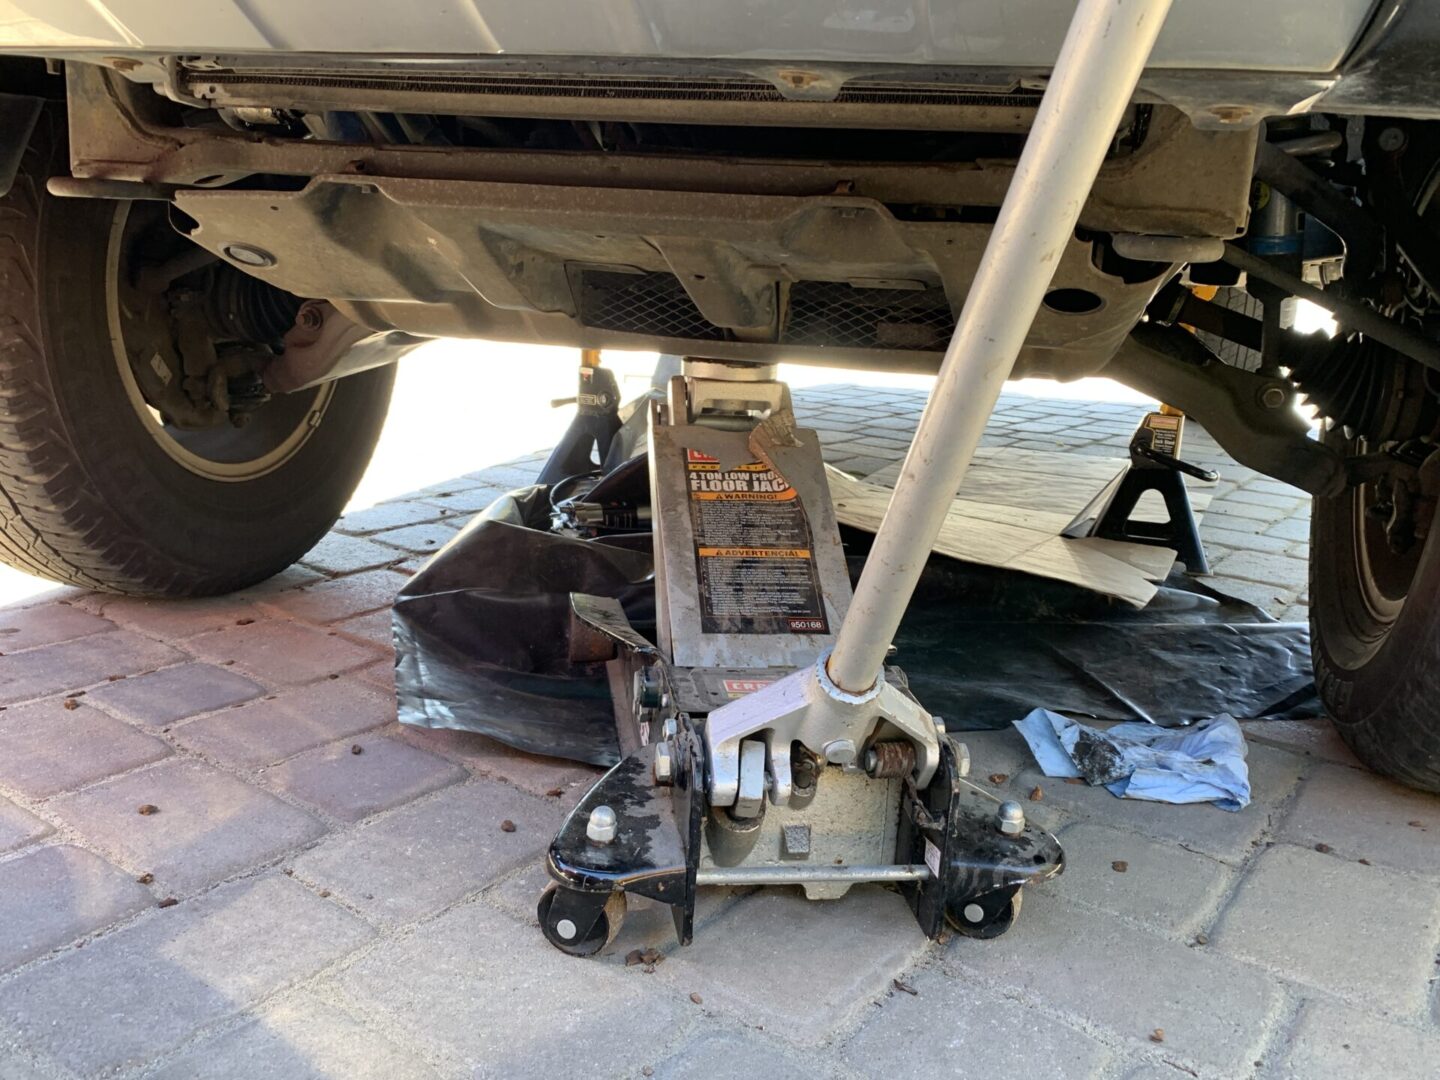
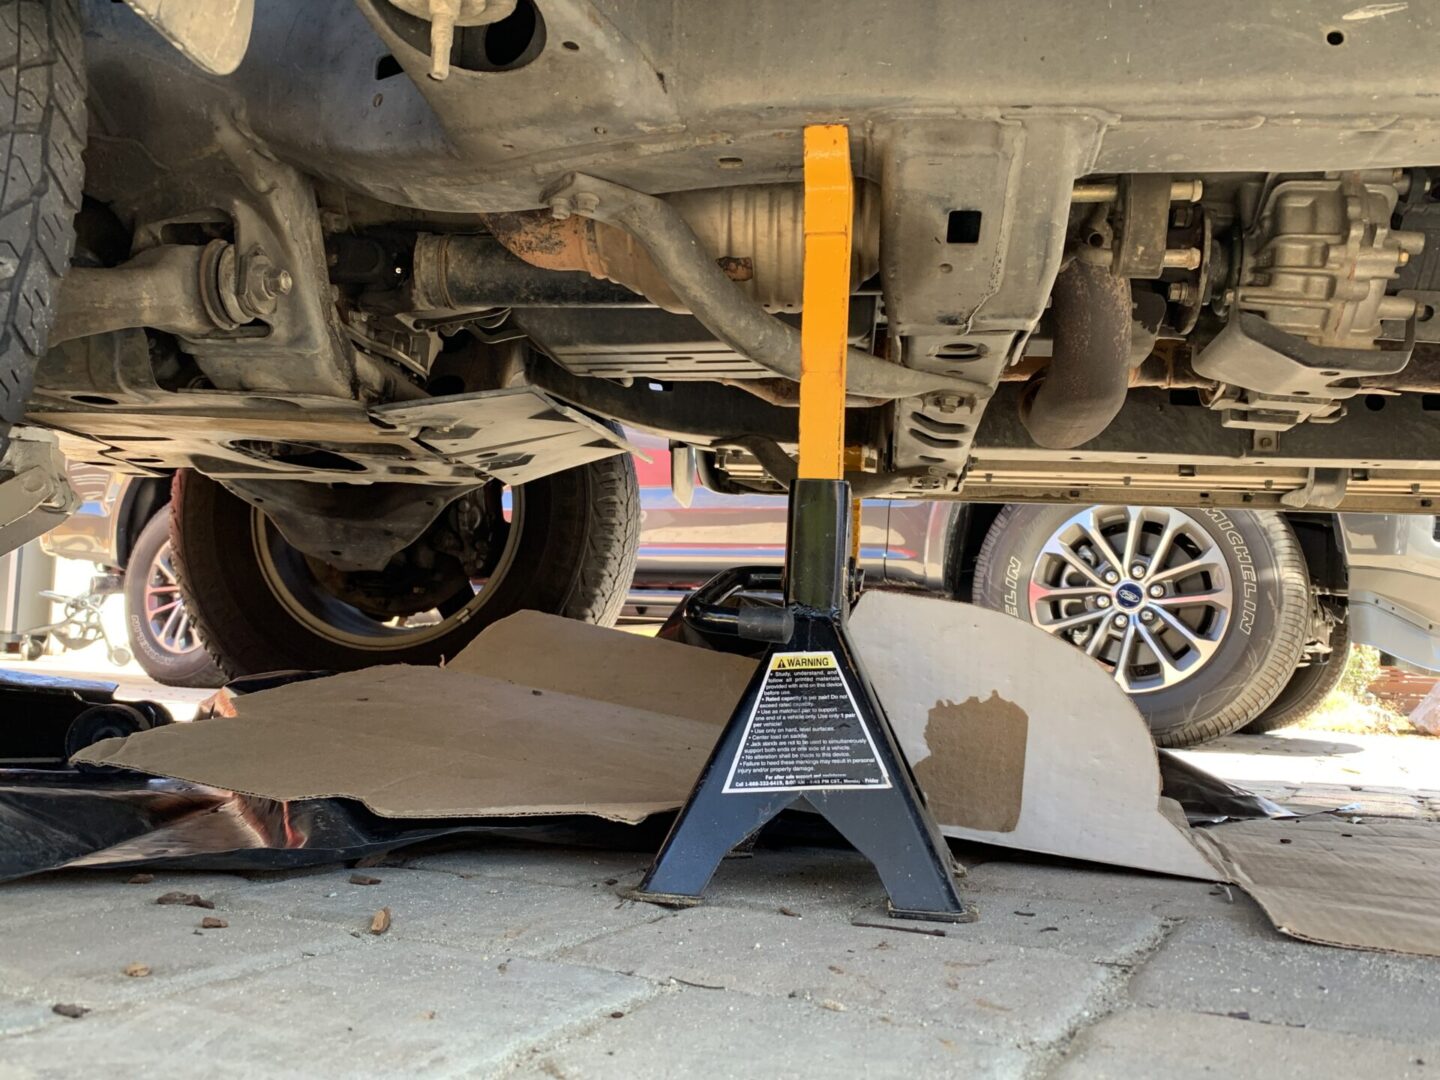
It may be possible to do this work under your vehicle if you have a tall enough lift on the vehicle, but even with my 3″ lift, I still didn’t have a lot of room to work. So I jacked up the car, placed jack stands, and chocked the wheels. If you have rear height control suspension on your 4Runner, make sure to adjust the mode to ‘normal’, turn the height control to ‘off’ and then turn off the engine before raising the vehicle.
When you start, make sure you have your grease gun loaded up with plenty of grease, have a lot of blue shop towels or rags, and a cleaner to clean the areas surrounding the zerk fittings.
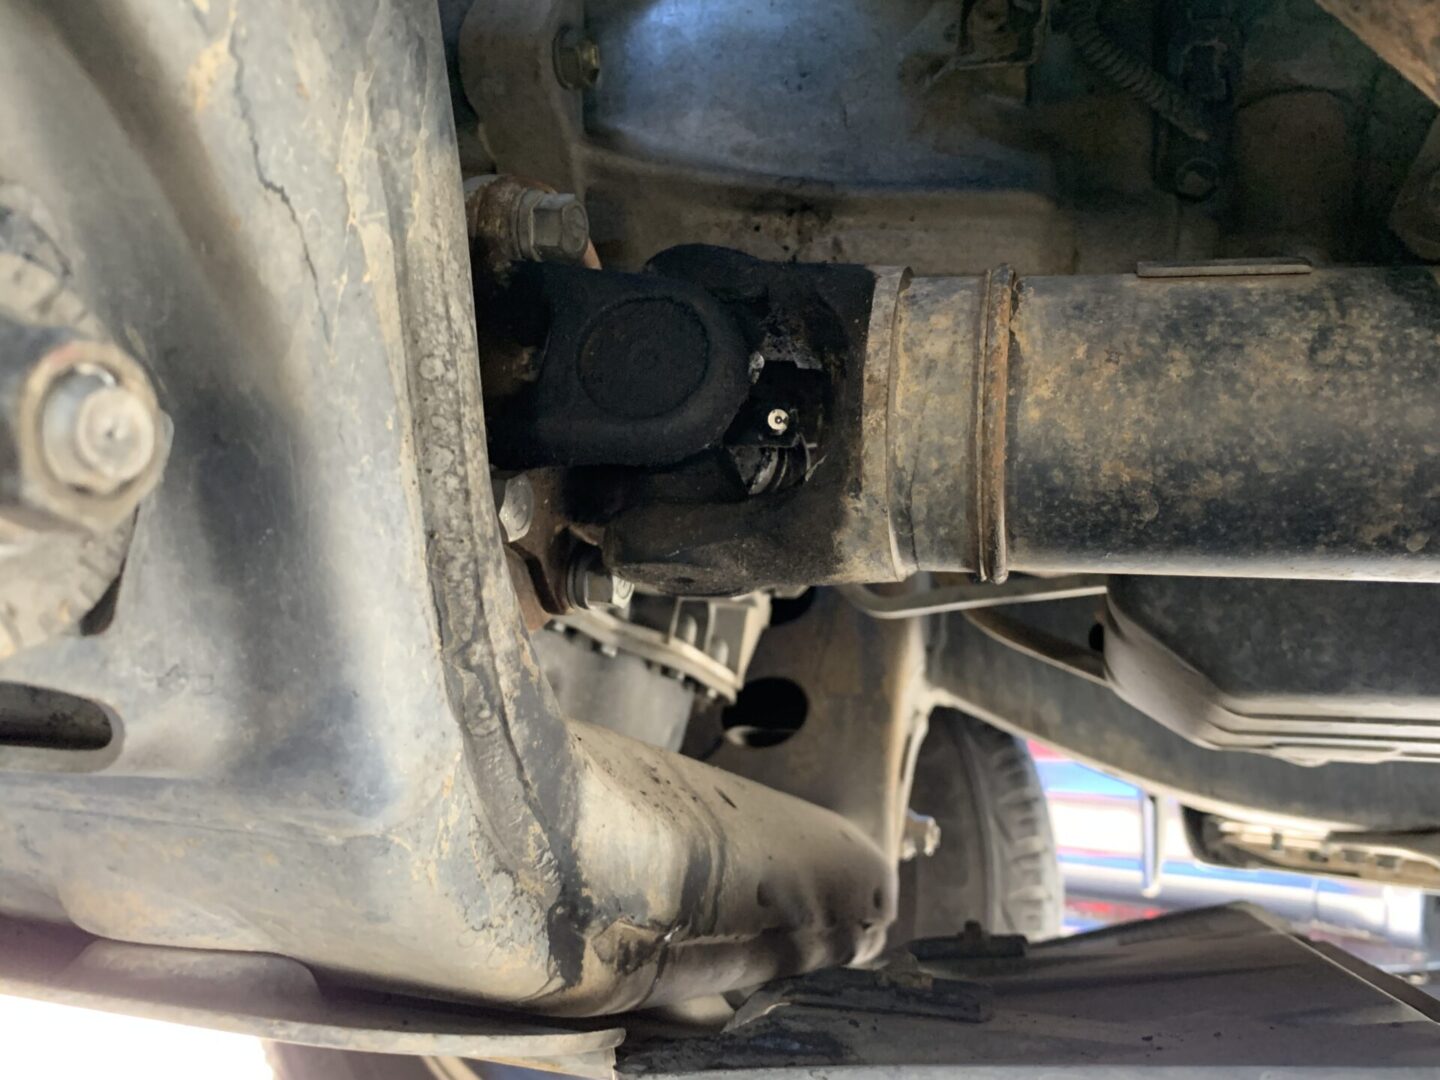
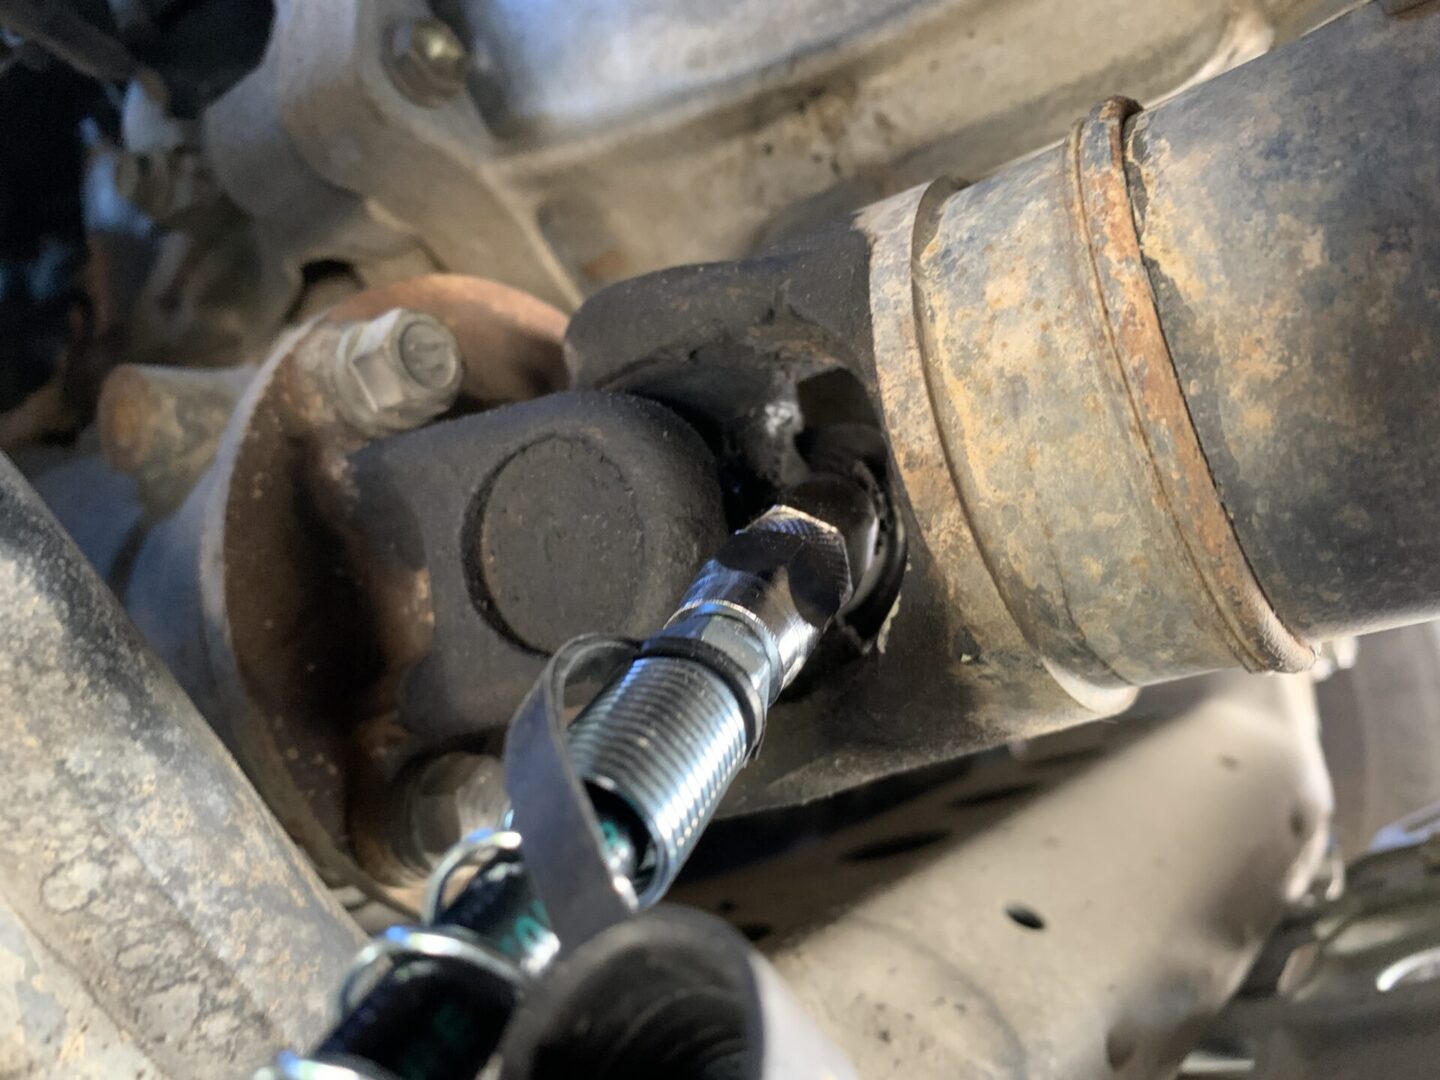
Location 1: Spider Joint (Front Differential to Front Driveshaft)
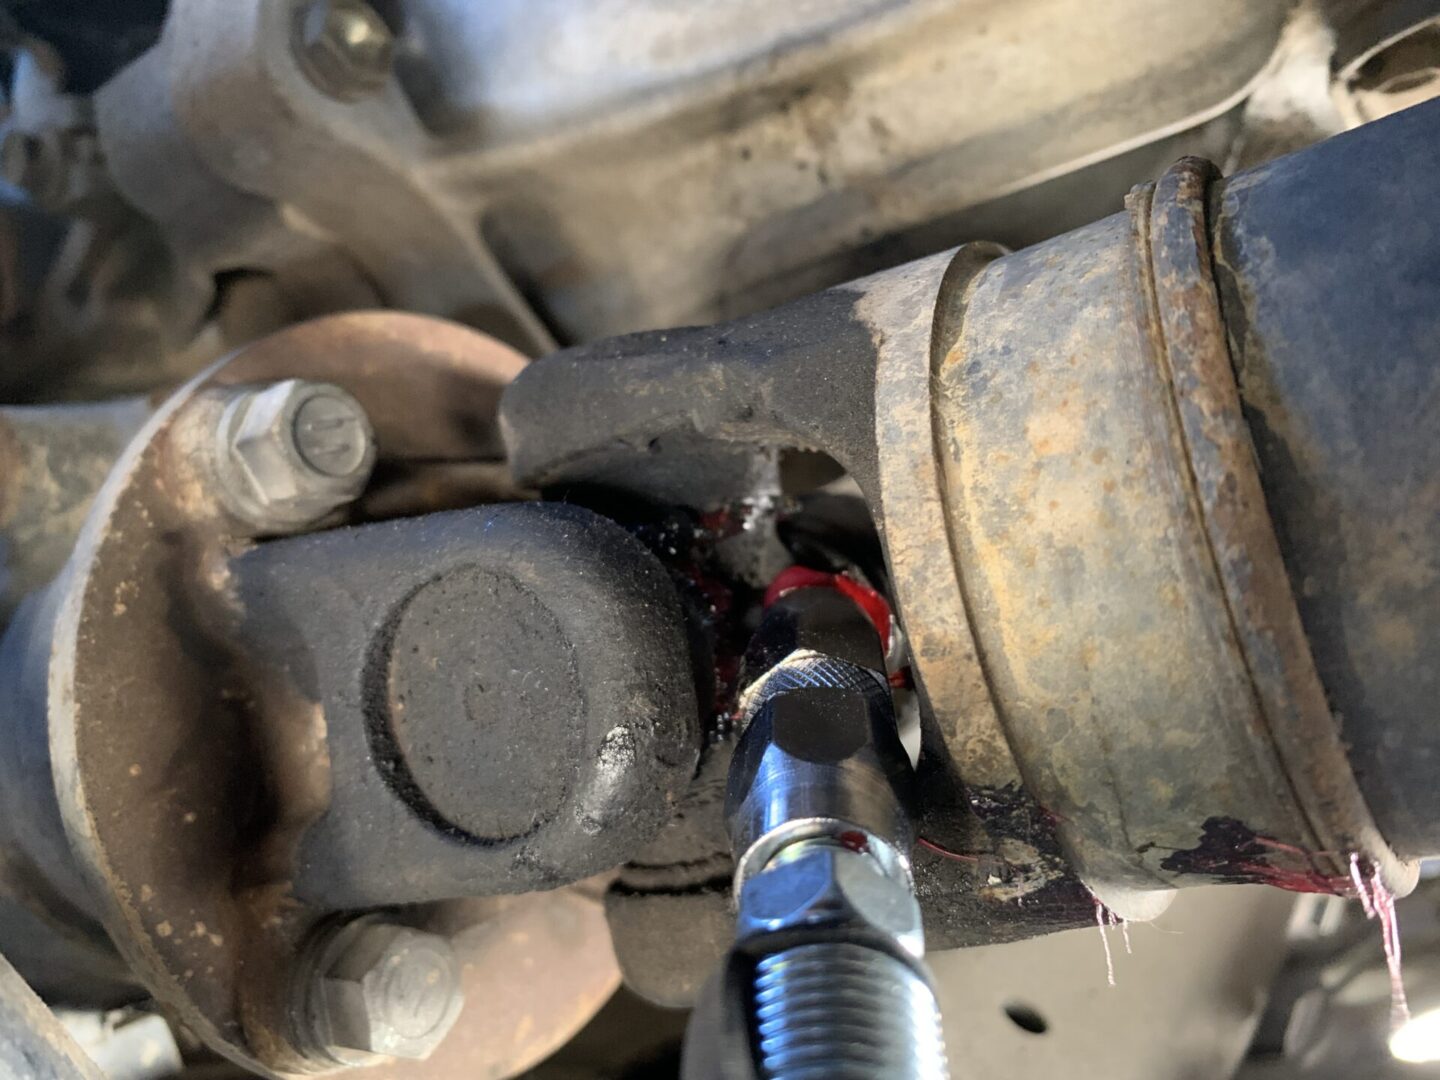
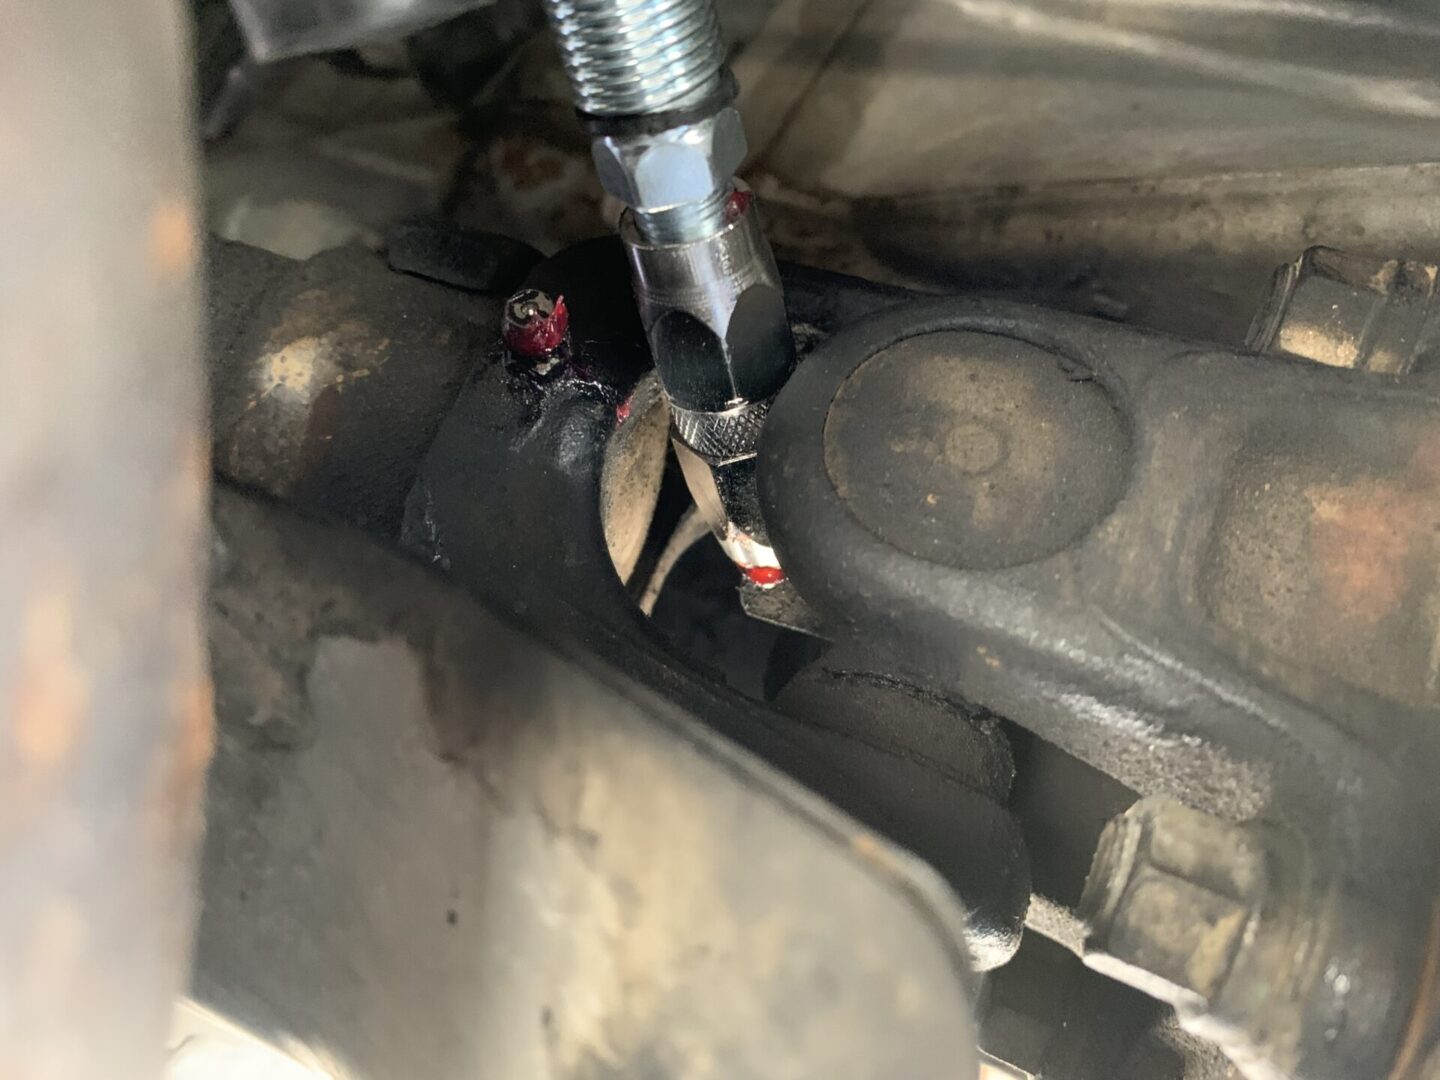
Clean the area with your cleaner and then wipe away all the old grease and dirt to expose the zerk fitting on the spider joint. Insert the grease nozzle into the zerk fitting as shown in the below photos. Pump the grease until the old grease starts to ooze out of the bearing cup seals. If the grease escapes around the grease gun nozzle, remove the nozzle and re-attach it securely again. Wipe away the excess grease that oozed out and move onto the next location.

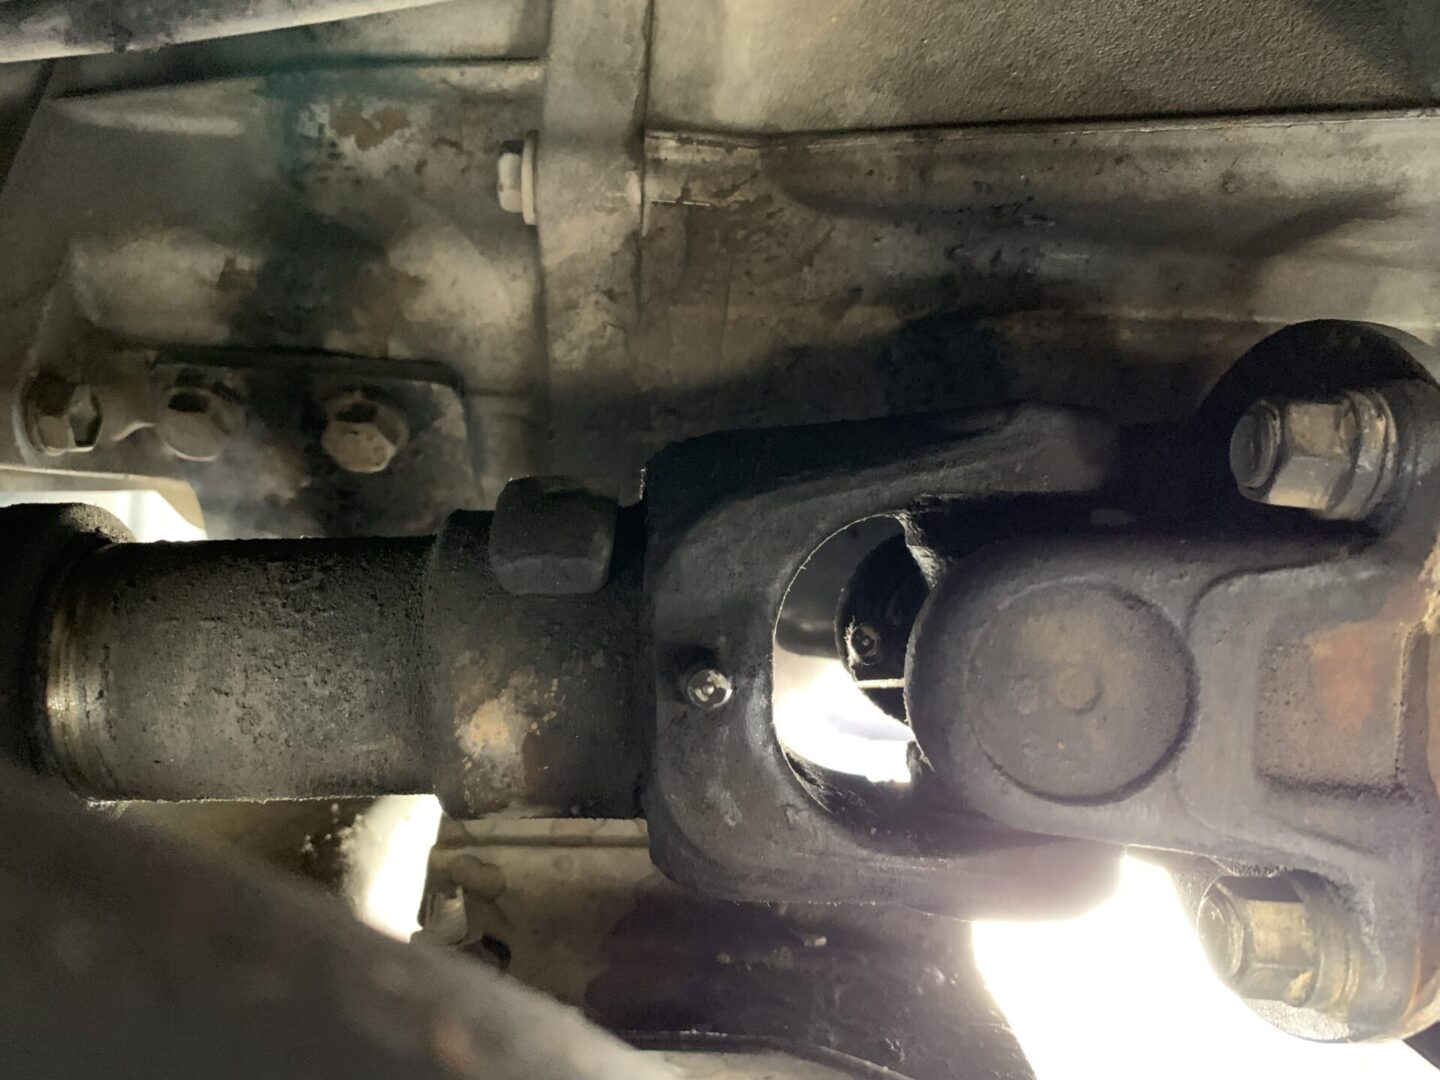
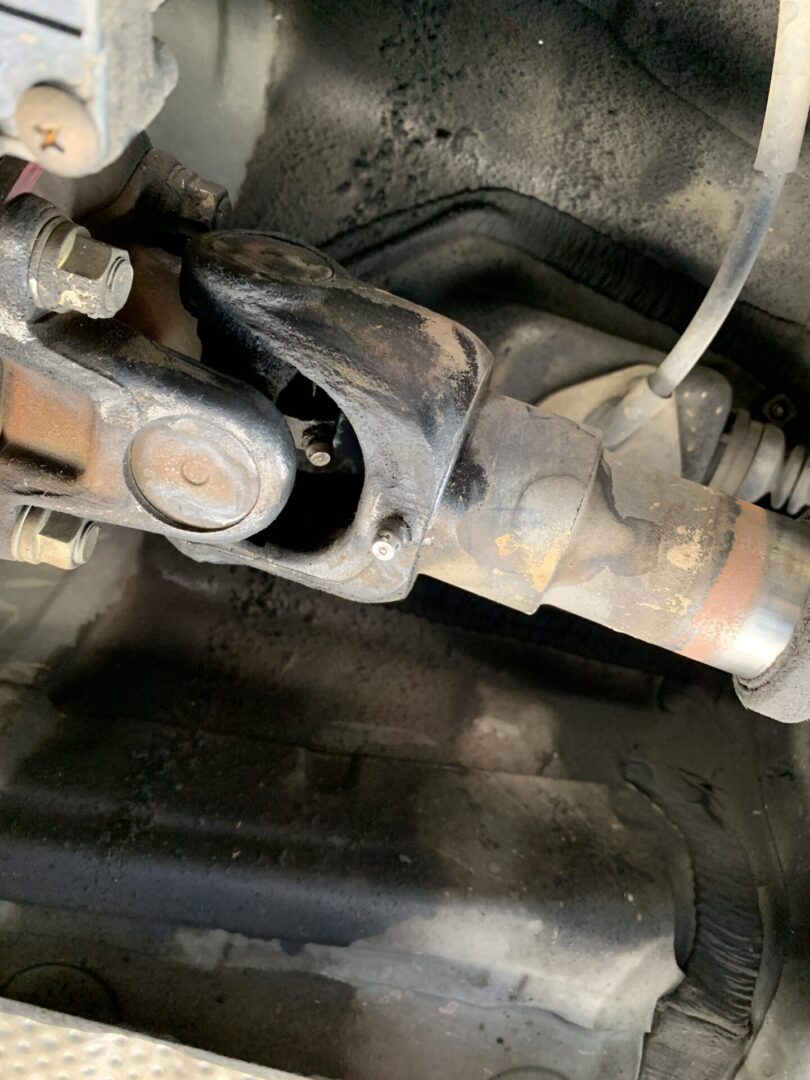
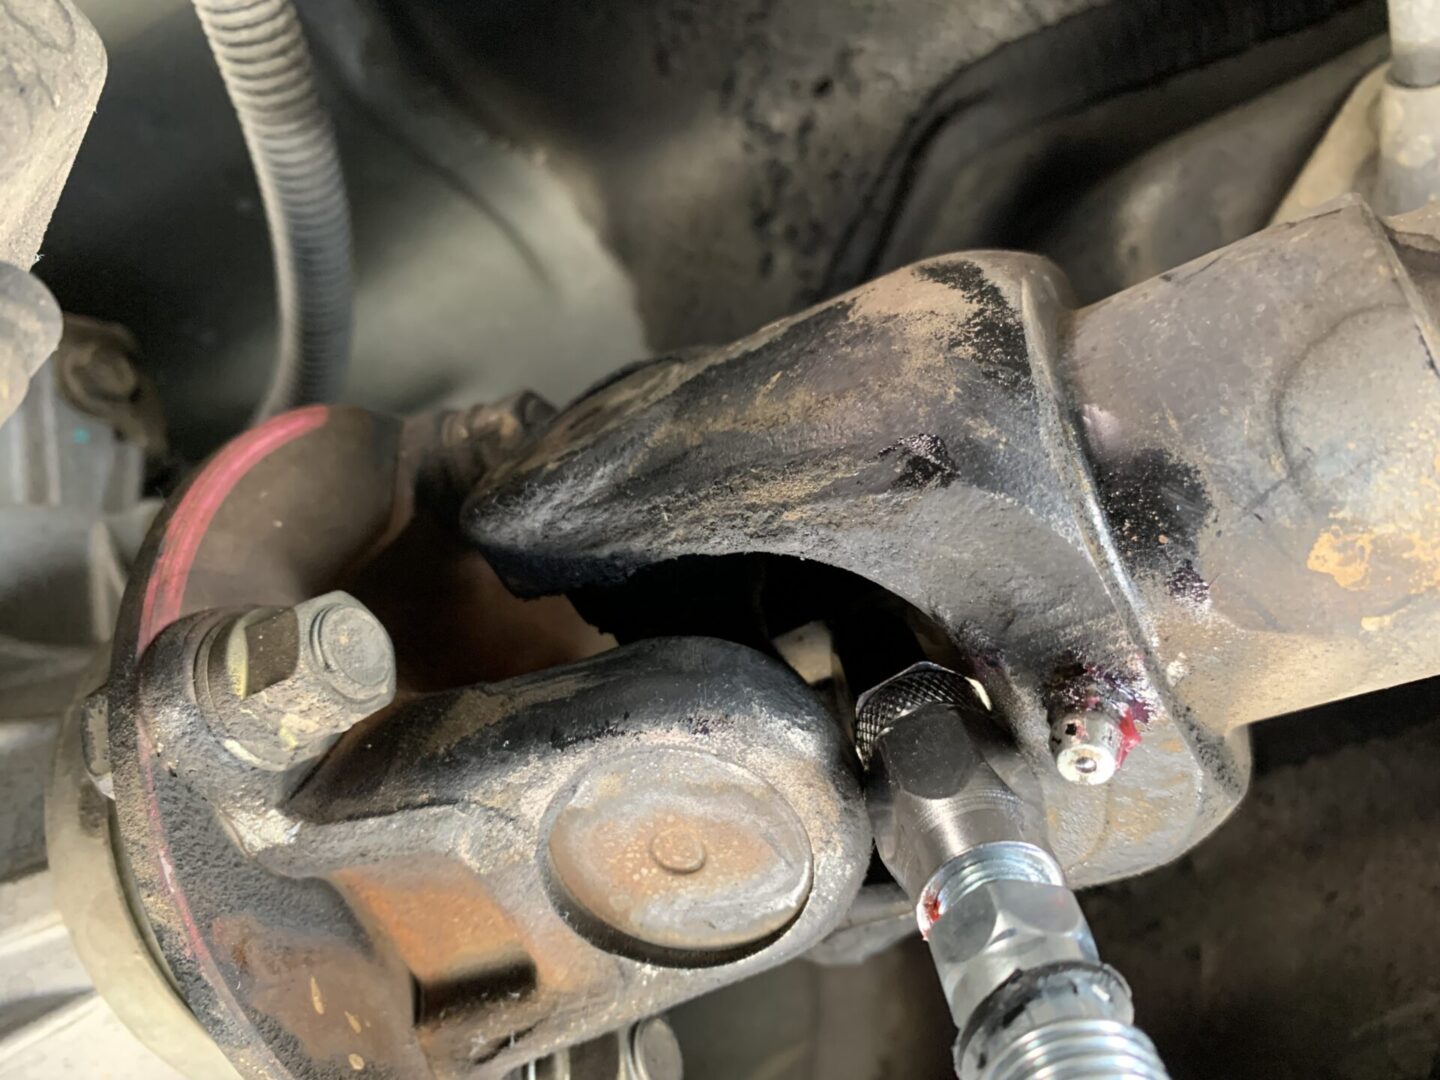
Location 2: Slip Yoke and Spider Joint (Front Driveshaft to Transfer Case)
As you can see from the images below, there are two zerk fittings located towards the front of the transfer case. For the slip yoke, I have that you should only pump a few pumps of grease into this fitting rather pumping it until it oozes out of the seals. My understanding is that you don’t want to overpack the grease as it might prevent the slip joint from compressing and extending properly. I do want to point out that my Haynes manual doesn’t make any mention of these specific instructions. Again, the discrepancy is a bit frustrating, but I tried to stay safe by only pumping a few times into the slip yoke fitting.
Then, right next to the slip yoke fitting is another zerk fitting for the spider. This one should be pumped with grease until the bearing cup seals ooze. Wipe everything away with shop towels/rags.

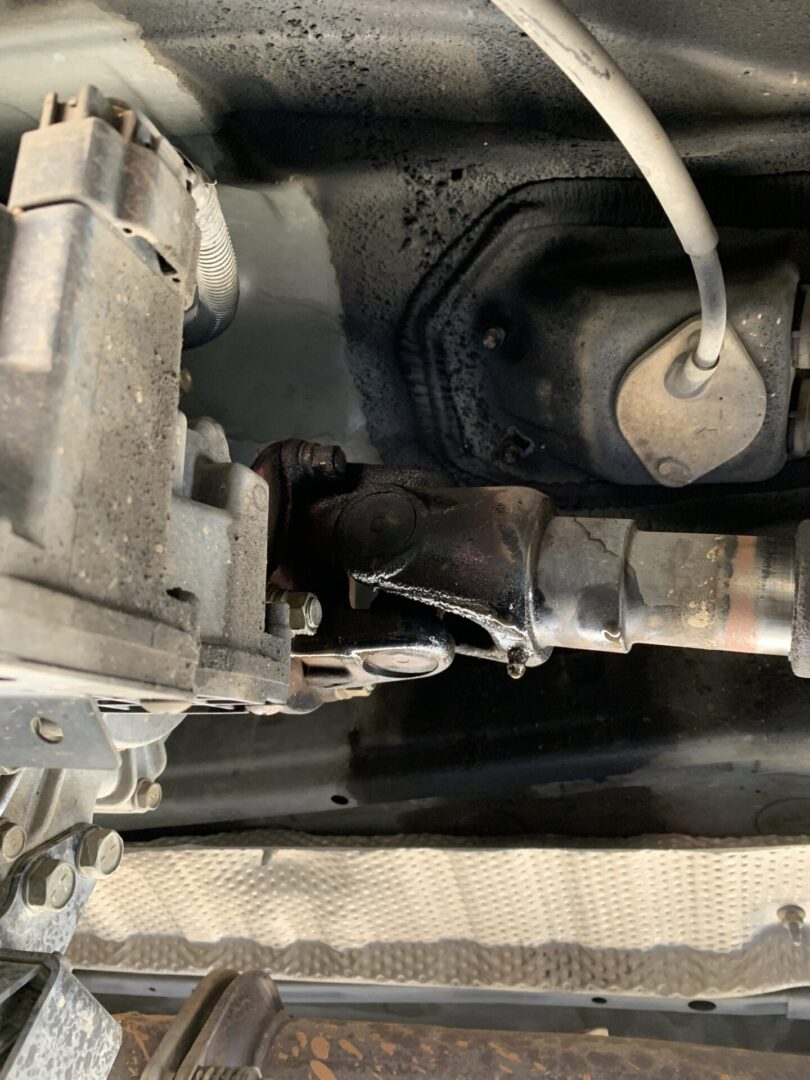
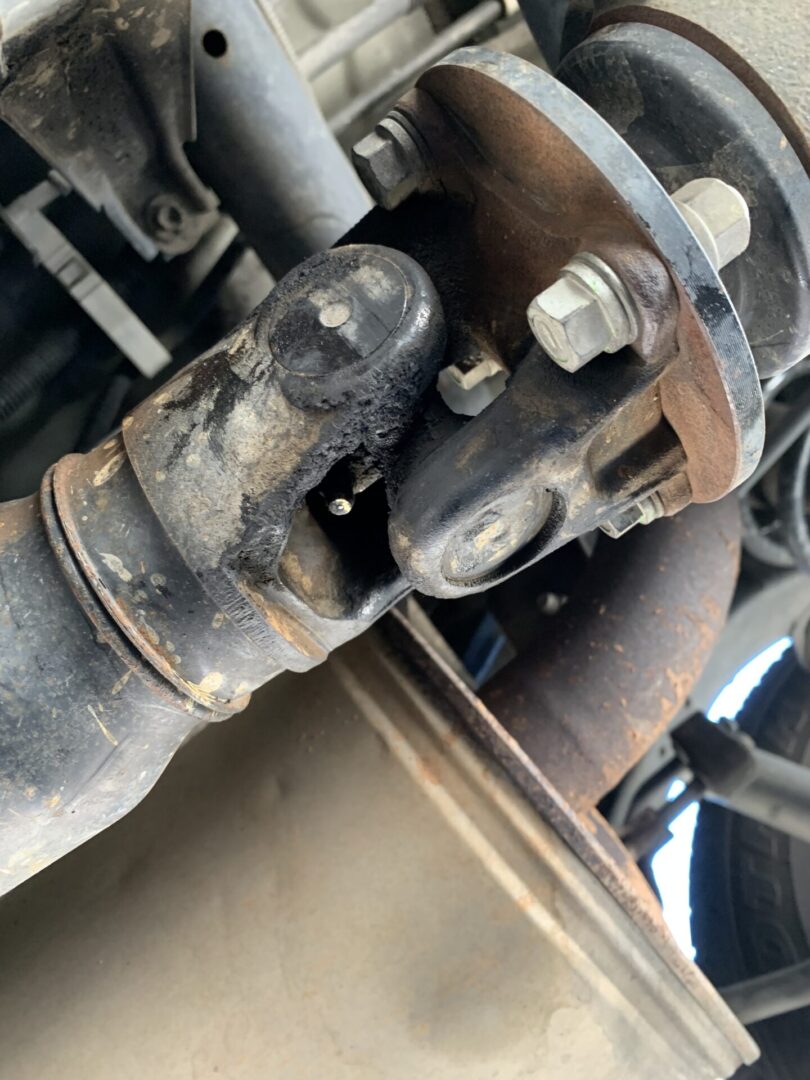
Location 3: Slip Yoke and Spider Joint (Transfer Case to Rear Driveshaft)
On the back side of the transfer case is another set of zerk fittings for the slip yoke and the spider joint. Follow the same grease procedure as location 2.


Location 4: Spider Joint (Rear Driveshaft to Rear Differential)
Finally, there is one more zerk fitting at the back of the vehicle on the spider. This spider joint is located right in front of the rear differential. Grease this the same way you greased location 1.

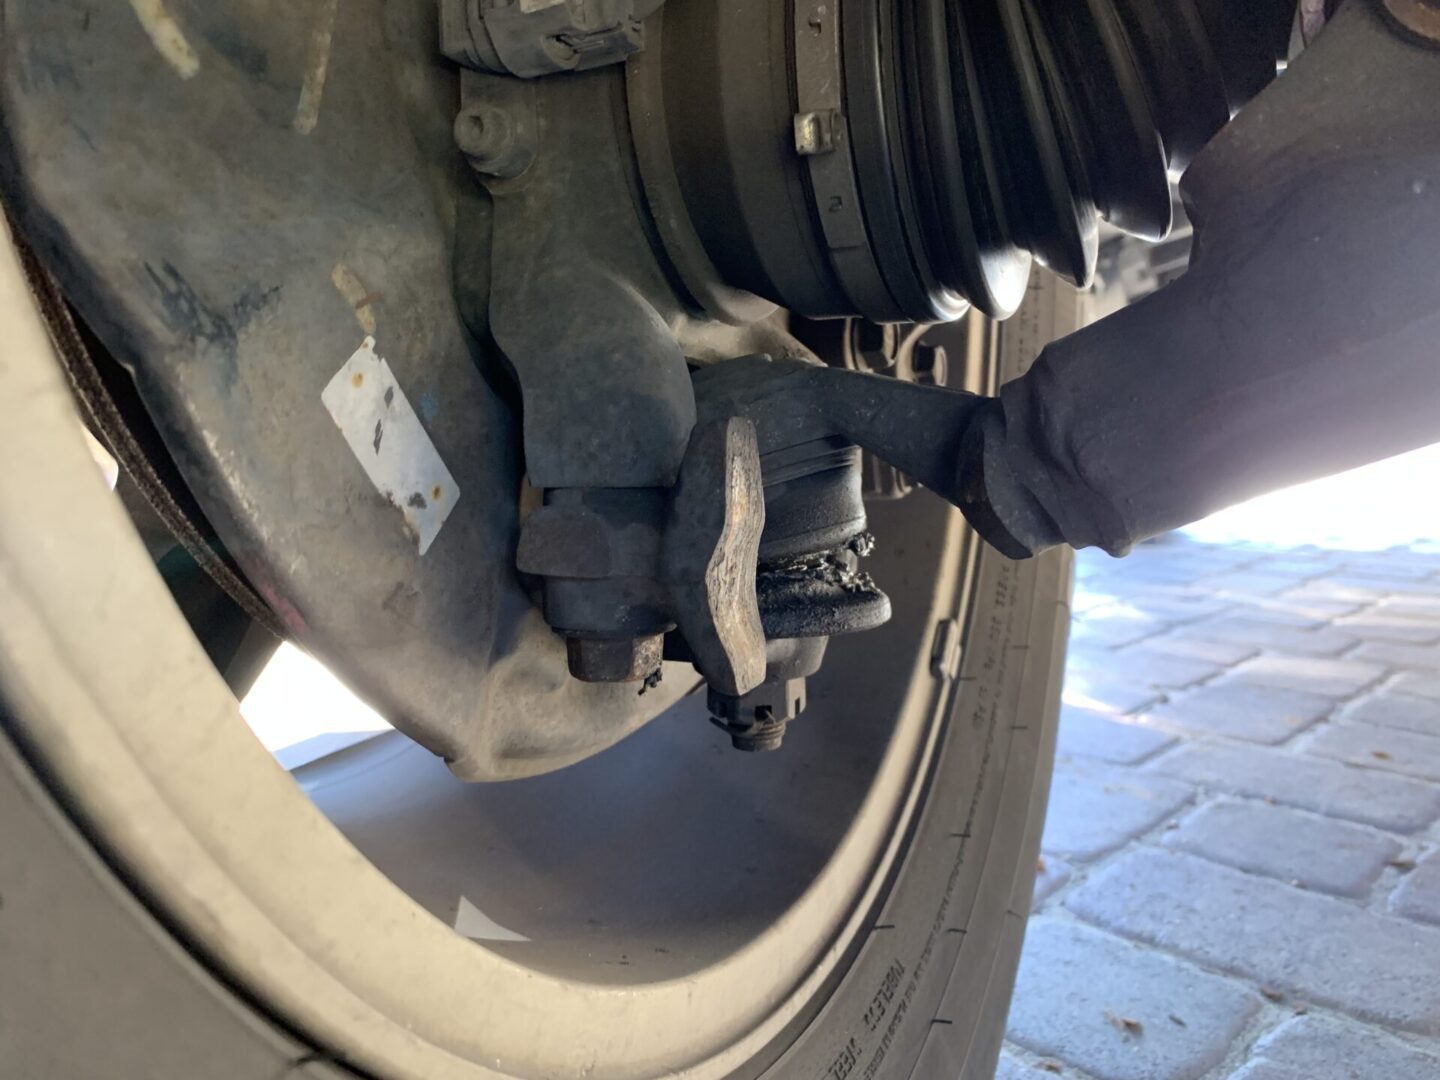
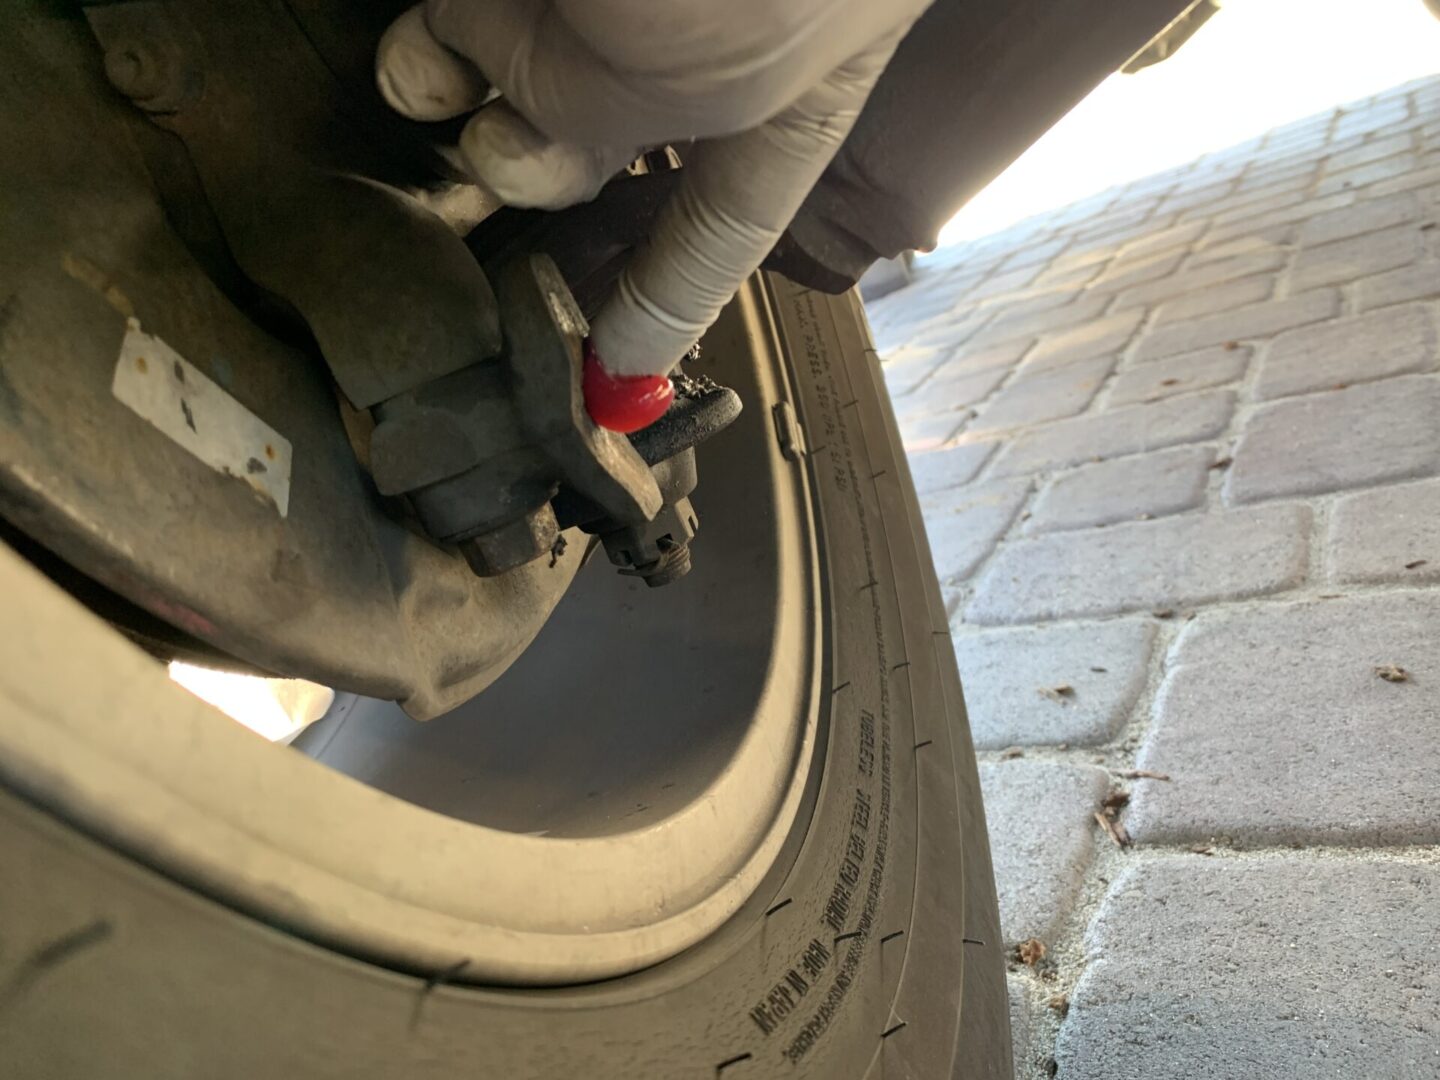
Greasing the Steering Knuckle Stop
With those six locations greased, you have now successfully greased your driveshafts/propeller shafts. While you’re under the car with your grease gun, you should try to lubricate the contact points on the steering knuckle stop. This is easy to do especially since you’re under the vehicle and already have the grease gun ready. A simple dab of grease at this contact point helps with noise when you’re making a full turn of the steering wheel.


: 4th Gen Toyota 4Runner")

: 4th Gen Toyota 4Runner")
: 4th Gen Toyota 4Runner")

: 4th Gen Toyota 4Runner")
: 4th Gen Toyota 4Runner")

