When you make purchases through links on this site, The Track Ahead may earn an affiliate commission. Also, these posts are based off my own experiences. I am not responsible for any action you take as a result of reading this. Learn More
On my parents’ 1st generation Toyota Tacoma PreRunner, they have brake pads and rotors on the front of the vehicle and brake shoes and drums on the rear. The front brake pad and rotor replacement is pretty straightforward to replace. As such, the replacement process is pretty consistent with other vehicles that utilize a brake pad/rotor setup.
If you are replacing your rear brake drums and/or shoes, check out my other tutorial here.
Parts/Tools Needed
Front Brake Pads
You can make a choice in going with an OEM Toyota brake pad or with any aftermarket option. Make sure to check fitment accordingly to ensure proper fitment. If you go with OEM brake pads like I did, there are a lot of choices as Toyota has used various suppliers, plants, and materials to produce their brake pads. These brake pad numbers should apply to Toyota Tacoma 4WD (and PreRunner) years 1995-2004:
| Toyota OEM Part # | Toyota Supplier | Other Info |
|---|---|---|
| 04465-35280 | Sumitomo | Made in Japan |
| 04465-04050 | Advics PS558H | Made in USA |
| 04465-35240 | Akebono AK533 | Made in Japan |
| 00465-AZ103 00465-AZ203 | Advics VC063 | OK alternative to OEM |
| 04465-AZ005 | Unknown | Potentially problematic Alternative to OEM |
I highly recommending going with one of the first three brake pads (in green) if you’re going with an OEM brake pad. Toyota has later used Alternative MVP’s (Market Value Pricing) parts as part options (usually noted by the lettering in the second half of the OEM part number.) Usually these MVP brake pads may have less pad material; however they do typically fit properly without any operational issues (with the exception of the AZ005 part number shown in the table above in red.) If you can’t find any of these parts online, you can always go to the Parts Department at your Local Toyota Dealership to order these parts.
Amazon: 04465-35280 / 04465-35240 / 00465-AZ103
Ebay: 04465-35280 / 04465-04050 / 04465-35240 / 04465-AZ203
Front Brake Rotors
Just like the brake pads, you have the choice of going OEM or aftermarket. OEM brake rotors can be quite expensive and if ordering online, you may have high shipping costs since they are so heavy to ship. Keep in mind that these days, most shops will no longer turn brake rotors, or they will charge you a hefty labor rate to do so. Many folks today will simply replace brake rotors when it is time to change/turn them.
The 1st generation Toyota Tacoma has two size options for the front brake rotors: a larger rotor for vehicles with VSC (Vehicle Stability Control), and a smaller rotor for vehicles without VSC. VSC was supposedly only an option on 2004 Toyota Tacomas, although there may have been some other years that had VSC. The absolute sure-fire way to know what size rotor you need is to simply measure the diameter of your brake rotor.
Front Brake Rotor Sizes:
VSC Rotors: 319mm (12.6in)
Non-VSC Rotors: 297mm (11.7in)
According to the Toyota part numbers below, there is also a designation provided for the size of the wheel saying that the rotors without VSC goes with a 15″ wheel and the rotors with VSC goes with a 16″ wheel, but that is an improper way of checking the size of your rotors. For example, our 2004 Toyota Tacoma does not have stability control, has 16″ wheels, and has the smaller-sized rotors.
| Toyota OEM Part # | Location |
|---|---|
| 43512-04020 | 4WD, w/o stability control |
| 43512-35210 | 4WD, with stability control |
Amazon: 43512-04020 / 43512-35210
Ebay: 43512-04020 / 43512-35210
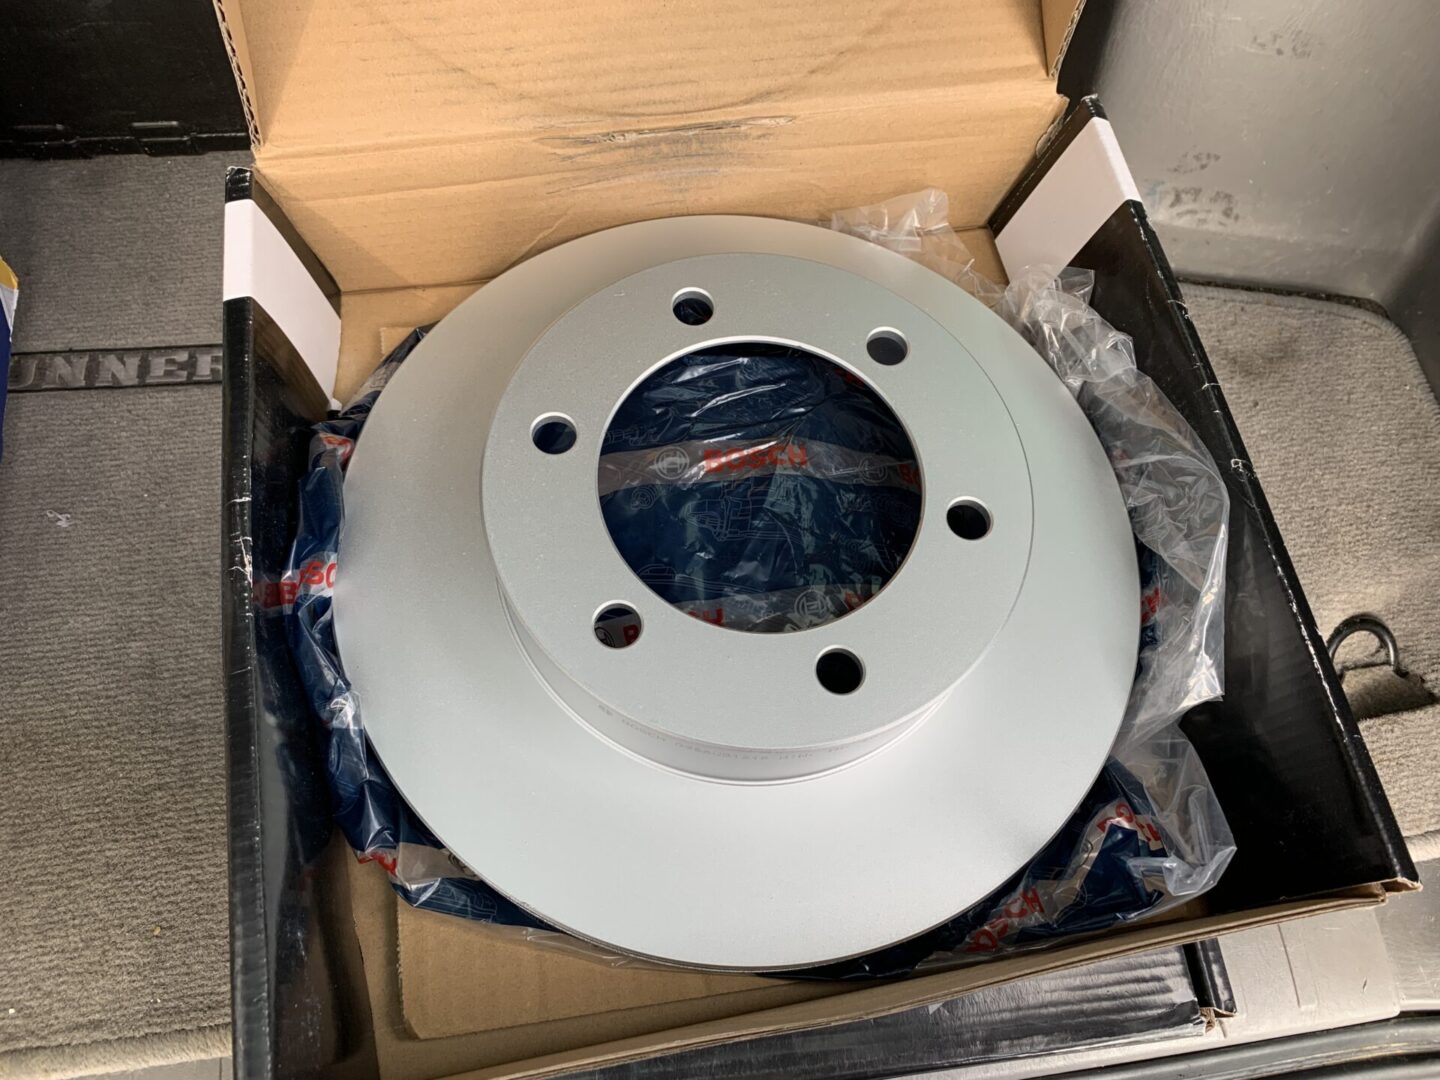
Aftermarket – Bosch Premium QuietCast Brake Rotors:
With stability control (50011224)
Without stability control (50011222)
Channellock Pliers or C-Clamp
These are necessary to compress the brake pistons so you can remove the existing brake pads and install the new ones.
Channellock 430 Tongue & Groove Pliers
TEKTON 6 Inch Malleable Iron C-Clamp
Brake Lube
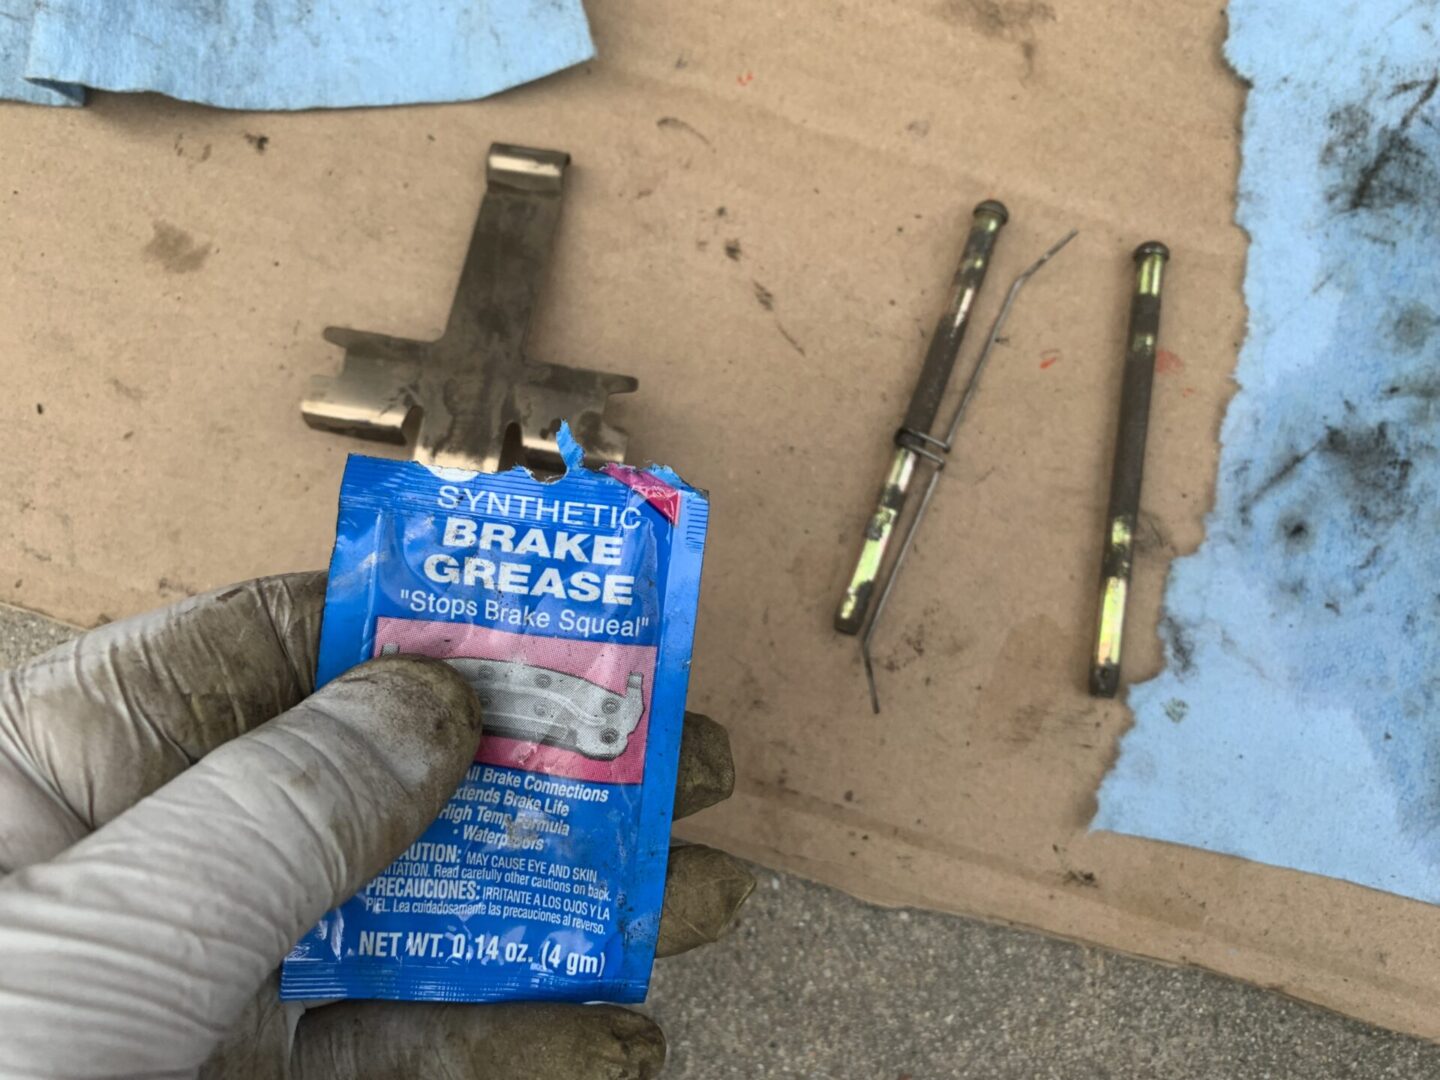
Brake lube or grease should be applied to the brake hardware specifically the guide pins and retaining clip for optimal operation and for noise reduction.
Permatex Ultra Disc Brake Caliper Lube, 2 oz.
Disc Brake Quiet
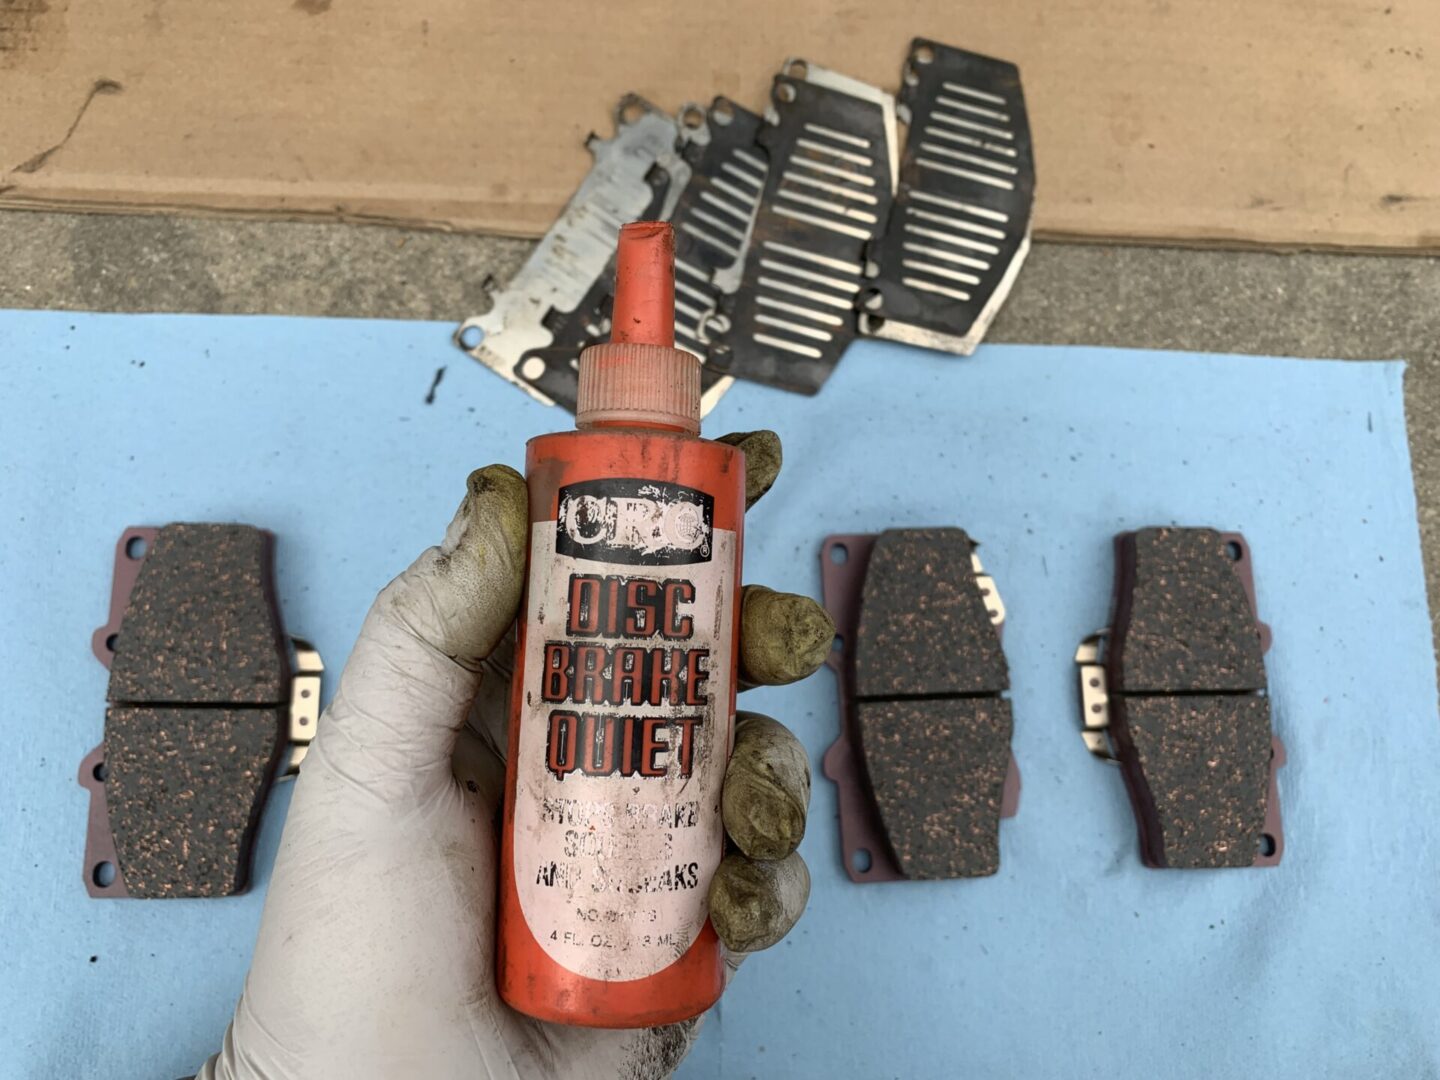
If you choose not to use brake shims with your brake pads, then you would not need this. If your new brake pads came with new shims, or if you are transferring the existing brake shims over to your new brake pads, then it may be beneficial to apply Disc Brake Quiet between the shims and brake pad backing for noise and vibration reduction.
CRC Disc Brake Quiet – 4 Fl Oz.
Brake Cleaner
CRC BRAKLEEN Brake Parts Cleaner – Non-Flammable -19 Wt Oz
Socket Wrench Set
A socket wrench set will be needed for various sized bolts. If you don’t already have a set, here is a basic set that will get you started. If you need help picking a mechanics tool set which will usually have most socket sizes that you’ll need, check out this article.
DEWALT Socket Set, 3/8-Inch Drive, SAE/Metric, 34-Piece
Torque Wrench
If you are replacing the brake rotors, you’ll need to remove and reinstall the caliper mounting bolts. These will need to be torqued to spec again when tightening.
EPAuto 1/2-inch Drive Click Torque Wrench
Nitrile Gloves
MedPride Nitrile Exam Gloves, Powder-Free Box/100 – Small | Medium | Large
How to Replace Front Brake Pads and Rotors: 1st Gen Toyota Tacoma
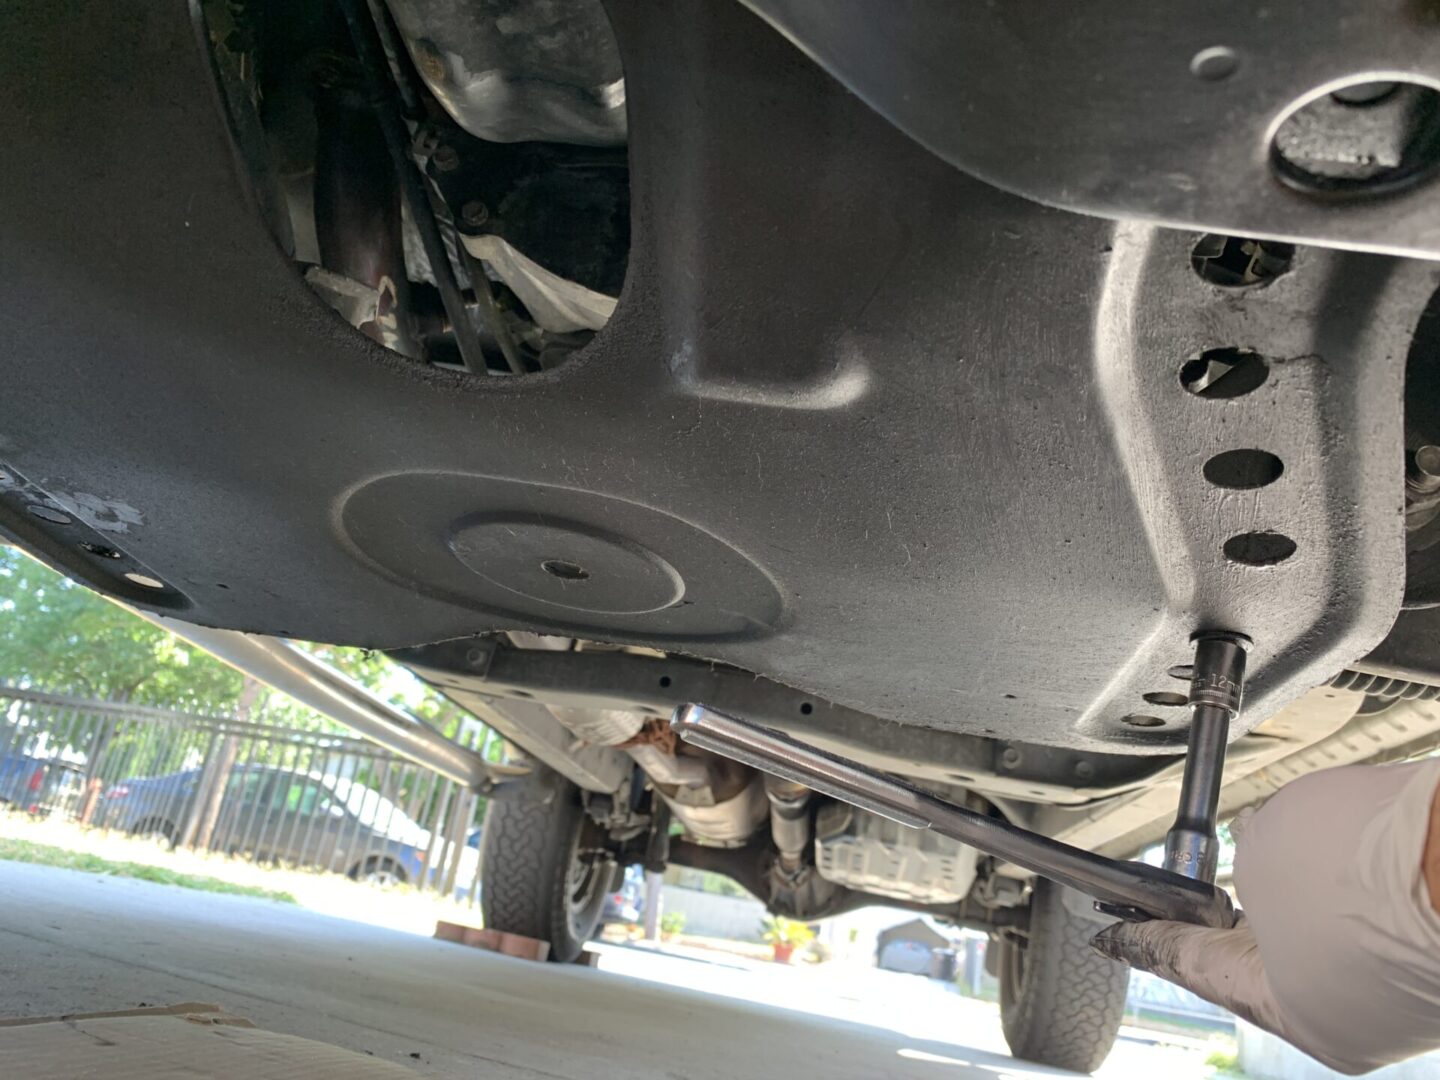
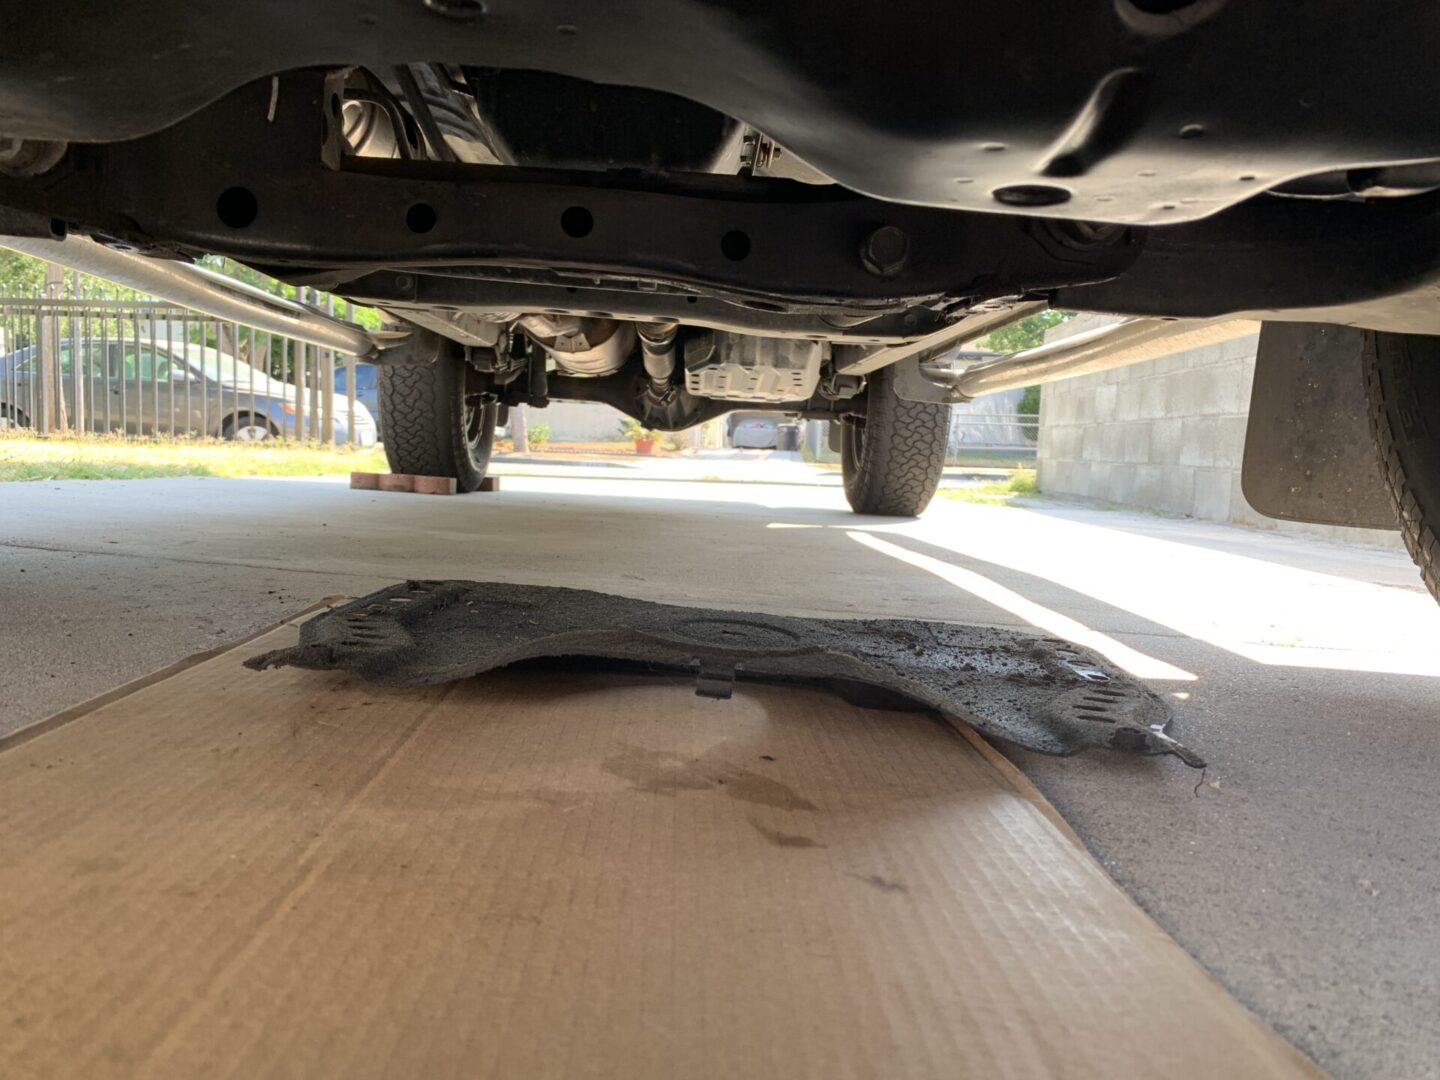
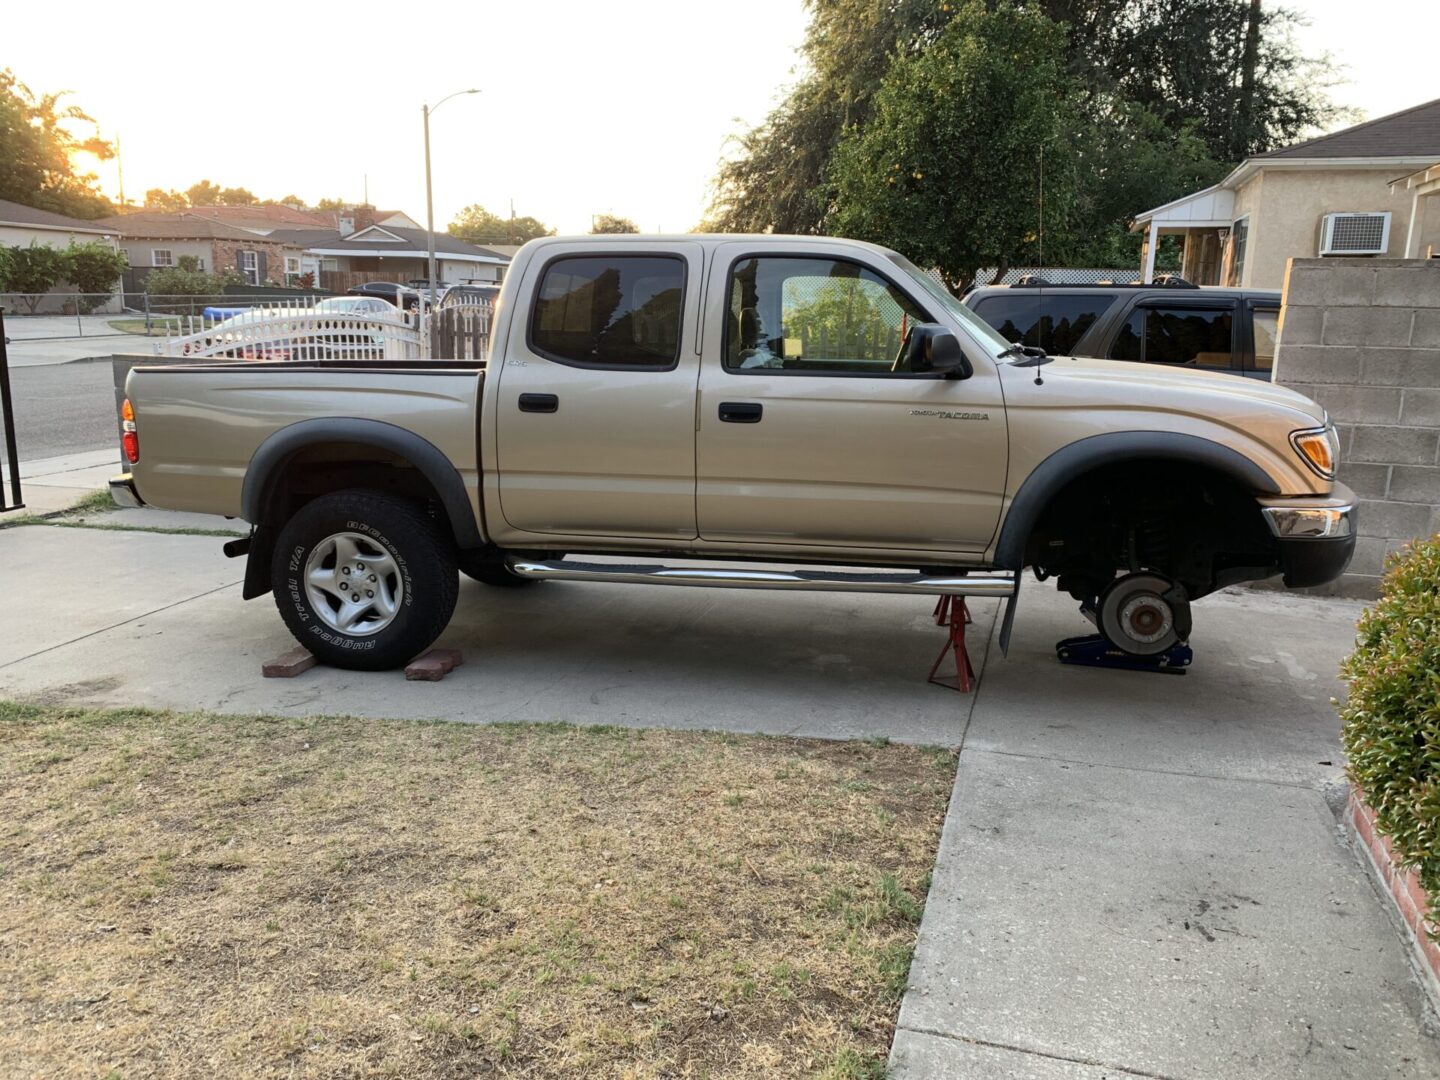
First, you’ll need to jack up the vehicle safely. Although the jacking point is located behind a flexible skid plate, I have read that you can jack up on this flexible skid plate, which will then flex until it contacts the actual jacking point above it. Personally, I’d rather remove the flexible skid plate via the 12mm bolts before jacking the vehicle up with a floor jack.
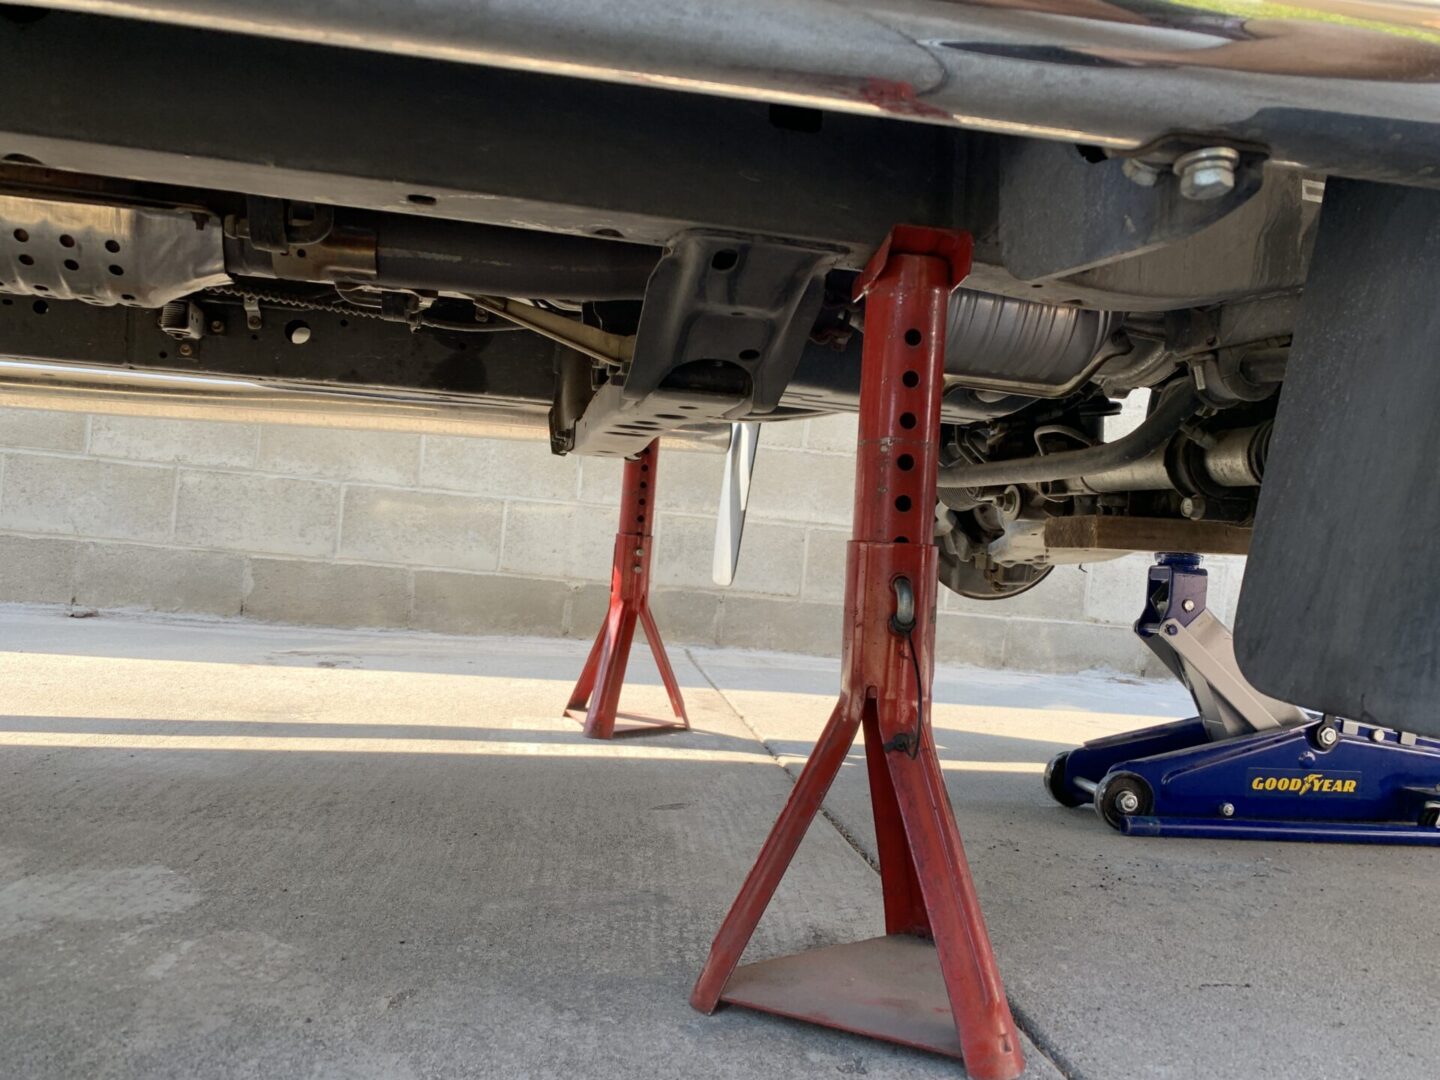
After jacking up the front of the vehicle, support the vehicle on jack stands and chock the rear wheels.

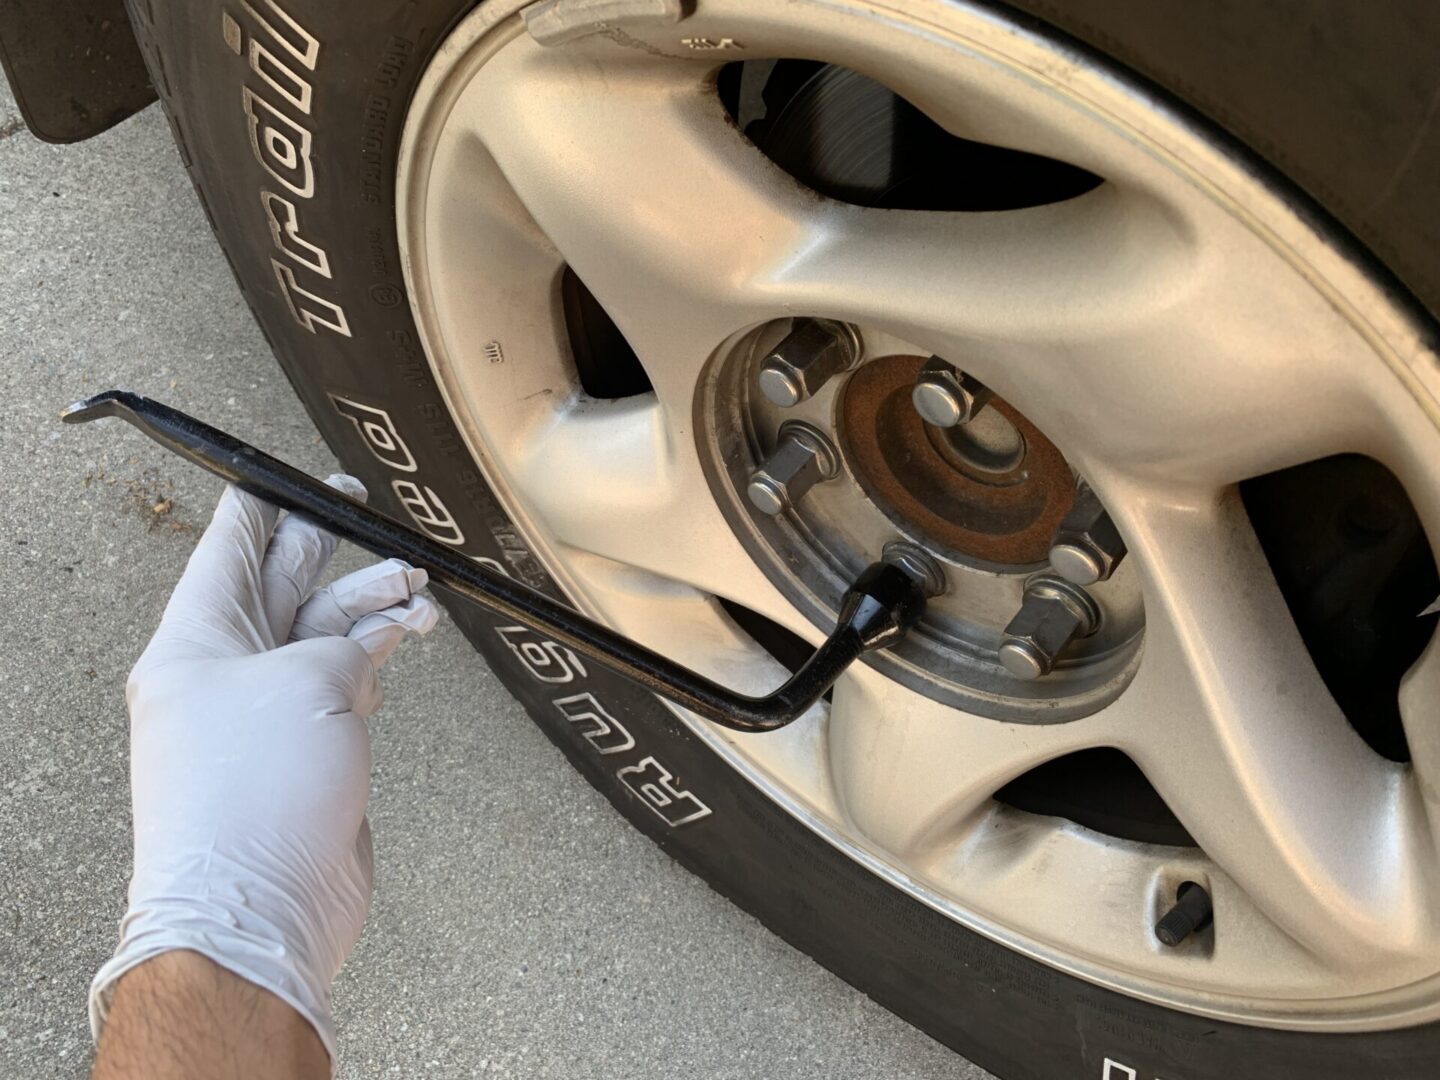


Remove the front wheels and set aside; you can even place the front wheels underneath the truck for further safety.
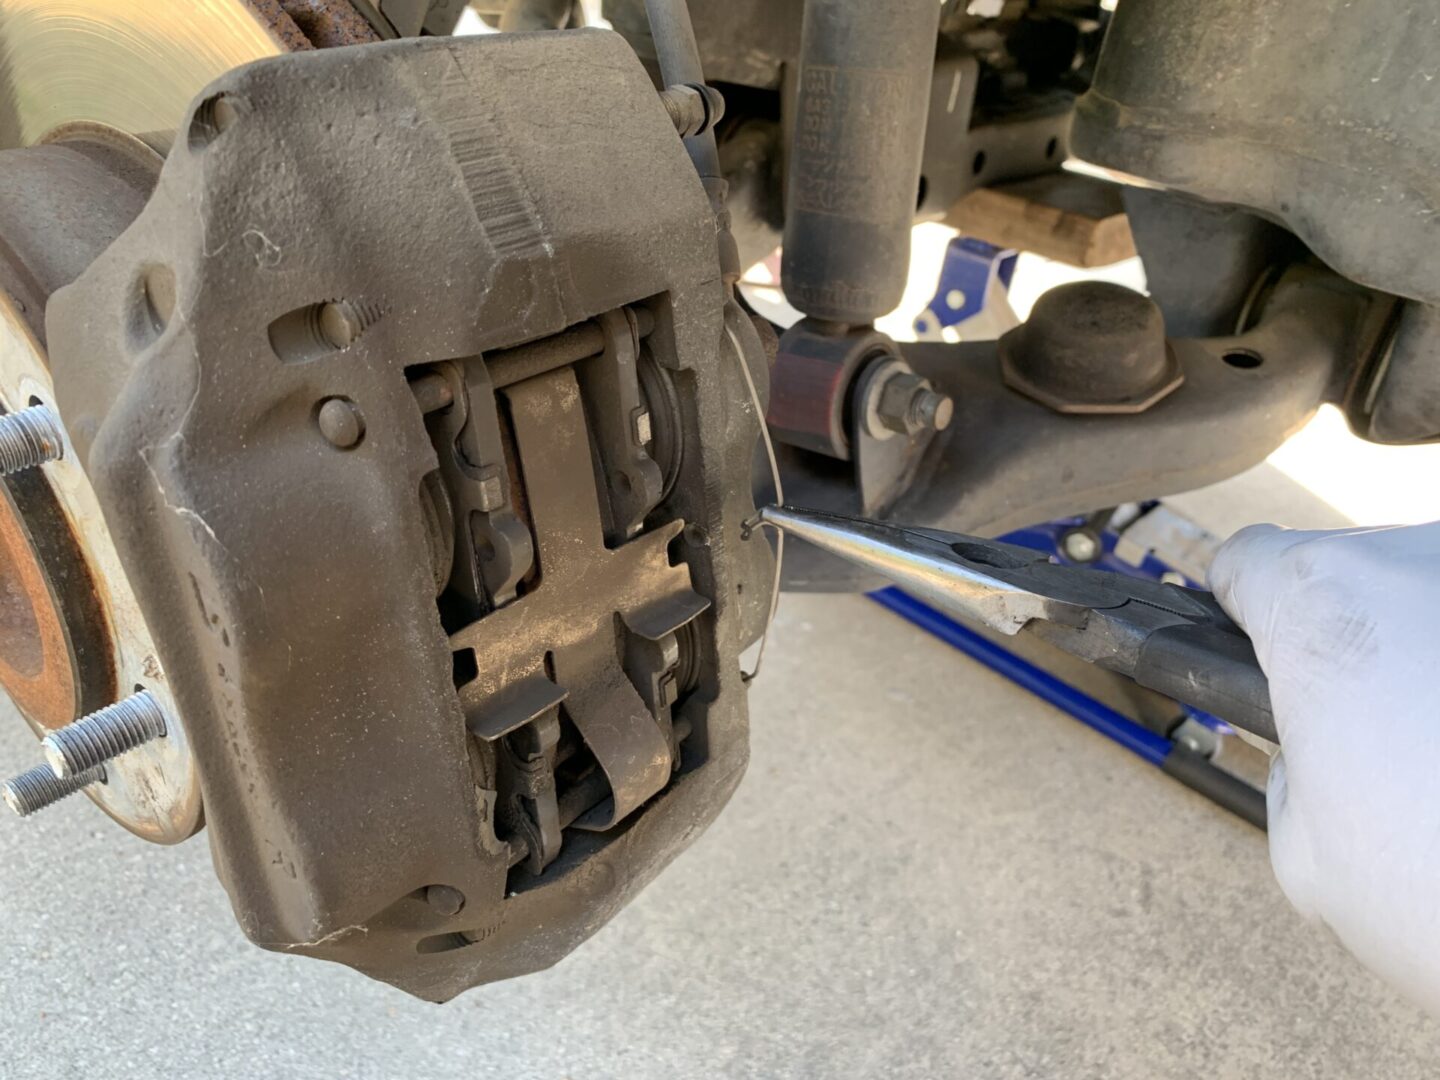
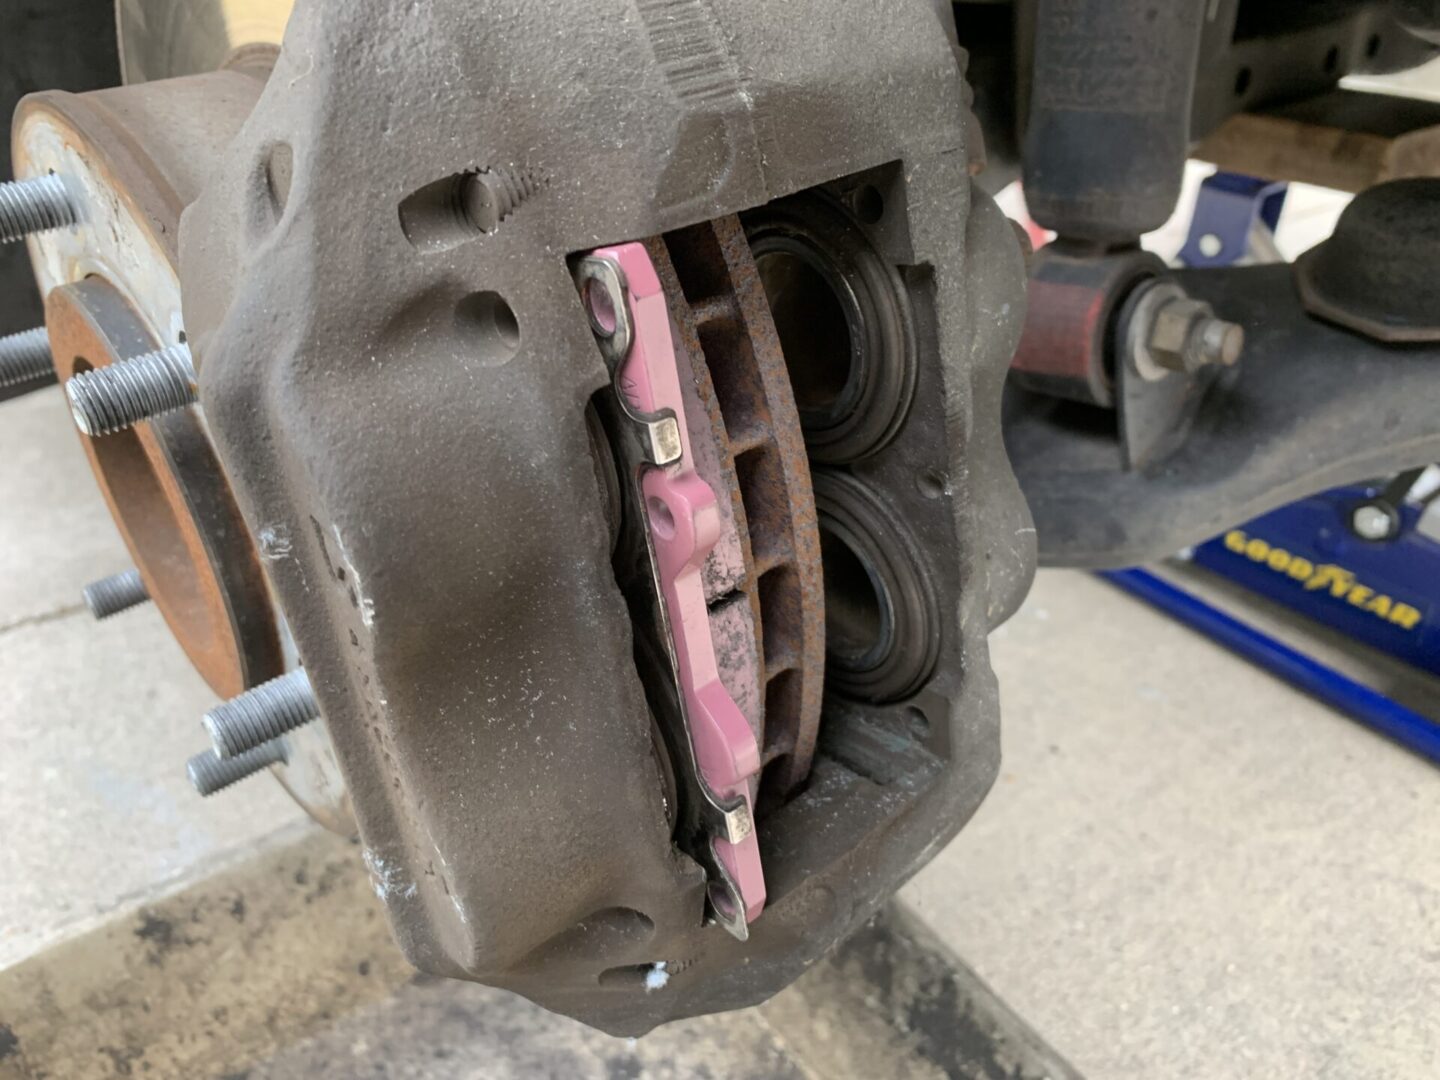
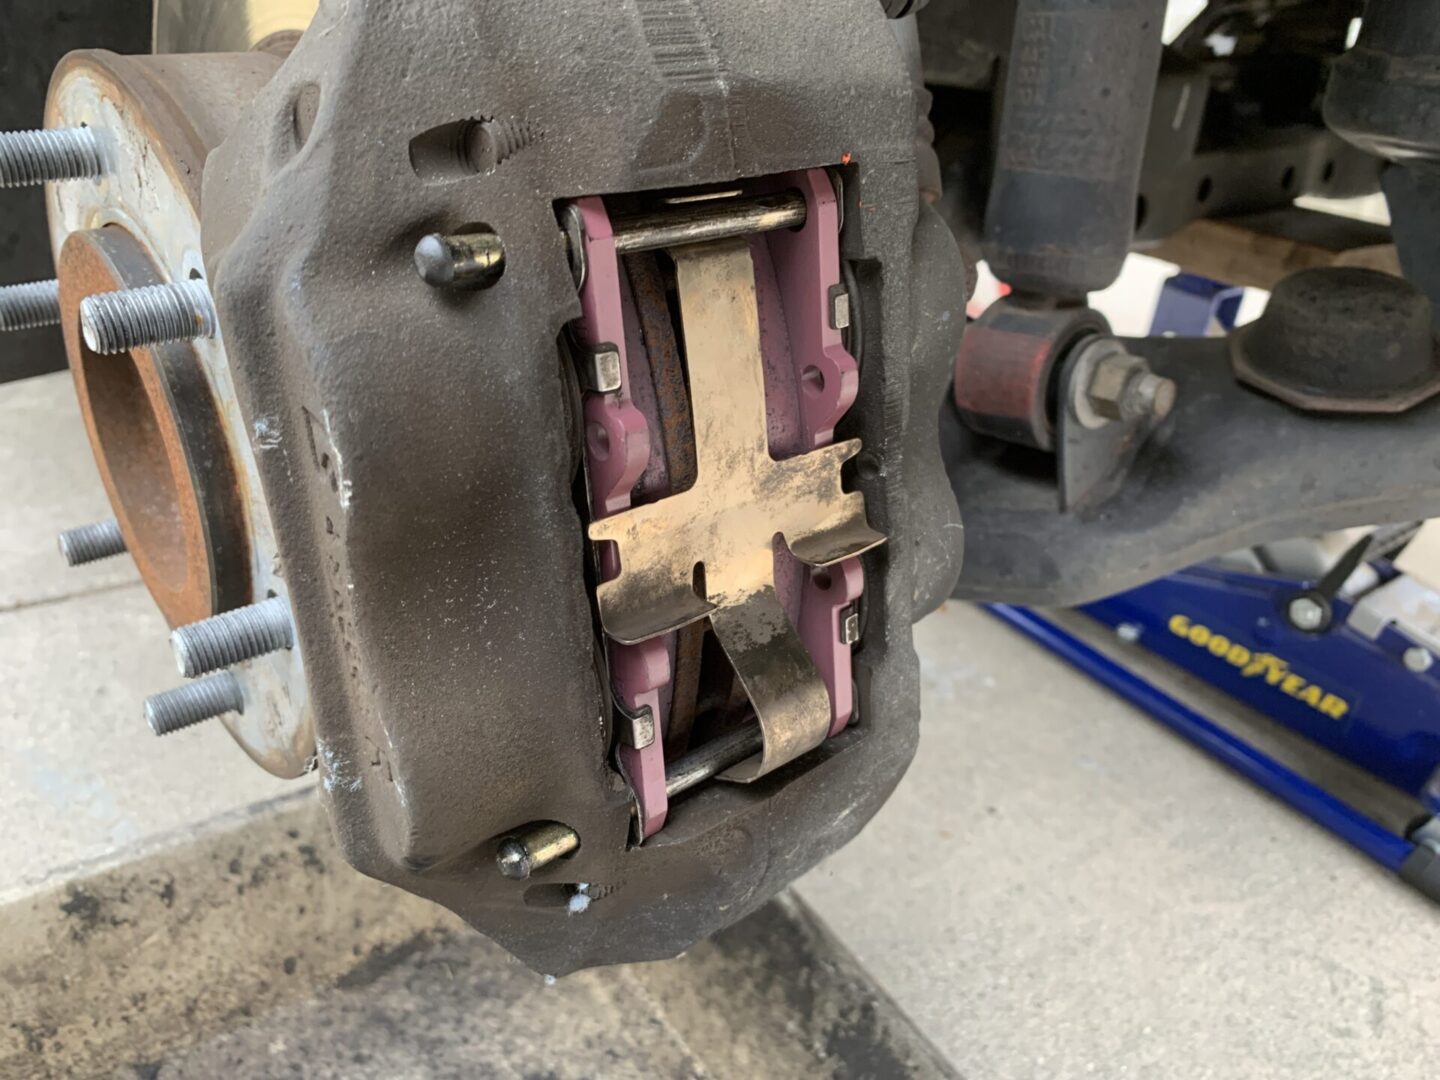
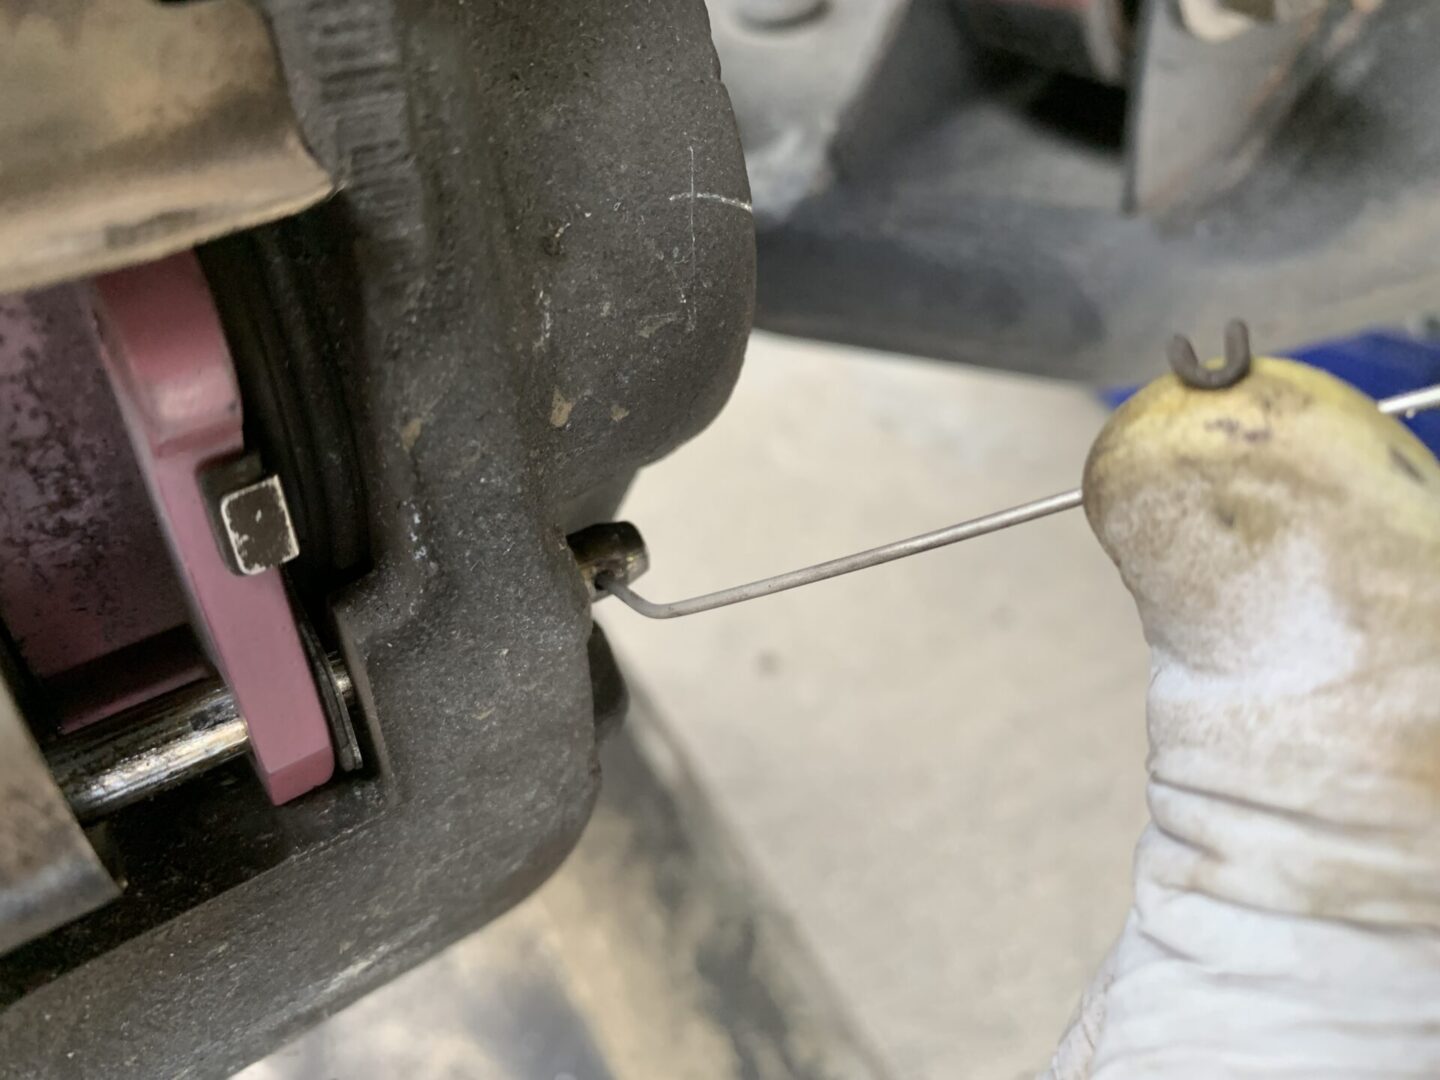
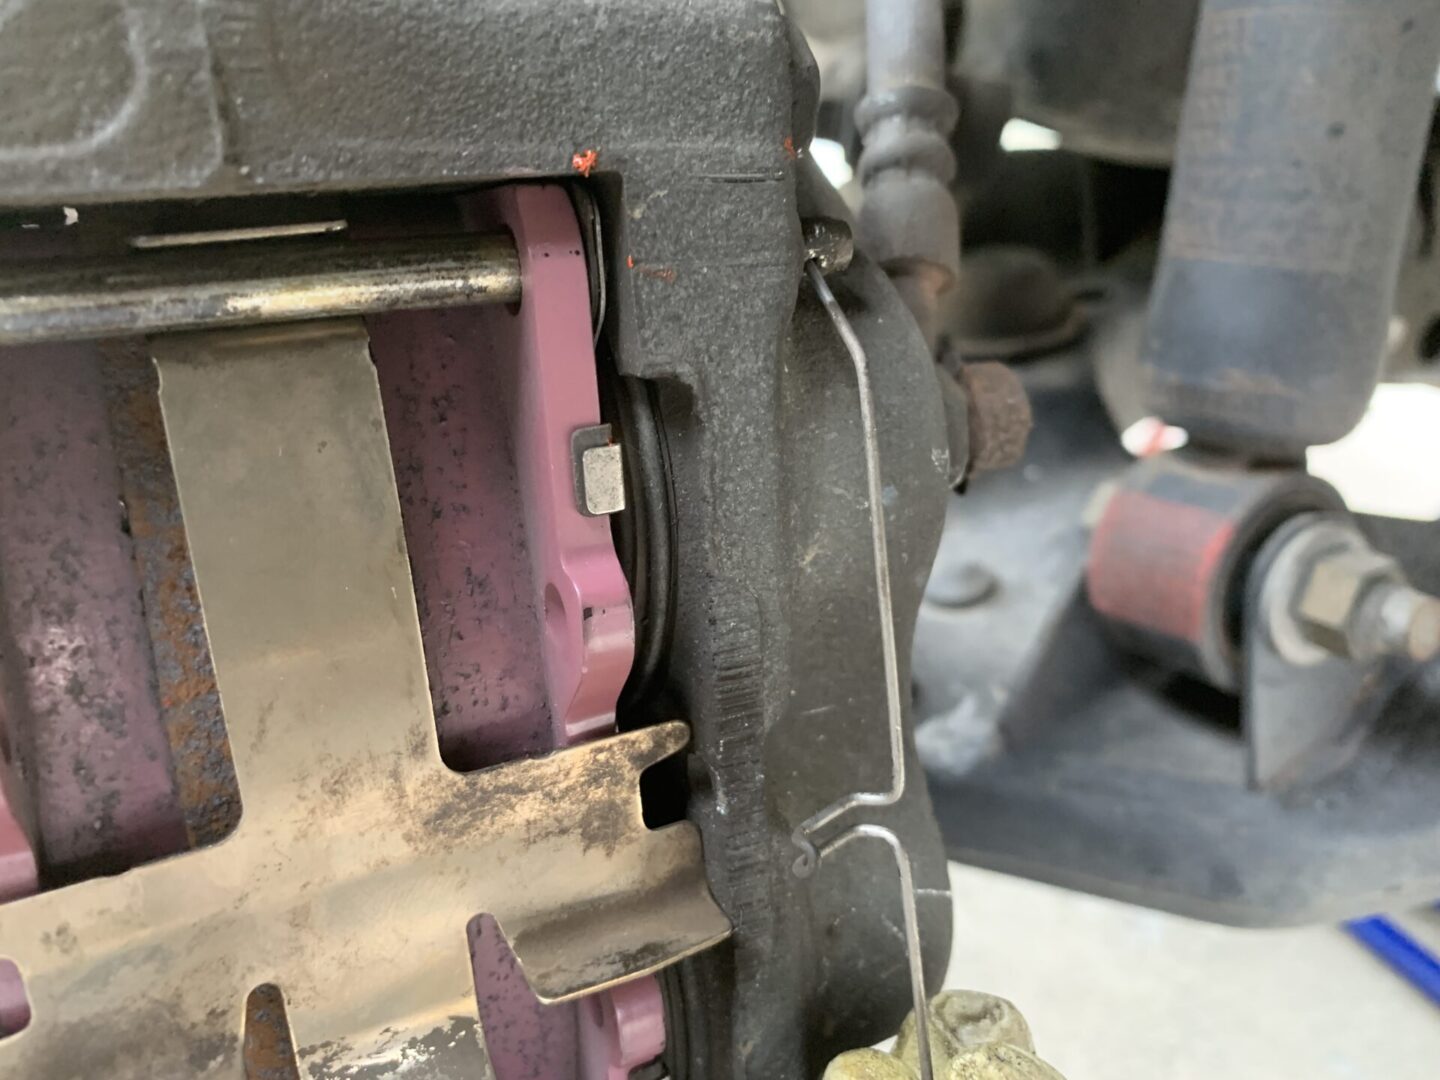
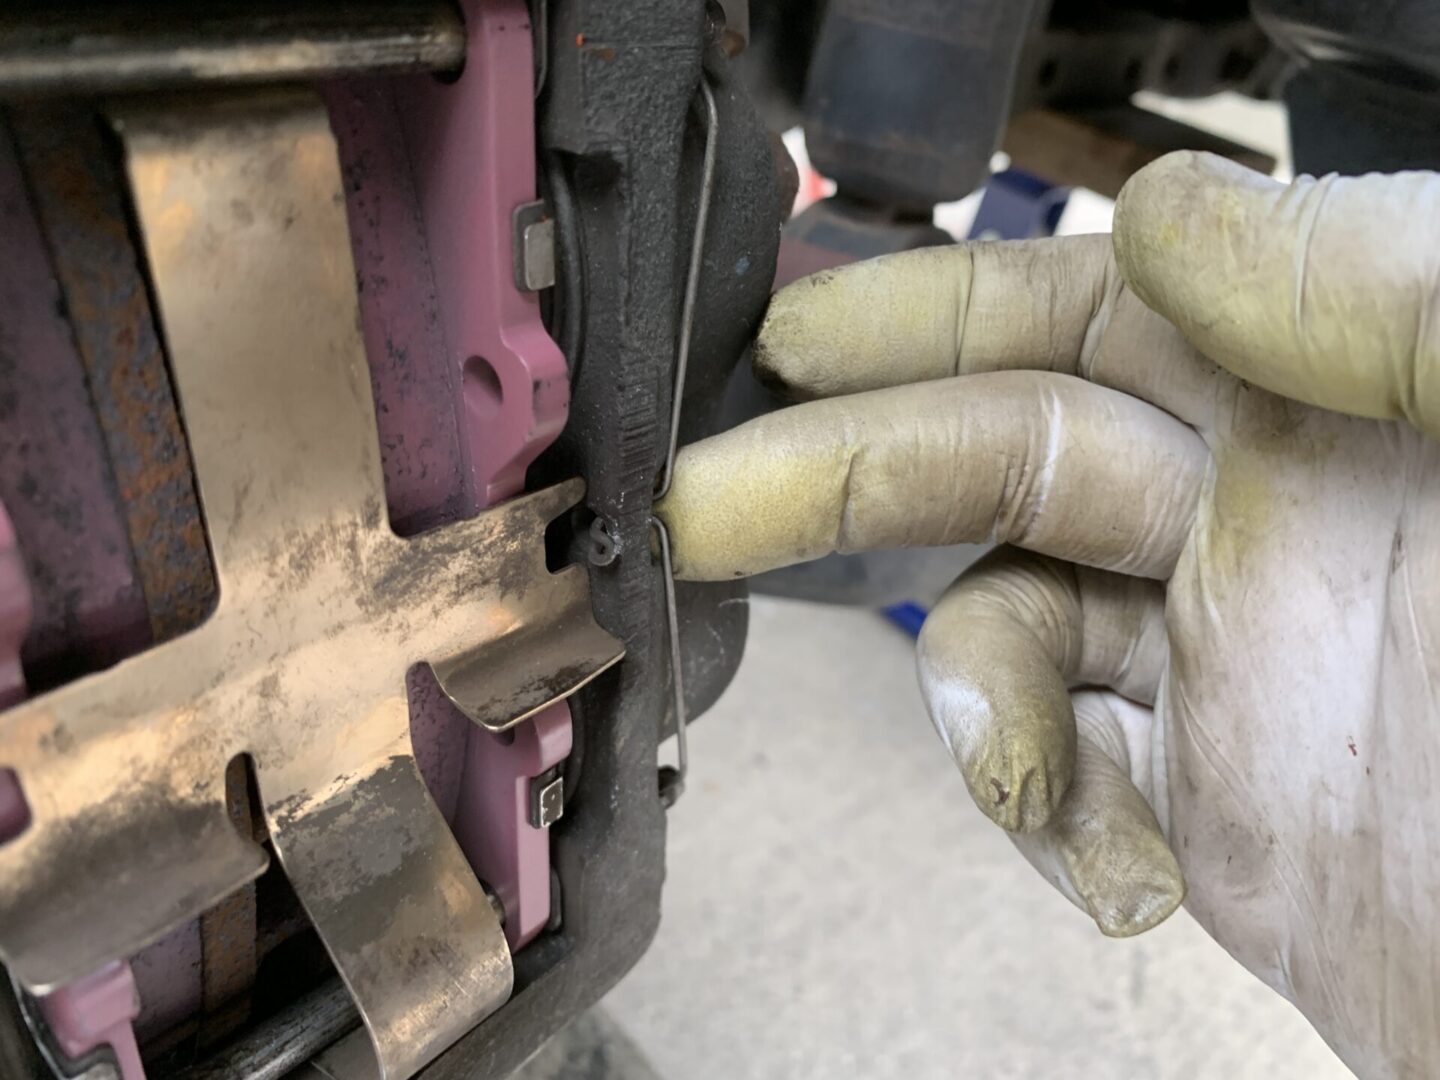
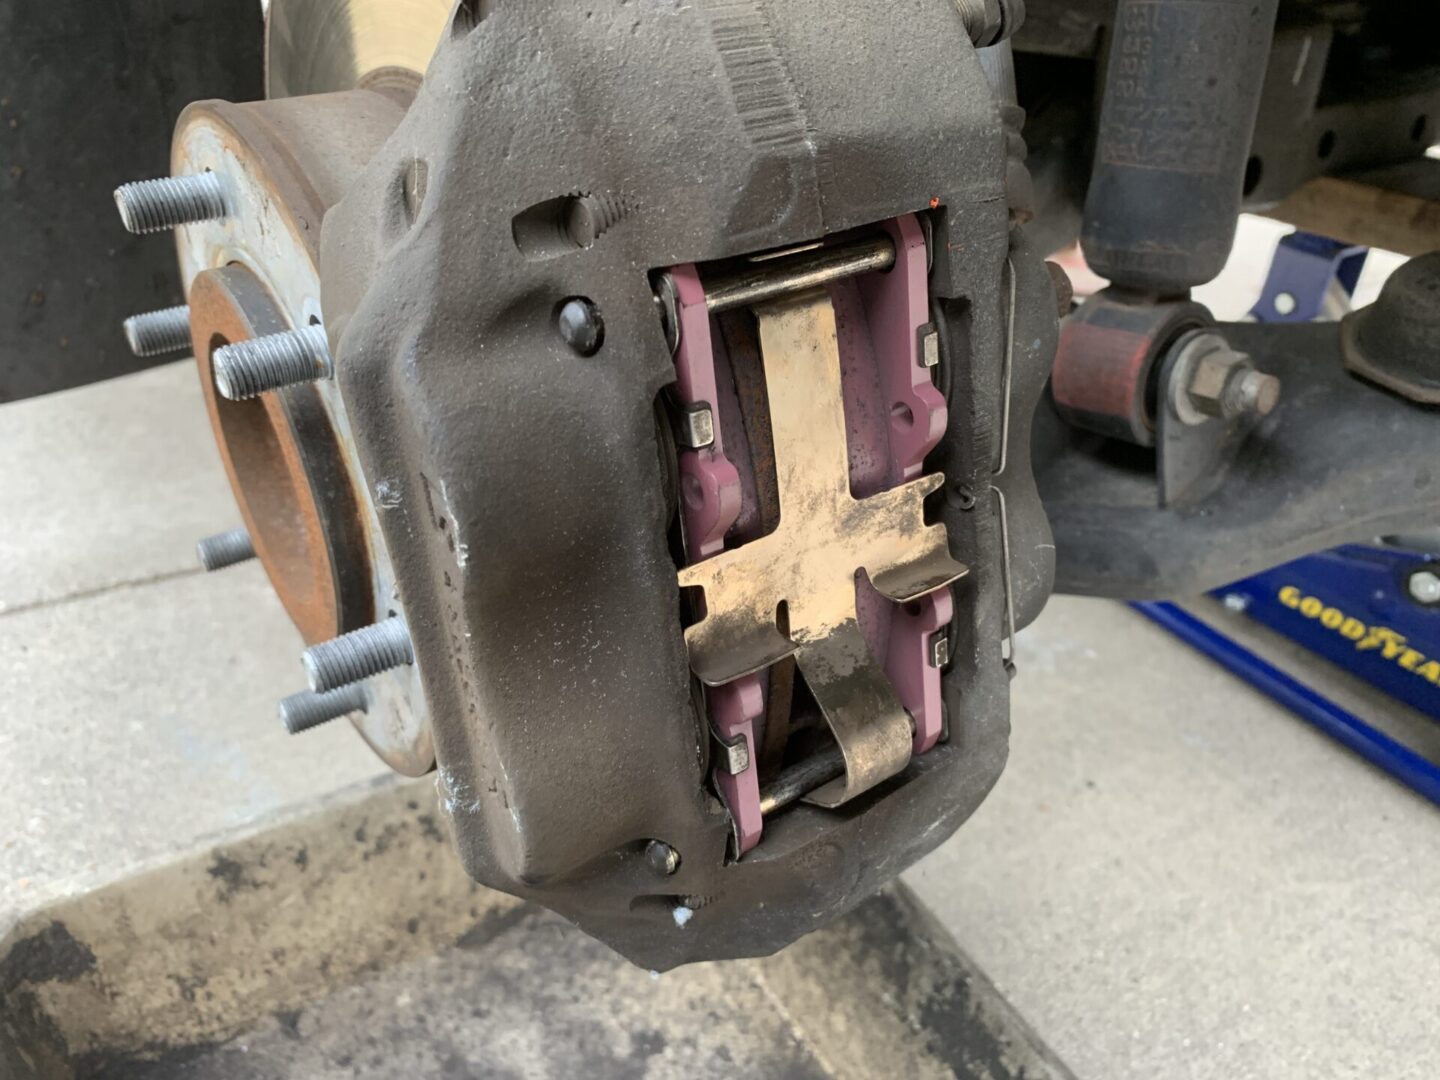
Remove the retaining wire clip as shown with pliers. Follow up by removing the bottom guide pin first, and then the top guide pin. If you remove the top guide pin first, the whole metal retaining clip will fly out at you. So be aware of the order when removing the clips.


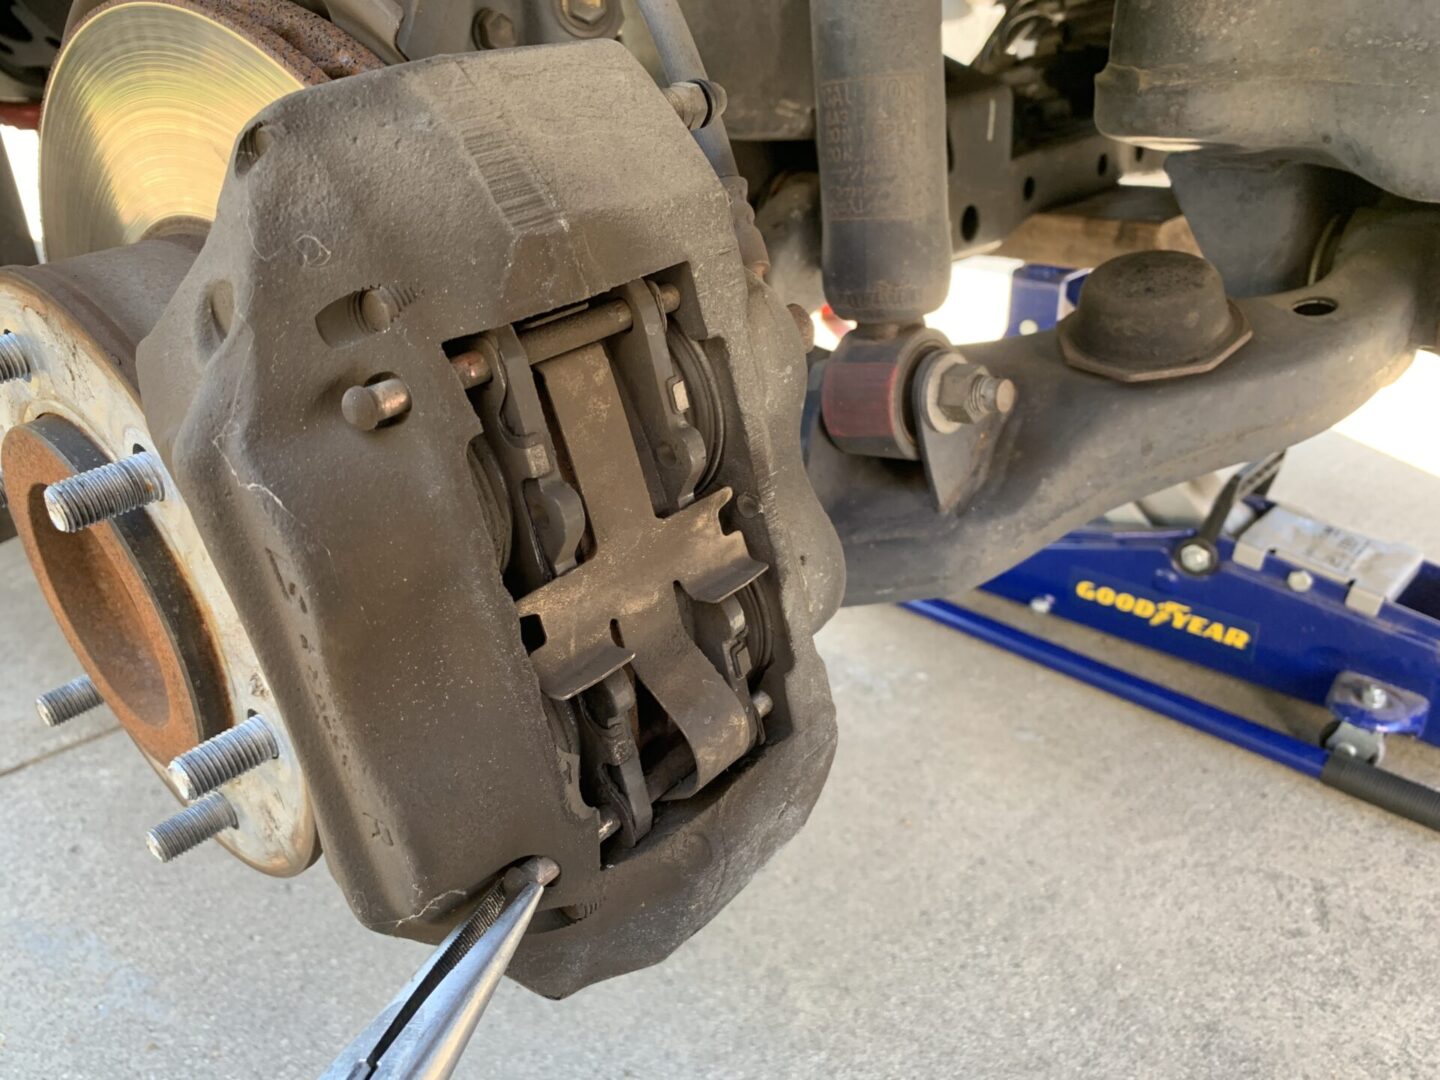


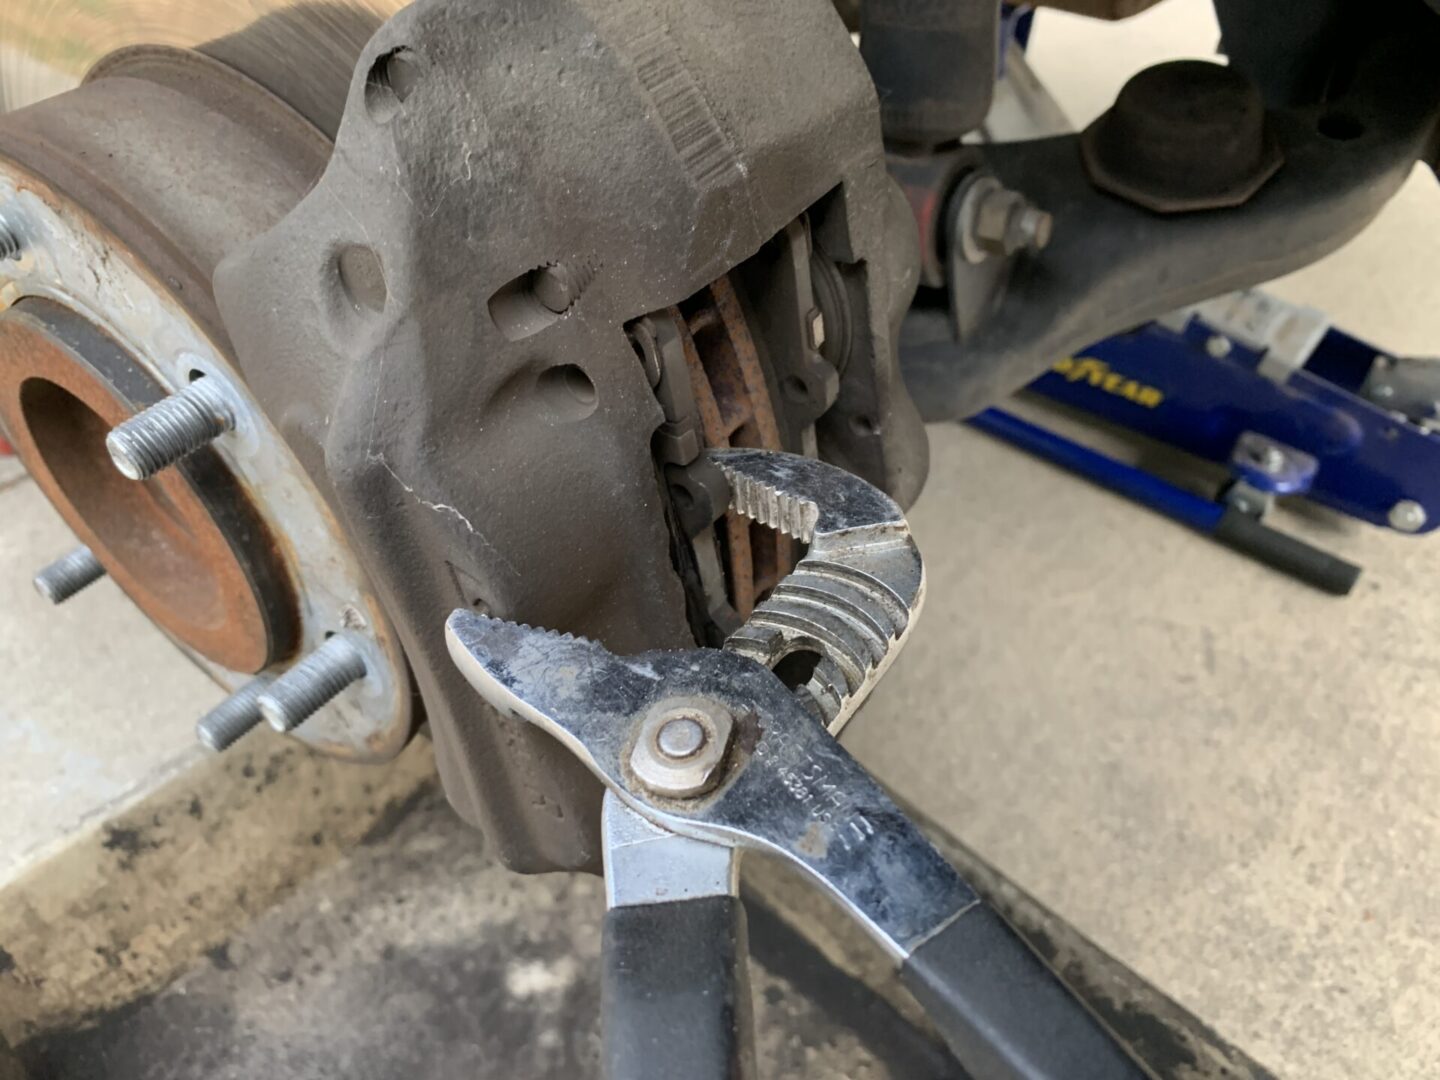
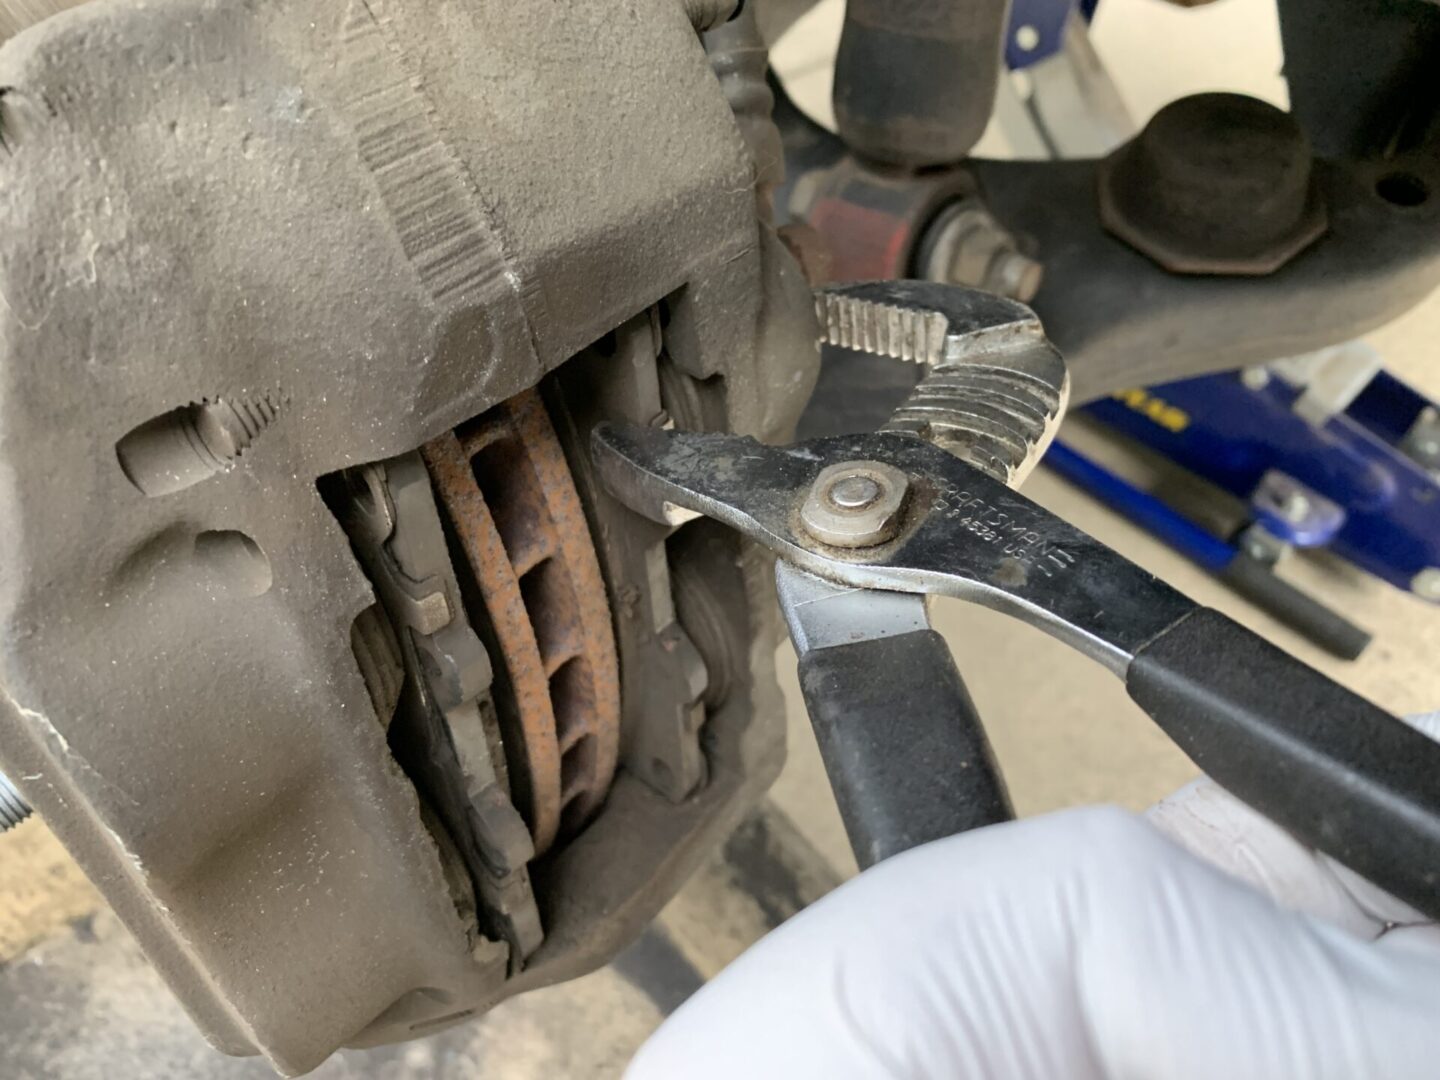
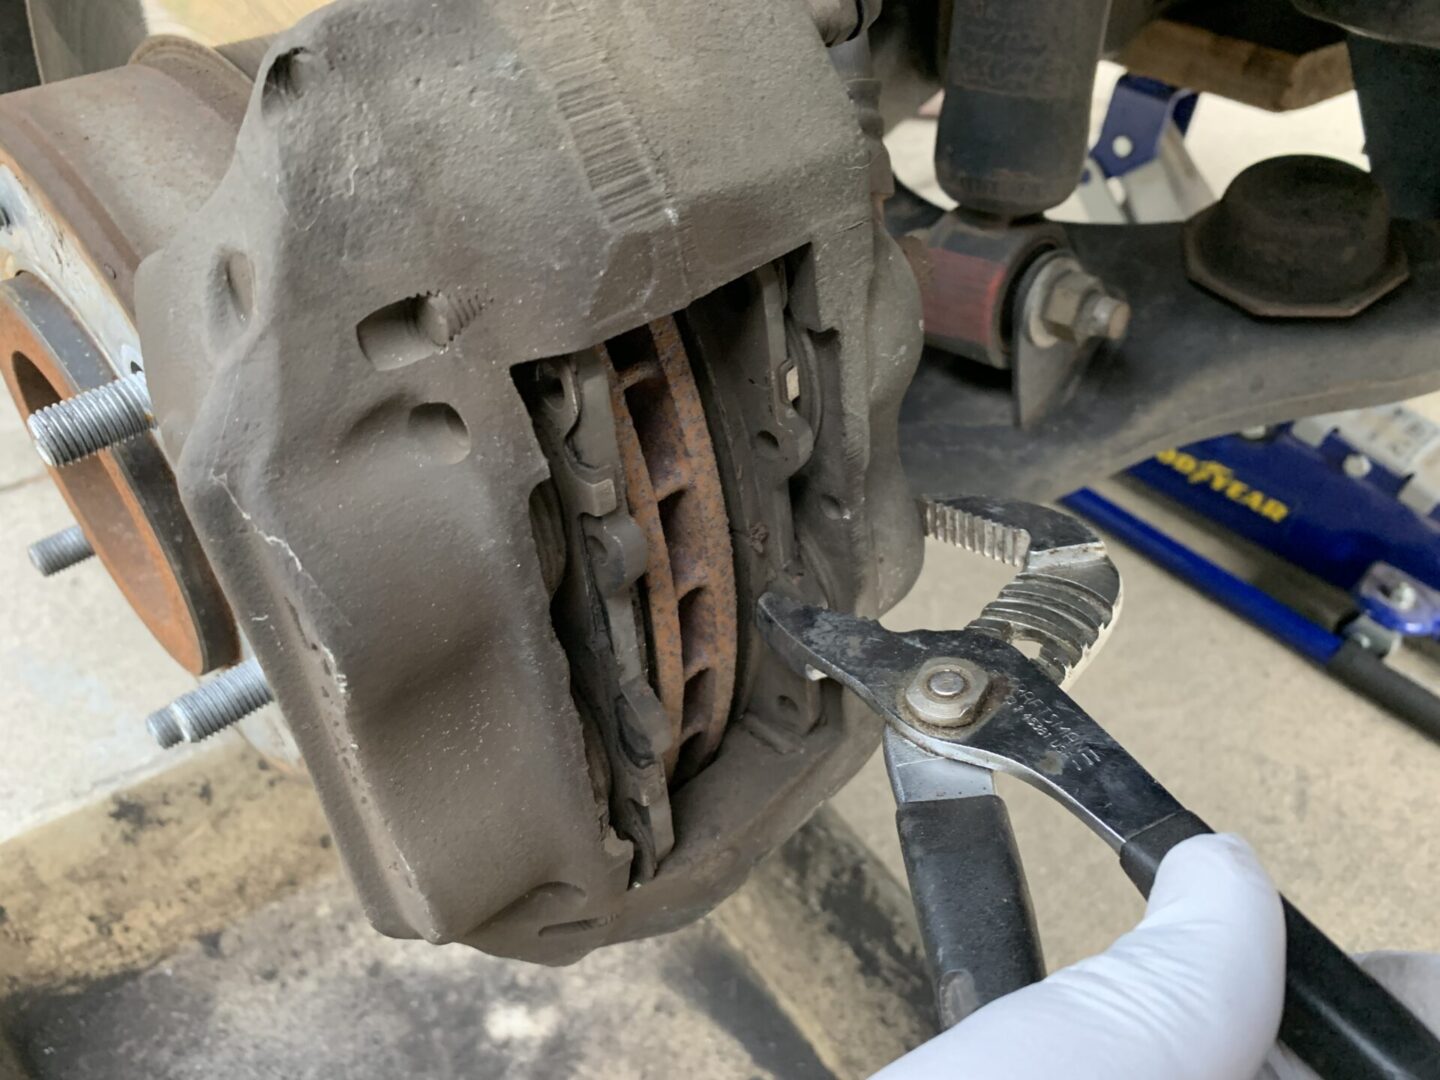
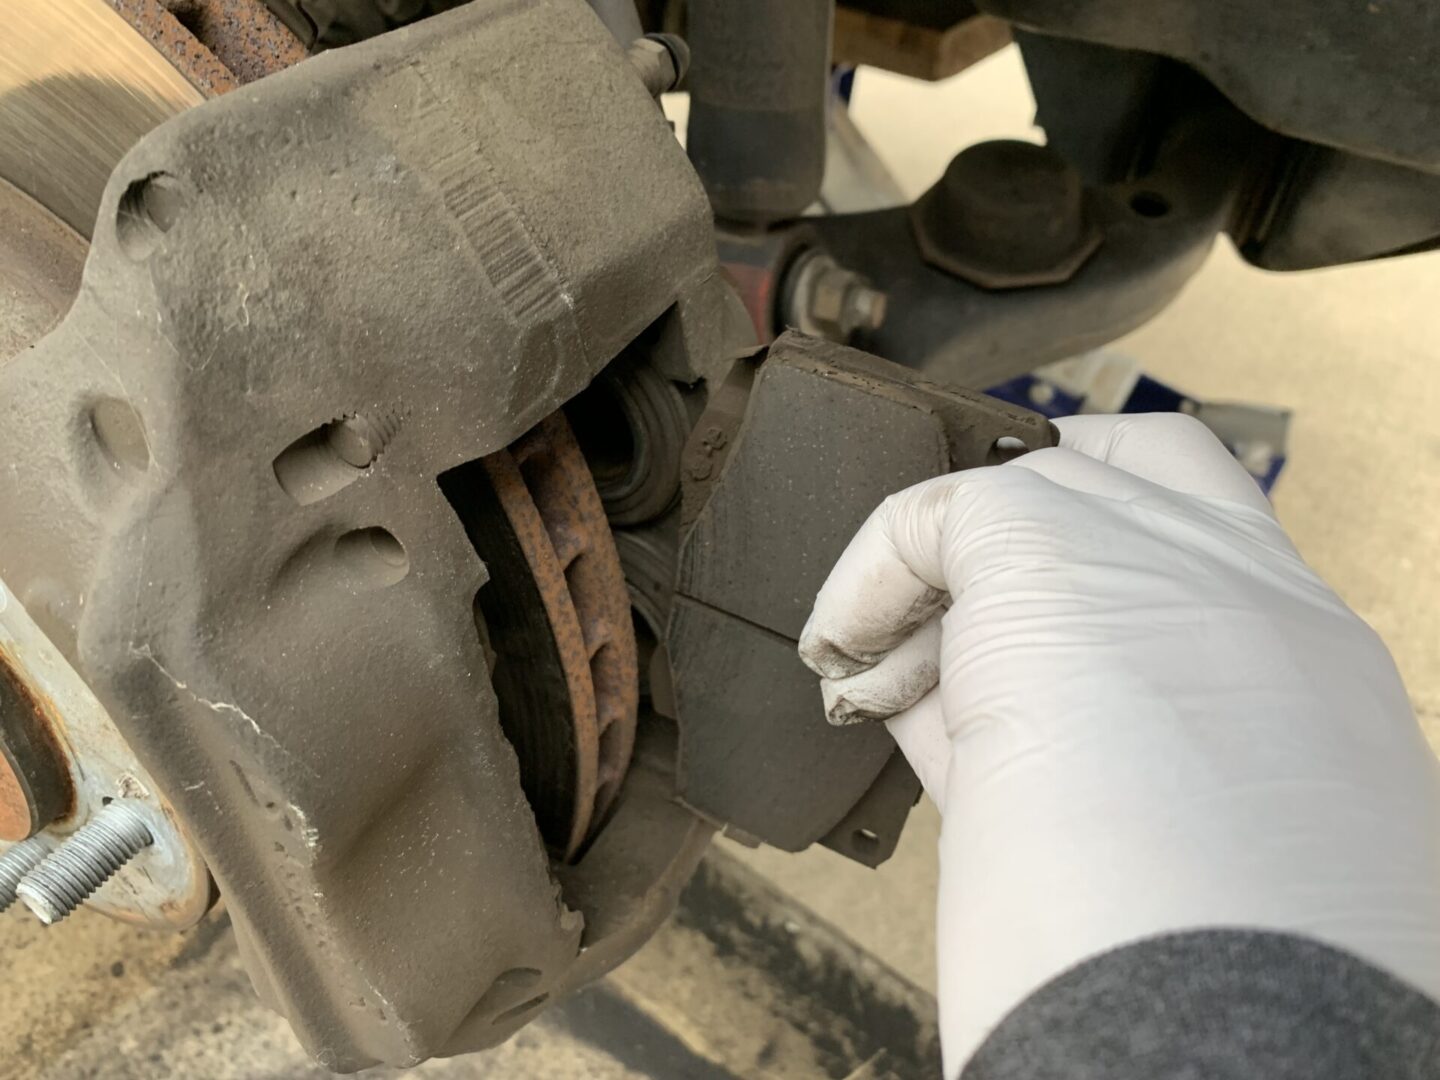
With all the retaining clips and pins removed, use a set of channellock pliers or a c-clamp to compress the brake pistons on each side on top and bottom of the caliper. Once the pistons are compressed, it will free up the brake pads so that they can be removed.
I would recommend wearing an N95 or better mask when doing this work as much of the carcinogenic brake dust will become airborne when you work on these parts. You can also use brake cleaner to rinse down the brake dust and minimize the amount of dry brake dust that kicks up while you work on it.

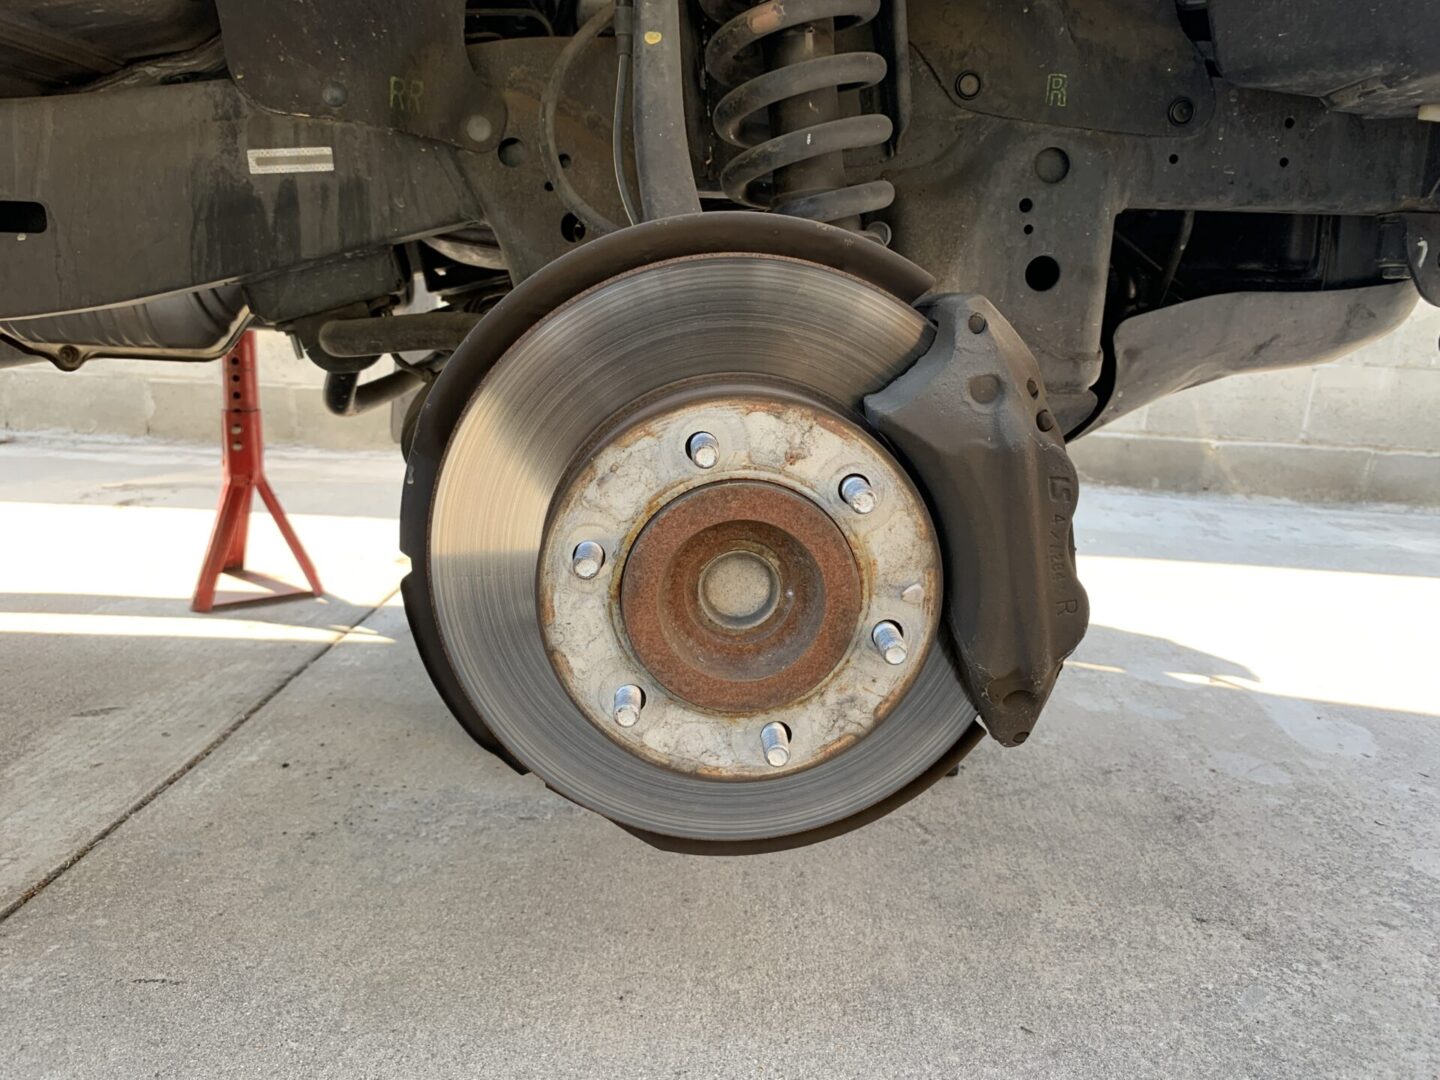
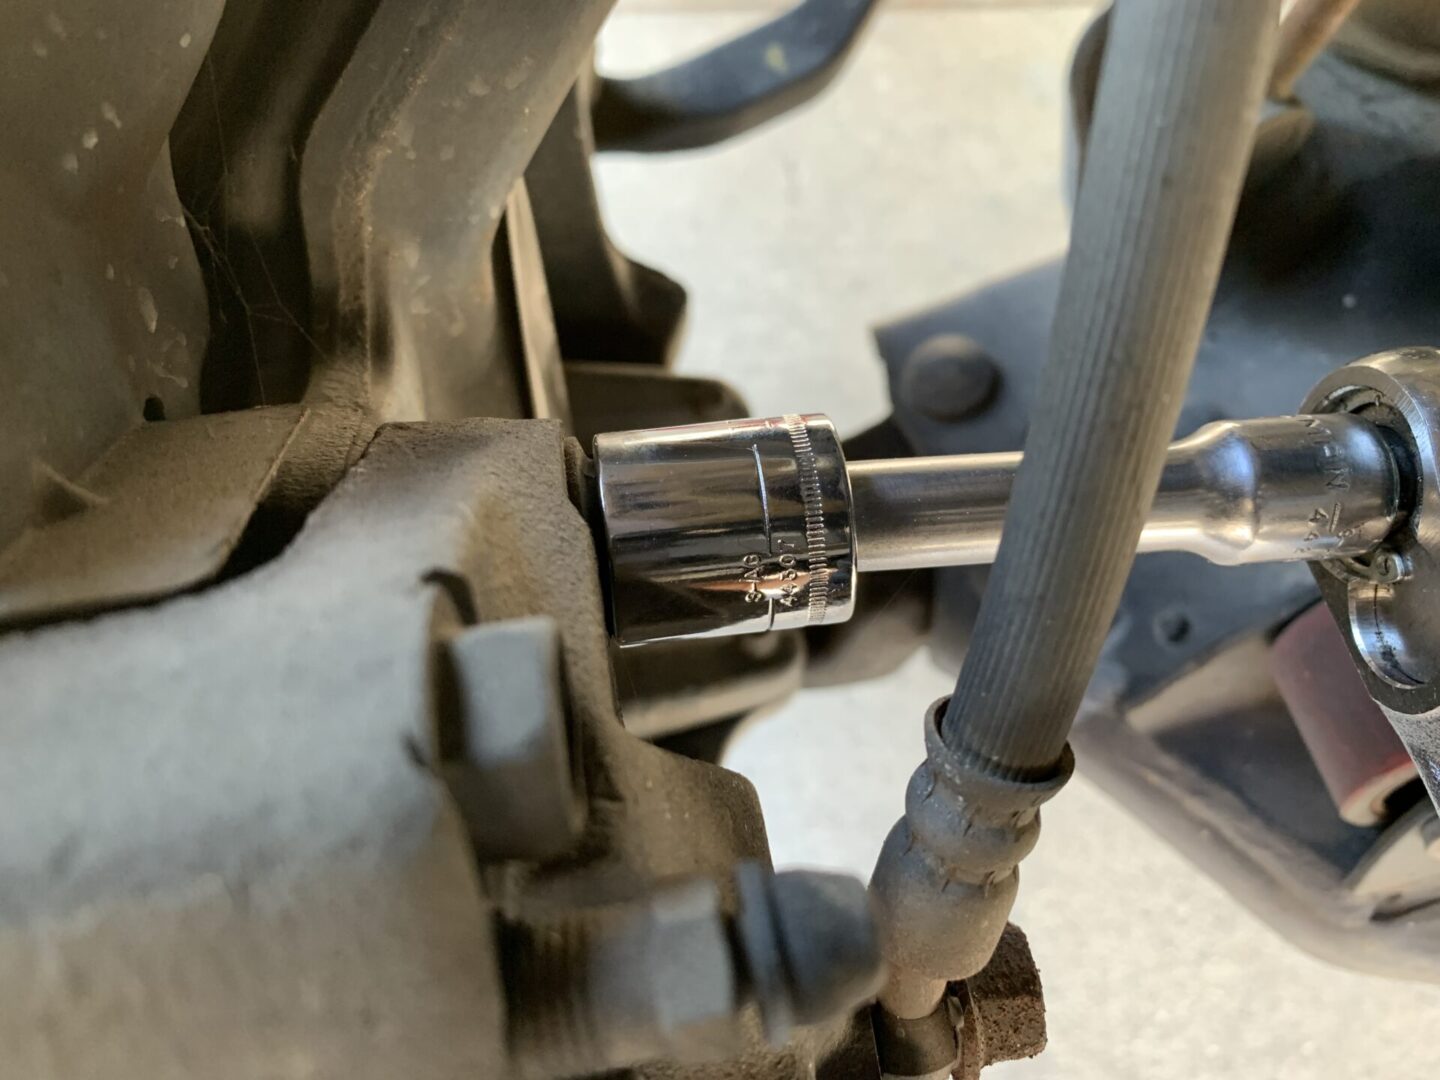
If you are replacing the front brake rotors, you’ll need a 17mm socket wrench to loosen the two brake caliper mounting bolts. With the bolts removed, you will then need to hang the calipers so that the weight does not bear on the brake hose. With the brake caliper removed, you can then replace the brake rotor.
The existing brake rotor can be pulled off, or it can be tapped off with a mallet. Once the brake rotor is removed, the new replacement one can be placed back onto the wheel hub.

Nowadays, automotive shops either charge and arm-and-a-leg for labor to turn existing rotors, or simply just don’t turn rotors anymore. For the inconvenience of bringing brake rotors to a shop to get turned while replacing them and add in the high cost, and you may be better off replacing them with new brake rotors.
If you’ve replaced your brake rotors, re-install the brake caliper over the rotor and re-install the two caliper mounting bolts. These bolts should be torqued to 90 ft-lbs.
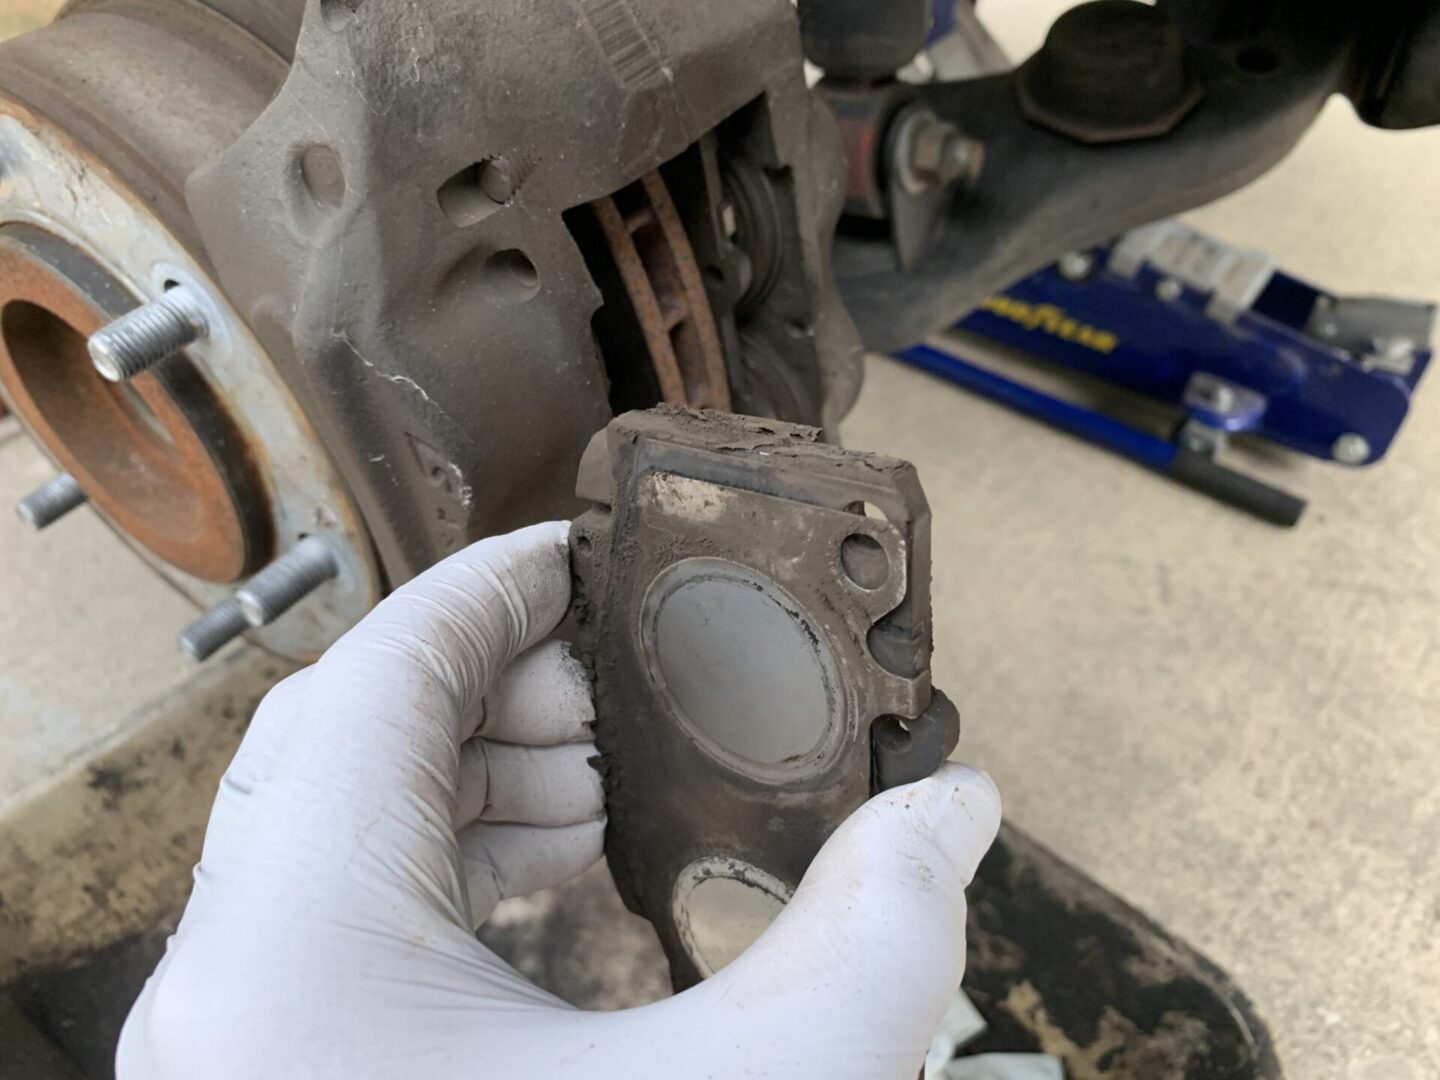
The OEM brake pads come with shims that are intended to reduce vibration and noise when braking. Some people remove these shims altogether, however I like to re-use these shims if they’re still in good condition. If re-using the shims, clean them off as much as possible before installing them. It may be wise to use some Disc Brake Quiet if you want to further reduce the chance of brake vibration and noise. I applied this product between the brake pad backing to the slotted shim, as well as between the slotted shim with the solid shim.

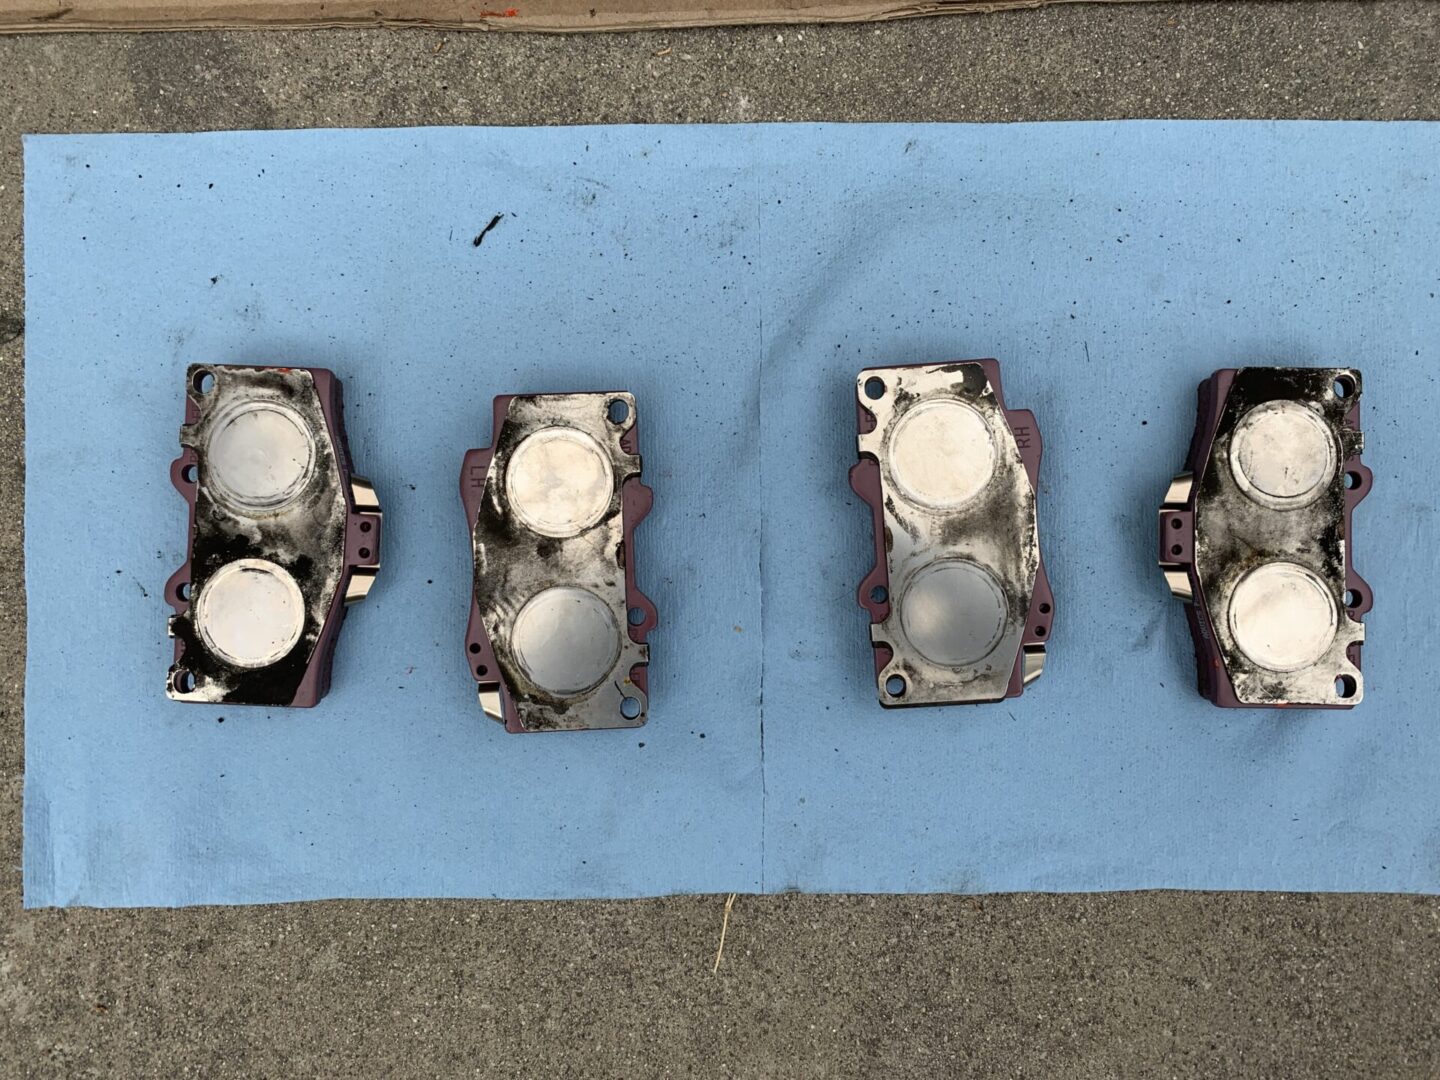
With the new brake pads ready to go back in, I’ll go ahead and use some brake cleaner on the caliper and rotor to clean any remaining brake dust. Install the brake pads so that the holes for the brake pins are facing out. Make note of the brake pad wear indicator, which is the small metal tab on the side of the brake pad.
In the past, I’ve seen a set of brake pads with these wear indicators on every single brake pad; I’ve also seen them on only one pad for every set of two. Make sure to have the brake pads installed so that there is at least one wear indicator on every hub. In this example, there pad indicators both in the middle and on the outside of the brake pad. Each set of brake pads installed should have one outside wear indicator and one inside wear indicator.


Since you used pliers or a c-clamp earlier to compress the pistons, the new brake pads should easily go in between the pistons and rotor. If there is still not enough room for the new brake pads, use pliers or a c-clamp again and compress the pistons. Sometimes you may compress one piston and the other piston will decompress. You can hold these other pistons so that they don’t move when you compress the piston.
With the new brake pads in, install the brake hardware back onto the vehicle. If using the existing hardware, clean them off before using. Whether you are using existing hardware or a set of new hardware, lubricate the hardware with brake grease prior to installing.
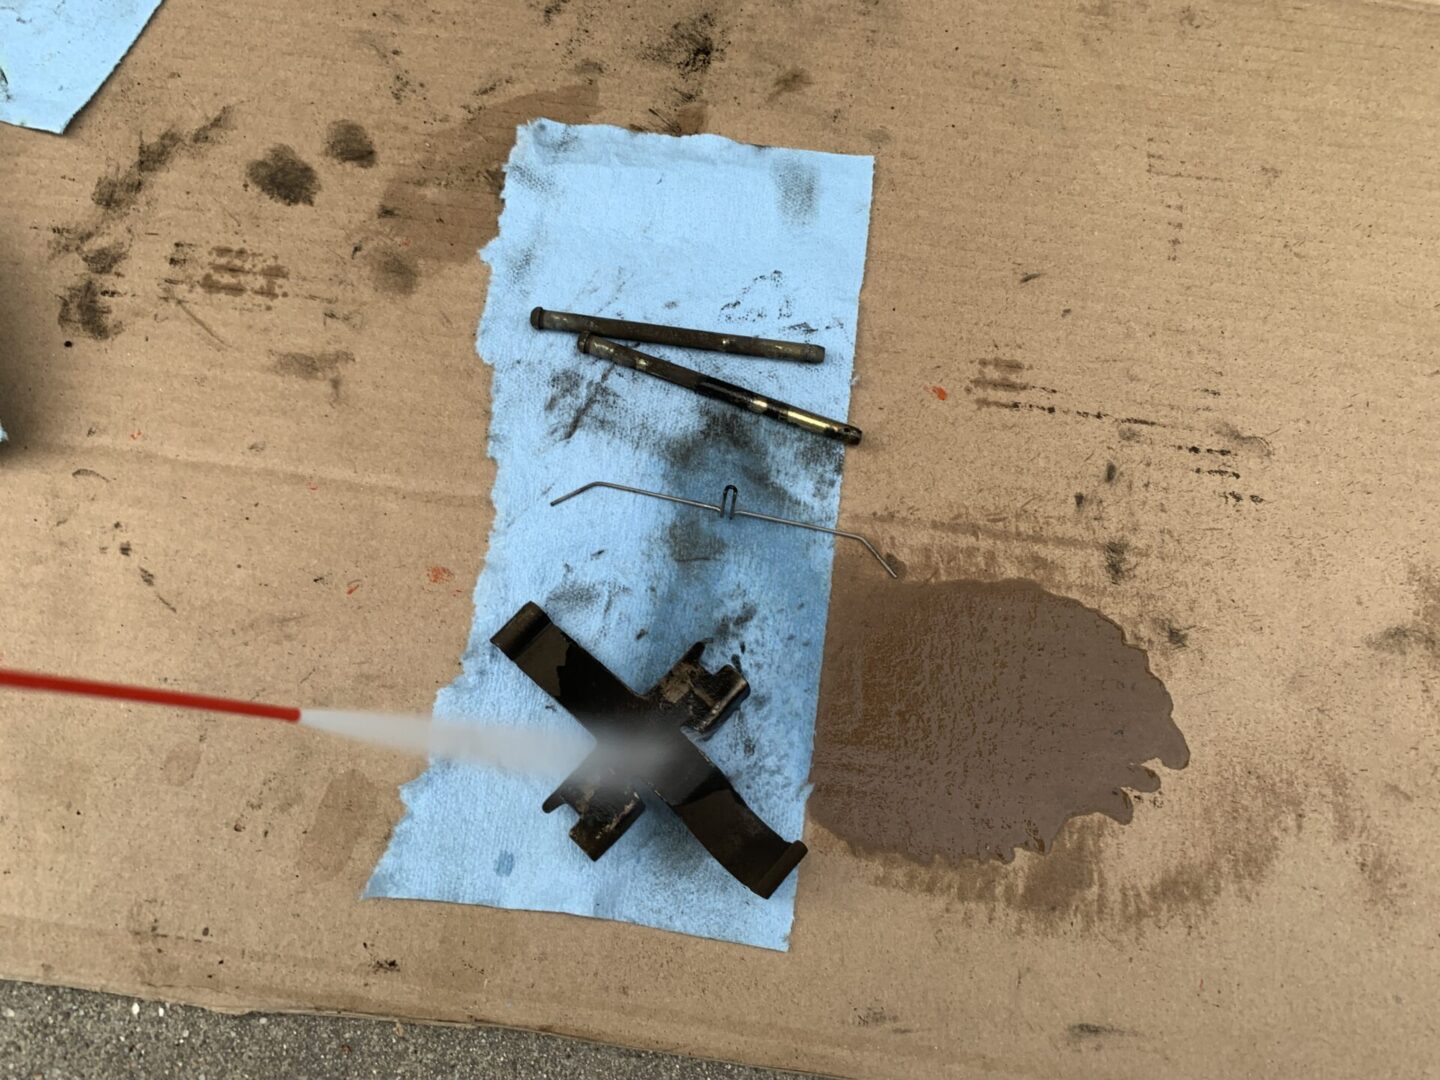
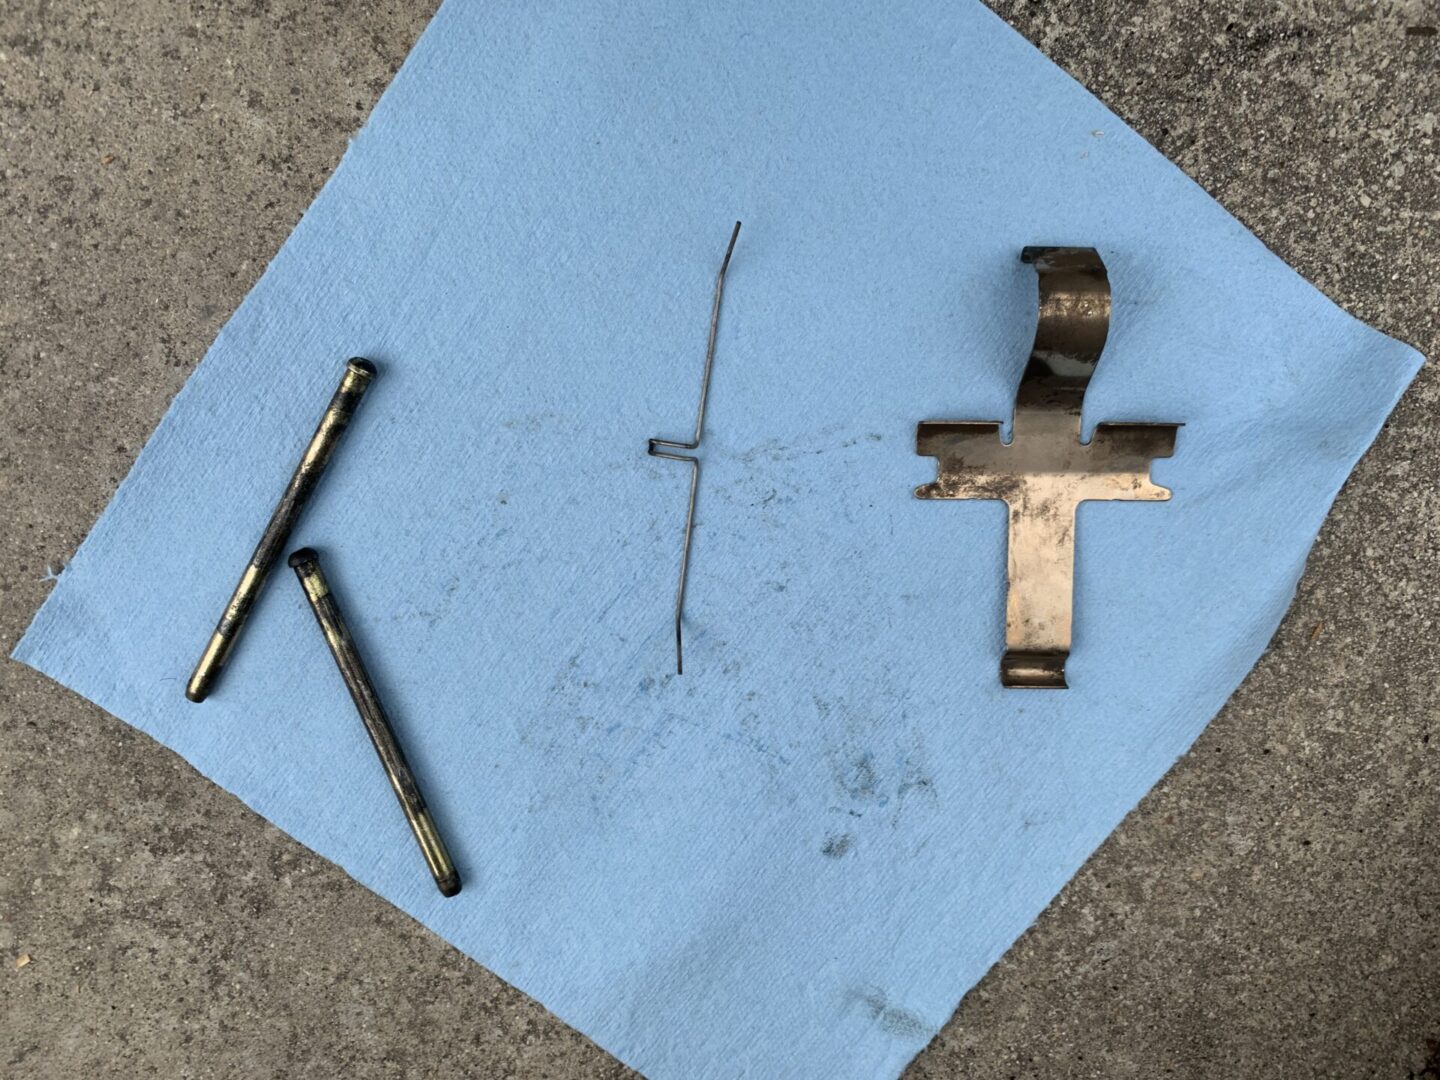
The brake hardware goes back the way it was removed. Install the retaining bracket, guide pins, and then retaining clip as shown.
Repeat the same thing for the other side and you will have replaced your front brake pads and rotors on your 1st generation Toyota Tacoma. Replace the wheels and tighten properly, as well as reinstall the skid plate if you removed it previously. Remove the jack stands, lower the vehicle, and remove the wheel chocks.
When going for a test drive, drive carefully and check for proper brake operation before going on the road. I recommend performing a brake bedding procedure to allow the new brake pads to properly break-in.
References
https://www.tacomaworld.com/threads/oem-front-brake-pads-part-number-choices.677181/
https://www.tacomaworld.com/threads/how-do-i-know-for-sure-if-i-have-vsc-or-not.376208/

: 1st Gen Toyota Tacoma")
: 1st Gen Toyota Tacoma")

: 1st Gen Toyota Tacoma")
: 1st Gen Toyota Tacoma")

: 1st Gen Toyota Tacoma")
