When you make purchases through links on this site, The Track Ahead may earn an affiliate commission. Also, these posts are based off my own experiences. I am not responsible for any action you take as a result of reading this. Learn More
Oil Change on a 2nd Gen Acura CL Type-S
Engine oil does two things: it helps reduce friction of moving internal components by lubrication and it helps absorb heat that is generated from these moving parts. The oil filter filters out contaminants from the oil and then recycles the oil back through the engine internals to be used again.
The oil change on an Acura CL Type-S is straight forward. The car has a low clearance from the factory, so a pair of car ramps or jack/jackstands will be needed to gain access from underneath. Besides that, the oil and oil filter replacement is pretty standard procedure.
Oil Specifications on a 2nd Gen Acura CL Type-S (and CL)
My 2nd Generation Acura CL Type-S (2001-2003 model years) takes 4.6 quarts of motor oil, specifying either a 5W-20 or a 5W-30 weight oil depending on the year of your car. Either weight motor oil will suffice, with the 5W-20 improving cold engine starting and having slightly better fuel economy than the 5W-30 oil. Whether you have a 2001 through 2003 model year, an Acura CL or an Acura CL Type-S (2nd gen), or an automatic or a manual, there is an oil capacity of 4.6 quarts.
Tools/Materials
Motor Oil
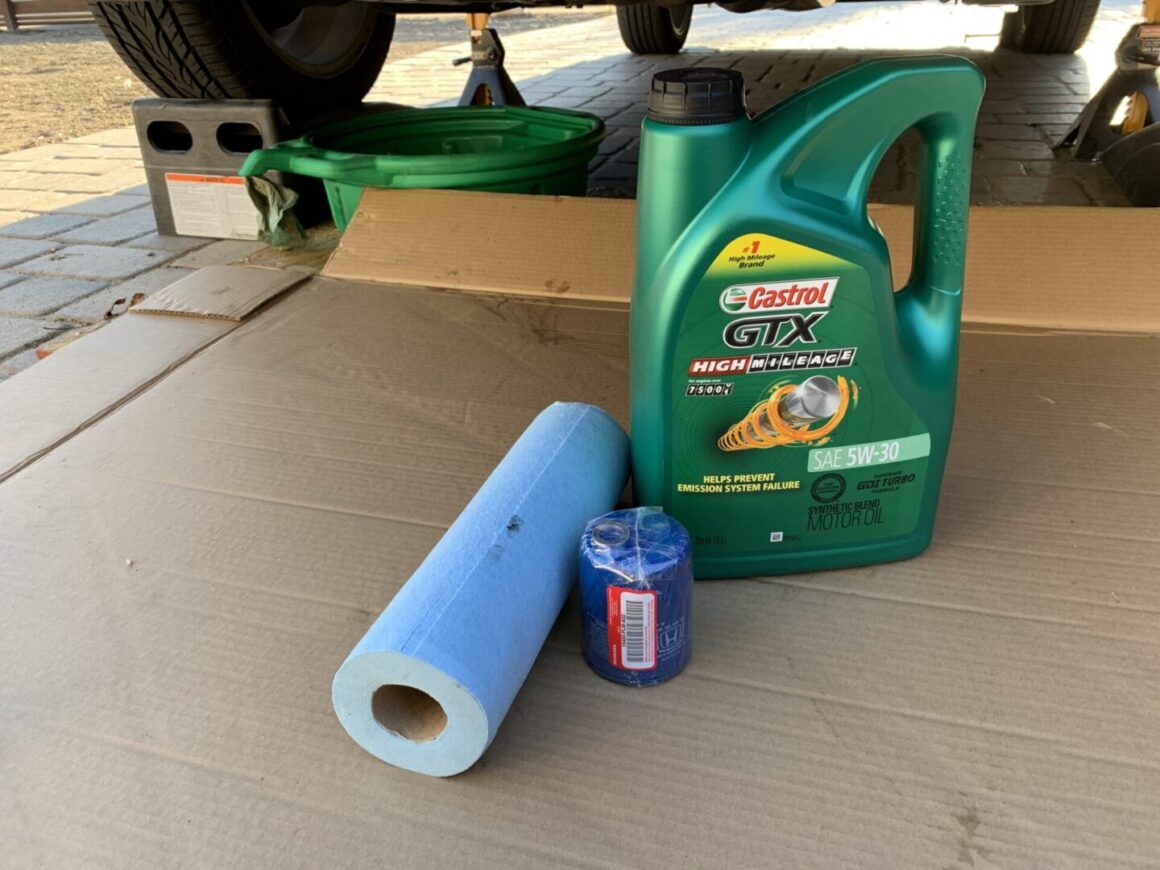
My 2003 Acura CL-S is now going on 17 years old, so I’ll stick with a synthetic blend or some type of high mileage oil to prevent any potential for full synthetic oil causing oil to leak through any aged seals.
SAE 5W-20 Motor Oil on Amazon
SAE 5W-30 Motor Oil on Amazon
Oil Filter
I typically work with OEM oil filters, but if I’m in a pinch and I need to go with an aftermarket option, then I will. The oil filter size is fairly small on the Acura CL and CL-S. Make sure to get the crush washer for the drain bolt plug, which usually is included along with the OEM oil filter (another reason to go OEM.)
OEM (04152-YZZA3): Ebay / Amazon
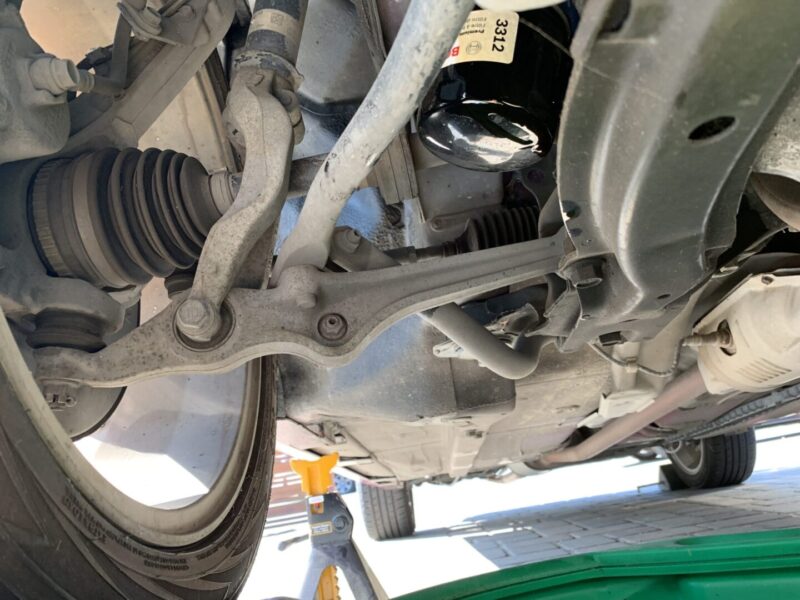
Bosch (3312): Amazon
K&N (PS-1004): Amazon
ACDelco (PF1127): Amazon
Mechanics Tool Set
Most folks will have a set of tools that would normally be found in a mechanics tool set. If you are in need of a mechanics tool set or need some help choosing the right one for you, check out this article.
If you are simply looking for a set that will get you started right away, have a look at a number of available ones on Amazon.
Oil Drain Pan
ATD Tools 5184 Black Drain Pan – 4-1/2 Gallon Capacity
Oil Funnels
Hopkins FloTool 10714MX3 Super Funnel Trio , Red
Vehicle Ramps or Floor Jack
Vehicle Ramps: RhinoGear Vehicle Ramps – Pair (12,000lb. GVW Capacity)
Floor Jack: Pro-Lift Grey Low Profile Floor Jack – 2 Ton Capacity
Jack Stands
BIG RED Torin Steel Jack Stands: 3 Ton (6,000 lb) Capacity, Red, 1 Pair
Wheel Chocks
Camco Wheel Chocks (Pack of 2)
Shop Towels
Scott Shop Towels Original (75147), Blue, 55 Sheets/Standard Roll, 12 Rolls/Case, 660 Towels/Case
How to Replace Oil and Oil Filter on a 2nd Gen Acura CL-S
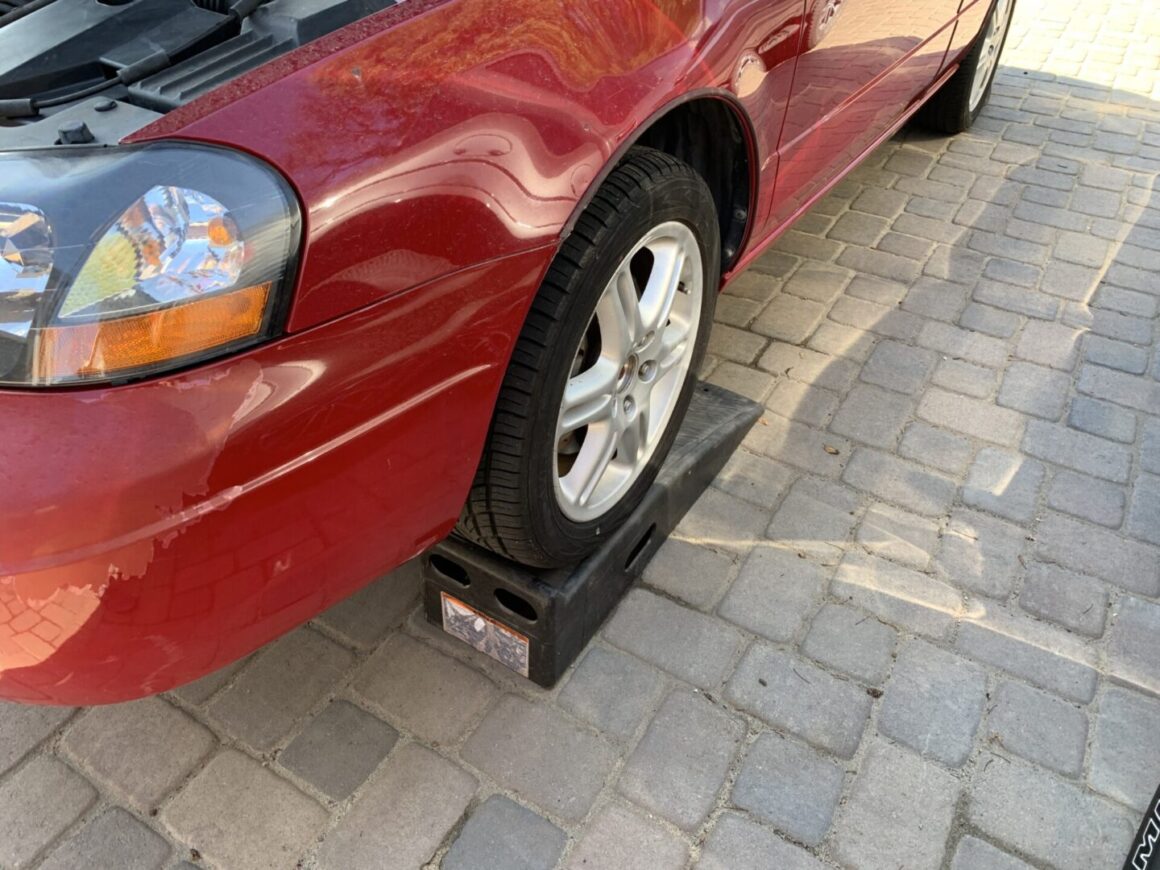
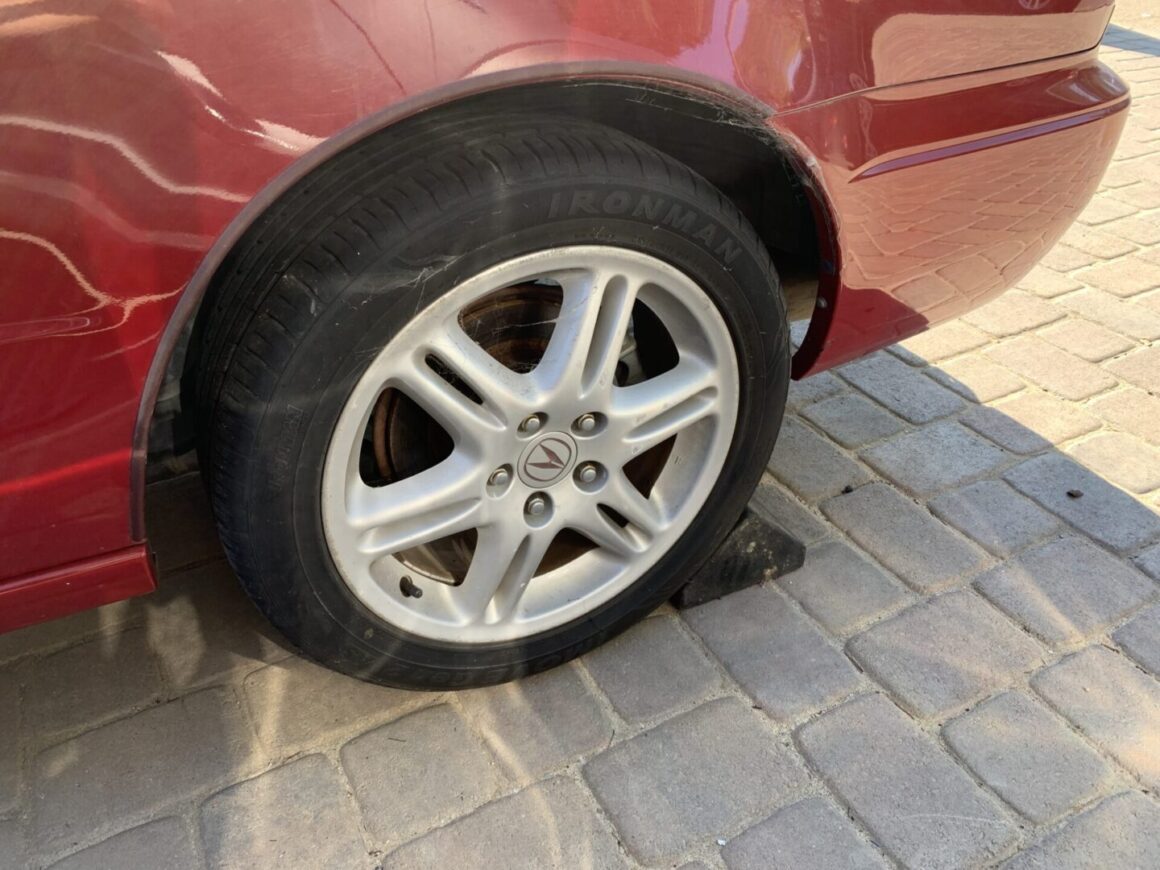
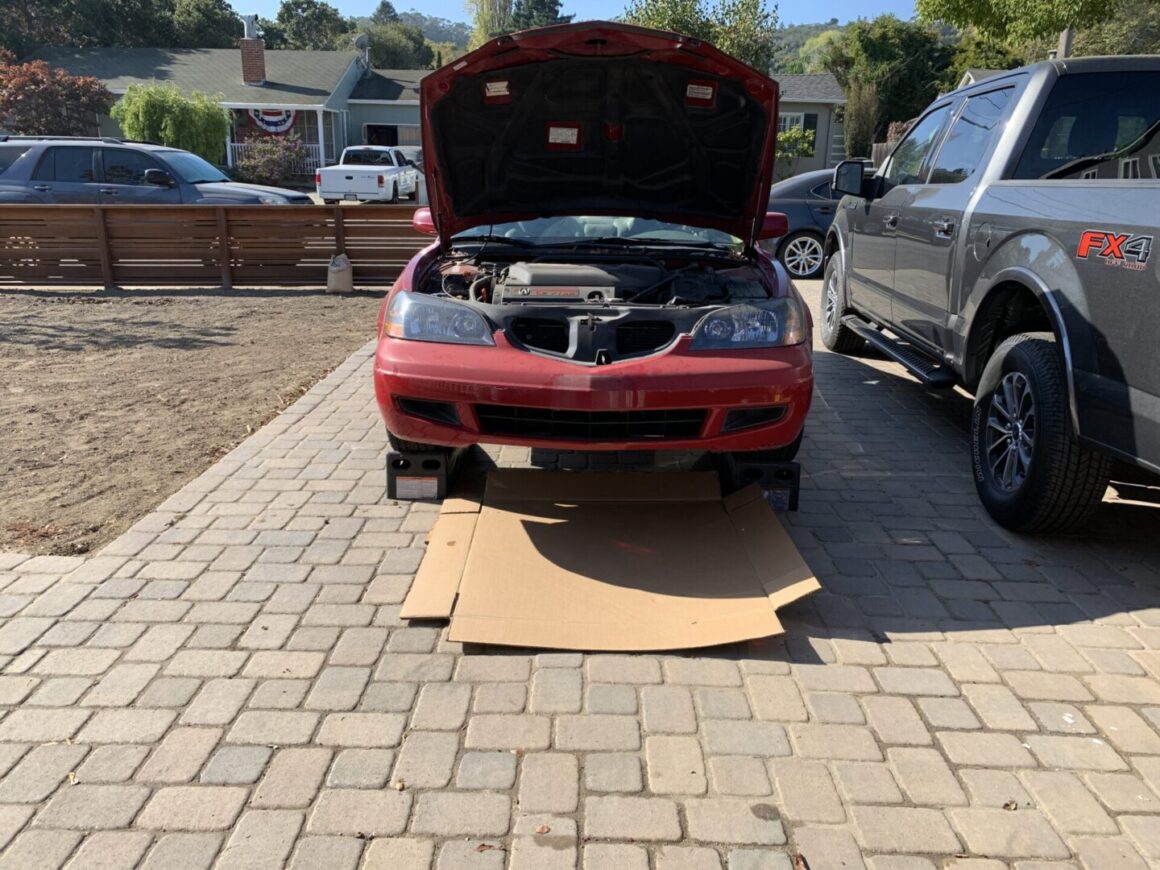
Start by getting your vehicle either jacked up and placed on jack stands and wheels chocked. Or, in my case, driven up on ramps and wheels chocked.
Have your drain pan, shop towels, oil, oil filter, and replacement drain plug washer ready.
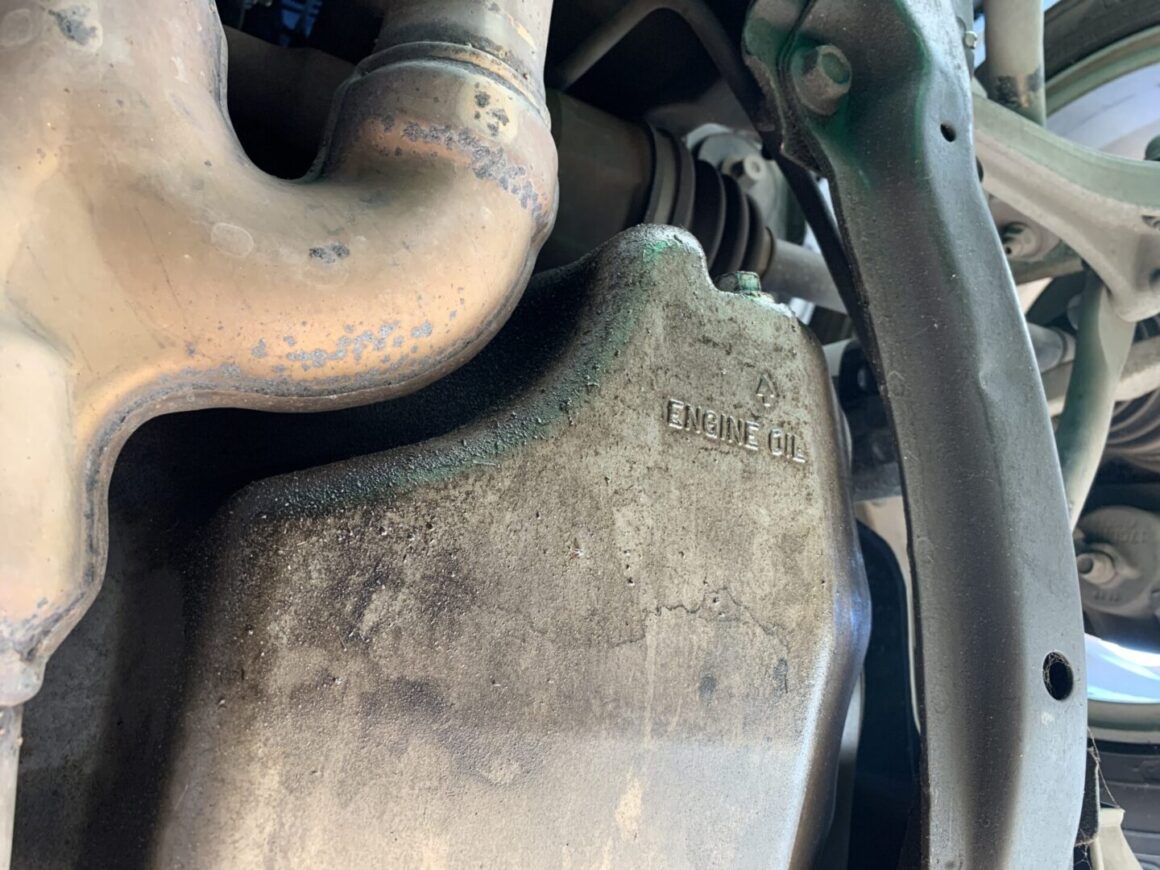
Locate the engine oil drain plug, which is near the front of the vehicle.
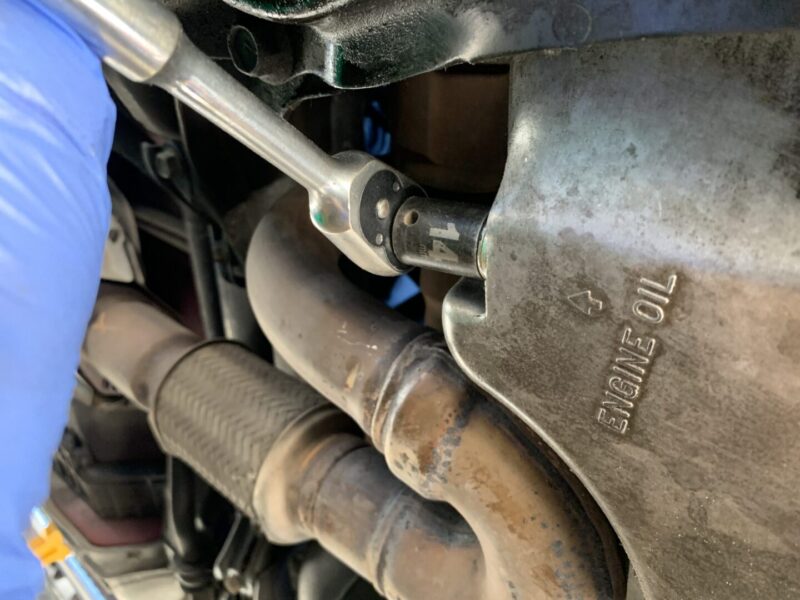
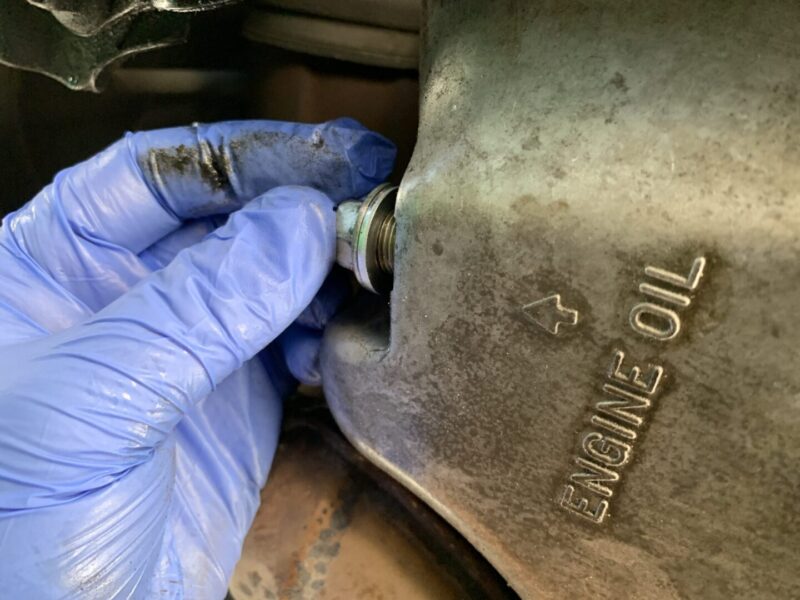
I believe a stock Acura CL or CL-S has an oil drain plug that is 17mm. However, my vehicle had a stripped drain plug bolt and so it was repaired with a helicoil so you’ll see my socket below is a 14mm. Anyway, position a drain plug underneath and loosen this drain plug. Once you break it loose with the socket wrench, loosen it by hand until it is about to come off.
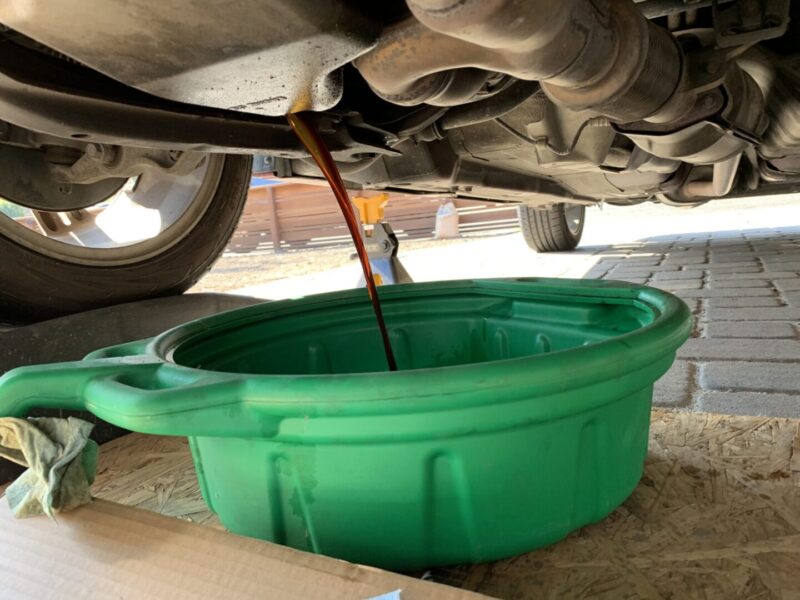
Hold the drain plug in your hand tight, loosen the rest and when the oil pours out, pull the drain plug out of the way.
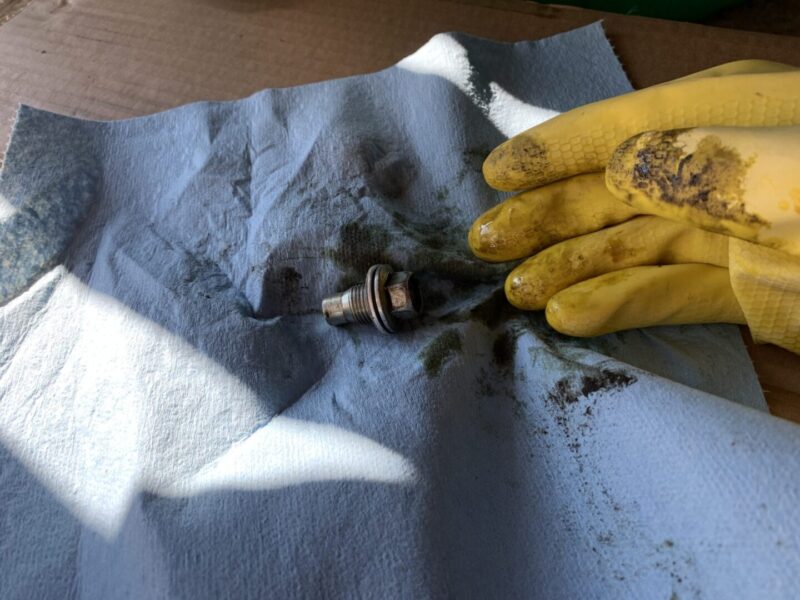
Clean off the drain bolt and set it aside. Allow the old engine oil to drain out into the drain pan.
Once the oil has drained out, you may re-install the oil drain plug with a new crush washer (usually supplied if you purchase an OEM oil filter.) Dip your finger into some new engine oil and coat the new washer prior to reinstallation. The new drain bolt should be torqued to 29 lb-ft torque.
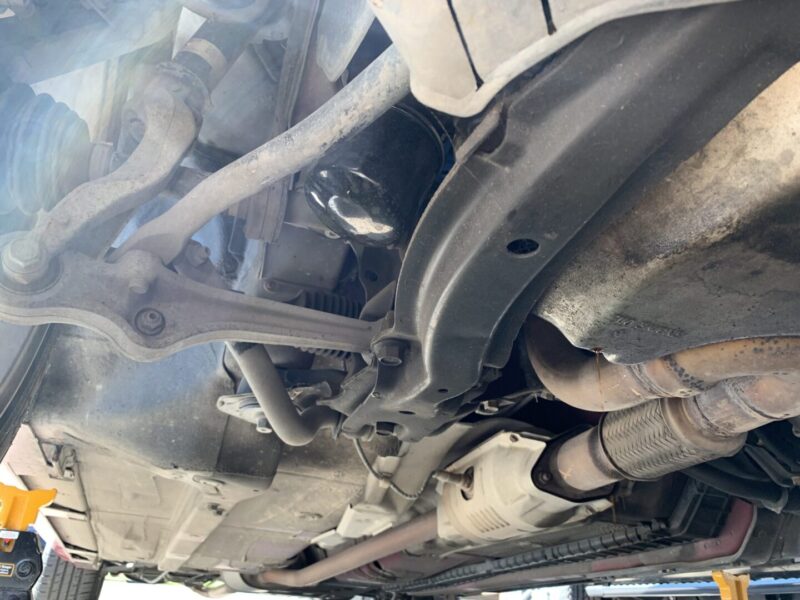
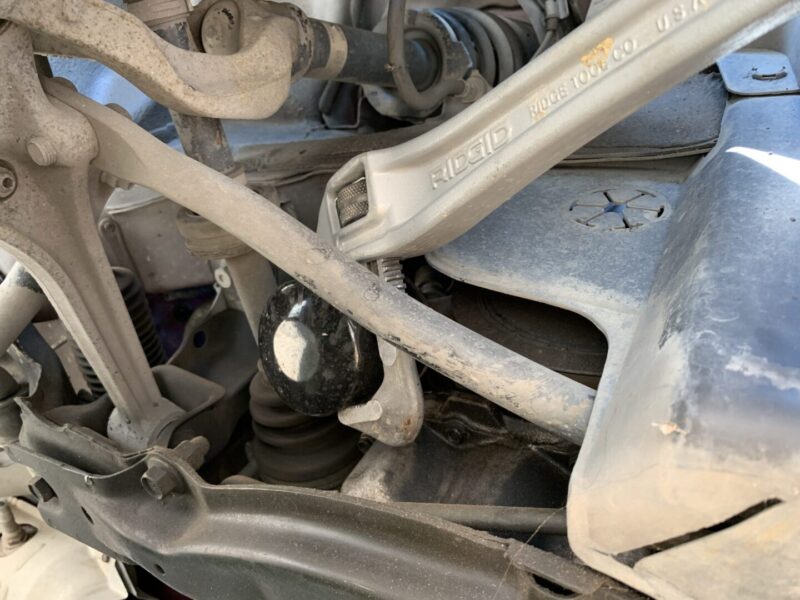
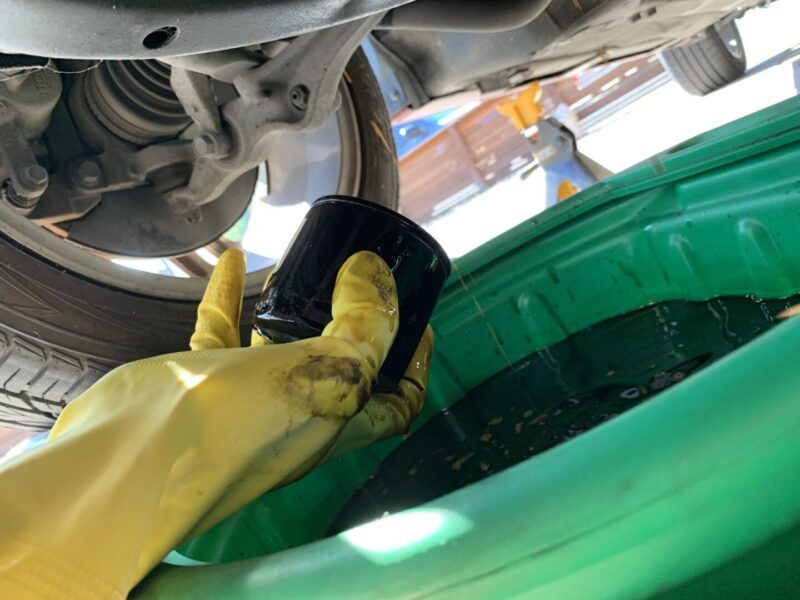
Now, locate the oil filter, which is near the passenger’s side of the vehicle. Position the drain pan underneath. Loosen the oil filter and remove it out of the way, allowing it to drain into the drain pan as well. I’ve always had an issue breaking the oil filter loose, so I always use my handy pipe wrench to break it loose. I don’t worry about it damaging the oil filter housing because they are single-use.
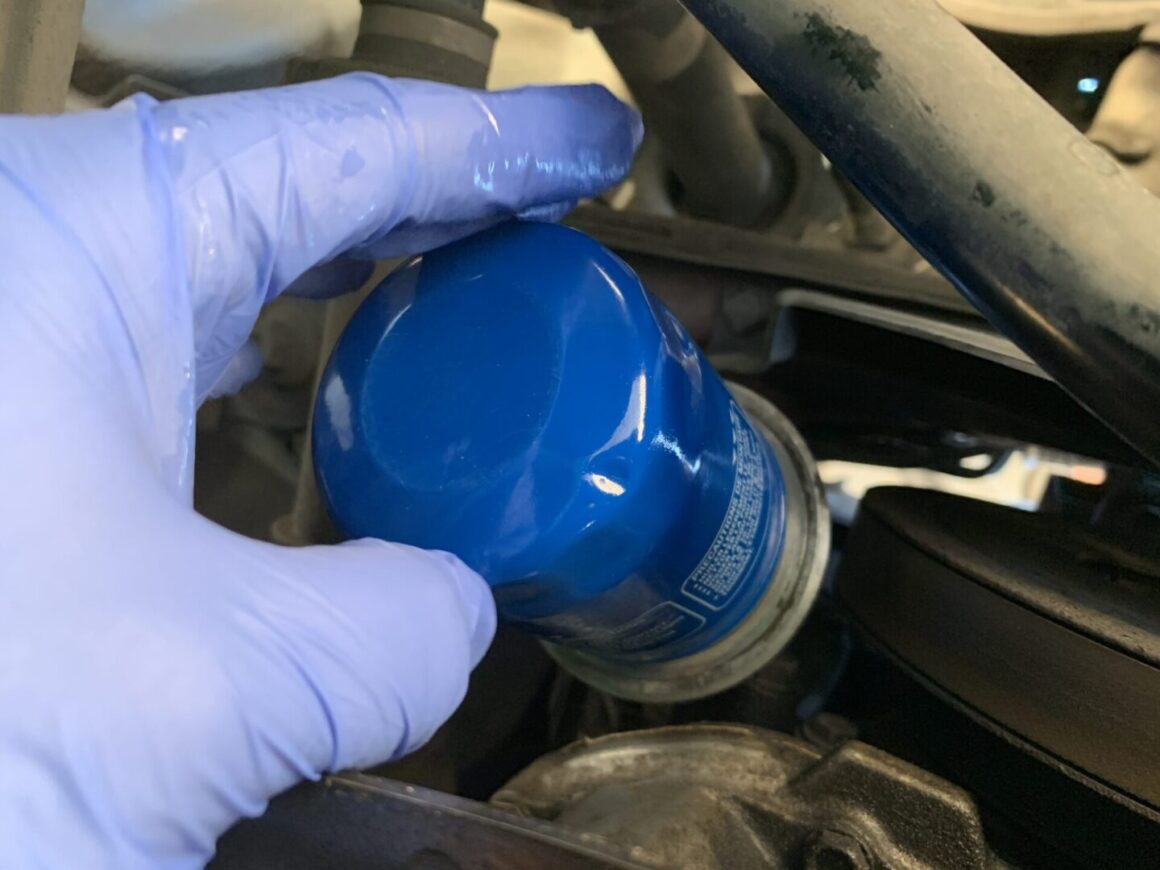
Prime the new oil filter by dipping your finger into the new engine oil and coating the gasket of the oil filter prior to installation. Wipe any excess old oil before installing the new oil filter.
Install the new oil filter and tighten it by hand only. Make sure to wipe any excess oil off your gloves, the housing, and surrounding areas. Then hand-tighten snug.
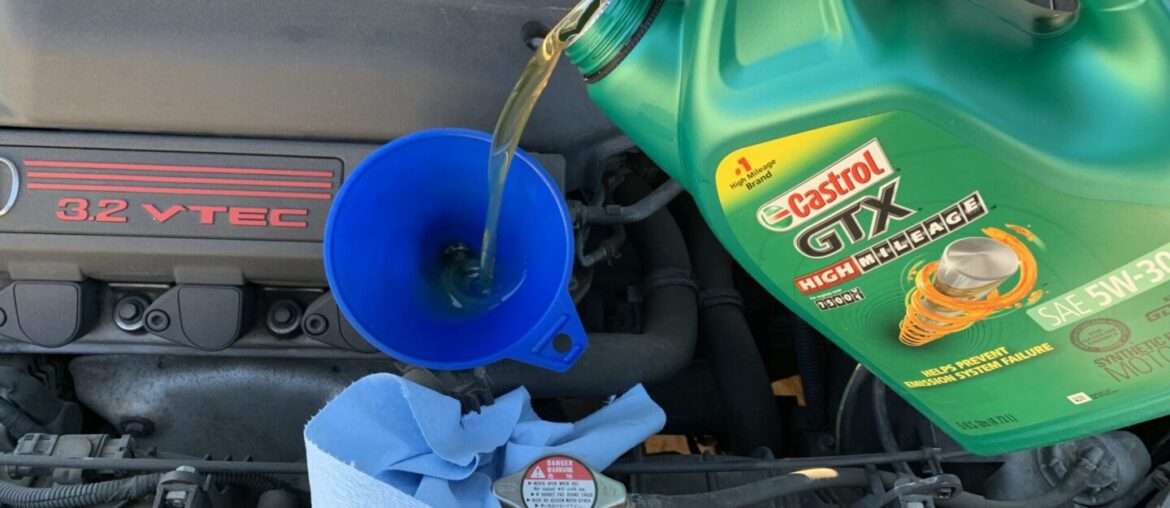
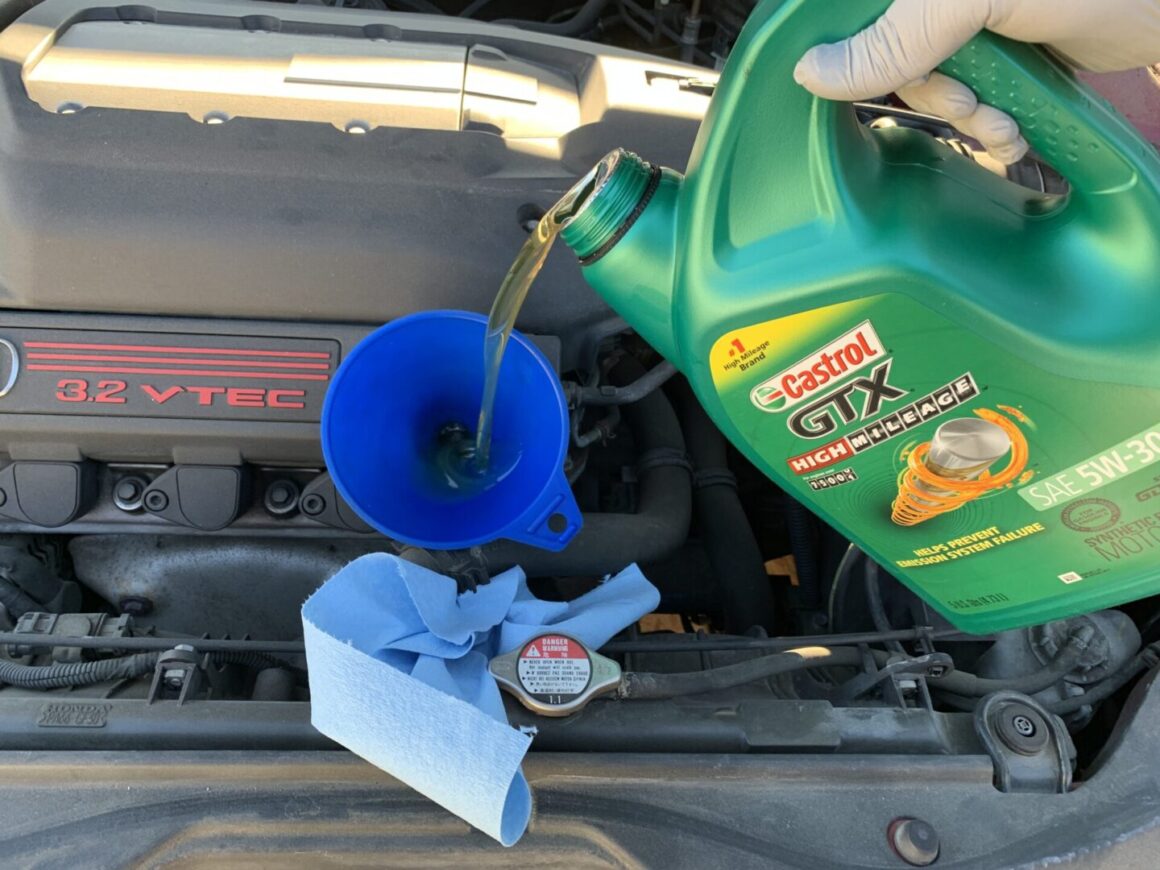
Now, it’s time to refill the engine oil. Since the oil capacity is 4.6 quarts, refill to a bit less than that amount. Allow it all to settle for 5-10 minutes.
I’ll usually re-install the engine filler cap at this point and get the vehicle down to level ground, removing all jacks, jack stands, wheel chocks, vehicle ramps, etc. Then, turn on and let the vehicle idle for a couple of minutes and turn it off.
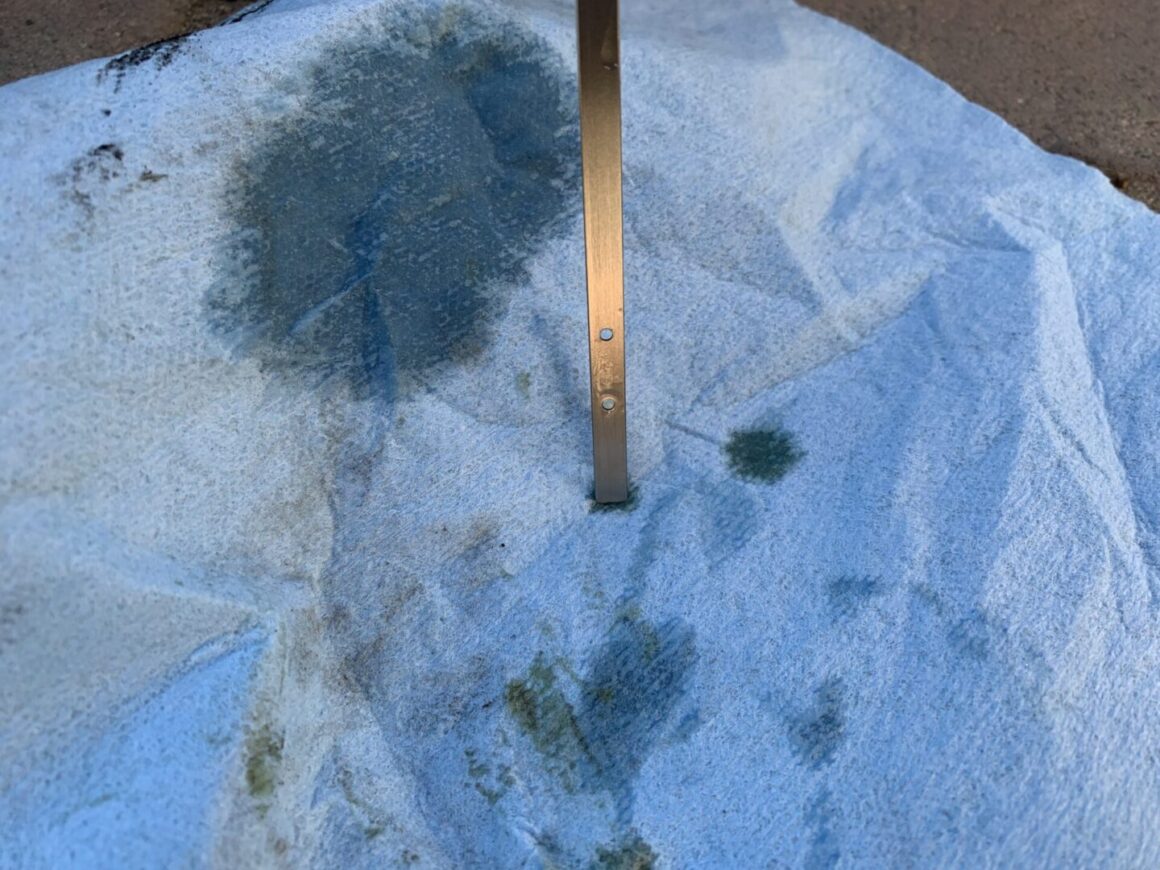
Wait about five minutes, and then check the engine oil level with the oil dipstick. Remove the oil dipstick, wipe it off, insert completely and remove to check. The oil level should be at the upper mark of the dipstick, so add oil accordingly to get it to that mark. Make sure to reset the maintenance required light and you’re done.

