When you make purchases through links on this site, The Track Ahead may earn an affiliate commission. Also, these posts are based off my own experiences. I am not responsible for any action you take as a result of reading this. Learn More
For some time now, I’ve been having issues with my 2003 Acura CL Type-S cranking, but not starting up. This issue has been on-and-off ever since I’ve bought the car a couple years ago. I know that the PGM-FI relay is a troublesome issue on these vehicles where the solder tends to develop microcracks over time.
So, I removed the PGM-FI relay before and did an inspection, as well as some testing. I used a macro lens to look closely at the solder joints, but found no irregularities. I then used a testing procedure for checking the relay itself and it tested fine. Later, the issue arose again and I figured it may be because the battery was older and not able to provide the proper voltage to operate the relay.
With the new battery installed, I still had the same intermittent crank, no-start issues. At least now, I can tell that if I don’t hear the priming of the fuel pump when I turn the key to the ignition position, the car will crank but not have the proper relay operation to allow it to start up. At this point, I’ve had enough and decided to finally just replace the relay. To my relief, these things are not expensive if you purchase them aftermarket. And to my surprise, the replacement part works like a charm.
Tools & Materials
You don’t need much for this replacement; just the new PGM-FI relay, a 10mm socket, and in my case, some persuasion tools to get the old relay out of the mounting bracket.
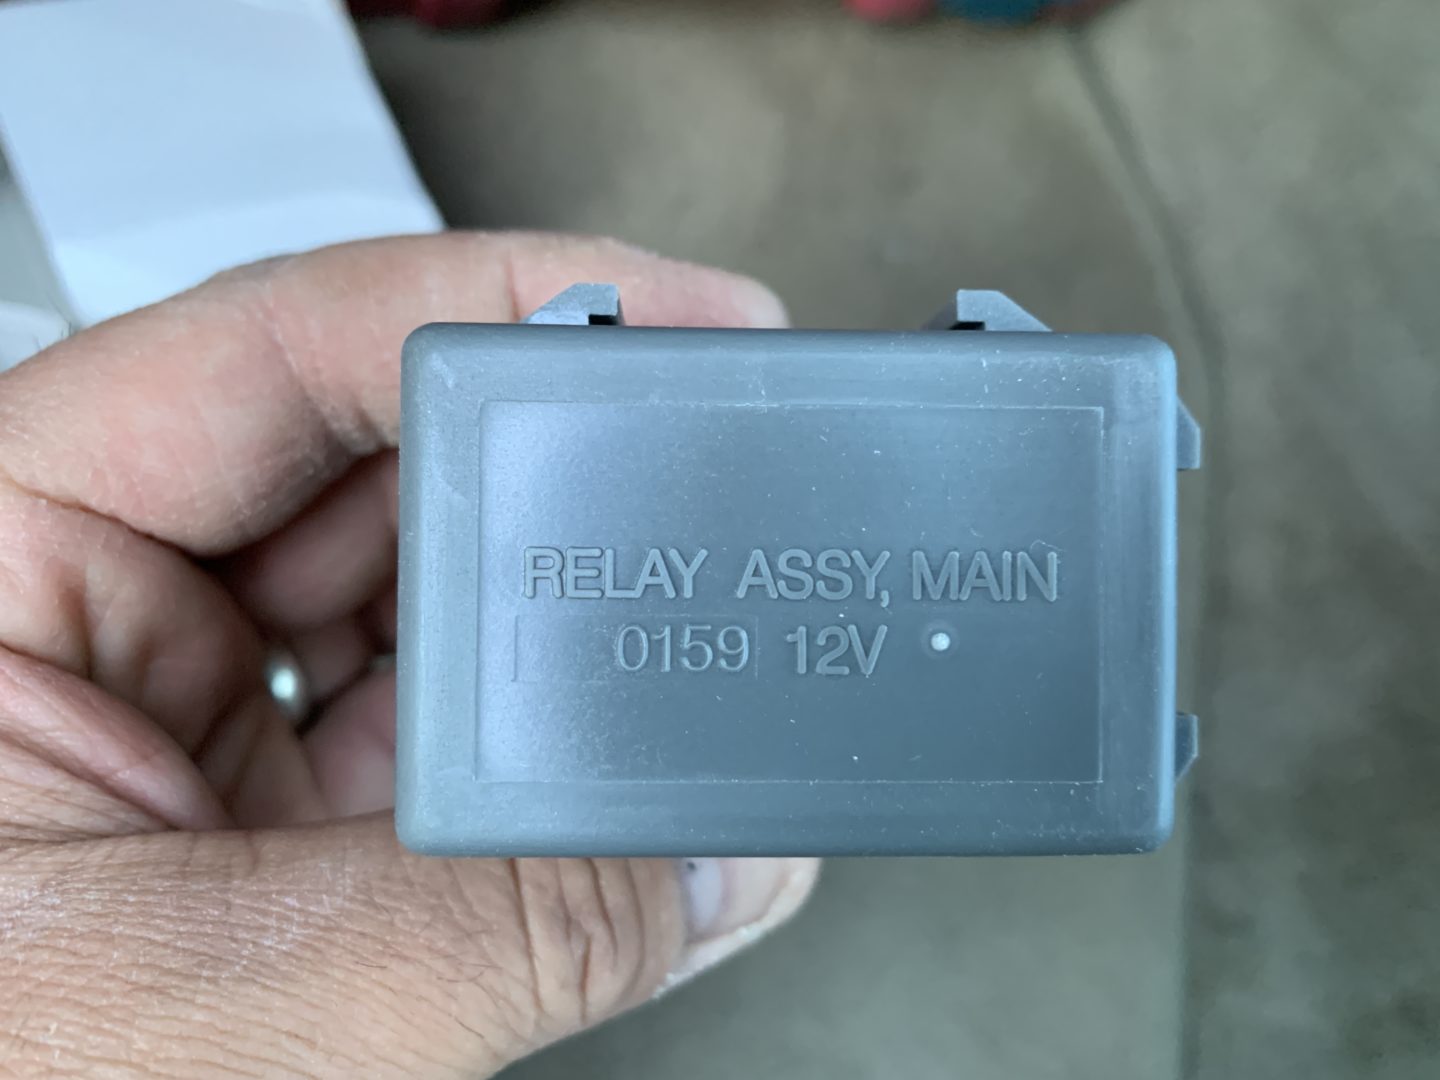
PGM-FI Relay
At first, I looked into getting an OEM PGM-FI relay as a replacement. The original OEM part number is 39400-S82-A01; it appears that this part number has been replaced by a new part number 39400-S84-003. Obviously if you purchase the same old OEM part, you may run into the same issues later down the line. I am assuming that if you went with the new OEM part number, that Honda has fixed this issue and that is the reason for the updated part number.
The other option is to simply buy an aftermarket relay that is intended to replace the original OEM relay. The cost is about $20 compared to buying the newer OEM part, which costs about $75. I went with the former because if the cheaper option works, then I don’t see the point of going OEM with this part.
Well Auto MAIN RELAY (39400-S82-A01)
10mm Socket/Socket Set
A 10mm socket will be needed to remove the 10mm bolt that secures the mounting bracket of the relay to the vehicle. Any simple socket set or mechanics tool set will do.
Hammer & Chisel or Flat Head Screwdriver
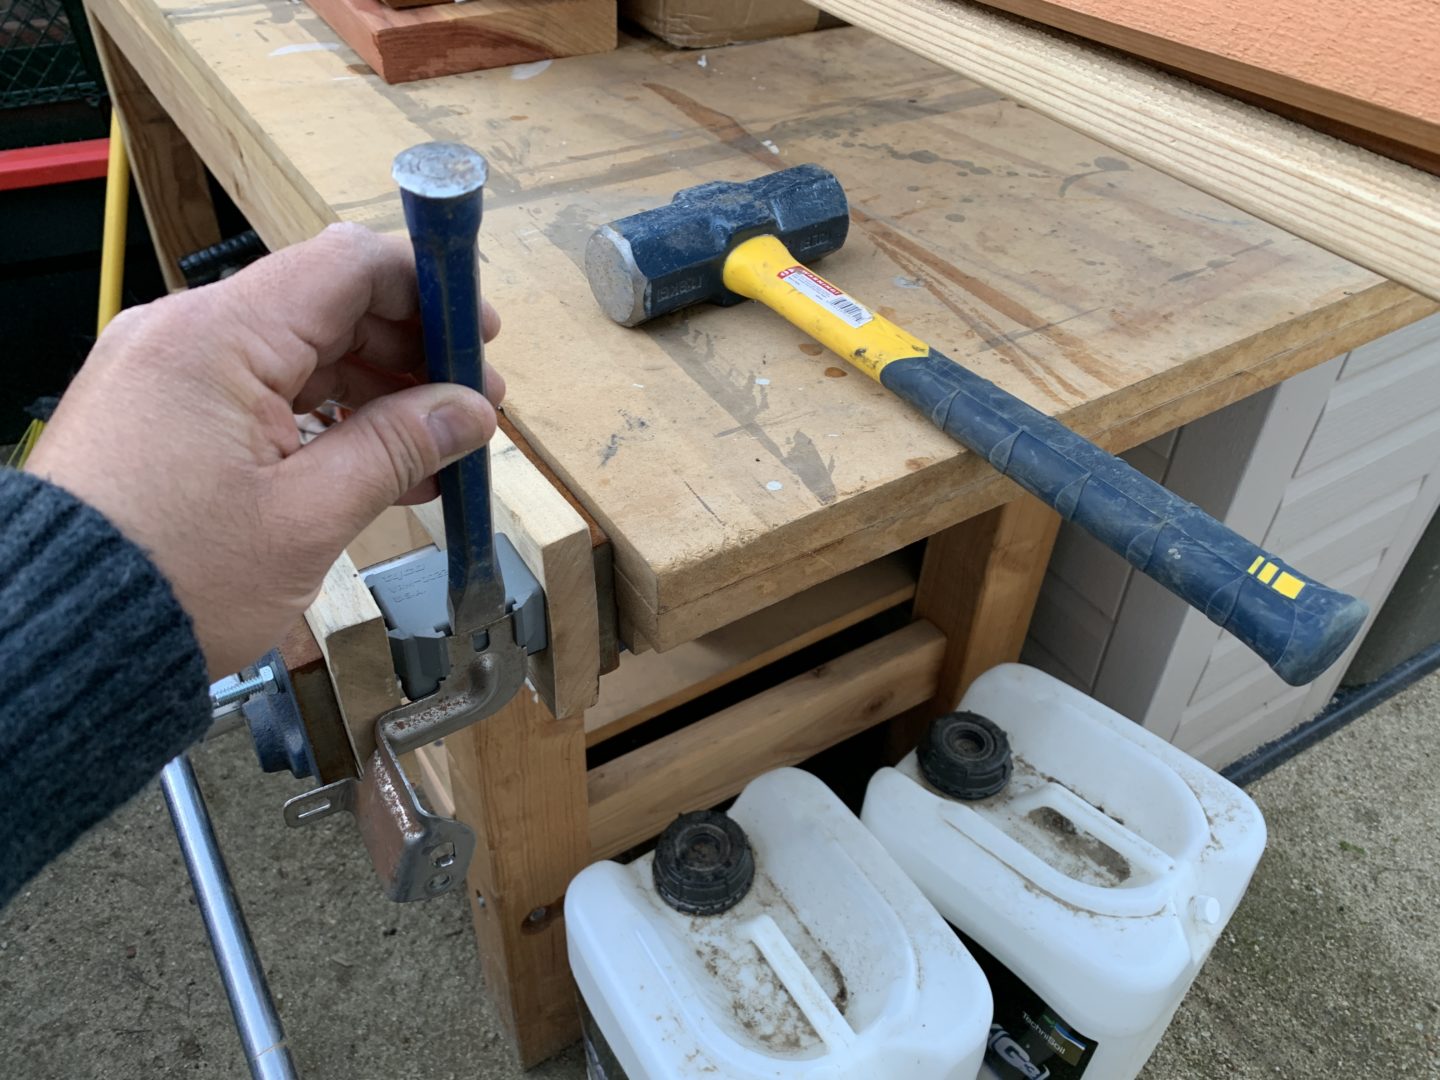
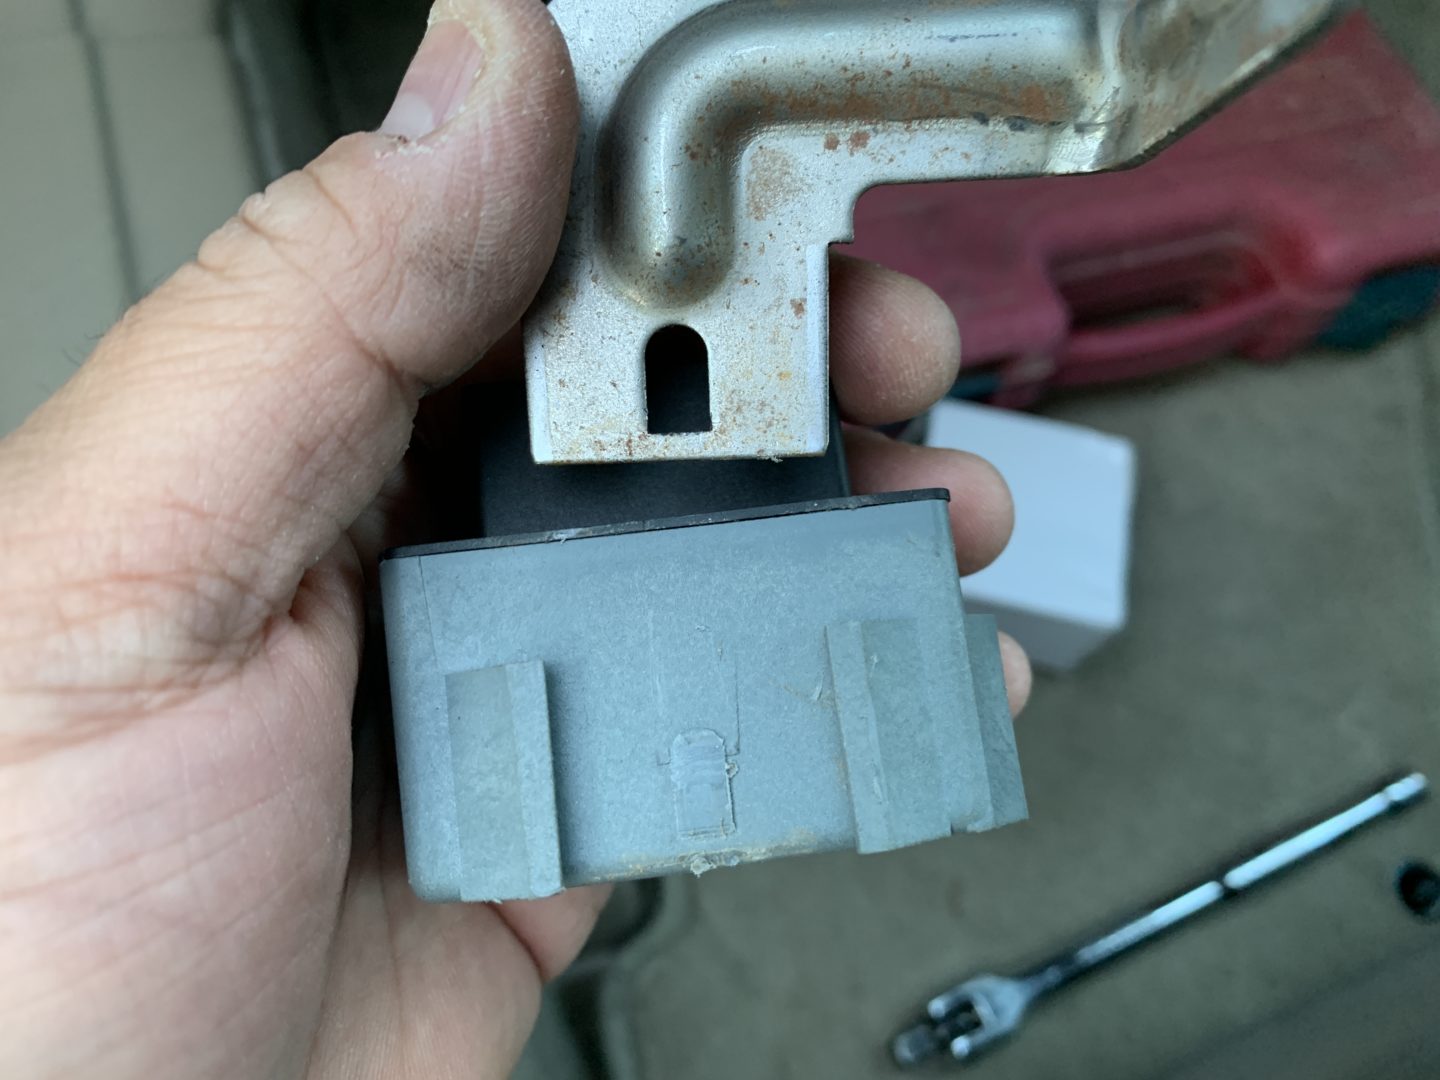
When I was trying to remove the old relay from the mounting bracket, it felt practically impossible to do so without doing significant damage. Since the old relay was going into the trash anyway, I used a vice grip to hold onto the old relay and grabbed a large chisel and a hammer and smacked the bracket off of the relay. The bracket is still going to be used.
How to Replace the PGM-FI Relay
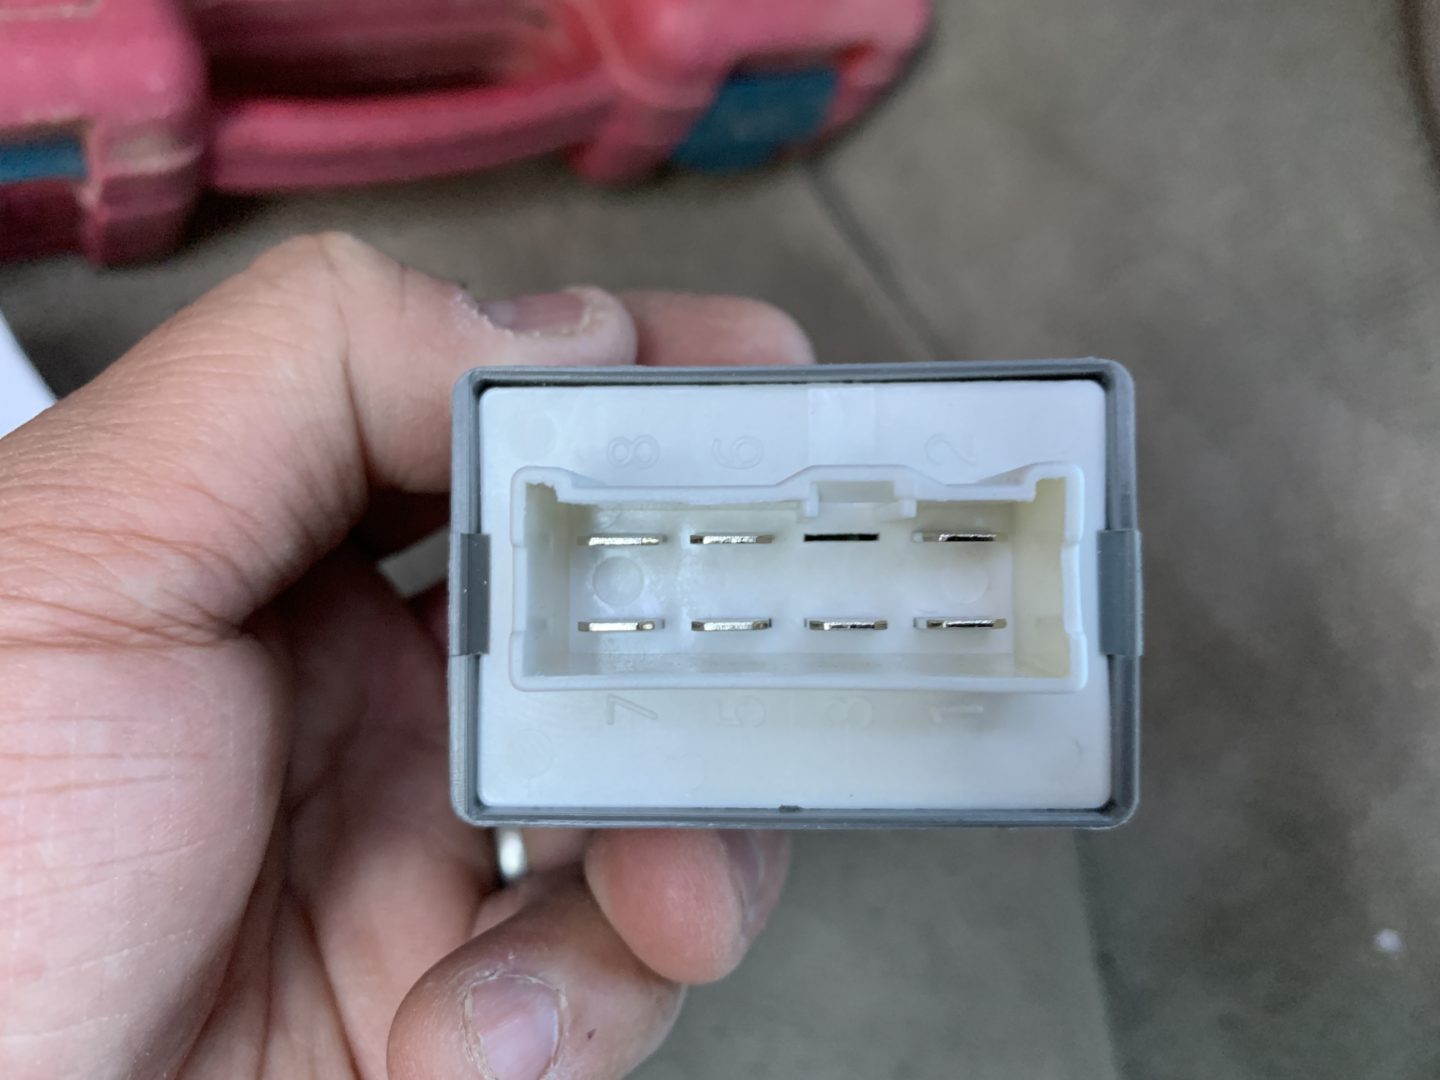
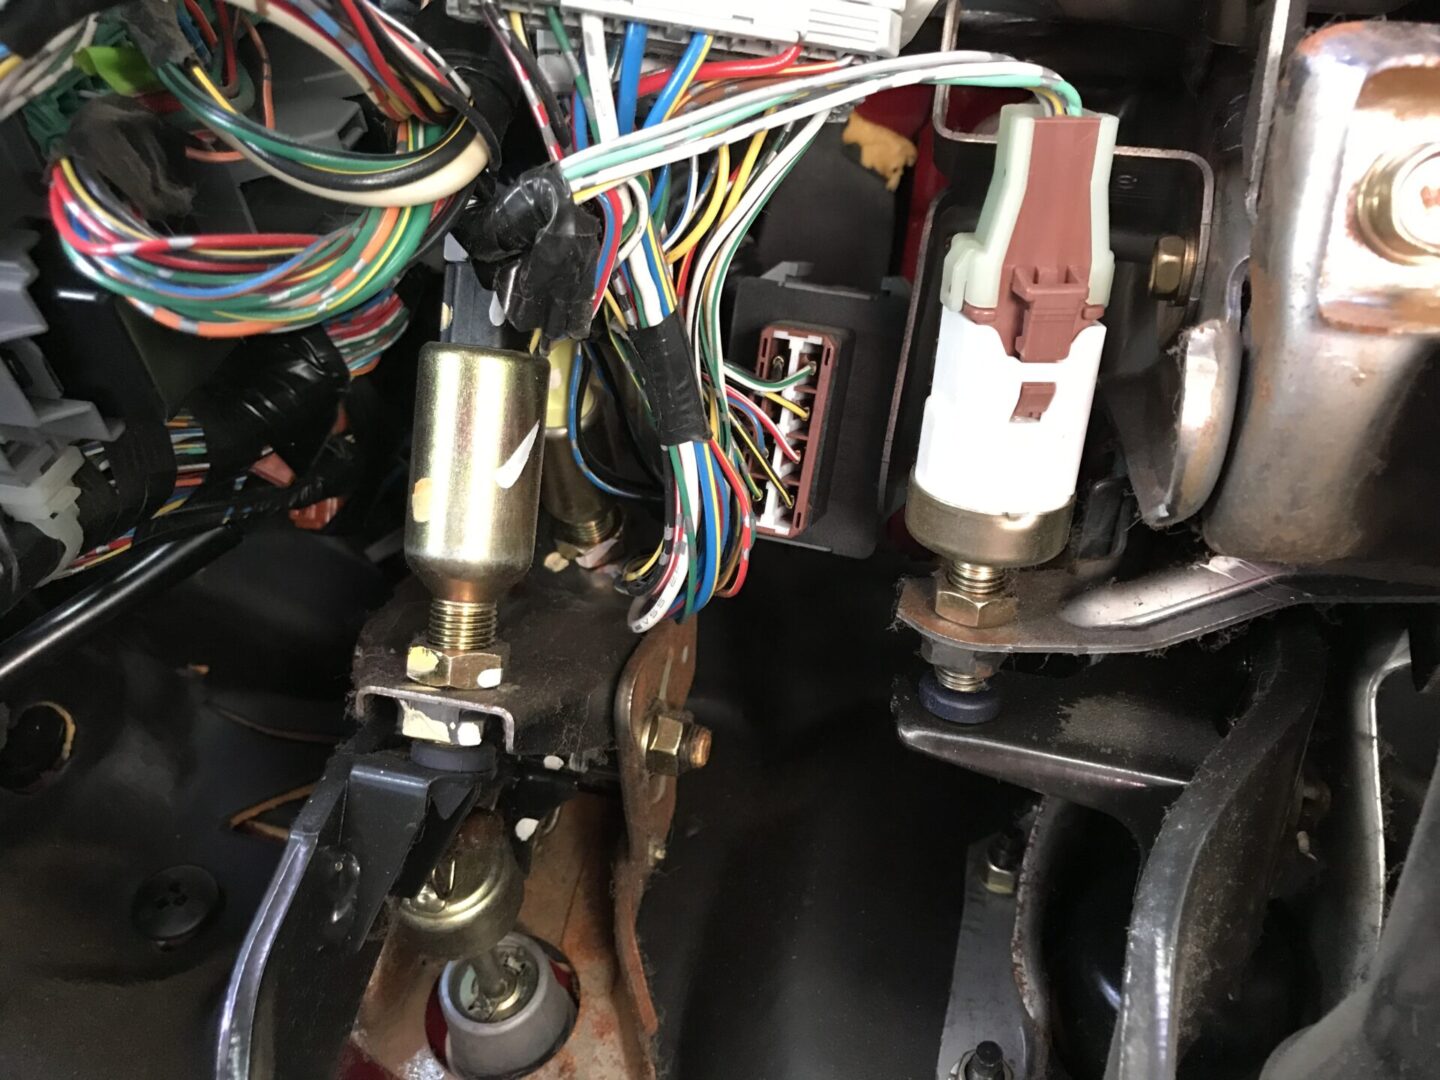
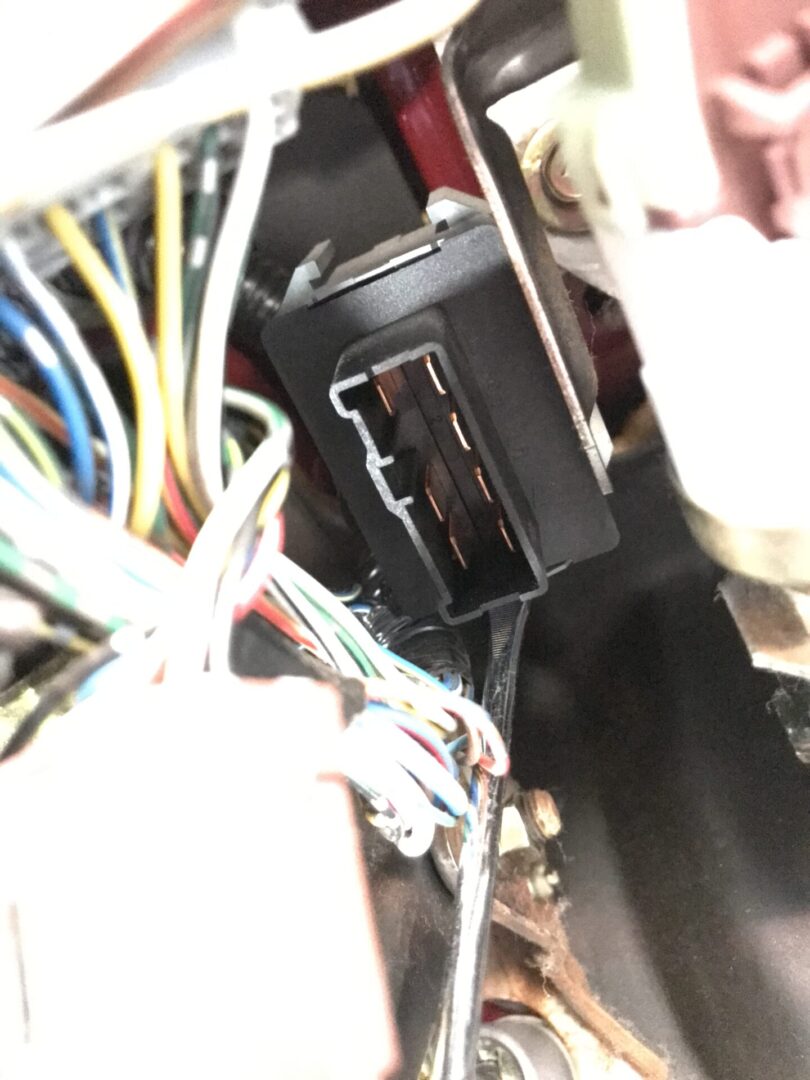
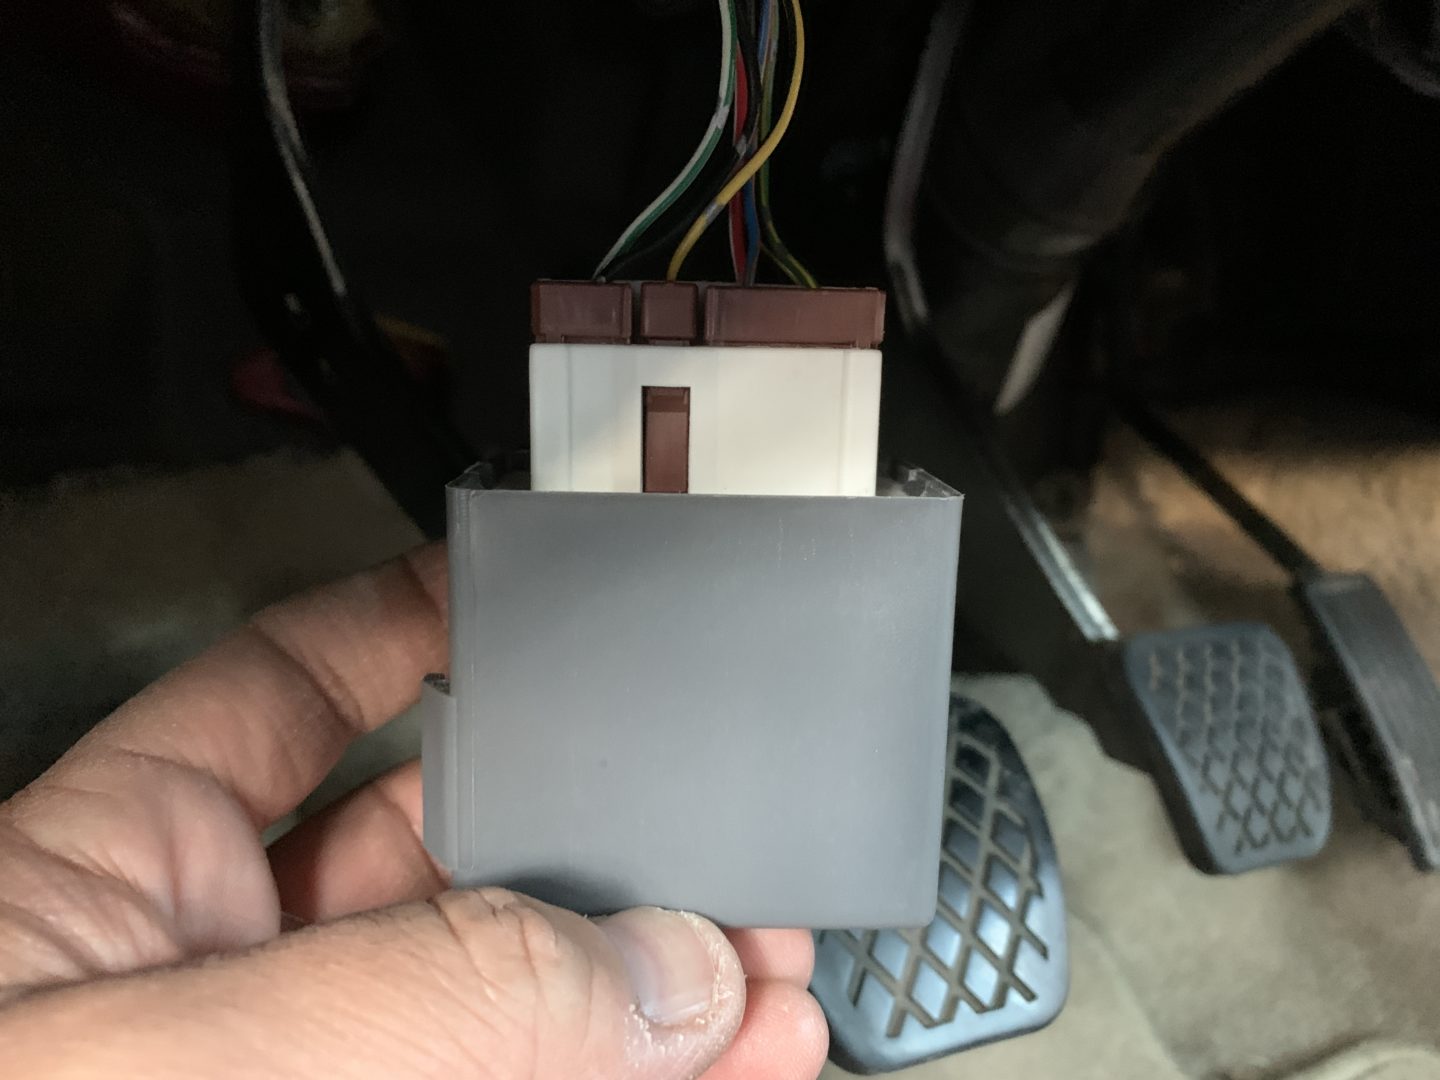
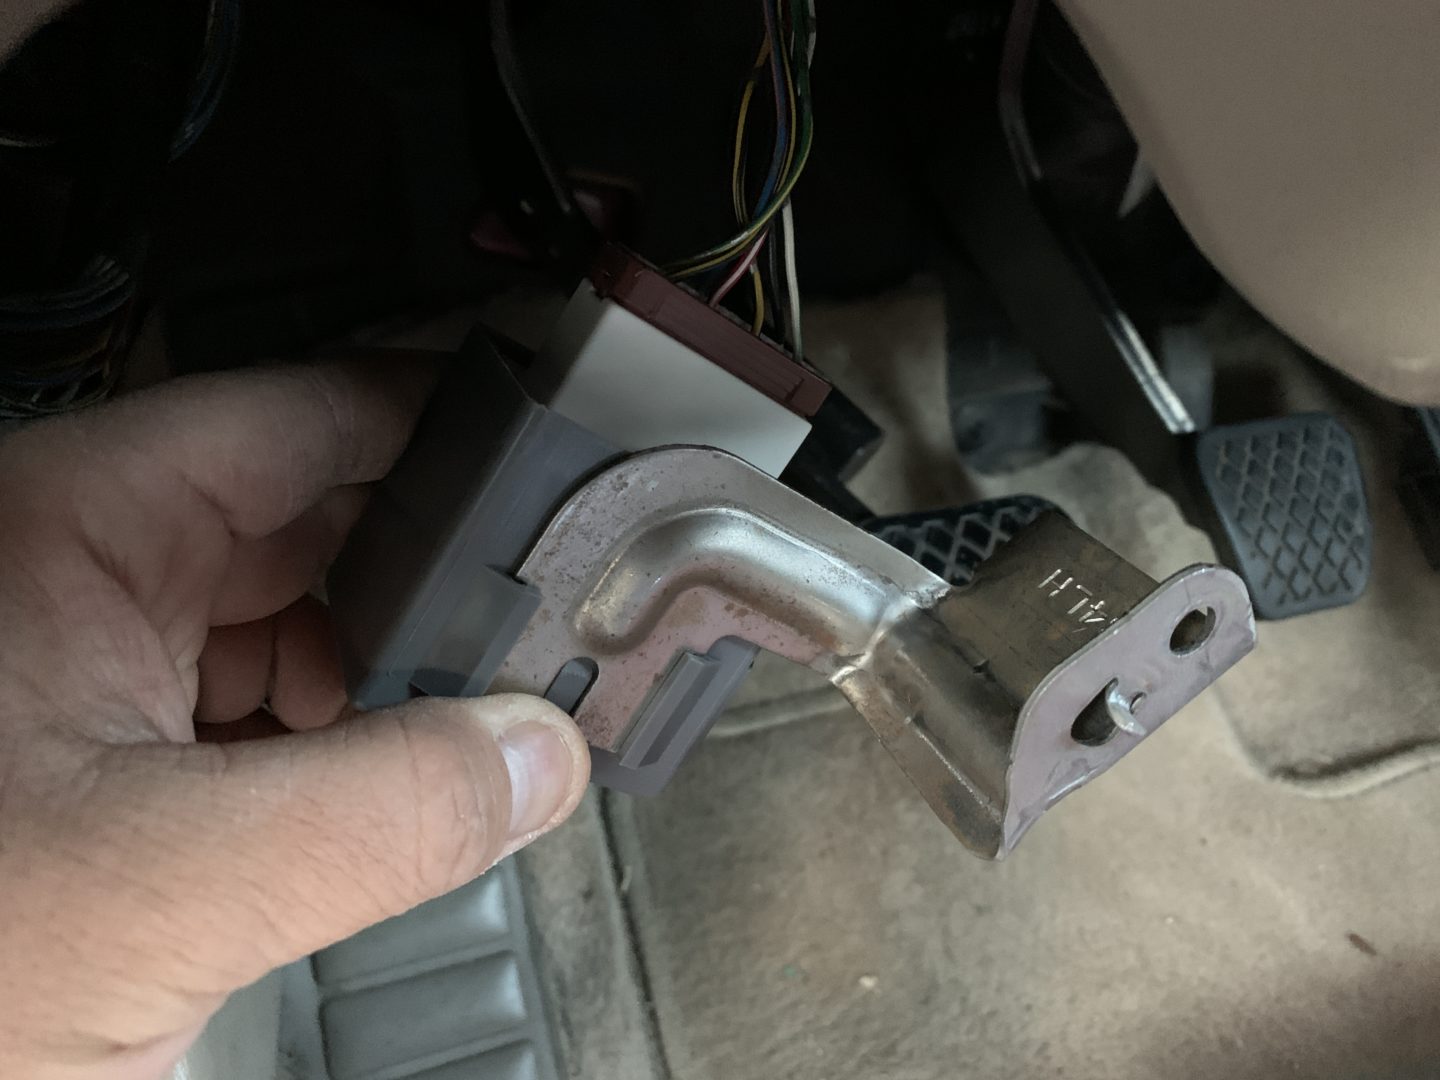
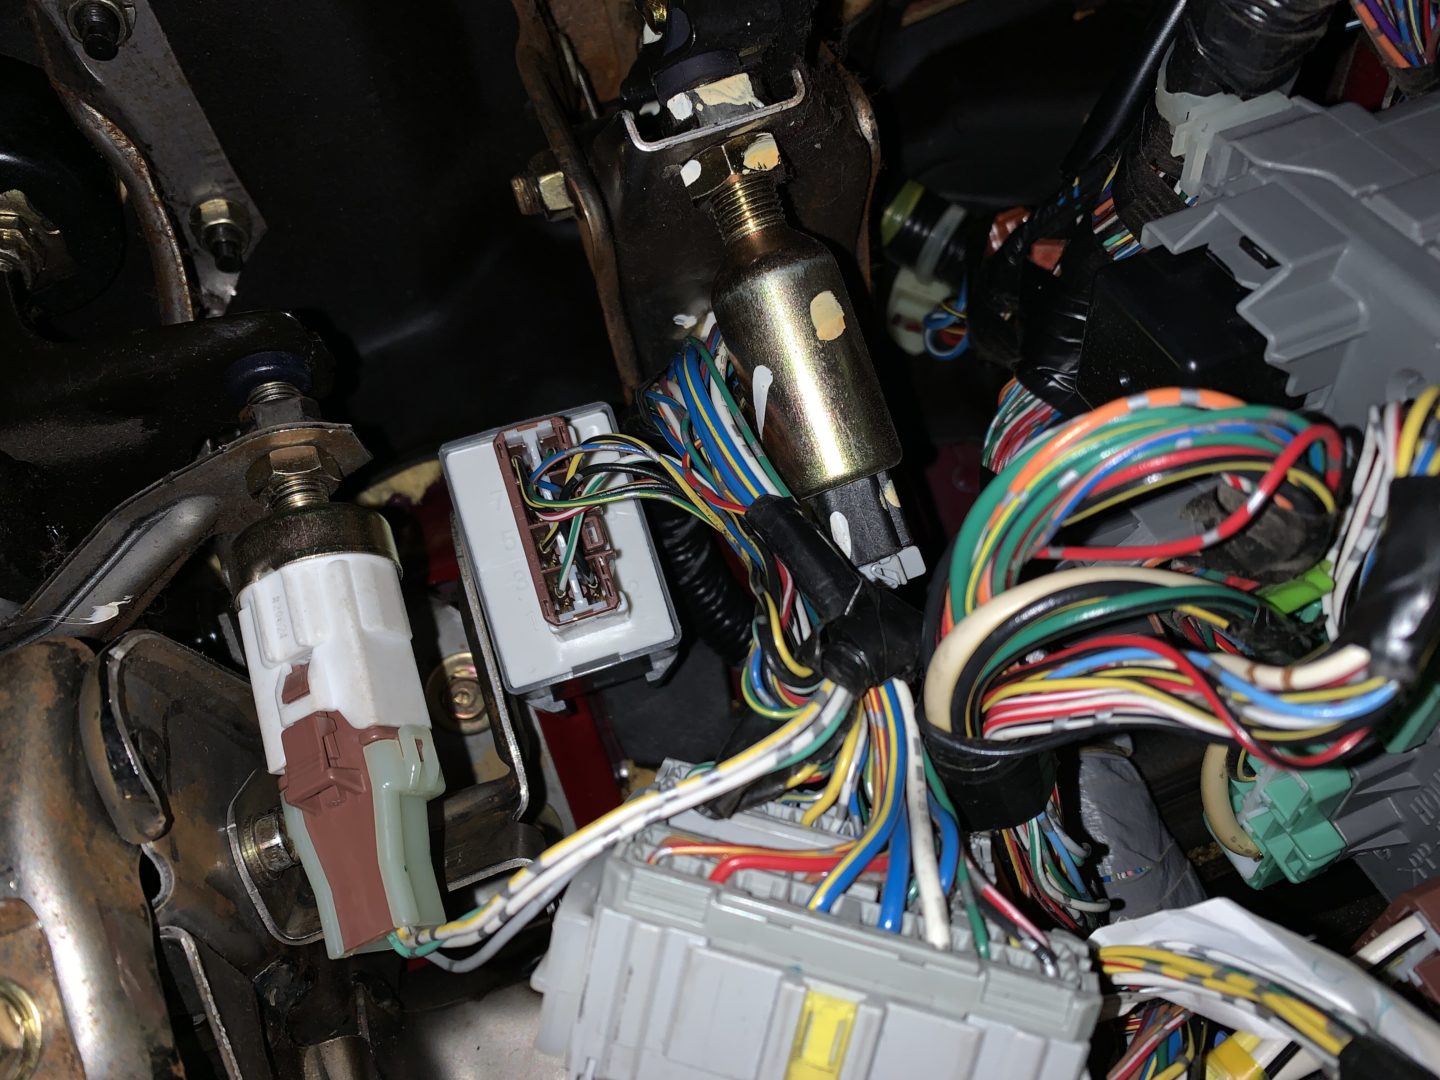
Start by moving the driver’s side seat all the way back. Lay down looking up into the driver’s side footwell and you should be able to replace the relay here. Unplug the PGM-FI relay connector first. Then use a 10mm socket to remove the bolt holding the bracket and PGM-FI relay (black colored box with 7 pins) in place.

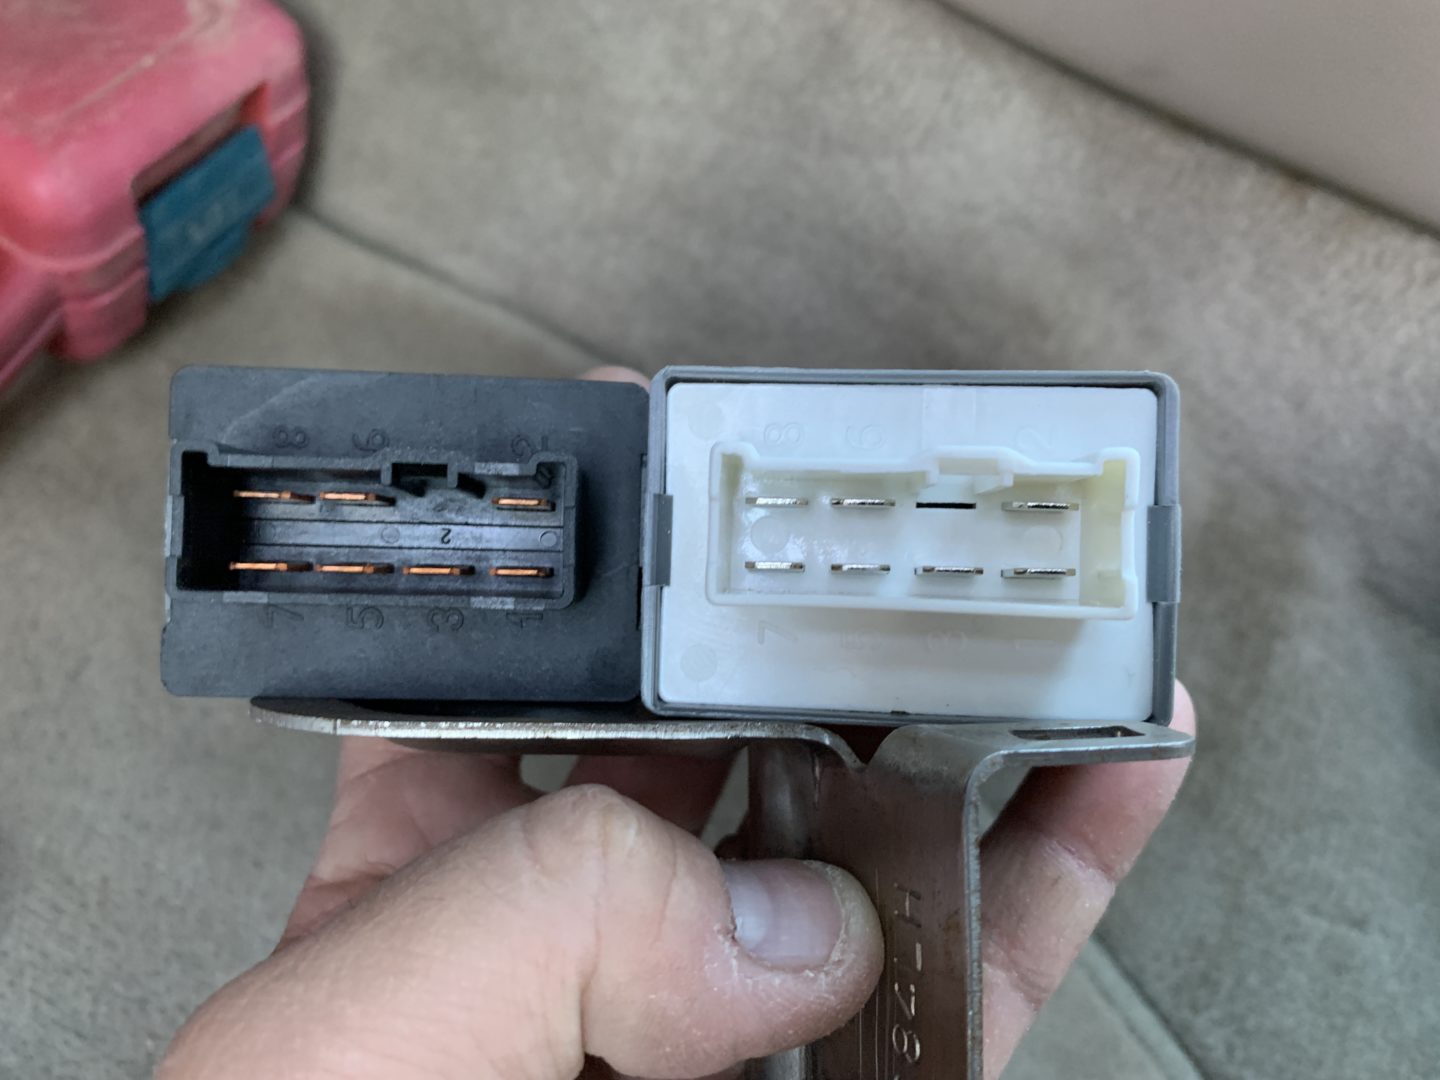
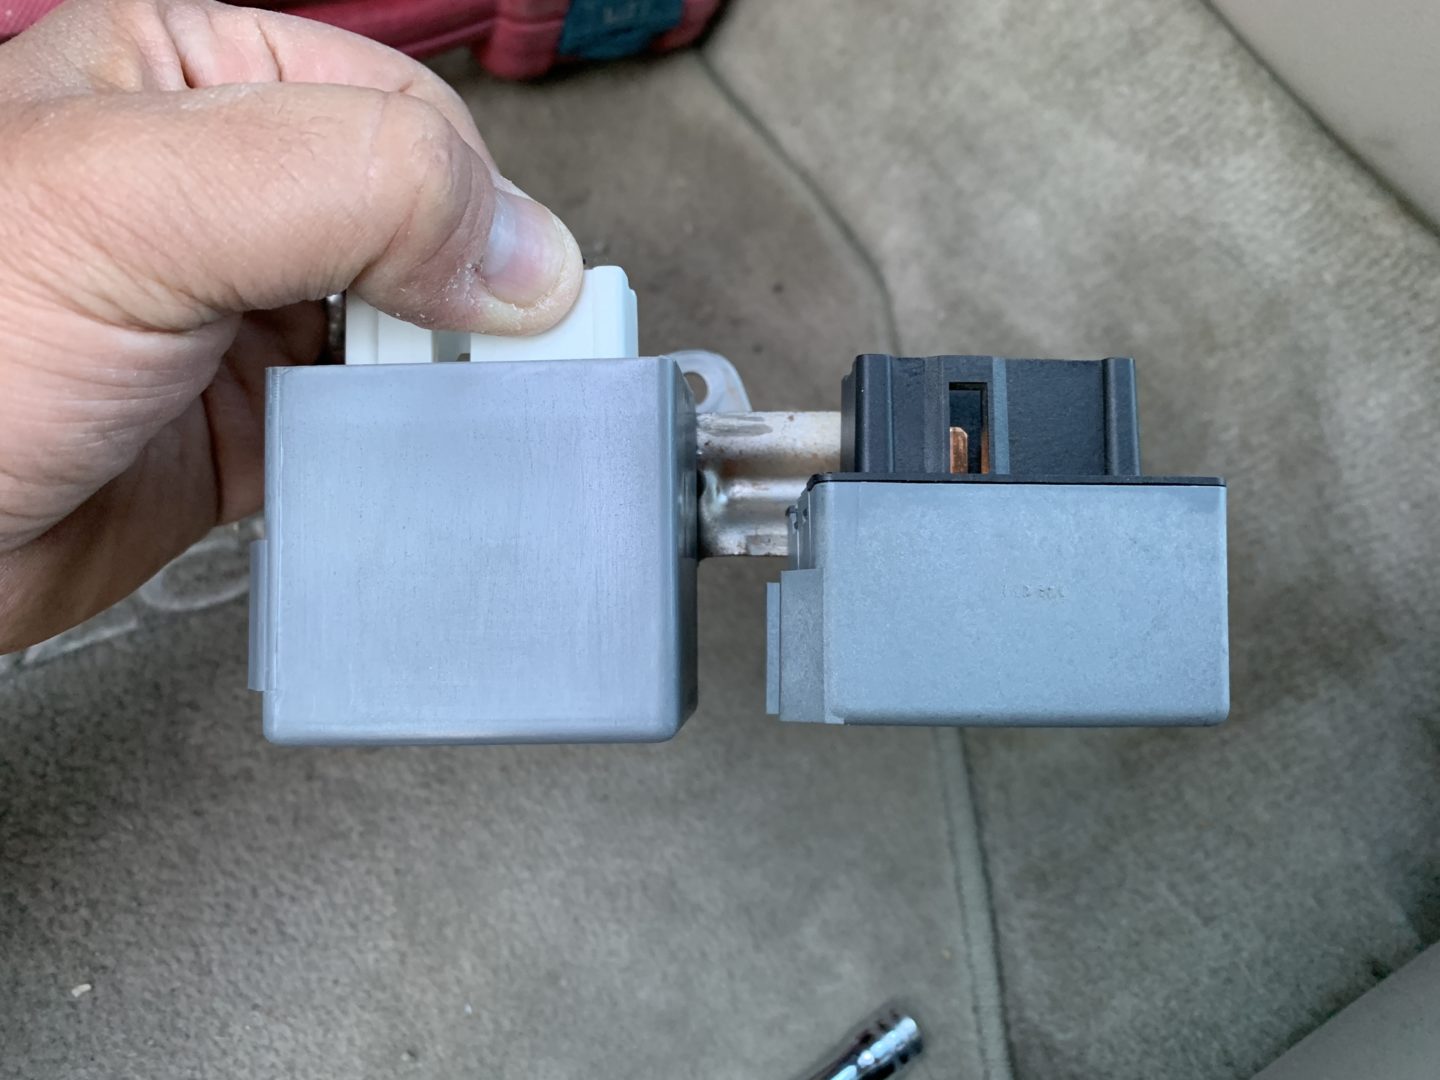
If you bought the PGM-FI relay replacement that I linked to above (which is the one I purchased to replace mine with) you’ll notice right off the bat that the part looks way too big. I thought that the relay I bought was the wrong one when I first opening the package. But, if you put it side-by-side next to the original, you’ll see that although it is indeed larger, the pins and connections are the same. The new relay will even mount to the original mounting bracket the same way too.
I found it practically impossible to remove the old relay from the mounting bracket by hand or even with just a flat head screwdriver. So I had to do some persuasion with an engineer’s hammer and a chisel. You may have your own way to remove it, but basically you’ll need to remove the old relay from the bracket so you can mount the new one on. I held the relay with a vise grip, and then used a hammer and chisel to hit the bracket off of the relay.
For reinstallation, you can either mount the bracket first and then install the relay and connector, or you can plug the connector in first and then mount it after. I chose to plug in the relay first, then install the bracket, and then reinstall the 10mm bolt for the bracket to mount it back inside the footwell.
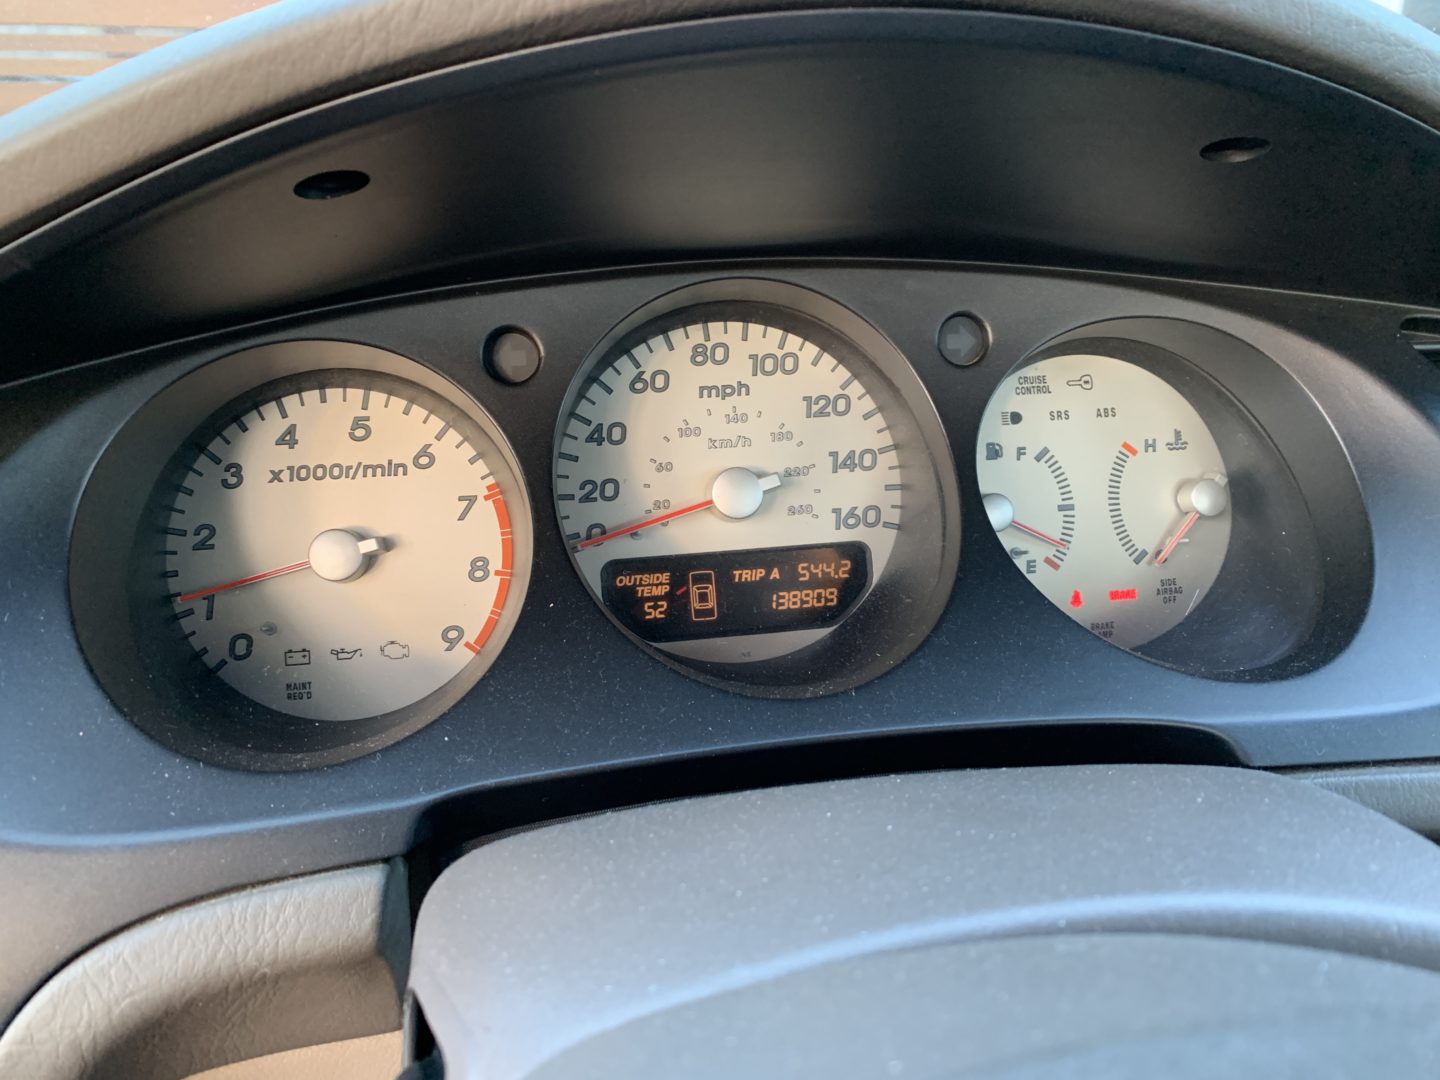
And voila! With the new PGM-FI relay, as soon as I turned my key to the ignition position, I could hear my fuel pump prime immediately. And with crank of the key, the CL-S starts right up— music to my ears! Ever since installing the new PGM-FI relay, I haven’t had any issues with a crank, no-start. So it seems that the old PGM-FI relay was the issue.
")
")
")
")
 Including Type-S")


