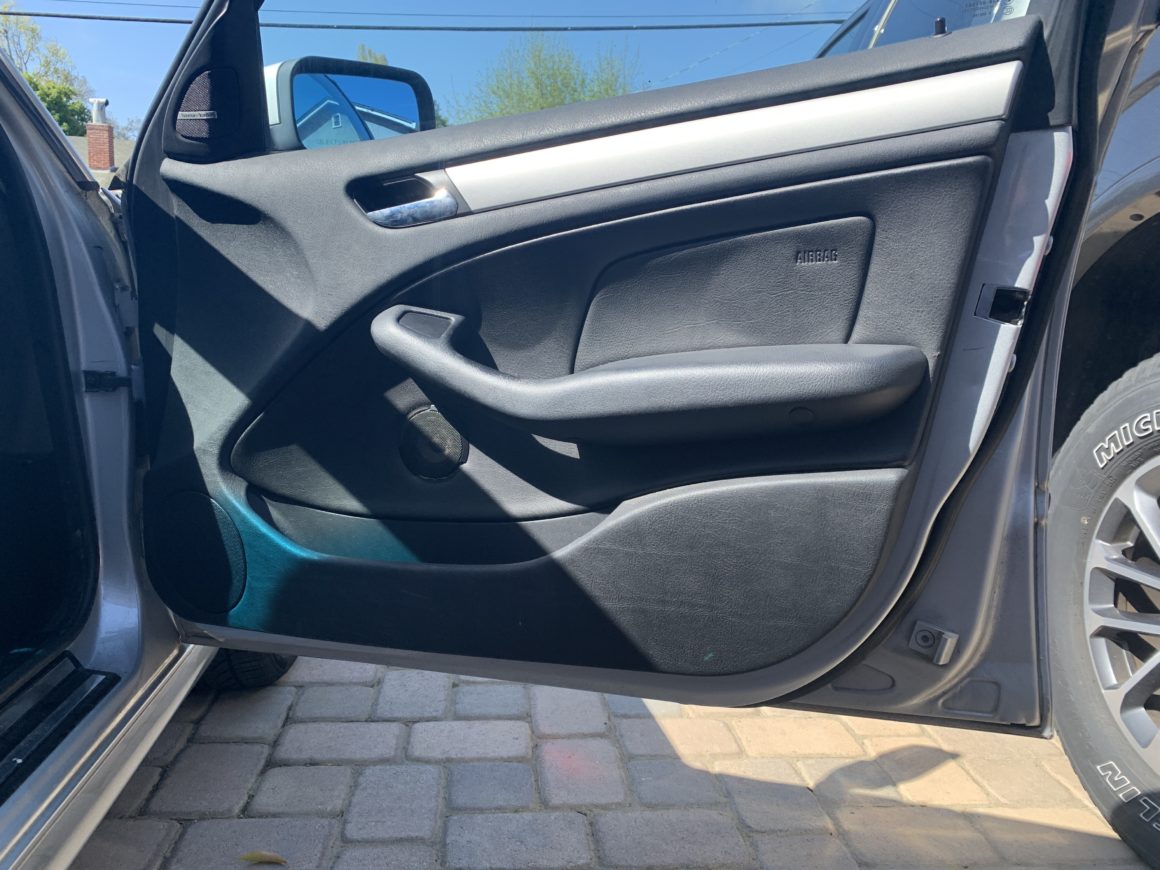
There will be times when you may be required to remove your door panel on your BMW E46. Some common reasons for doing so are to replace the speakers, change out the speaker trim, and to gain access to the tweeter and power mirrors. It’s not very difficult to remove the door panels of the E46, but it does help to know exactly what you need to do to separate the door panel from the door.
The sedan and coupes of BMW E46 may differ slightly, but I will be showing how to remove the door panel on the front door of this E46 sedan. Both body styles will have similar inside door panels with slight differences in their removal process.
In my opinion, the E46 interior door panels look really good because BMW did such a good job with hiding the fasteners. Looking at the door panel, it’s actually kind of difficult to tell where the fasteners are at. The downside to that is you need to really know where and how to remove each of these fasteners, otherwise you risk damaging your door panel during removal.
Tools Needed
To remove the door panel, you’ll need a screwdriver set and some interior trim tools. You will also need a Torx T-20 bit.
Amartisan 10-Piece Magnetic Screwdrivers Set
Tresalto Auto Trim Removal Tool Kit
Torx Bit Set with 1/4 inch Magnetic Bit Driver (T5-T40 Bits)
How to Remove the Door Panel on a BMW E46
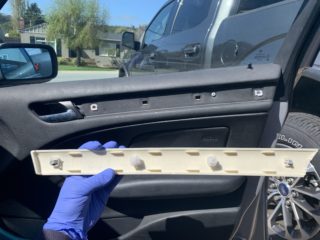
First, remove the long rigid plastic trim by using an interior trim tool and prying the trim piece off. Work it off from one side and move along the length of the trim piece until the whole piece is removed.
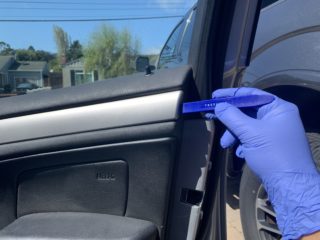
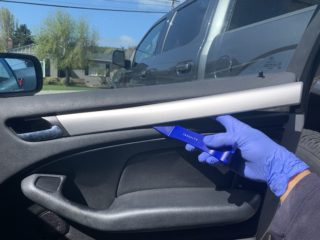
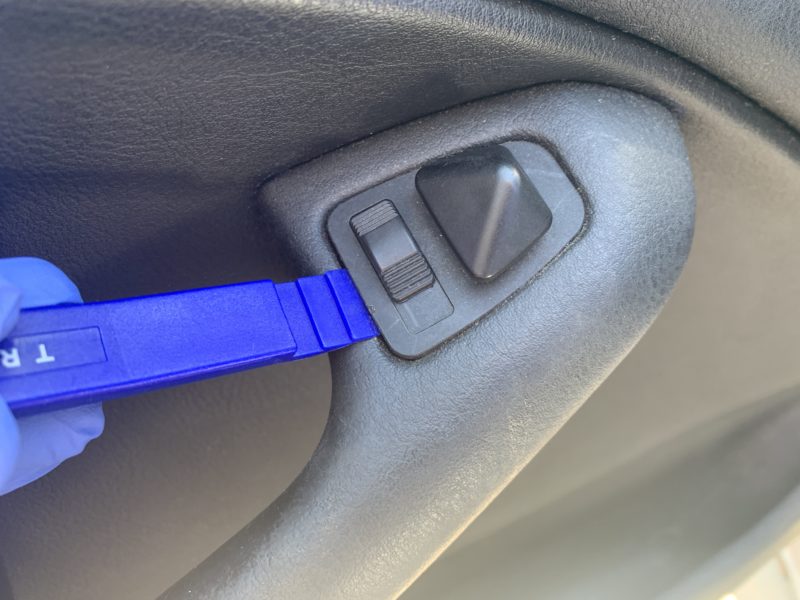
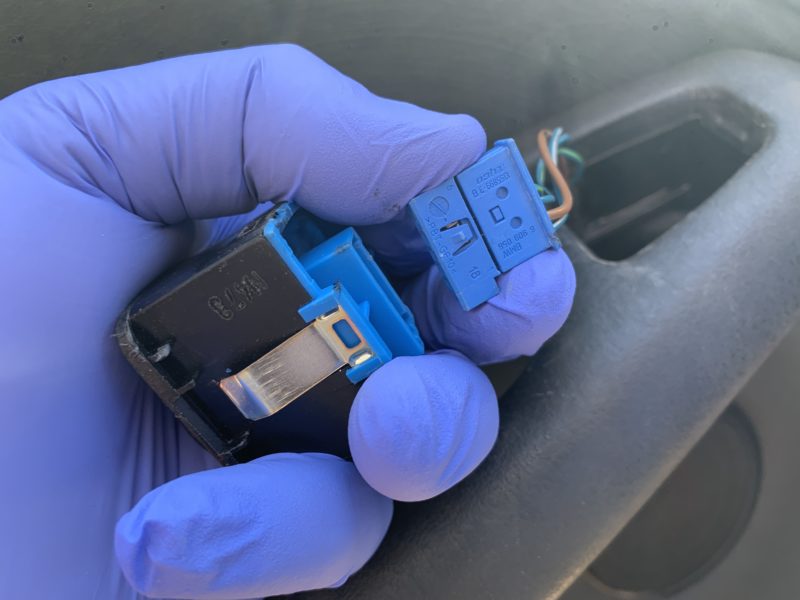
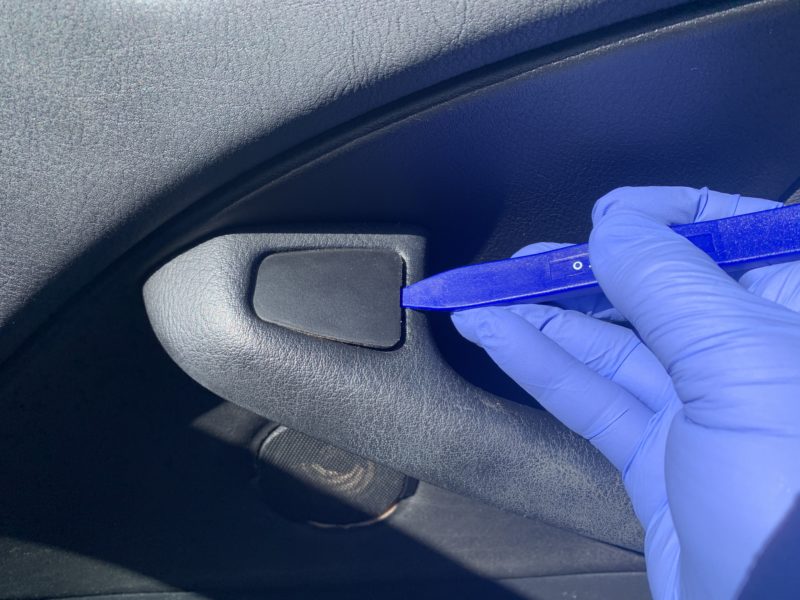
Next, pry off the trim for the power mirror switch (for driver side) or the blank trim for the passenger side. For the power mirror switch, you’ll need to disconnect the electrical connector behind it after prying the switch off.
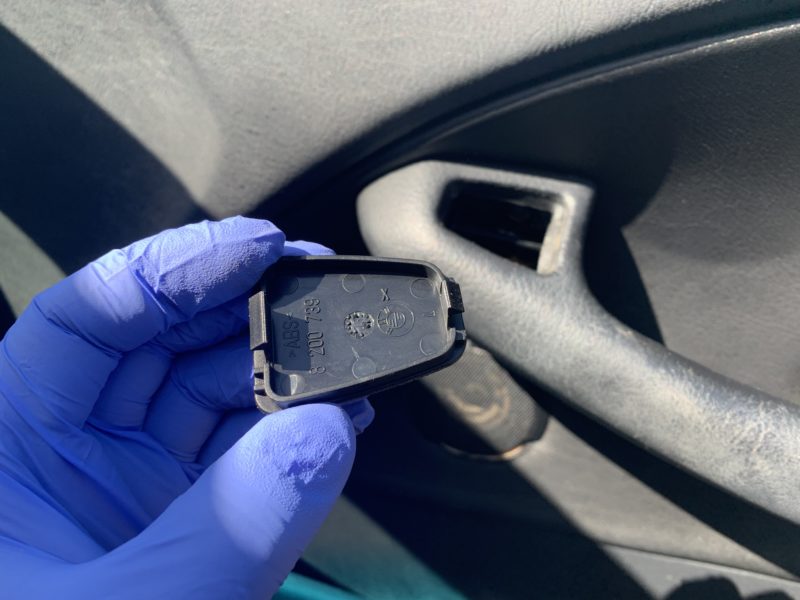
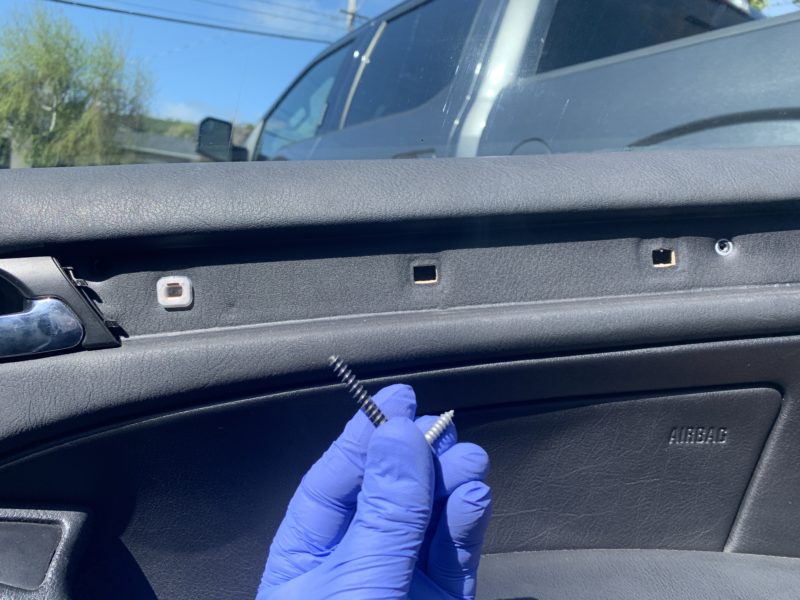
There are several Philips head screws that need to be removed behind the trim pieces that we’ve removed.
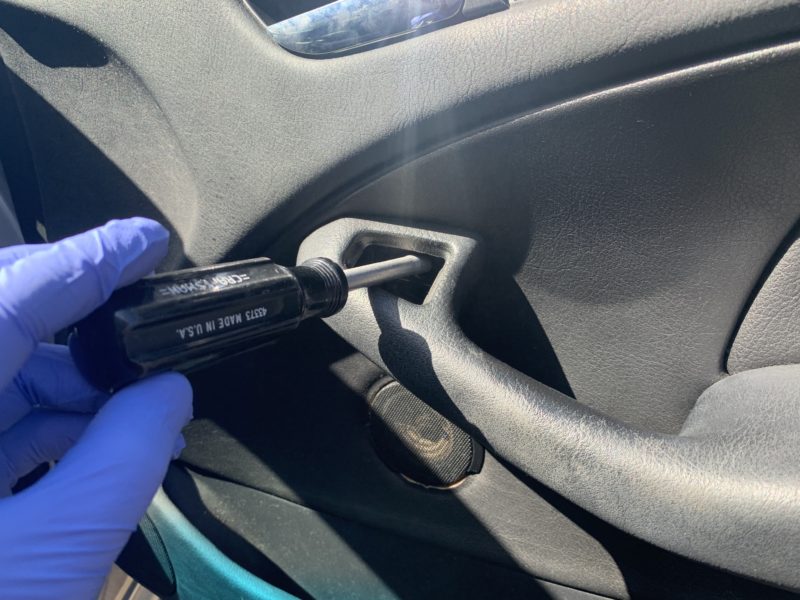
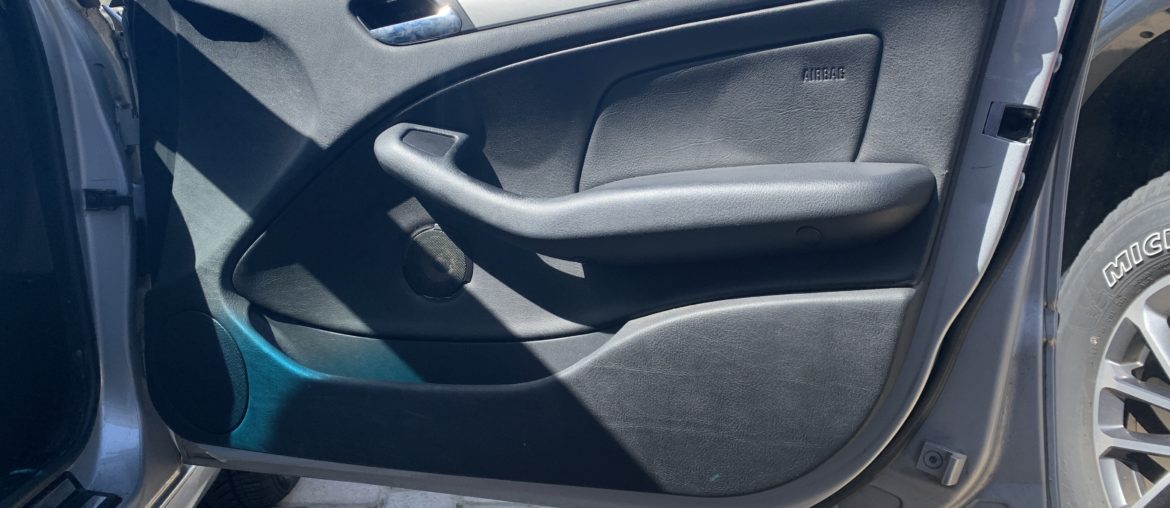
There are a couple of plastic caps on the armrest that need to be pried off with a plastic trim tool. Behind these caps are Torx T-20 screws that will need to be removed. It’s best to use a Torx screwdriver with a Torx bit attached to it, rather than using a socket type. Torx sockets (the ones that connect to a ratcheting wrench) are too big to fit inside of these holes.
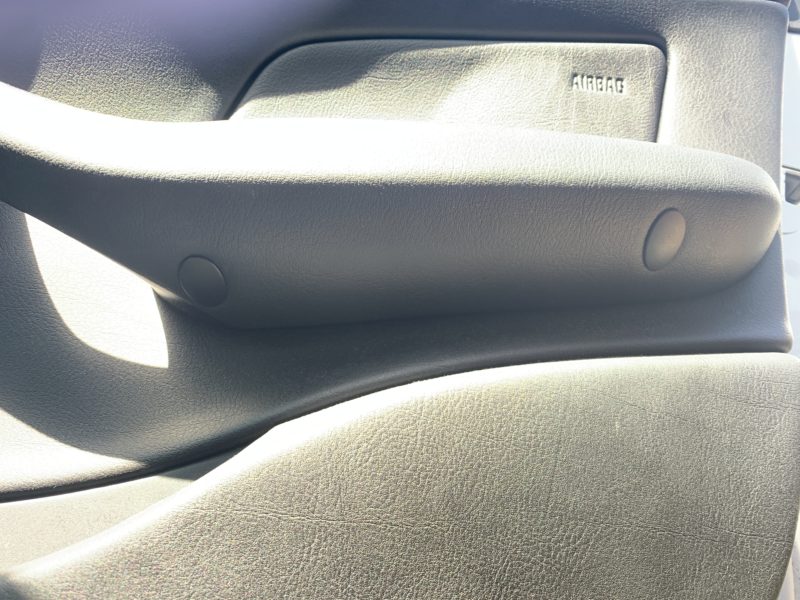
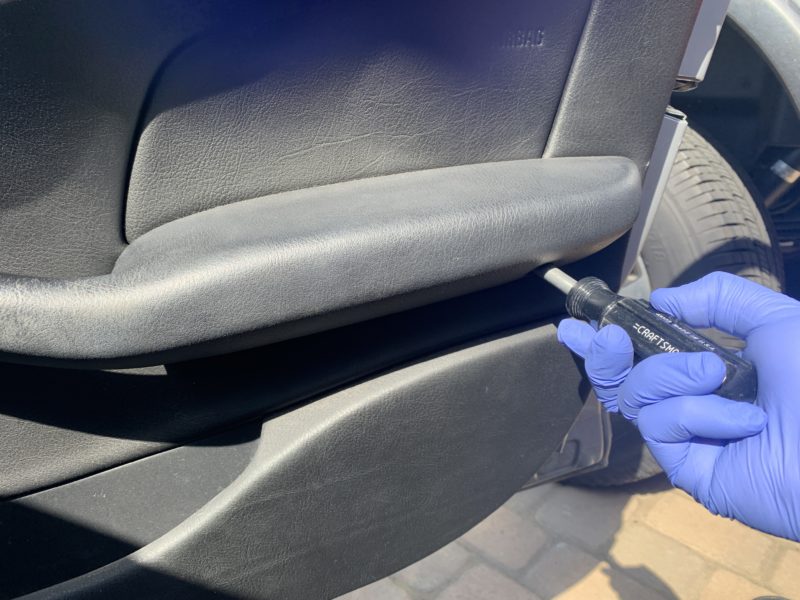
With the two Torx screws removed, the door panel should be able to be freed from the door. Use a larger trim tool and pry off the bottom edge of the door panel, then using your hands, start prying off the door panel along the bottom and sides of the door. Then you can lift the entire door panel up and off of the door with both hands (the top of the door panel hooks onto the top lip of the door.)
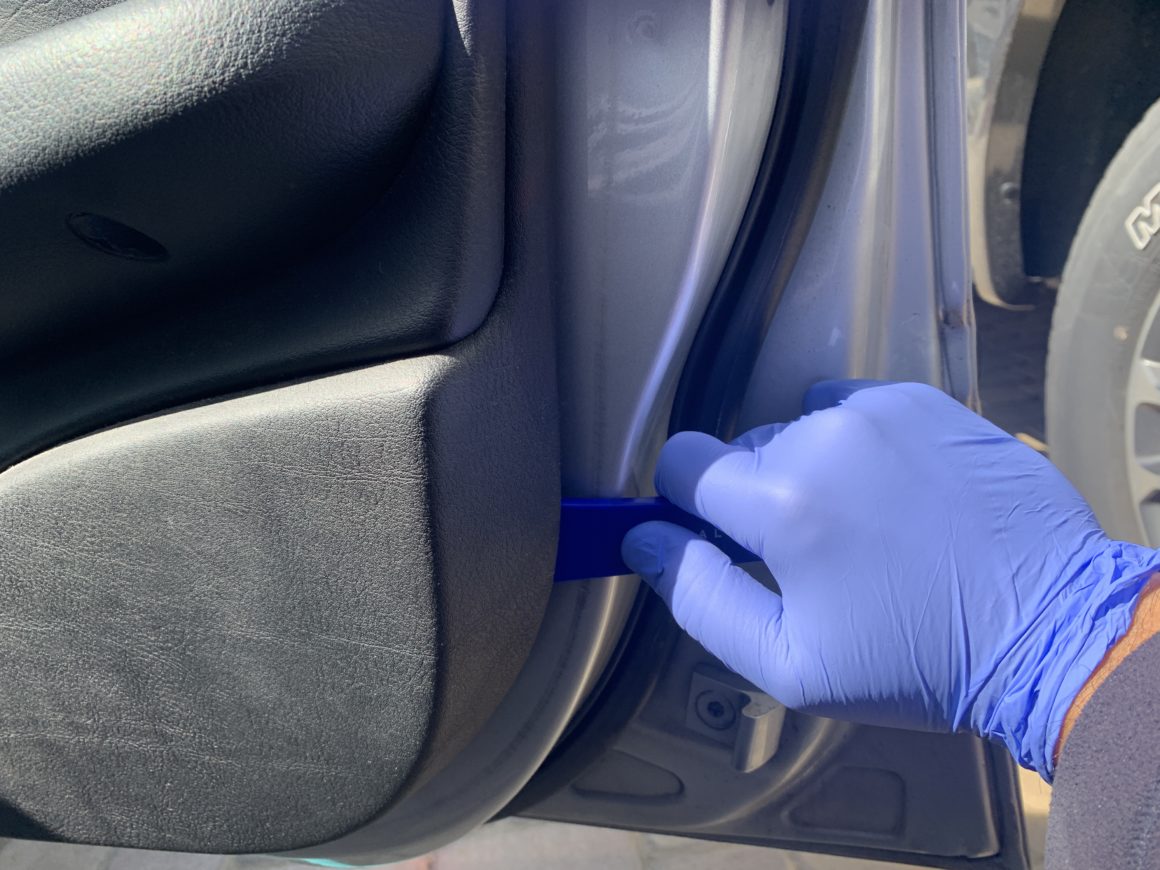
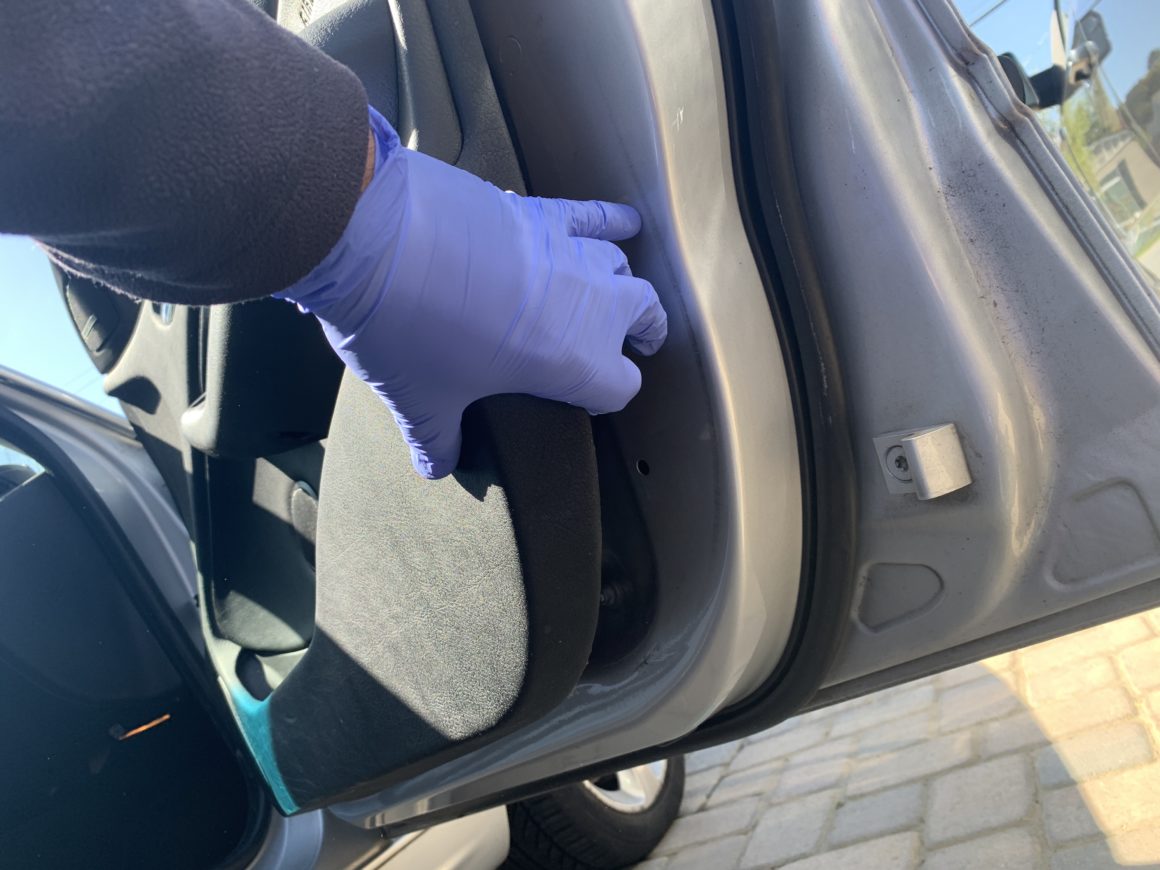
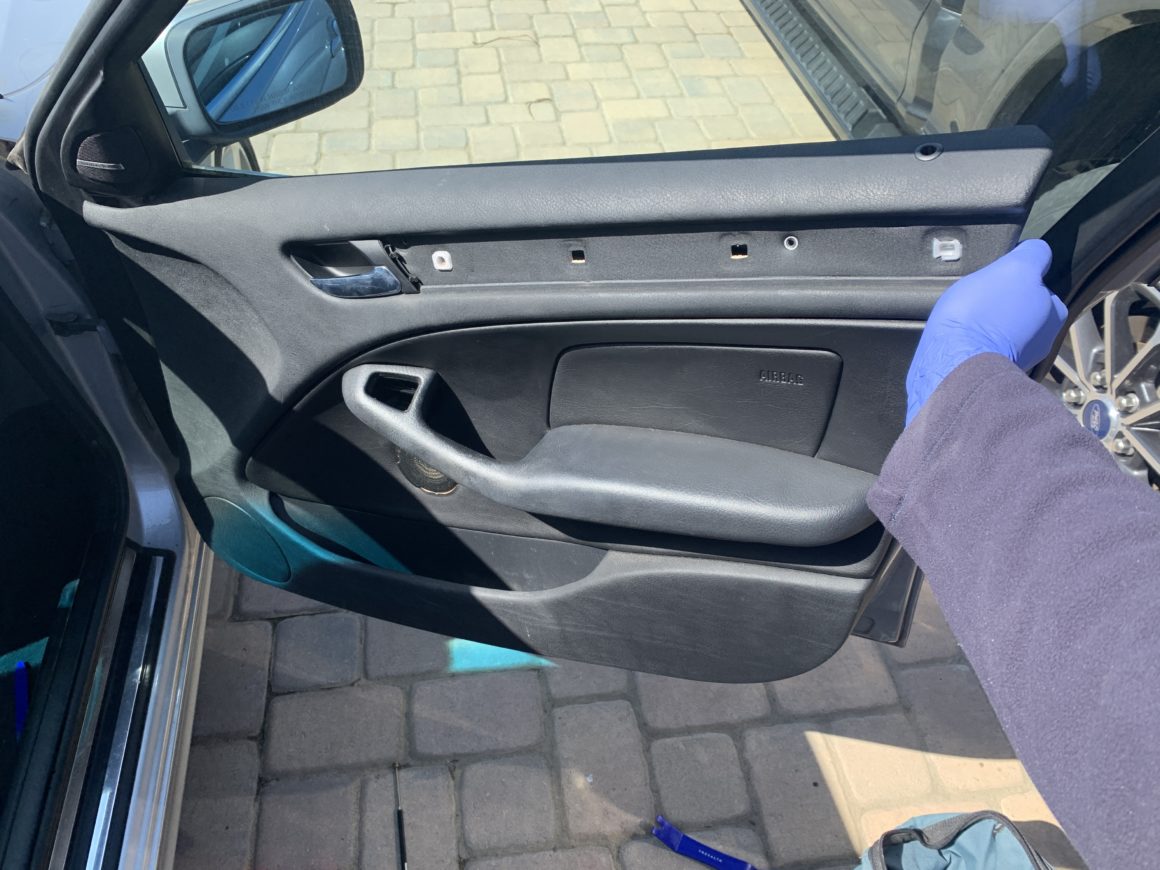
Now, the door panel is separated from the door, but there are still some things that you need to disconnect in order to completely separate the door panel from the door. You must pull this white plastic door release off from the door panel. You must also disconnect the connector to the speaker.
There is also some wiring that is taped to a flat plastic piece that is secured to the door panel. Rather than trying to separate the pin of this plastic piece from the door (which is difficult to do), I recommend just using a utility knife and carefully cutting the tape to separate the wiring from the flat plastic piece. You can then tape it back up later with electrical tape.
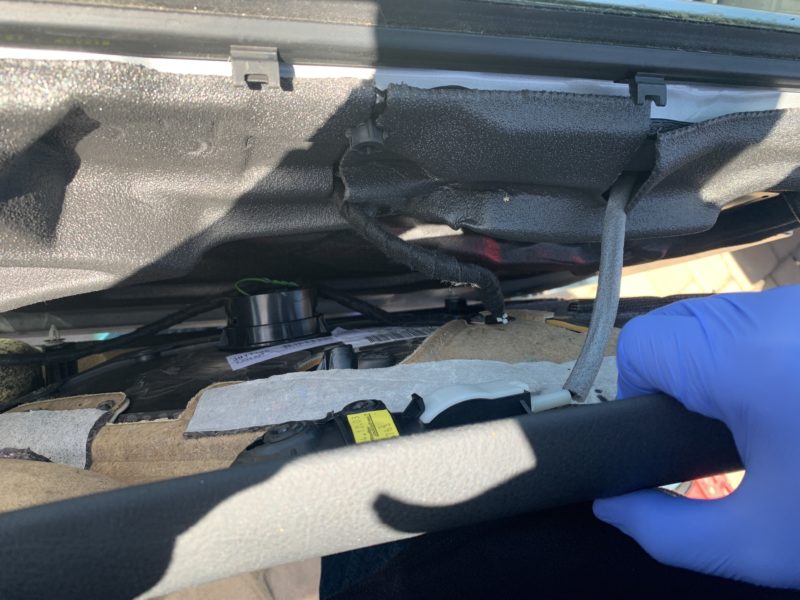
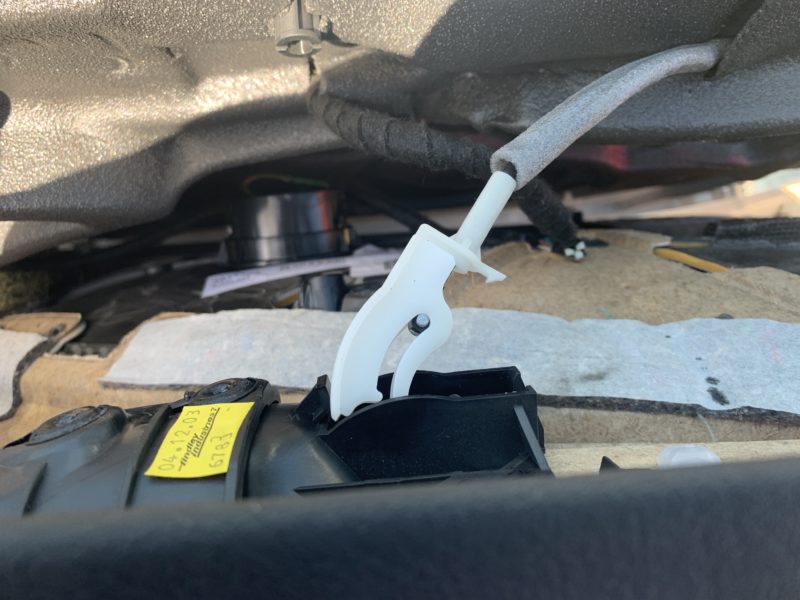
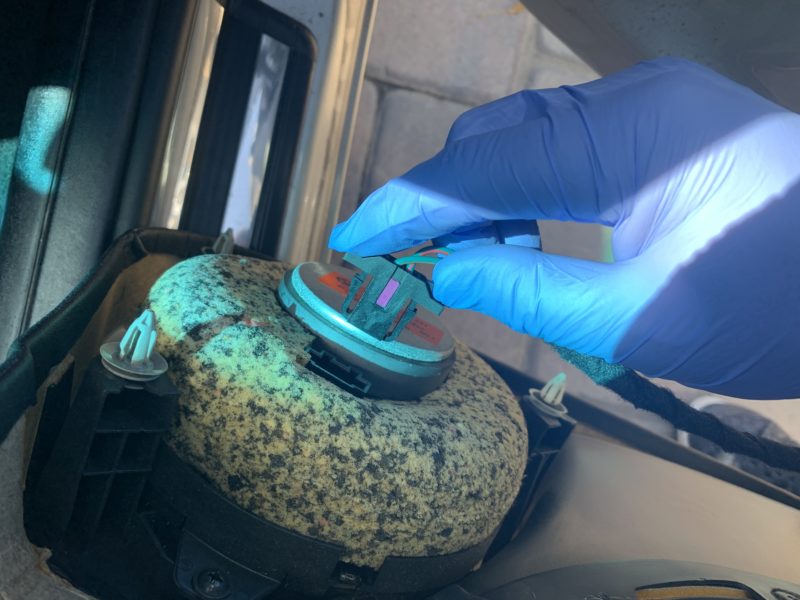
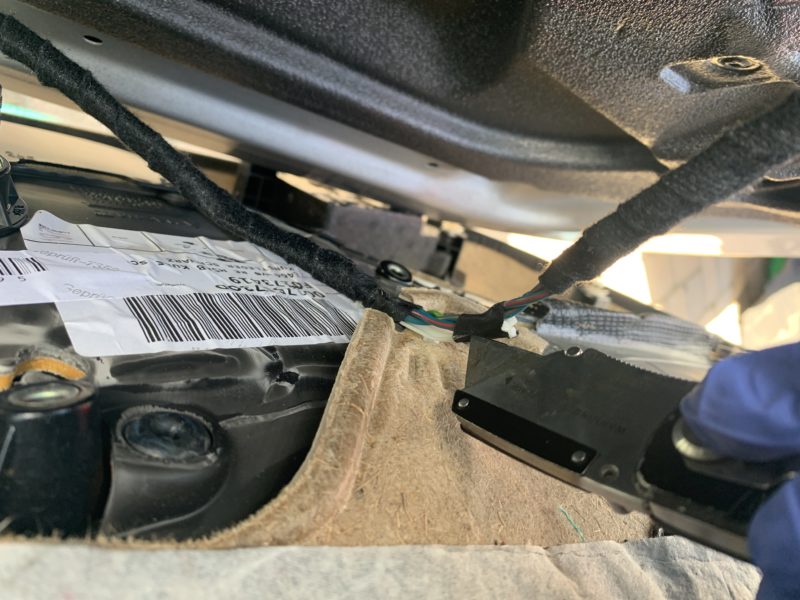
With those steps completed, the door panel should be freed from the door. To reinstall the door panel, you would hold the door panel up to the door, reconnect everything you disconnected before, hook the top portion onto the door first (ensuring it is seated properly) and then carefully push the door panel in various spots where the pins need to press into the holes of the door.
If you have missing pins, you can replacement ones here. If you have broken or missing door pins, the door panel will not be held to the to the door securely. Finally, reinstall all of the hardware you removed earlier and then the trim to complete reinstallation of the door panel.

