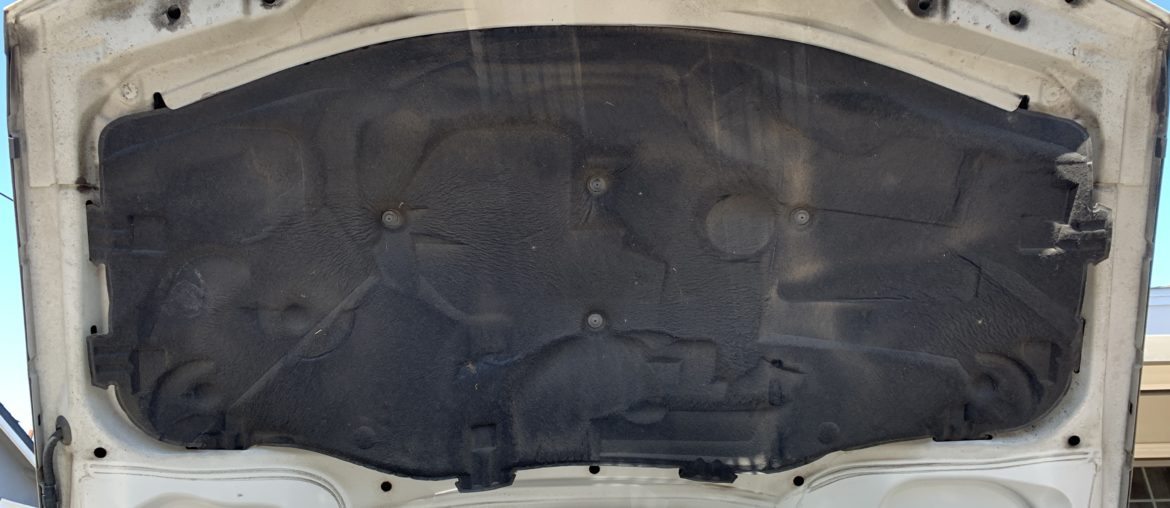
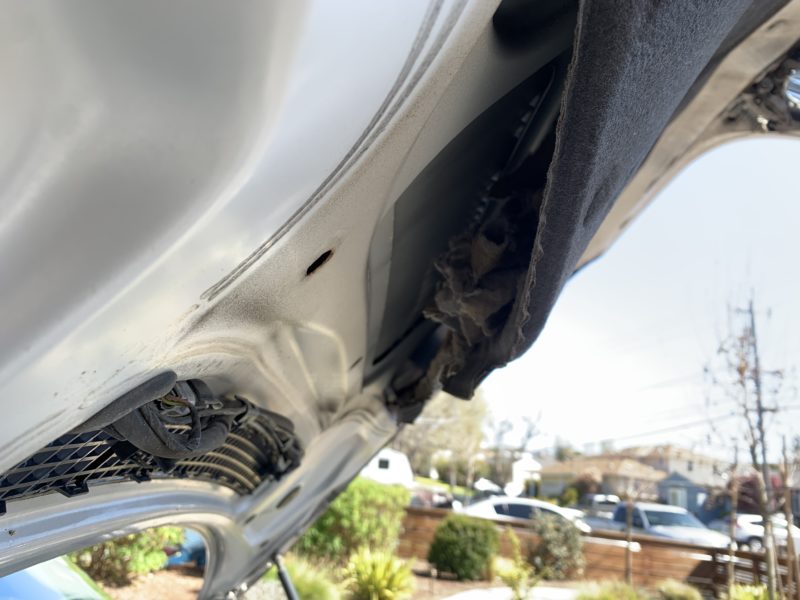
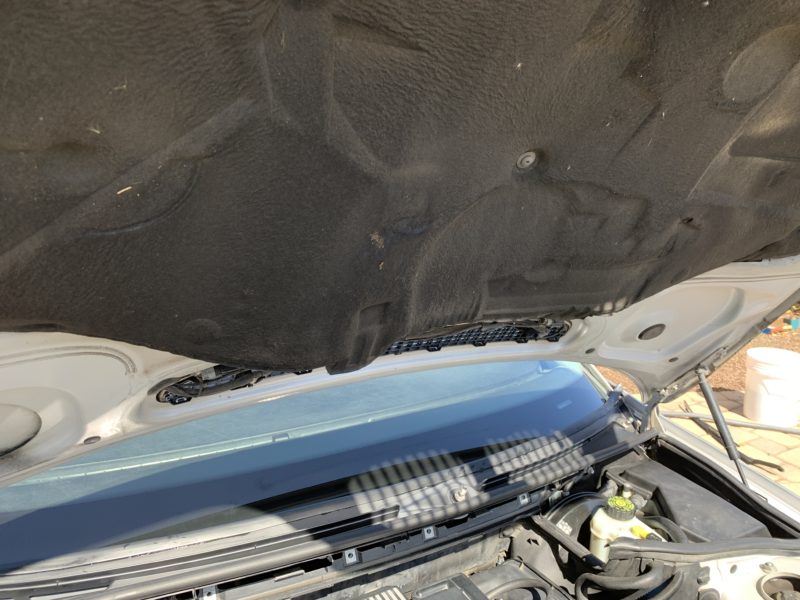
One of the things that bothered me aesthetically on my BMW E46 was that the insulation that was breaking apart under the hood. Whenever I’d prop open the hood, the ugly, damaged hood insulation pad would be starting me right in the face. Due to many years of heat exposure from the engine bay, the insulation material becomes brittle and as a result any contact with the insulation would cause it to crumble apart.
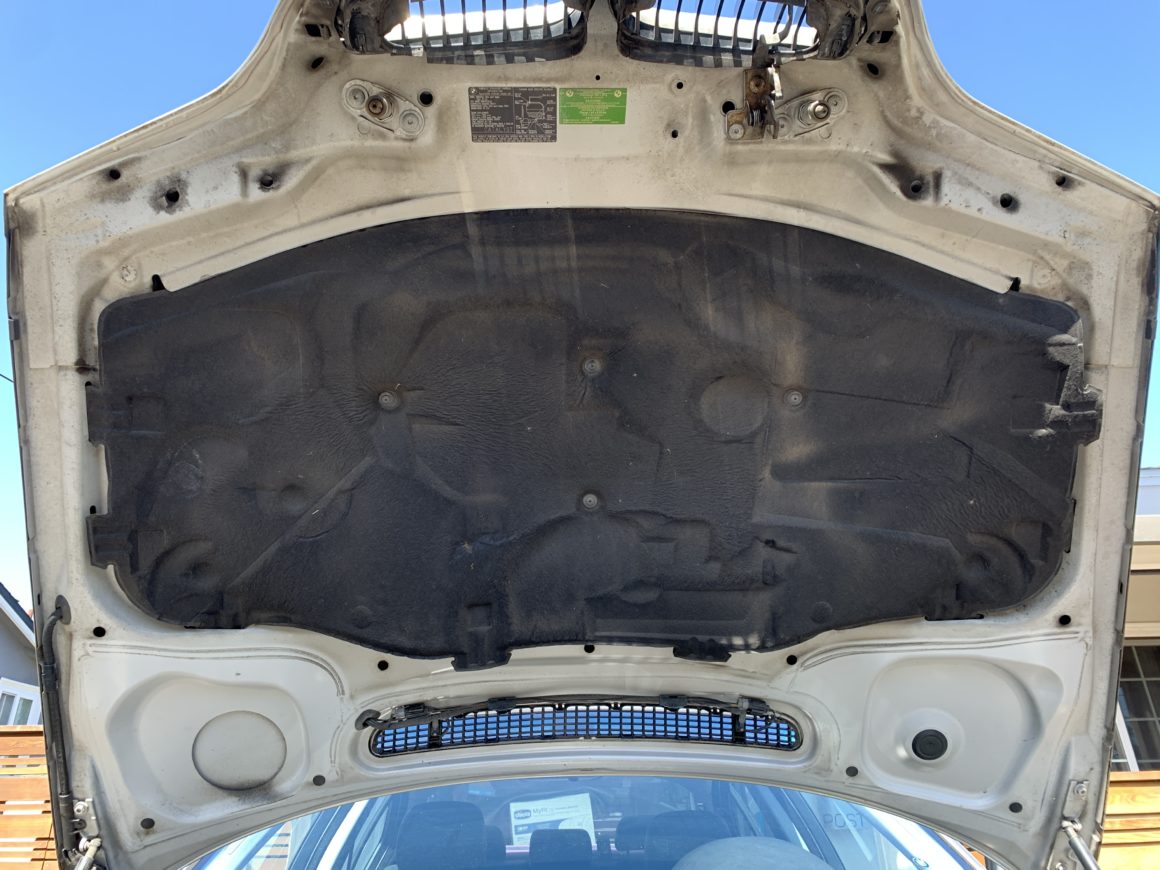
Generally, something like this doesn’t affect performance, but it does look bad when you have the hood open. Furthermore, a good insulation pad underneath the hood of the car provides some additional protection from future clear coat damage (e.g. crows feet or delamination of the clear.) Clear coat damage including development of crows feet can be caused from continuous cycles of the elevated heat coming from an insulated engine bay.
Tools & Materials
You only need a Phillips head screwdriver and a trim clip remover, along with the hood insulation pad itself. The hood insulation pad is held in with trim clips, which will require these tools.
The Hood Insulation Pad for the BMW E46
The hood insulation pad is one full piece that basically can be swapped out if your current one is damaged or missing. You can’t repair the insulation pad and as for replacement options, you pretty much have two options. You can either go with the Genuine BMW insulation pad or an aftermarket one. Personally, I didn’t find much difference in price between the two, so it made sense to choose a Genuine BMW one for replacement.
For reference, the BMW Part Number for the E46 hood insulation pad is: 51488193941. All BMW E46’s no matter if it is a sedan, coupe, or convertible will use this same part number for the hood.
You can find this part at major BMW parts sellers like ECS Tuning, Pelican Parts, or FCP Euro. Ebay may be worth looking at in case you can find someone selling one new for a discounted price.
BMW OEM Hood Insulation Pad (Part #51488193941): Ebay
Replacing the E46 Hood Insulation Pad
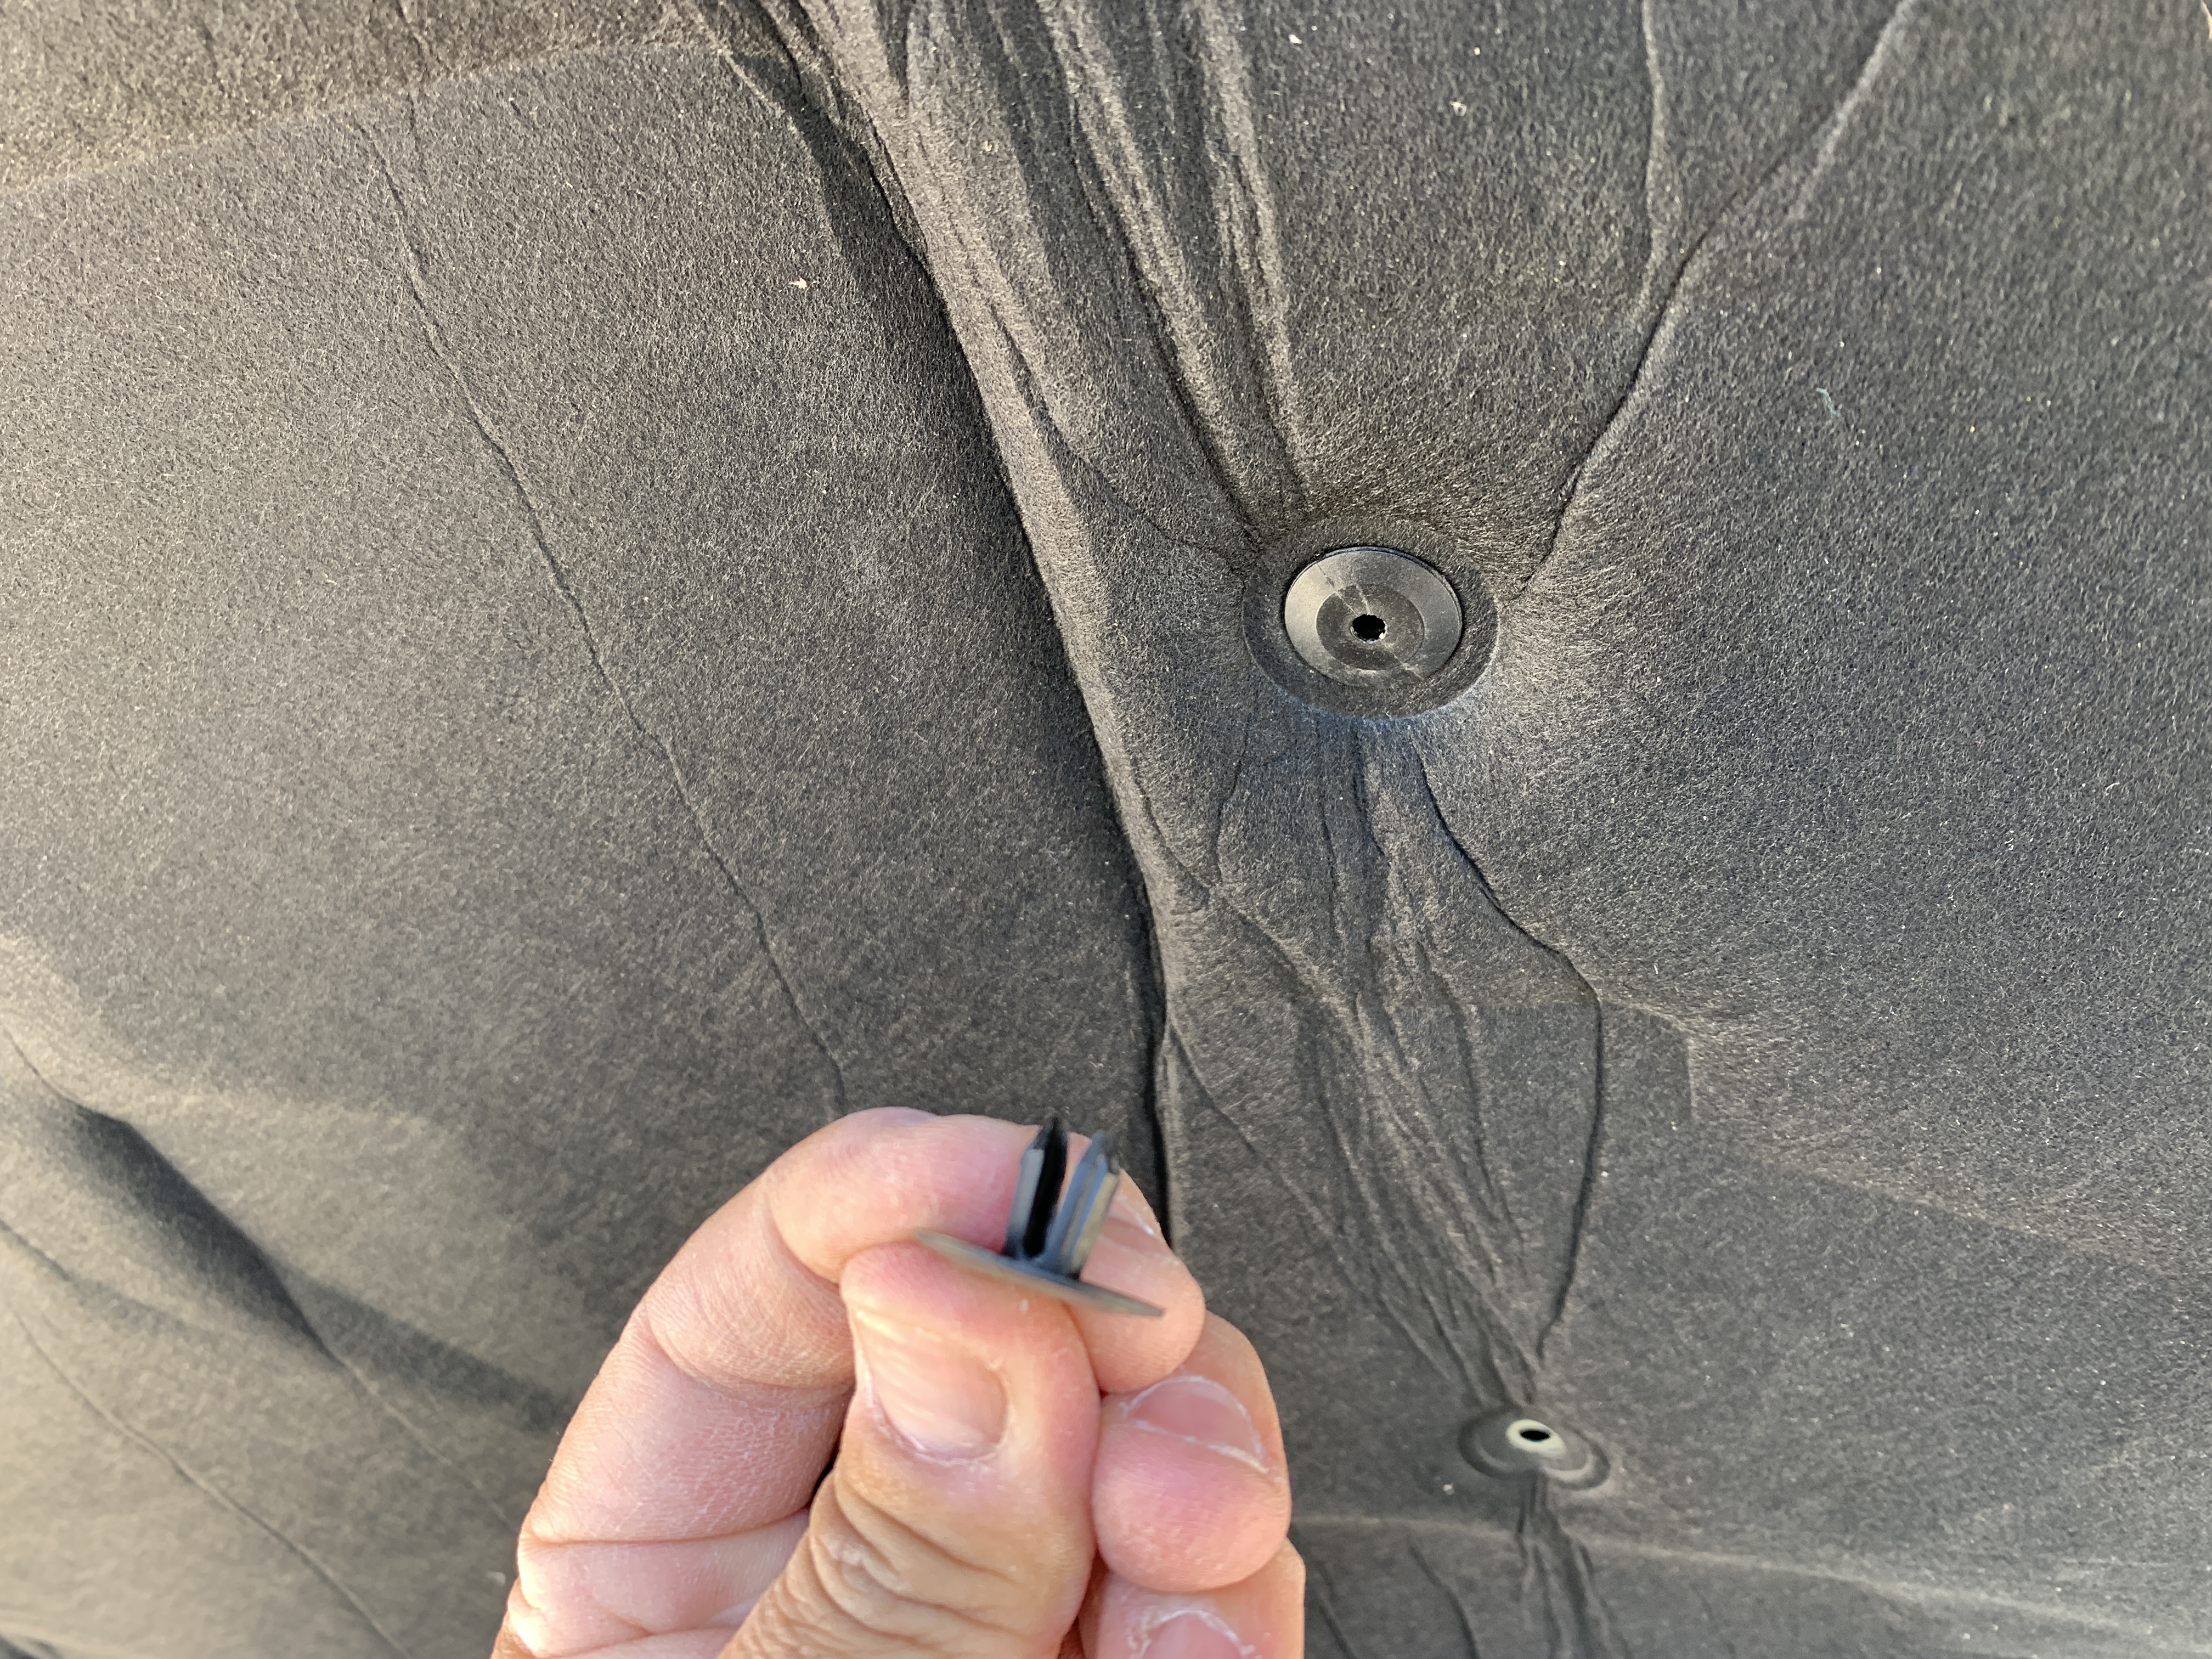
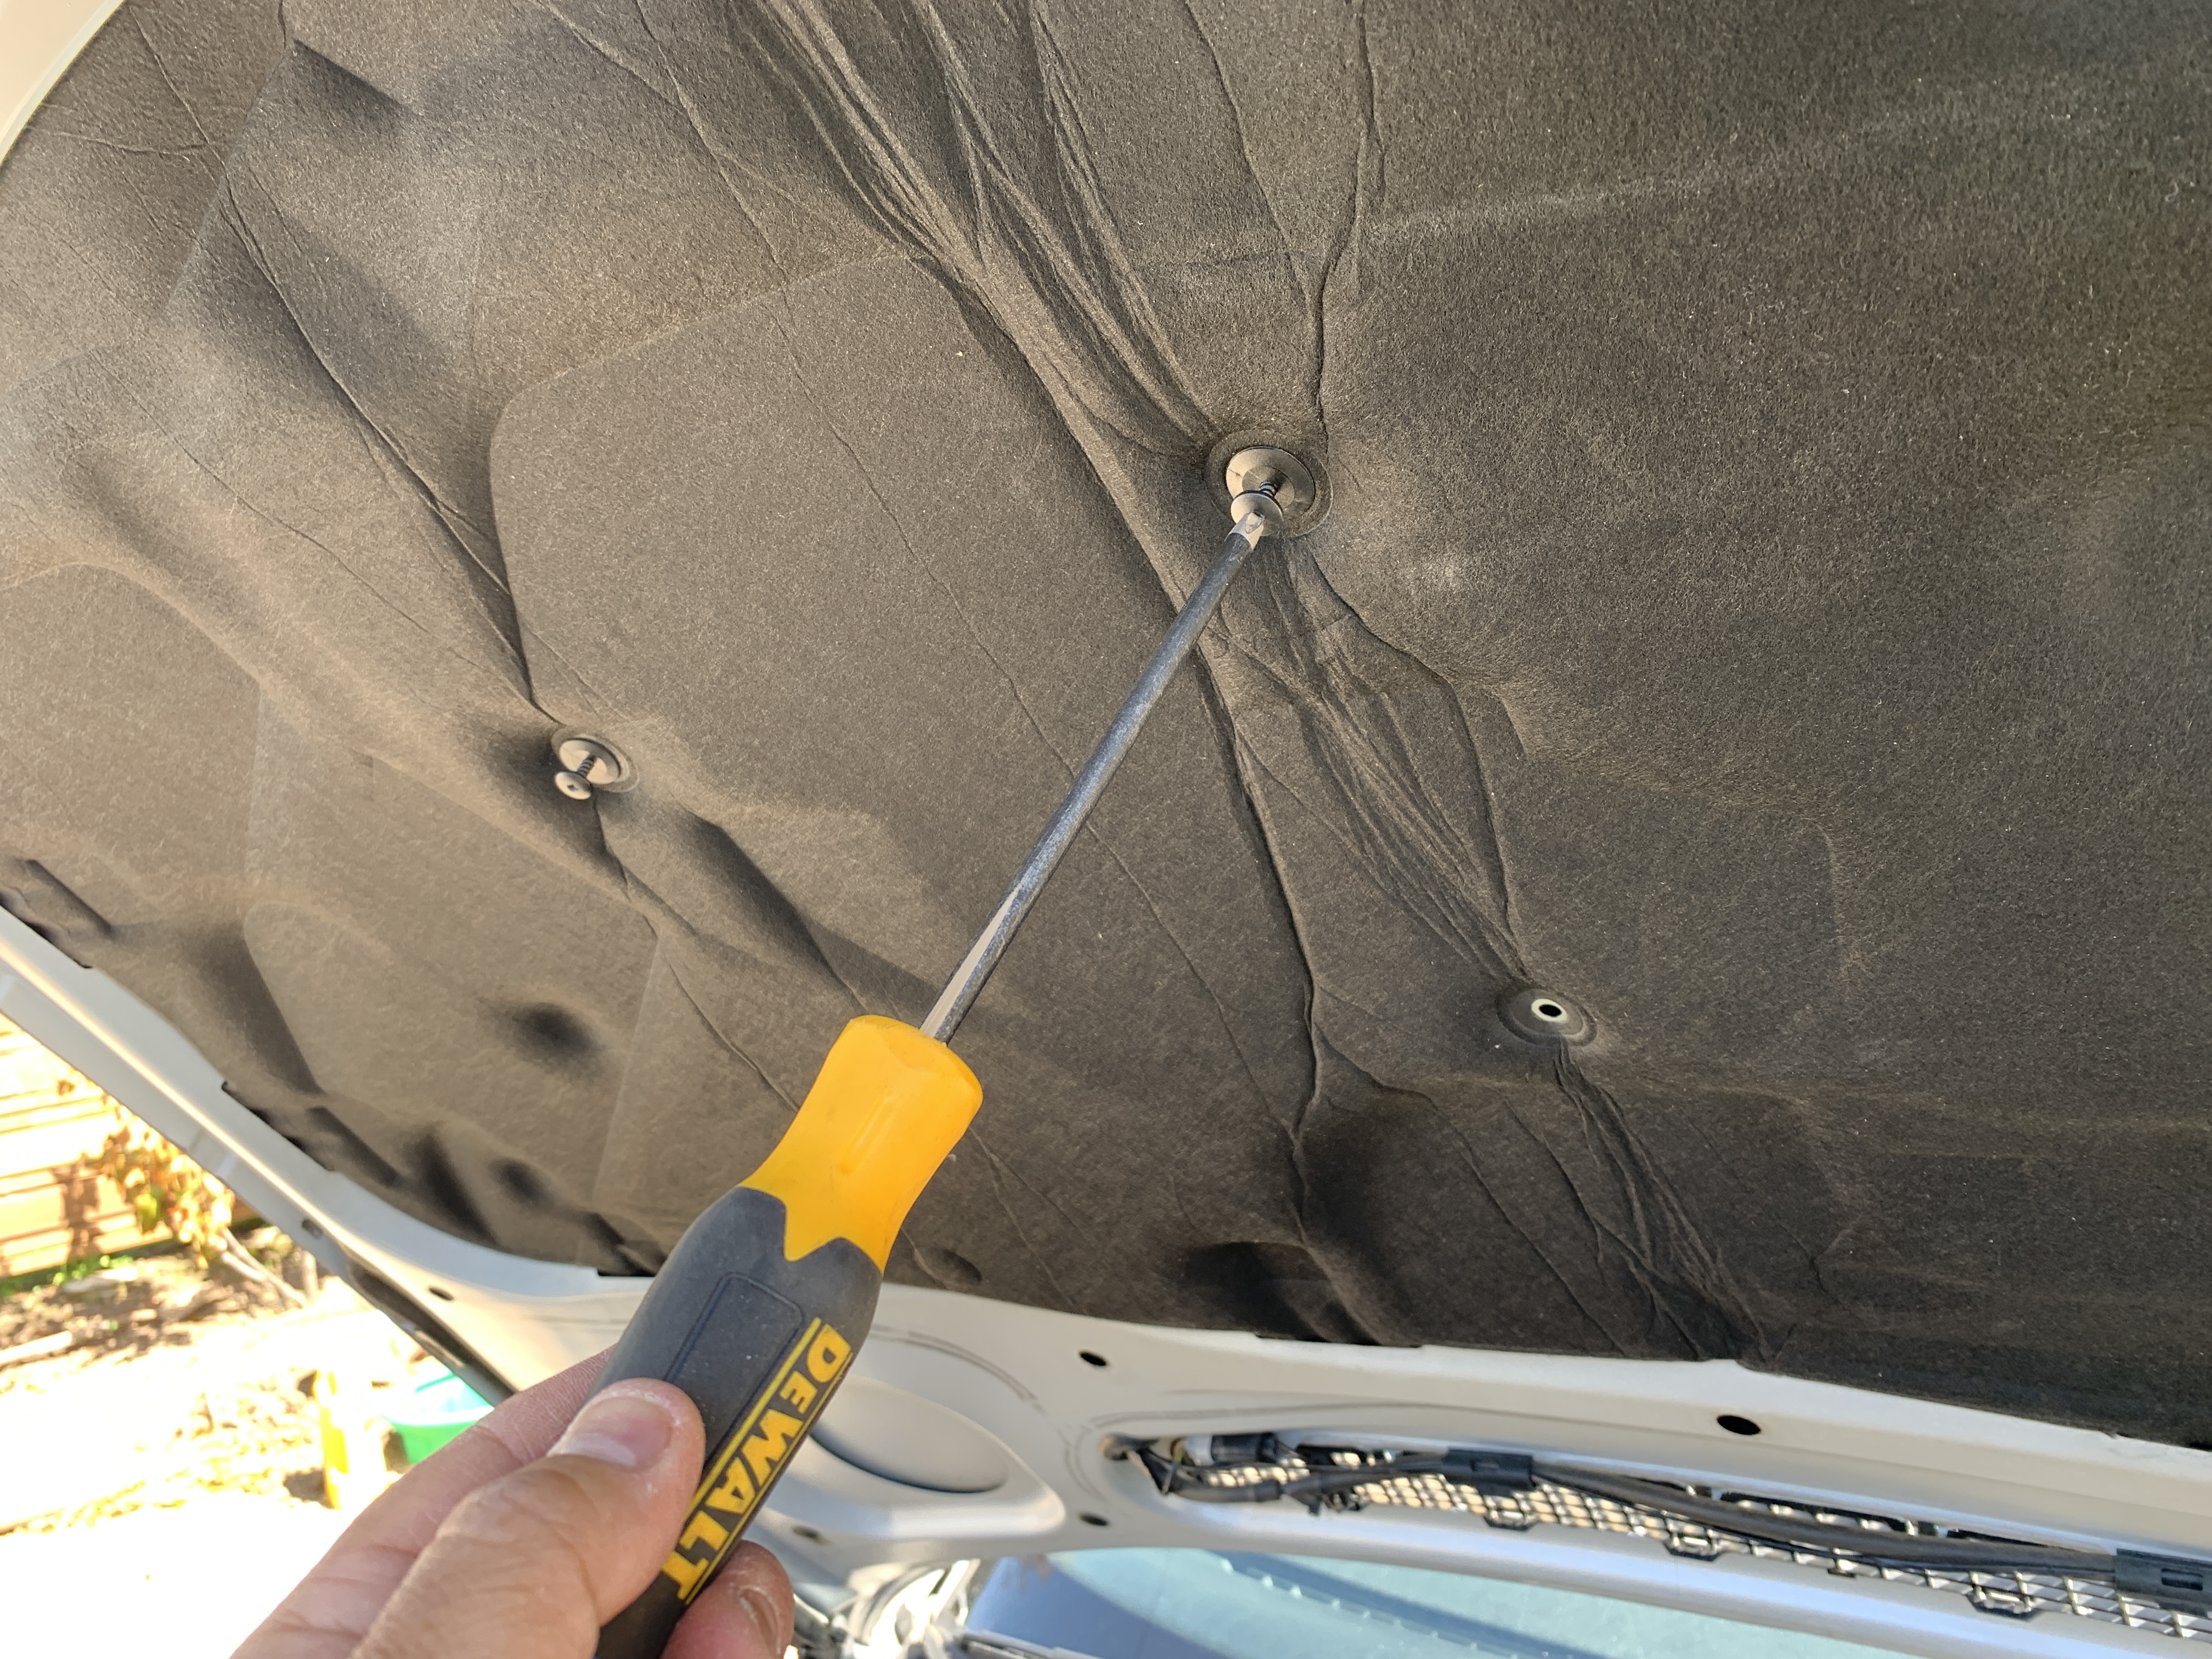
Replacement of the hood insulation pad is extremely easy. Remove the clips for the hood insulation pad by first using a Phillips head screwdriver to loosen the middle screw of the clip, then use a trim clip remover to pull the outer portion of the clip. Once the clips are all removed, the hood insulation pad will come off. If you don’t have a trim clip remover, you can probably pry it off with a flat head screwdriver.
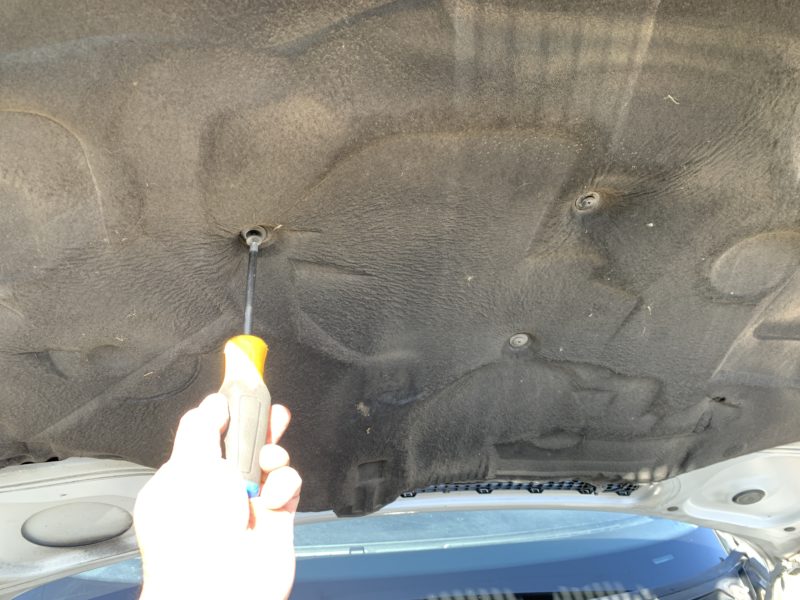
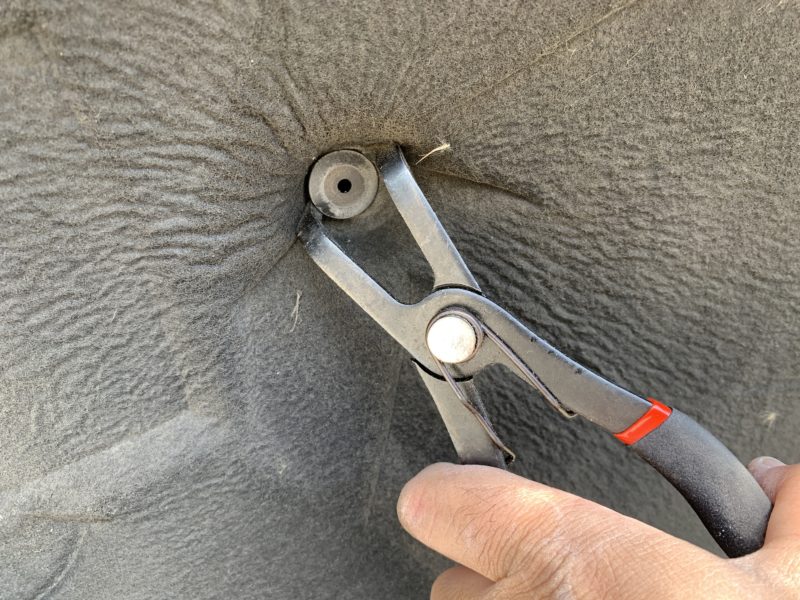
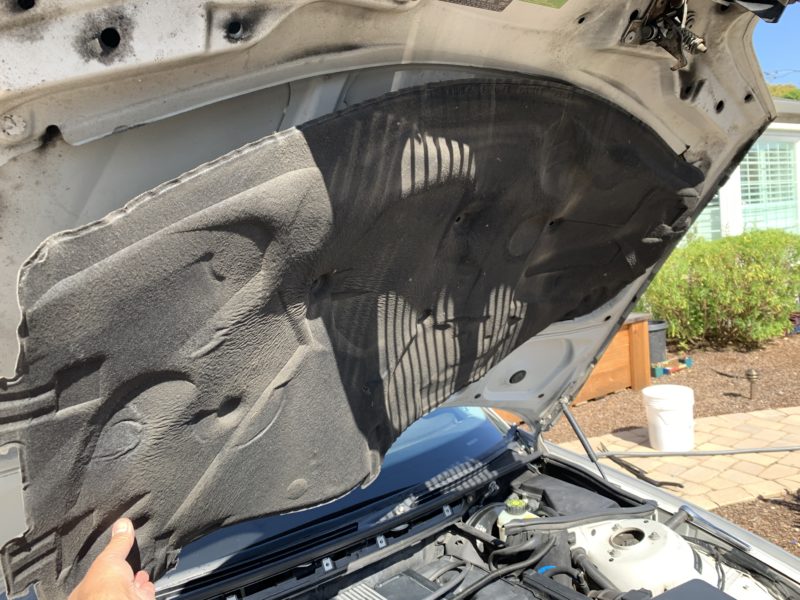
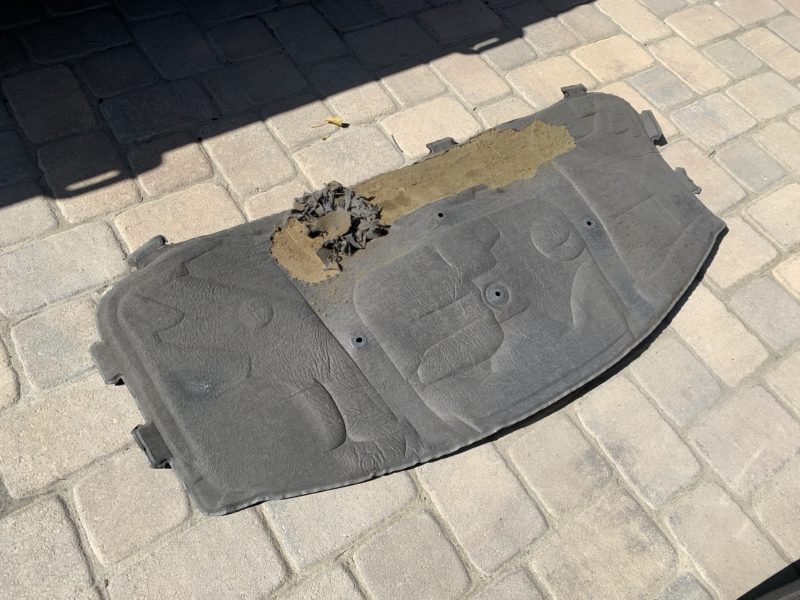
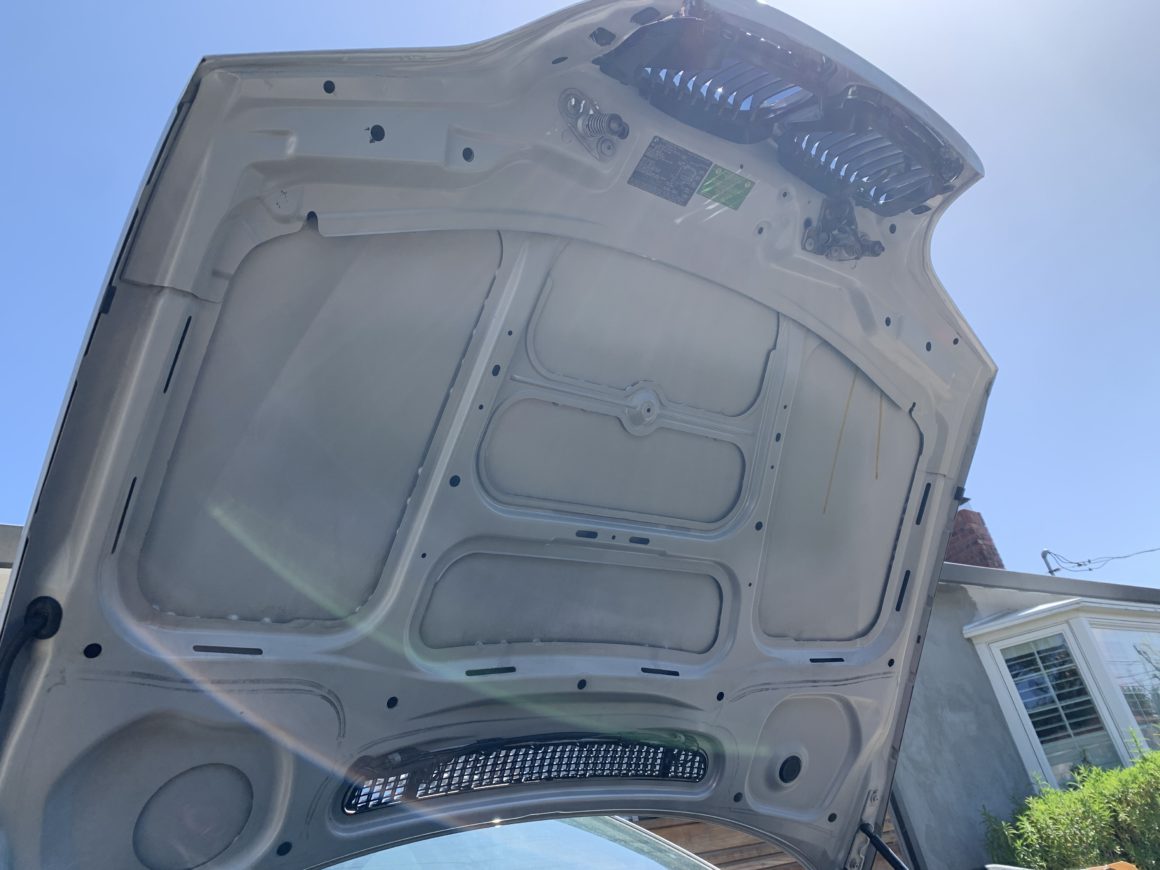
At this point, you can clean the hood prior to installing the new hood insulation pad if you wish.
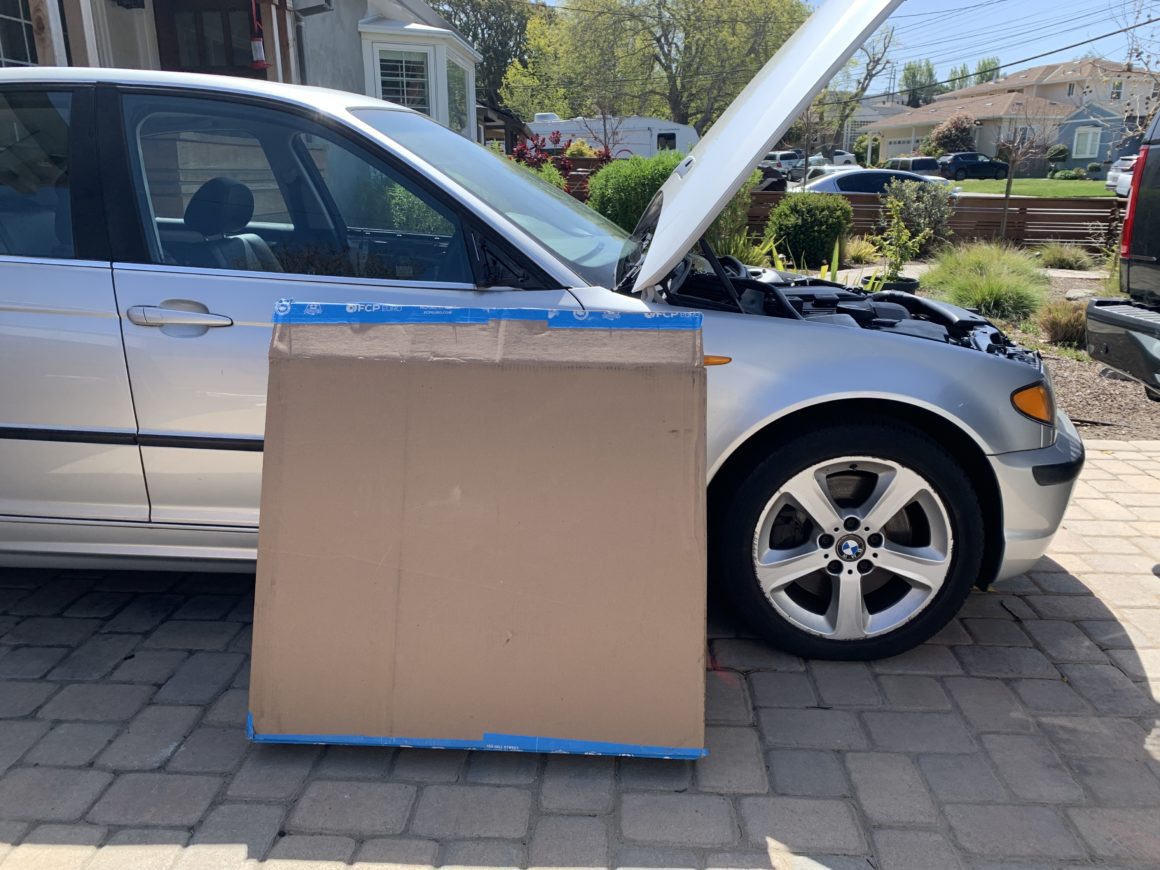
The new hood insulation pad comes right out of the box like this. Get it ready along with the push pin clips.
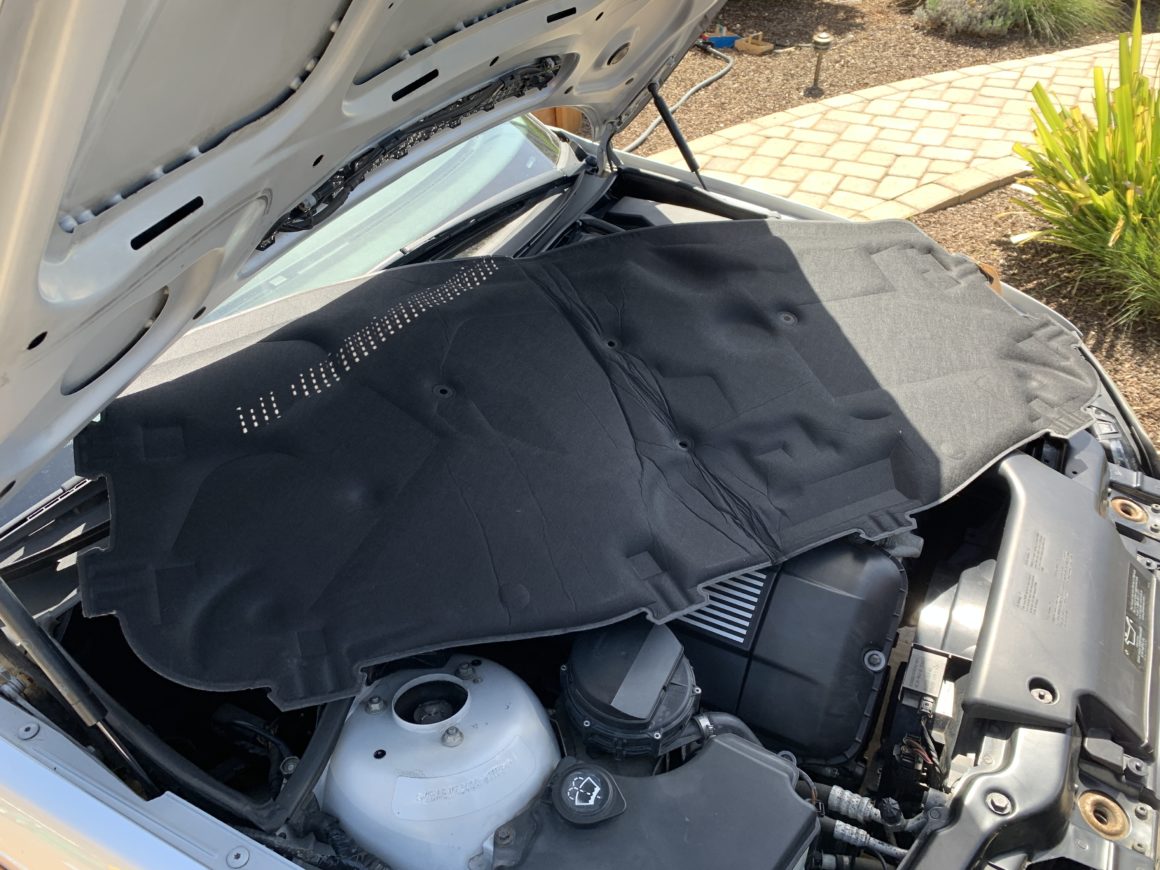
Then get the hood insulation pad into position, push the outer clips through the insulation pad into the holes of the hood, and the screw in the middle screw clips.
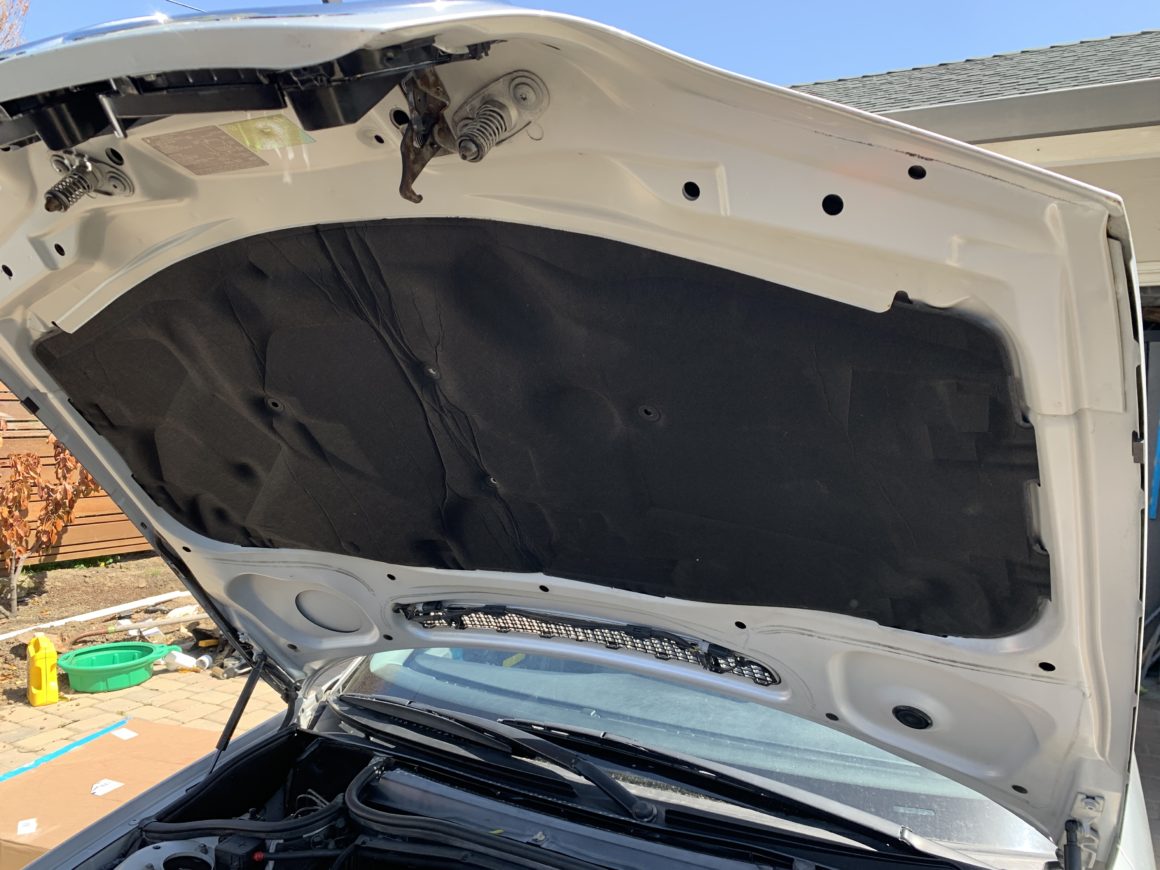
As I said before, this is a super easy job. The hardest part is stomaching the cost as it does cost just over $100 for the part, but in the end it does look much nicer under the hood. You also have some assurance that the insulation is there to help keep the heat within the engine bay and not transfer unnecessarily through the hood.

