When you make purchases through links on this site, The Track Ahead may earn an affiliate commission. Also, these posts are based off my own experiences. I am not responsible for any action you take as a result of reading this. Learn More
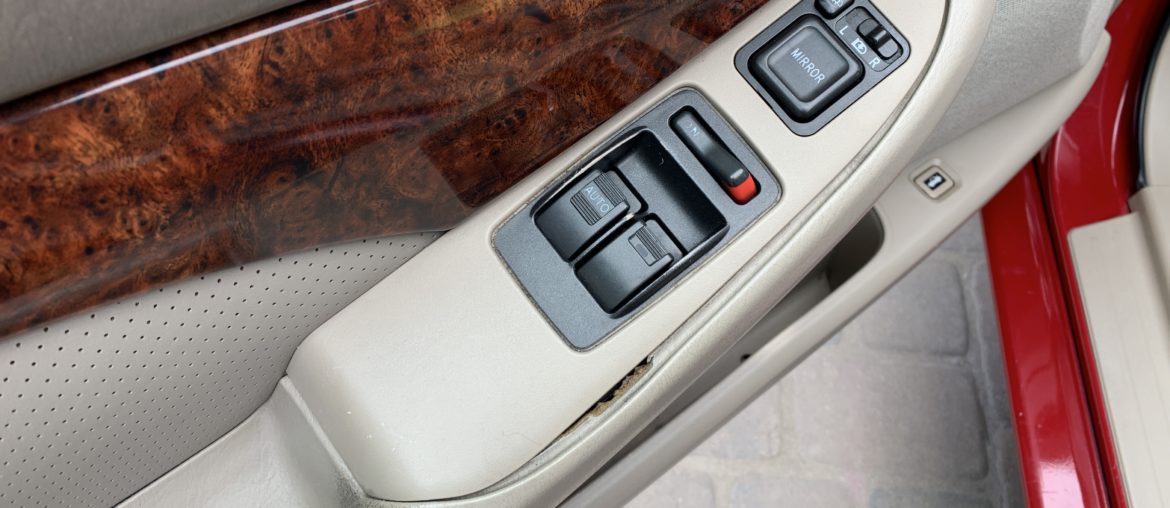
One of the most common interior issues that plague the 2nd generation Acura CL (years 2000-2003) is the separation of the arm rest on both the driver side and passenger side doors. At the time of this writing, these cars are approximately two decades old and the age and wear have taken its toll. The glue that holds the door handle together near the plastic trim ends up separating and looks something like this.
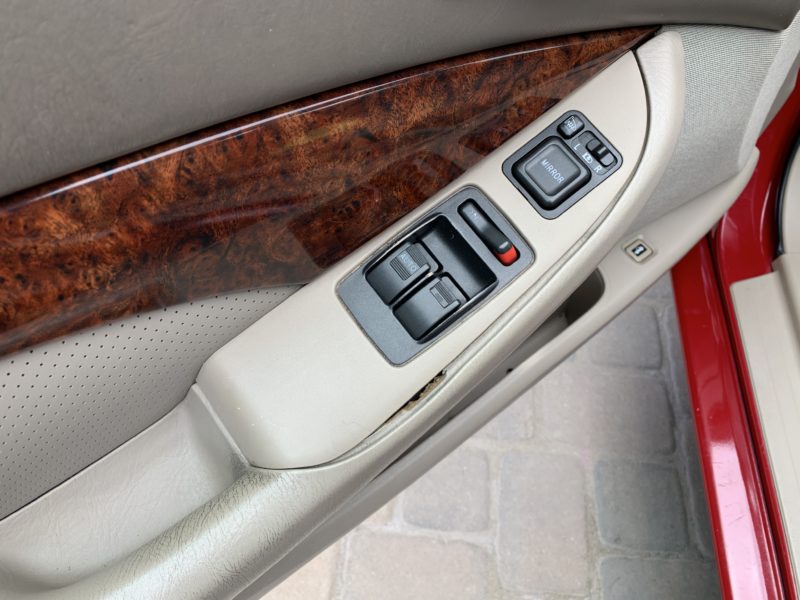
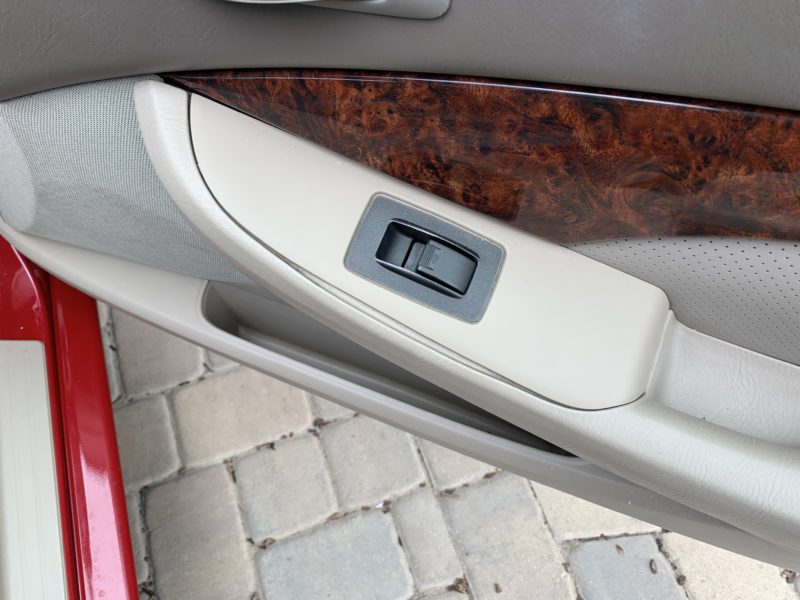
The damage doesn’t affect the function of the car, but it does look unsightly. The fix for this isn’t necessarily an easy perfect fix because the way the glue separates from the two panels makes it incredibly difficult to glue back together. Of course, you can always replace the entire door panel, but that’s just expensive and wasteful. Therefore, I want to show you how to glue the door panel back up together for a fix that may not look perfect, but at least makes it look much better.
Tools & Materials
Gorilla Glue
I chose to use this polyurethane glue, which expands into materials to form an incredibly strong bond. I suppose you could use another type of glue, but I’ve had success using Gorilla Glue in the past and it worked for me for the Acura CL’s arm rest.
Original Gorilla Glue, Waterproof Polyurethane Glue, 8 Oz Bottle
Wood Quick Clamps
These type of clamps are typically used in woodworking for gluing up wood pieces, but it is used here to hold together the foam in the armrest that has separated. Below is a full set of different types of wood quick-clamps that will work to hold the glued-up armrest in place.
Irwin Quick-Grip Woodworking Clamps Set, 8-Piece
Screwdriver Set
You’ll mainly need a Phillips head screwdriver, but a flat head screwdriver is useful for prying and removing certain pieces during the removal process.
Amartisan 10-Piece Magnetic Screwdrivers Set, 5 Phillips and 5 Slotted
Flexible Wood Caul (or Paint Mixing Stick)
A caul is used in woodworking to spread out the pressure during the glue-up process. In this case, I used a flexible paint mixing stick–the kind you get for free at your local home improvement store. Using this with the quick clamps distributes the pressure and allows the glue to evenly hold. If you can’t find them, you can get them here:
12″ Inch Wood Paint Stir Sticks, 10 Pack
Door Panel Removal
Unfortunately, the glue separation that causes this damage is located behind the door panel. Therefore, you’ll need to remove the door panel completely in order to fix this issue.
At the door handle, start by prying open the circular tab that covers the Phillips head screw behind it. Then unscrew the Phillips head screw. Then unscrew the Phillips head screw at the center of the door panel below the arm rest.
Use a trim tool to pry the triangular trim piece at the side mirror. Start by prying the top away, then pull upwards on the trim piece to remove. Unplug the connector behind it.
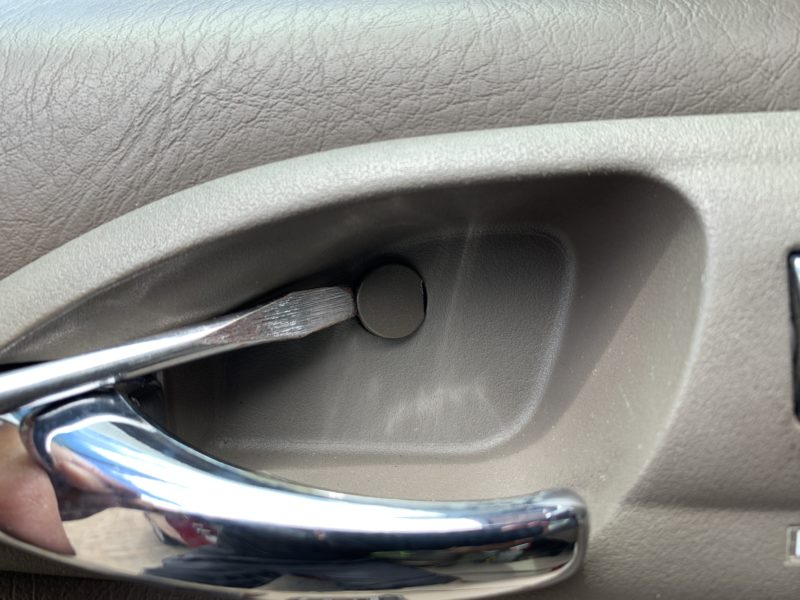
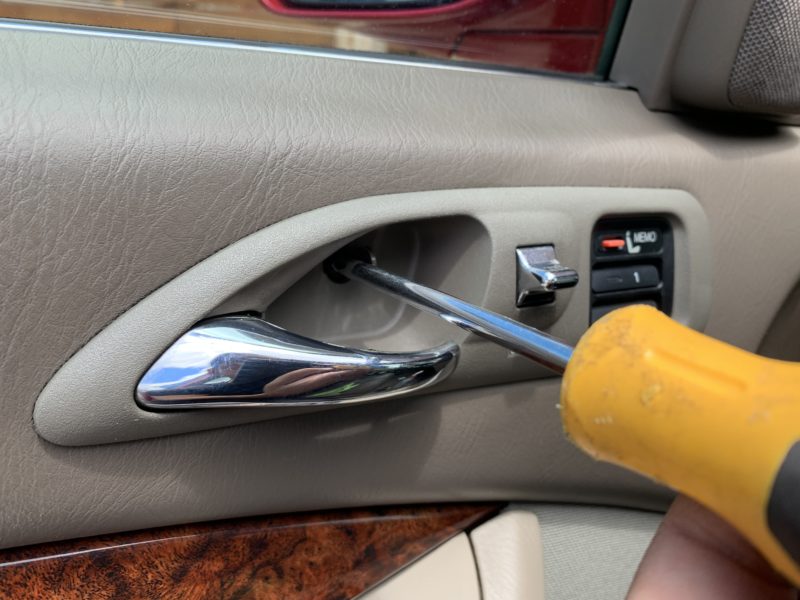
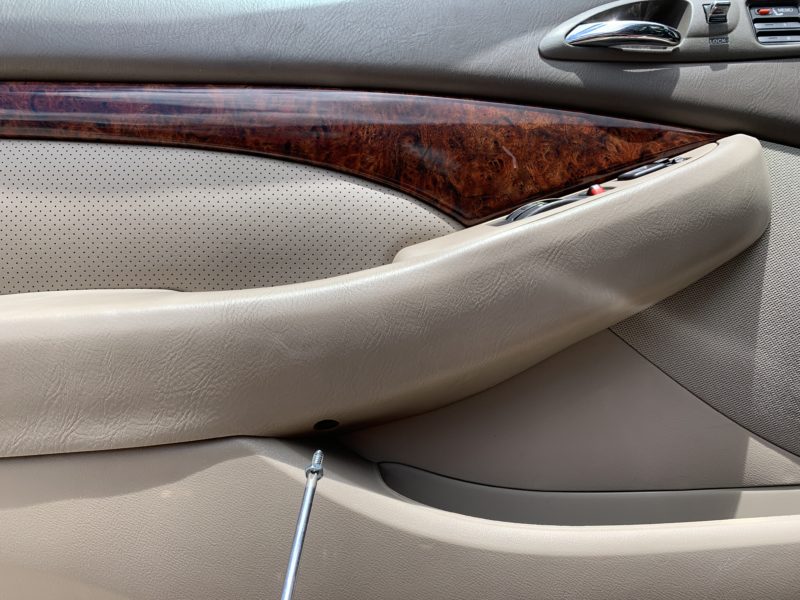
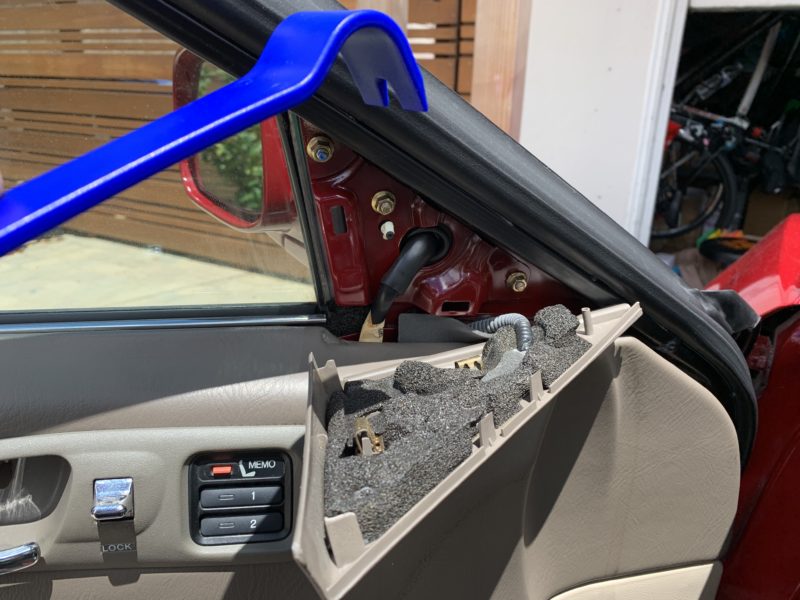
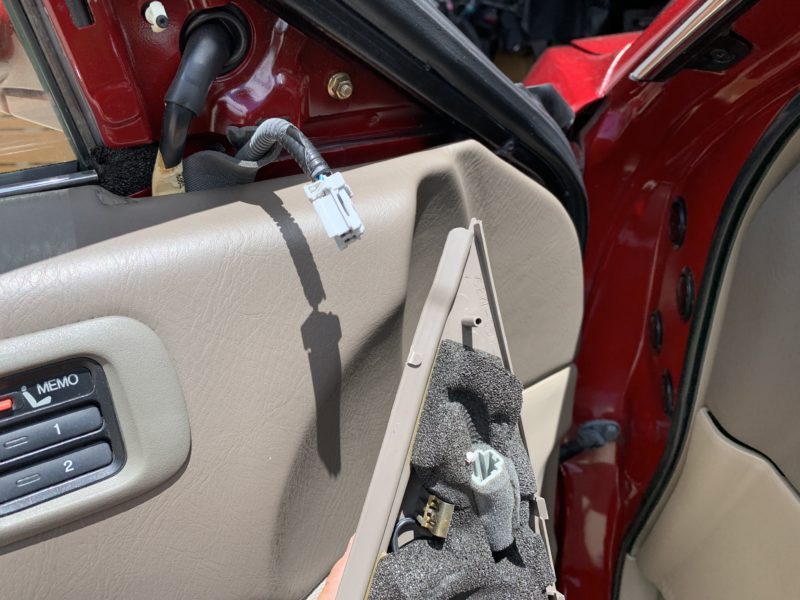
Now, remove the door handle trim. You’ll need to unclip the door handle rod behind it by unclipping this plastic piece, then pulling up on the rod to separate it from the door handle. Finally, disconnect the electrical connector behind it to fully remove the door handle.
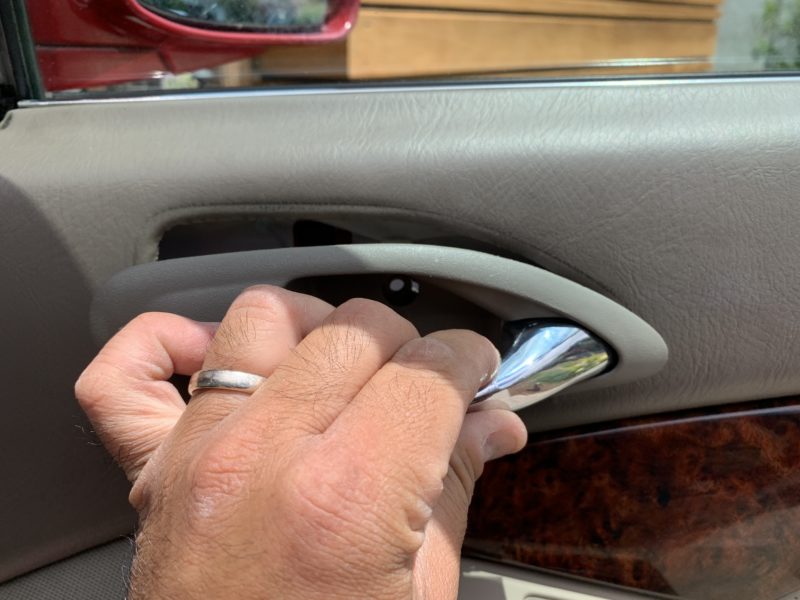
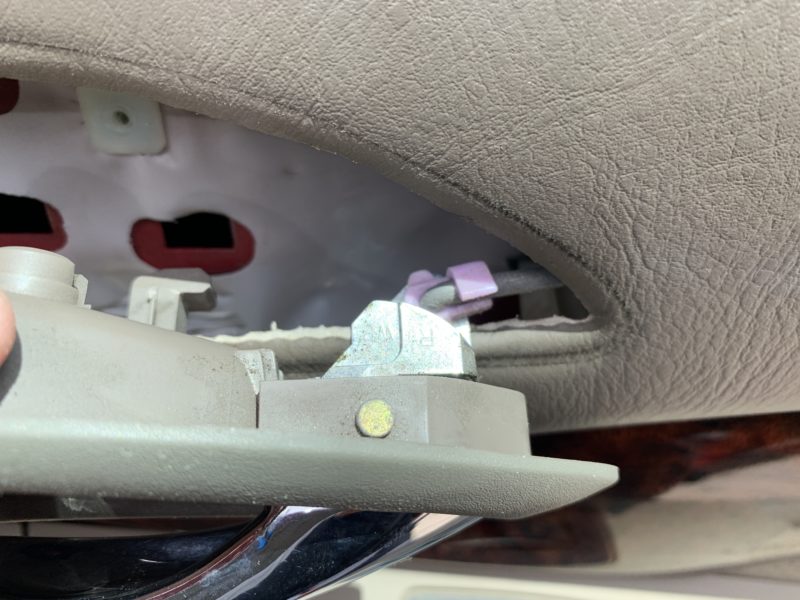
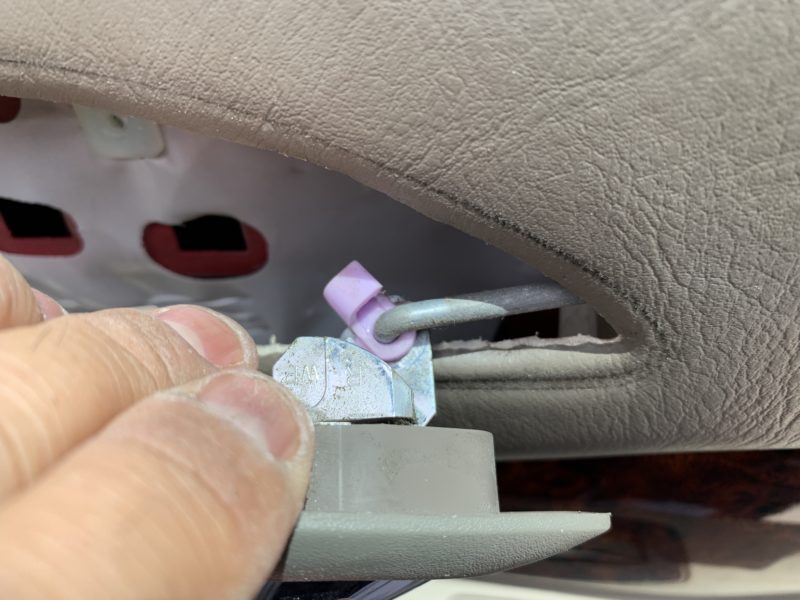
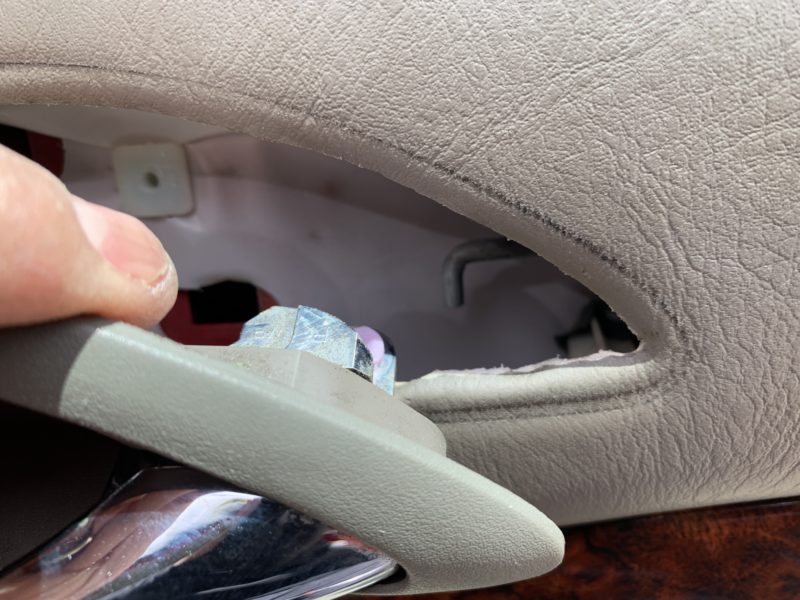
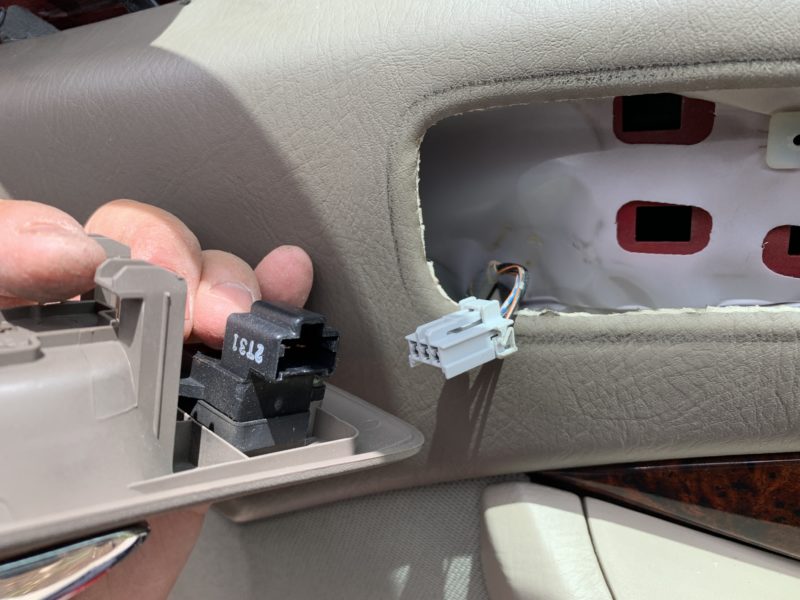
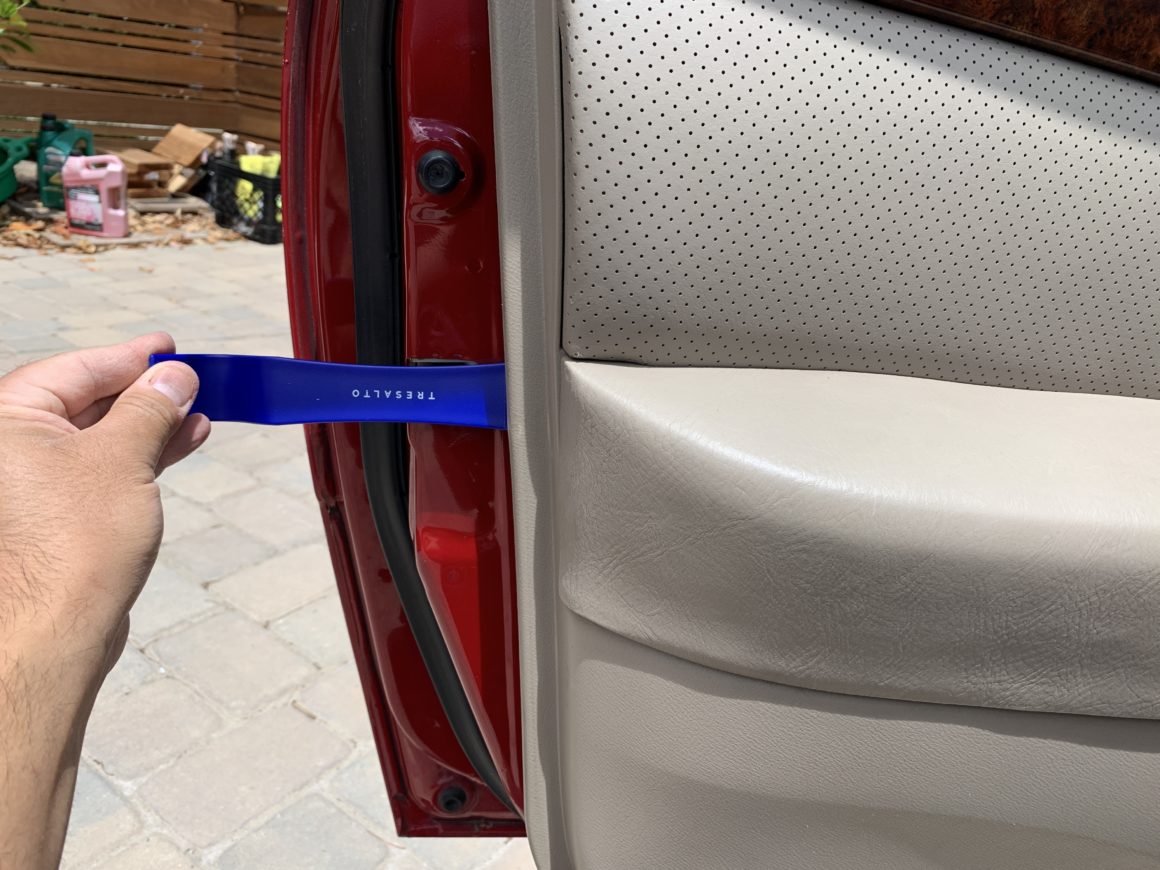
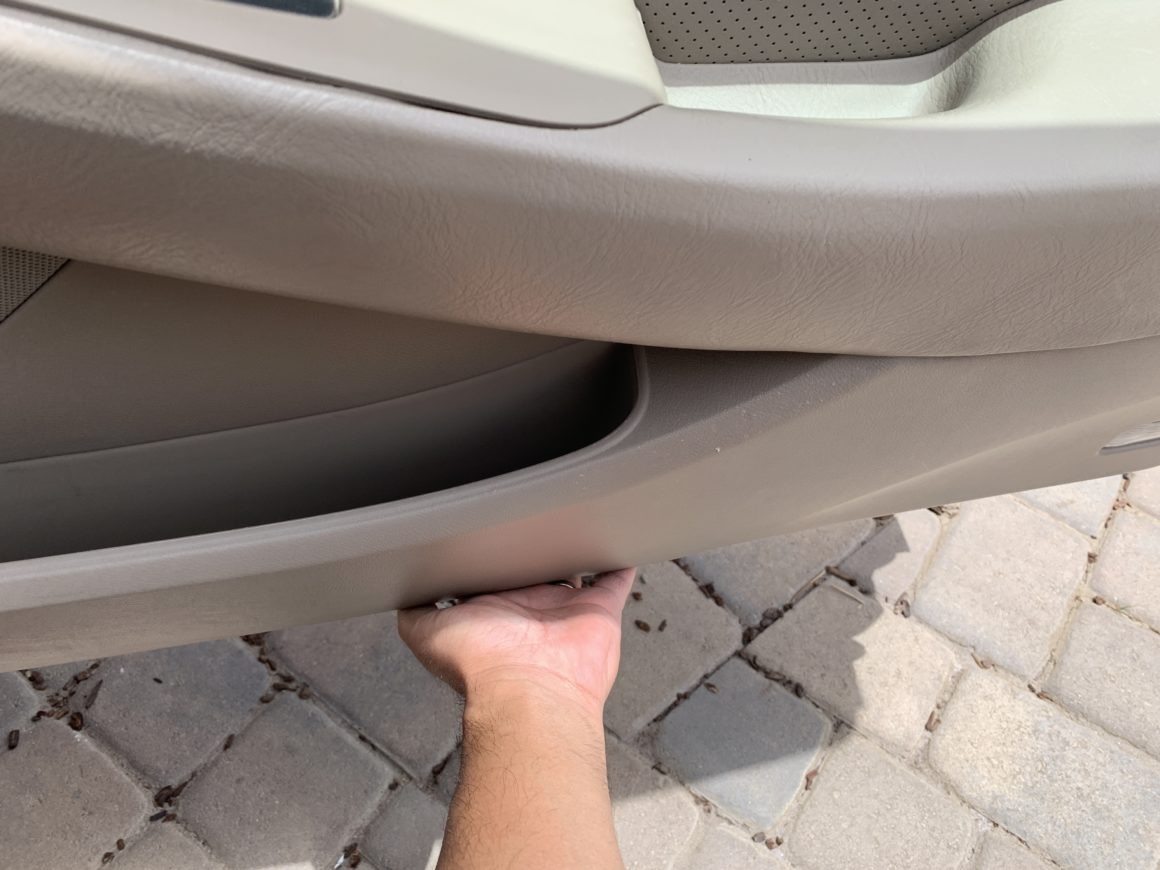
Now, you should be able to pull off the inner door panel. You can either use your hands or a trim tool to separate the bottom half of the door panel, which is held in by plastic pins. Then you can pull up the entire door panel to lift it off the actual door itself. Then disconnect the electrical connector(s) behind it.
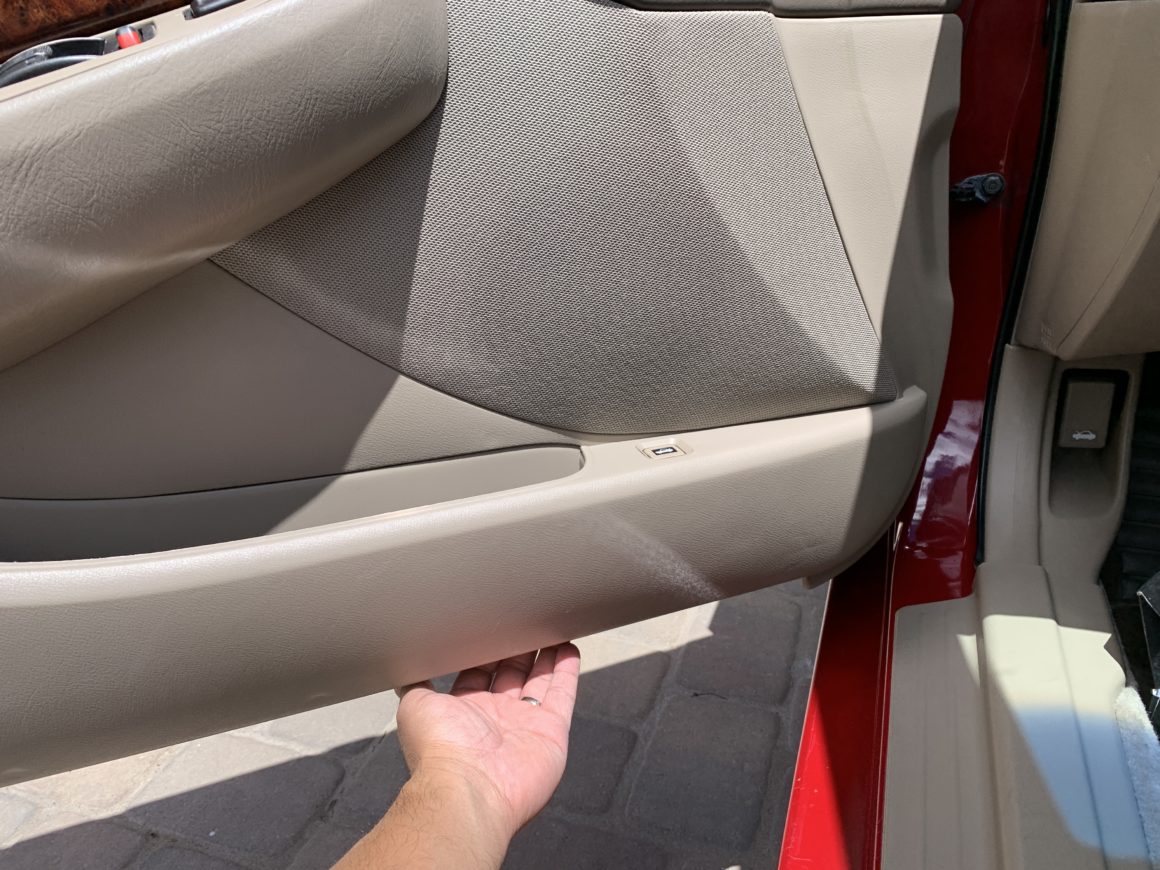
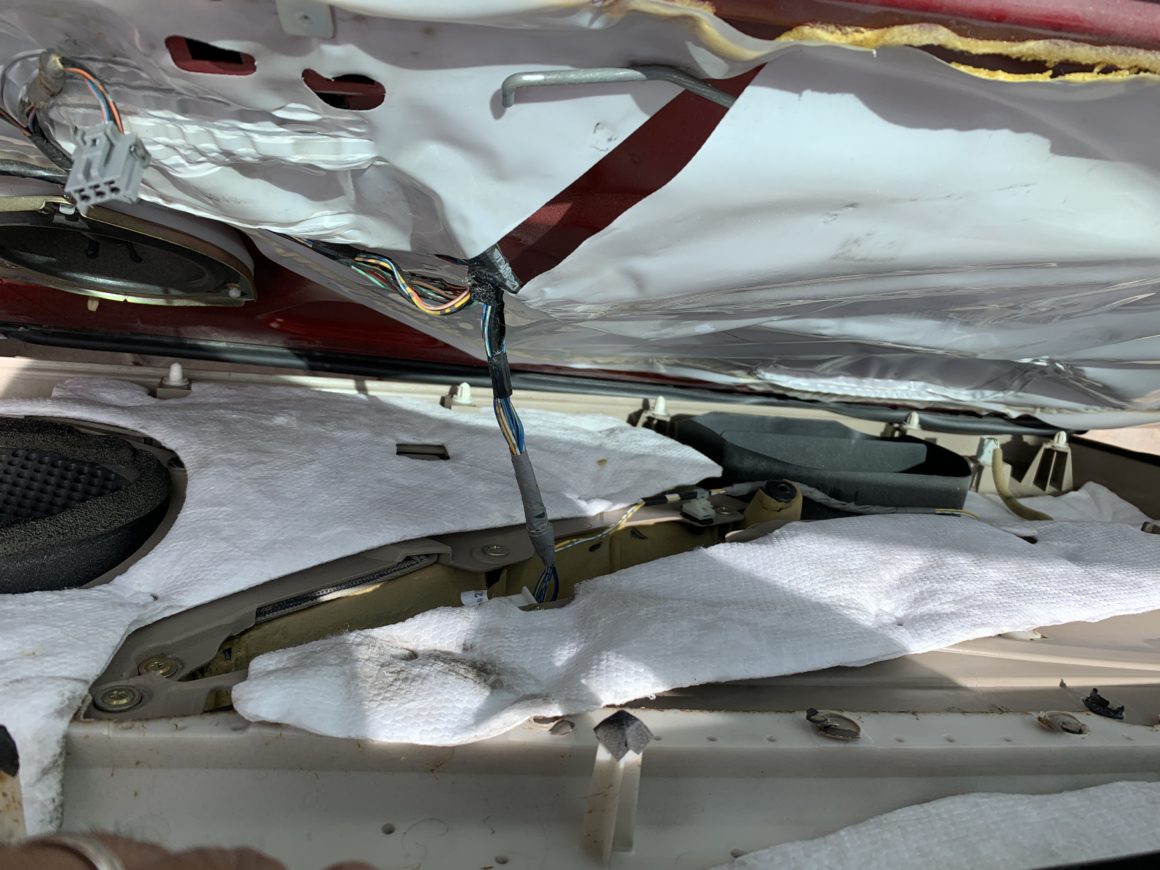
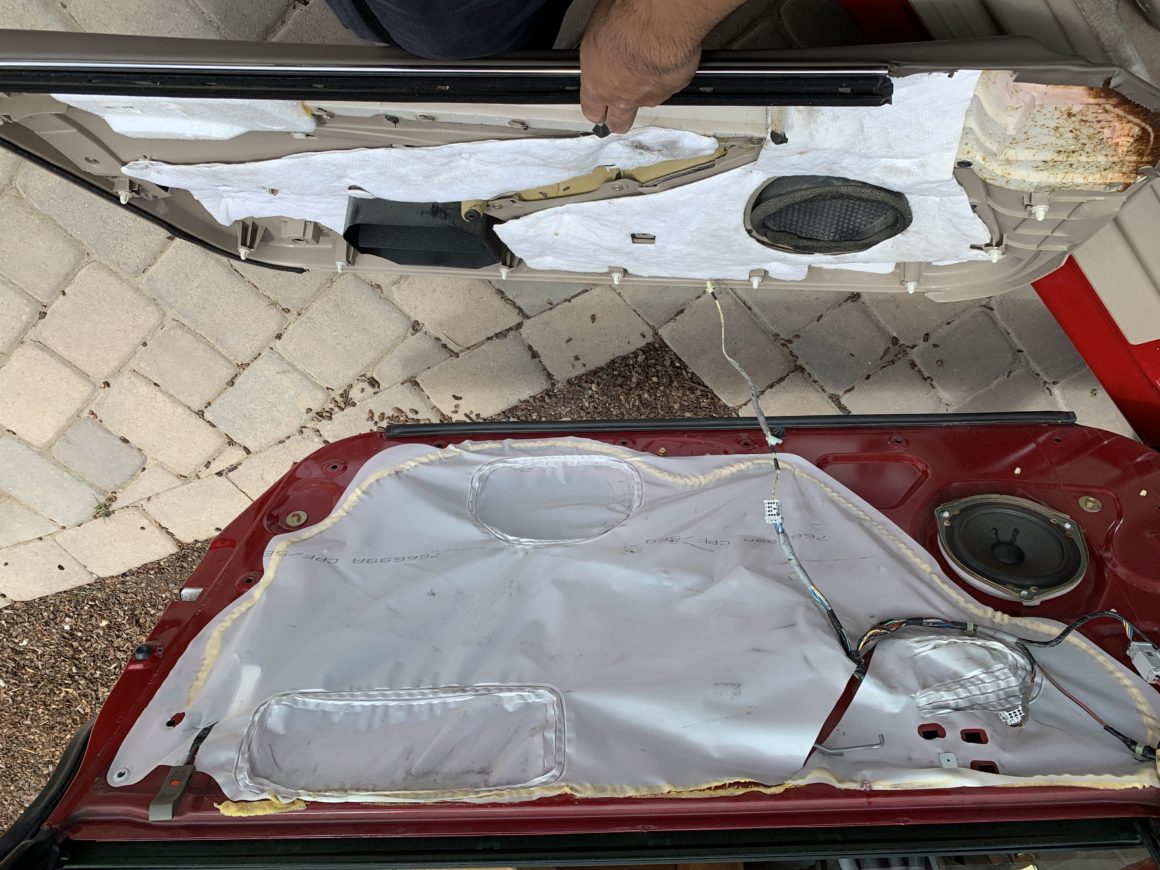
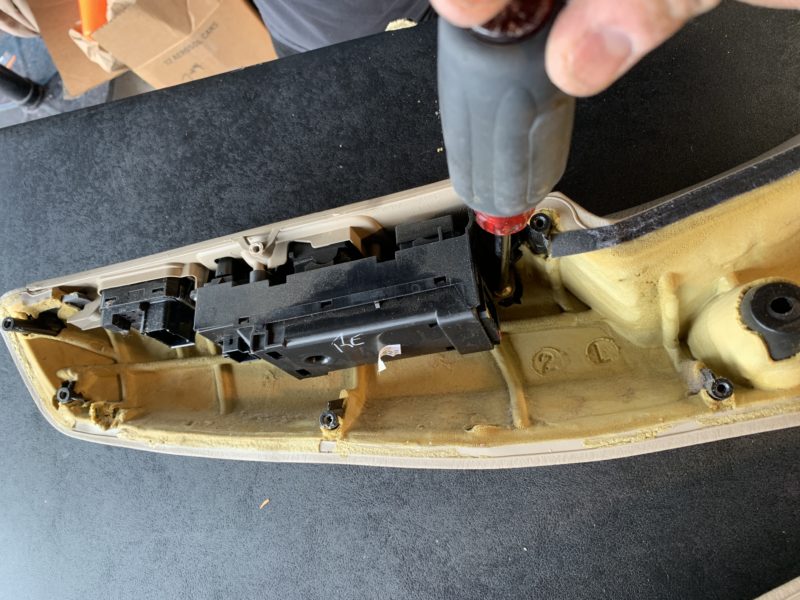
With the door completely removed, you can now work on the door panel to fix the armrest. You’ll have to remove a few more things to fully get access. Remove the tab holding the wiring (2nd photo below) using long nose pliers to squeeze the pin and pull out. Then, remove all of these Phillips head screws that are holding the arm rest to the door panel. I used a power drill as there are so many of these screws to take out.
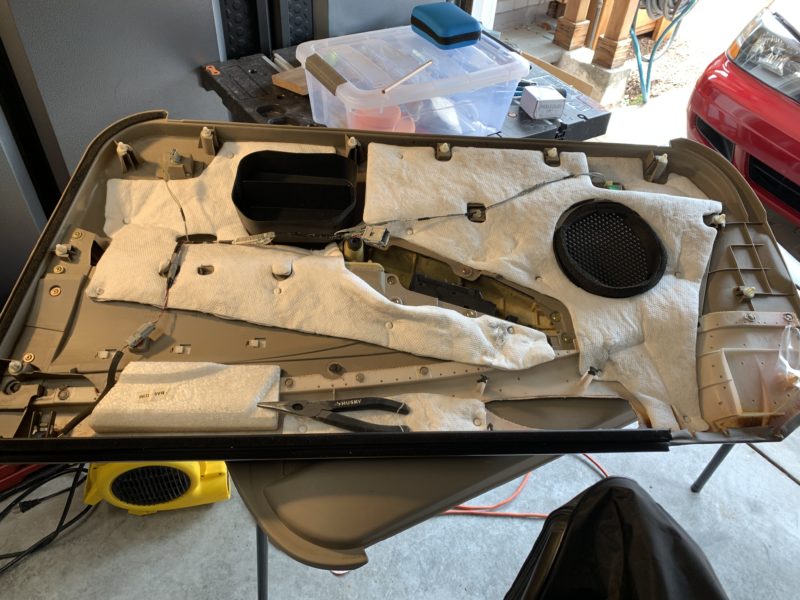
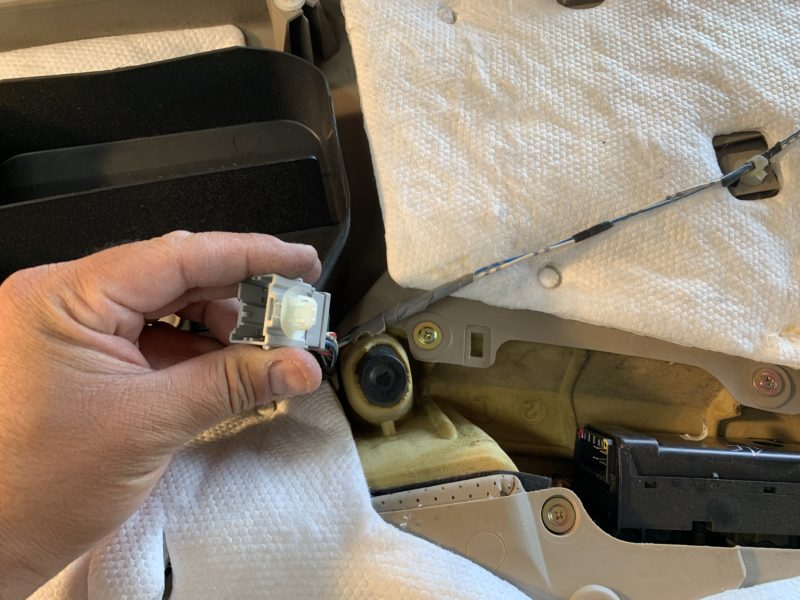
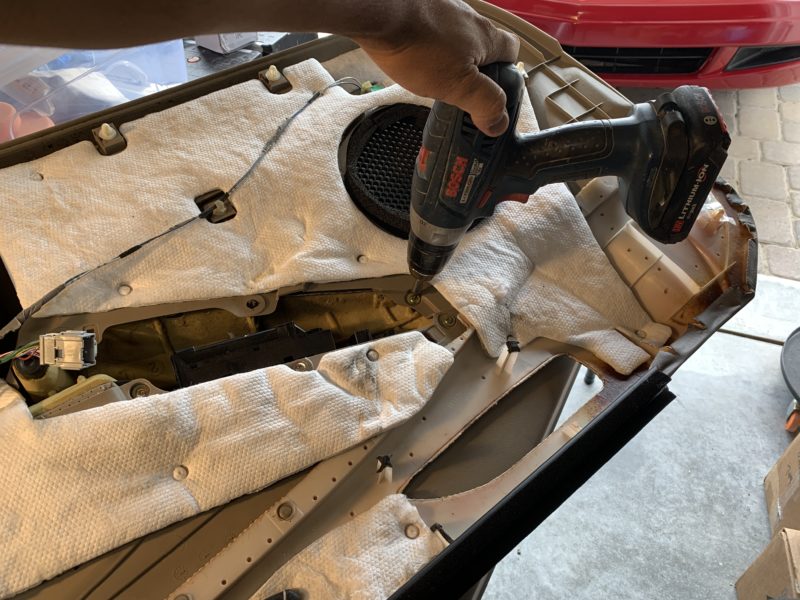
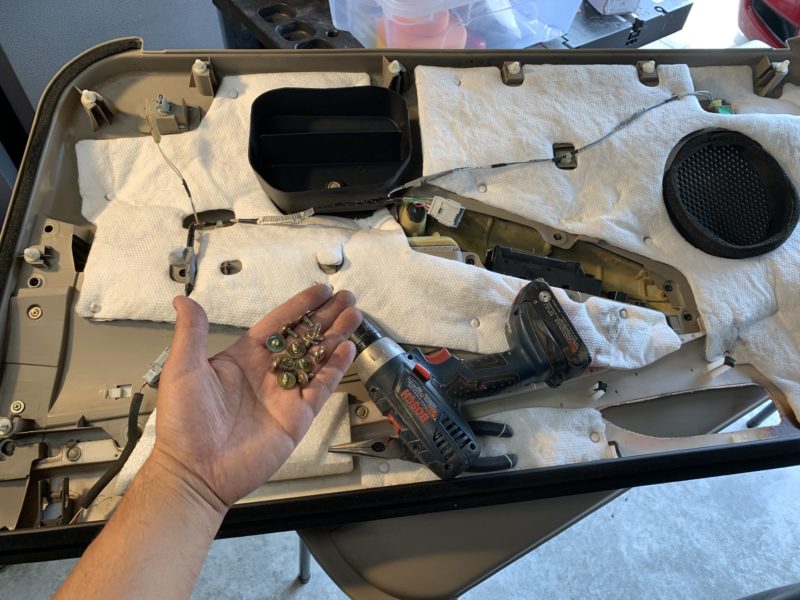
Now you are left with the just the arm rests.
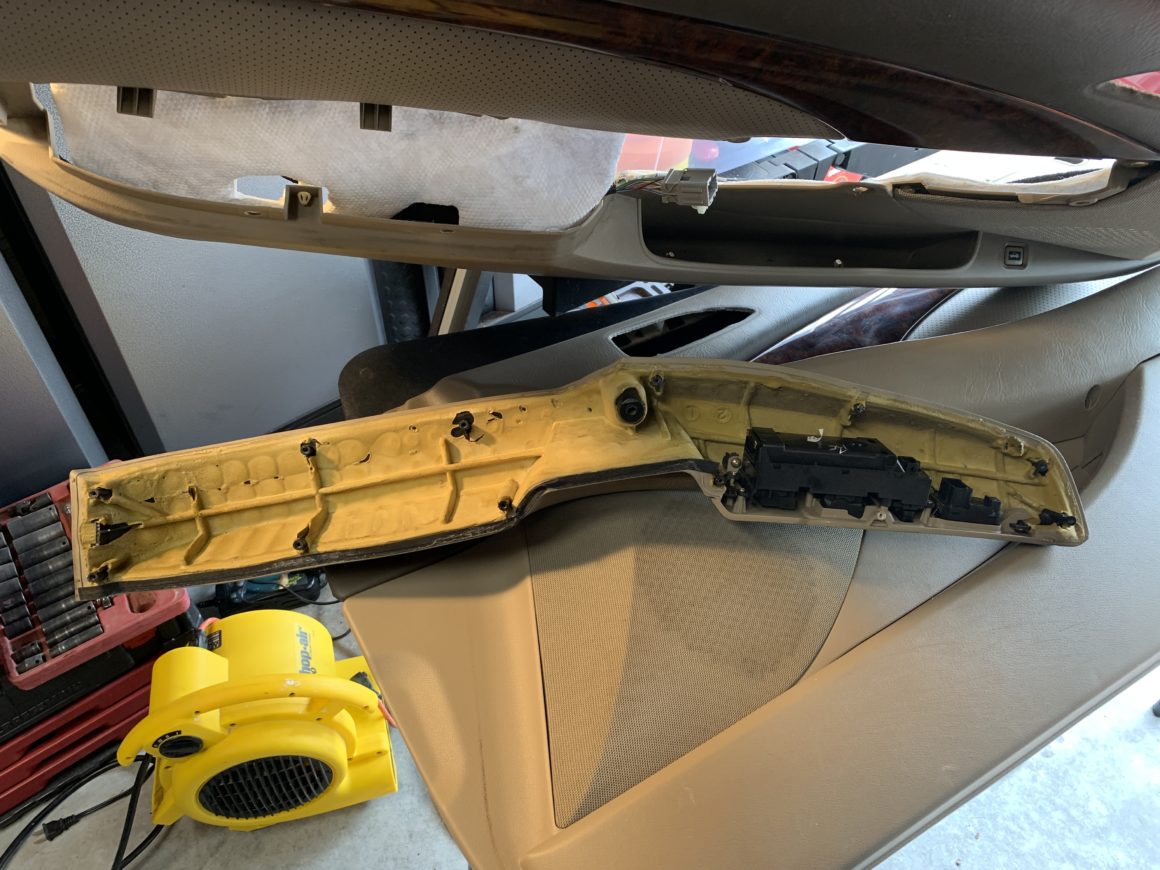
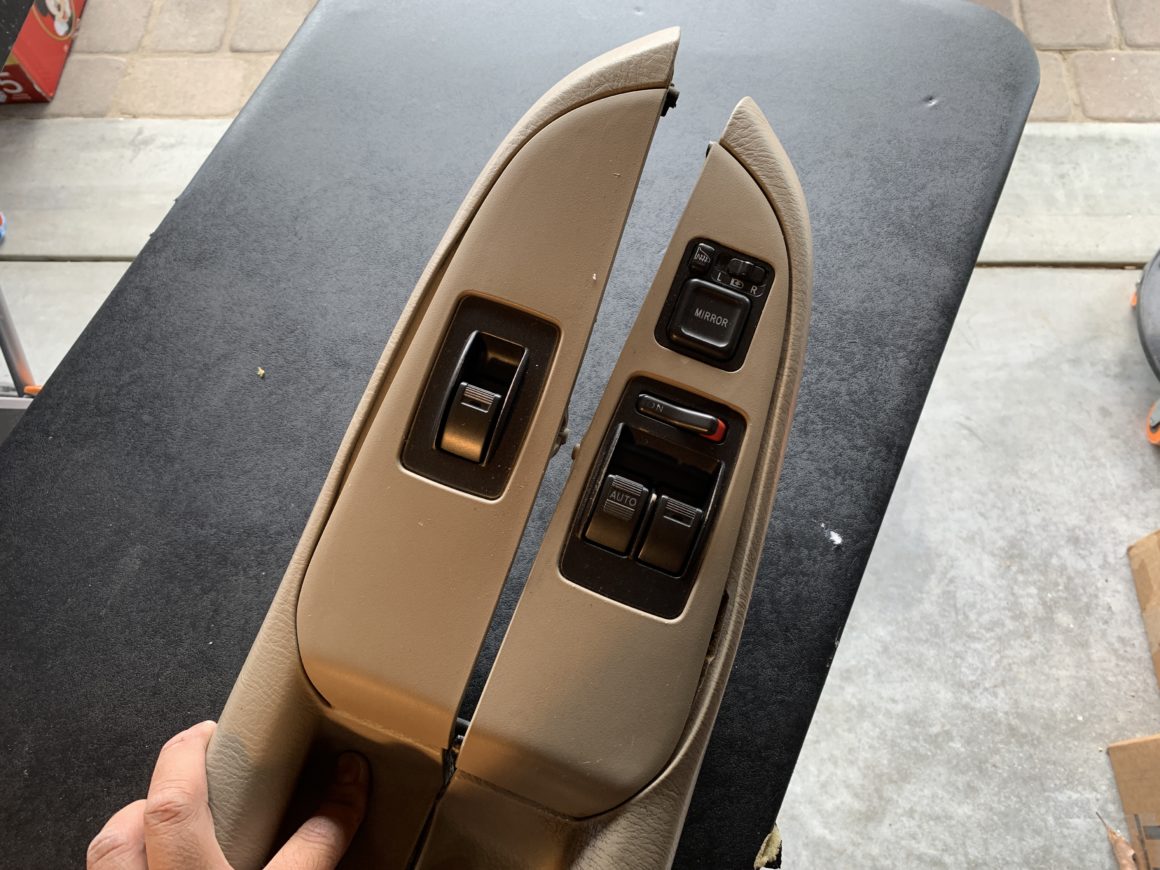
The last thing to remove will be the plastic trim that are held in by Phillips head screws. Once the screws are removed, you’ll finally see the foam separation that causes the armrest to separate from the trim. The foam separates from the black plastic that is embedded in the foam, which is the root of the problem.
As you might imagine, this is a very difficult repair to make because it’s not a straight or flat piece that needs to be re-glued. So we can certainly glue this back up, but can do so perfectly? Well, we can try.
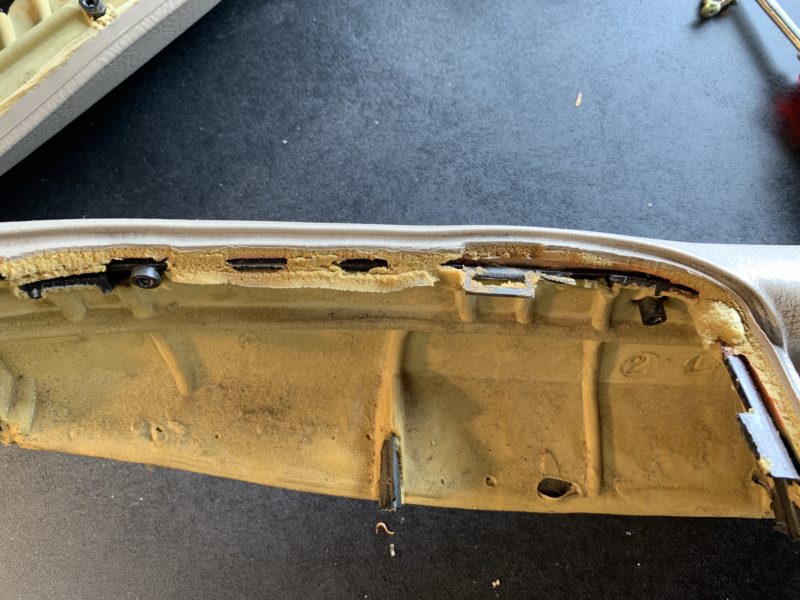
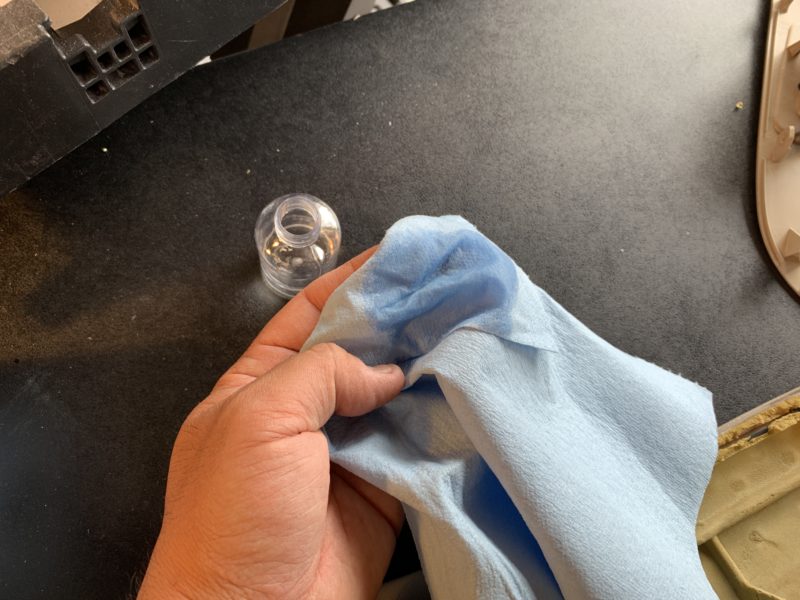
To prep the surface, use some rubbing alcohol and clean the damaged foam area as well as possible. The foam is pretty brittle at this point, but we’ll clean it up best we can. You should have as many clamps as you have available ready on hand. You also want to use what woodworkers call a caul, which are basically long strips of wood the help distribute the load when you clamp down wood pieces.
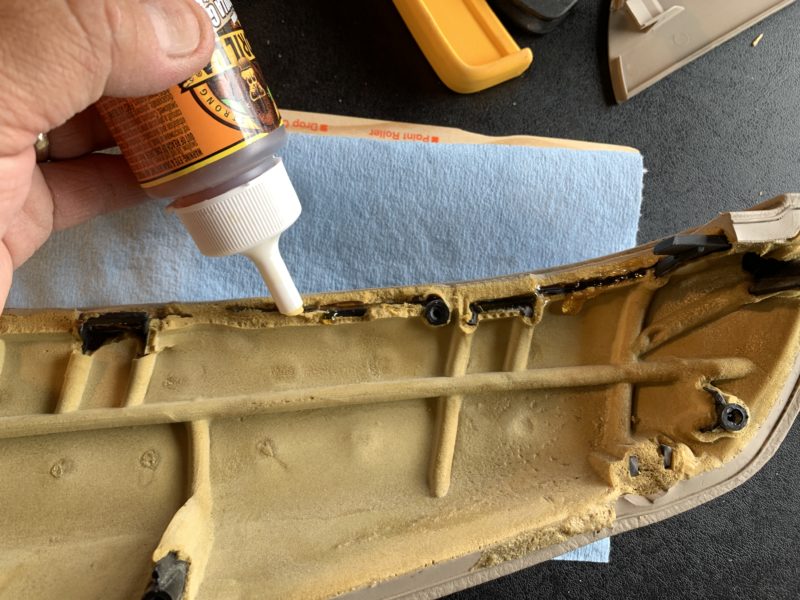
Since this glue-up is on a curved piece like this, I used a paint mixing stick to distribute the load. I applied Gorilla Glue to the separated foam. Then I used a bunch of quick clamps with a paint mixing stick on top to distribute the load.
Some parts will need some creative positioning of the clamps and something to protect the door panel material from getting damaged. Gorilla Glue recommends clamping for 1-2 hours, so that’s what I did.
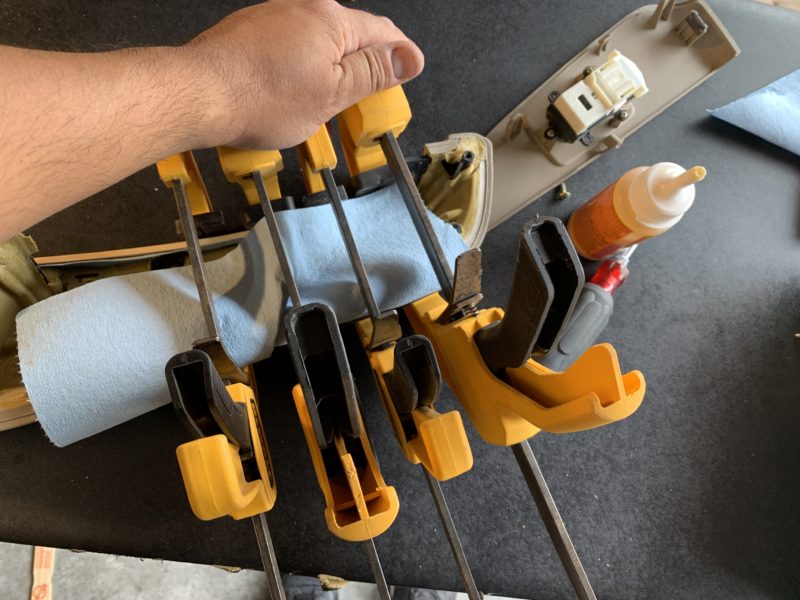
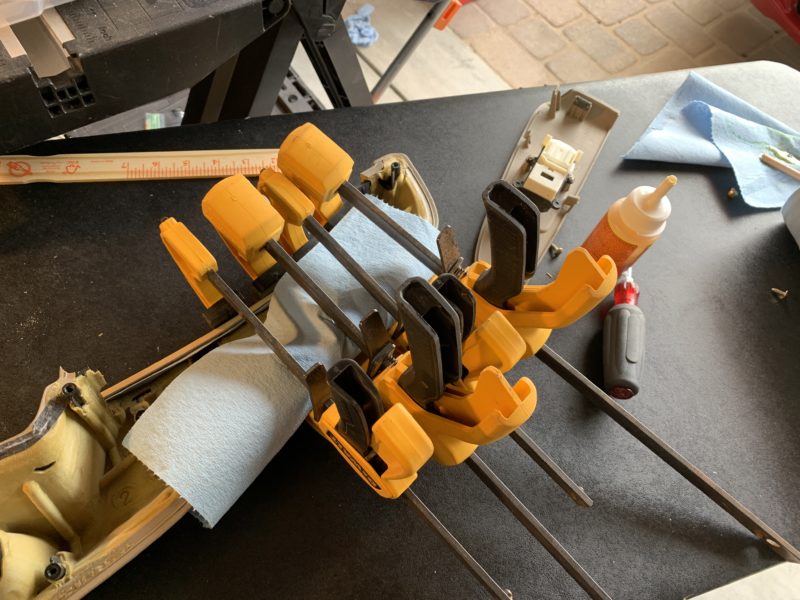
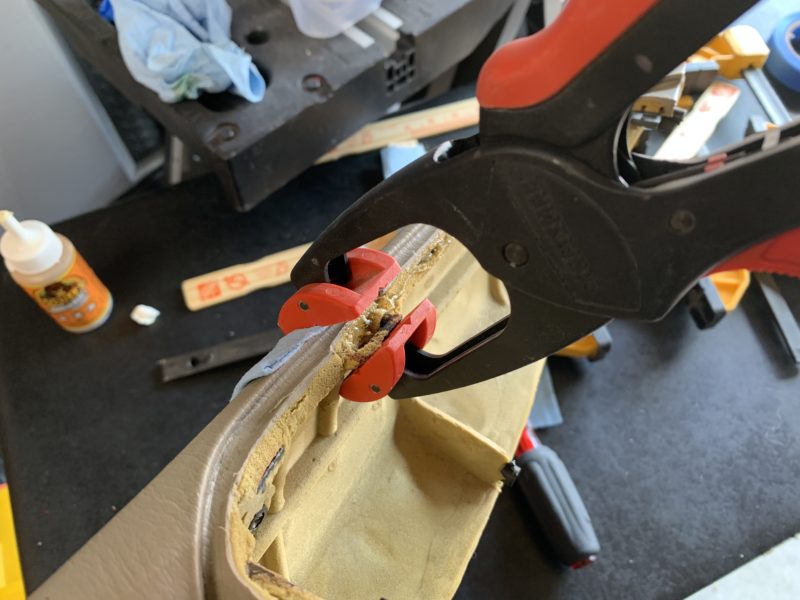

After the 1-2 hours of curing time, I removed the clamps and let it fully cure overnight. You should be able to see that the separated foam is now glued together. Then when you put the window switch trim back in place, you should notice a big difference.
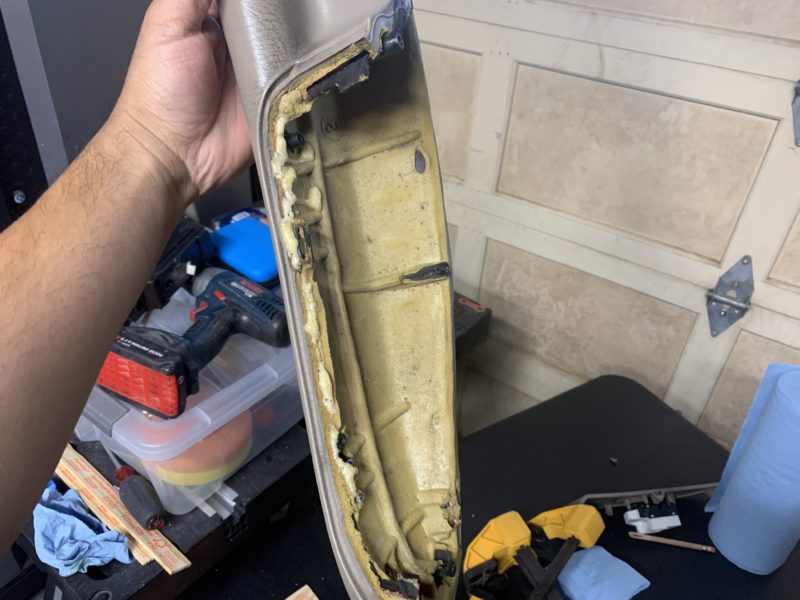
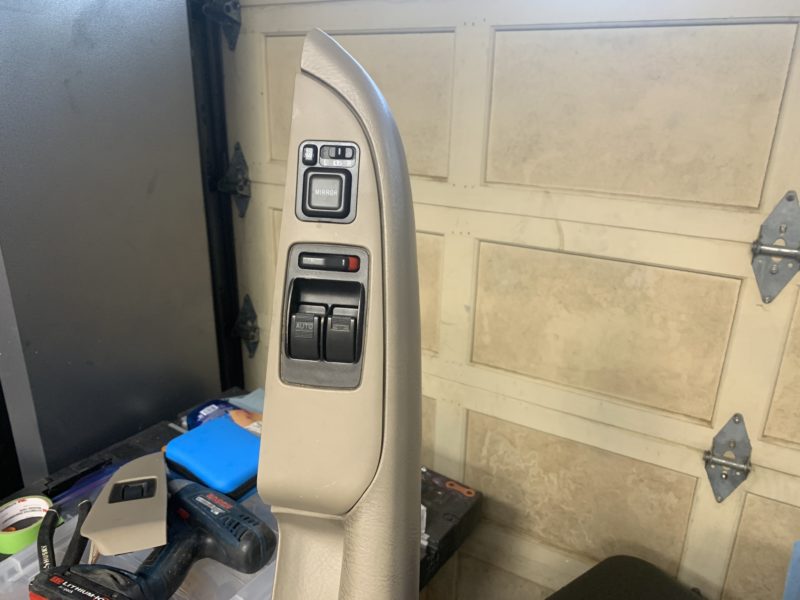
Reinstall everything in reverse of removal. When you get everything back onto the car,it should look a lot better than before. However, it’s not totally perfect as the foam can separate over time again. In fact, I expect it to separate over time again as I think it’s still a weak glue joint, even with the use of Gorilla Glue.
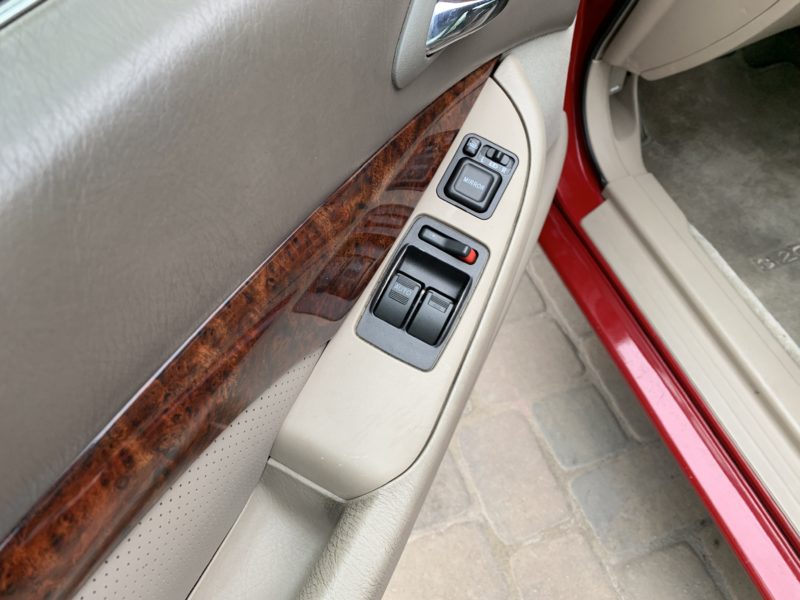

It’s certainly not a 100% repair, but I’d say it’s a 90% fix. Looking at it generally, you won’t notice any issue, but if you’re sitting inside of the car and you’re looking carefully, you might notice that it’s still slightly separated, albeit it looks far and beyond better than how it looked initially.
I hope this helps you address the armrest gap issue that you might also be experiencing. I want to thank member 03_CLS_6 from the Acurazine Forums for the idea for fixing this armrest separation problem that we commonly see on the second generation Acura CL.

