In our family, the minivan is the workhorse that does most of the driving, especially with the transportation of the kids on a daily basis. After hearing about some hit-and-runs from our friends, we figured it would be a good investment to install a dash cam in our 2019 Honda Odyssey. Trying to decide on a dash cam in the market that is flooded with all kinds of devices is tough to do, so we went with what was recommended on Amazon.
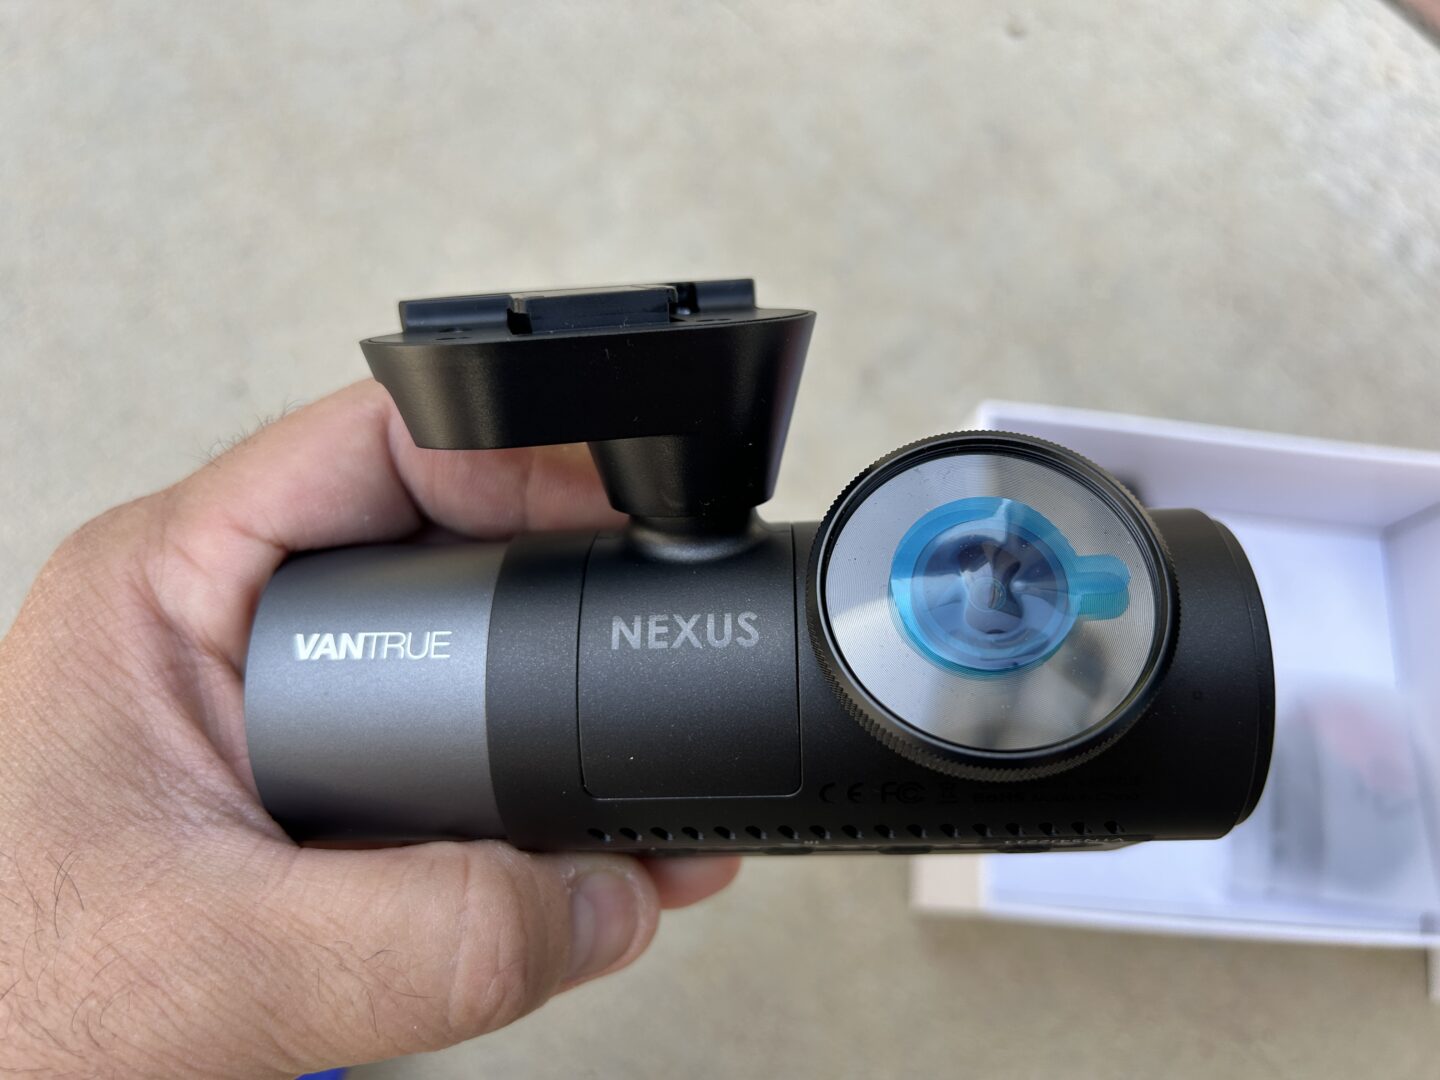
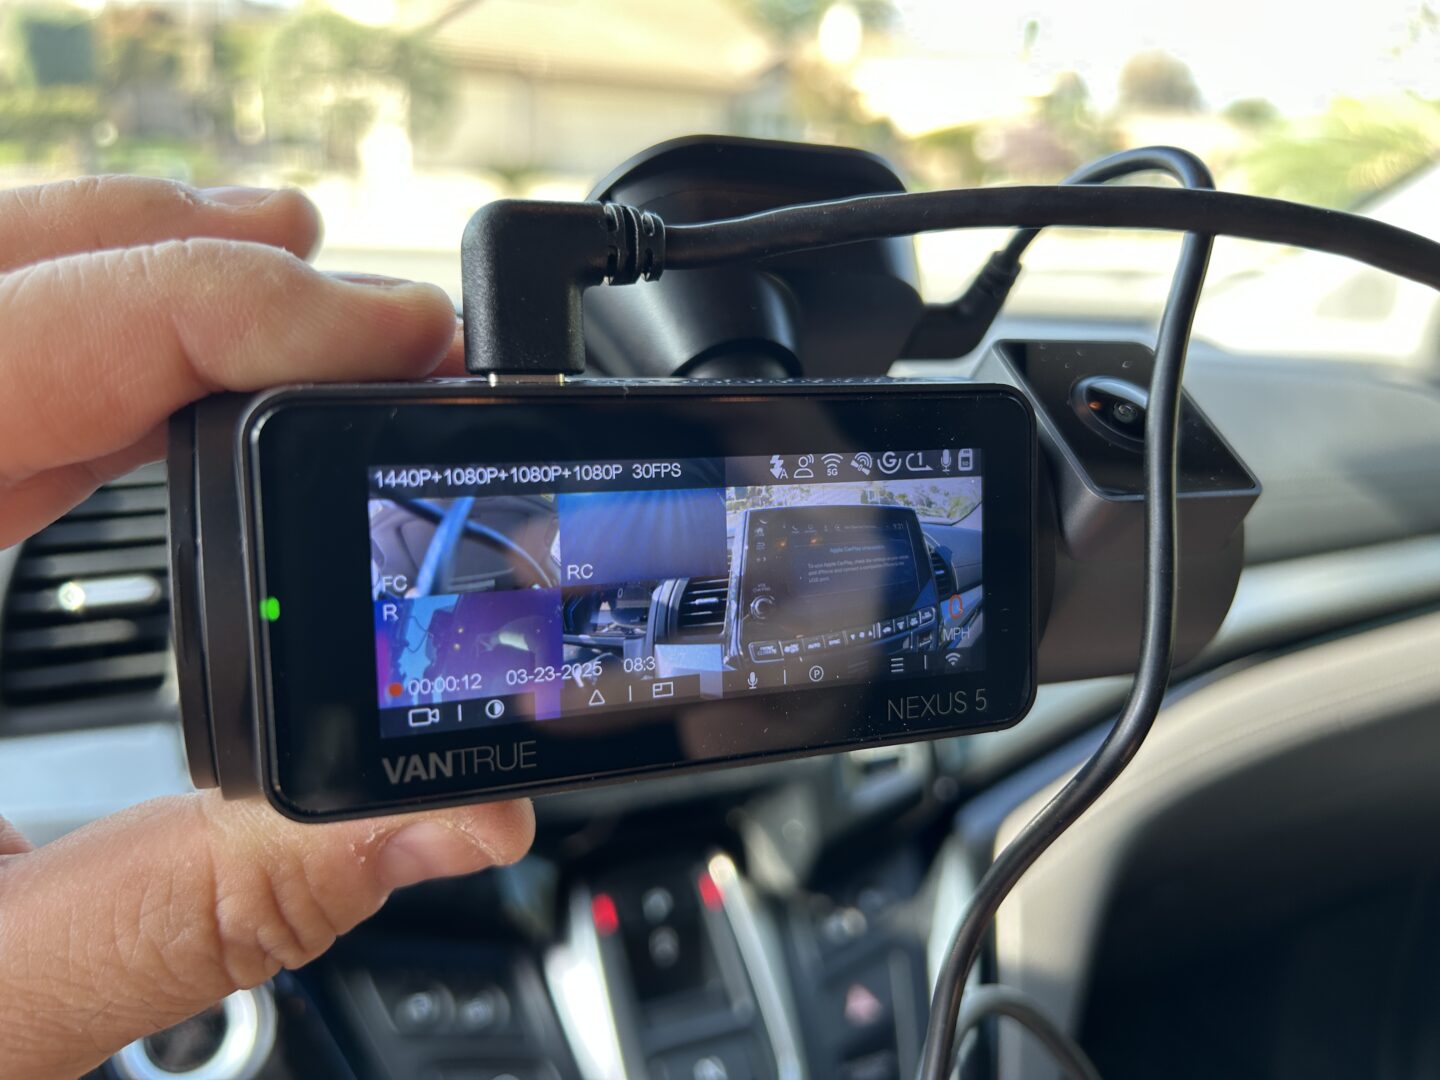
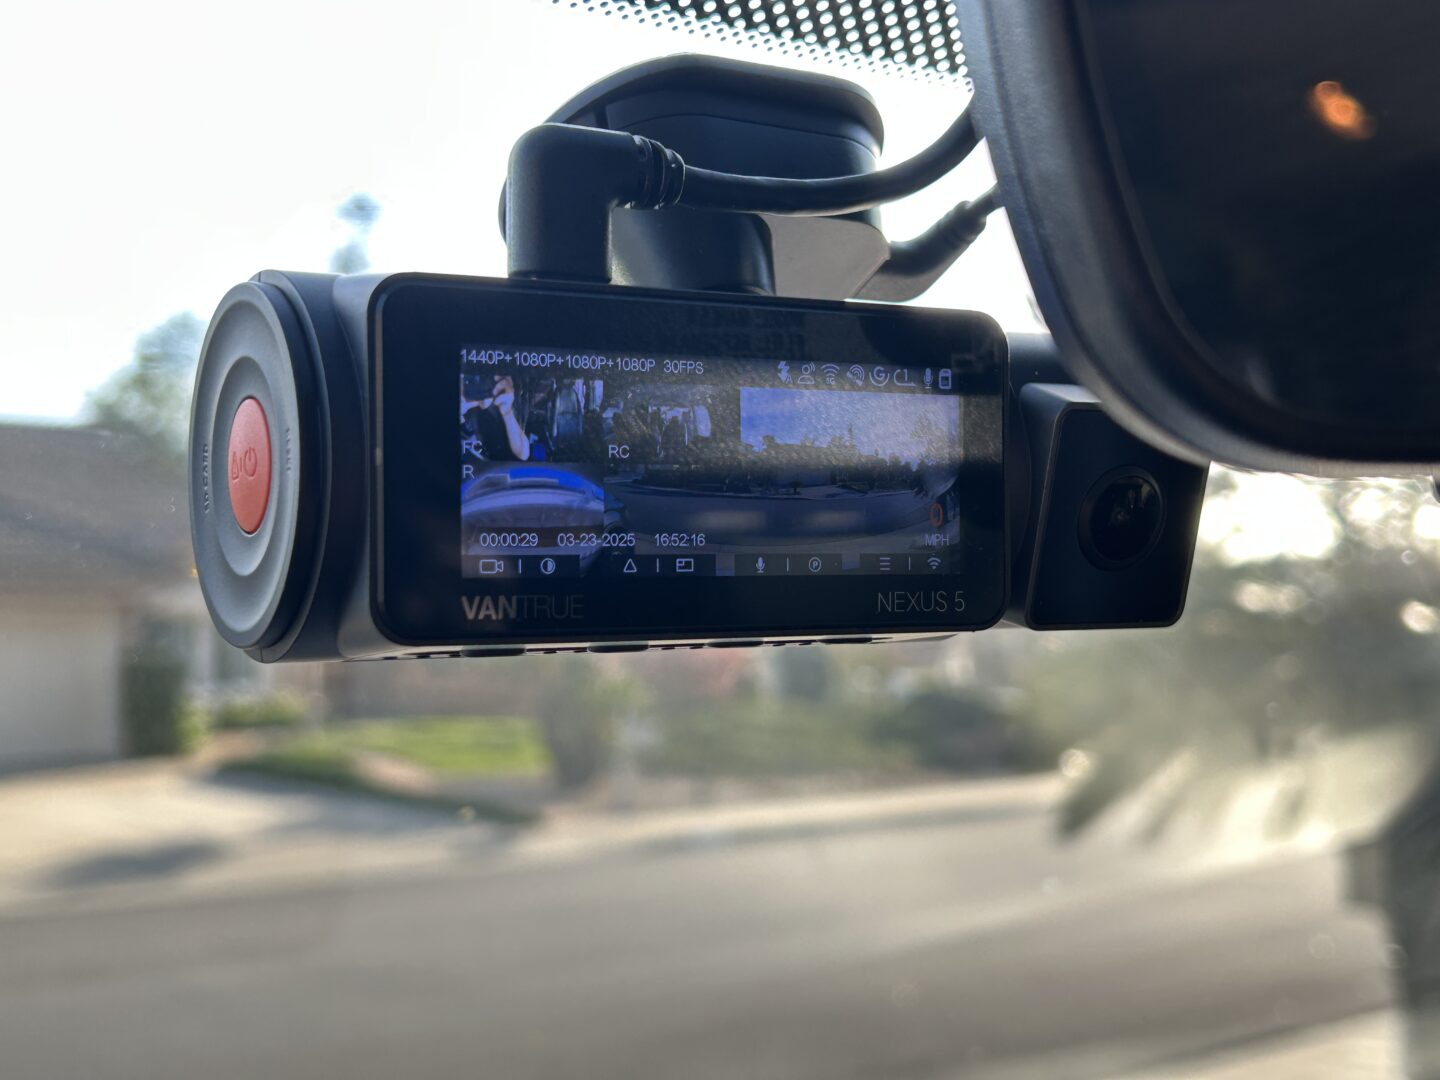
We were looking for a 360 camera, which gives a lot more views all around your vehicle in case anything happens. Vantrue is a pretty popular brand that gets rave reviews, so we opted for this one: the Vantrue N5 (Nexus 5) 360 Dash Cam. I’ll be going through the install process of this dash cam, which has both a front and a rear camera. Both cameras are connected by wire and will be installed so that the wiring is hidden.
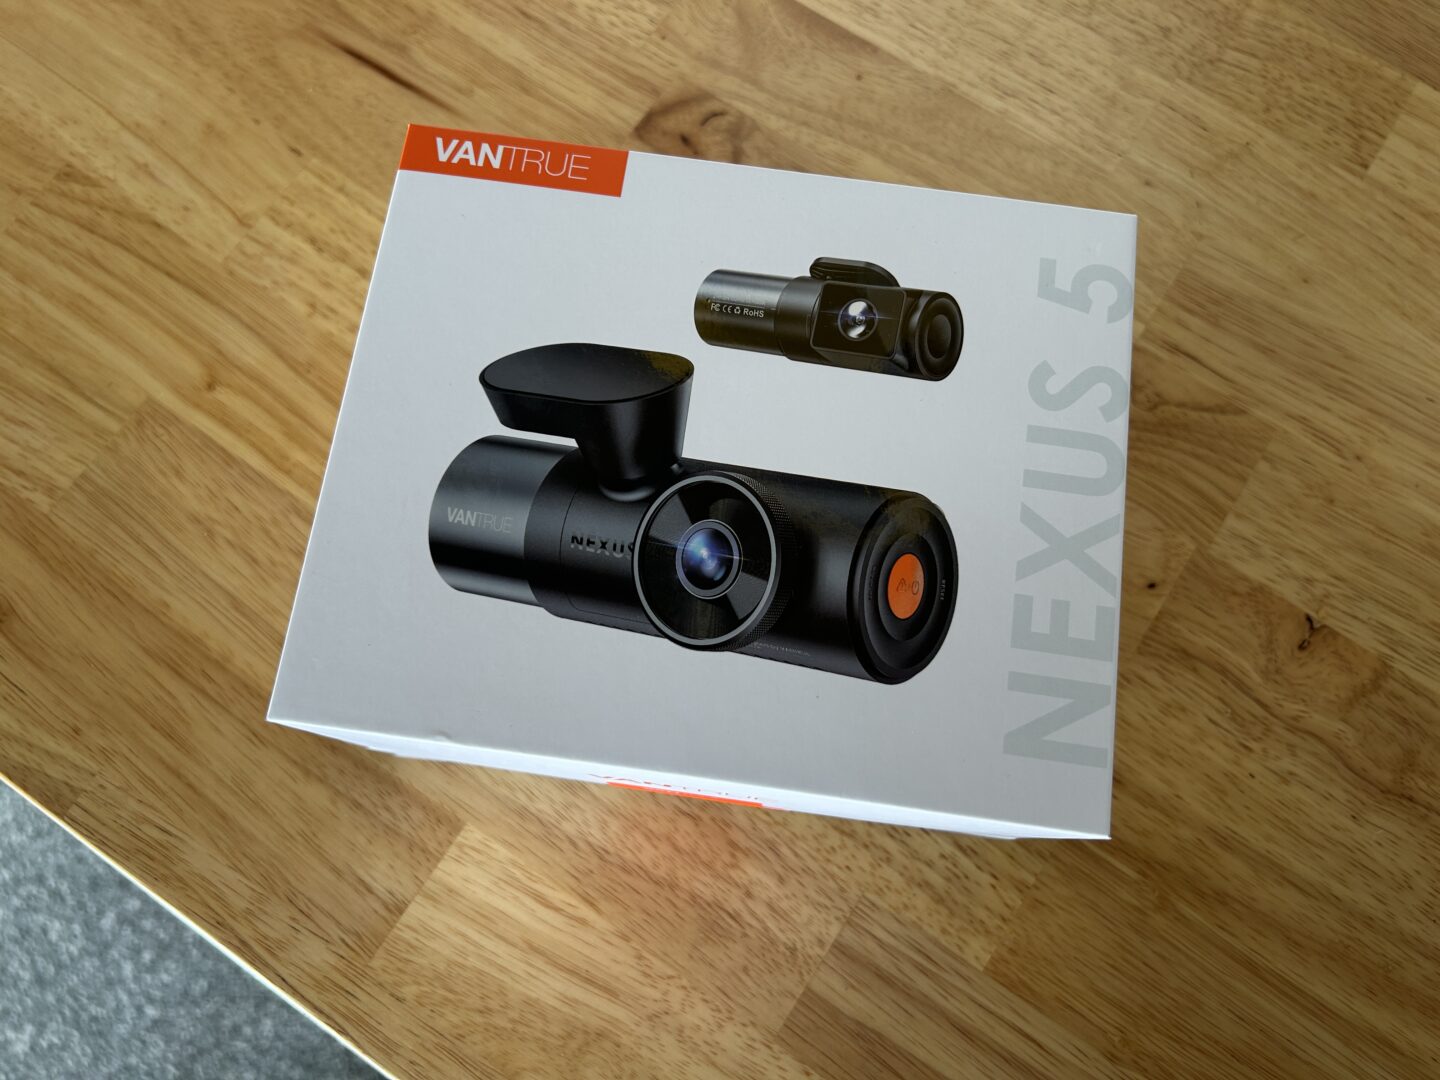
The Vantrue N5 360 Dash Cam is powered by a 12V cigarette lighter plug, which is perfectly fine to keep permanently plugged in since the plug only powers on when the vehicle is on. There is no worry of a parasitic drain when the vehicle is off. The rest of the wiring will be hidden behind various panels in the interior for a seamless looking install.
Vantrue N5 360 Degree Dash Cam: Amazon / Walmart
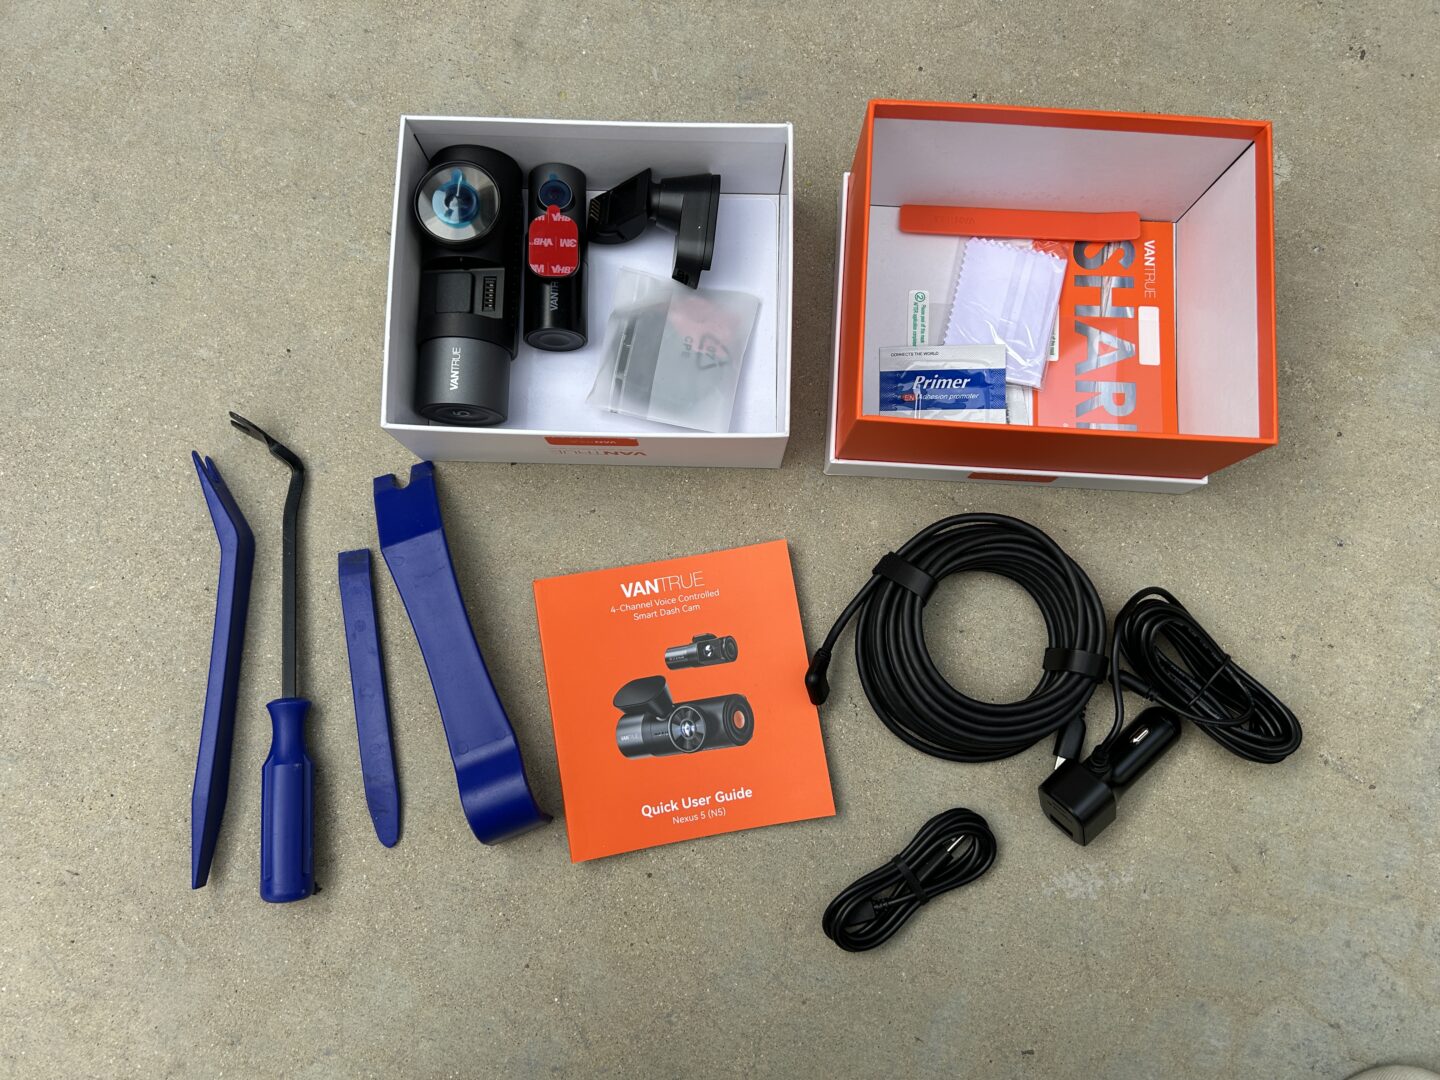
The Vantrue N5 comes with the front camera, rear camera, wiring, and parts/materials needed to install the cameras to the front and rear glass. The kit does come with a small trim tool (the orange trim tool in the box below), but I find that it is a tad small for what you need for the install. You sometimes need the help of at least two trim tools at once when getting behind the trim panels. Therefore, I recommend getting a trim tool set, which gives you a number of different tools to work with.
Trim Tool Set: Amazon
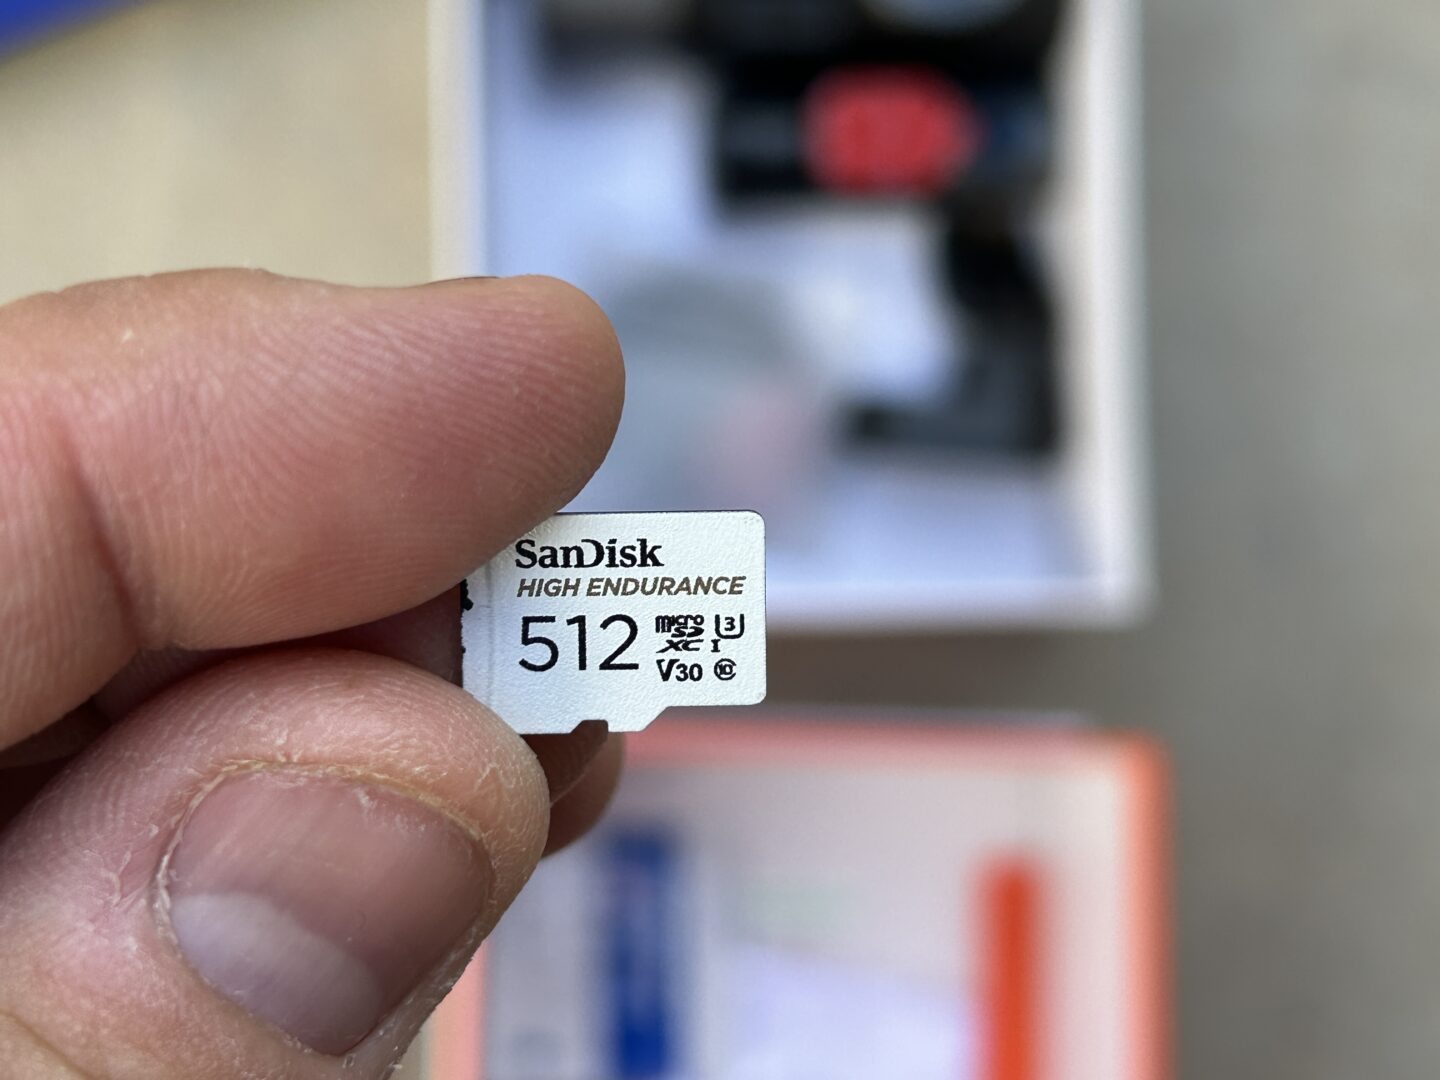
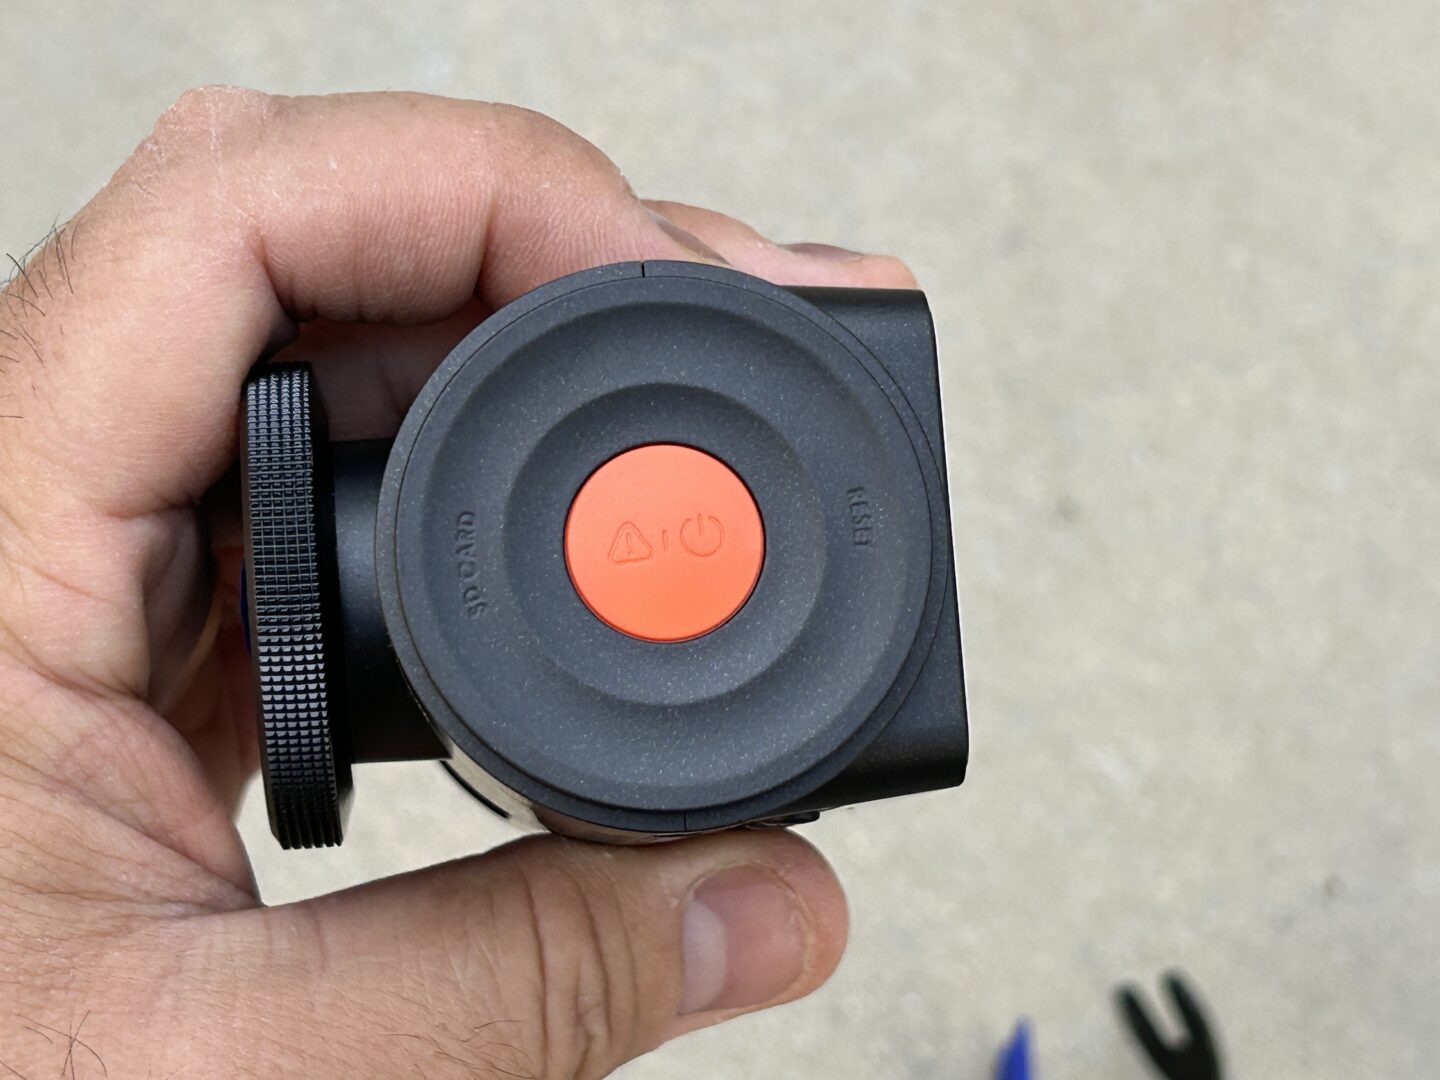
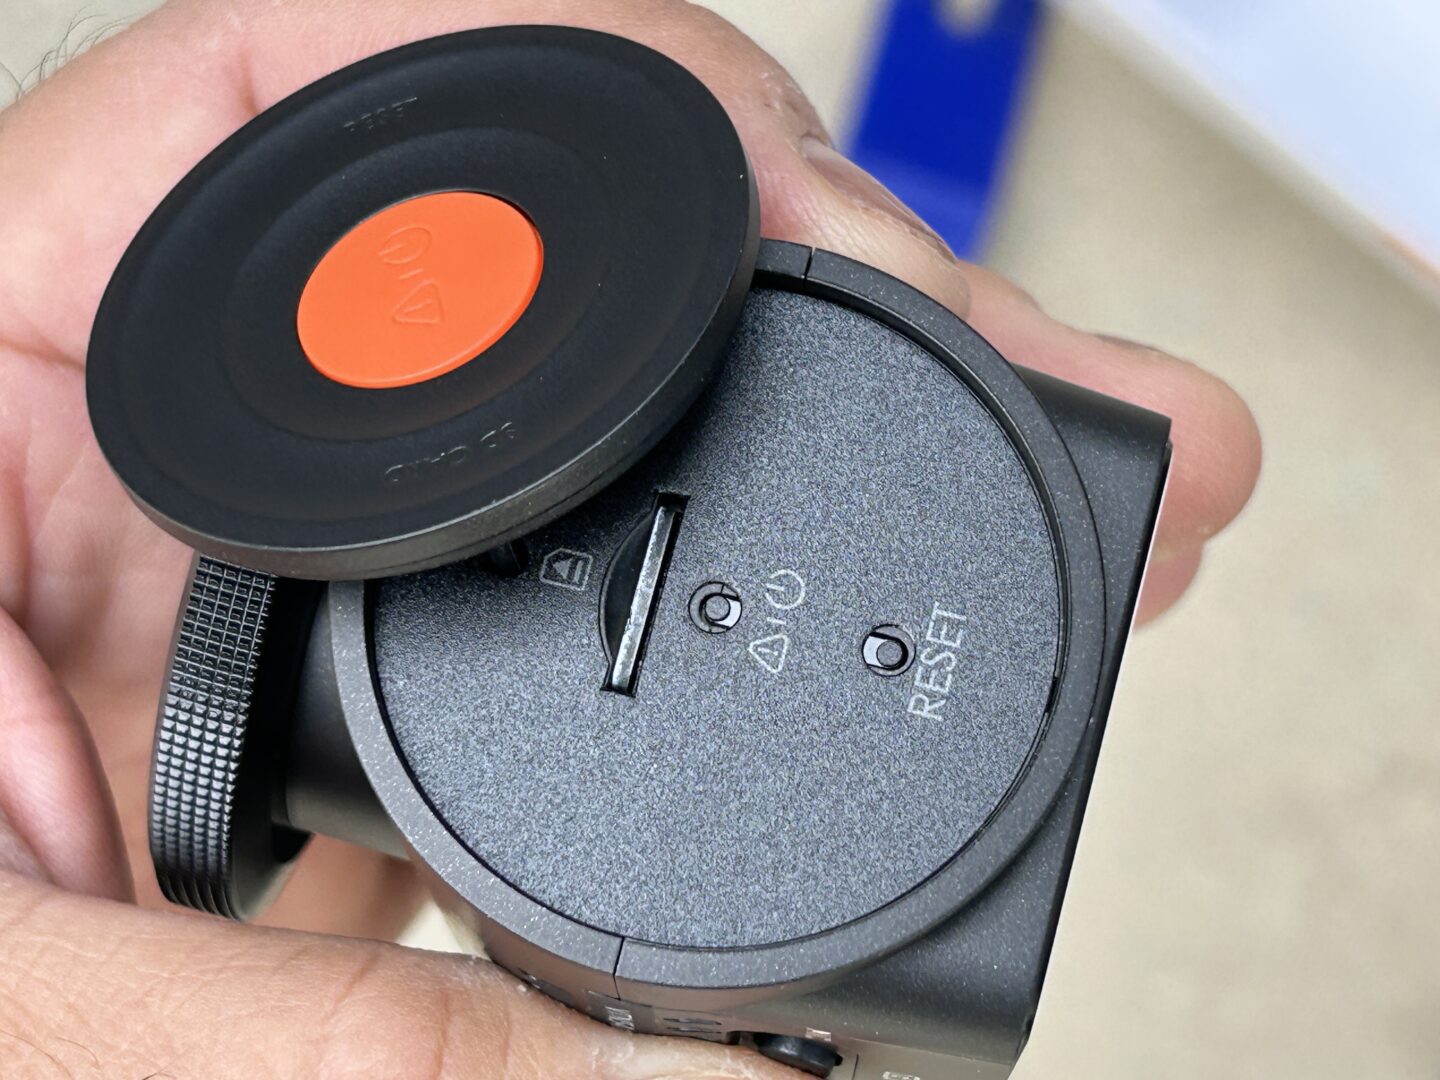
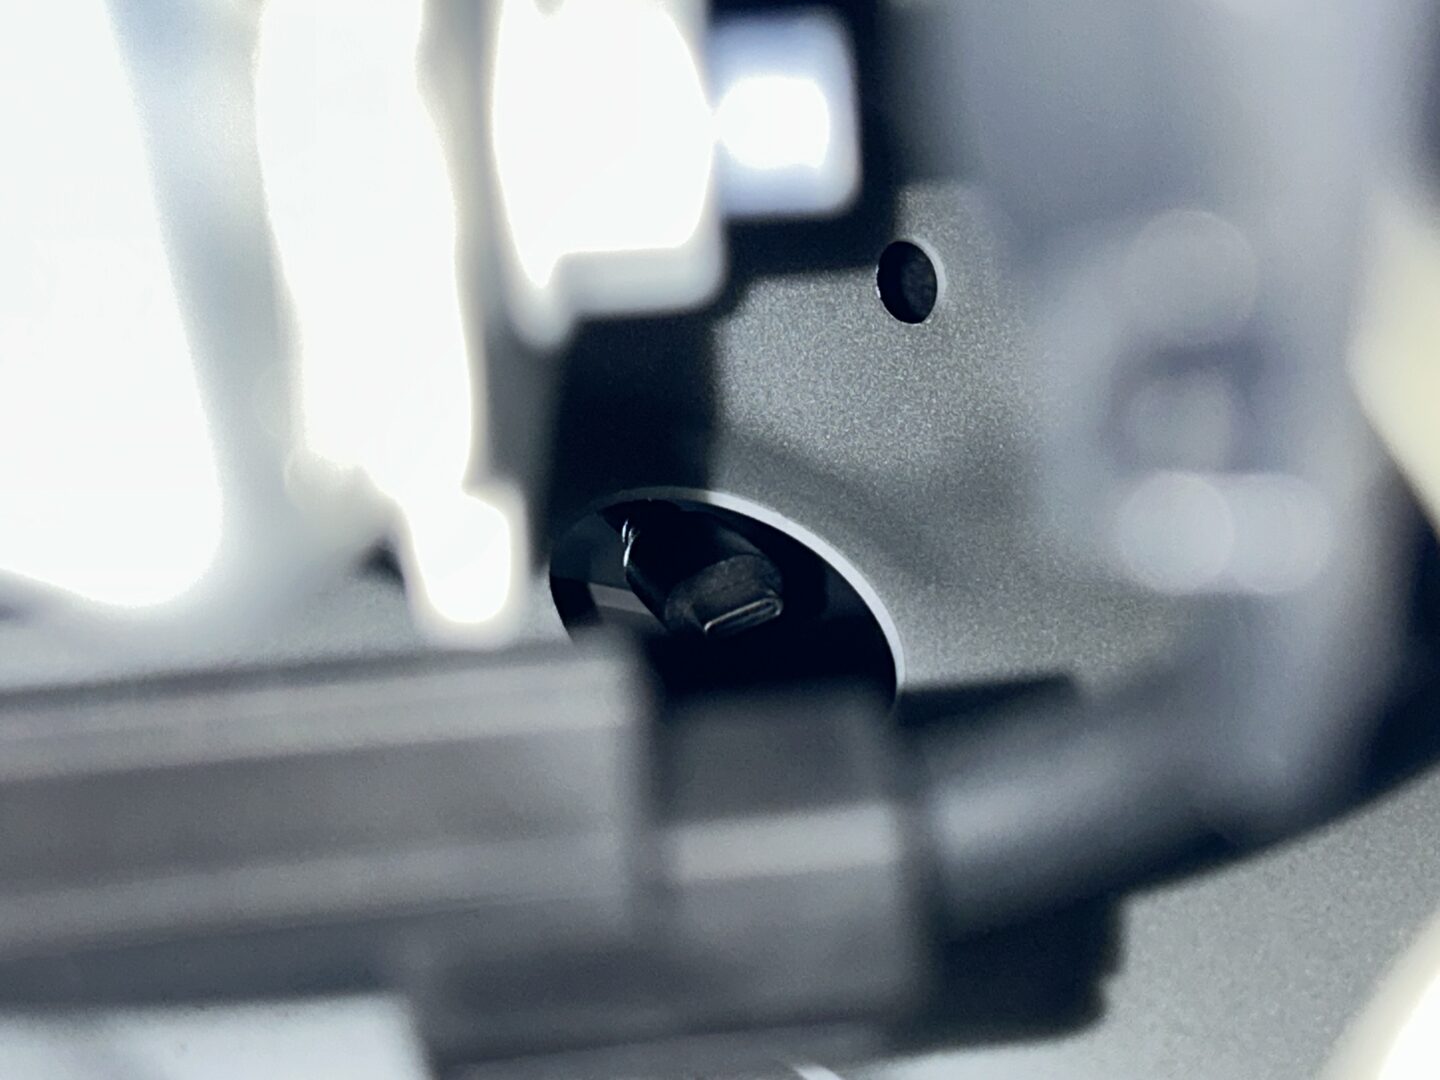
Another thing you will need is a micro-SD card, one that has higher capacity, fast enough transfer speed, and is ideal for heavy-use. I went with a SanDisk 512gb High Endurance MicroSD Card. To install the micro-SD card, you remove this magnetic cover. The location of the MicroSD card is pretty inconspicuous with the cover on.
Micro SD Card: Search MicroSD cards on Amazon
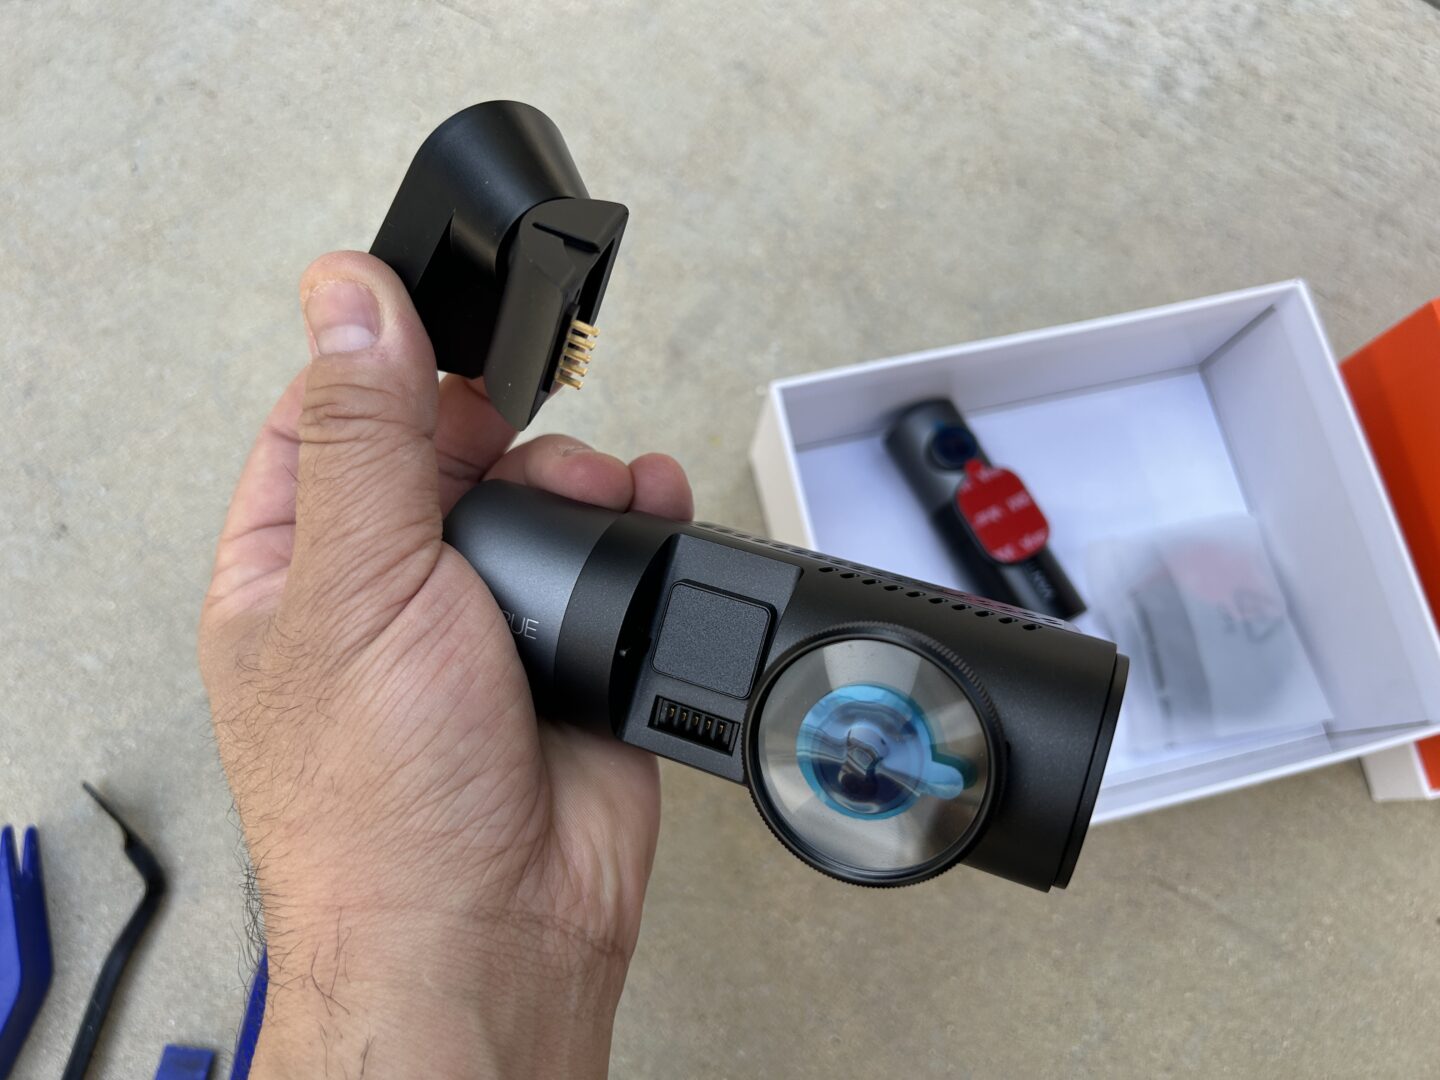
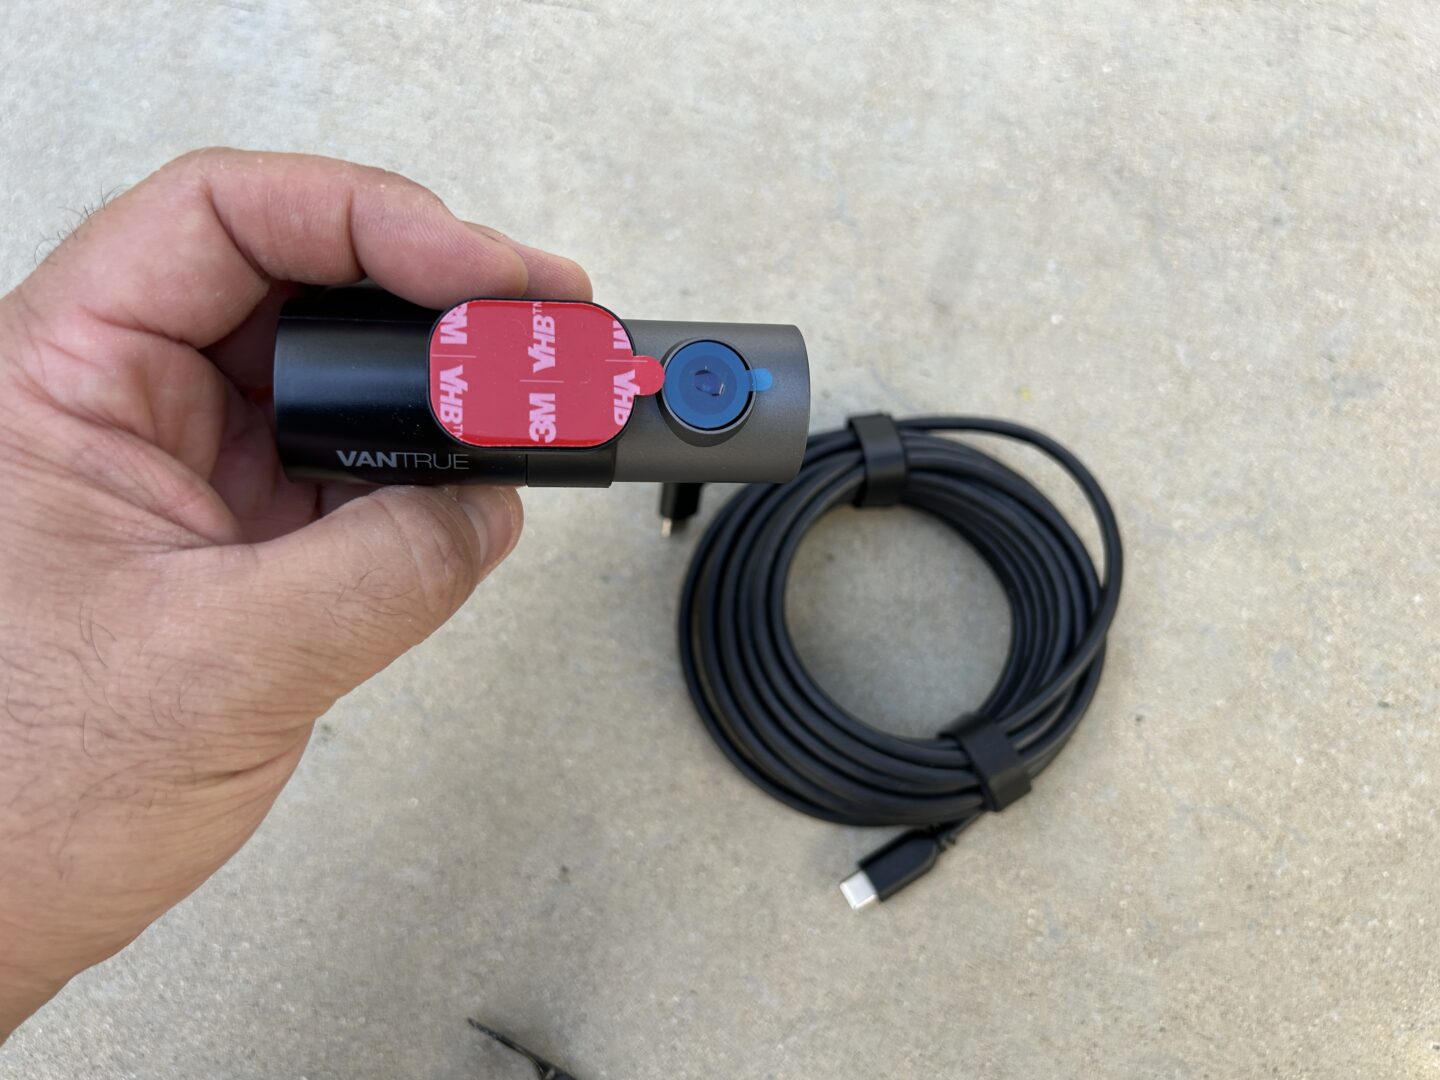
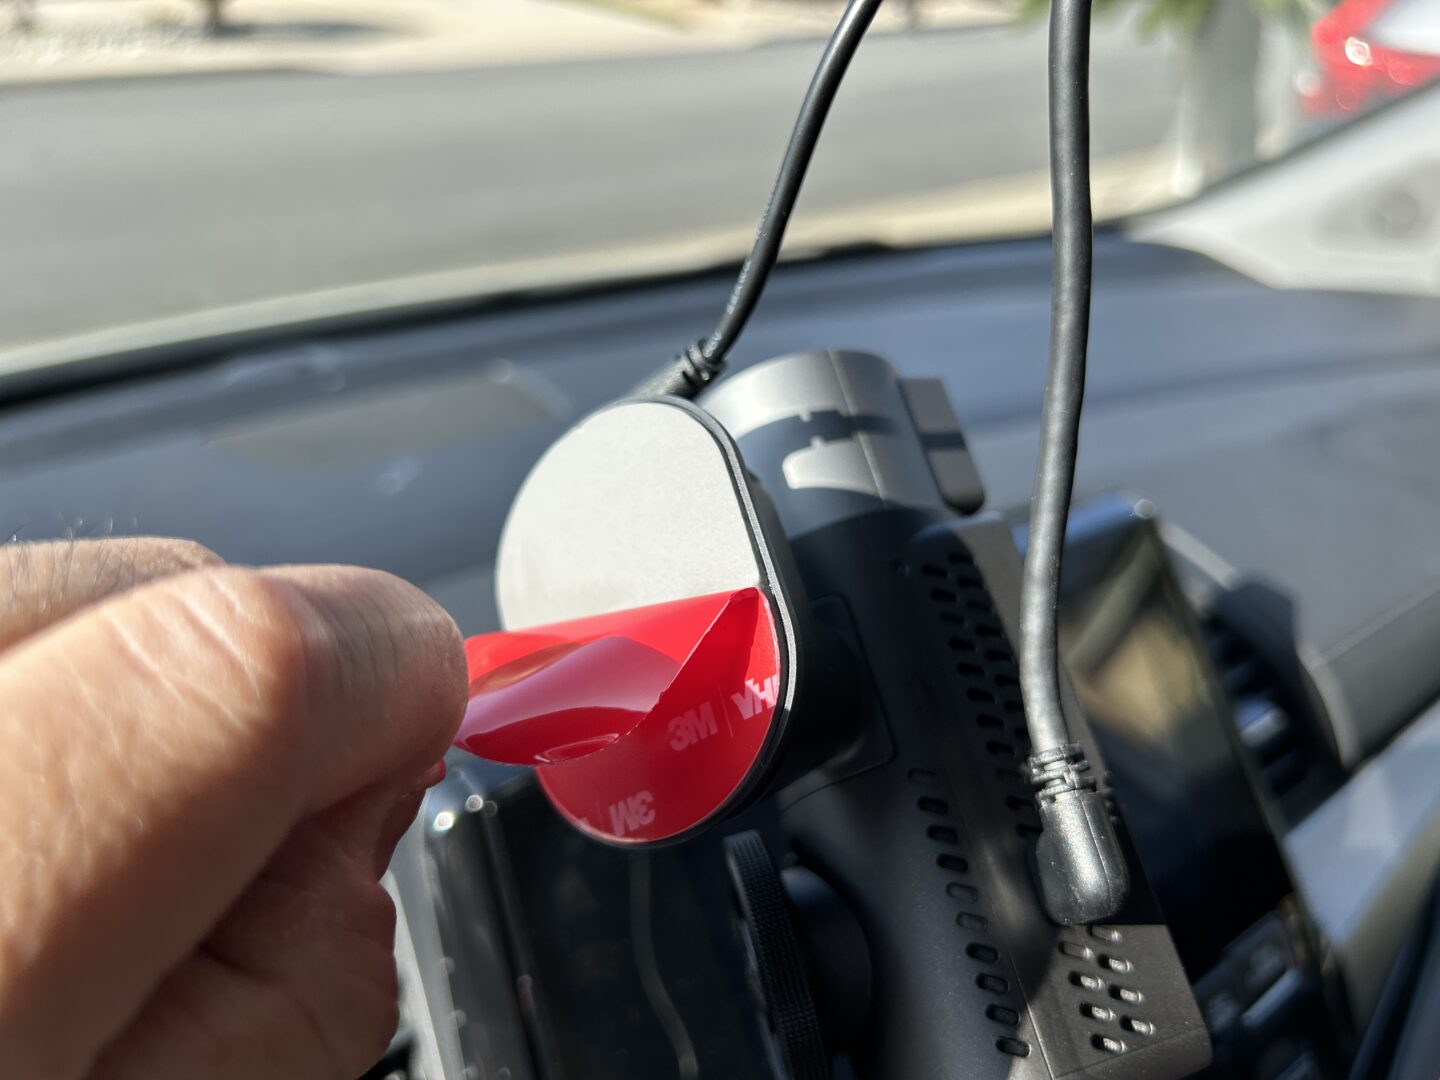
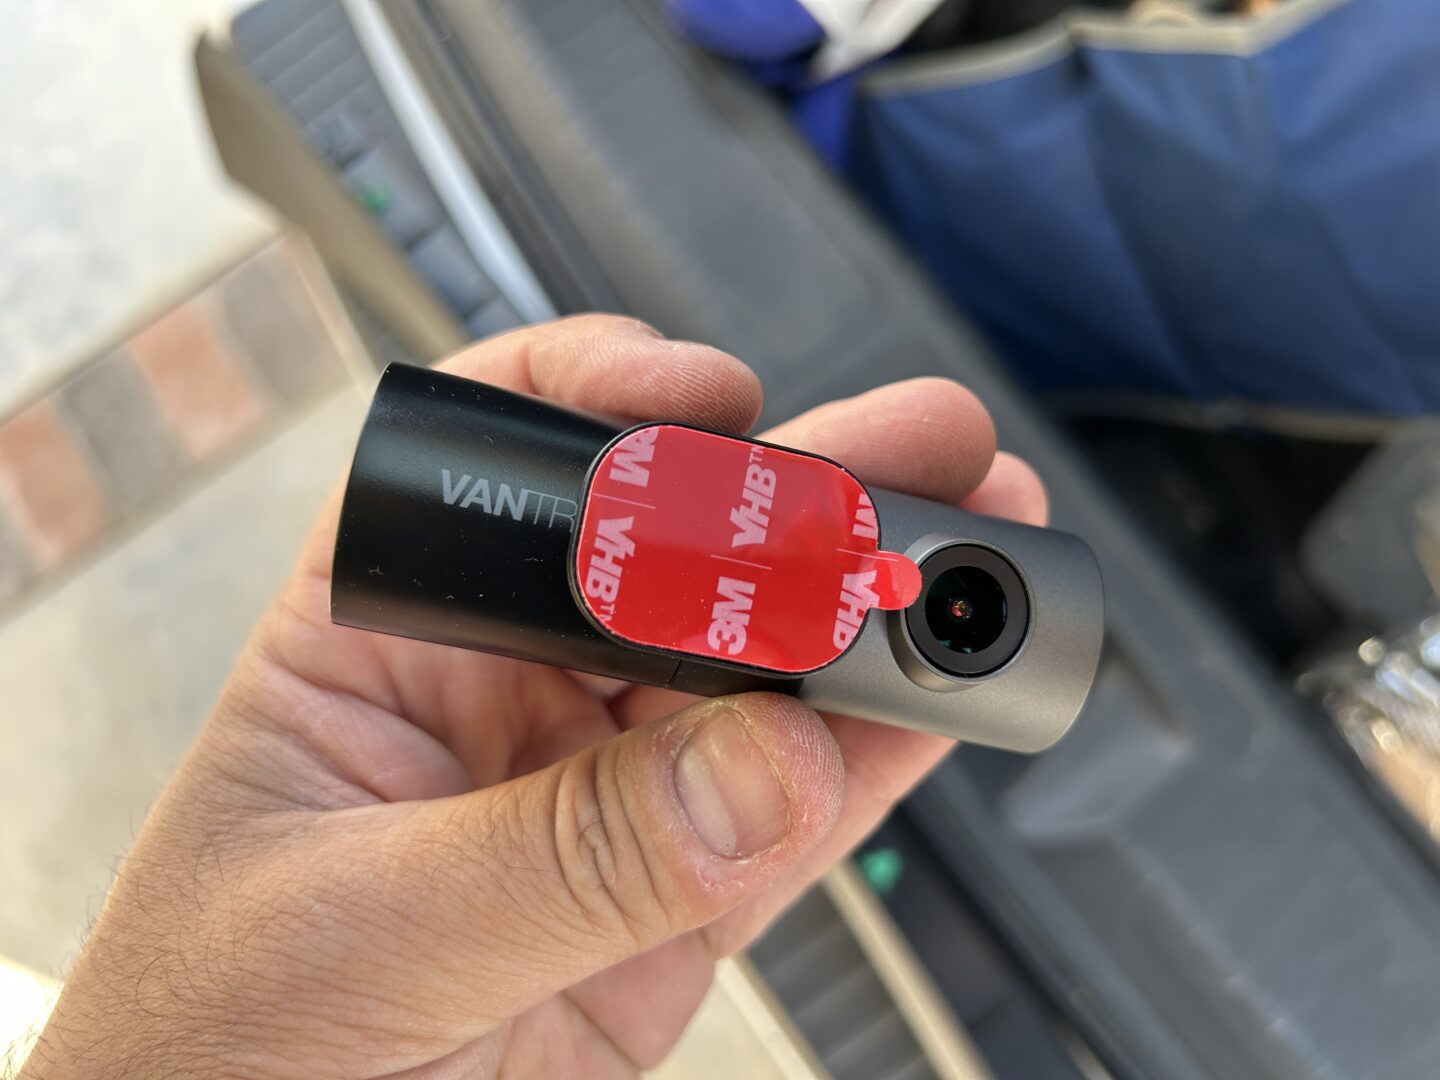
The front camera has a detachable arm, which is installed to the front windshield via 3M VHB tape. The rear camera is also installed to the rear glass via 3M VHB tape. Take all of these parts out and connect them to each other and to the power connector to ensure that everything works properly.
Other materials you will need are some general Phillips head and flat head screwdrivers, as well as a grabber tool. You’ll also need a regular socket rachet set with a 10mm socket.
Screwdriver Set: ROTATION 6PCS Magnetic Tip Screwdriver Set
Bendable Claw Tool: Grabber Four-Claw Magnetic Tool
Socket Set: EPAuto 40 Pieces 1/4-Inch & 3/8-Inch Drive Socket Set
Dry Wire Tape: XFasten Wire Harness Tape, 3/4-Inch x 50-Foot (5-Pack)
Installing the VanTrue N5 on the 5th Generation Honda Odyssey (2018-2025)
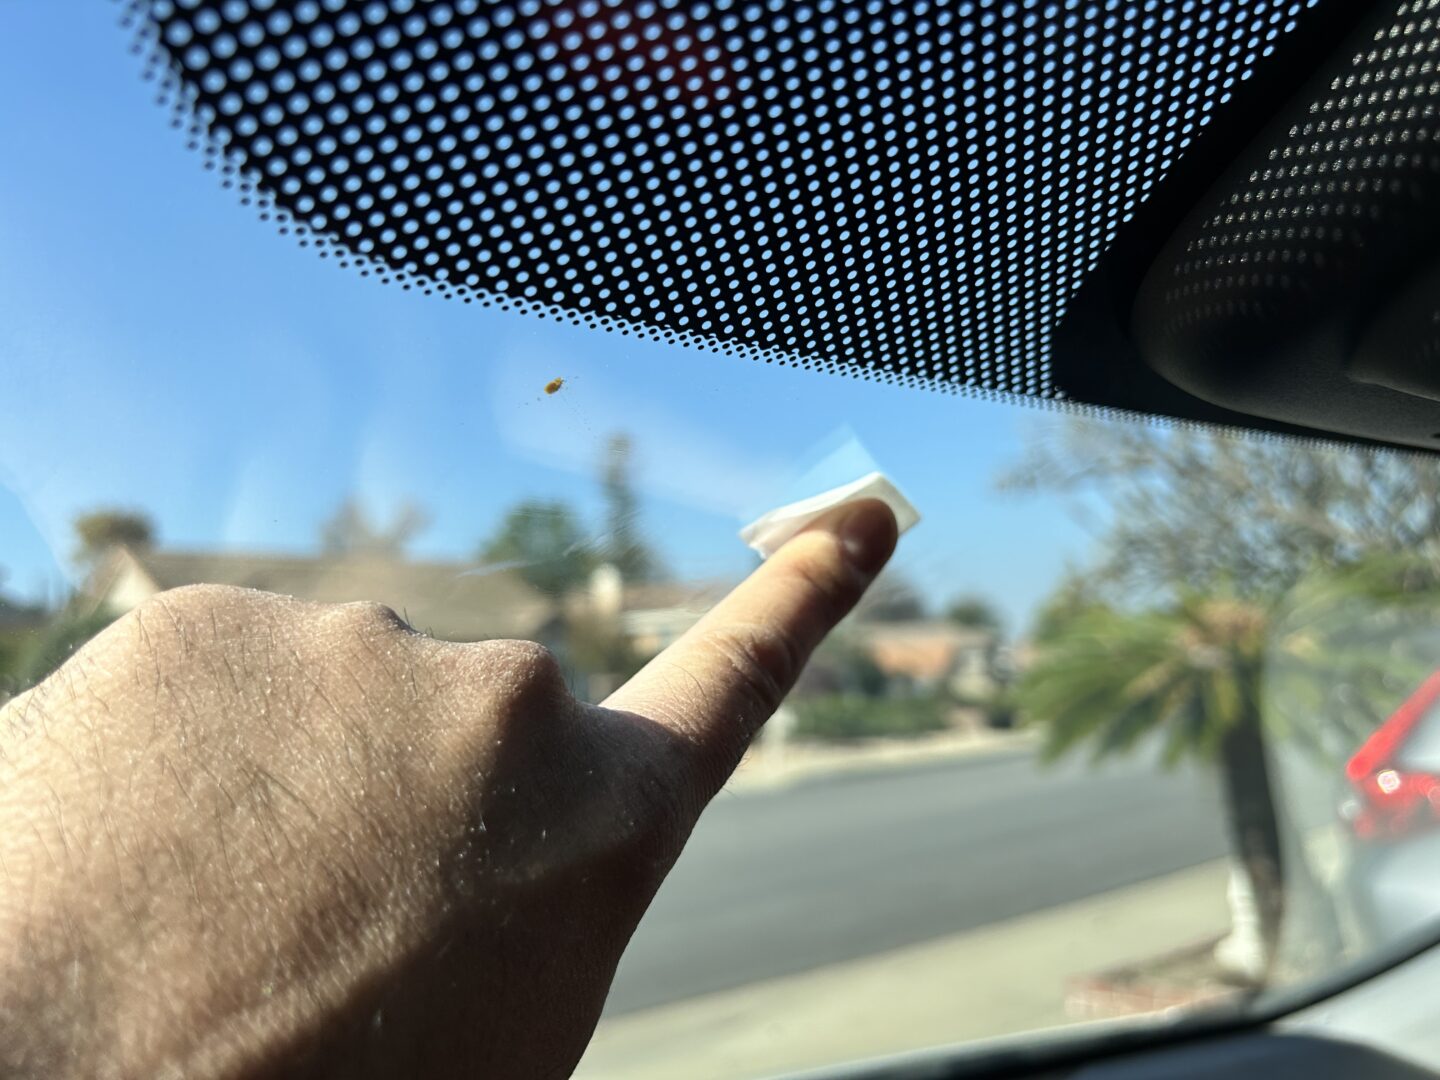
To ensure that the dash cams stay stuck on the glass so that it won’t come off, you must clean the glass and then apply this adhesion promotor prior to sticking the dash cams to the glass. On the front windshield, look for an ideal place to put the camera.
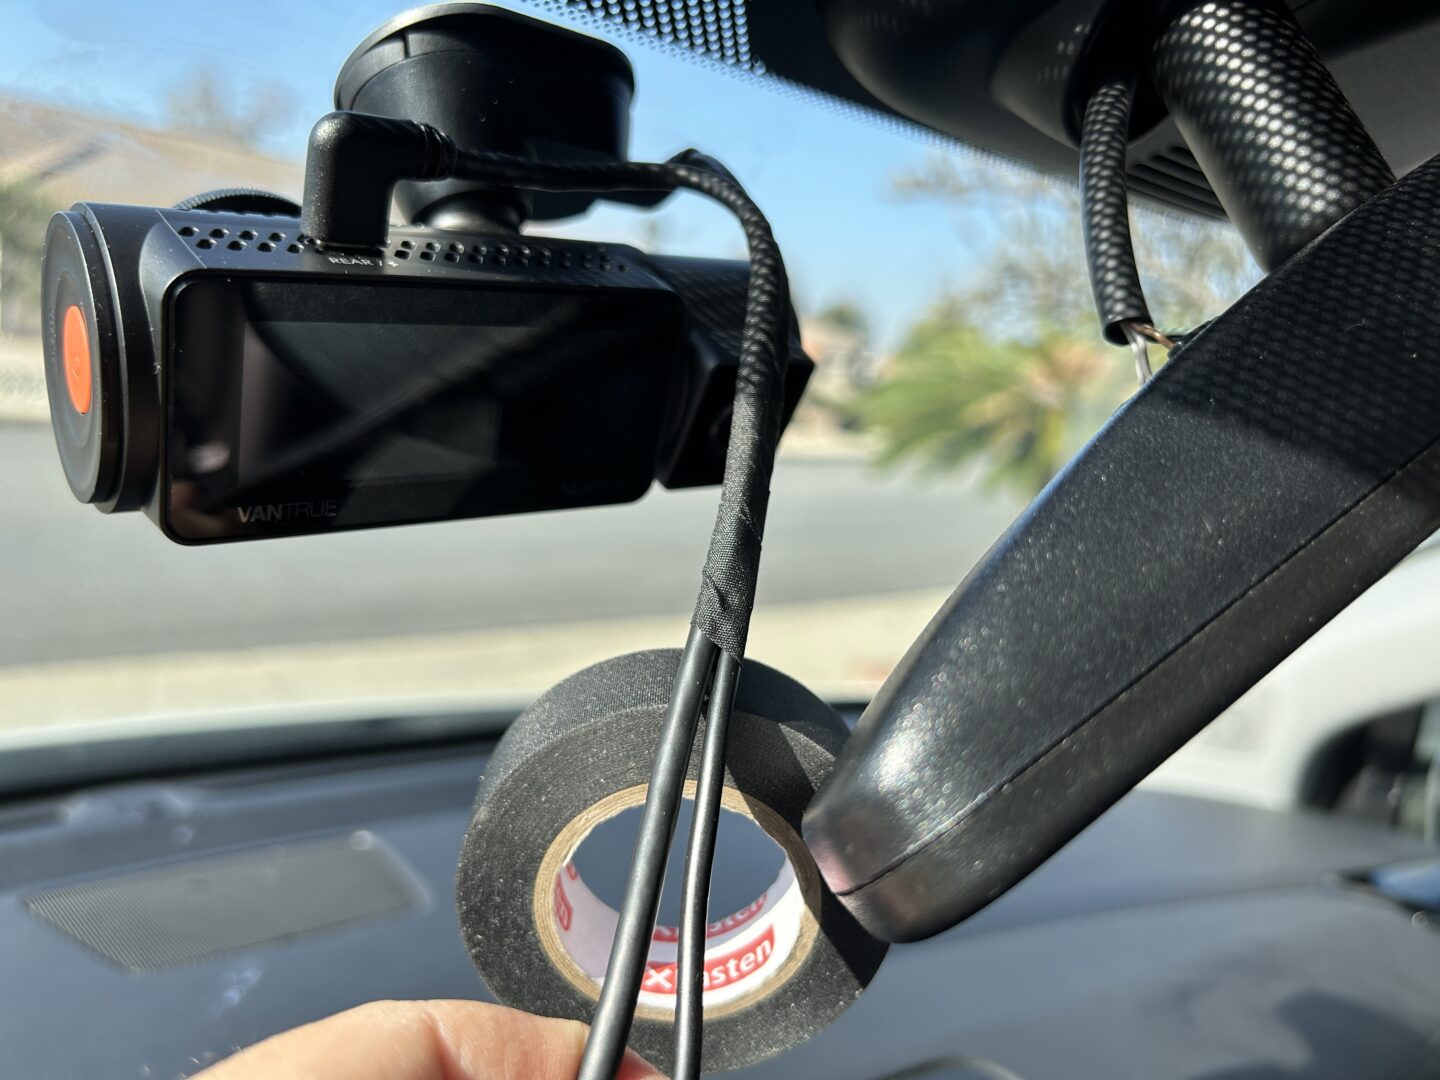
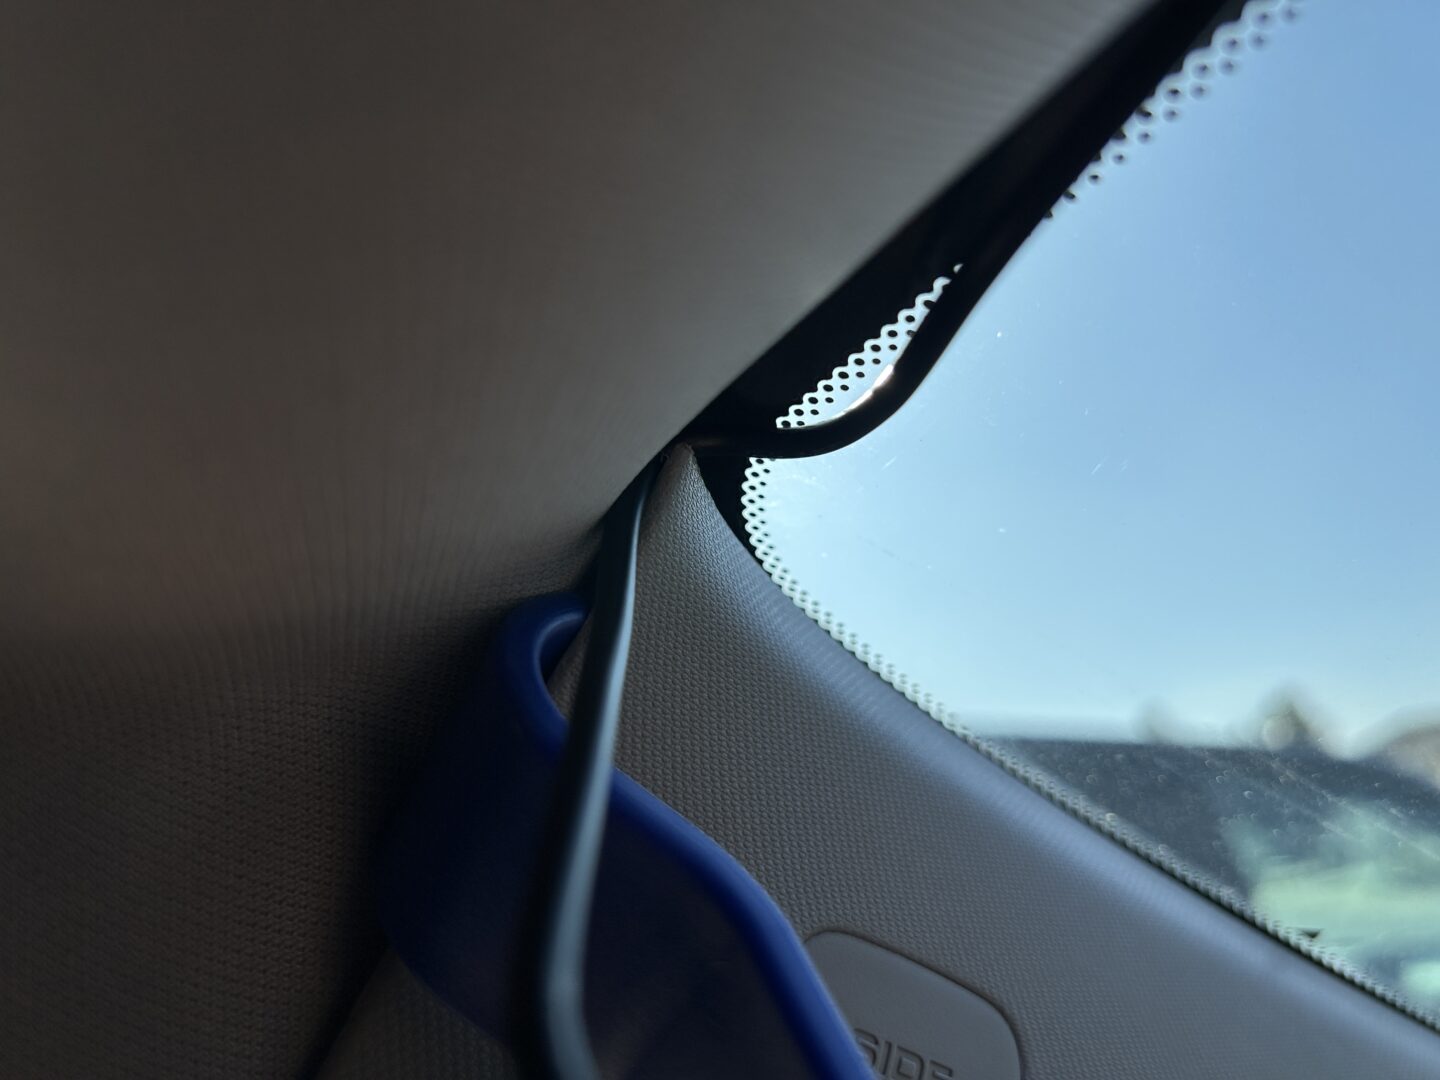
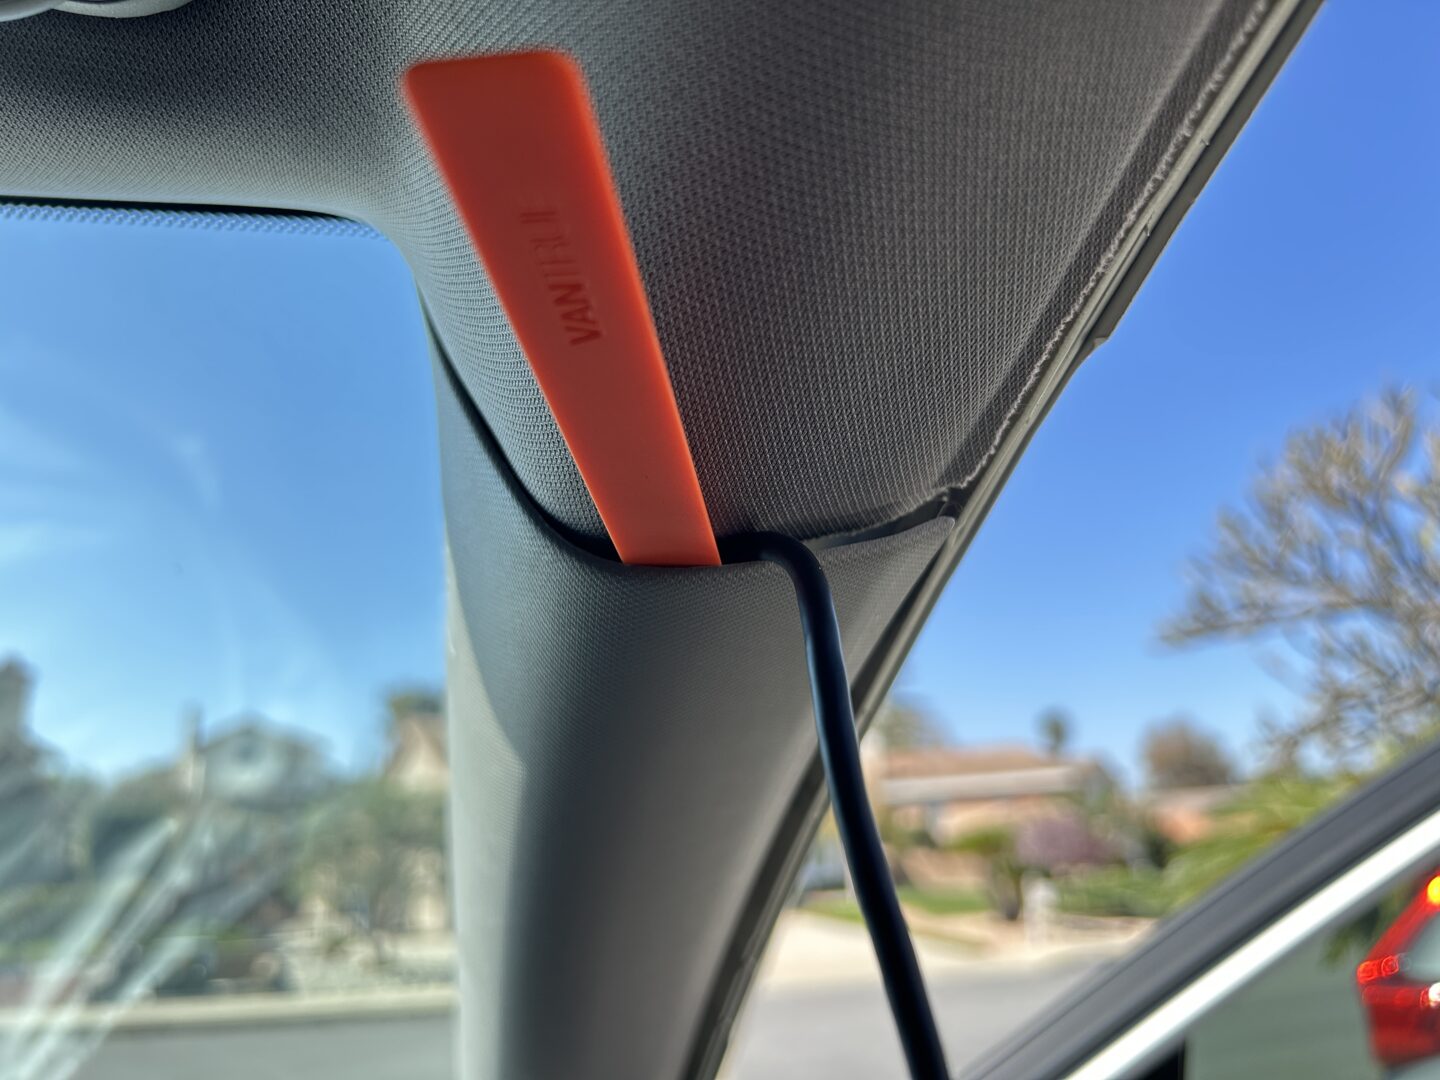
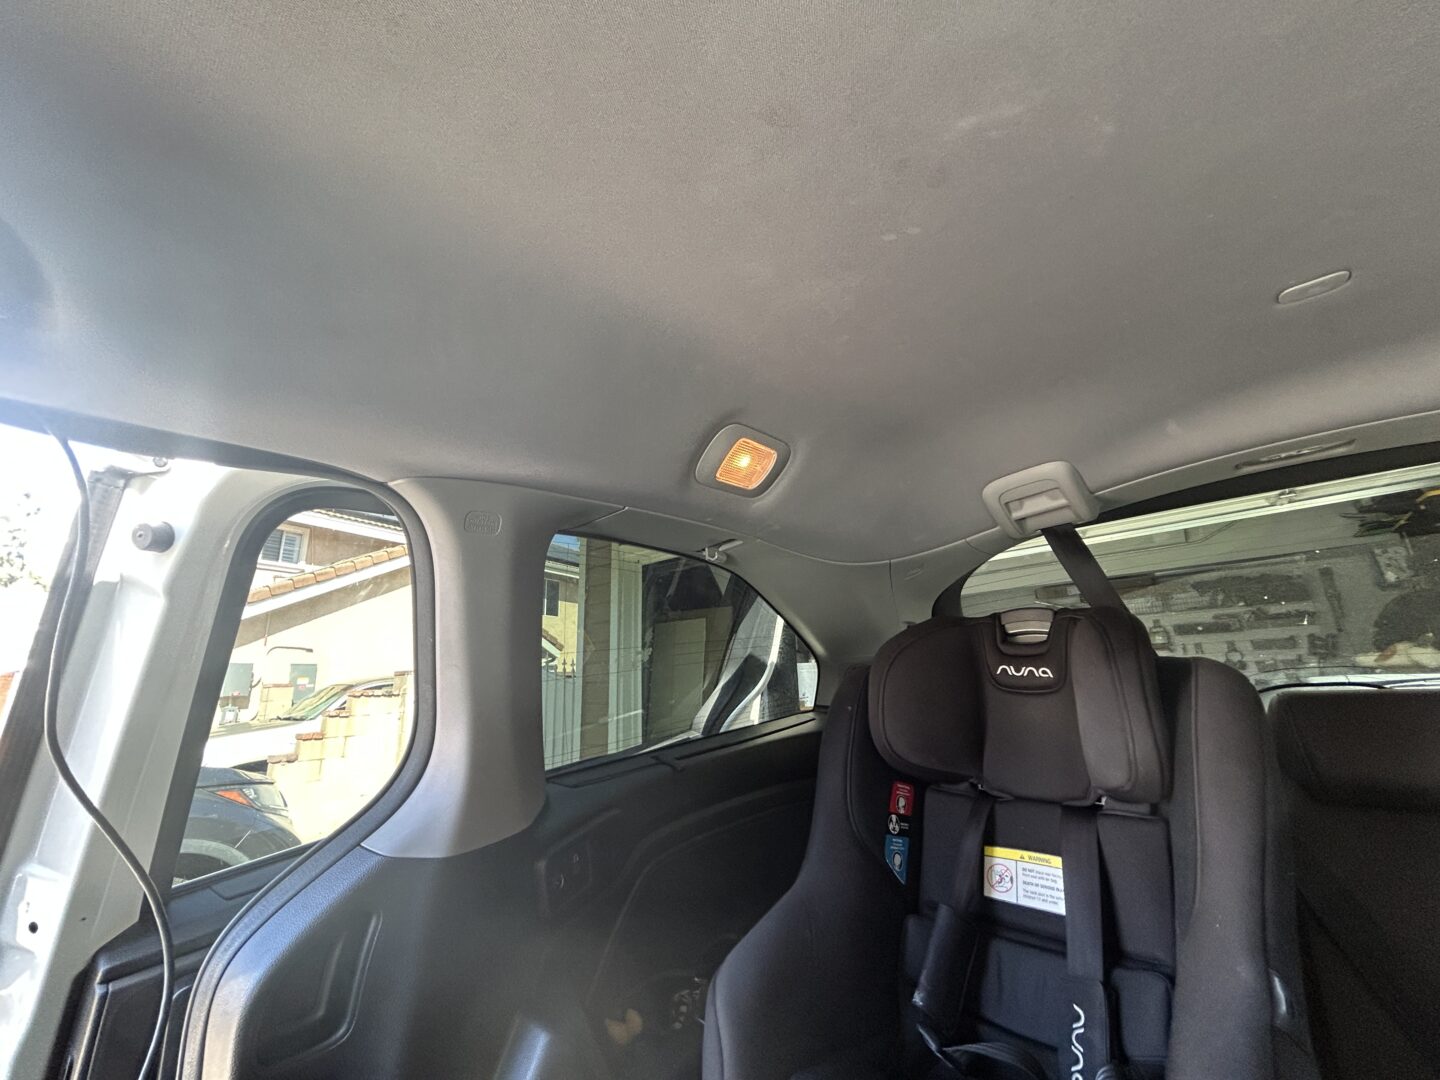
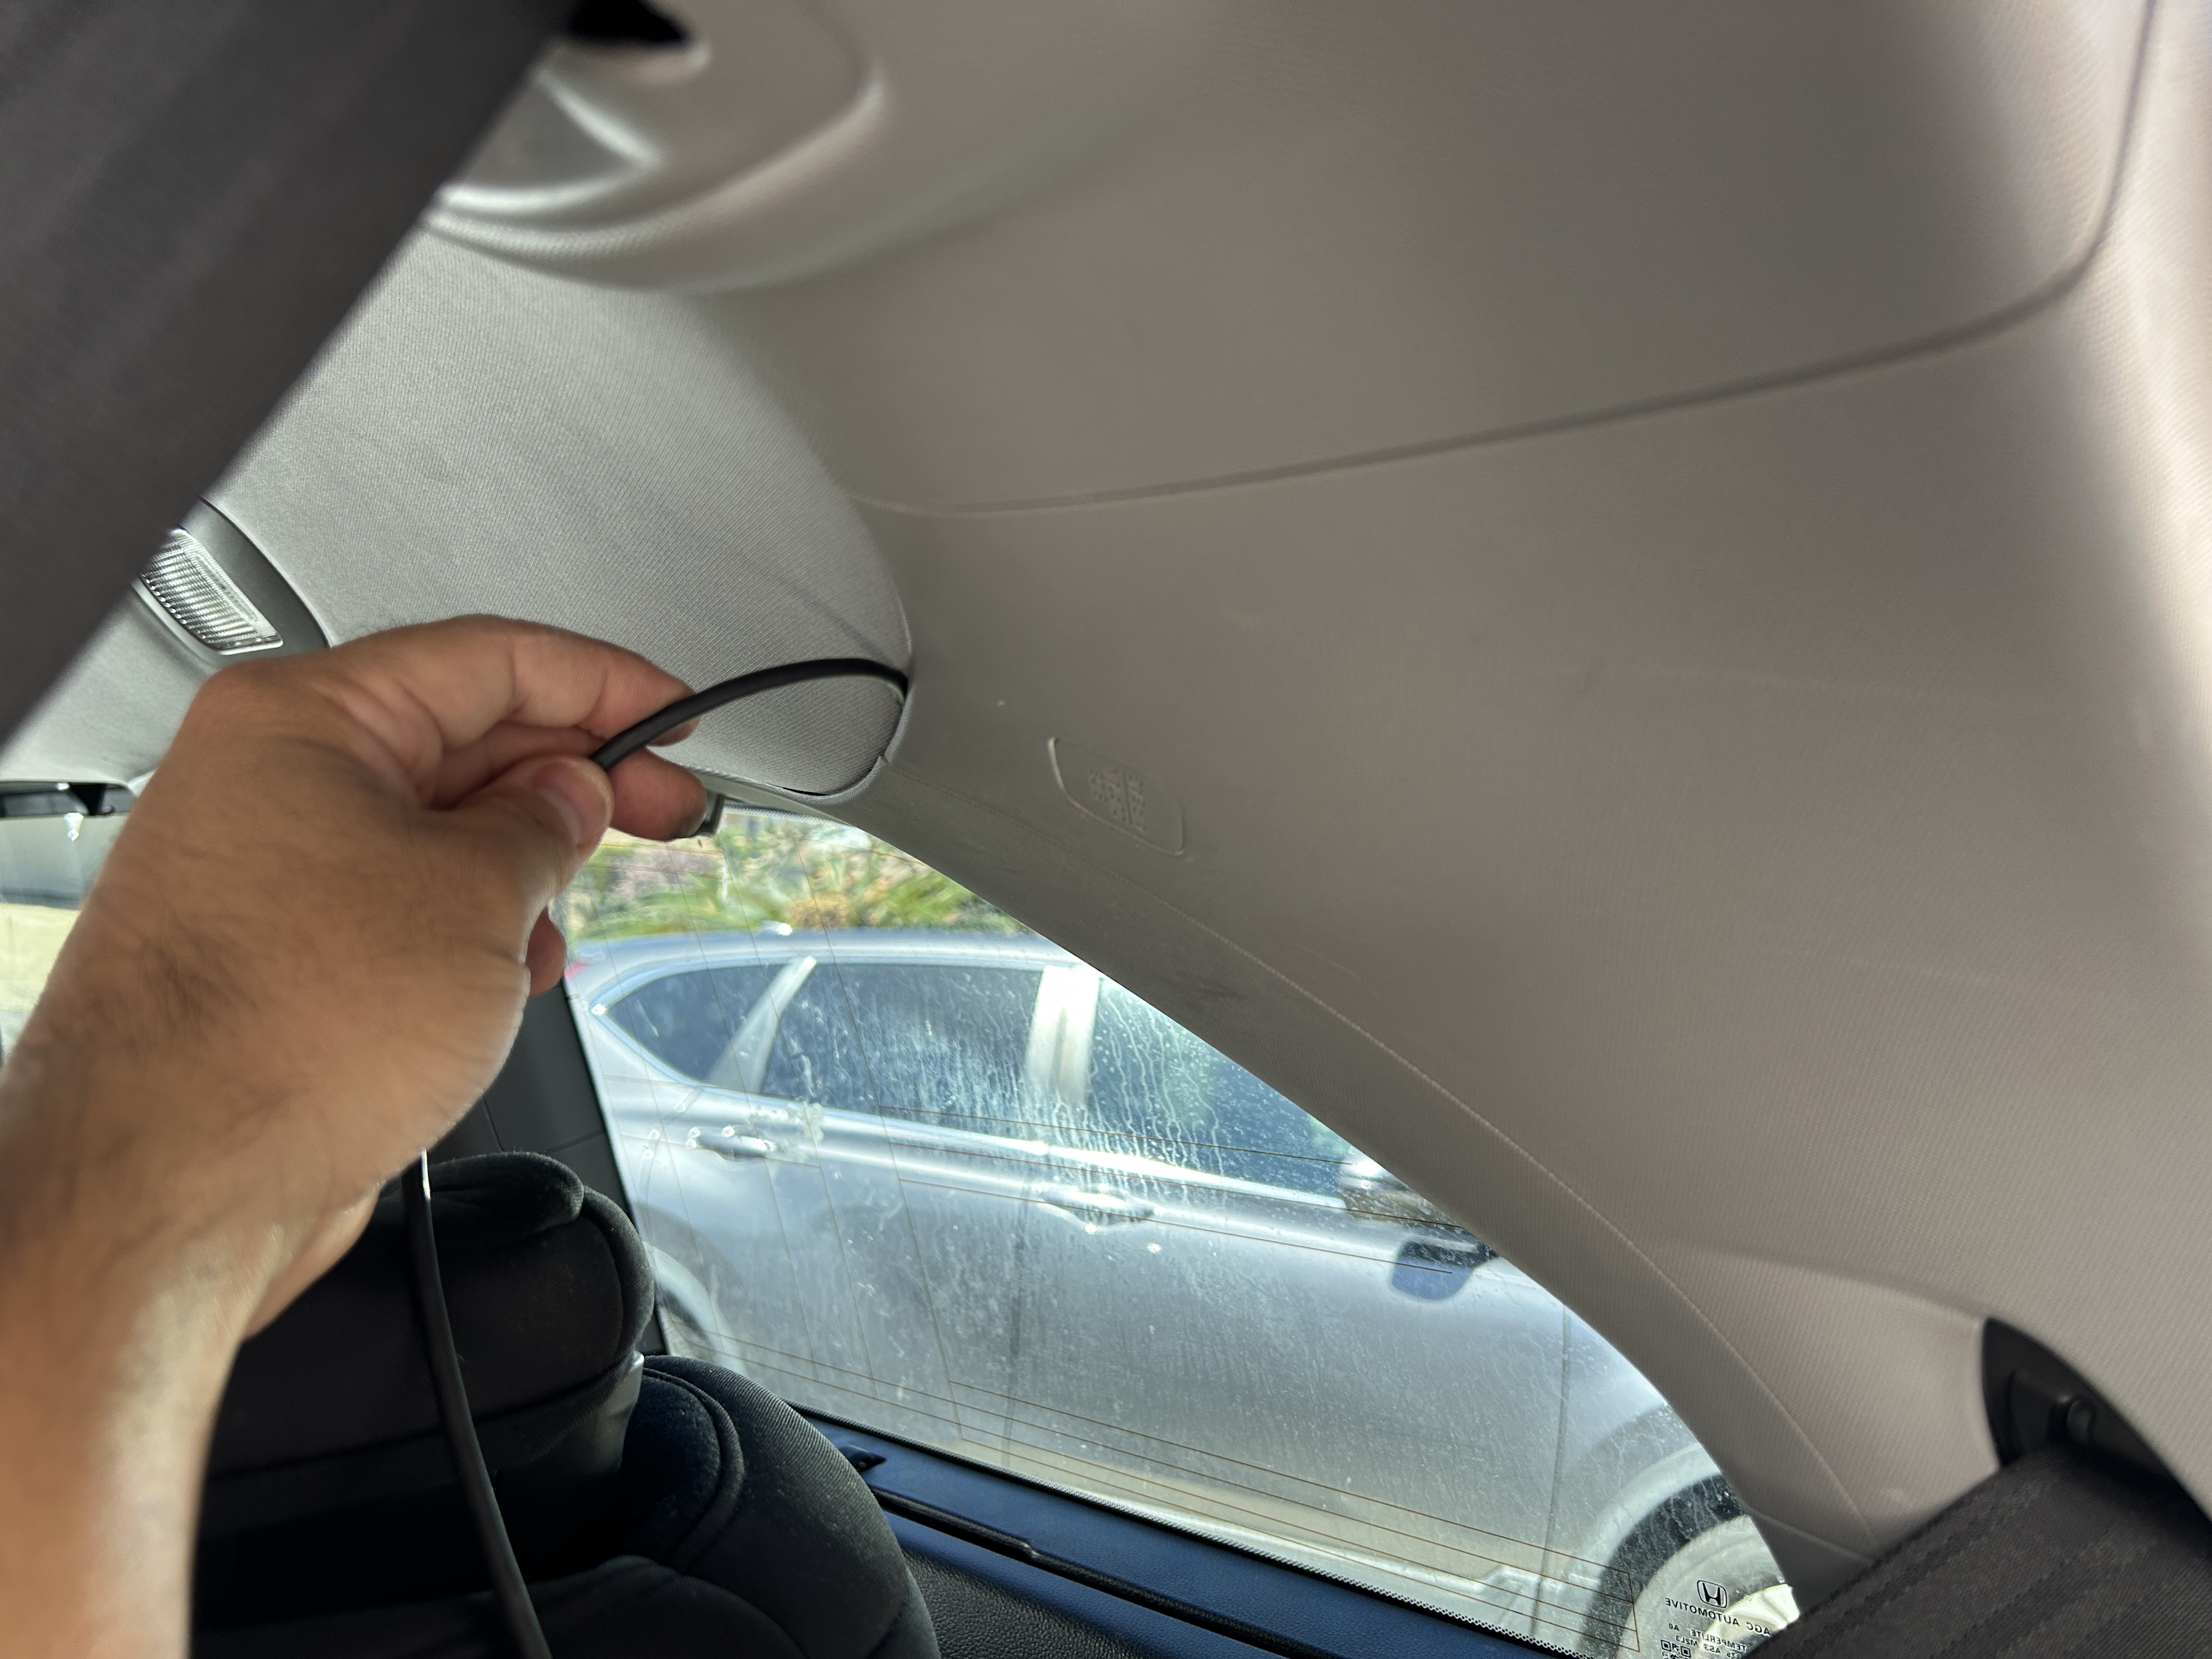
On my Odyssey, the best place in my opinion is in the middle of the windshield right behind the rear view mirror. This gives you a direct view out the front of the vehicle, but allows for the wiring to go up the side of the trim as shown below, hiding it in plain sight. The wires (one going to power, and the other going to the rear camera) will then be pushed behind the headliner so that the wiring is hidden.

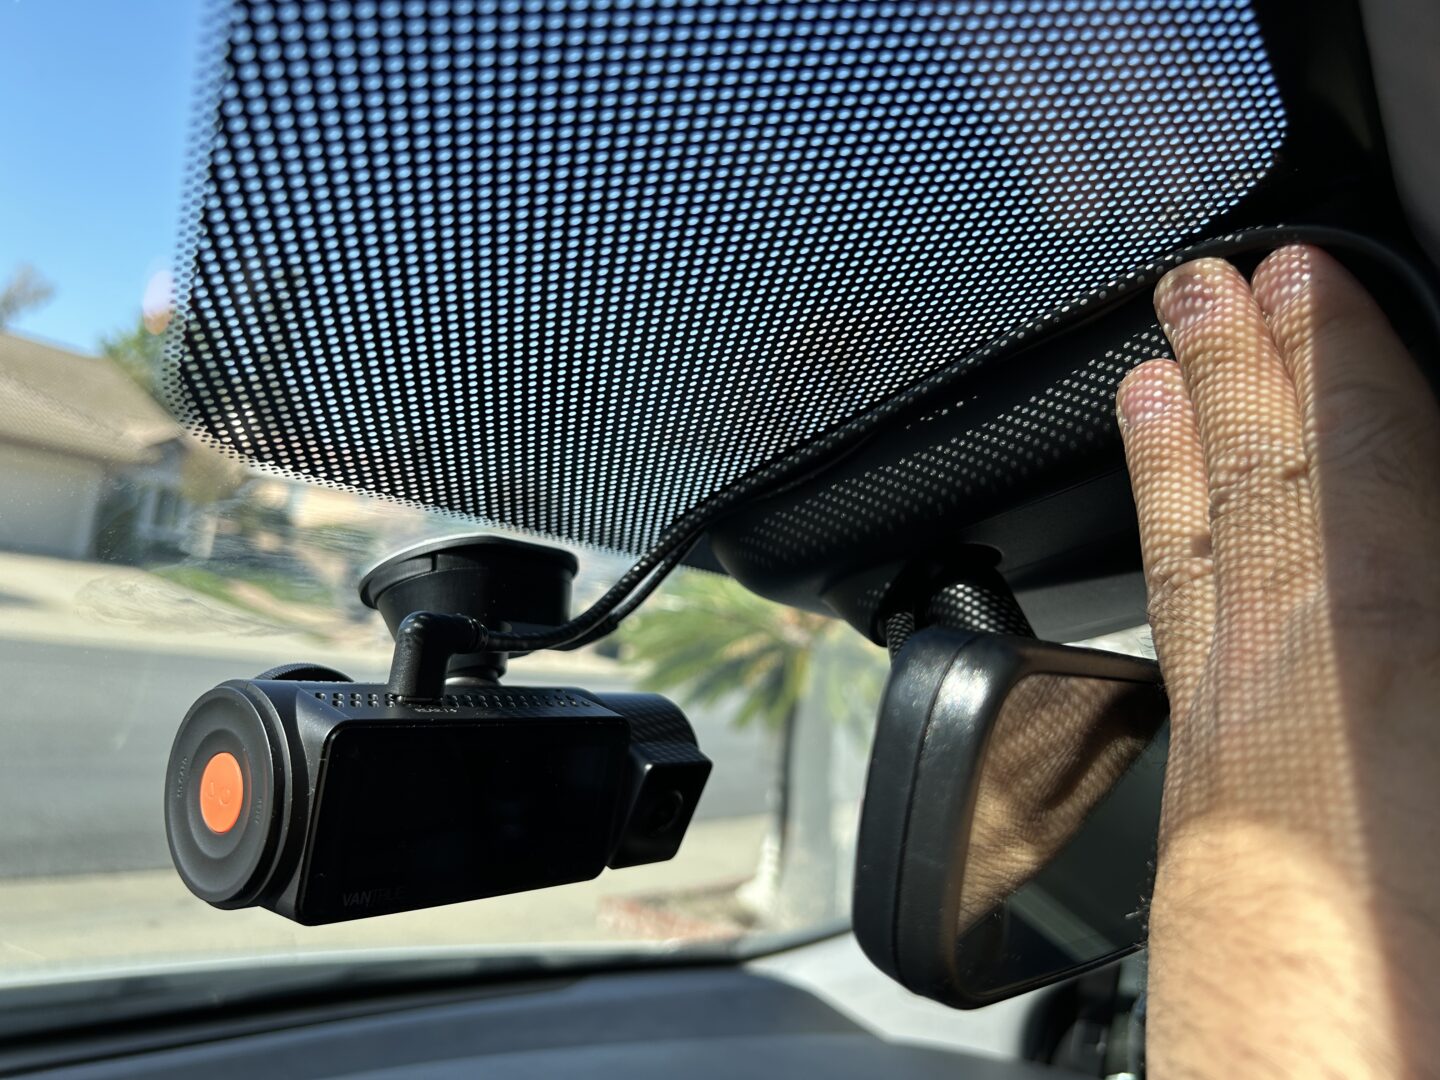
The two wires that runs up the glass by the trim piece may be in sight, but it looks hidden because of the black shade of the glass. If you tape up the wiring with dry wire tape, it keeps the two wires together and hides pretty nicely. Then, when you push the two separate wires up behind the headliner, the whole thing stays in place.
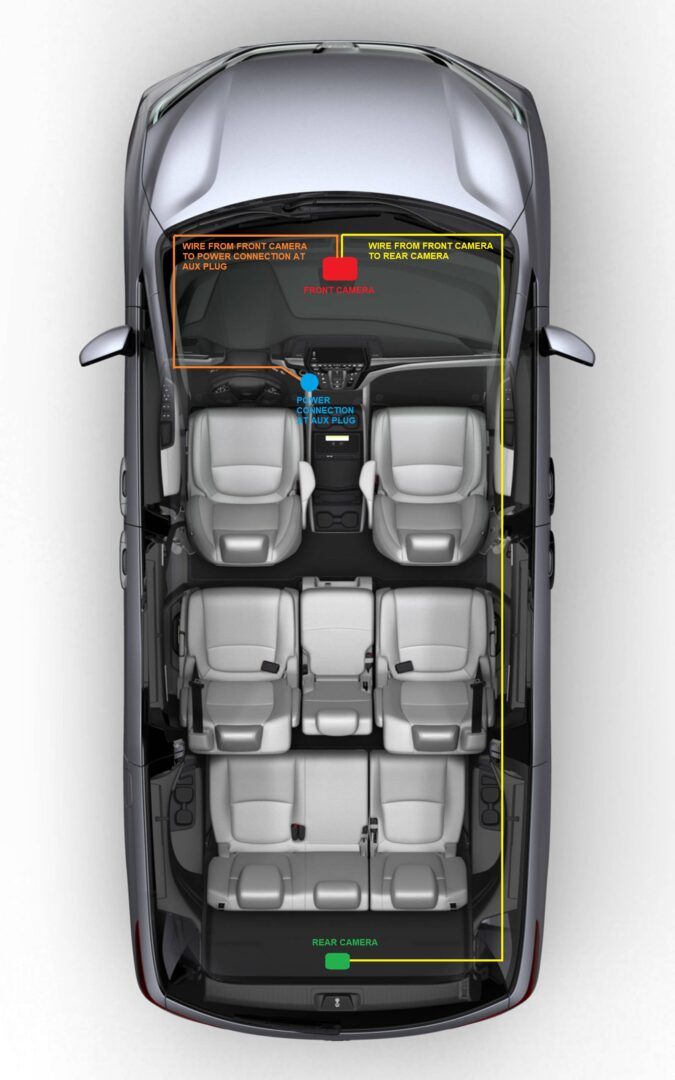
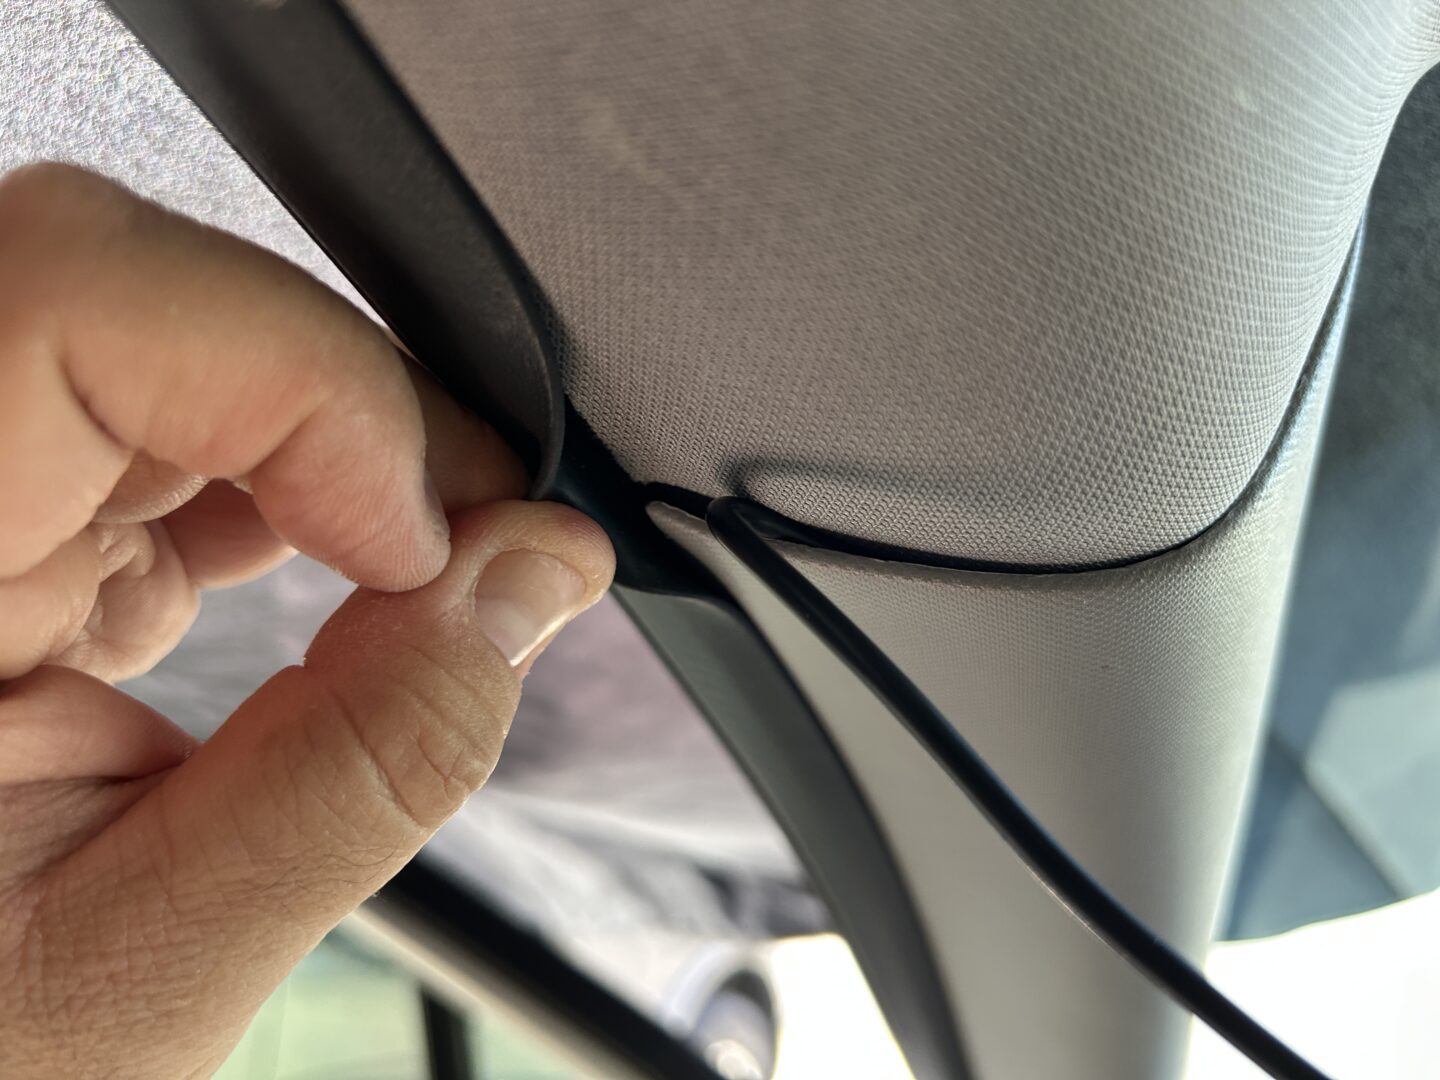
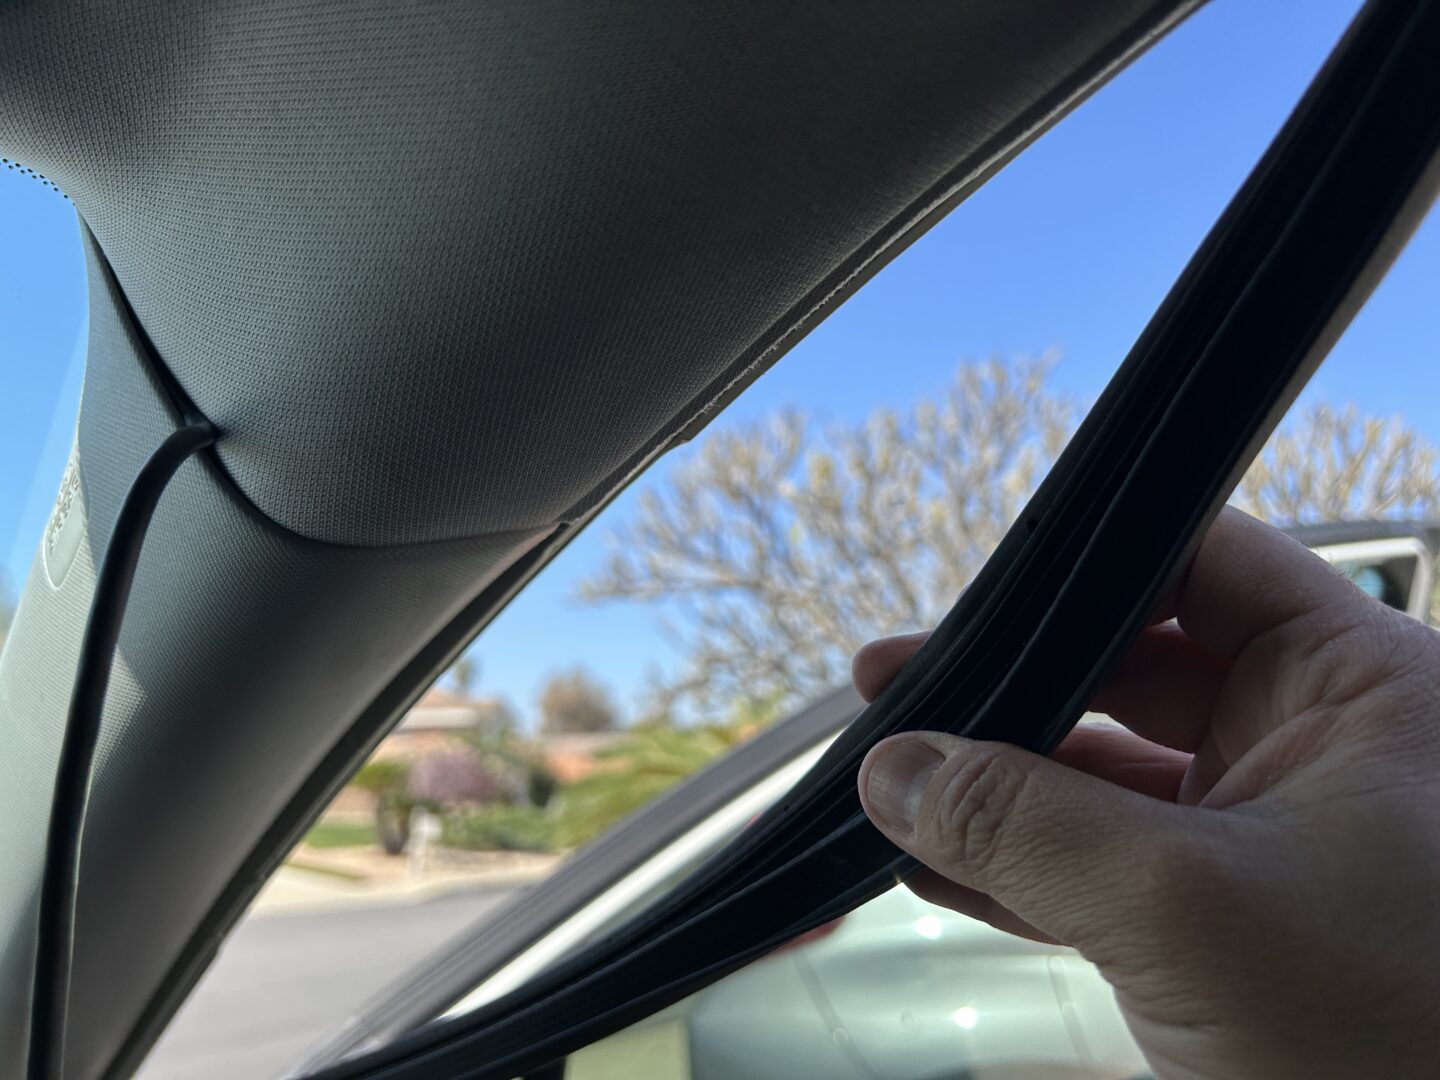
So at the spot where the two wires go into the headliner, one will go to the left towards the driver’s side and eventually to the power source at the auxiliary plug. The other wire will split off to the right towards the passenger side, then towards the back to the rear camera.
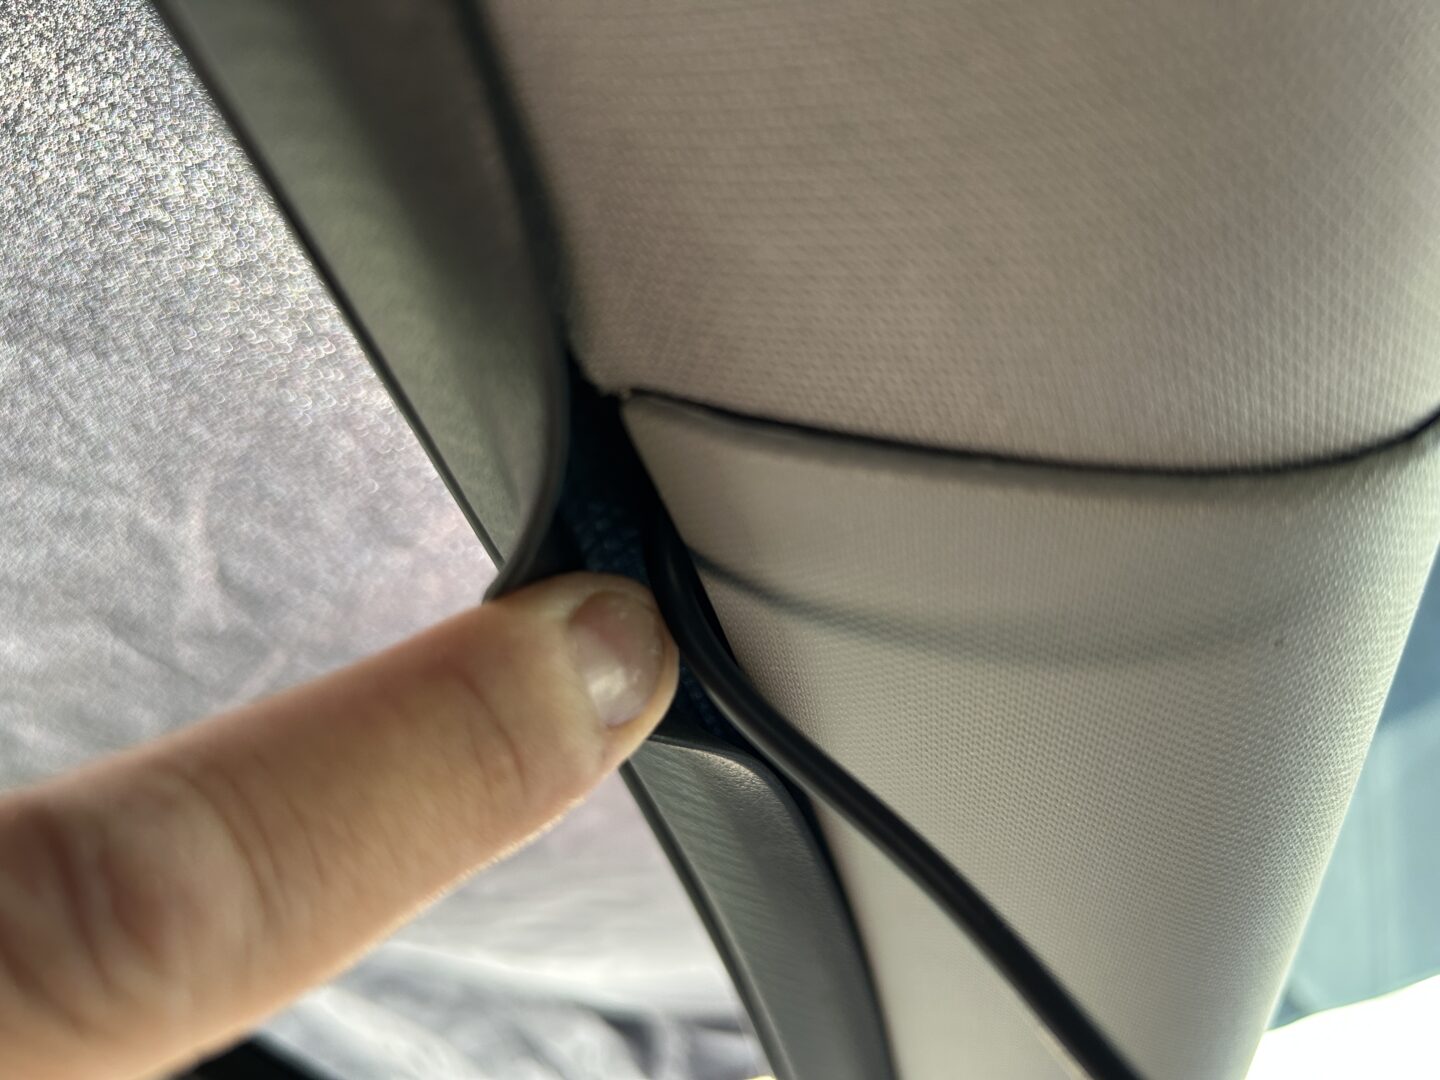
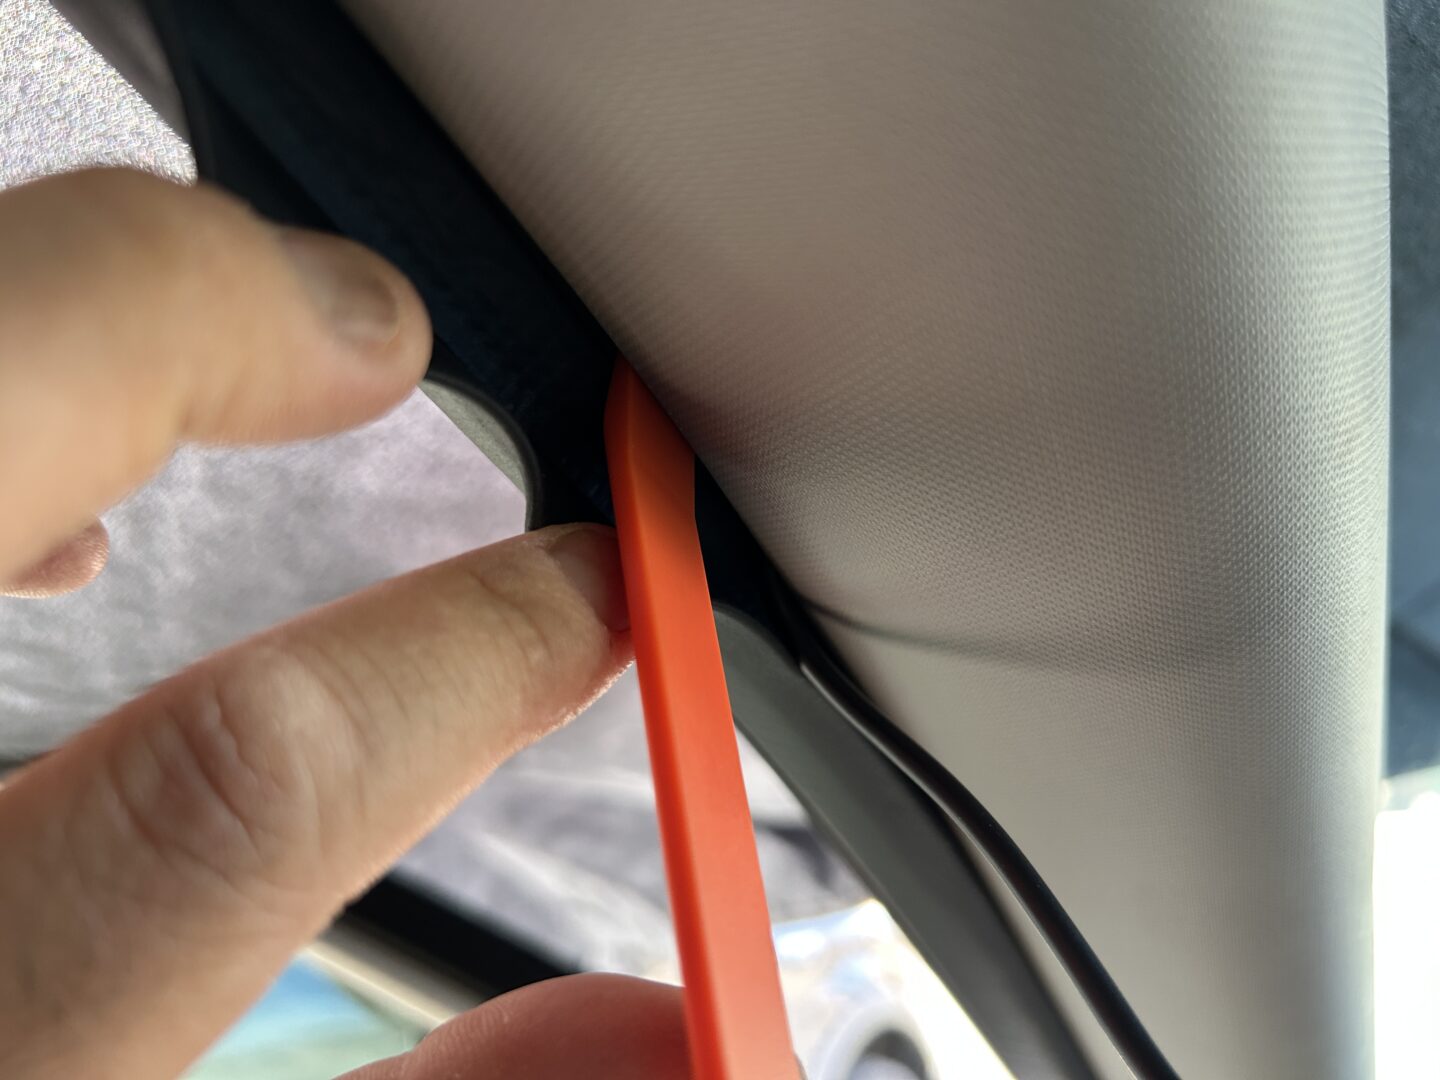
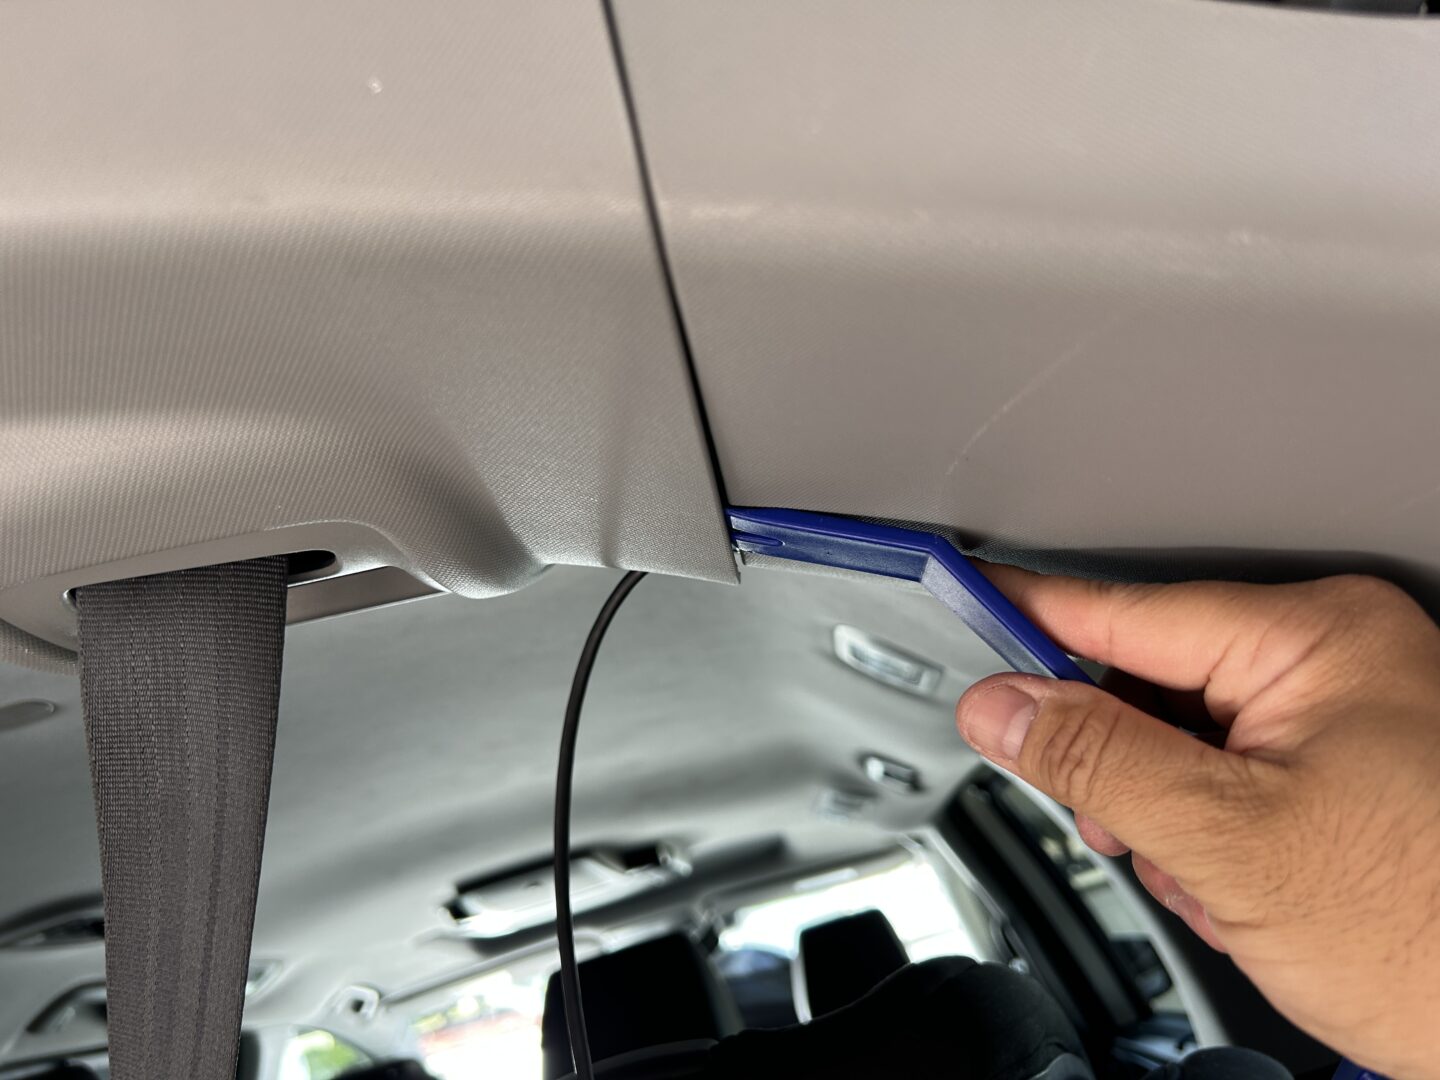
Starting with the wire going towards the power source, use a trim tool and carefully pry the headliner on the driver’s side just enough so that you can push the wire behind the headliner. As you push the wire behind the headliner, work your way toward’s the driver’s side door, and continue prying the headliner, and pushing more of the wire in. Working your way across to the driver’s side door, the headliner naturally hides and holds the wire behind it so you don’t see the wire at all.
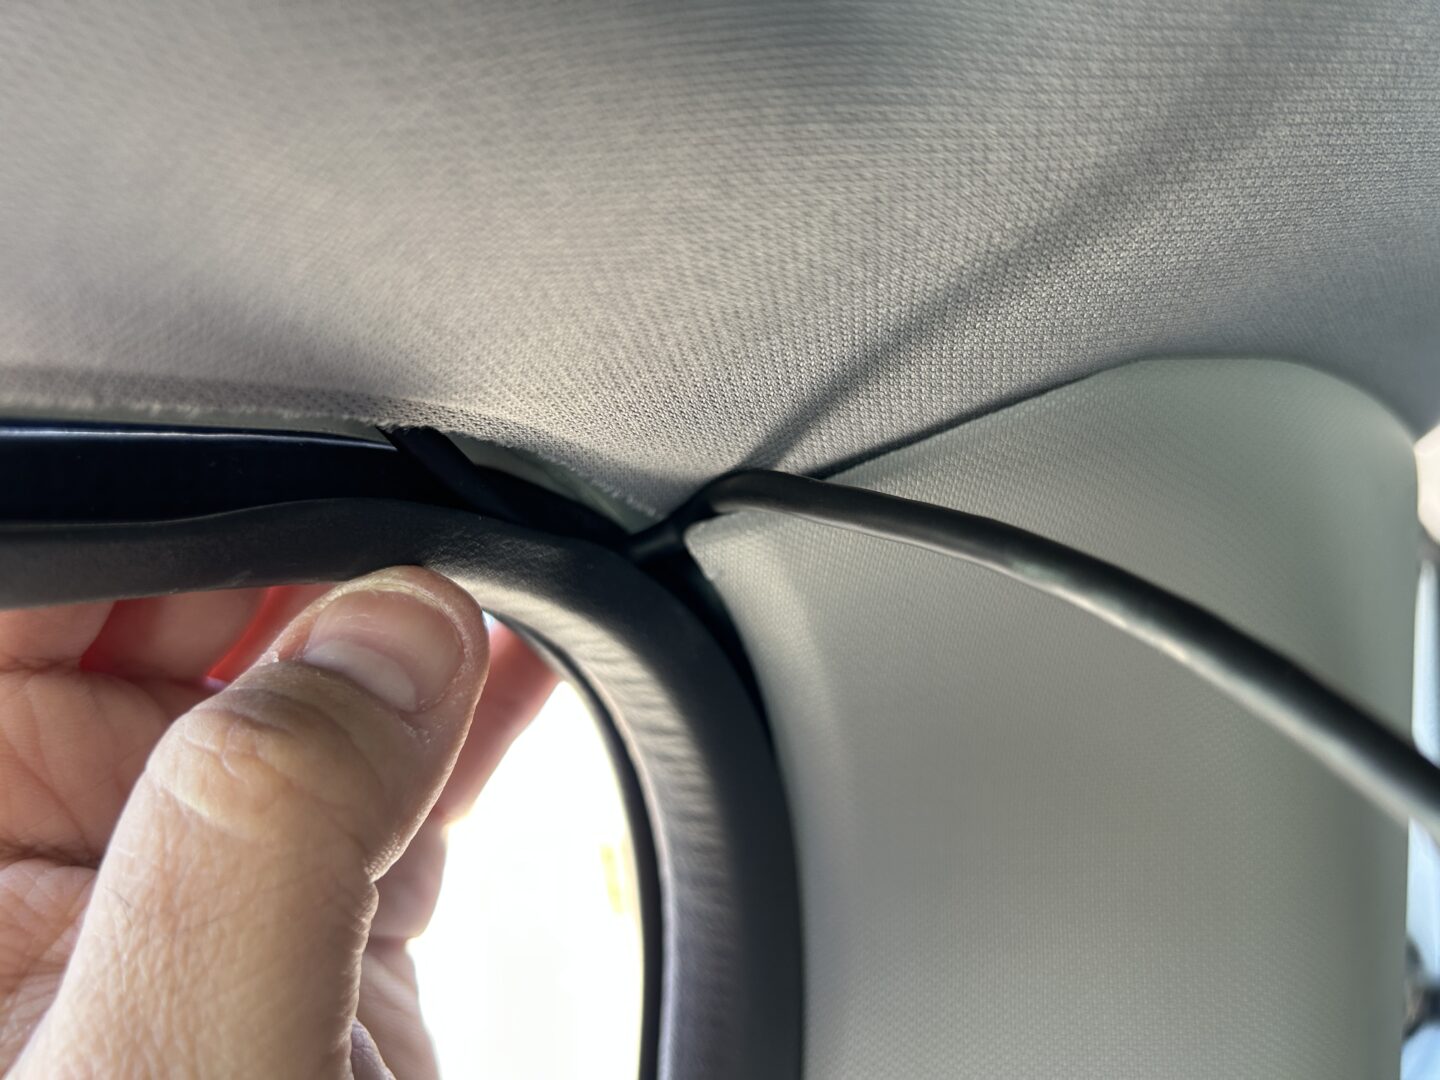
Be careful working with the headliner. It does has some give, which allows you to pull it away slightly–just enough to sneak that wire in behind it. Don’t pull it too much as pulling it too far will permanently damage the headliner.
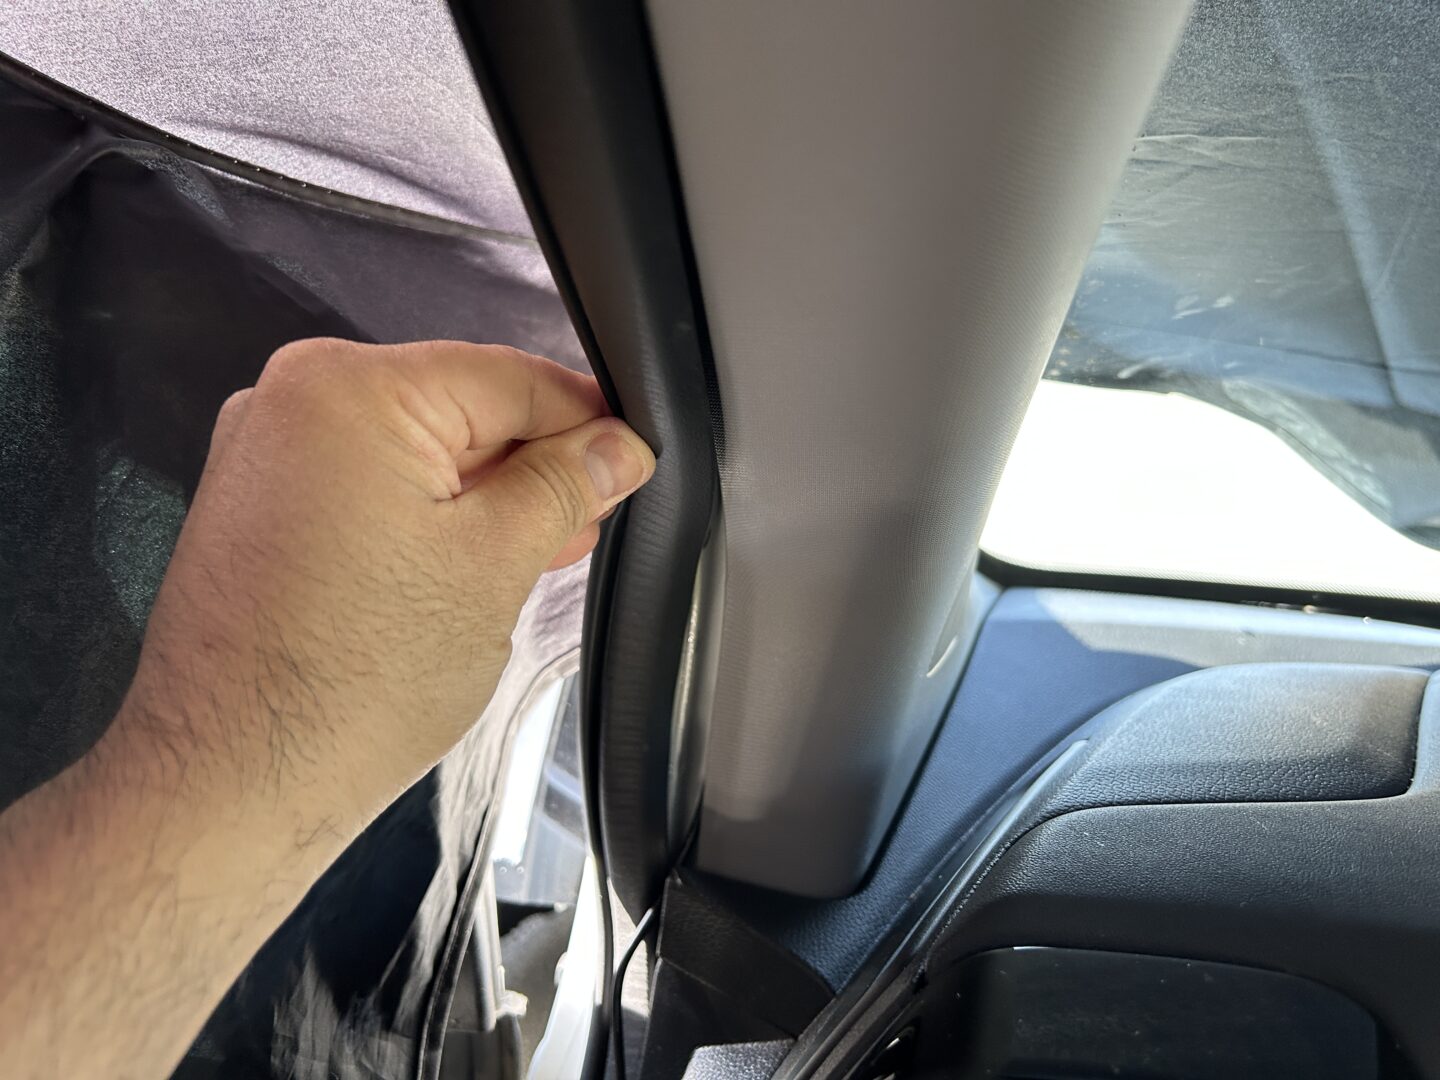
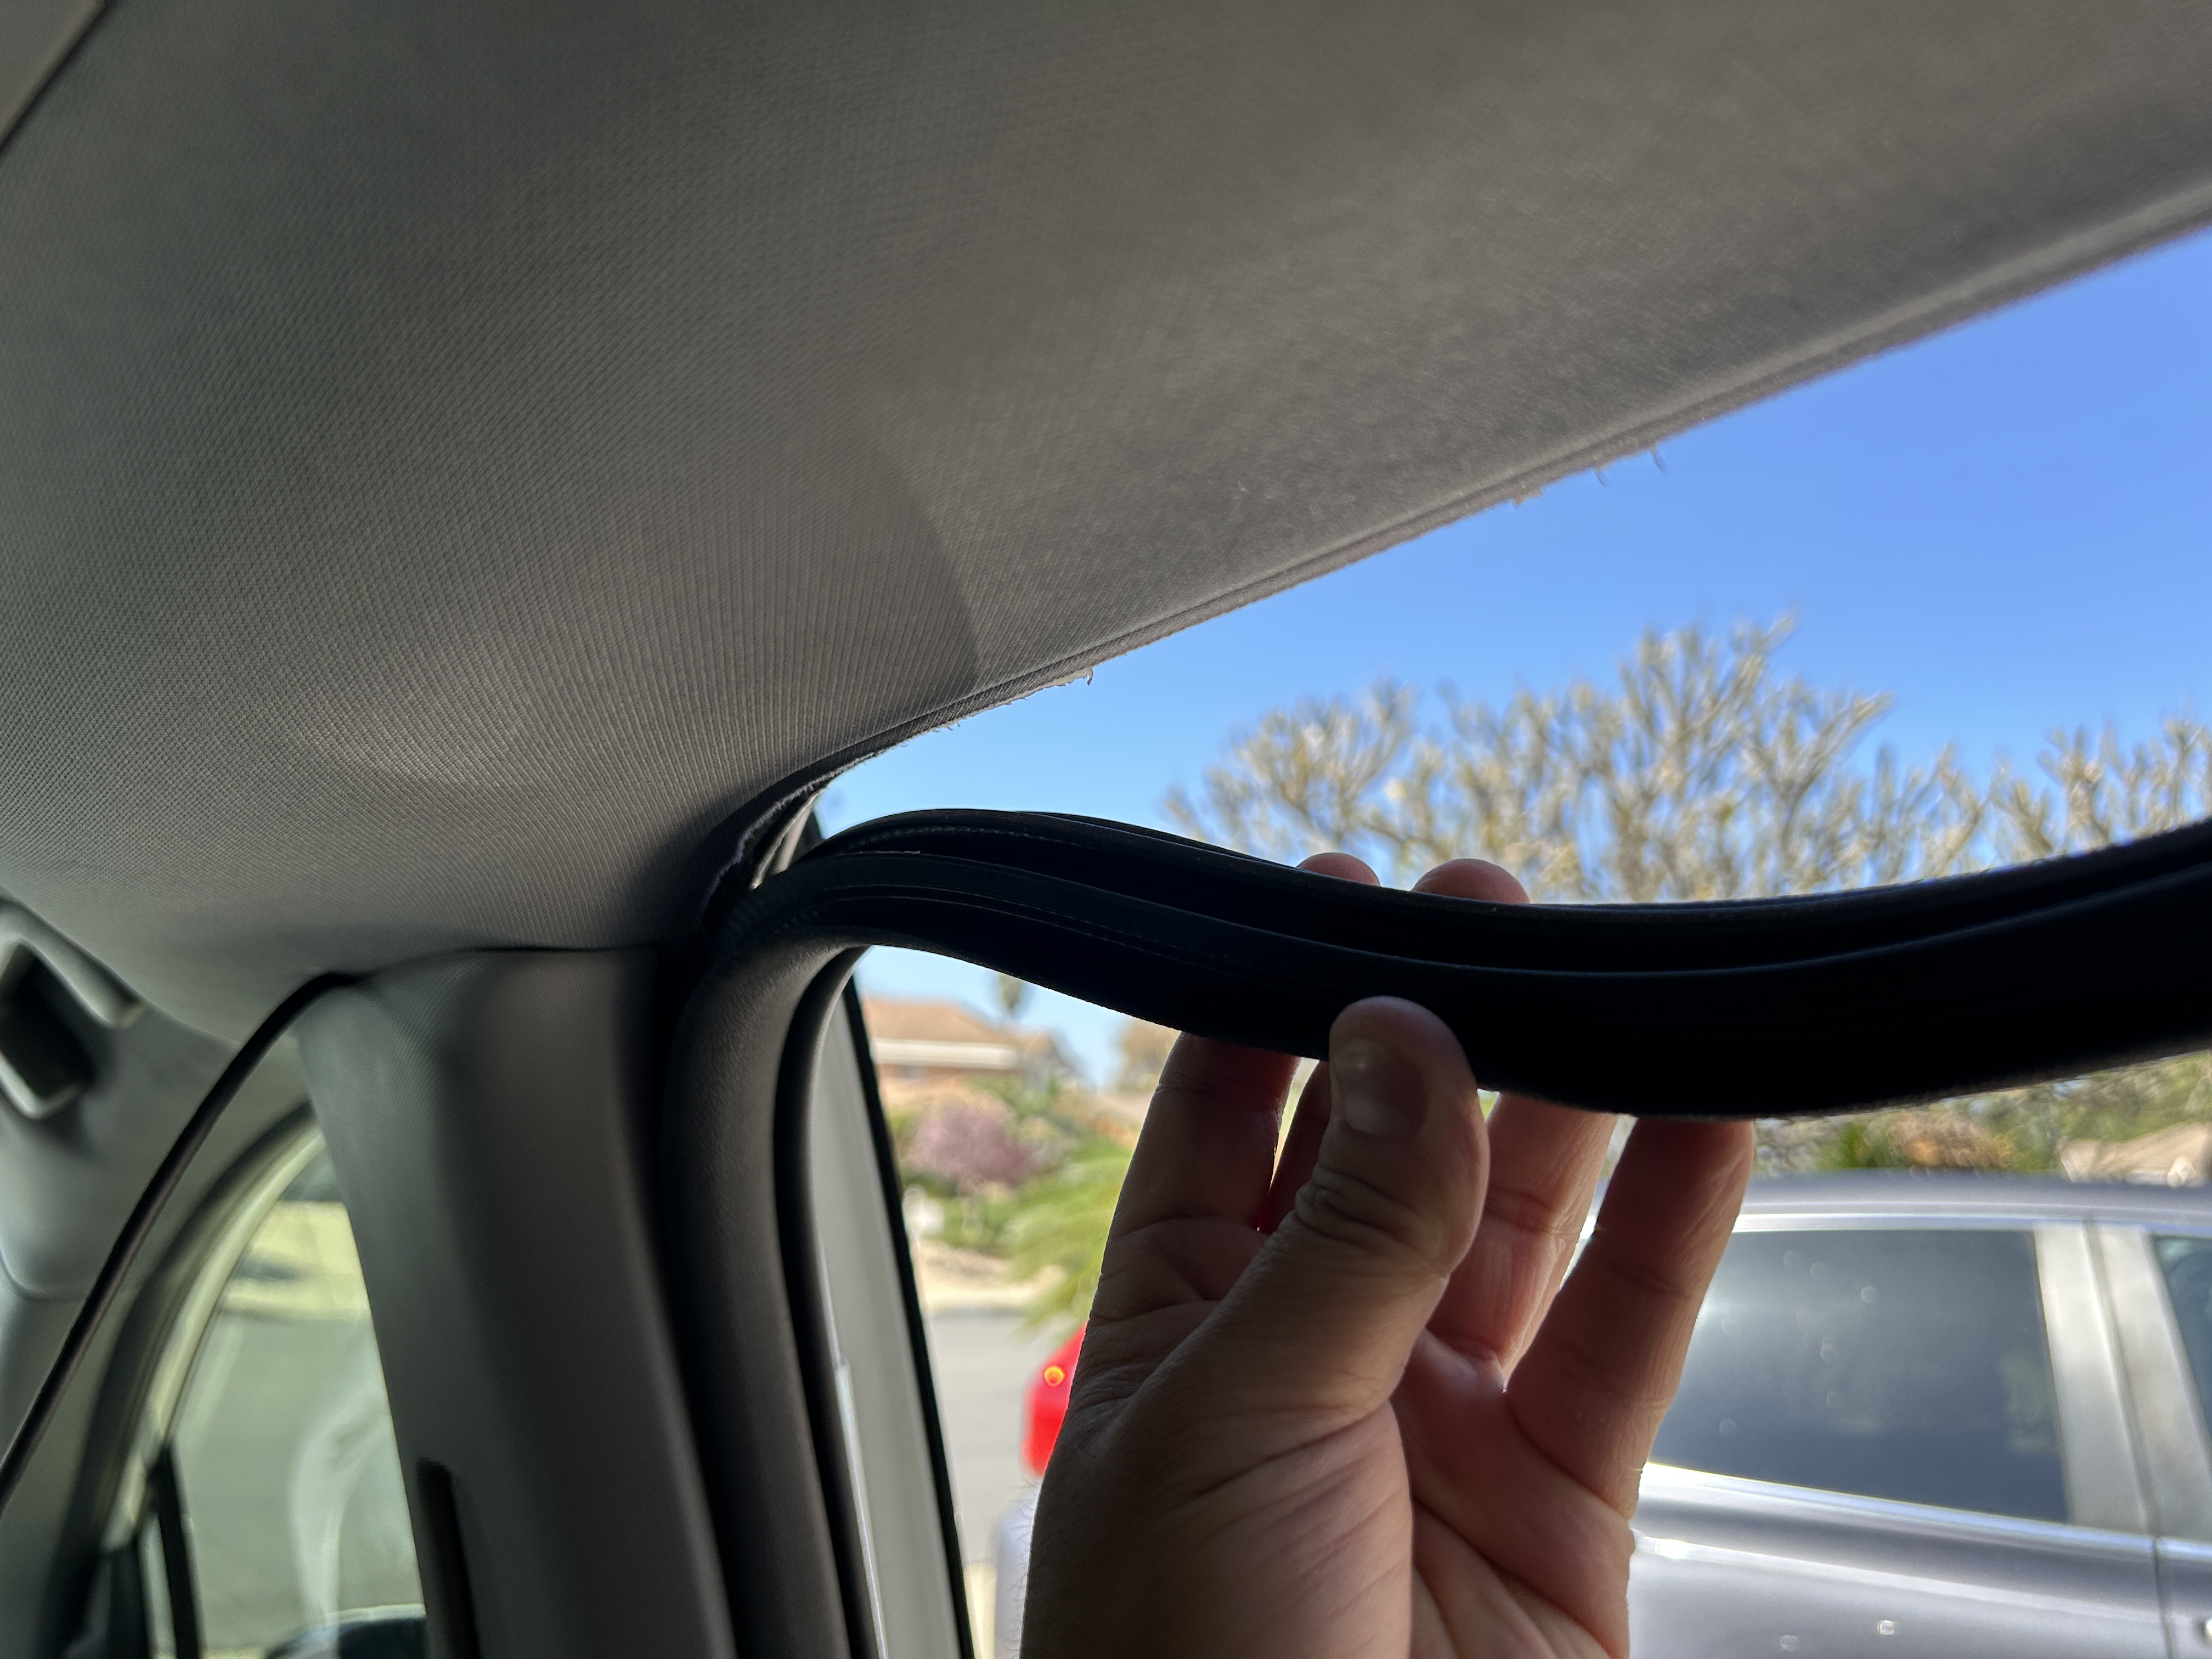
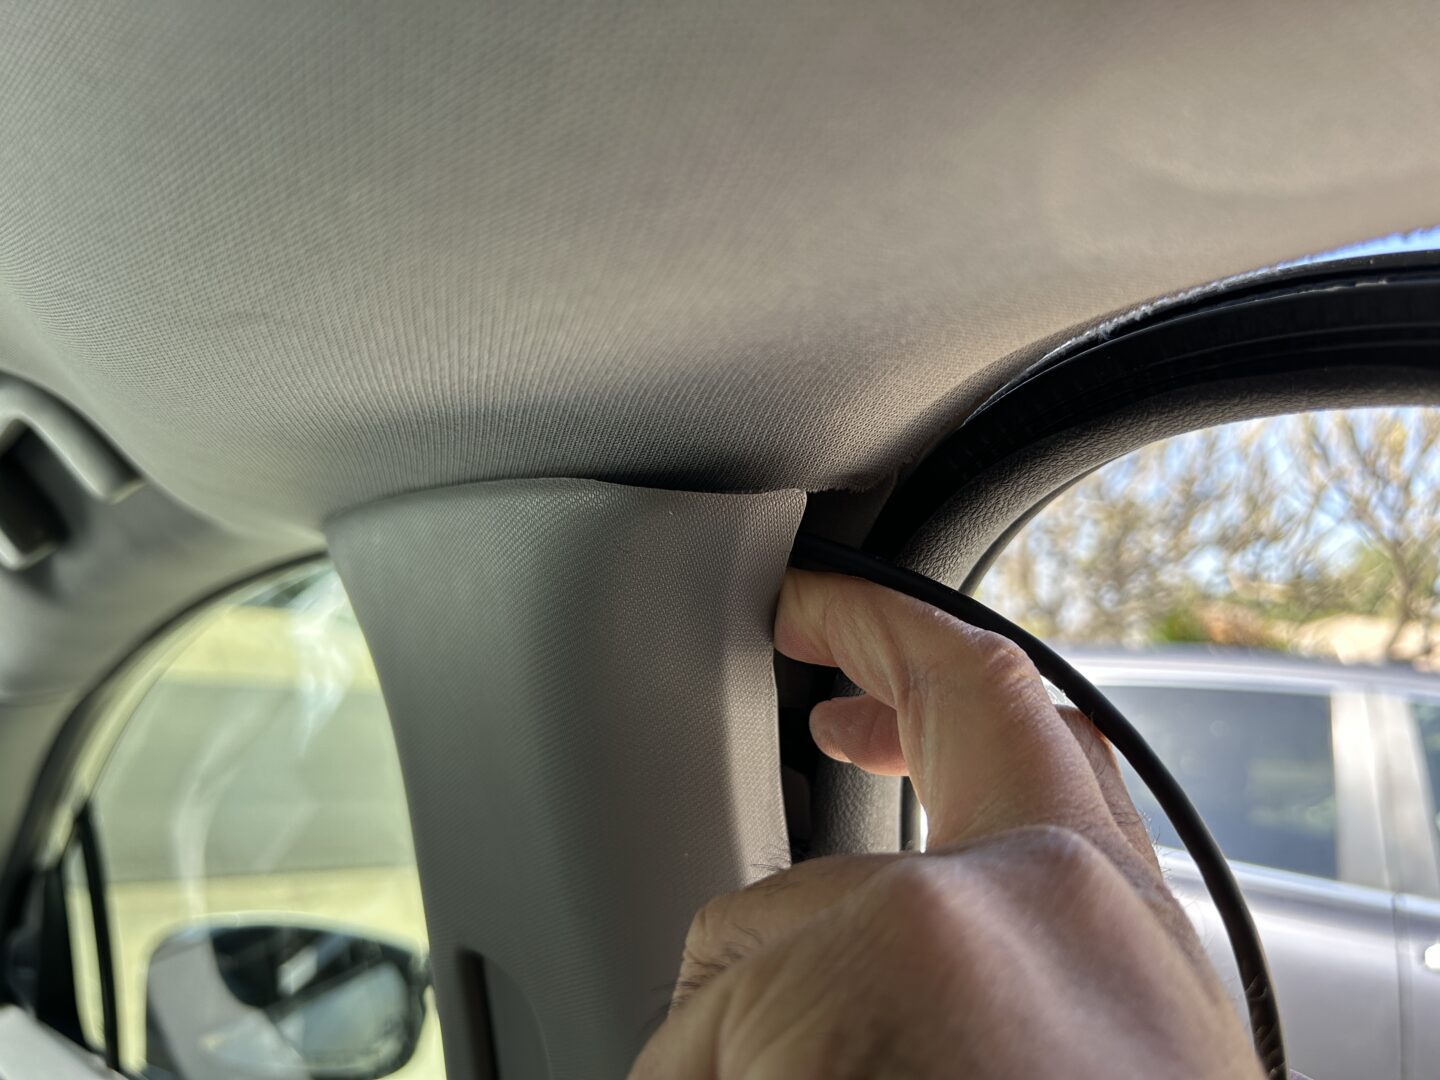
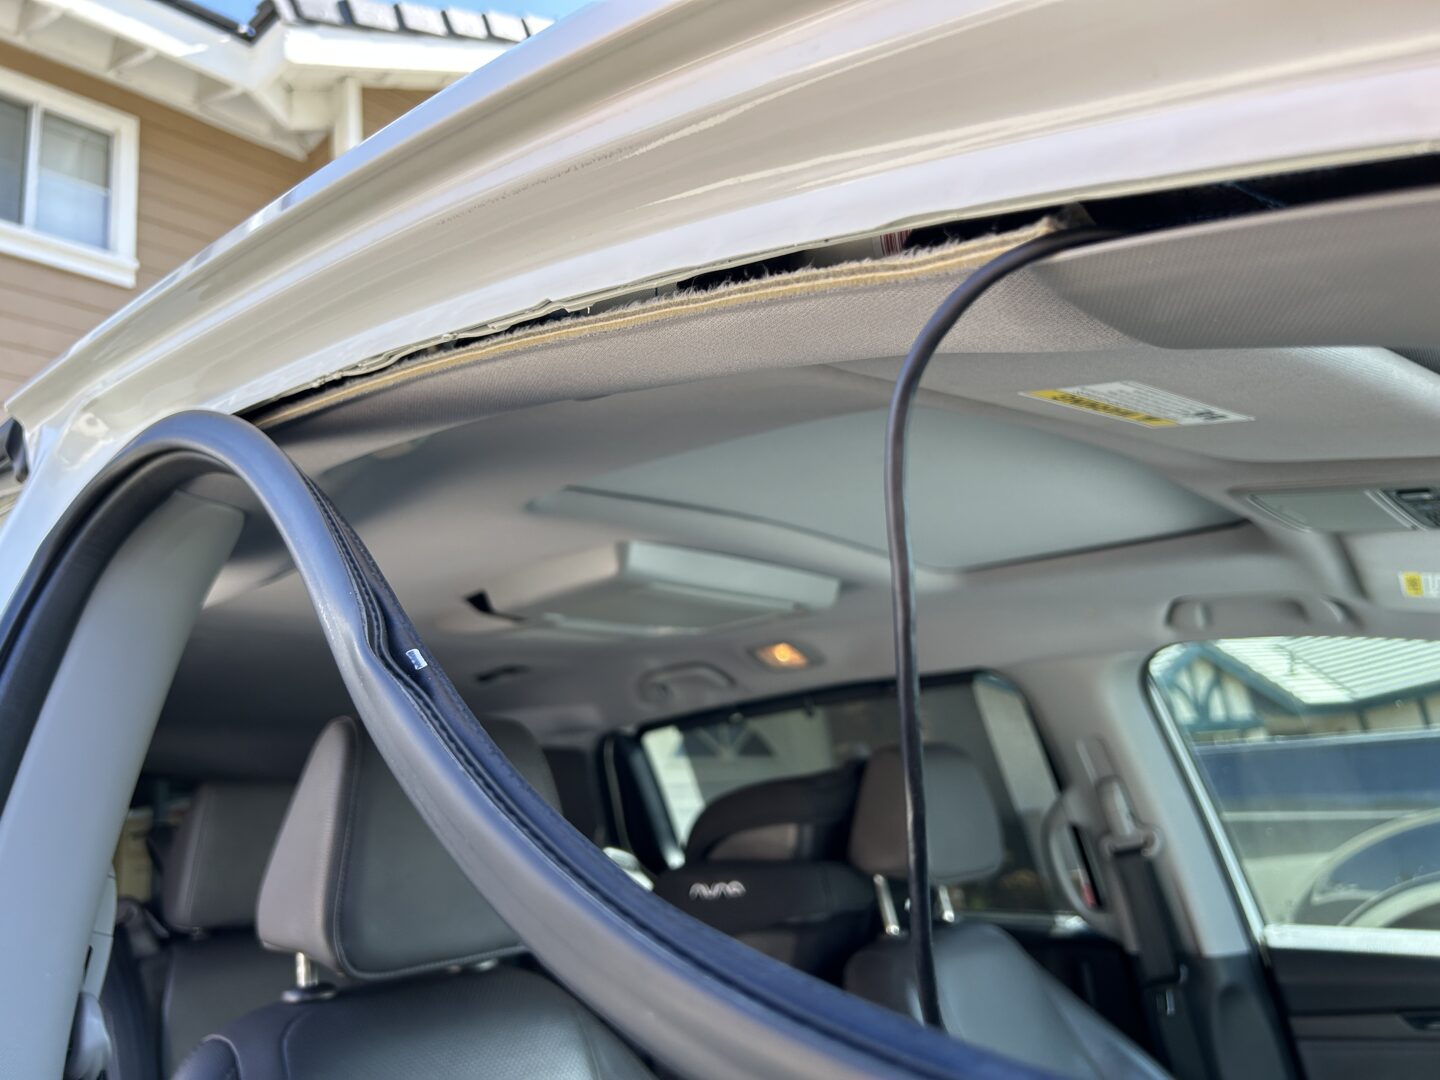
As you move on towards the A-pillar on the driver’s side, use your trim tool to pry the A-pillar hard plastic trim in order to get the wire behind it. The power wire should be able to be hidden completely behind the headliner and the trim. The wire will then continue on along the edge of the door opening behind the rubber molding.

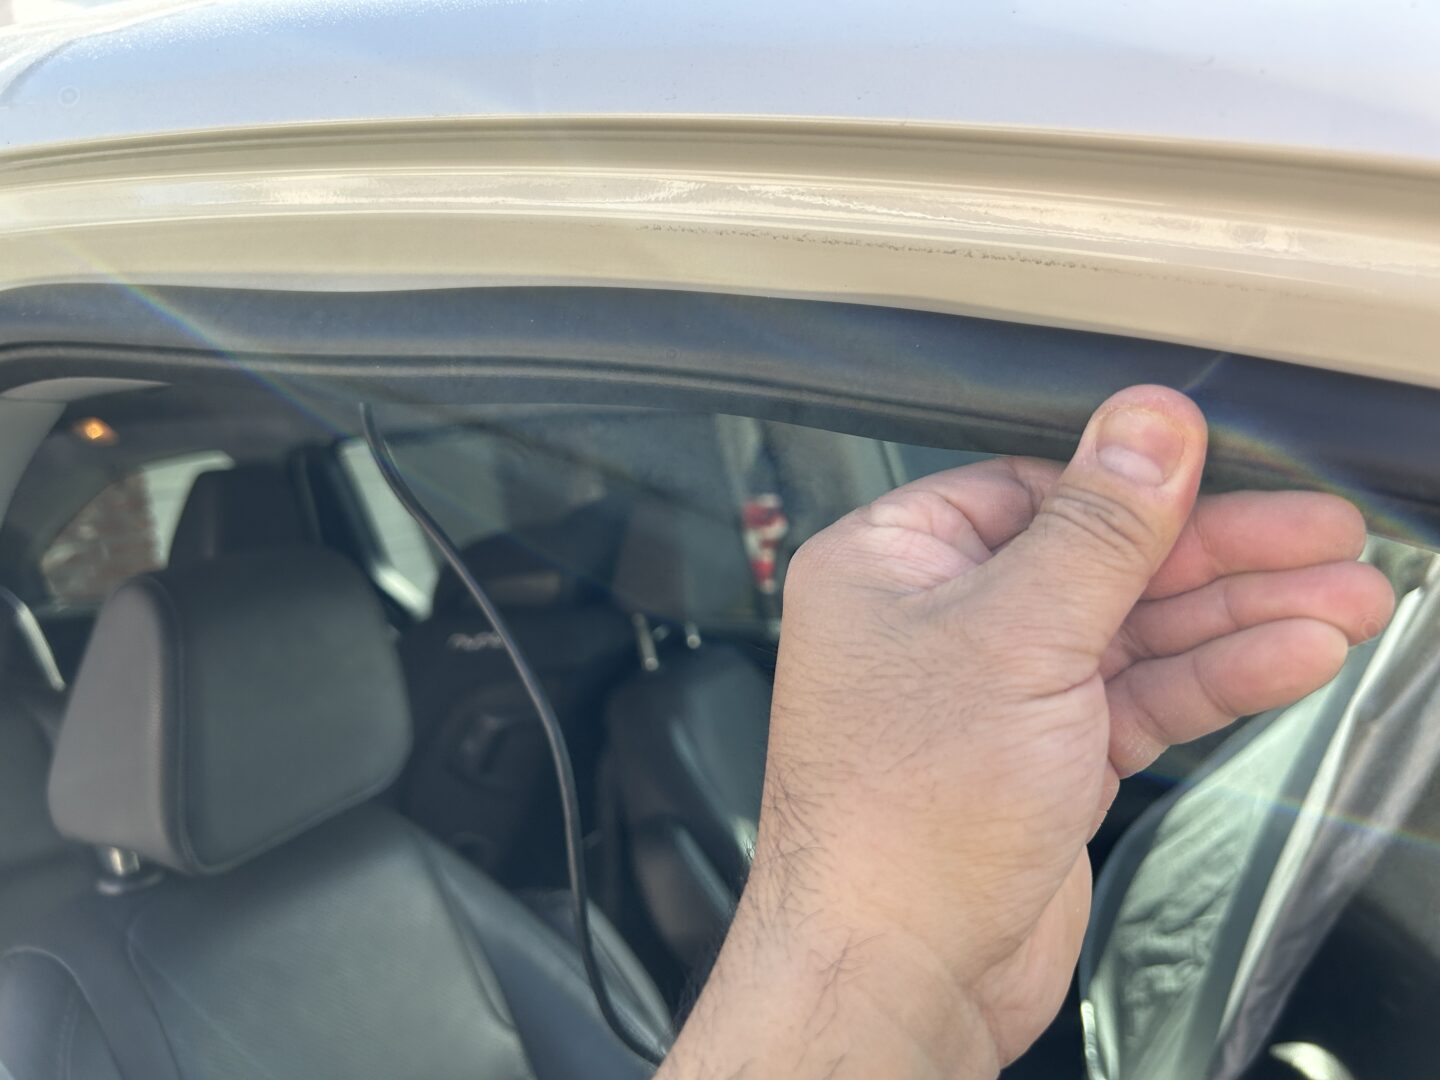
Running the wire behind the molding is easier to do. Simply pull the rubber molding off and run the wire in the space behind it. You’ll be running this wire down to the driver’s side footwell. Simply run the wire down in this channel, then replace the rubber molding by pressing it back into the A-pillar frame. Voila! You now have a hidden power cable running from the front camera through the headliner and A-pillar.

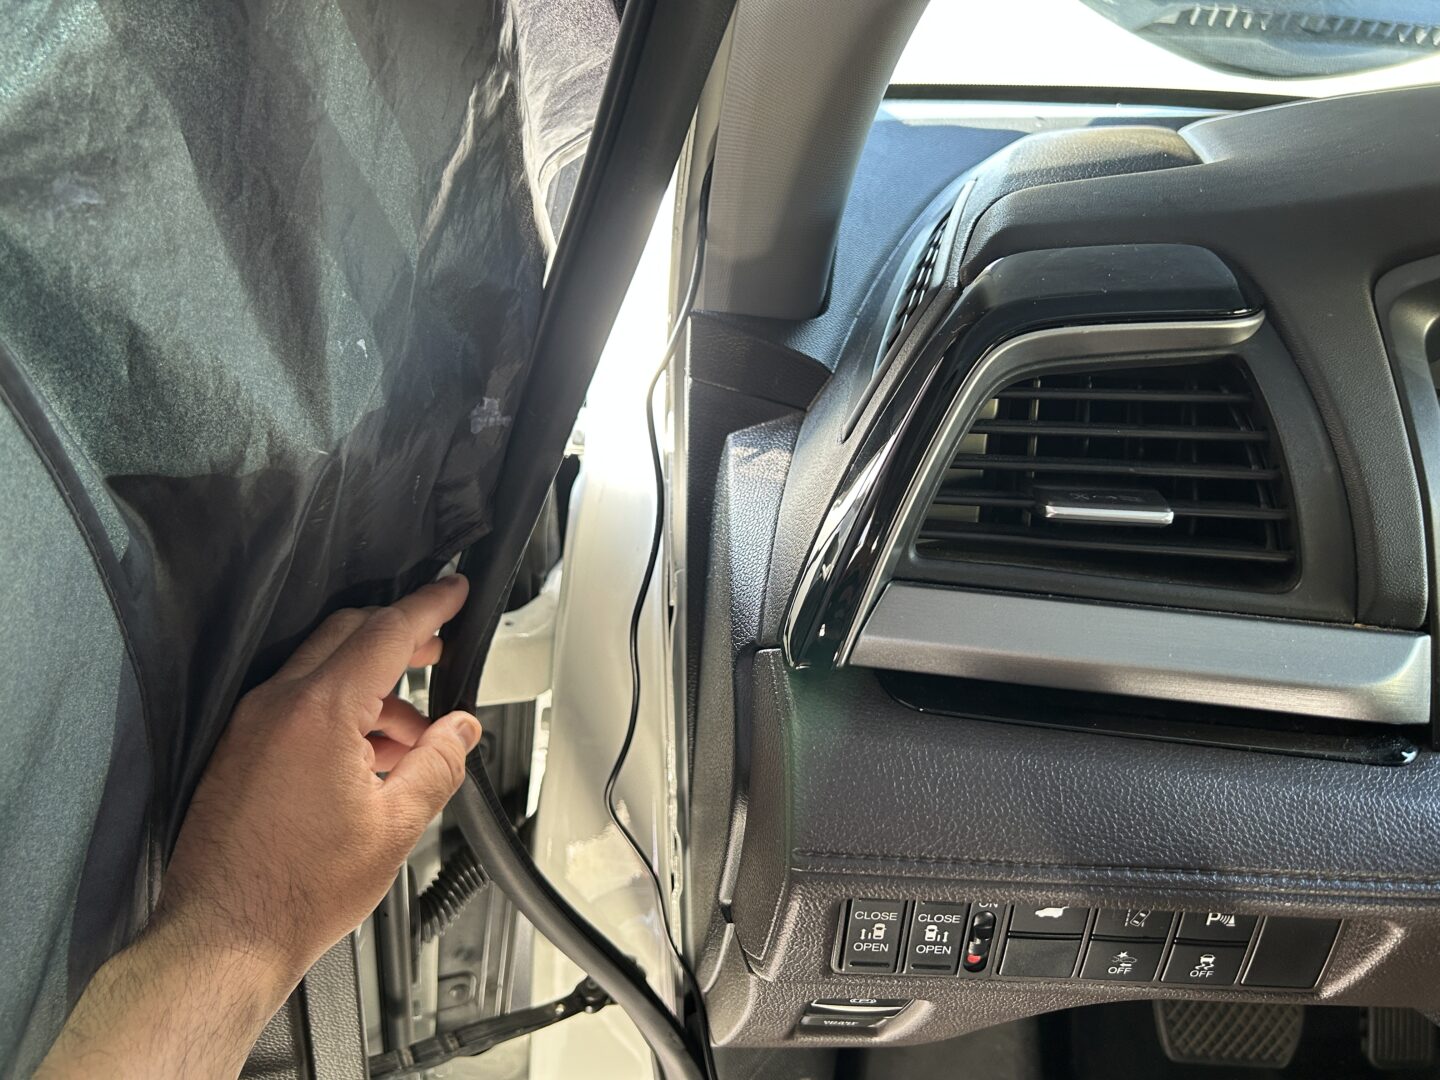
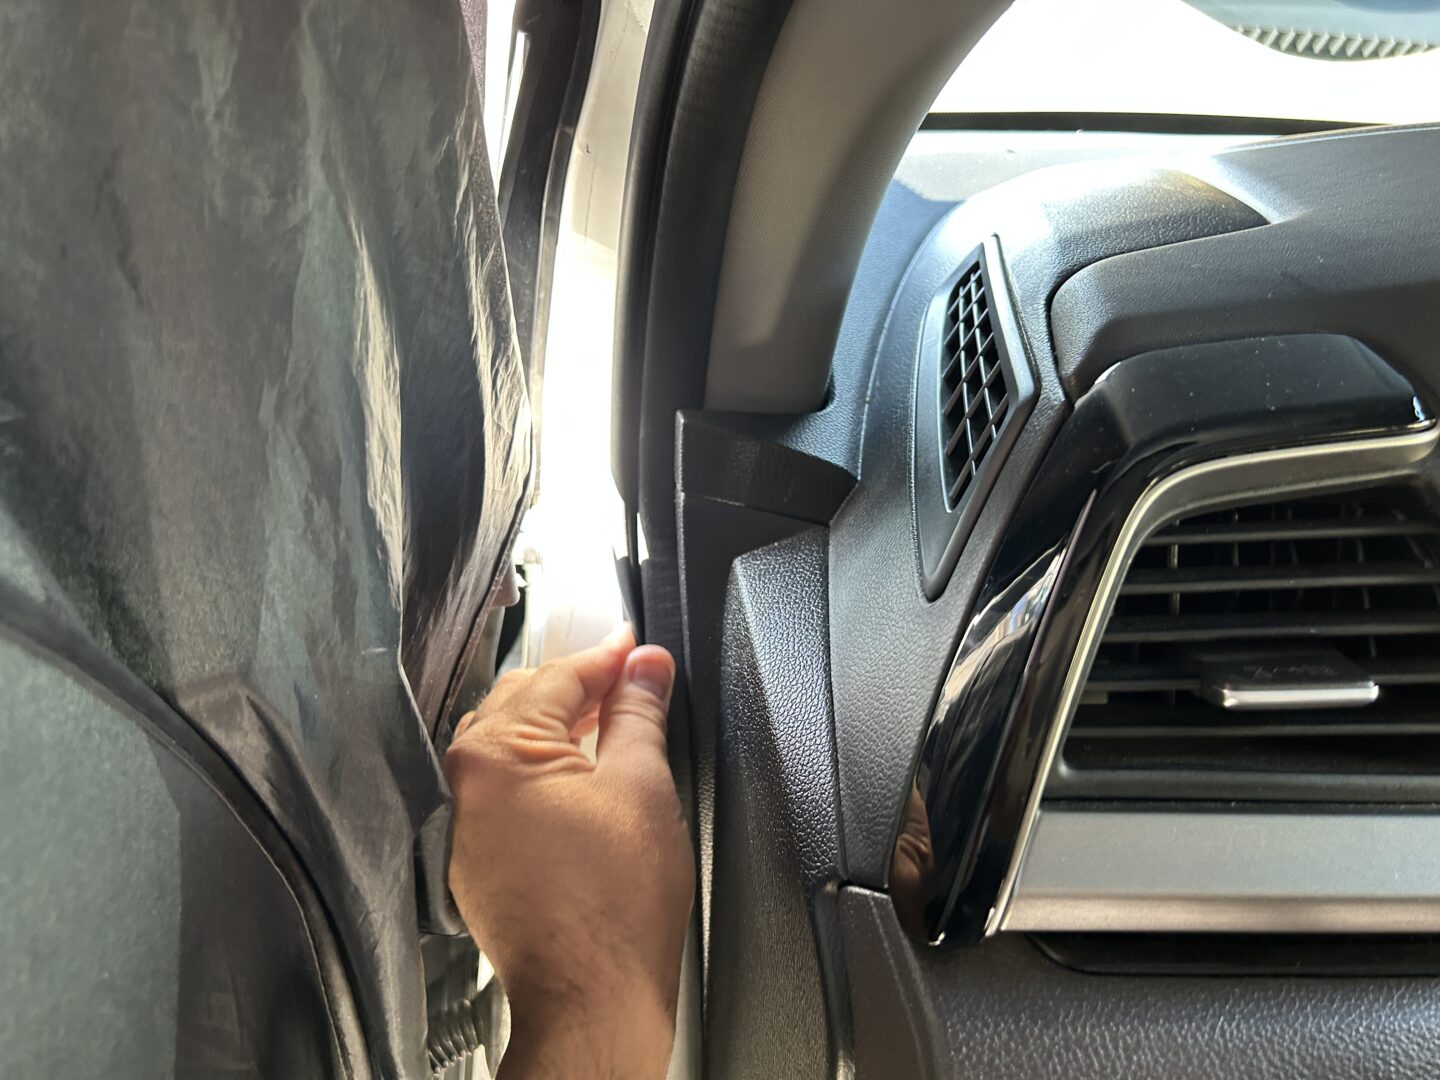
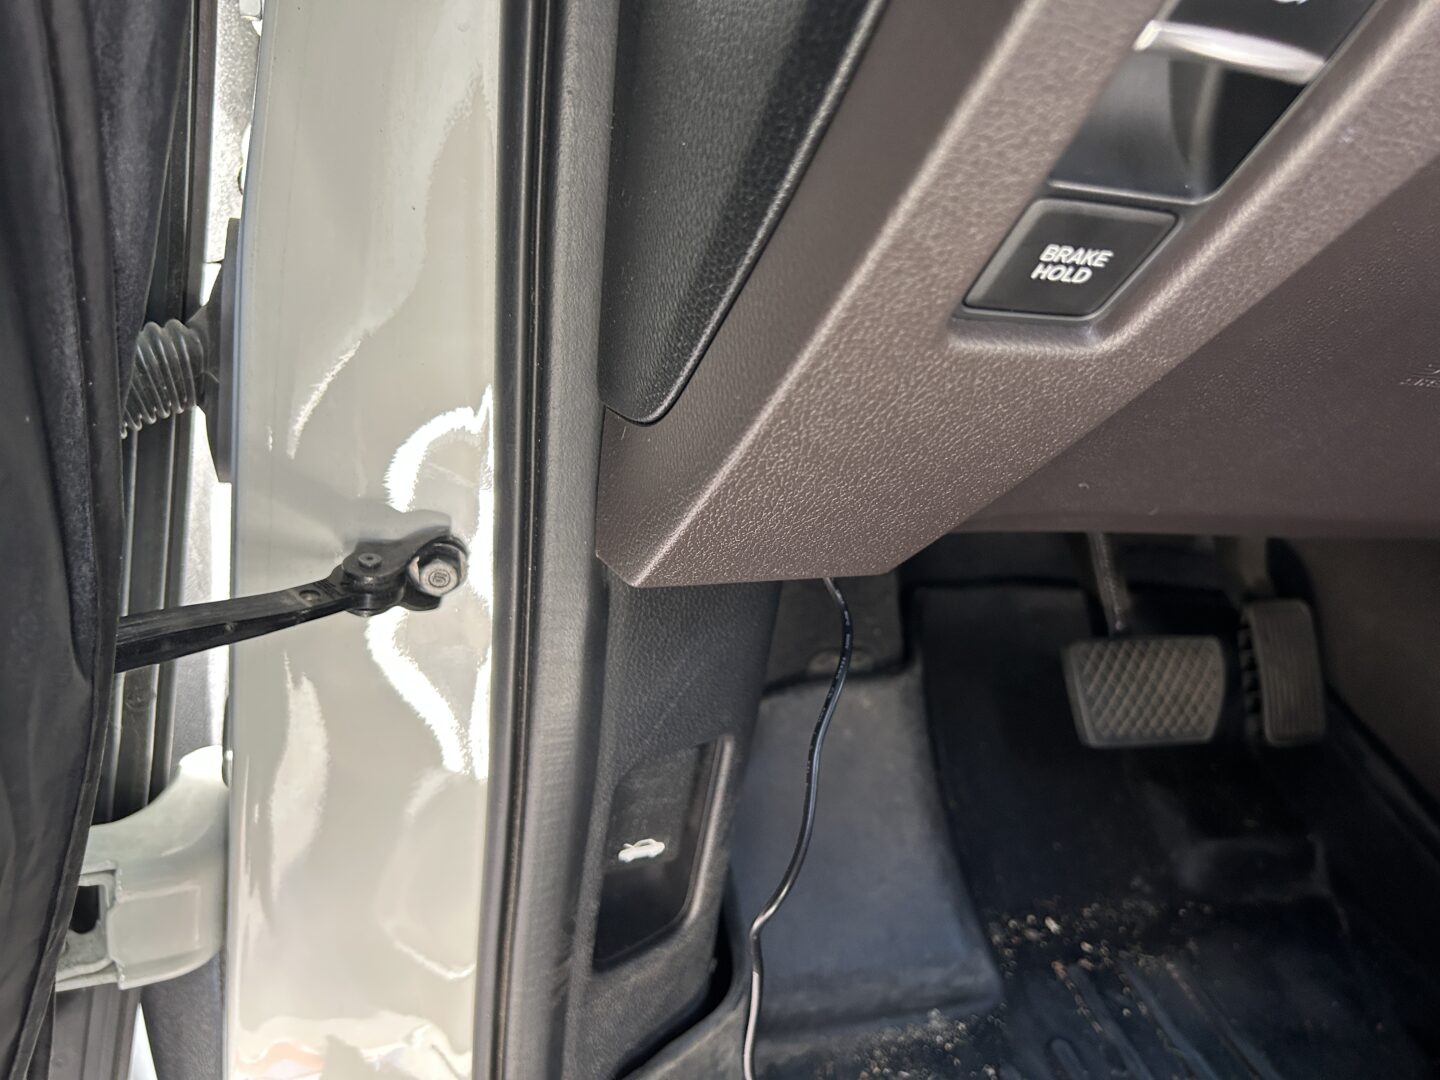
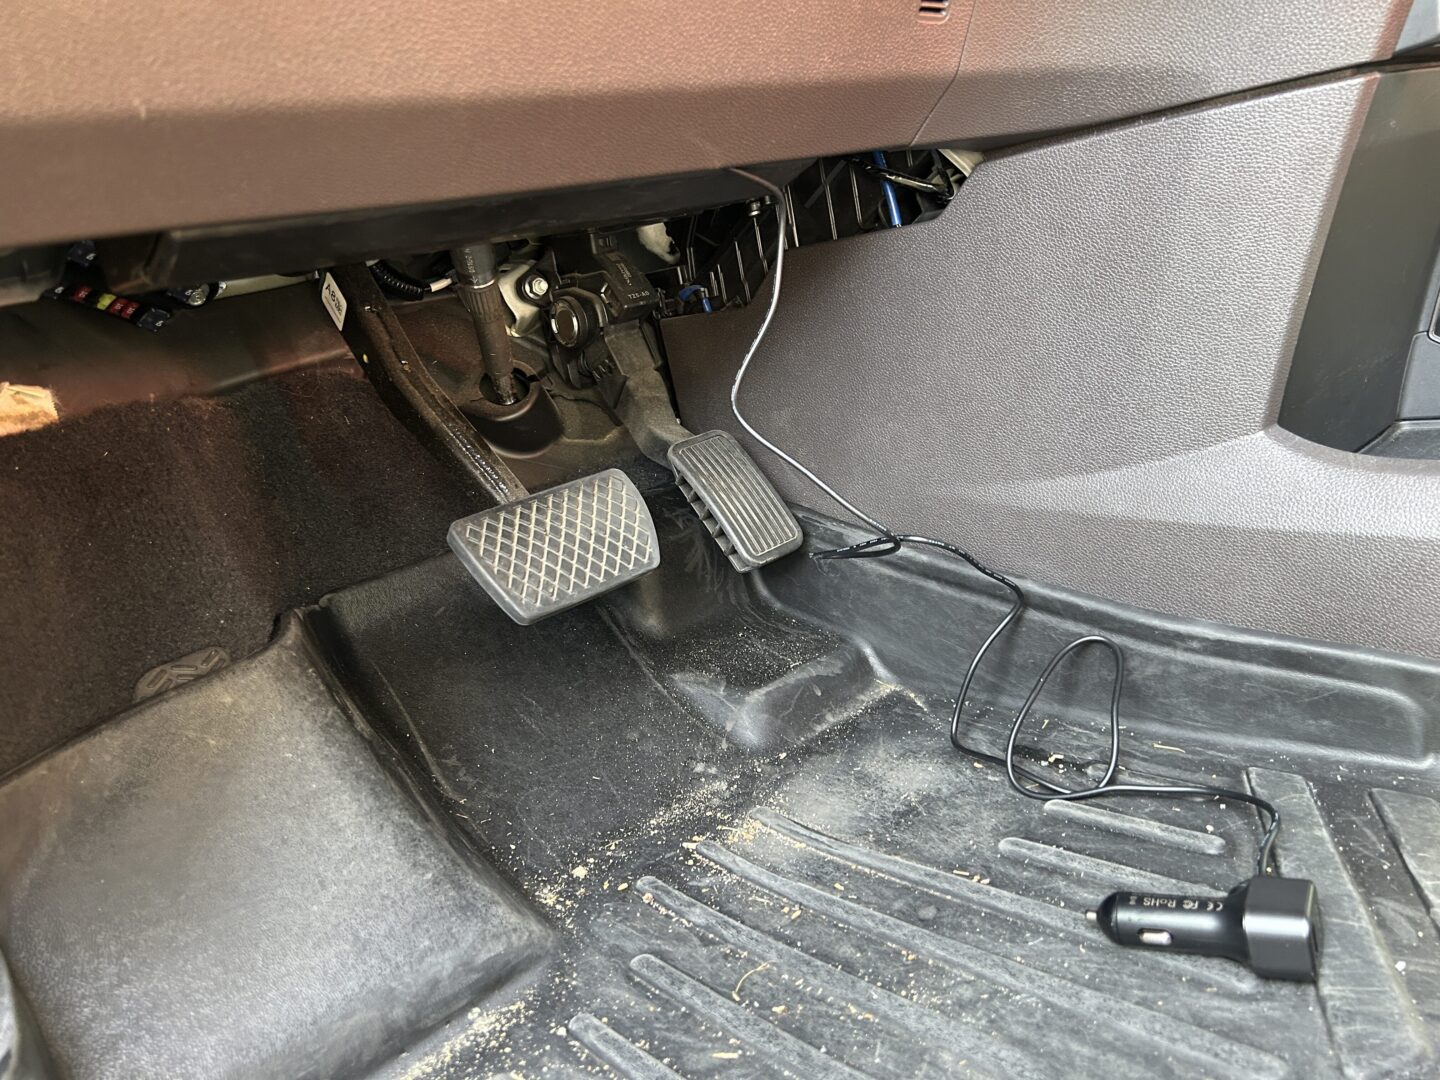
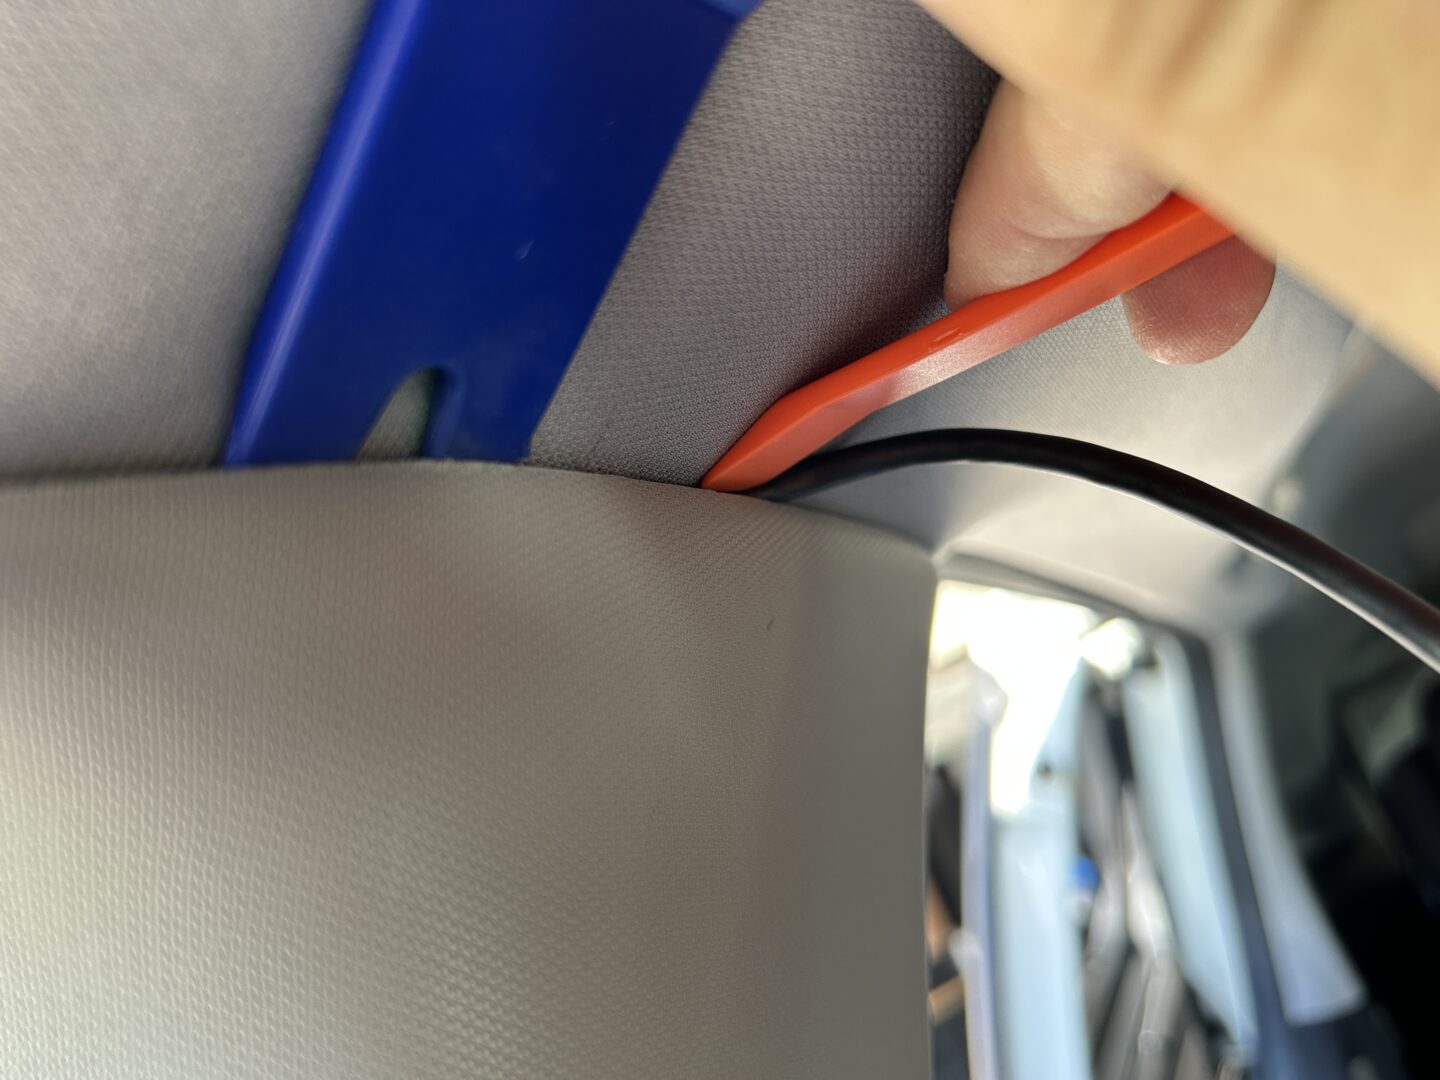
You will have to get down lower to the floor to run the rest of the wiring in the driver’s side footwell. The wire will need to run along the footwell as shown below. If you sneak it behind the two trim pieces (the black and brown trim) as shown, the wire will be safely out of the way. Then the wire can continue running towards the center console, where you should be able to once again get the wire behind the trim.
You may end up with extra wire at the auxiliary plug, so plug in your auxiliary plug, and take any extra wiring, roll it up, and zip-tie it together. Then, push it out of the way behind the footwell area and secure it so that it won’t fall down while you’re driving.
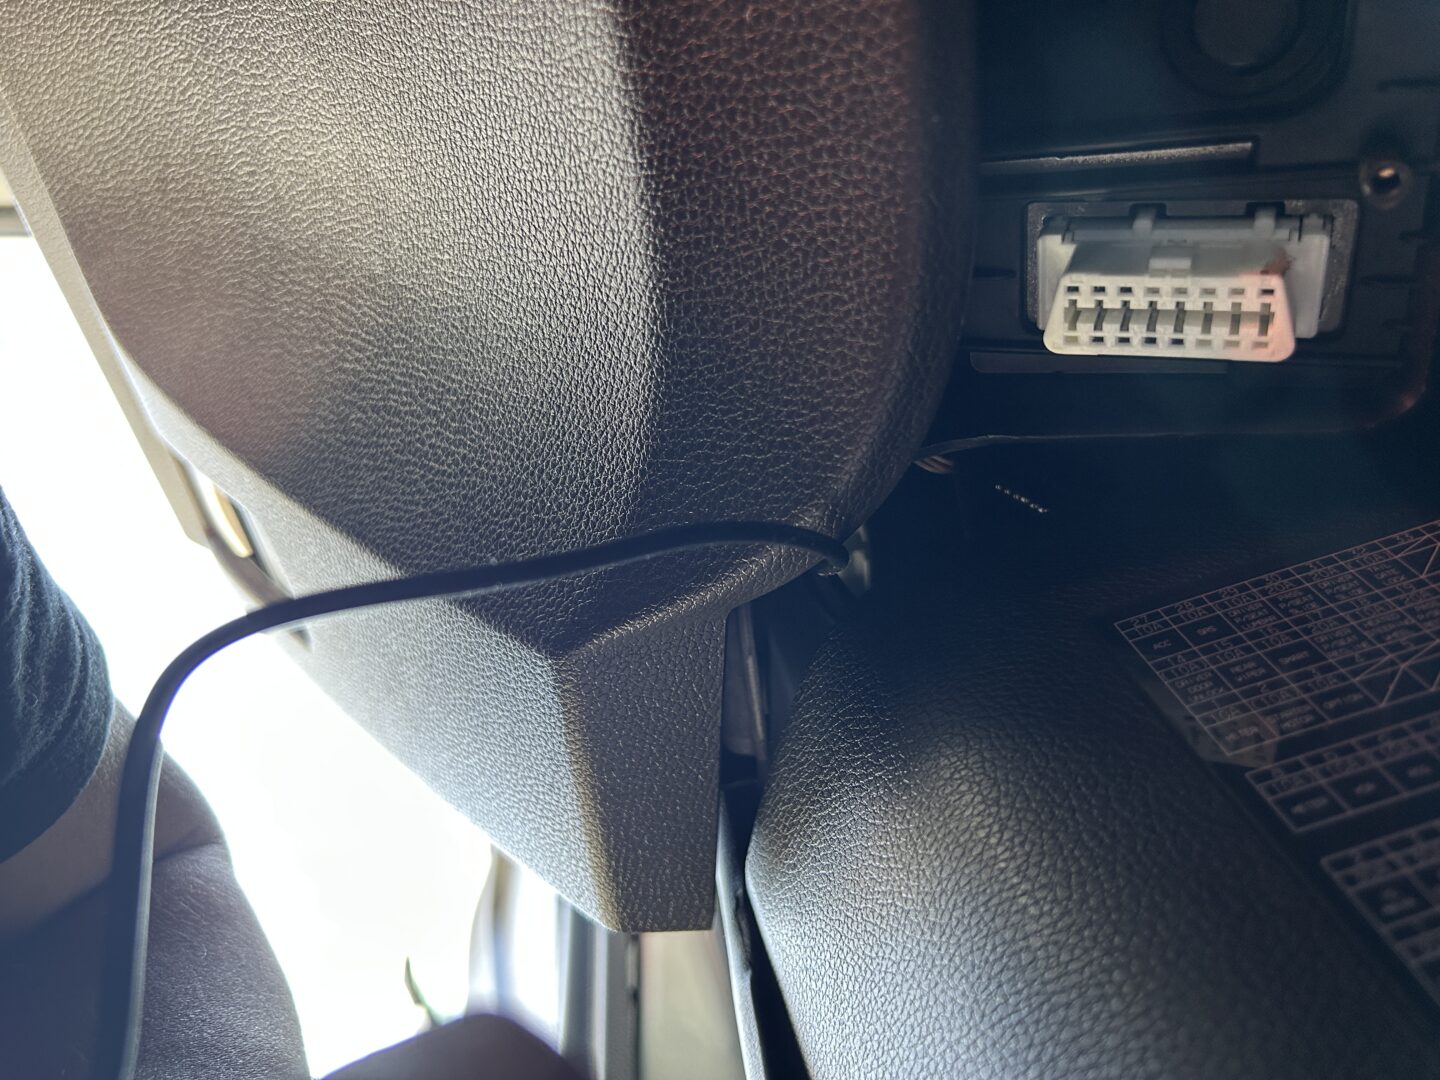
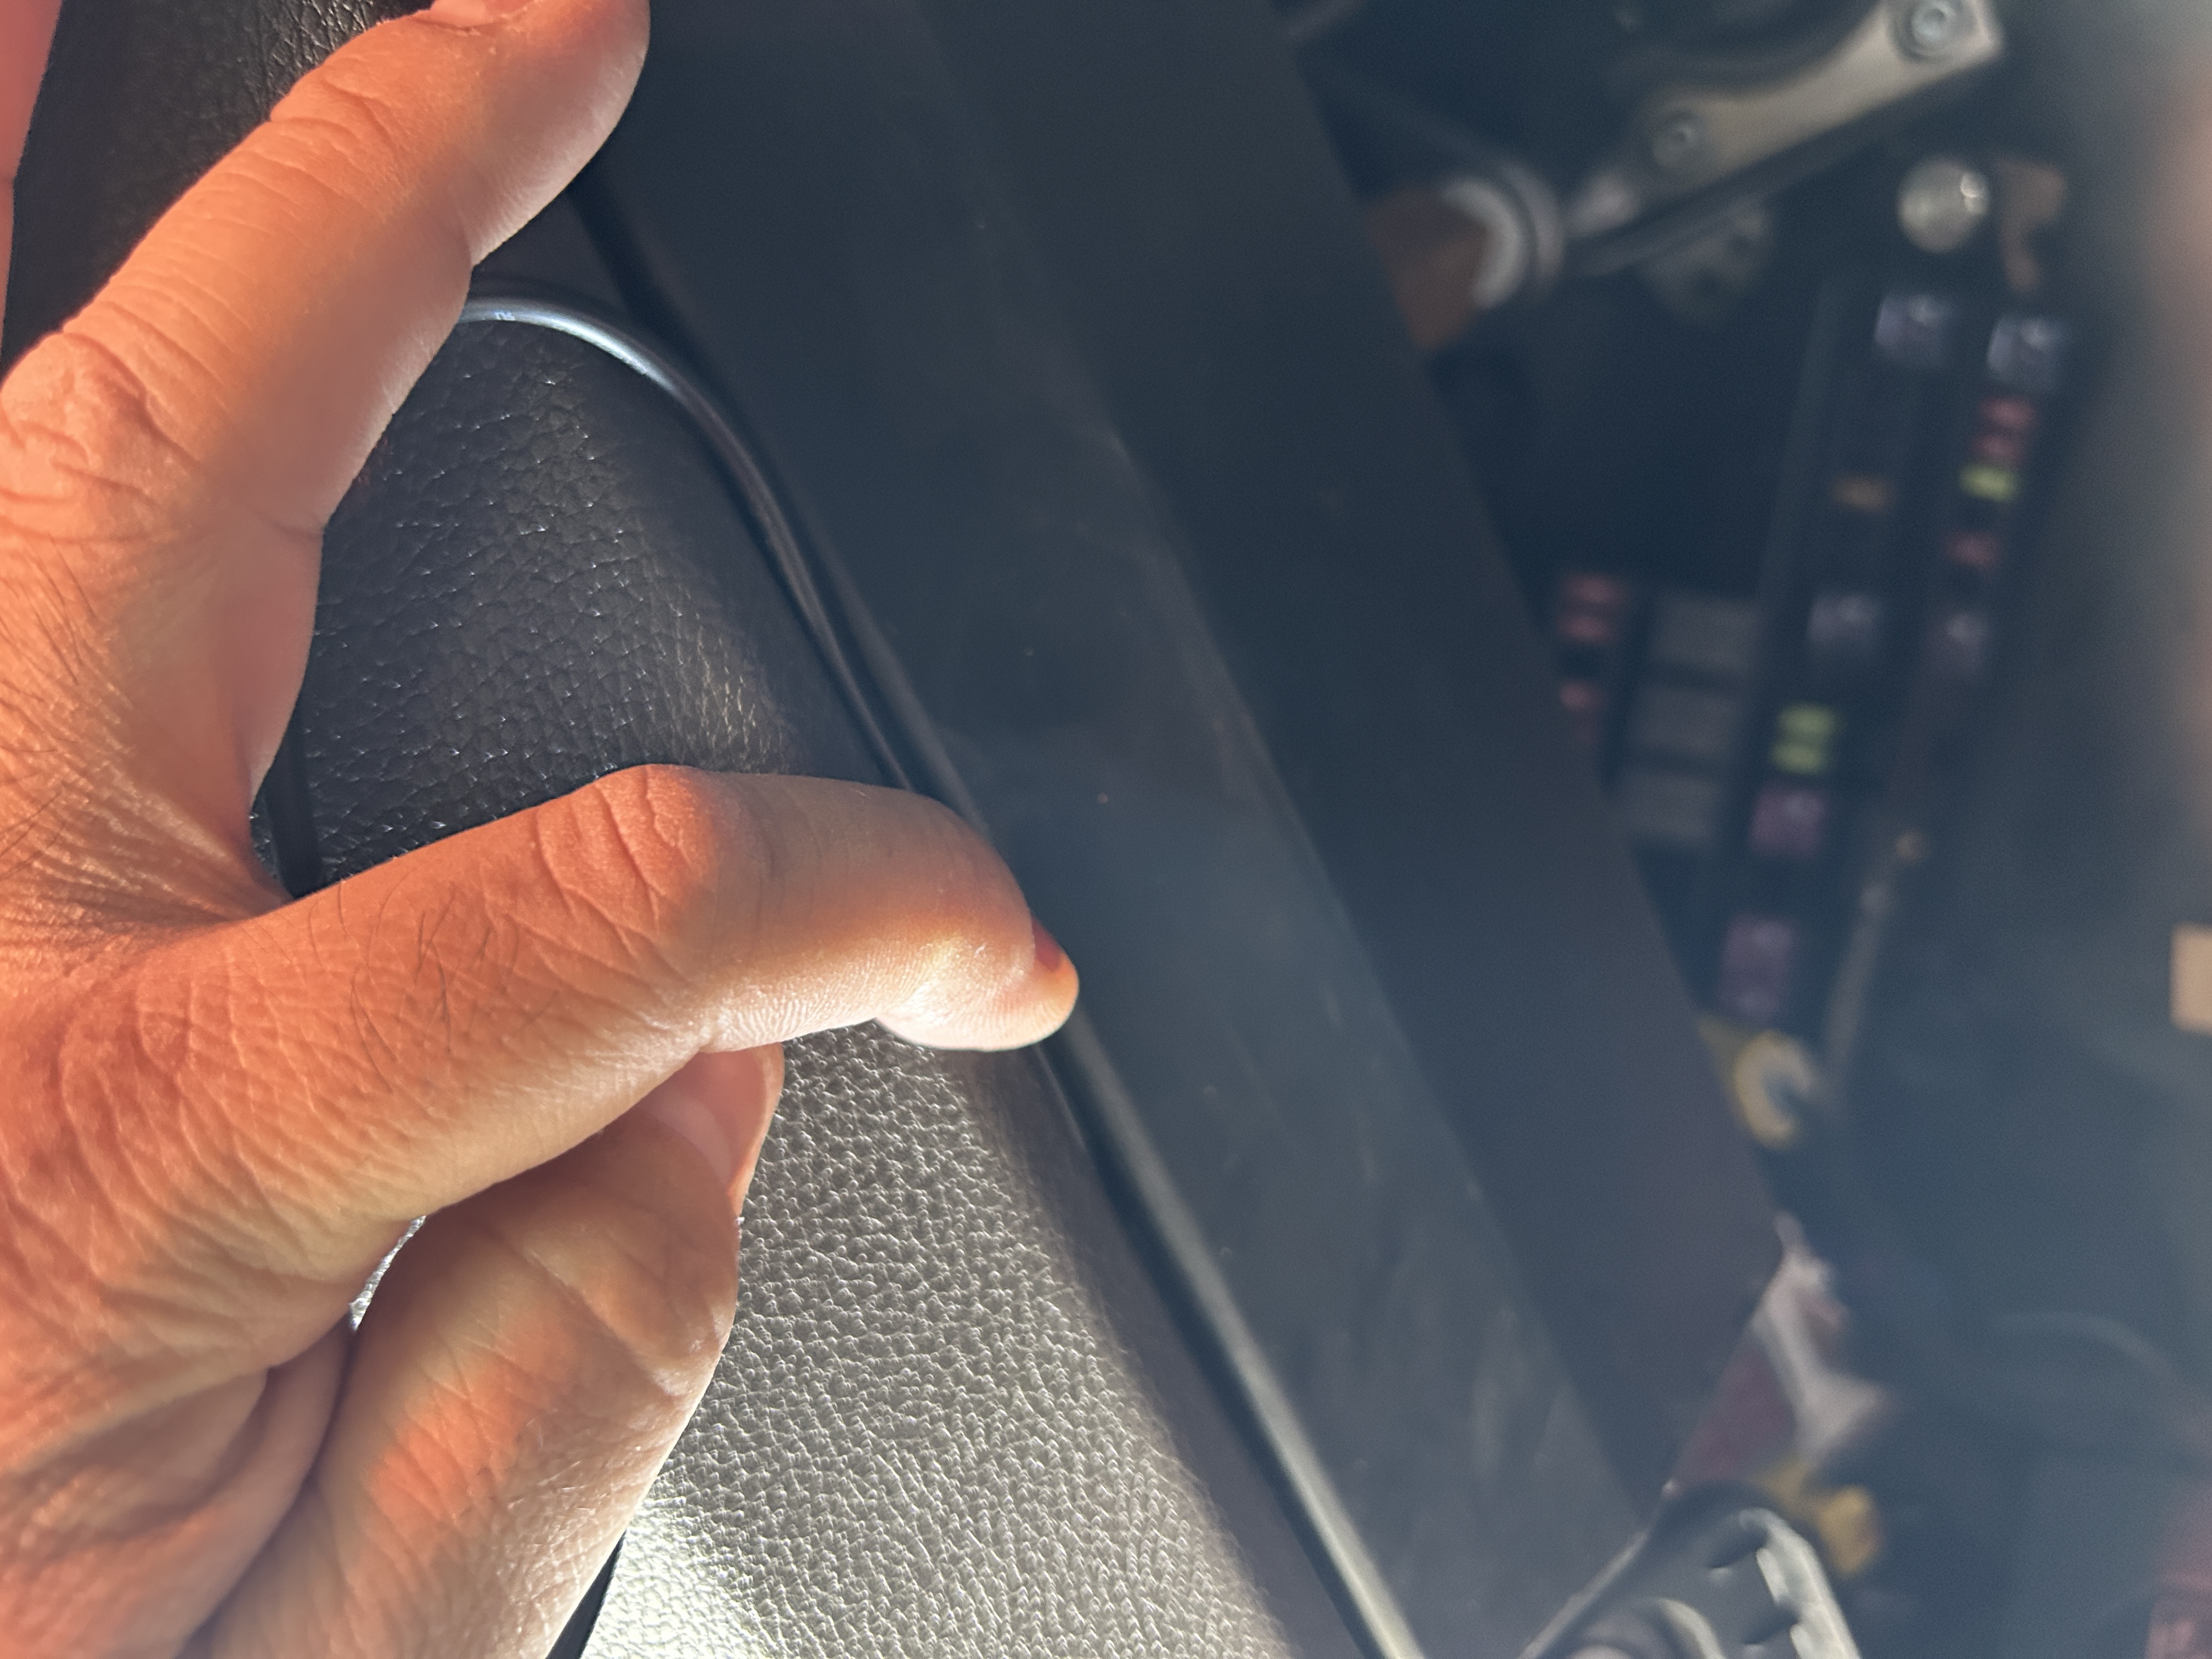
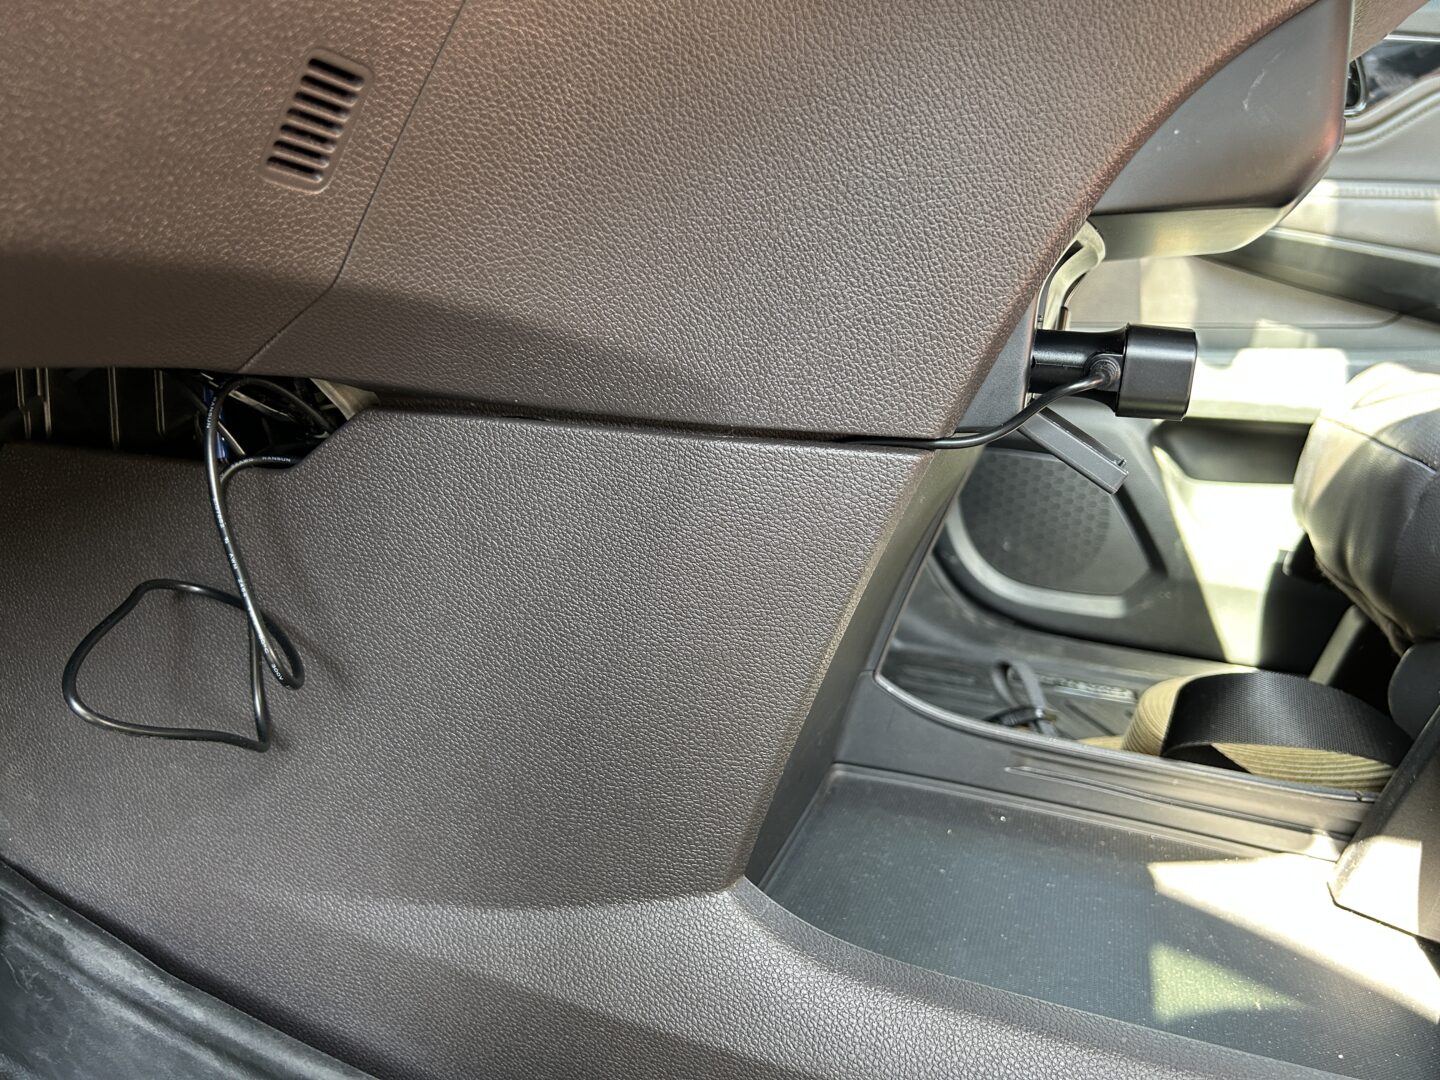
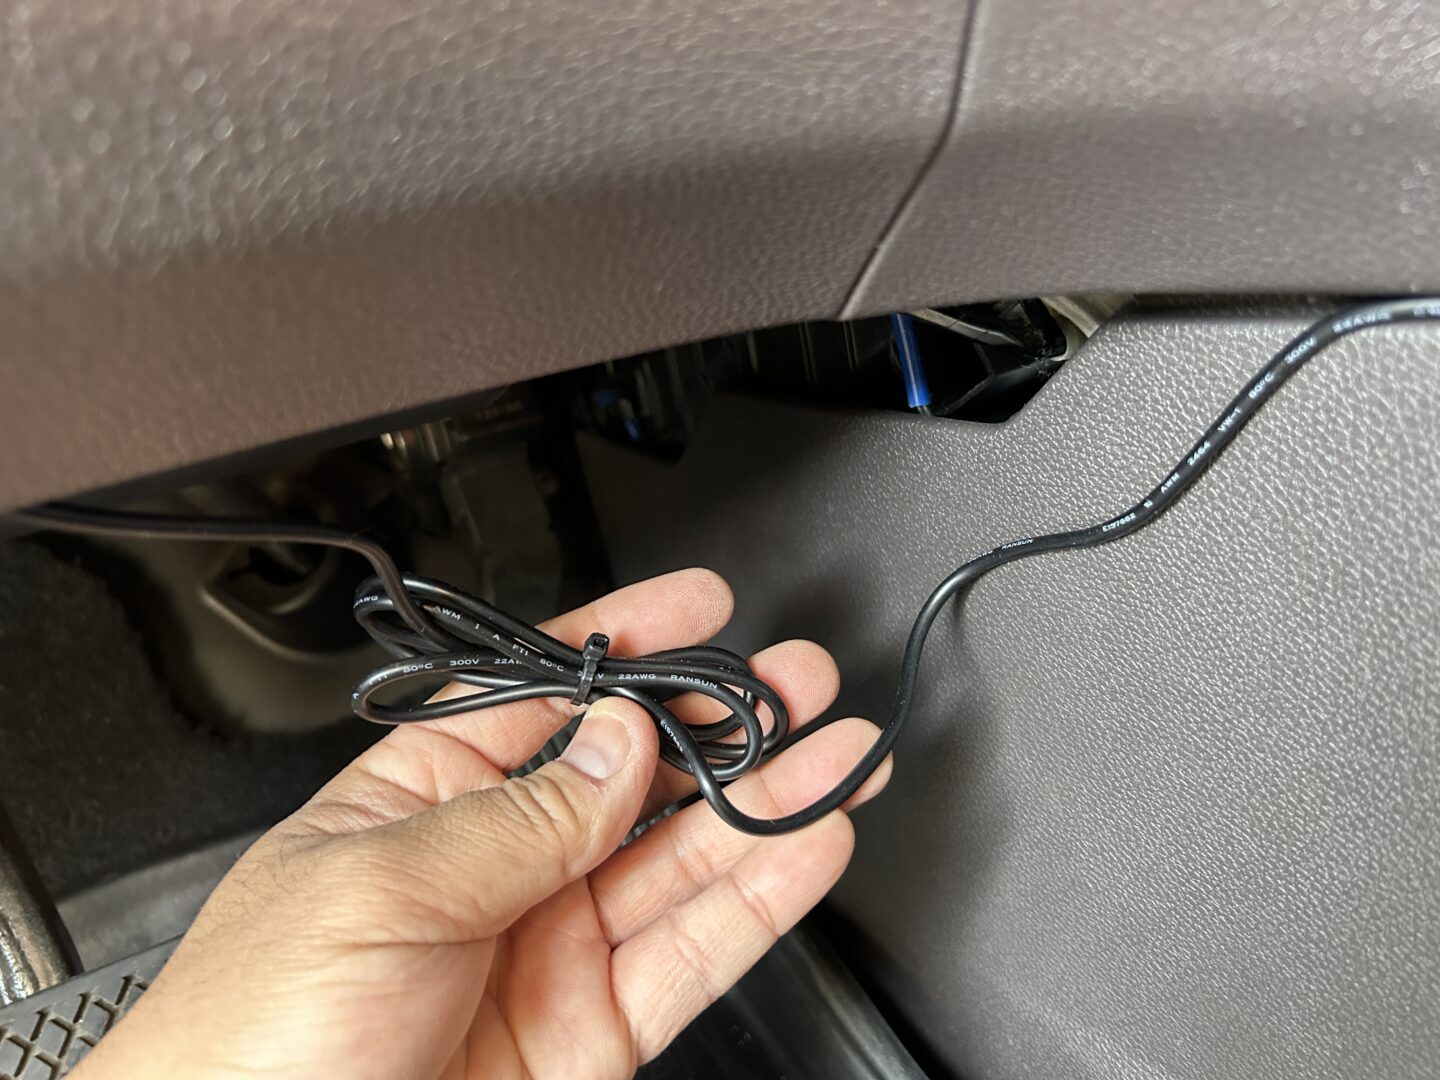

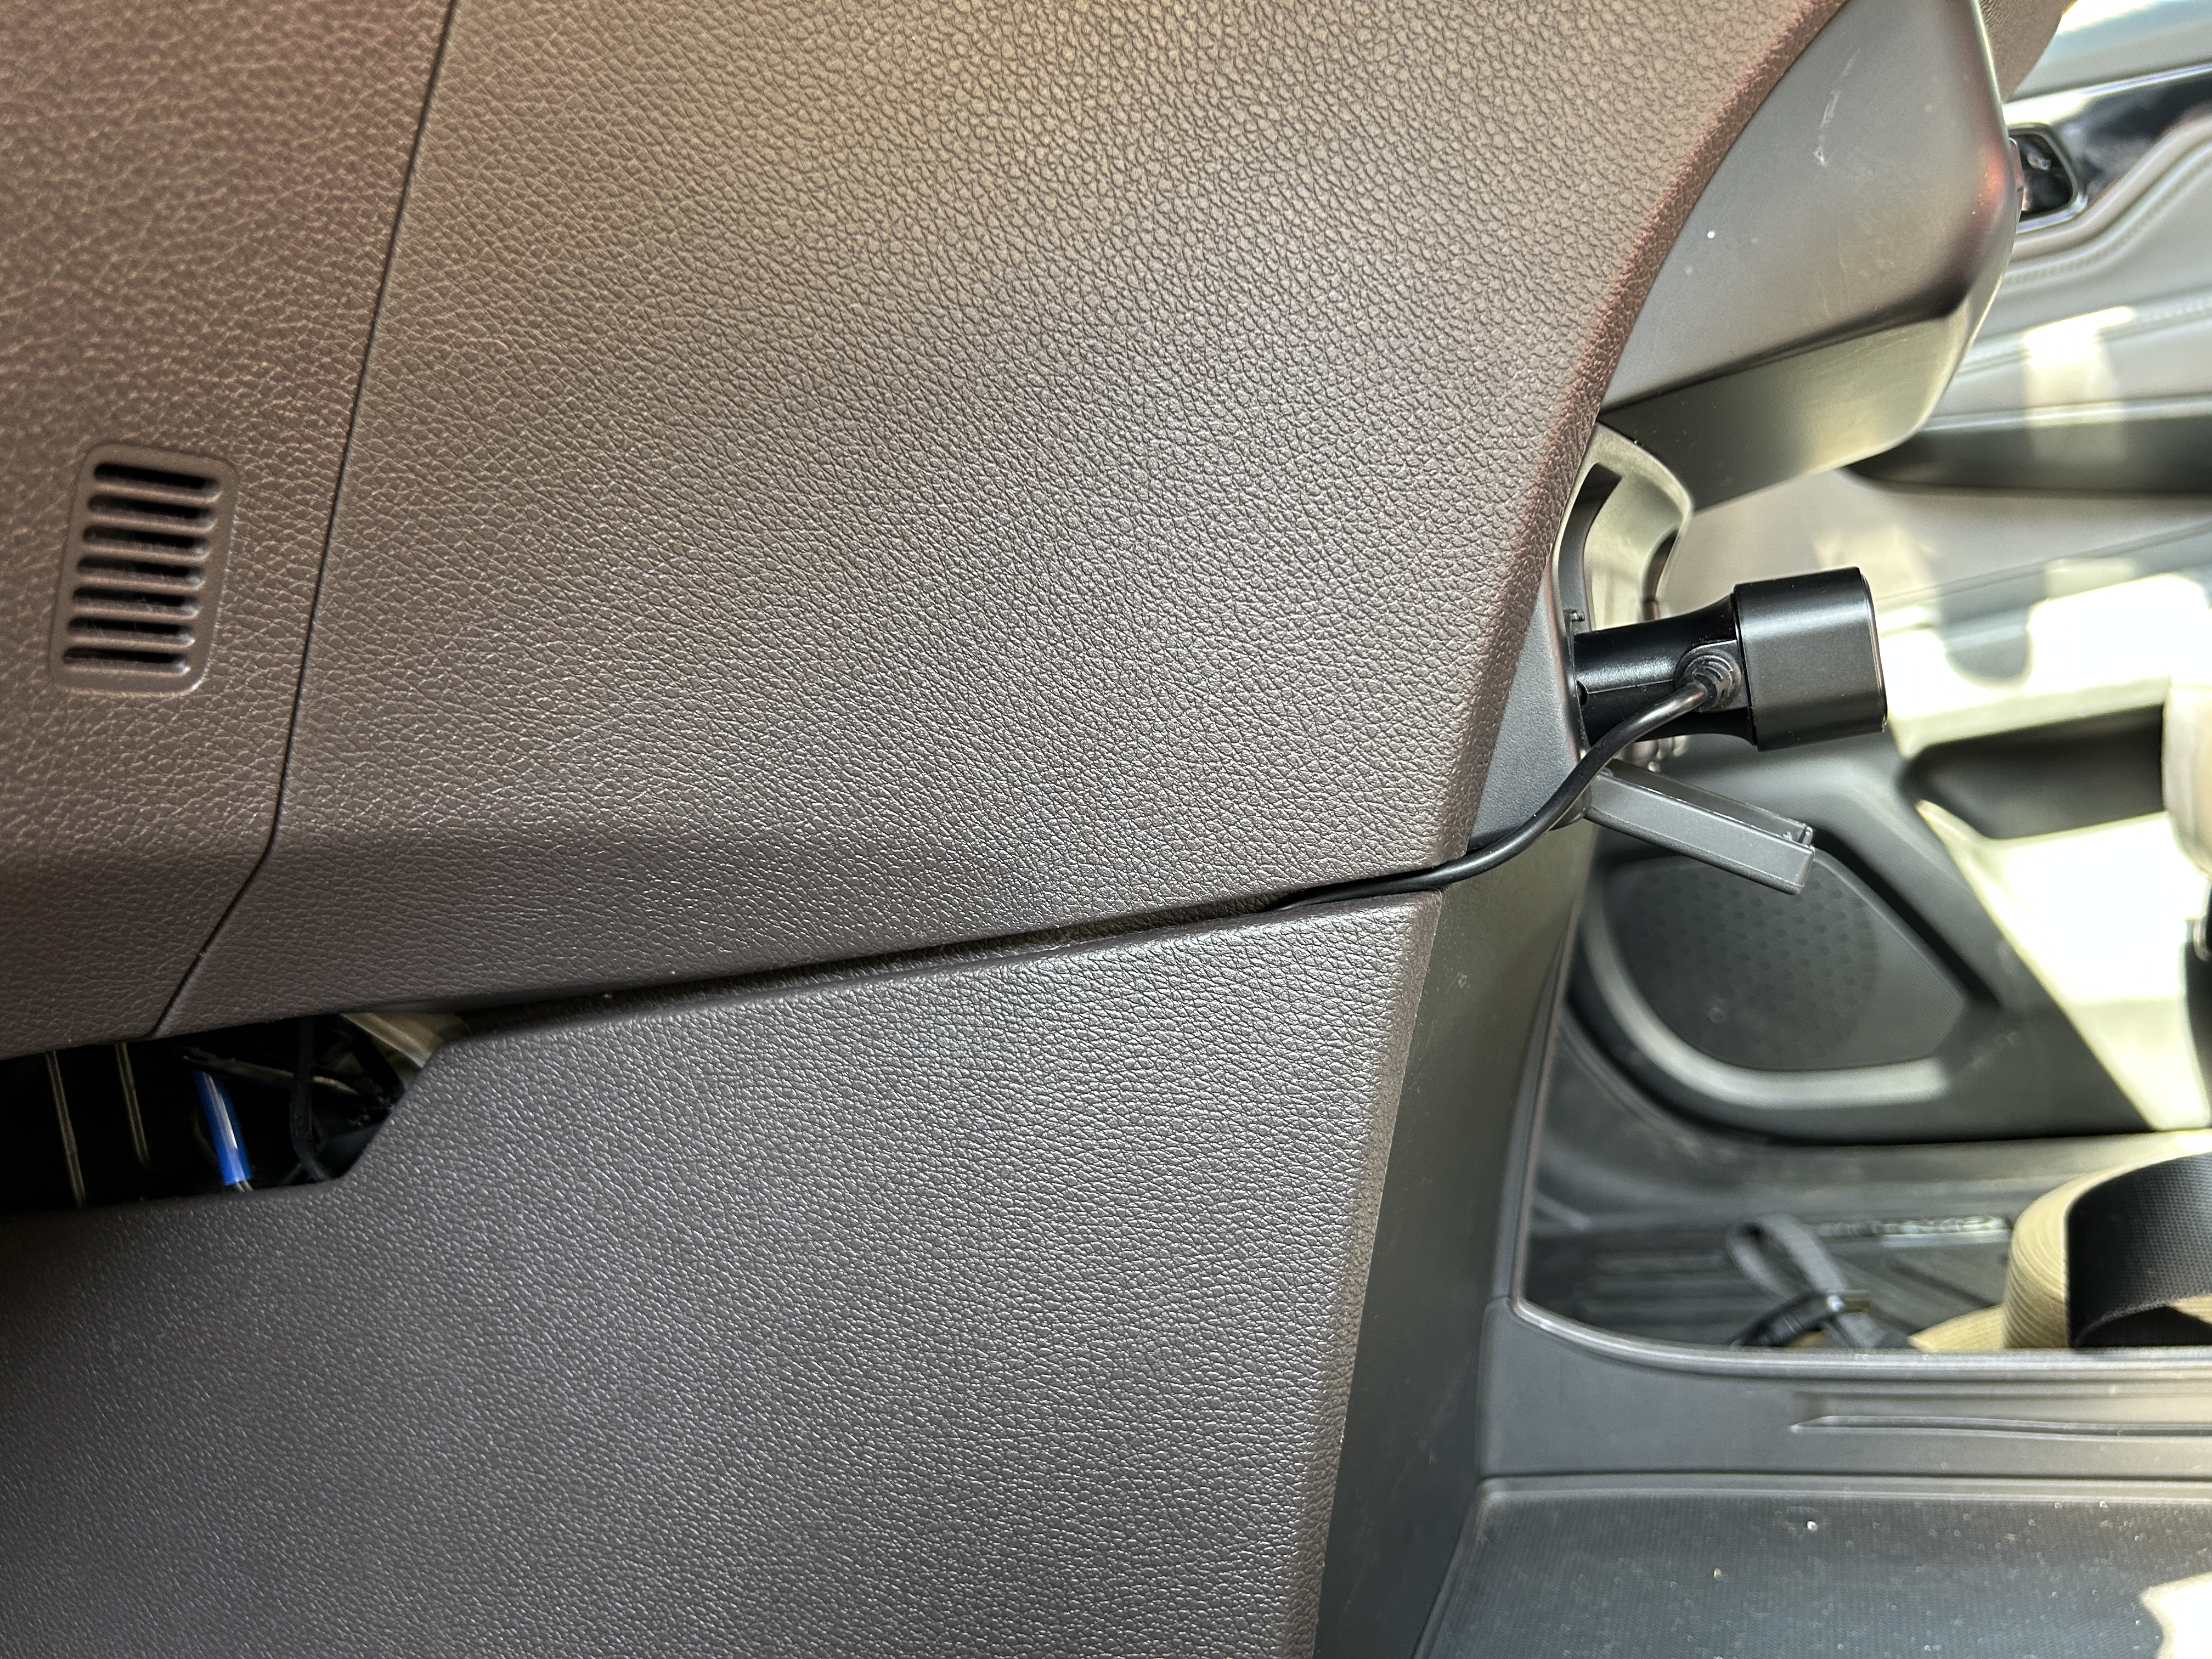
This is how the power wire looks when it is fully installed. The auxiliary plug is plugged in sideways so that the wire directly goes into the seam between these two trim pieces.
Now that the power cord is fully installed on the driver’s side and hidden out of sight, we’ll need to route and hide the wire that goes from the front camera to the rear camera along the passenger side of the vehicle.
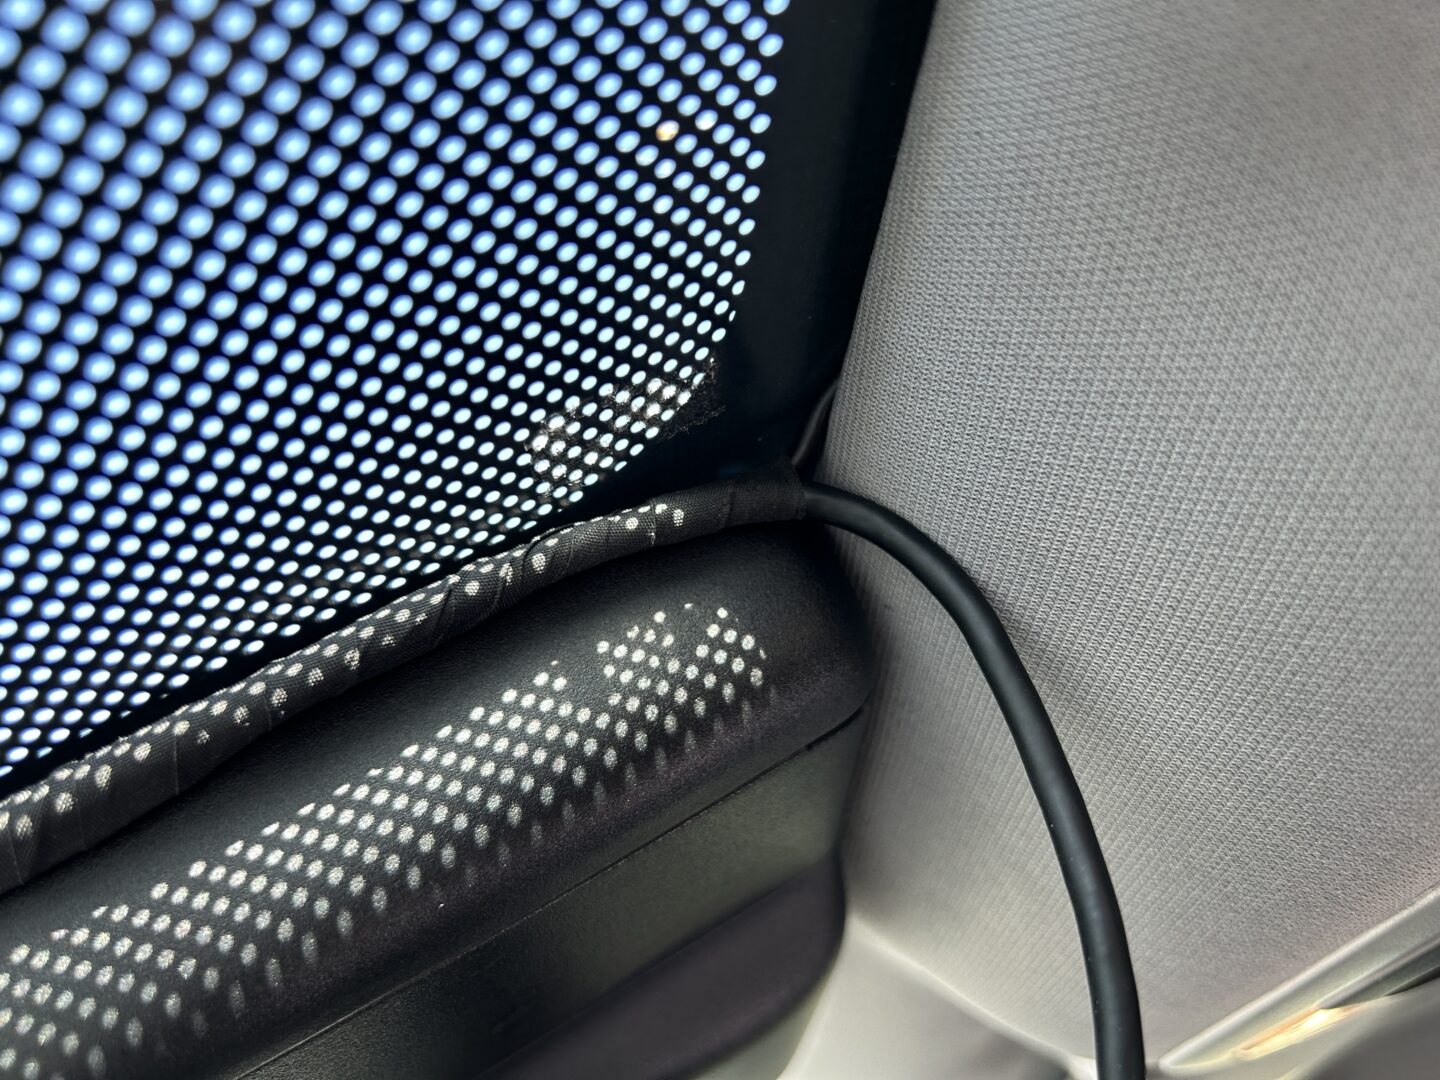
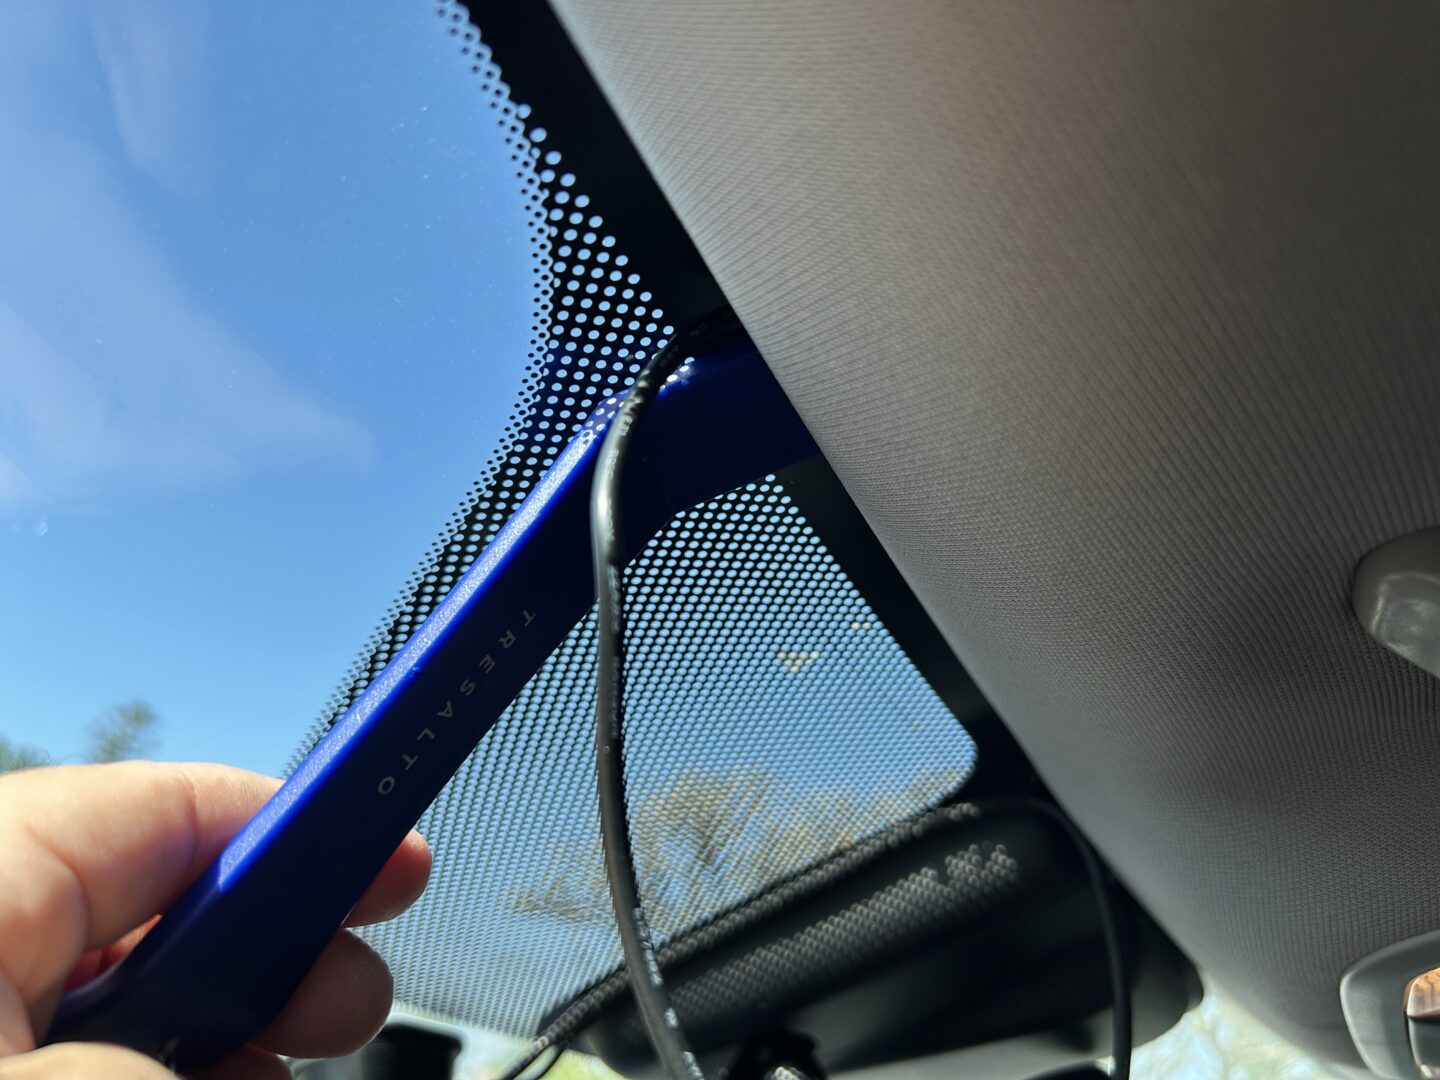
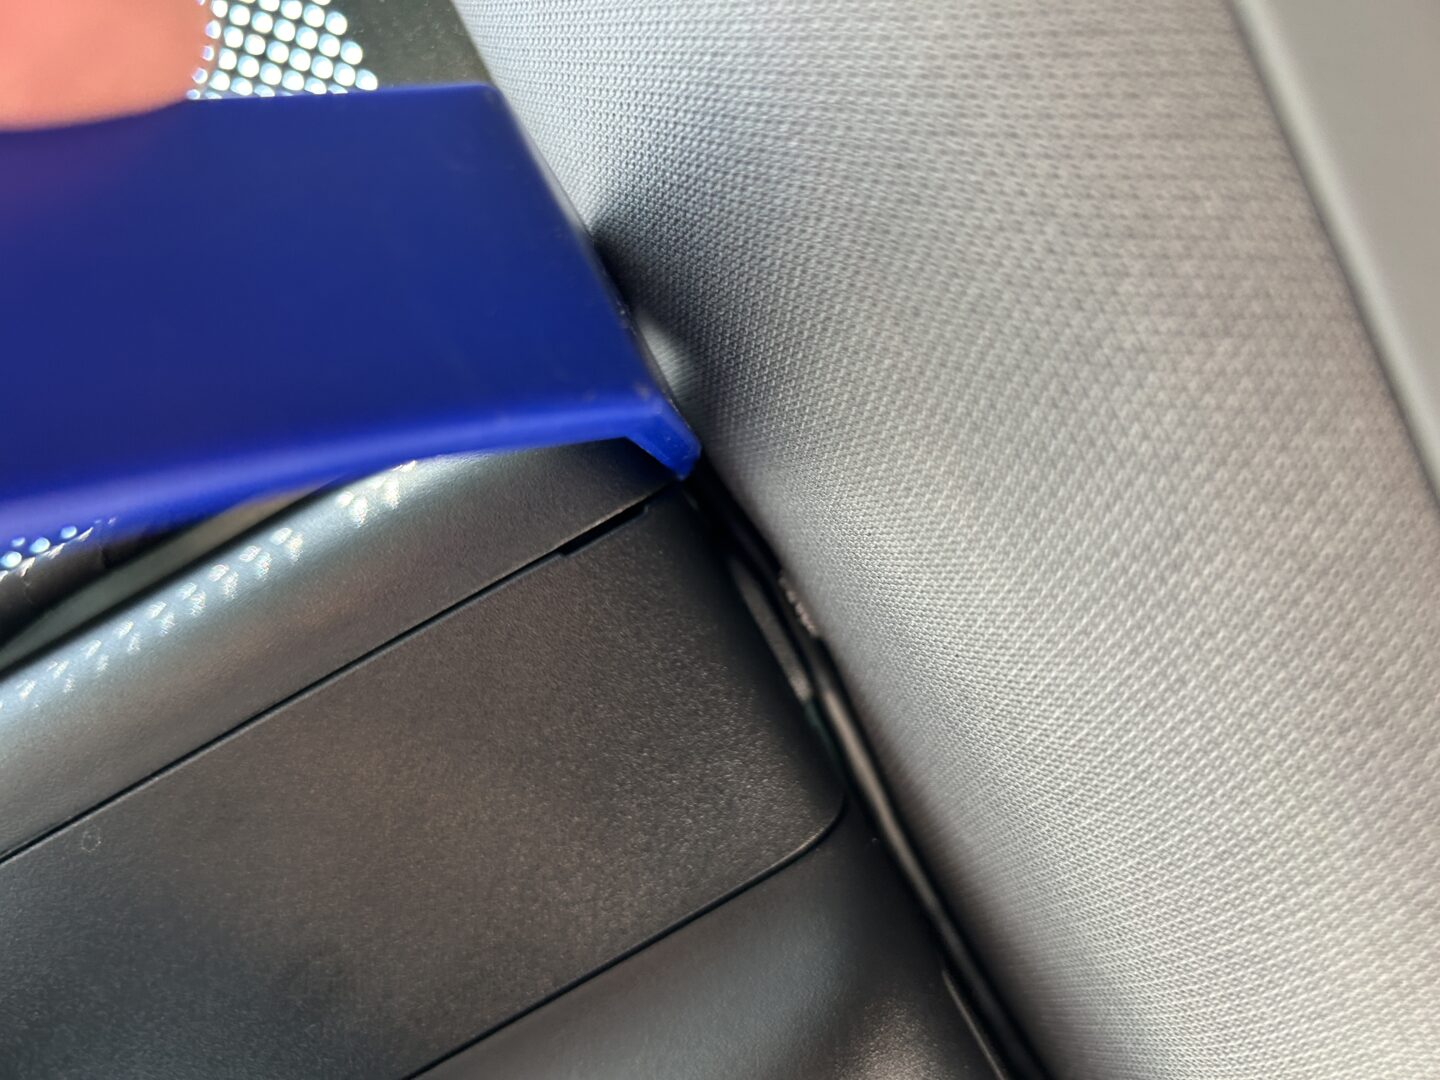
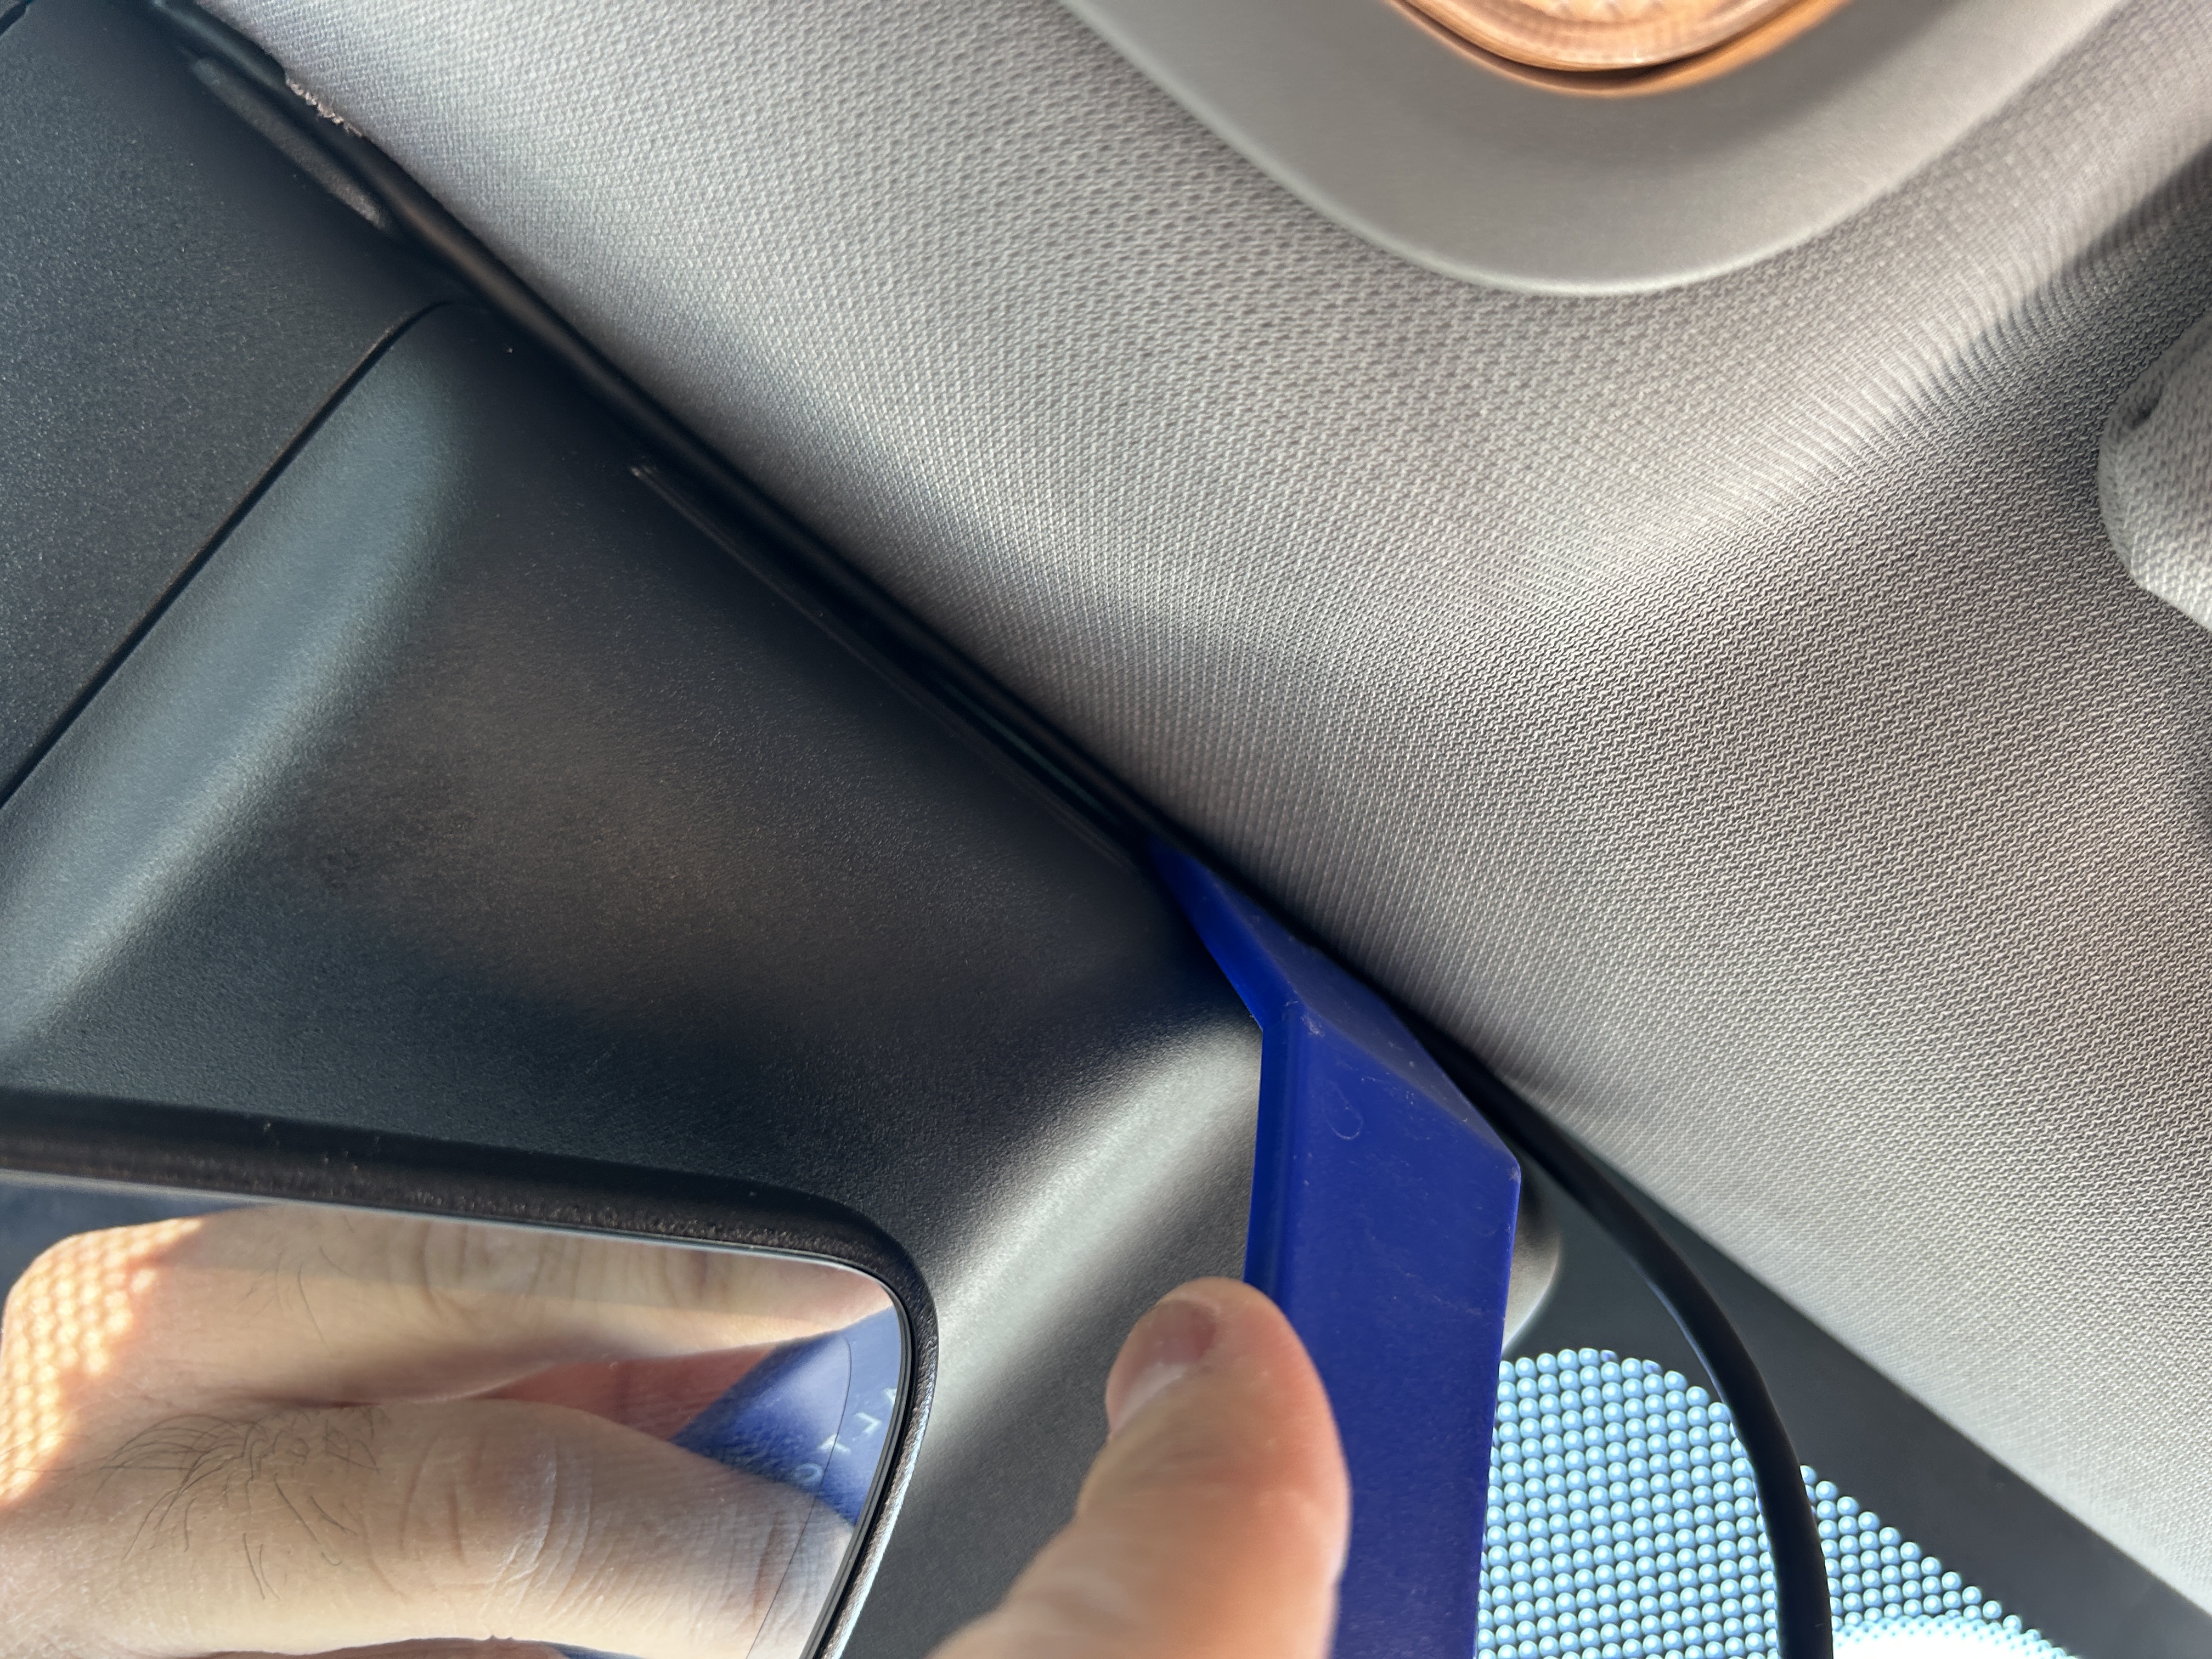
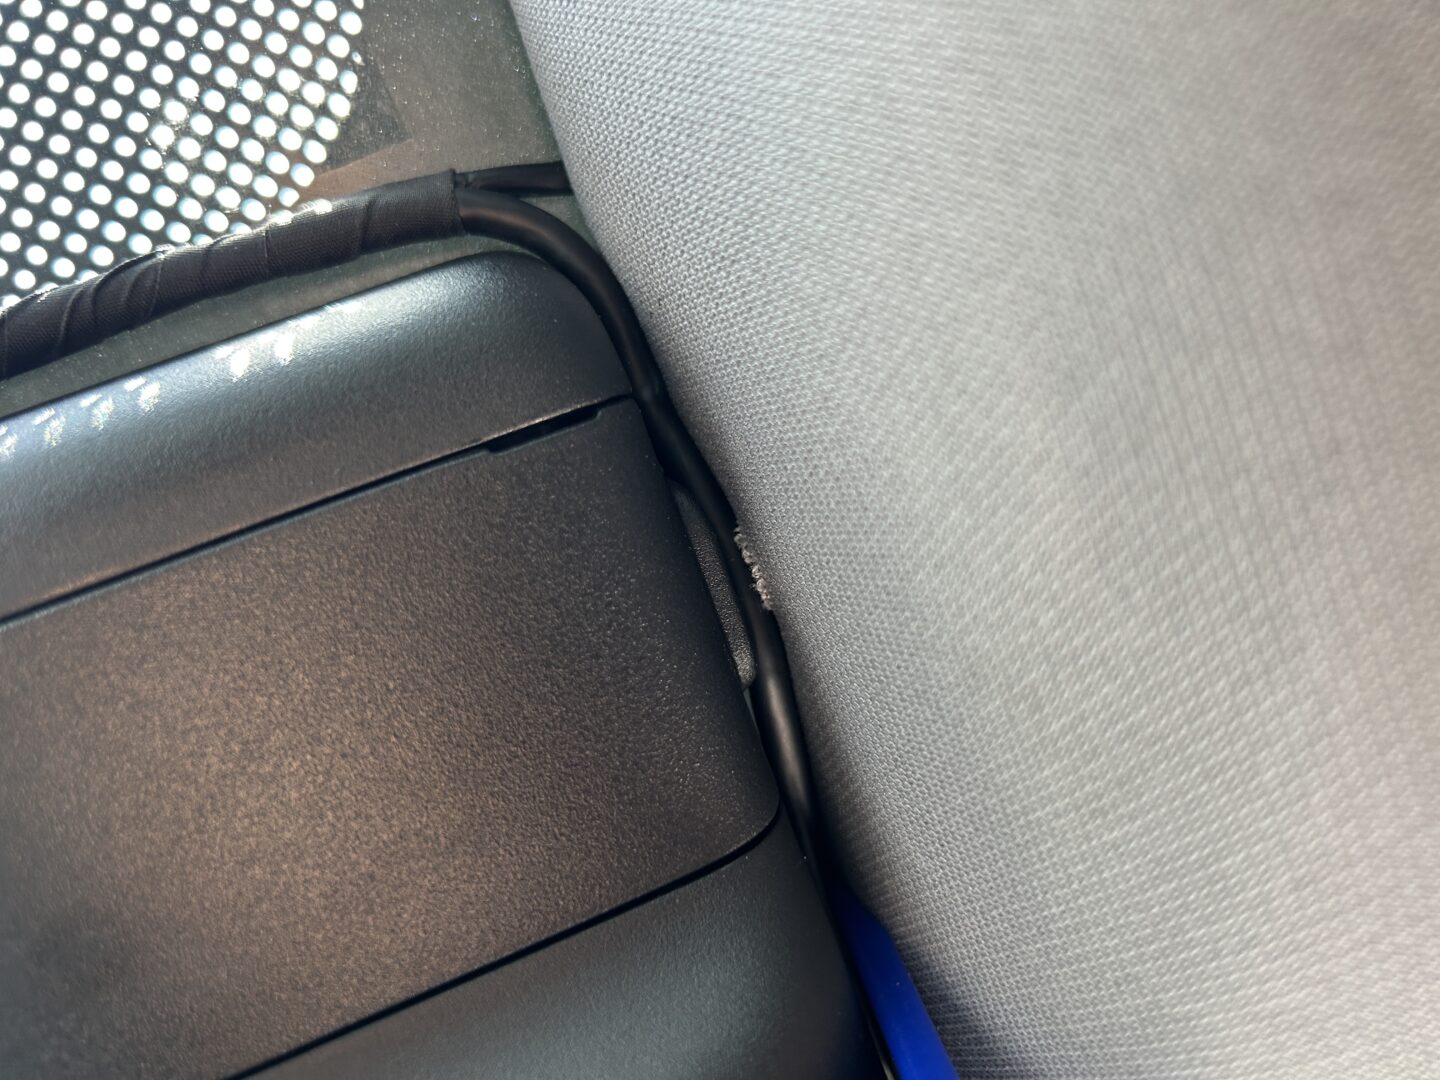
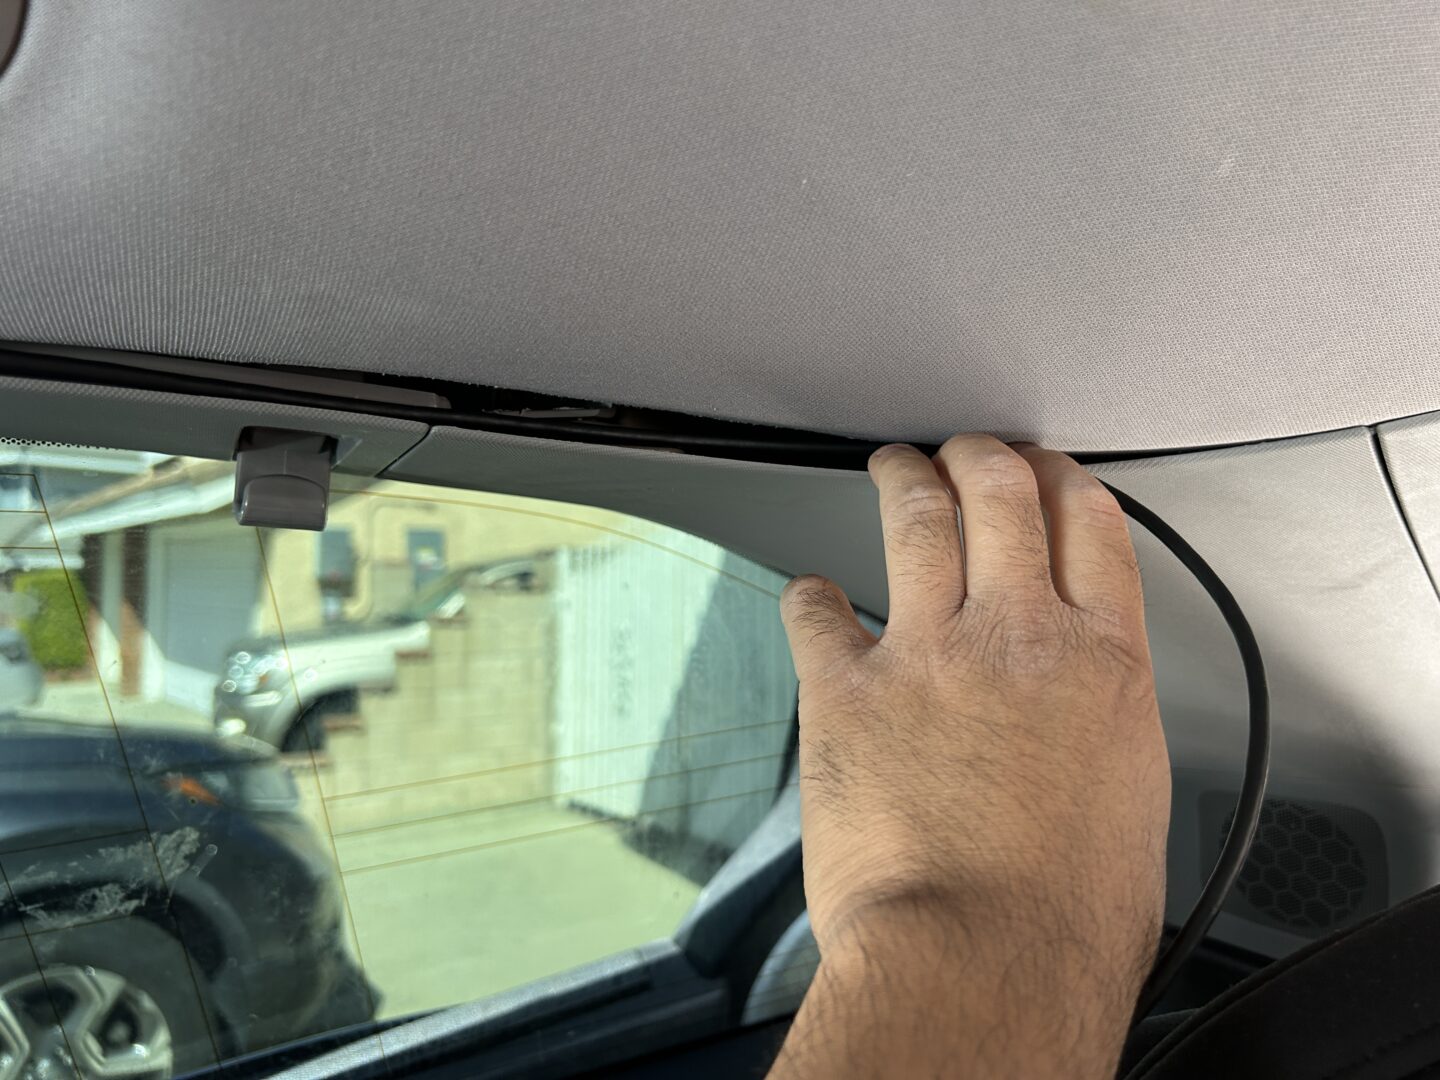
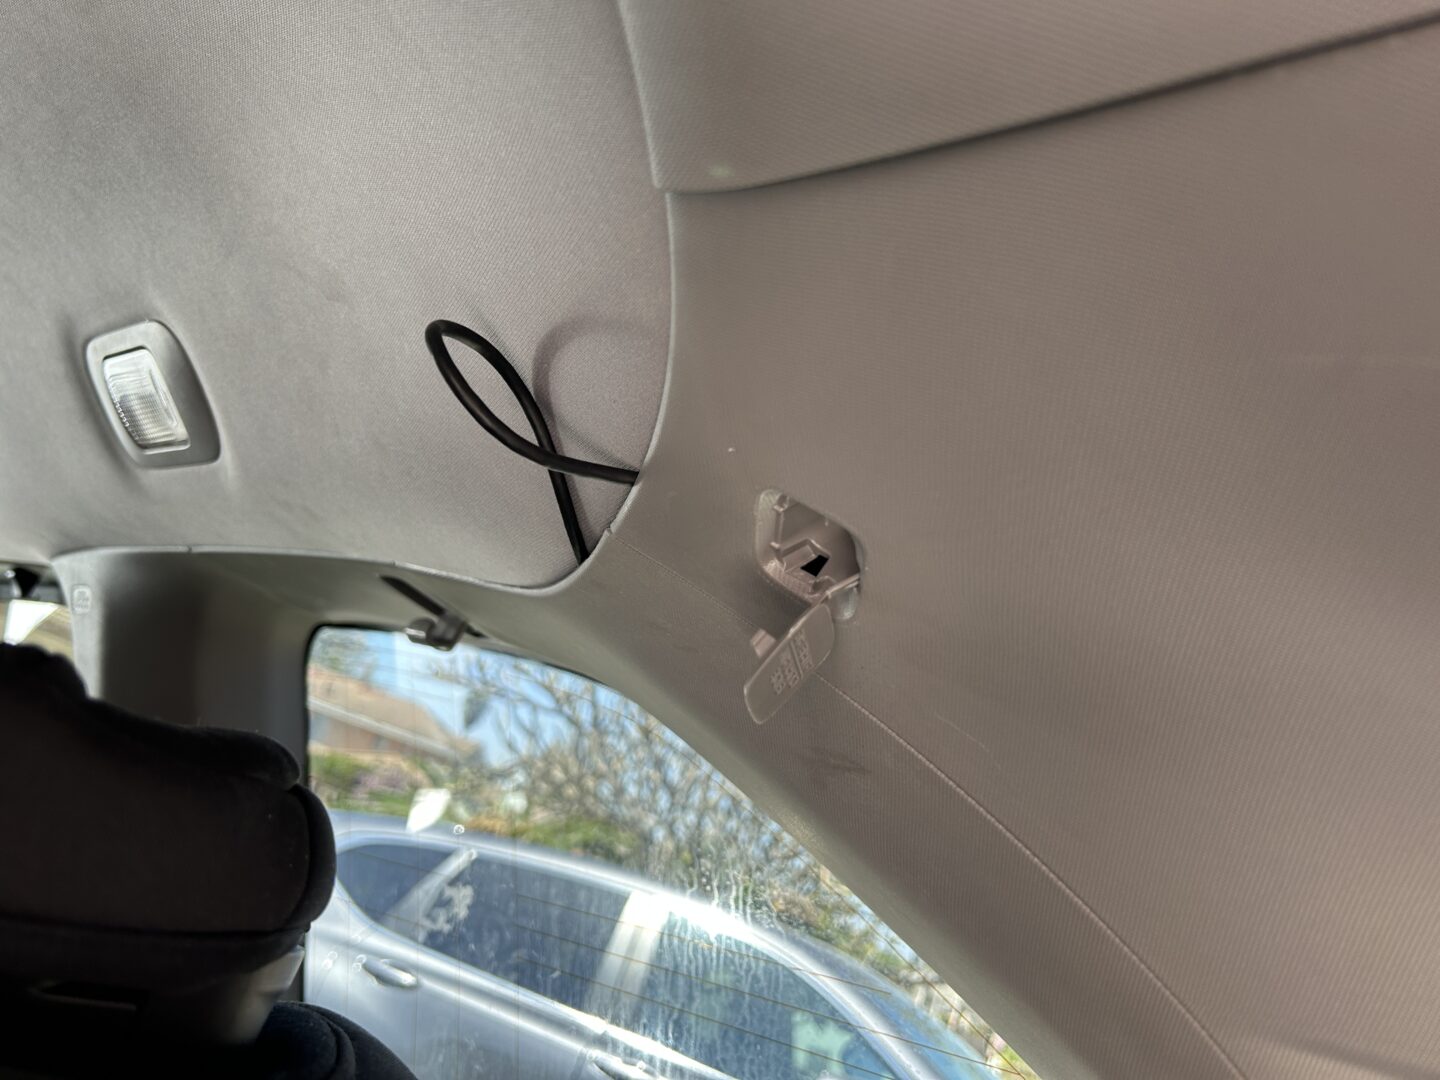
Back at the rear view mirror again, we have the second wire that needs to be pushed up and wedged between the rear view mirror trim and headliner. Once you pass over the rear view mirror trim, you can start prying the headliner again with the trim tool and shoving the wire behind the headliner again. Route the wire across the passenger side towards the passenger side A-pillar.
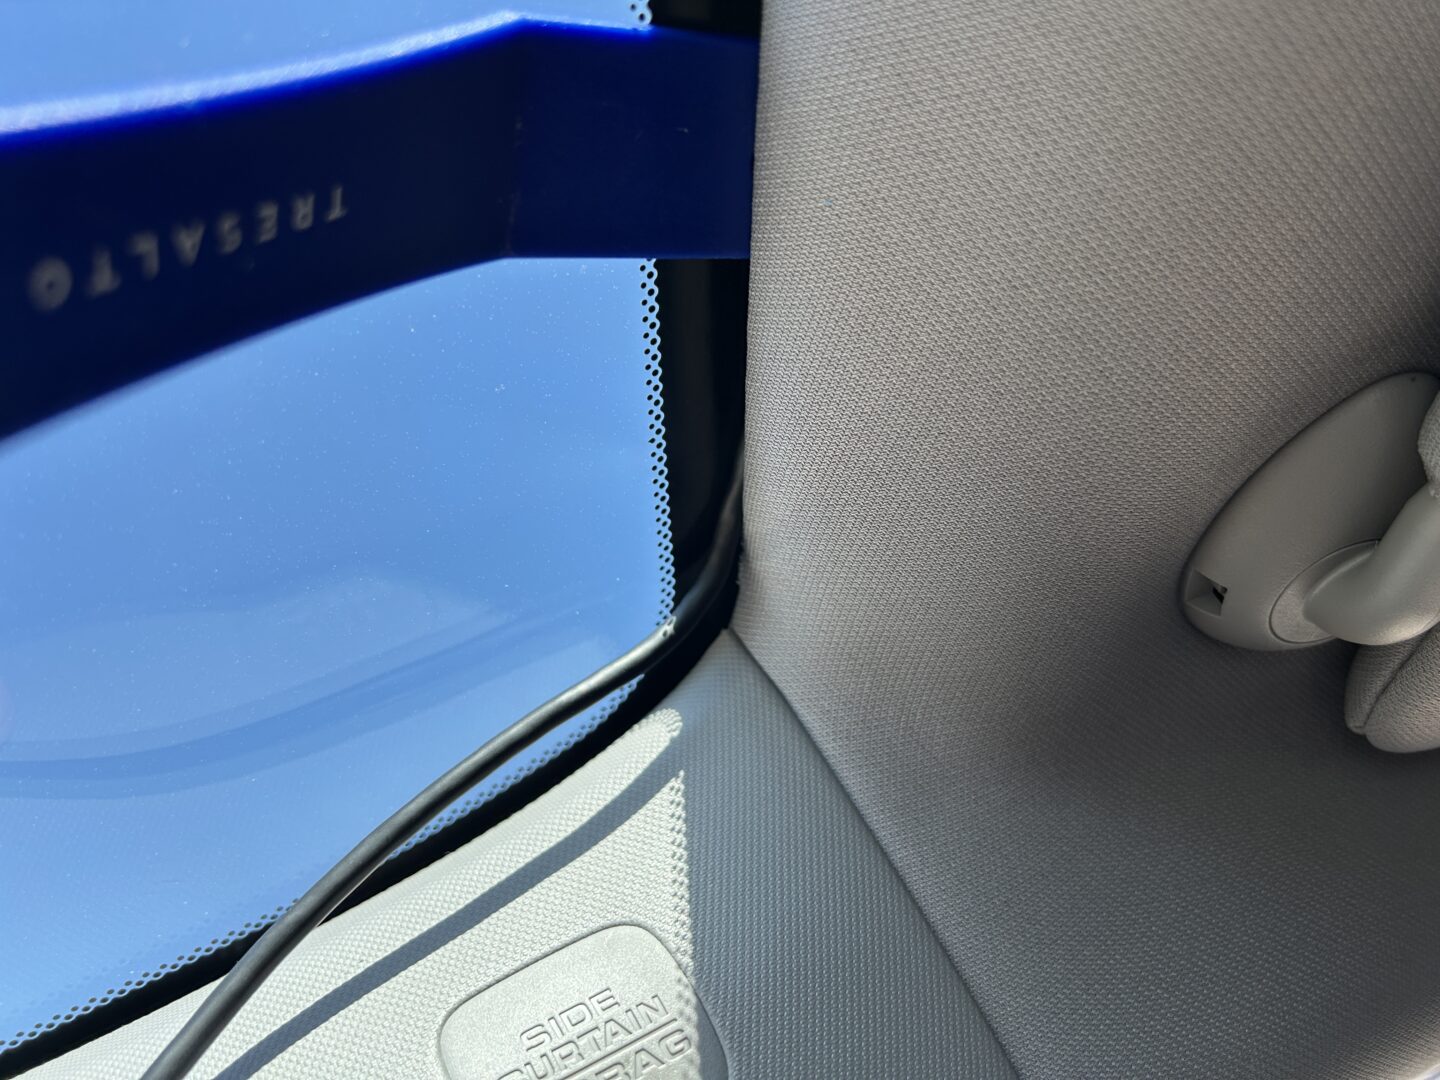
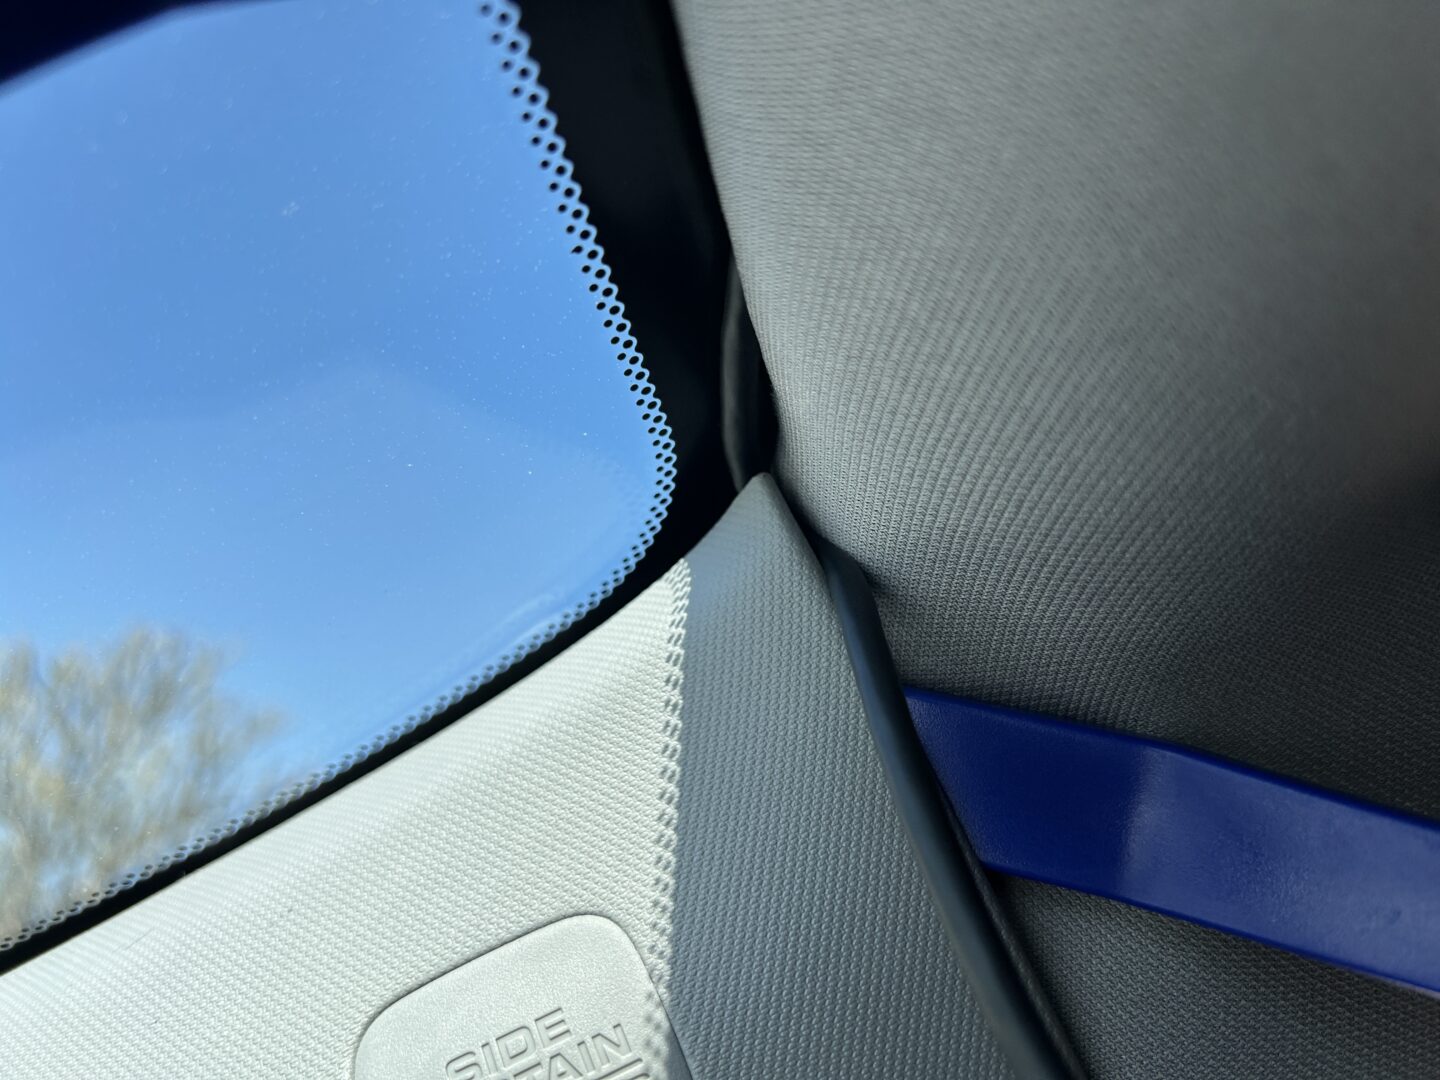
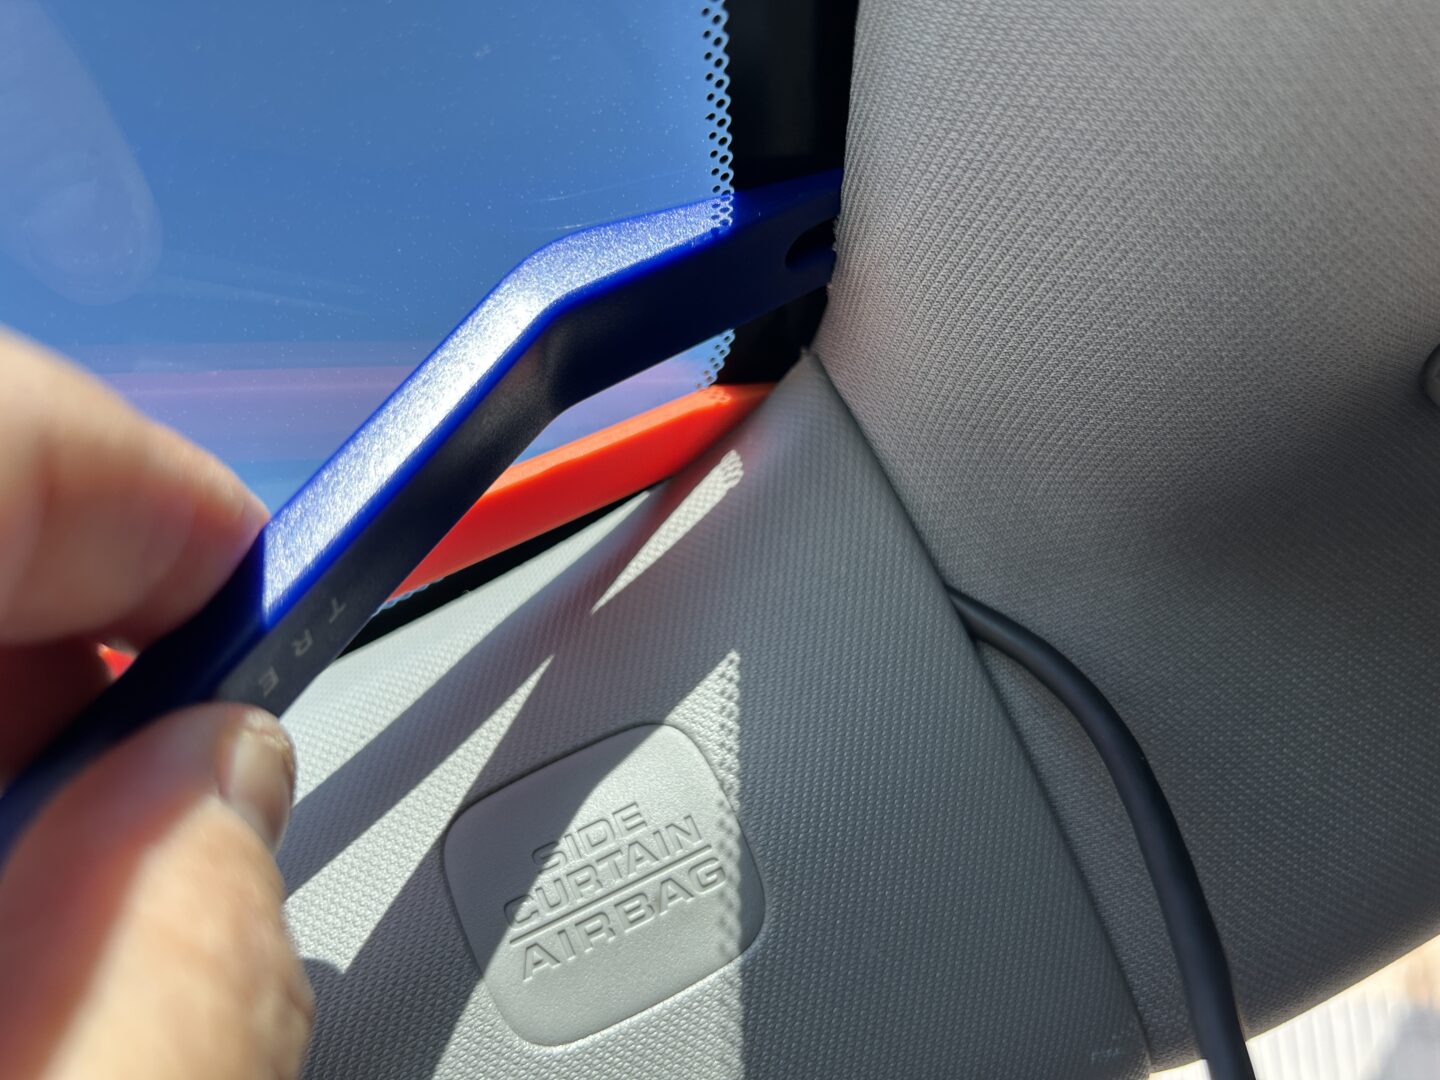
Once again, use your trim tools and route the wire across the driver side A-pillar by hiding it behind the A-pillar trim. Then, once you’ve cross over the A-pillar, pull the rubber door molding. This time, instead of going down the A-pillar, you are routing the wire towards the back of the car. So pull the rubber molding towards the back of the door, push the wire in the space behind it, and push the rubber molding back in place.
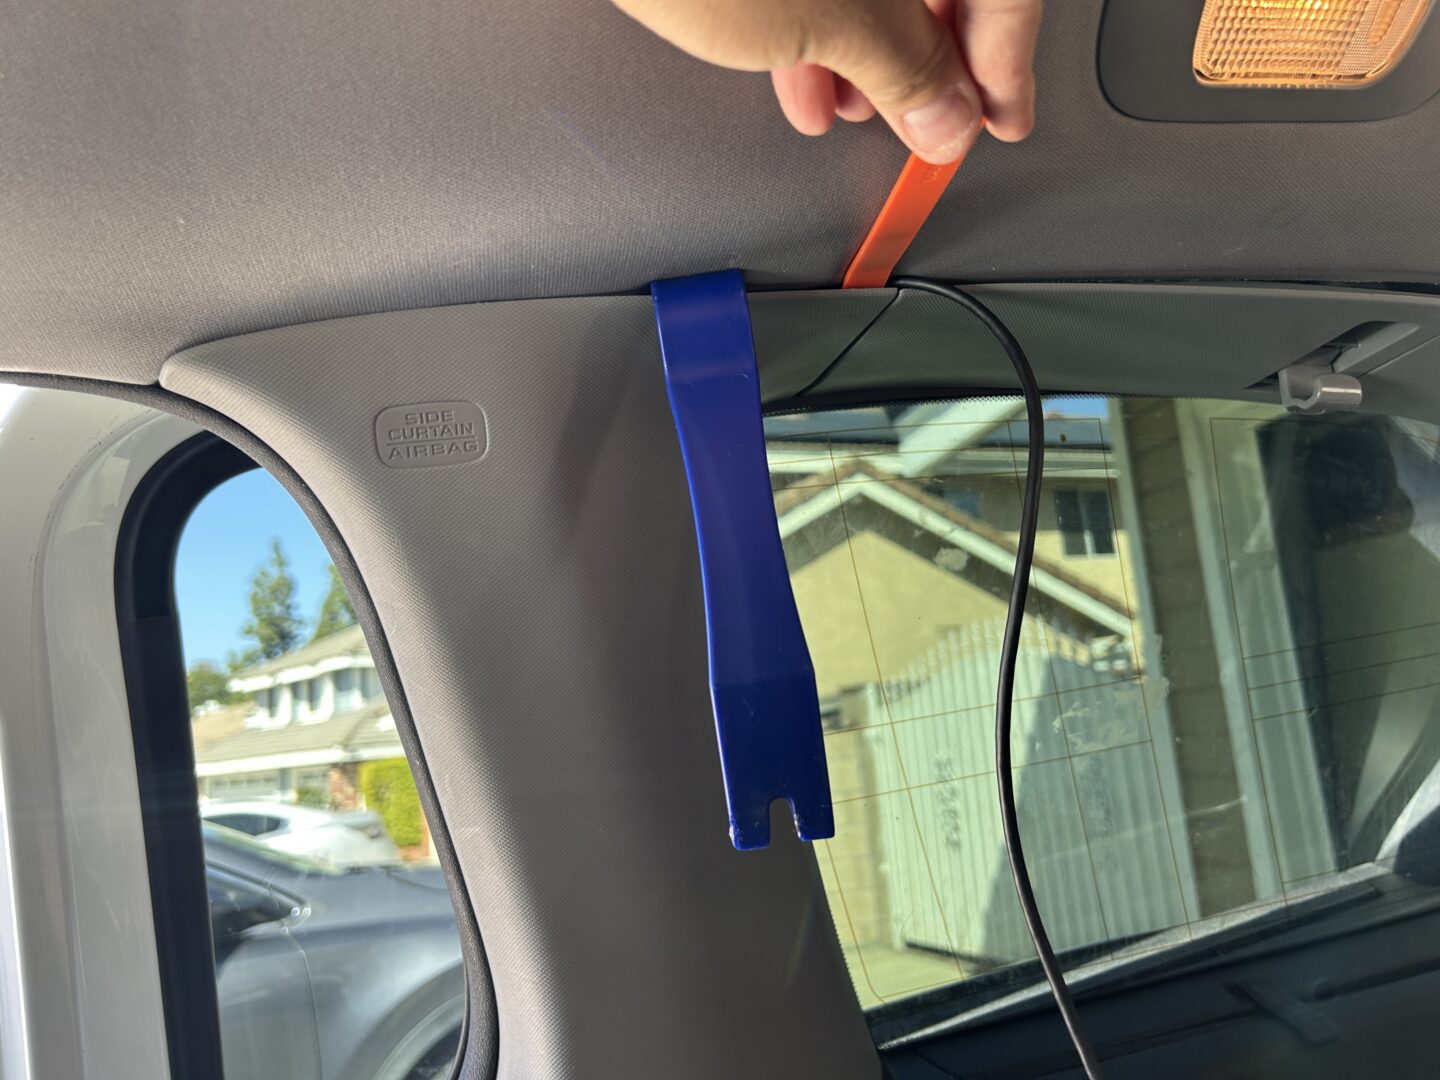
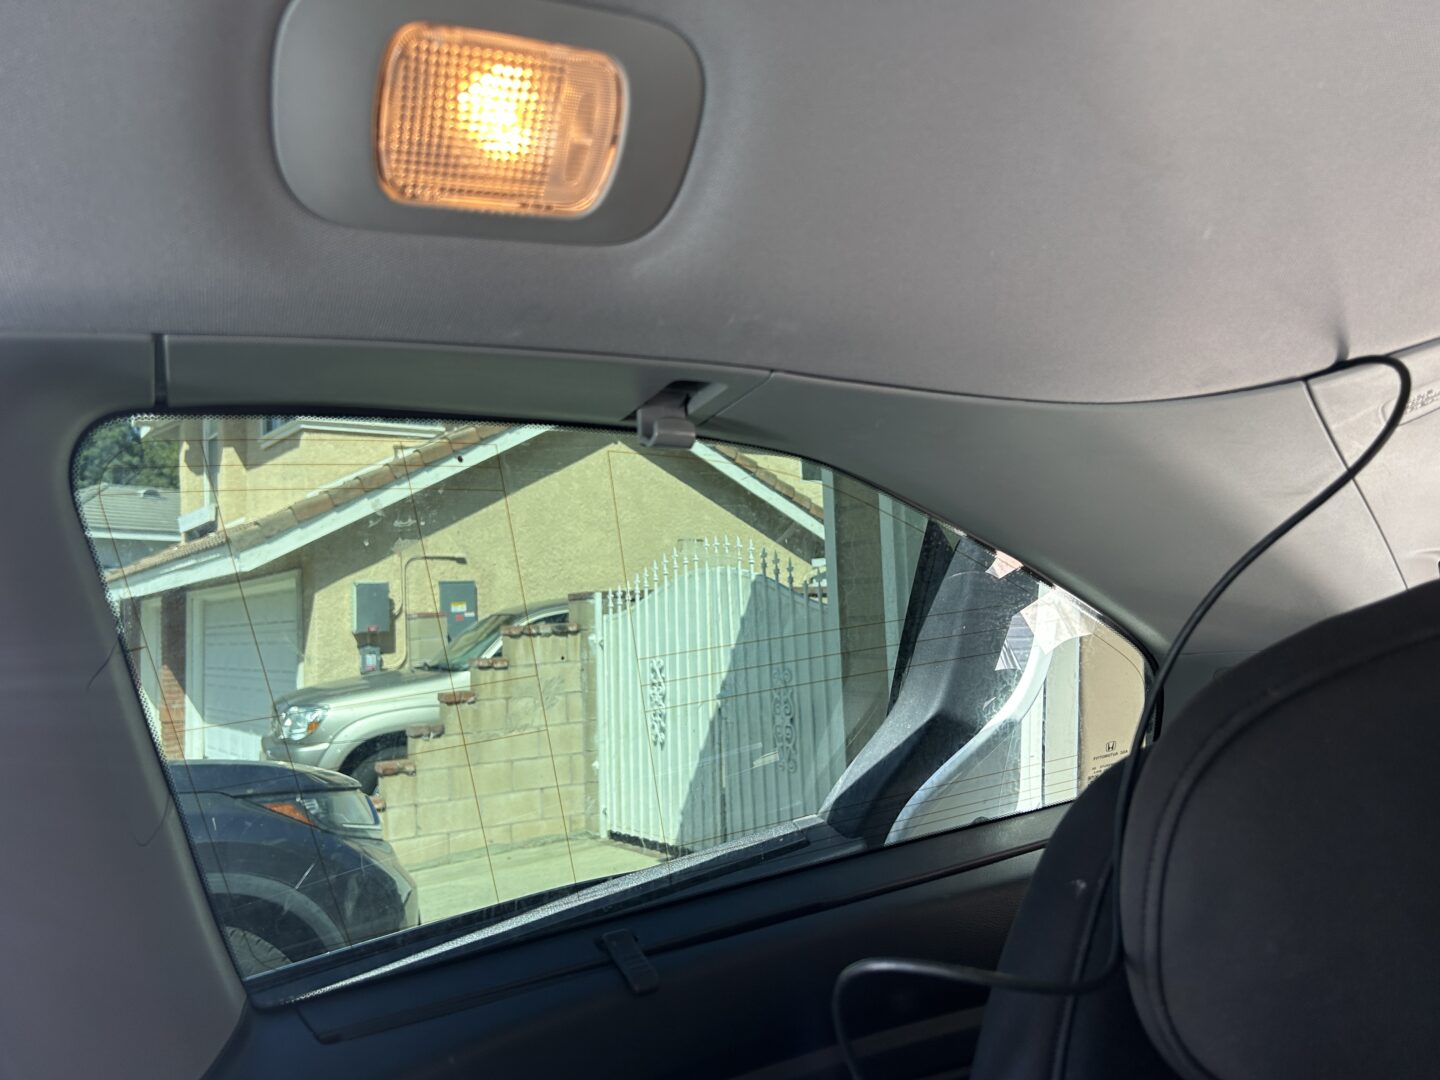
Now, we cross over the B-pillar (between the passenger side front door and sliding door). Use your trim tools to pry up on the B-pillar trim and get the wire behind it. Then pull the passenger side sliding door rubber molding, and run the wire behind it.
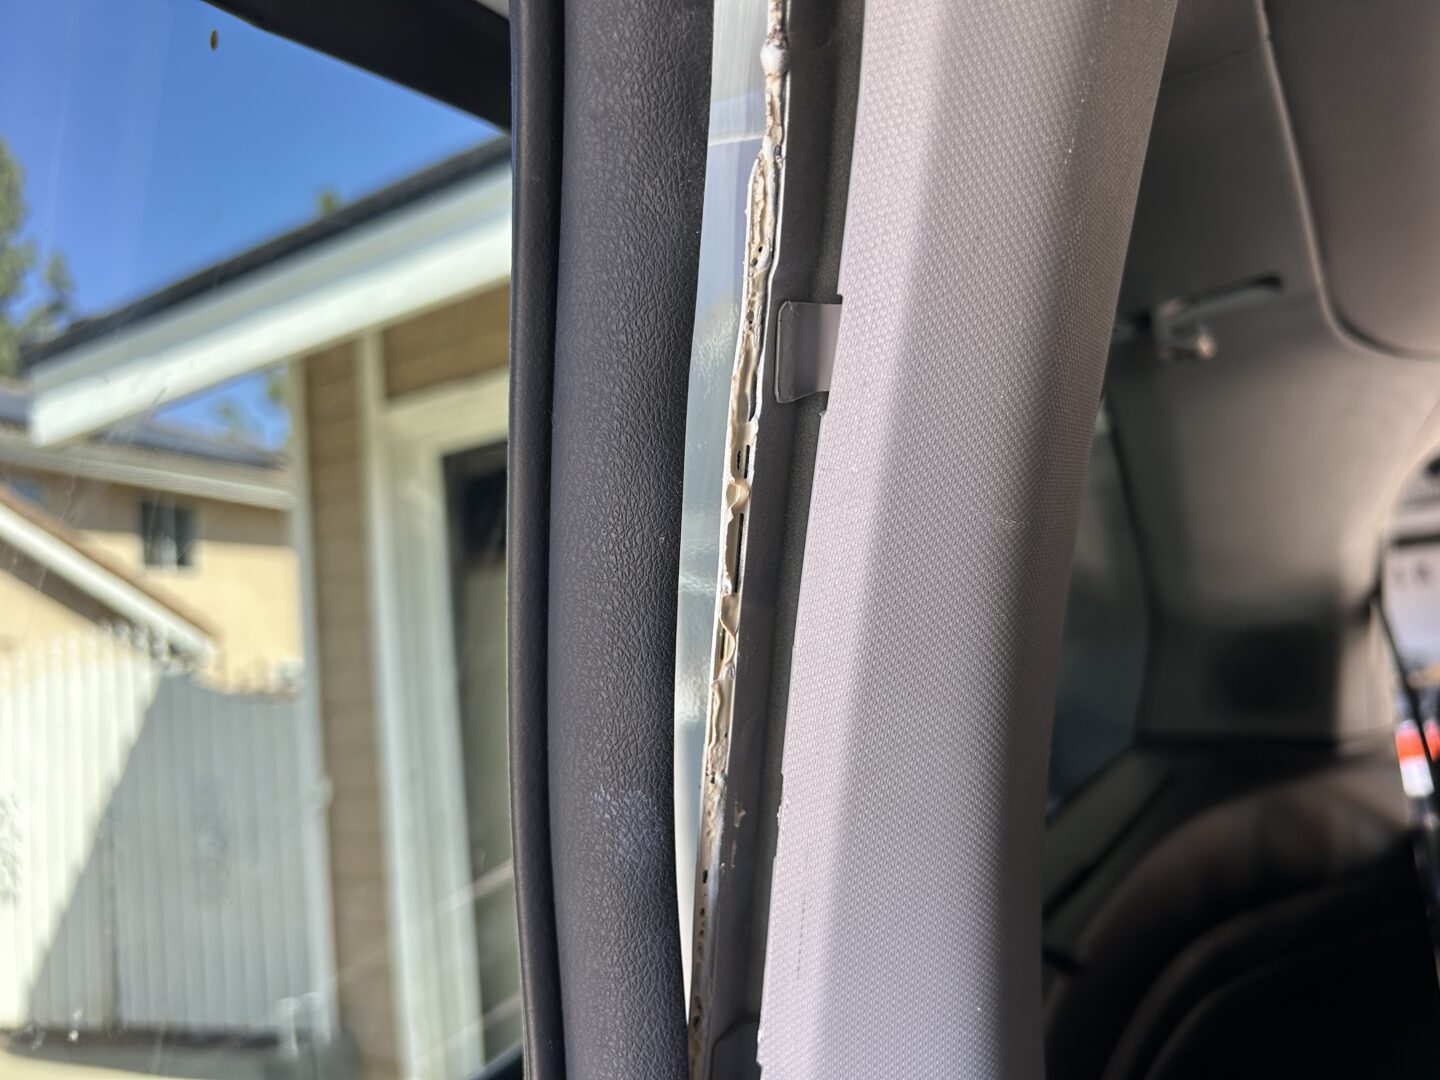
Now we are at the rear of the passenger sliding door. I would like to pause right now because this is where I started encountering some epoxy gunk behind the rubber door molding, which can get a bit messy.
Either wear some disposable gloves or have something to clean your hands with. I had baby wipes in the car already which worked just fine for cleaning off my hands. This stuff is pretty sticky and difficult to clean off, so just get through this area quickly and move on.

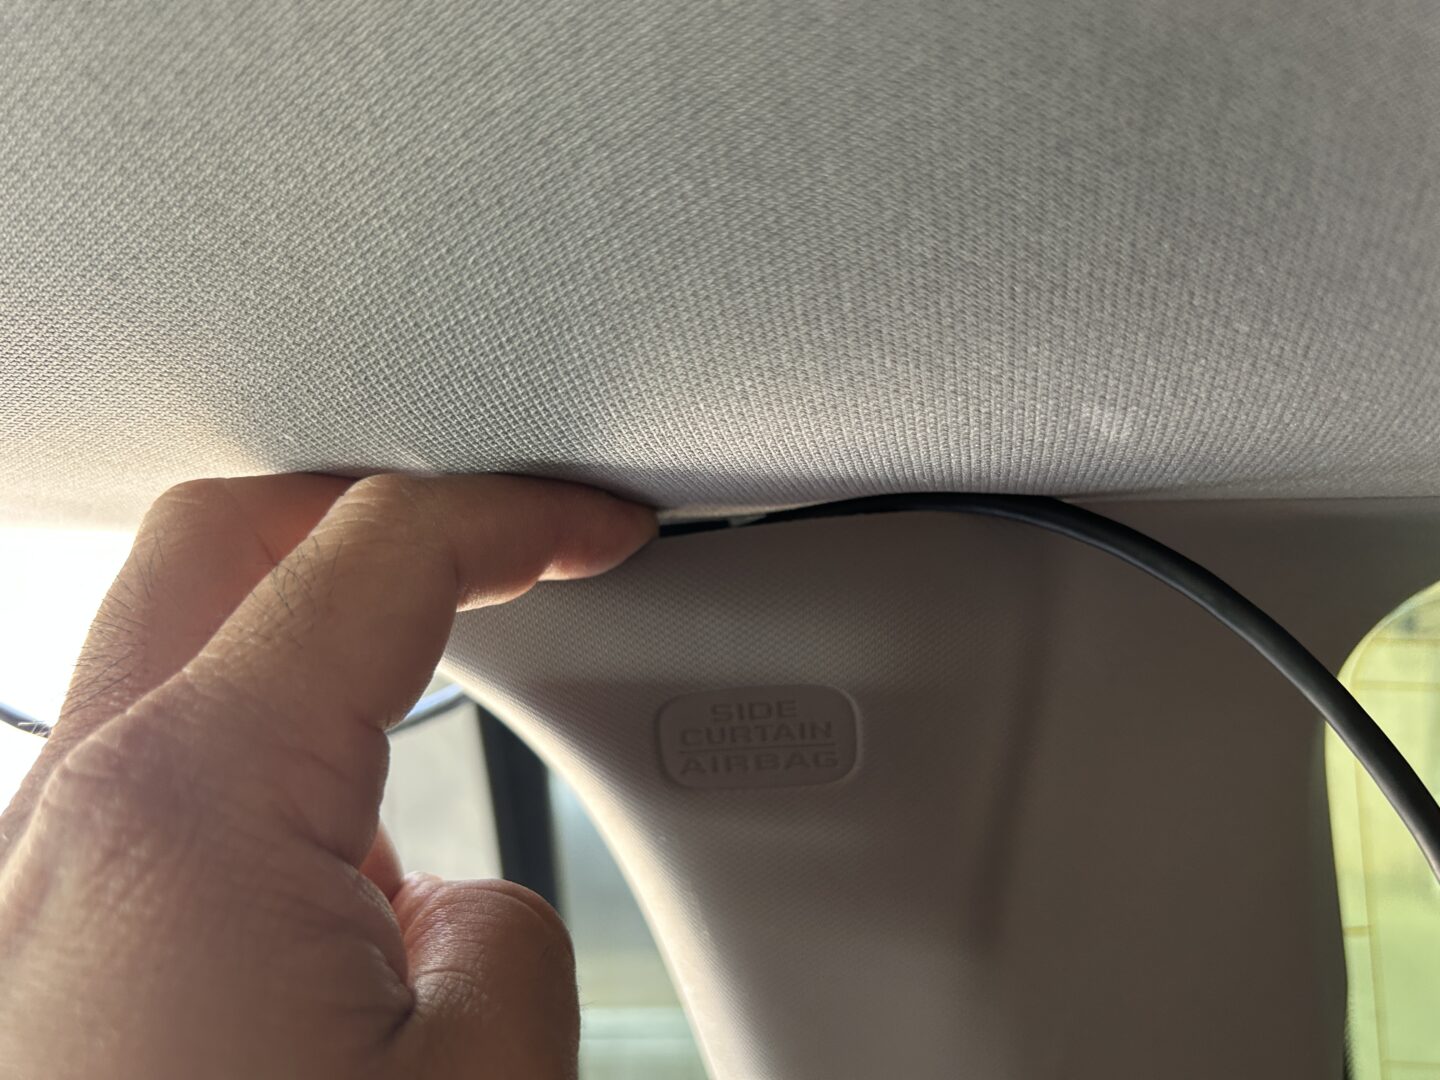
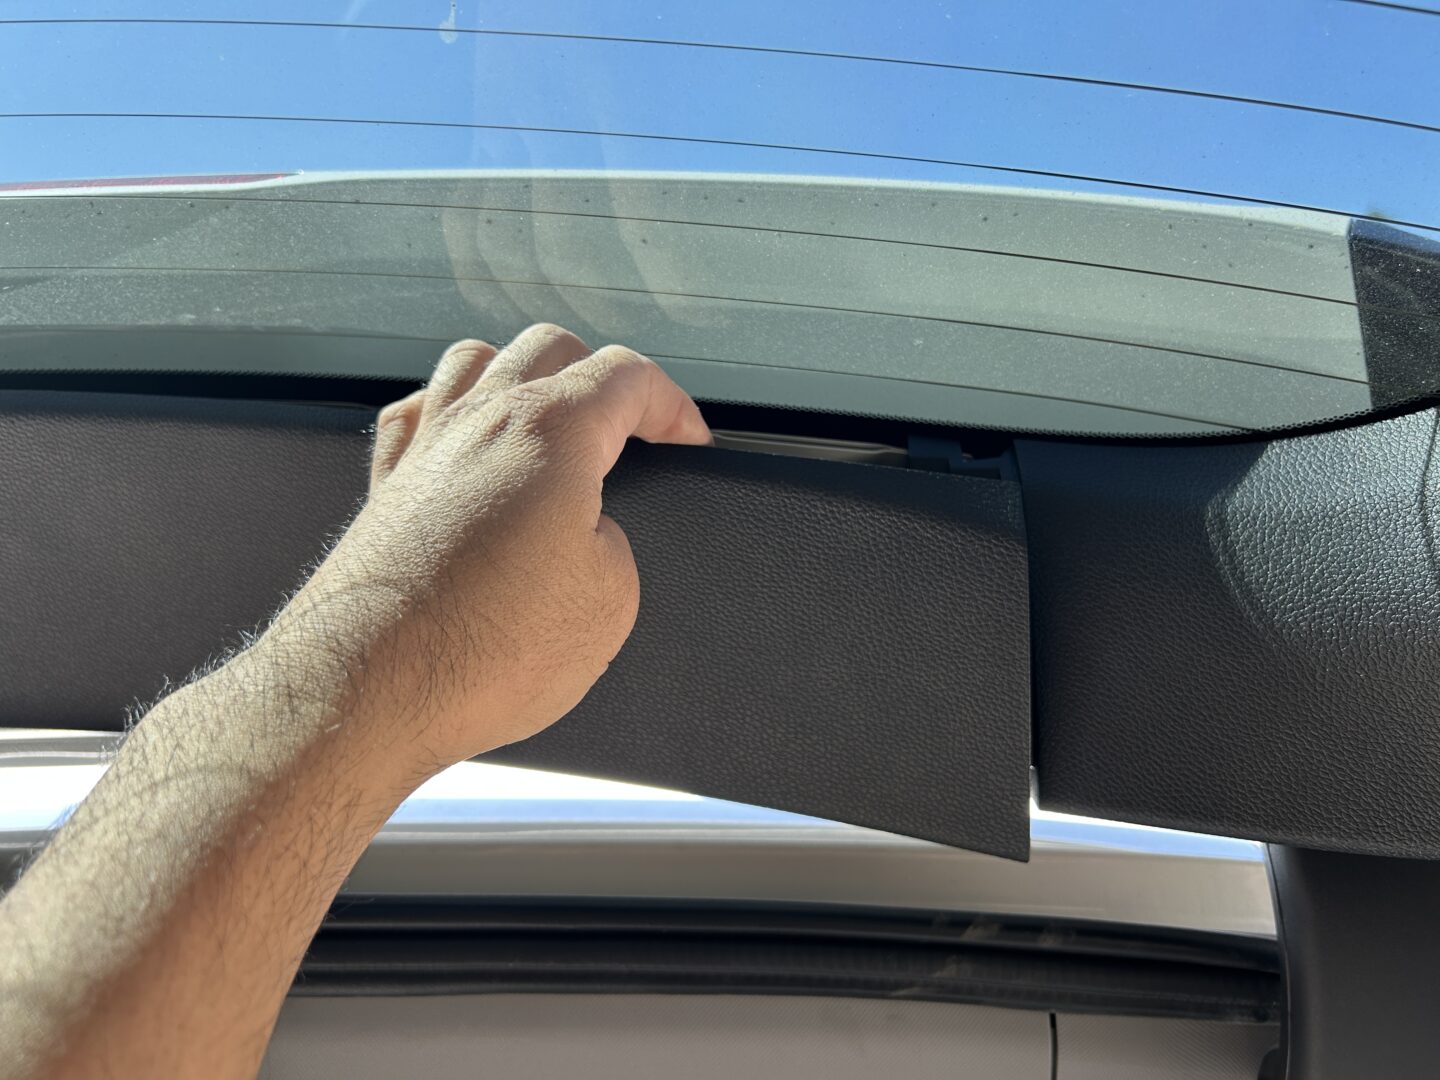
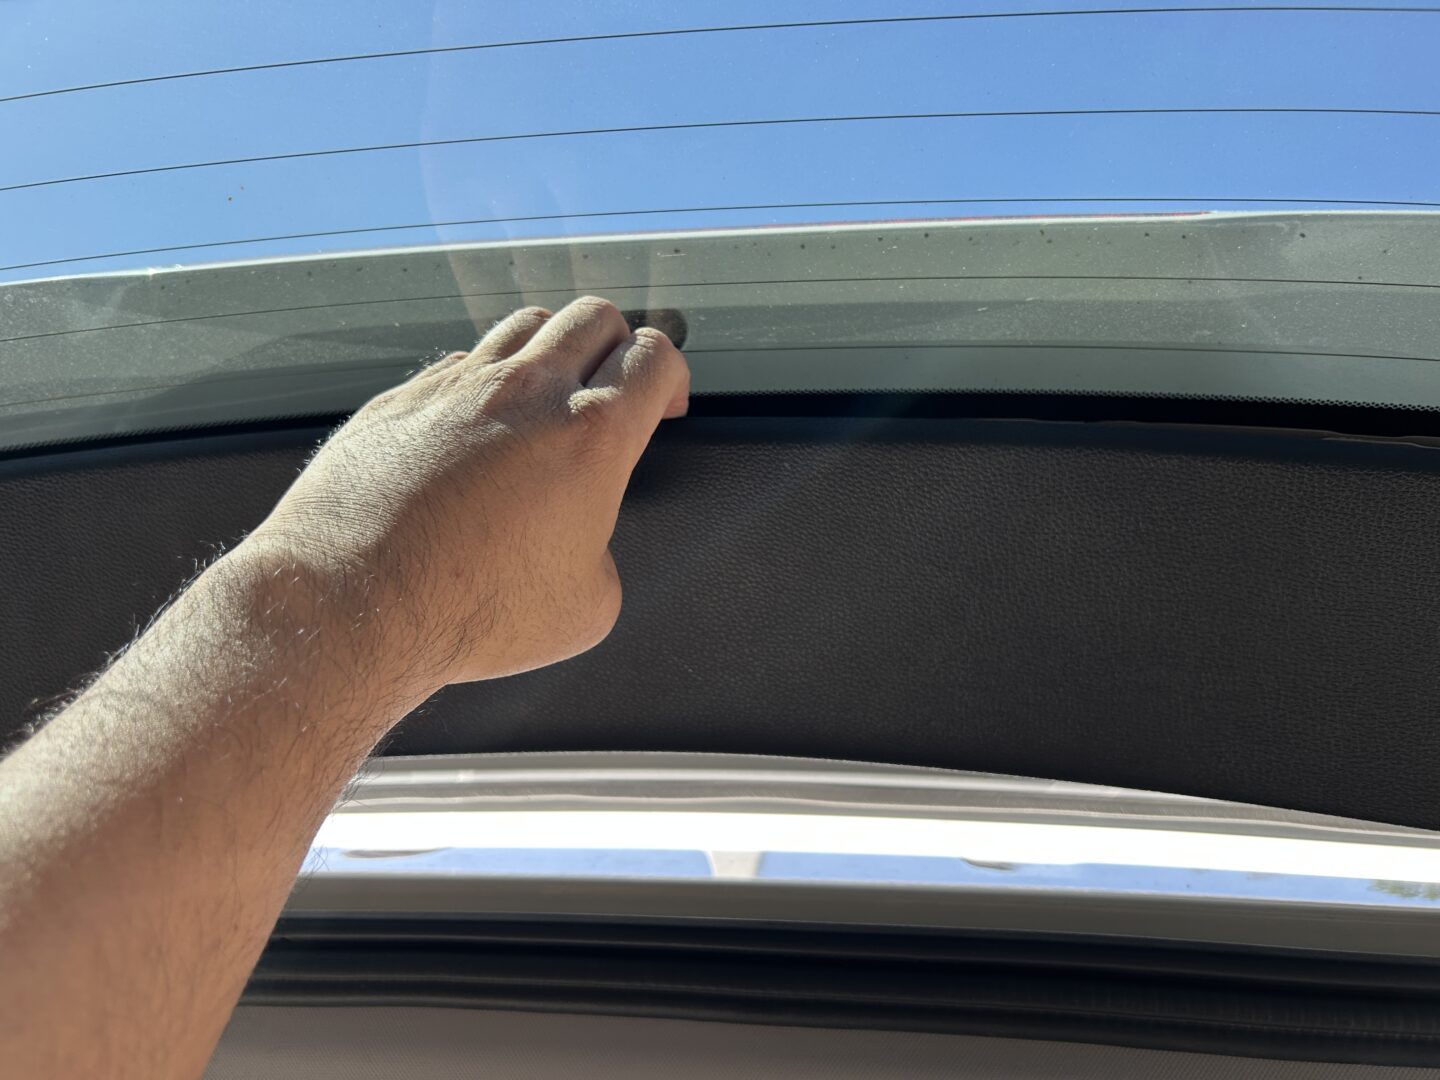
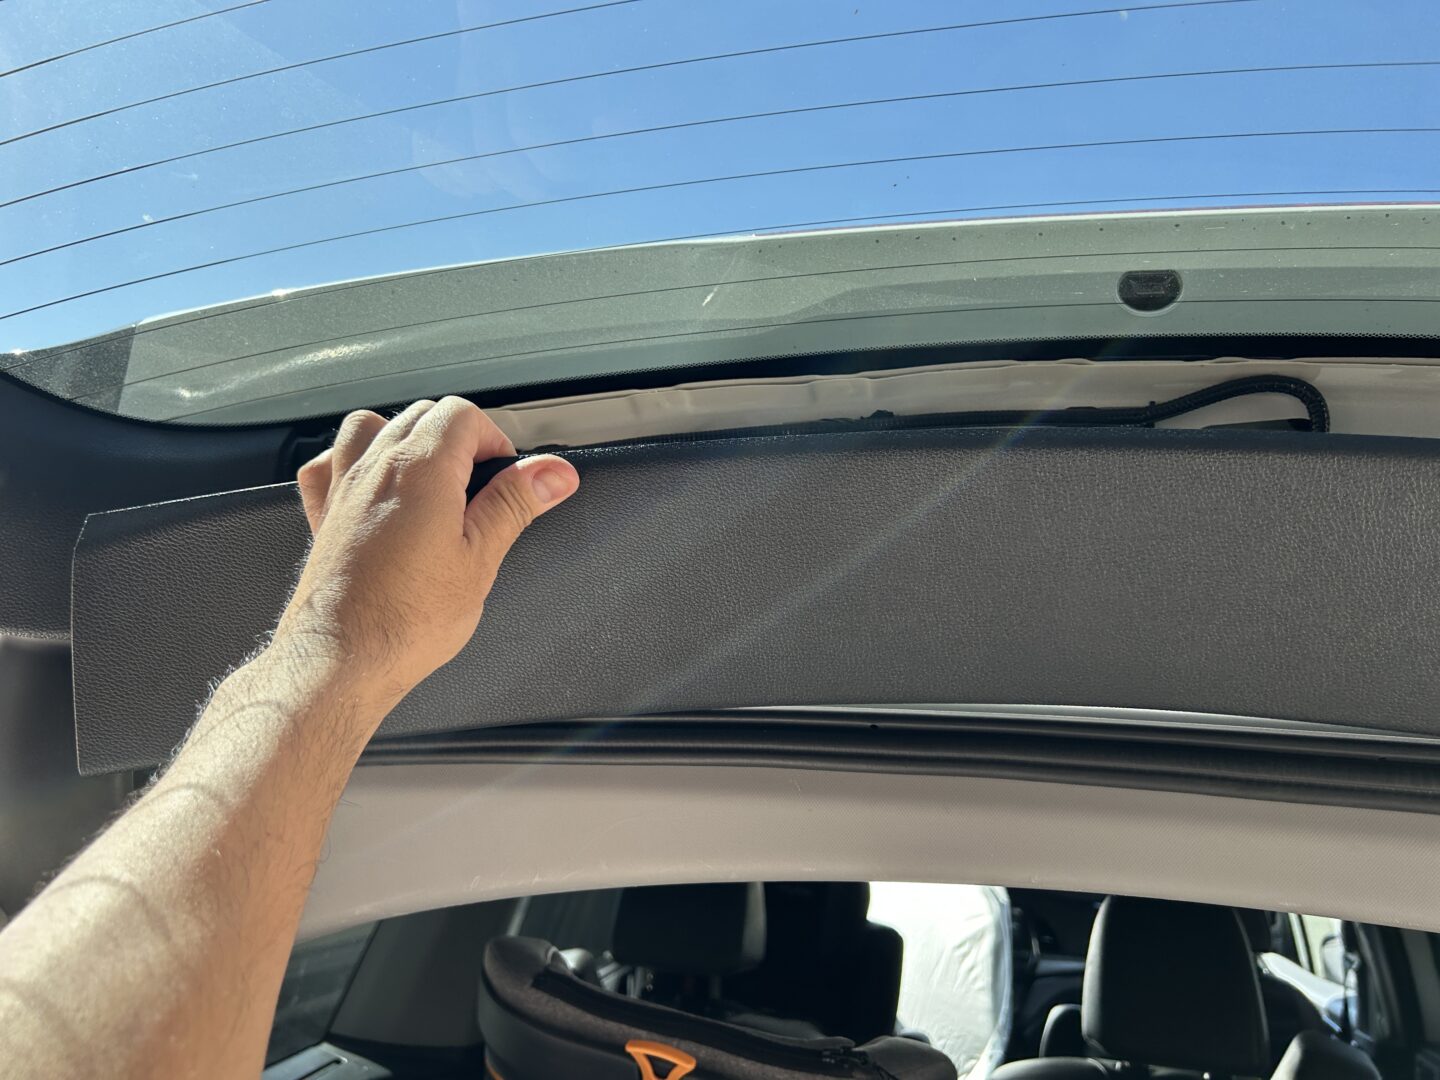
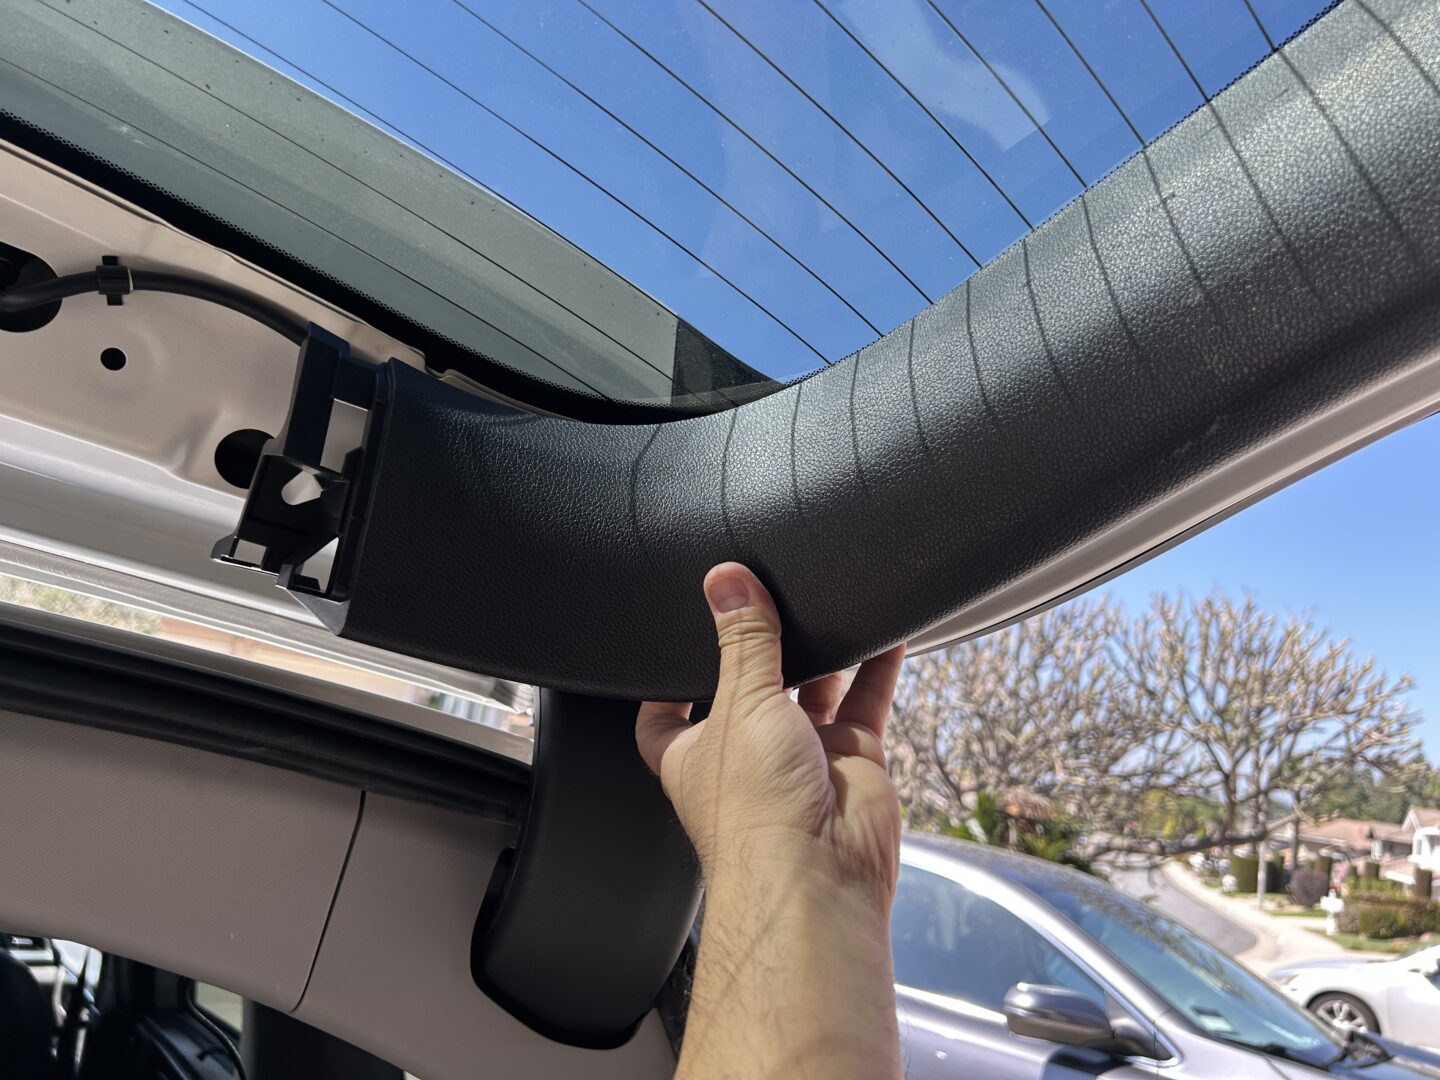
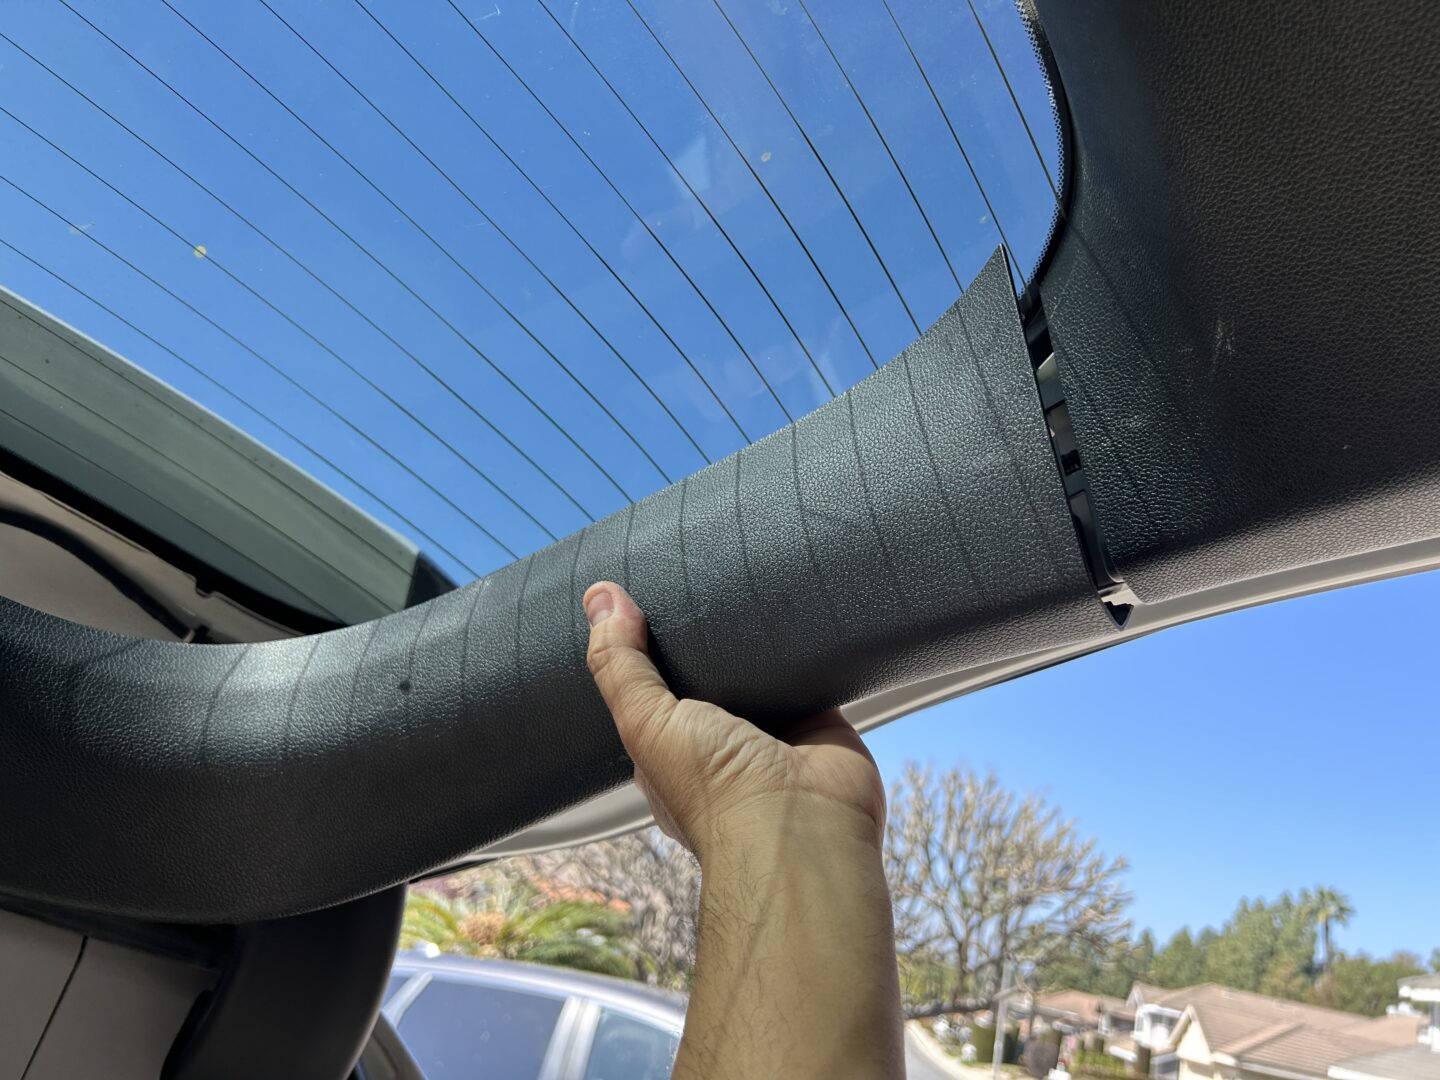
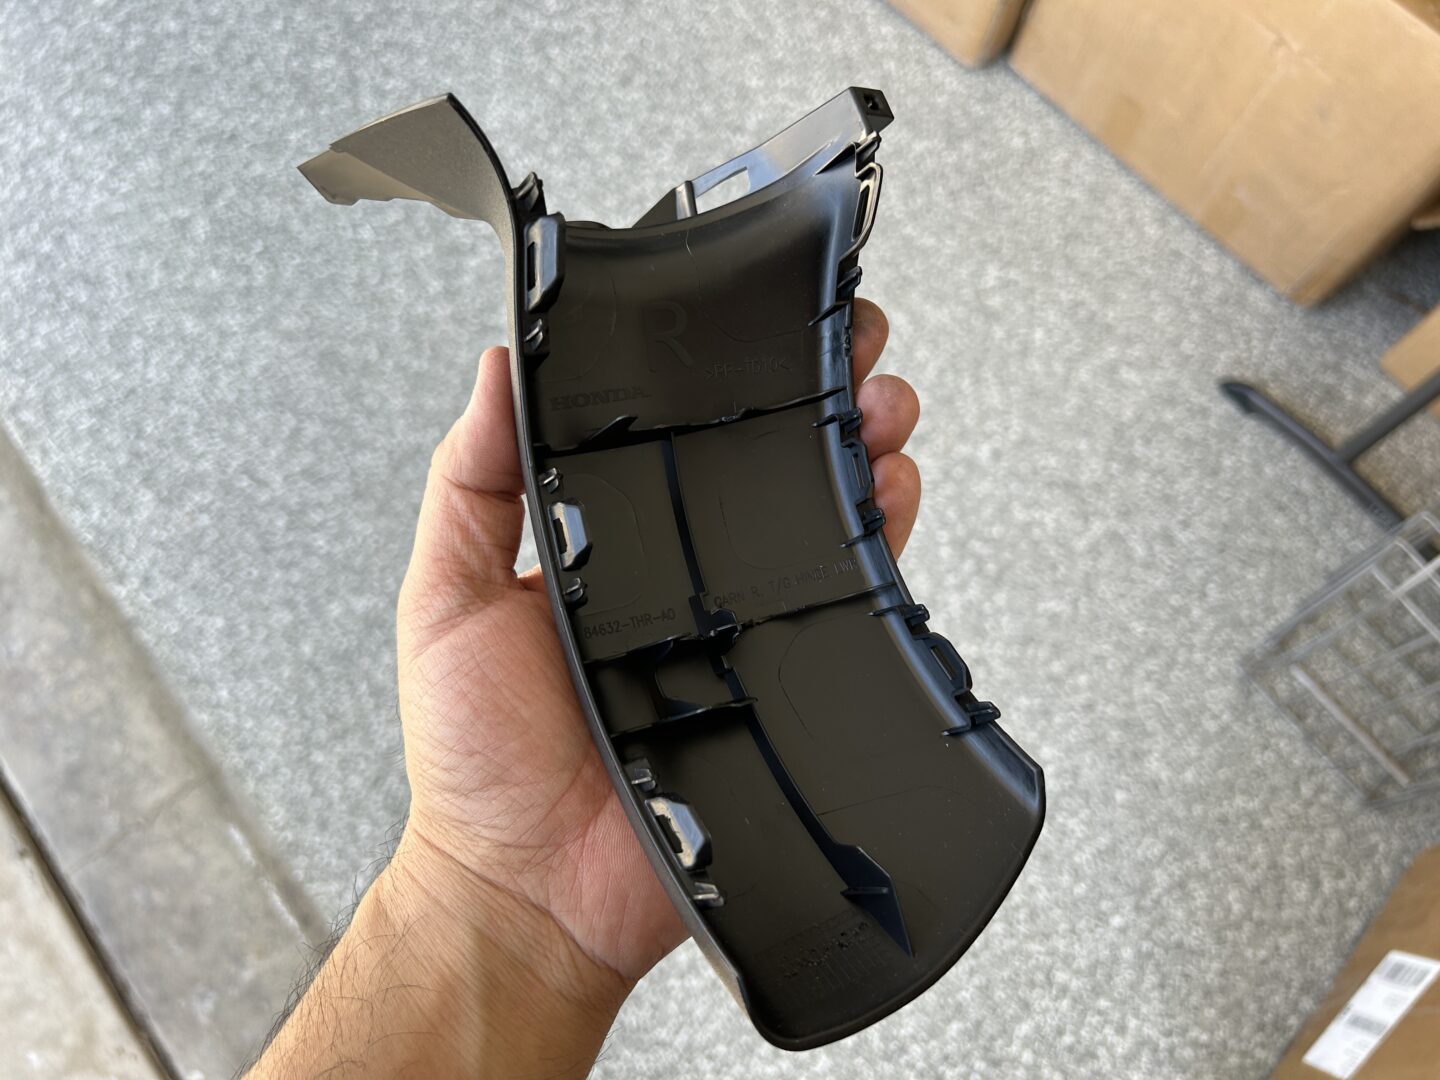
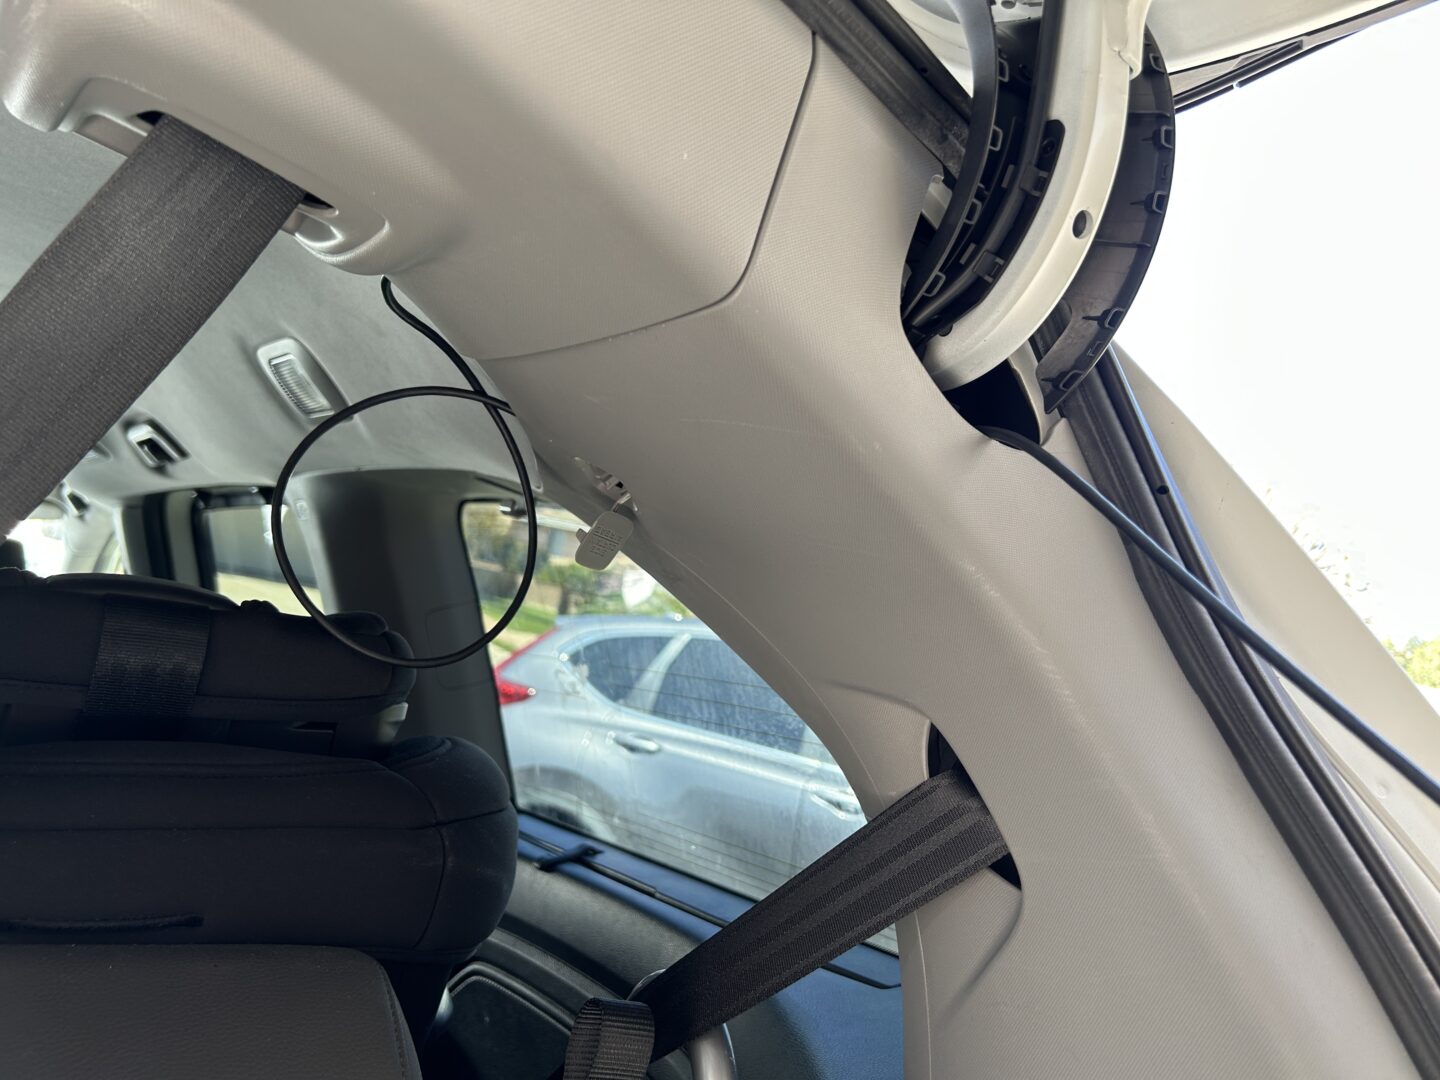
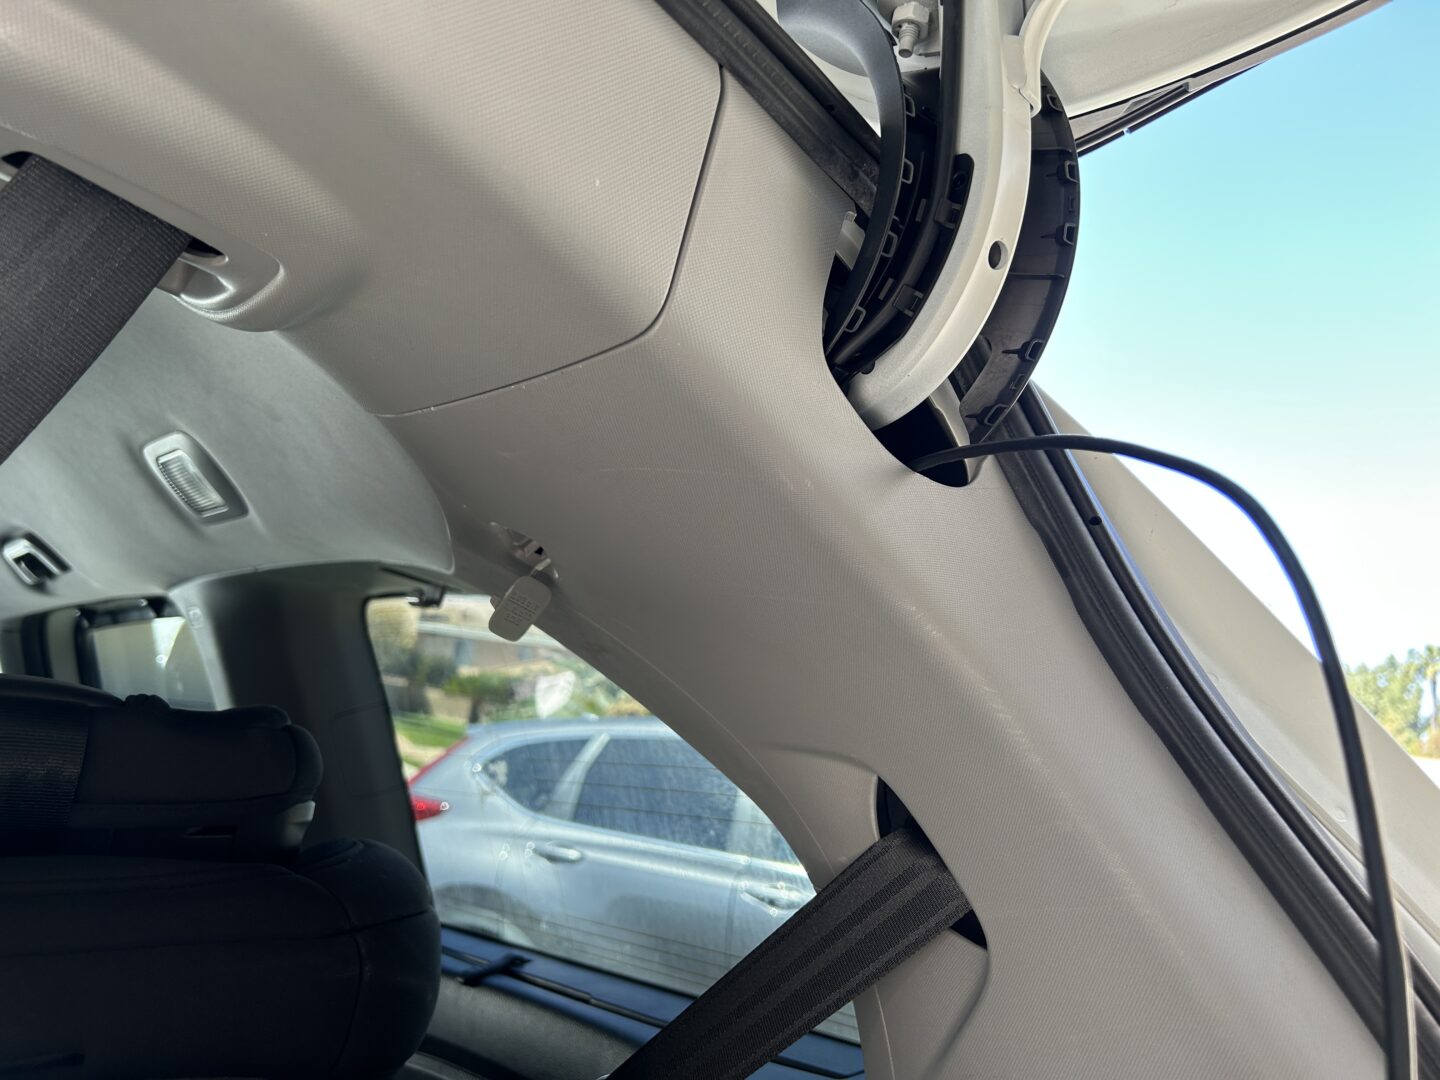
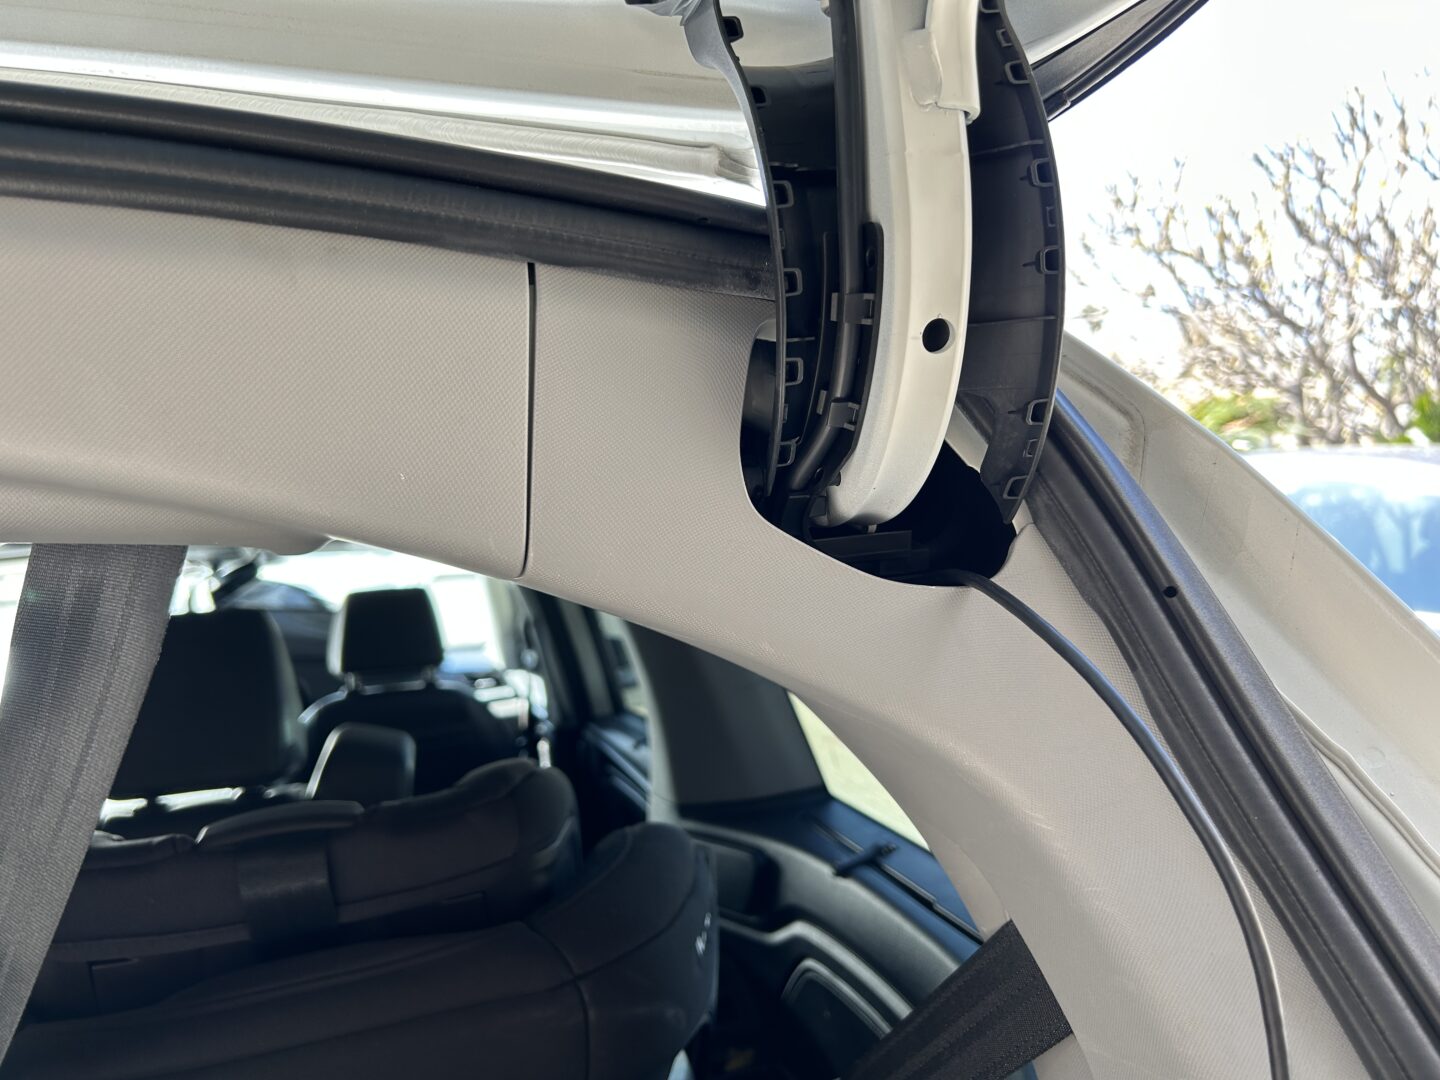
Now, time to route the wire across the C-pillar (between the 2nd and 3rd row). The C-pillar doesn’t pry off the same way as the A-pillar and B-pillar. The C-pillar needs to be pulled directly off from the car to access the space behind for you to push the wire behind.
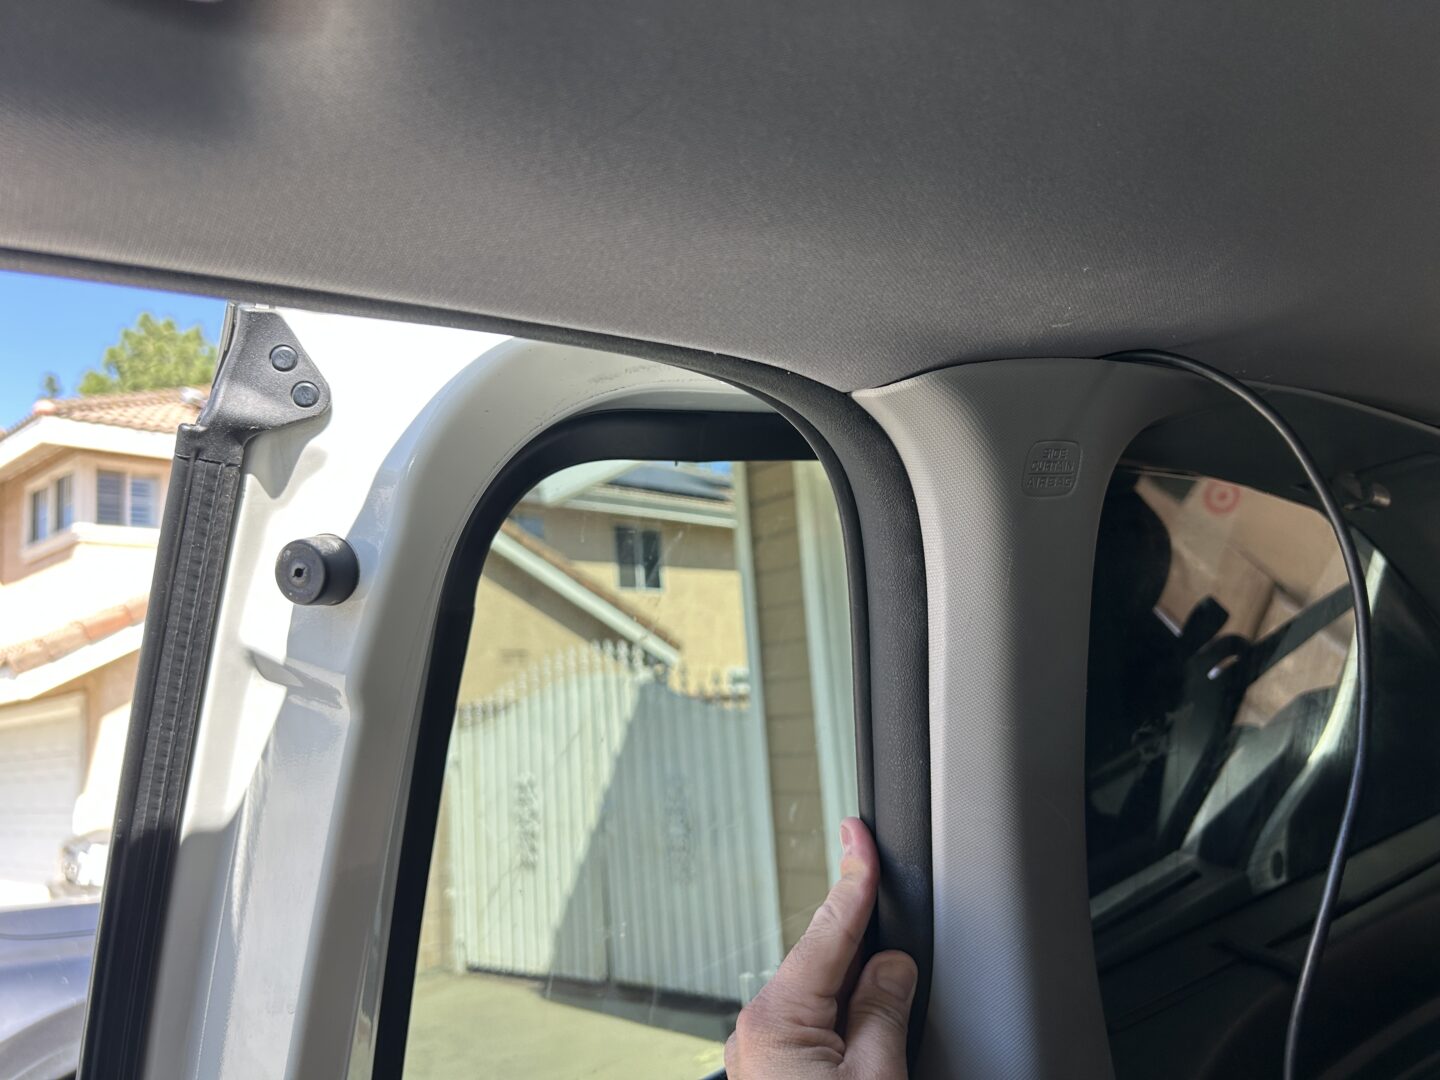
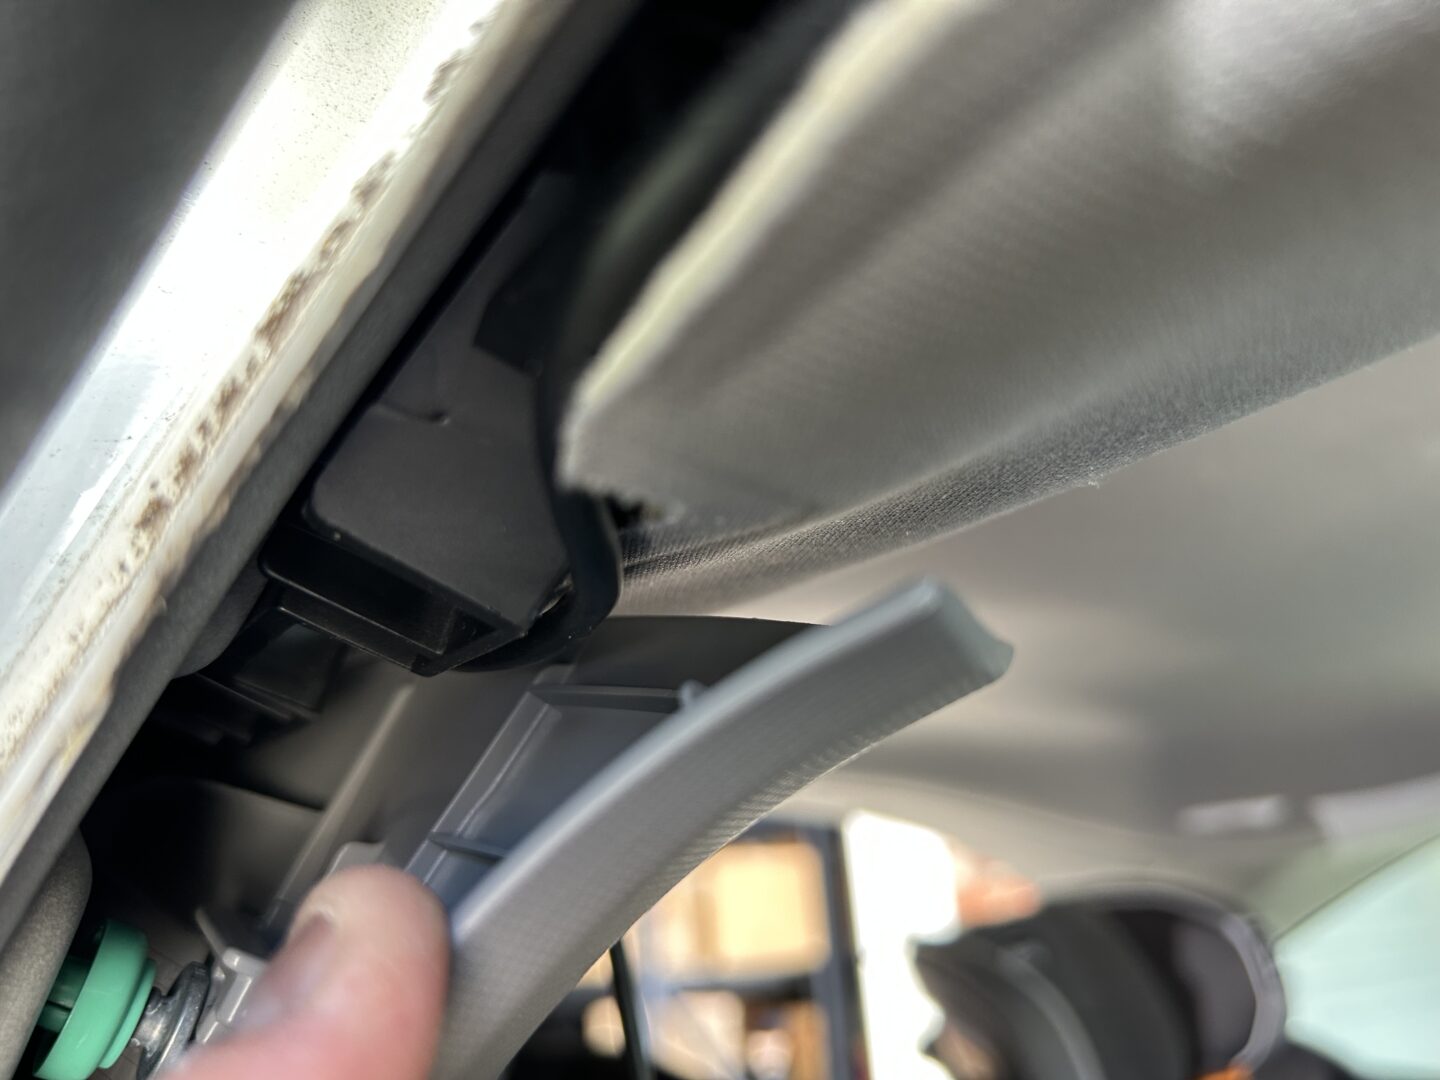
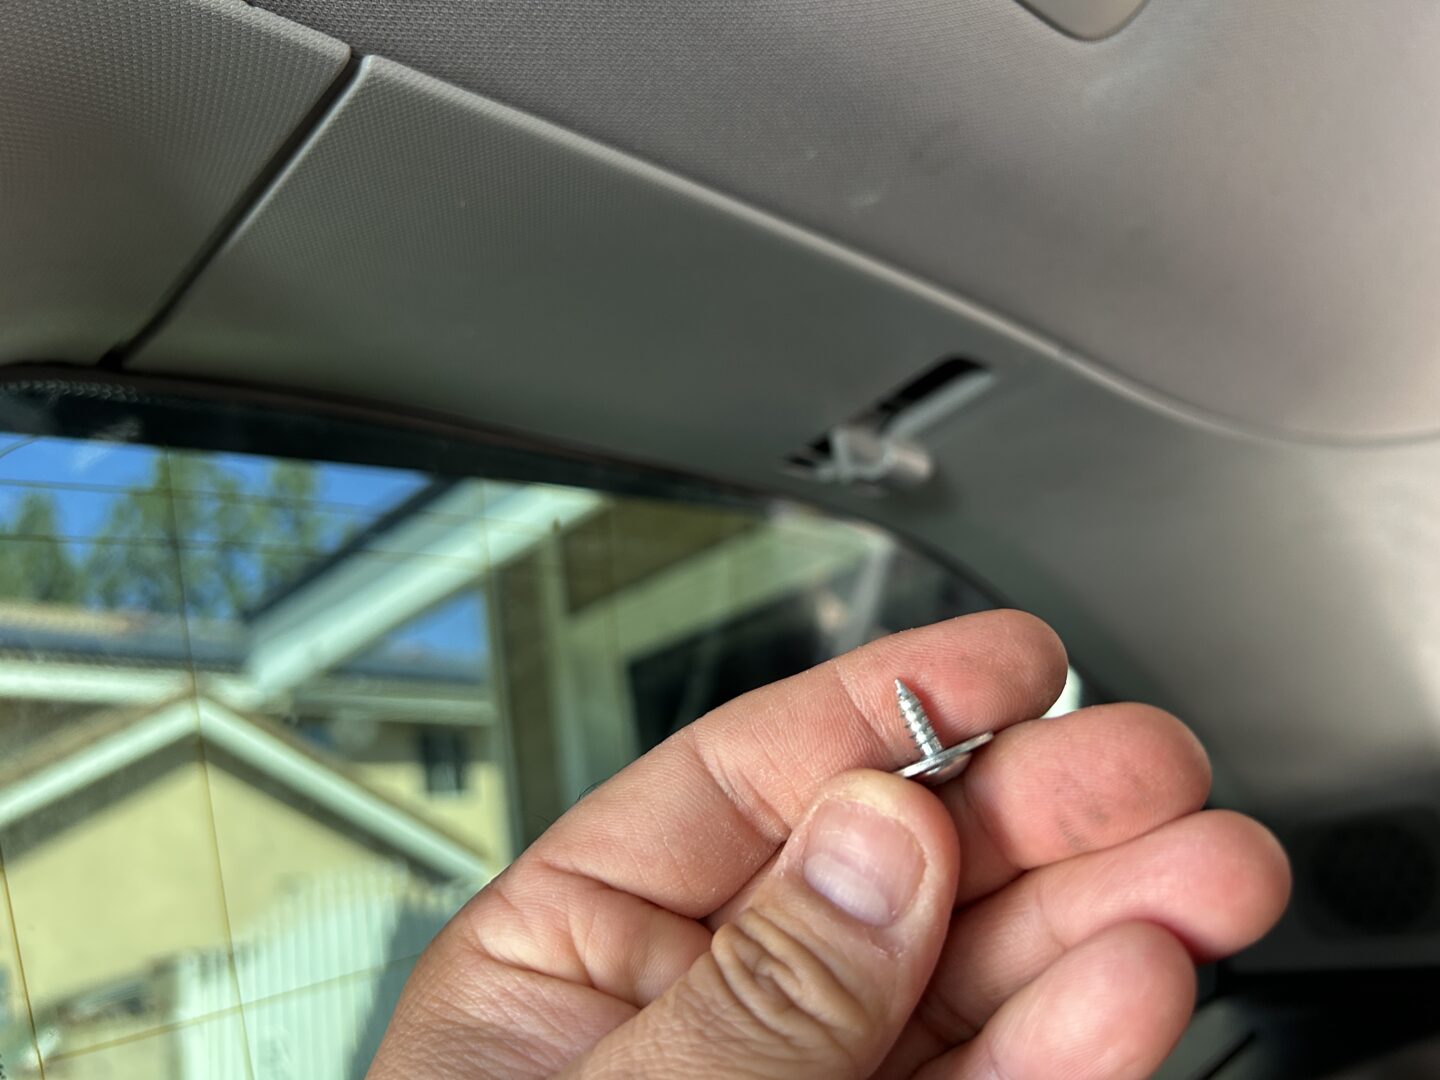
To continue with the wiring, you have to remove some hardware to allow you to pull the trim off partially. If you don’t remove the hardware, the trim won’t budge. Pull down the clothes hanger and use a Phillips head screwdriver to remove the screw here. Then, use your trim tools to pry this trim off. Continue routing the wire through. We will now be almost at the rear tailgate.

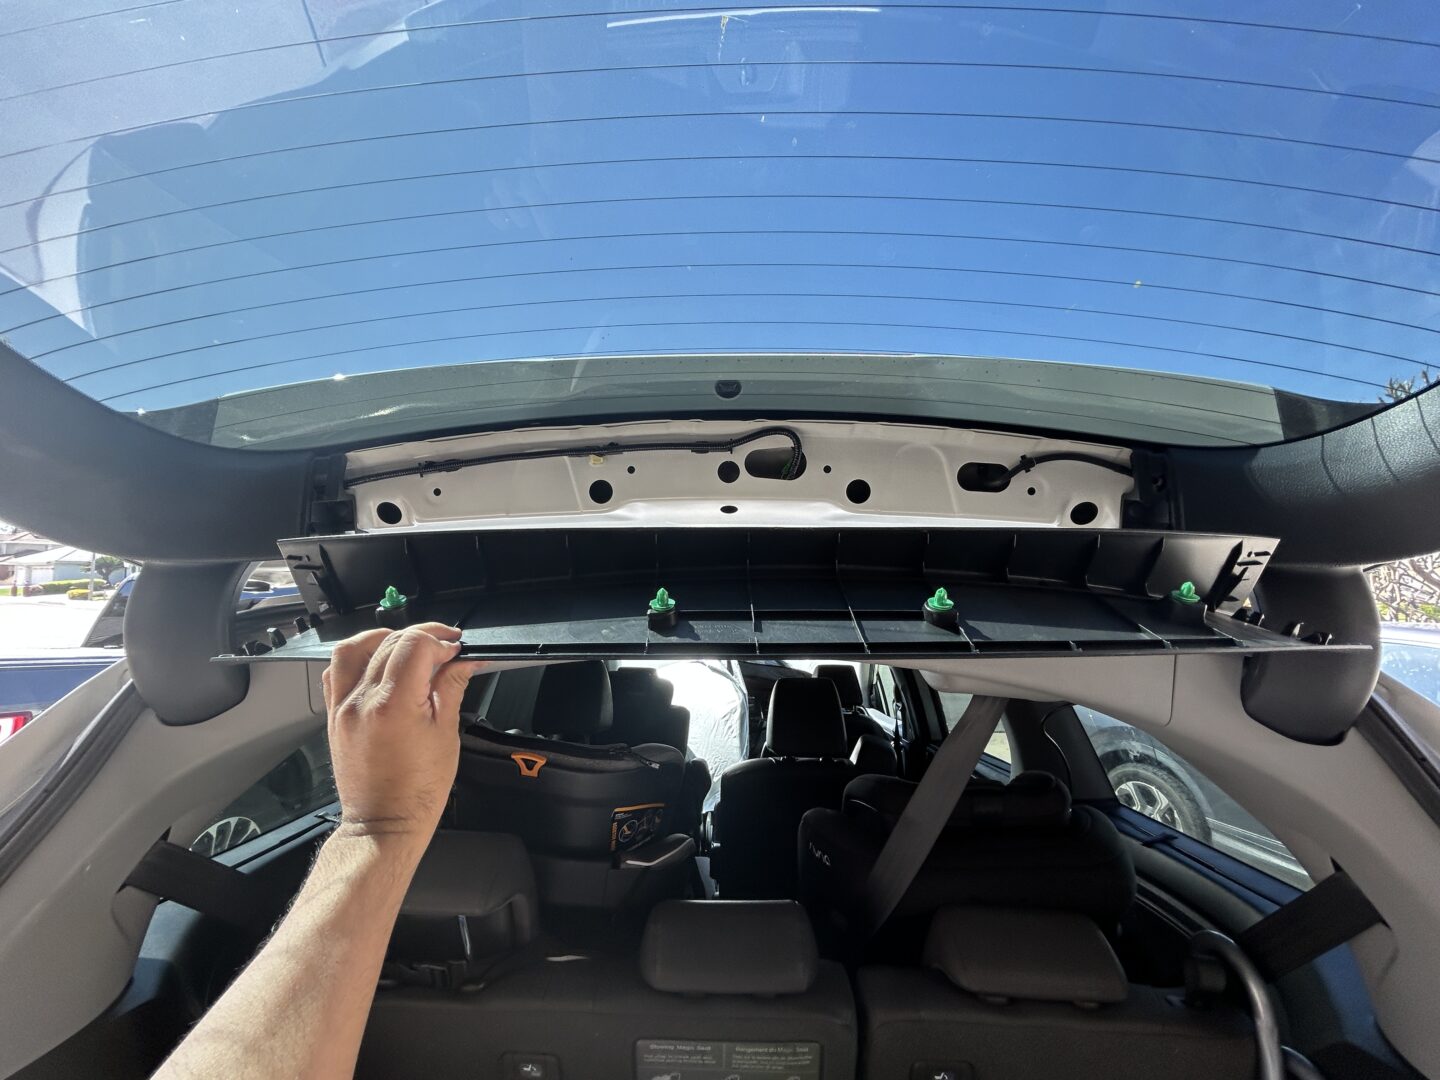
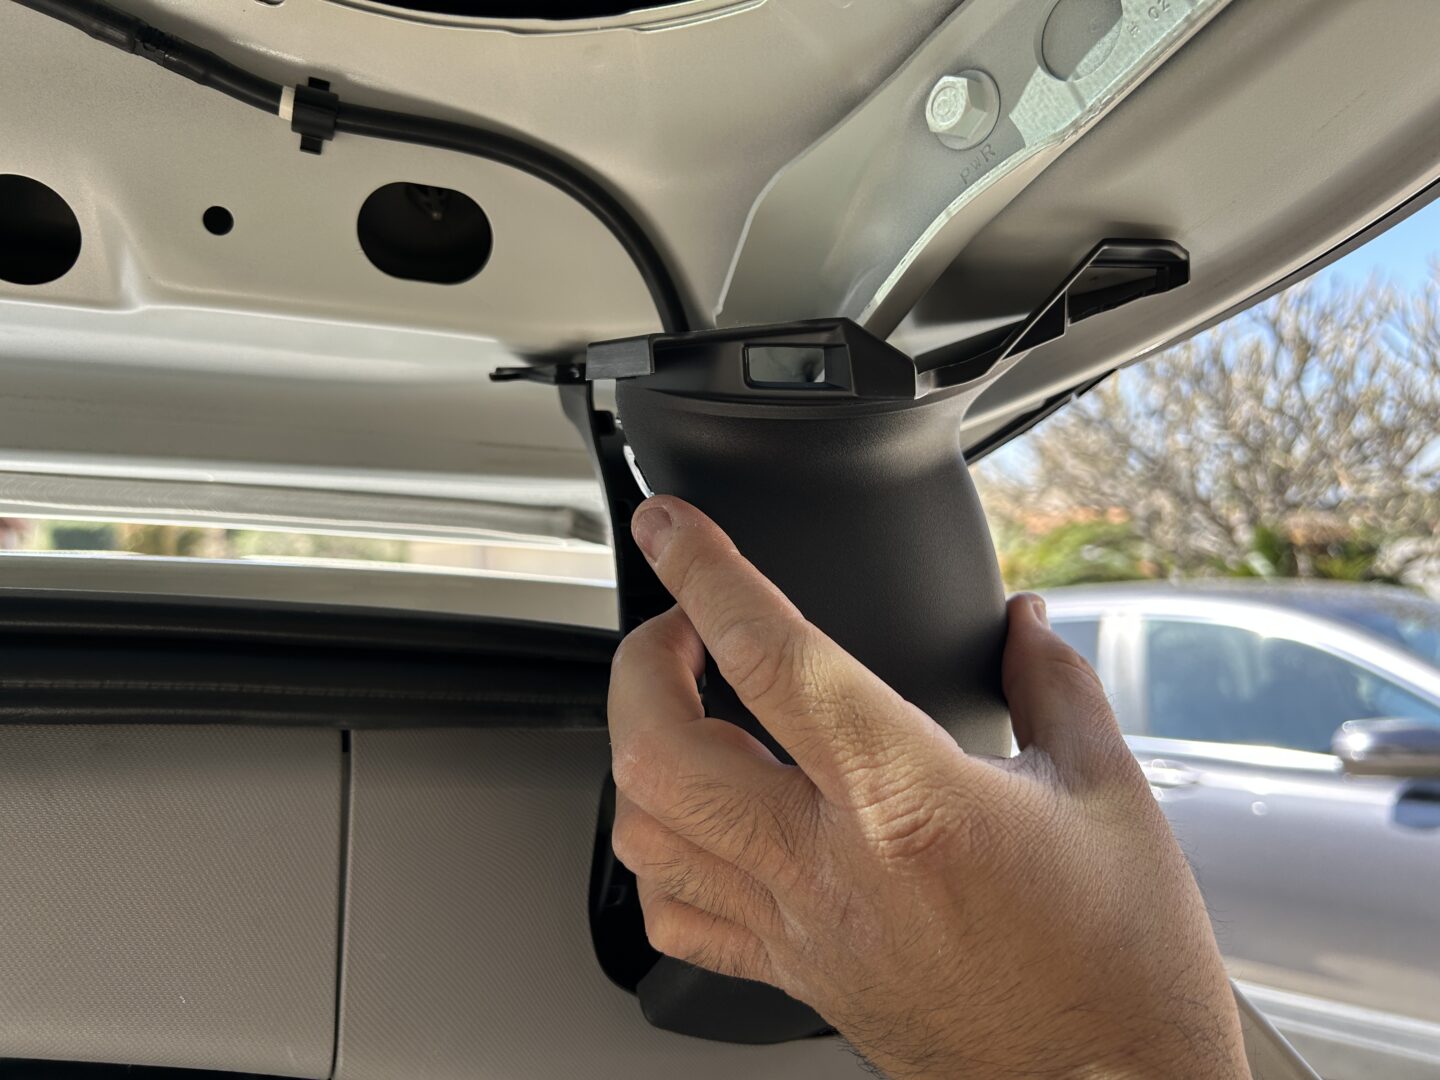
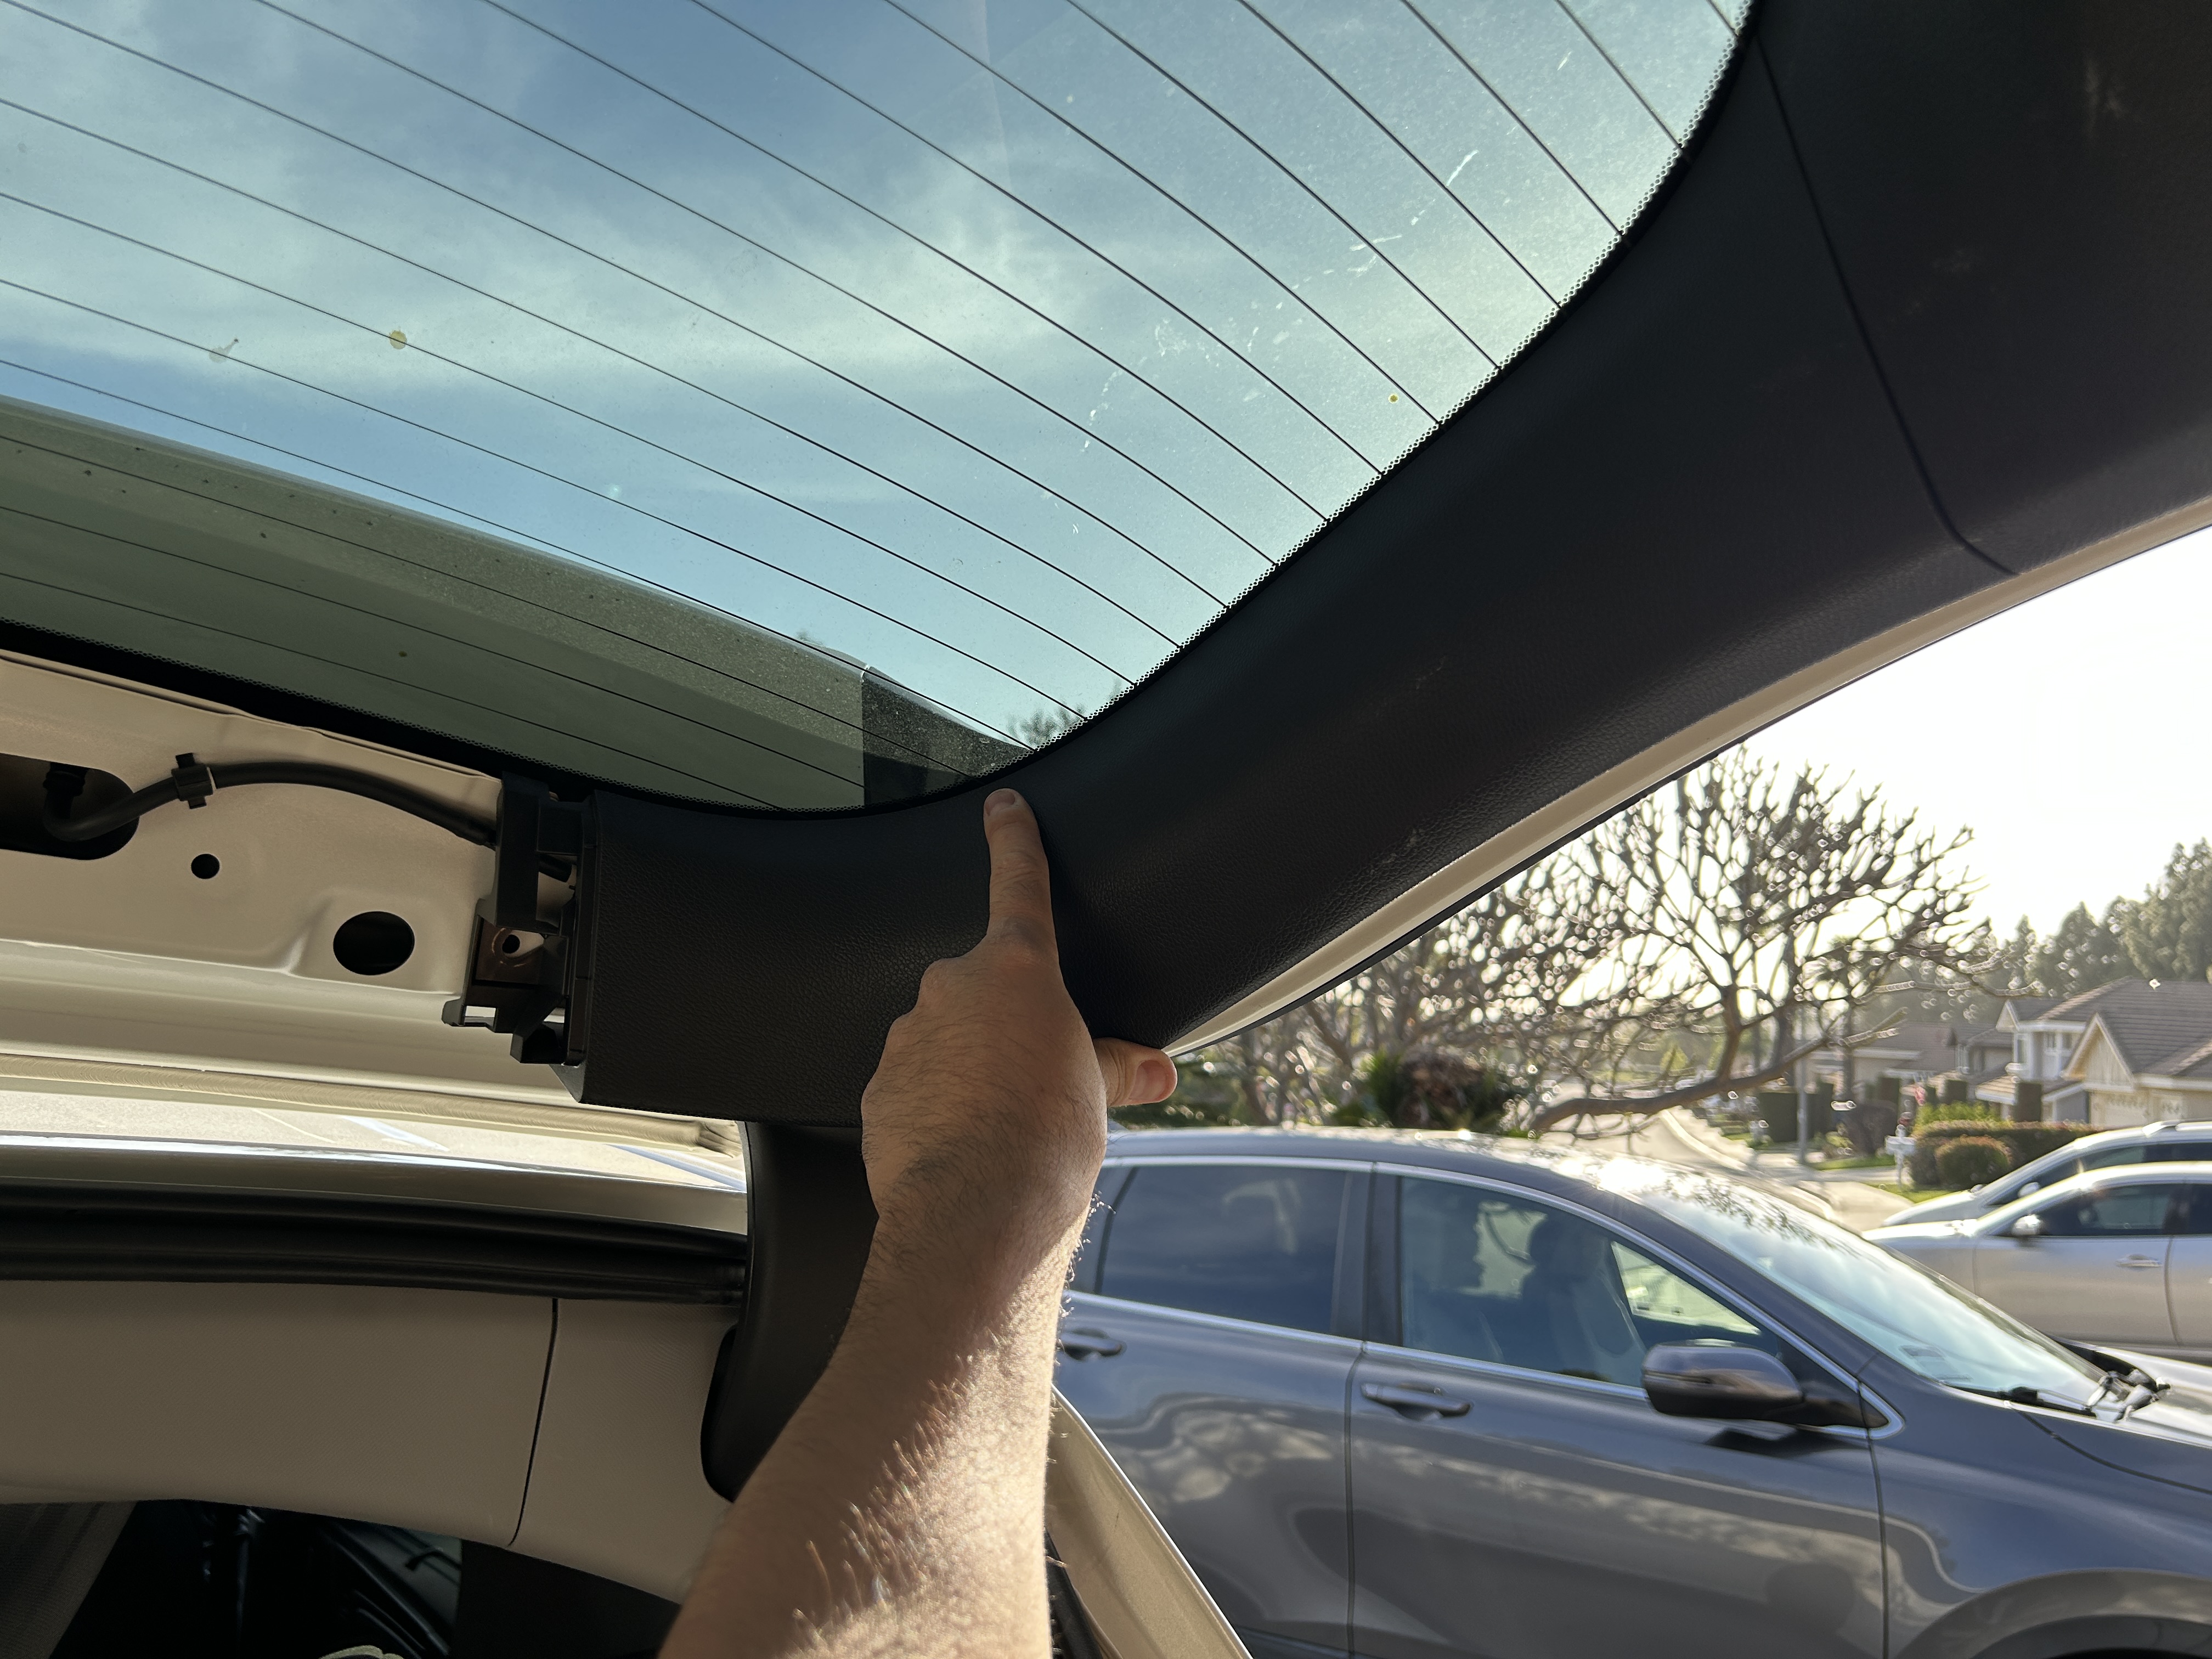
Open the tailgate completely. Here is where you actually need to remove trim completely. There’s no getting around this part without removing the trim. Luckily, it’s very easy to remove the trim on the rear tailgate, and you can do it all by hand.
Use both hands and pull this trim off. You should be able to grab onto the edge of the trim and pull it directly off of the tailgate. Pull straight out so that the pins holding the trim piece in, pull out of the holes of the tailgate.
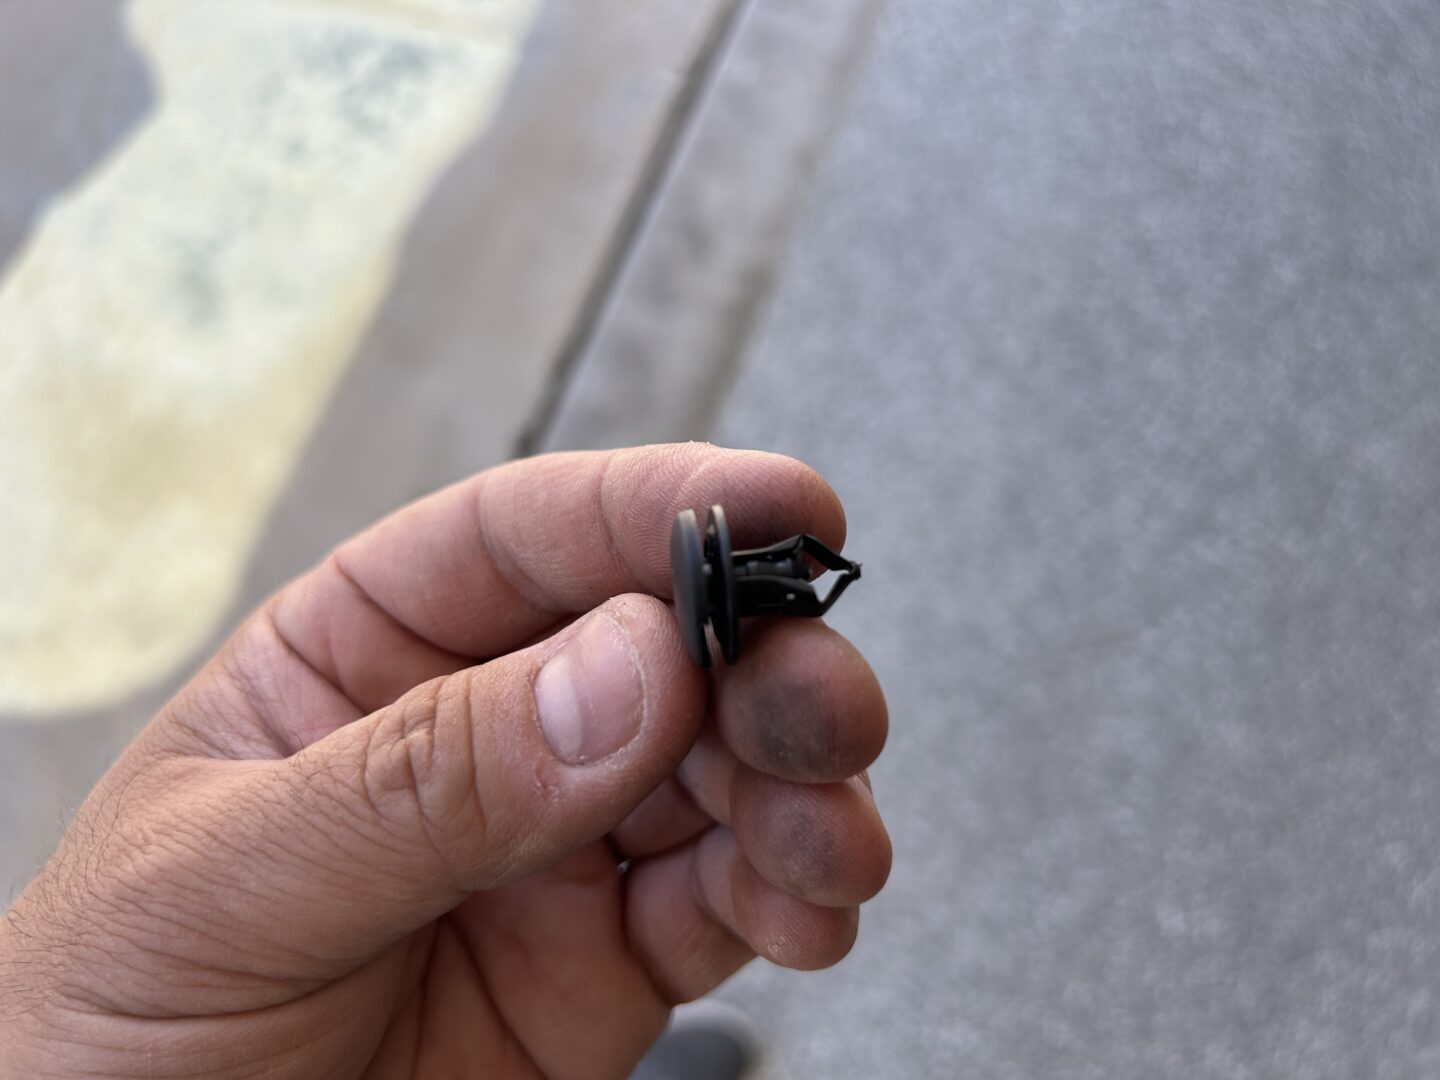
Another trim piece that needs to be removed is the one on the passenger side of the tailgate. Pull this push pin using a flat head screwdriver or a push pin removal tool (usually included in a trim tool set). With that push pin removed, you can pull this trim piece off the tailgate.
The last trim piece to remove is this part that covers the arm of the tailgate. This is removed by just pulling it off; note how it clips in so you are careful during the removal process so as not to break any plastic bits.
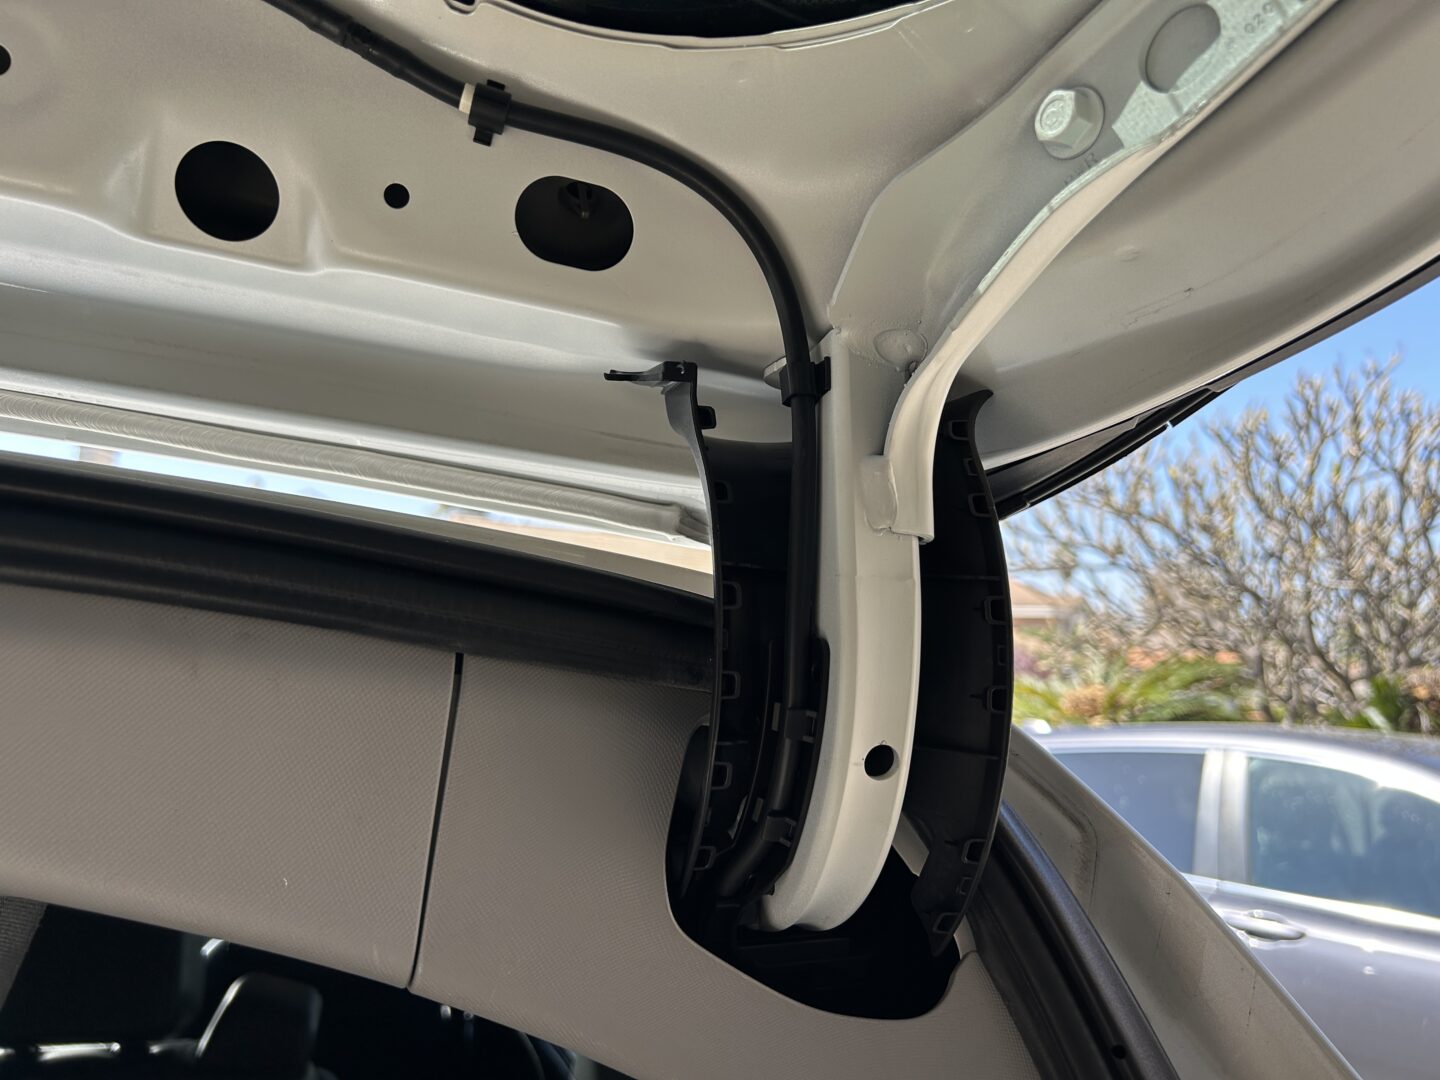
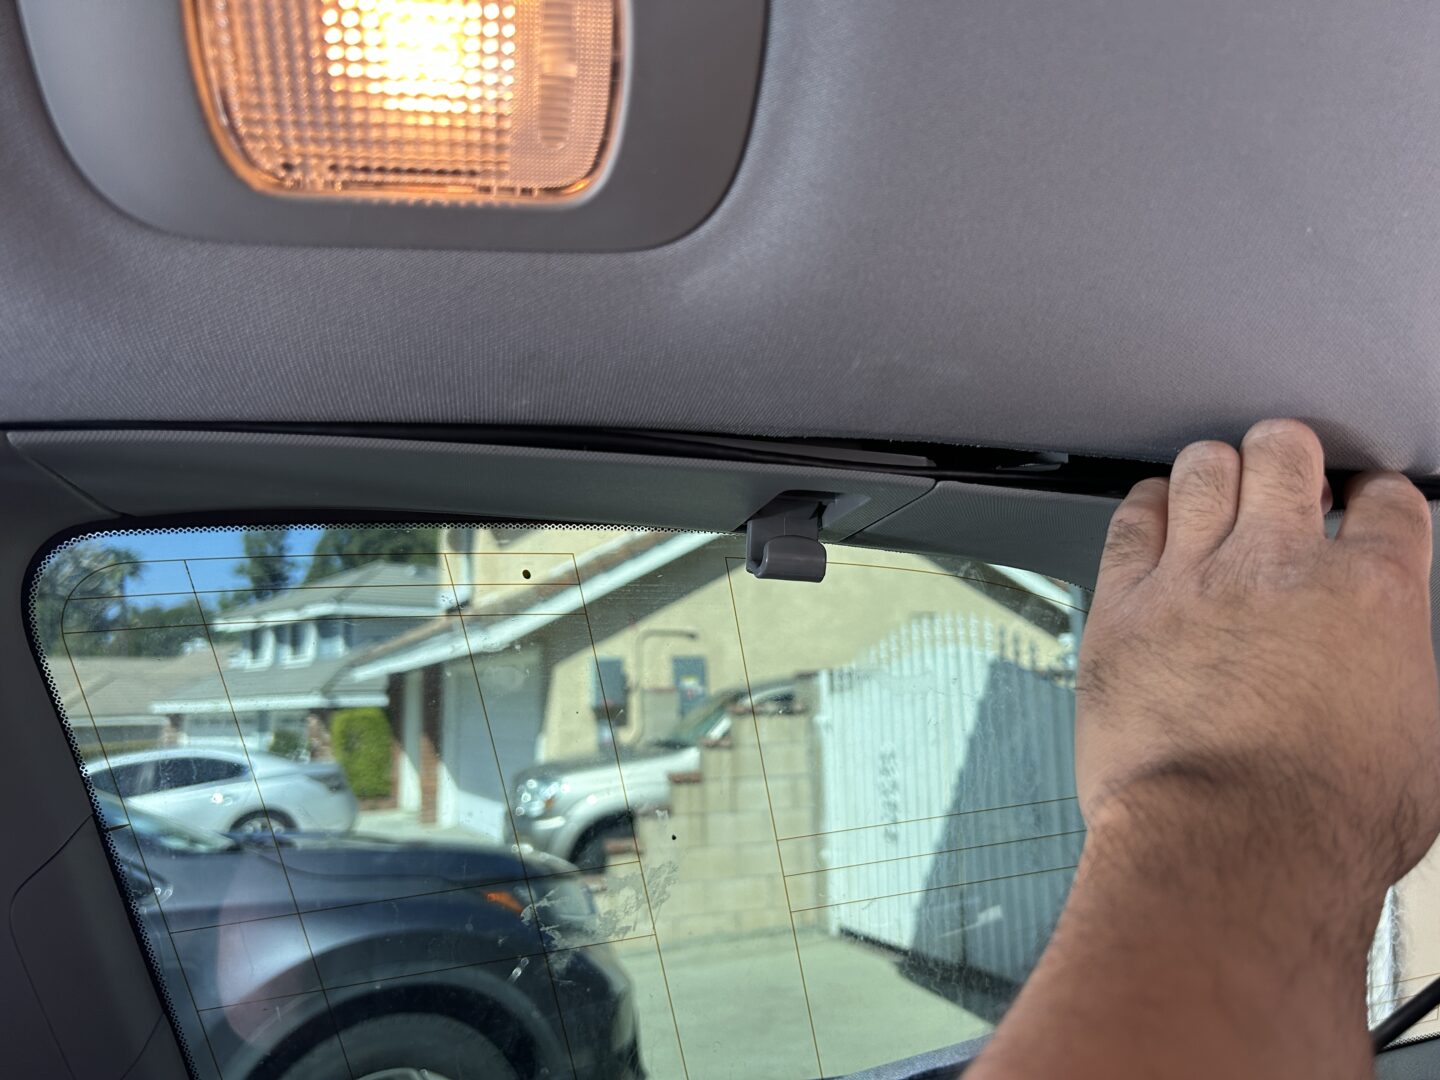
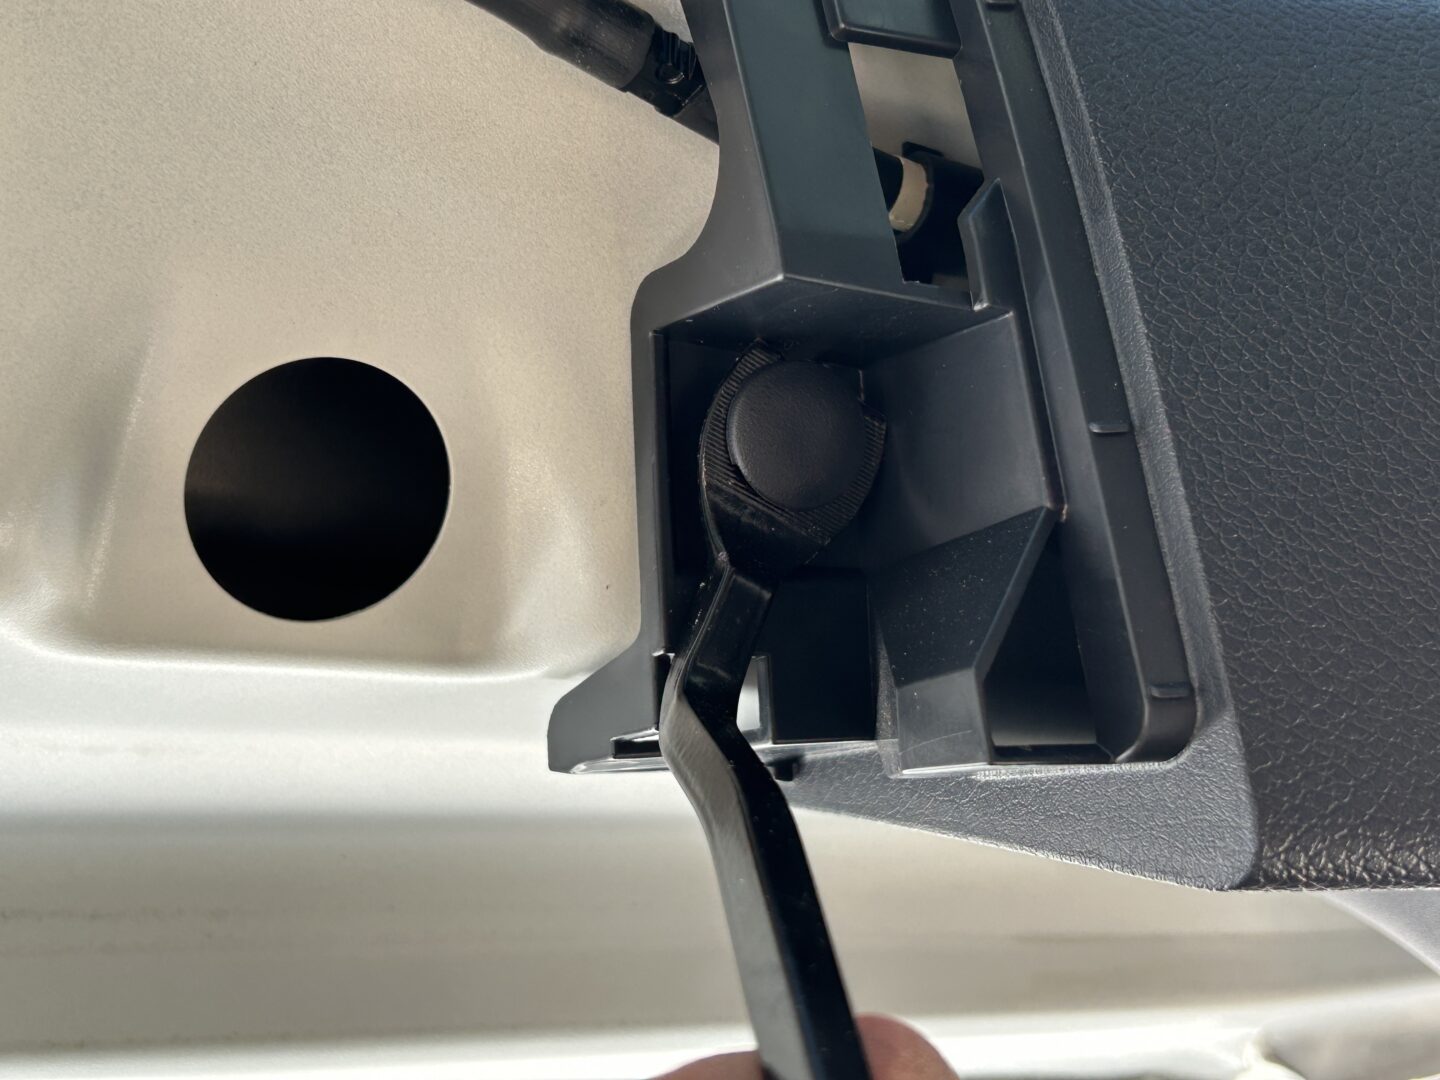
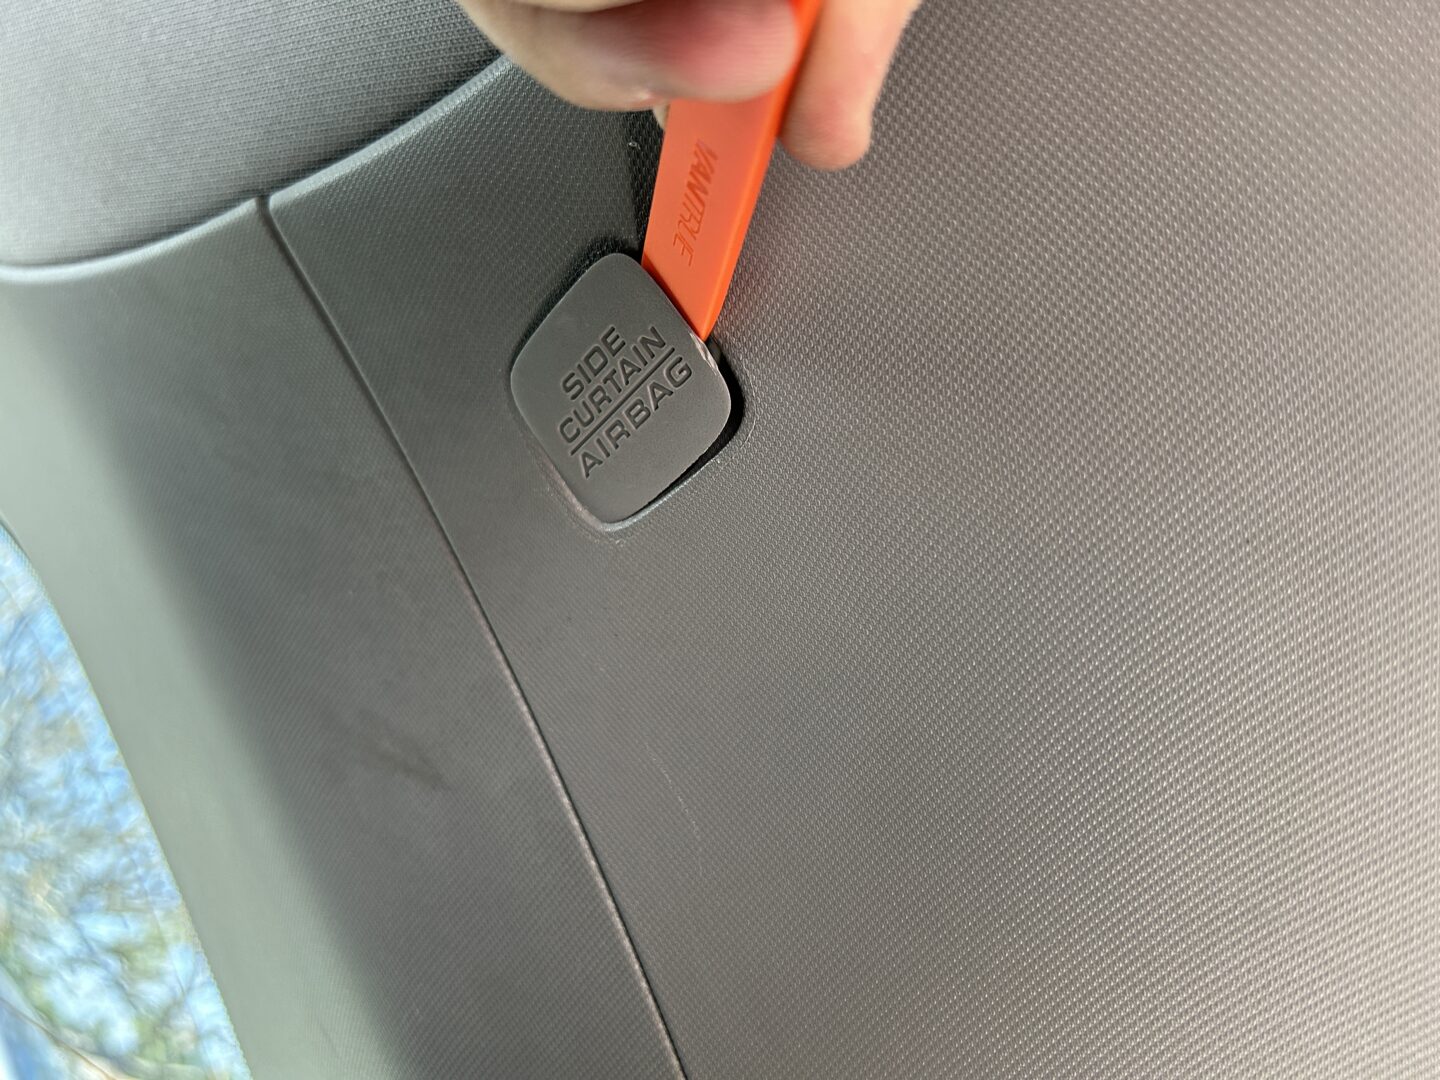
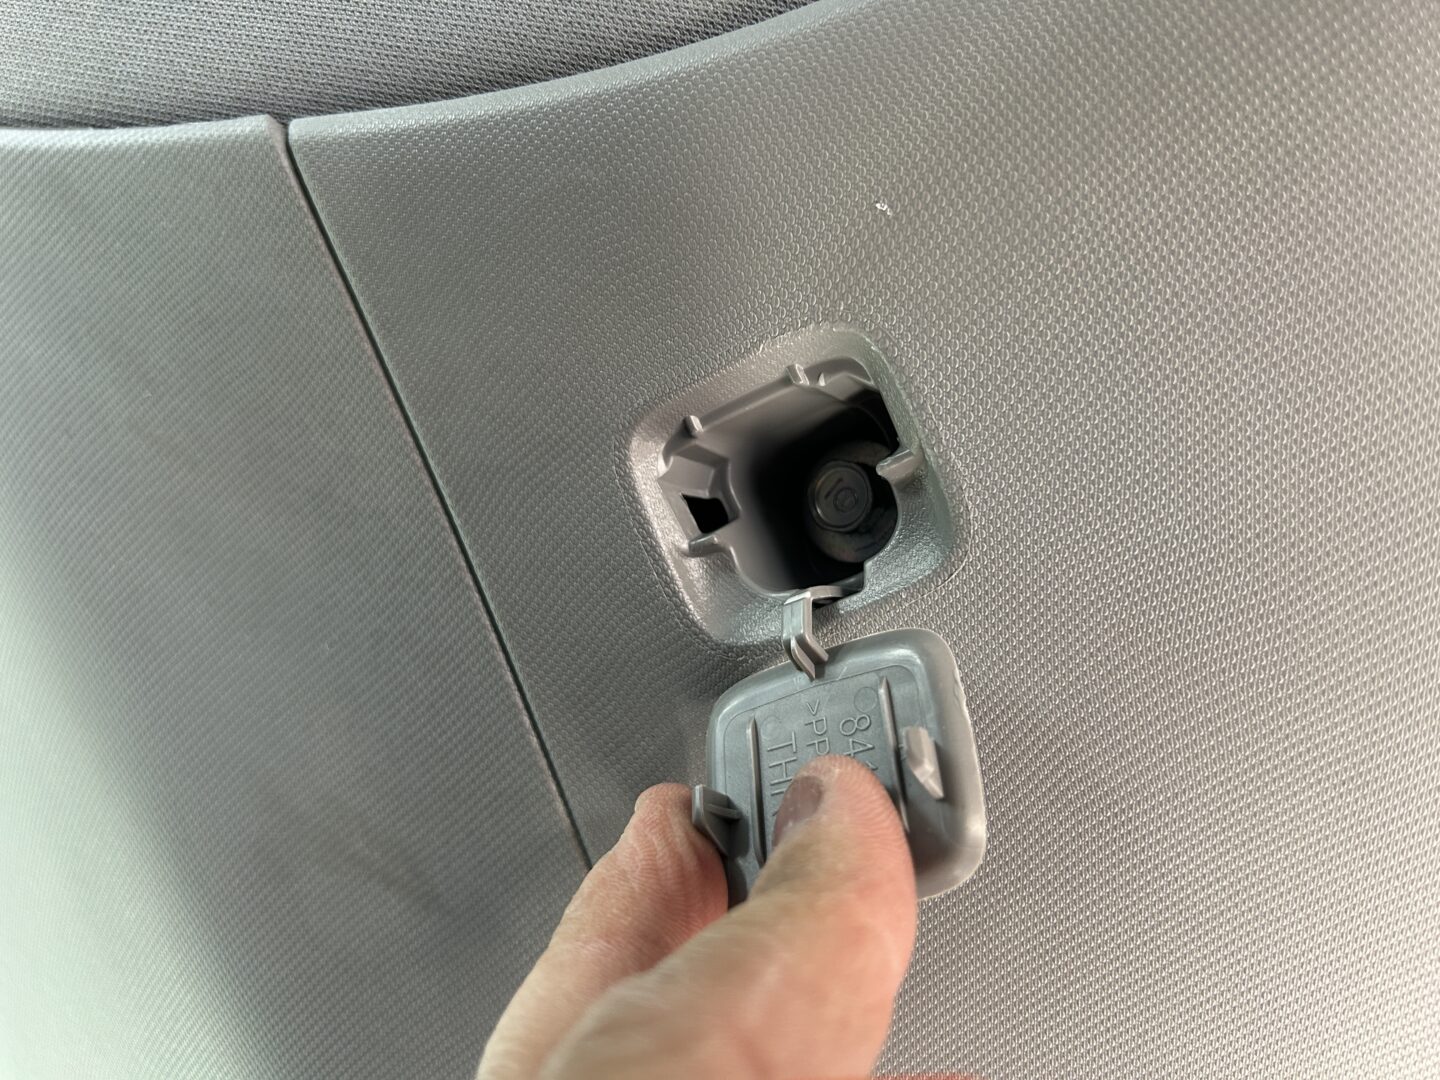
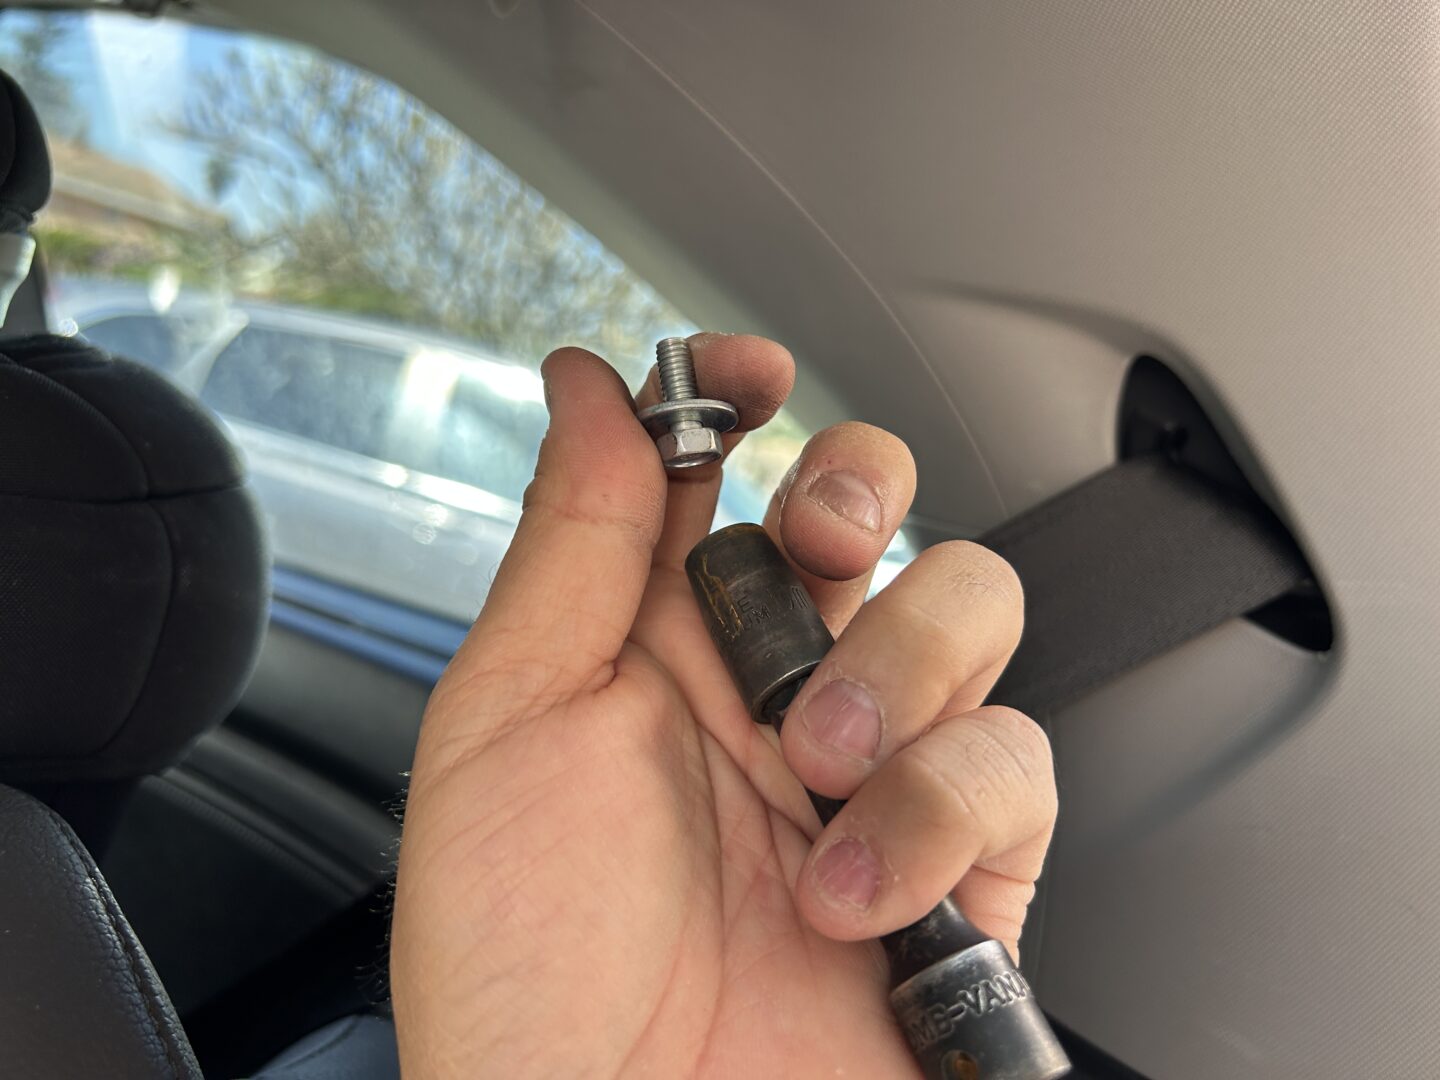
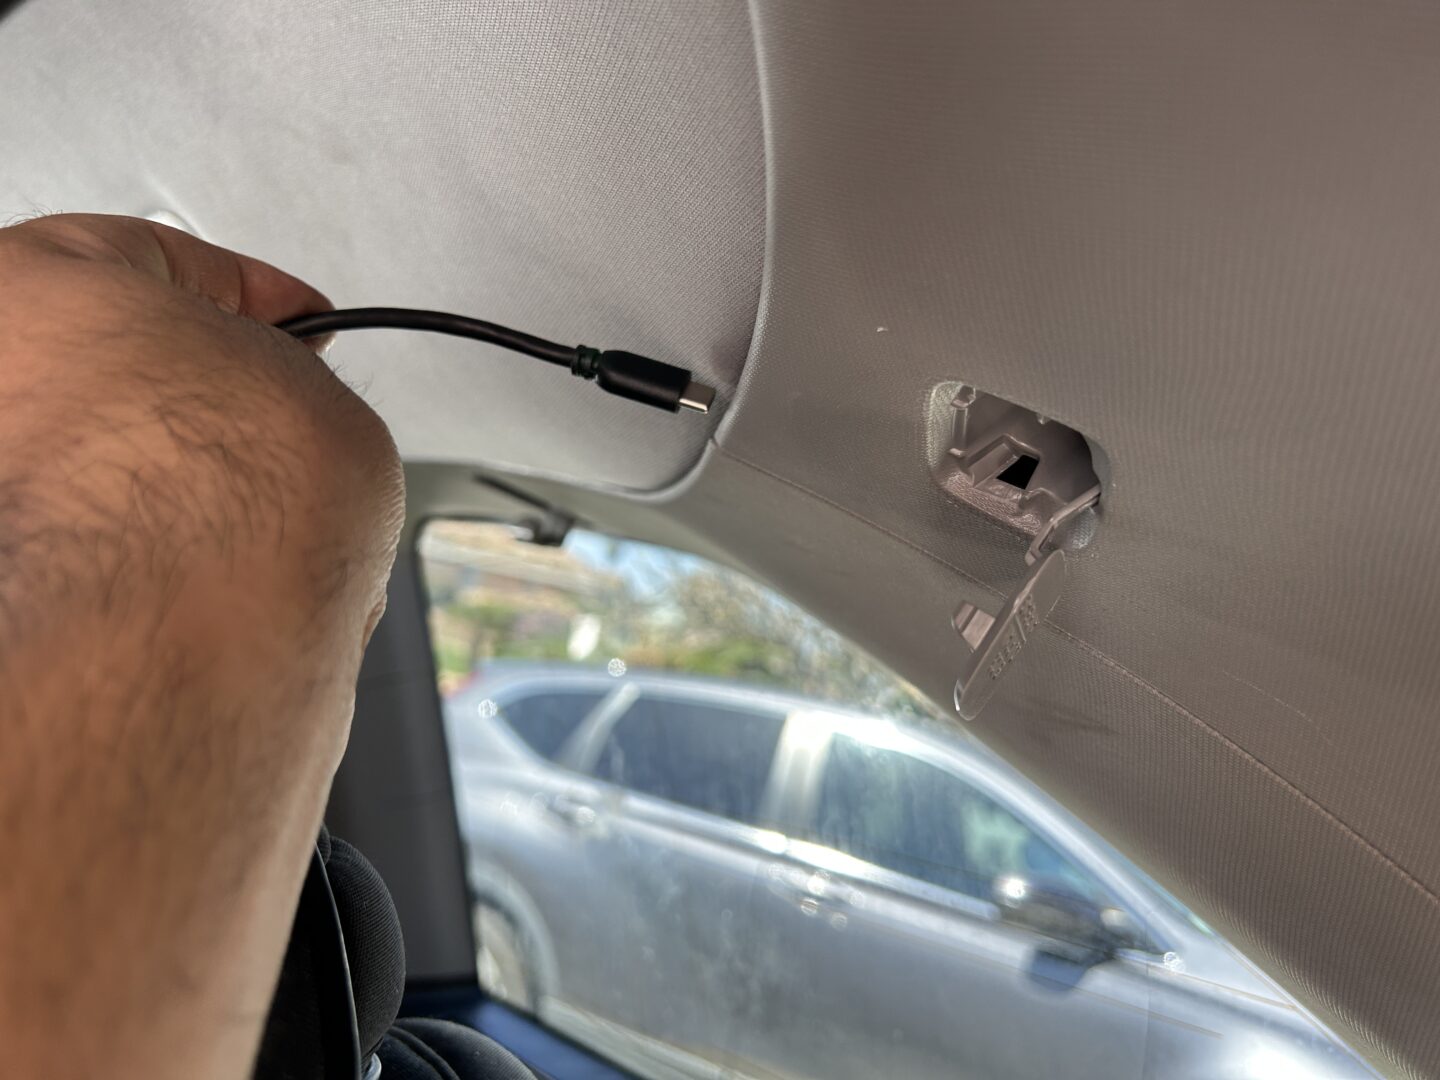
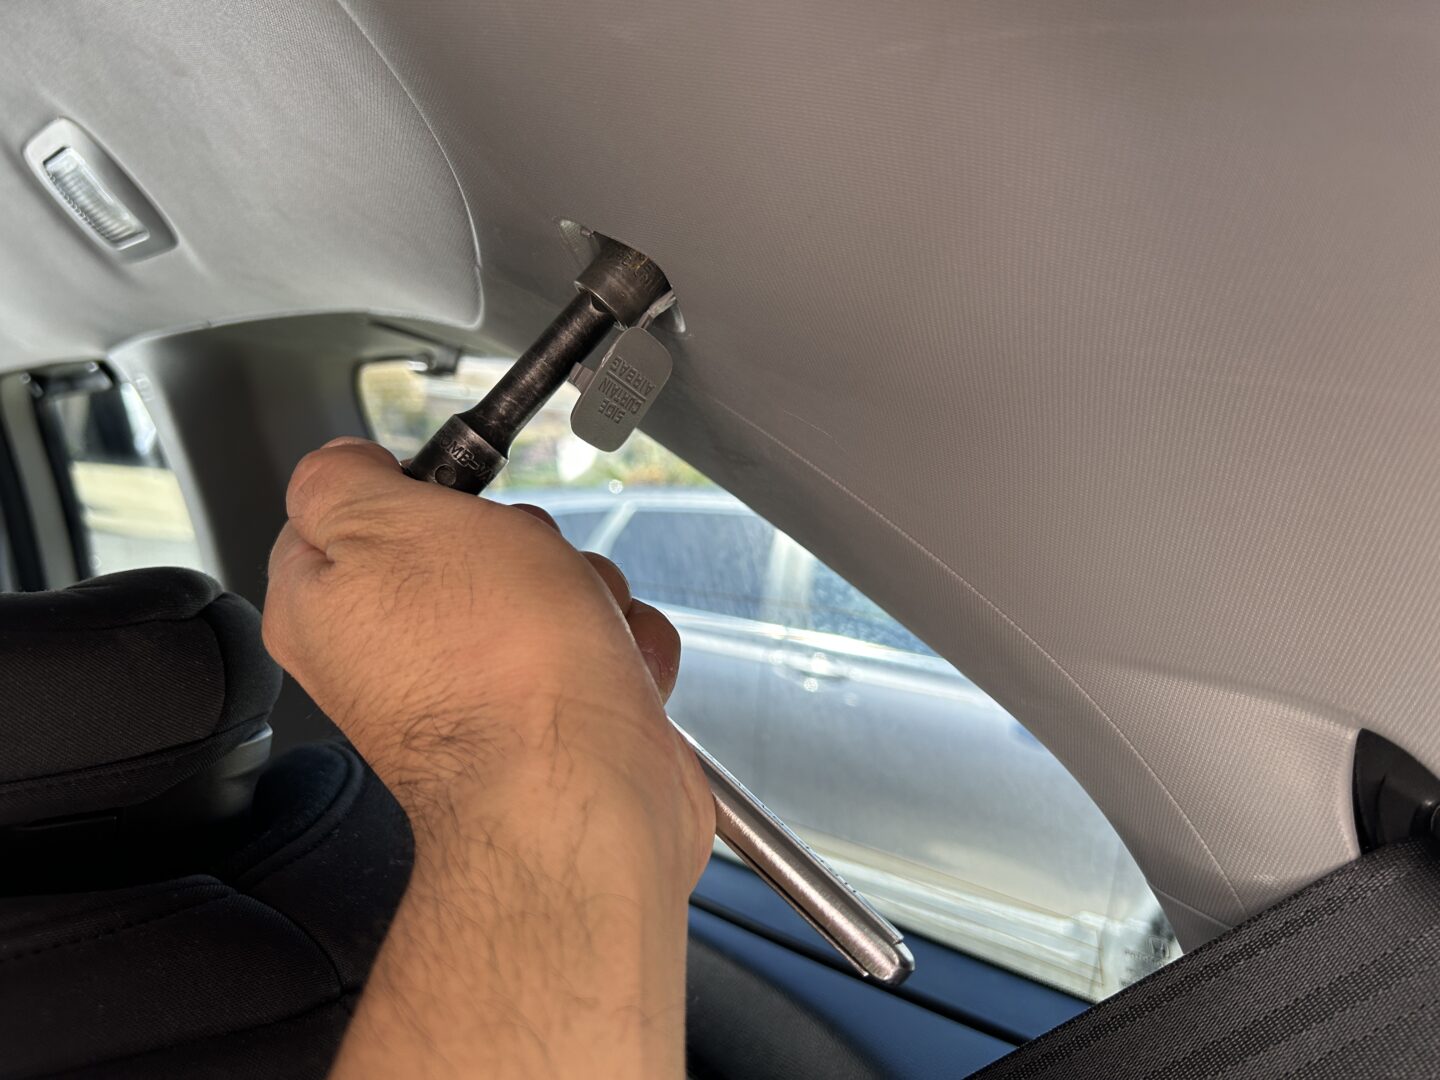
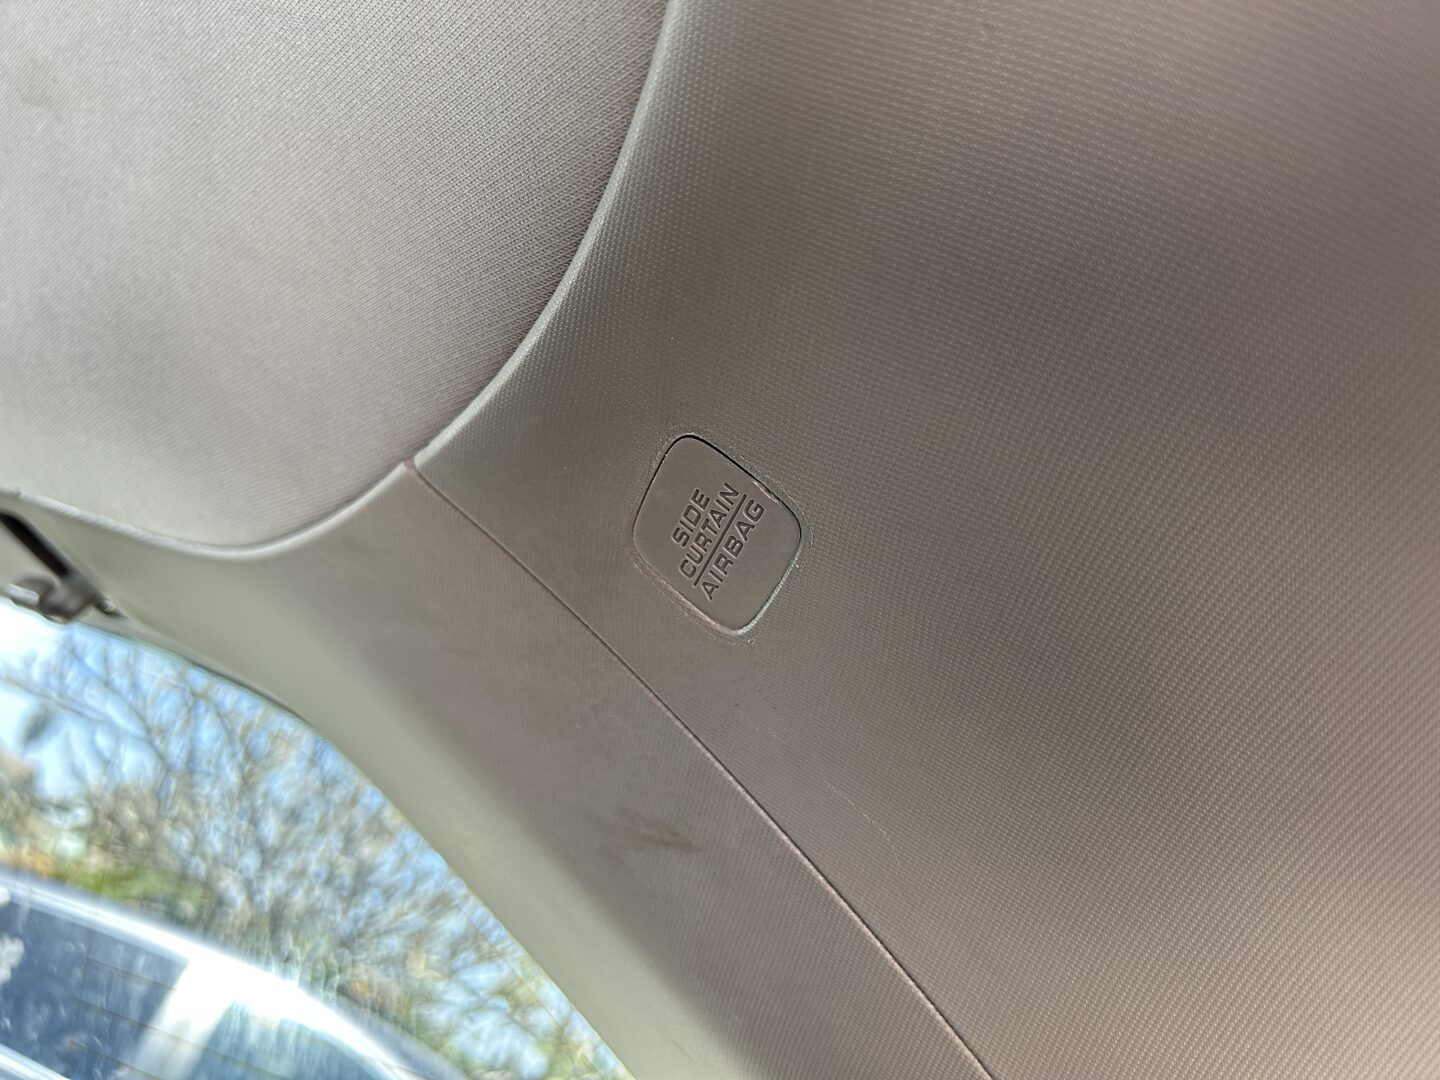
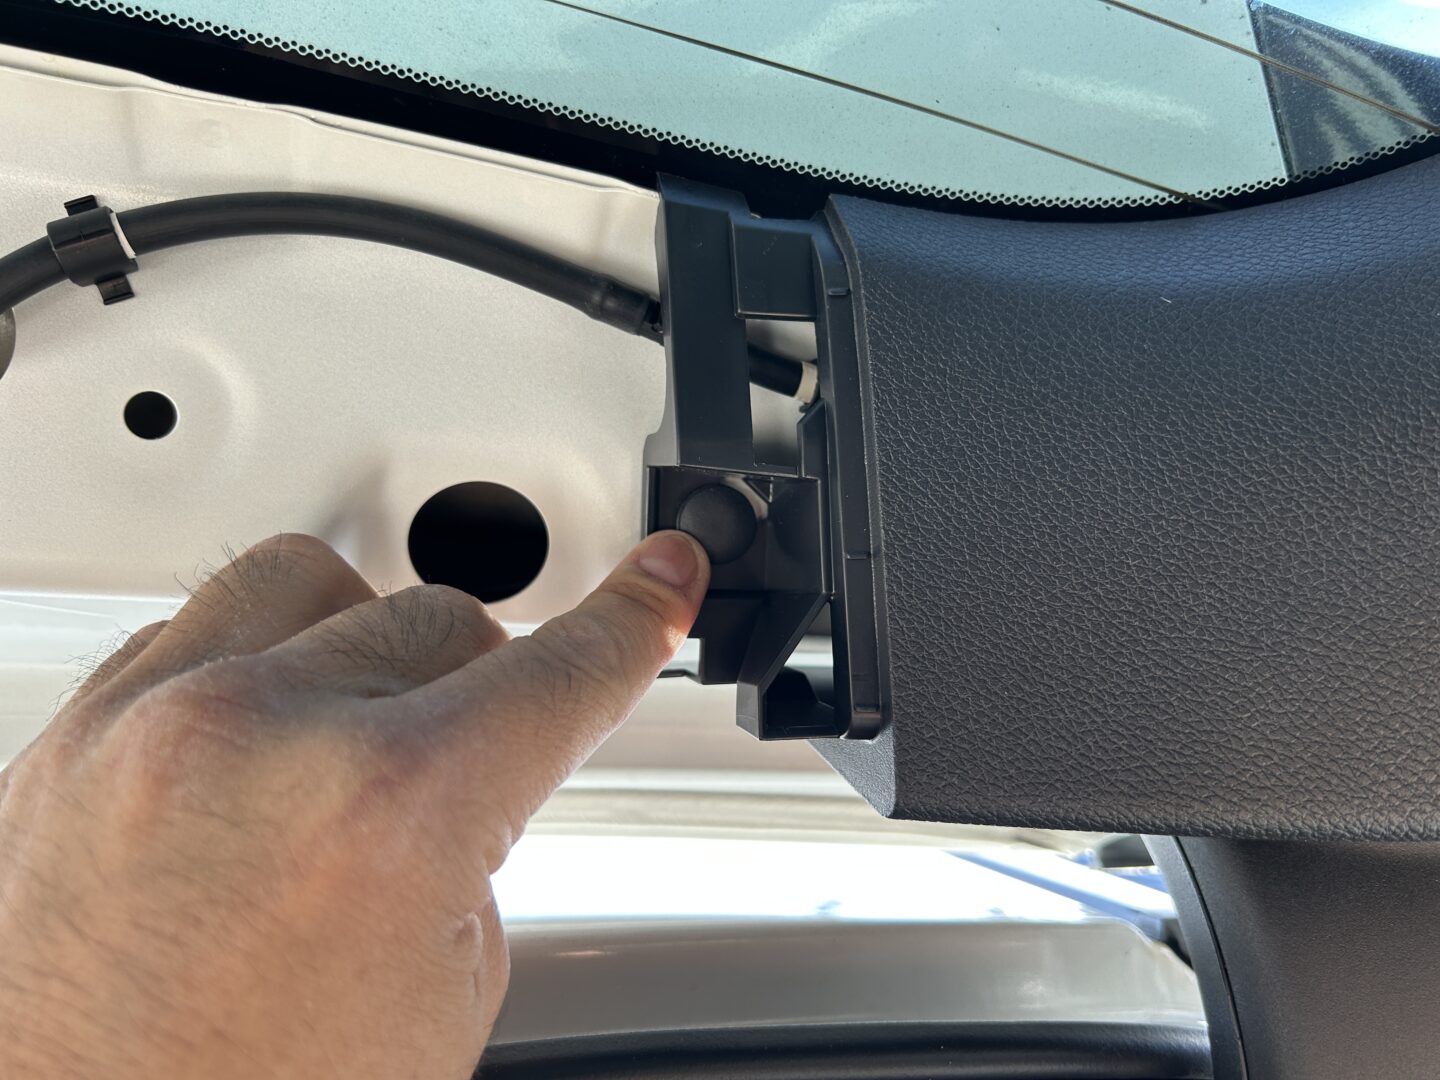
Now back to the passenger side rear of the car where we last left off with the wire. We need some space to get the wire behind the last trim piece before going to the tailgate. Use a trim tool to remove the airbag cap, and use a 10mm socket to remove the bolt. This gives some space behind the trim to get the wire through to prepare fishing it through to the tailgate.

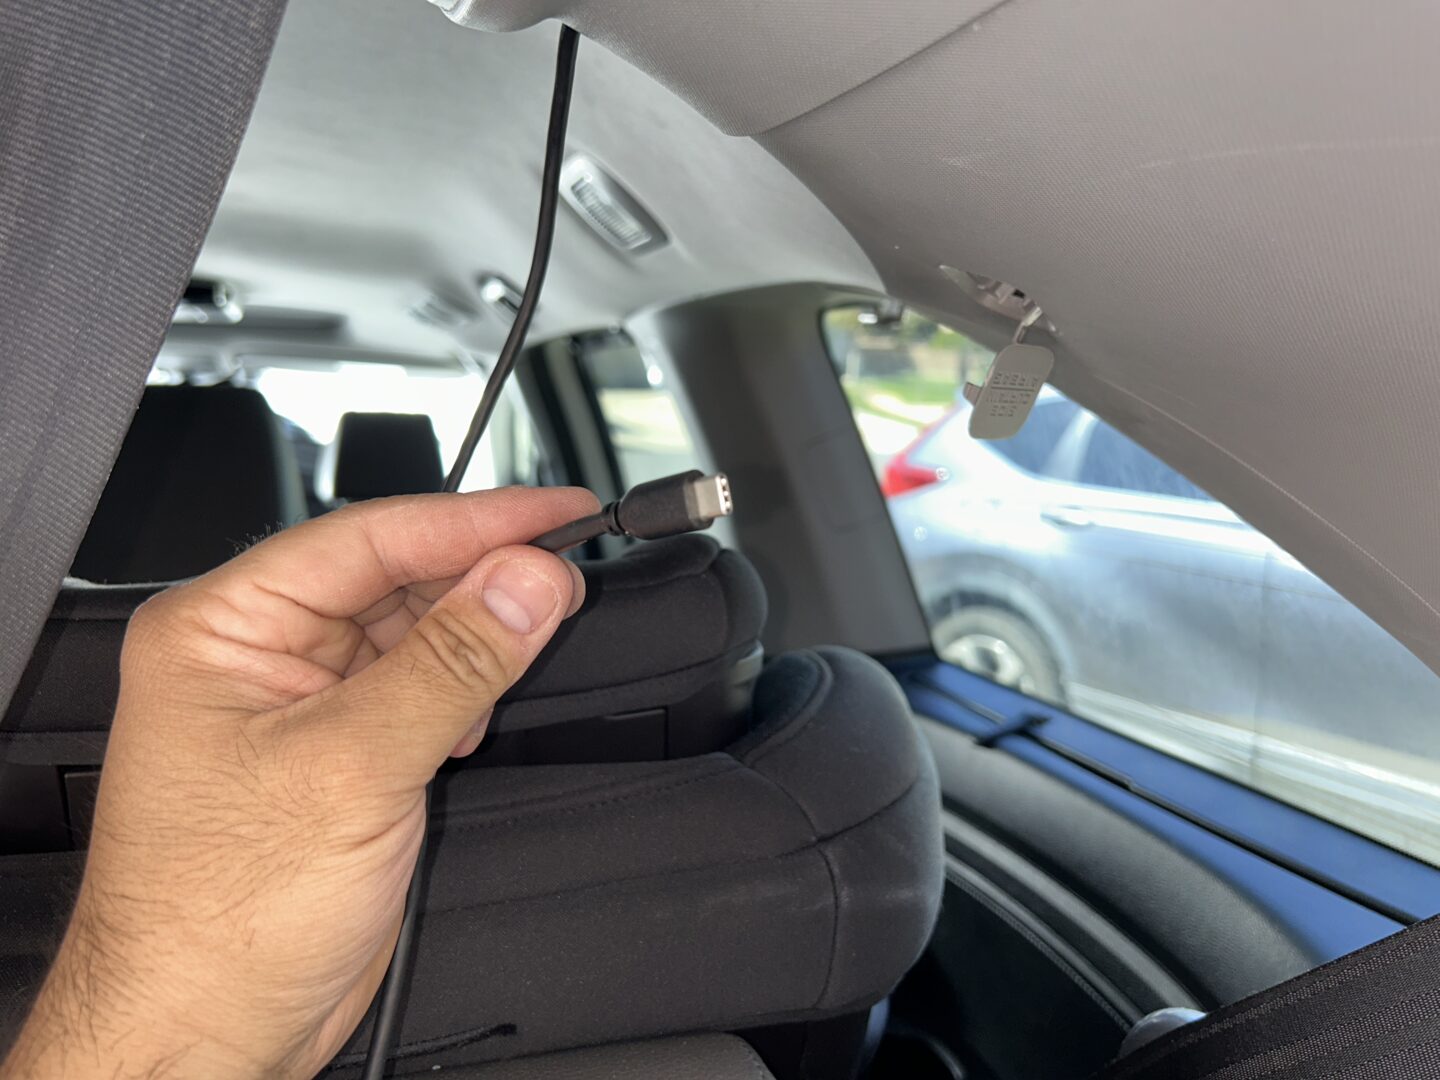
Now, we are preparing to snake the wire through to the tailgate. Push the tail end of the wire through behind the rear trim as seen below. You’ll need to fish it through this little opening that goes towards the rear tailgate. It’s really helpful to have one of these grabber tools as you will need to go from the tailgate side and pull this wire through that opening.
You’ll only be able to push the wire tail so far through the trim towards that little opening. When you look from the other side at the tailgate, you will use the grabber tool to reach in there, grab the tail end, and pull it through.

As you can see below, you’ll pull the wire through where the arm of the tailgate is. As you pull the wire all the way through, make sure that the wire where you pulled from is pulled all the way through and will be hidden behind the trim. When it is fully pulled through, you can tighten up the 10mm bolt behind the airbag cap and close the cap so that all of the trim is secured back in its original place. The rest of the work will now be done at the rear tailgate.
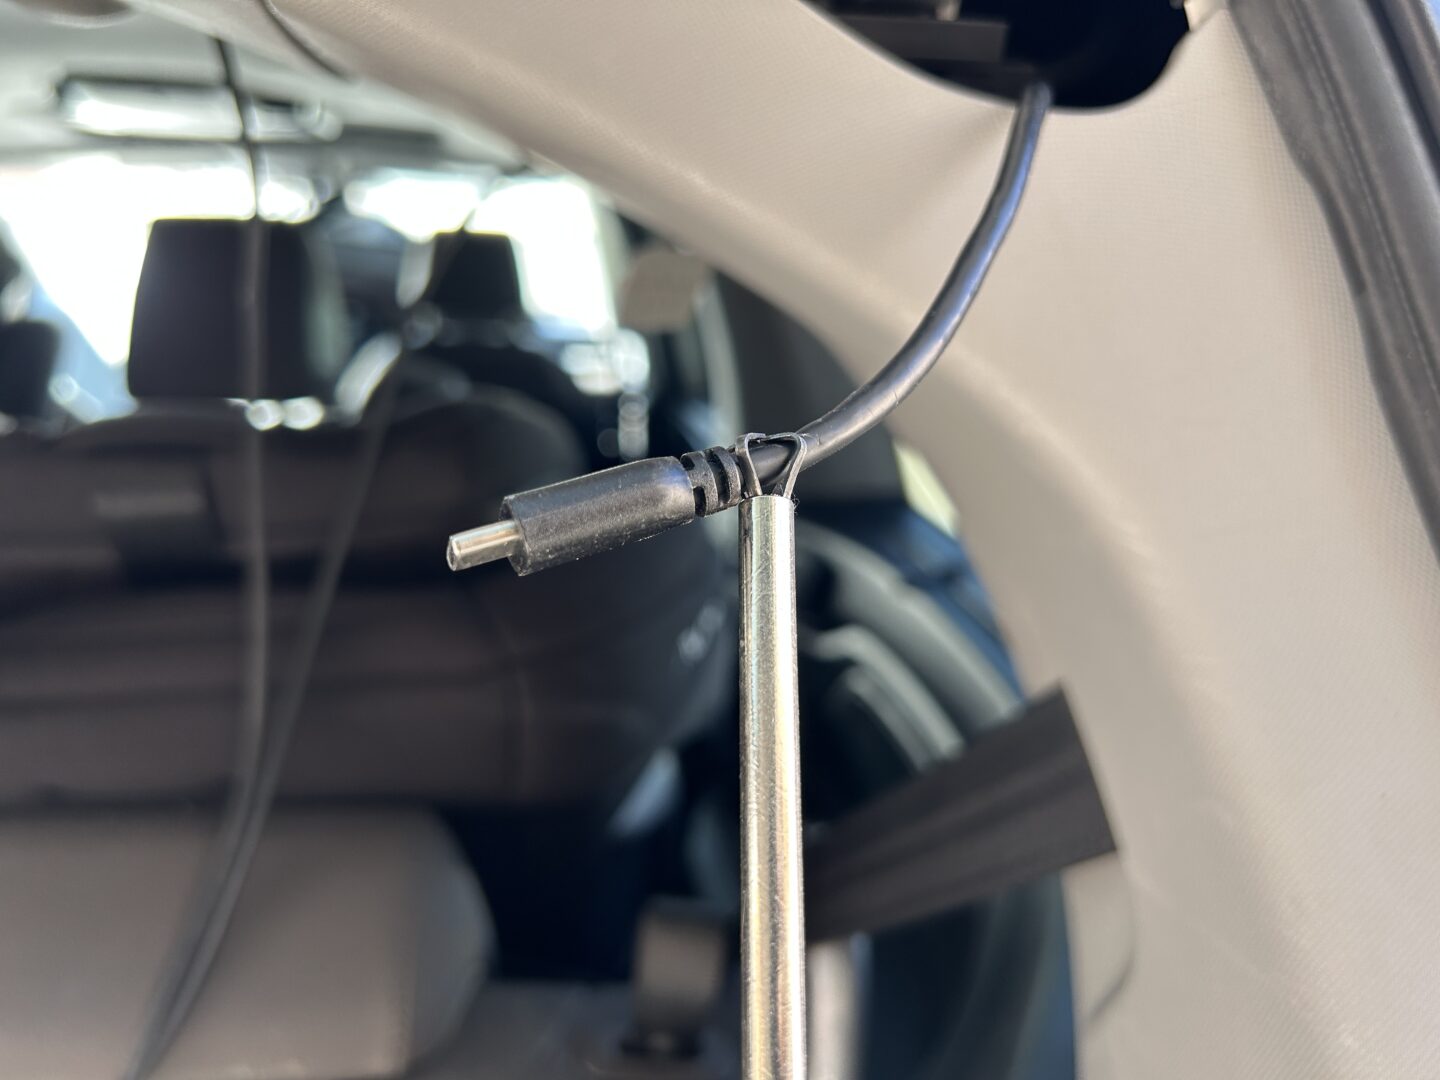
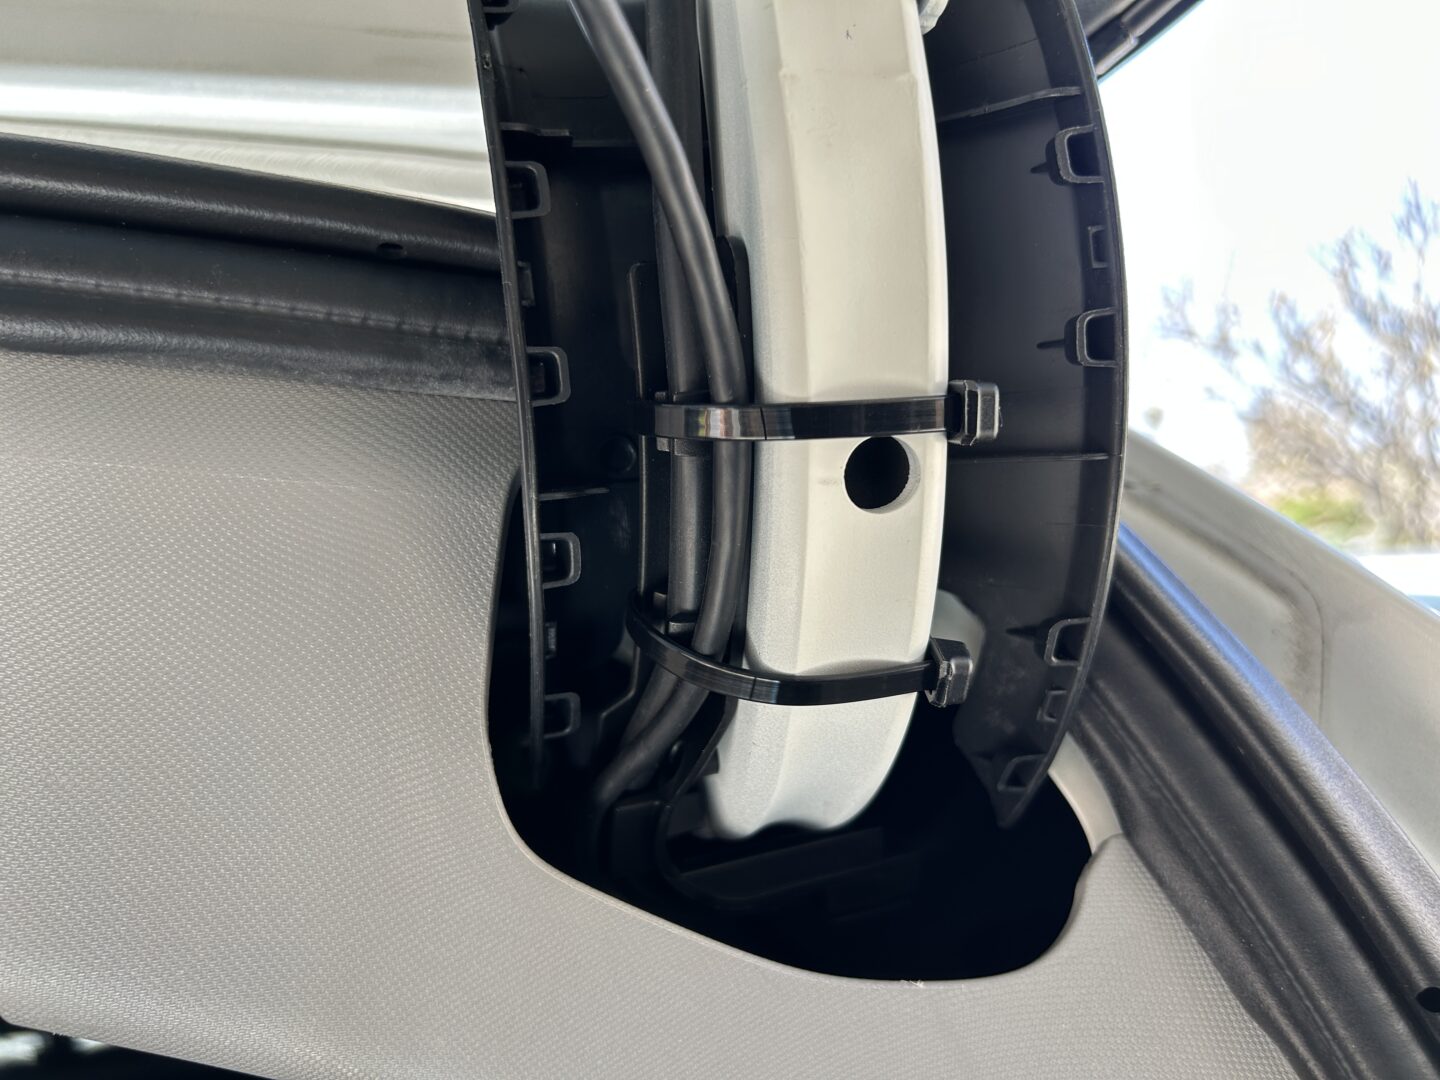
The wire for the rear camera will be routed through the tailgate supporting arm, and because it has this plastic cap around the arm, it will be fully encased. Zip tie the wire to the supporting arm. Once secured, the wire shouldn’t pull loose or break during tailgate operation because we’re attaching it to the arm while the tailgate is open. When the tailgate closes, the wire will only create slack, therefore there should be no chance of it pulling taut. Replace the trim to the supporting arm.
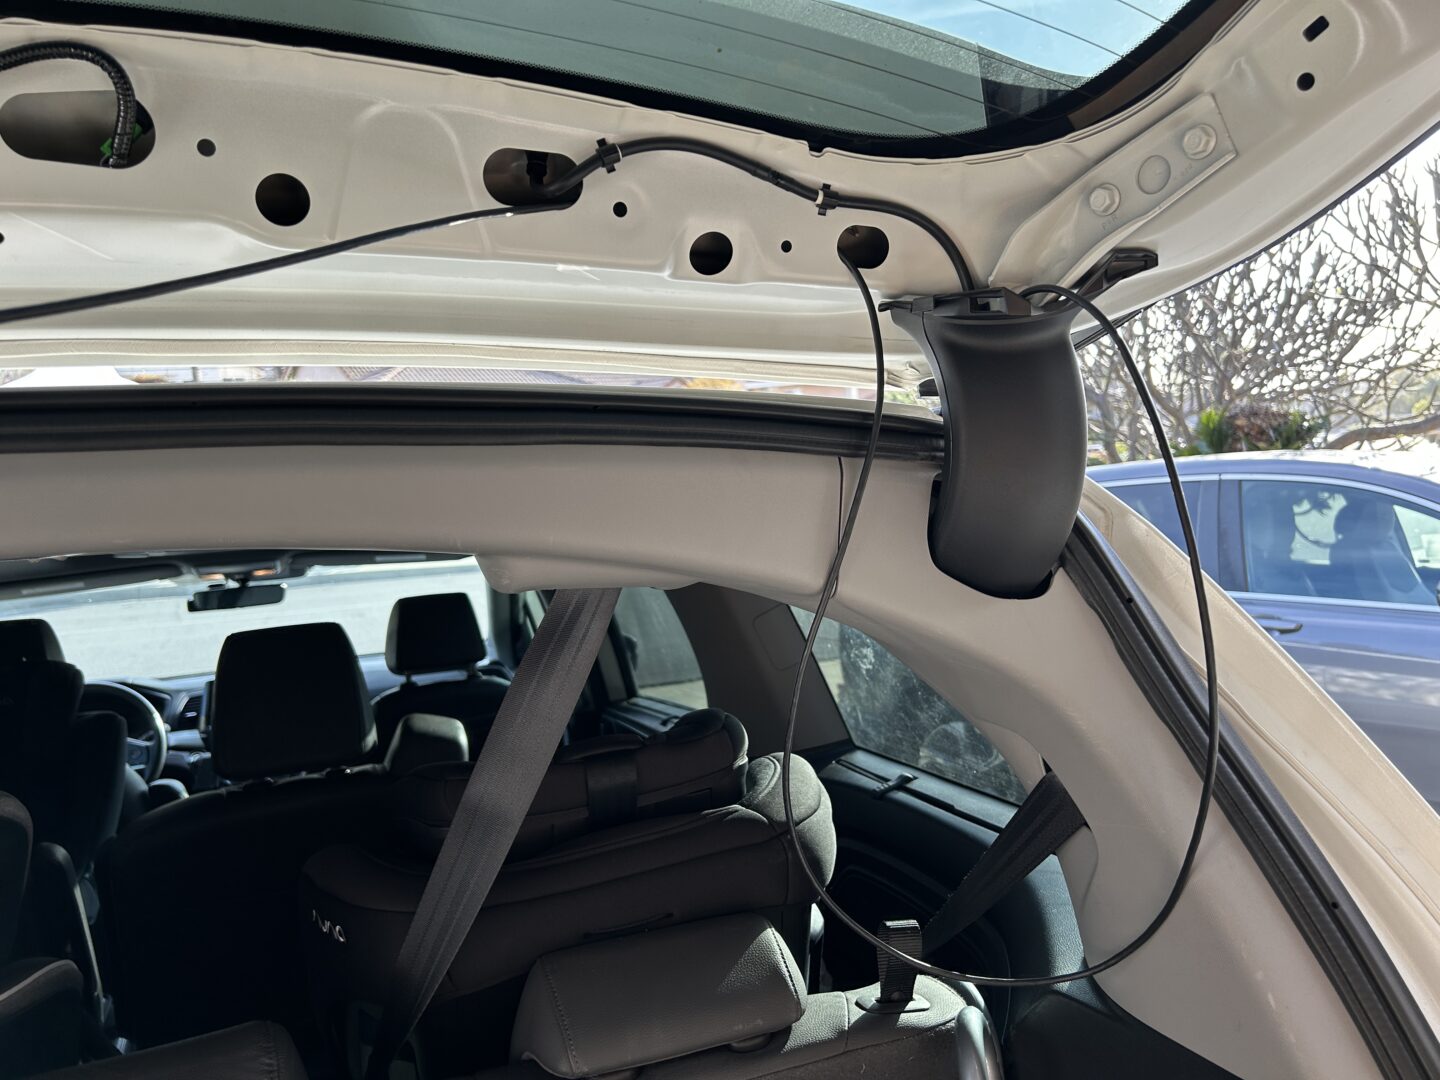
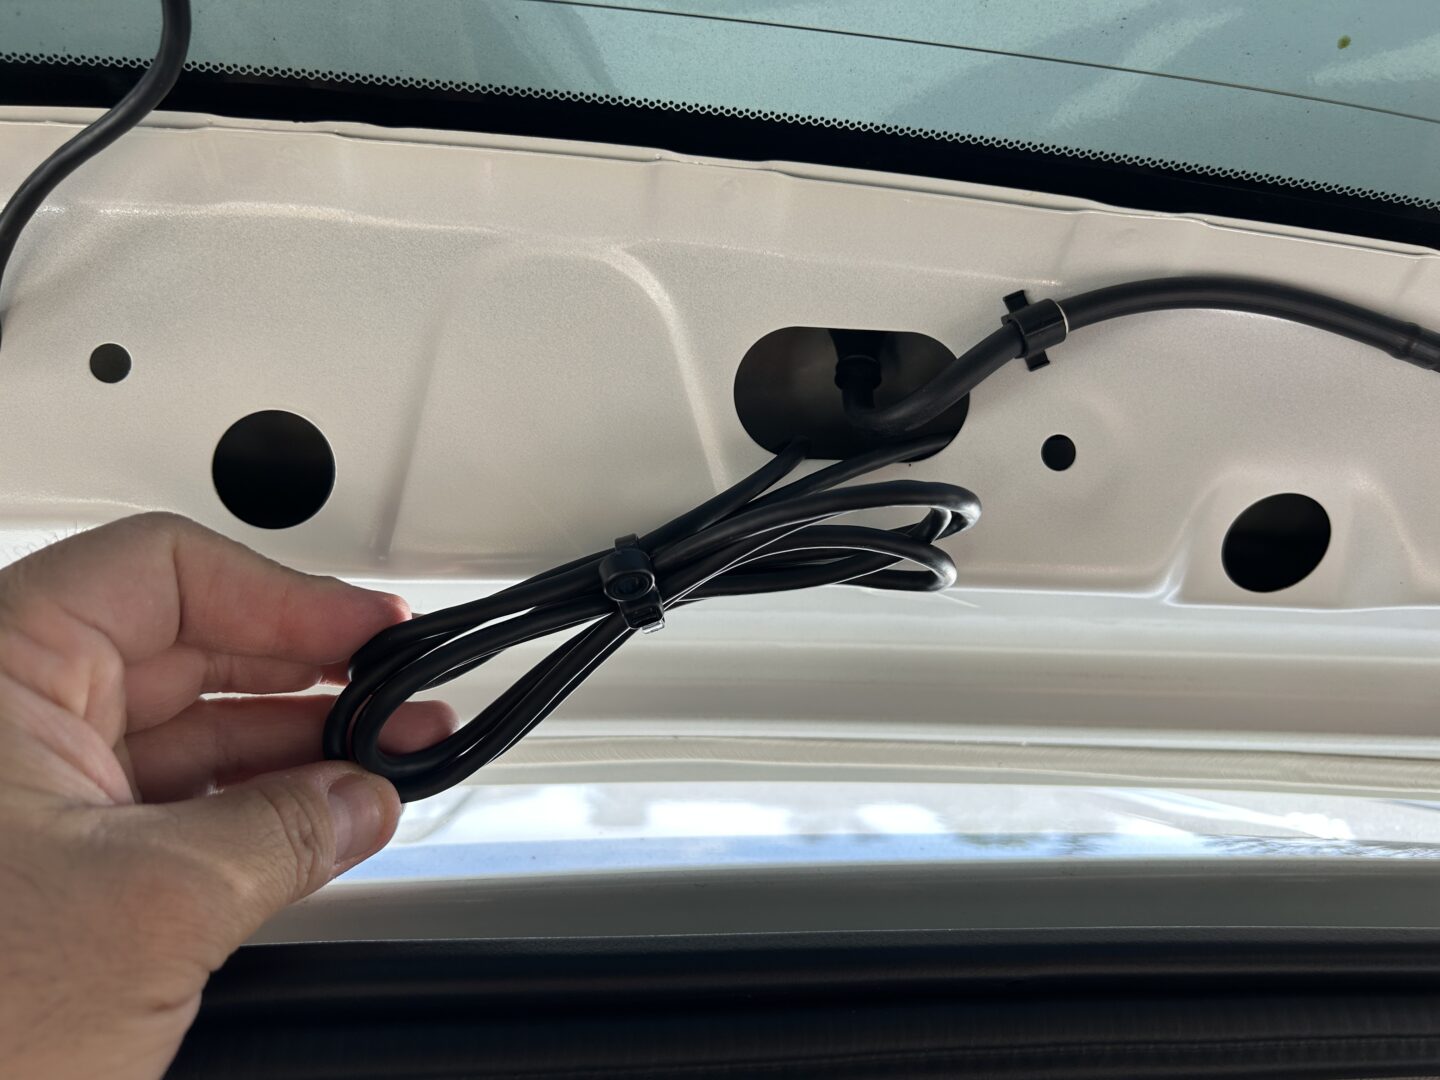
Now is a good time to route the wire through the oval openings as shown. This will keep the wire inside of the tailgate and not interfere with the trim when you reinstall it. You’ll fish it into the tailgate in the first oval opening, and then it will come out in the middle oval to the location of the rear camera.
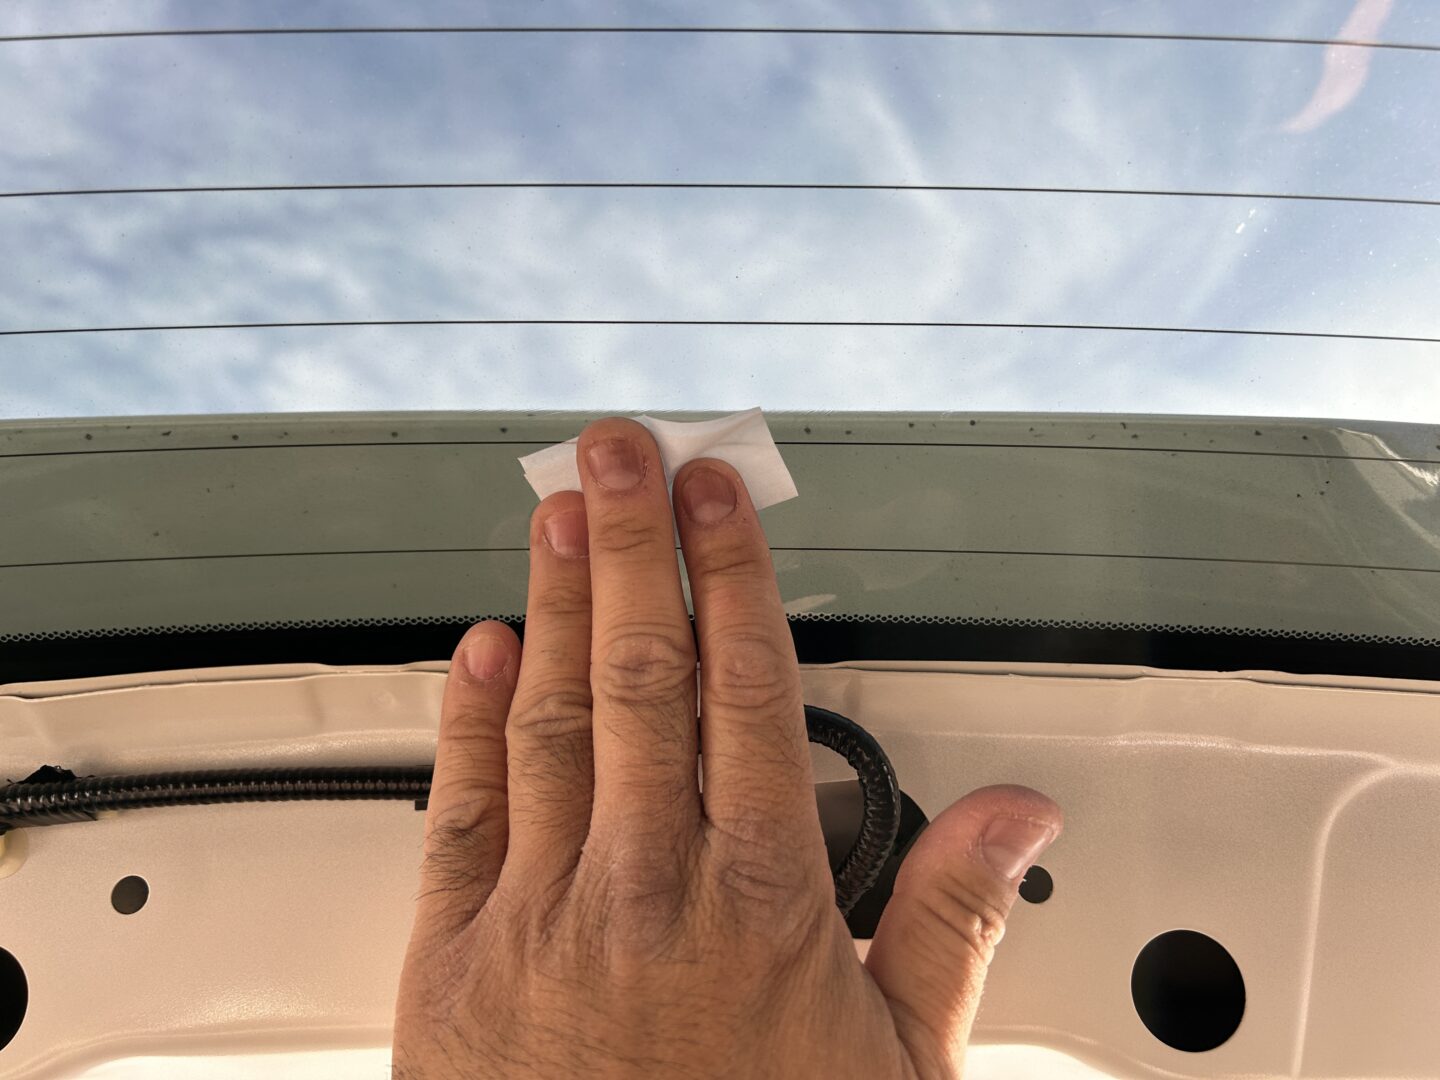
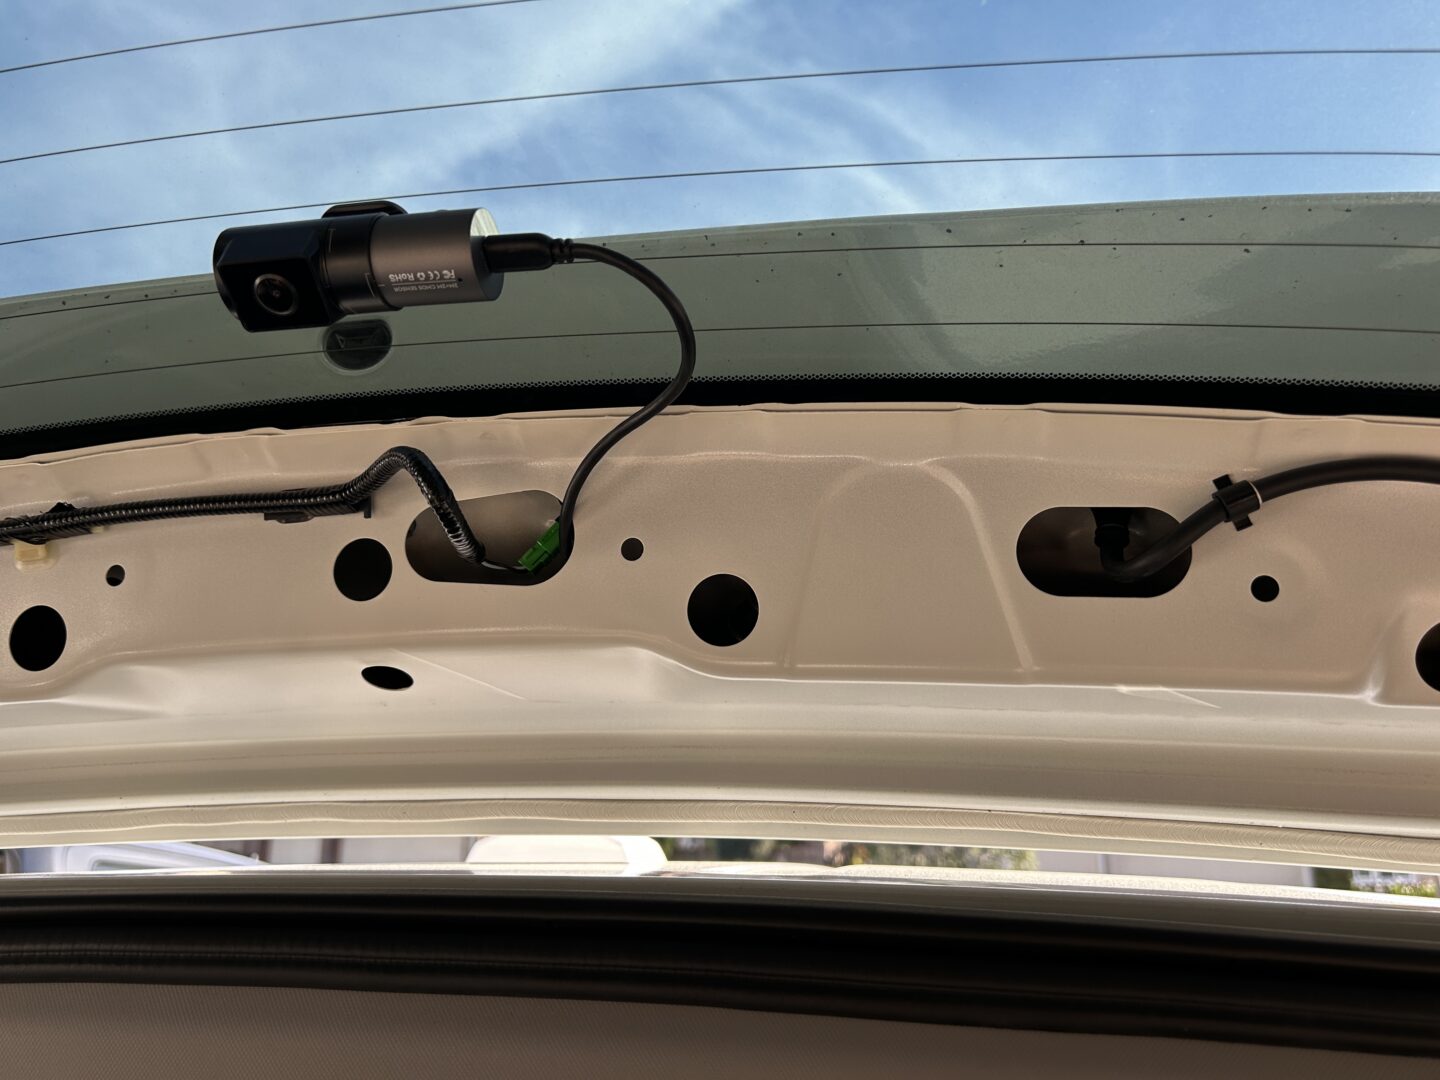
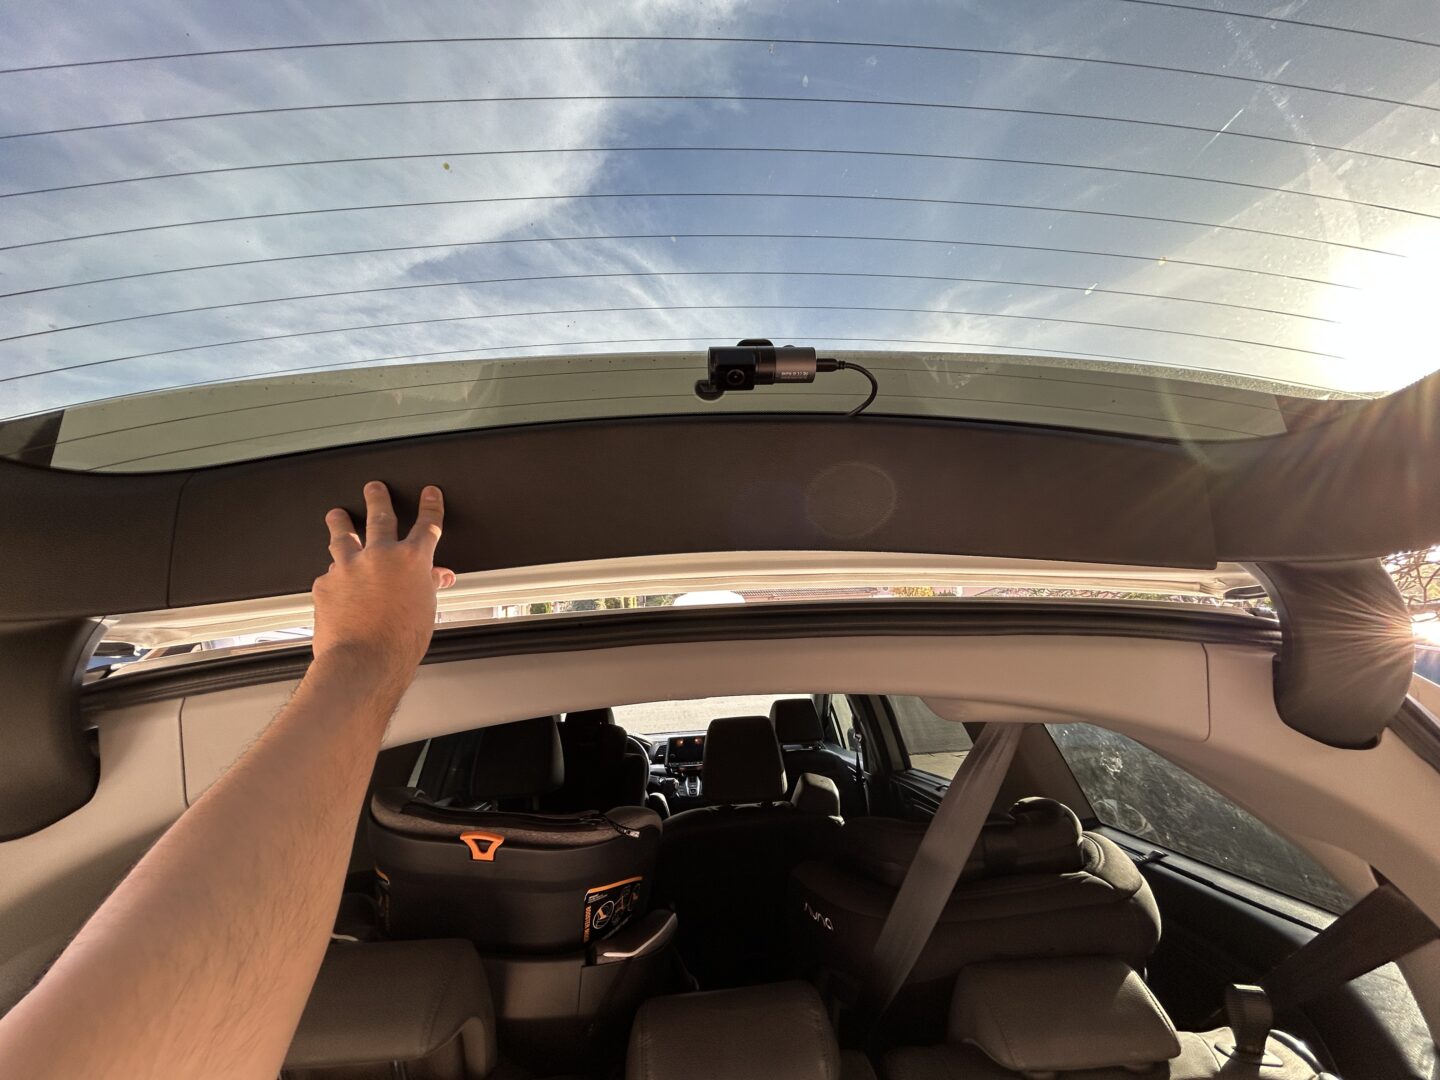
Just like with the power cord at the front of the vehicle, you’ll want to install the rear camera at the center of the rear window and then wrap up and secure the loose wiring. Clean and use the included adhesion promoter to wipe the glass area prior to installing. Then install the rear camera securely to the center of the inside rear window. Finally, take the loose wiring, roll it up, and zip tie it together and push it into oval opening of the tailgate to get it out of the way.
Now, reinstall all of the trim pieces again. A lot of these parts have push pins that require you simply push them back into the openings of the vehicle.
And that sums up the full install of the VanTrue N5 360 Camera in the 5th generation Honda Odyssey. You can now power on your vehicle and test out the dash cams. If there are any remaining screen and lens protectors on your front and rear camera, take them all off now. Make sure that all of the views look the way you would like them to look.
Specifically check your rear camera view as it will likely need to be adjusted to get the right view behind your vehicle. You will need to close the tailgate and go from the inside of the vehicle to twist the lens to the right position. Make this adjustment and check the view on the back of the front camera to ensure that it is pointed out the back correctly.


So far, the Vantrue N5 has been working really well and when I did have to view the footage, I was able to eject the micro SD card and view the footage fairly easily. The different views are all saved as different files, in regular timed intervals. As a result, when you’re looking for specific footage from a specific view, it might be a bit difficult to find. The files are all ordered in chronological order however, so you can find your footage that way. If you’re interested in quality of the VanTrue N5, here’s a clip from the front camera that I saved:
I hope this post has helped you with the dash cam install on your 5th generation Honda Odyssey. It’s nice that you can install front and rear dash cams on these cars and be able to hide most of the wiring without having to remove a ton of interior trim. The exception is the few trim panels in the rear and at the tailgate, before you successfully complete the dash cam install on the vehicle.
")
")
")
")
")
")

")
")