When you make purchases through links on this site, The Track Ahead may earn an affiliate commission. Also, these posts are based off my own experiences. I am not responsible for any action you take as a result of reading this. Learn More
About the Sound Ordnance B-8PTD Subwoofer
The stock audio system on the 4th generation Toyota 4Runner is a bit lacking, especially if you haven’t upgraded your head unit yet. However, even if the upgraded stereo, you might find that it may be missing bass. The addition of a subwoofer will address this issue by adding that bump that’s missing.
It’s possible to add a typical, bulkier subwoofer and enclosure in the trunk of the car, and then running the wiring to the amplifier or head unit. However, I’ve used my 4Runner for hauling pretty regularly so having a subwoofer in the rear cargo is out of the question. I needed something smaller, as I was willing to give up some deeper bass.
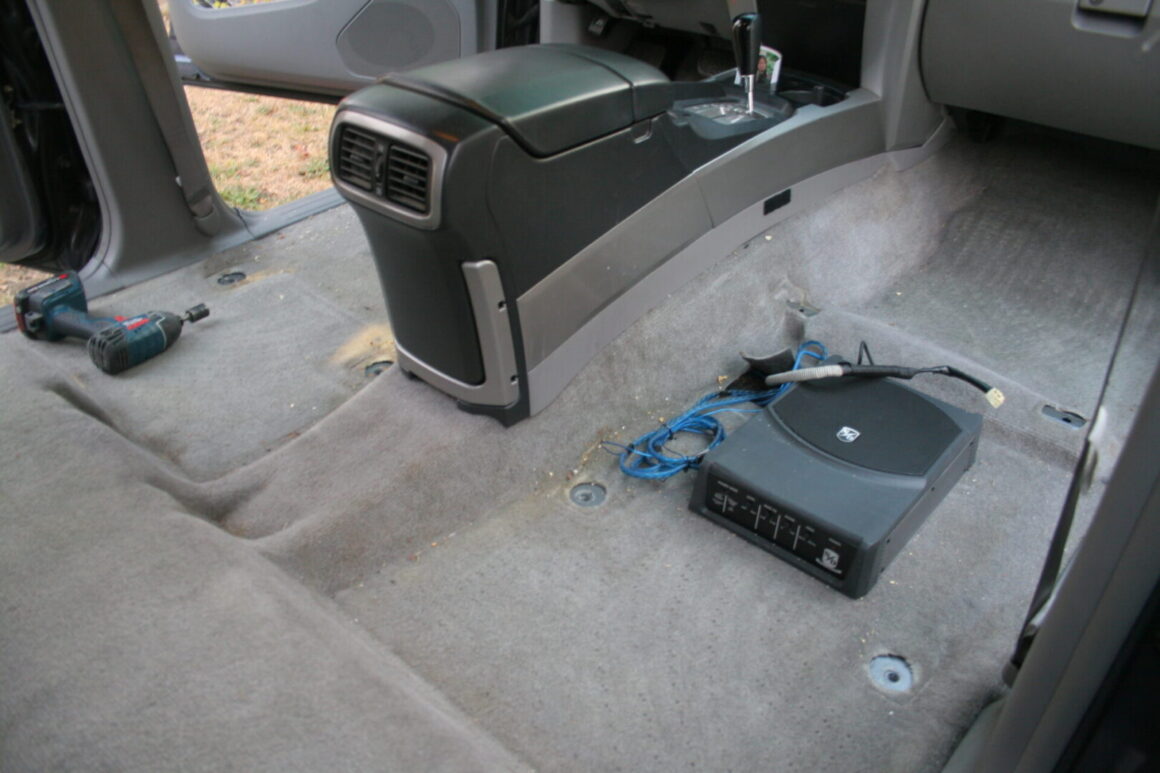
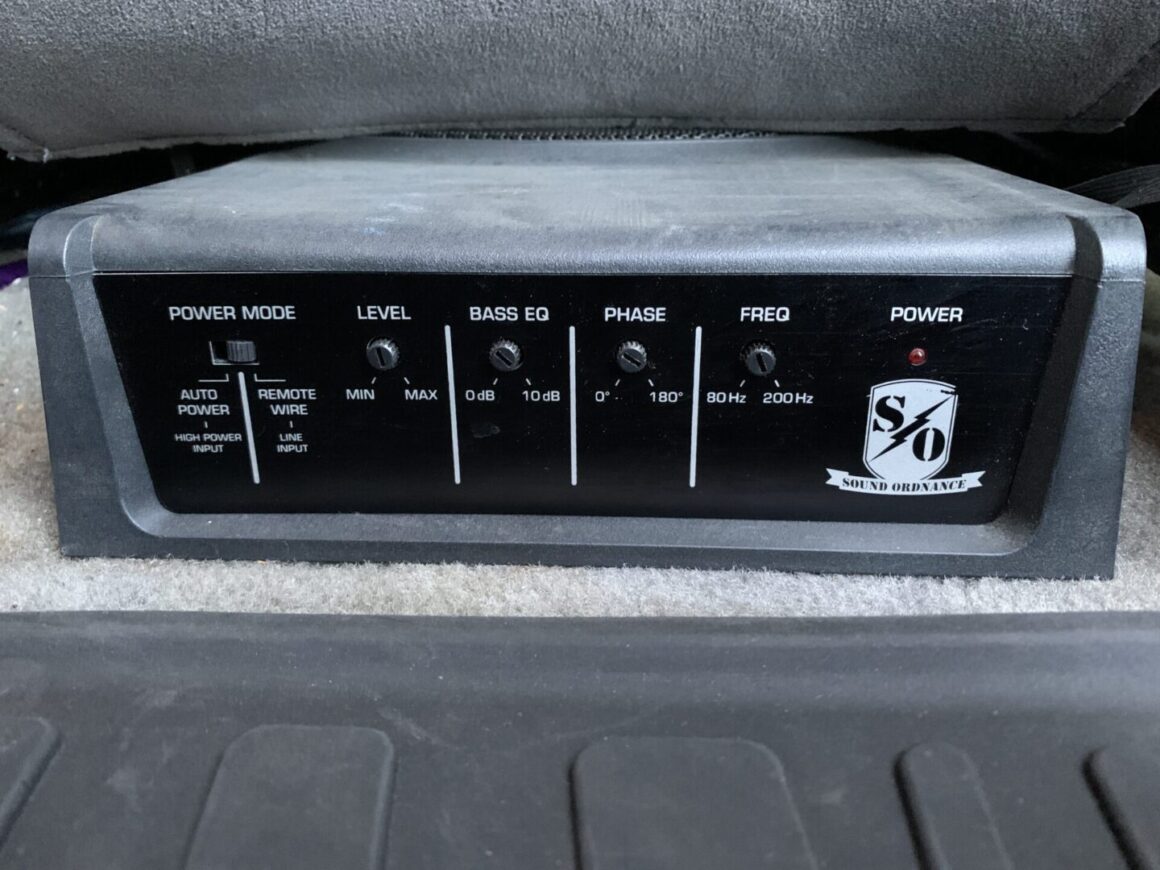
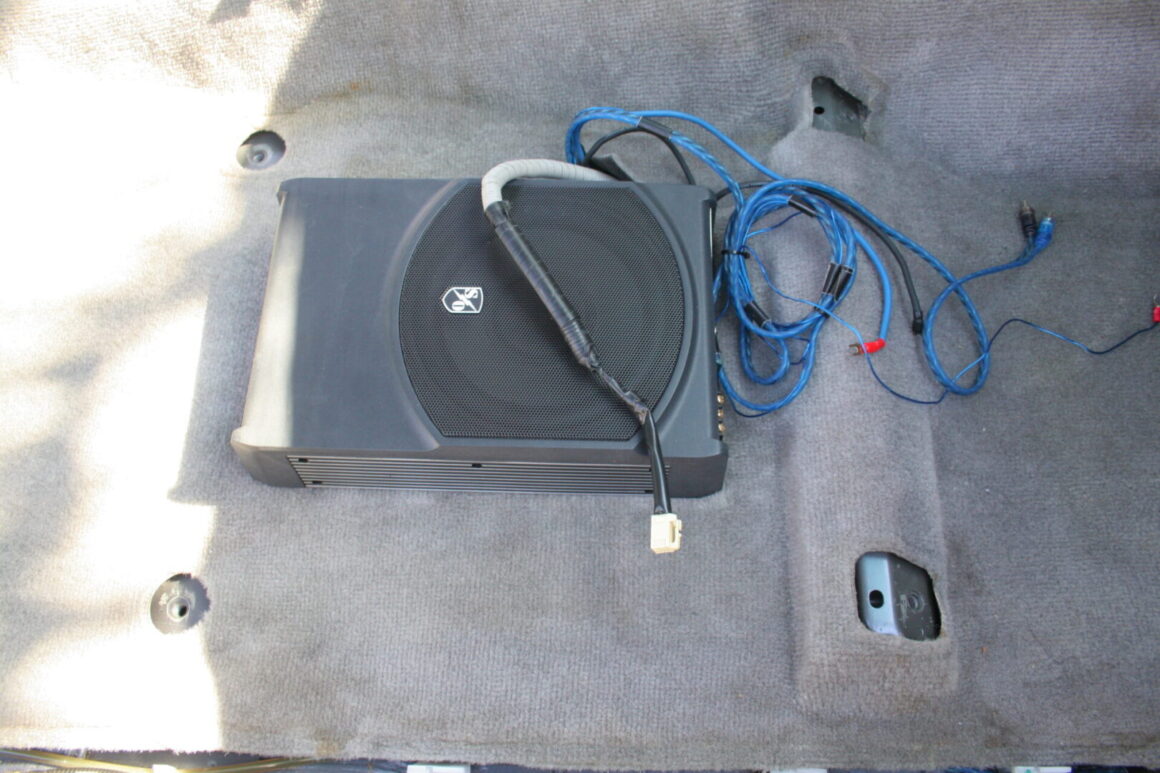
I found what I was looking for with the compact subwoofer, the Sound Ordnance B-8PTD. It’s an 8″ sub that is built into a nice sturdy enclosure. It has a flatter shape and it conveniently fits right under the seat. I decided to install this sub right below the passenger side front seat, as I didn’t want to feel direct vibrations beneath me, especially since I would be the only one in the car 95% of the time.
The install is quite easy; the front passenger seat was removed for easy access to the new subwoofer location. There will be several connections to the subwoofer: one from a grounded location on the frame, one from the head unit, and another from the positive terminal of the battery. There are also connections for RCA cables for the subwoofer to plug into the radio or head unit.
Tools/Materials
Sound Ordnance B-8PTD Subwoofer
This is the subwoofer I used as it fits perfectly underneath the front passenger side seat. It hooks up easily and I didn’t even mount it to the floor. Since it sits on carpeting, it doesn’t move around. If you do choose to go with another subwoofer, the connections may be similar, but you will just need to route the wiring accordingly.
Sound Ordnance B-8PTD Powered 8″ Subwoofer
10-Gauge Wiring Kit
You will need a separate wiring kit to wire up the subwoofer. It is recommended to go with a 10-gauge (or larger) amp wiring kit with the B-8PTD Subwoofer. Follow the subwoofer manufacturer’s recommendation; in this case I went with a 10-gauge wiring kit.
BOSS Audio Systems 10 Gauge Wiring Installation Kit
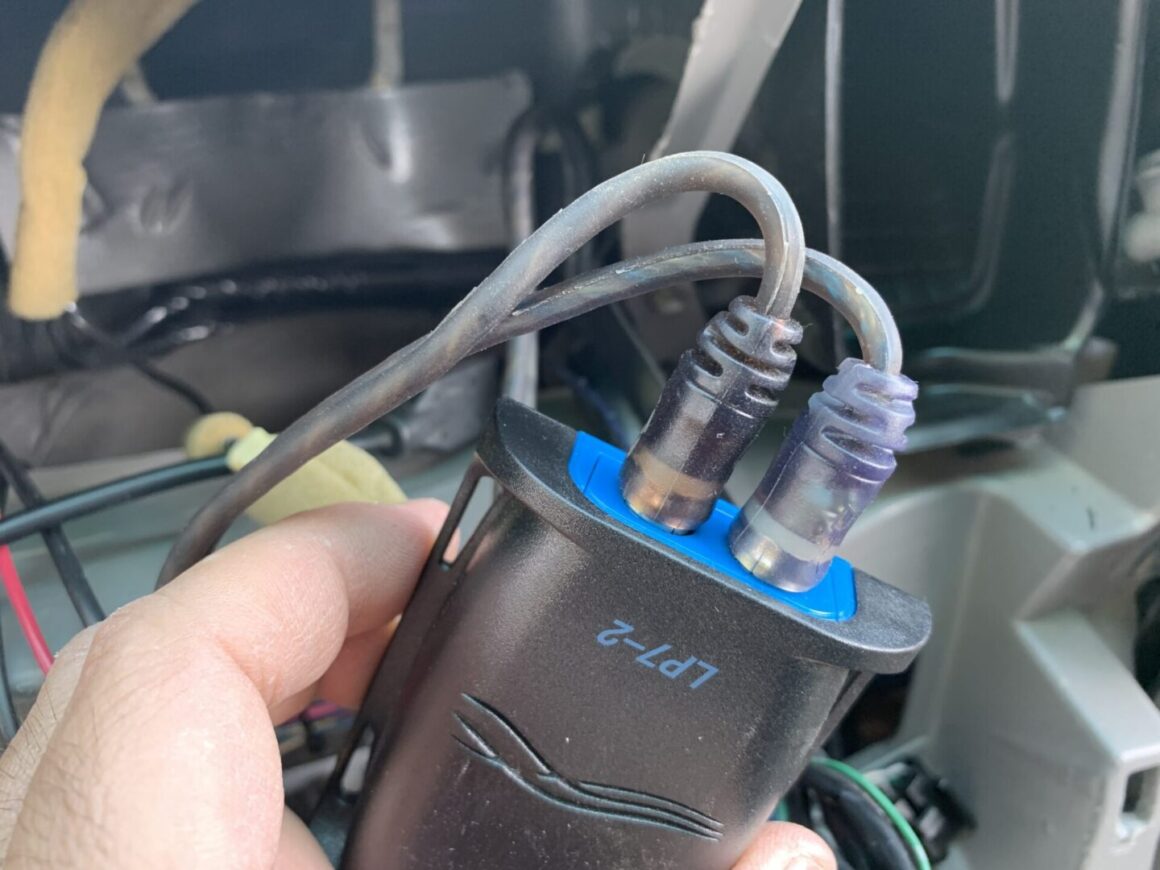
PAC LP7-2 Line Out Converter
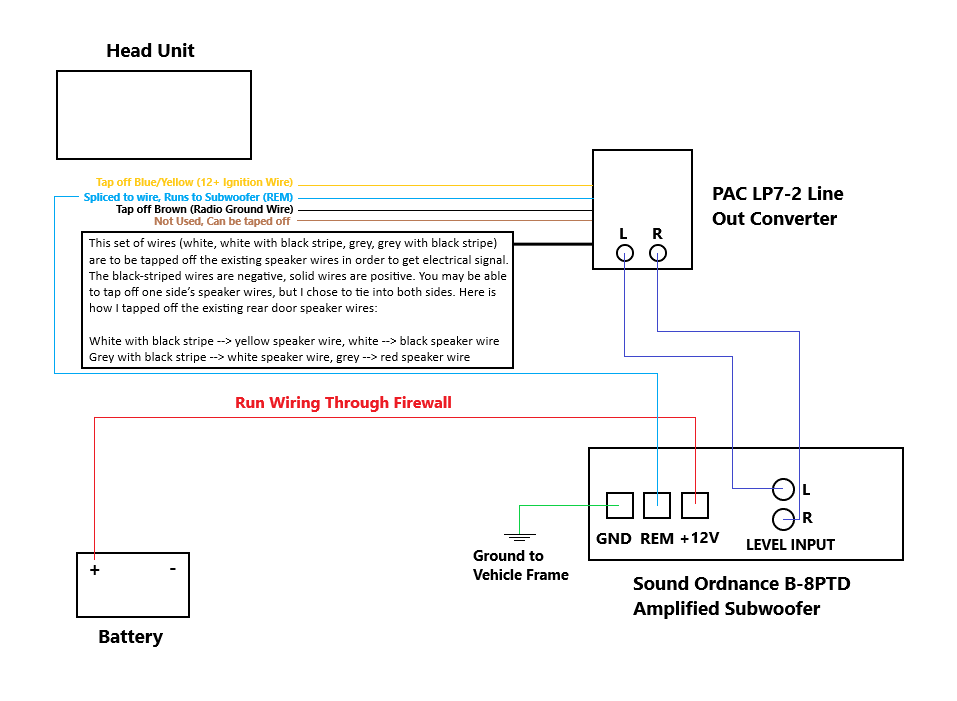
This line out converter (LOC) is needed to convert the speaker-level signal to a preamp-level signal (RCA connections). The LOC will need to be tapped off of the existing speaker wires in order to get audio signal for the amplified subwoofer.
I saw a more popular LOC on Amazon called the PAC SNI-35, but there were too many customer complaints of the unit burning up. So, I opted for this option that seemed to be more reliable (and I can attest to this as I’ve been running this unit for the past five years.)
PAC LP7-2 L.O.C. PRO Series 2-Channel Line Output Converter with Remote Turn On
T-Tap Wire Connectors
You will need to tap off of the existing speaker wires behind the head unit. T-Tap wire connectors will allow you to do this without the need to strip the wire insulation off. The kit below has T-Taps, as well as the associated spade terminals for the tap.
Electrical Tape
As an additional safeguard, I like to use electrical tape to help insulate the taps. It also provides an additional benefit of holding everything together and to support the connection.
Scotch Super 33+ Vinyl Electrical Tape, 3/4 in x 66 ft, Black
Wiring Diagram for Subwoofer
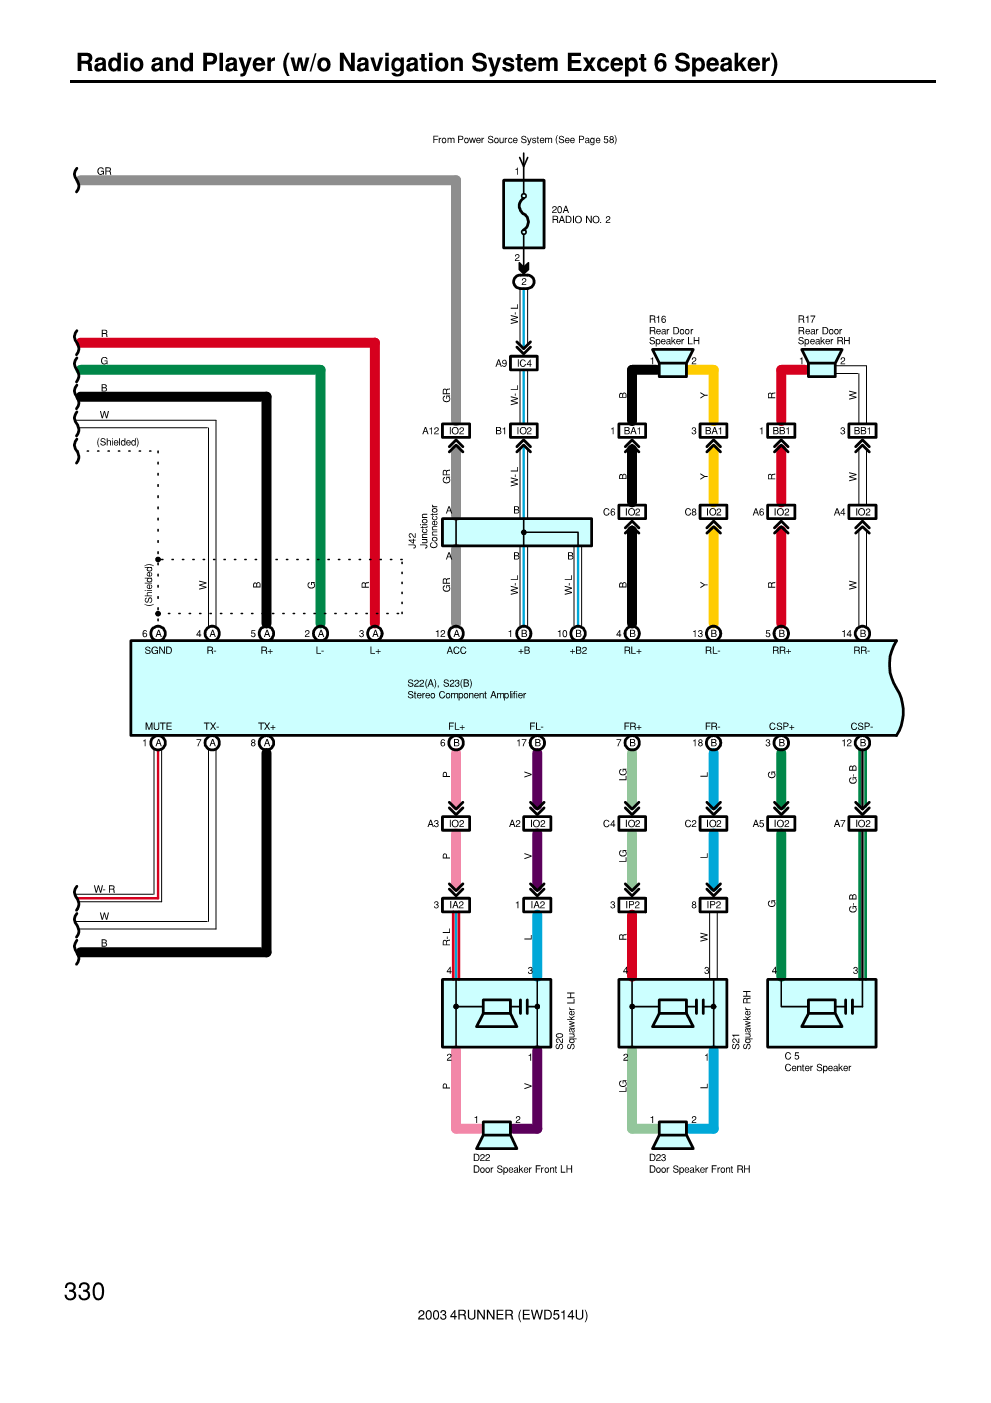
Below is a wiring diagram of how everything should be hooked up assuming you are using the same products that I used. One difficult part of the installation involves the running of the wiring under the carpeting, behind the dashboard, through the firewall, and to the battery. The other challenging portion of the install is making sense of the wiring especially with the ones that comes from the line out converter and which speaker wires it should attach to on the car side. The diagram I drew below, as well as the diagram of the 4Runner’s speaker wiring should help get you through that hurdle.
Instructions for B-8PTD Subwoofer
Instructions for Sound Ordnance B-8PTD Subwoofer:
https://pdf.crutchfieldonline.com/ImageBank/v20140414162100/Manuals/777/777B8PTD.PDF
How to Install Sound Ordnance B-8PTD Subwoofer
First, disconnect the negative battery terminal on the battery before beginning any work.
You can begin wherever you’d like, but I started where the subwoofer will go. If you have the front passenger seat removed, you will have more room to work when you are running your wires.
Remove the (4) 14mm bolts that secure the front passenger seat to the floor. Disconnect any connectors to the seat and carefully remove the seat from the car. Clean the area in case it is dirty underneath seat.
Place the subwoofer in its location so you know where the wires need to be run from. Unpack the 10-gauge wiring kit and begin running the wires from the subwoofer location to the other locations as shown in the wiring diagram shown earlier.
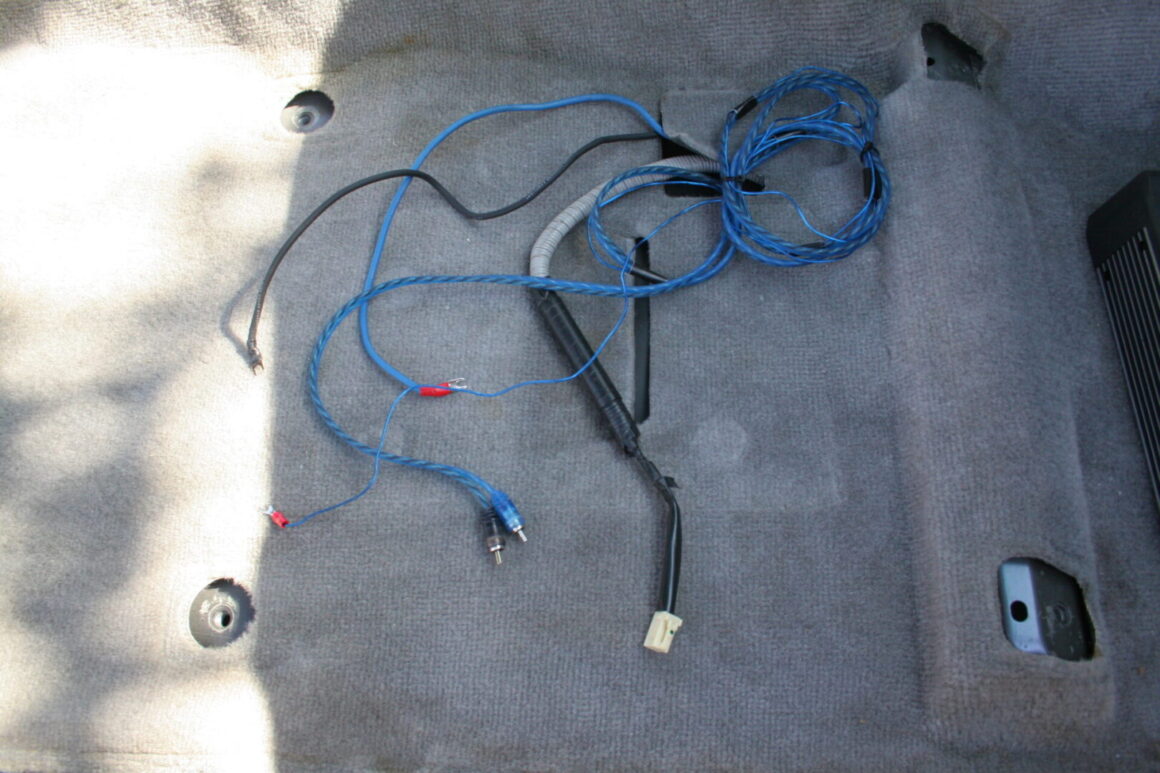
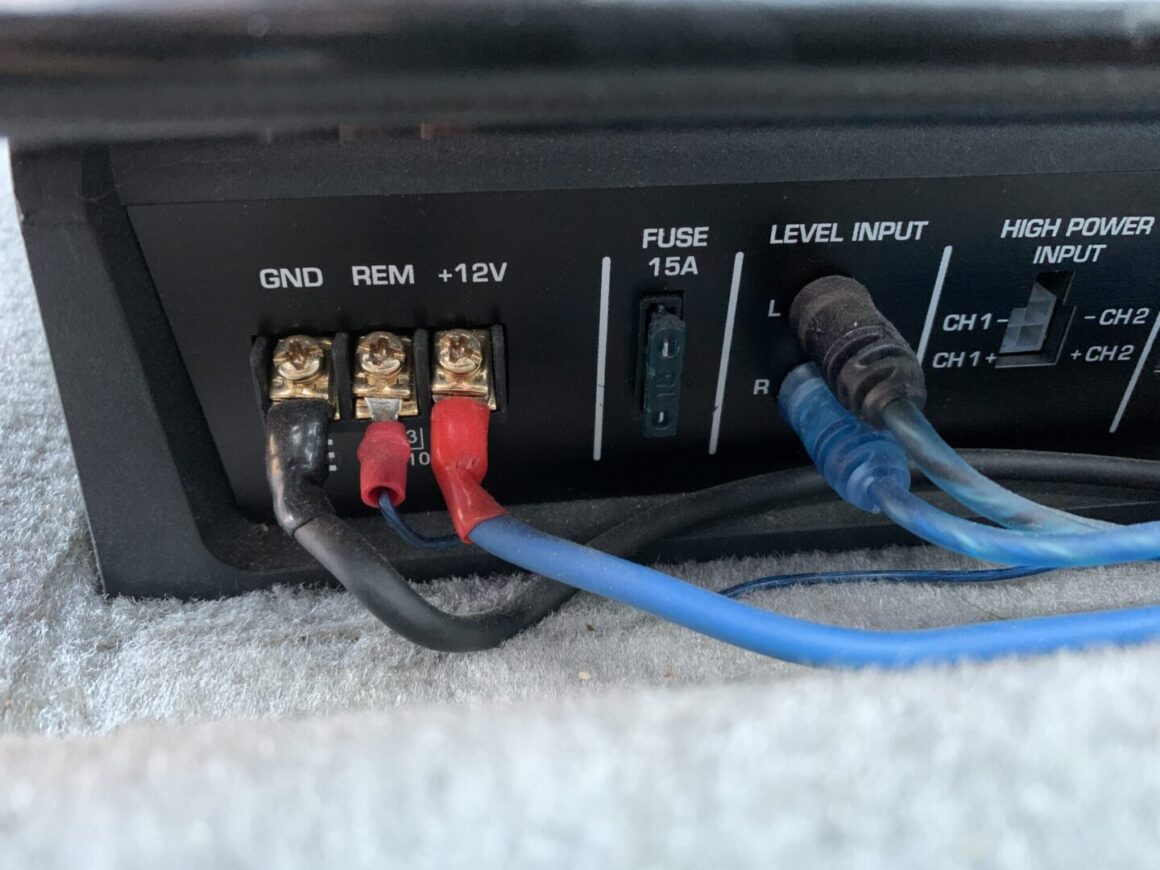
Run the black ground wire from the subwoofer’s GND terminal to an open bolt hole location in your floor board (underneath the carpet.) Make sure to scratch up the surface around the hole so that the ground will have good contact with the frame of your car.
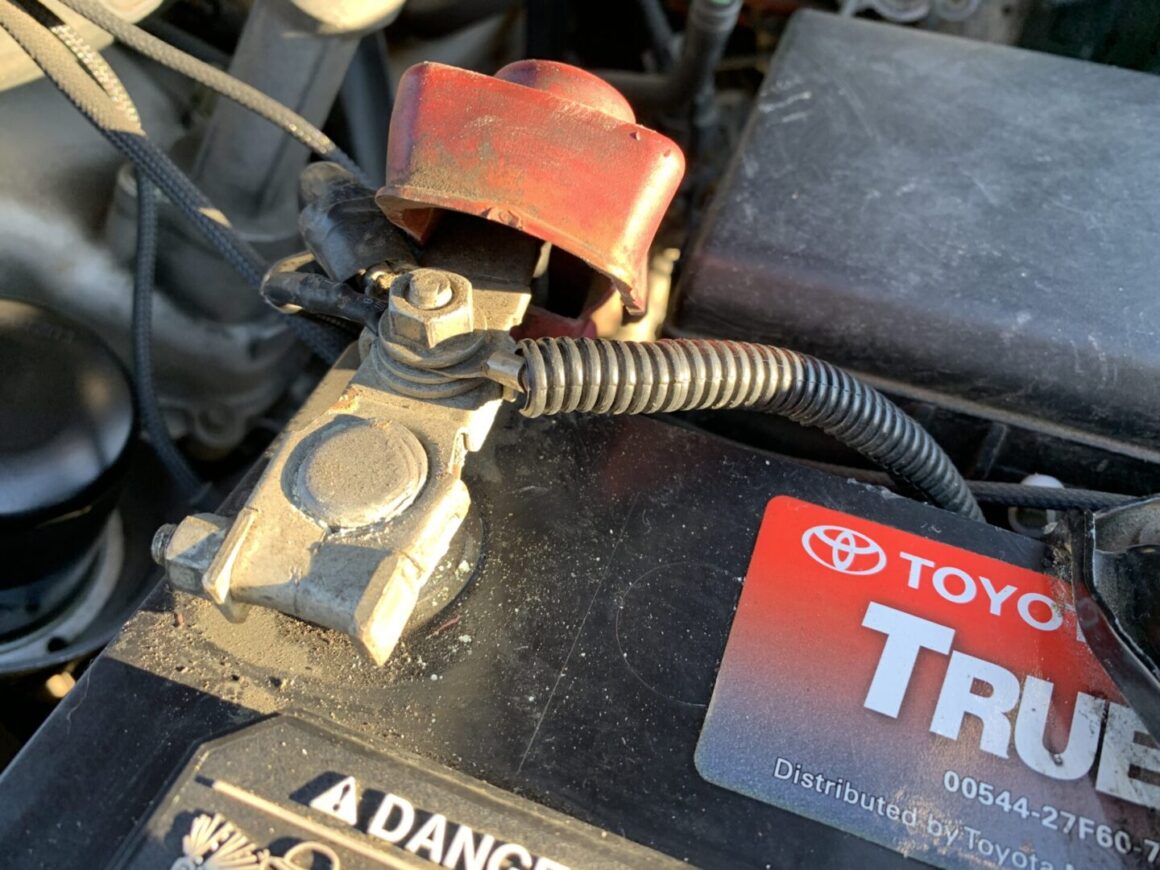
A 10-gauge blue wire (with the in-line fuse) going from the subwoofer’s +12V terminal will need to be run to the positive terminal of the battery. This will take a bit of time to do as you will need to run this wire underneath the carpeting, up into the center dashboard (will need to remove some trim to gain access), over to the firewall entrance on the driver’s side, through the firewall, and then run alongside the engine bay to the positive terminal of the battery.
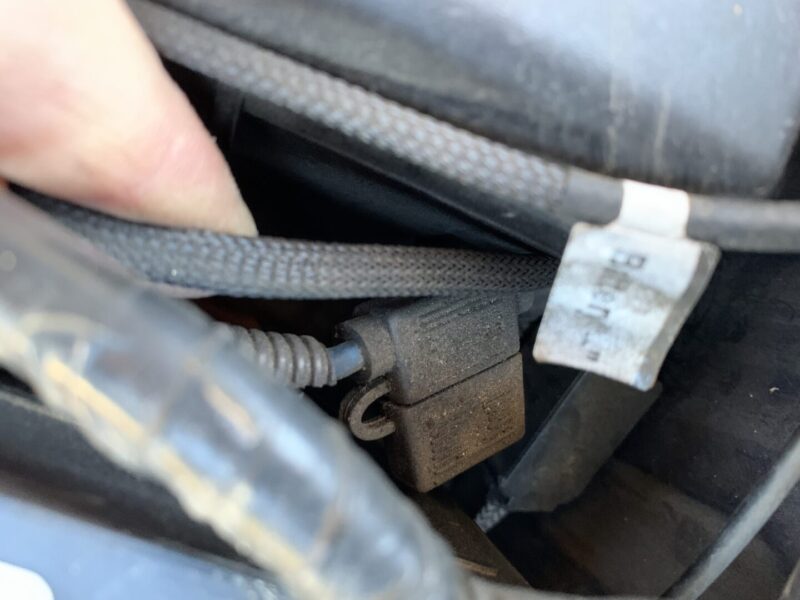
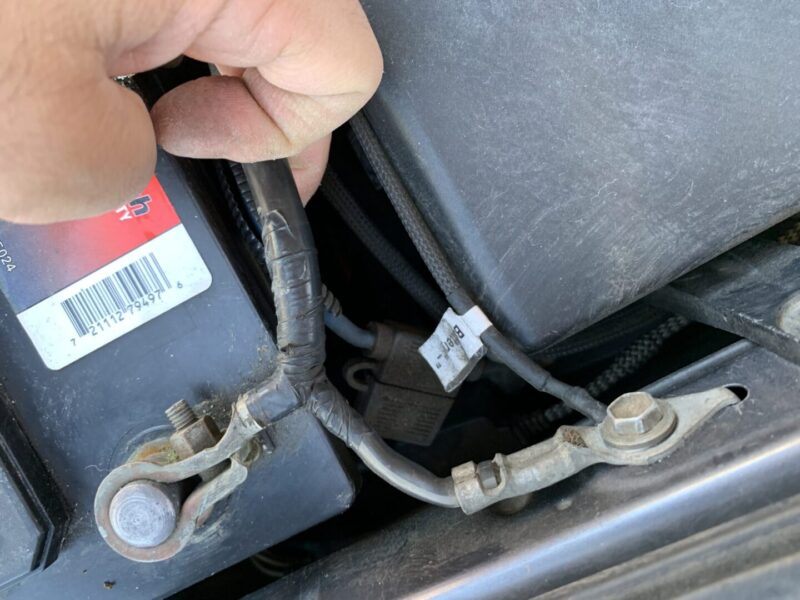
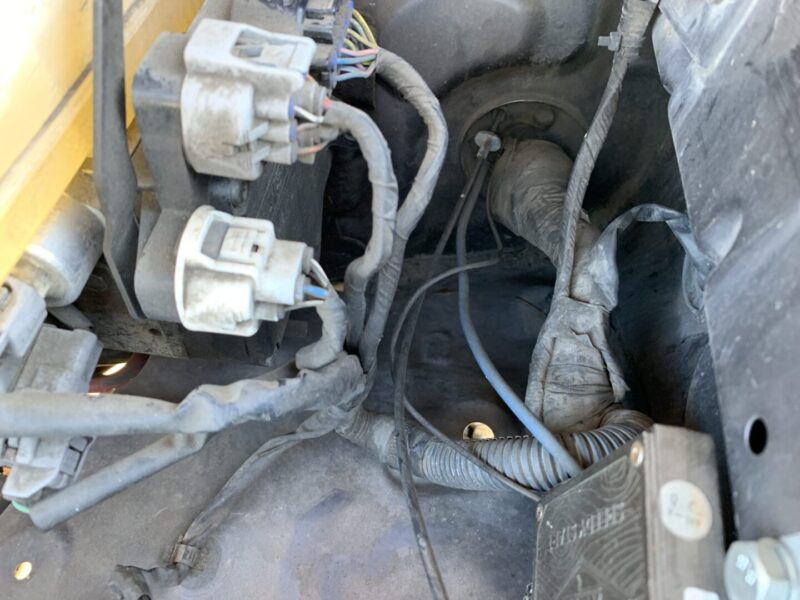
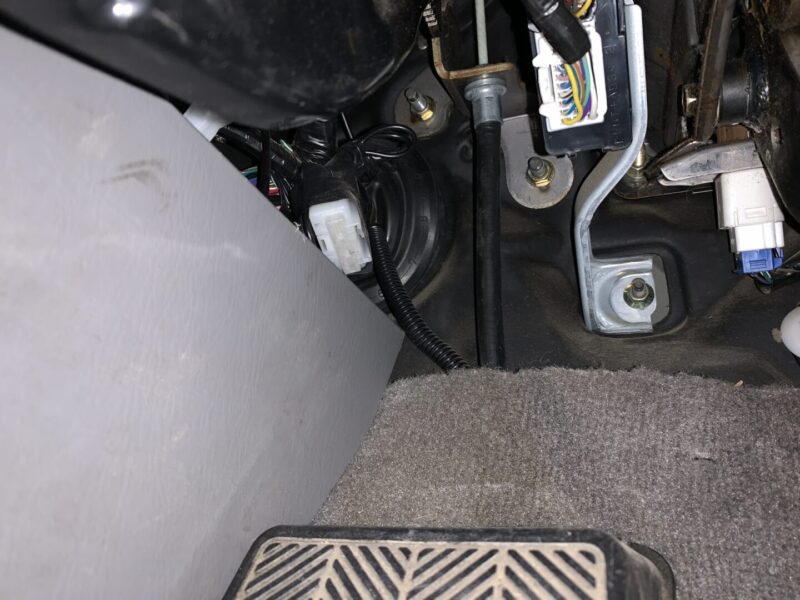
Take your time with routing the wire to make sure it that it is tucked away nicely so that it doesn’t get snagged in the future. Wire ties are excellent at tying the wire away to secure it.
Once you get to the firewall, you will need to use something to puncture the rubber firewall entrance. You can unwind a wire hanger and use the tip to puncture the firewall entrance. Just be careful as this sharp tip may possibly puncture or nick existing electrical wiring that are run through this firewall. Once you make an opening in the firewall entrance, you can continue fishing the wire through this hole into the engine bay. Then continue routing it and tying off with wire ties until it to gets to the positive battery terminal. The split looming that is included in the wiring kit helps to add protection to the wiring inside of the engine bay.
The existing positive battery terminal can be disconnected, and then the 10-gauge wire can be attached.
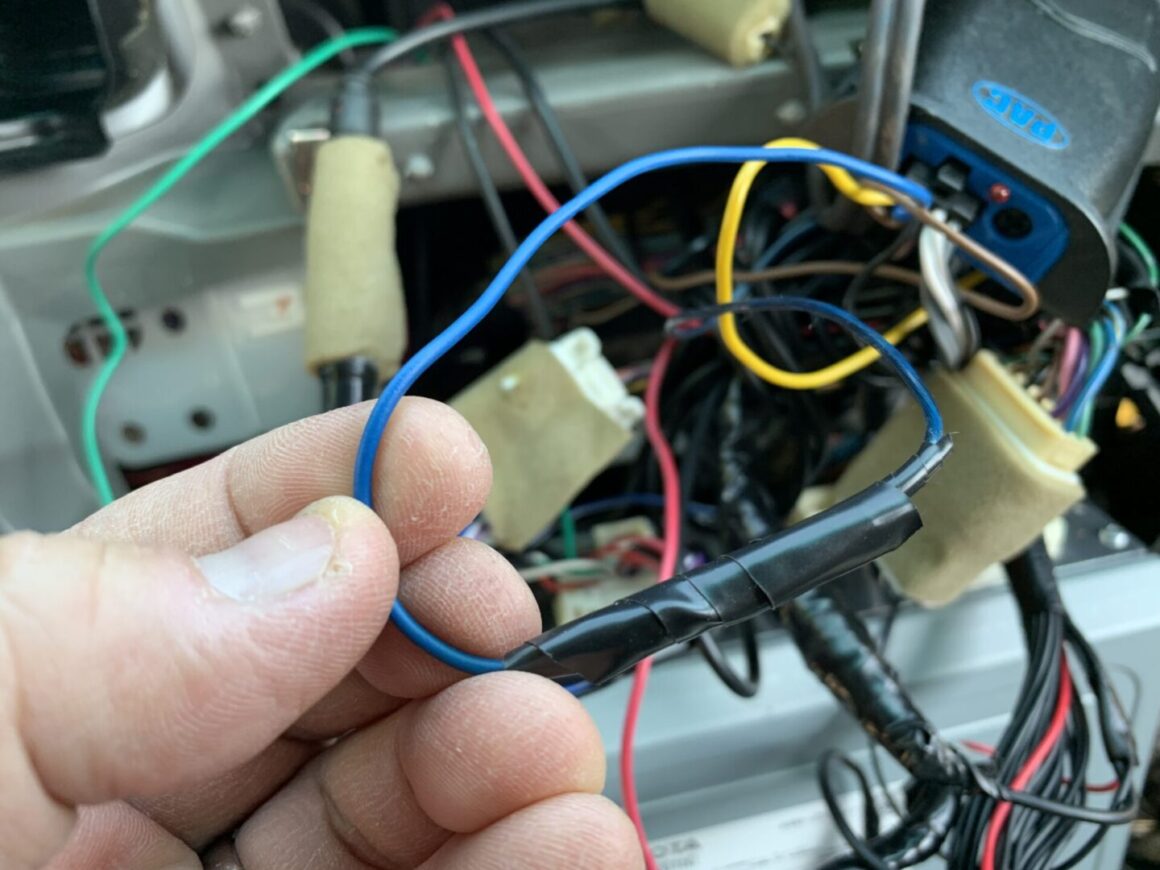
Finally, the REM terminal will have a remote turn-on wire running to the head unit. This wire will run under the carpet and up to the center dashboard area where the head unit resides. This wire will tap into the blue wire from the line out converter.
The speaker cables for left and right level inputs can also be connected to the subwoofer and will follow the same path as the REM wire that goes to the head unit.
With the three terminals made up and connected to the subwoofer, and the speaker wires connected, it will look like this.
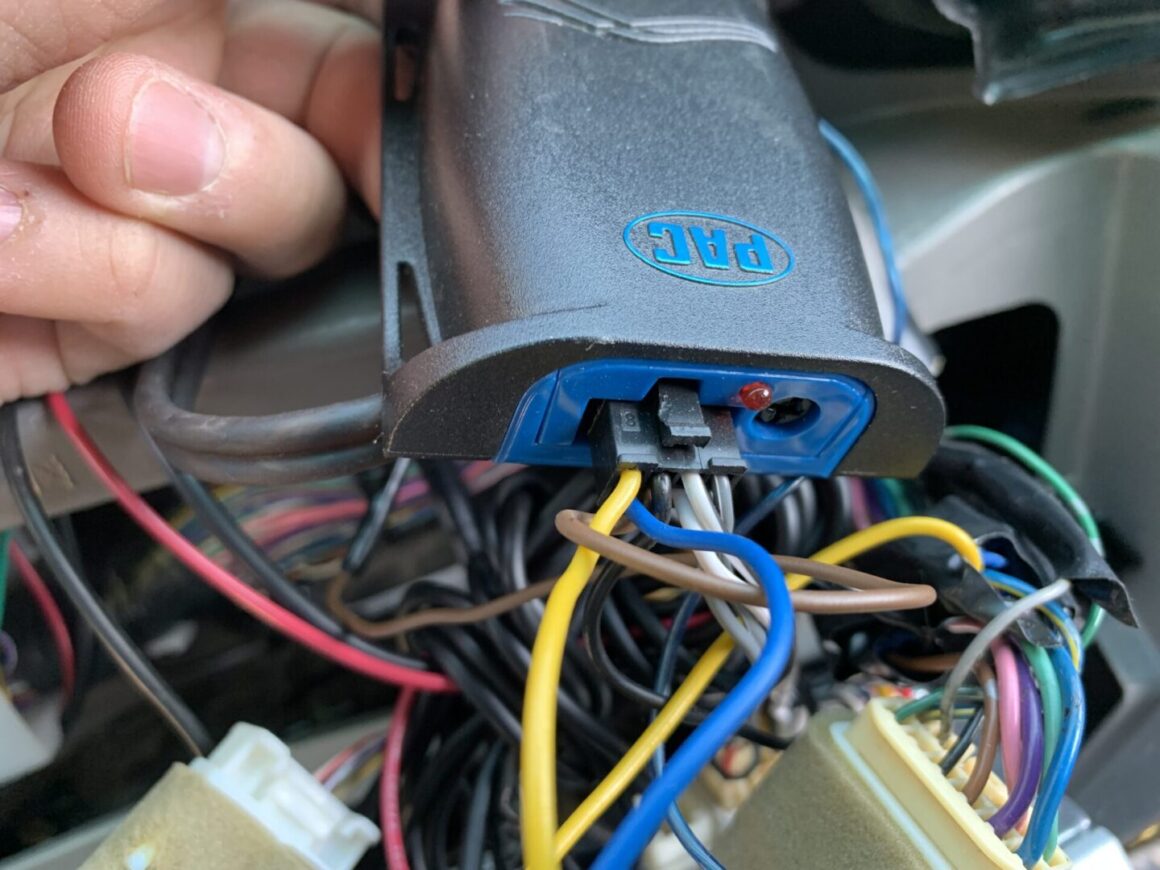
Now is where things get a little more complicated for the install as the line out converter needs to be installed with wire connections made in a particular way. It is helpful to reference the speaker wire color diagram shown earlier, as well as understanding what the different wires on the line out converter does as well as on the radio side of things.
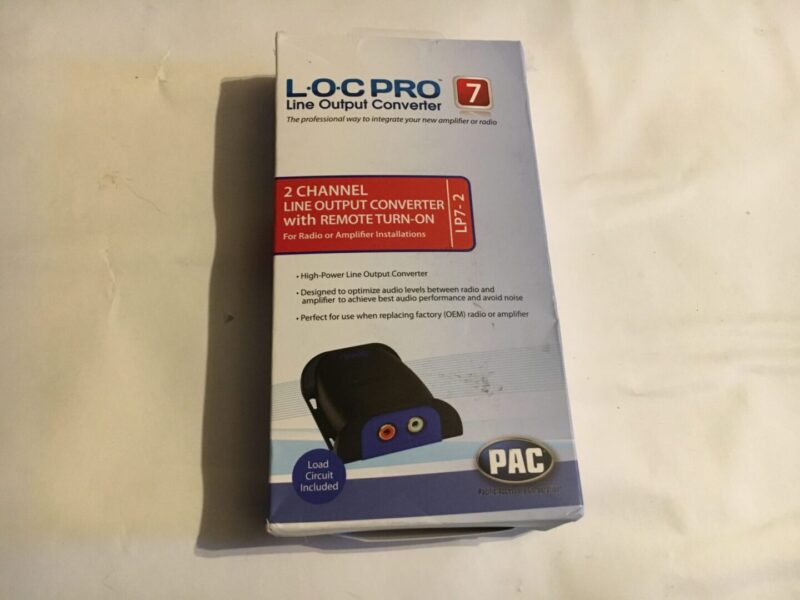
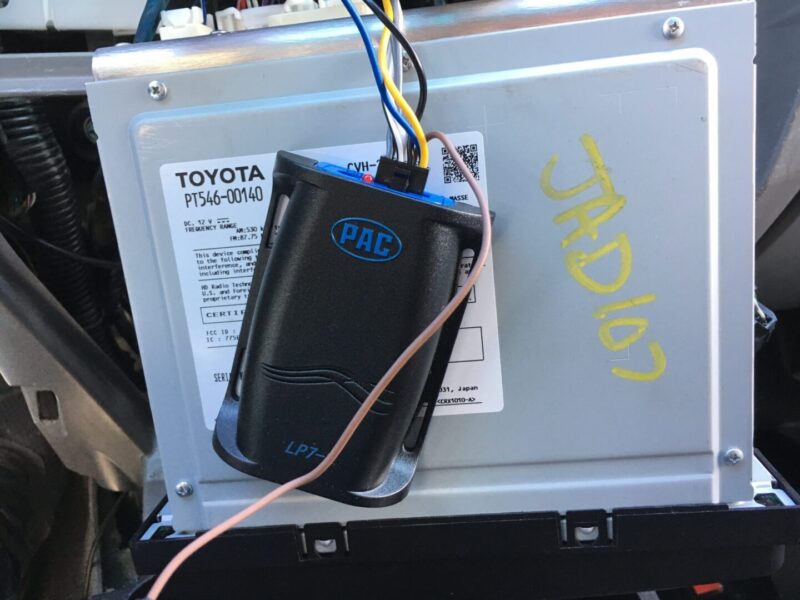
This PAC LP7-2 line out converter is kind of confusing, but hopefully I can clear some things up with the information below. If you prefer a video tutorial on the LOC, check out this excellent video from Five Star Car Stereo.
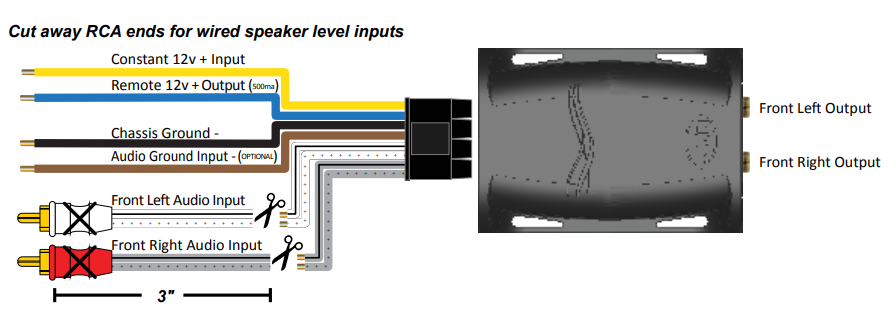
Take the black plug with the wires connected to it and plug it into the LOC. Using snips, cut the set of wires that are connected to the RCA ends about 3 in. away from the connectors.
You are left with the following 4 wires: grey, grey with black stripe, white, and white with black stripe wires. These wires will need to be separated, stripped back, and prepared for tapping off of the existing speaker wires in order to receive speaker signal from the head unit.
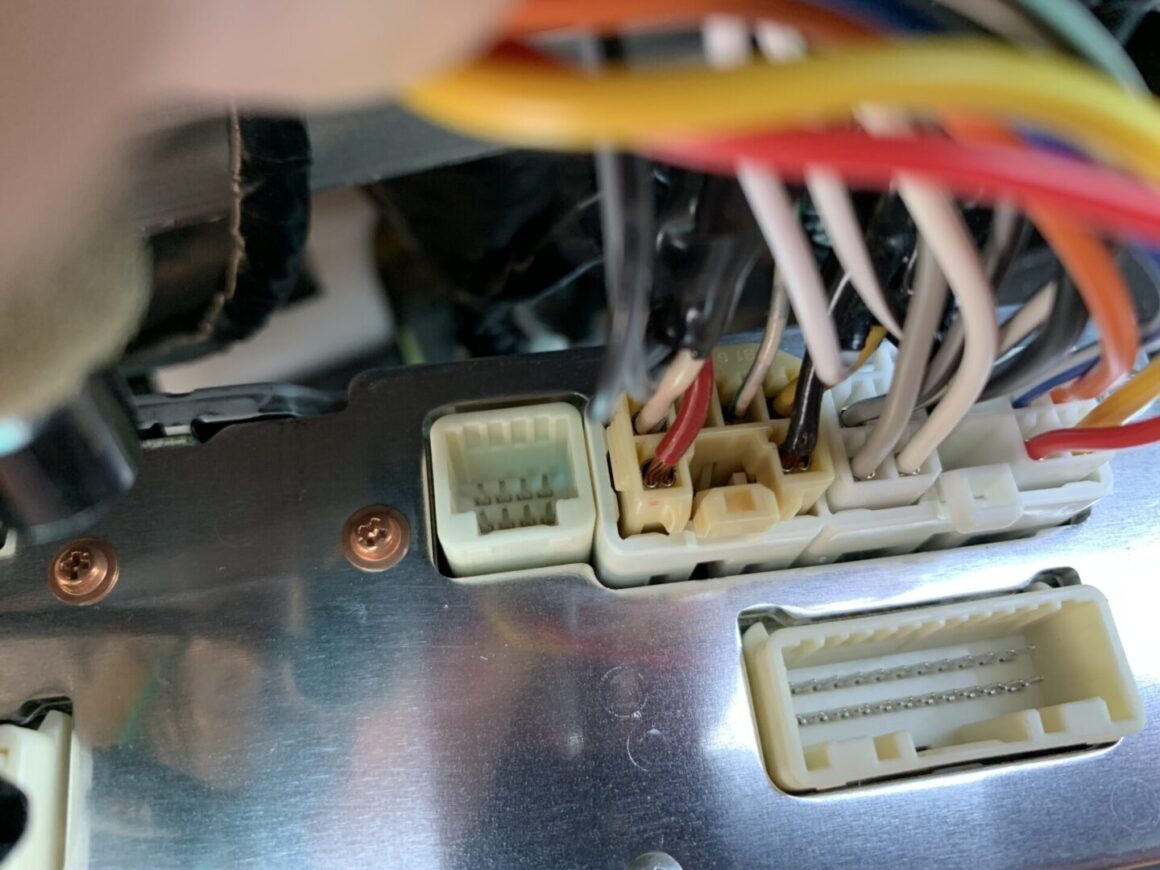
Since bass is recorded in a mono track, so you should be able to tie the grey & white wires together and then tap off of one of your rear speaker wires (positive), and tie the grey with black stripe and white with black stripe together and then tap off of your other rear speaker wire (negative). I chose to tie each set of wires to left and right rear speakers, respectively. Here is how I tapped them off of the existing rear speaker wires:
Grey – tapped off of red wire (rear right speaker +pos)
Grey with black stripe – tapped off of white wire (rear right speaker -neg)
White – tapped off of black wire (rear left speaker +pos)
White with black stripe – tapped off of yellow wire (rear right speaker -neg)
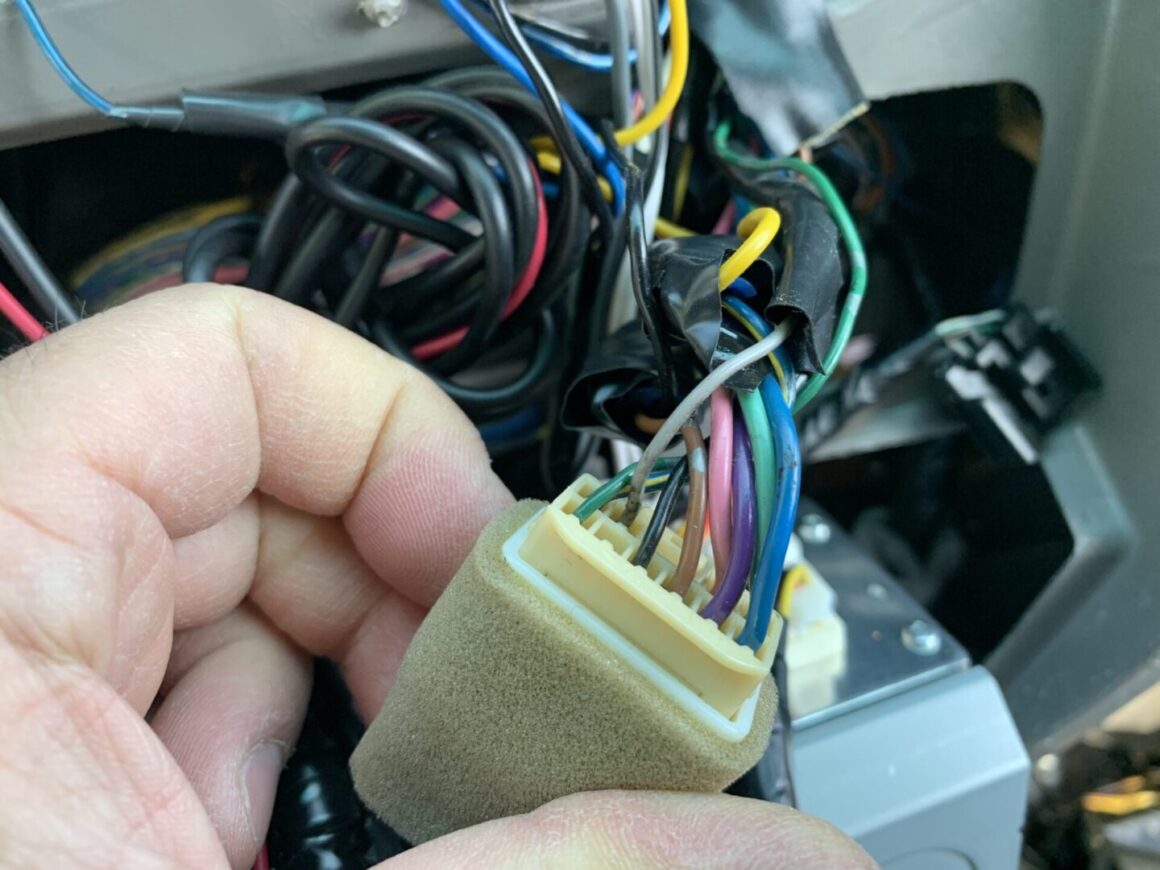
The rear speaker wires that you will be using the T-tap connectors to tap off of are located behind the head unit with the 6-pin connector as shown below.
With all the taps made off of the existing speaker wires, you will now splice the rest of the wires on the LOC harness:
Brown wire: tape up the brown wire (audio ground input) as it will not be used
Blue wire: ensure that the remote turn-on wire that is coming from the subwoofer (REM) is spliced into this blue wire (Remote 12V +Output)
Yellow wire: the yellow wire here taps off of the blue with yellow stripe wire (12V+ ignition) coming from the 12-pin wiring harness
Black wire: this black wire taps off of the brown wire (radio ground wire) coming from the 12-pin wiring harness
Finally, plug the subwoofer cables into the back of the line out converter.
Once all of those connections have been made, everything should be ready to hook up. If you haven’t already, turn the Philips head gain knob on the LOC all the way down. Also make sure the fuse has been plugged into the subwoofer if not already, and also make sure there is a fuse already installed in the fuse holder in-line with the wiring that runs to the battery.
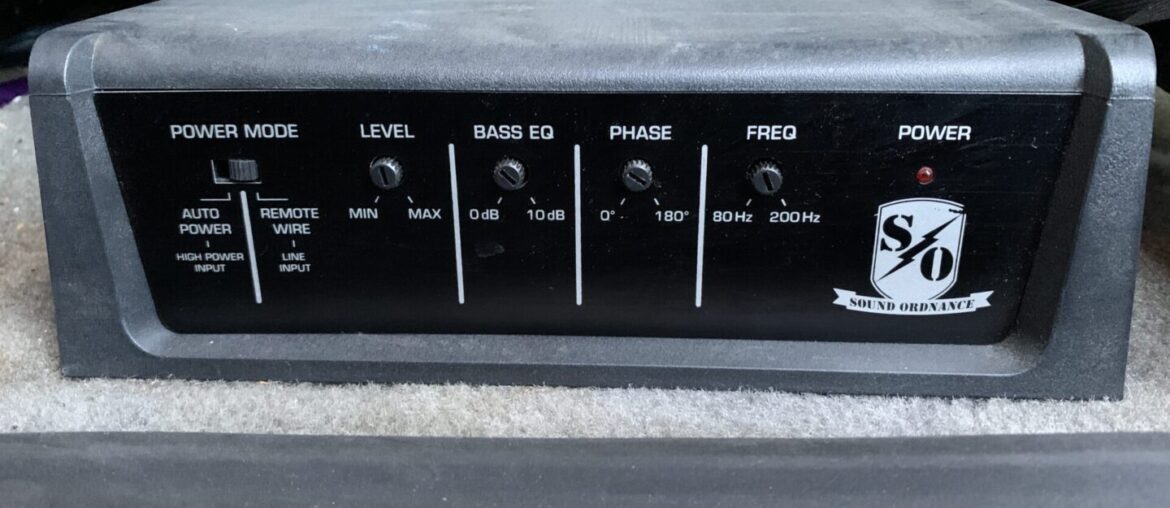
All of the knobs on the subwoofer should be turned down. Switch the power mode to remote wire, as the subwoofer is receiving its power signal from the 12V+ ignition. Ensure that all connections have been made properly.
At this point, you should be ready to test out the system. Re-connect the negative terminal of the battery and make certain again that everything is hooked up properly and that there are no issues. Turn the ignition to on, and this should power on the subwoofer.
Test out the system and follow the Sound Ordnance instructions for adjusting the B-8PTD subwoofer for sound. Once you have confirmed everything is working properly and the adjustments are all made accordingly, then you can put everything back together and enjoy!






4 Comments
Did you remove the vent under the seat to make it fit?
Yes, I believe I did. I actually removed the vents when I installed sound deadening in the past, so they were already removed.
Great post, I’m doing the same install under the passenger seat in my 05 4Runner but having fitment issues. I removed the climate vent but there is a metal bar that protrudes and would cause the seat to rub against the sub anytime you adjust it forward/back. I noticed this bar is not under the drivers seat. How did deal with this? Thanks.
Thanks. I honestly don’t know about the metal bar hitting it when the seat is sliding. Personally, I could slide the passenger seat back and forth without any sort of interference. Unfortunately, I don’t own my 4Runner anymore since it was totaled so I can’t go look at it now, but I looked back on my photos of it and can only tell you that I had the subwoofer sitting directly on the carpet with nothing underneath it.