When you make purchases through links on this site, The Track Ahead may earn an affiliate commission. Also, these posts are based off my own experiences. I am not responsible for any action you take as a result of reading this. Learn More
HID Bulbs on the 2nd Gen (’06-’13) Lexus IS350
It’s a matter of time before the HID bulb on your 2nd Gen Lexus IS350 goes out. Sometimes the failure can be intermittent with it sometimes working and other times not. It can also fail by simply burning out completely.
It’s not difficult to replace the HID bulbs on the 2nd Gen Lexus IS350. You just need to make sure you remove a few things in the engine bay that get in the way when replacing the HID bulbs. Removing some of these parts not only provides you with access to the HID bulbs, but it also gives you room to work.
Tools & Materials Needed
HID Bulbs
When choosing a replacement for your HID bulbs, there are a couple things you might want to consider: temperature and brand. And, depending on whether you are replacing just one bulb or both can affect your decision on which type of bulb to go with.
First, you have the temperature in Kelvin. The 2nd Gen Lexus IS350 (years ’06-’13) original HID bulbs are 4300K (Kelvin), which would be considered an OEM White color and is considered the temperature that offers the most visible light. You might think about going with a bulb with a more yellow color (lower temperature) or one that is more blue (higher temperature), but I don’t recommend it. I’ve always stuck with 4300K because I want the safest option; plus, there are more reputable brands that only offer the OEM temperature of 4300K.
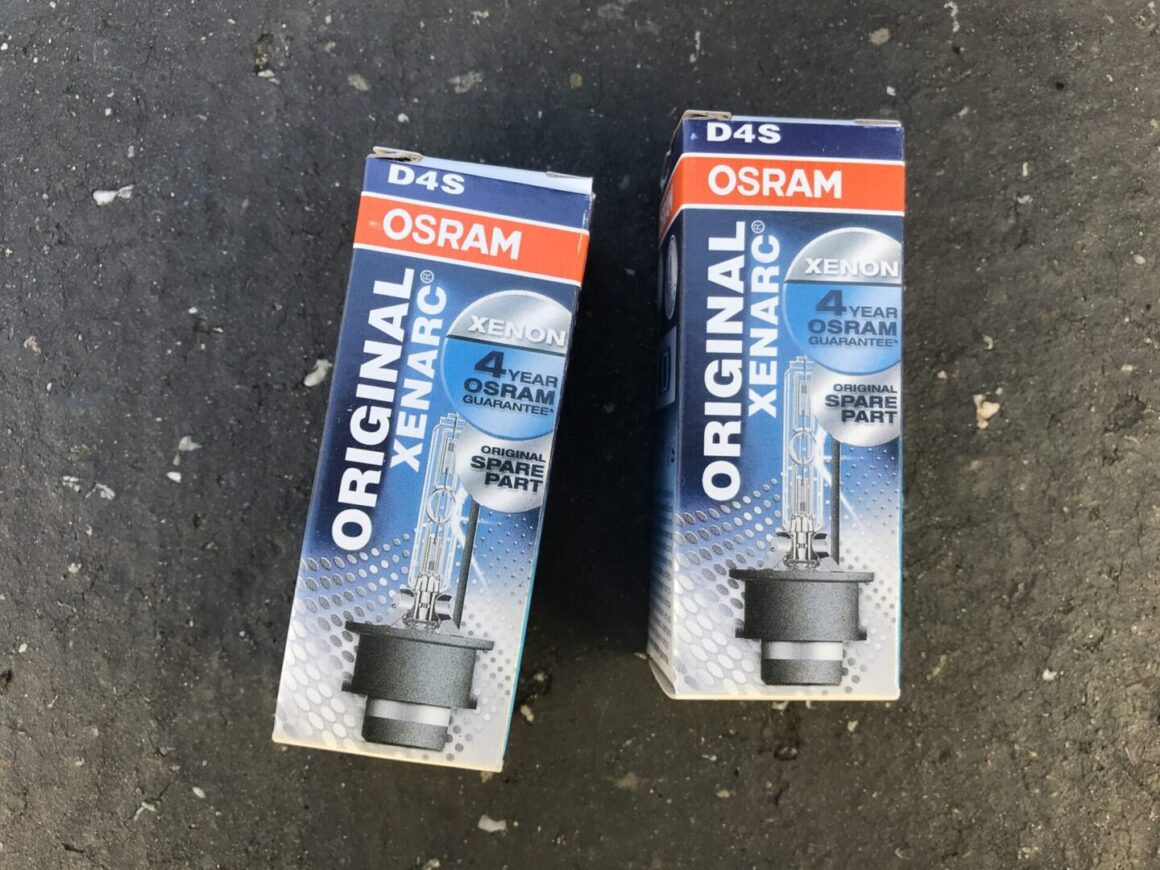
The second thing to consider is the brand. I typically go with OEM products, but HID bulb replacements are expensive through the dealership. Going aftermarket is not a bad idea if you want to save some money. If you go the aftermarket route, I’d stick with more reputable brands like Philips, Hella, or Osram. I also see an off-brand bulb made by DMEX that seems to have great reviews on Amazon if you want to try an even more economical option.
Philips D4S 4300K
Osram D4S 4300K
Hella D4S 4300K
DMEX D4S (Pack of 2): 4300K / 6000K / 8000K
Mechanics Tool Set
A typical mechanics tool set will include a ratchet, socket, and socket extensions that will help during removal of various components to get access to the HID bulbs. If you need to do some more research before buying one, please check out this guide.
Search Results on Amazon.com
How to Replace Driver Side HID Bulb on a 2nd Gen Lexus IS350
As a safety precaution I would recommend disconnecting the negative terminal of your battery before doing this work. If your car is not on and you don’t have your headlights on, then you’re probably not going to have an issue. But why risk it at all? It’s easy to disconnect the negative terminal of the battery before doing this potentially hazardous work.
Starting with the driver’s side HID bulb, you’ll need to remove the plastic engine covers. These plastic covers can be removed using a narrow flat head screwdriver. Once the covers have been moved out of the way, you will see the windshield washer fluid cap. This cap and attached filler neck below can be removed by loosening and removing the 10mm bolt that holds it down, and then simply popping off the whole filler neck.
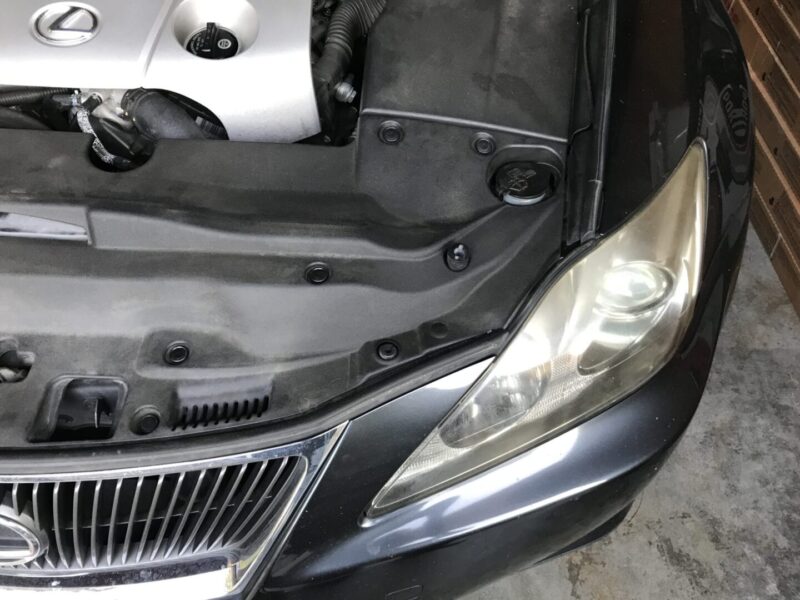
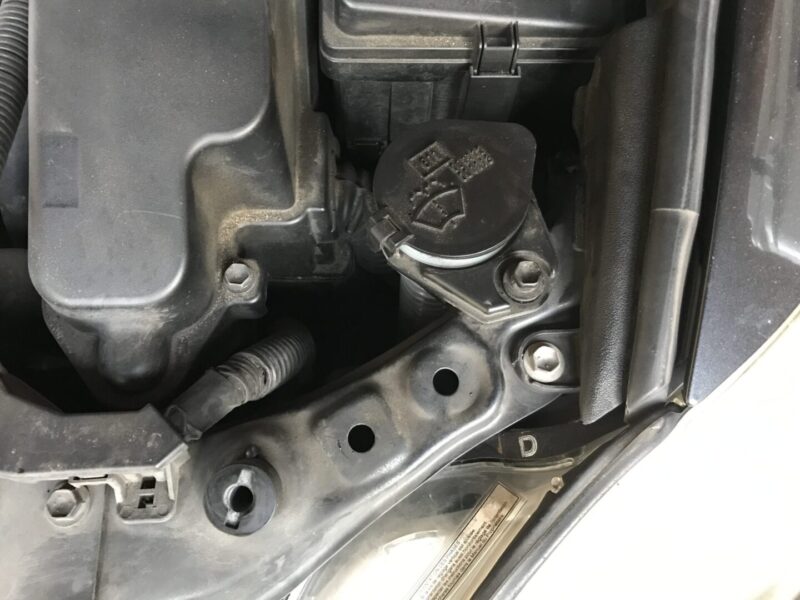
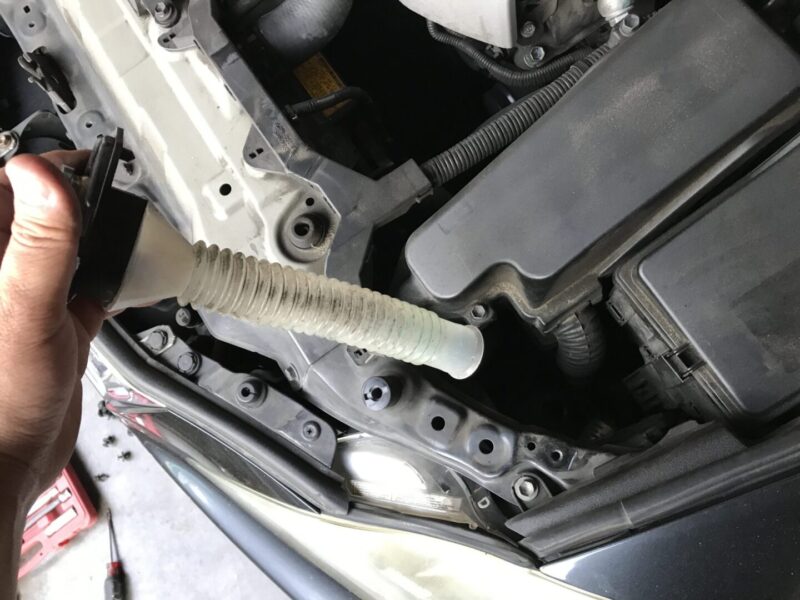
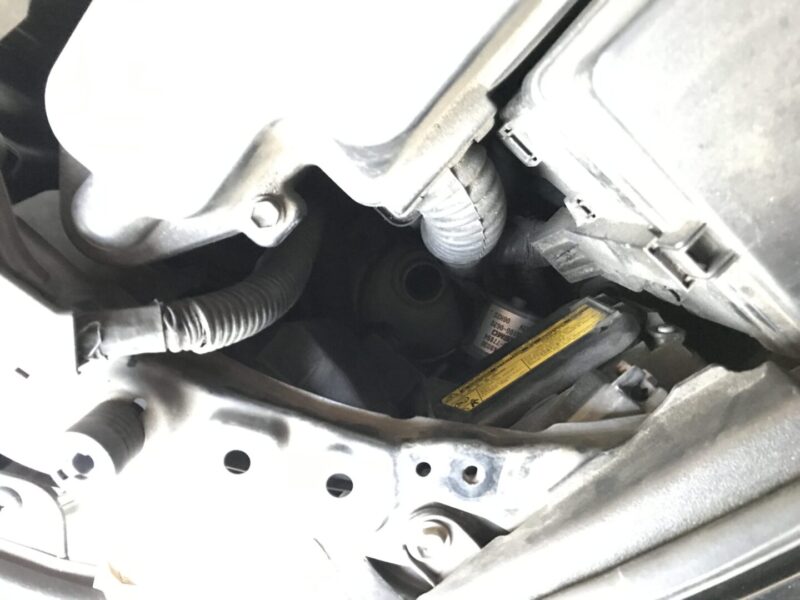
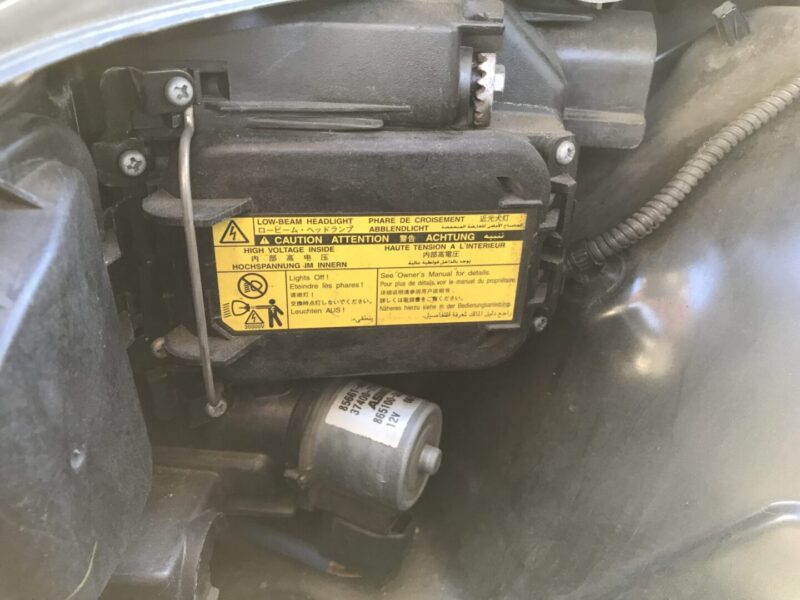
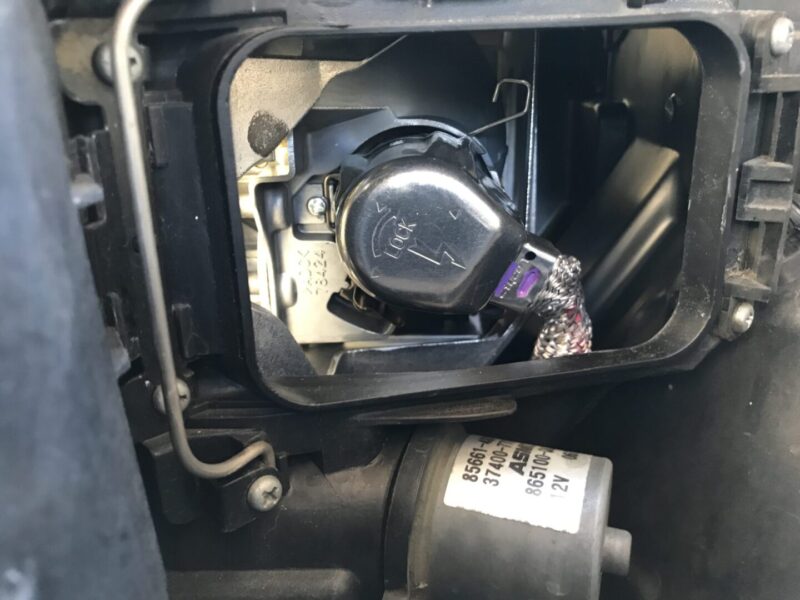
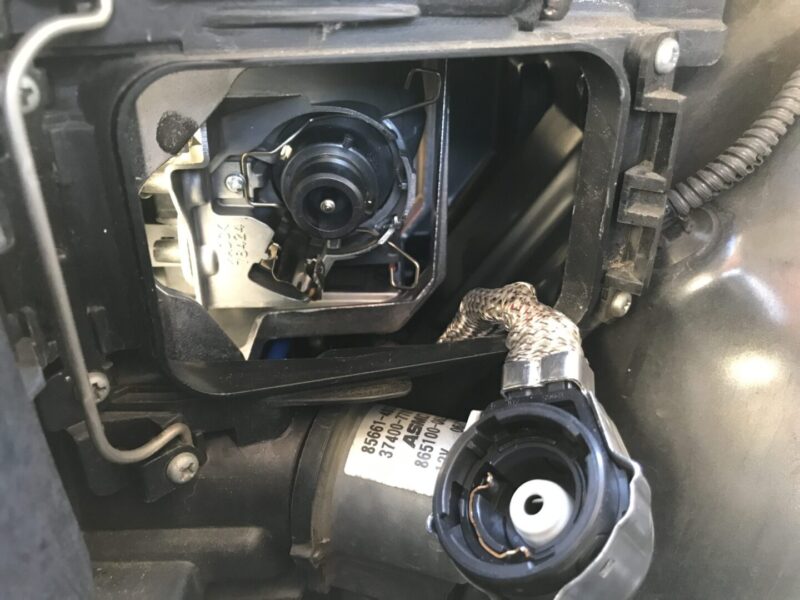
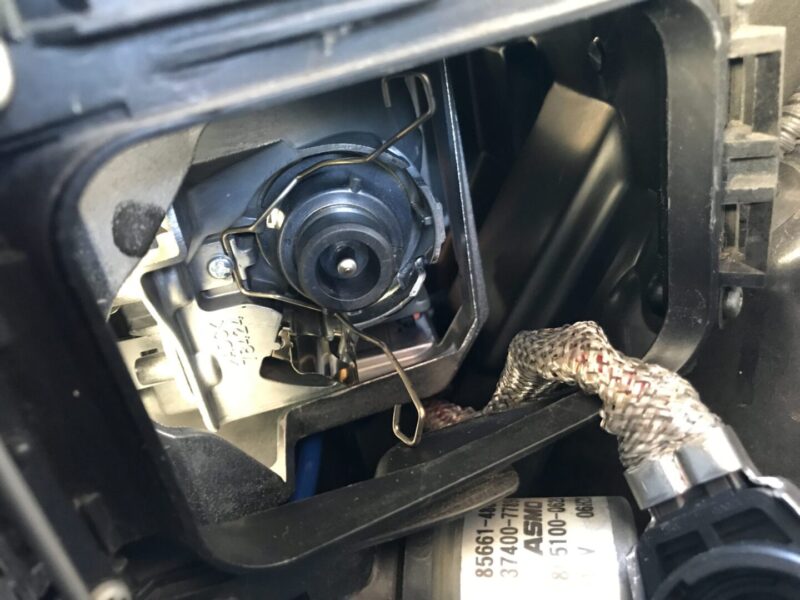
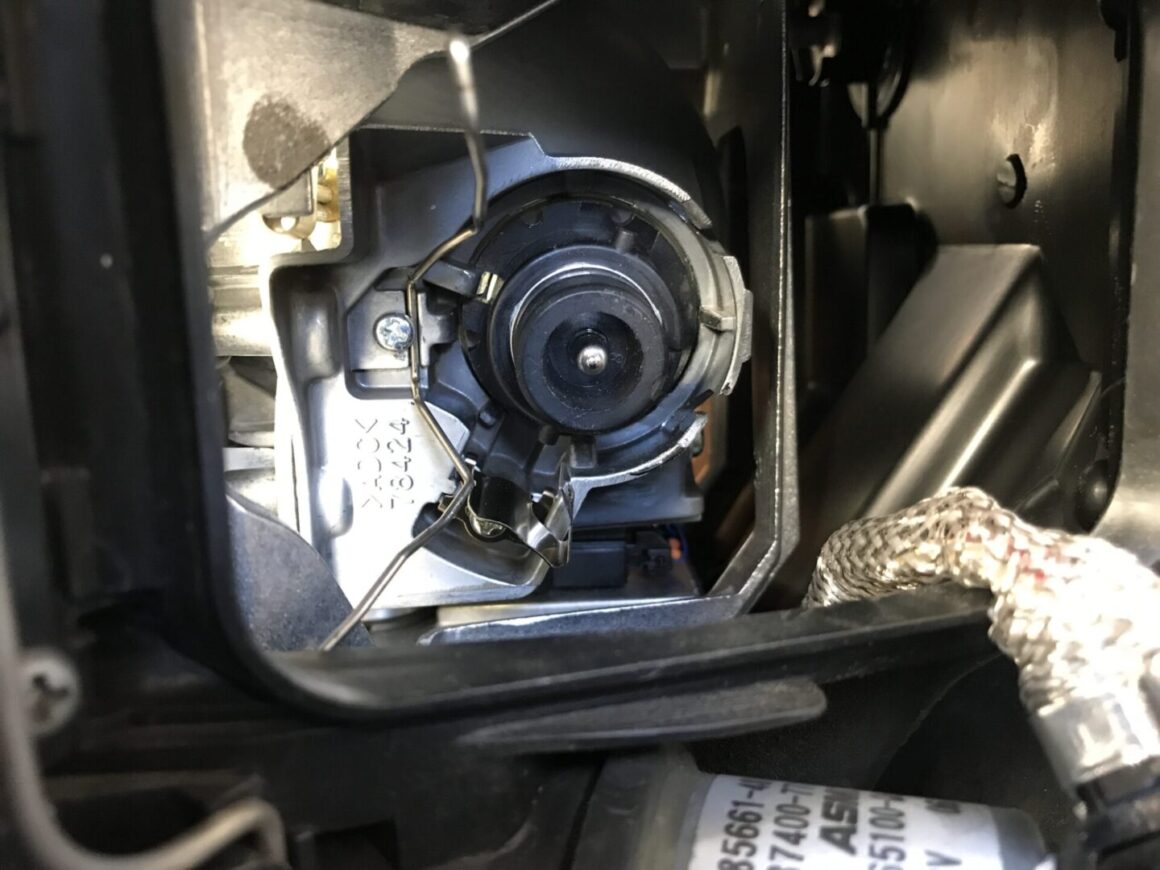
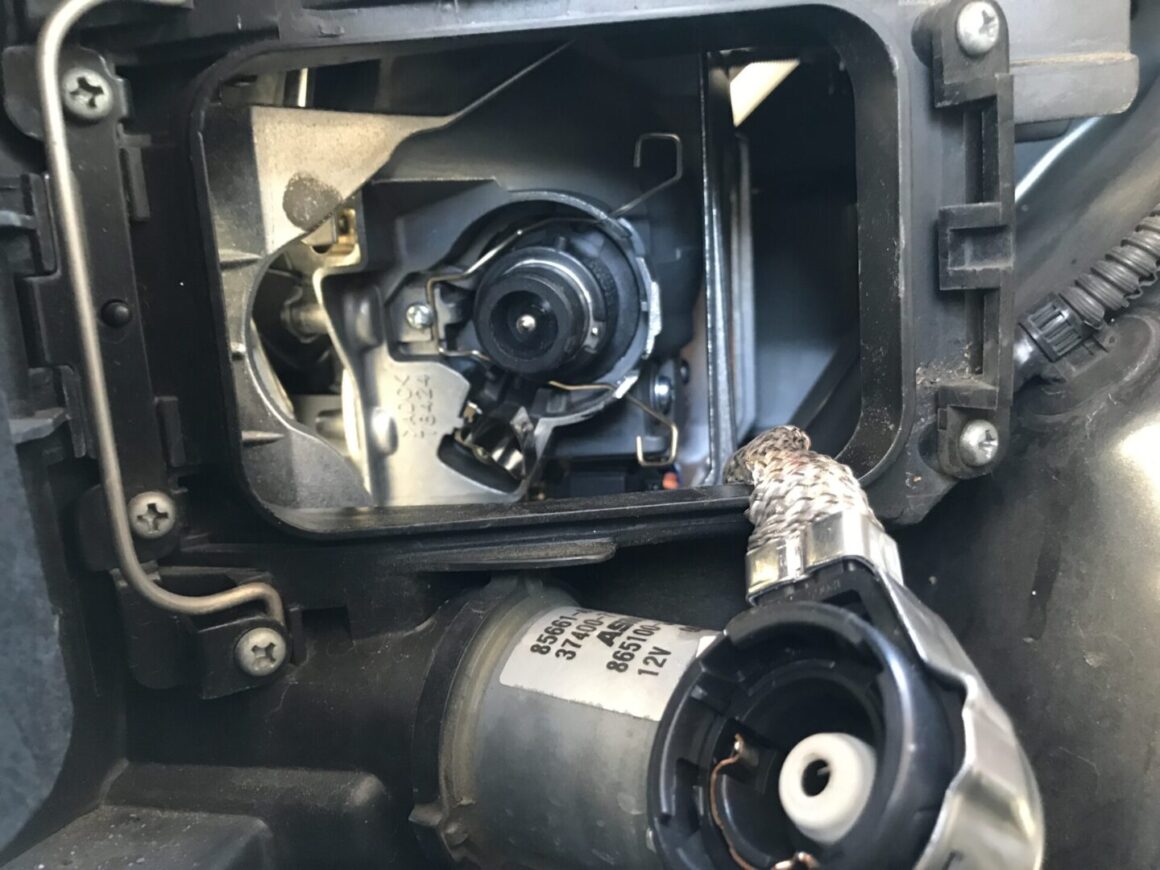
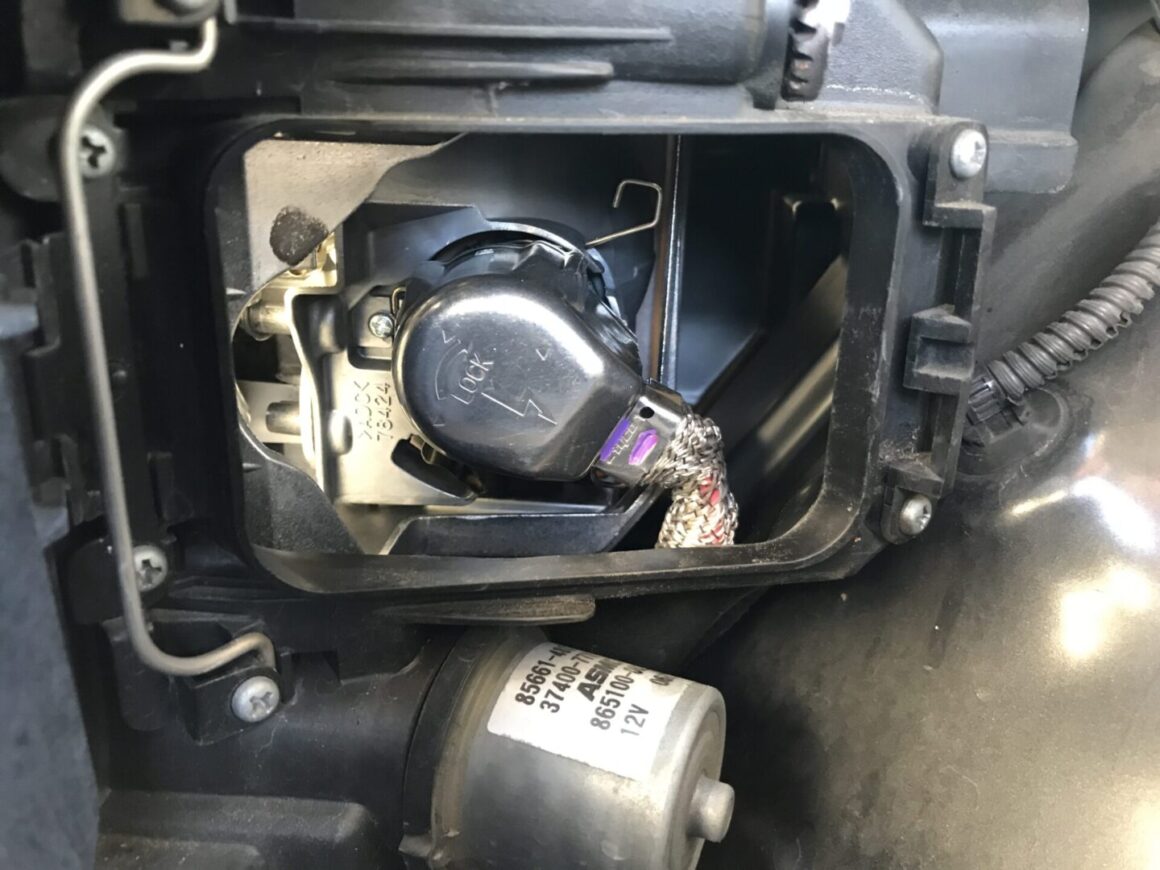
After removing the whole washer fluid filler neck, you’ll have access to the HID bulb dust cover. Unclip the cover’s retaining clip by pulling back and swinging away from the cover. Then remove the dust cover and you’ll see the electrical plug for the headlight bulb. Turn the metallic plug counter-clockwise to unlock it and then remove out of the way. You’ll now be left with the bulb retaining wire clip. This wire clip has two handles that you have to press together in order to pull it out of the way.
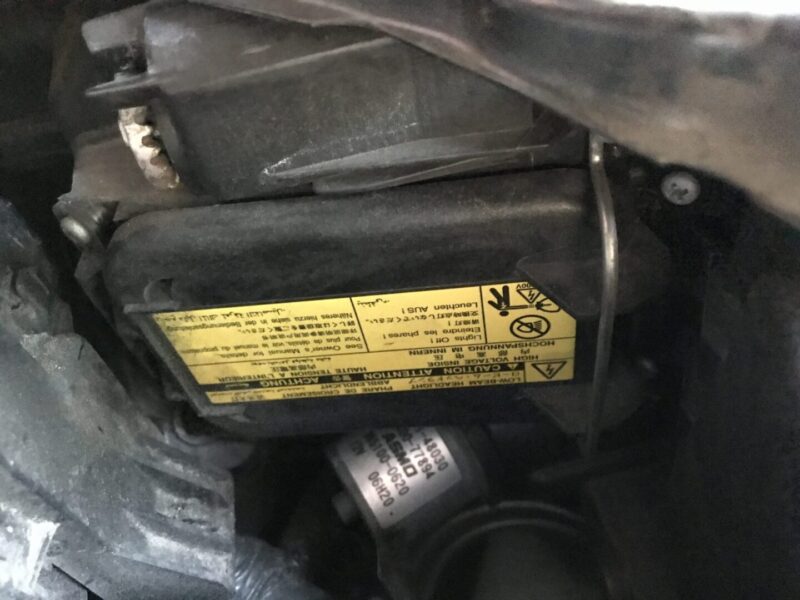
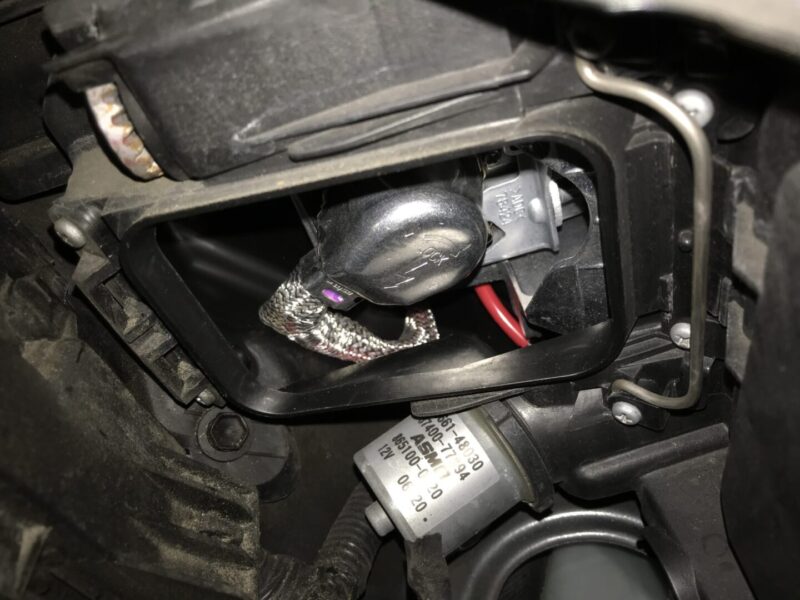
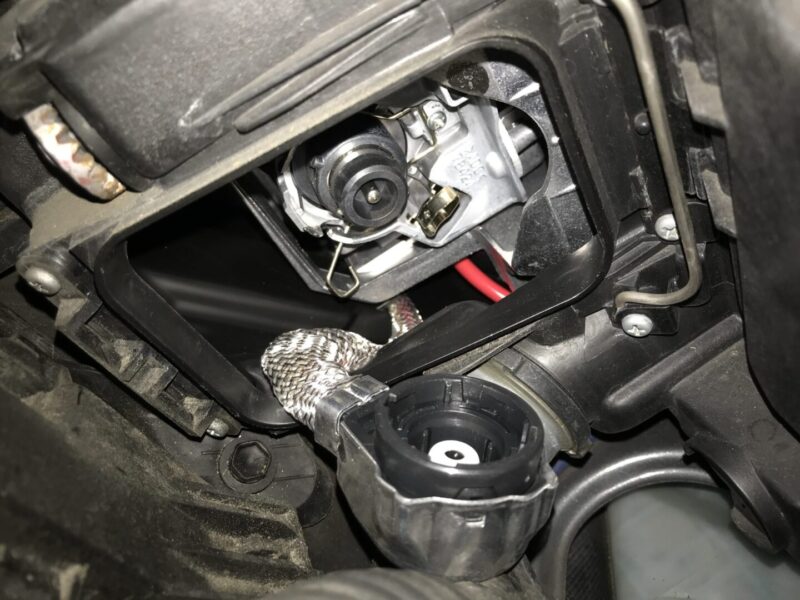
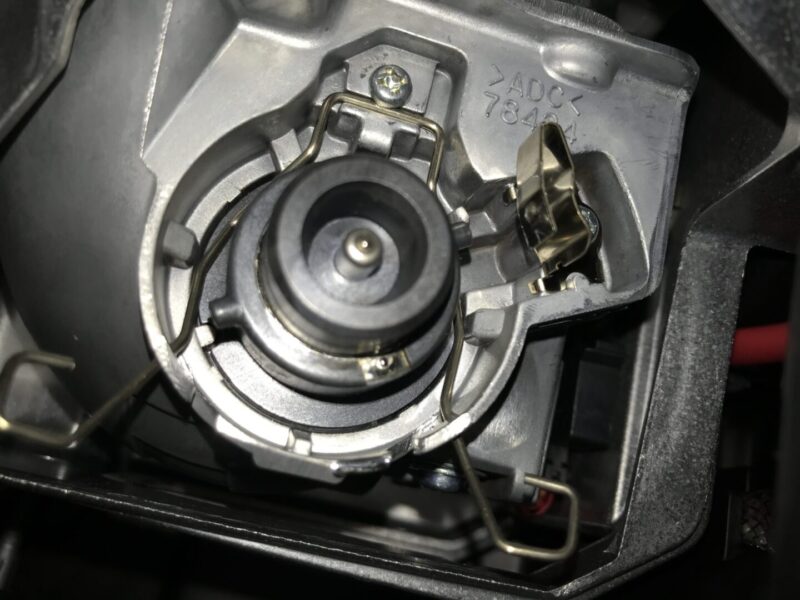
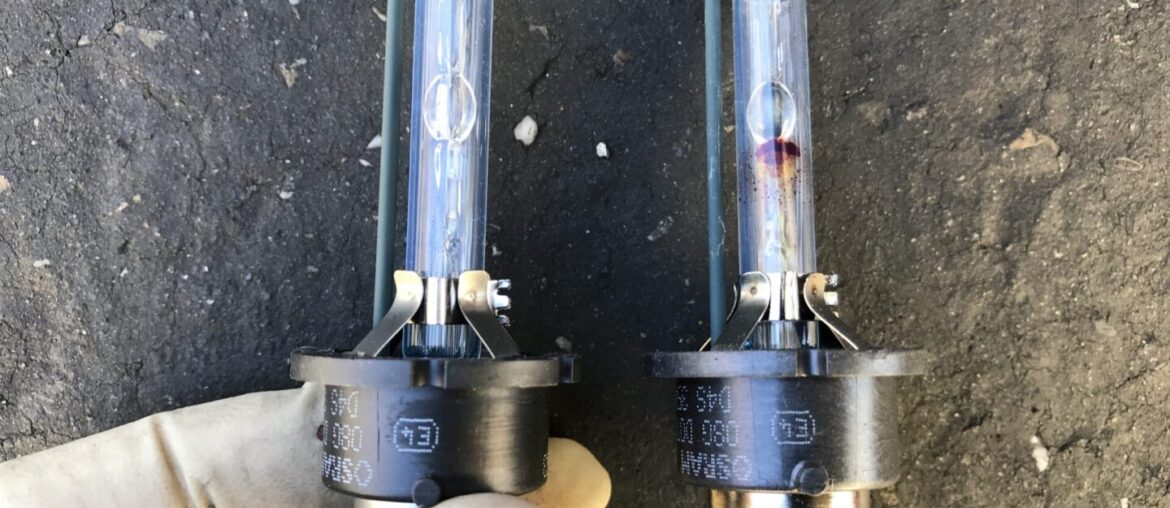
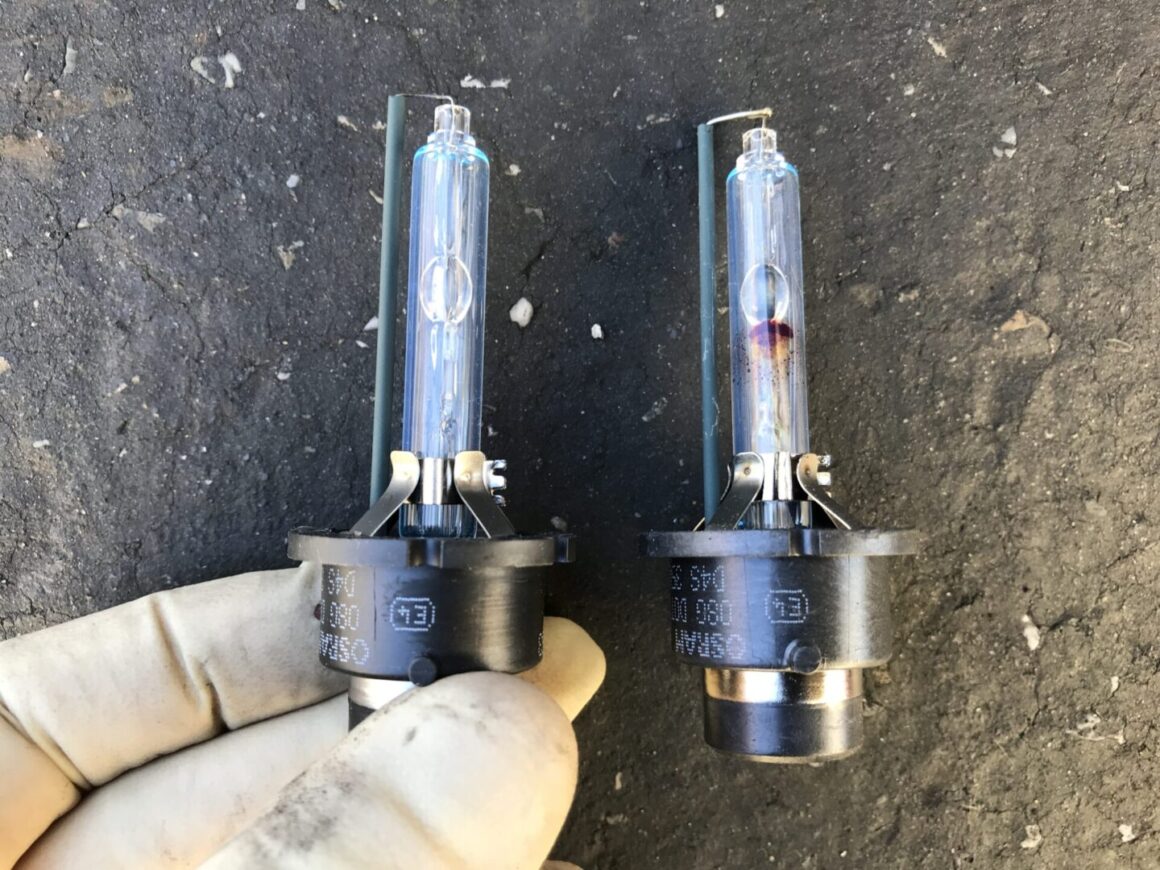
Now, you should be able to remove the old HID bulb out of its place. Below is a photo showing the old OEM bulb (top) and the new bulb (bottom).
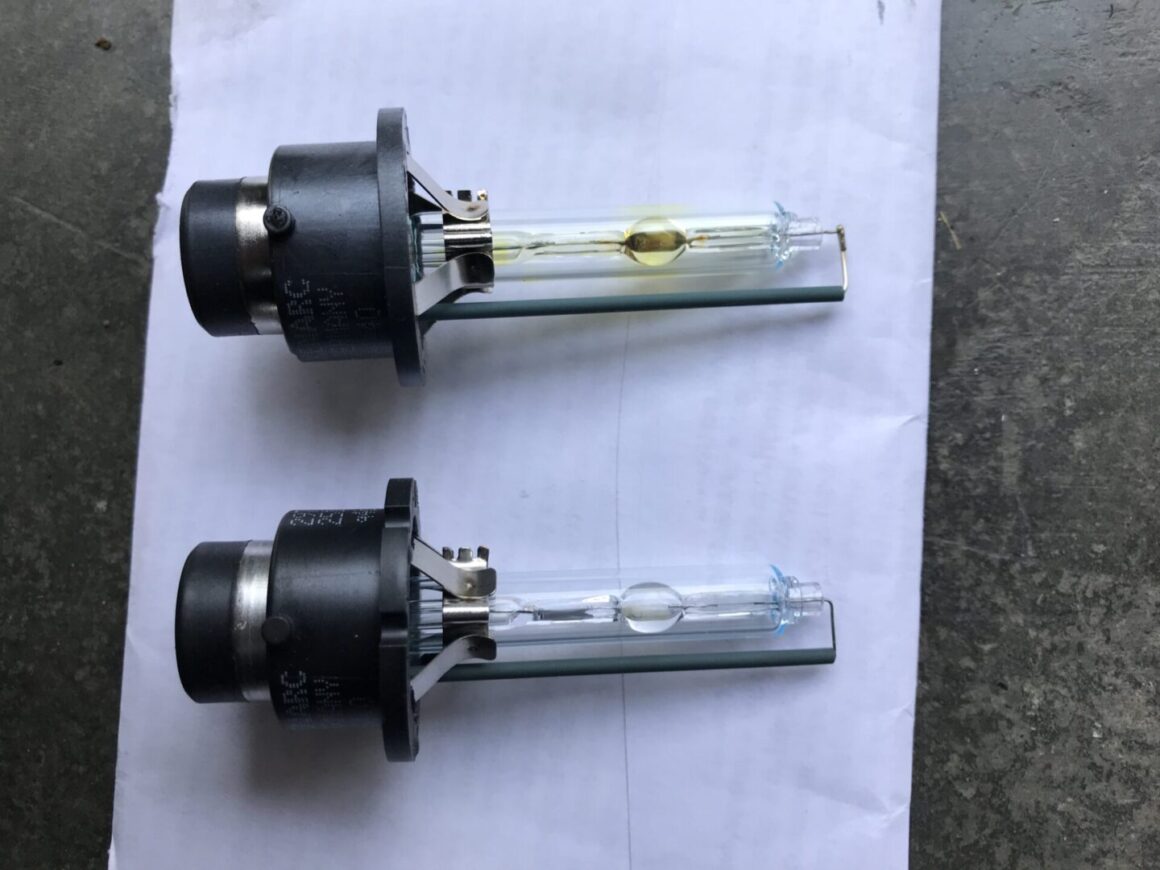
Insert the new HID bulb into the socket lining up the plastic tabs with the socket, and then swing the bulb retaining clip down and lock it into place. Re-install the bulb connector and turn counter-clockwise to secure it. Then replace the dust cover and swing the dust cover retaining clip to lock that in place.
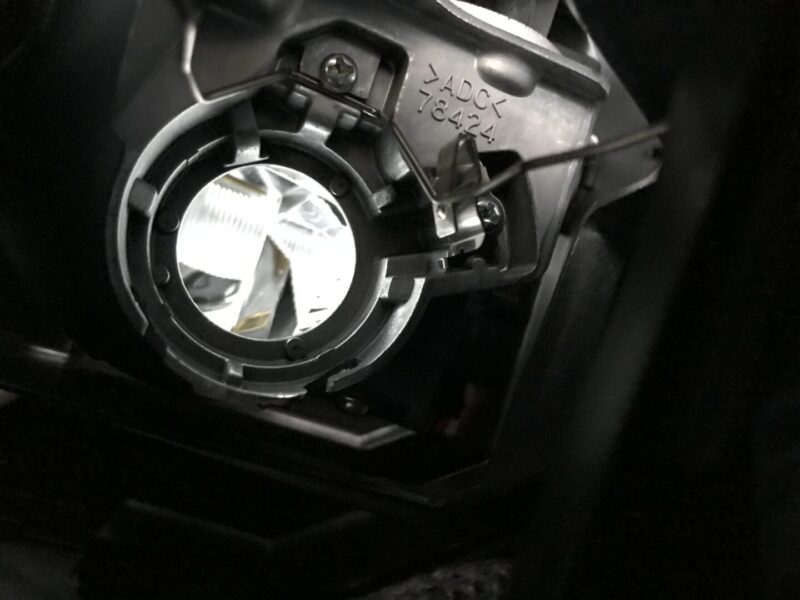
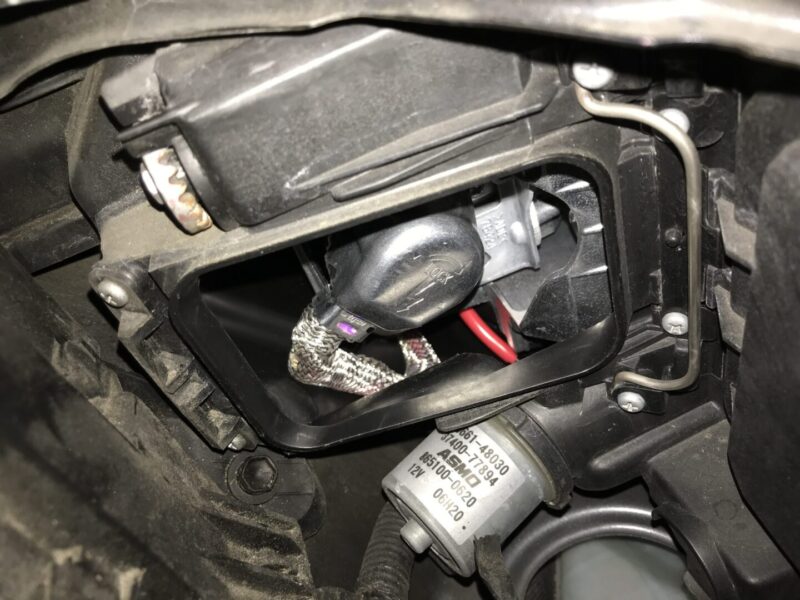
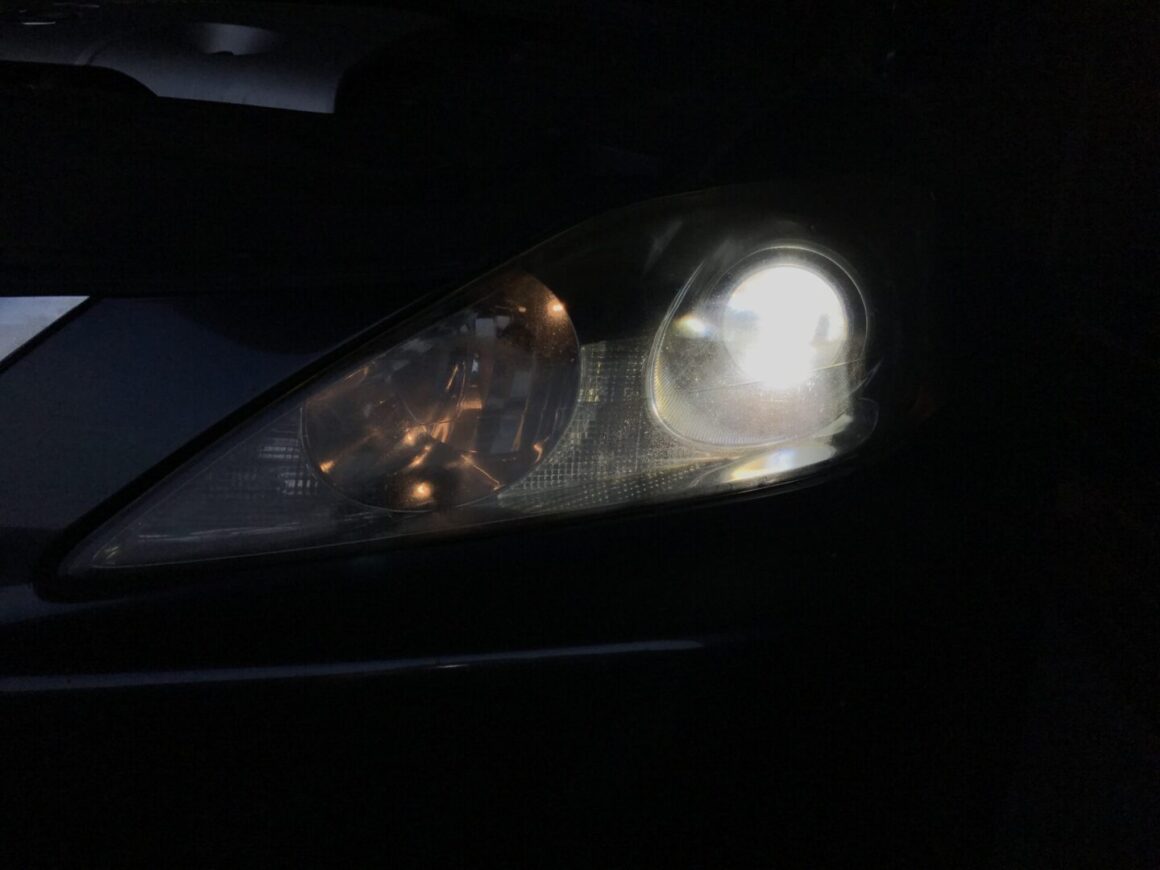
Replace the windshield washer fluid neck with associated 10mm bolt and hand-tighten. You are now done with the driver’s side HID bulb replacement. Test out your headlight to see if everything is working.
How to Replace Passenger Side HID Bulb on a 2nd Gen Lexus IS350
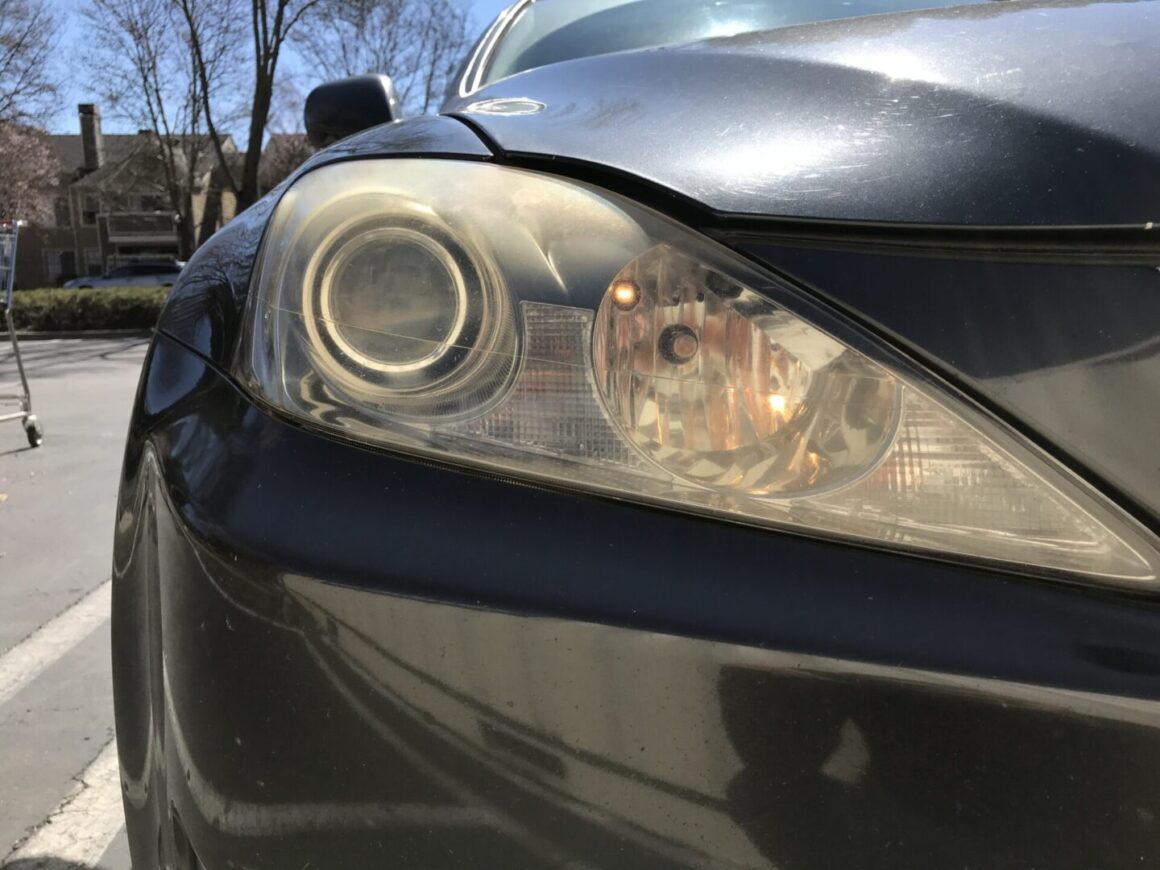
Now onto the passenger’s side HID bulb replacement. The passenger’s side is a bit more difficult to do than the driver’s side simply because there are few more things to remove out of the way, however the bulb replacement itself is the same as the driver’s side.
Like I mentioned in the earlier section for replacing the passenger’s side HID bulb, I recommend disconnecting the negative terminal of your battery before doing this work as a safety precaution.
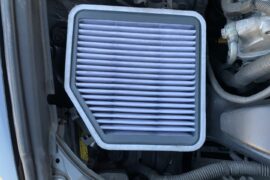
Remove the engine covers if they have not already been removed. Next, remove the air box as this is the main component that is in the way of your bulb replacement. Loosen the Philips head screw that holds the air filter housing to the intake tube. Also, disconnect the MAF sensor electrical connector. Then undo the three clips that are holding the upper cover to the lower cover. Ensure no electrical connectors are attached to the housing. Now, remove the upper cover of the air filter, as well as the air filter itself.
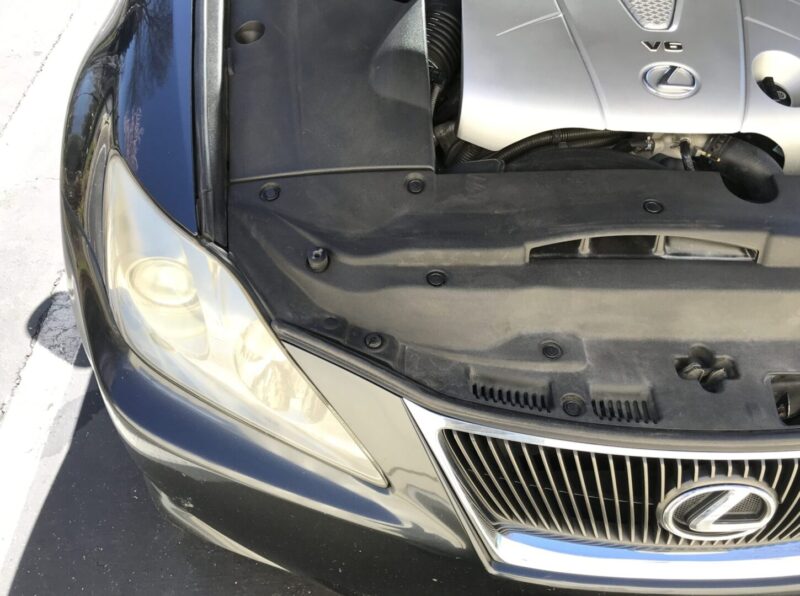
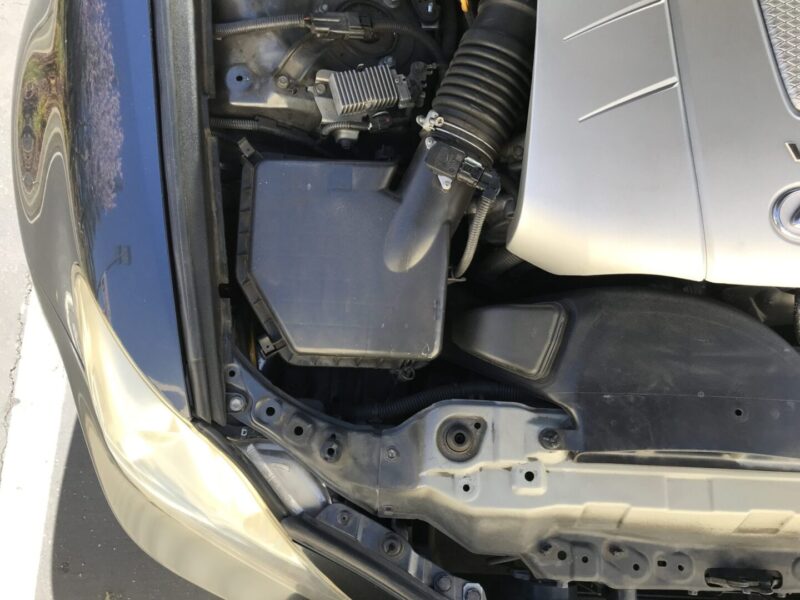
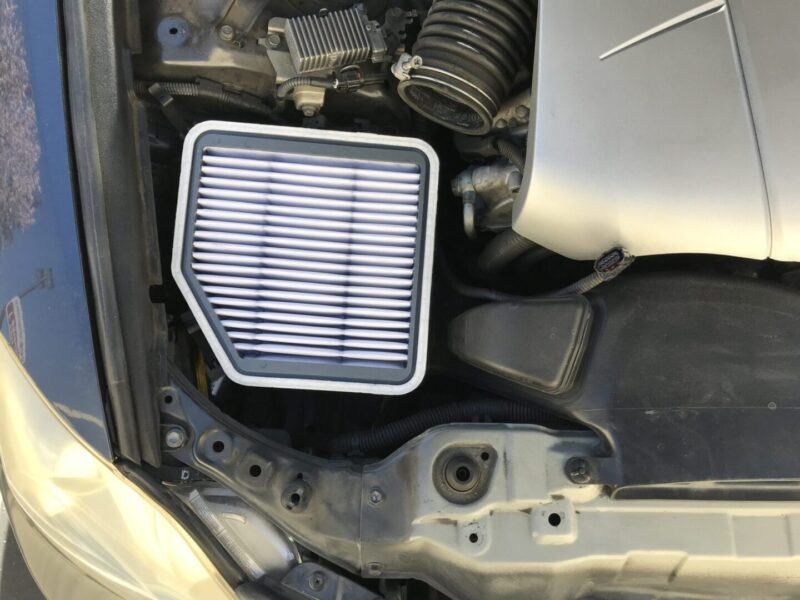
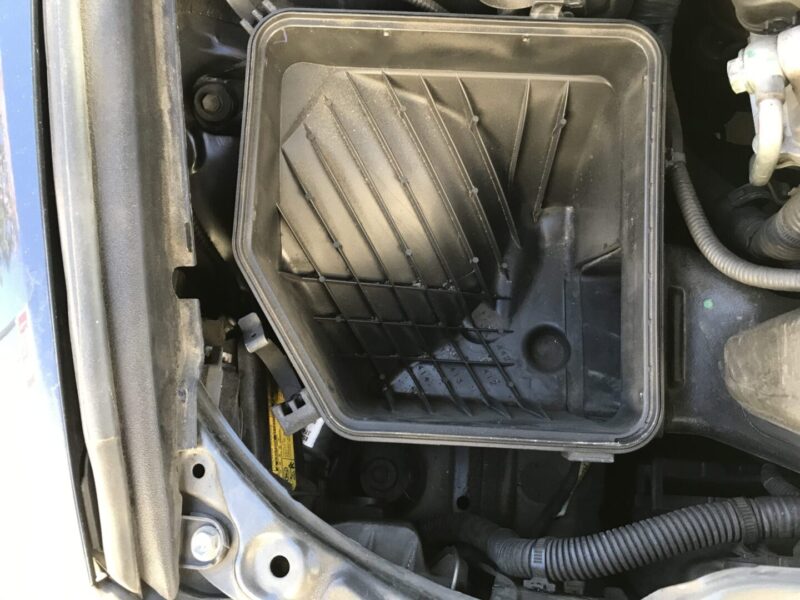
You can actually see the HID bulb location behind the dust cover. However, you’re not going to have enough room without removing the lower air filter housing first.
To remove the lower portion of the air filter housing, you’ll need a 10mm socket along with some long extensions. This will help you get access to those deep 10mm bolts that hold the air filter housing down. There is also the intake scoop that you’ll need to remove; this is held down with a 10mm bolt and/or plastic retaining clip. The lower portion of air filter housing should then be able to be removed.
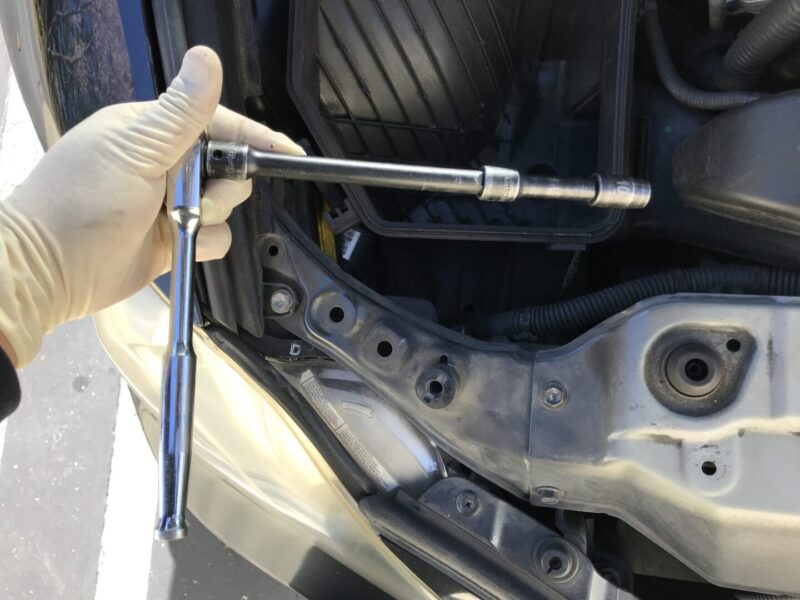
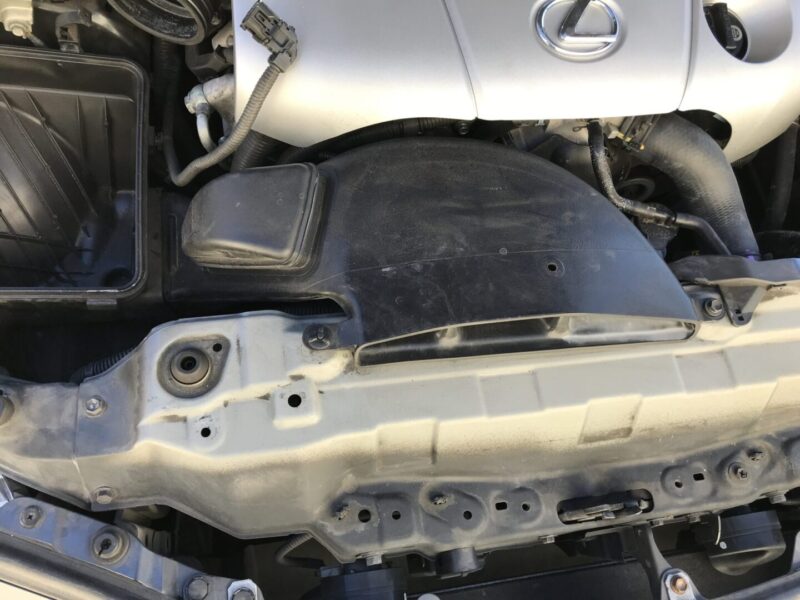
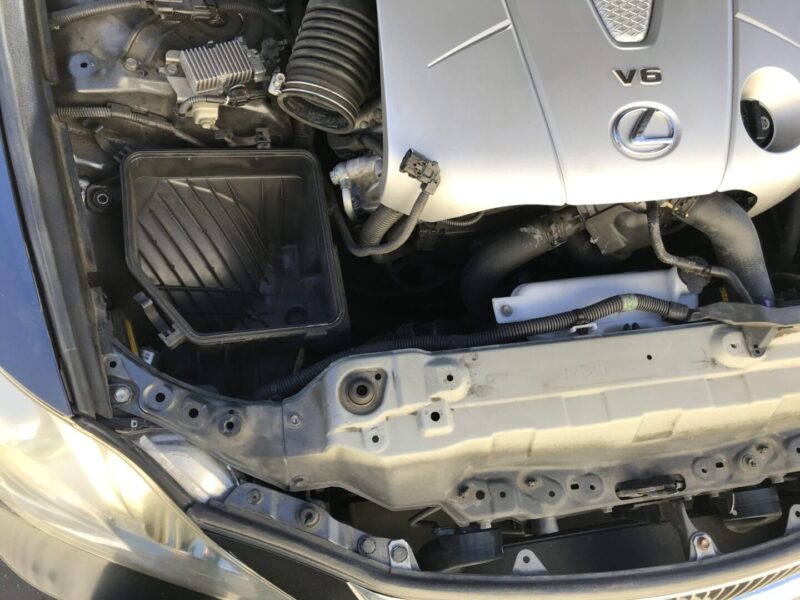
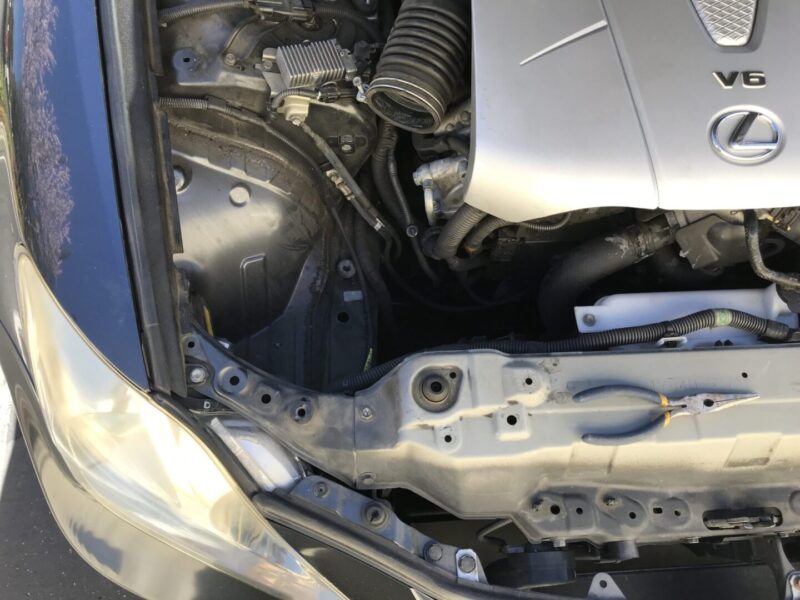
You now have plenty of access to the HID bulb location. Just like the driver’s side, unlock and swing the dust cover out of the way and remove the dust cover. Turn the bulb electrical plug counter-clockwise and remove out of the way. Then undo the HID bulb retaining clip using the two handles, then remove the existing HID bulb from the socket.
Here’s another side-by-side shot of a new HID bulb (left) and the driver’s side HID that failed (right).
Re-install the new HID bulb lining up the plastic tabs on the bulb with the socket; lock the bulb in place with the bulb retaining clip. Re-install the plug and turn clockwise to lock. Replace the dust cover and lock the cover retaining clip.
Re-install the air filter and housing components, double-checking everything is reconnected the way you removed it. That completes your HID bulb replacement on the passenger’s side. Test everything to make sure your HID bulbs light up properly.
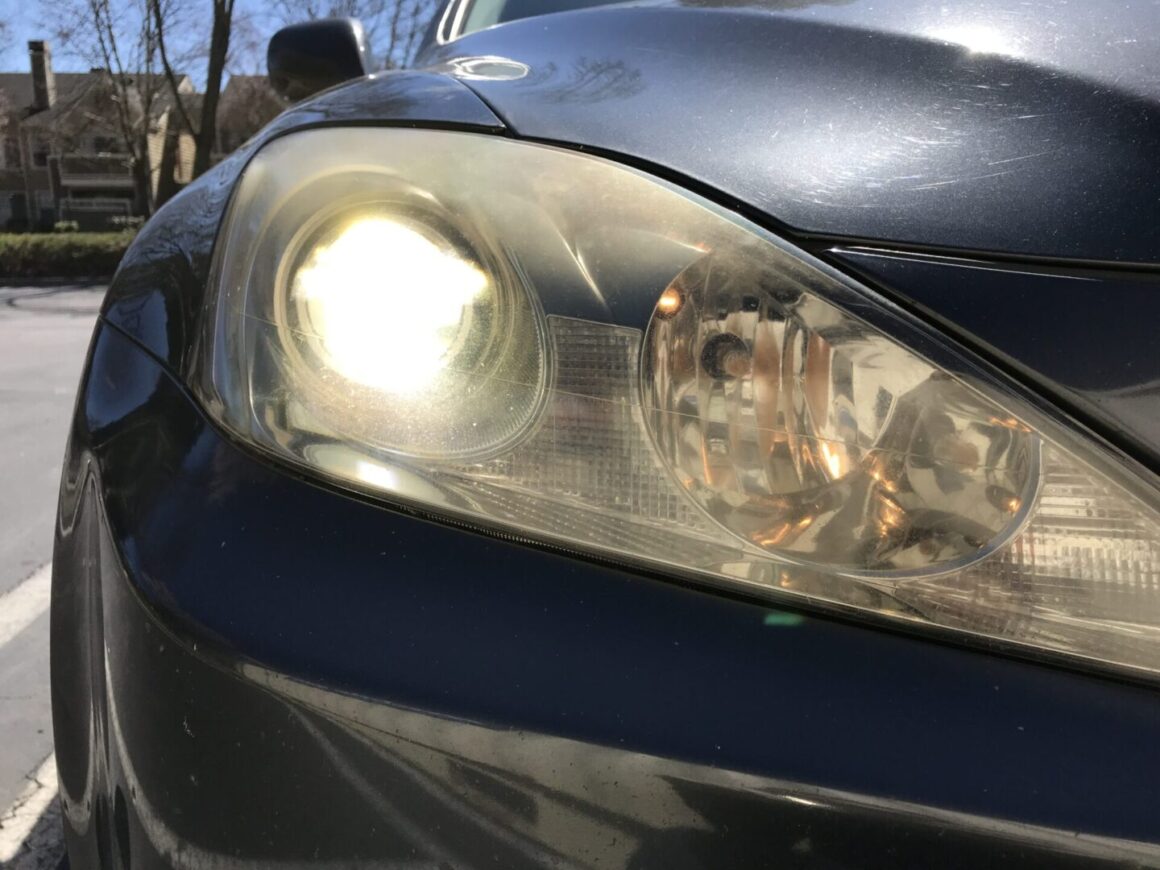
There really isn’t that much to the replacement of both the driver’s side and the passenger’s side HID bulbs on the 2nd gen Lexus IS350. The more time consuming parts have to do with the removal and install of certain components in the engine bay in order to have the room for the actual bulb replacement. Besides that this job is a very easy one to do and is likely one that you will encounter if you own a 2006-2013 Lexus IS350.

