When you make purchases through links on this site, The Track Ahead may earn an affiliate commission. Also, these posts are based off my own experiences. I am not responsible for any action you take as a result of reading this. Learn More
My new 2020 Ford F-150 has been babied over the past year and a half having only driven about 2,000 miles on it so far. Many folks suggest changing out the oil at 1,500 miles if its a new vehicle as you may have more deposits and metal shavings in the oil from driving a new engine. Because I tend to agree with this concept, as well as the fact that it has already been over a year, I decided to change the oil and oil filter. In this write-up I performed the oil change using Ford’s recommended Motorcraft Synthetic Blend motor oil and Motorcraft oil filter.
Tools & Materials
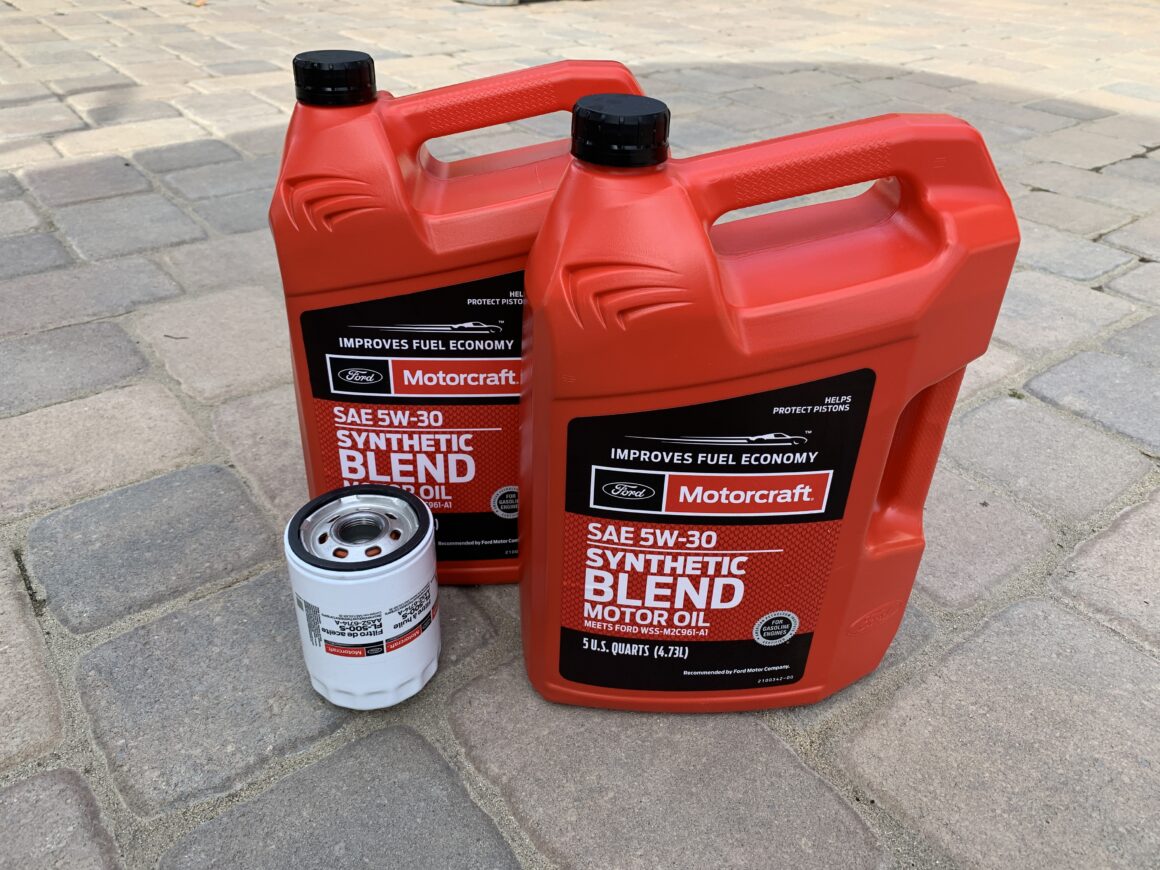
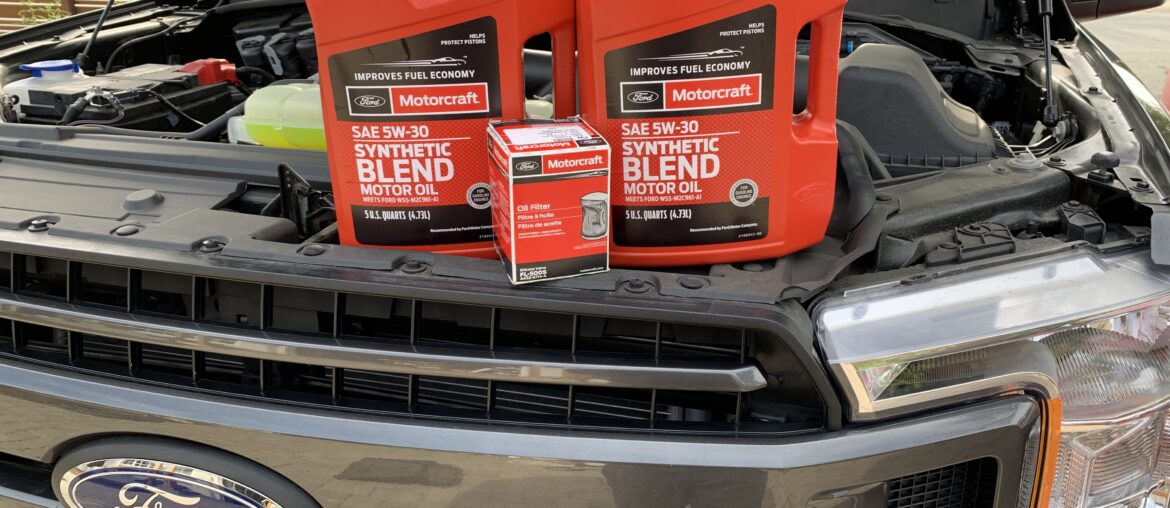
Motor Oil & Oil Filter
Ford recommends the use of Motorcraft products for both the oil and the oil filter. For the 13th generation 3.5L EcoBoost, SAE 5W-30 is recommended. An alternative option of 0W-30 can be used in colder climates (where temperatures reach -22o or below.) As for the Motorcraft oil filter, the 3.5L EcoBoost requires model #: FL-500S. The oil capacity of the 13th gen Ford F-150 3.5L EcoBoost is 6.0 qts (5.7 L).
Most other well-known motor oil and oil filter manufacturers offer excellent alternatives to the Ford-recommended Motorcraft products. Personally, I like to follow the car manufacturer’s recommendations as much as possible, but I wouldn’t hesitate to use any of these other popular motor oils or oil filters on the 3.5L EcoBoost.
Motorcraft SAE 5W-30 Synthetic Blend Motor Oil
Walmart: 12-qt Case / 5-qt Jug
Amazon: 12-qt Case / 5-qt Jug
Other Popular Motor Oil Brands (5-qt Jugs)
Mobil 1 5W-30: Full Synthetic
Castrol 5W-30: Full Synthetic / Synthetic Blend
Pennzoil 5W-30: Full Synthetic / Synthetic Blend
Valvoline 5W-30: Full Synthetic / Synthetic Blend
Motorcraft FL-500S Oil Filter
Walmart: 1-pack
Amazon: 1-pack / 12-pack
Other Compatible Oil Filters
FRAM Ultra Synthetic XG10575
ACDelco Professional PF63
Purolator PL22500 PurolatorONE
WIX 57502XP
Mobil 1 M1-212A Extended Performance
Replacement Plastic Oil Drain Plug
The 13th gen Ford F-150 has several different oil drain plug designs depending on what year and engine you have. If you have a yellow plastic drain plug, you can only replace it with a plastic drain plug. Likewise, if you have a steel plug, you can only replace with a steel threaded plug.
The plastic drain plugs have been known to have issues with breaking and with leaking over time, so I provided some links to the two products below in case you need to replace them. More information on the plastic drain plugs later in this post.
Early Model Plastic Drain Plug (square notch for 3/8″ extension)
Amazon: OEM
Ebay: OEM
Later Model Plastic Drain Plug (handle for hand-turn)
Amazon: OEM / Aftermarket (3pk)
Ebay: OEM
Oil Filter Wrench
I usually use a pipe wrench to remove oil filters, but generally an oil filter wrench is the tool-of-choice if you don’t have a pipe wrench that fits the oil filter.
WORKPRO 12″ Adjustable Oil Filter Pliers
Mechanics Tool Set or Socket Set
For the oil change, you mainly need an 8mm socket and a 15mm socket in your socket wrench set. The 8mm is used for the removal of the splash guard, and the 15mm is used for the drain plug bolt (if your vehicle does not have the plastic drain plug.) You may need a 3/8″ extension if you have the early model plastic drain plug; this will also be in your typical socket set or mechanics tool set.
DEWALT Mechanics Tool Set, 84-Piece
If you are looking to upgrade your existing socket wrench set, you may want to consider getting a mechanics tool set as it has most socket sizes you might need for practically any maintenance job you might have. It will likely have more pieces than the typical standalone socket set and may contain other tools depending on what type of set you get. If you need help choosing a mechanics tool set, I wrote an article that might help you with your decision.
Oil Drain Pan
NEIKO Oil Drain Pan | Black Plastic Anti Splash | 2 Gallon (8L)
Oil Funnels
Hopkins FloTool 10714MX3 Super Funnel Trio, Red
Nitrile Gloves
MedPride Nitrile Exam Gloves, Powder-Free Box/100 – Small | Medium | Large
Shop Towels
Scott Shop Towels Original, Blue, 12 Rolls/Case, 660 Towels/Case
Vehicle Ramps, Wheel Chocks, & Jack Stands
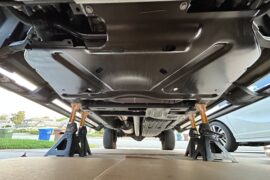
I was able to get under my truck and perform the oil change without the need to lift up the vehicle. Normally I use cardboard on the ground and work laying on top it. However, if you need more space or you usually work under your vehicle with a creeper, then you may need more space. If that’s the case, you may need vehicle ramps, wheel chocks, and absolutely as a safeguard, jack stands as well.
BISupply Vehicle Ramps – 6.3in Lift – 2 Ton Heavy Duty Truck Ramps (2 qty)
MAXXHAUL Heavy Duty Black Wheel Chock 2-Pack, 8″ x 4″ x 6″
BIG RED Torin Steel Jack Stands: 3 Ton (6,000 lb) Capacity, Red, 1 Pair
Synthetic Blend v. Full Synthetic Motor Oil
Ford recommends using a synthetic blend motor oil on the 13th Gen Ford F-150. Some folks may choose to go with a full synthetic motor oil instead due to its improved performance. This can be a contentious issue of choosing which to go with, but personally, I like to go with what the manufacturer recommends as I don’t really see the point of going against their recommendations.
I don’t think I’m totally against going with a full synthetic motor oil on a newer F-150, but I would probably avoid changing from a conventional or synthetic blend over to a full synthetic on a vehicle with more mileage. The reason for this is due to the fact that older seals can have a build-up of oil that actually has the benefit of keeping oil from leaking out of the engine. Changing over to full synthetic may cause these seals to begin leaking.
Plastic Drain Plugs on the 13th Gen Ford F-150
On 13th generation Ford F-150’s, the oil drain plug can either be a plastic drain plug or a regular steel drain plug. If your truck has a plastic drain plug, it can be one of two types (pictured below). Ford started using the plastic drain plug with the square notch (pictured on right); this requires using a 3/8″ extension to insert in order to open/close. In 2017, Ford changed the design of the plastic plug so that it is to be operated by hand (pictured on left). Later years of the 13th gen Ford F-150’s with the 3.5L EcoBoost would change the drain plug over to a standard steel drain plug.
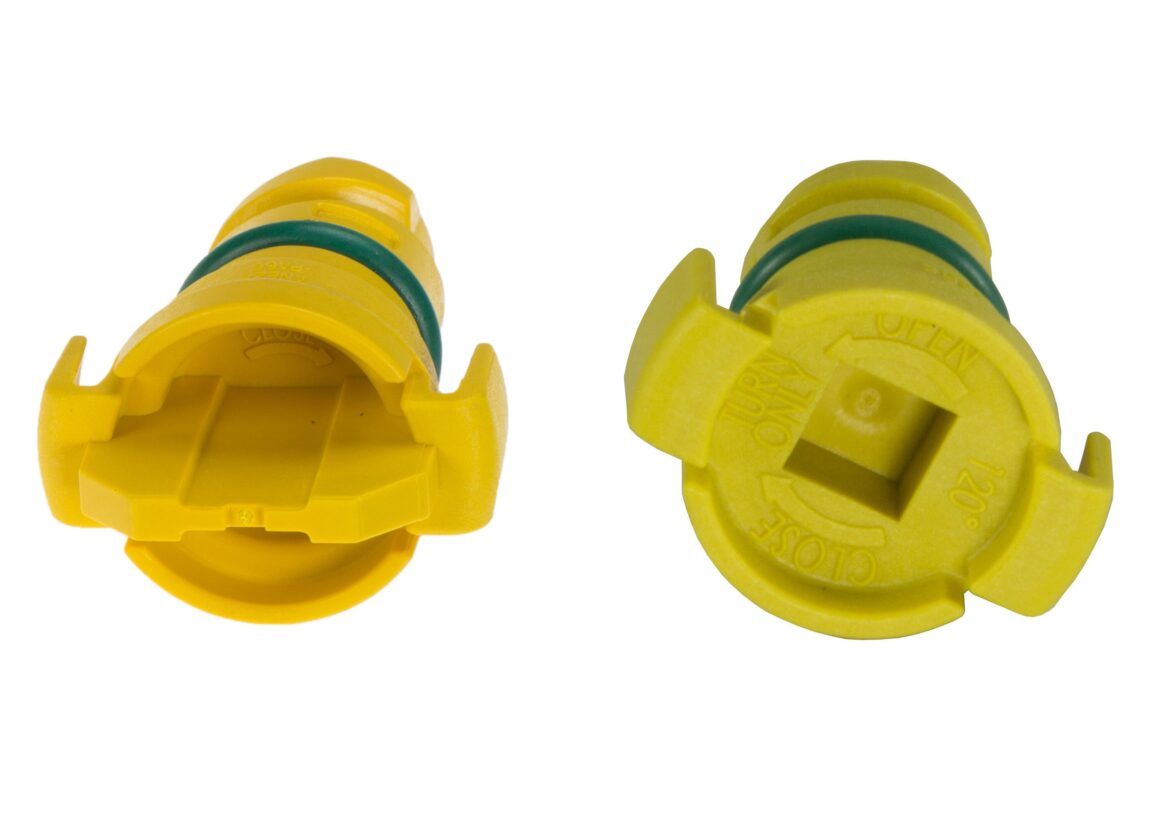
These plastic drain plugs are technically reusable, however many F-150 owners report that these plugs break from repeated use and can even leak. They also complain about the difficulty in removing these plastic plugs; resorting to tools to open/close these plastic plugs may result in breaking them. To resolve these issues, 13th gen F-150 owners have a number of solutions to deal with this issue:
Replace the Plastic Drain Plug at Every Oil Change
For those who are skeptical of Ford’s choice of using a plastic drain plug (and oil pan for that matter) might opt to replace the plug at every oil change. Technically, the plastic drain plug is not a one-time use item, but if money is no object, then doing this option will alleviate your concerns with the higher chance of breakage/leakage with aged plastic drain plugs.
Replace the Plastic Drain Plug with an Oil Drain Valve
You might have seen oil drain valves installed on other vehicles, but Ronin Factory actually makes a specific oil drain valve to fit the plastic drain pan of the 13th Gen F-150’s. Aside for replacing the stock plastic drain plug, the drain valve allows for easy draining of the oil and a much cleaner oil change than without it.
Keep Extra Plastic Drain Plugs on Hand
To me, this sounds like the most reasonable option. Just like you might keep extra oil filters or extra motor oil on-hand for your next oil change, you simply keep some extra plastic drain plugs in case anything goes wrong with your current one. Perhaps you even change it out every once in a while if your current plug is really old.
How to Change the Oil & Oil Filter on a 13th Gen Ford F-150 (3.5L EcoBoost)
Prior to changing the oil, it is best if the vehicle has been warmed up so that the oil is less viscous. This will facilitate the draining of the oil as it will more easily and effectively drain out of the oil pan.
Working under the front of the vehicle, you will first need to remove the felt splash guard. This is held in by (4 qty) 8mm bolts at each corner.
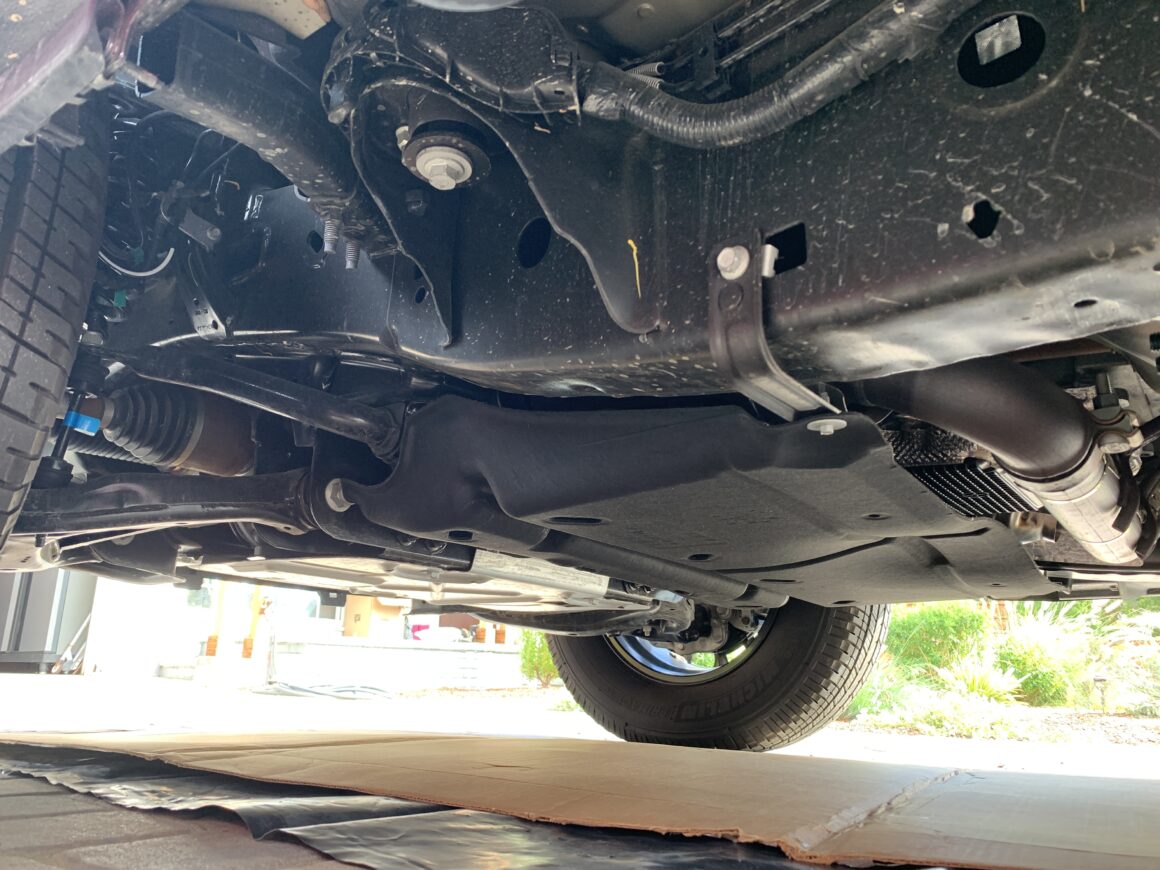
Remove these four 8mm bolts and carefully lower and move the splash guard out of the way.
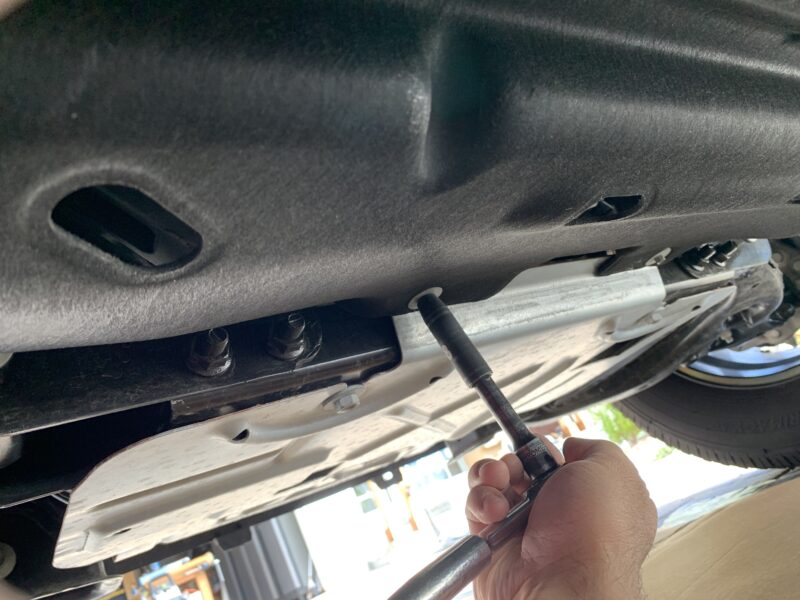
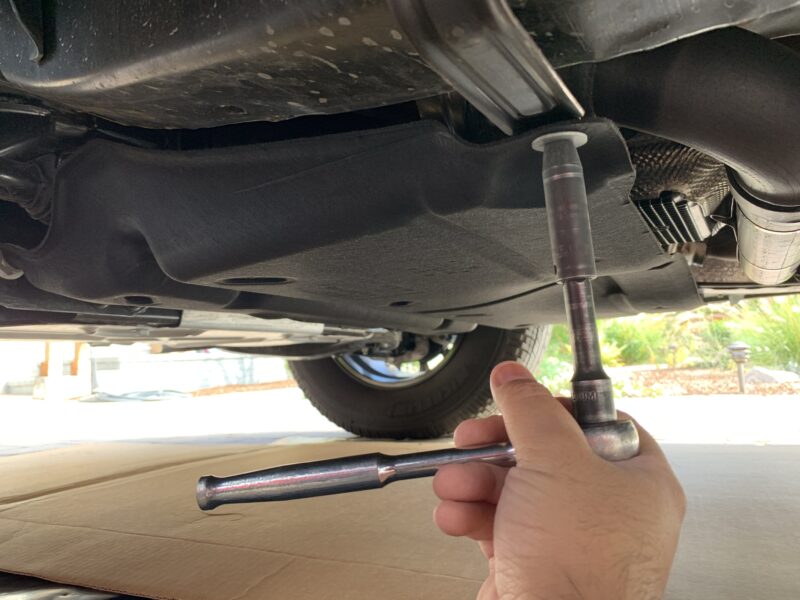
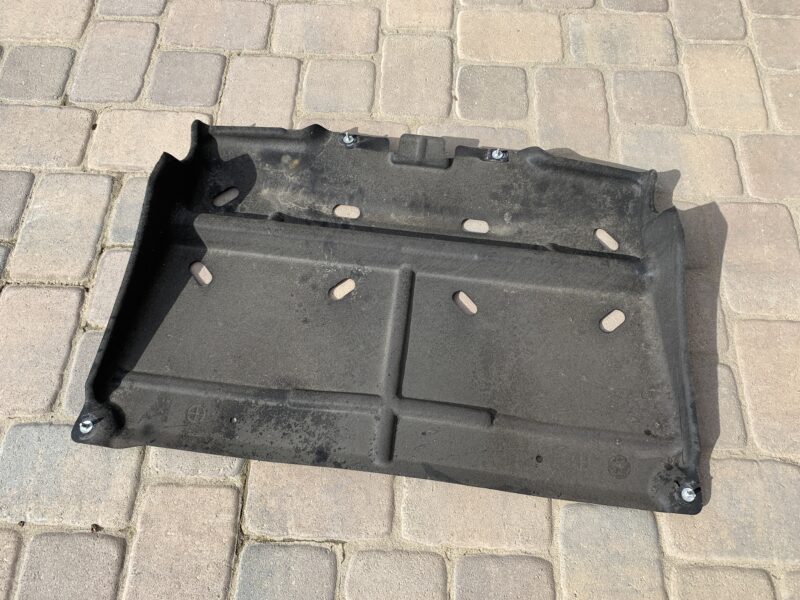
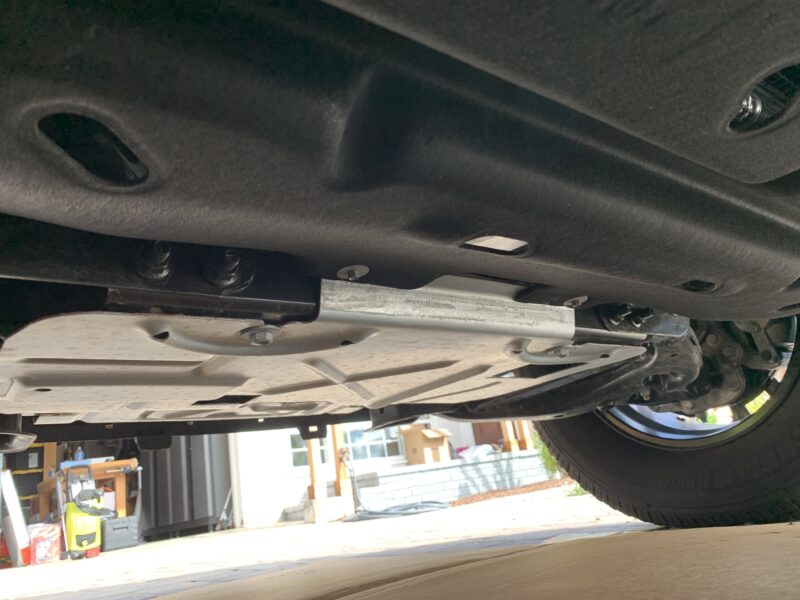
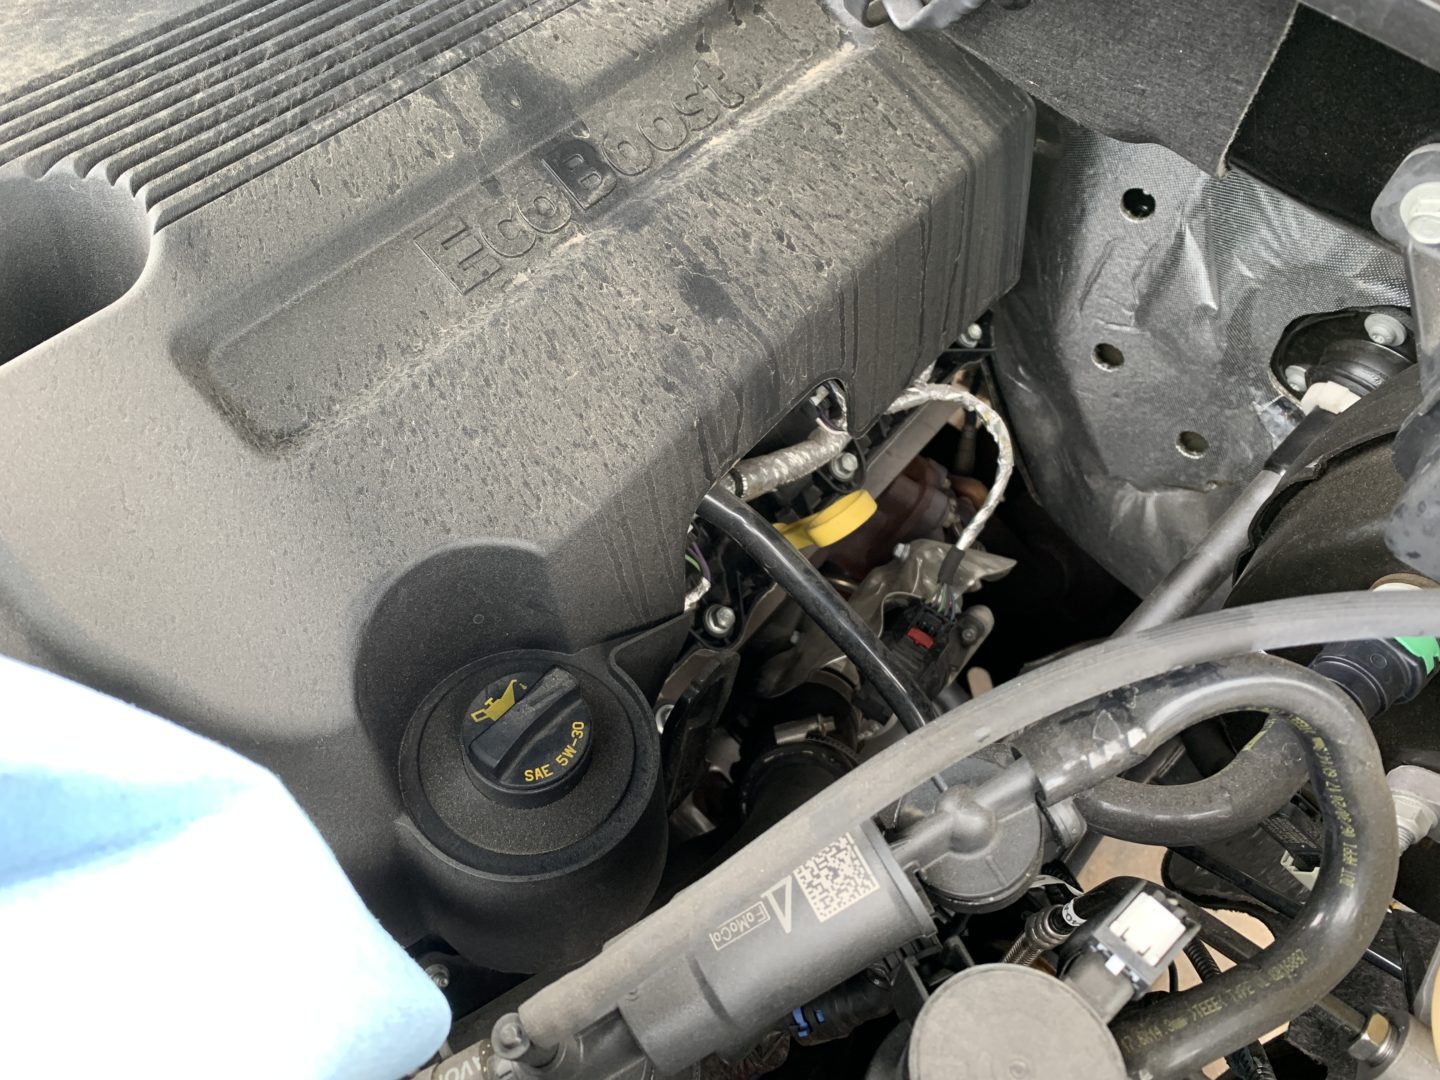
Remove the oil filler cap to allow for venting and to help with oil draining.
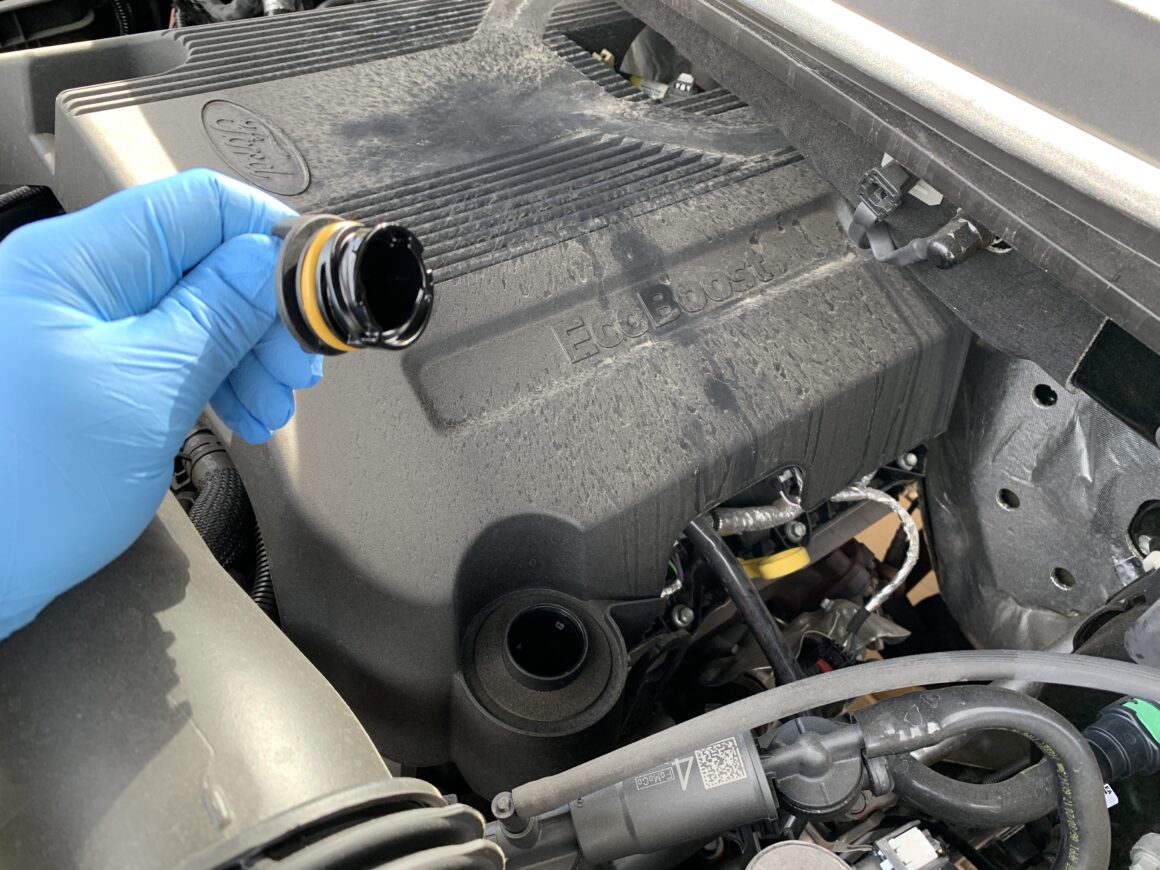
Back under the vehicle, locate the oil drain plug. On my 2020 F-150, the oil drain plug has the regular metal drain plug, which requires a 15mm socket to remove. If you don’t own a later model year 3.5L EcoBoost like I do, you will likely have a plastic drain plug; more on that earlier in this post.
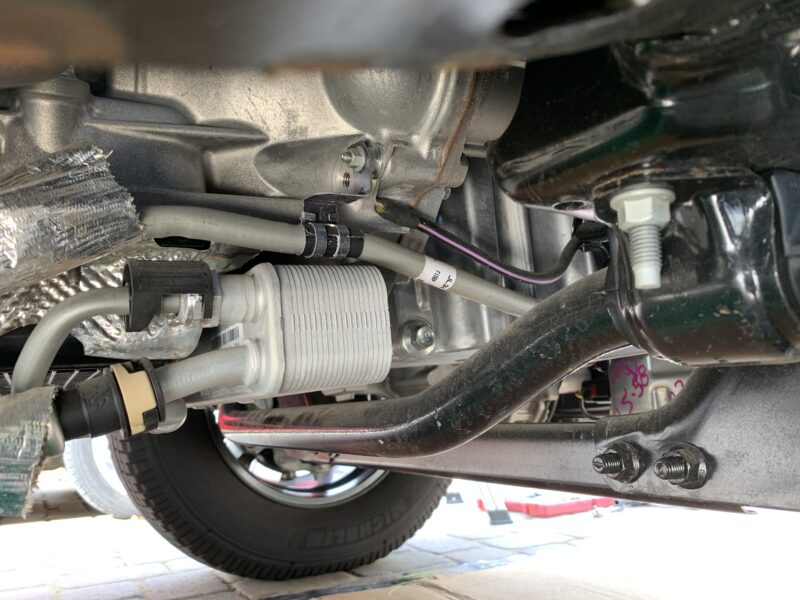
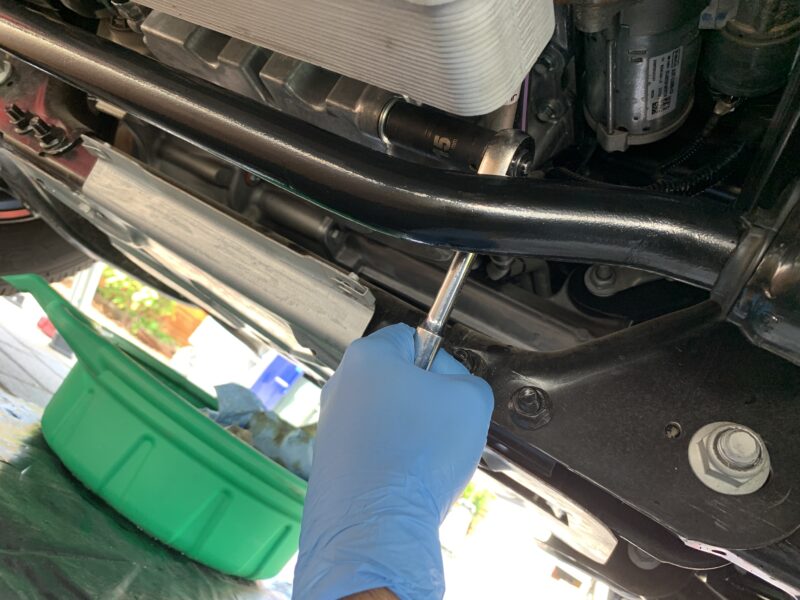
Place a drain pan underneath and position at the edge of the drain plug location. On these trucks, the drain plug is facing horizontally and as a result they are notorious for spewing oil out all over the place when the drain plug is removed. There is a specific way to drain the oil that I believe is the best way for reducing the risk for a potential mess.
In my opinion, the best way for draining the oil cleanly, is to loosen the drain plug and hold it partially in place while the oil starts to drain out. After it starts to drain out, you can slowly pull the drain plug away more and more until it pours out in a more steady stream. Don’t worry about it hitting the sway bar as you can simply clean it up later.
In my situation, I made sure to have plastic and cardboard underneath the drain pan and blue shop towels in arms-reach just in case. I positioned the drain pan so that it would catch any oil if it leaked vertically, but it also would catch the oil if it sprayed out horizontally. I first broke loose the steel drain plug with a 15mm socket. Then I loosened the drain plug by hand (with gloves on) little-by-little until some oil drained out. Then I pulled away the drain plug completely and let the oil drain out, which will inevitably hit the sway bar.
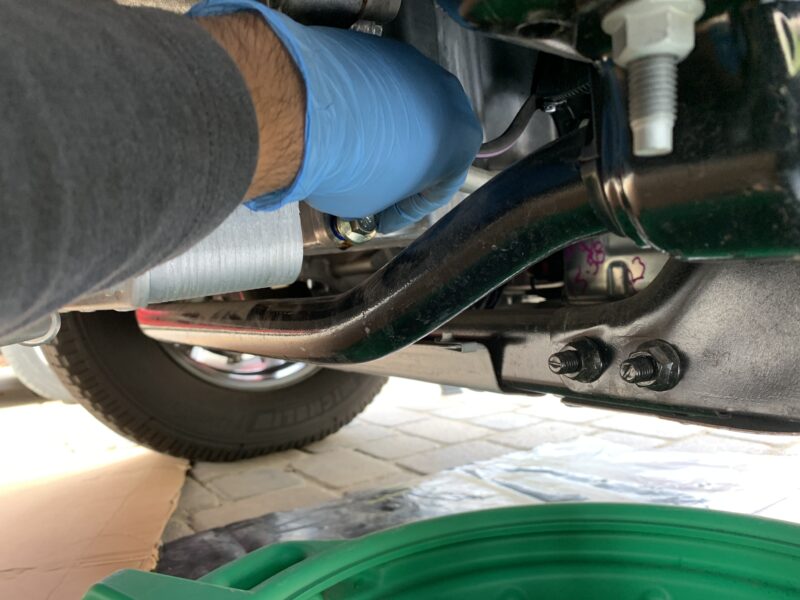
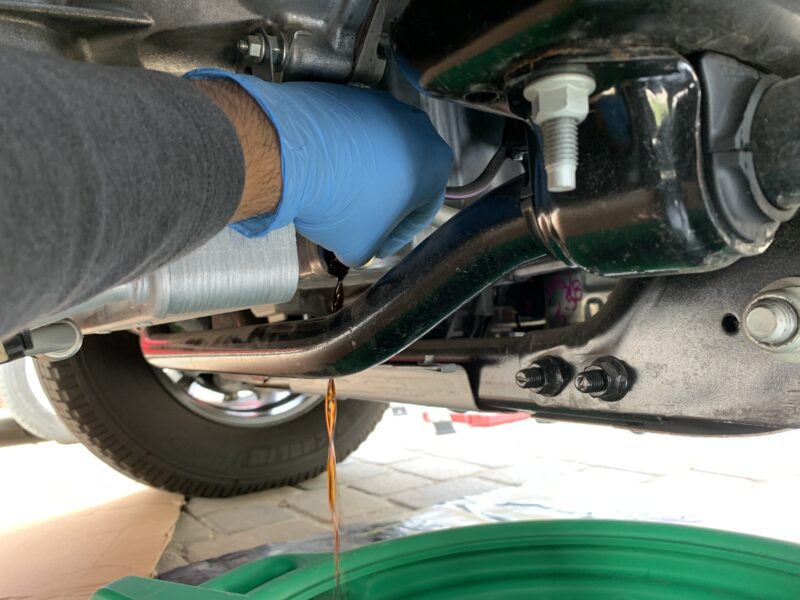
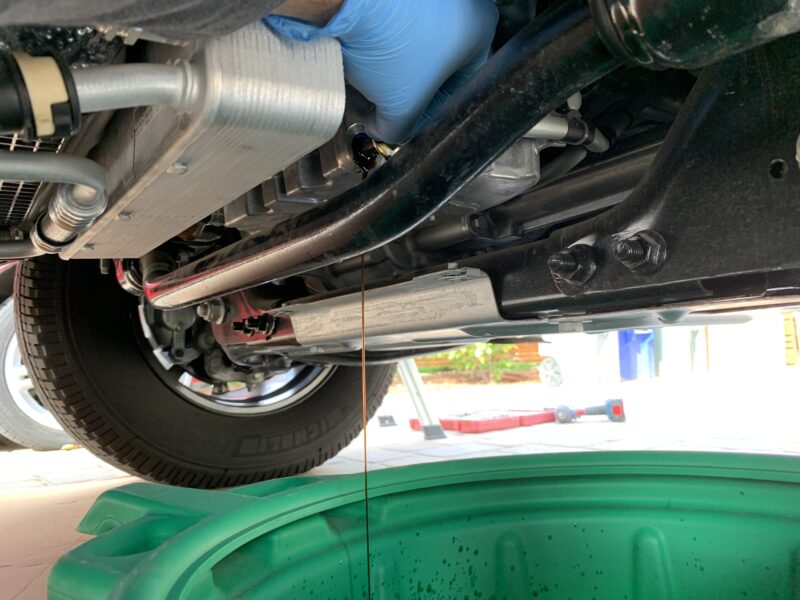
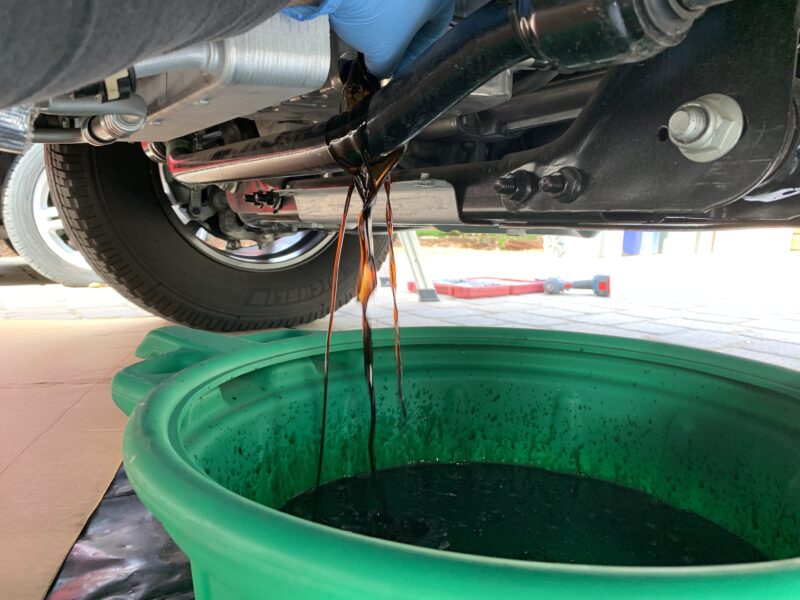
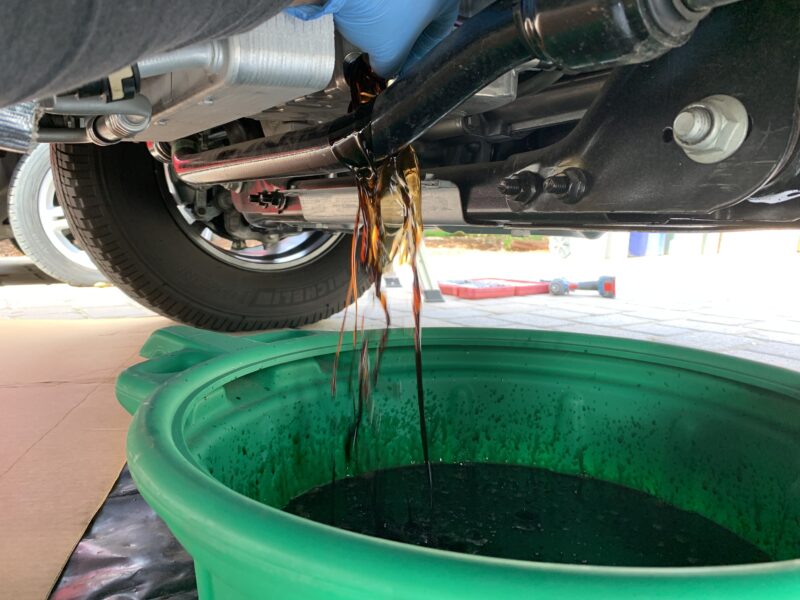
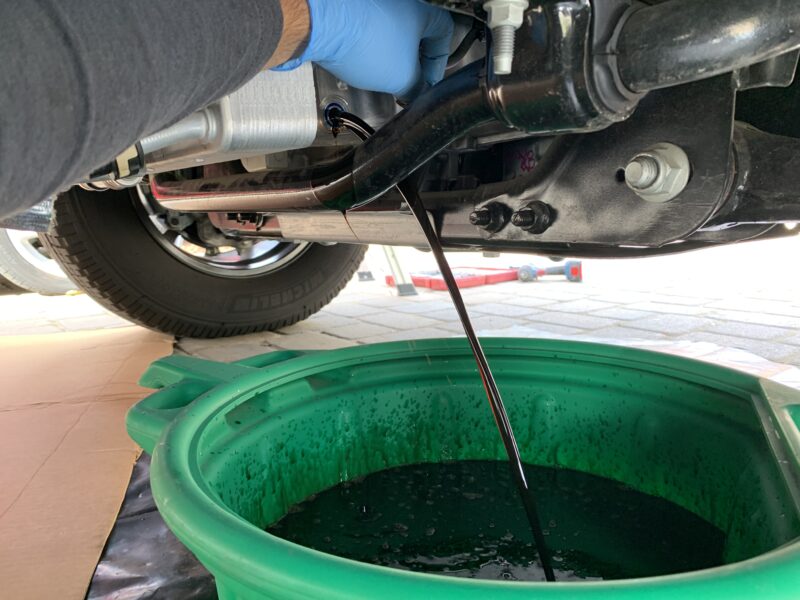
After all the oil drains, you can clean up the oil with shop towels and replace the drain plug. Here is a closer look at the 15mm steel drain plug that is used on 2017+ 3.5L EcoBoost. It seems that Ford decided to go back to an aluminum drain pan and metal drain plug. You don’t see a crush washer on this drain plug as you might see on other vehicles, but it does have a rubber washer incorporated into the bottom-side of the head to help with the seal.
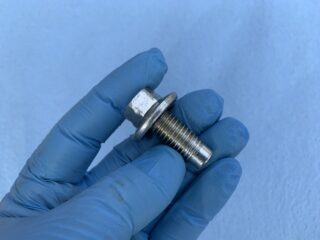
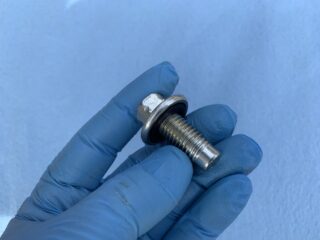
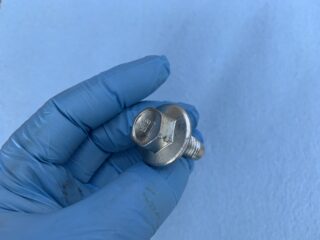
With the drain plug installed by hand, torque down the drain plug to 20 lb-ft torque. If you have the plastic drain plug with the square notch, reinstall with a 3/8″ extension and turn clockwise until it tightens into place. If you have the plastic drain plug with the handle, simply turn it clockwise until it locks into place.
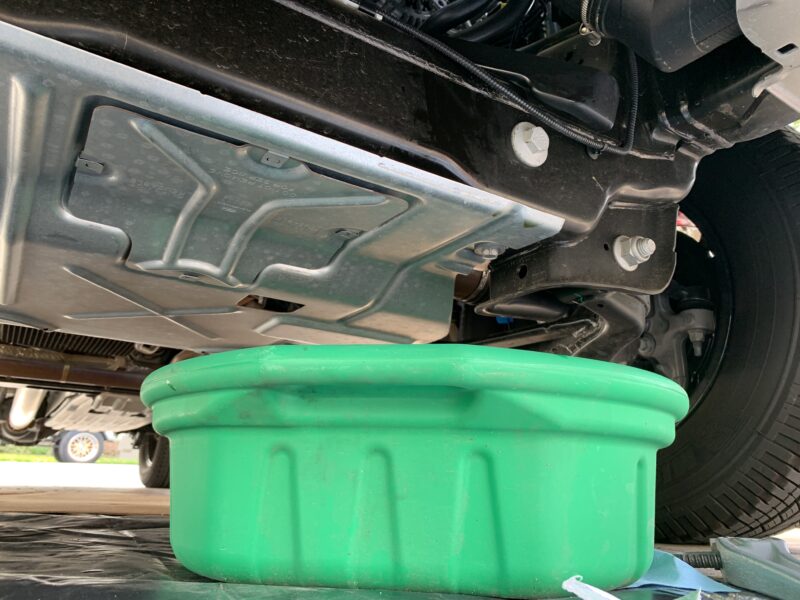
Next, position your drain pan underneath the oil filter location. Underneath the oil filter is a built-in funnel tray that is attached to the frame. This built-in funnel tray helps to redirect the spilled oil from the oil filter location to two different ports. If you look at the photo below on the left, you can see a view from above the oil filter location. You can see how the oil would spill into the tray, and then will be redirected to two different ports depending on how the vehicle is elevated. Ideally you’d have your drain pan positioned underneath both ports, so that it would catch the oil no matter where it drains from.
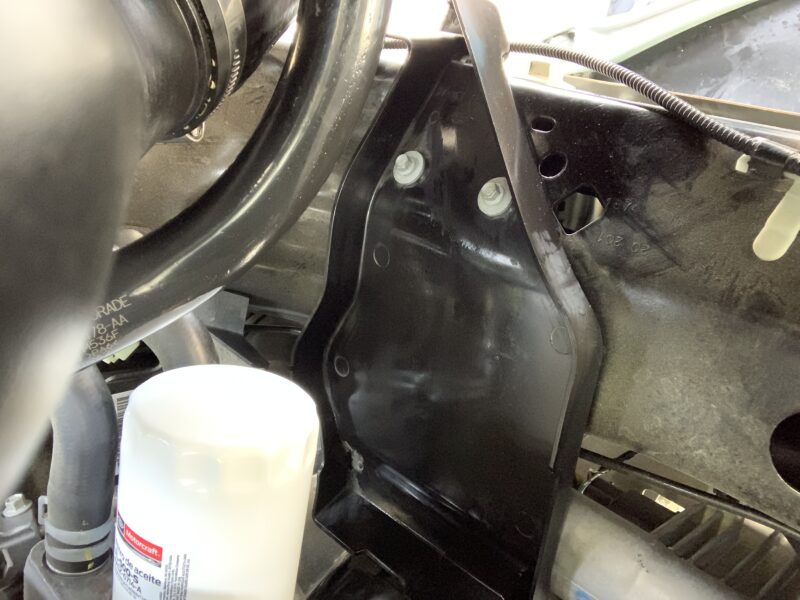
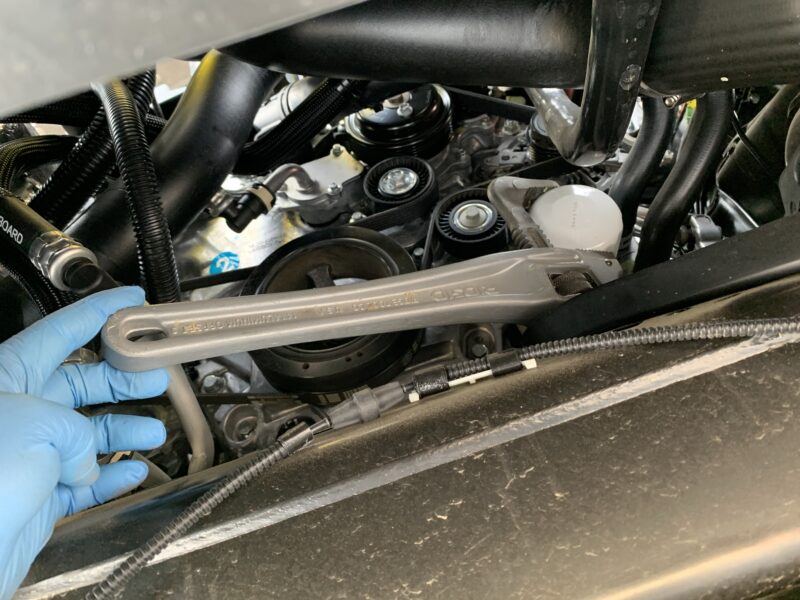
Use your oil filter wrench (or pipe wrench like I used here) to remove the oil filter. The oil that spills out will flow into the tray and drain down below to your drain pan. Use shop towels to clean up the residual oil around the oil filter location and inside the funnel tray.
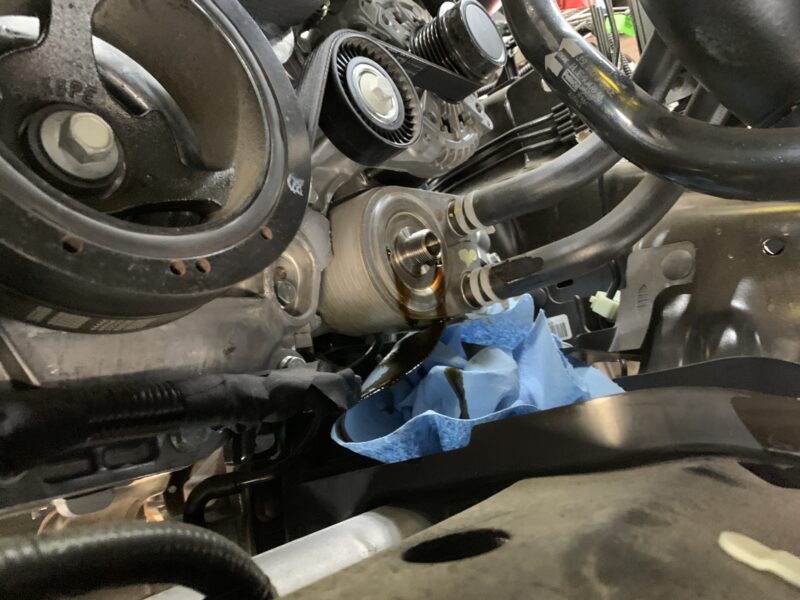
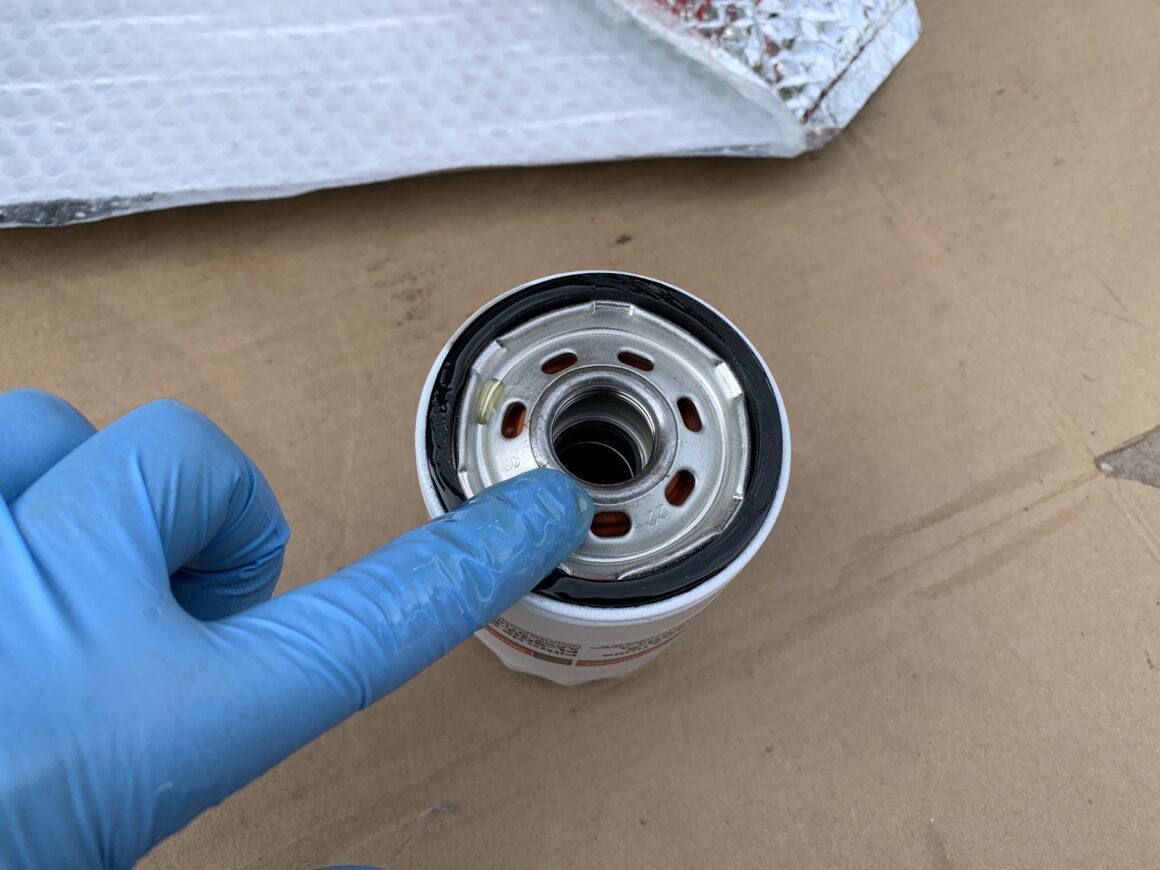
Install a new oil filter; make sure to use motor oil to prime the rubber seal of the oil filter before installation. Thread in the oil filter and then tighten it by hand.
Next, clean up the areas that still have oil residue. Wiping up the oil alone doesn’t completely clean it up, so using some all-purpose cleaner will remove all of the oil. Hit all the areas around the oil filter and the oil drain plug where oil has spilled on and into. Ensure you clean the sway bar and the built-in funnel tray.
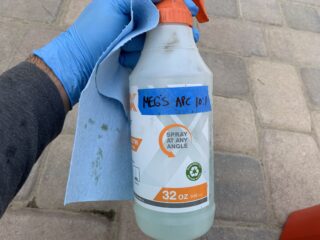
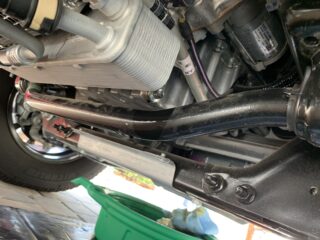
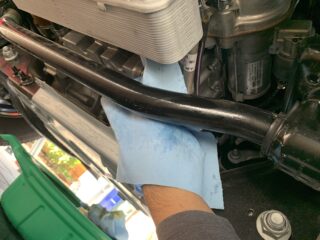
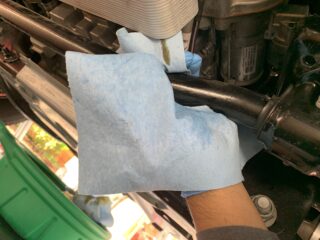
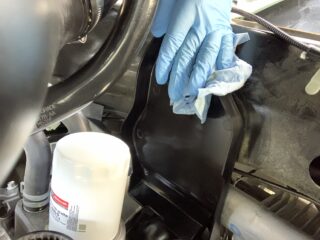
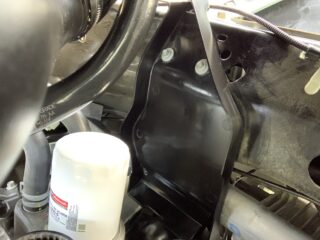
Double-check that the oil drain plug and the oil filter have been replaced properly, then use a funnel to refill your motor oil. Since the 3.5L EcoBoost takes 6 quarts, I initially fill with about 5.5 quarts.
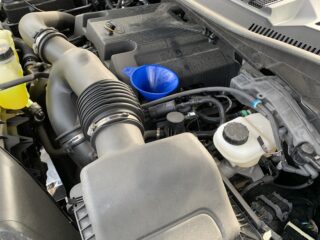

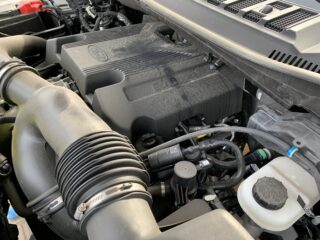
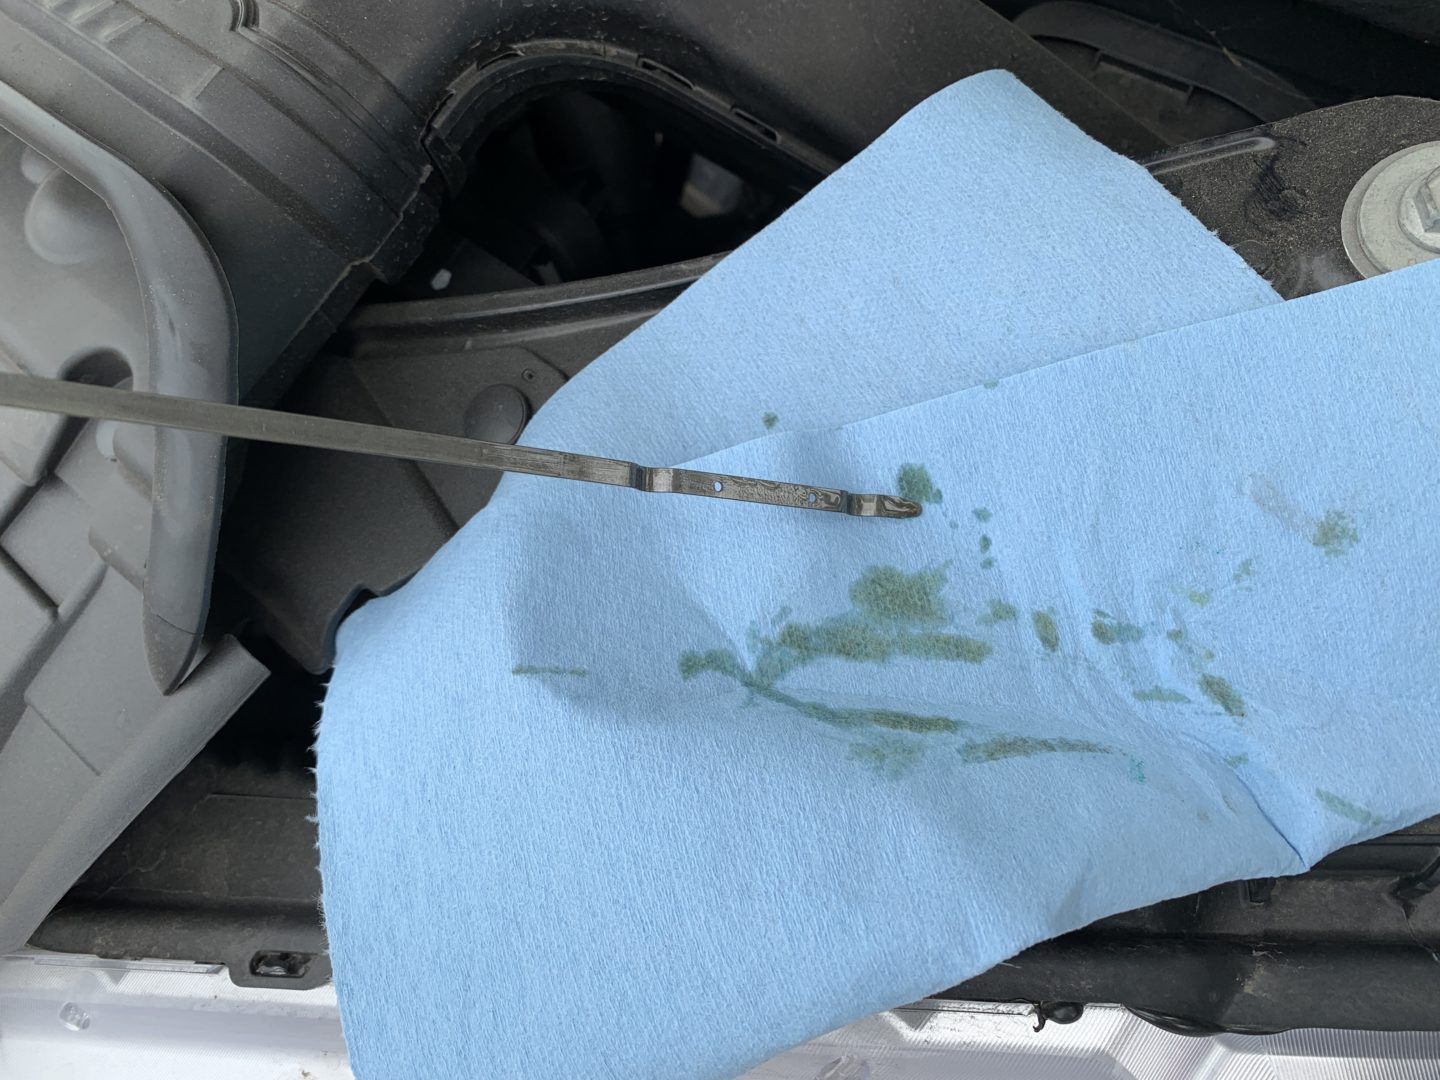
Replace the oil filler cap, start up the engine, let it idle for a couple minutes, shut off the engine, wait 5-10 minutes, and then check the oil level on the dipstick. According to the owner’s manual, if the oil level is between the full and minimum marks on the dipstick, the oil level is acceptable and you do not need to add any more oil.

How to Reset Oil Life on a 13th Gen Ford F-150
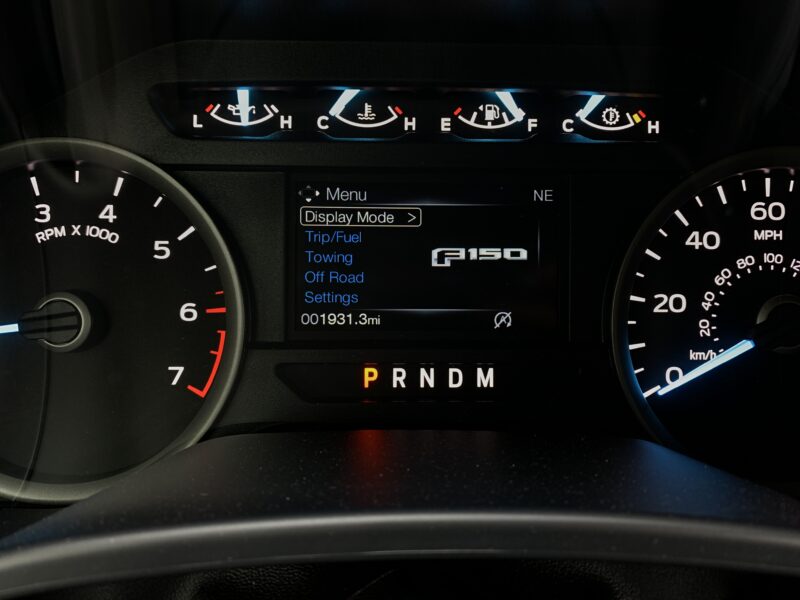
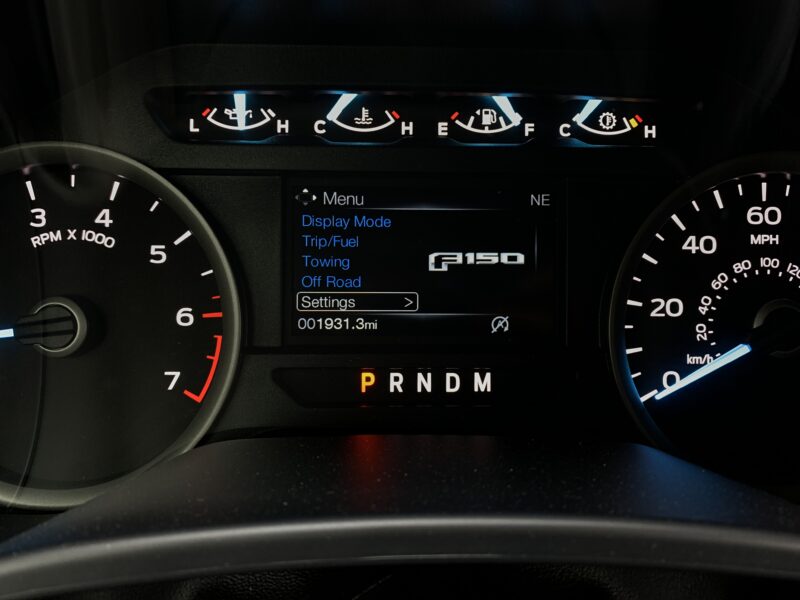
To reset the oil life on your 13th generation Ford F-150, use the information display controls on the steering wheel to navigate through the following options:
- Make sure you are on the main menu.
- Select Settings.
- Select Advanced Settings.
- Select Vehicle.
- Select Oil Life Reset.
- The instruction say to “Hold OK to Reset”.
- Press and hold OK on the steering wheel controls.
- The information display will show a moving gauge with the words “Resetting”.
- The percentage for oil life will now show 100%.
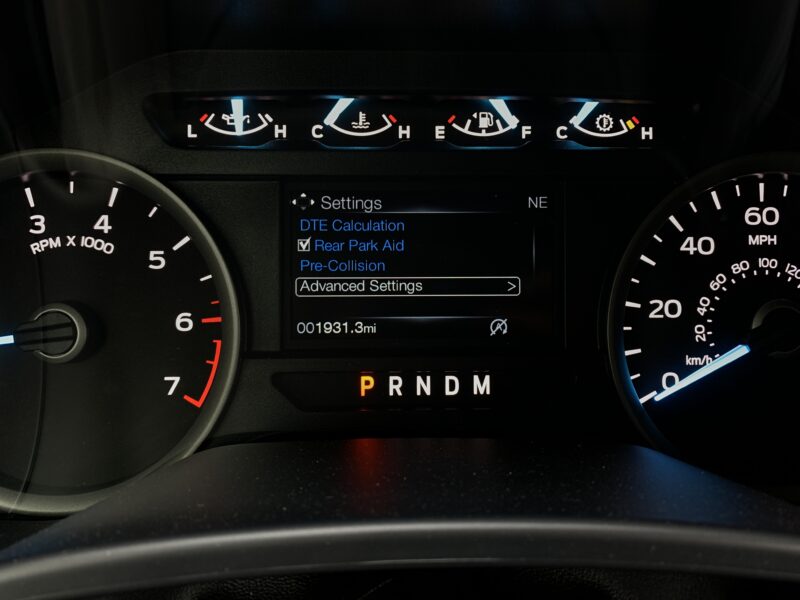
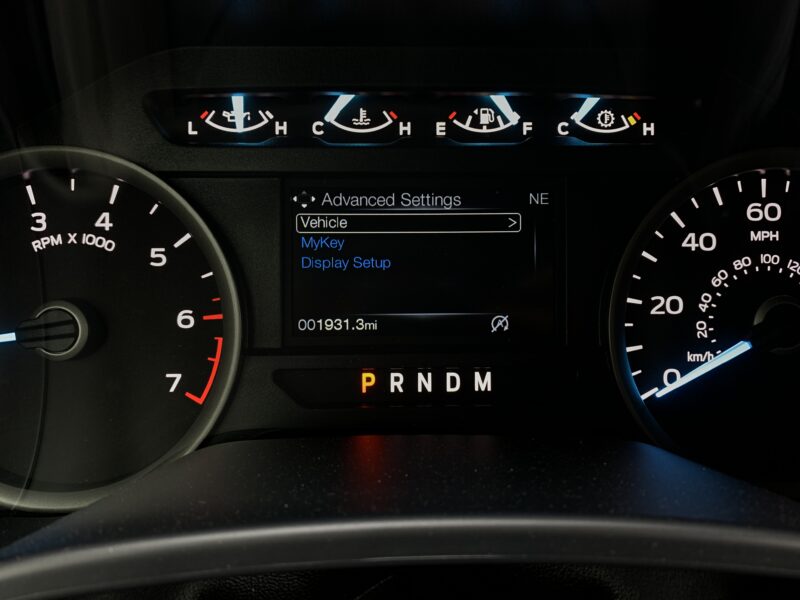
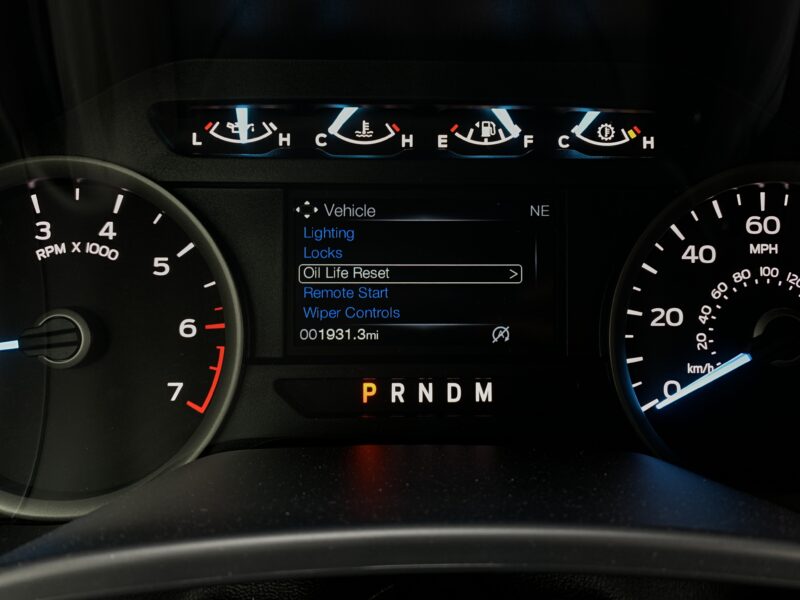
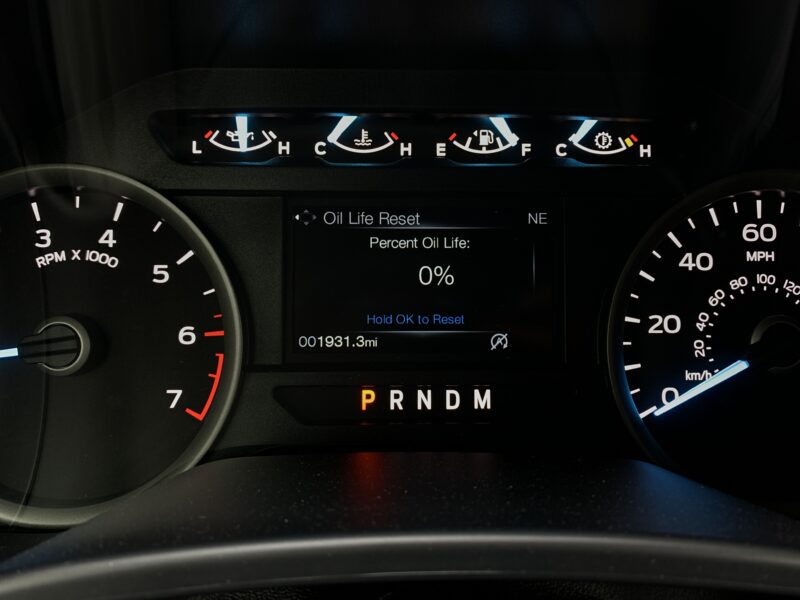


Ford relies on the oil life indicator to inform you when you need to change the oil. According to the owner’s manual, this oil change interval can go up to one year or 10,000 miles. The indicator will adjust the interval depending on the severity of use of the vehicle.
Normal driving will usually put the interval mileage at 7,500 to 10,000 miles, more severe driving at 5,000 to 7,500 miles, and extreme driving at 3,000 to 5,000 miles. The factors determining the driving conditions include: heavy loading/towing, extended idling, extreme hot/cold operation, and use in mountainous or off-road conditions.
If the information display for some reason does not work or malfunctions, you should plan on changing the oil and oil filter 5,000 miles (or 6 months) from your last oil change. According to the owner’s manual, you should absolutely not exceed 10,000 miles (or 1 year) from your last oil change.





4 Comments
Do you happen to know where the oil filter is located on the 2022 Ford F150 lariat with the
V6 3.5L engine?
Sorry, I do not know for the 14th generation. I tried looking online and strangely it is difficult to find. Is yours the 3.5L V6 Gas or is it the 3.5L Powerboost?
I currently have the 21 Ranger lariat. The filter is located on the side and makes for a difficult oil change. I am looking to upgrade to the F150 and want to make sure as to where it is located prior to a purchase.
I did a bit of looking around online and it looks like a lot of the powertrain is carried over from the 13th generation F150’s over to the 14th gen (2021+). I’m not 100% sure, but it does look like the 3.5L on the 14th gens have the oil filter location similar to mine on this post. It’s not an easy location to get access to (like my 4Runner), but sounds better than a filter on the side. Another way to be absolutely sure is to have the Parts Department at a Ford Dealership check for your as I’m sure they have the parts diagrams on their computers. And since the 2022’s are similar to the 2021’s, you can probably check those OEM parts sites to look for the oil filter location to verify that way. Good luck!