When you make purchases through links on this site, The Track Ahead may earn an affiliate commission. Also, these posts are based off my own experiences. I am not responsible for any action you take as a result of reading this. Learn More
Sometimes it can be frustrating to find yourself in need of an outlet in your garage and not having one readily available. This might force you to grab an extension cord and run it to an outlet further away than you’d like. As a permanent solution, you could run a new electrical circuit and install outlets exactly where you want them. This may be more feasible if your garage isn’t finished and the studs are exposed. However, if there is already drywall and you don’t feel opening up the walls, there might be an easier option.
If you have a light switch in your garage, you could utilize this location to install an outlet/switch combo. As the name suggests, an outlet/switch combo has both a switch and an outlet in one, which fits directly into the existing location of your switch inside of the receptacle box. There is no need to cut into or disturb the drywall. The obvious thing to mention here is that this will only be useful to those who are okay with the new outlet location being located at the light switch.
To replace the existing light switch with this outlet/switch combo, you simply remove the existing light switch and install the new outlet/switch in its place. This is a quick-and-easy option for those who need an outlet, but don’t want to go through the hassle of opening up the drywall and snaking new lines behind the wall for a new outlet.
Tools & Materials Used
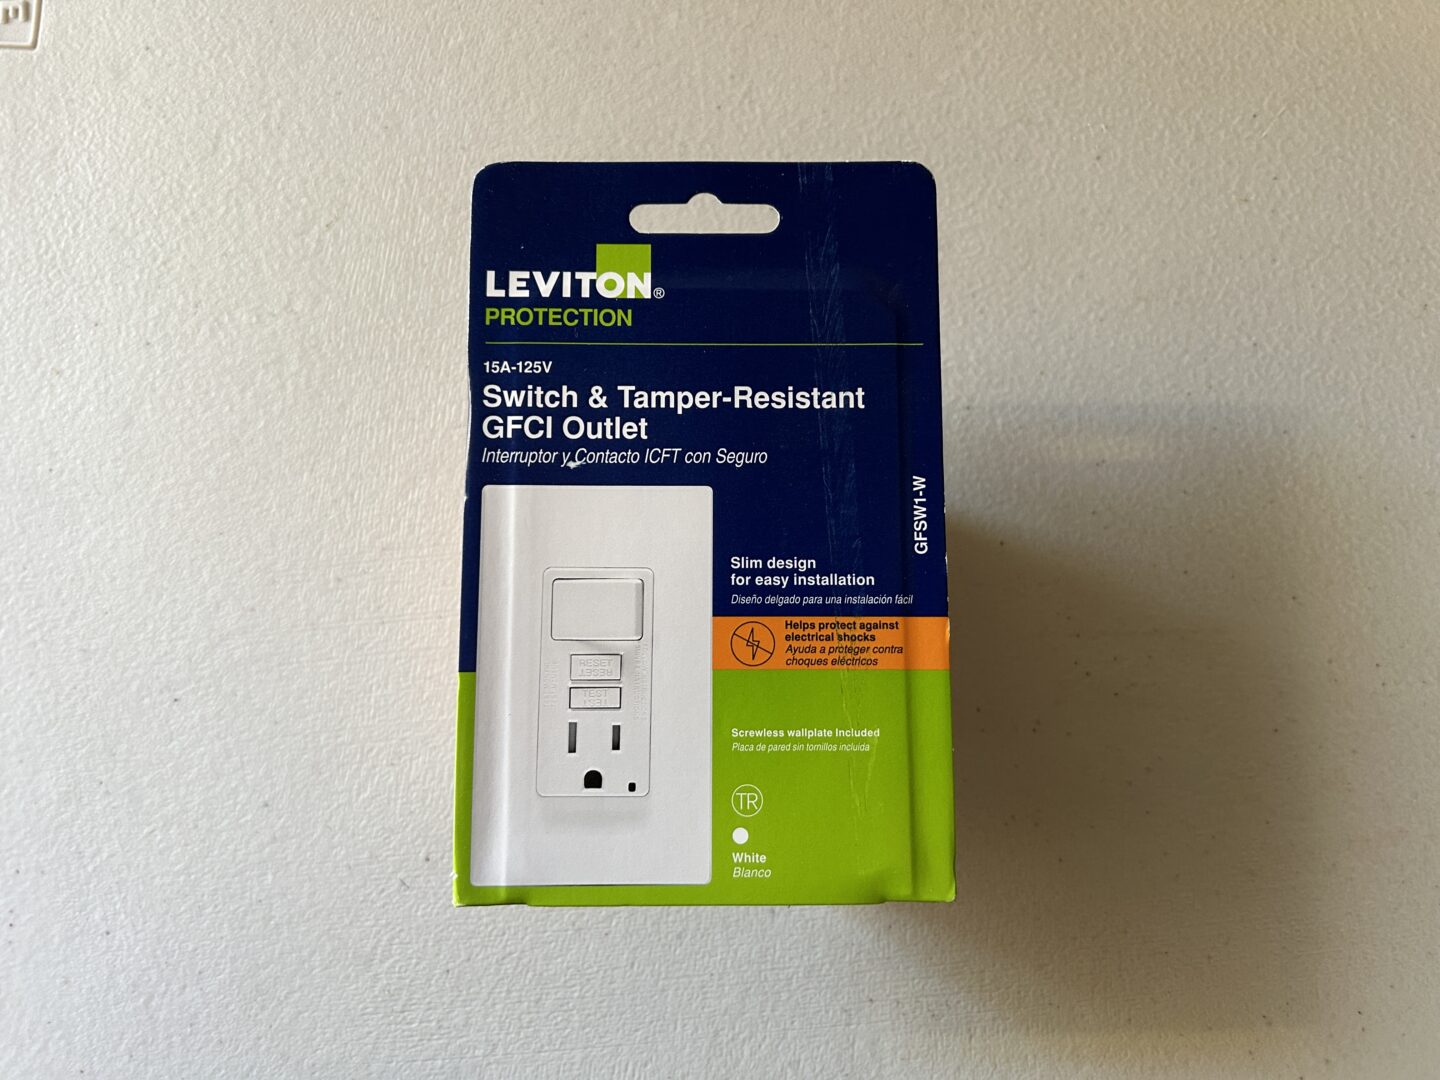
The switch/outlet combo that I installed in my garage is a Switch & Tamper-Resistant GFCI Outlet made by Leviton. There are other combo units that offer a regular outlet, but because this is located in the garage and could be exposed to water, I opted for the combo unit with GFCI protection.
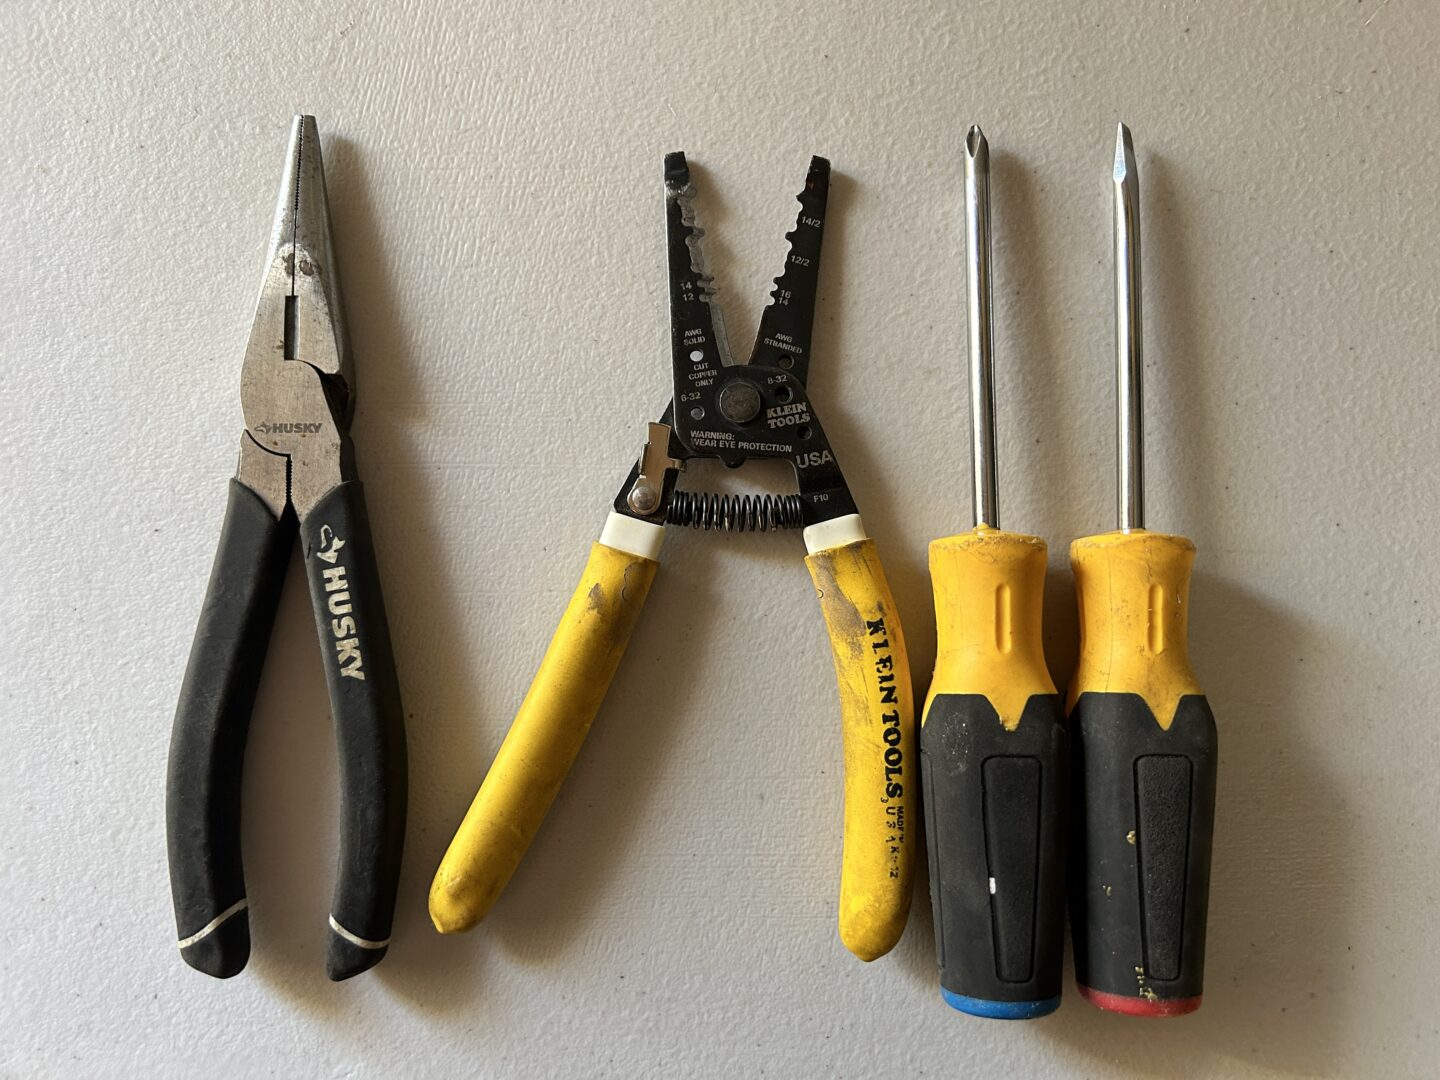
Some other things you’ll need are a cover plate (usually not included with the outlet/switch combo), a multimeter or voltage tester, and some tools like screwdrivers, pliers, and wire strippers.
Cover plate
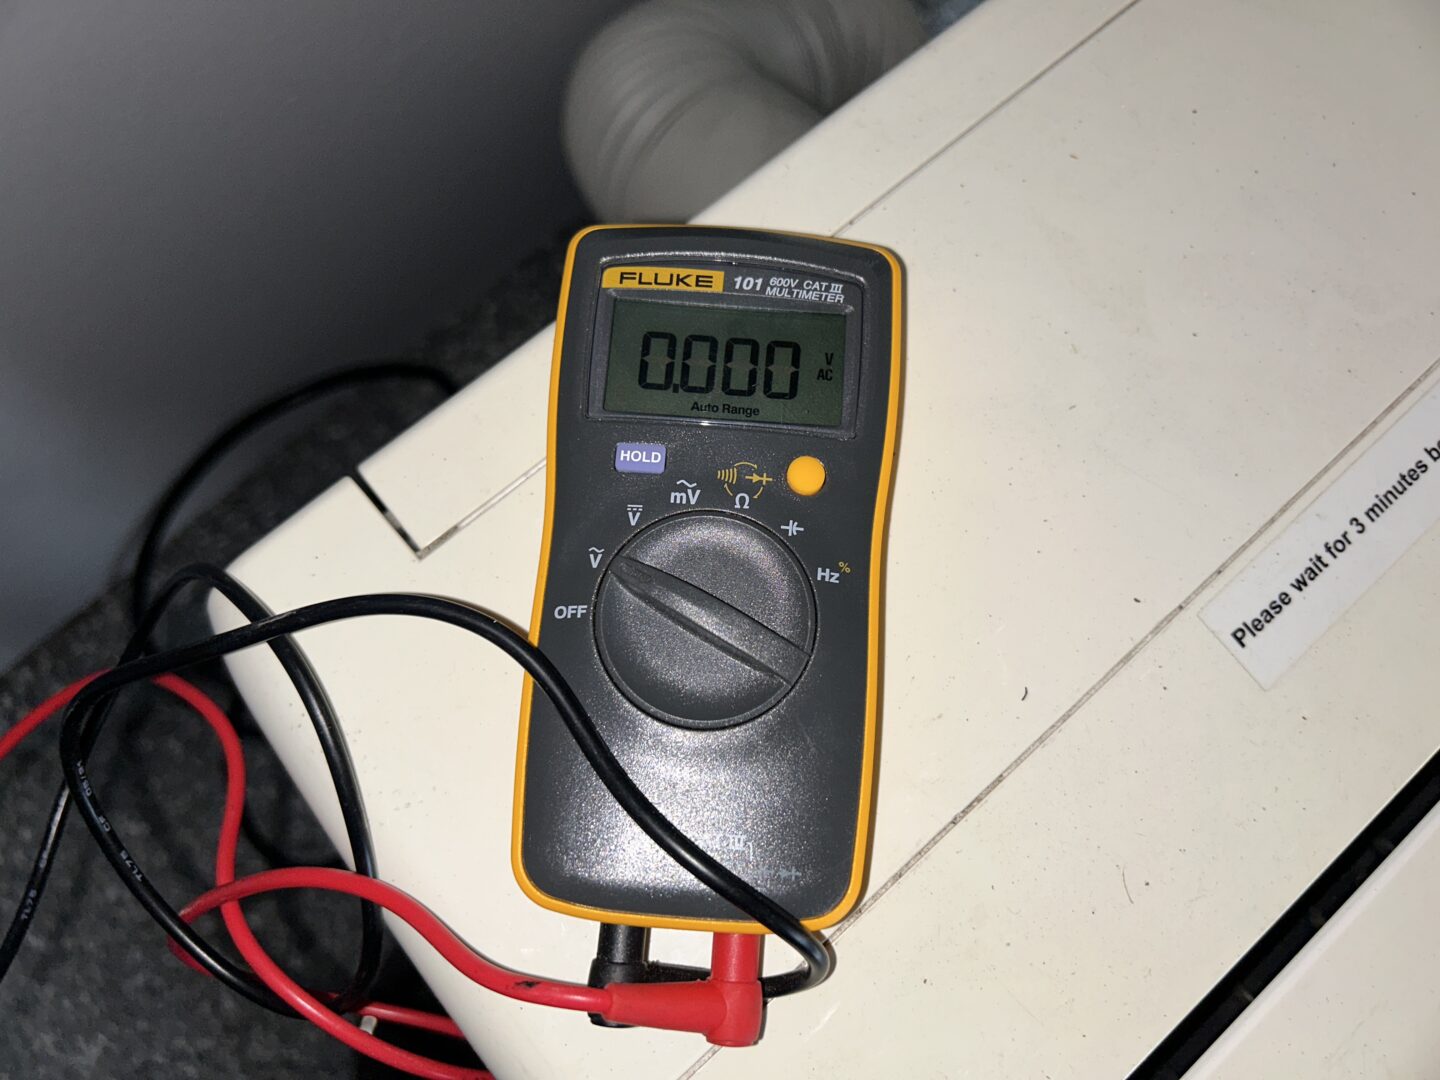
Multimeter / Voltage Tester
Pliers Set
Wire Strippers
Screwdriver Set

How to Replace a Light Switch with an Outlet/Switch Combo
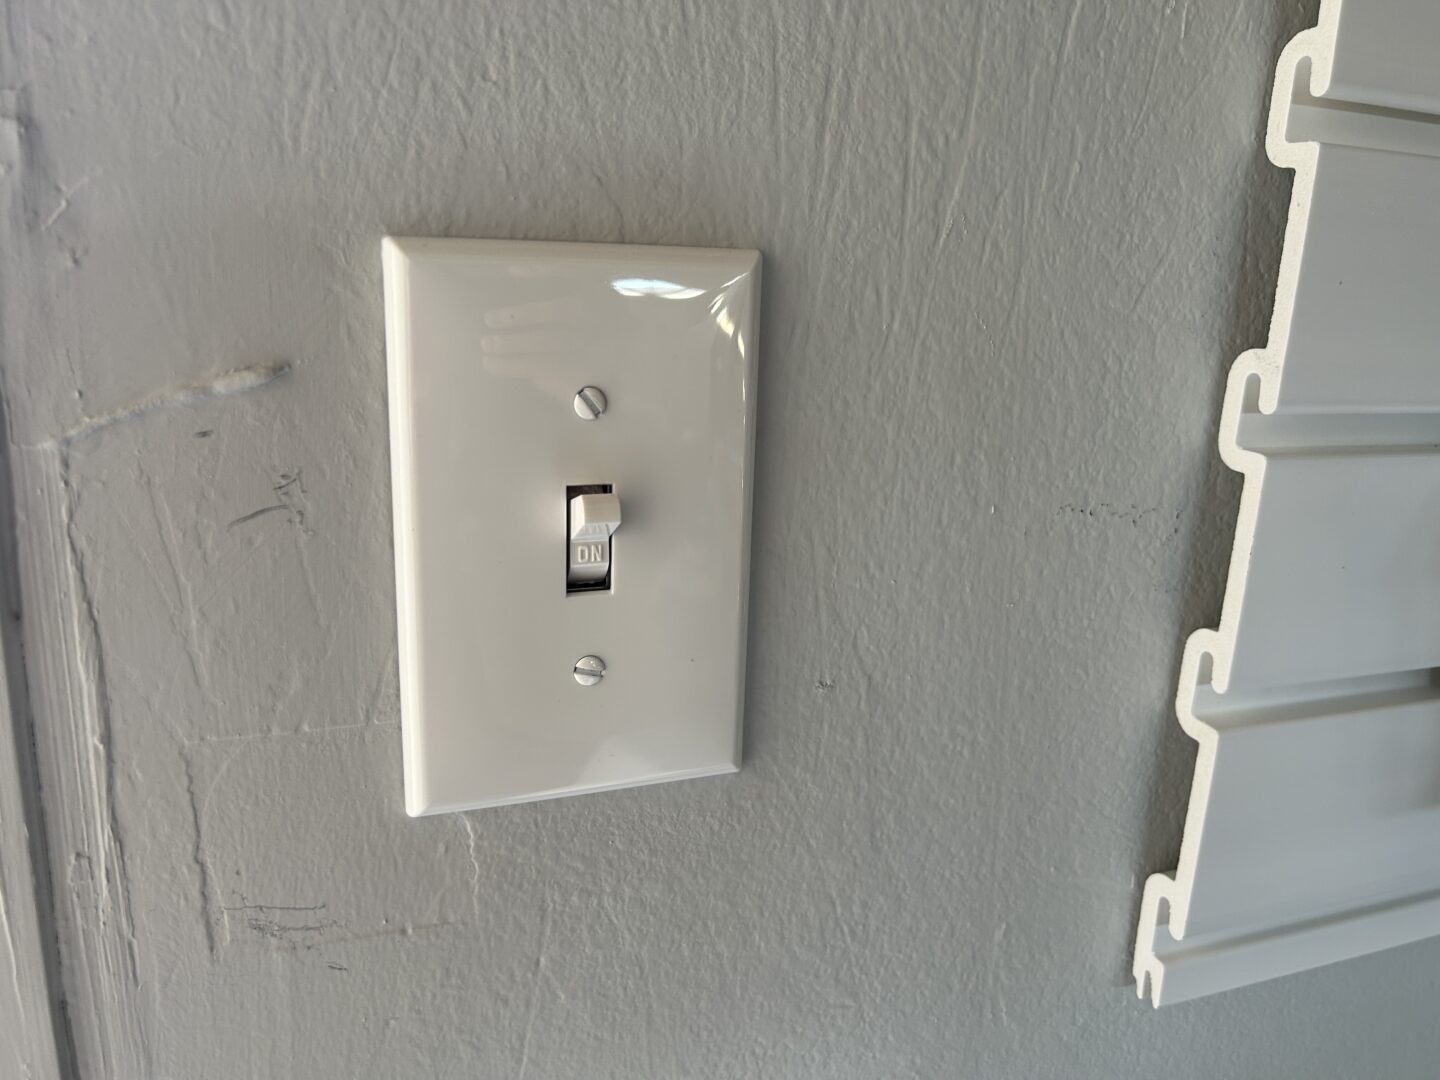
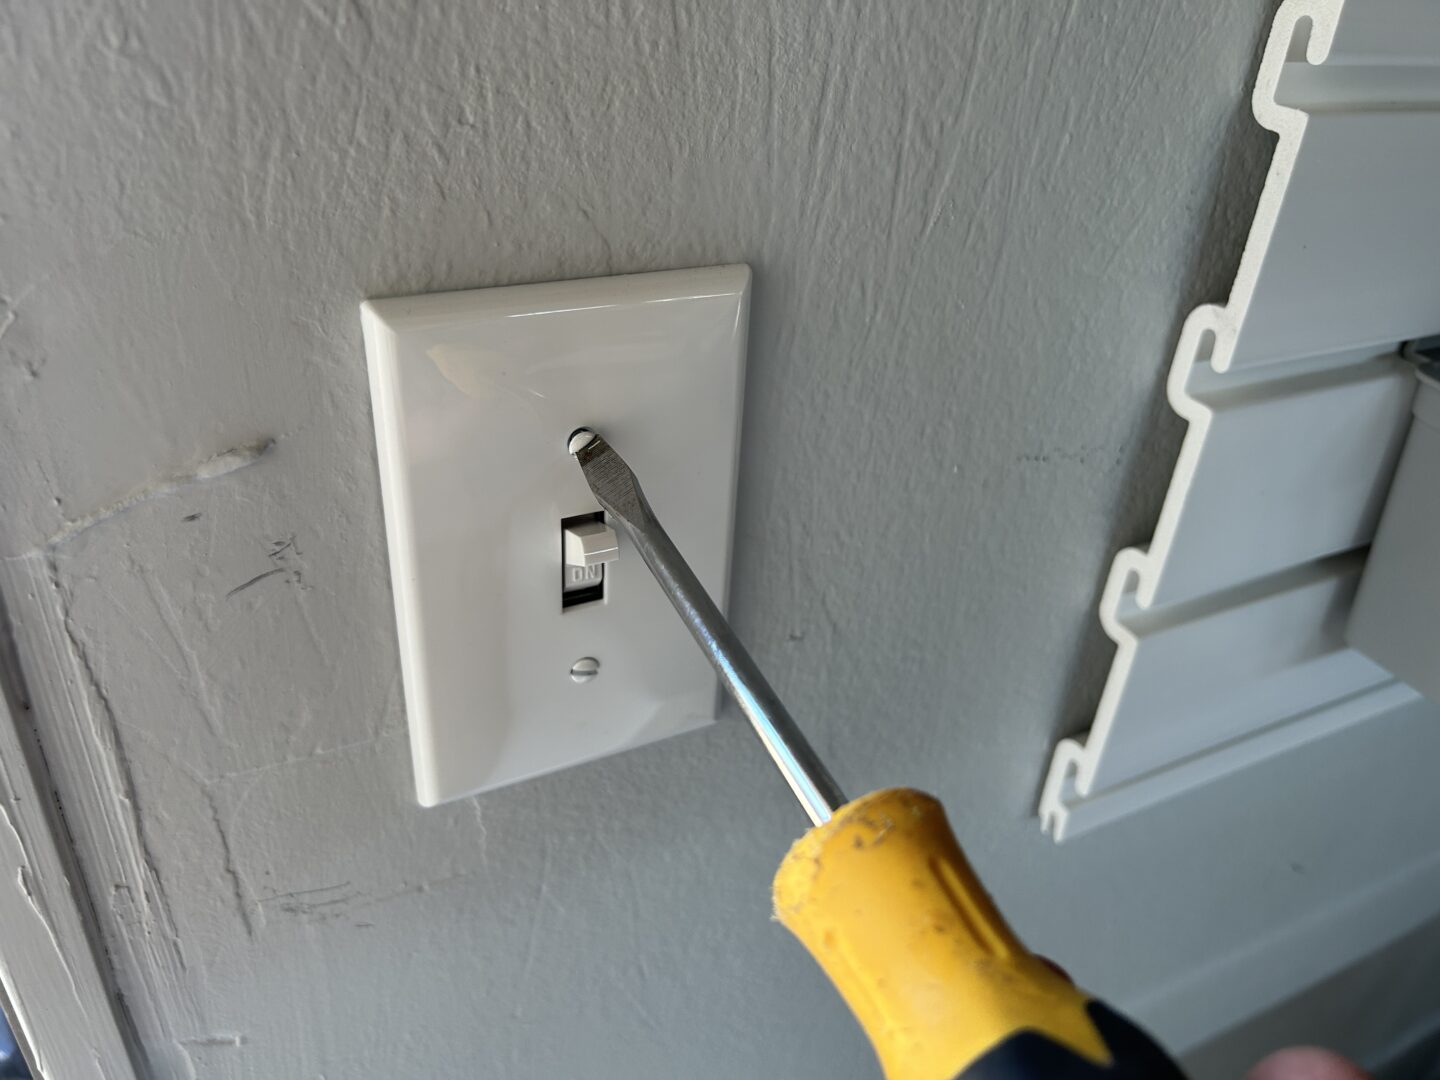
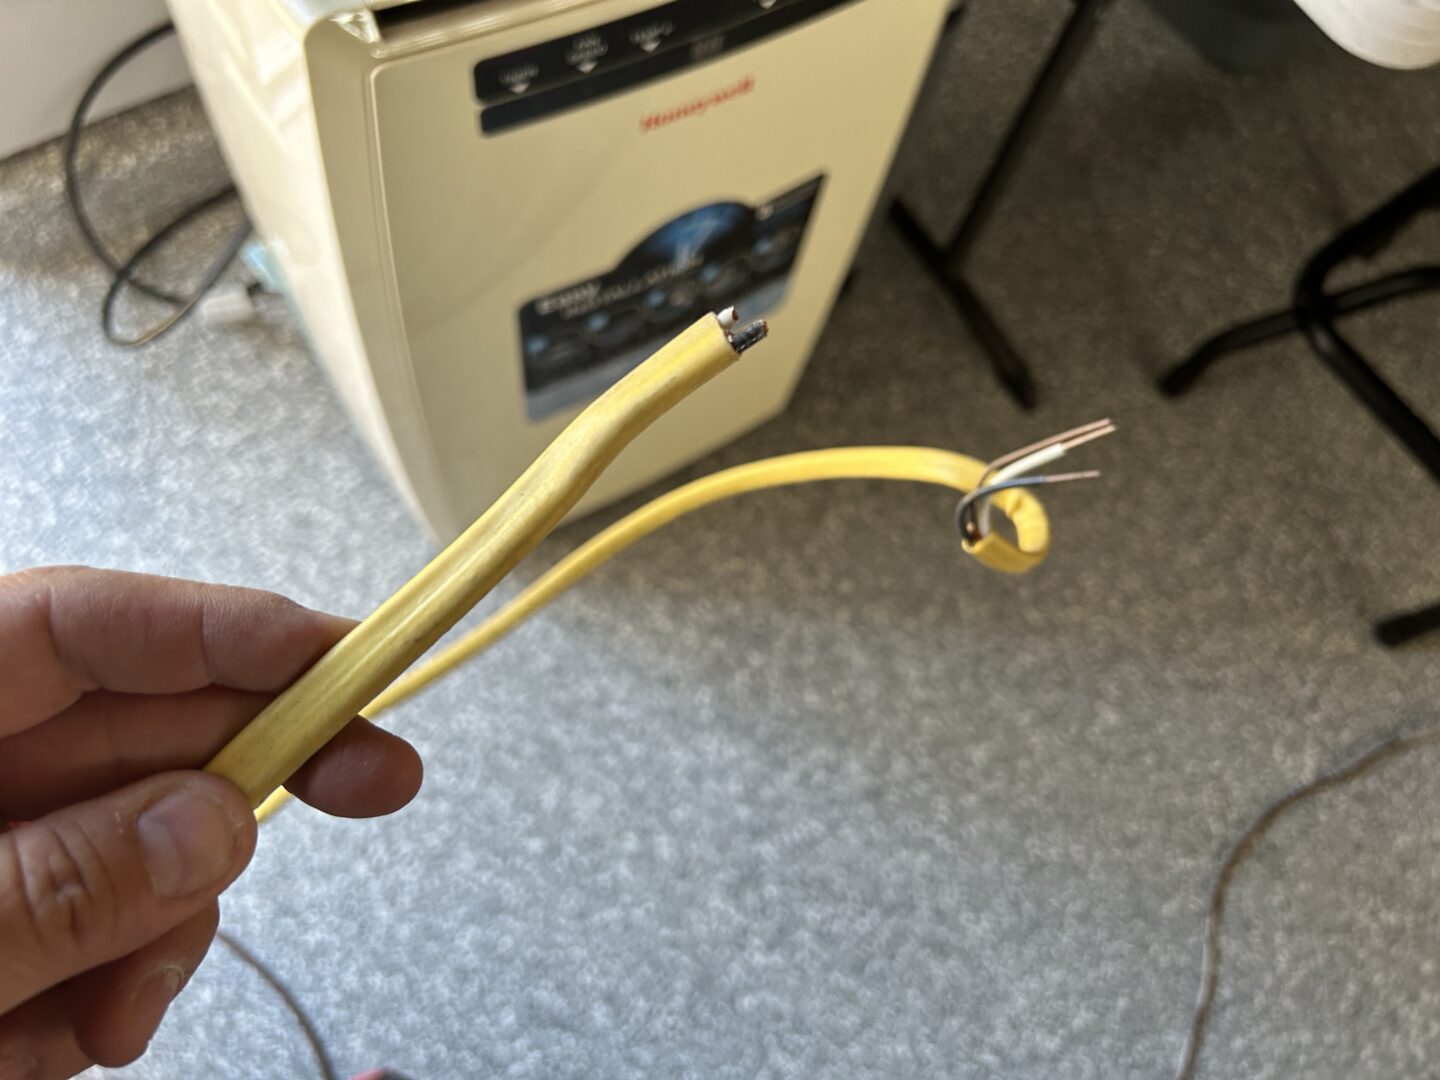
This is a standard single-pole light switch that I will be replacing with the new combo unit. This switch is located in a spot in my garage where I needed a place to plug in a portable air conditioner unit. The switch is located near a door, but on the other side I have a spot where I could run the plug to the air conditioner.
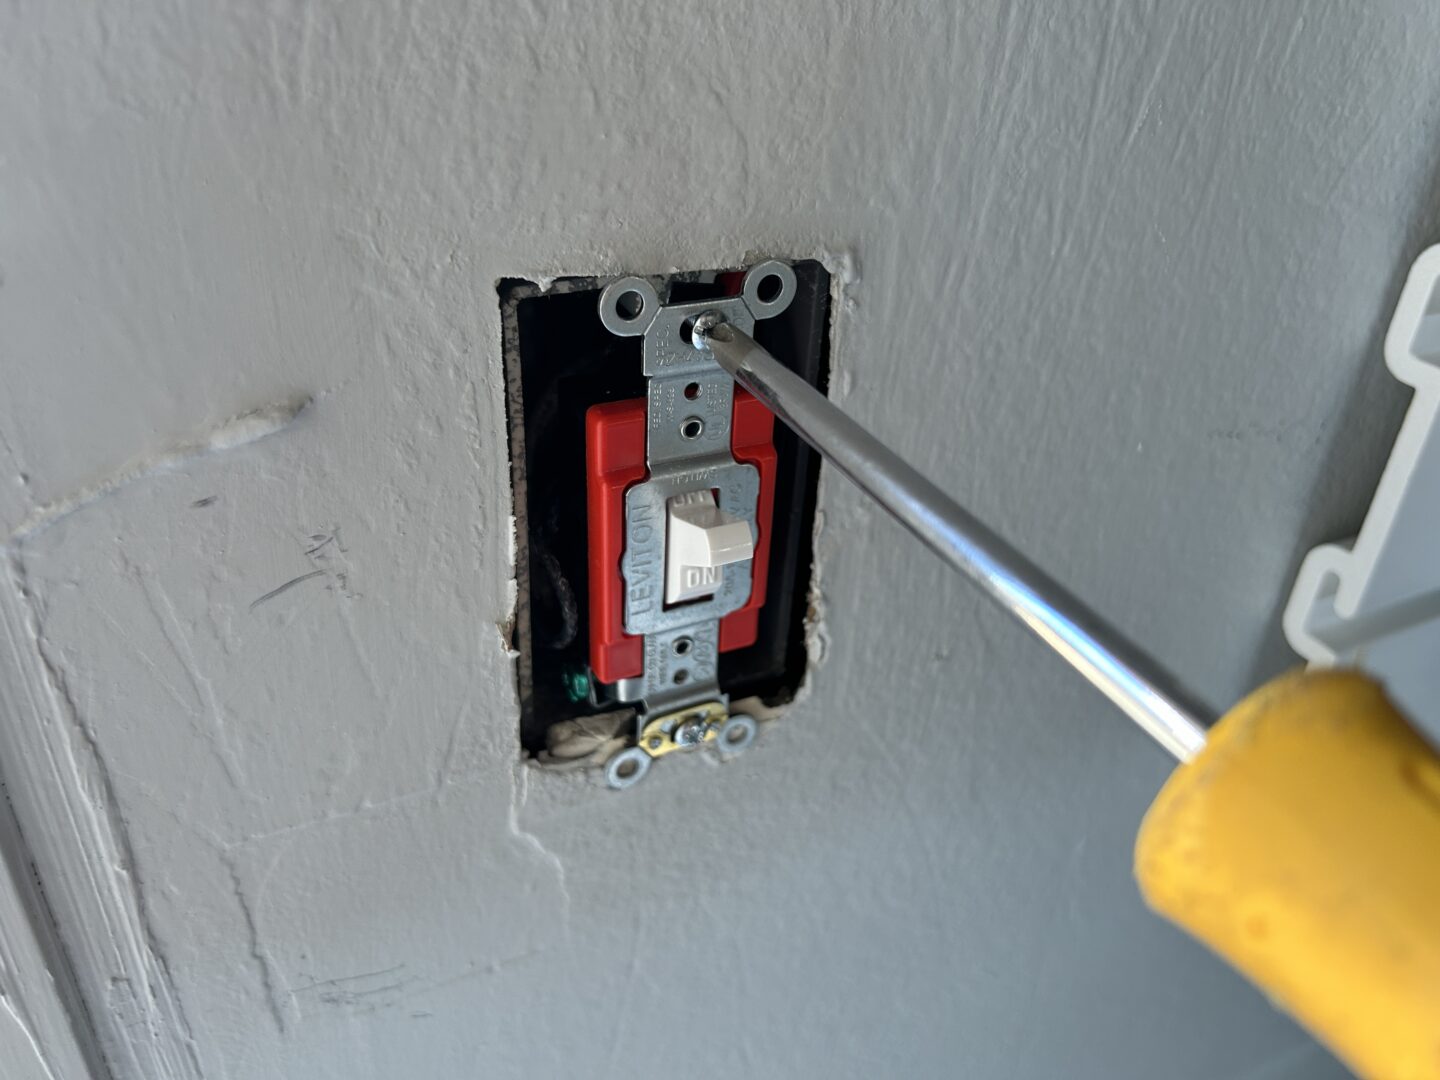
Before starting any electrical work, start by turning off the power to the circuit you’re working on. Better yet, turn off power to the entire house just to be safe (this is my preferred method.) Remove the existing cover plate and unscrew the light switch. Then, using your multimeter or voltage tester, ensure that there is no power at this location.
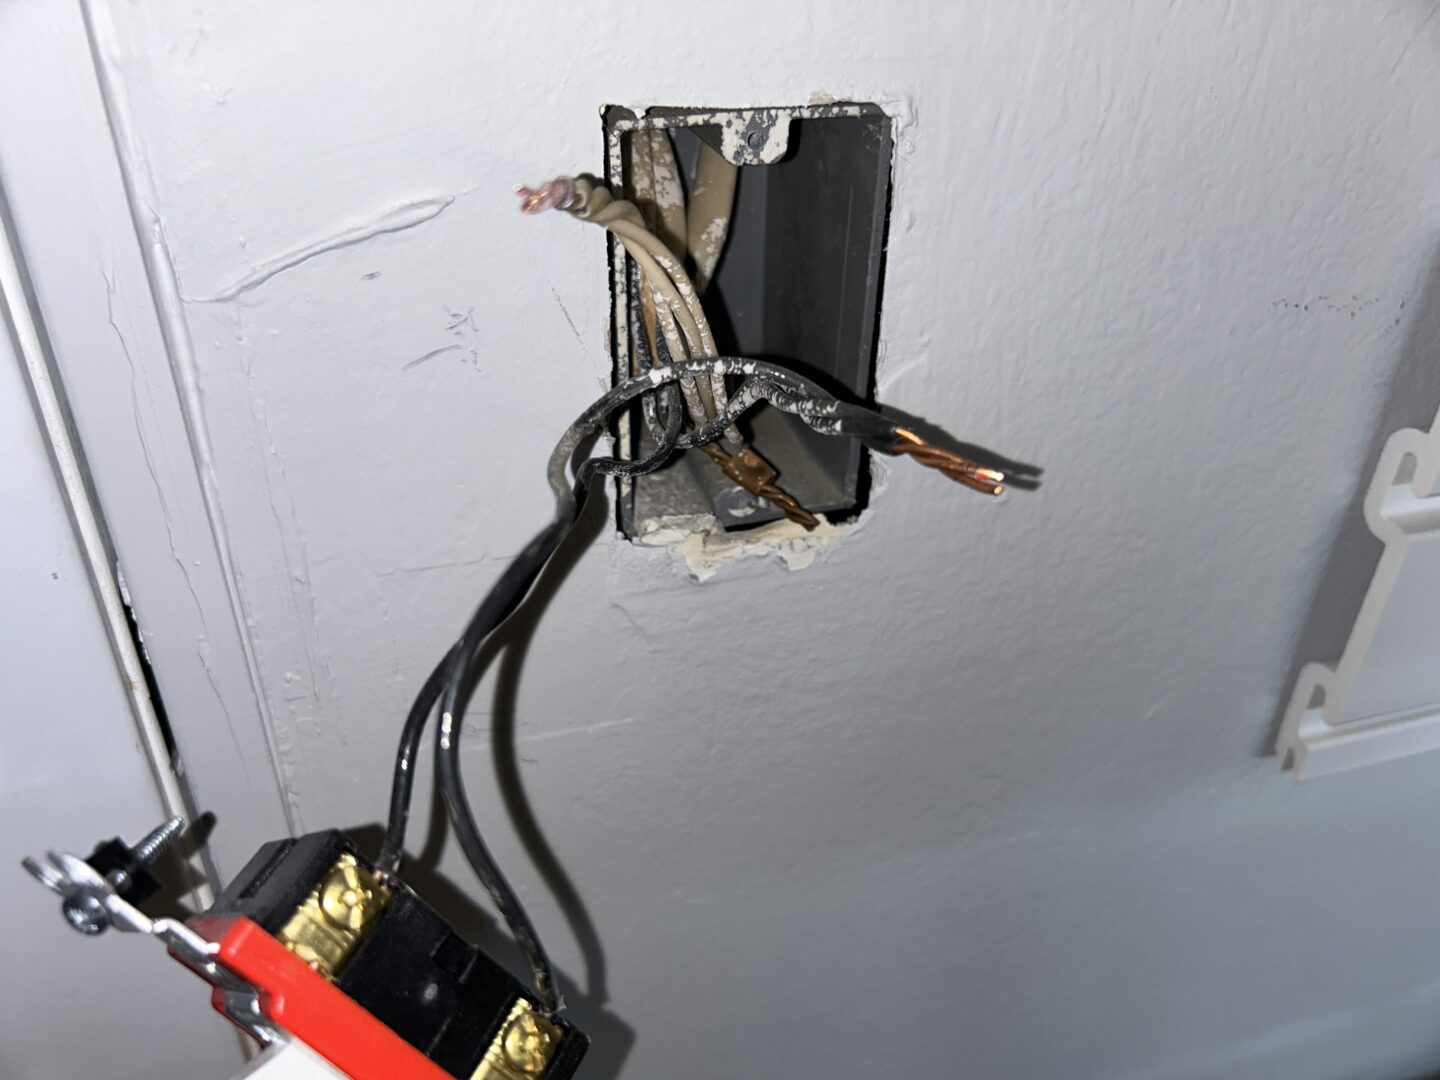
If you’re testing with a multimeter, check that there is no voltage between the hot (black wire) and ground wire. Connected to my single-pole light switch, there is a hot wire (black), a ground wire (bare), and one other wire (black) that runs to a light fixture. In the receptacle box, there is also a neutral wire that I will need to tap off of for the new outlet/switch combo.
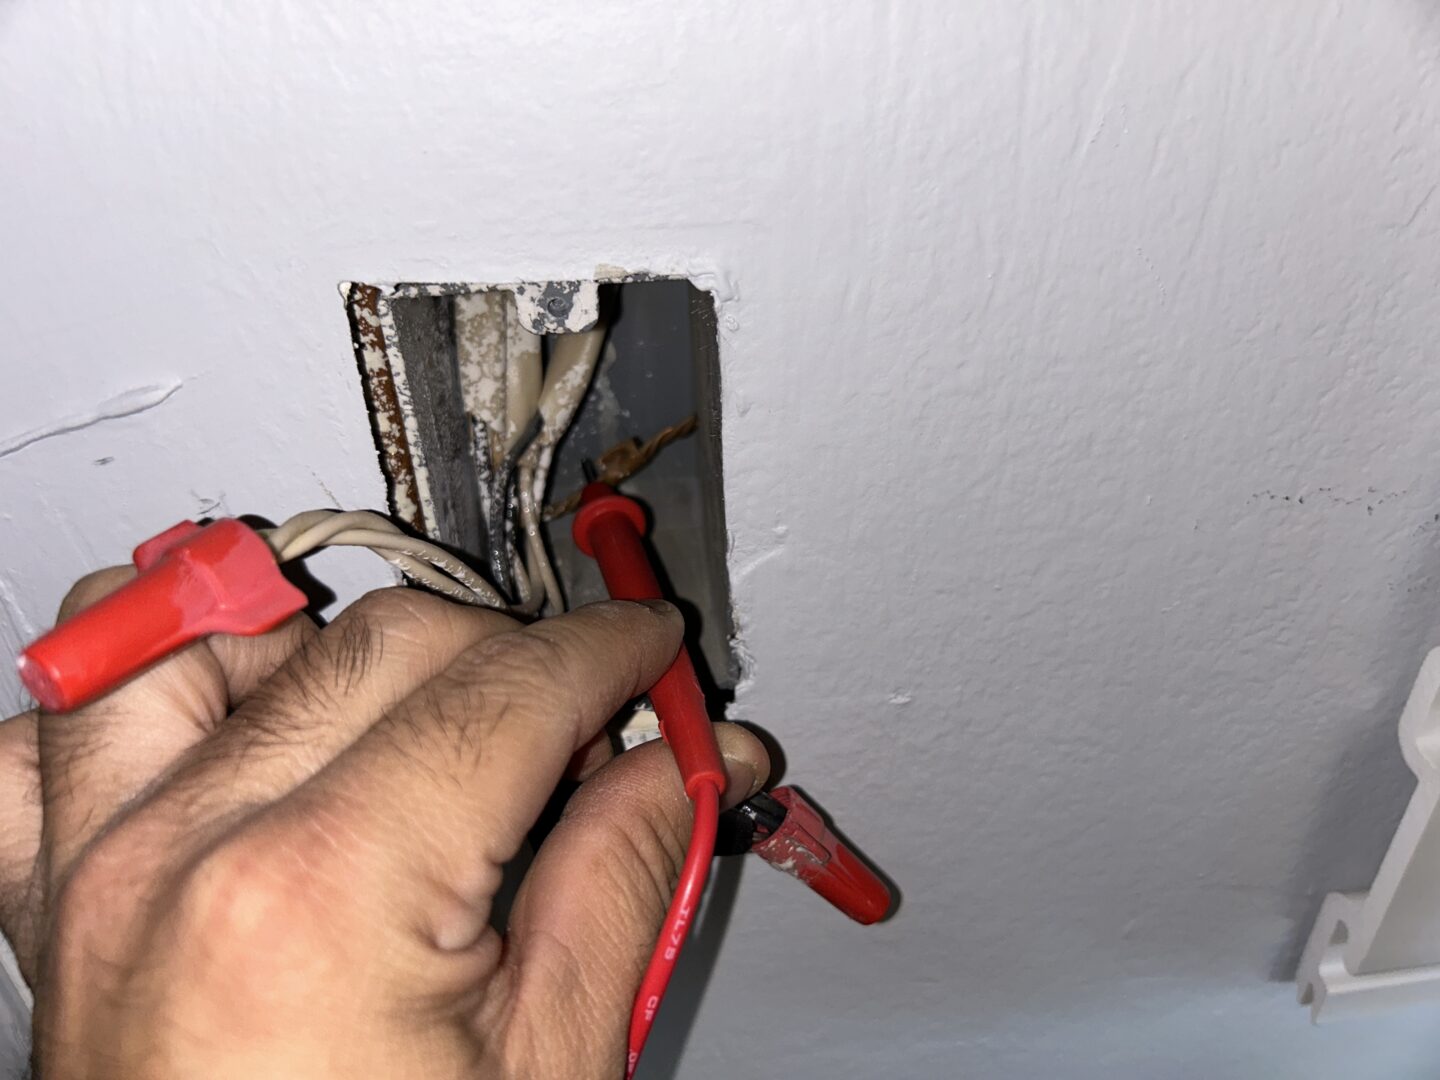

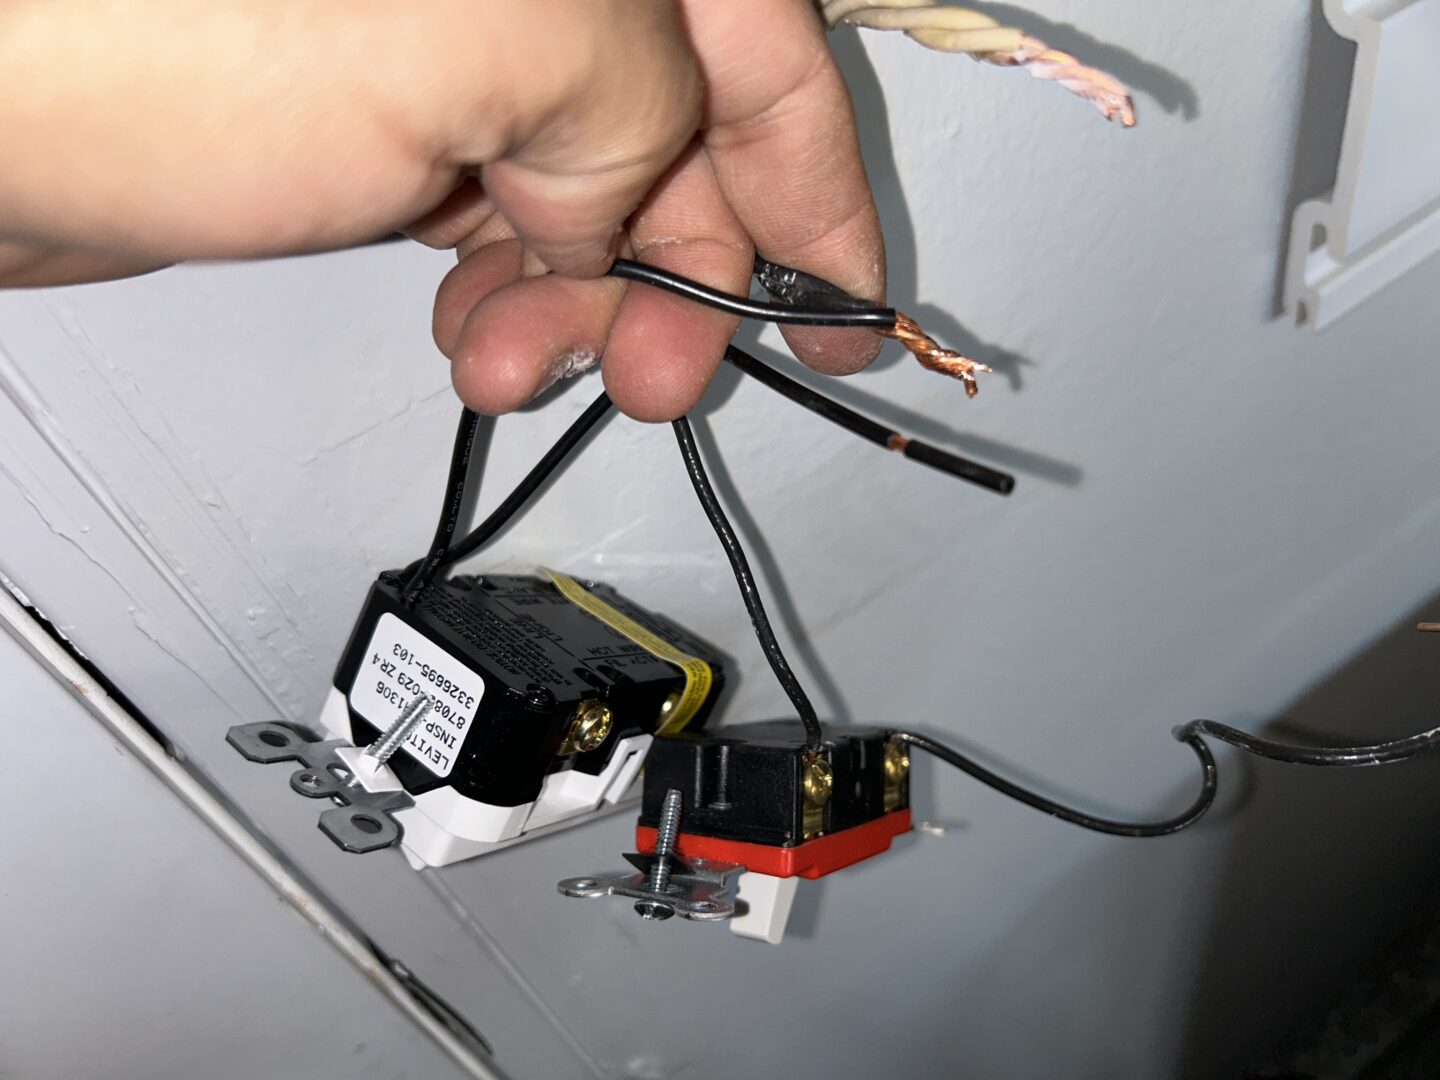
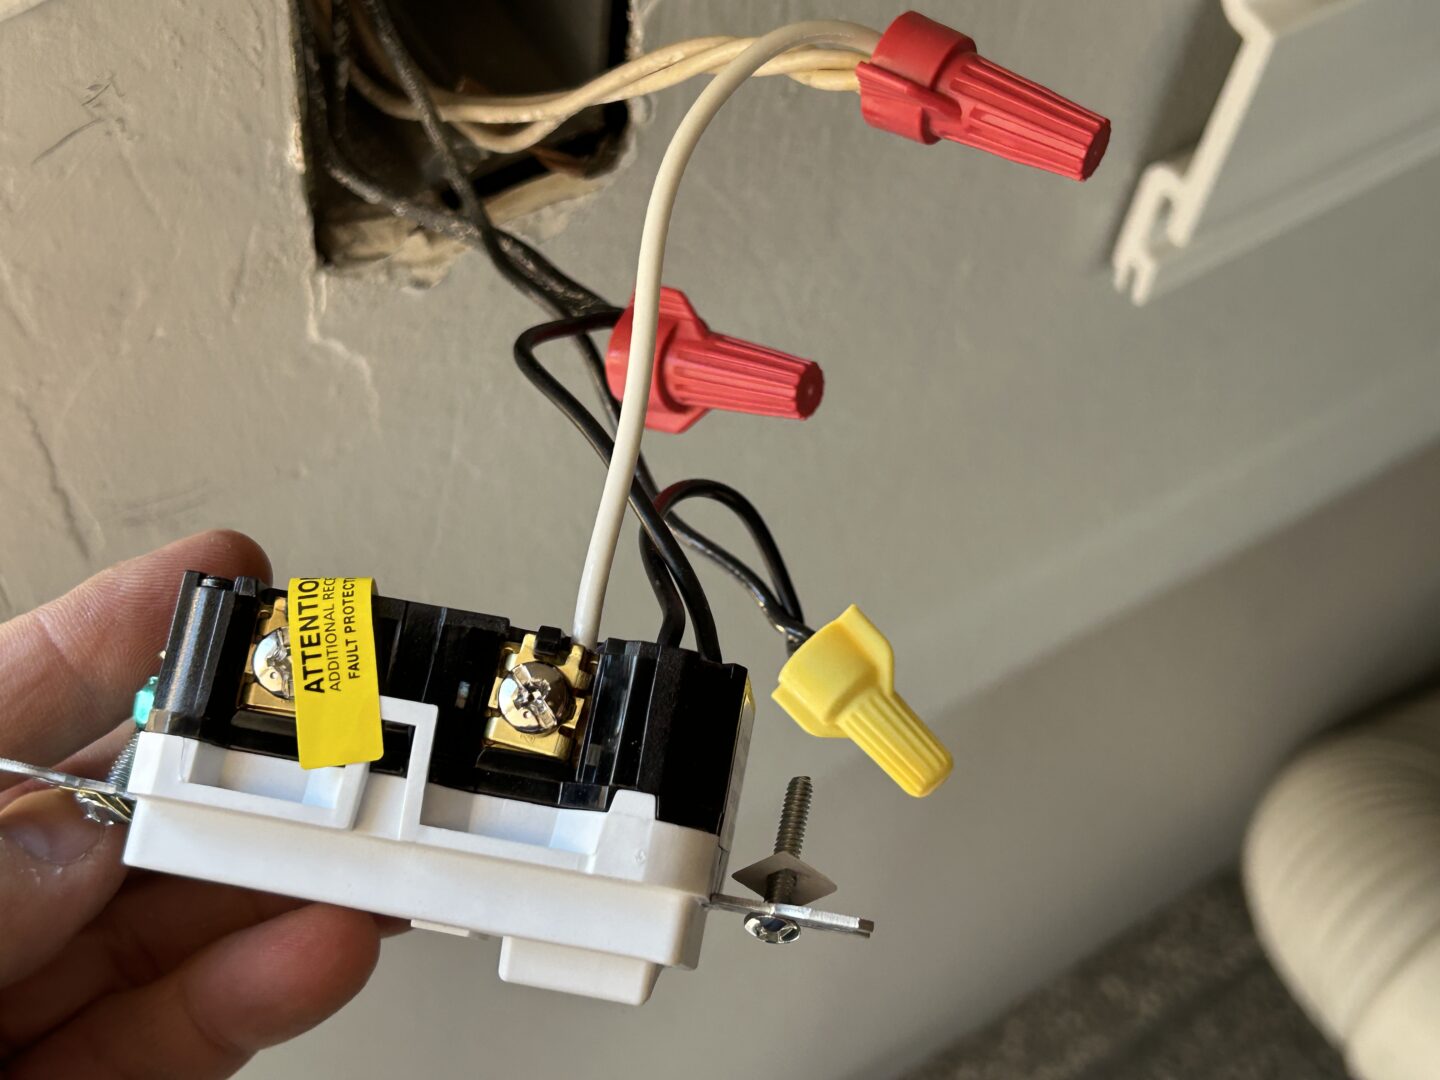
Unbox your new outlet/switch combo and check that there are the correct number of connections to install in place of your existing switch. The easiest way to keep track of everything when replacing the switch is to undo the connections on your old switch and transfer them over to your new outlet/switch combo, one wire at a time.
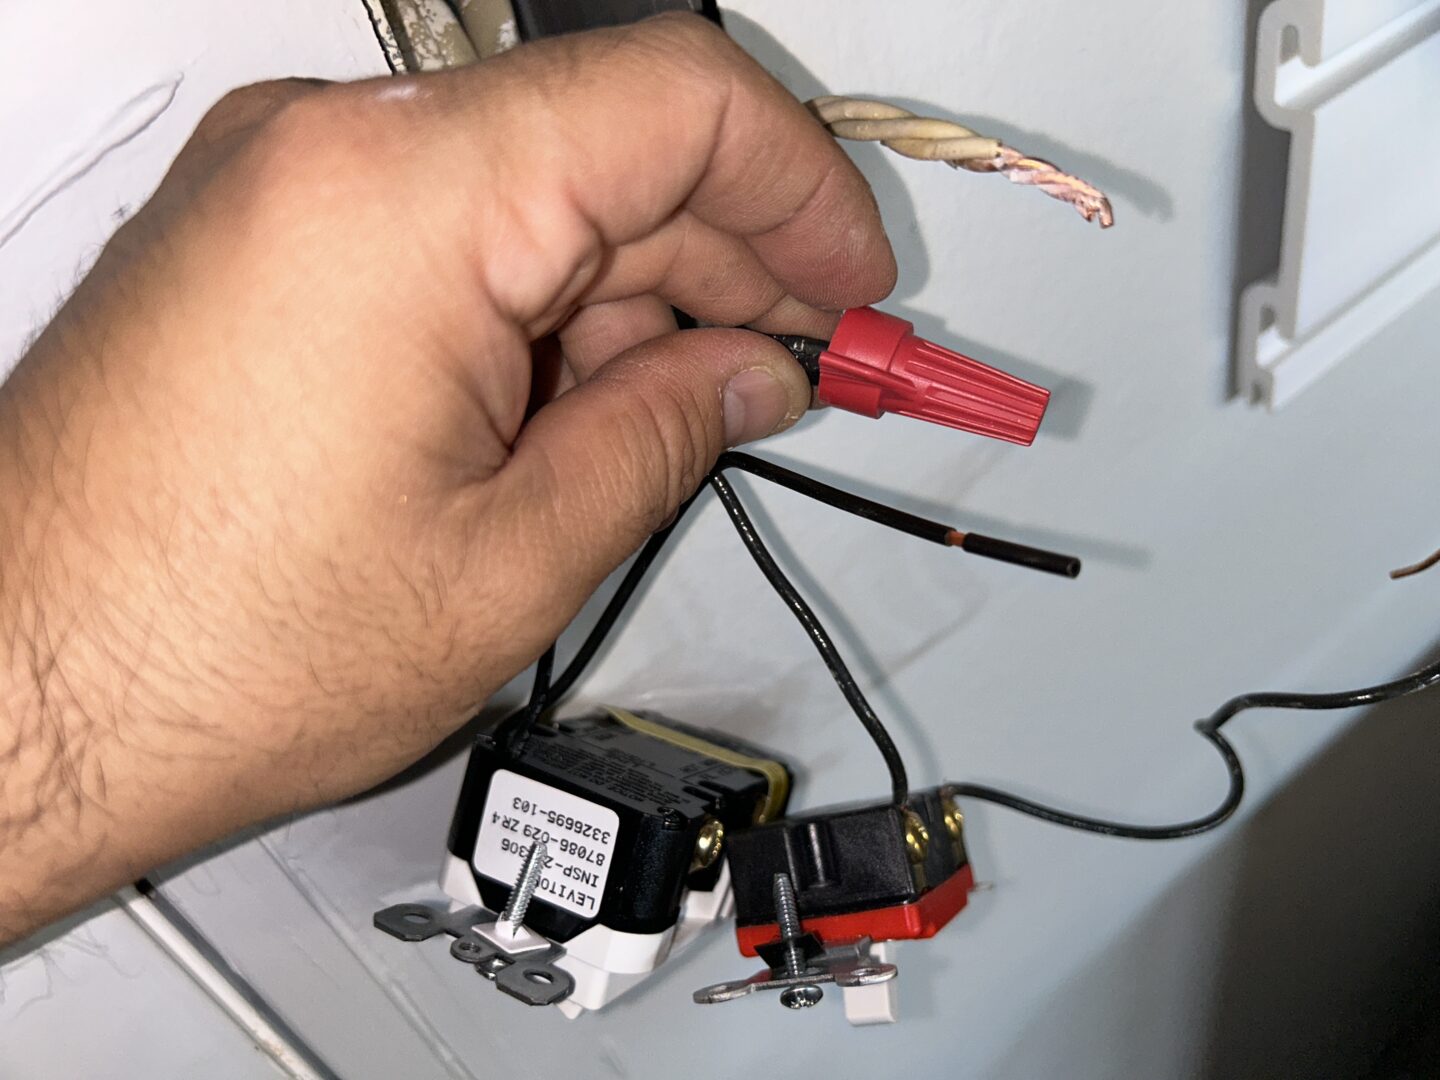
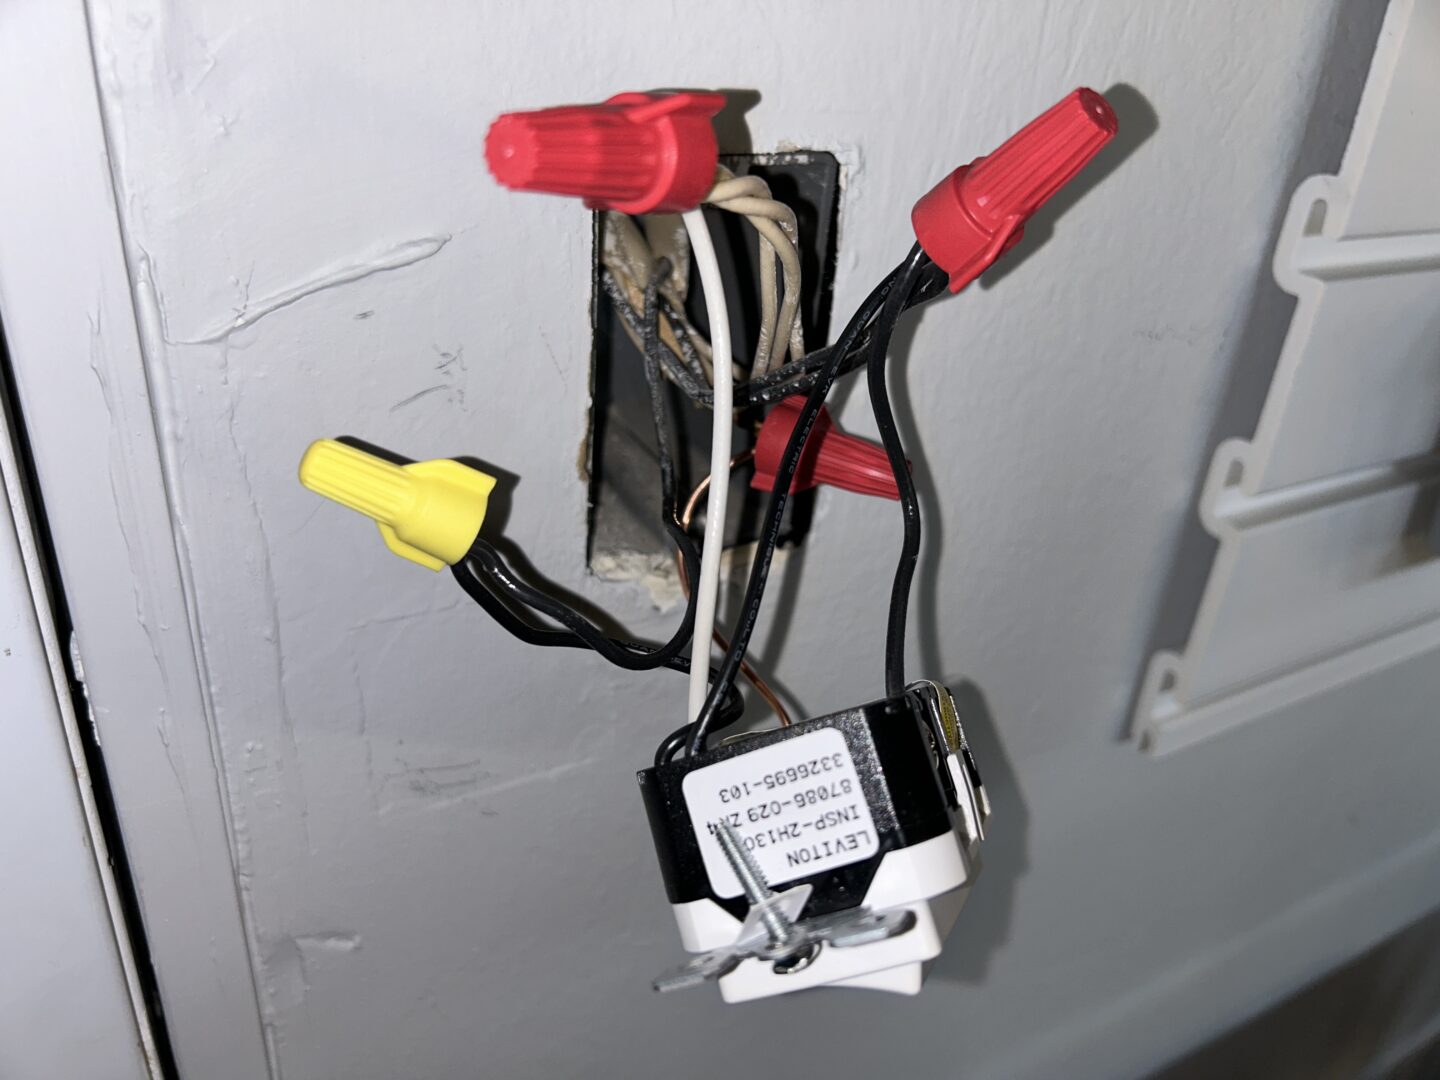
If you’re using wire nuts like I did here, you’ll twist the two wires together by hand (and/or with pliers) and then use a wire nut to screw down the twisted wires. It’s a good idea to unscrew it after screwing down the wire nut, just to check that the wire nut has made a good connection of the twisted wires before screwing it back on tight again. Do this for hot wire and switch wires.
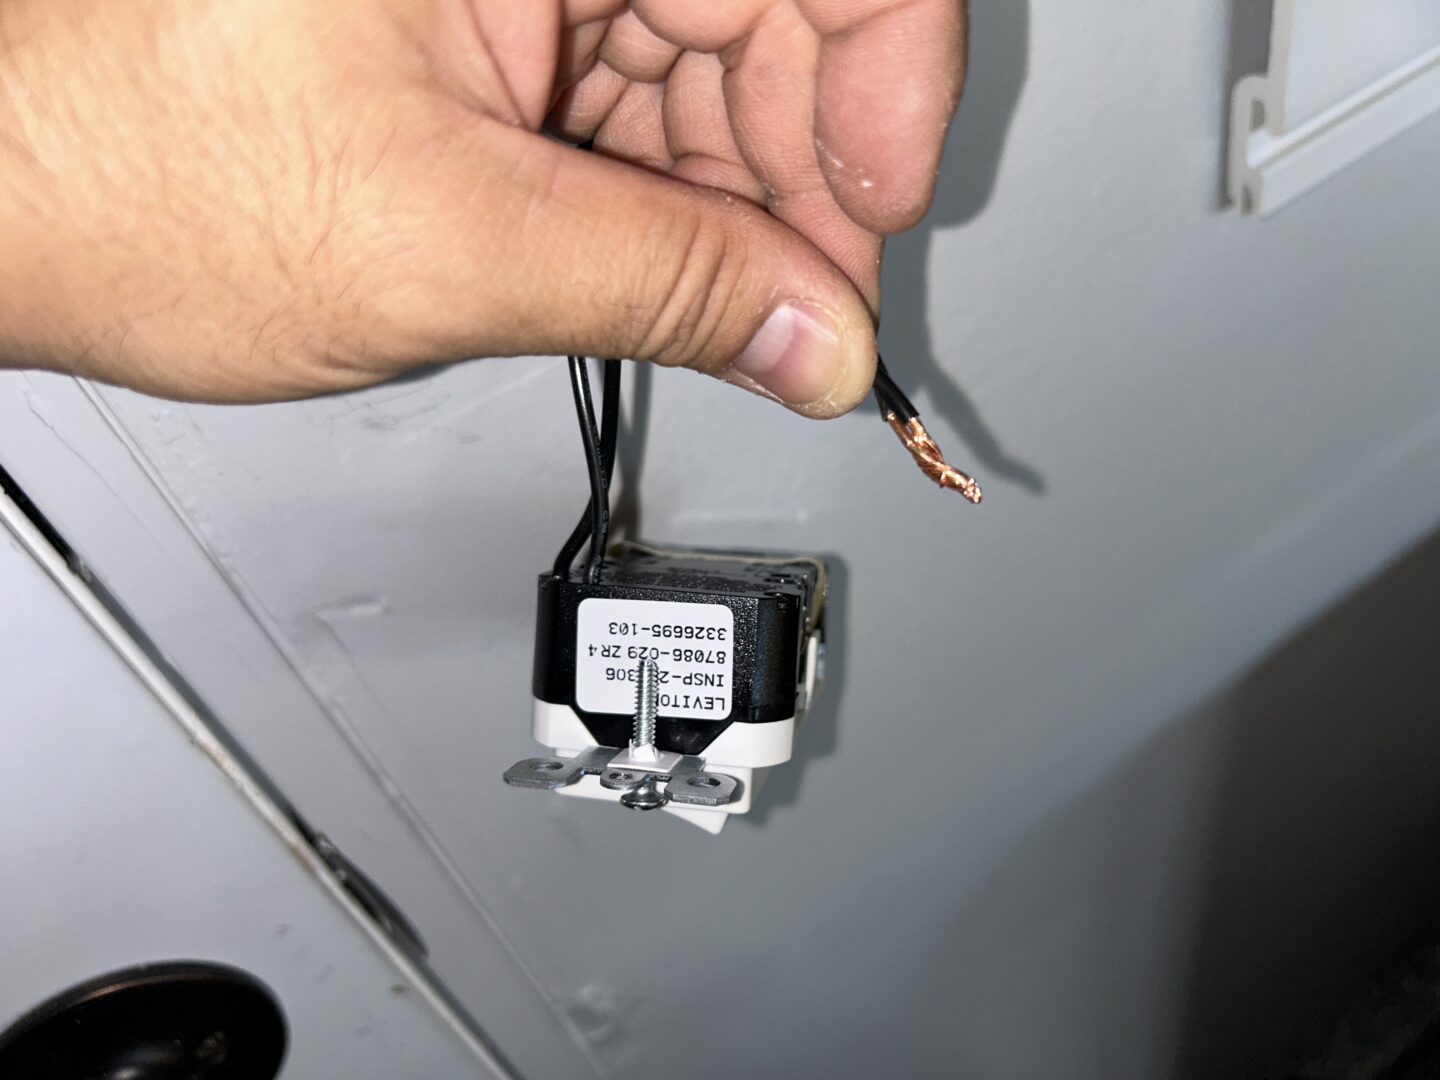
In some cases, you will need pig tails. Use a section of matching/appropriately-sized gauge wire and strip it down as shown. You can then install these new connections from the bundled wire in your wall to the new switch. I needed to run a tap from the neutral wire bundle in the wall to the combo outlet/switch.

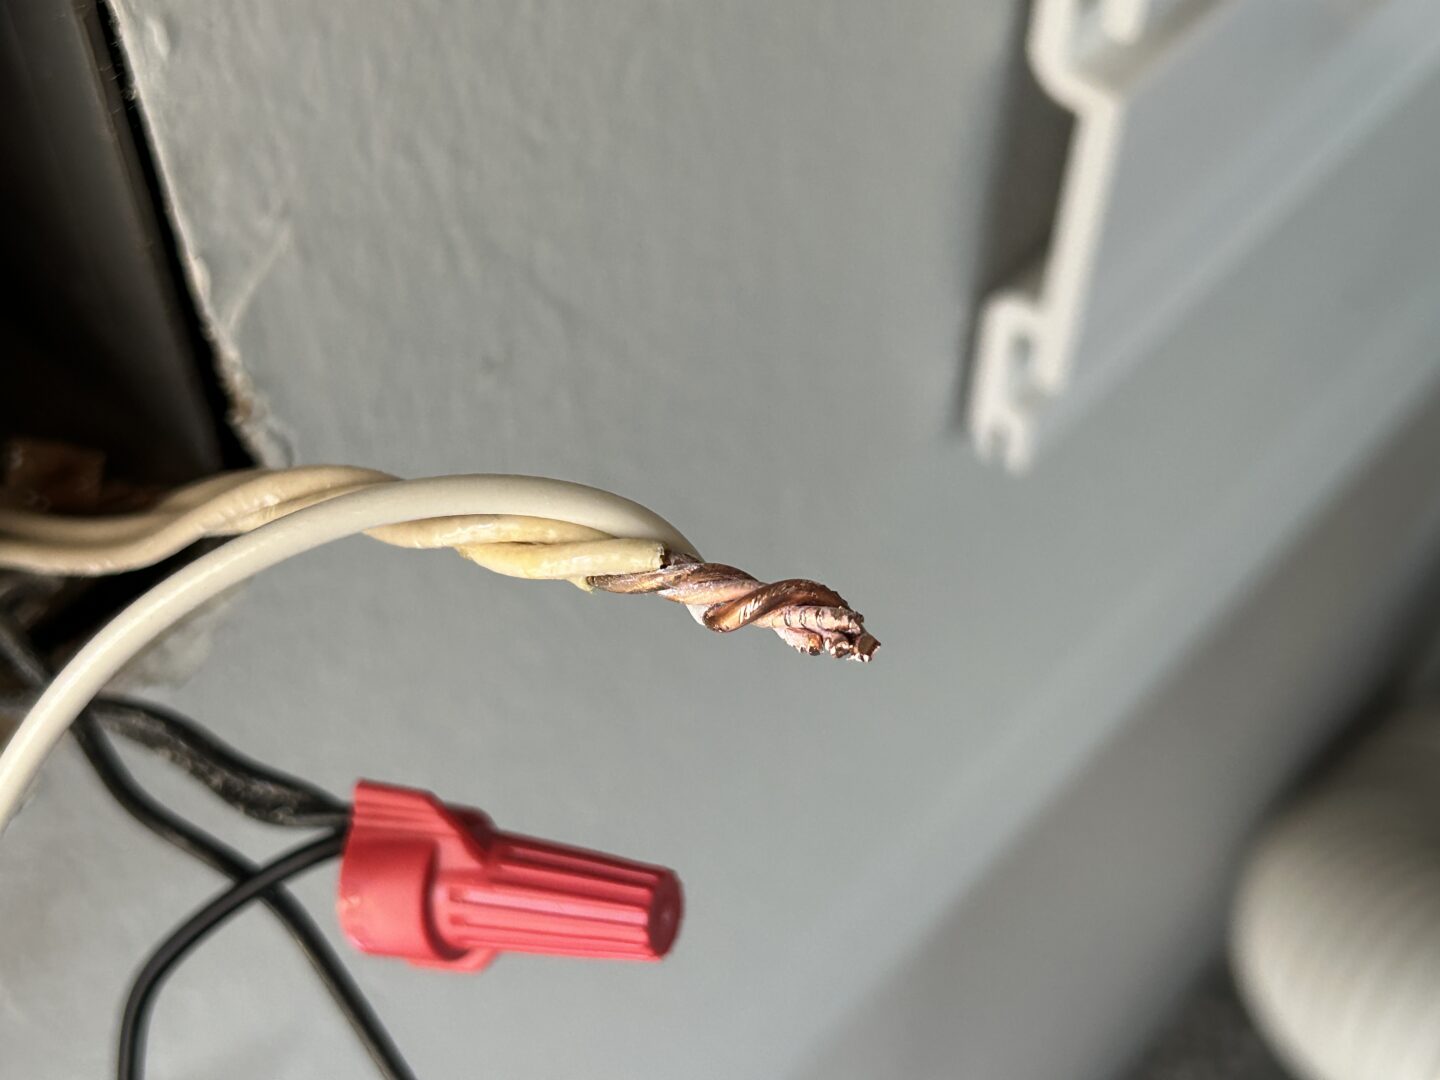
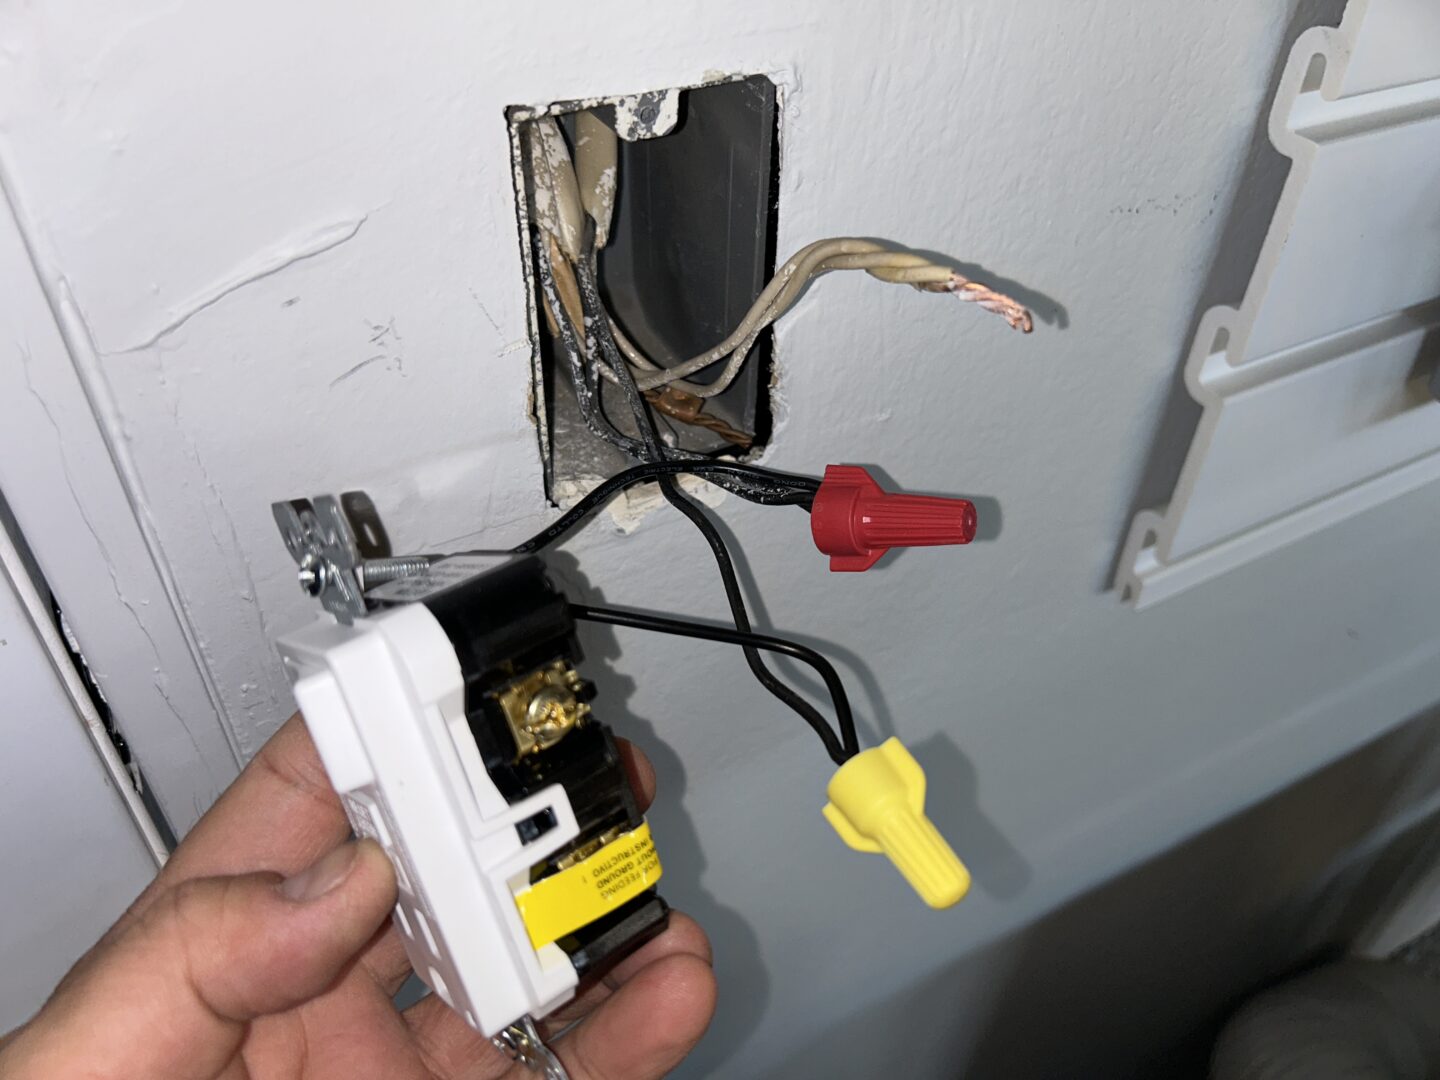
I also needed a bare copper ground wire tap to connect between the bundle of ground wires in the receptacle box and the grounding screw of the outlet/switch combo.
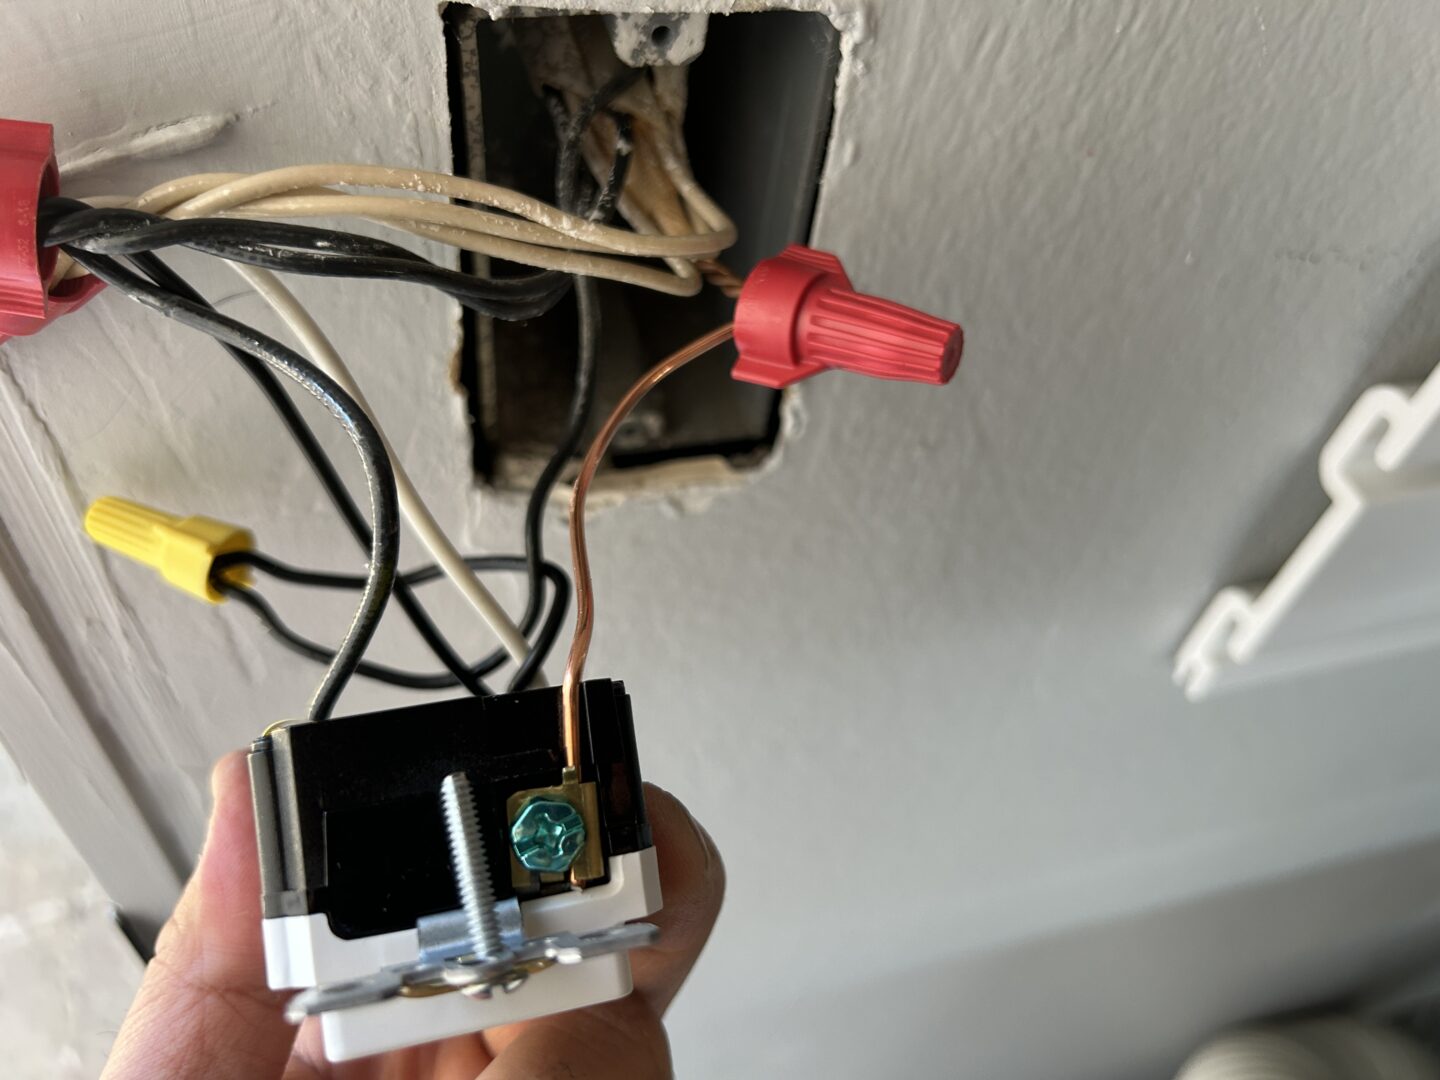
Check all of your connections and ensure everything is connected properly and securely. Since you will be pushing these connections back into the outlet box along with the combo unit, you want to be sure that the connections don’t become disconnected during that process of forcing these all back into the receptacle box.
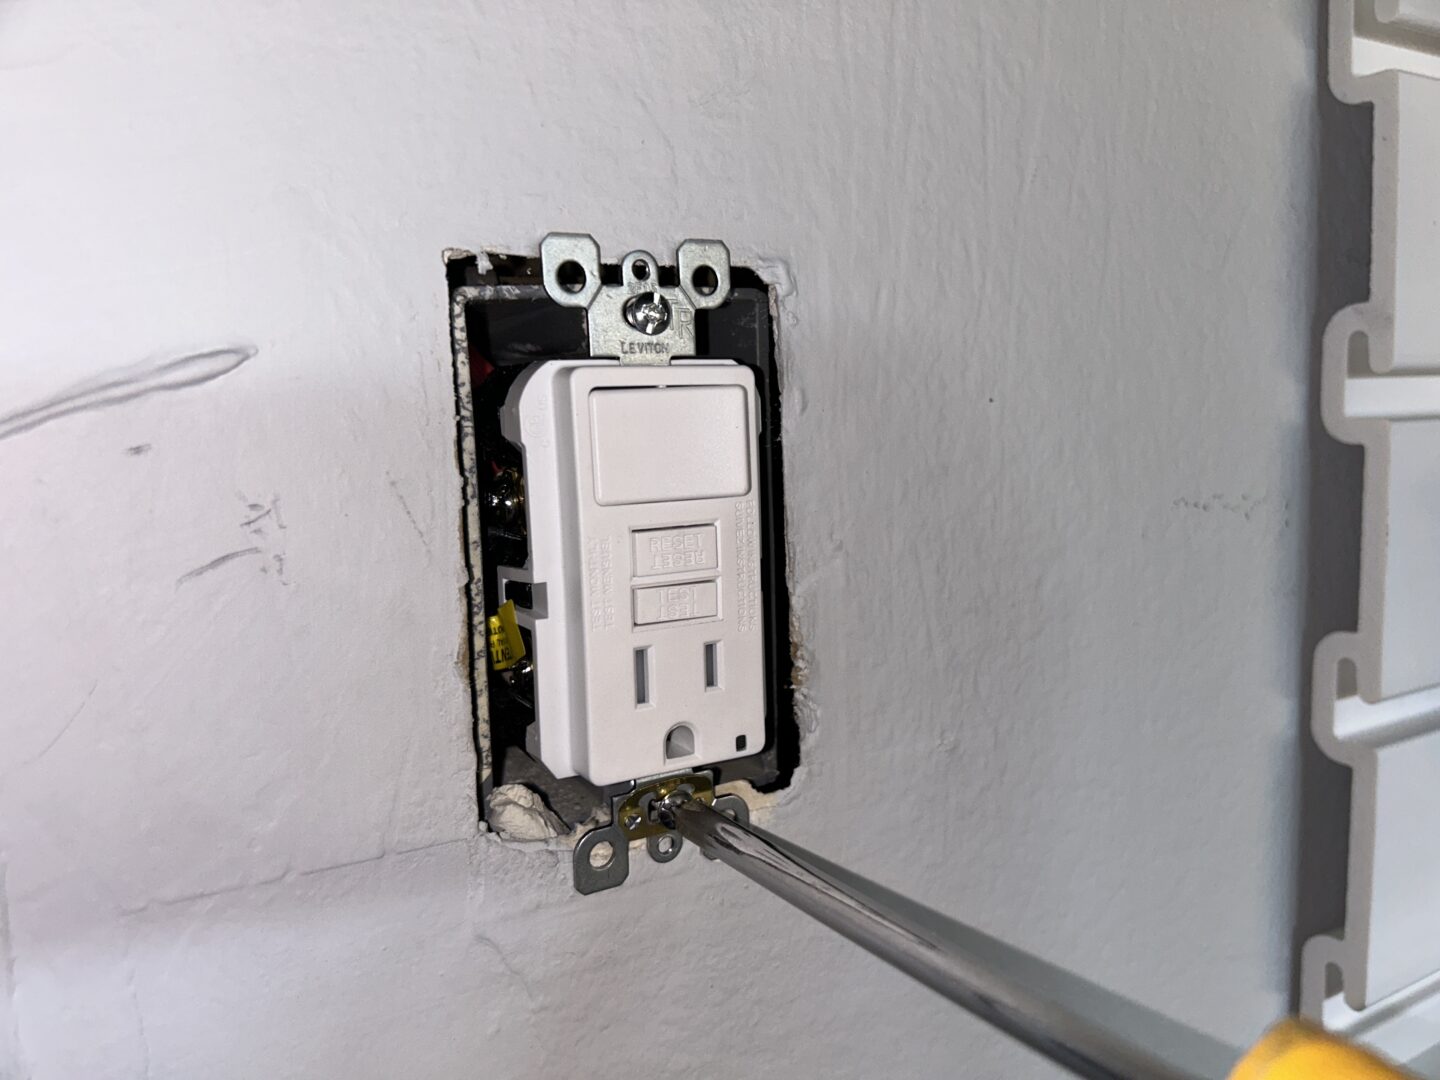
Fold and push the excess wires back into the box, and install the outlet/switch combo. Screw in the Phillips head screws to secure the unit and then install the cover plate with the flat head screws. Turn the power back and and test that the light switch and outlet are both working properly.
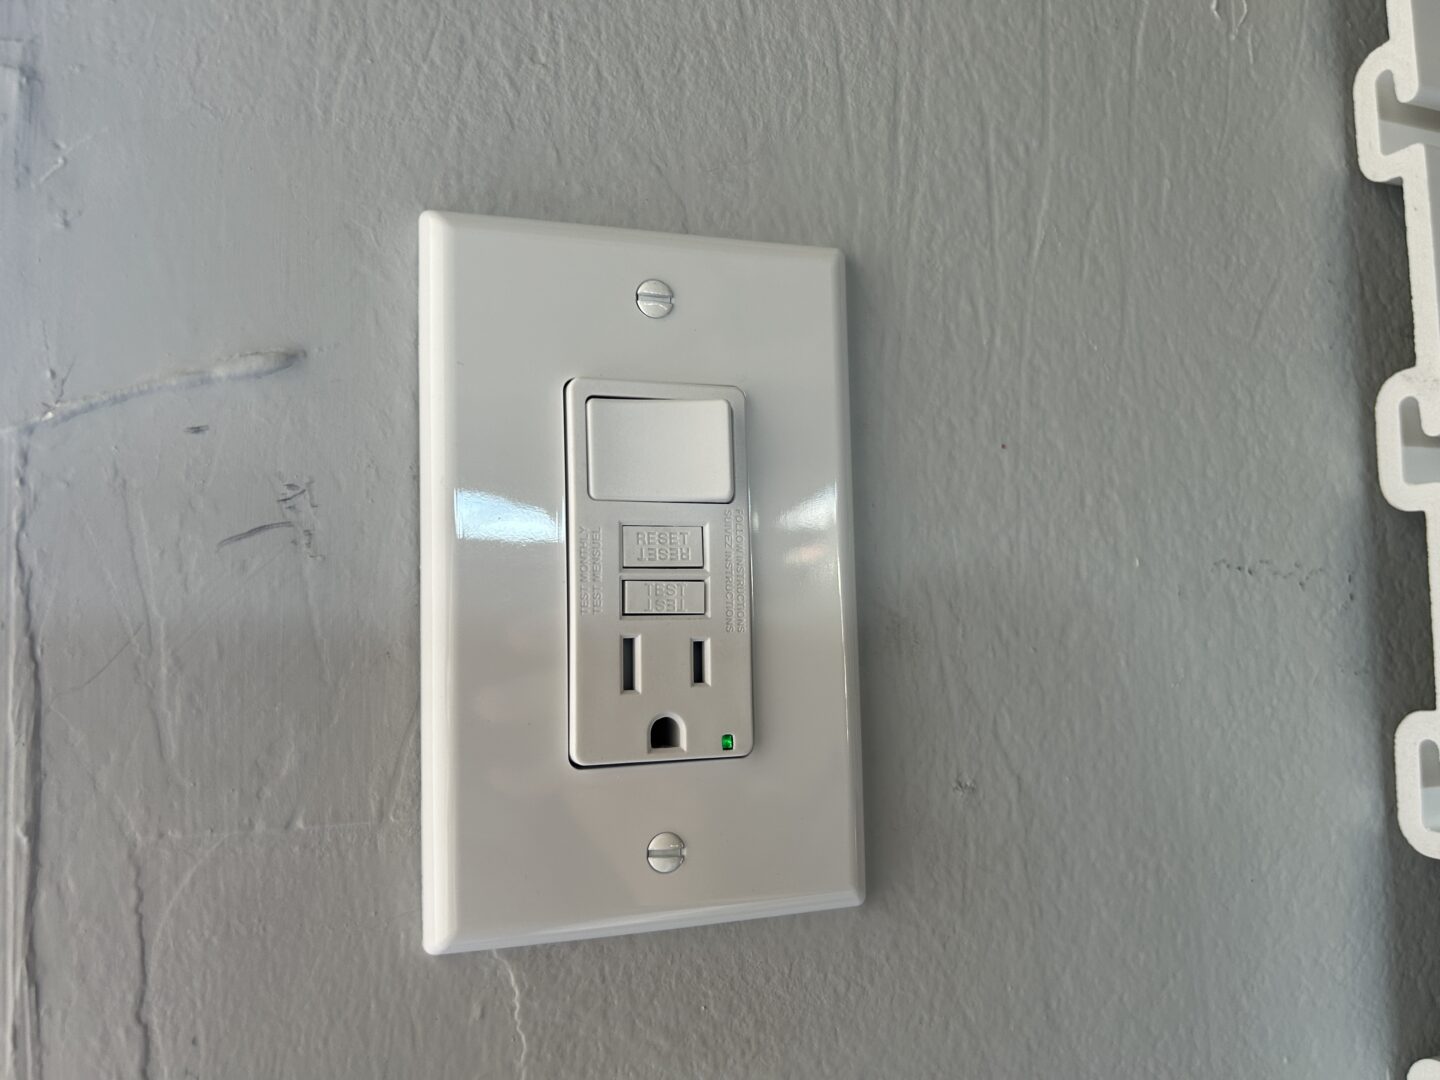
That’s all it takes to get a new outlet in your garage without having to bust open any walls and to not lose function of your existing light switch. It’s a great option for those who don’t want to deal with the hassle of opening up drywall and extending the electrical wiring.
For me, I could have made holes in the wall, snaked a new circuit behind the walls, cut an opening for the new outlet, and then patch, sand, and paint if I really wanted a new outlet. But as you can see with the number of steps involved, this option was just so much quicker and easier. As long as you are okay with the outlet being located at the existing switch location and having only one outlet spot instead of two, then this is as easy as it gets for gaining an extra outlet location.


