When you make purchases through links on this site, The Track Ahead may earn an affiliate commission. Also, these posts are based off my own experiences. I am not responsible for any action you take as a result of reading this. Learn More
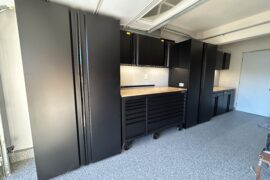
One of the issues with my garage is that it’s not very deep, therefore getting a car all the way inside of the garage can be challenging. If I bring a car all the way in so that I close the garage door behind it, there is little to no room in front of the vehicle especially if I have a table there. I do like to have a workbench at the back wall of the garage, yet I need extra depth in the garage for cases like this. A really good option to have the best of both worlds is to install a workbench top that folds using folding shelf brackets.
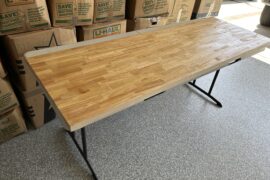
For the table top, if you’re looking for a wooden one, you might find that there are ones that are made out of thinner slabs of wood (3/4″ thick), or they may be made out of particle board or MDF, or even a combination of these things. I much prefer a solid slab of thicker wood, commonly sold as a “butcher block”. Butcher blocks are technically supposed to be put together using end grain for the top surface, but most of these are just edge grain instead.
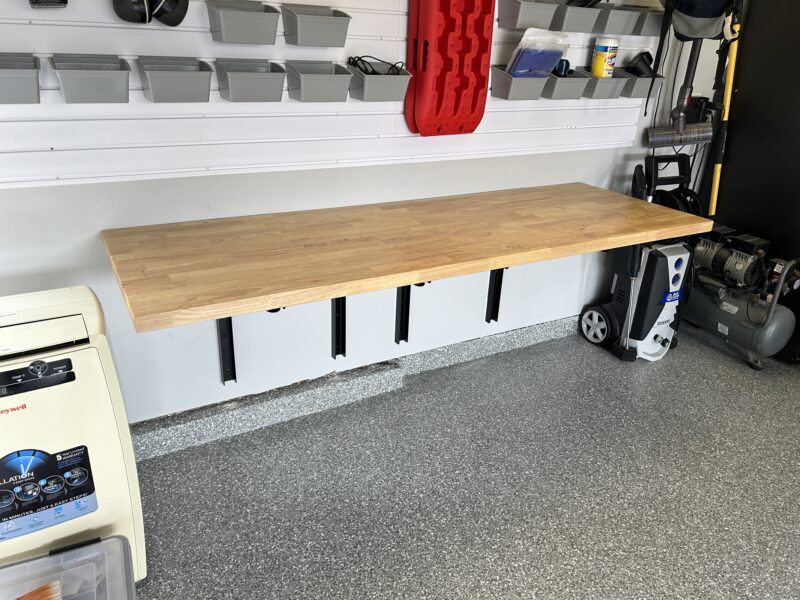
I installed a 1.5-inch thick solid wood table top with folding shelf brackets because I love the feeling of a thick slab of solid wood as a work surface. I also added a polyeurethane finish to improve the look and durability of the wood.
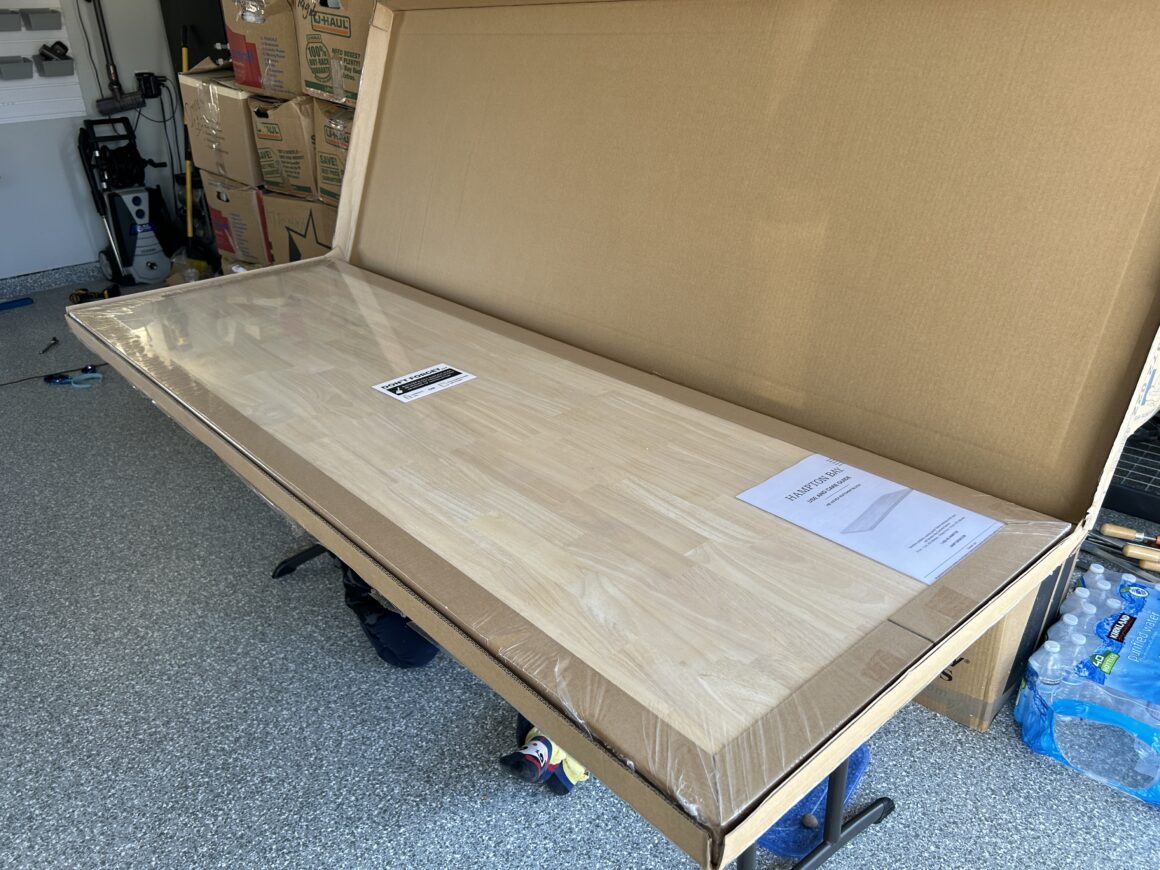
If you’re looking for folding shelf brackets for your workbench, you’ll want to check what the brackets are rated for. I chose heavy duty shelf brackets that are rated for 500 lbs. These brackets are typically sold as a pair. The rating of 500 lbs is meant for the capacity of the two brackets combined. With the weight of the table top of about 80 lbs, I knew that it would be quite heavy and therefore wanted the brackets to have far more capacity that the weight of the table top. I ended up installing four total folding shelf brackets for this folding workbench setup.
Materials Used On This Project
Wallmaster 24-in Folding Shelf Brackets Heavy Duty Max Load 500lb (Pack of 2)
Irwin 48-in I-Beam Level & Irwin 9-in Level
DeWalt 20V MAX Lithium-Ion Power Drill & Screwdriving Set
DeWalt Drill Bit Set, 21-Piece
Grip-Rite #8 x 2″ Construction Screws (127 Pc Box)
Grip-Rite #8 x 1-1/4″ Deck Screws (196 Pc Box)
Mounting the Folding Shelf Brackets to the Wall
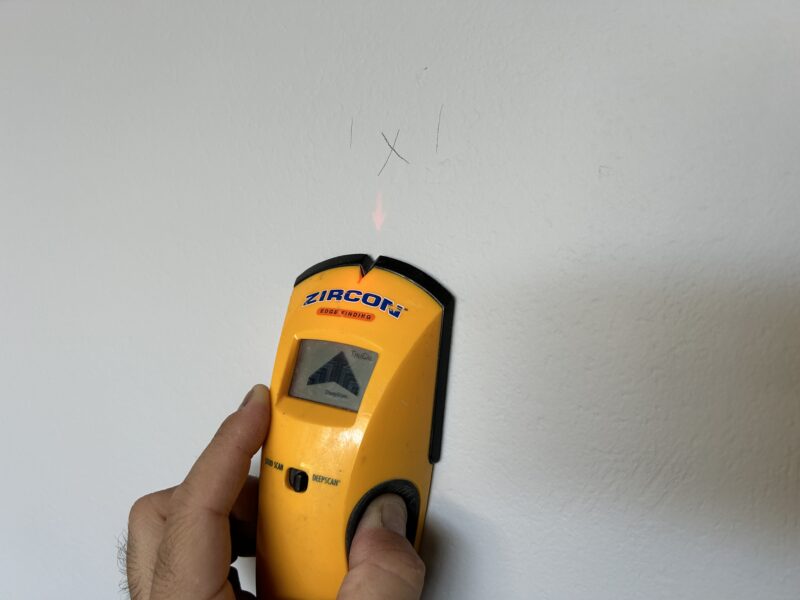
To mount the wall mount brackets, you’ll need to mount them to the studs in your wall. This ensures that the workbench will be adequately supported and will not fail under heavy load. I’ve used a stud finder along the wall and marked out the areas where the studs are located. The marks are located on each stud along the length of the future workbench.

It would be prudent to do some planning at this point as to what final workbench height you desire, how many brackets you plan on installing, and which studs you plan on securing them to. Since I’m using this workbench as a desk as well, I wanted it close to desk height, which came out to about 30-inches table height. If you are installing it at counter height, it will be around 34-36 inches high.
The table top that I’m installing is a 6-foot long, 1.5-inch thick, and 24-inch deep wooden table top. Because of the weight of this table top (around 80 lbs), I knew it would be quite heavy. I wanted to ensure that the brackets I installed would be rated for a far greater capacity than what it will be seeing, so I installed four brackets total. This might be overkill, but I wanted to total security when using this workbench.
Because not all studs are equally spaced on my wall, I had to shift the 6-foot workbench left-and-right until I got it to a position where the brackets would be fairly symmetrical. I wanted it at least to a position where it was too unsymmetrical because it would just look strange. Using wall anchors instead of the studs might be an option if the stud spacing just doesn’t work for you, but I would rather use the studs if at all possible for full security.
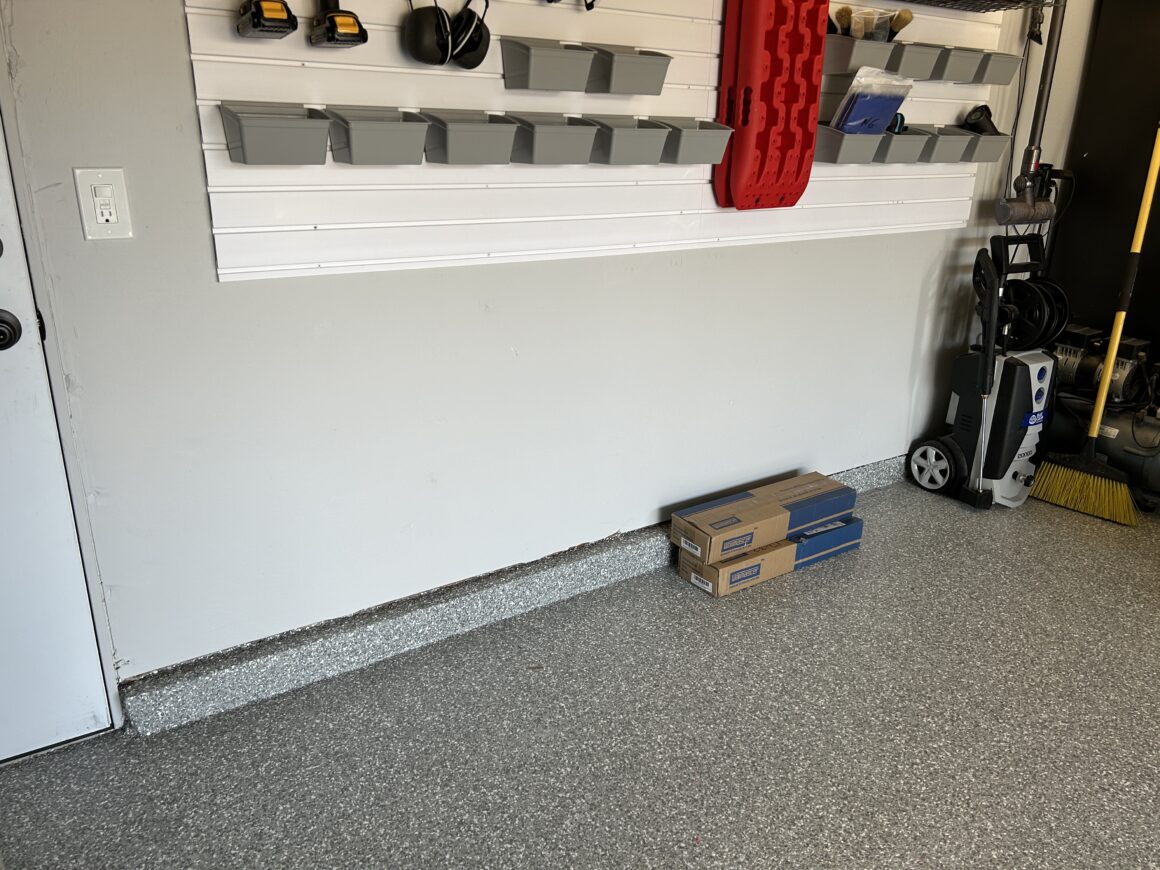
These Wallmaster folding shelf brackets are the larger 24″ depth heavy duty ones that are good for 500 lbs. It’s not stated, but I believe these are rated by the pair, so the pair of brackets are good for holding a total of 500 lbs weight. When the brackets extend out completely, the mechanism locks. You have to pull the release trigger in order to unlock and collapse the bracket.
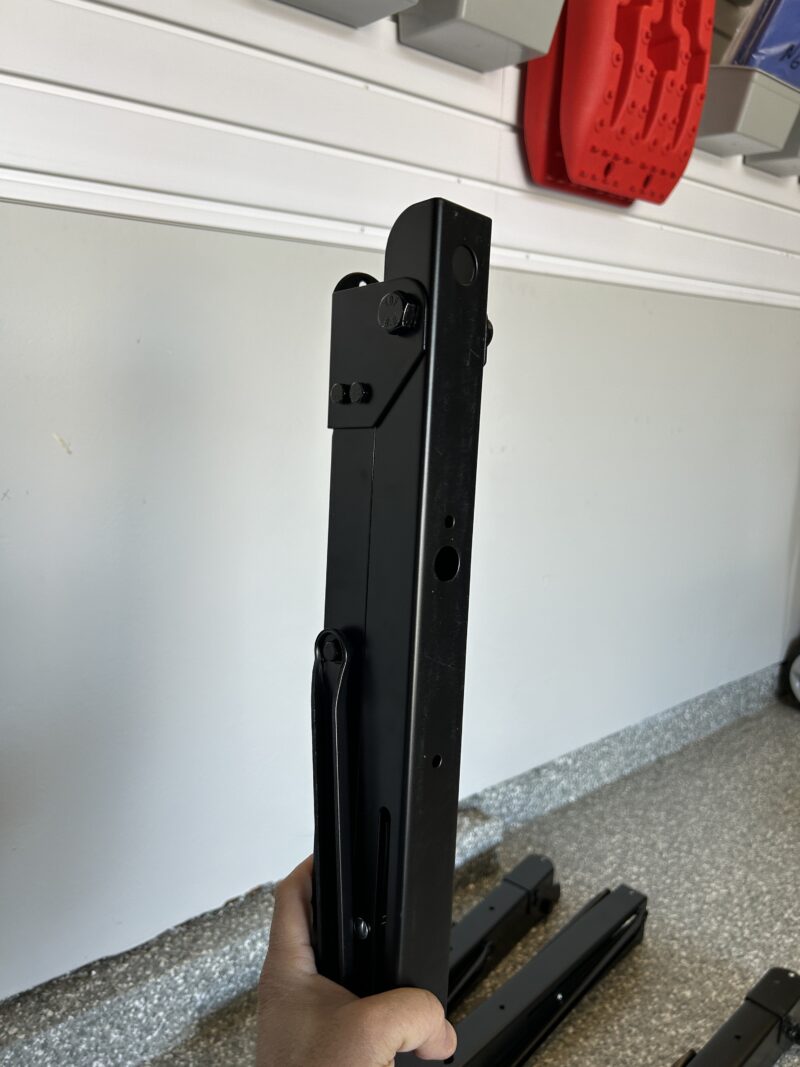
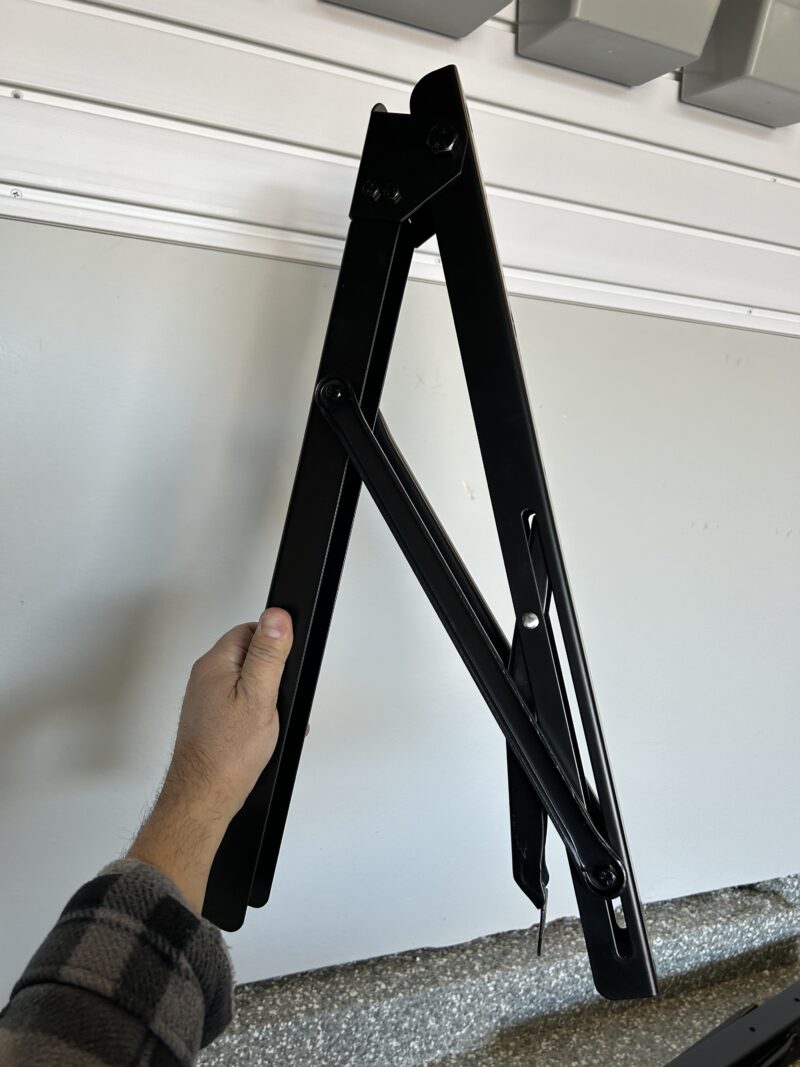
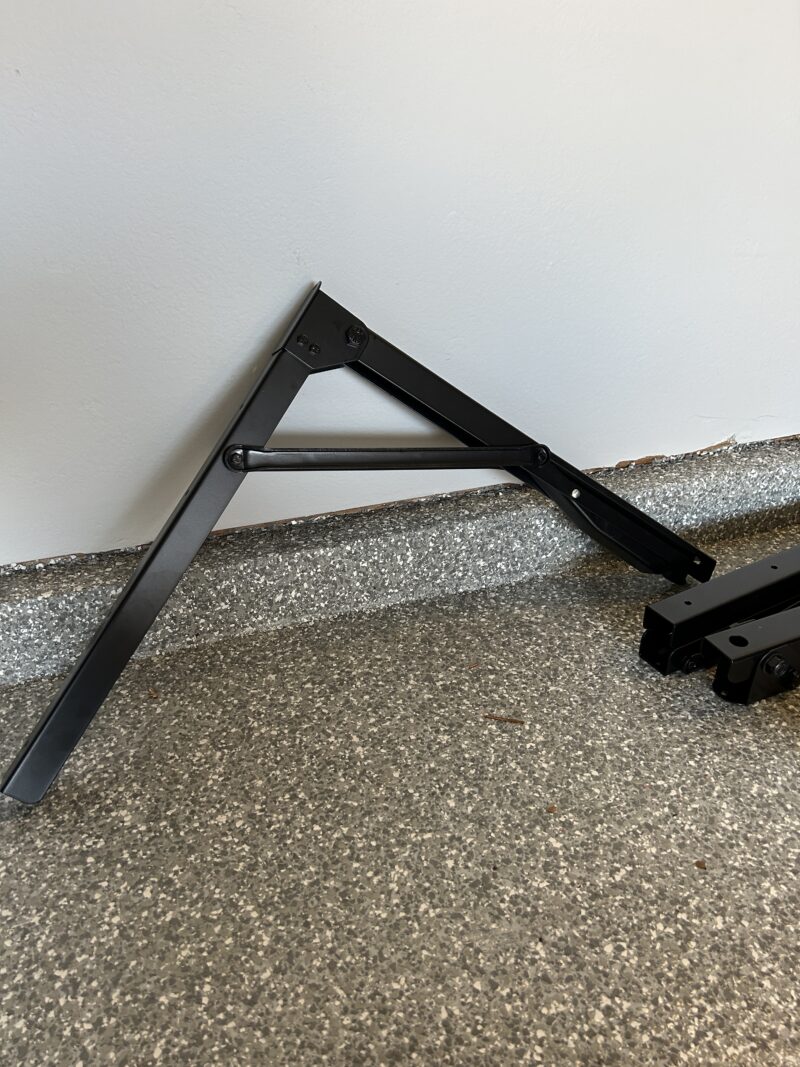
After determining your desired table height, install the top screw into the top of each bracket through the wall and center of stud. Remember that you should open the bracket to ensure you have the right final height (you also need to account for the thickness of your table top when you’re setting the bracket height.) The top screw keeps the bracket up on the wall as you install the remaining ones.
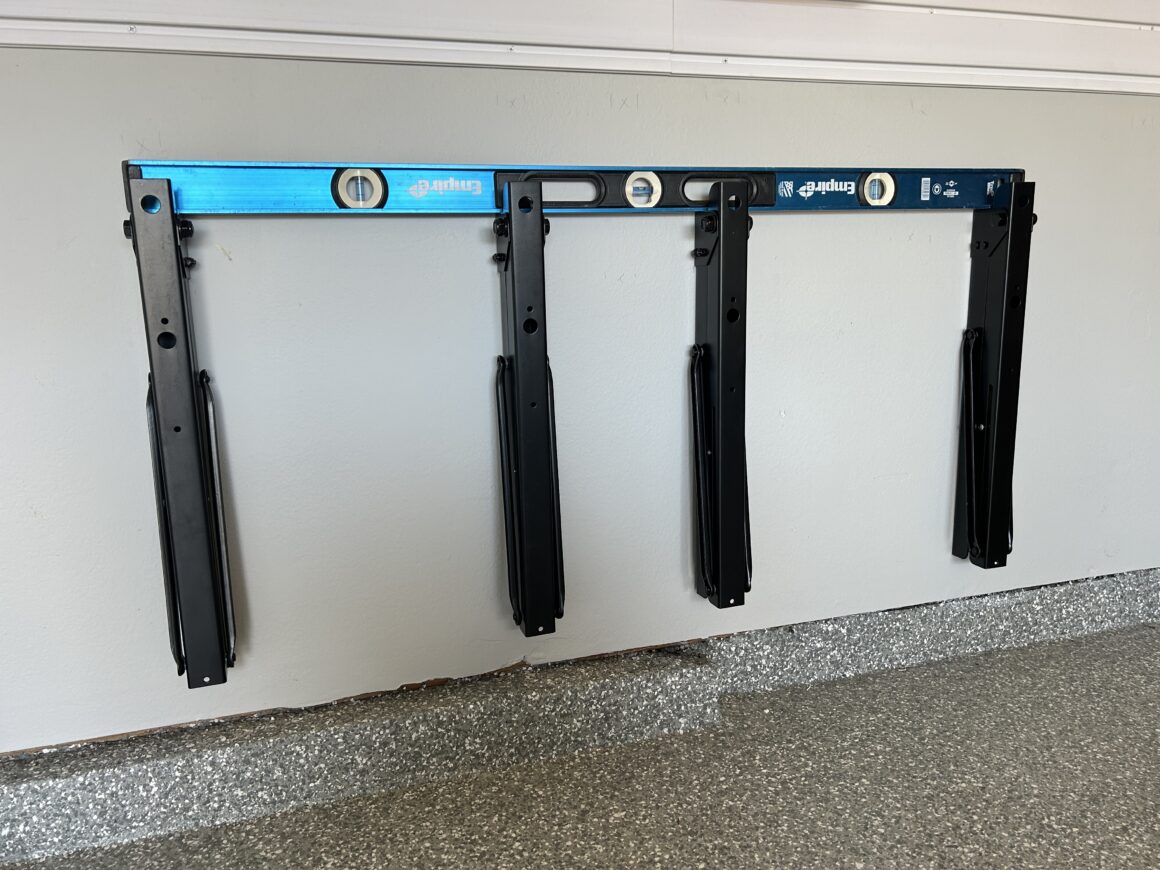
Use a long level to set on top of the brackets as you install them to enusure that the brackets are installed in a straight and level line.
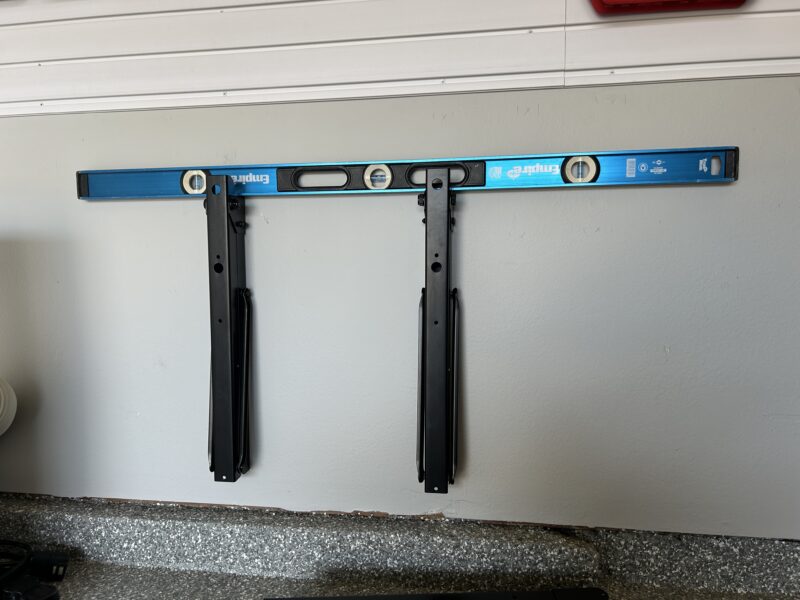
With all of the brackets up on the wall with the top screw installed already, use a smaller level to ensure each bracket is plumb. Then install the rest of the screws to secure the bracket to the stud.
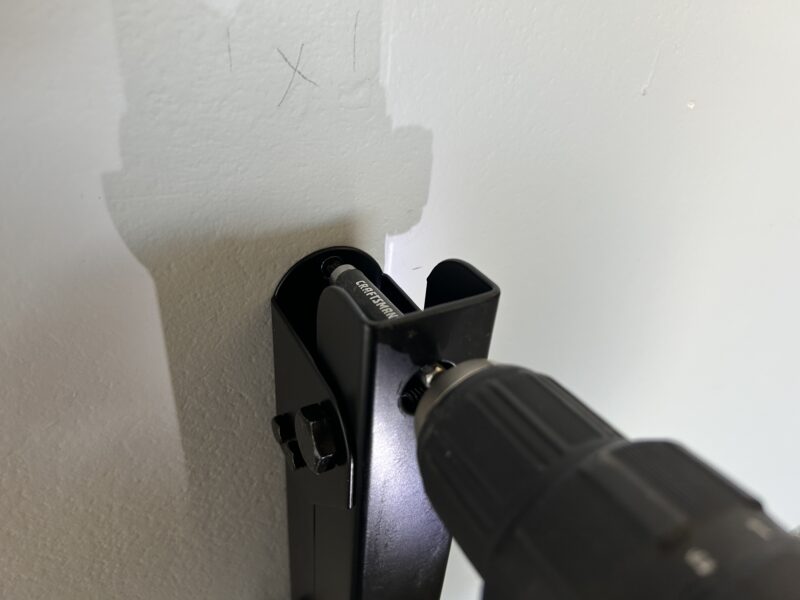
The one frustrating thing about these Wallmaster folding shelf brackets is that in order to install the screw directly beneath the very top one, you have to remove the angled bracket in order to get a power drill in there. The remaining screws at the bottom half of the folding bracket can easily be screwed in without interference of the angled bracket. Make sure to reinstall the angled backet when you’re done with the installation of the screws to the stud.
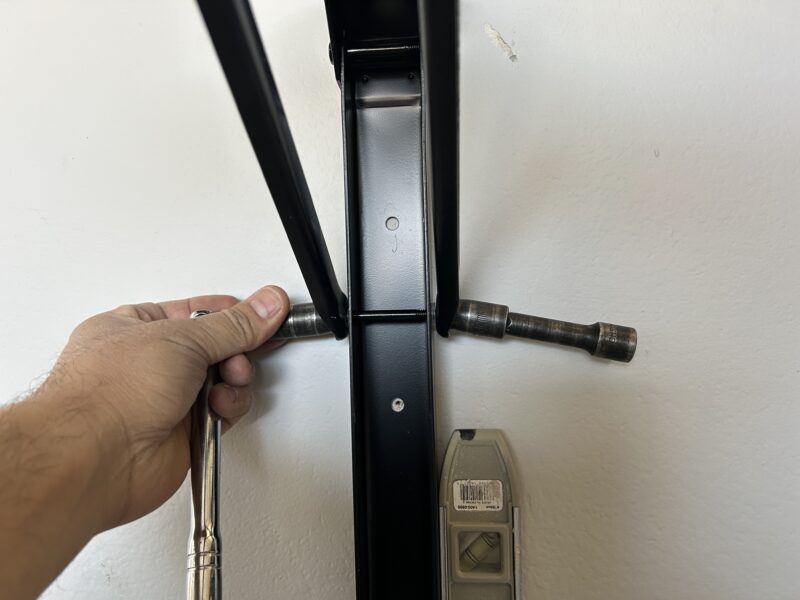
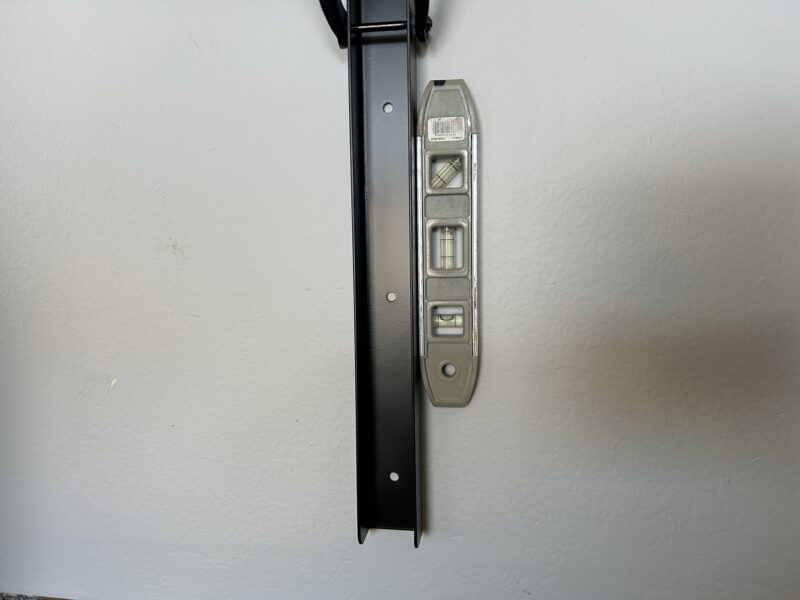
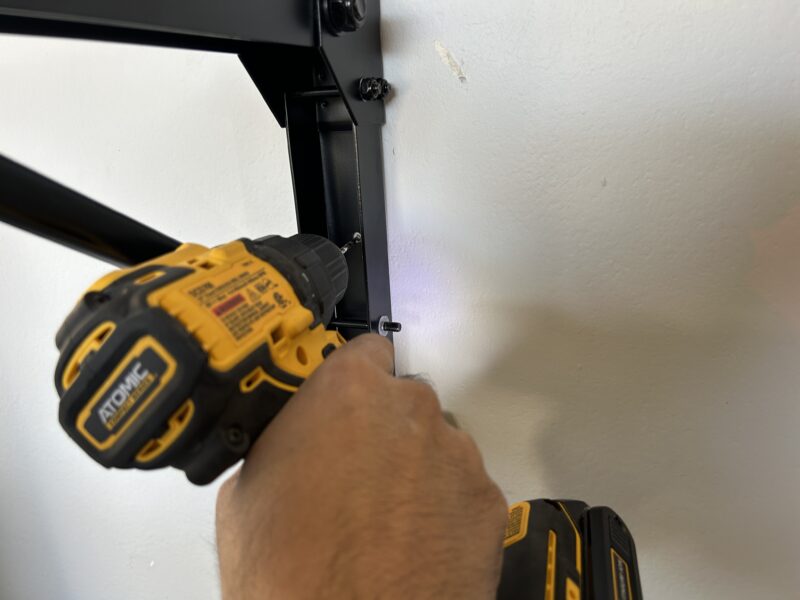

With all your brackets level and plumb, and secured to the studs and level, you can move on to securing the brackets to the table top.
Affixing a Wooden Table Top to the Folding Shelf Brackets
If you want to install a wooden table top as your workbench, check out my other how-to article on preparing a wooden table top. This will help you with preparing an over-the-counter “butcher block”-style countertop that can be affixed to your folding shelf brackets. I think this is just the best looking and most economical option as a folding workbench in your shop or garage.
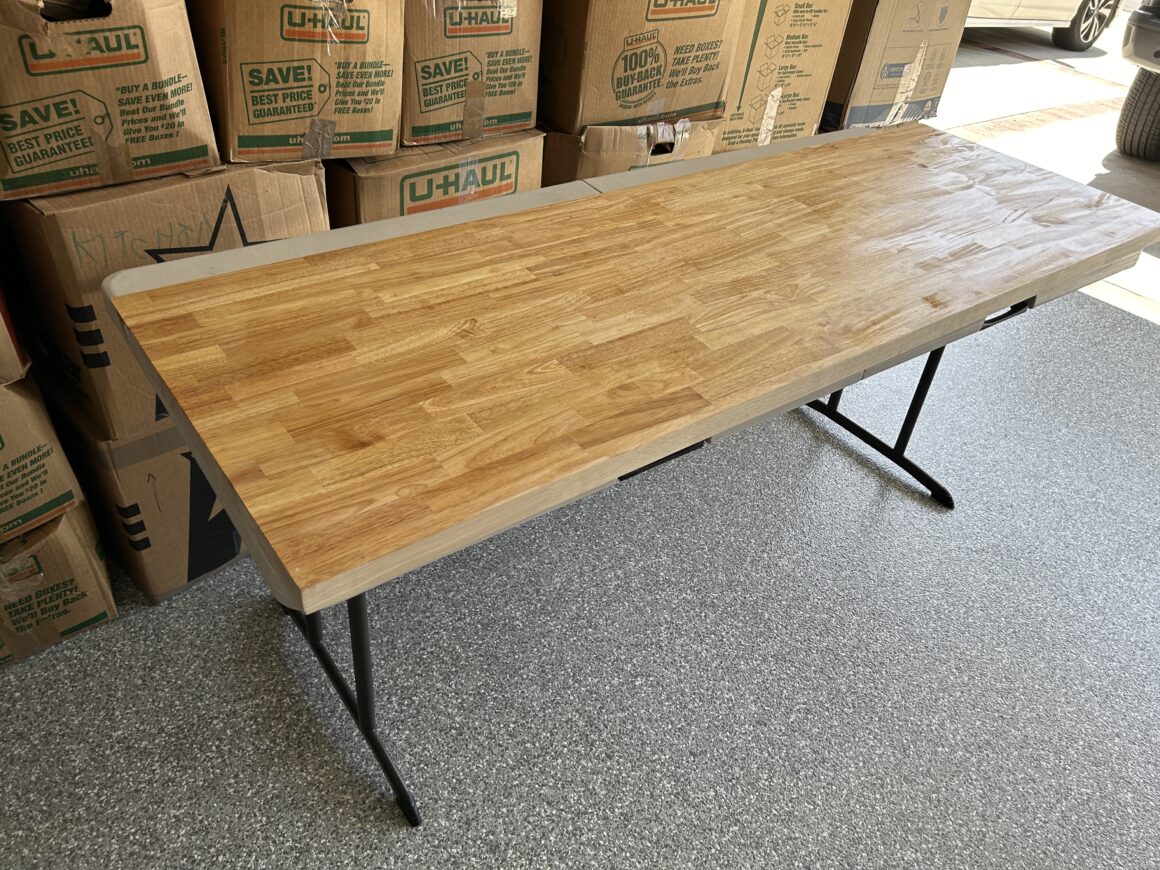
If you’re using a wooden table top like me, place the whole piece on top of your folding shelf brackets (in their open position). Push it back against the wall (there might be a small 1/16″ gap between the wall and table top.) This is due to the thickness of the bracket that is secured to the wall. The small gap is actually beneficial as it gives the range of freedom for the table to rotate when it is folded down with the brackets.
Also move the table top to the left-and-right until you’re sure of its final position. Once you are certain of the final position of the table top, go underneath the table and use a small pick to mark the wood at the points where the holes are in the shelf brackets. This will mark the points underneath your table top that you will later drill. Please be absolutely sure that your brackets are installed completely perpendicular to the length of your table or wall because you don’t want the table brackets to bind when they are being opened or closed. For example, if your brackets are secured to the table at random angles, you will have a lot of trouble with the folding shelf brackets not wanting to smoothly open or close as they only fold up/down in one direction.
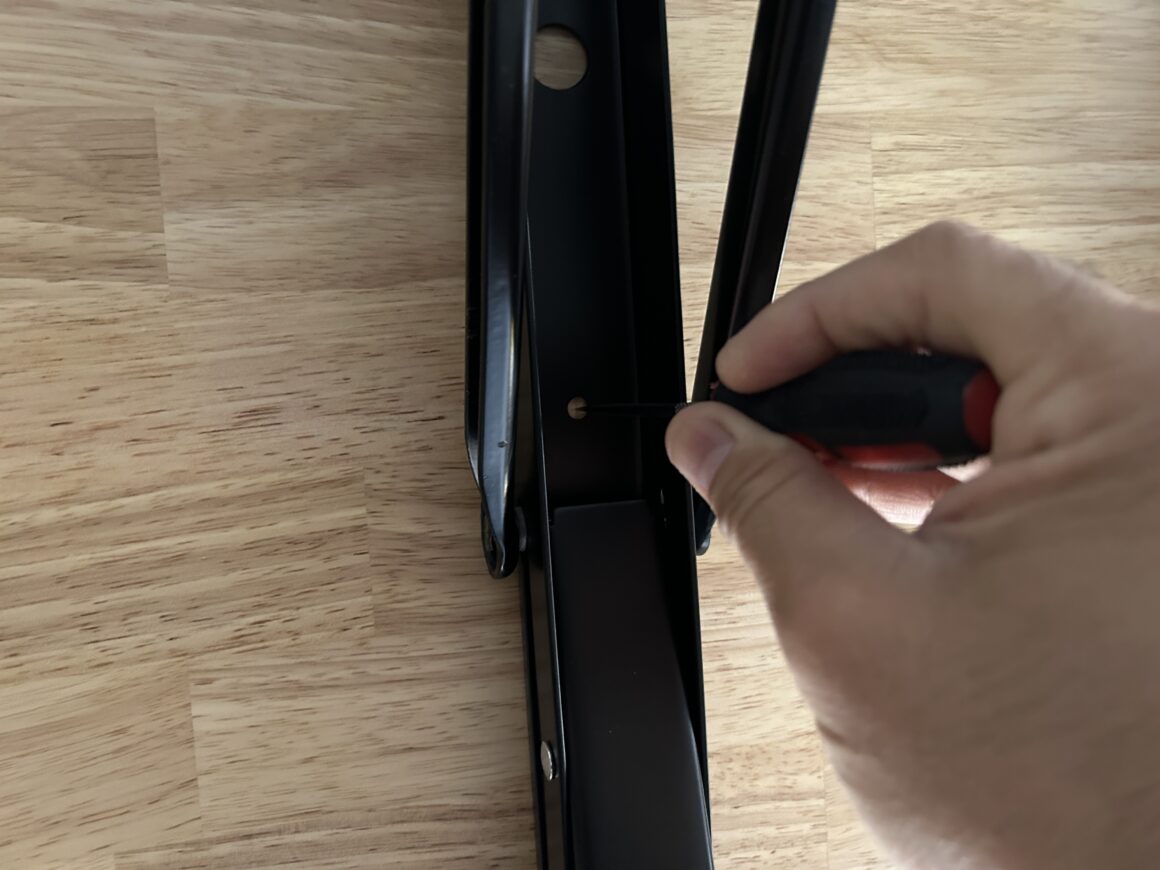
With holes marked in the bottom of your table top for all of the hole locations, you can flip the whole table top around and start pre-drilling. The drill bit size you use should be just slightly smaller in diameter than the shank of the screw. You should also adjust the length of the drill bit (or mark the depth with tape) so that you predrill slightly shallower than the length of the screw. This gives you a nice bite when you install the screws through the bottom of the wooden piece.
You also need to be wary of the length of screw you use. My table top is 1.5″ thick, so I am using 1.25″ length screws. You also get a bit less penetration through the wood because you have to account for the bracket thickness as well. The main point is that you want to ensure that the screw is just shorter than the thickness of your table top so that it won’t penetrate through to the top surface. And that it provides enough bite so that it holds the table to the brackets securely.
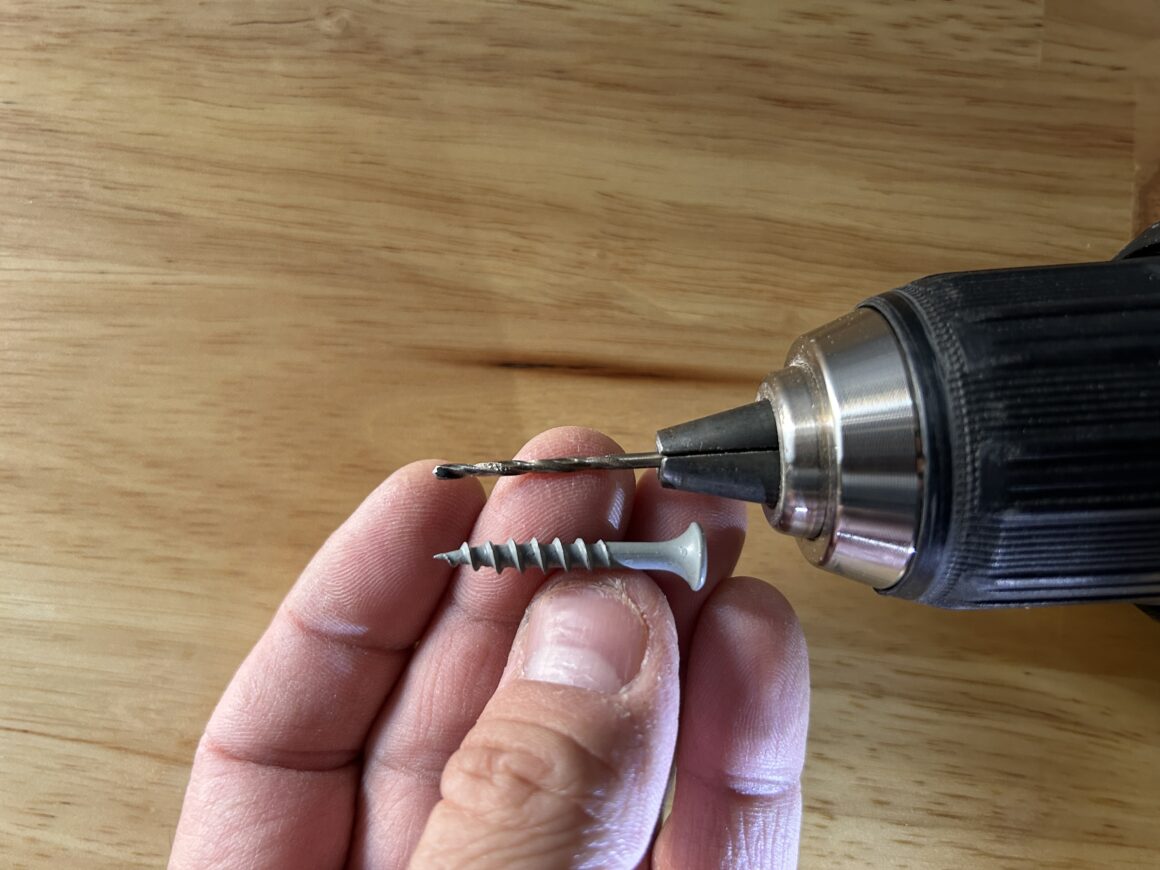
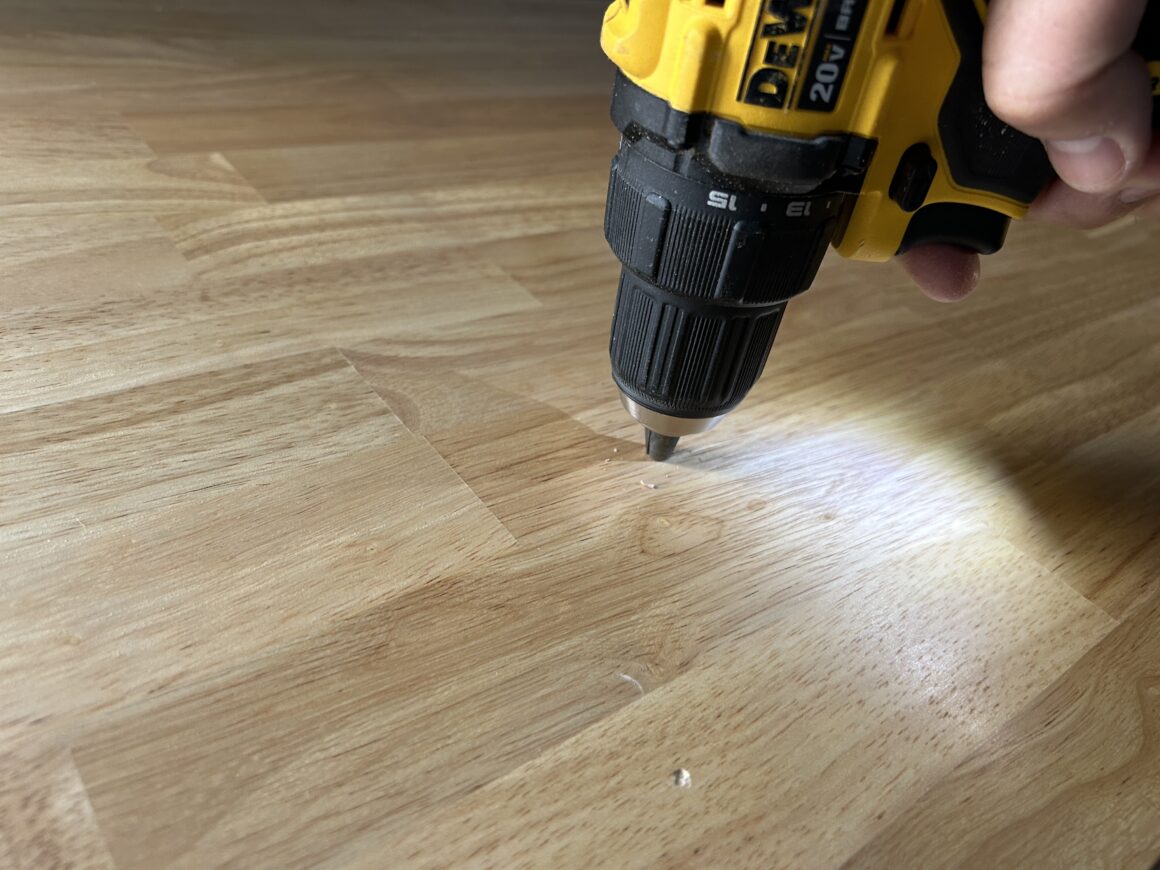
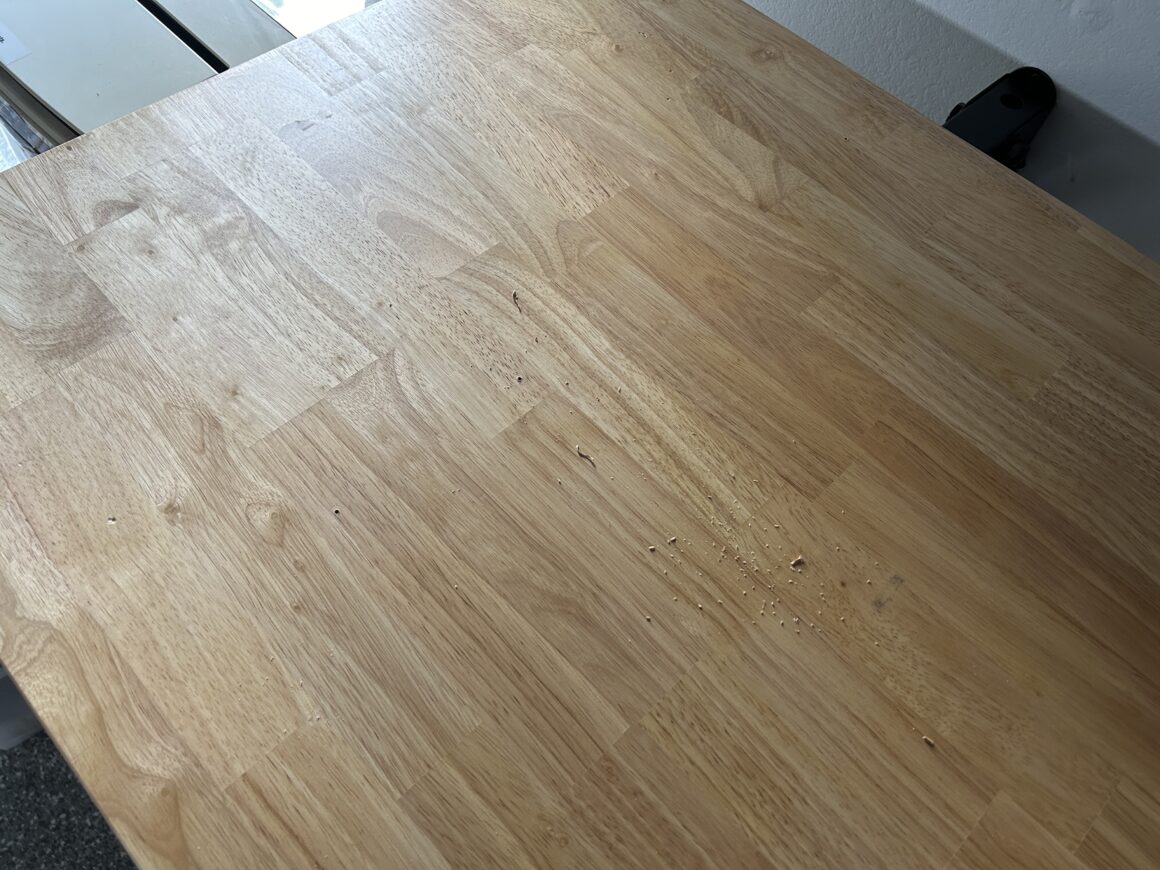
Now, flip the wooden table top back over and line up the holes with the holes in the mounting bracket. Then, install all of the screws to fully secure the workbench to the brackets. Again, with the holes located inside of the angled brackets, you may have issues with the diagonal support in the way. If you have the right extensions on your drill, you might be able to get around this. If not, diassemble and reassemble it one-by-one as you drive in the screws at this location.


After you’ve secured all the screws through the brackets into the table top, test out the operation of the folding mounting brackets. If you only have 2 folding shelf brackets that are within reach, then it’s easy: just hold the table top while pulling the release on both brackets and support the table as you fold it down against the wall.
If you have more than 2 brackets, or if you have 2 brackets that are spaced far apart, it might be a bit difficult to pull the release on every bracket to fold the table down, but it’s still doable. I actually like this redundancy as a safety feature; I would hate for one of my kids to accidentally pull a release or two and have the heavy table collapse down on them.


I love how this folding workbench turned out. The beautiful wooden top is so nice to work on, especially after I protected it with polyeurethane and smoothened it out. And as intended, I’m able to fold it down out of the way whenever I need to bring a car all the way into the garage to work on.
