When you make purchases through links on this site, The Track Ahead may earn an affiliate commission. Also, these posts are based off my own experiences. I am not responsible for any action you take as a result of reading this. Learn More
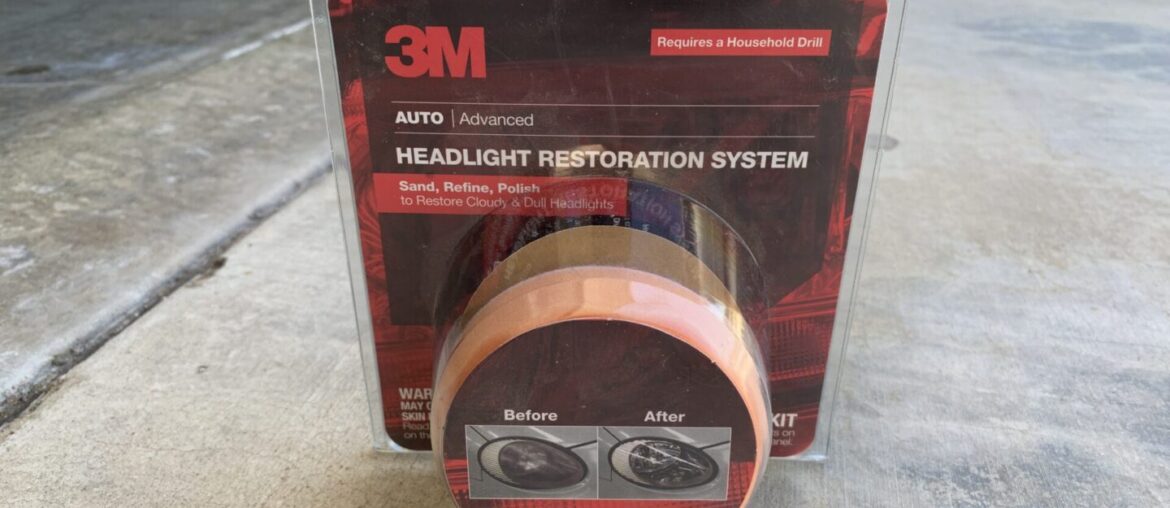
3M Headlight Lens Restoration Kit / 3M Headlight Lens Restoration Kit + Quick Clear Coat
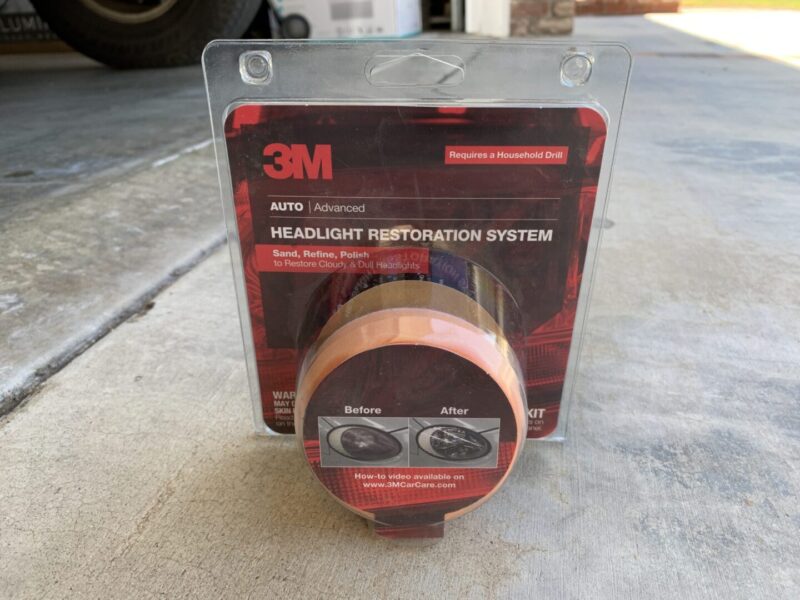
One of the biggest bang-for-the-buck improvements you can do on your car is to restore the headlights. I don’t know how many cars I pass on a daily basis that have cloudy, hazy, and yellowed headlight lenses, but I know that almost anyone can spend about $10-$15 for a do-it-yourself headlight restoration kit and can make their headlights look like new. 3M sells a kit, which comes with everything you need with the exception of a power drill to completely revitalize the headlights on your car.
There are other ways to restore your headlights, but I will be focusing on specifically using the 3M Headlight Lens Restoration Kit. This kit is easy to use, costs very little, and produces some spectacular results. While restoring your headlight lenses, there are tips and tricks that will be extremely helpful which I will include in this how-to guide to restoring the headlights on your car.
Tools & Materials
3M Headlight Lens Restoration Kit
There are a handful of lens restoration kits on the market; they all aim to do the same thing in the same fashion. These kits generally have several different grits of sand paper that go from coarse to fine and then a compound to polish out the fine scratches. I used the 3M headlight restoration kit, which is readily available, cheap, and foolproof. You can purchase the standalone kit, or you can purchase a bundle that includes the kit and a 3M clear coat as well. I highly recommend using some kind of coating protection after you restore your headlights so that it does not degrade quickly over time whether that be the 3M clear coat or another brand clear coating.
3M Headlight Lens Restoration Kit / 3M Headlight Lens Restoration Kit + Quick Clear Coat
Headlight Protection Coating
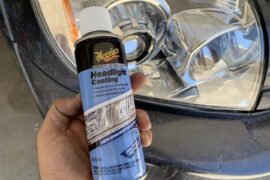
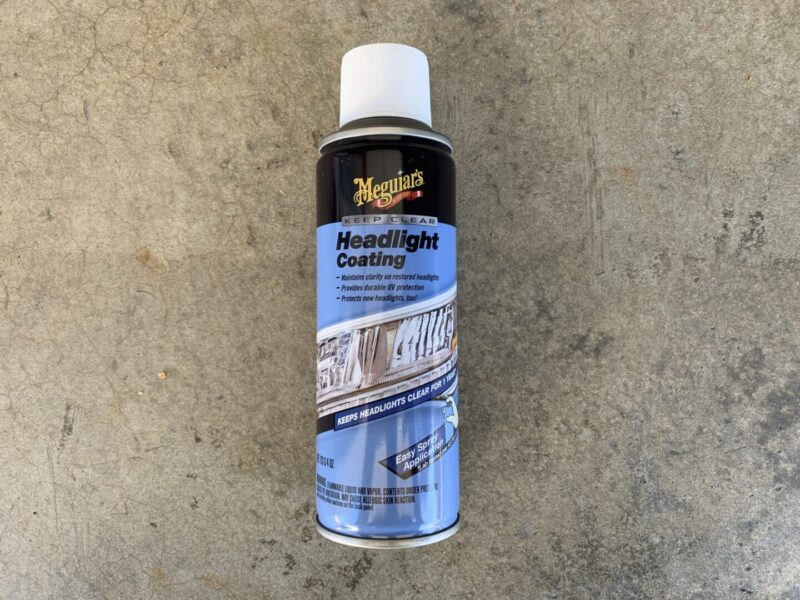
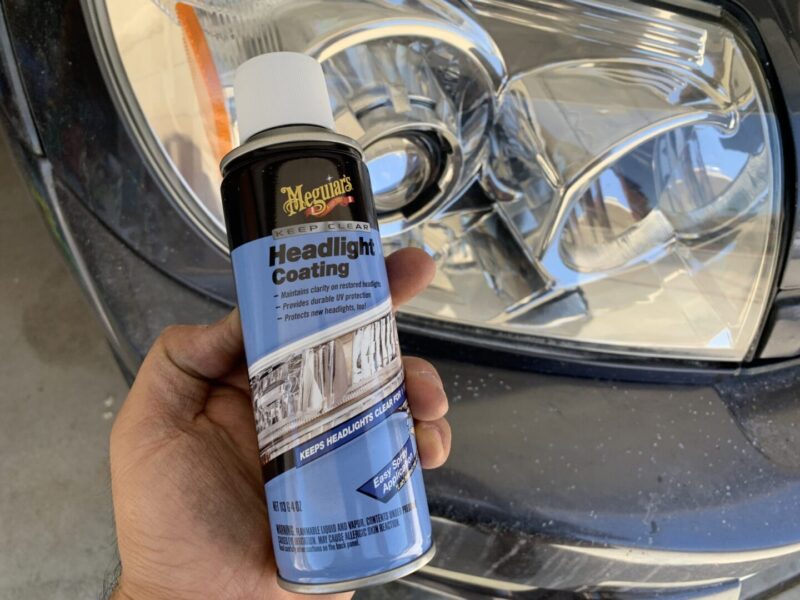
If you don’t purchase the 3M bundle kit with the 3M clear coat, you can purchase it separately. Or, you may choose to go another clear coat product. In this post, I used Meguiar’s Clear Headlight Coating, which is a spray-on headlight coating with UV protection.
3M Quick Headlight Clear Coat
Meguiar’s Clear Headlight Coating
Power Drill
You will need a power drill for the 3M Headlight Lens Restoration Kit. The headlight restoration kit has a backing plate that is attached to a spindle that will require the use of a power drill. The spindle or shaft is inserted into the power drill in the same way you’d insert a drill bit. I recommend having at least two batteries for your power drill to get you through all of the polishing you will be doing on both headlights. Even better is if you have an electric power drill where you don’t have to worry about running out of battery.
Search Results for Power Drills on Amazon
Painter’s Tape
Painter’s tape is needed to mask off the area surrounding the headlight lens. This is primarily used for protection of the surrounding paint. Also, blue tape or painter’s tape is ideal as it does not damage the underlying surface when it is peeled off (after the restoration). Finally, it’s better to go with a wider tape as it not only protects more of the surrounding areas, but it also sticks onto more car’s surface, making it more likely to stay put during the lens restoration process.
ScotchBlue Original Multi-Surface Painter’s Tape 2 Rolls, 1.88″ Width, Blue
Cleaning Solution
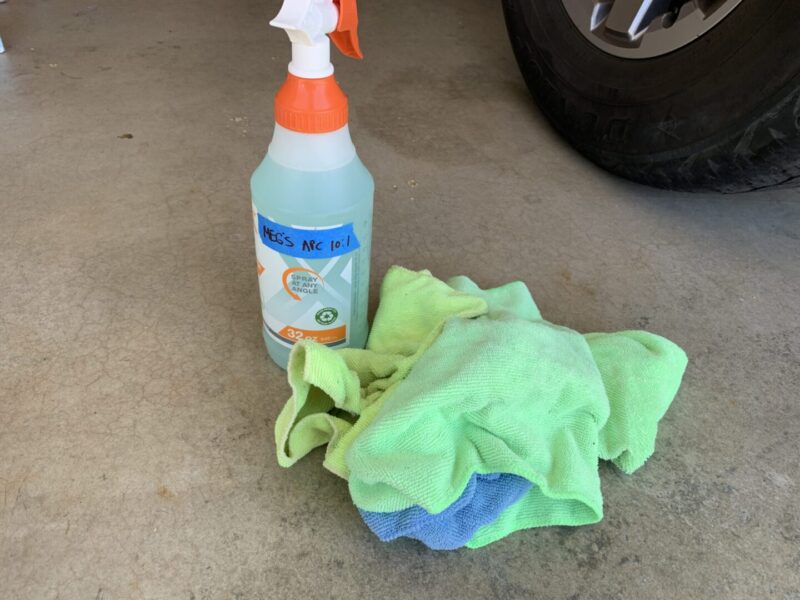
You can use practically any cleaner to wipe off excess residue, even water may be sufficient. I personally used an all purpose cleaner made by Meguiar’s for cleaning during the lens restoration process.
Microfiber Towels or Rags
Microfiber towels are a mainstay in car detailing and are ideal for cleaning especially for this process. However, clean rags will work just fine here. If you wish to go with some microfiber towels, here are some popular options:
Chemical Guys 16″ x 24″ Microfiber Towels (6-Pack)
Zwipes Microfiber Cloths (48-Pack)
AmazonBasics Microfiber Cloths (24-Pack)
How to Restore Headlights with a 3M Headlight Lens Restoration Kit
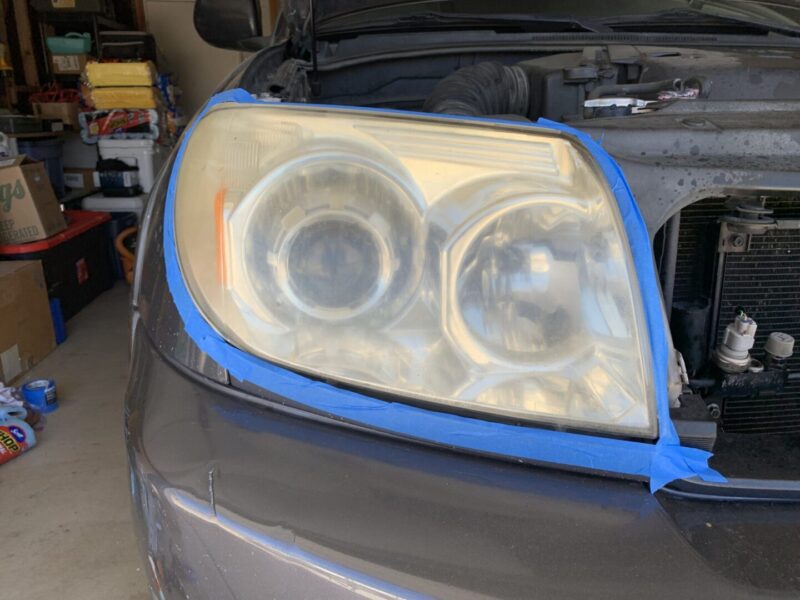
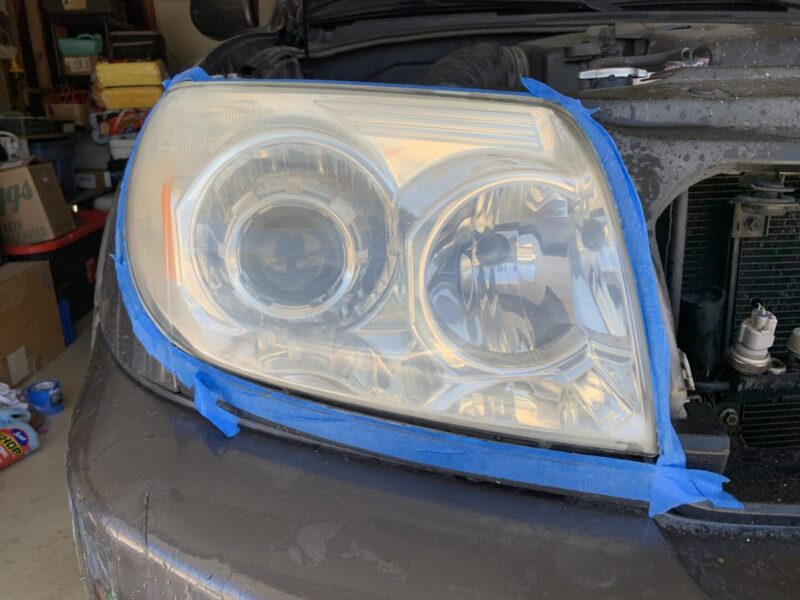
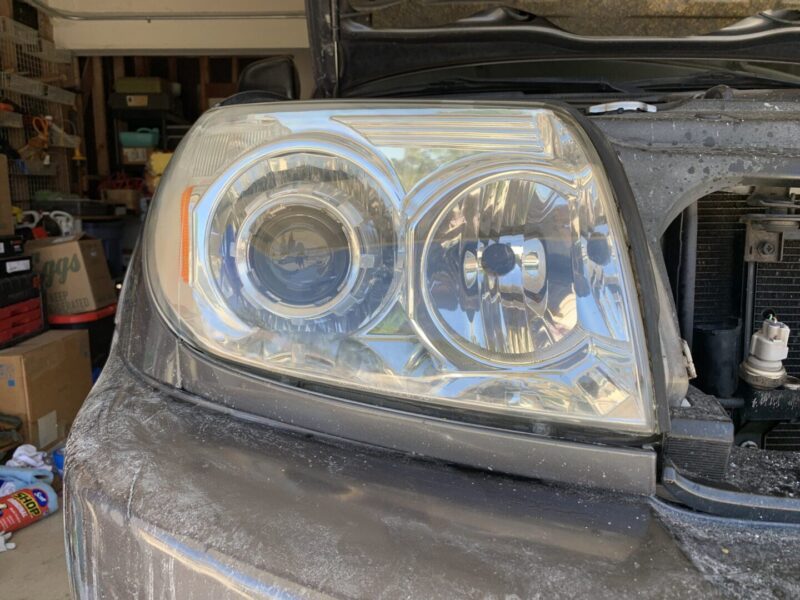
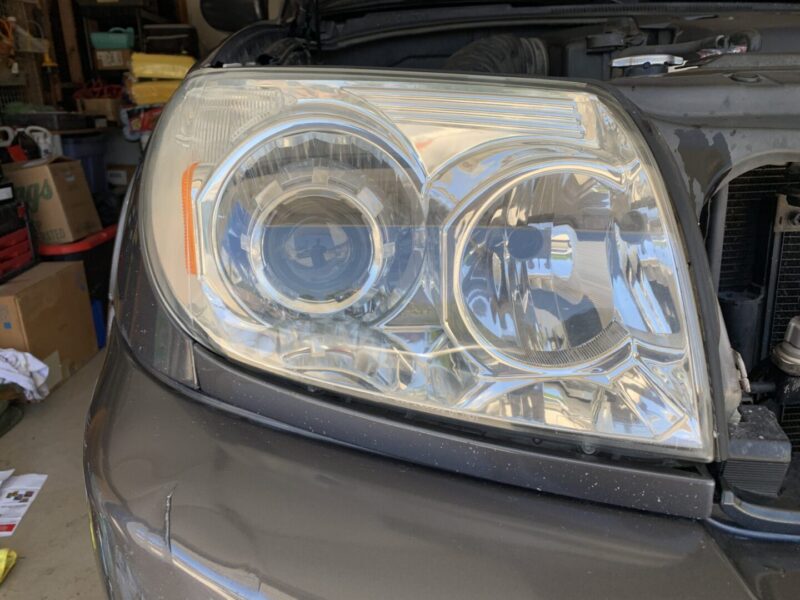
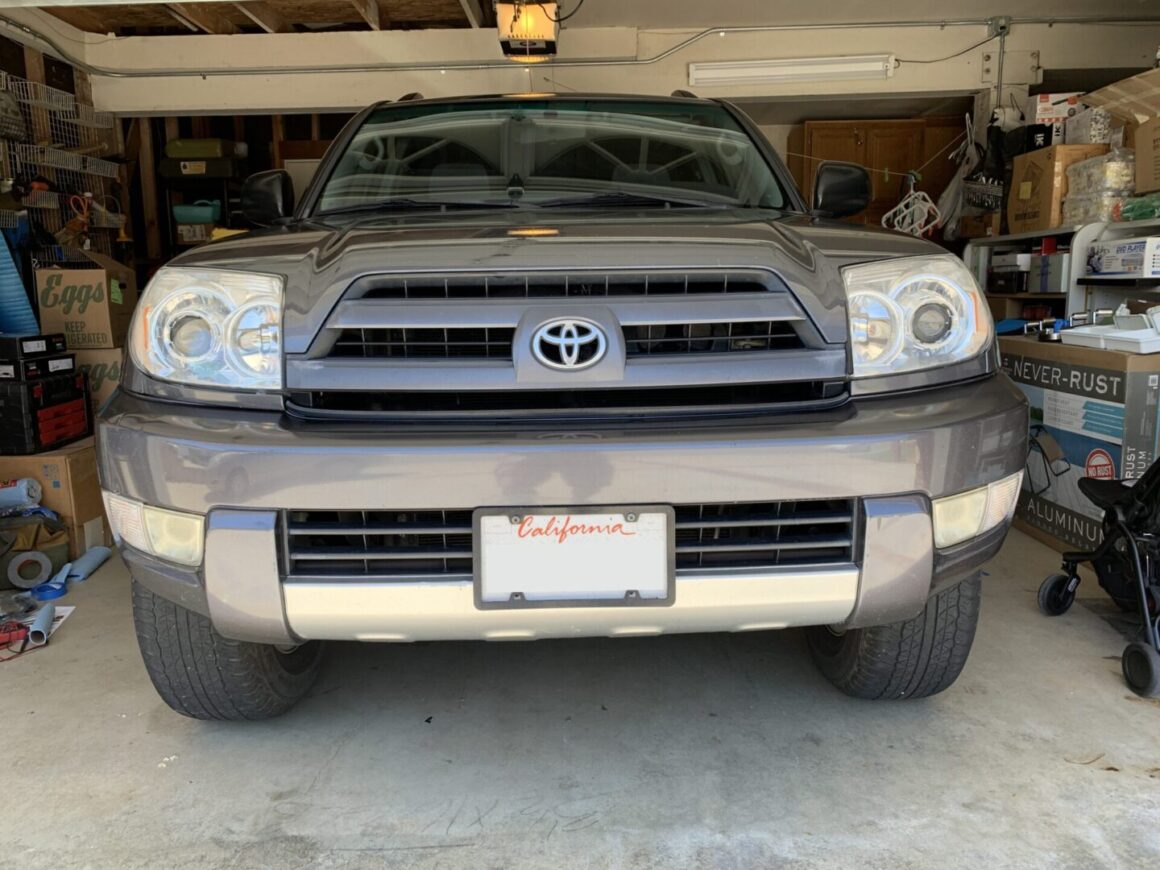
As you can see below, my headlights are very hazy and could use a good polishing. They are slightly yellowed, but not a whole lot. I believe these are aftermarket headlight lenses that I purchased many years ago for the HID projector retrofit on my 4Runner, but they haven’t been restored before.
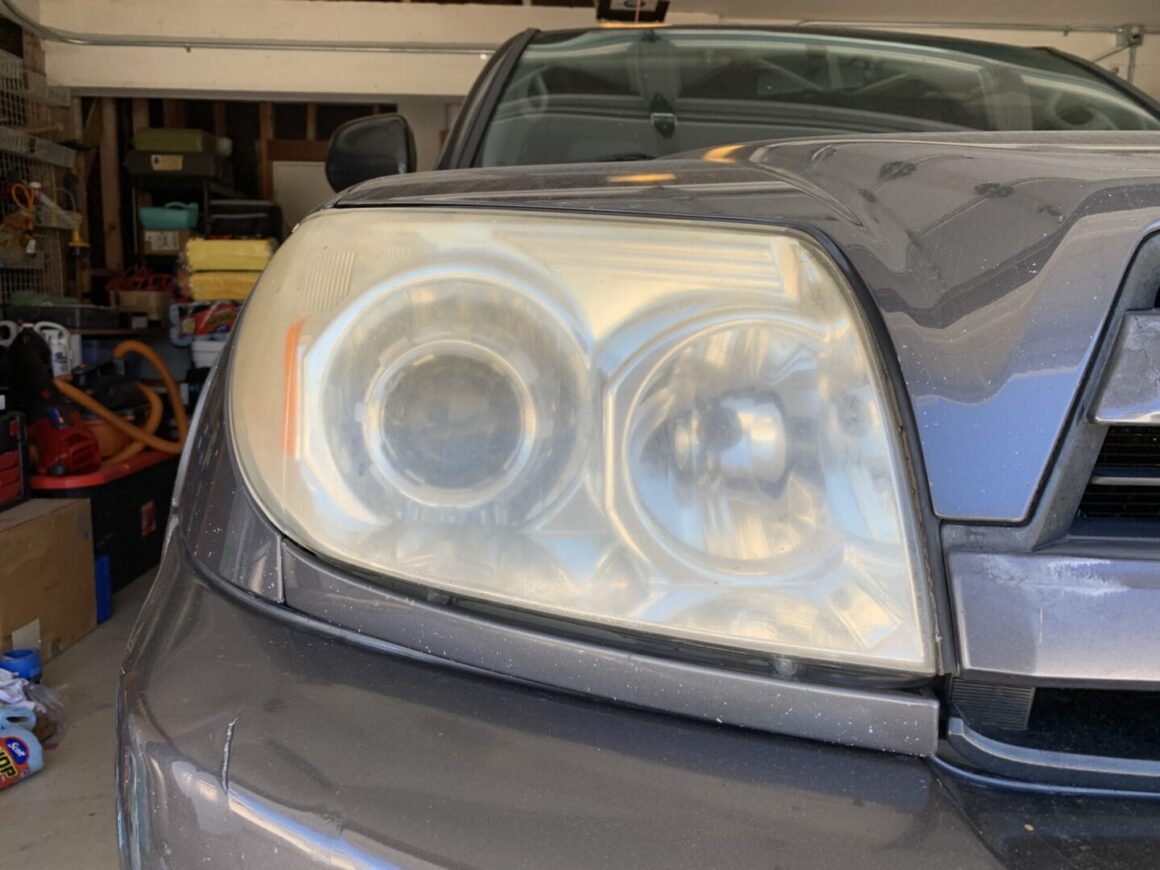
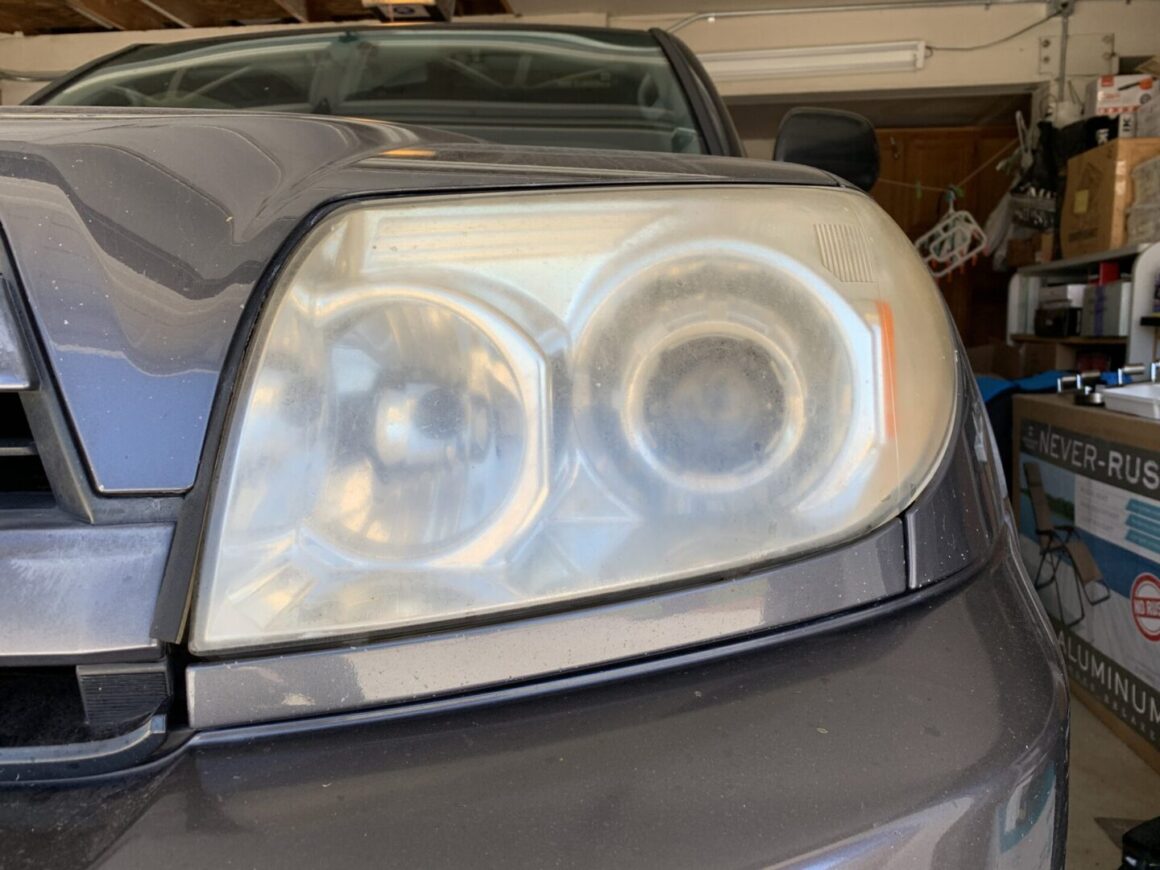
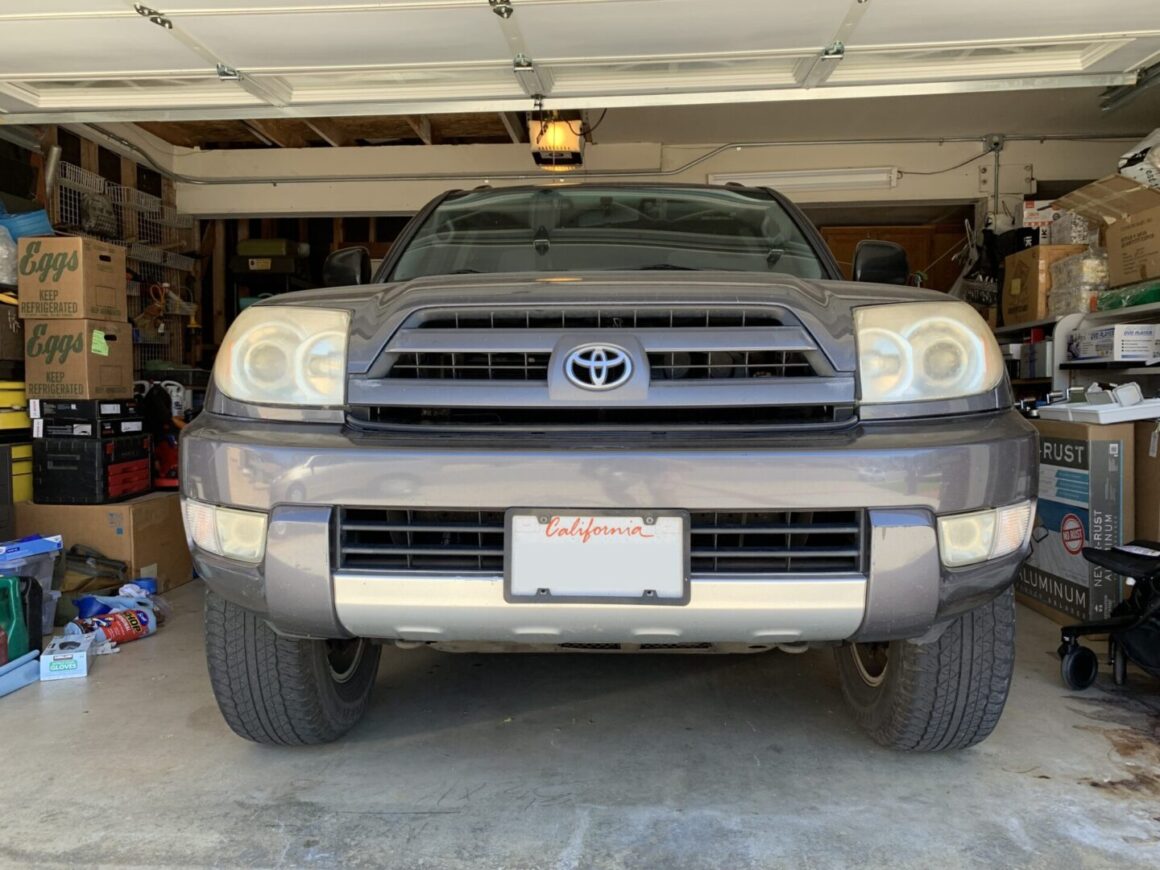
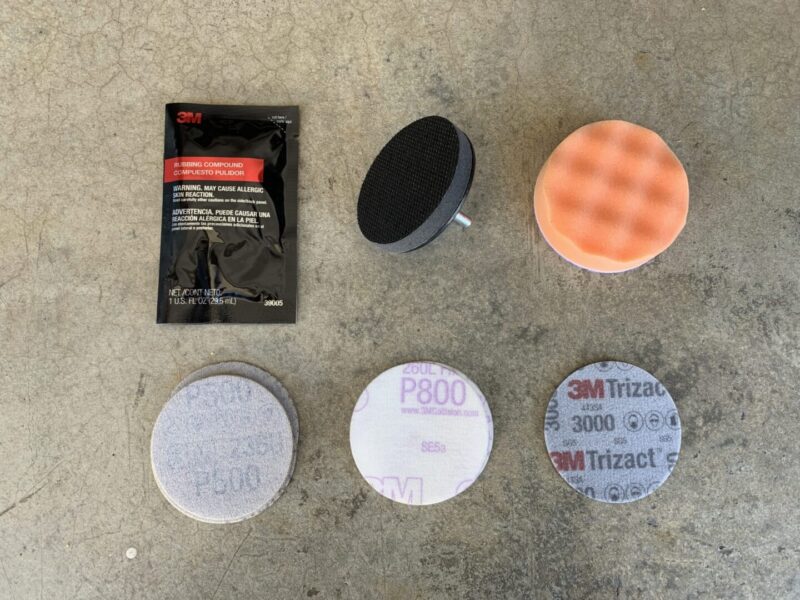
Gather all of the materials that you’ll need for the headlight restoration. Obviously, you’ll have the 3M headlight restoration kit, which includes a number 500 grit, 800 grit, and 3000 grit circular pads. It also includes the backing plate for your power drill, an orange textured polishing pad, and a liquid compound inside of a small packet.
Also have ready your choice of headlight protection, which will be applied after the headlight restoration. Microfiber towels or rags along with water or cleaning solution should within reach too. In a spray bottle, I’ve prepared Meguiar’s All Purpose Solution that is diluted 10:1 to use for cleanup.
First, use painter’s tape to completely tape the surrounding areas around the headlight lens. The instructions from 3M recommends taping two layers for added protection; I highly recommend this. I also recommend using a wider painter’s tape so that there is added surface area for adhesion. Doing this will lessen the chance of the tape coming loose while you’re working, which tends to happen especially when you start using water and a cleaning solution.
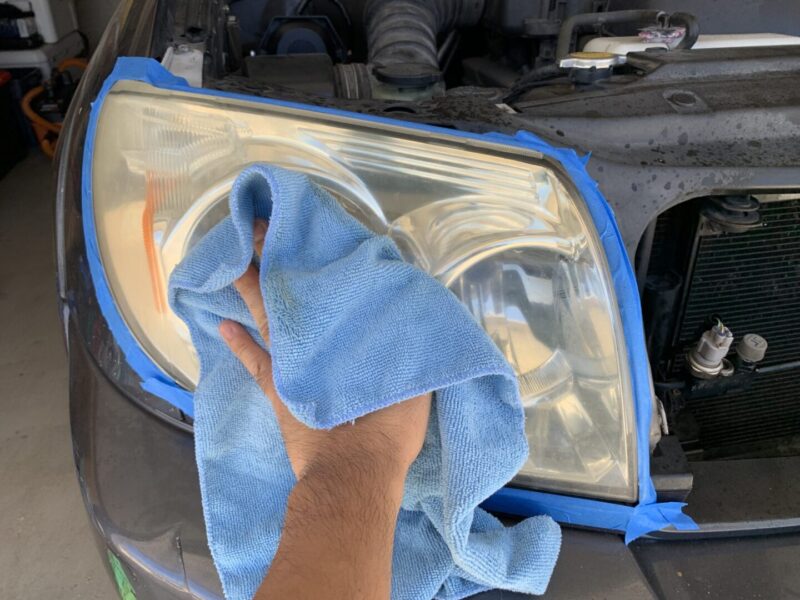
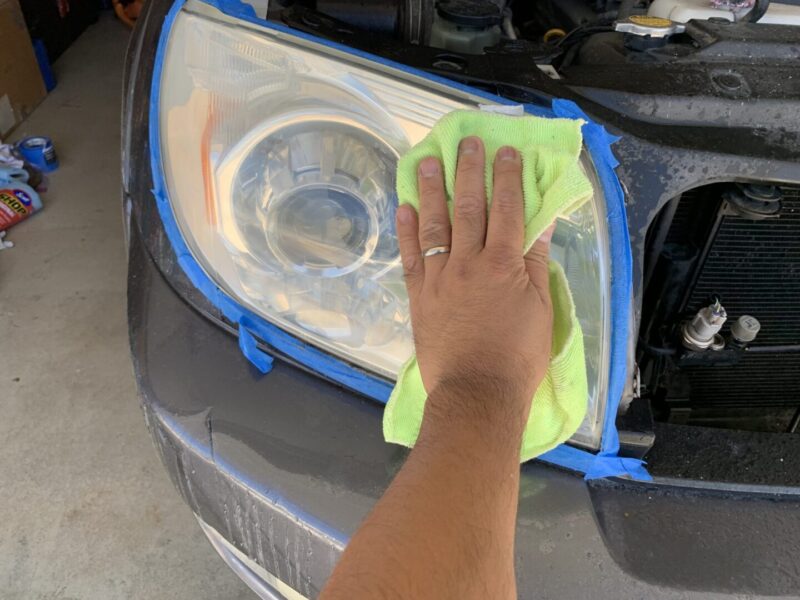
Using your water/cleaner, wipe down the headlight lens so that it is free of dirt and any other contaminants. Since you’ll be sanding and polishing, you’ll want the surface of the headlight lens to be free of anything that would affect the process of sanding and polishing.
Attach the first 500 grit sanding disk to your backing plate and attach it to your power drill. Using the power drill on a lower setting (I have a 1-low or 2-high–I set it to 1) and start sanding the headlight lens. Start at one spot and slowly move fom left to right, and up or down the lens. You’ll want to overlap your passes just slightly until you’ve sanded the entire headlight lens.
Every so often, check your sanding disc and if it is clogged up, clear it of sanding dust. If the sanding disc is worn, change it out with another disc. My practice is to go over the entire headlight lens 1-2 times, then change out the sand paper. Once you’ve finished the entire lens (I normally do 2-3 passes), wipe it down with a dry microfiber towel and check your work. After sanding with 500 grit, the lens should be frosted white without any inconsistencies over the whole area.
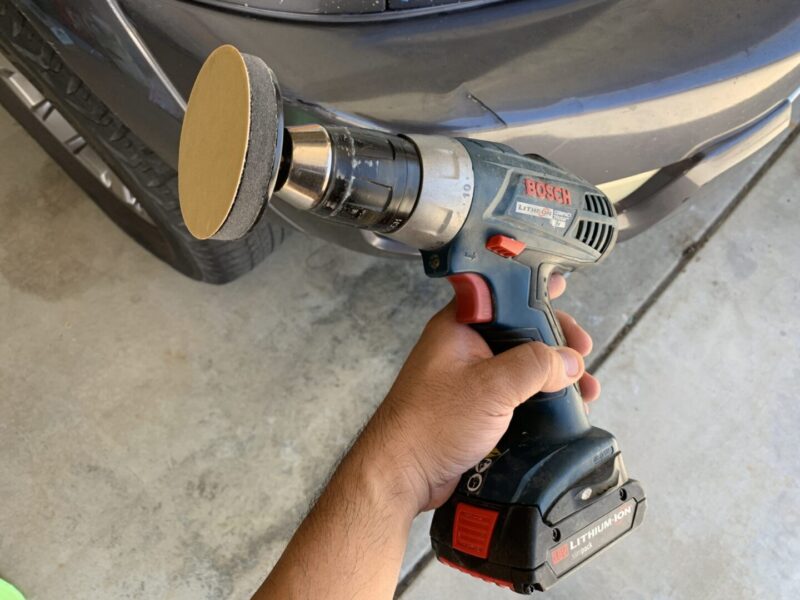
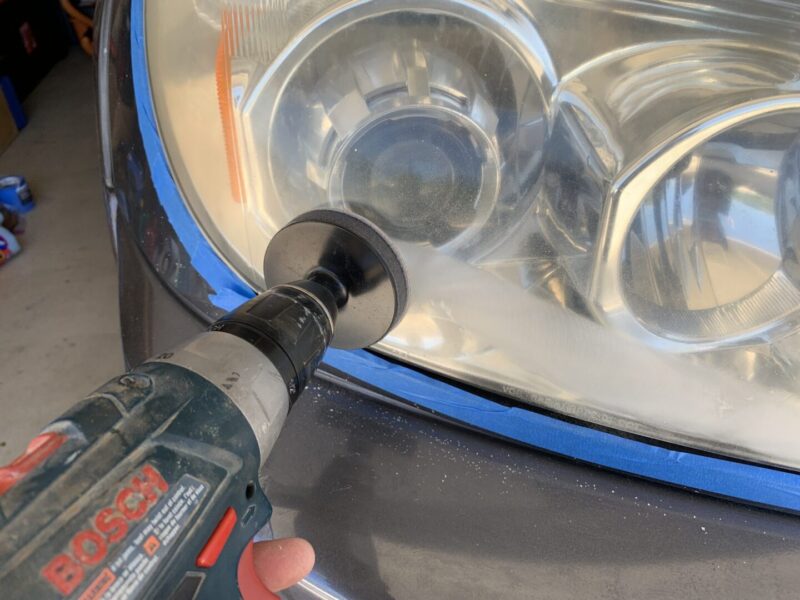
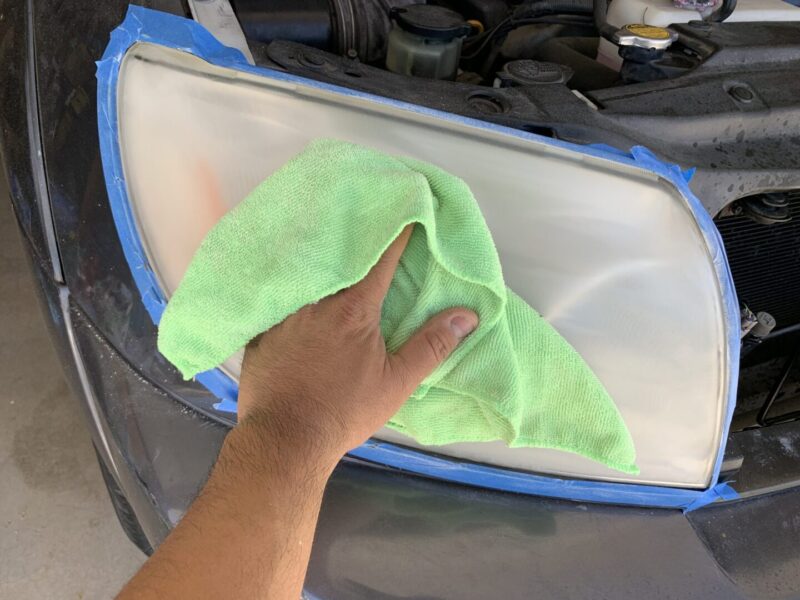
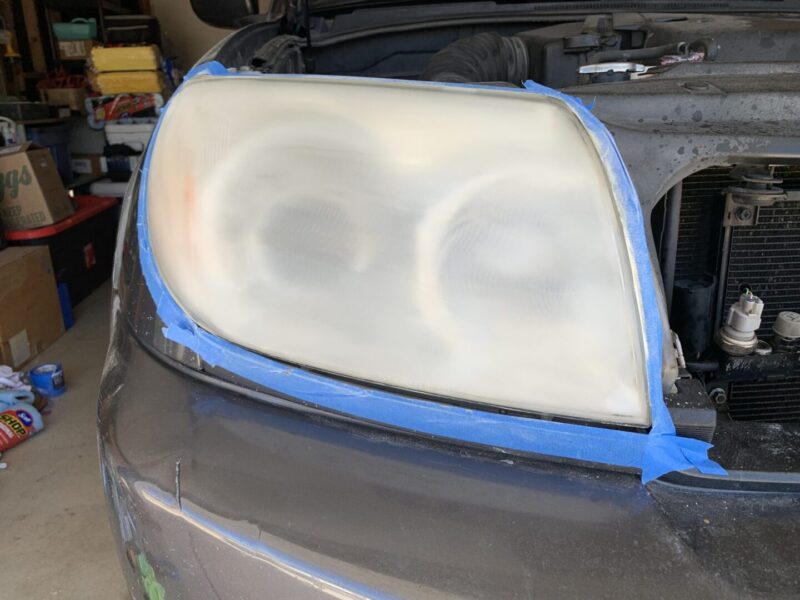
Next, attach an 800 grit sanding disc to your backing plate and then sand the entire headlight lens again. You will use the same speed and motion to sand the whole headlight. This time, I would suggest spending a bit more time sanding with the 800 grit than the time you spent sanding with the 500 grit.
Once complete, wipe it down again and check your work. Again, it will look frosted white still. Your goal is to sand away all of those 500 grit sanding marks with your 800 grit sand paper. When you’re done with the 800 sanding, you should be left with a uniform frosted white lens.
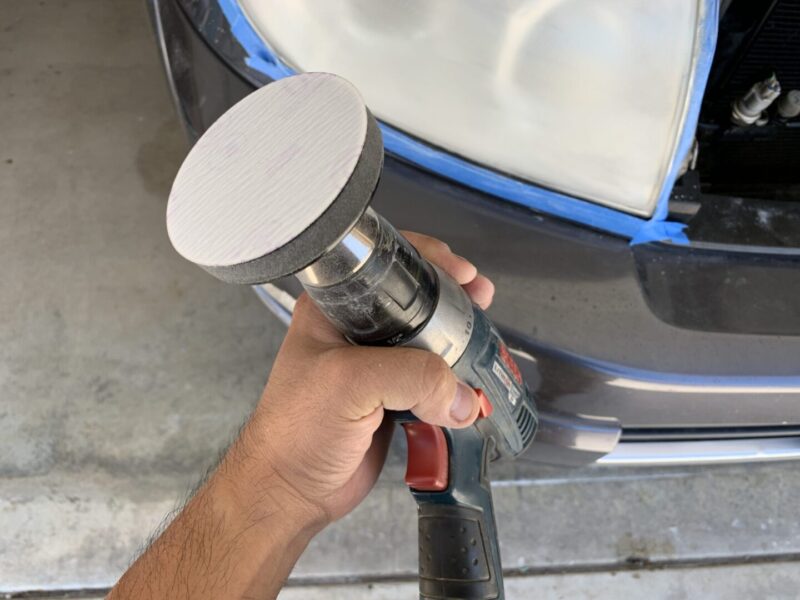
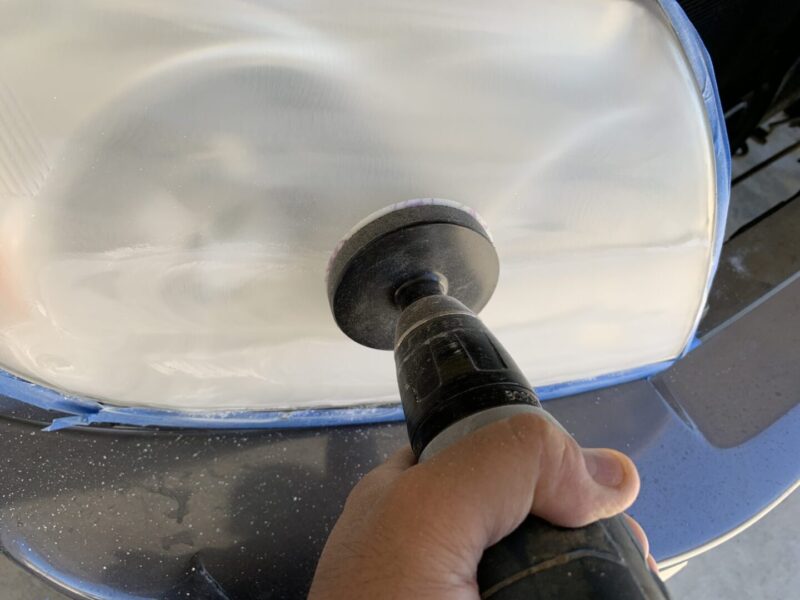
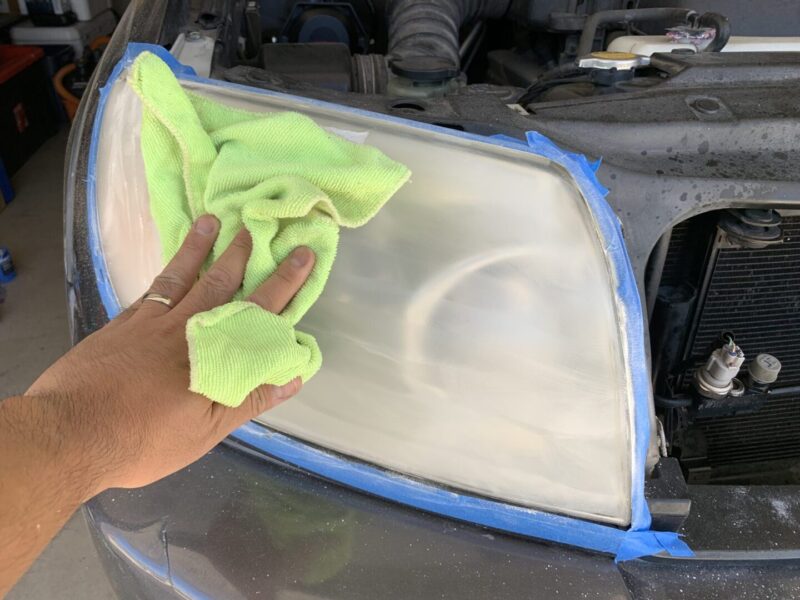
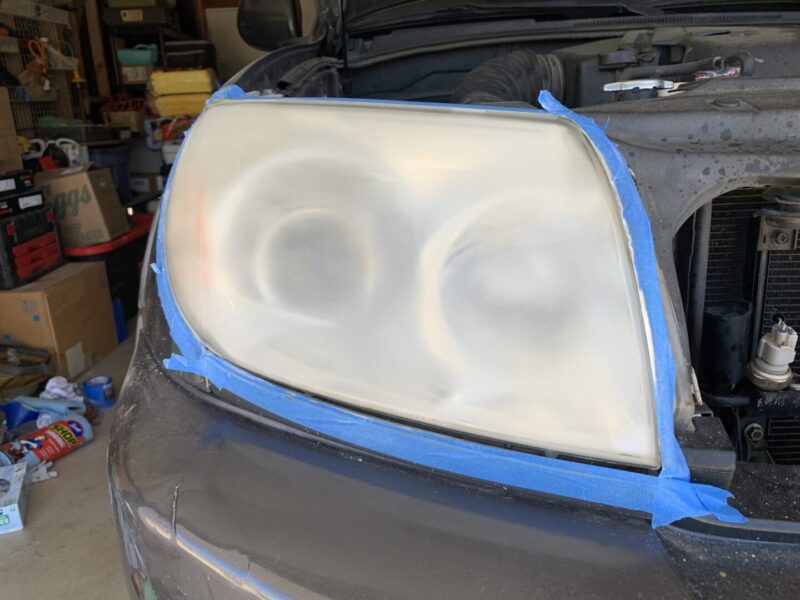
Now, it is time to move onto the 3000 grit sanding disc. This disc has a soft texture to it rather than a harder sand paper texture like the previous sanding discs. This 3000 grit sanding disc is intended to be sanded wet. Therefore, generously spray water onto the headlight and the pad itself and get to wet-sanding. Once more, you should be spending extra time sanding with this final 3000 grit sanding disc than you spent on the previous grits.
You should be getting a white pasty residue while sanding; this is what you’re looking for. Occasionally, stop and wipe off the white pasty residue with your microfiber towel or rag. The headlight lens will look slightly clearer than the previous step, but not very clear. Again, that is perfectly normal. Just like previous steps, the 3000 grit sanding disc should be removing the sanding marks from your previous grit sanding disc.
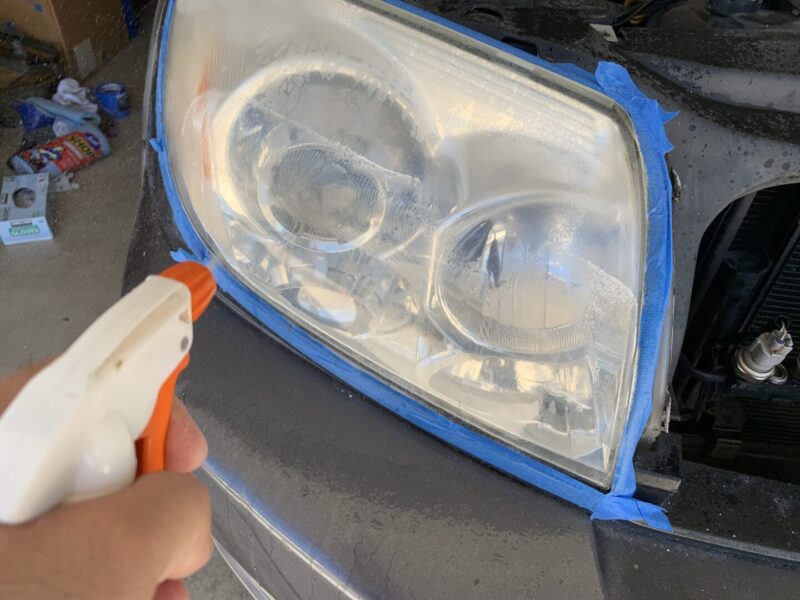
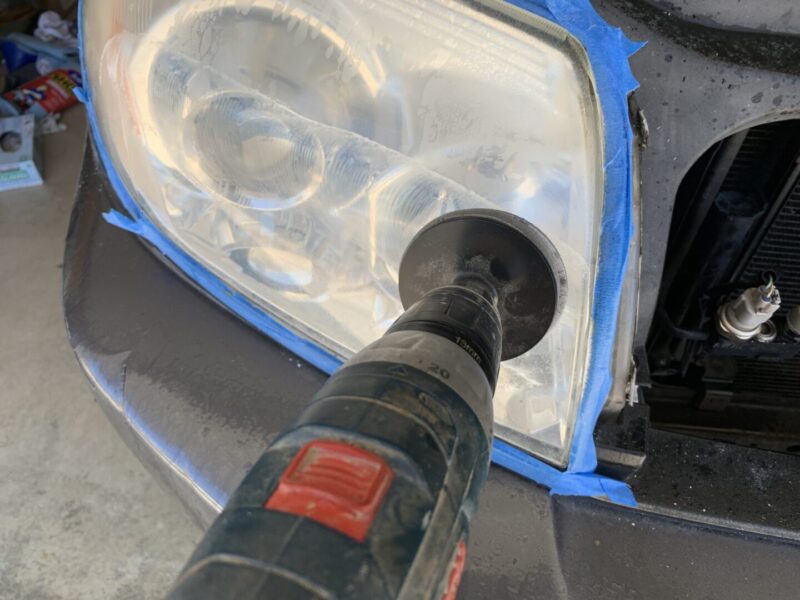
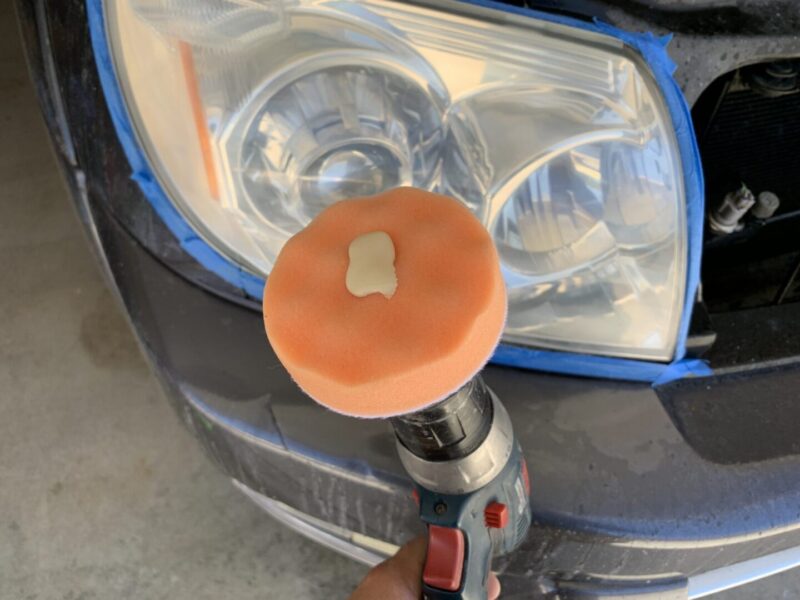
Now, it is time to change out the sanding disc with a polishing pad. You will now be using this polishing pad with the liquid compound that came in the packet. Don’t use too much product or it will make a big mess, flinging compound all over the place. Just apply a dab onto the pad, spread it over the headlight before running the drill, and then polish with the drill the same way as you did previously.
Spend a bit more time polishing the headlight as you want the compound to remove all of those 3000 grit scratches from the previous step. I personally went over each headlight two times moving very slowly across the lenses. Once complete, wipe off all the leftover residue from the headlight.
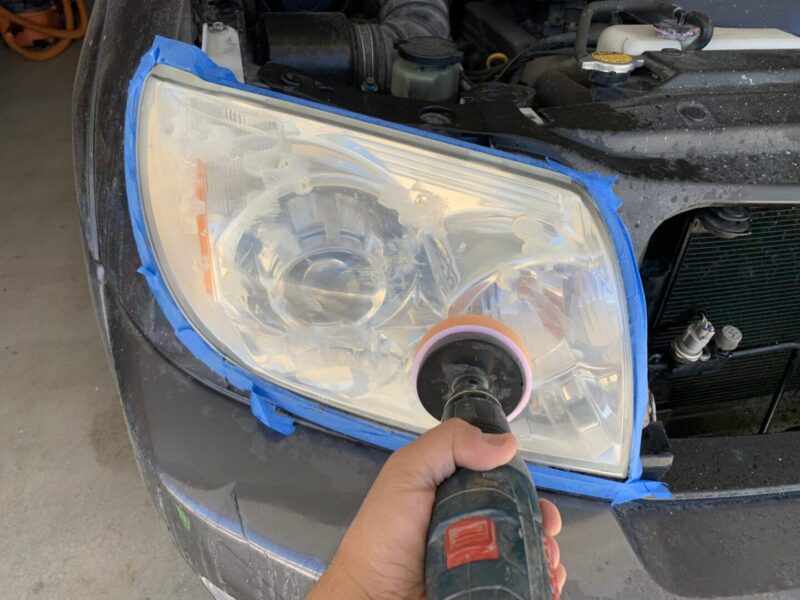
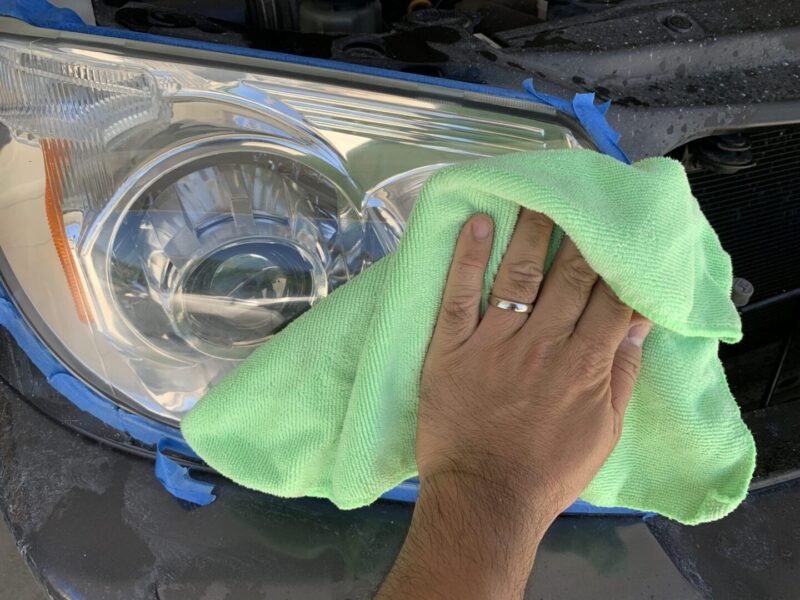
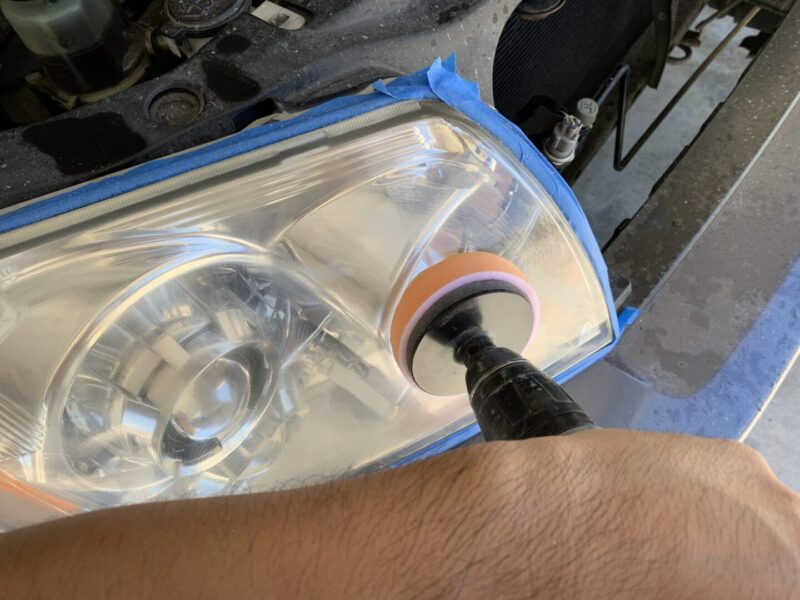
When you’re finished with this last step, you should notice a big difference in clarity of the headlight lens. You may now remove the surrounding tape and clean up any residue around and on the headlight itself.
At this point, some people call it a day because the headlight lens already looks amazing. However, if you don’t apply some protection onto the lens, it will become hazy, cloudy, and yellow again in the near future. Therefore, using a clear coat will prevent this from happening, as well as making the restored headlight lens look even better.
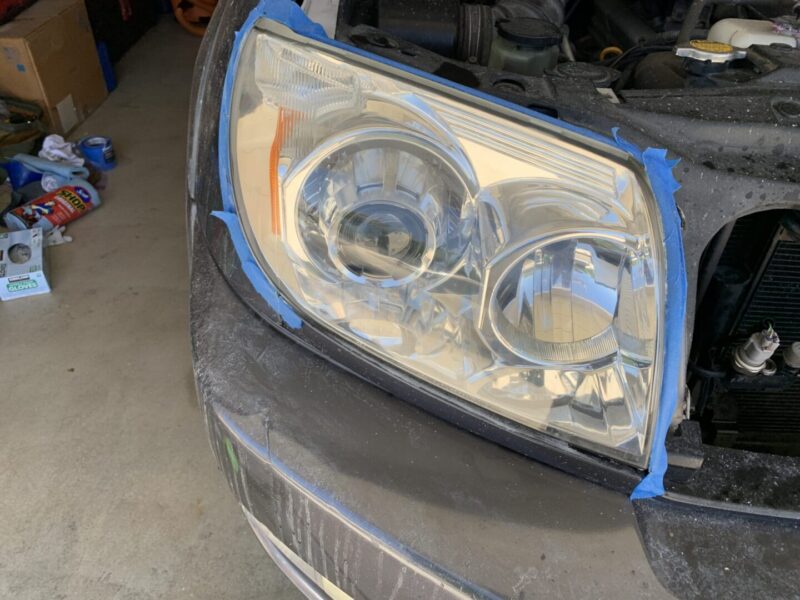
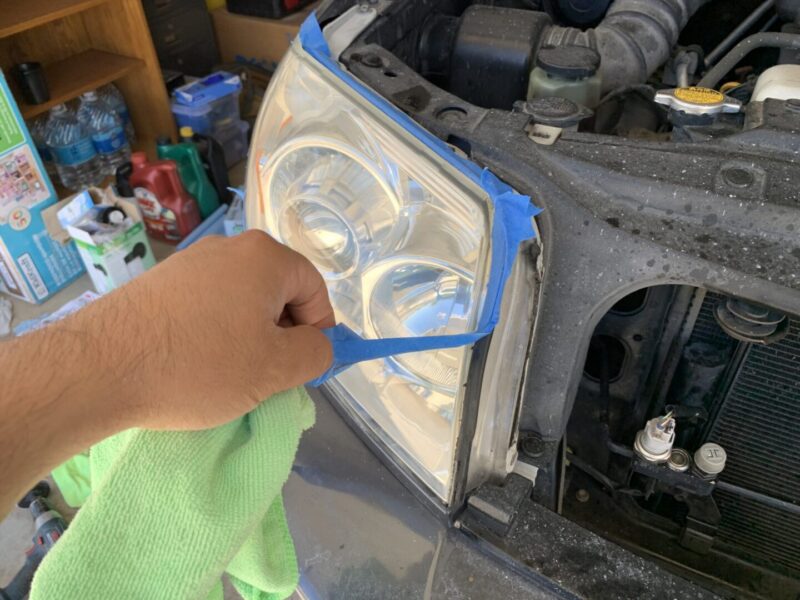
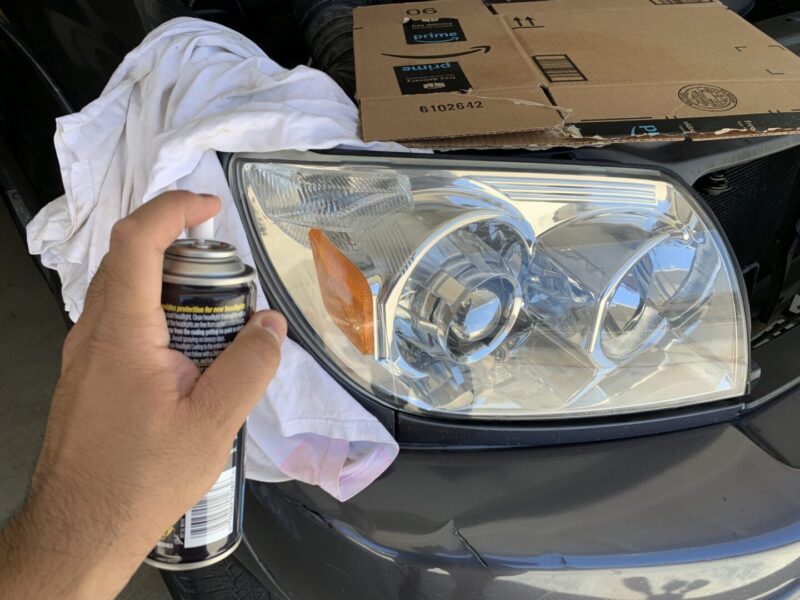
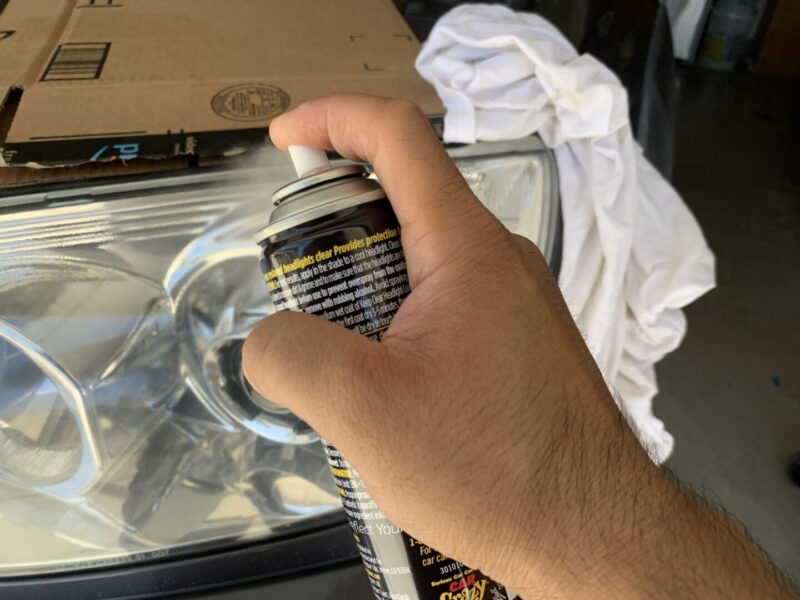
I used Meguiar’s Headlight Coating here, which is basically a spray-on clear coat. Using whatever you have, cover the surrounding areas around the headlight lens. Personally, I opened the hood and used some cardboard along with some clean rags to cover the car’s paint. I then sprayed this headlight coating on, evenly coating the whole lens. Right afterwards, I used a clean microfiber towel to wipe the outside perimeter of the headlight in case any of the clear coat got on the surrounding paint work.
This coating I used recommends two layers of clear with a drying time of about 3-5 minutes in between. After the second layer is sprayed on, a curing time of about 24 hours is recommended.
You will notice that the clear coat spray adds to the shine of the restored headlights. In fact, if you still have any micro-scratches left on the lens, this clear helps to fill in some of those defects. Although, larger scratches from the 500 or 800 grit sanding discs that were not properly sanded out will likely still be visible.
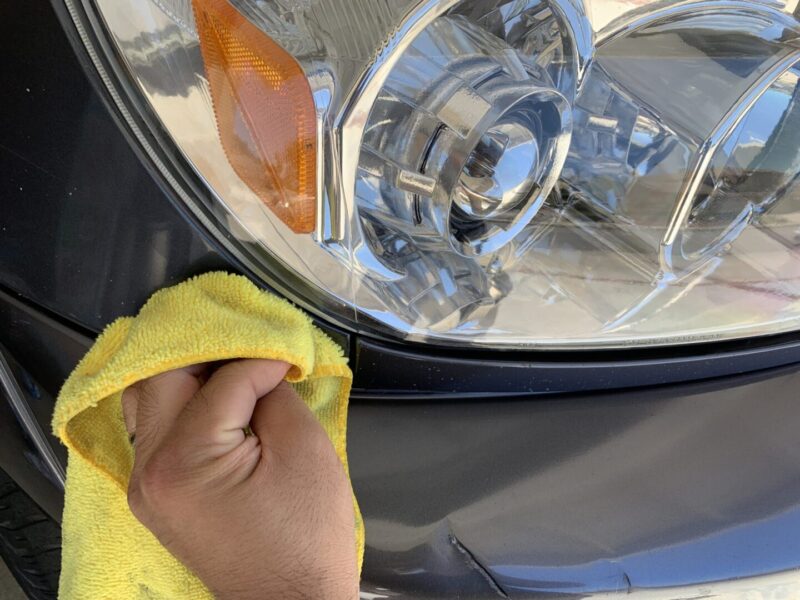
Once the headlight coating has dried, you will be left in awe. I managed to completely revitalize my old clouded up headlights with this simple 3M Headlight Lens Restoration Kit. Also with the added clear coat, I know my headlights will stay this way for a long time to come. After the 24 hour cure time of the clear coat (or whatever your specific clear coat manufacturer recommends), you can wash your car if you want to.
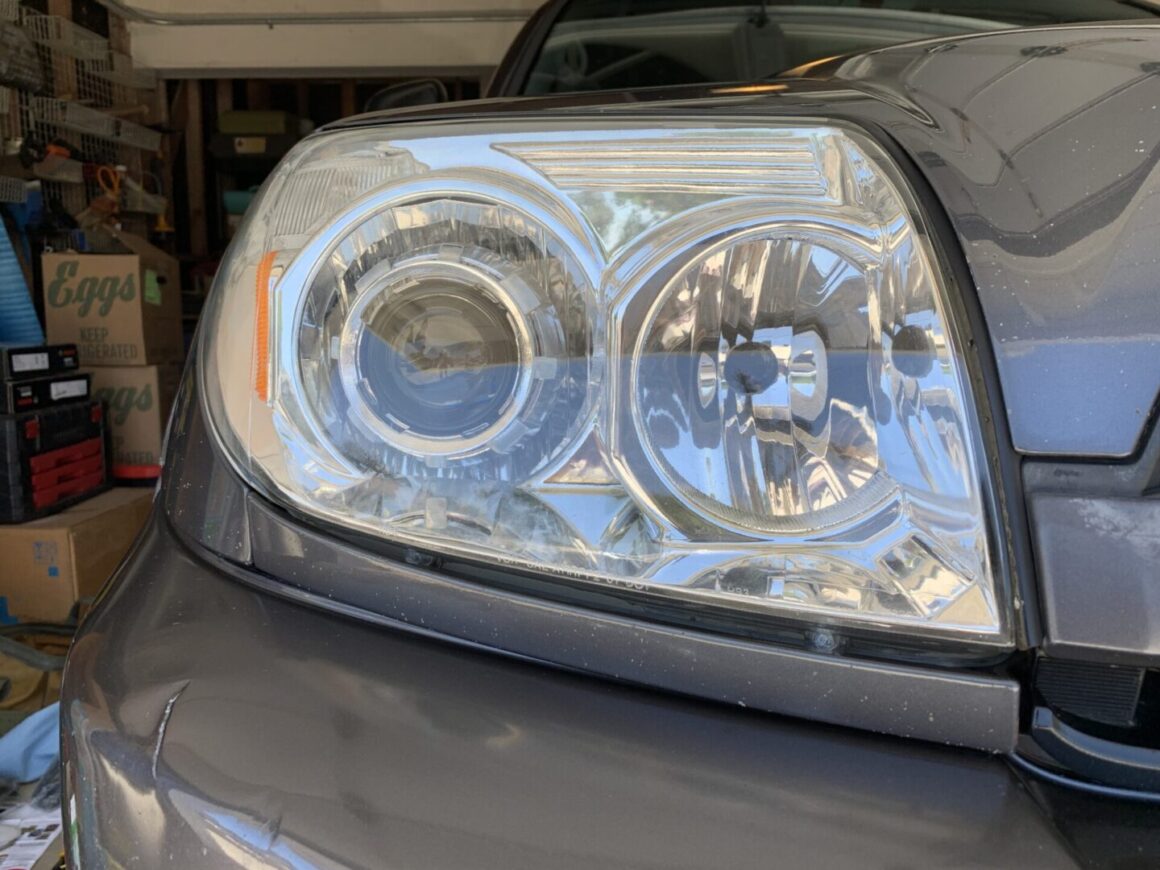
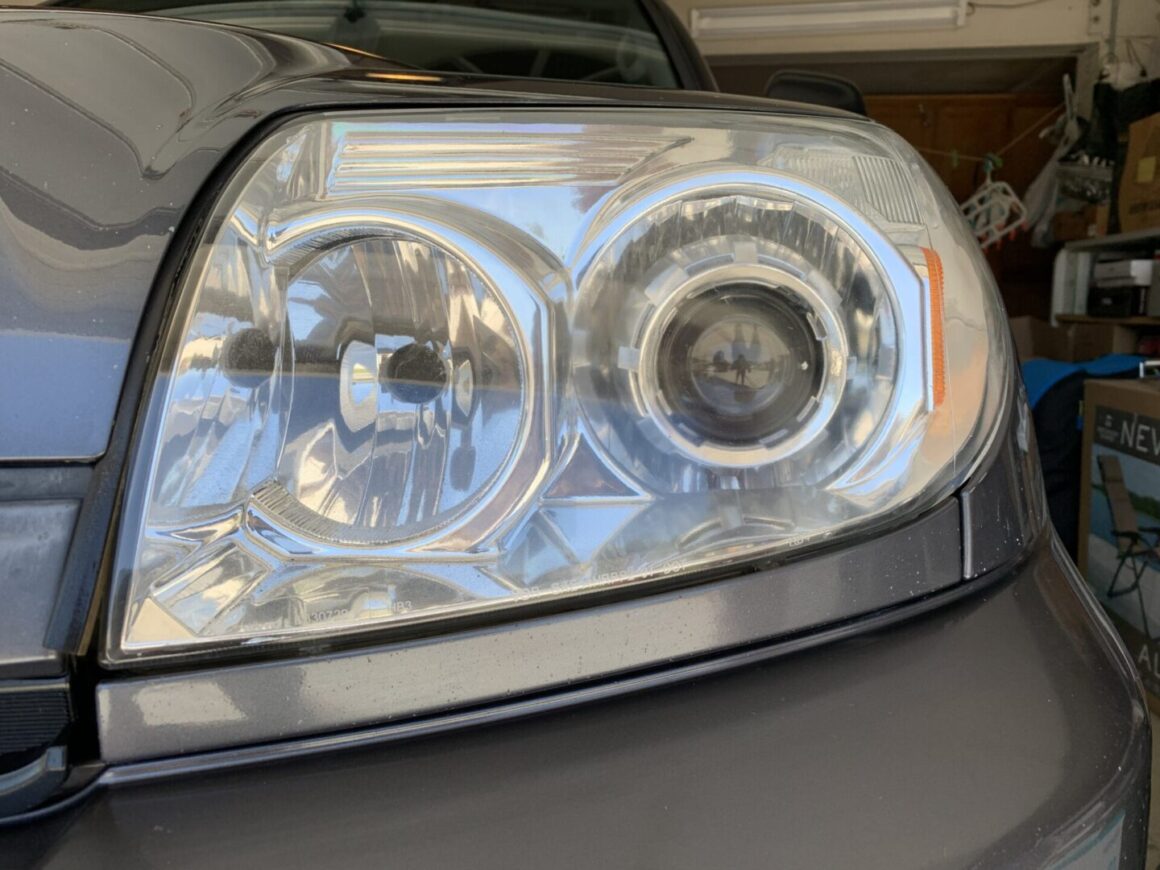
I was a bit reluctant to do this headlight restoration with a kit such as the 3M one I used because I wasn’t so sure that it would work well. After doing much testing with this kit and with general headlight restoration methods using sheets of sandpaper and compounds/polishes, I realized that the kit just works. It just works and it works extremely well.
The 3M kit is brilliant in that it uses what most people have at home already, a power drill to achieve the needed power for sanding that is needed in order to remove sanding marks in the headlight lens. At such a low price point, the 3M kit provides you with everything you need and produces amazing results. So the headlight lens kit is cheap, effective, and easy-to-use, so I guess you can have your cake and eat it too.
3M Headlight Lens Restoration Kit / 3M Headlight Lens Restoration Kit + Quick Clear Coat

