When you make purchases through links on this site, The Track Ahead may earn an affiliate commission. Also, these posts are based off my own experiences. I am not responsible for any action you take as a result of reading this. Learn More
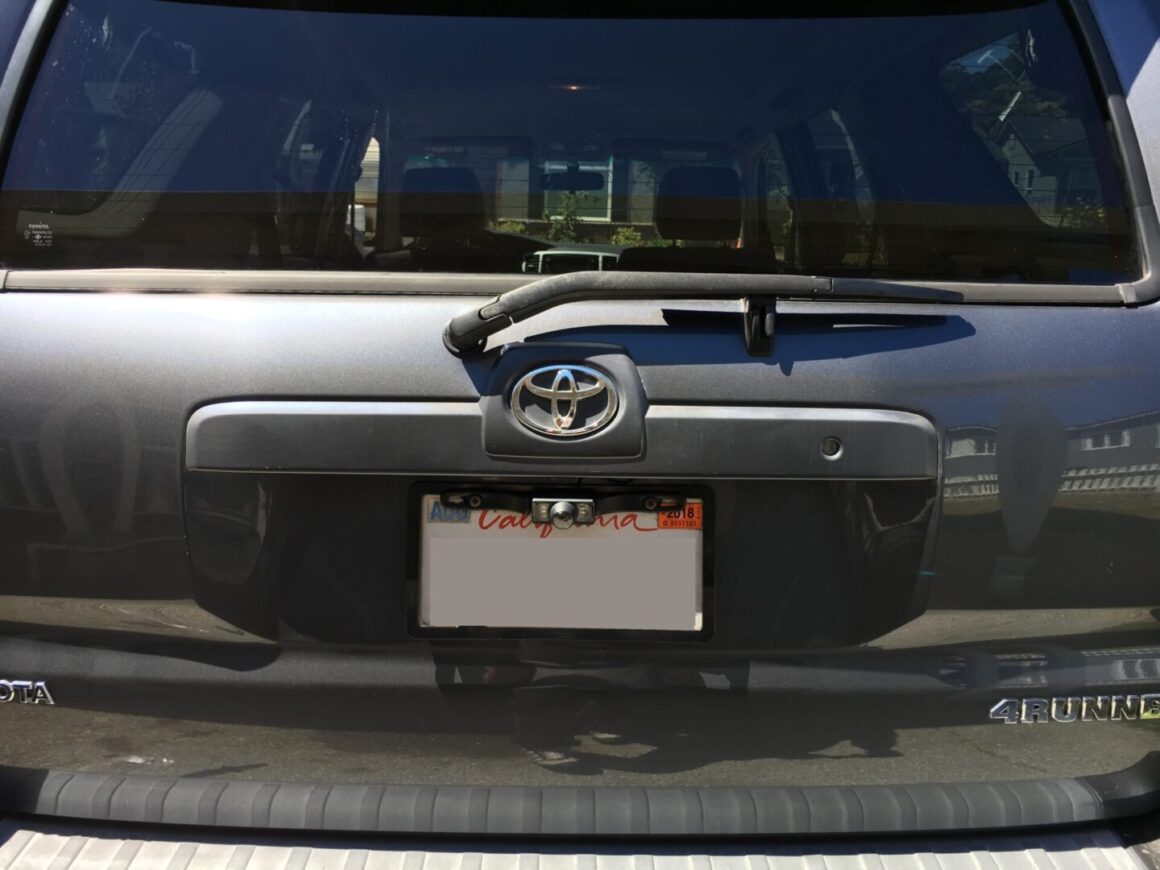
For years, my 4th generation Toyota 4Runner would only wipe a portion of the half circle on the rear hatch window, when it should actually be wiping the entire half circle. It turns out that fixing this problem is very simple, and requires only a slight cut to the plastic rear wiper arm to fix the issue of it not making full contact with the window.
Tools and Materials
Since we are only modifying the existing rear wiper arm, you don’t need any parts. As for tools, you’ll need:
- 10mm socket wrench or wrench
- flat prybar or large flat head screwdriver
- long-nose pliers
- hacksaw
How to Fix Rear Wiper Arm Not Making Full Contact on Rear Window
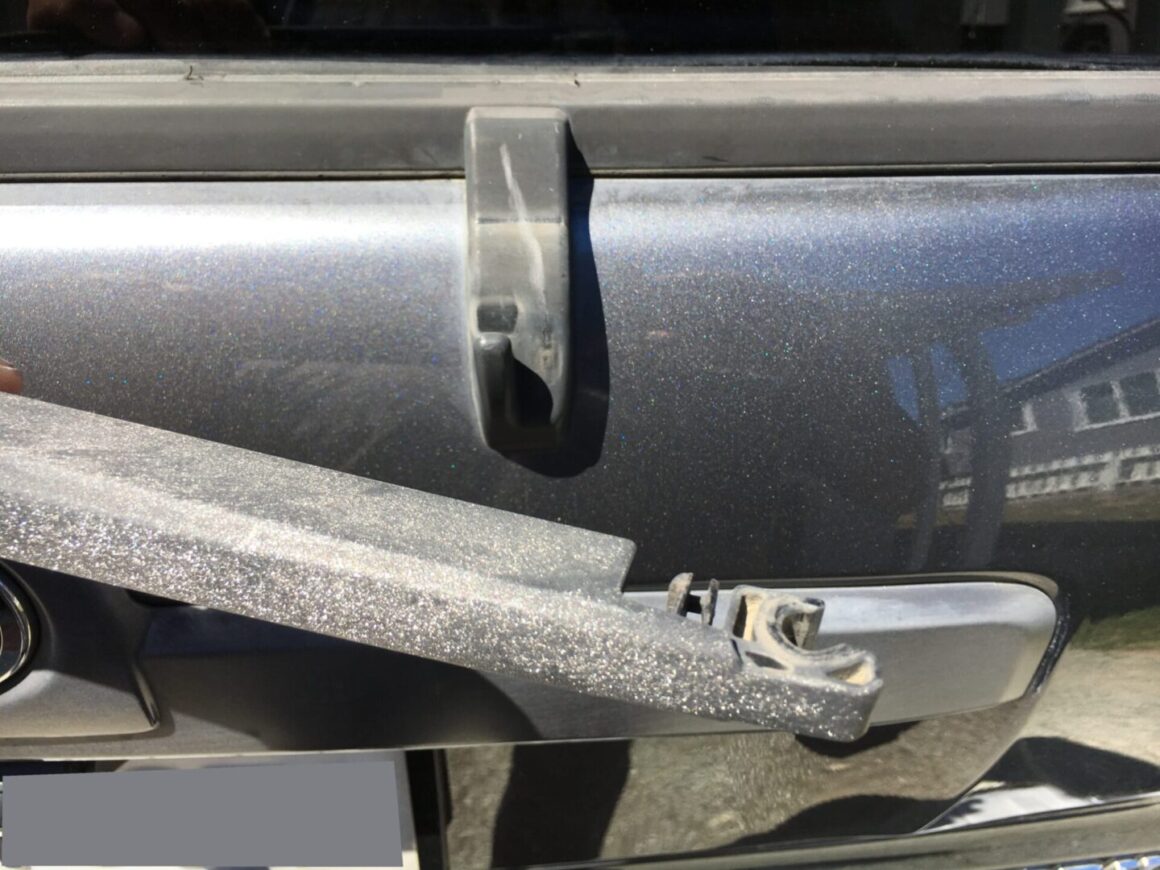
First, it is important to understand what we are trying to accomplish. At rest, the rear wiper arm is suspended from the rear window and sits on a support. When it is in operation, it moves off of the support and with a spring mechanism, it applies pressure so that the wiper arm presses against the rear hatch window.
If the wiper arm doesn’t apply enough pressure or does not articulate enough towards the window to apply full pressure of the wiper blade, then the wiper blade will not wipe the rear window properly.
What we will be doing is cutting a portion of the wiper blade so that the wiper blade can articulate further, allowing it to apply even pressure on the rear window.
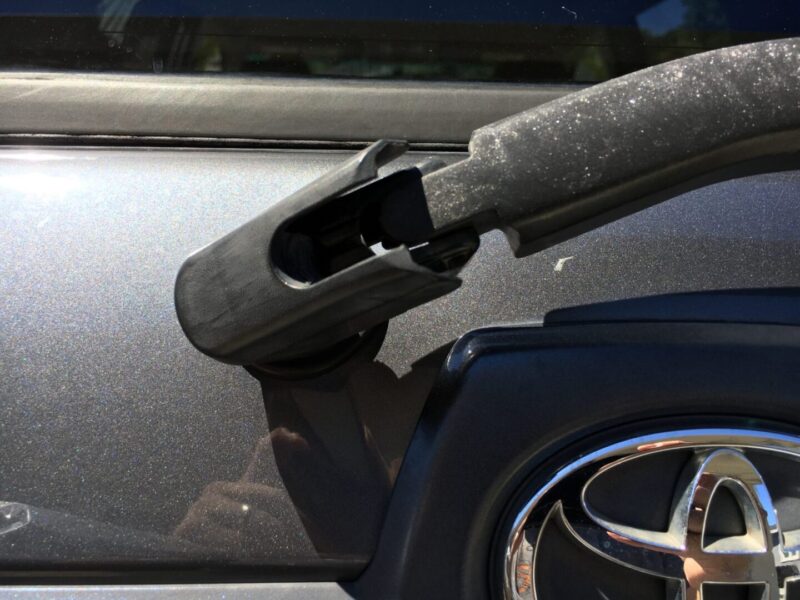
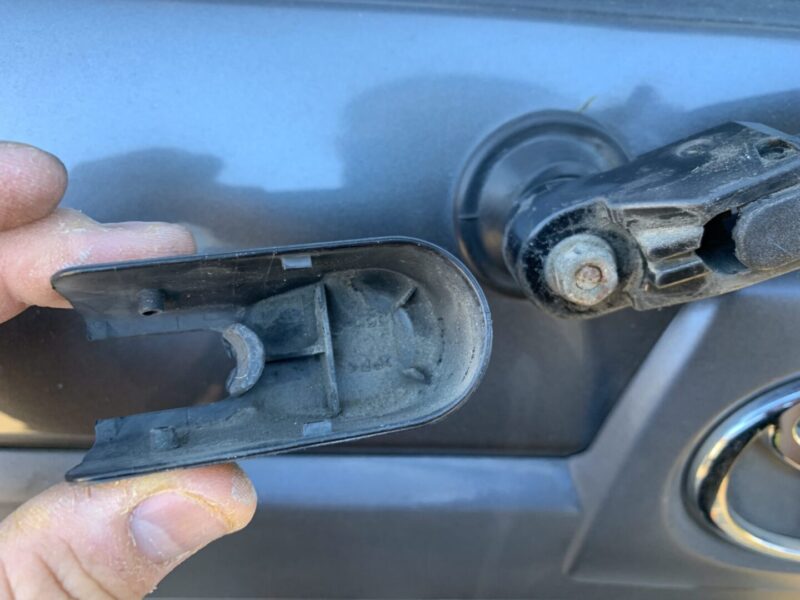
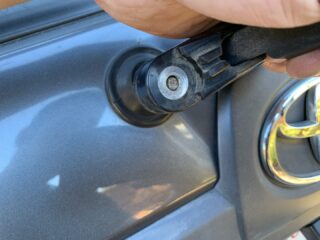
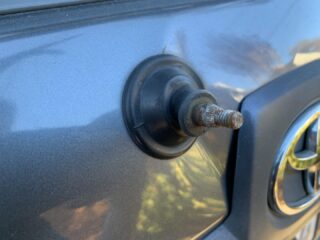
First, remove the plastic cap around the base of the arm. You can use your fingers to pry both sides of the cap sideways and away from the center, and then pull the whole cap out towards you. It’s a bit hard to remove, but my experience is that the cap is pretty flexible, so you can tug it a bit and it will come out eventually. The two photos below shows the cap and how it looks underneath so you can understand how it pries off of the base of the arm.
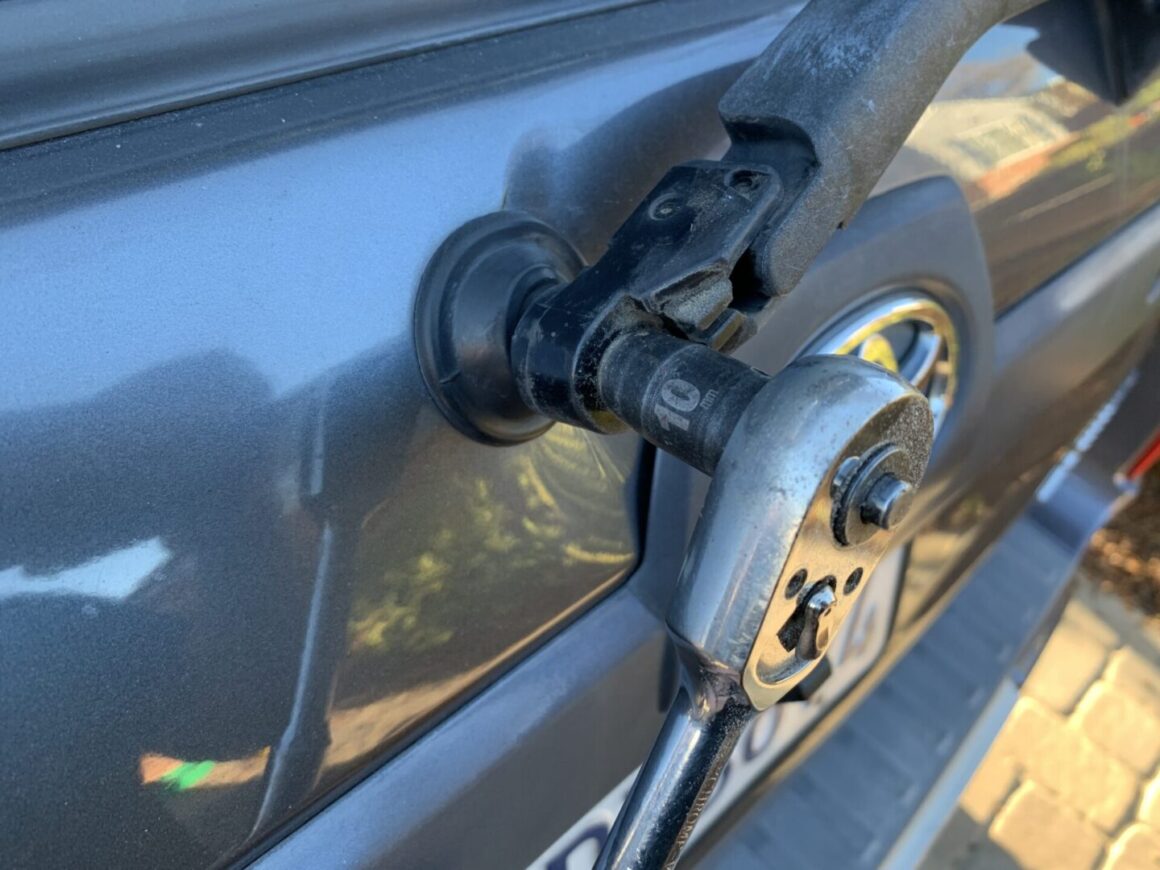
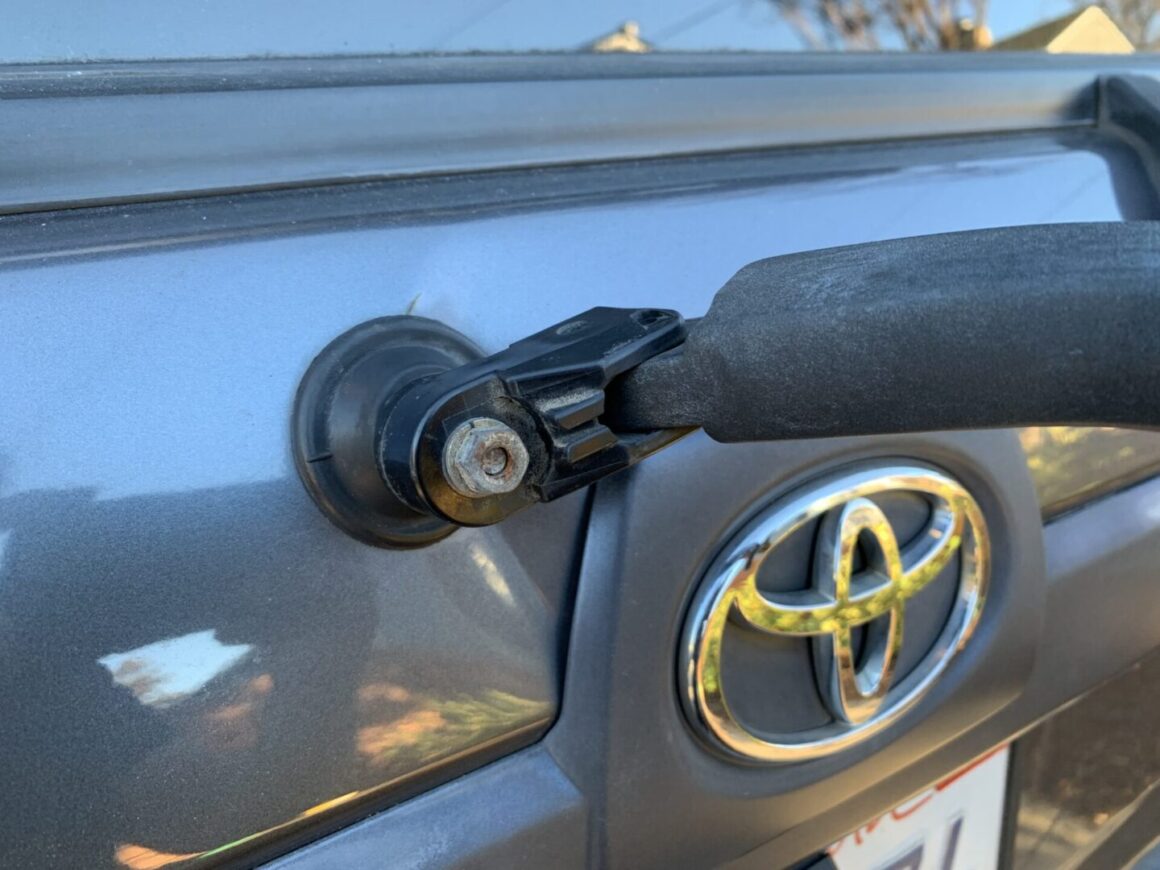
Using a 10mm socket wrench or wrench to remove the 10mm nut that holds the wiper arm in to the arm shaft.
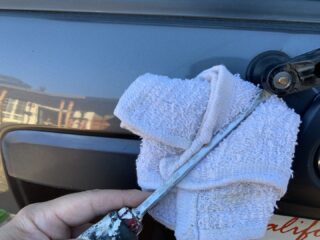
Once the nut is removed, you are left with the wiper arm assembly. There is nothing holding the whole arm on the shaft, but it can be difficult to remove. It needs to be pried off. Use a rag folded over many times (or similar item to protect the car’s paint,) use it as a backing to support a large flat head screwdriver or pry bar to pry the arm off. You might need to pry it a bit all around the base of the arm to slowly work it off the shaft.
If you still are having trouble getting the wiper arm off (or the 10mm nut), just be patient. Use a bit of penetrating oil on the nut/shaft (cover the paint surface to prevent damage.) Continue prying lightly all around the shaft, and even try a few love taps with a hammer on the shaft while pulling back on the wiper arm.
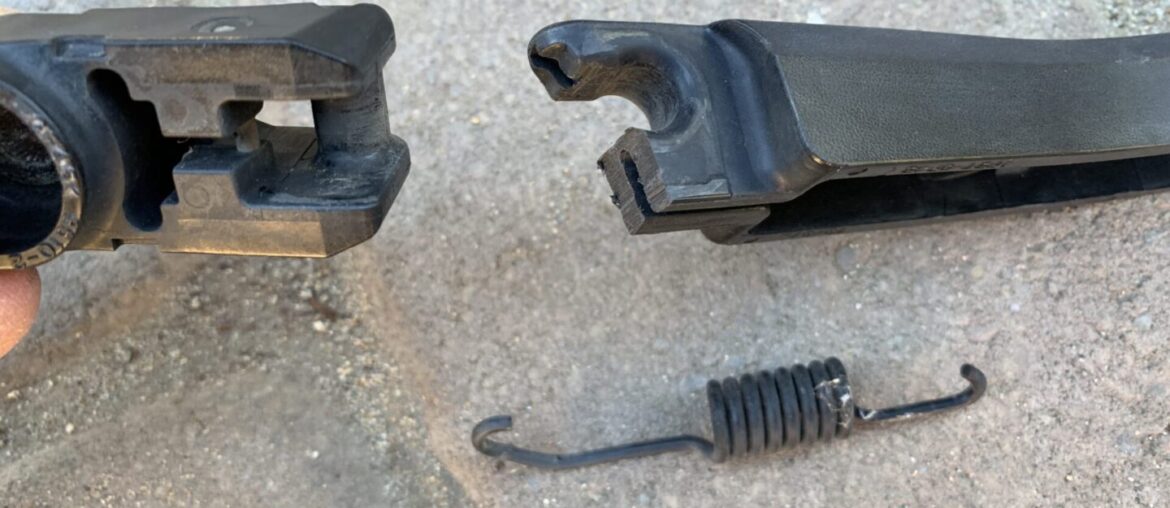
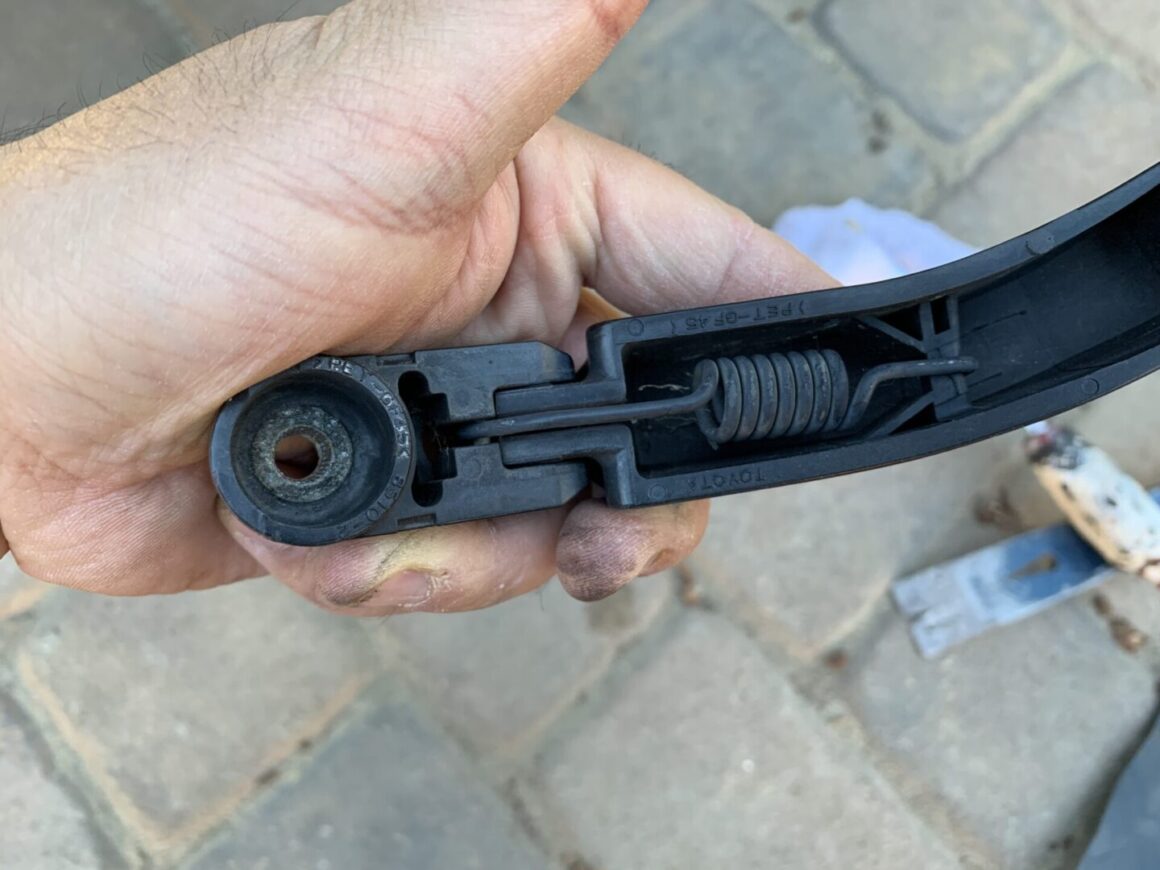
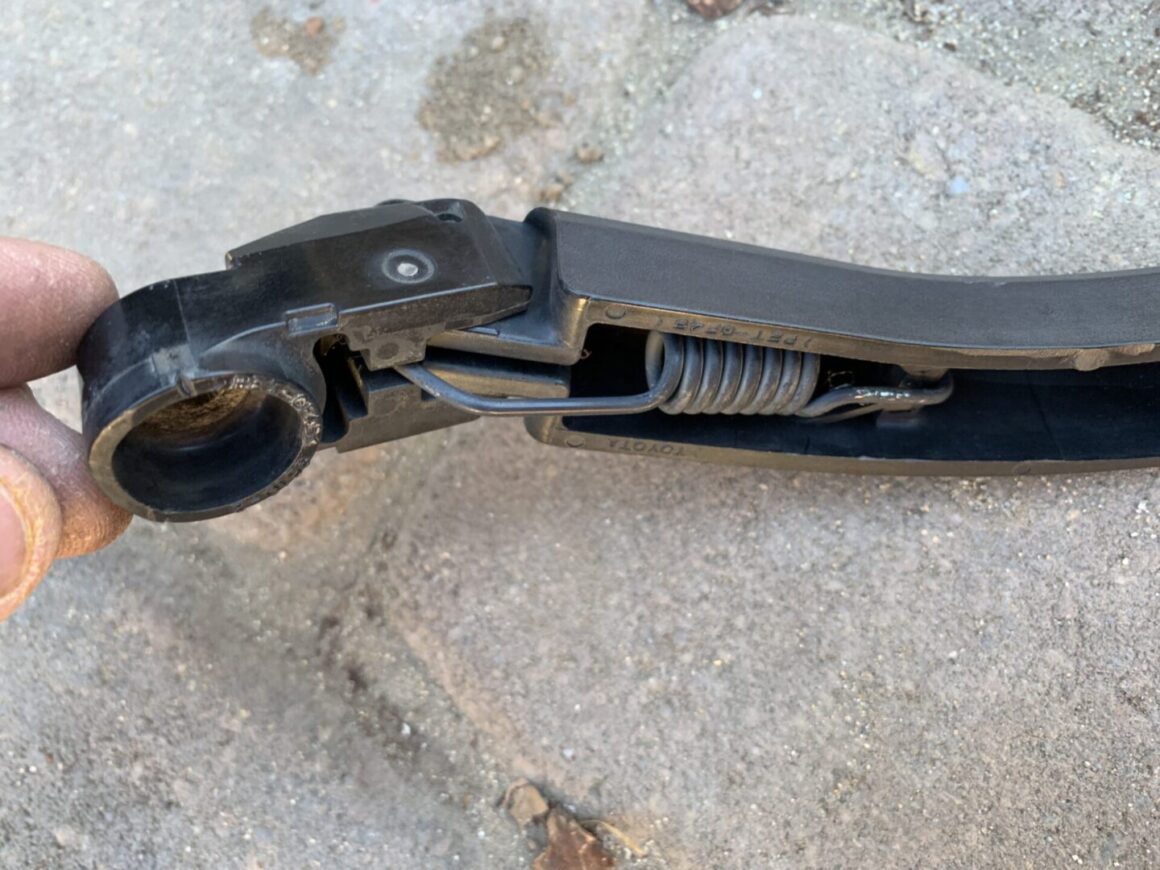
With the whole wiper arm removed, you can turn it around see how the spring mechanism operates. The spring holds the base of the wiper arm to the wiper arm itself. The tension of the spring pulls the arm towards the rear window to apply pressure when wiping.
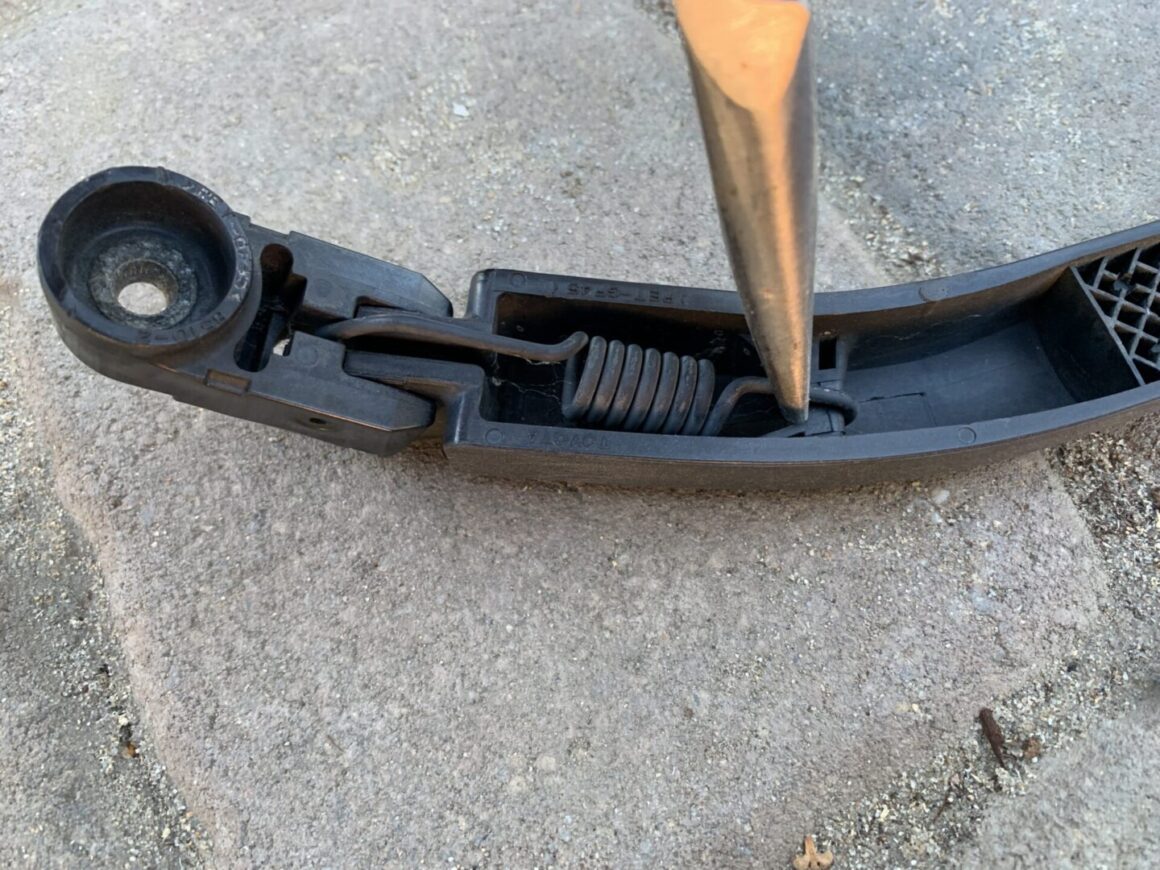
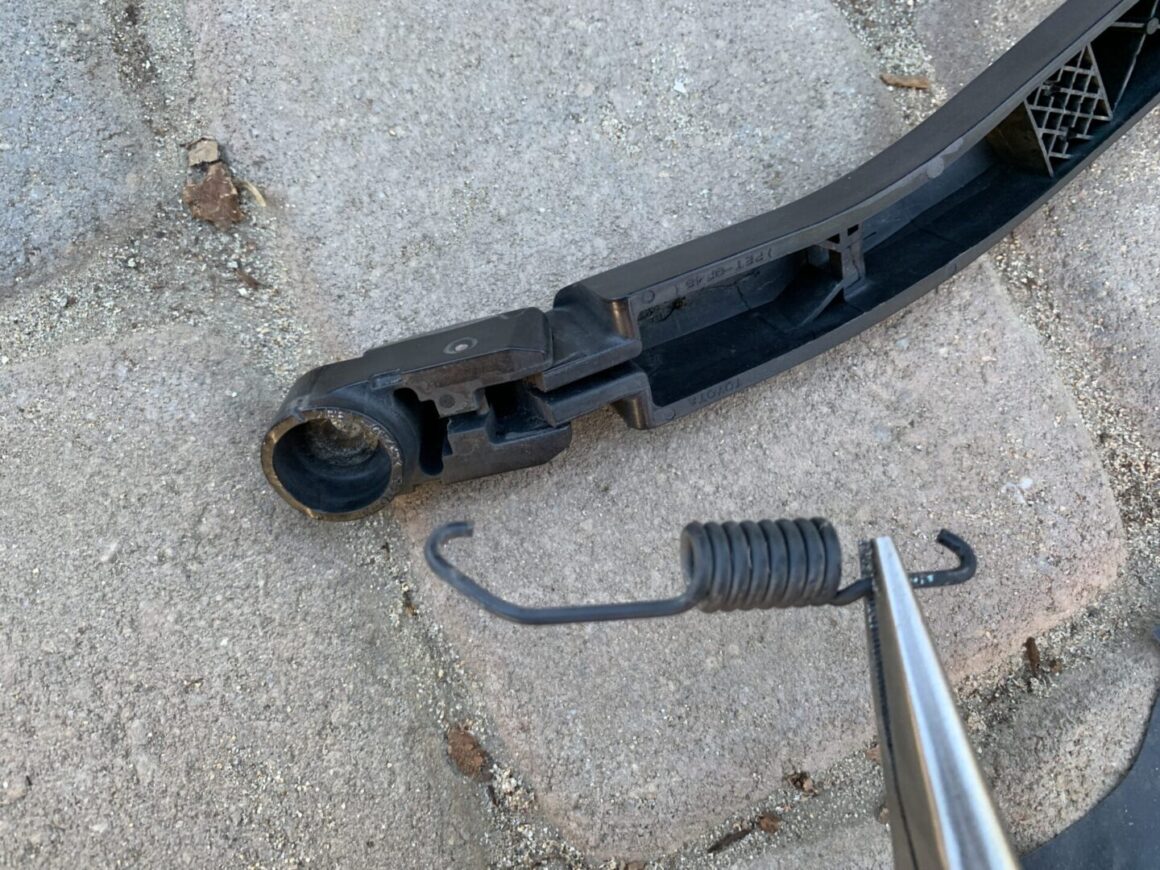
Using long-nosed pliers, remove the spring by pulling the hook off of the arm.
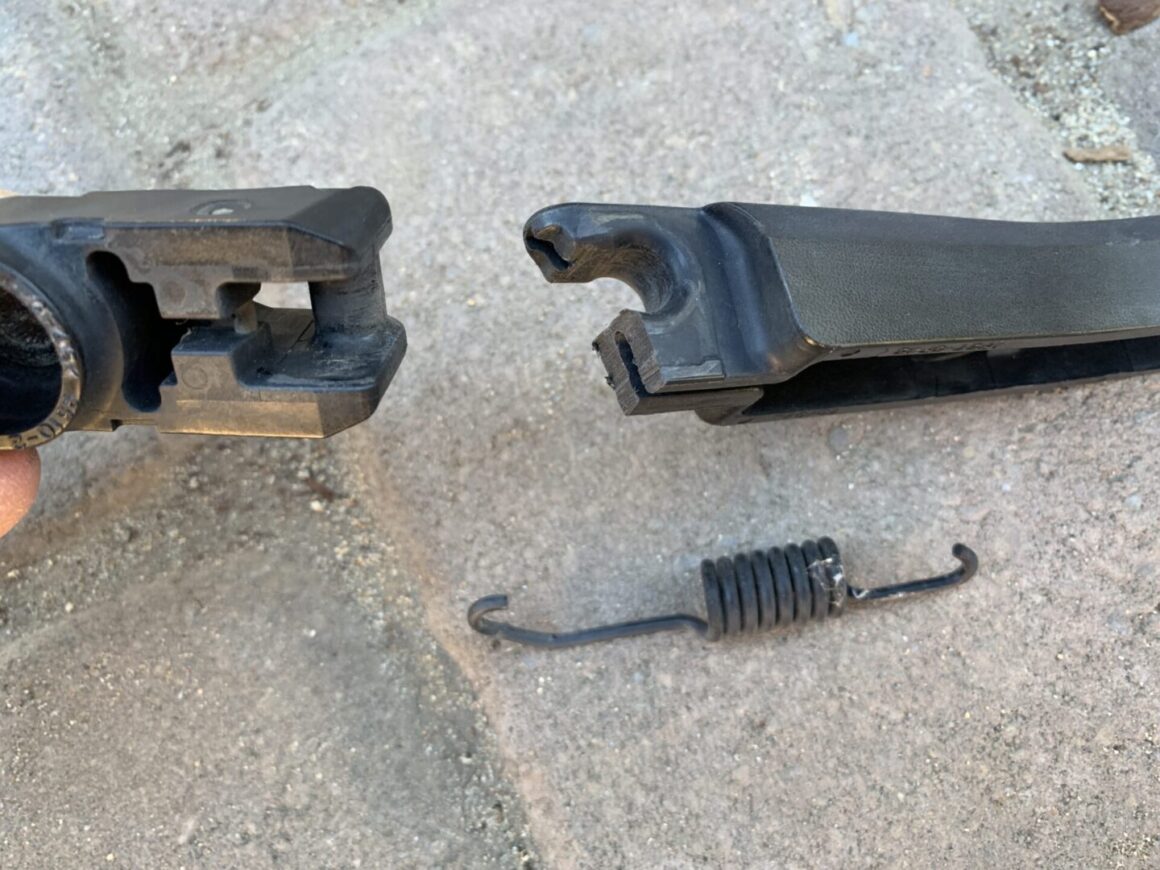
With the spring removed, the two parts of the wiper arm can be separated.
The wiper arm hook needs to have its bottom hook cut off about 1/4″ off. Use a hacksaw to cut this portion off.
If you want to play around with the articulation of the arm prior to cutting, see the photos further down in the post to understand what cutting the bottom hook will do.
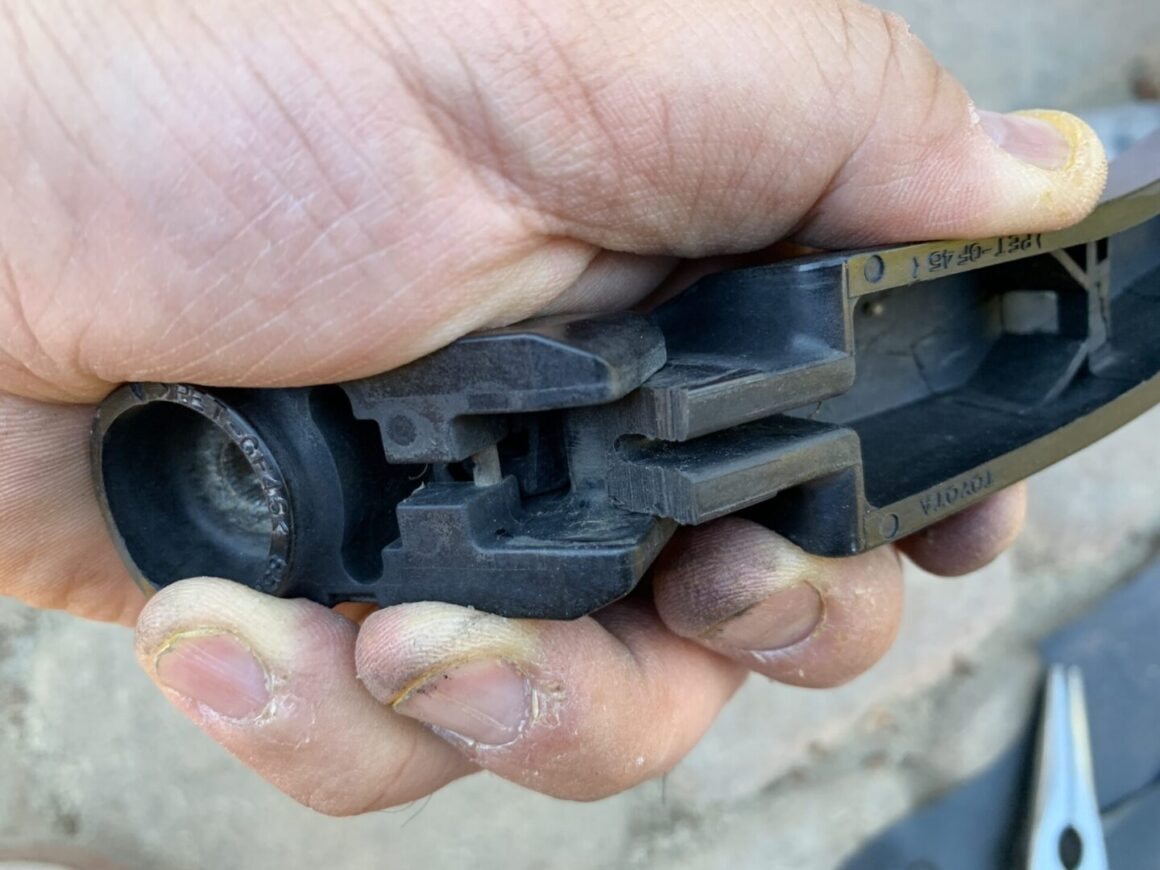
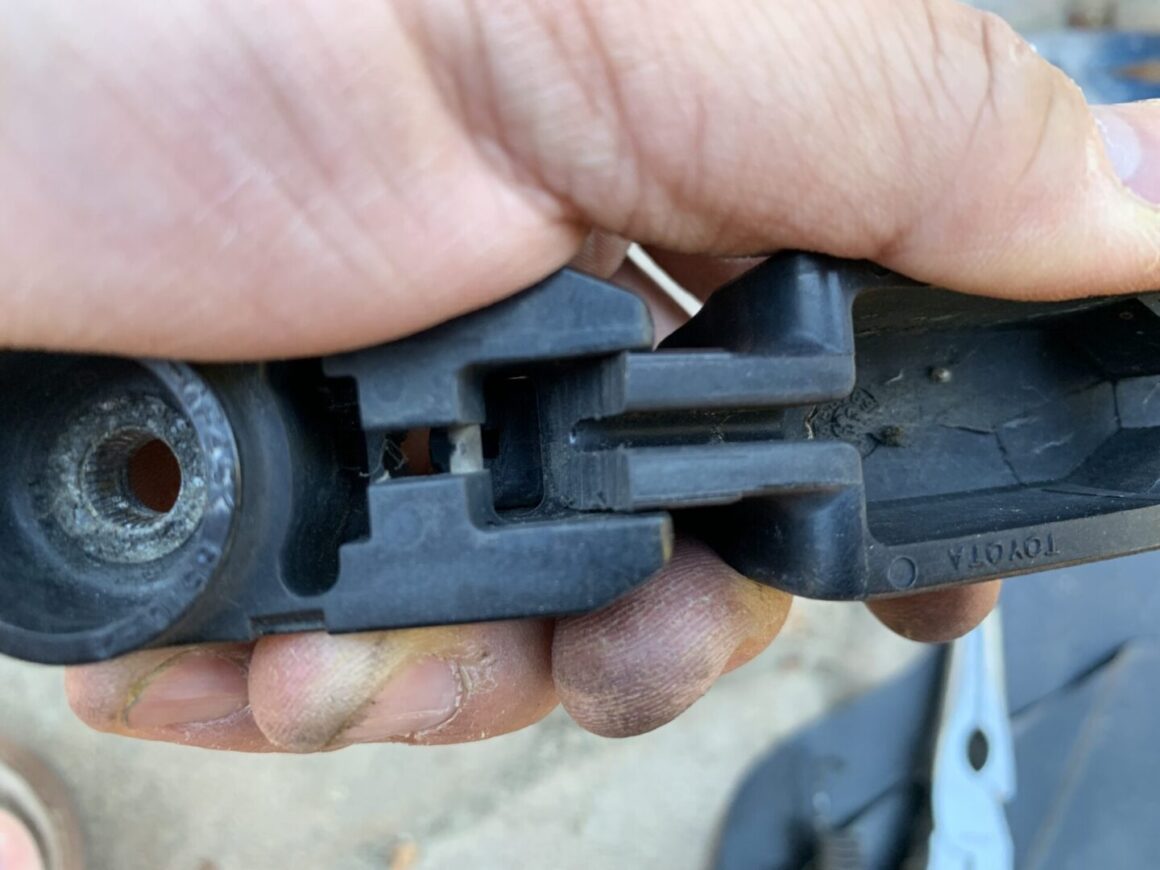
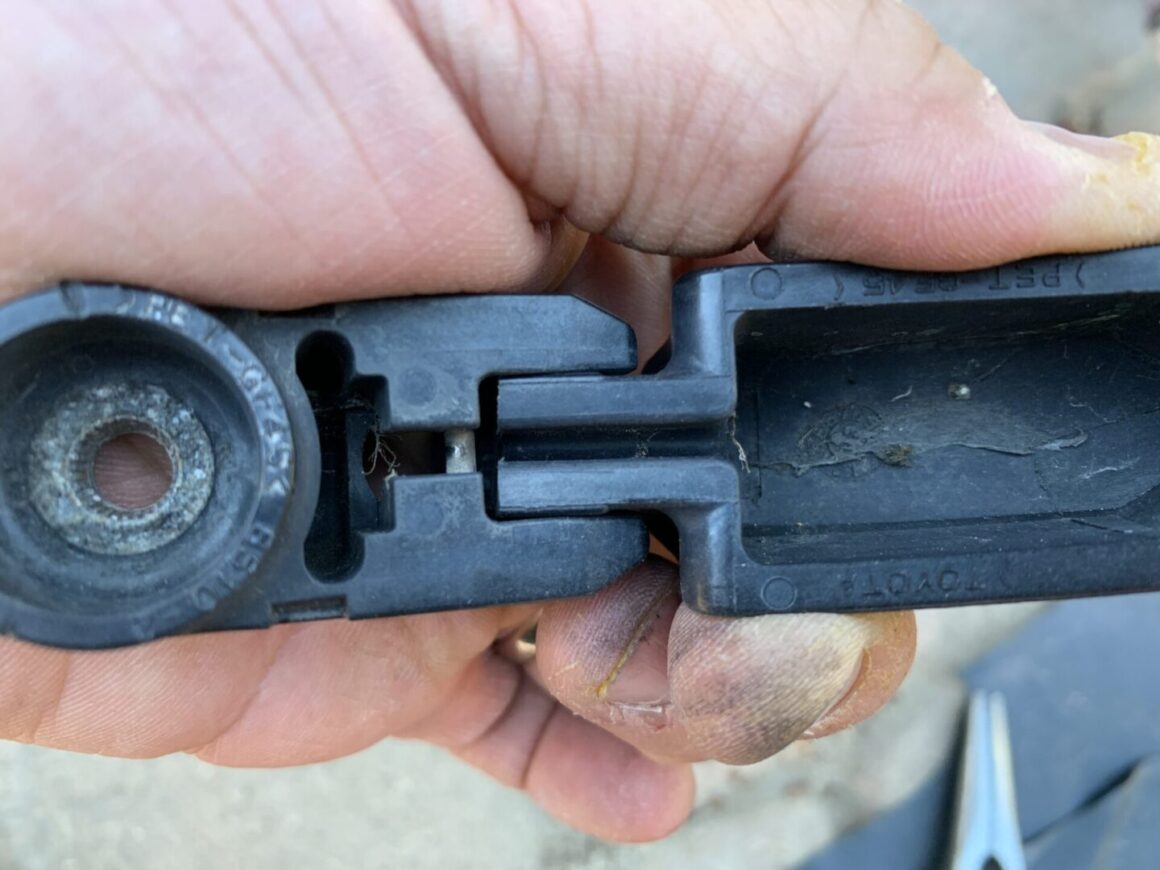
The photos below show how the bottom arm articulates and eventually contacts the base. With the bottom hook still in place, the arm would articulate less. With the bottom hook cut off 1/4 inch, the arm can articulate further. By rotating the wiper arm, you can see the part of the hook that is cut off. This will allow the spring to pull the arm in further so that it can move closer towards the rear hatch window.
Re-attach the spring using long nose pliers and hook it into the same location it was hooked into originally.
To re-install the wiper arm assembly back onto the shaft, cock the wiper arm back so that you can install the base of the arm directly into the shaft. Once you confirm that the arm is completely seated in the shaft and the arm is seated on the support, you can re-install the 10mm nut and then tighten. Then rotate the wiper blade back onto the support and test out your completed repair. The rear wiper arm should now make full contact with the rear window.




2 Comments
Thank you still really help me
You’re welcome! Happy to help!