When you make purchases through links on this site, The Track Ahead may earn an affiliate commission. Also, these posts are based off my own experiences. I am not responsible for any action you take as a result of reading this. Learn More
Windshield Molding Trim Cracking
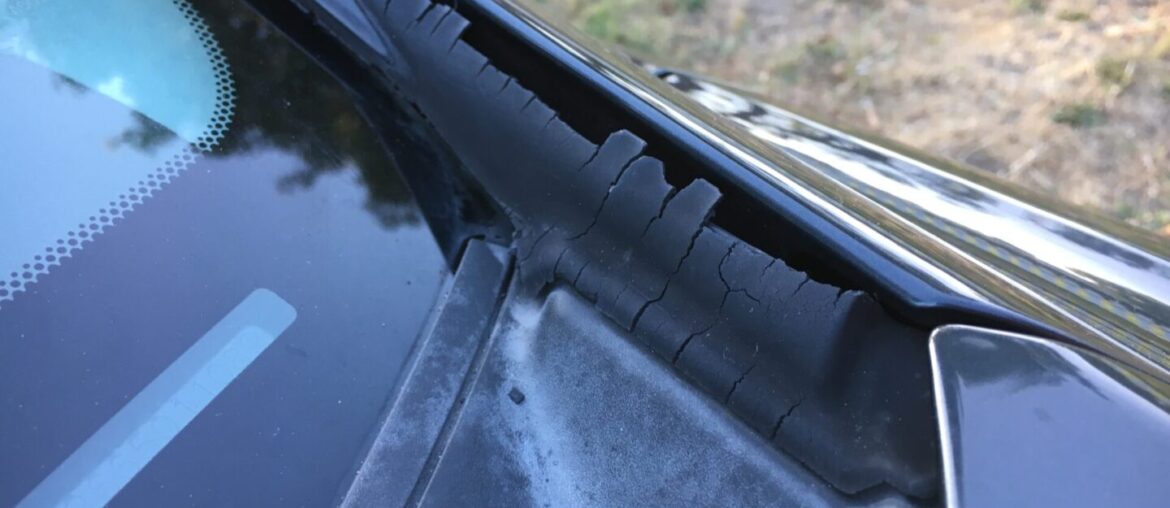
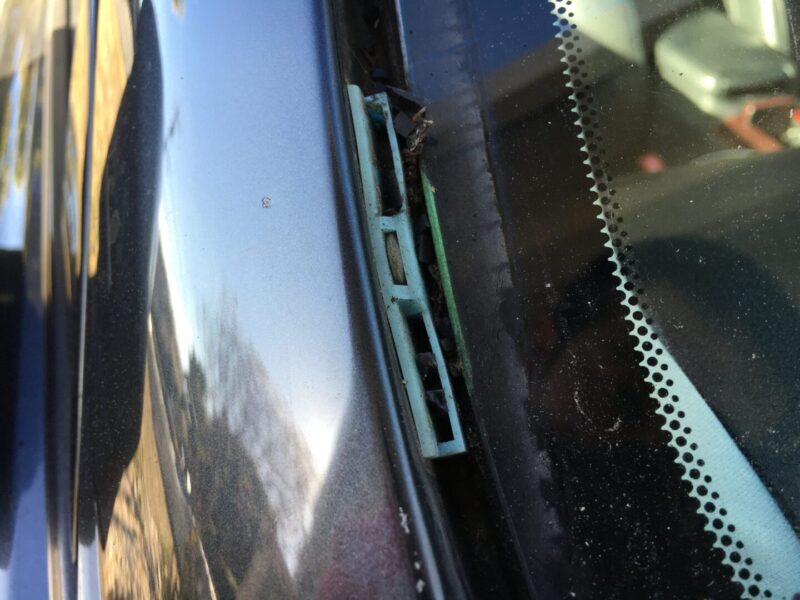
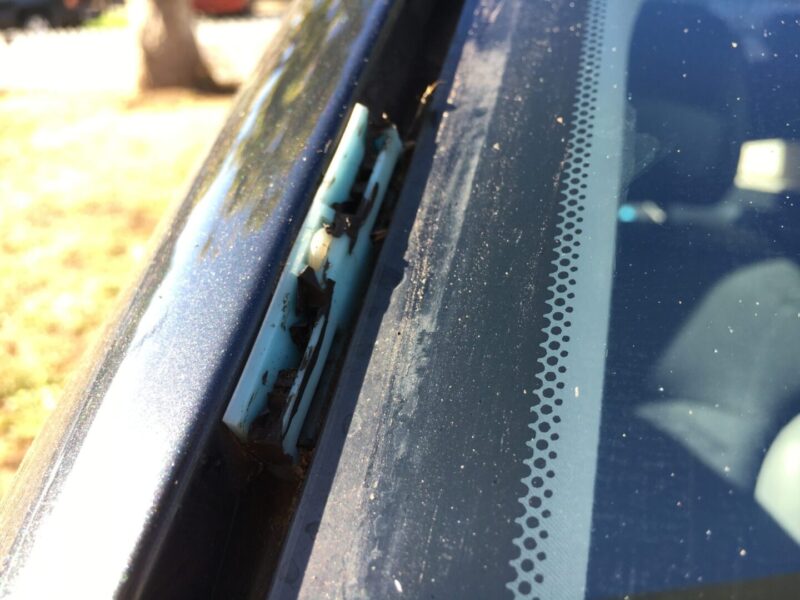
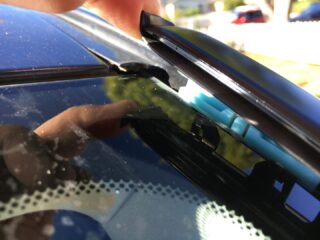
The left and right side molding trim pieces on the 2nd generation Lexus IS350 has a tendency to become brittle and crack under prolonged sun exposure. Since practically all of these cars experience exposure to the sun, this is an issue that plagues almost all IS350 owners.
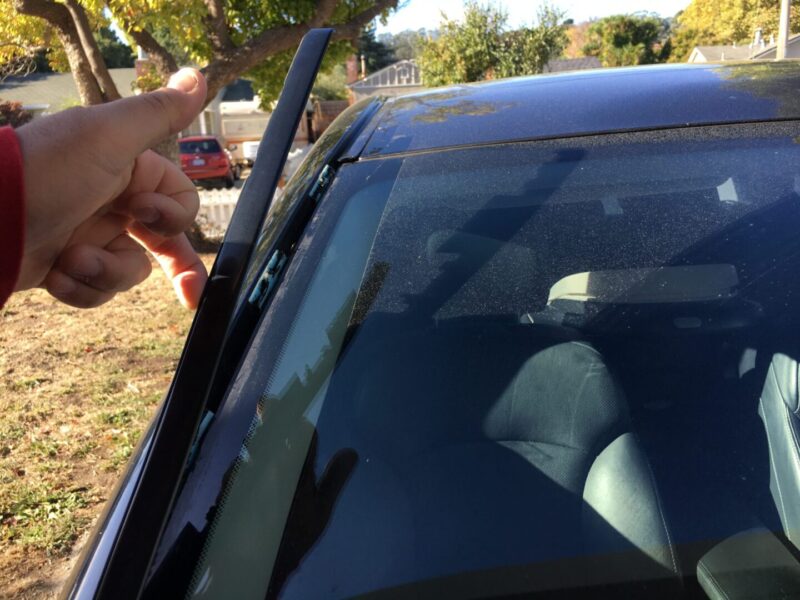
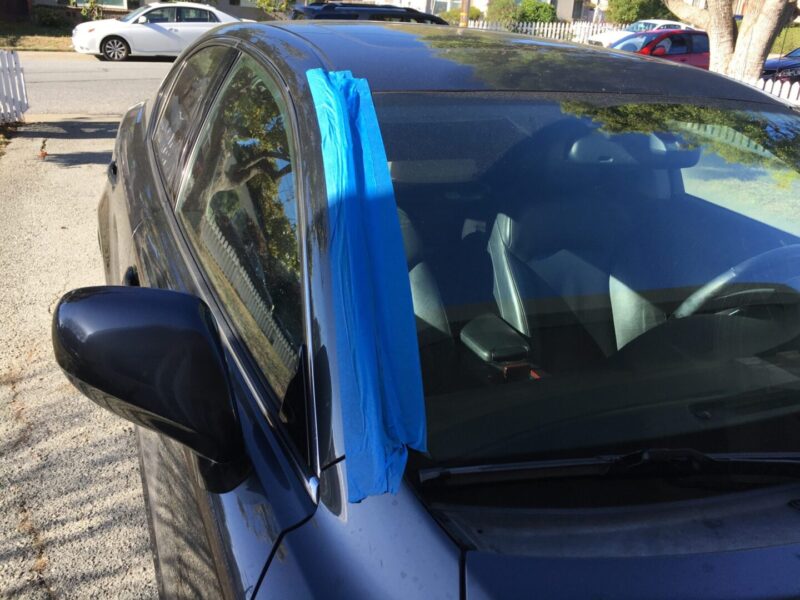
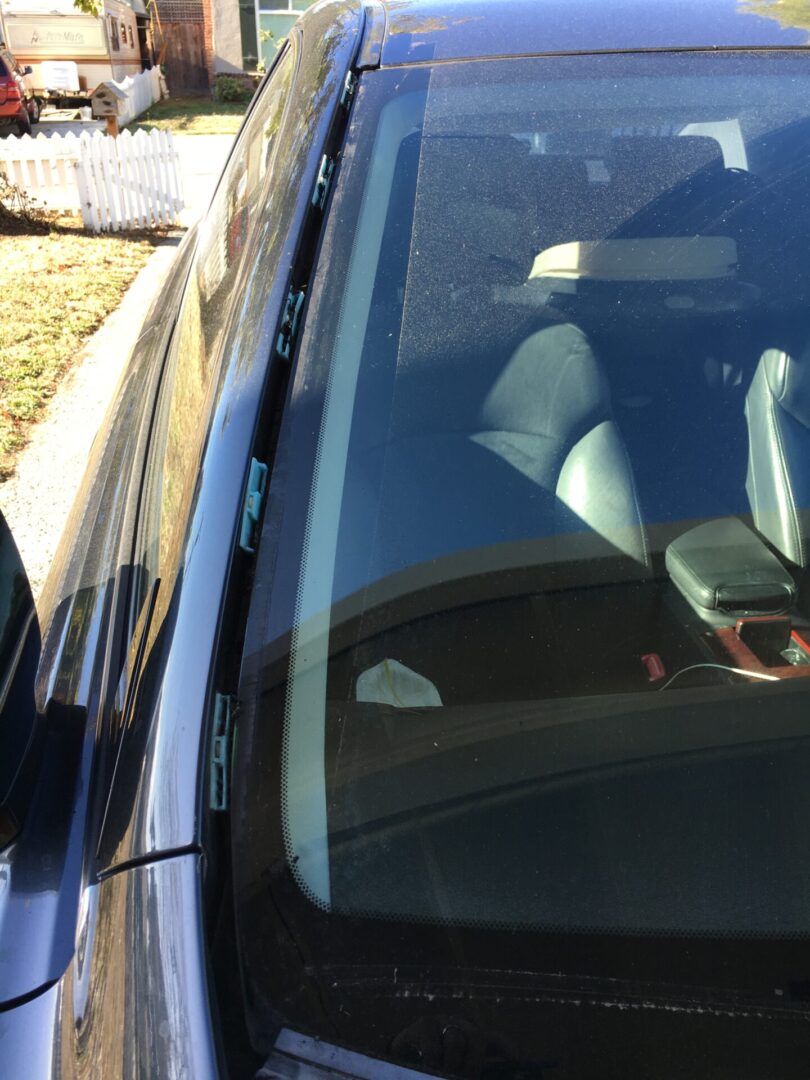
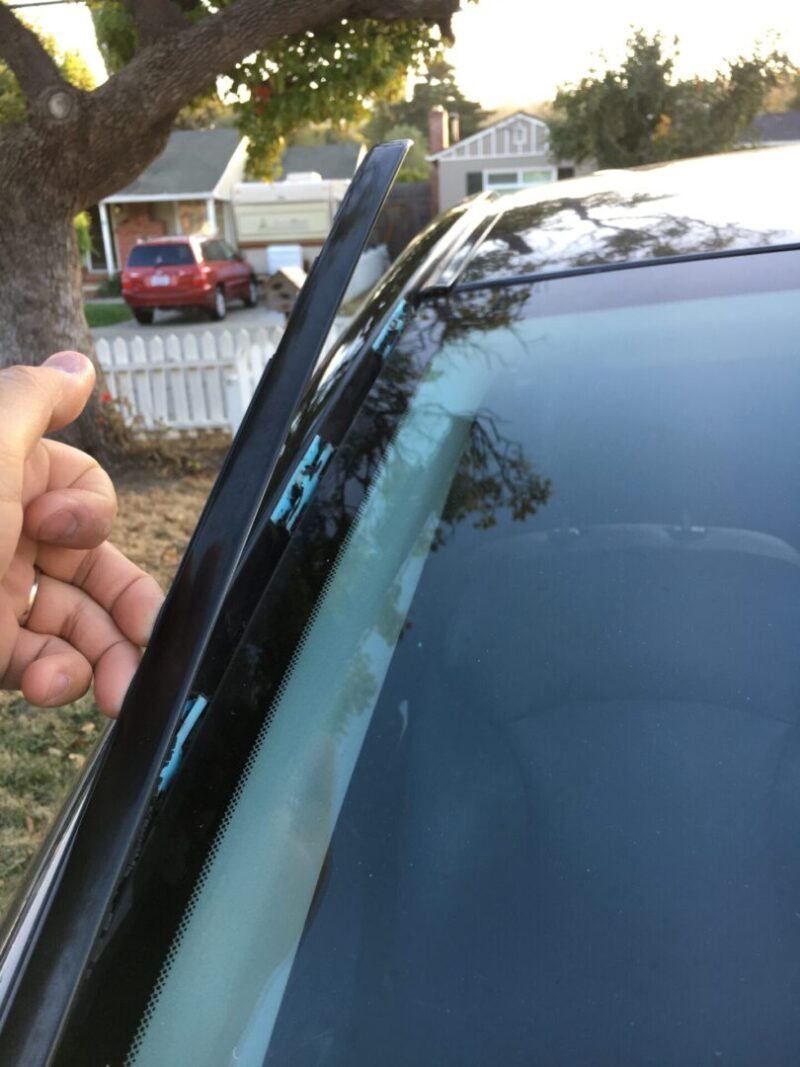
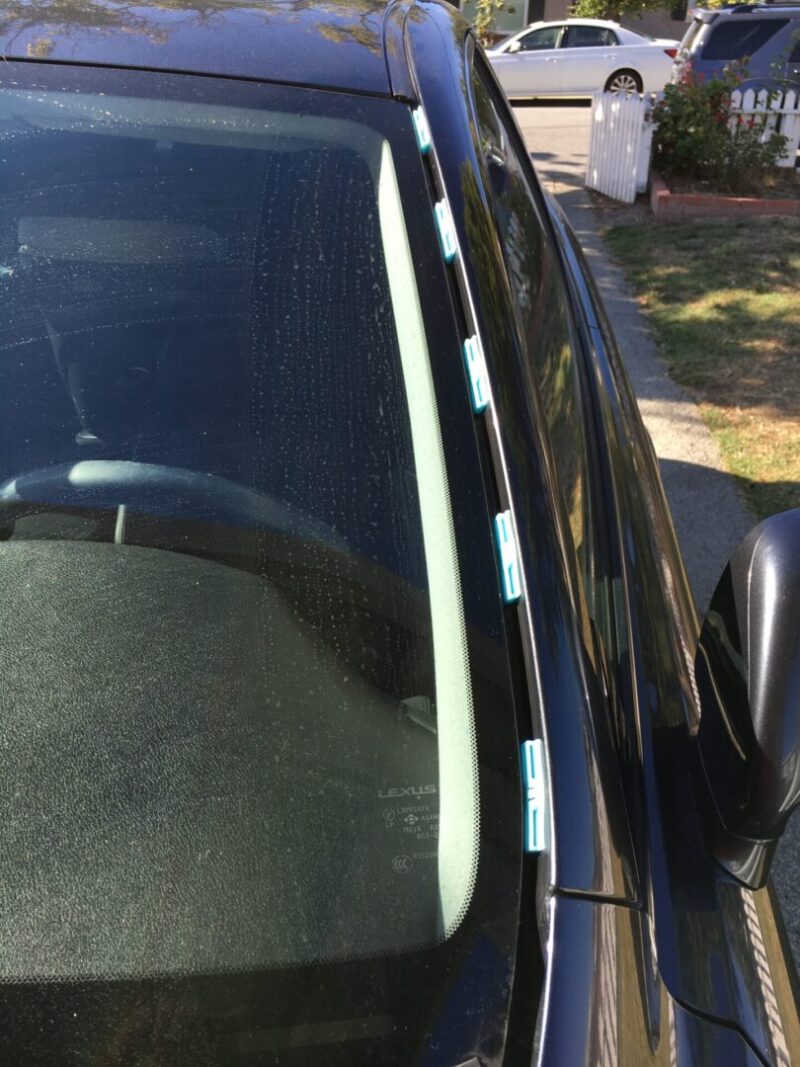
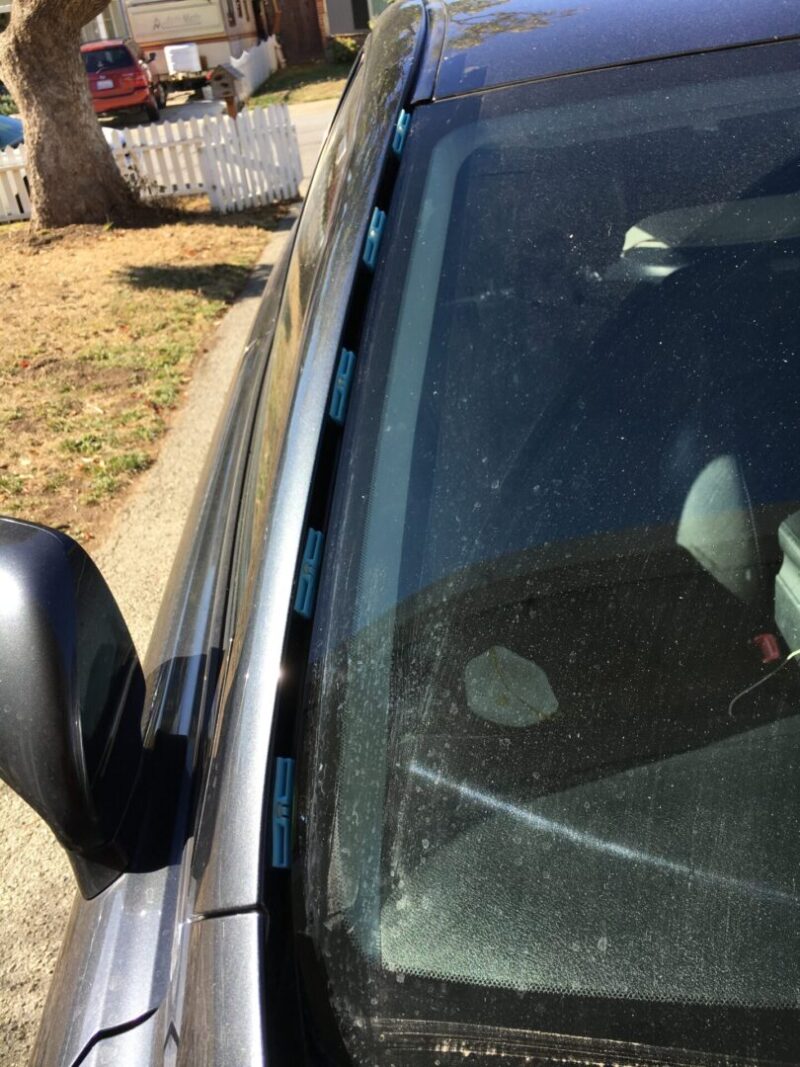
The molding got so bad on our car that it started to separate from the windshield altogether. I even had to use blue tape to hold the molding in place until I could replace it.
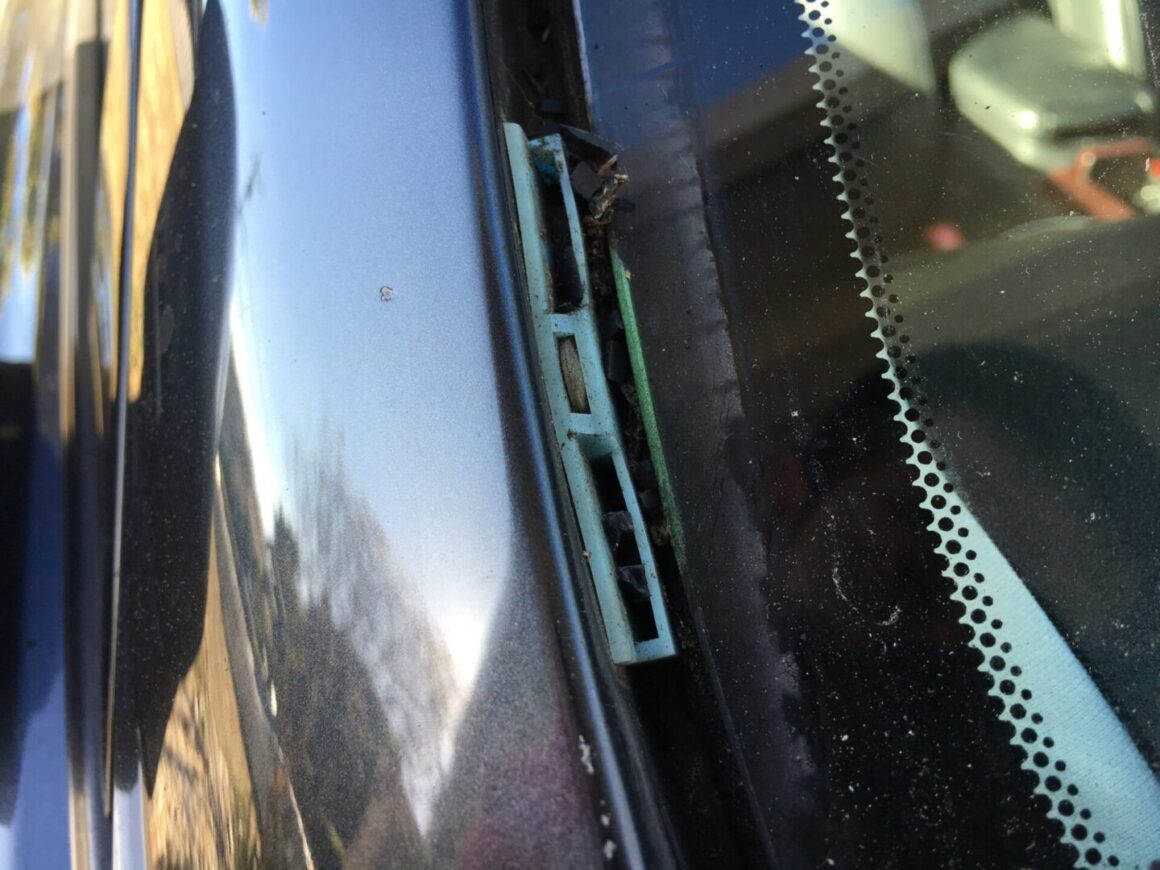
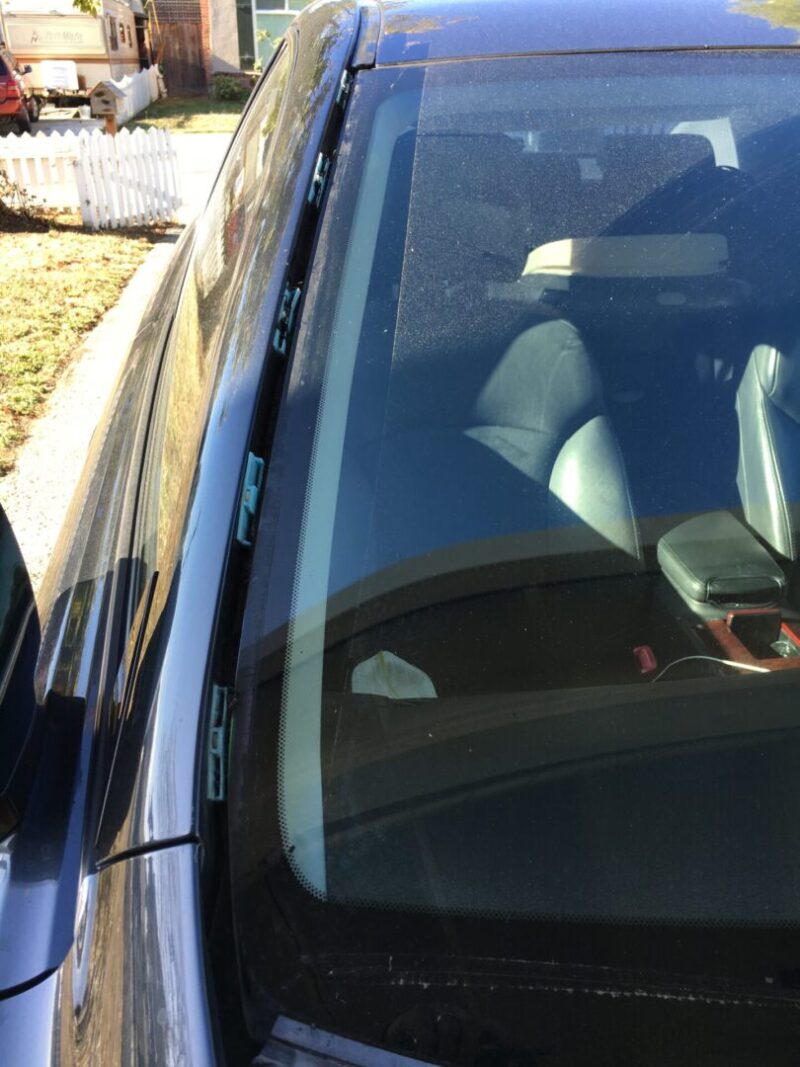
The right and left molding pieces fit onto the car via five clips on each side of the windshield. The unfortunate thing is the design doesn’t incorporate reusing these clips and therefore if you want to replace the trim pieces, you will likely need to replace the moldings as well as the clips that hold them in place.
Tools & Materials
RH Molding (#75551-53020) & LH Molding (#75552-53020)
Since OEM moldings already have issues with quality, it’s not offbeat to go with aftermarket options. However, I can’t testify to the fitment of these aftermarket parts. I personally went with the OEM option because I can guarantee that it would fit, even if I had to deal with these same issues further down the line.
I found some of these moldings on Amazon, but they seemed highly suspect. Therefore, I only included search results for Ebay here, albeit the higher price. There are a few listings for used moldings, which I would never endorse buying. For me, I ultimately purchased the new OEM parts off Ebay.
RH Molding (75551-53020): Search results on Ebay
LH Molding (75552-53020): Search results on Ebay
Molding Clip Set of 5 (#75545-53010)
There are a total of 5 of these clips for each side. If you’re replacing both moldings, you’ll need two sets for a total of 10. There seem to be plenty of options on Amazon and Ebay both OEM and aftermarket. The aftermarket pieces look similar to OEM as they are simply plastic clips, so I anticipate them working the same.
Search results for Molding Clips: Amazon / Ebay
Removing Moldings and Clips
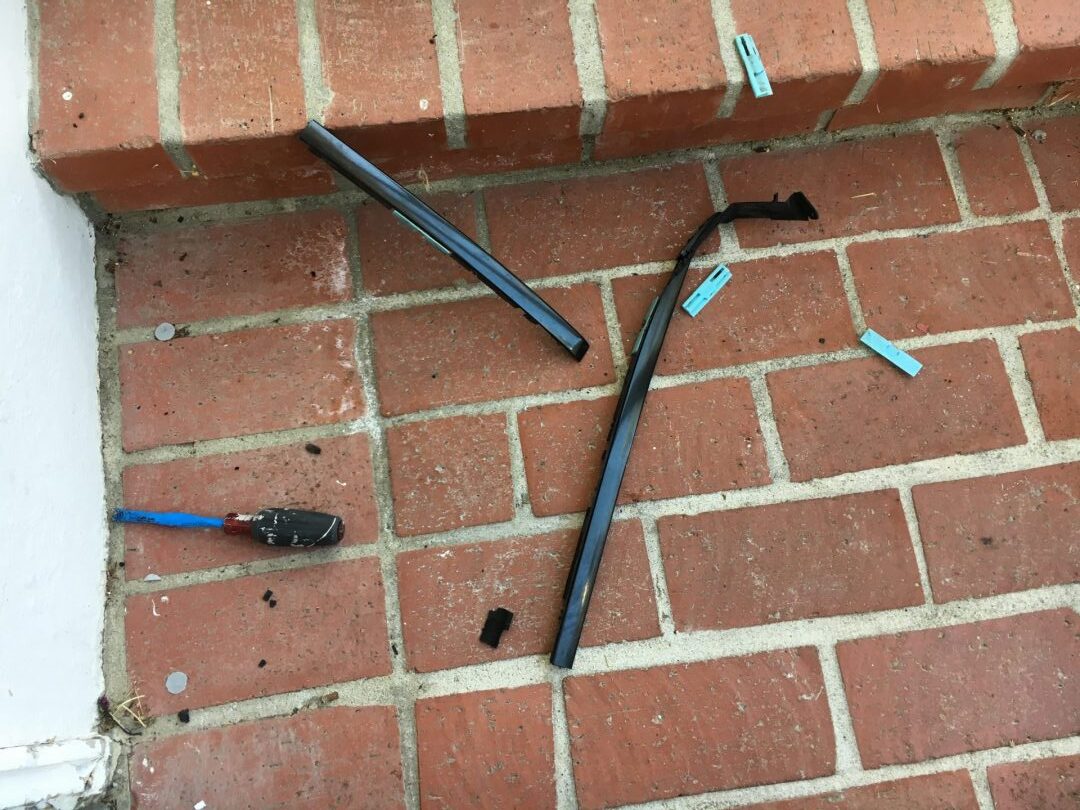
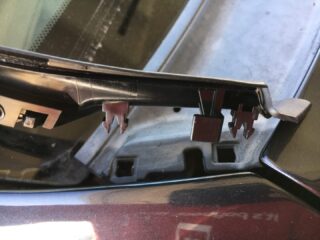
To remove the moldings, simply pull and pry off the moldings. If they are already partially broken off, then it will be easier to pull off the remainder of the molding. You can tell from the clip design that these moldings were not intended to be removed without either breaking off or pulling the clips off with them.
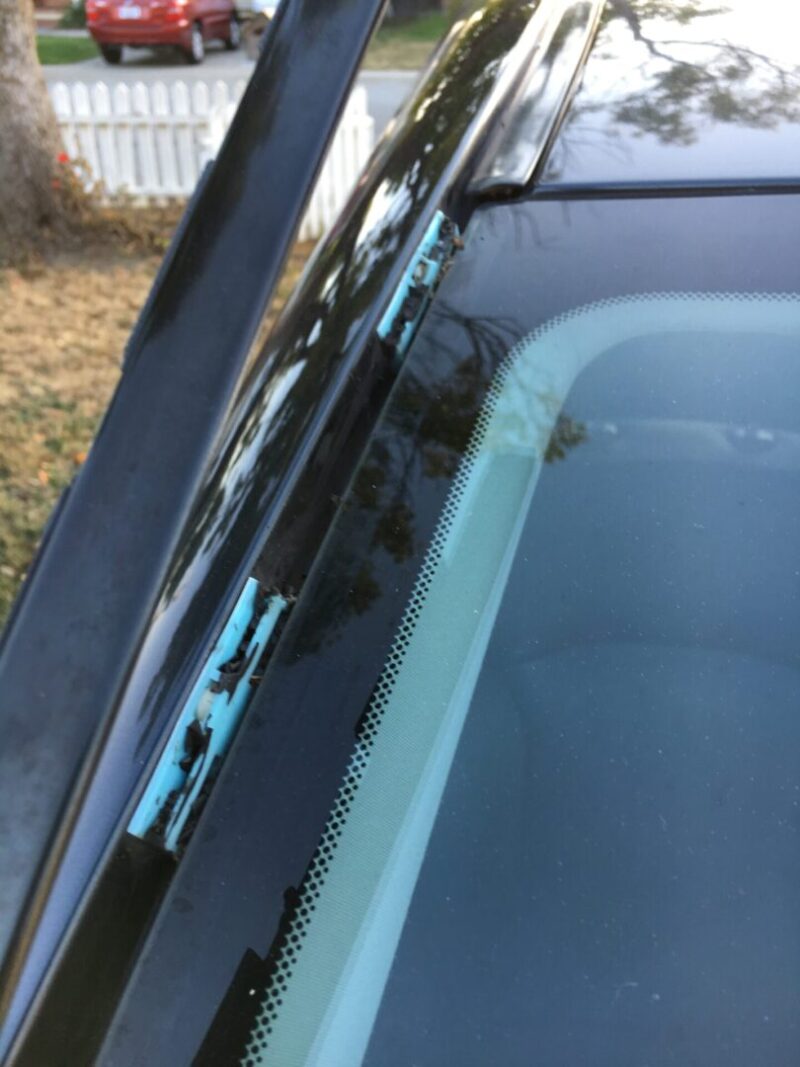
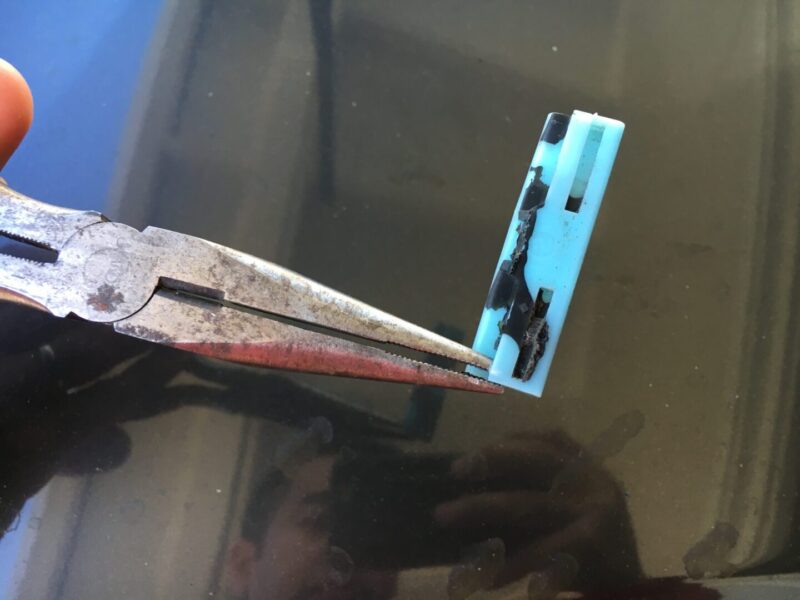
I simply pulled these moldings off, breaking them off at each one of the clips at a time. The clips likely won’t be able to be used again so if molding breaks off within the blue clip, it’ll be a nonissue.
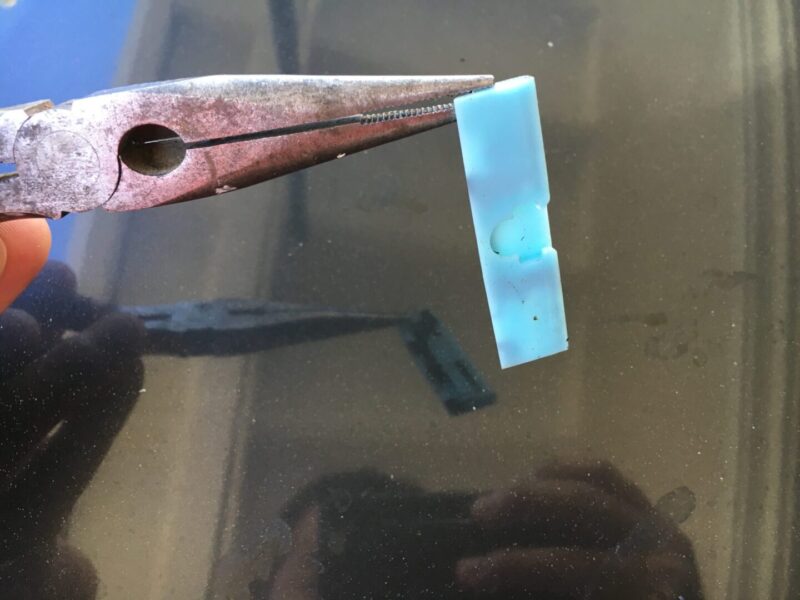
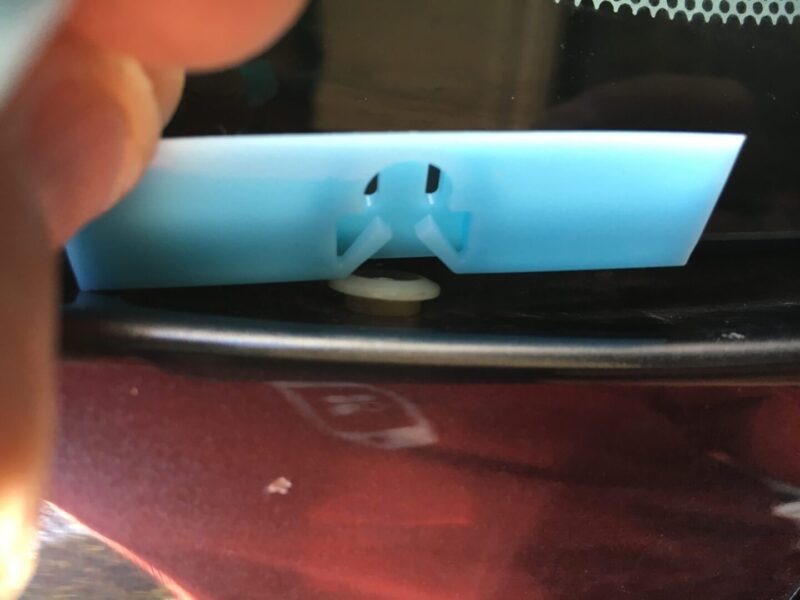
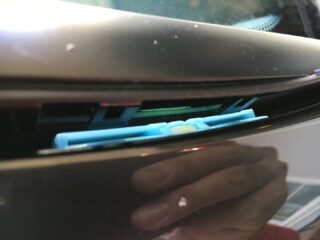
After the moldings have been pulled off, remove the remaining blue clips from the windshield. I used a pair of needle nose pliers to get these suckers out. These blue clips fit into these rounded slots, so to remove them, you’ll need to pull them directly away from the windshield.
Toss all of these parts out as they can’t be used again.
Installing New Moldings and Clips
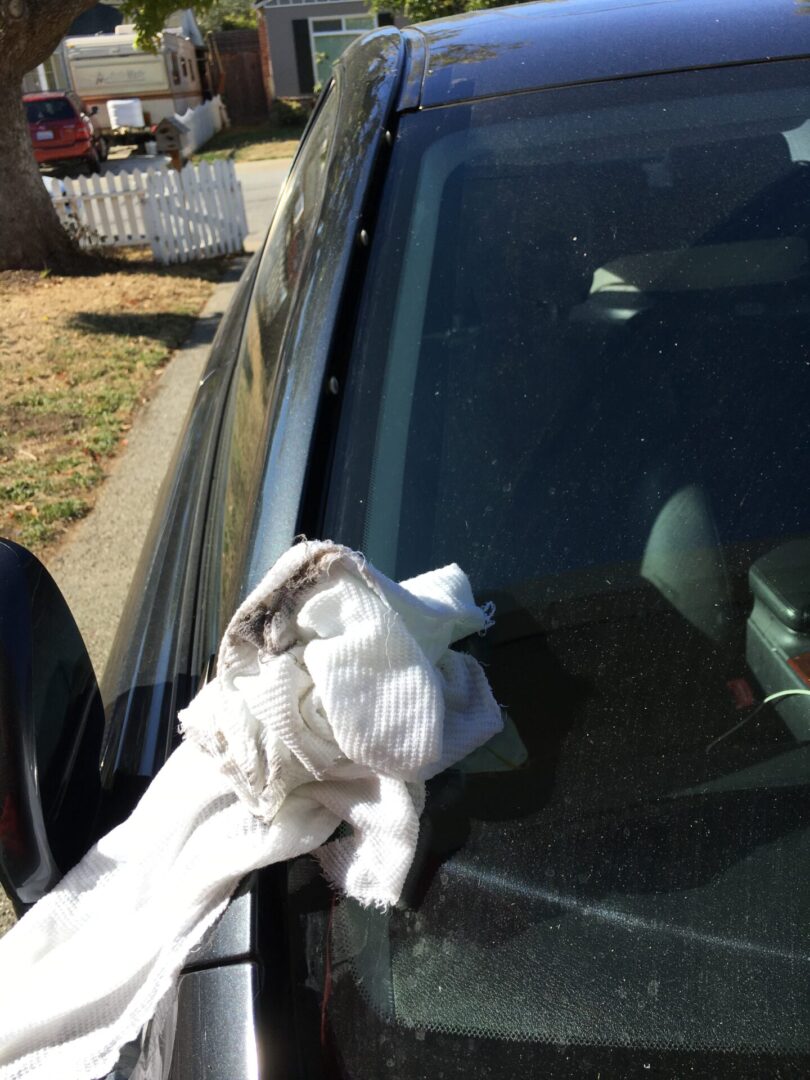
Before the new clips and moldings are to be installed, you should prep the surfaces by cleaning off any loose dirt and grime in and around the molding openings. I used a rag with some all purpose cleaner.
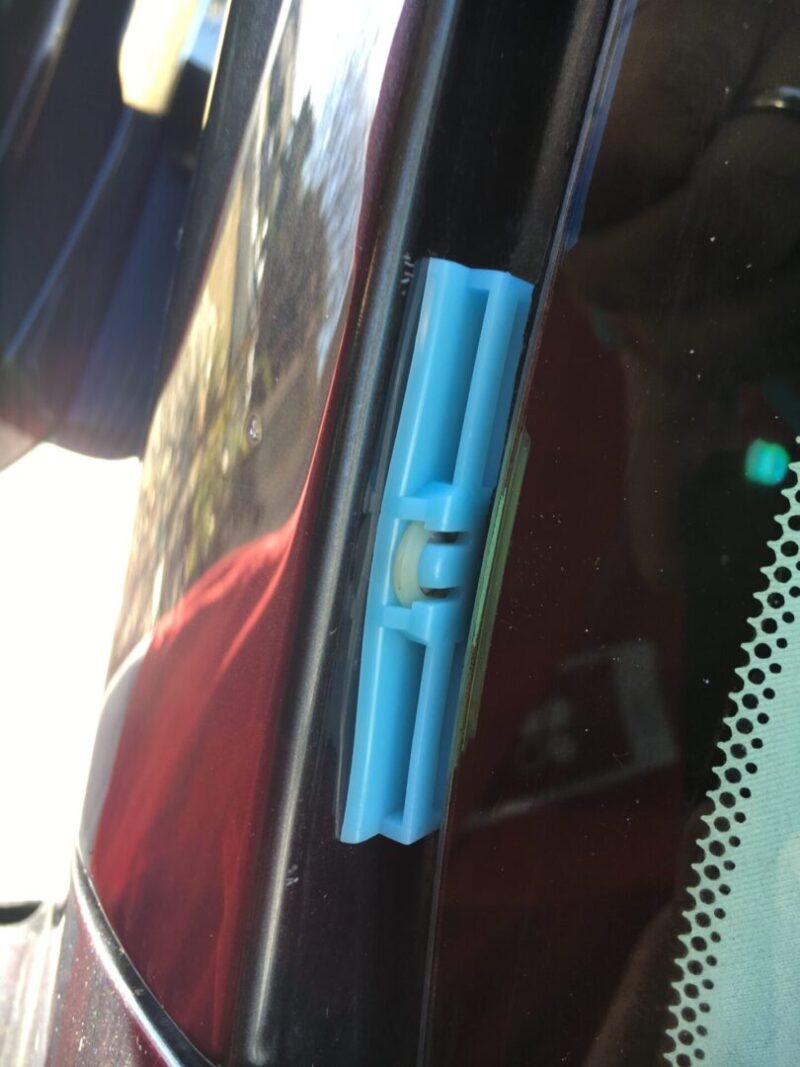
Take all of the new molding clips and insert them all into the rounded slots along the windshield. Again, there should be five of these on each side of the windshield, making it a total of ten clips. These clips will snap right into these rounded slots.
It seems to be easiest to insert the clips at the bottoms of the windshield moldings, and then work your way up the molding to the top of the windshield. The molding will clip right into each of the molding clips, securing the whole molding trim in place.
With the windshield moldings clipped in, you’re all done with replacing the moldings until it fails again. The sad truth is that the question is not if but when the windshield moldings will fail again.

