
When you make purchases through links on this site, The Track Ahead may earn an affiliate commission. Also, these posts are based off my own experiences. I am not responsible for any action you take as a result of reading this. Learn More
Heat Makes the Dash go Brittle
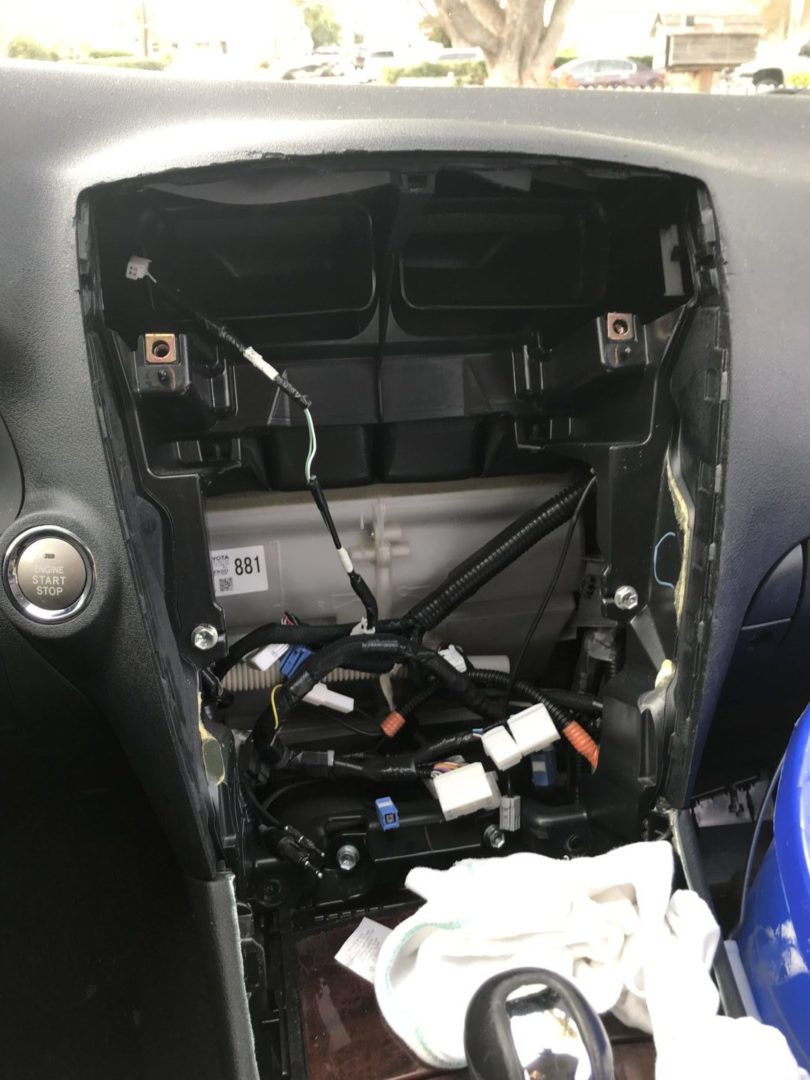
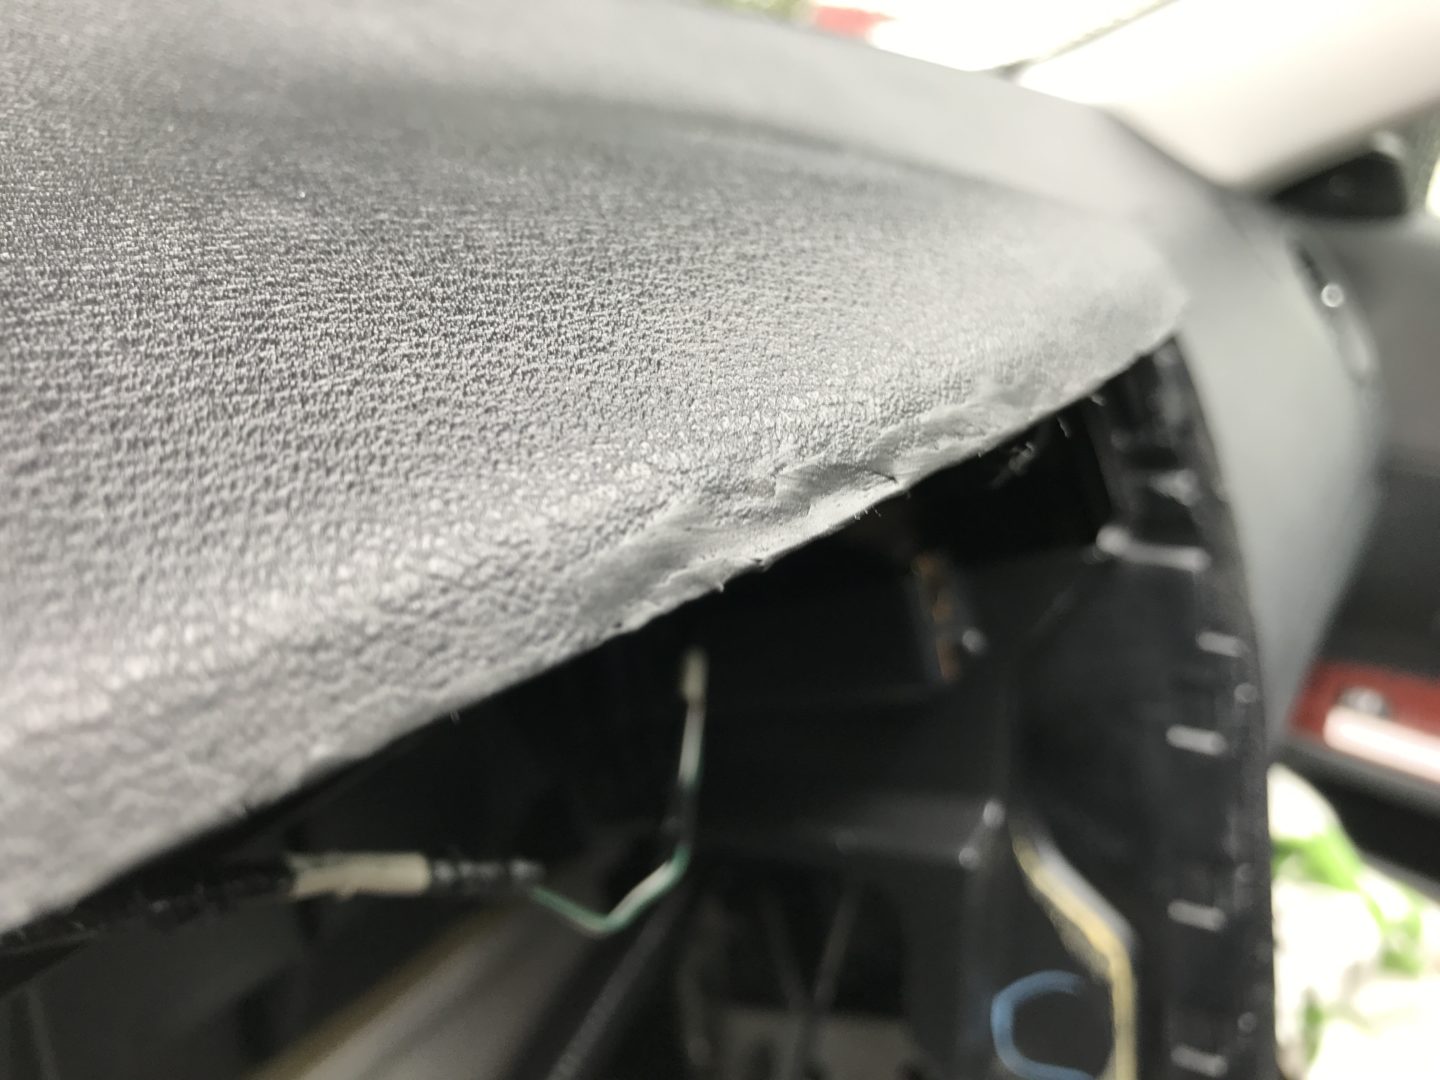
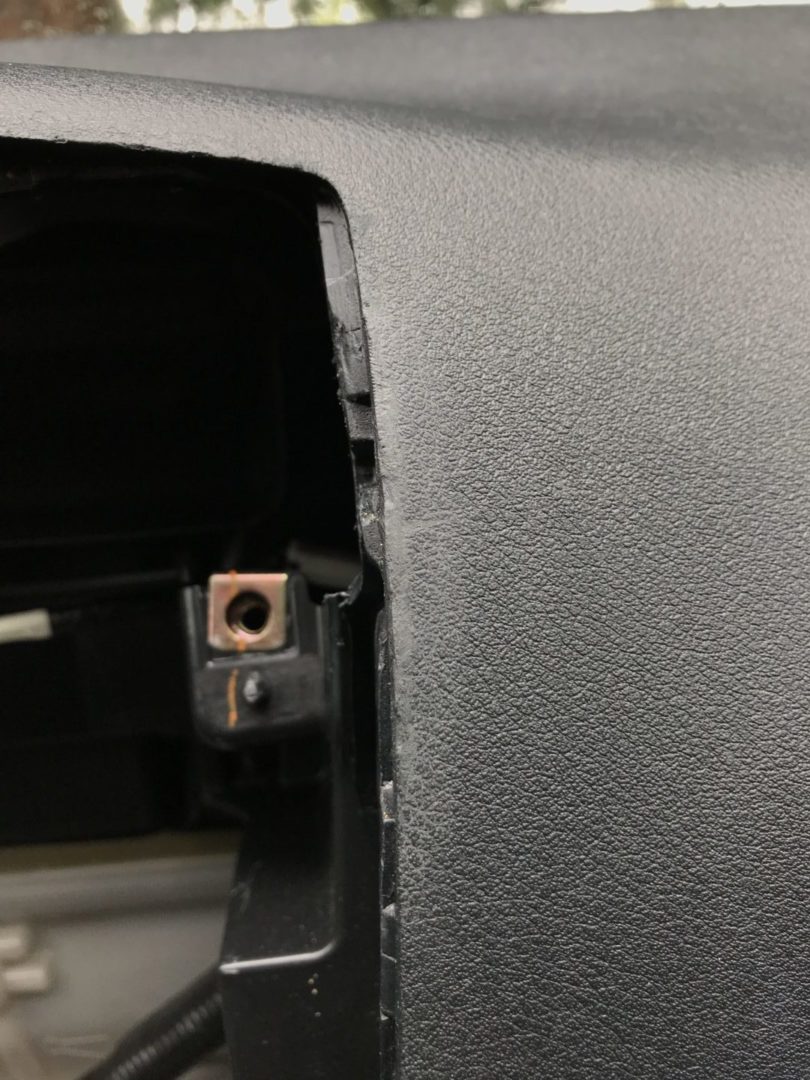
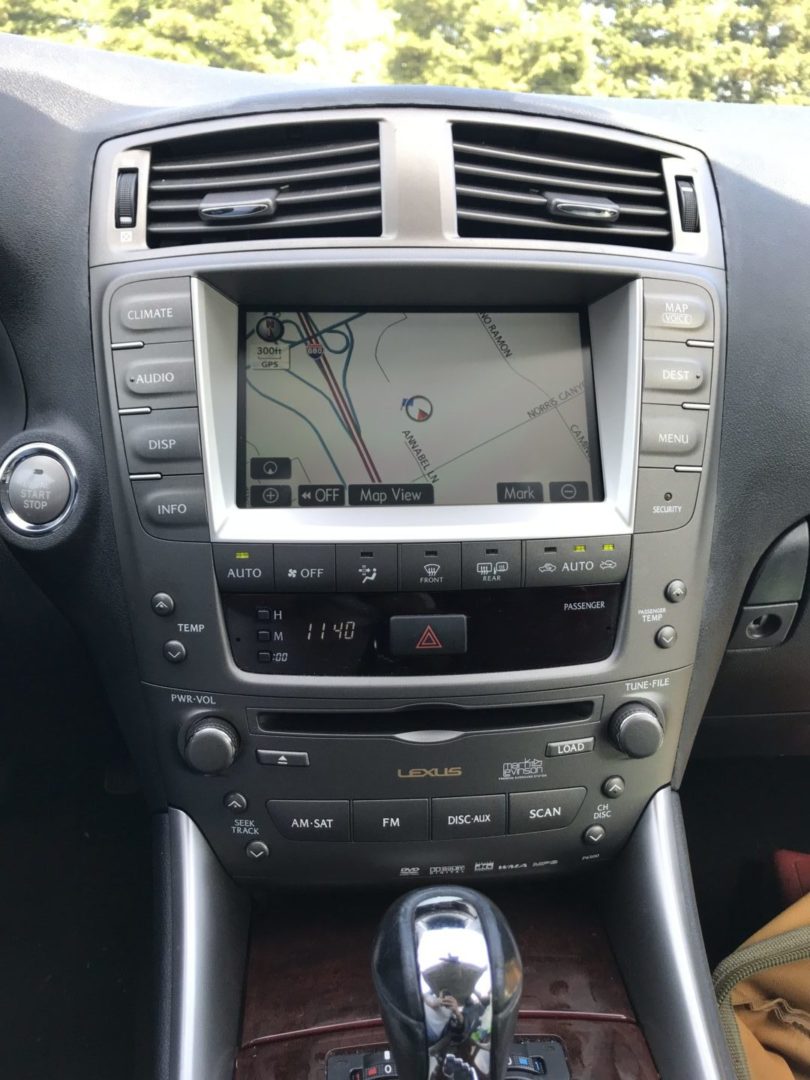
Previously while repairing the touchscreen on my wife’s 2006 Lexus IS350, I had to remove the center console unit from the dashboard in order to change out the digitizer. While removing the center console unit, some parts of the dashboard started to break off as soon as any trim or trim removal tools pressed against it.
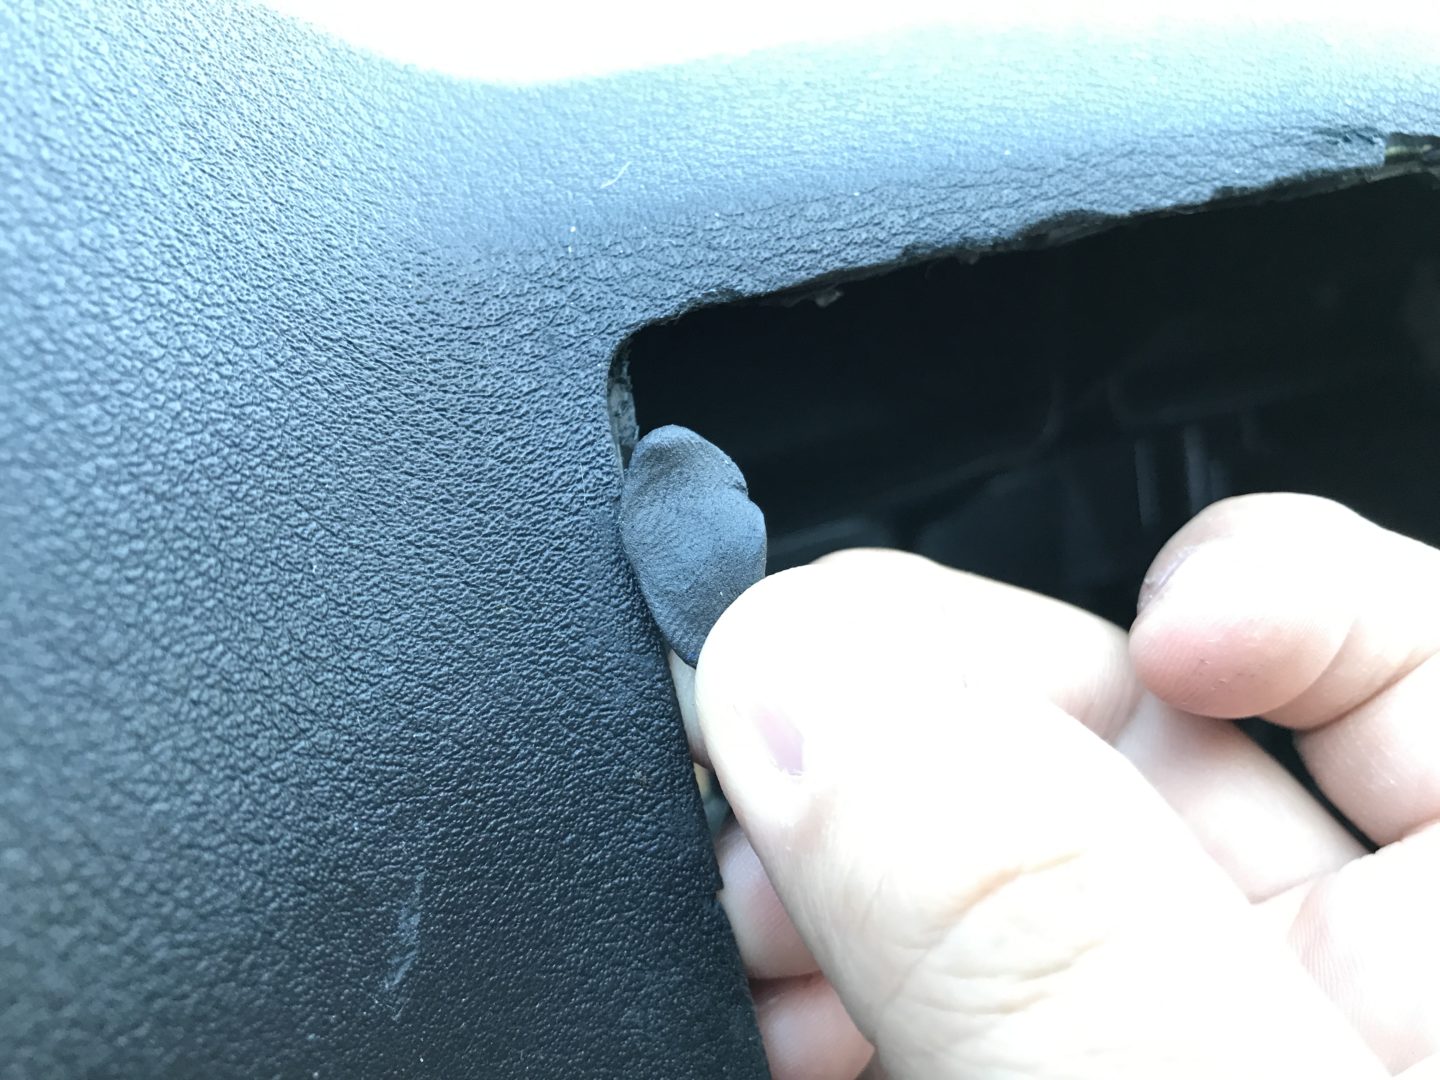
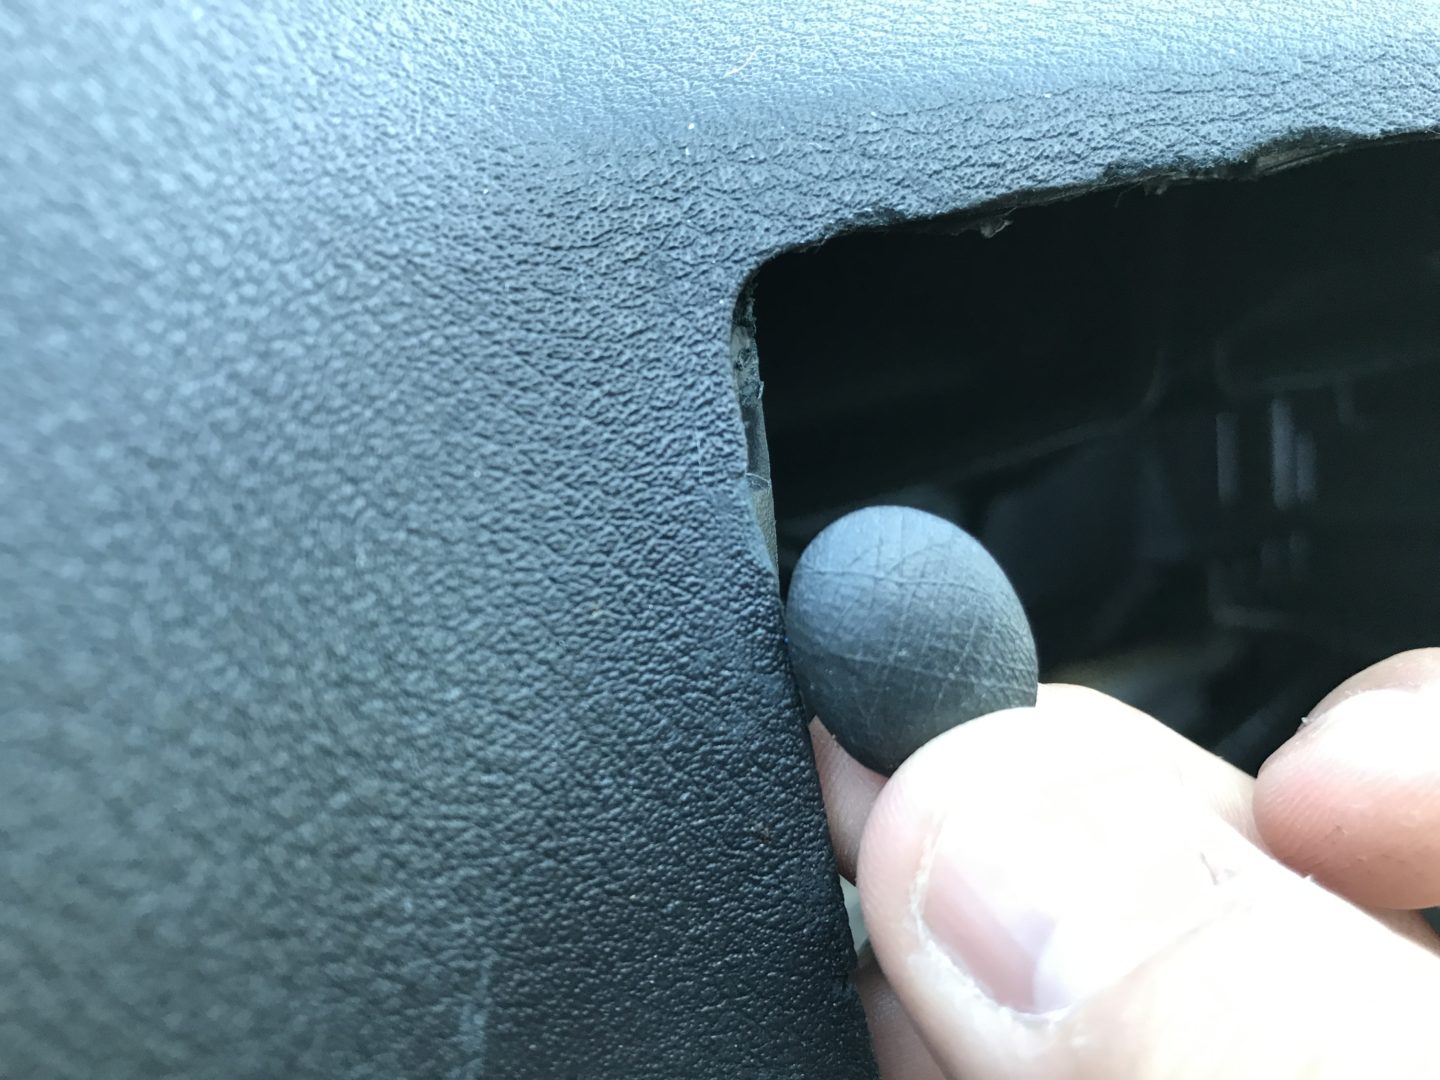
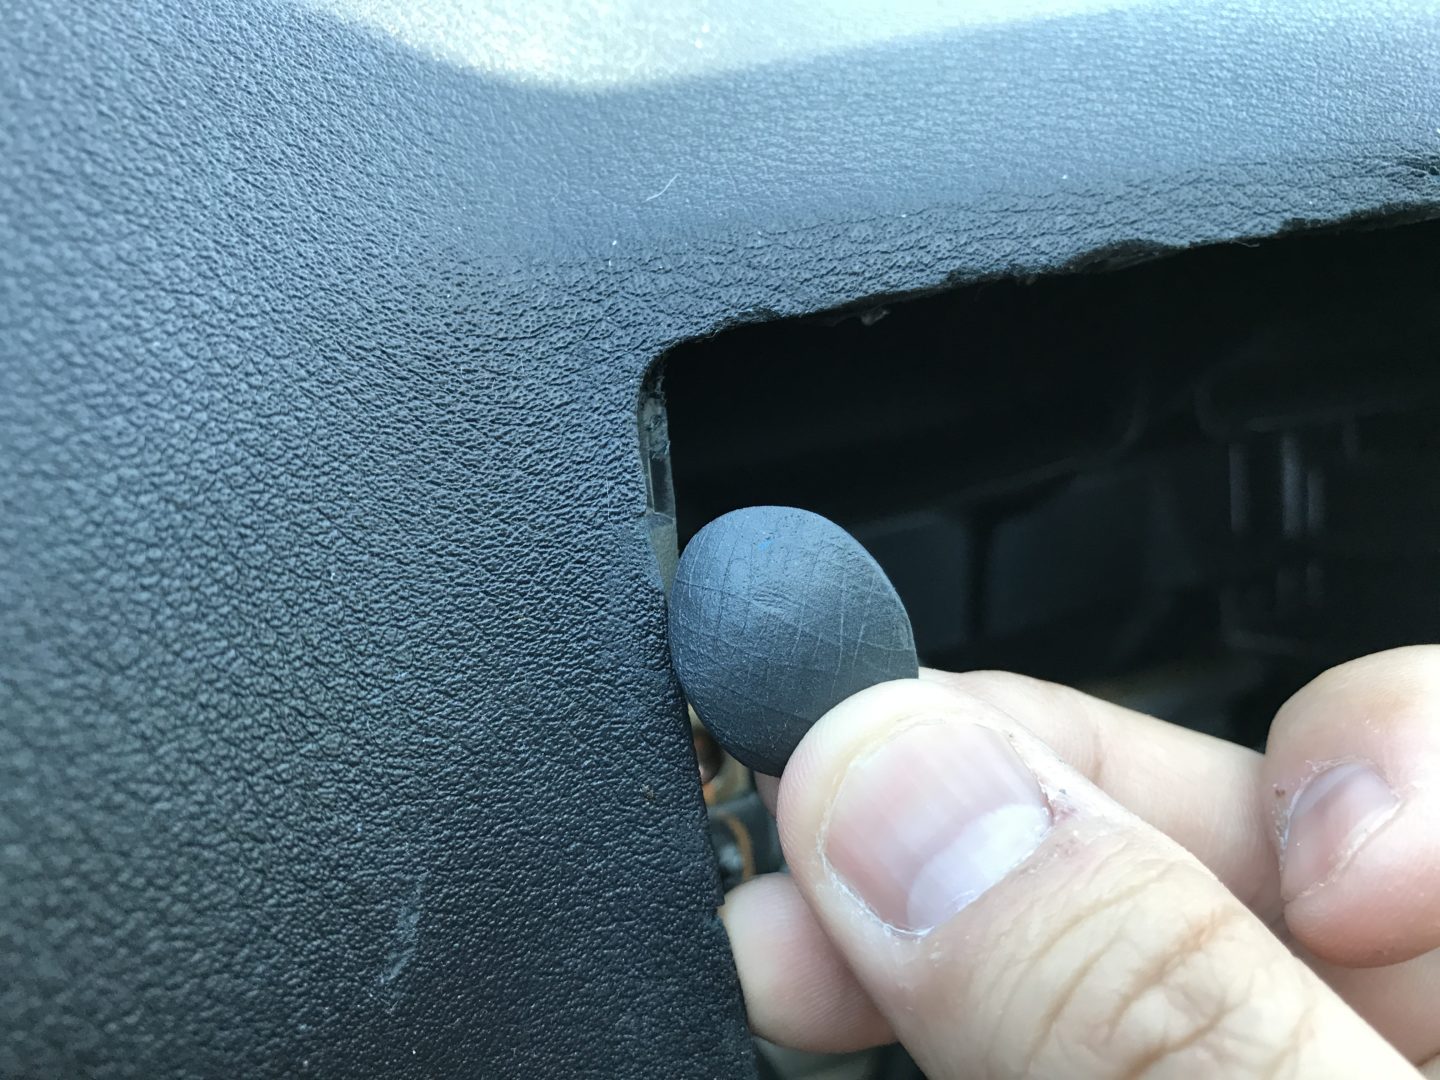
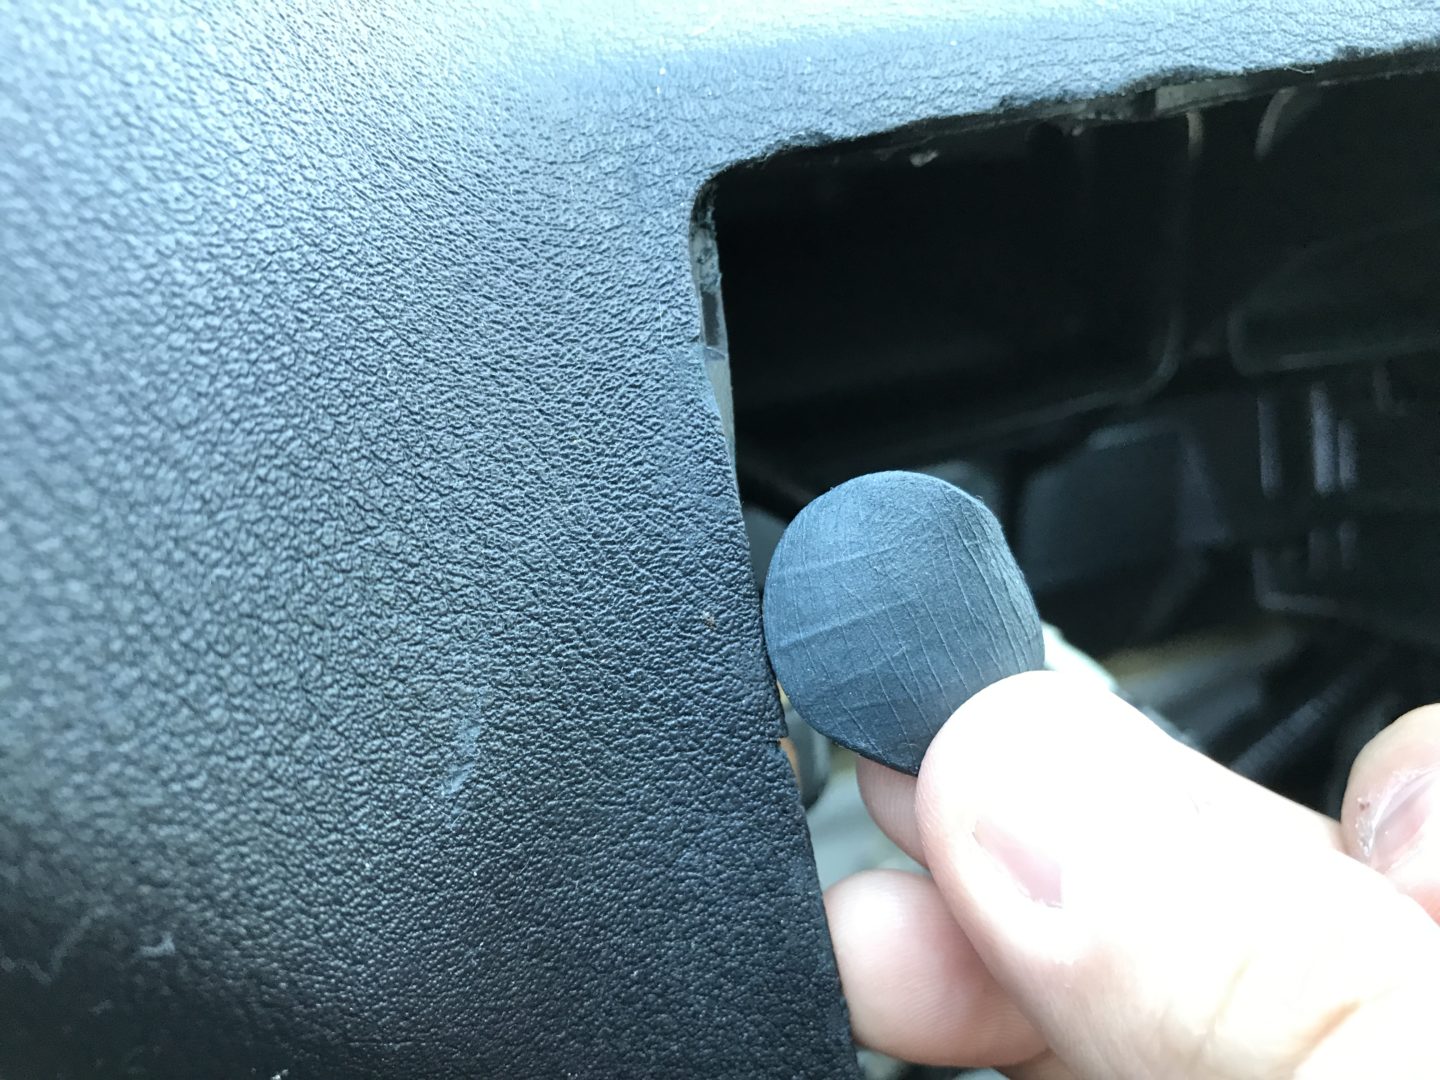
On these cars, the dashboard can become brittle over time due to prolonged exposure to heat. The difficulty in repairing this kind of damage is that the vinyl dashboard does not simply break off in a solid chunk that could potentially be glued or secured back into place. In fact, the vinyl dash comes apart in loose pieces, kind of the way old dried up wood putty would.
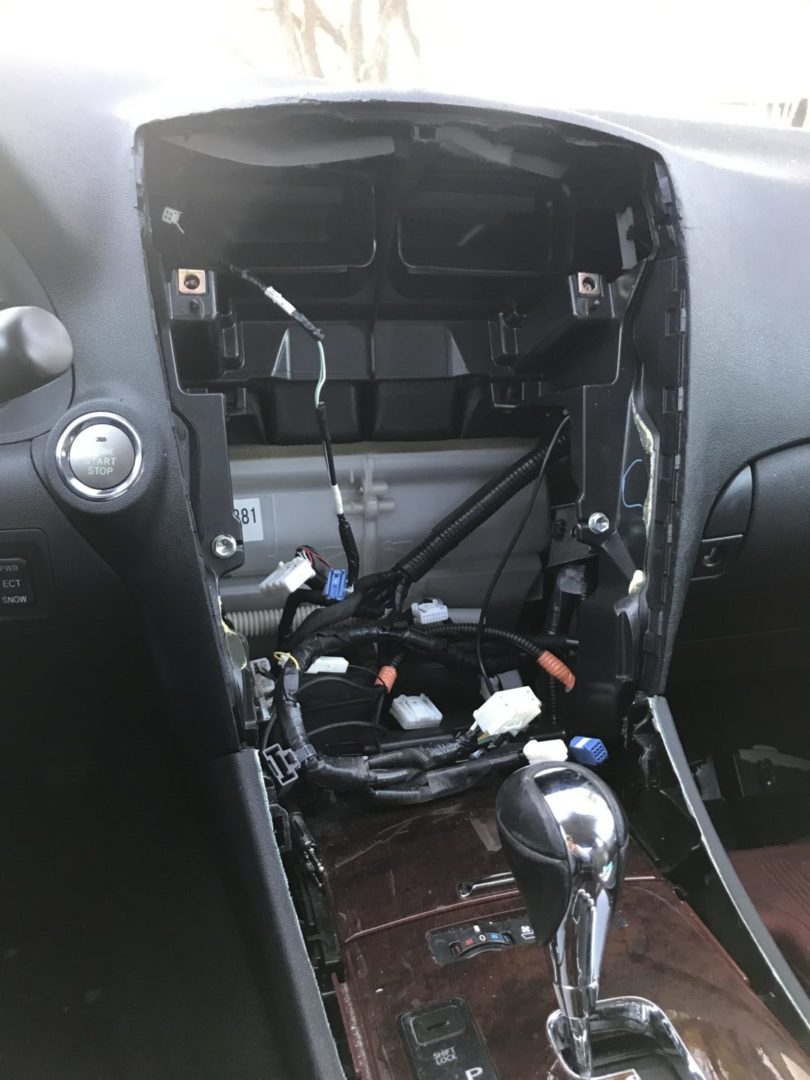
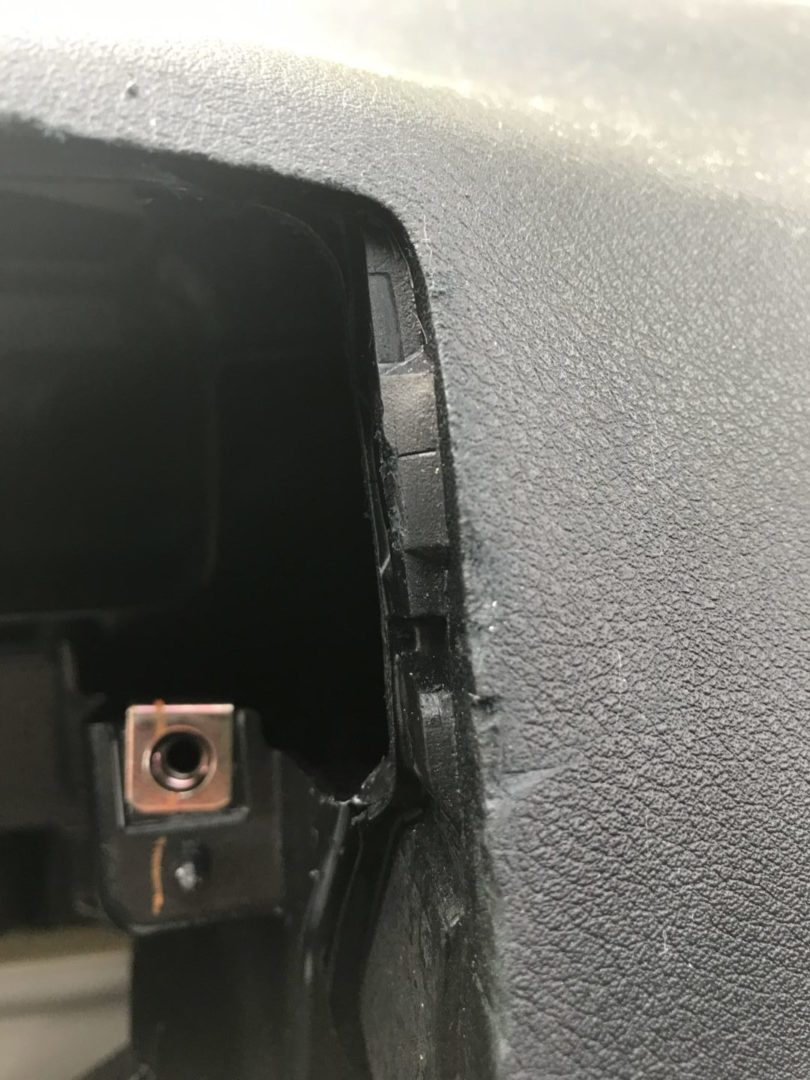
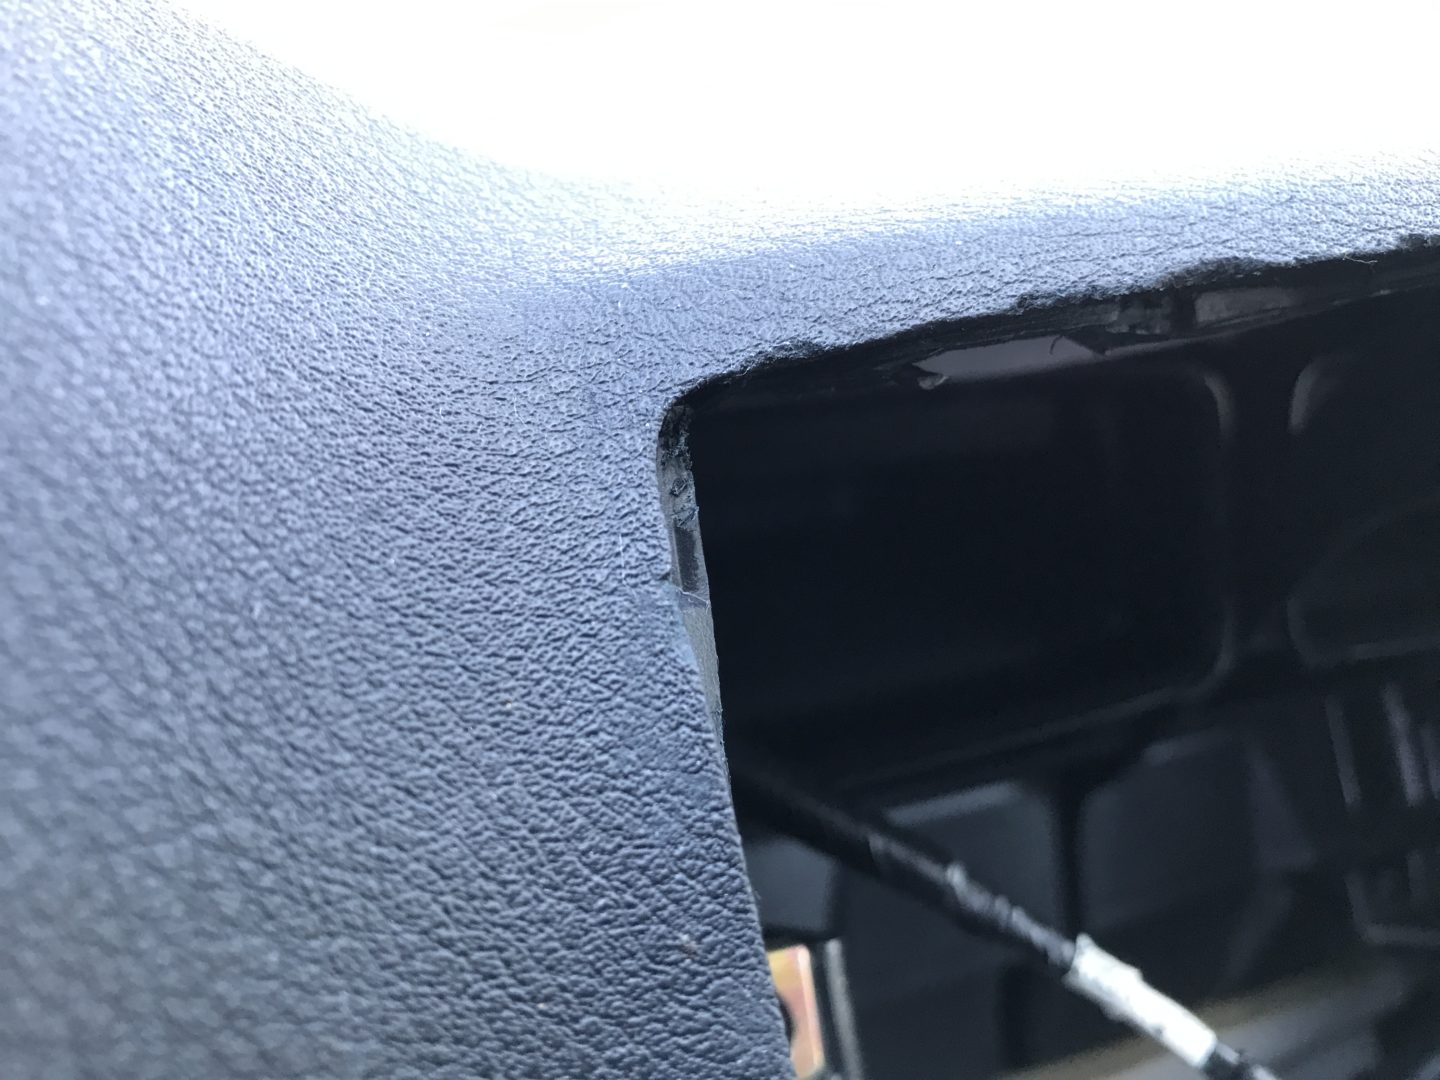
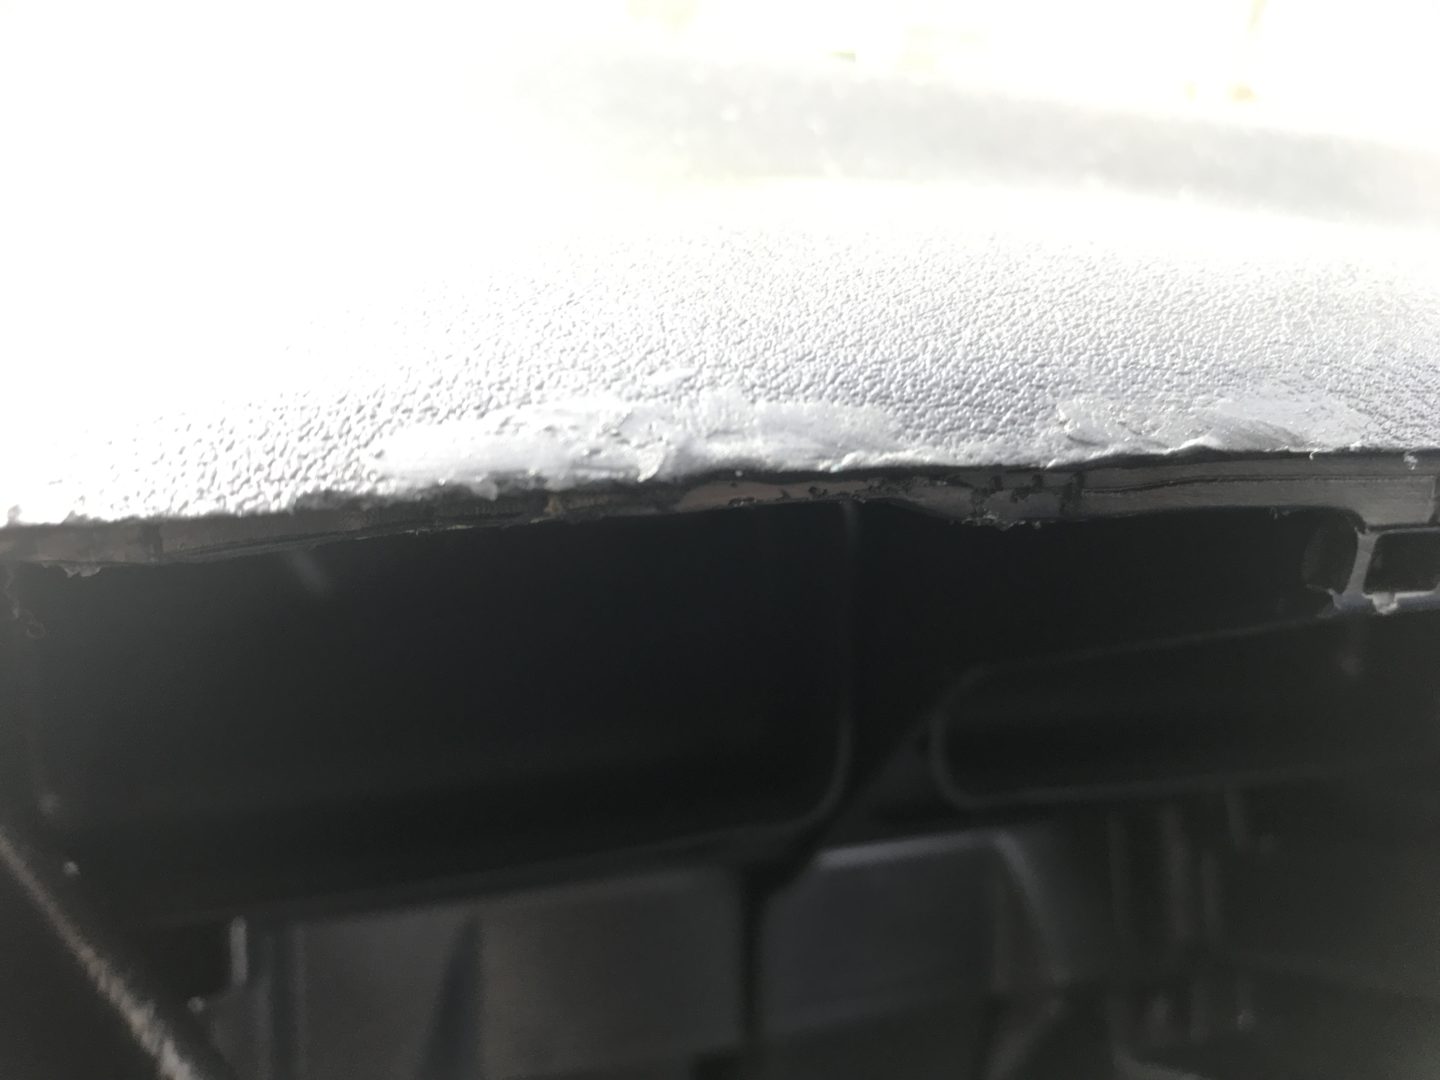
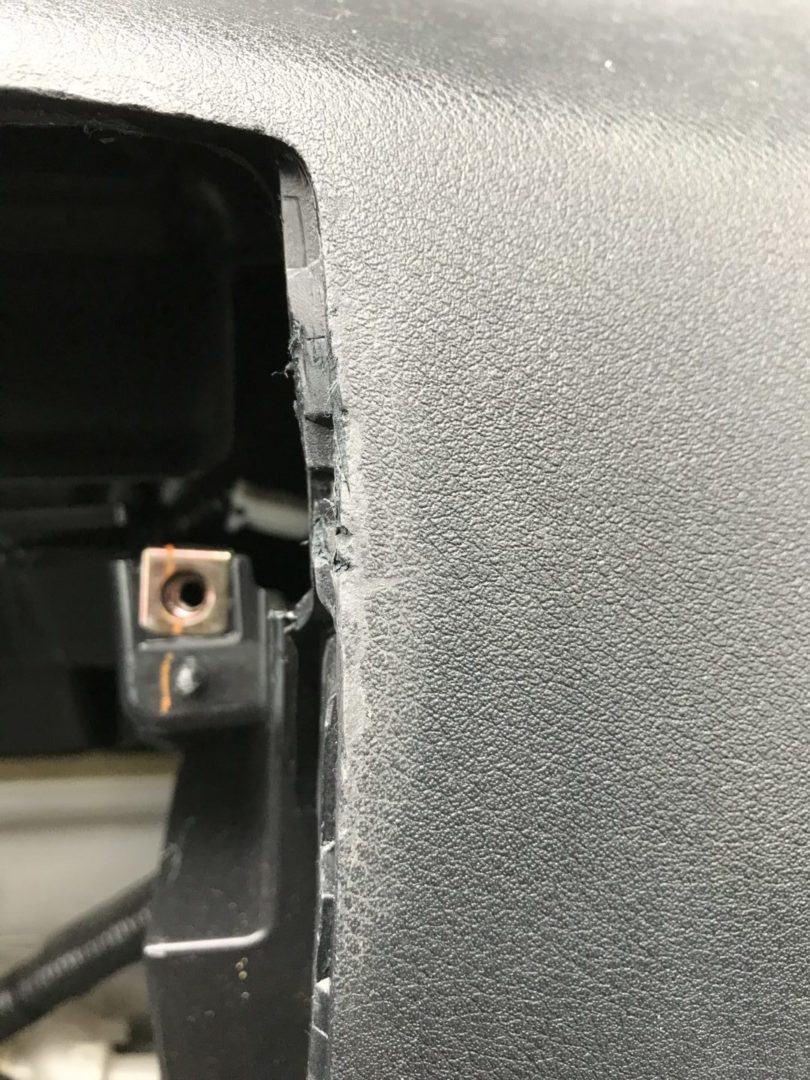
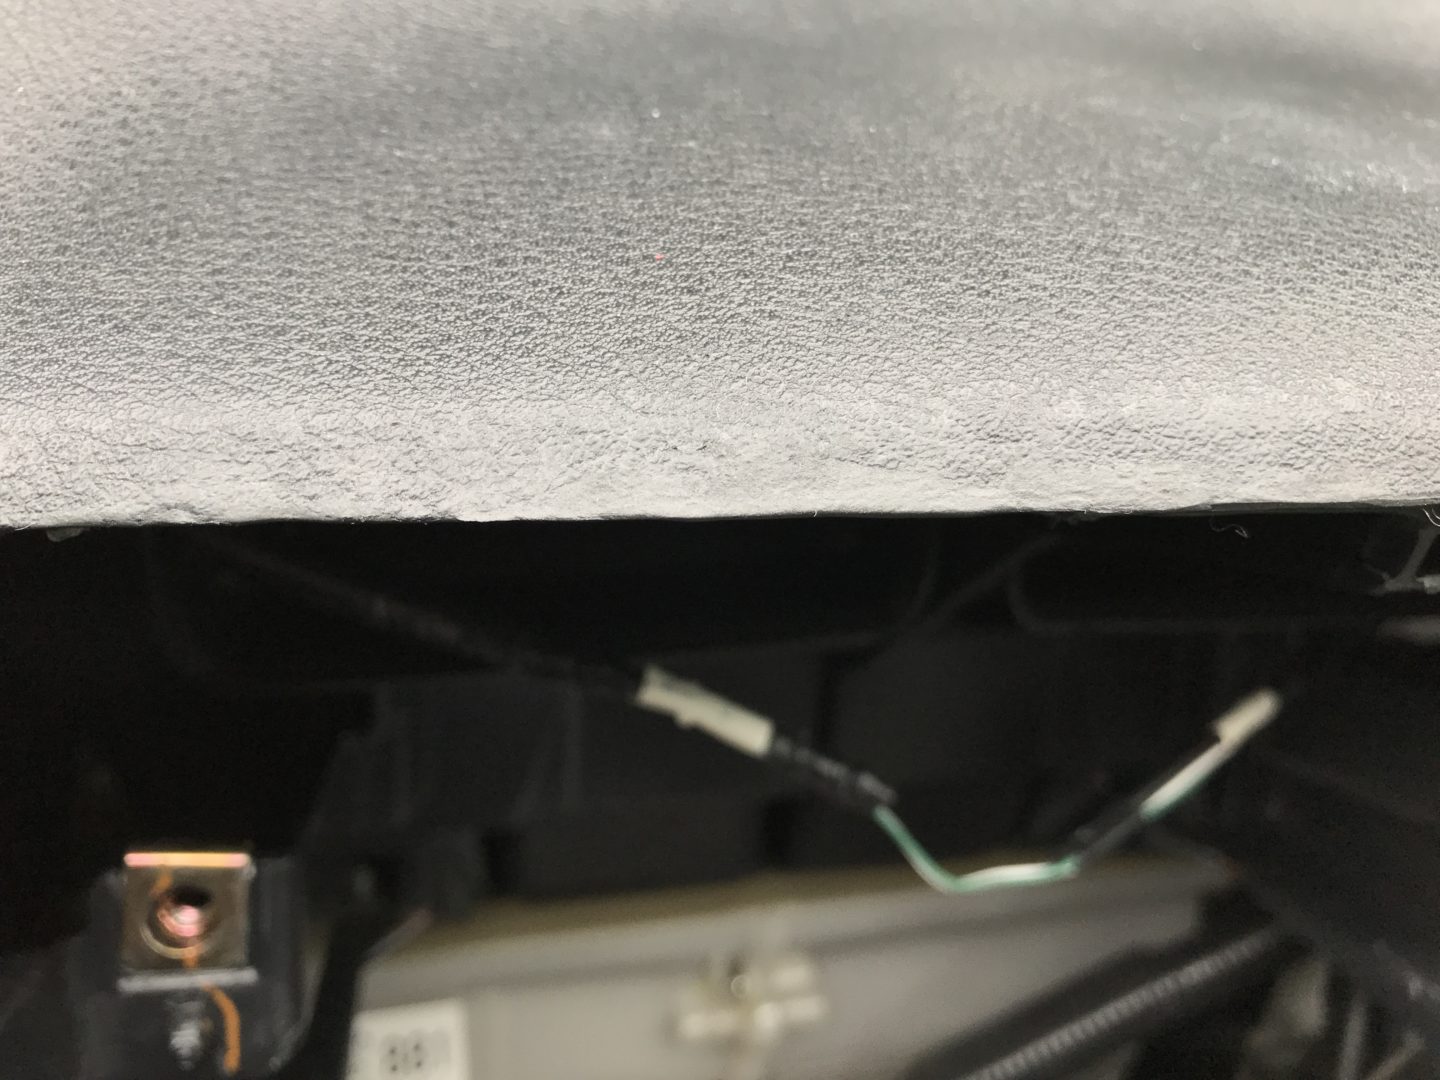
As you can see above, there is damage to the dash all along the perimeter of the center console opening. Upon closer inspection, you can see the extent of the damage. There are some locations where smaller sections had fallen off, but there are some deeper pieces that have come off as well.

I had a difficult time figuring out what I could do. There weren’t too many people out there with this issue, however there were a few instances that no one had a solution for. It’s also worth mentioning that there is a Toyota/Lexus recall on some dashboards becoming sticky and cracked, however if your vehicle doesn’t fall under the range of VIN#’s that the recall applies to, you’re out of luck. The damage that I encountered would not fall under the category of a “sticky” or “cracked” dashboard.
I began thinking about how I would address this dashboard issue I’ve come across. Obviously, a complete dashboard replacement would be a huge cost and perhaps overkill for a relatively smaller damage area such as this one. The only other option I could think of is to make a repair. The next question I had was: how?
Keep in mind that there was a Lexus warranty enhancement that identified this very issue with the dashboards, but I was never notified of this recall. I also checked my vin# and it didn’t seem to qualify. However, just make sure with your Lexus dealership and/or with your vin number online just to make sure.
Also, weigh your options before attempting this fix. A full dashboard replacement will be costly, but will look like new. Another option is to purchase a dashboard cover such as a Coverlay, which covers the existing damage but does look good as a cover. Finally, if you have certain spots that need repair, repairing it with Sugru might help. Depending on your color match and how well you match the dash, it can be an acceptable-looking fix.
The Power of Sugru
I did some research online and found little-to-no useful information in regards to repairing a car’s dashboard. Perhaps this is not a thing that people do themselves due to the complicated nature of the material and approach to making a good repair. But, as each day wore on, I got more and more sick of looking at the flaking dashboard lining the center console.
One day during my research, I stumbled upon this moldable glue called Sugru. Since I was looking for a material that would be able to be shaped, textured, and color-matched to the dashboard, this seemed to be a major contender for meeting this purpose.
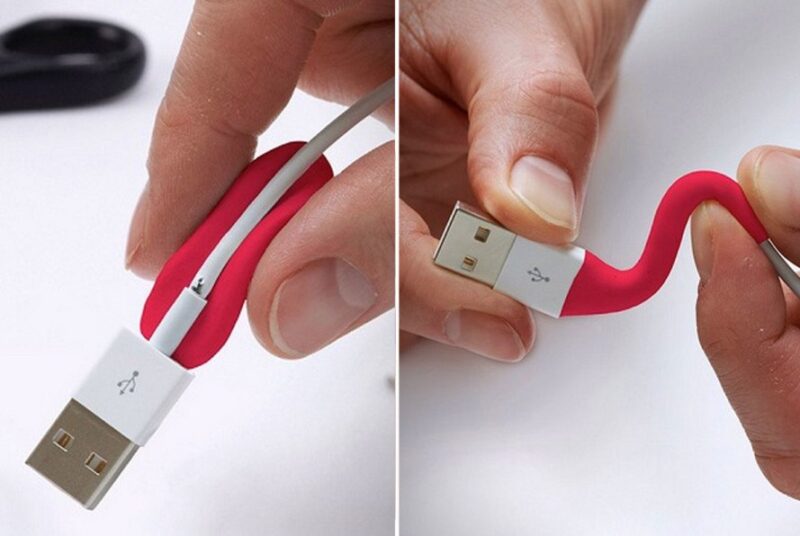
Sugru is an RTV one-part moisture curing silicone elastomer that can be molded like a putty into any shape needed. It then cures in 24 hours and fully cures in 72 hours. One of the most popular uses for Sugru is to address the weak bending point in Apple Iphone and Macbook cables.
Apple cables are notorious for being flimsy and breaking at its weak point where the cable meets the phone-charging end. Sugru can be molded around this weak point and rolled around the damaged spot to effectively strengthen the cable and electrically re-insulate the cable.
Sugru would work great for the dashboard repair because of several reasons:
- Appearance – material can be manipulated to closely match dashboard color and texture
- Temperature resistant – can withstand temps from -58⁰F to 356⁰F (sufficient for in-car temperatures)
- Safety – according to Sugru, it is family-safe and safe for skin contact
- Workability – can be molded to fit the shape of the dash, and can be stamped with a template to get the desired dashboard texture
- UV-resistance – Sugru is UV-resistant with slight fading due to UV exposure
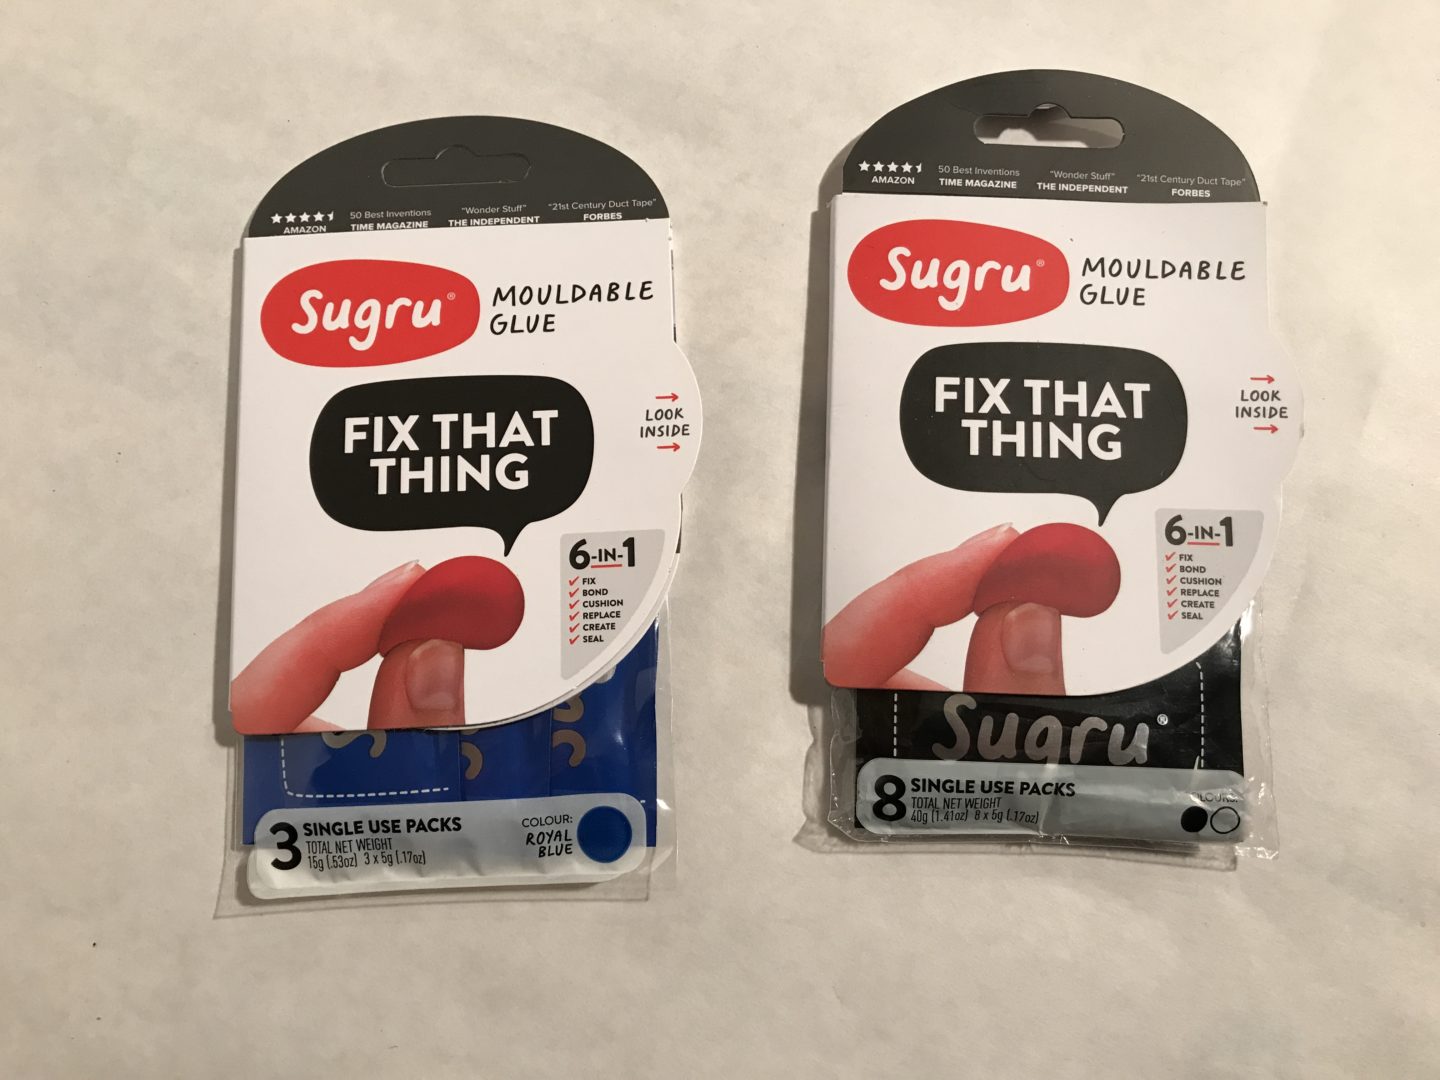
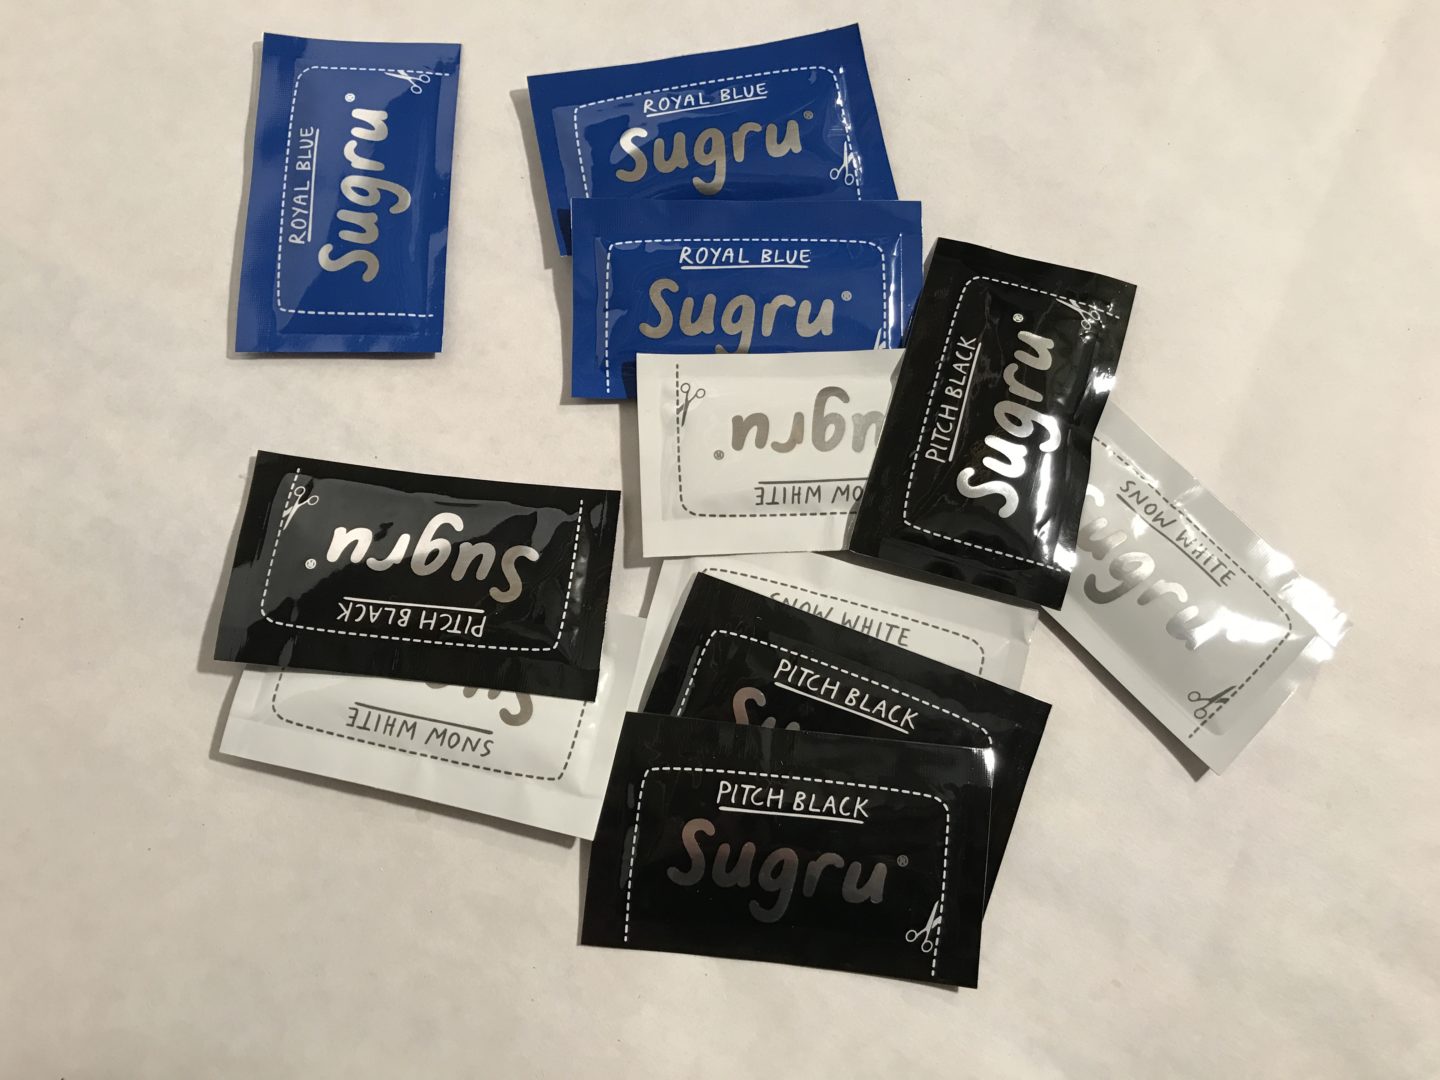
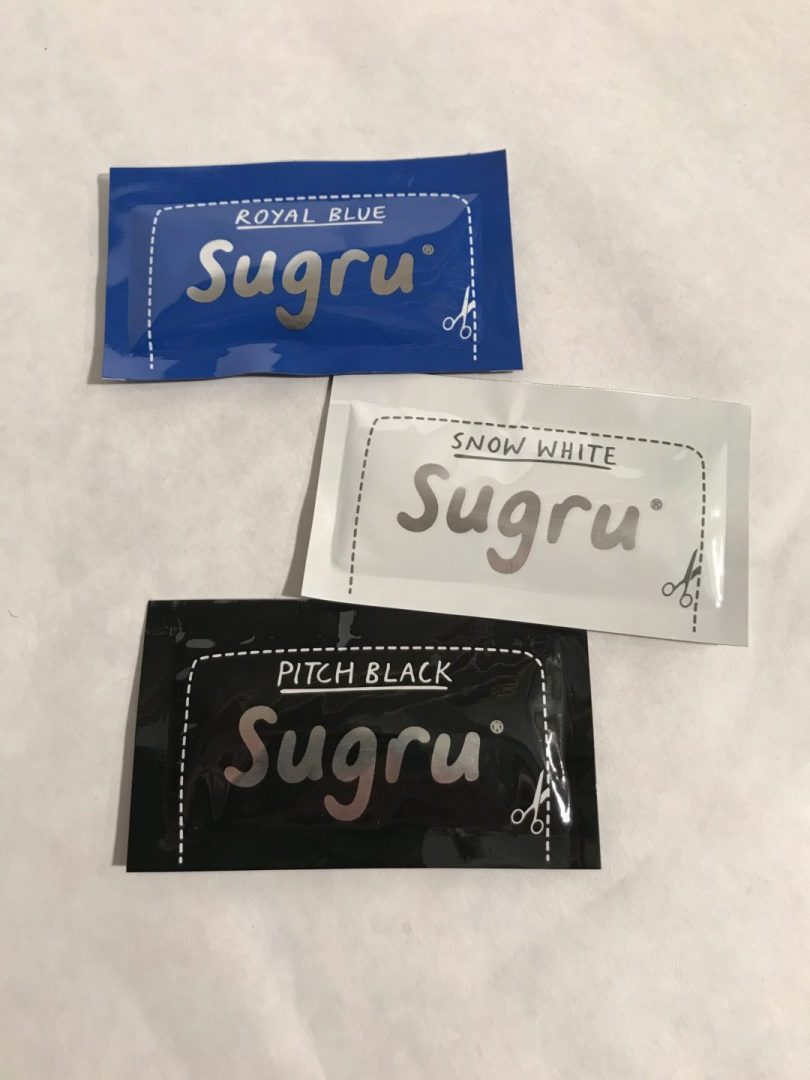
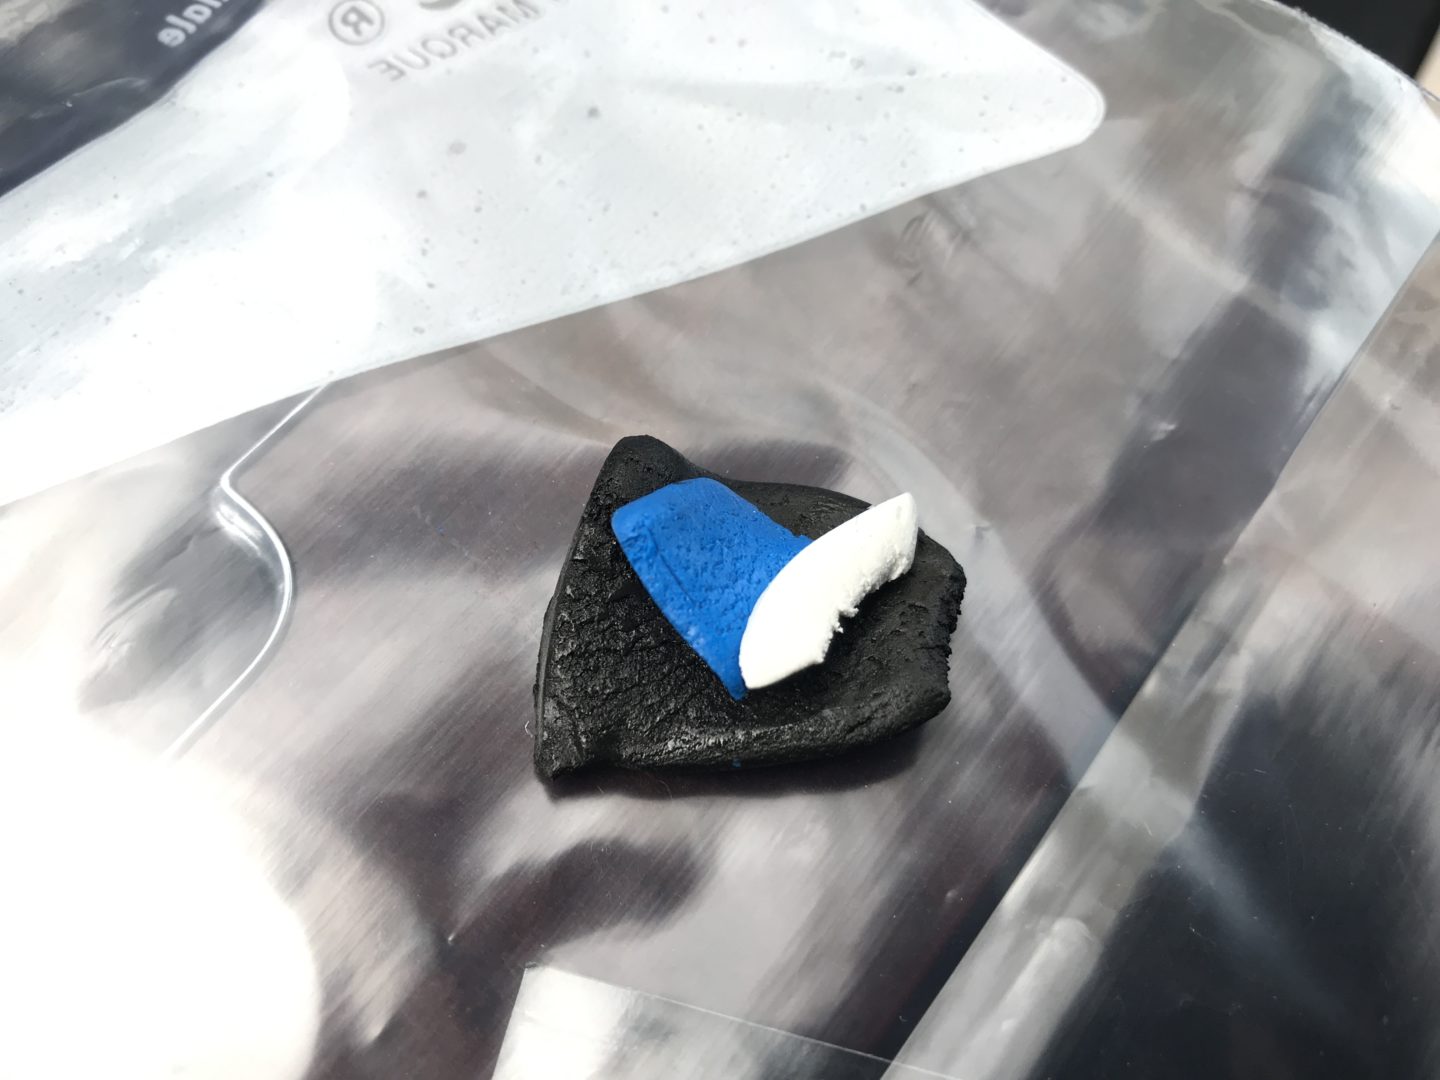
Sugru can be color-mixed to obtain the desired match. In this case, I mixed black, white, and blue Sugru in order to match the Lexus’ dashboard.
When I purchased these Sugru packs last year, it was sold separately in blue. However, it appears the only way to get the blue Sugru packs now is to buy the combination pack with multiple colors.
Purchase on Amazon:
SUGRU Formula-Classic Colours (8-Pack), Black, White, Red, Yellow and Blue 8 Piece
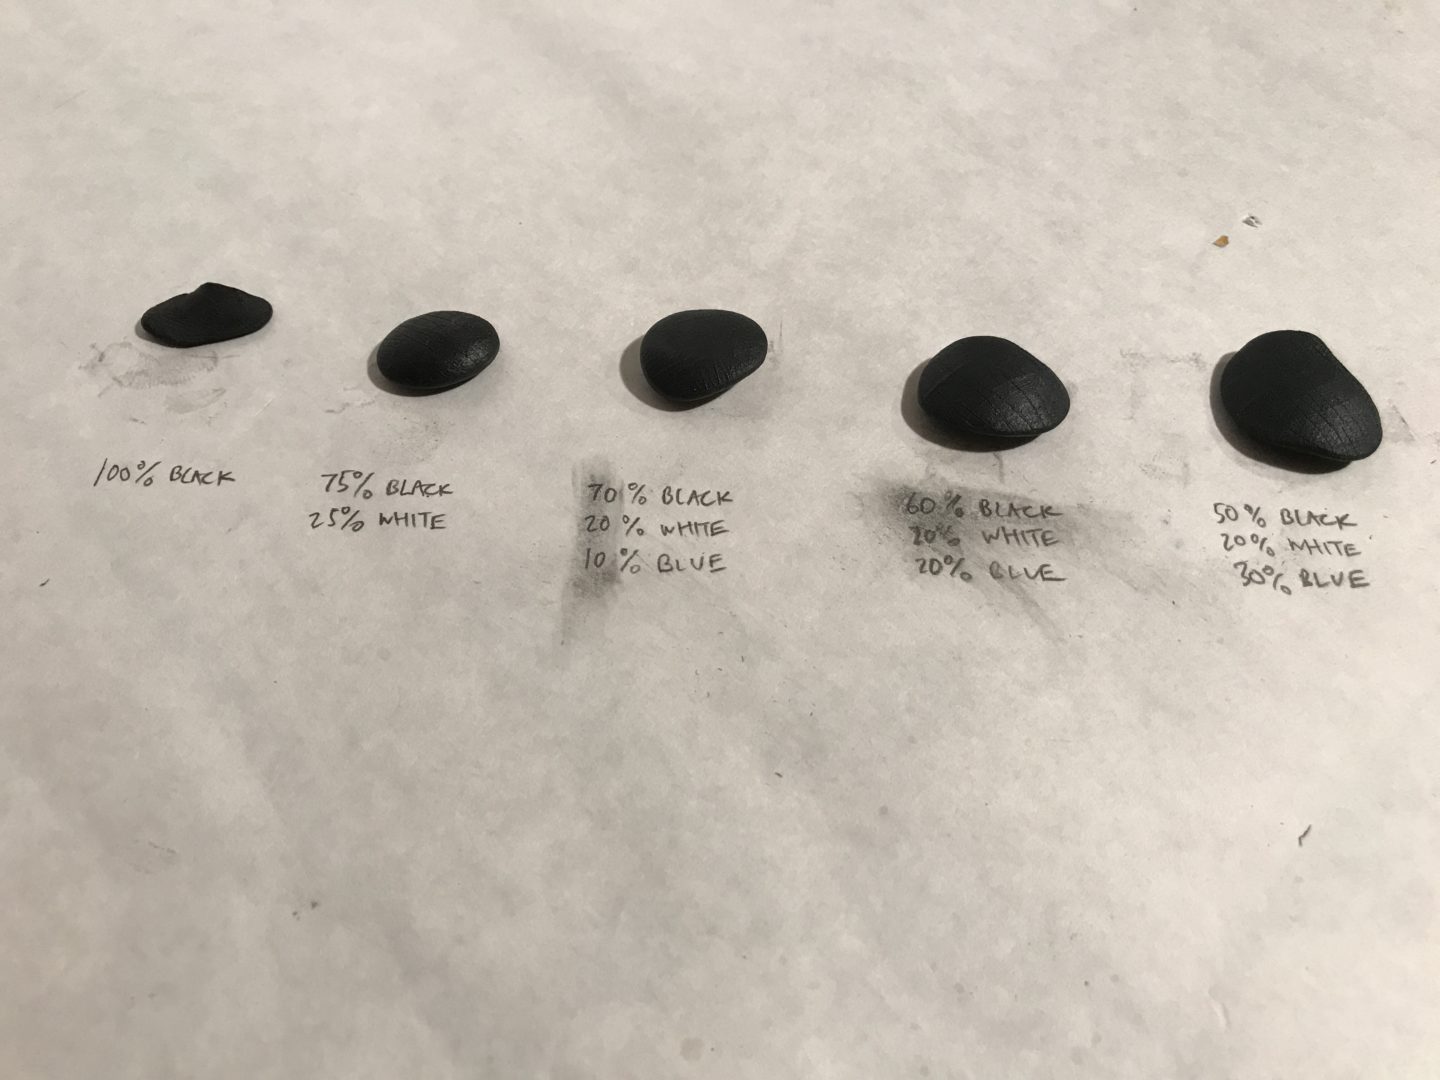
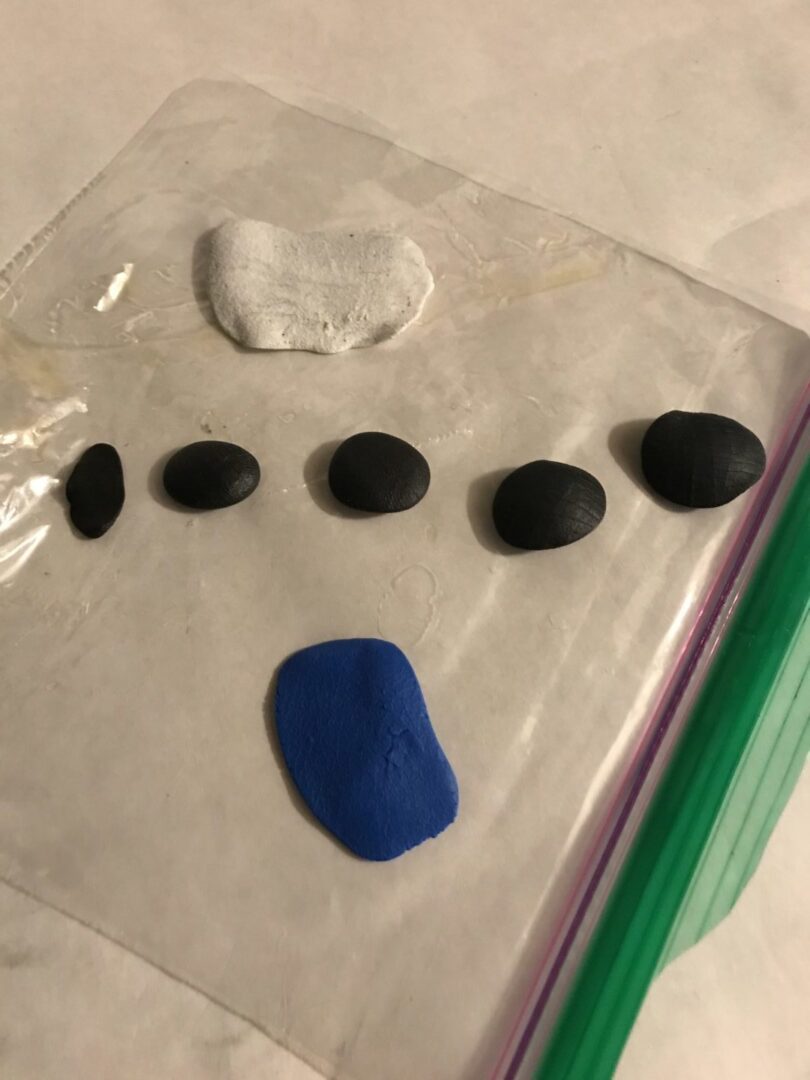
I mixed several different color combinations to see what would color-match best with the Lexus IS350 dashboard.

I kneaded each sample thoroughly and let them cure.
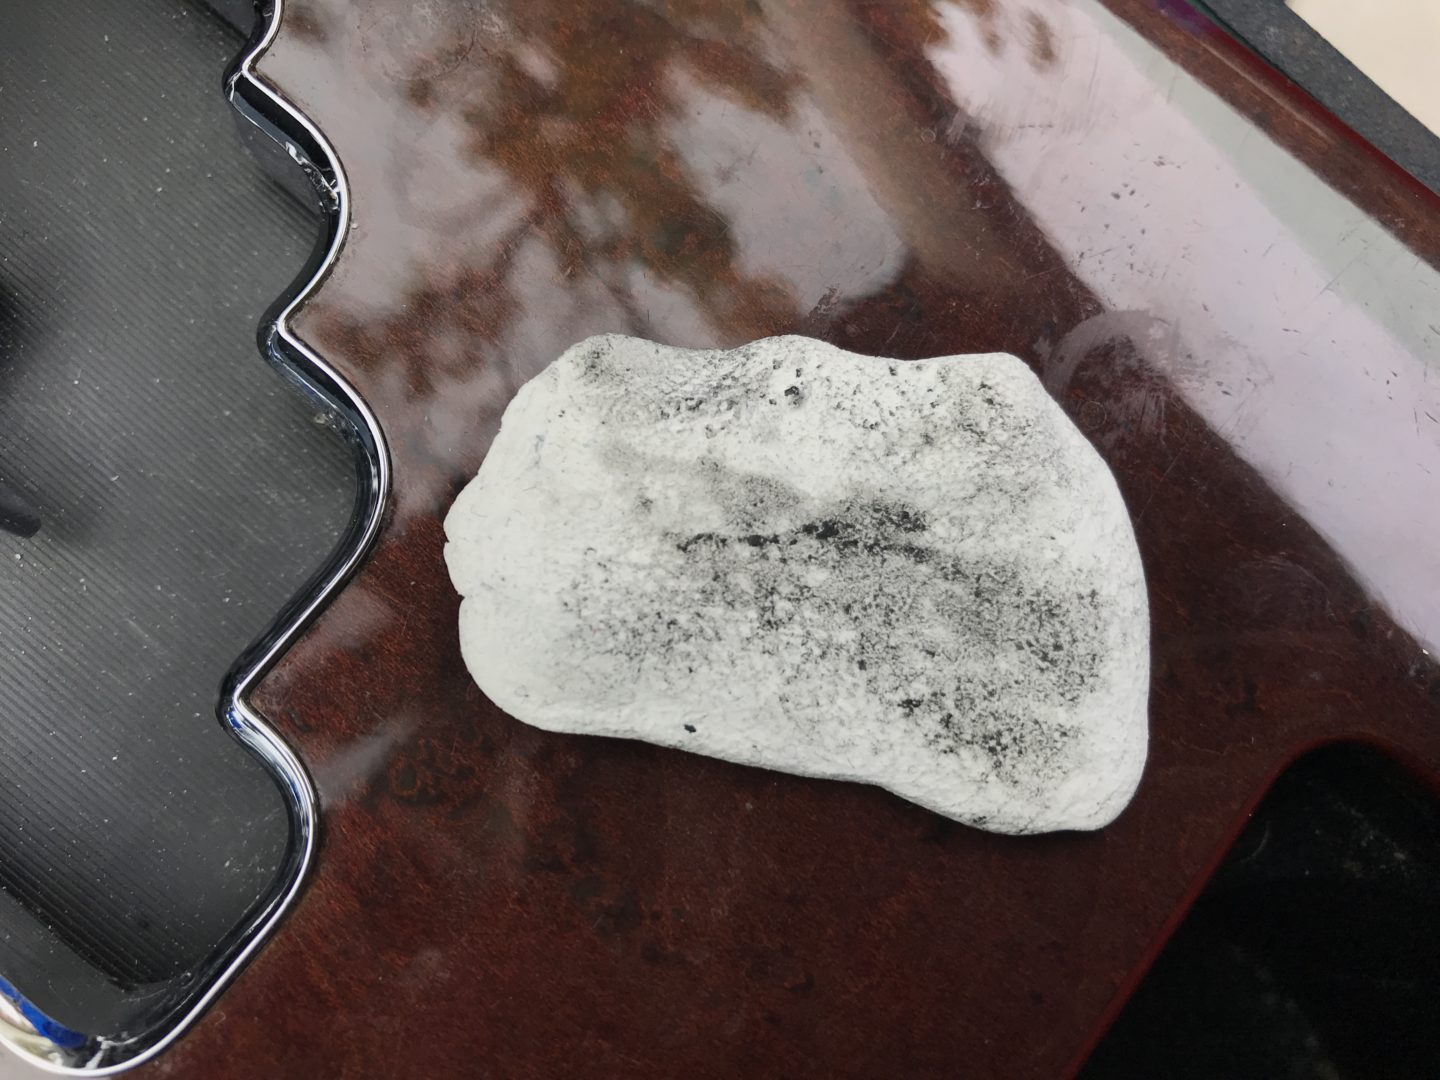
I also had some extra white and blue pieces that I molded into a flat mold so that I could use as an imprint template. The template will be used to create a similar texture to the original dashboard.
The texture on the imprint template is created by pressing the uncured Sugru onto the existing dashboard. This leaves the dashboard texture on the Sugru. Once this cures, then it can be used as an imprint template to get the Sugru repair to have a similar texture to the existing dashboard.
Be sure to wipe off the dashboard so the residue left from the Sugru is removed.

A better option for creating a texture is to use a glue gun rather than the Sugru itself. The reason for this is because the glue will form into a harder texture that will better imprint the malleable Sugru repair. If you use Sugru as the texture, it will harden into a softer material that will be harder to imprint with. A great video showing how to create a texture template can be found here.
Color-Matching the Sugru
Here’s a close-up of the original dashboard. You can see that the dash is not just black. It seems to have a slight blue-ish hue to it.
It’s a bit difficult to see due to the lighting in the following five photos, but the closest match out of the samples I made seems to be the 70% Black, 10% White, 20% Blue mix (3rd and center photo). If you look in person, the color is more easily distinguishable.

After seeing that the 70% Black, 20% White, 10% blue matched best, I eventually made a slight change which I think made an even closer match to the IS350’s dashboard color: 70% Black, 10% White, 20% Blue. You’ll have to play around with the combination of colors to get the best match.
Applying Sugru to the Dashboard
This is the dashboard on the Lexus IS350 with damage all along the edges of the center console area. The first thing I did was to prep the surface by removing any loose pieces of dashboard material, and then wiping everything down with a mild all-purpose cleaner.
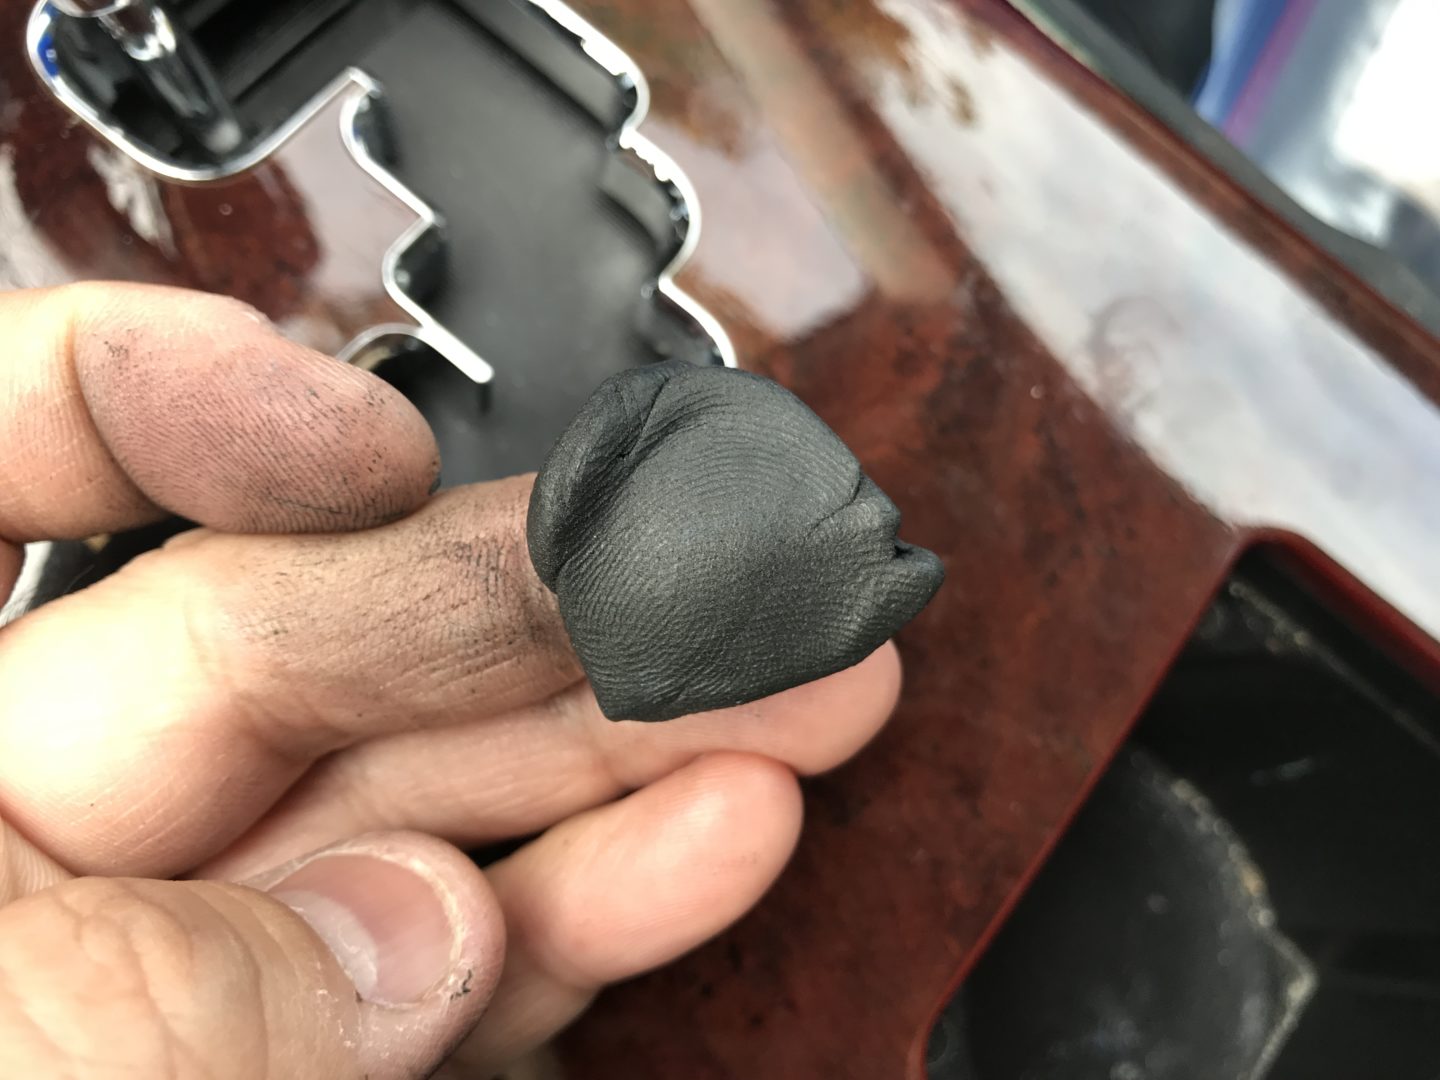
First, I took the 70% Black, 10% White, 20% Blue mixture and kneaded it until the color became uniform.


Given there is about 30 minutes of working time with Sugru, you need to make use of every bit of time you have. First, I worked the Sugru into the edges of the dash so that it would adhere sufficiently. Then, I used my fingers to mold it to the shape of the dashboard.
It still doesn’t look very good, but I continued to shape the Sugru until it matched the existing surface and lines. I find it useful to use a flat hard object to press against the Sugru in order to get a more uniform surface. I used plastic spreaders to do this, which also proved useful as a backing plate (you’ll see more of this in the photos further down the post).
Once I was happy with matching the Sugru form to the surrounding dash, I had to apply texture. Without the texture on the facade of the Sugru, the repair would stick out like a sore thumb.


The new Sugru that is being formed on the dashboard tends to collect on the imprint template (the already cured Sugru with texture). Therefore, the template will need to be cleaned off regularly. It may be beneficial to have several templates as the template’s texture will eventually get filled to the point where the texture disappears.
There is some difficulty with pushing the Sugru into a damaged corner. There is nothing that helps hold the material on the backside, so it helps to use a plastic spreader (or something similar) as a backing plate. These plastic spreaders have a nice hardness to it to use as a backing plate, but it also has a bit of flex to conform to the dashboard’s curve.
Purchase on Amazon: Dynatron 358 Spreader

Always make sure you have enough Sugru so that you can continue to add it to areas that need more material. Above, you can see that I needed to add additional Sugru to the area with the most damage.

As you continue to apply Sugru and work it to get a smooth appearance, it becomes aesthetically better. The corner edge looks a big wavy, but that will be cleaned up with an X-acto knife at the end. I made sure to use the imprint templates to create as much of a seamless texture as possible.
To get a more seamless transition in texture from the existing dashboard to the Sugru repair location, use an imprint template made out of a material that is hard when cured. I used extra piece of Sugru I had to take an imprint from the existing dashboard, however it was too soft of a template when it cured. Therefore, when I pressed the template onto the new Sugru I applied, it made a soft imprint when I would prefer a hard imprint. If you have no other option, Sugru does work but it may not provide as seamless of a transition from the existing dash to the repaired areas.

There is quite a bit of extra Sugru that smeared off into the dashboard’s texture. It is better to wipe excess material from the existing dashboard so that repair area is limited to as little of an area as possible. If too much excess Sugru dries on the existing dash, then the texture will disappear and the repair will stand out even more.
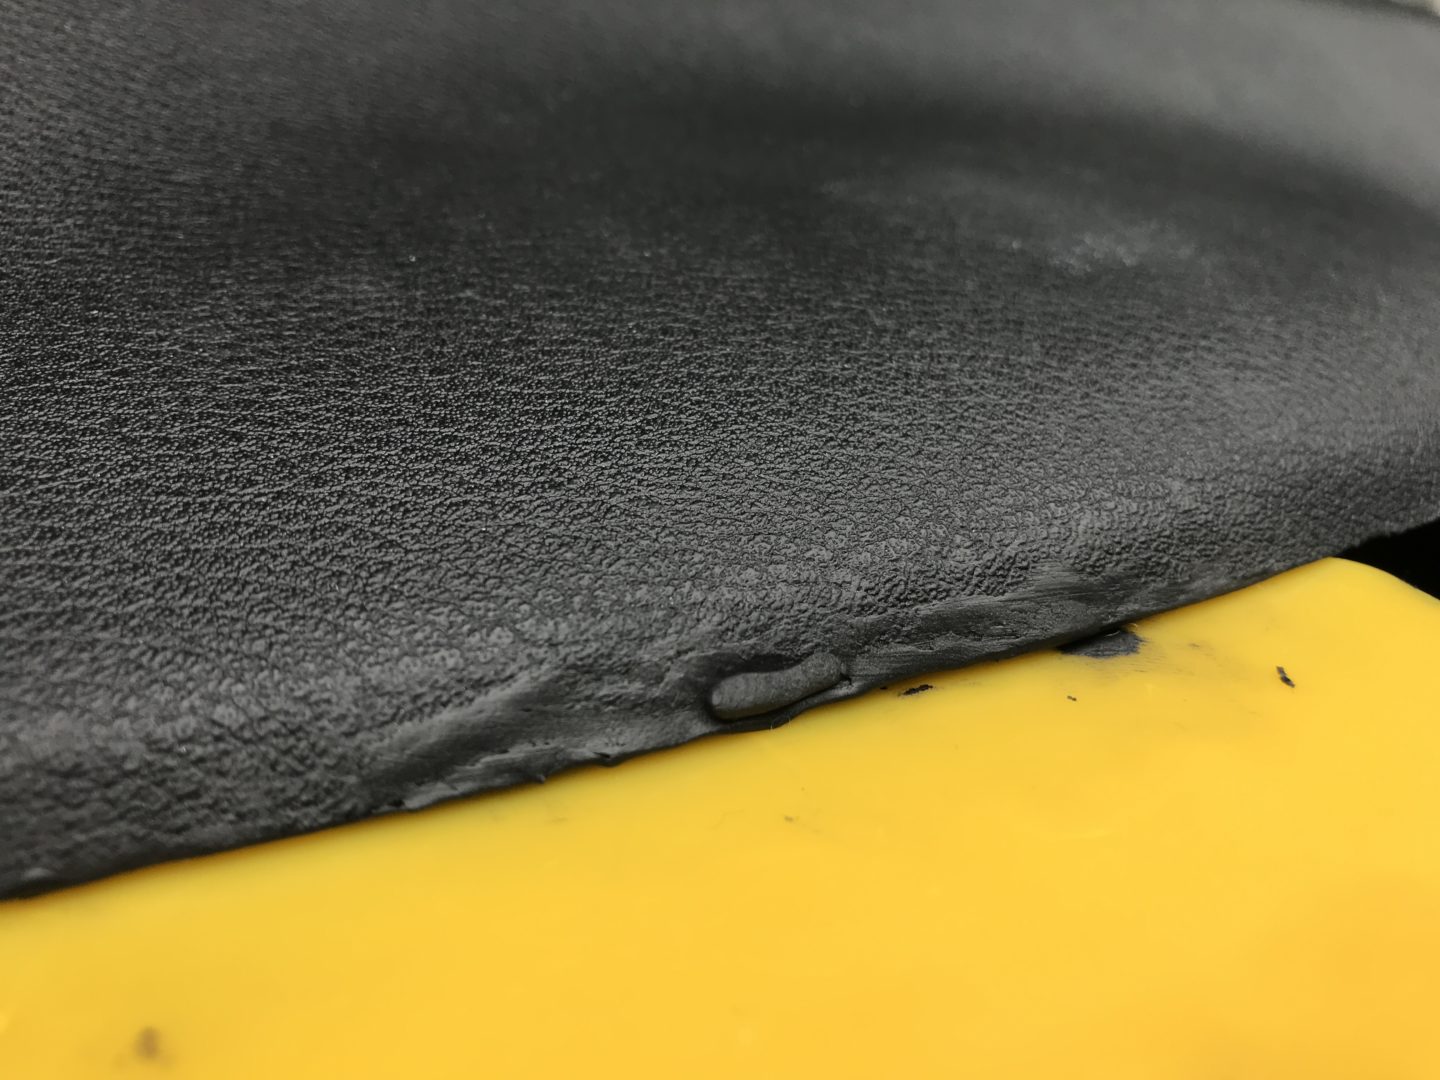
Next, I moved onto the sides of the center console area which had much less damage.
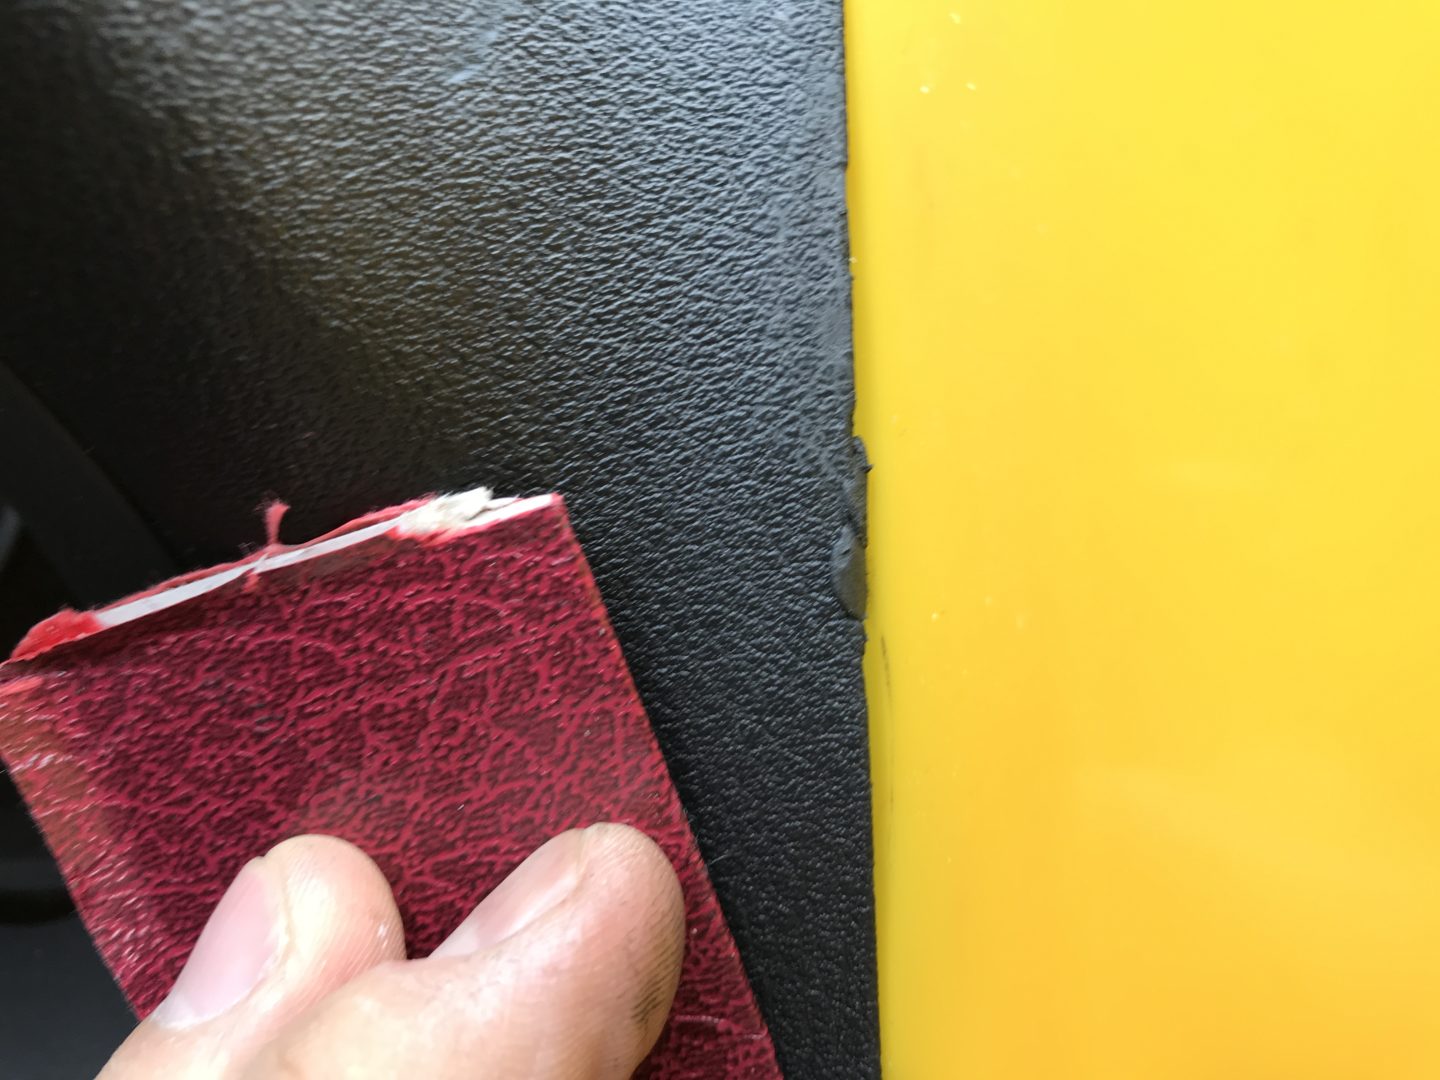
Again, it is key to use a backing plate (the yellow plastic spreader in photo above) to press the Sugru against during the repair. The maroon-colored vinyl template I used above was a piece of fake leather textured material I found laying around, but it wasn’t a very good template and was slightly less effective than the leftover Sugru templates I made.
It’s better to use a template that will cure to be hard to the touch. But if you don’t have something like that, leftover Sugru will still do a decent job.

Again, it is important to wipe off as much of the excess runoff Sugru as possible.

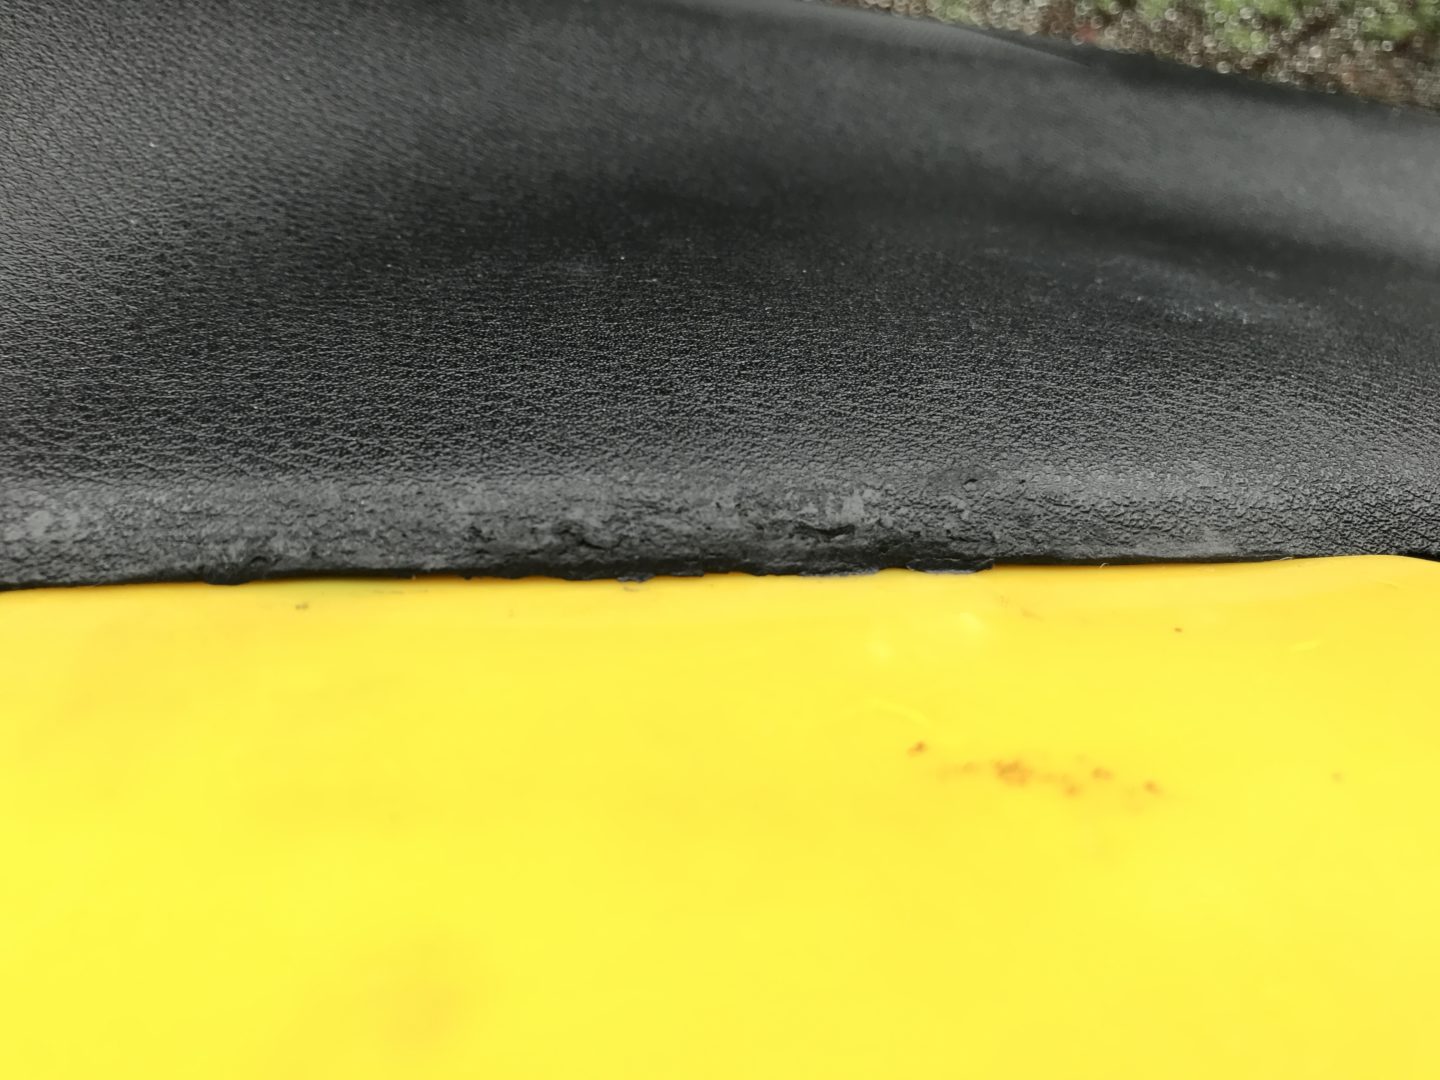
Not only do you need to wipe away the excess Sugru around the outer repair area, but you also need to blend the area between the repair and existing dash. Eventually, the harsh transition begins to disappear…

Using an X-acto knife, I carefully cut as straight of a line I could to match the existing dashboard line. This gives the appearance of a continuous line that surrounds the center console. A box cutter would work just as well, although you may get more accurate lines with the X-acto knife.
Purchase on Amazon: X-ACTO 1 Knife, Z Series With Safety Cap

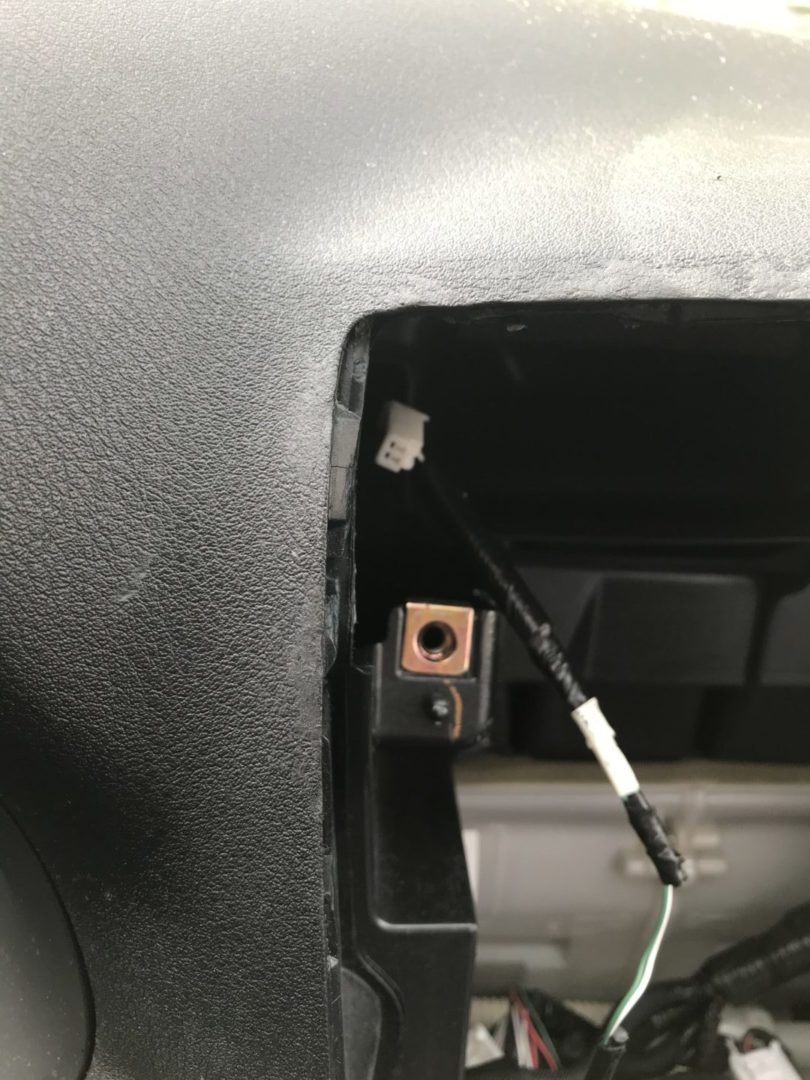
It’s certainly not perfect, but I’d say that it’s by far a huge improvement from the way it looked. Perhaps with a little more finesse and patience, it could have looked even better.
Everything looks a lot more complete once the whole center piece was put back in. When the center console snapped in, it appeared to be in a recessed position, rather than flush. I chose not to fiddle around with the center console to get it flush because of my traumatic experience of the brittle flaking dashboard.
Perhaps I will attempt to get the trim piece flush in the future, but for now I’m extremely pleased with the final result.


: 2nd Gen Lexus IS350")
2 Comments
Thanks for sharing your DIY repair. The end result looks great. How has the repair held up over time?
You’re welcome and thanks! It’s been about a year and a half and it still looks the same. Here’s a photo I just took and you can judge for yourself.