
When you make purchases through links on this site, The Track Ahead may earn an affiliate commission. Also, these posts are based off my own experiences. I am not responsible for any action you take as a result of reading this. Learn More
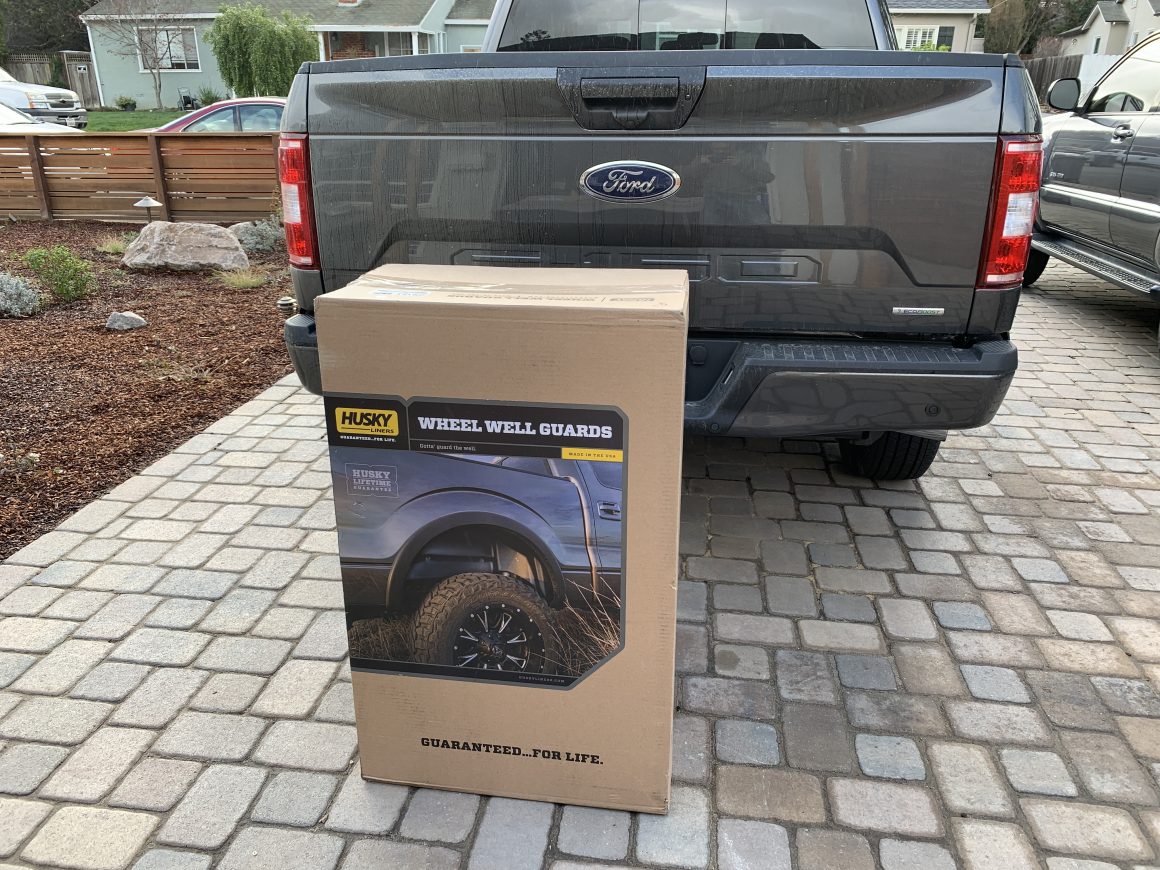
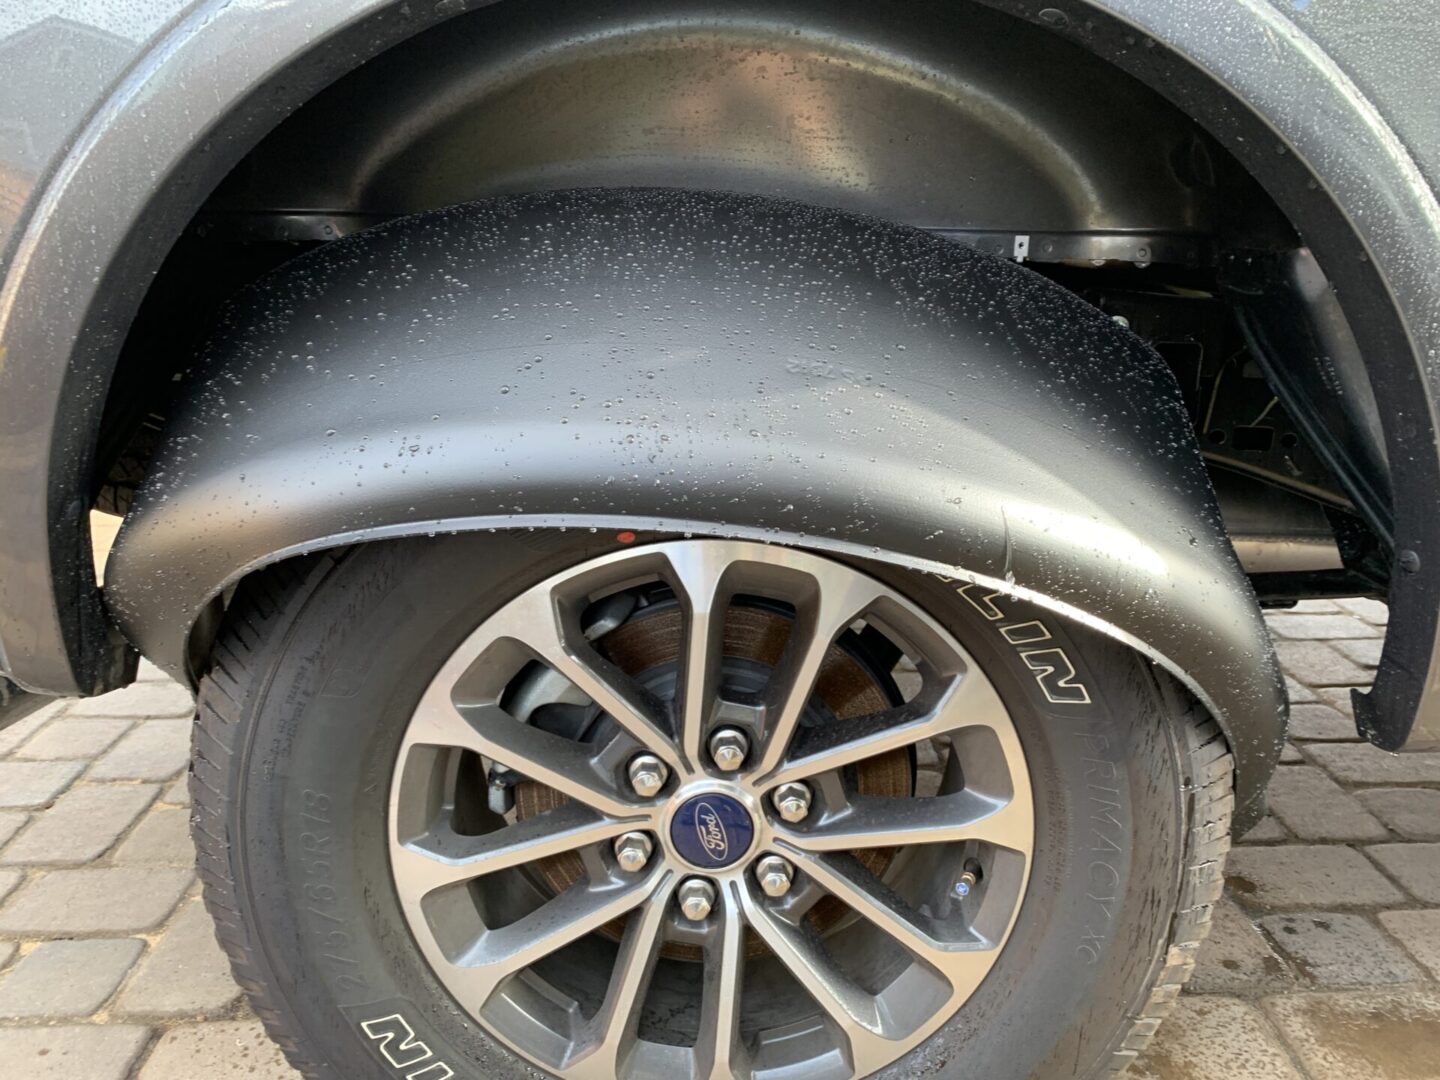
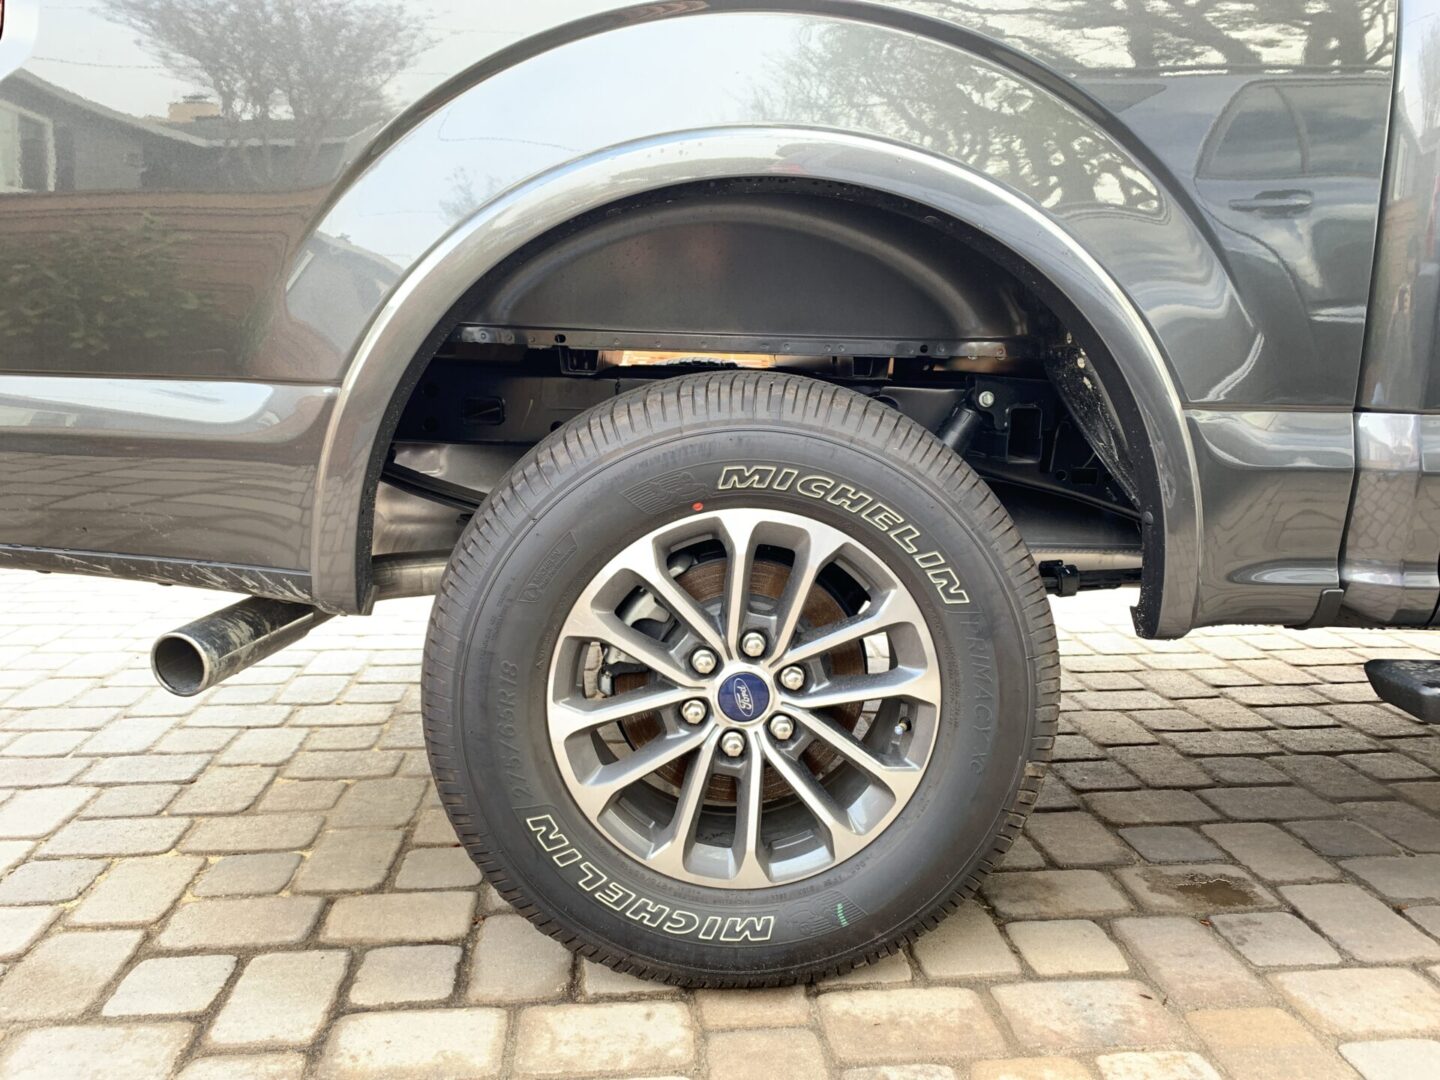
My 2020 Ford F-150 didn’t come with rear wheel well guards straight from the factory. Without these wheel well guards, the wheel well area can take a lot of abuse from dirt, rocks, etc. kicking up from the rear tires. In addition to the added protection from the wheel well guards, the rear wheel well looks a lot better and has a more finished look to it. It looks even better on lighter color vehicles when light-colored wheel well area is an eye sore.
Ford does make OEM wheel well guards, but they are costly. I opted for the Husky Liners version as it costs half the price and it has plenty of good reviews on Amazon. The install doesn’t take long, but it does require a bit of working the fenders into place and getting the hardware and holes to line up properly. The overall install took me about an hour.
Tools & Materials
Husky Wheel Well Guards
Husky Liners 79121 Black Rear Wheel Well Guards – Fits 2015-2019 Ford F-150 (will not fit Raptor)
These Husky rear wheel well guards have a slightly different look to the Ford OEM ones. The Husky guards extend down further than the OEM ones and their fitment is slightly less precise as well. However, given that they cost half the price of the OEM ones, they seem to get rave reviews which is good enough for me. Also the product link says it fits only 2015-2019 Ford F-150’s, however we all know that the 2020’s are part of that generation so they will fit as well.
The other option is to opt for the Ford OEM rear wheel well liners that tend to fit better than aftermarket ones. They cost about twice the price, and they also don’t extend down as low as the Husky Liners. If you still plan to go with the Ford OEM ones, here is a link: Ford Genuine FL3Z-9927886-D Wheel-Well Liners
Pick Set
The Husky rear wheel well guards have holes that don’t line up perfectly, so I’ve had to use a pick to line up the plastic guard with the existing holes on the truck frame.
TEKTON Precision Pick and Hook Set, 4-Piece
Screwdriver Set (incl. Short Stubby Screwdriver)
Most will have a set of screwdrivers at home, but I include this set because it has the stubby Phillips head screwdriver. Each wheel well guard is secured to the frame with four screws: two in the center and two on the front and rear ends. If you choose to keep the tires on during installation, you’ll need the short stubby screwdriver for the screws on the front and rear ends since the tire will be in the way.
CRAFTSMAN Screwdriver Set, 12-Piece
Any All-Purpose Cleaner or Similar Product
You’ll need something to clean the rear wheel well areas prior to installing the guards. You can either use car wash soap if you’re already doing a car wash, or an all-purpose cleaner or similar product. In this write-up, I used some diluted Optimum No Rinse.
Optimum No Rinse Wash & Shine
Chemical Guys All Clean+ All Purpose Cleaner
Husky Liners Rear Wheel Well Guard Installation on a 13th Gen Ford F-150
Keep in mind that you don’t need to jack the truck up, nor do you need to remove the wheel. You just need a short Phillips screwdriver to install the mounting screws on the two outer portions of the wheel well guard.
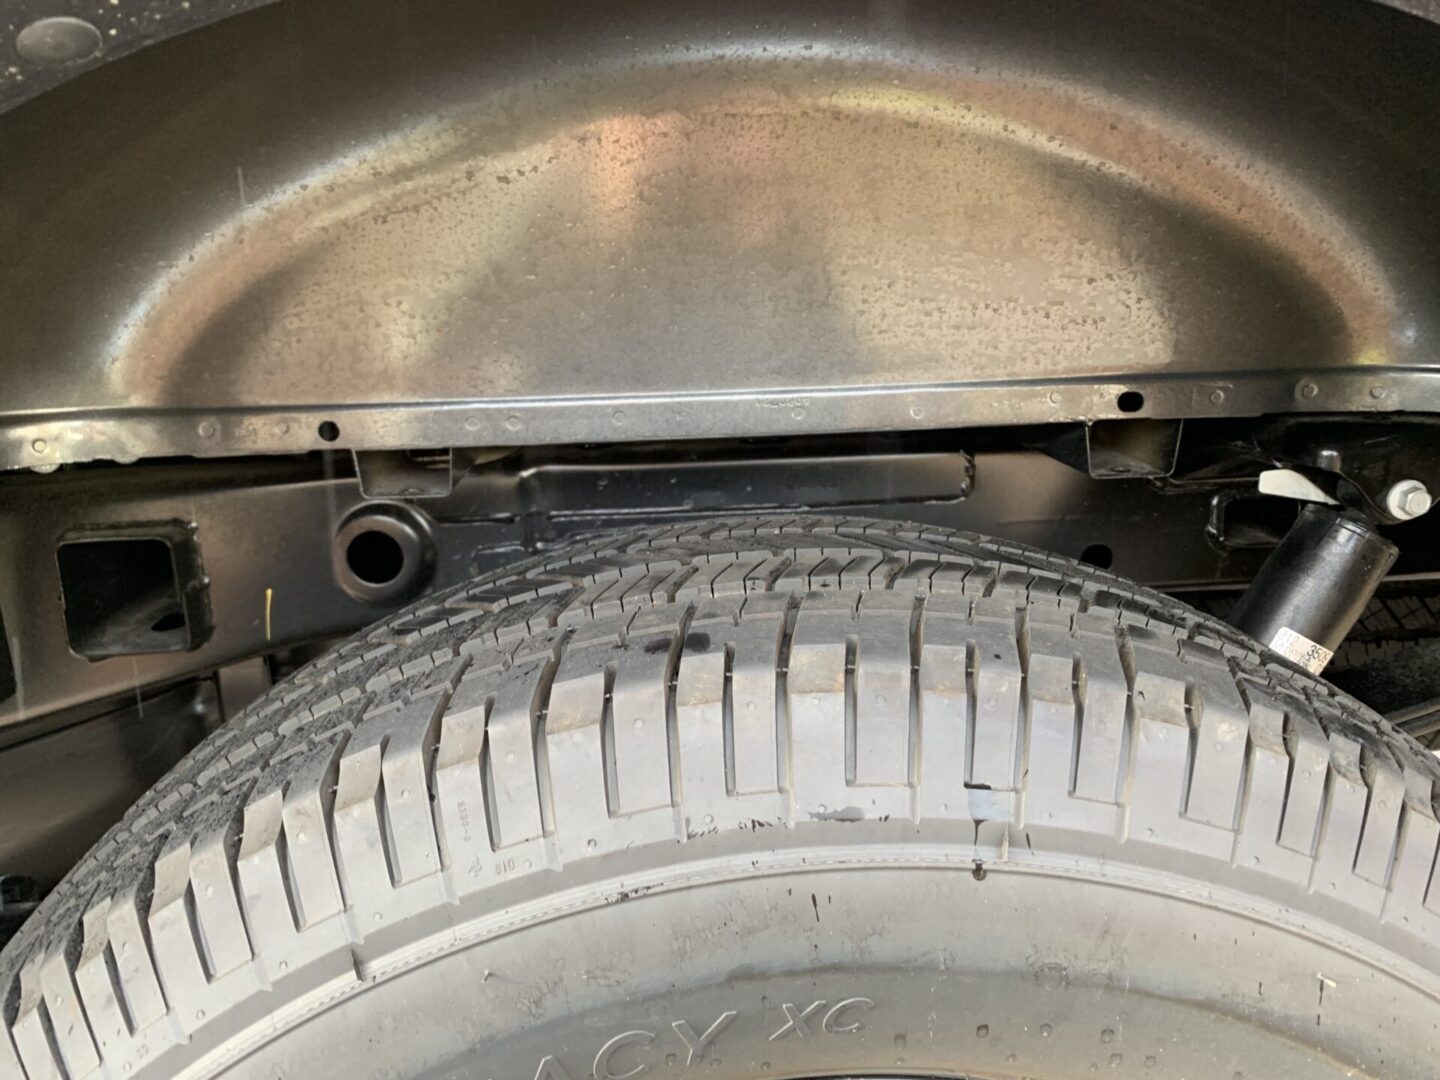
The first thing to do before starting is to clean the rear wheel wells. Here, I used some Optimum No Rinse, but any cleaner will do. Clean the wheel well thoroughly; it doesn’t have to be perfect, but you do want to clean it of any dirt, mud, etc. that is stuck to the wheel well.


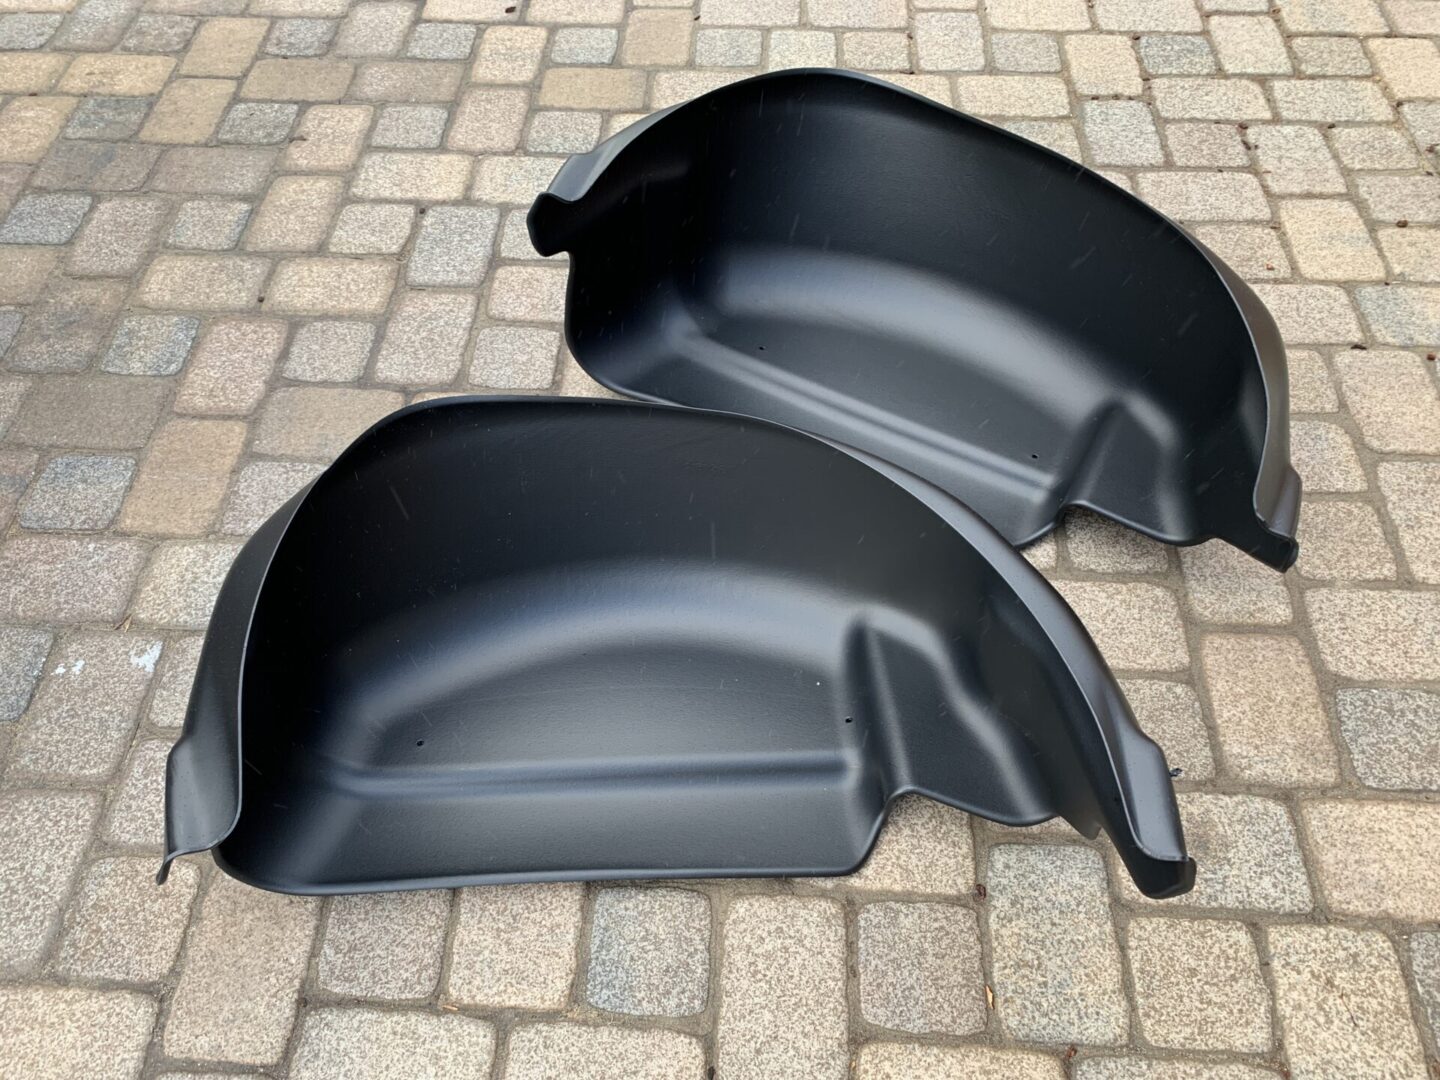
The Husky Liners wheel well guards come in a box with the two rear thermoplastic guards and some installation hardware. The two sides are not interchangeable, so pay attention to the stamped markings. The one marked PS is for ‘passenger side’ and the one marked DS is for the ‘driver side’.


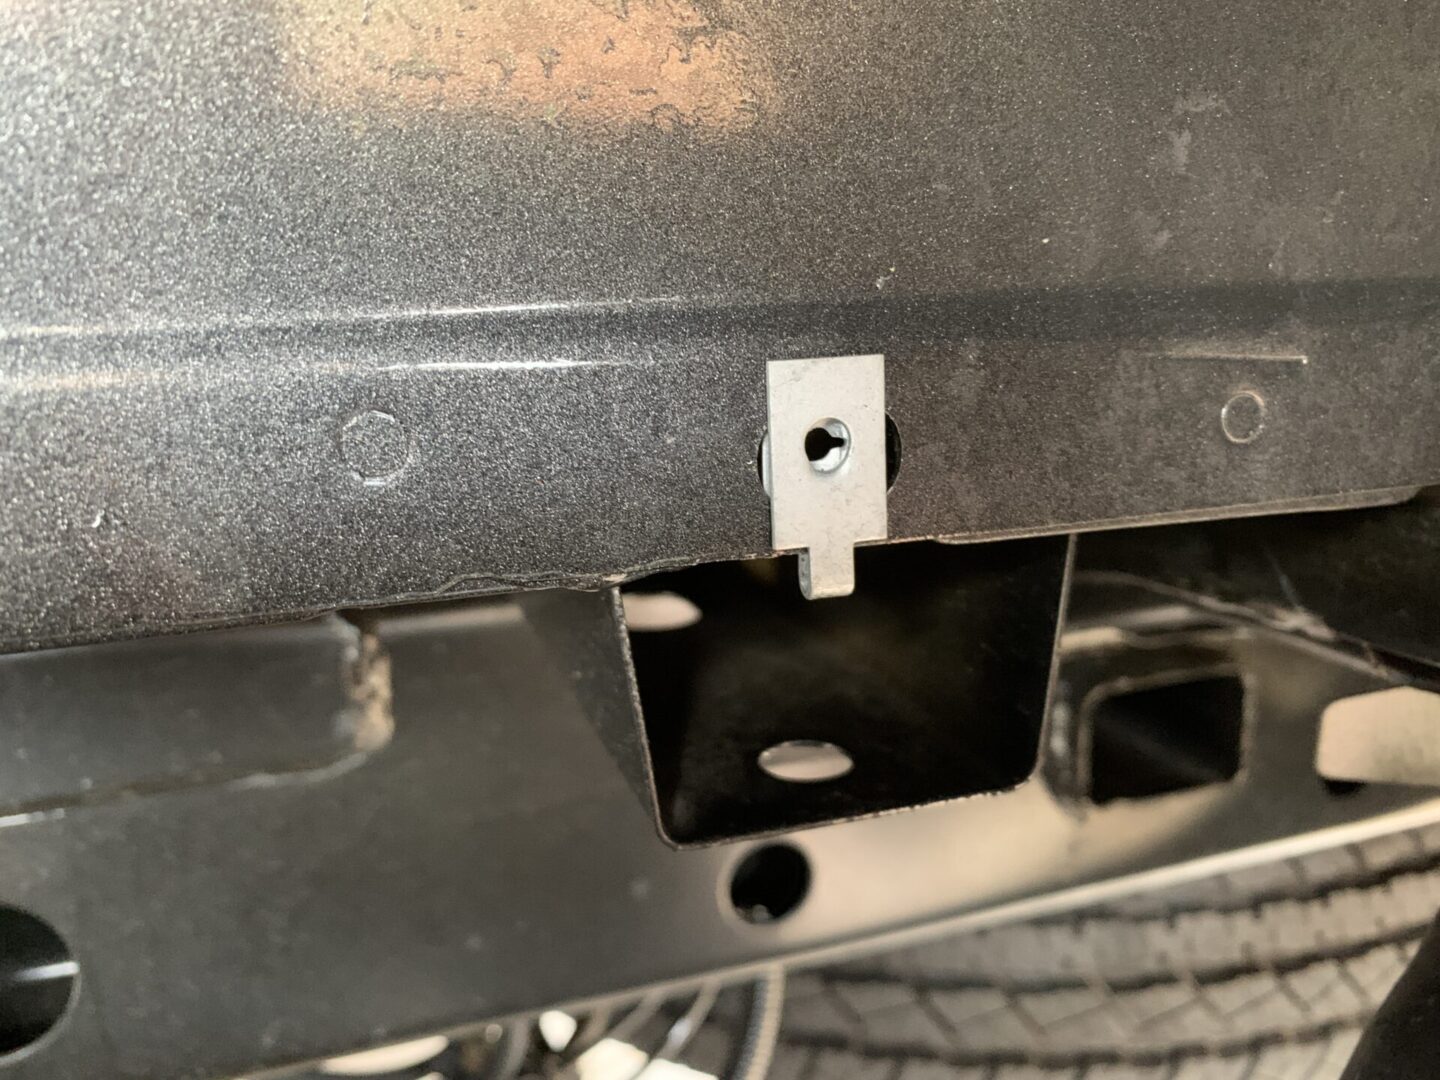
Before you even get the guard into the wheel well, you need to install the hardware. Install (2) U-clips onto the locations below by sliding them up into position over the factory holes.

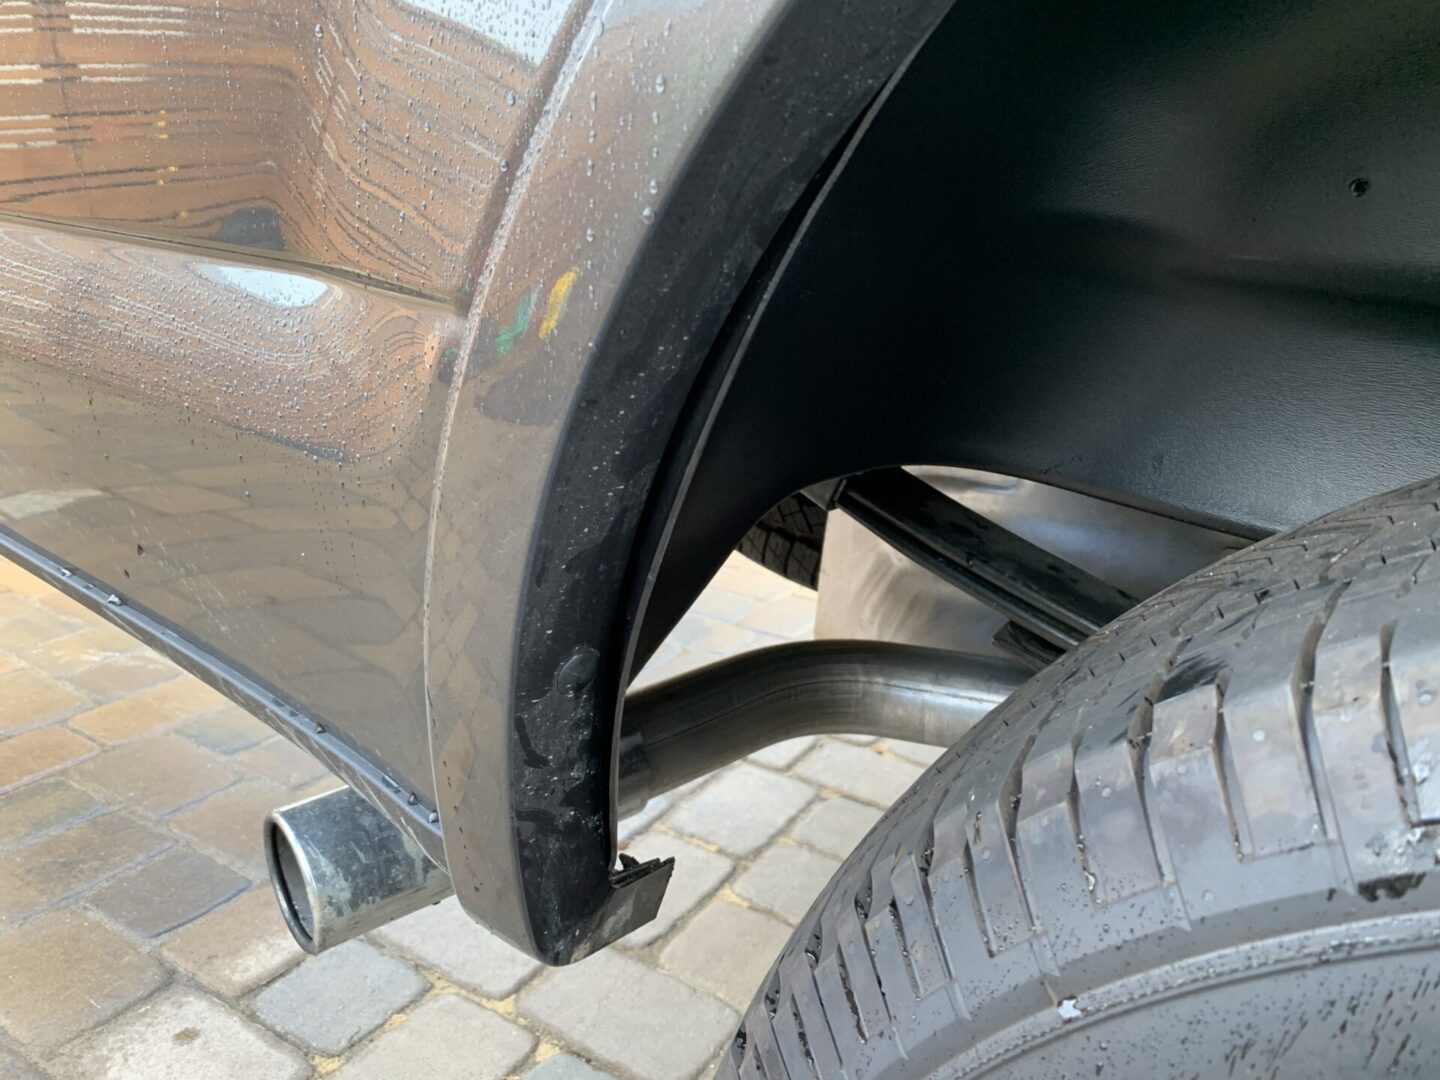
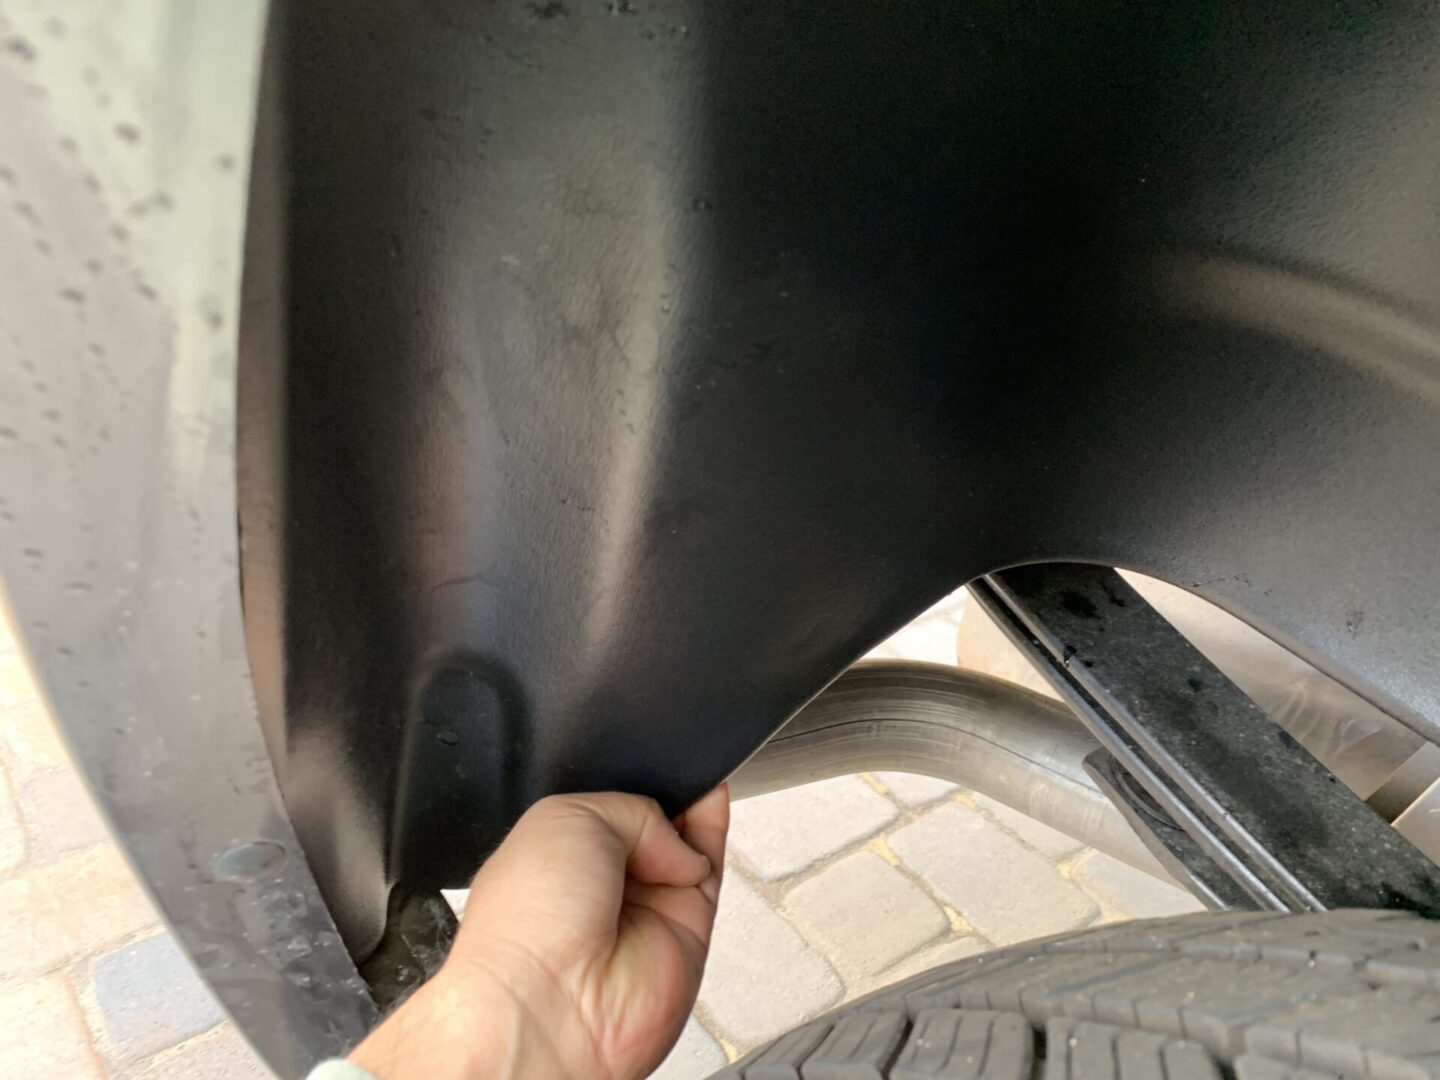
Insert the wheel well guard and make sure that you tuck the entire guard behind the fender panel all around. This may take a bit of work to get it to fit properly. Ensure that it is fully tucked in including the front and rear lower flap sections.

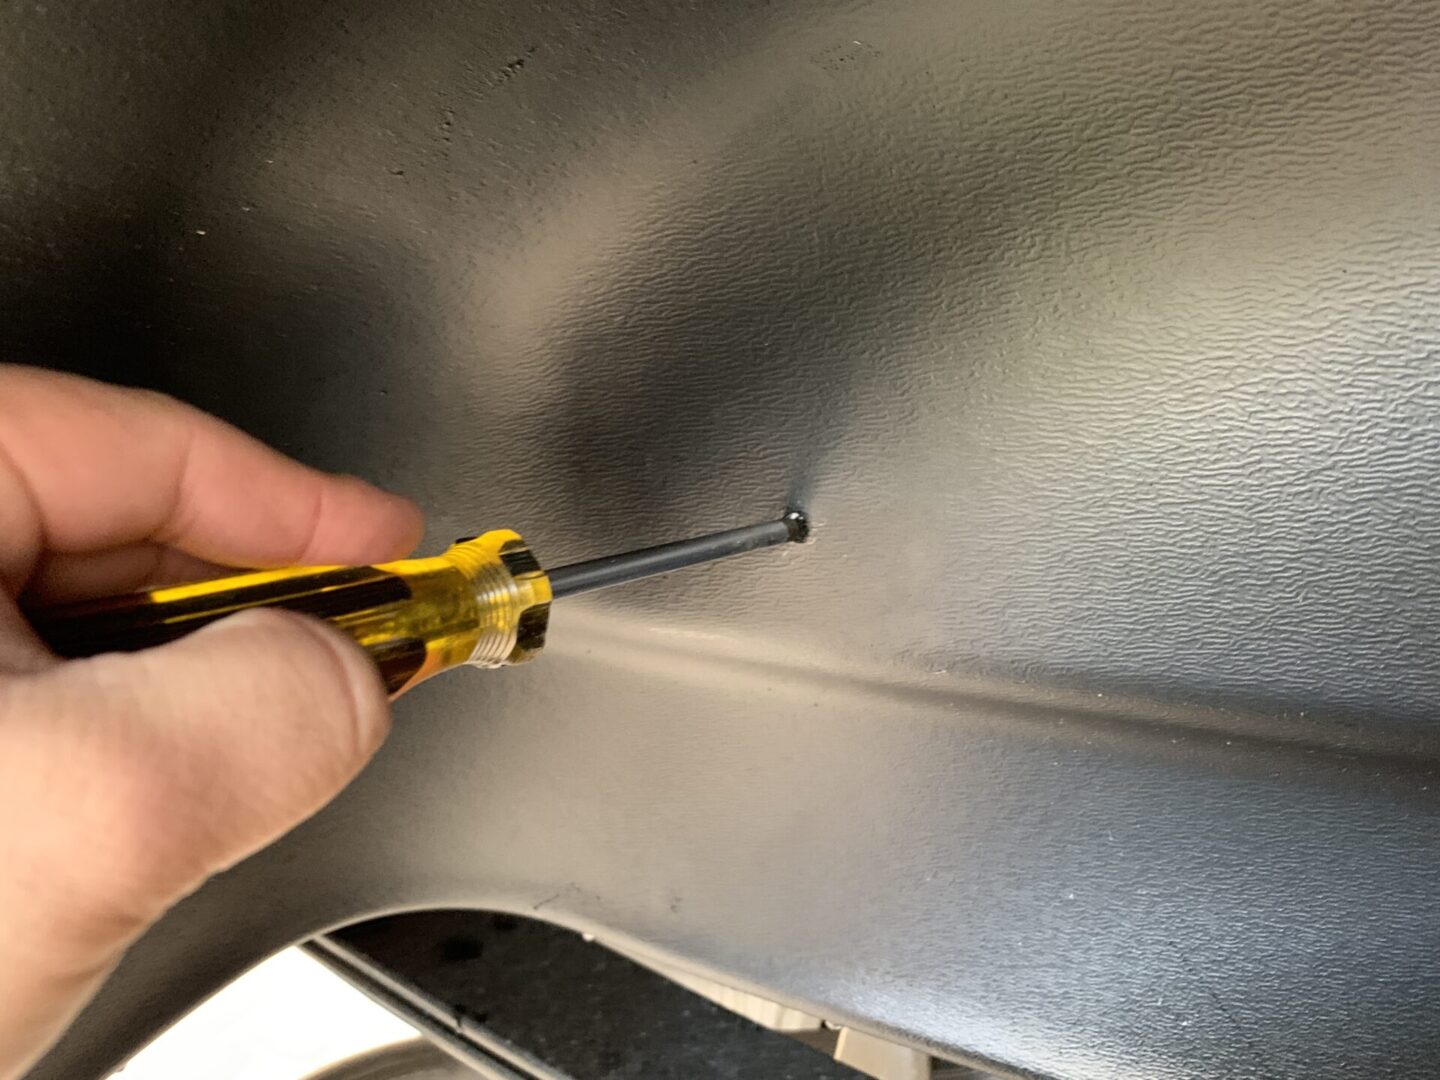
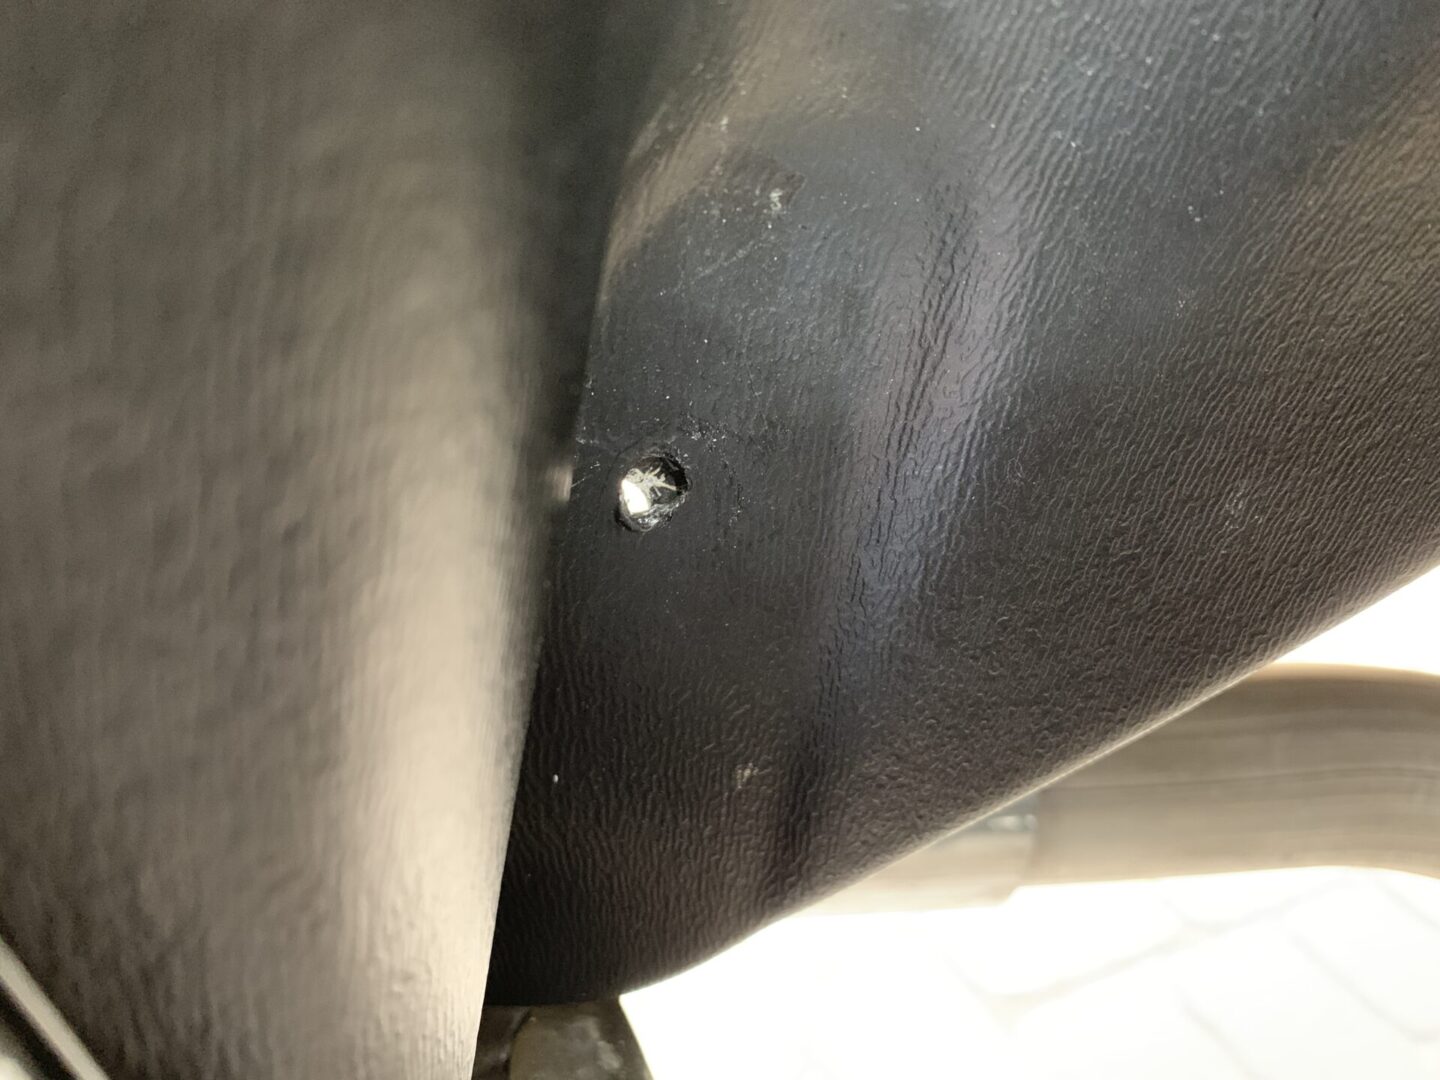
Now, you can screw (2) screws into the locations where you already installed the U-clips. The mounting holes don’t always line up perfectly, so you can either use a small screwdriver, or a pick to force the holes to line up before installing the screws. You’ll want to leave these screws slightly loose as you’ll still need to work the last two mounting screws into place before tightening anything down completely.


Now, onto the two lower flap sections (in front of and behind the tire.) The U-clips don’t exactly work the same way on these two factory hole locations as the holes are within the panel, rather than on the edge of the panel. The instructions included with the Husky Liners recommends to use the U-clip on the backside of the sheet metal.
This method is necessary not only because of the factory hole style, but because the holes don’t always line up and so installing the U-clip on the backside of the sheet metal makes it a whole lot easier to install.
Again, use a pick or a small screwdriver to line up the holes as needed, press in the screw all the way, and then go on the backside of the sheet metal to thread in the U-clip.

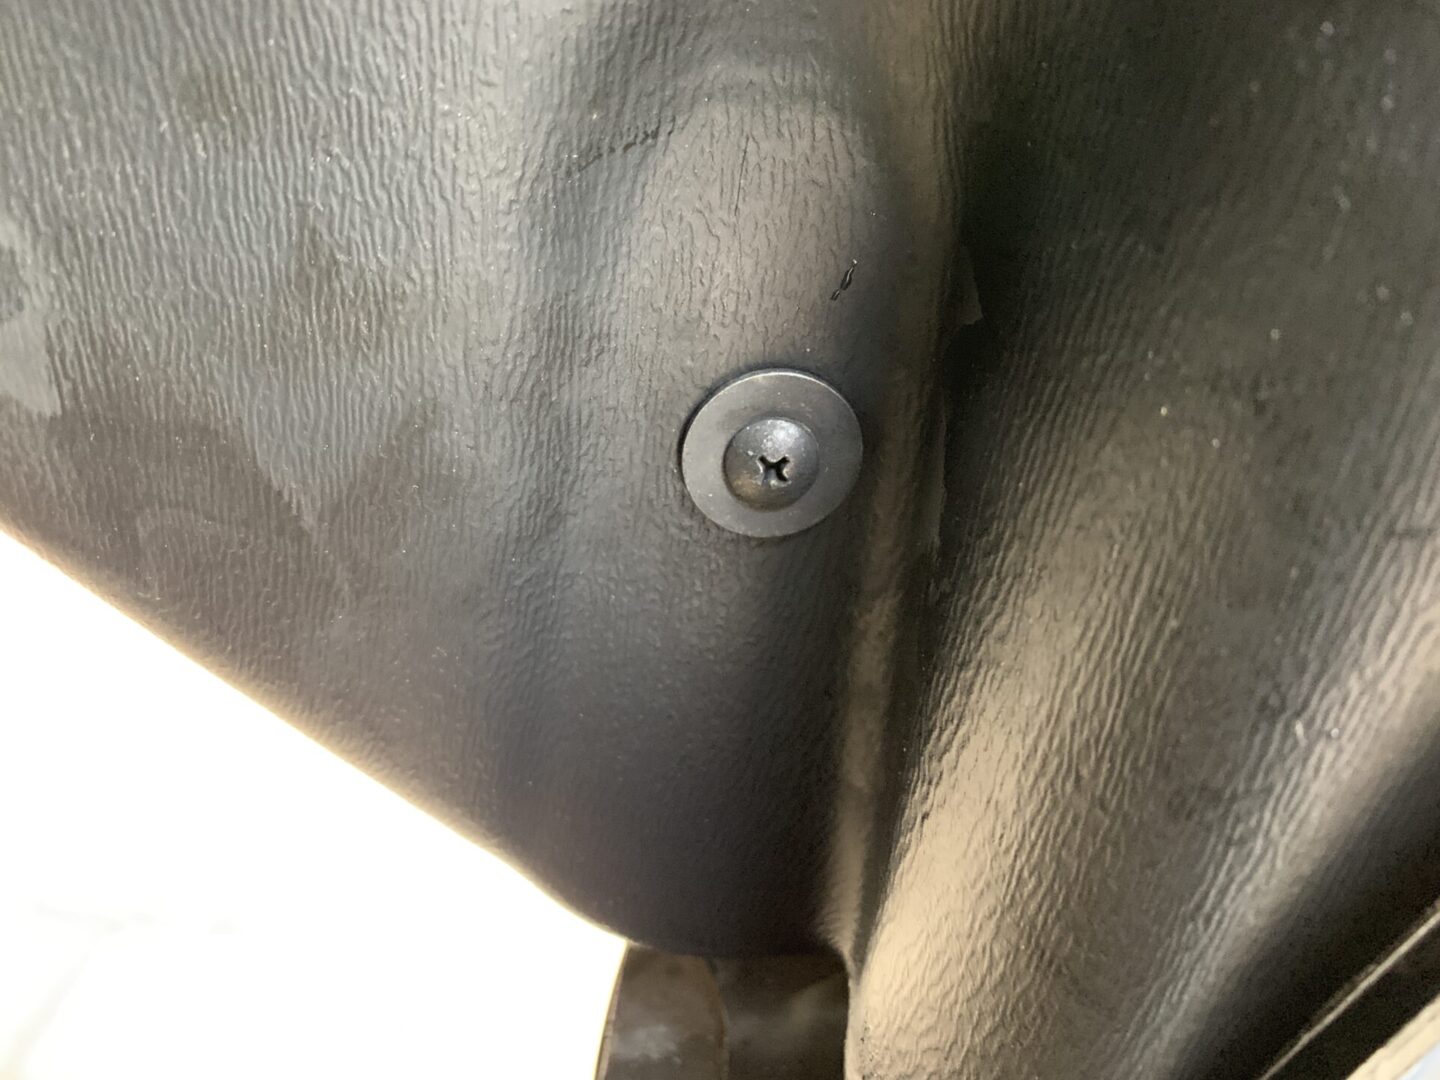

Once you’ve got all four of the mounting screws in, you can tighten everything up fully. For the locations where you install the U-clip on the backside of the sheet metal, you can use pliers to keep the U-clip from spinning while you screw in the other side with a stubby Phillips head screw driver.
Repeat the same process for the other side.


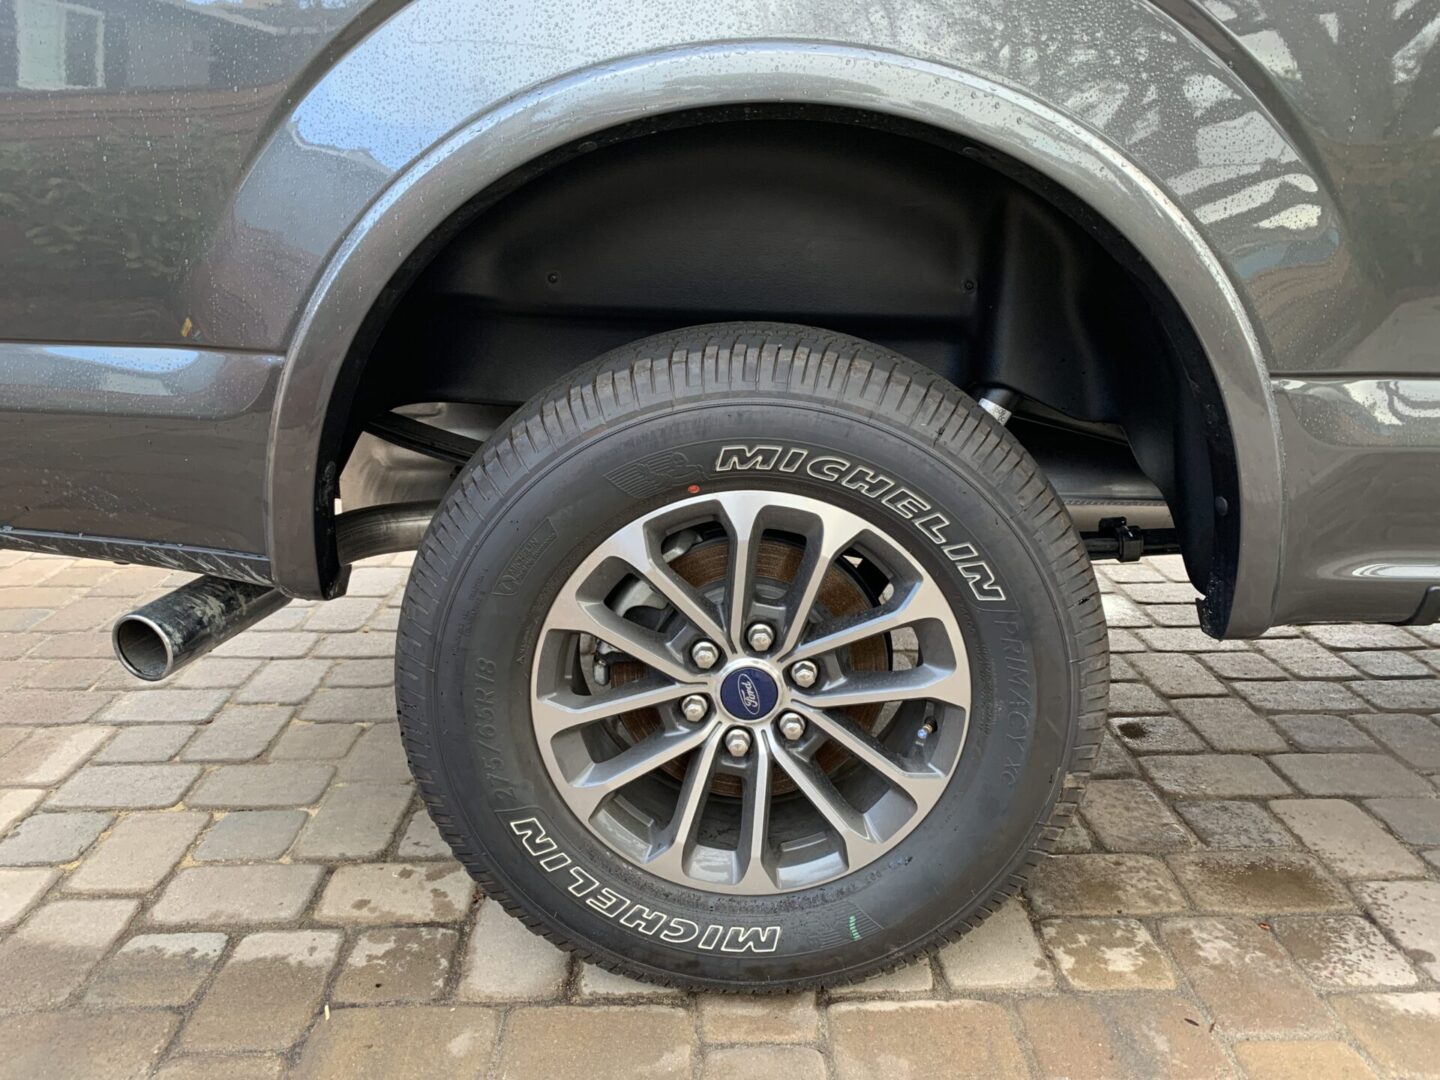
It certainly wasn’t difficult to do this job; the most difficult part was probably getting the Husky Liners wheel well guard to fit behind the fender and getting some of the mounting holes to line up. It’s nice to know now that my wheel wells are better protected and it has a nice finished looked to it as well.
")
")


")


: 13th Gen Ford F-150")
: 13th Gen Ford F-150")