When you make purchases through links on this site, The Track Ahead may earn an affiliate commission. Also, these posts are based off my own experiences. I am not responsible for any action you take as a result of reading this. Learn More
I’ve installed screen protectors on my smartphone plenty of times before, but I never thought about installing one on the touch screen of my car. Maybe it’s because I’ve always owned used cars and so I expect the screen to have some sort of wear as normal.
However, finally owning a brand new car and the fact that it is a touch screen head unit, has gotten me thinking that I’d prefer to keep it in the best shape possible. I have noticed on some of my older cars that the screen has sustained a significant amount of rubbing or scratching causing the screen to no longer appear clear.
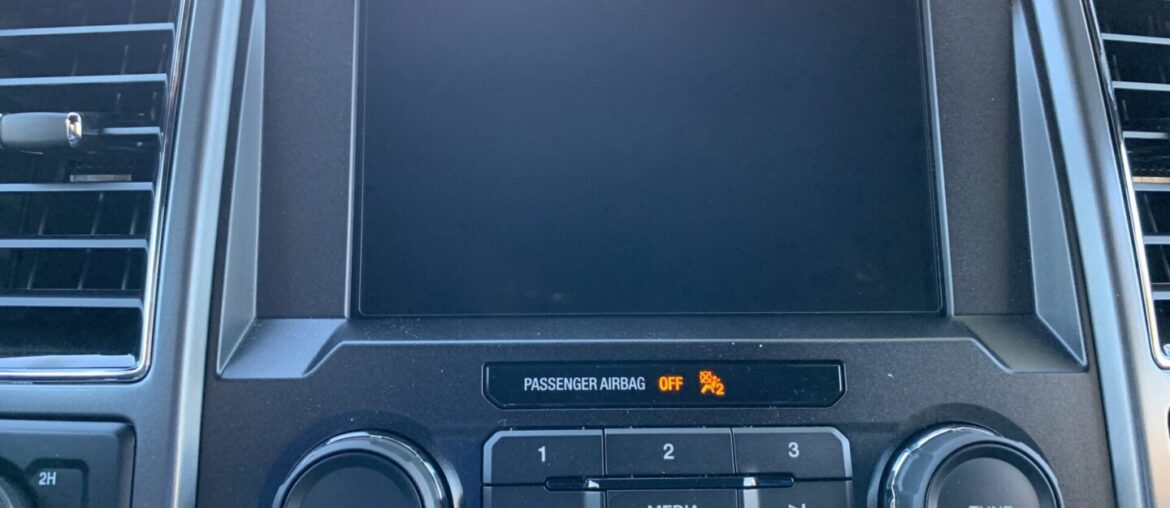
After some searching, I’ve found the same kind of glass screen protectors available for the 13th generation Ford F-150 that utilizes the SYNC 3 vehicle entertainment system. Not only do these screen protectors (as the name suggests) protect your 8 inch screen, but it also gives a nice appearance of almost having no screen protector at all. In order to get the screen protector to appear almost invisible, you must install it properly to prevent visible air bubbles from being trapped between the screen and the screen protector.
Tools & Materials
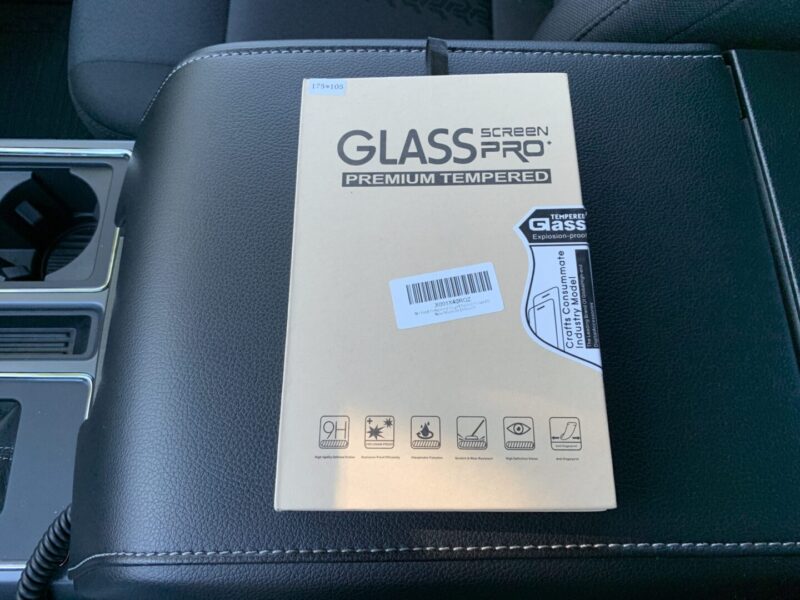
8″ Screen Protector
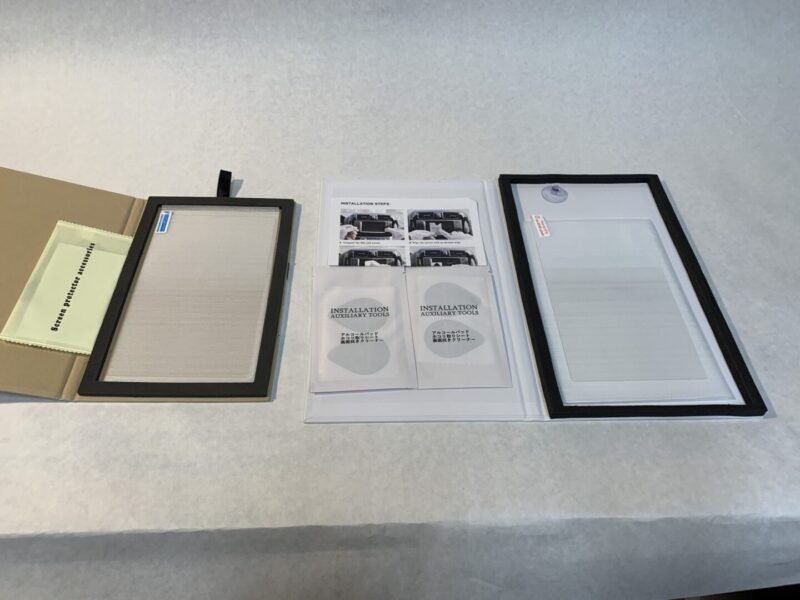
This is the kit that I purchased and it seems to be of good quality. From what I can tell from comparing with other similar screen protectors, they are practically the same. More on that further down on this post.
2013-2021 Ford Tempered 8 Inch, HeyMoly 9H Car Navigation Display Protector
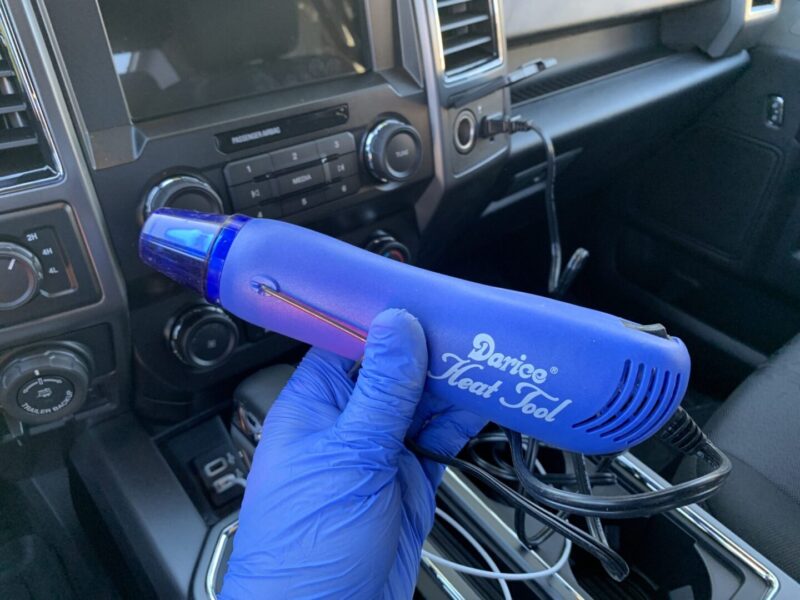
Heat Gun or Blow Dryer
A heat gun works great for the screen protector install; even a blow dryer works if you have that around the house. Essentially you want to be able to apply heat to the screen protector after you’ve installed it to work out the air bubbles, effectively leaving a crystal clear appearance to your infotainment screen.
Heat Gun: Search results on Amazon
Nitrile Gloves
It would be incredibly difficult to keep your fingers from leaving marks of oil/grease on your touch screen while working on it. To keep this from happening, using nitrile gloves (or latex gloves) will make the job more trouble-free.
Nitrile Gloves: Search results on Amazon
Differences Amongst Different Screen Protectors
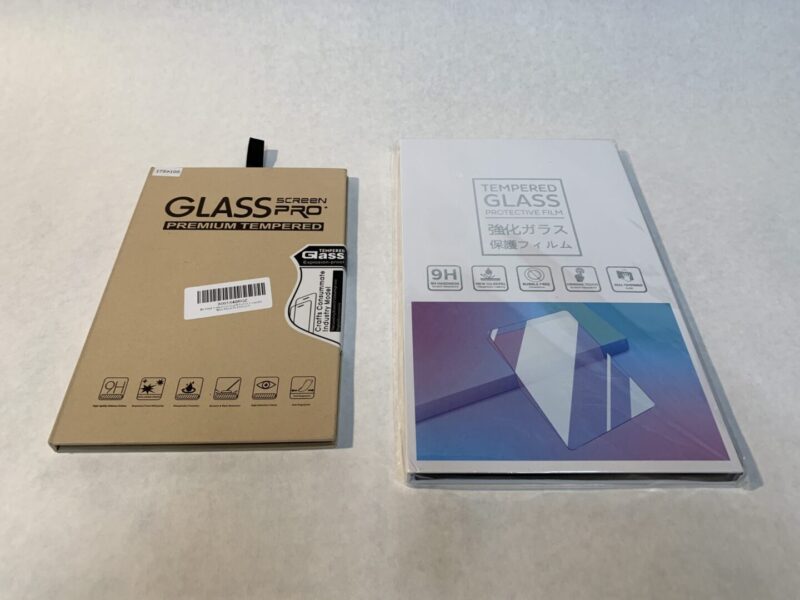
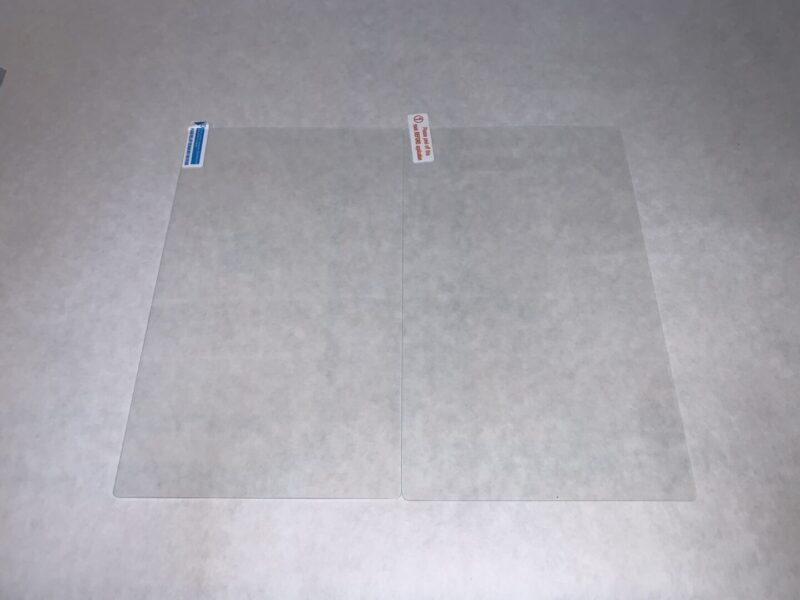
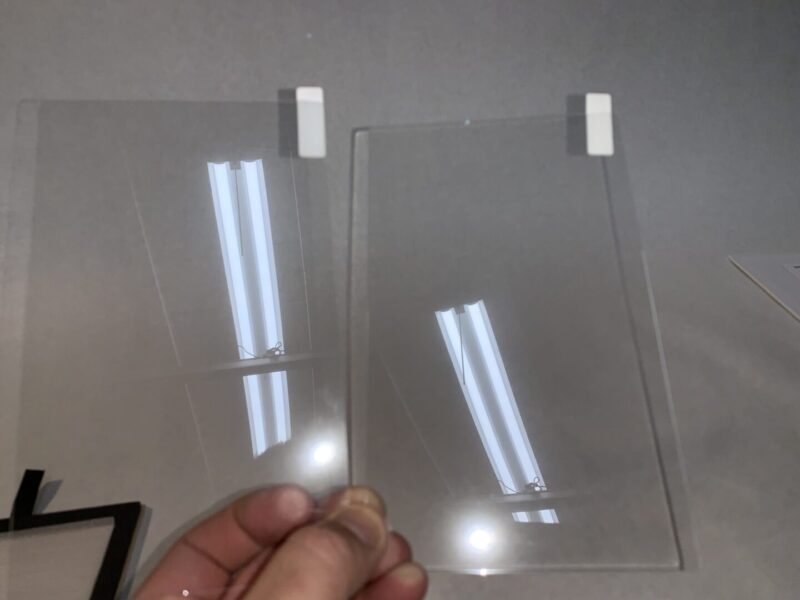
I compared two different screen protectors that fit on the 8-inch SYNC 3 screens. With the first option (the one I used on my F-150), it comes with one screen meanwhile the second option offers two. When comparing the actual screen protector itself between the two, they seem to be nearly identical in size, clarity, and thickness.
Option 1: 2013-2021 Ford Tempered 8 Inch, HeyMoly 9H Car Navigation Display Protector (left)
Option 2: [2PCS] LFOTPP 8-Inch for 2015-2019 2020 Ford F-150 Touch Navigation Screen Protector (right)
The price of option 1 at the time I purchased was about $15, meanwhile option 2 sold for $12 (mind you, that is $12 for two screen protectors.) Something just didn’t sit right with me that the two screen protectors of option 2 costing less than the cost of 1 screen protector of option 1, so I decided to choose option 1. However, that was mainly a choice made by gut, as I really couldn’t tell the difference in quality of the glass between both options.
8-Inch SYNC 3 Screen Protector Installation
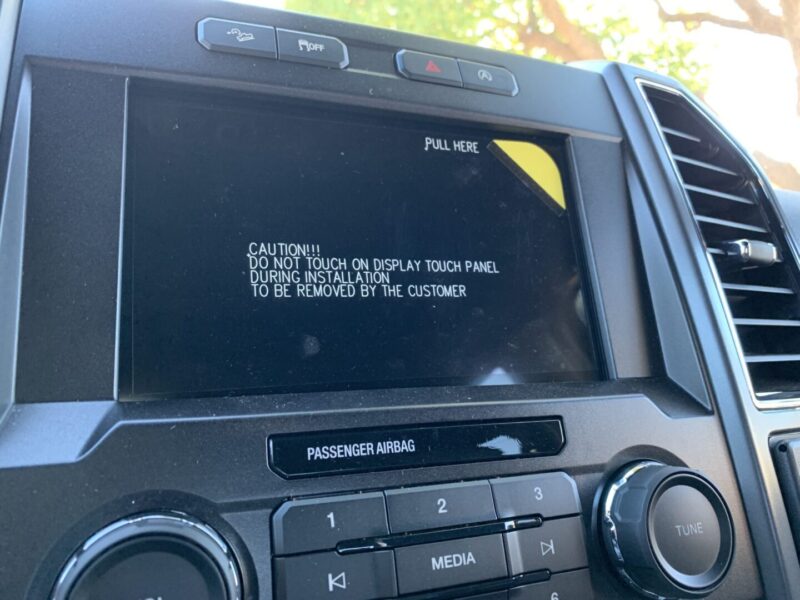
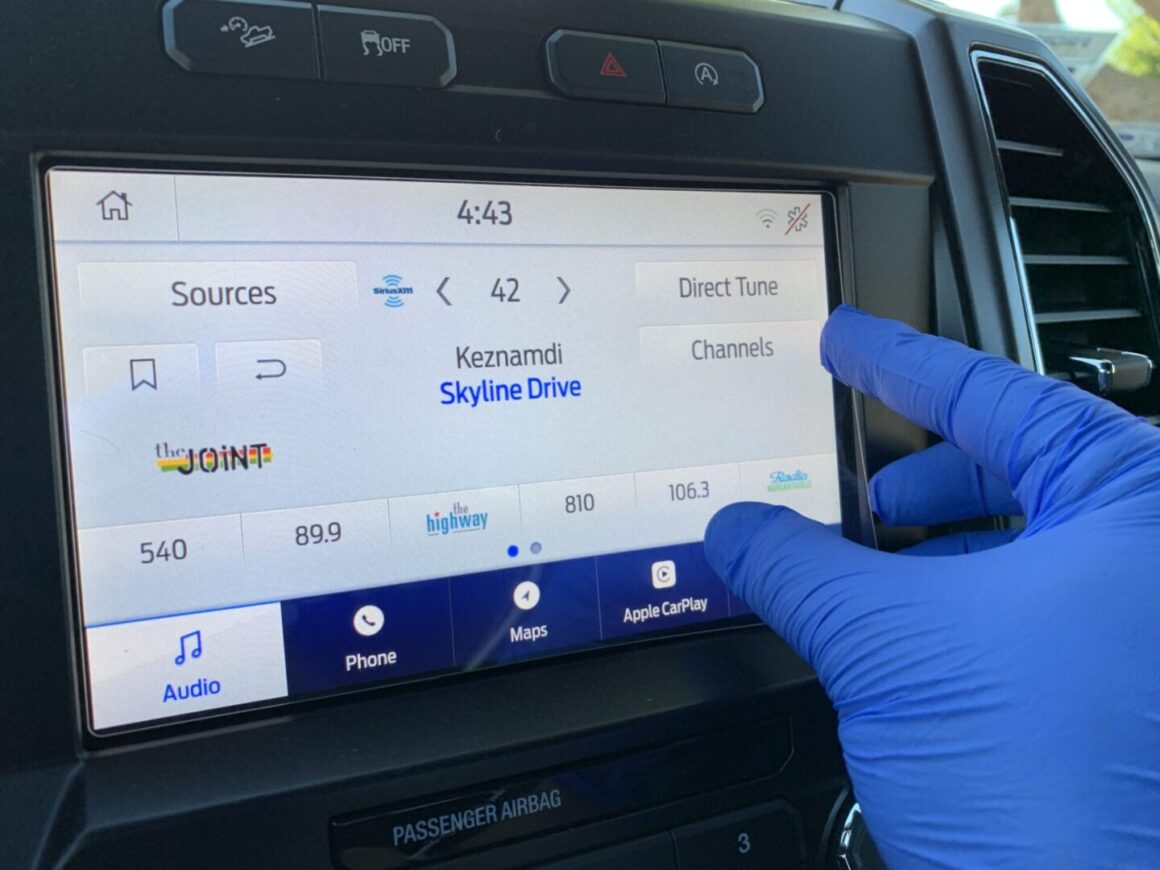
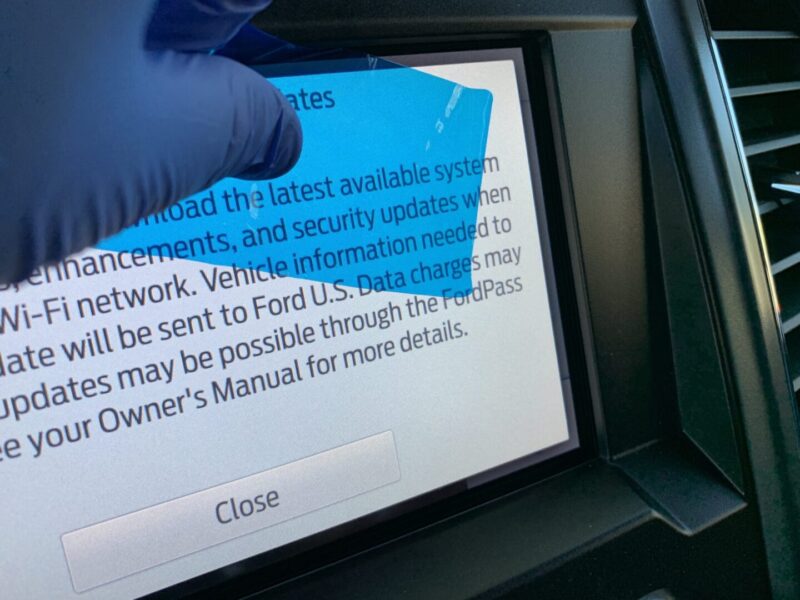
If you can, try not to remove the soft plastic protective film that came from the factory if your car is brand new. I kept mine on until I was ready to install my new screen protector. If your factory screen protector was already removed previously, just give your screen a good cleaning prior to starting. Also, wear some disposable gloves to keep your fingers from leaving oily marks on the screen during the installation.
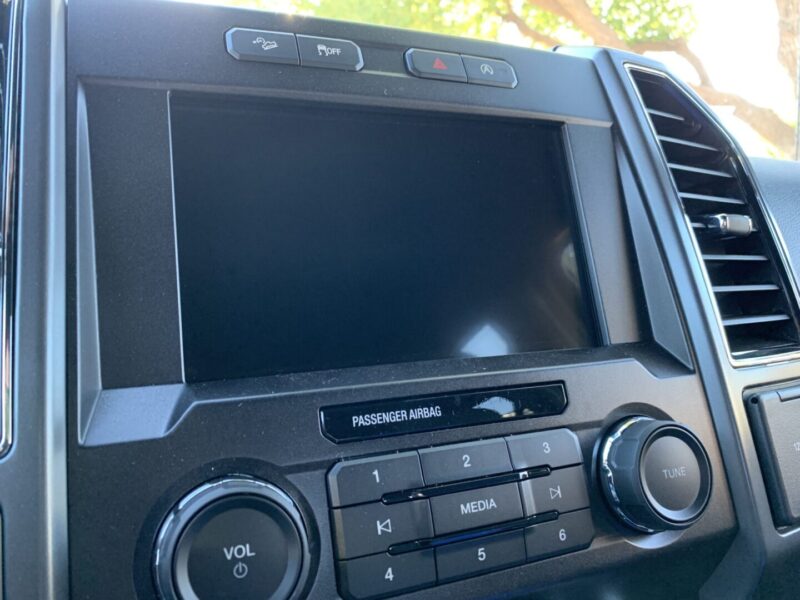
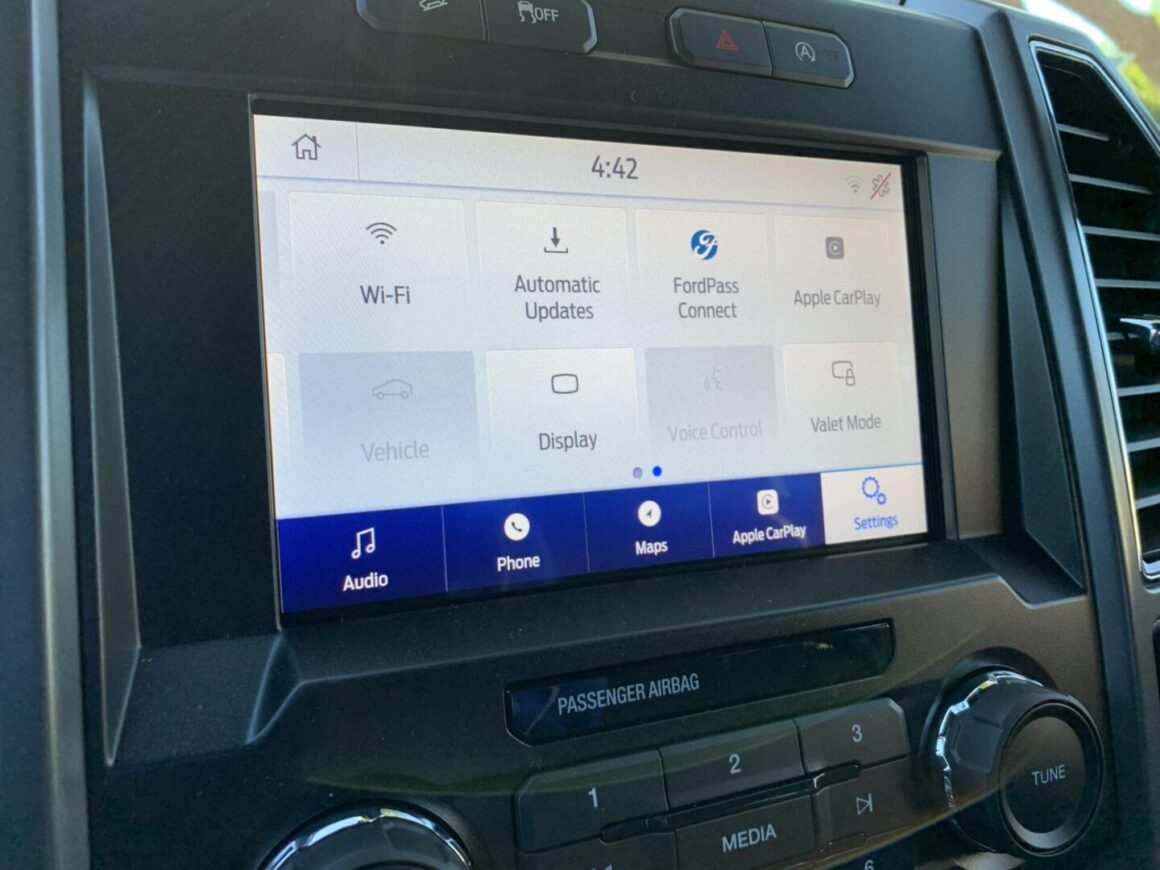
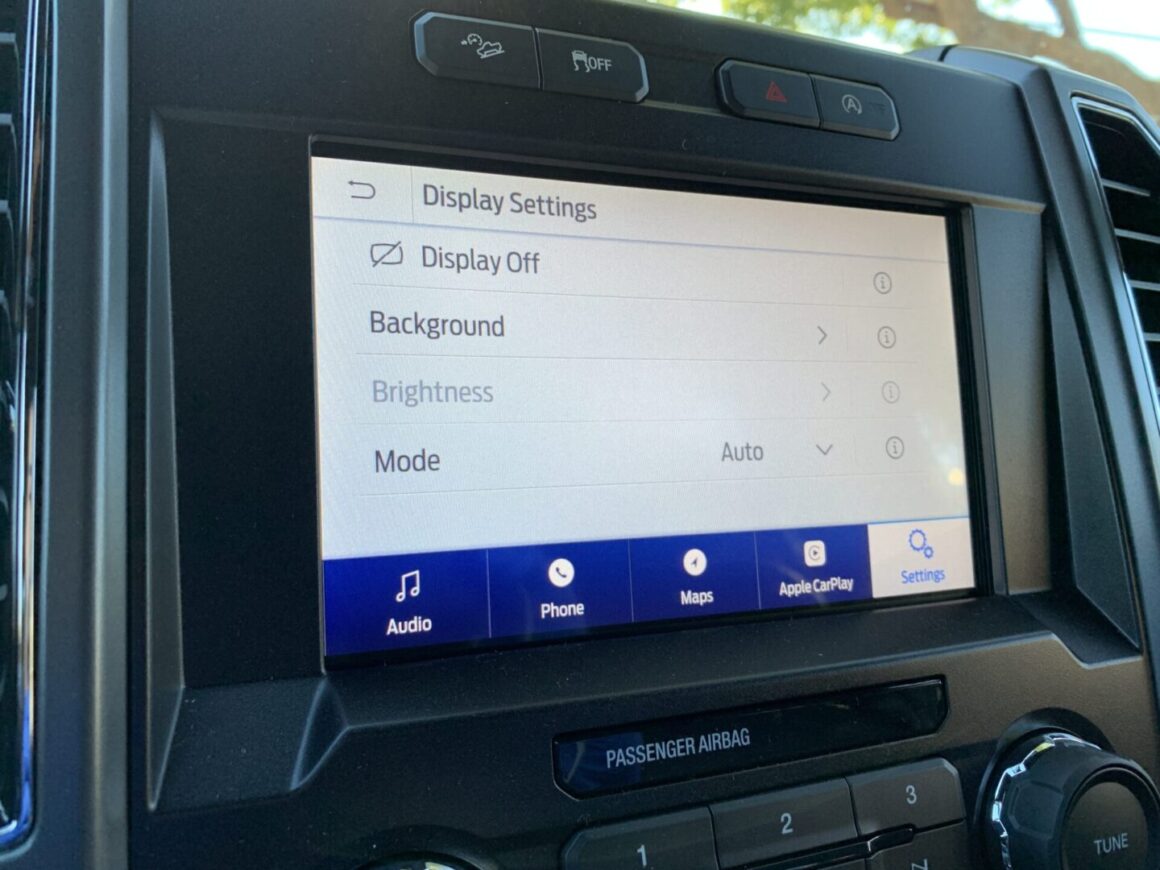
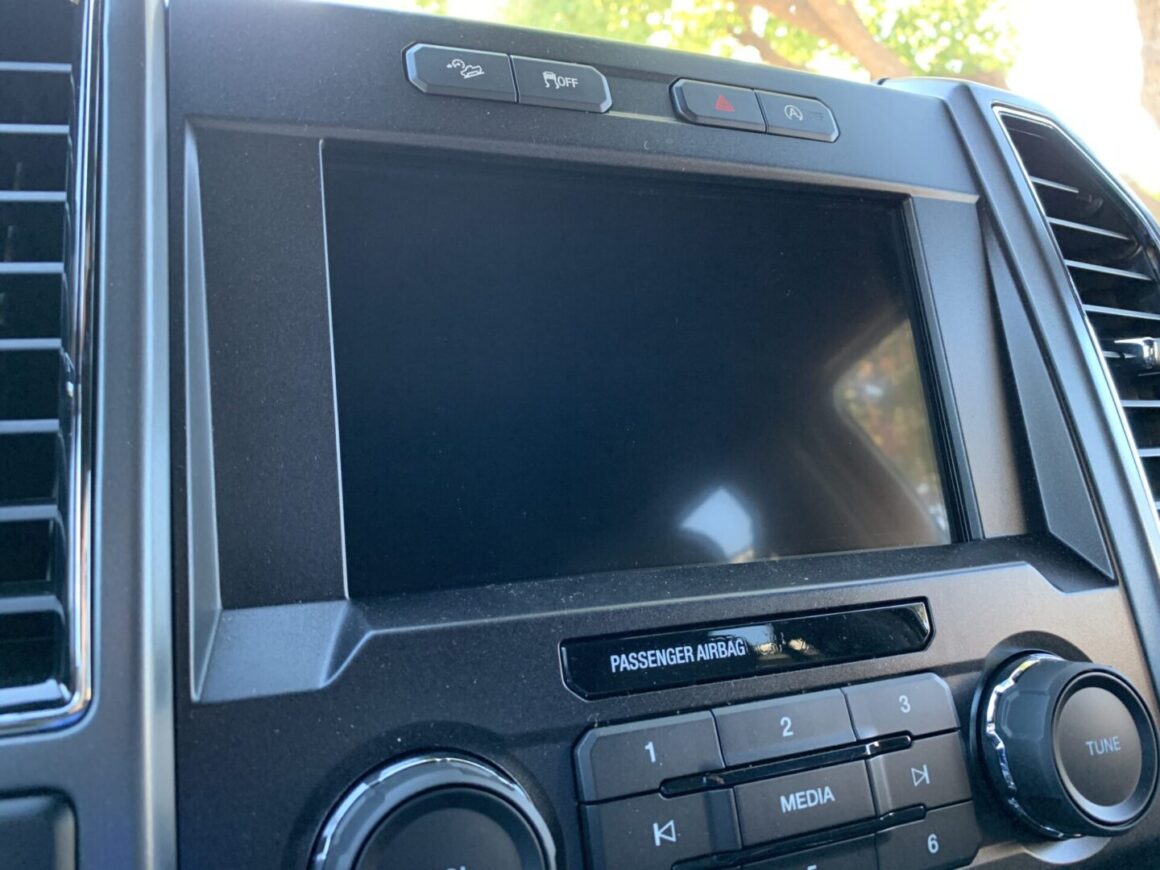
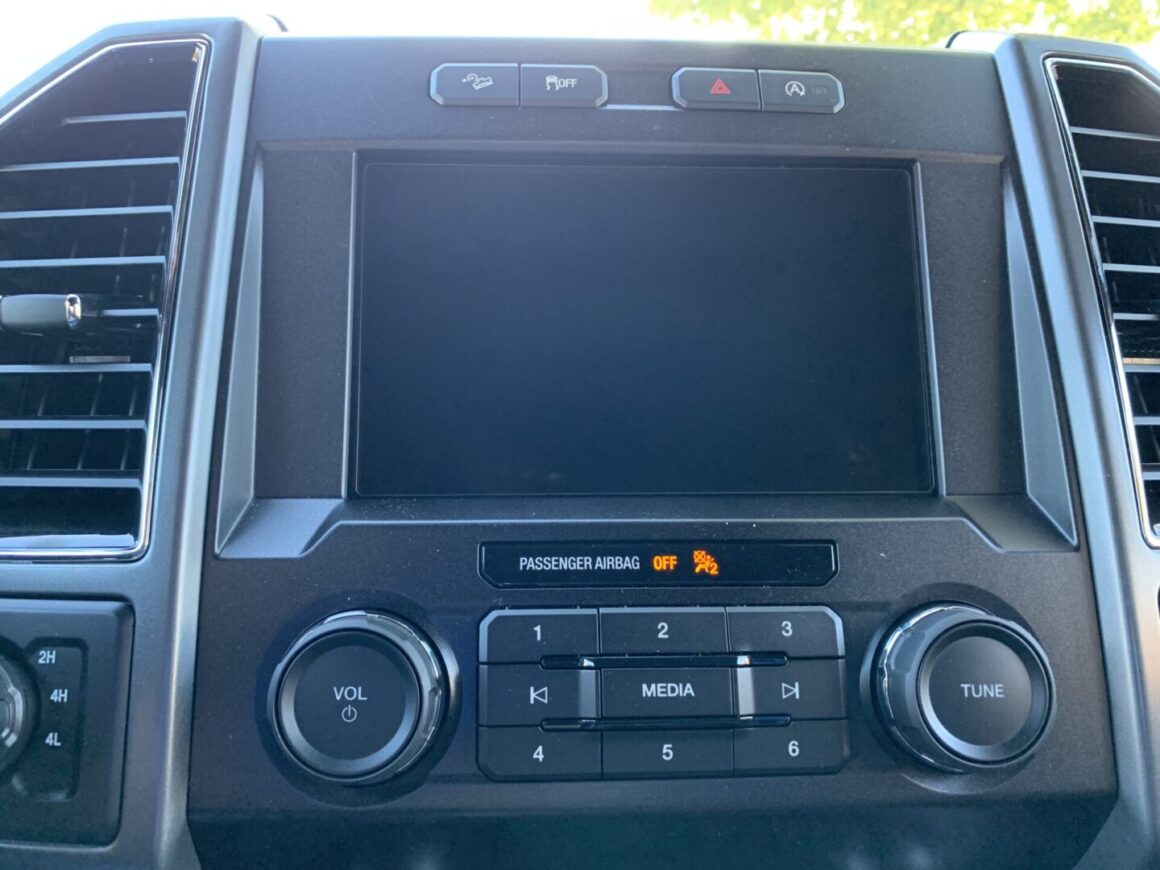
I found it helpful to disable to display so that it would show a blank screen. This allowed me to better see the dry fitment of the screen, however once you start applying the screen protector and you begin touching the screen, it will just wake up and the display will come right back on so you just have to work with it doing this.
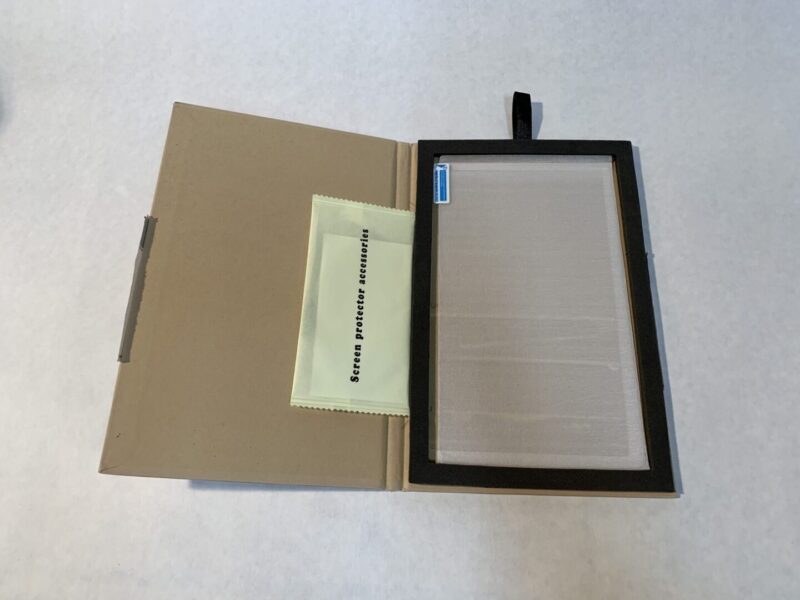
Try dry-fitting your new screen protector (without the protective seal removed.) You’re just trying to get a feel for how it will install and how it will look. You’ll probably need a credit card or something similar to pull it off the screen after you’re done dry-fitting.
Make sure your doors are closed to prevent any dust from coming in from the outside of the vehicle. It will also keep air flow to a minimal, resulting in a lower chance of dust landing on your screen during the installation process.
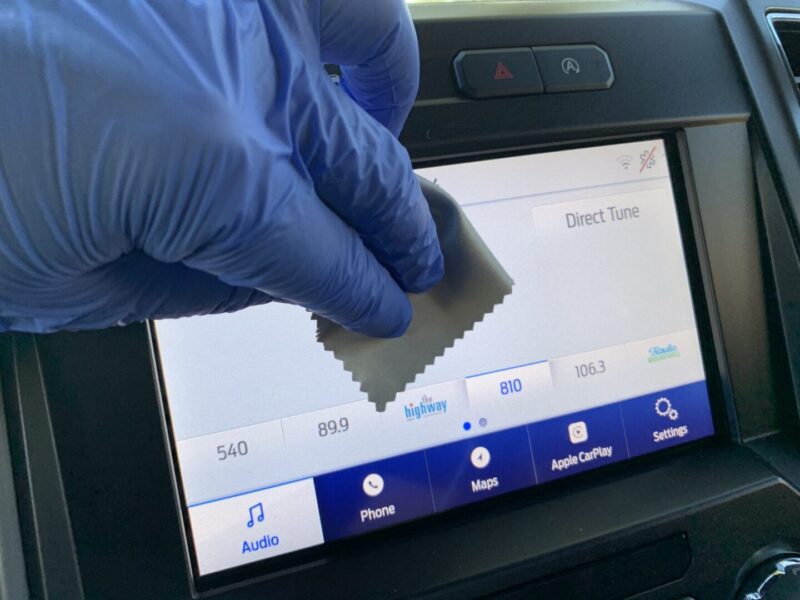
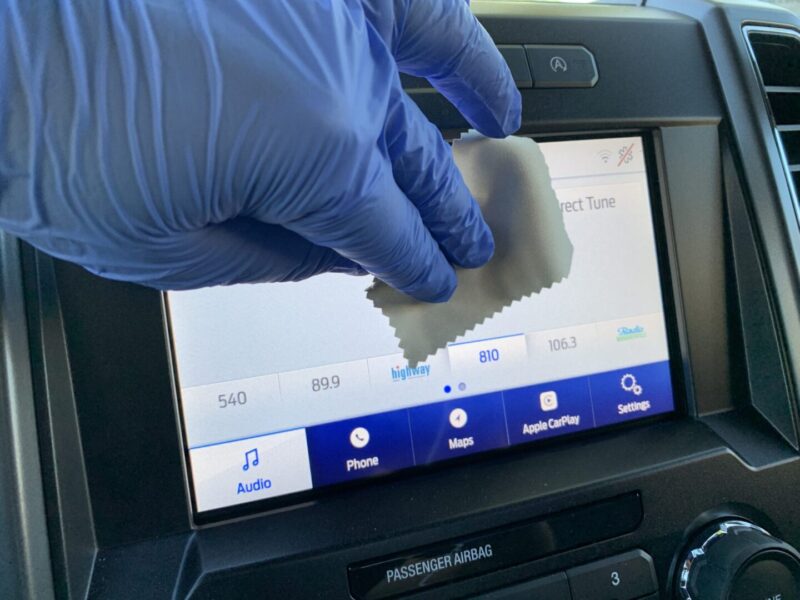
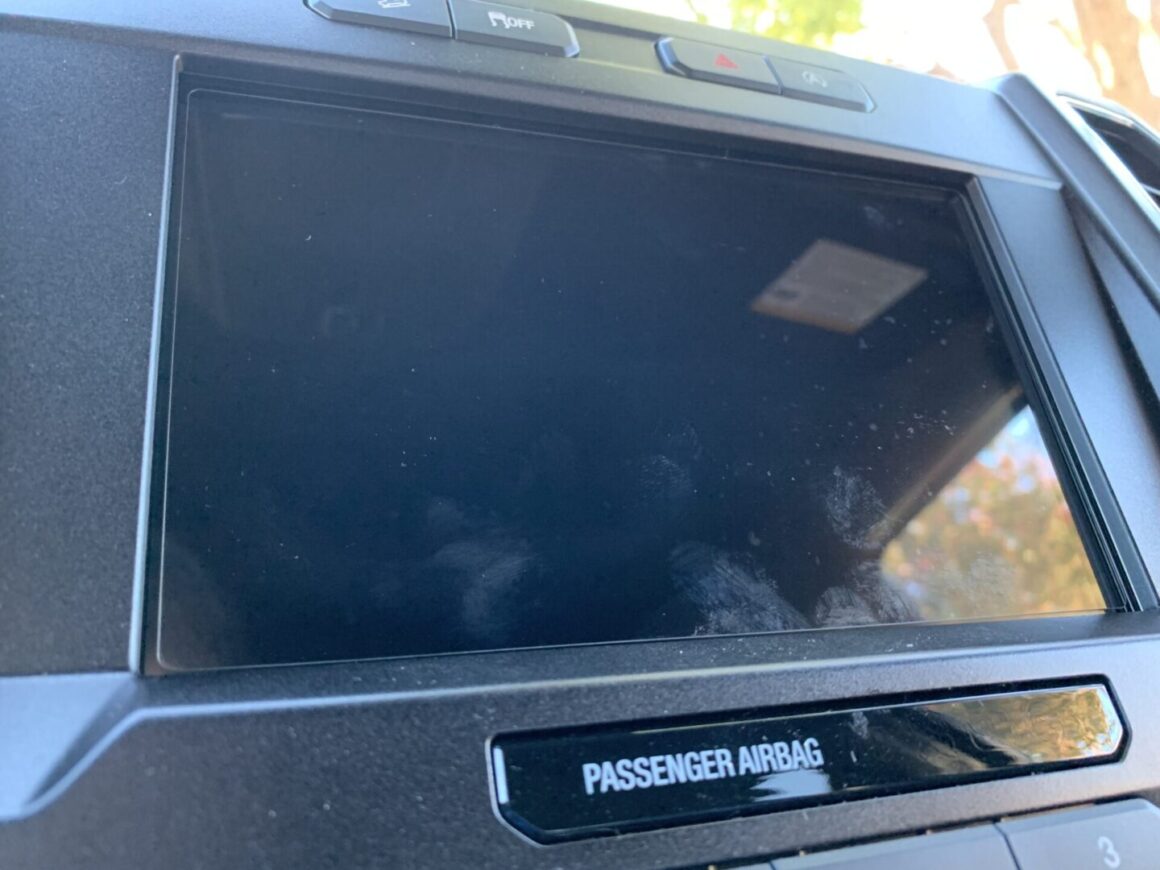
With the screen bare, use the included lens cloth to wipe down the surface of the screen. Then use the included sticker to stick on and pull off of the screen to get the very last bits of dust off of the screen prior to putting on the screen protector.
Take extra care during this process as this is probably the most critical part of the install. Make sure there is no dust or lint stuck to the screen prior to installing the screen protector, or you won’t be able to get rid of it once it’s trapped between the screen and screen protector.
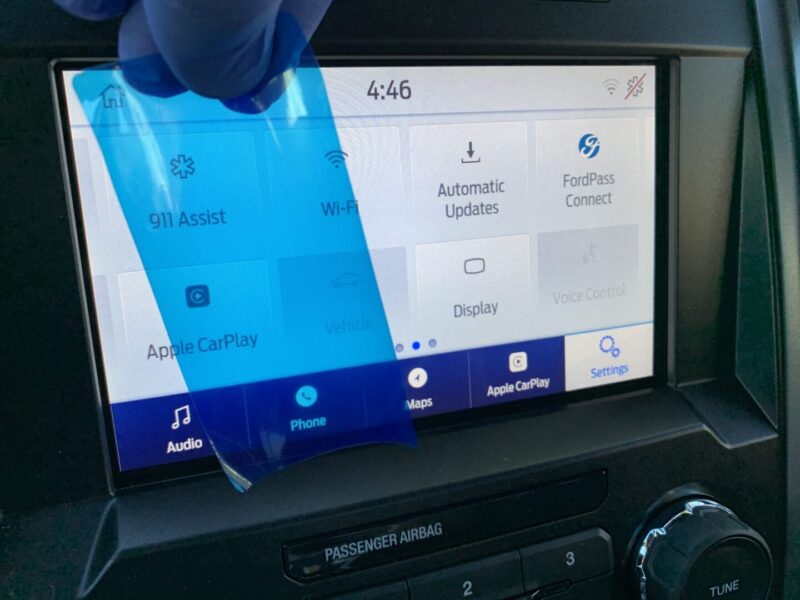
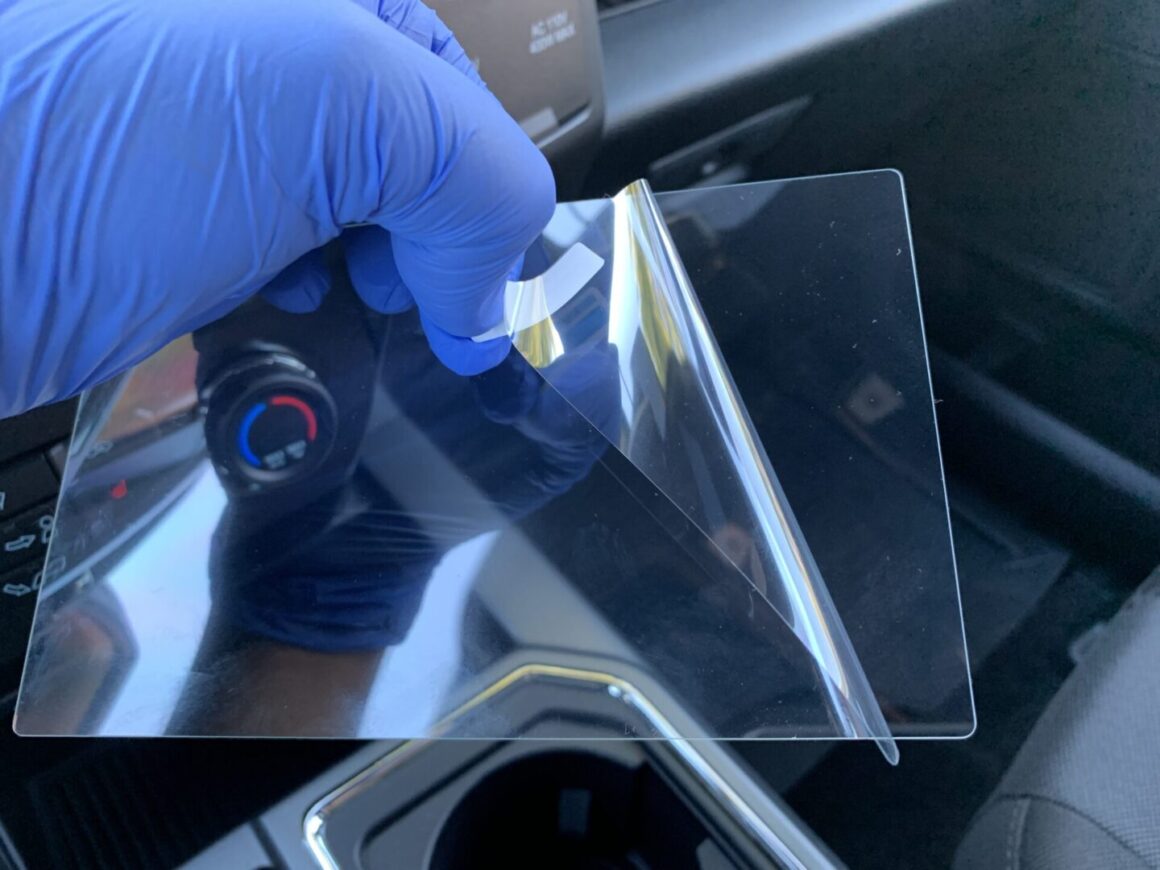
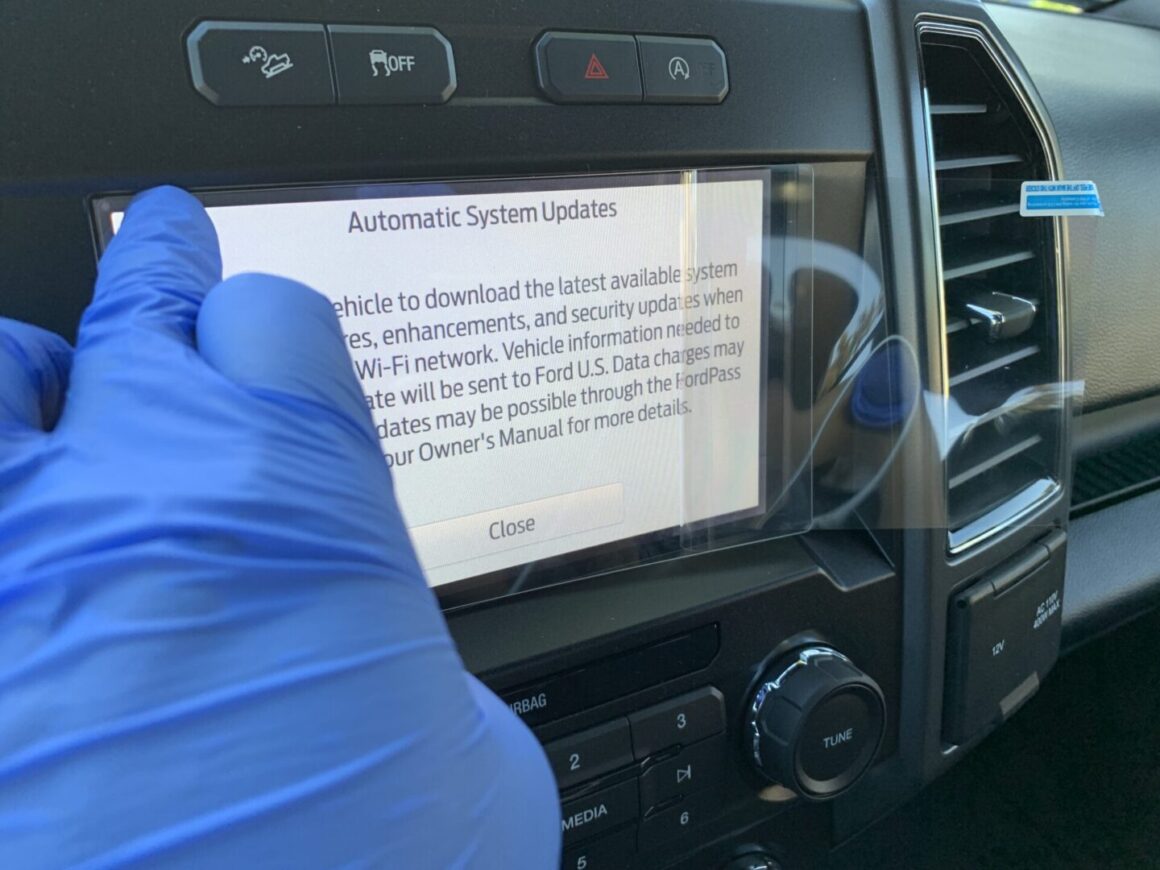
Now, peel back the protective sticker on the screen protector and place the newly revealed surface onto one side of your screen. As you press down on one side, slowly move and press the screen protector down onto the screen as you use your other hand to pull away the rest of the protective film.
Make sure it is lined up the way you want it to before your remove the protective film completely and make adjustments as necessary. Once you’ve stuck the screen protector on completely, you will have little air bubbles between the screen protector and screen. We will need to work these out with a heat gun next.
If the screen protector is not 100% perfectly lined up on your screen, I wouldn’t worry too much about it unless it’s really off. If you look at the install above, you can see that there is a very slight angle to the installed screen protector, but ever since then I haven’t even thought twice about it as you really cannot notice it. I would prefer to leave it on with a very slight angle rather than to remove and adjust the screen protector, thereby allow further dust to get trapped between the screen and screen protector.
Take a close look at all the air bubbles and make sure that it is just air that is causing the bubble. If you prepped the screen properly, you should have only air bubbles and no dust specks. If you see any major dust specks, you may not be able to get the air bubbles out completely with the heat gun.
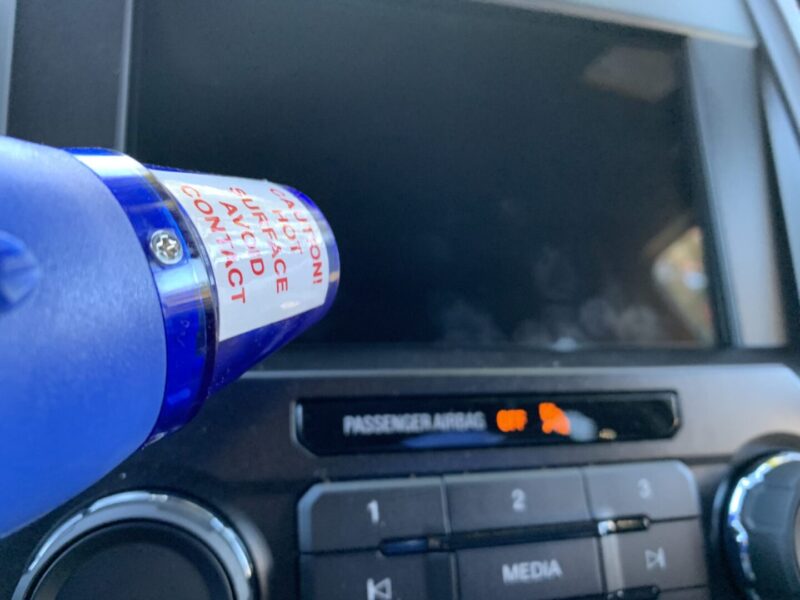
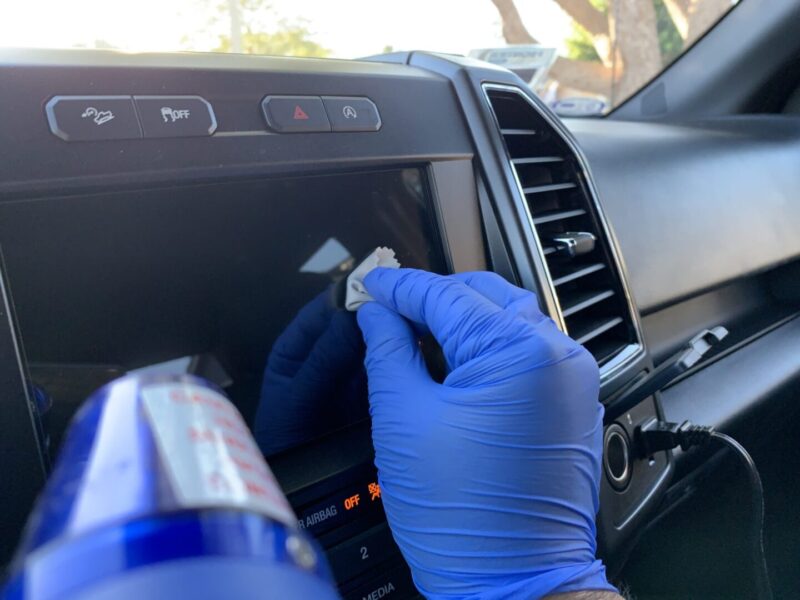
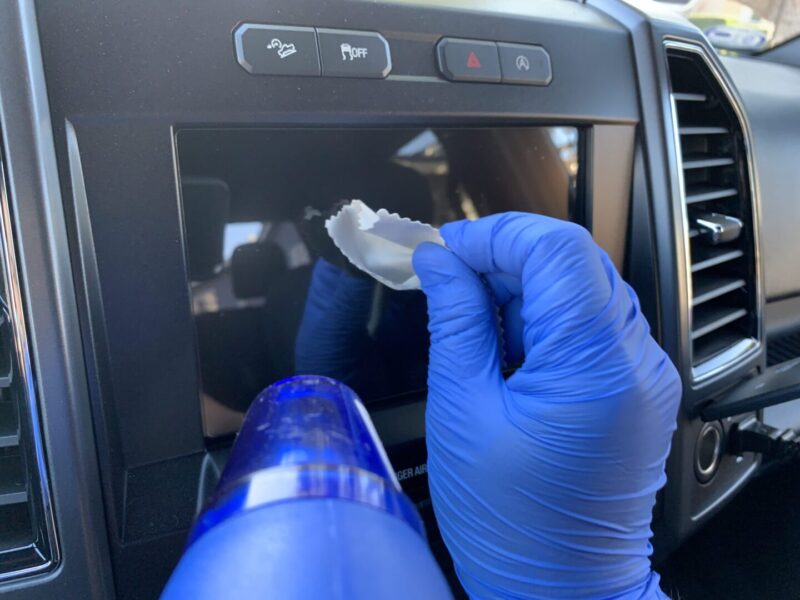
Using a heat gun, apply minimal amounts of heat to the screen and screen protector. Always keep the heat gun moving or else it might cause damage to the screen and/or nearby components. You just want to heat it up enough as you press the air bubbles out. I used the included lint cloth on my fingers to press against the screen protector, moving from the center and away towards the edges. Applying heat and applying this pressure will effectively get all of the trapped air bubbles out.
Once you’re done using the heat gun and squeezing all the air bubbles out, the screen protector should look almost invisible, with the exception of the edges. And once the display is on, you practically don’t even notice the screen protector there anymore.
I’ve had a lot of time with this screen protector and am very happy with it. It’s like running your finger on glass whenever you use the touch screen. The screen protector also produces no visible glare either. And best of all, I can feel better knowing that the screen is completely protected.

