When you make purchases through links on this site, The Track Ahead may earn an affiliate commission. Also, these posts are based off my own experiences. I am not responsible for any action you take as a result of reading this. Learn More
I’ve heard of many truck owners who immediately remove the decals that come from the factory on their trucks. One of the most common things I hear from said owners is, “removing the stickers was the first thing I did when I brought the truck home.”
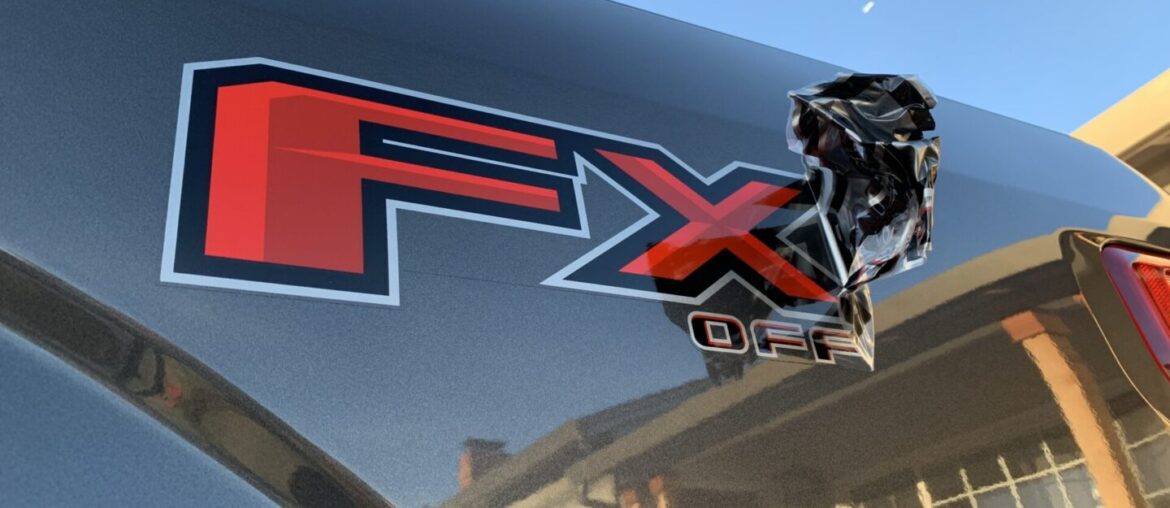
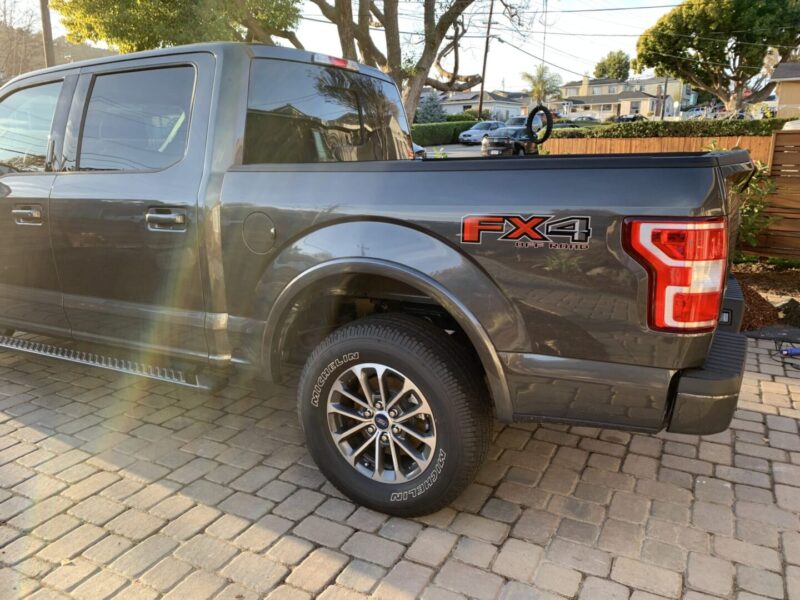
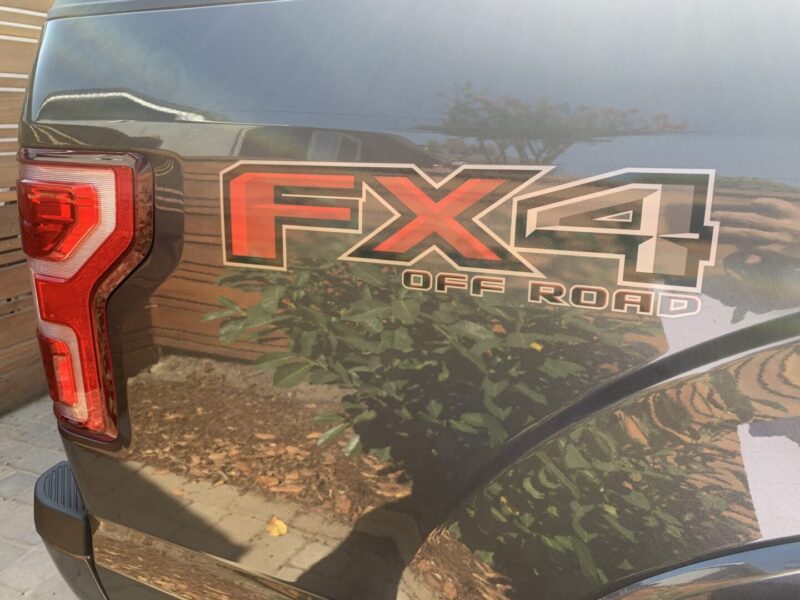
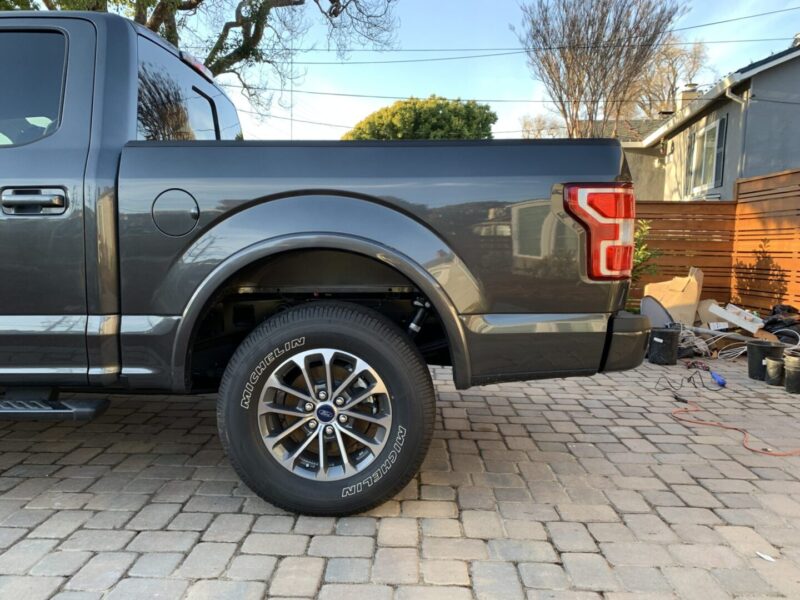
Personally, I love my FX4 stickers on my new Ford F-150. Not only do I think it looks great, but it seems to fill the little space between the rear fender and the tailgate. But after taking a closer look at my truck, I started to notice that the FX4 logo on the passenger’s side looked very crooked. I mean, it looked crooked enough that not only I spotted it, but my wife did too. I knew that I’d either have to deal with the hassle of pressuring the dealership to fix it, or I could just handle it myself.
Why I Removed my FX4 Decals
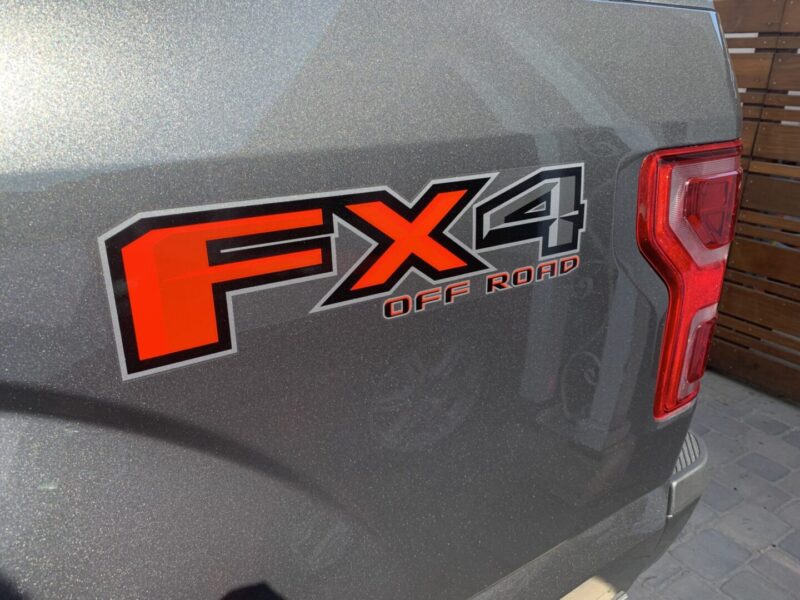
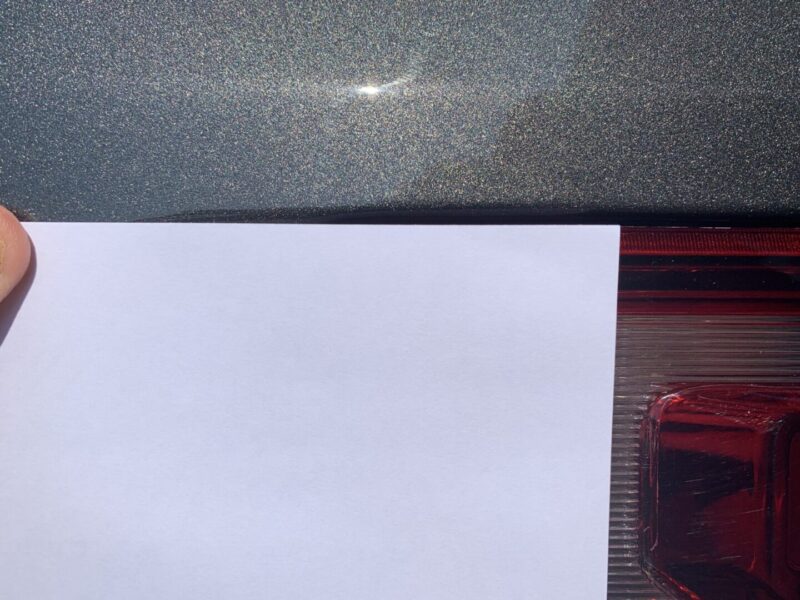
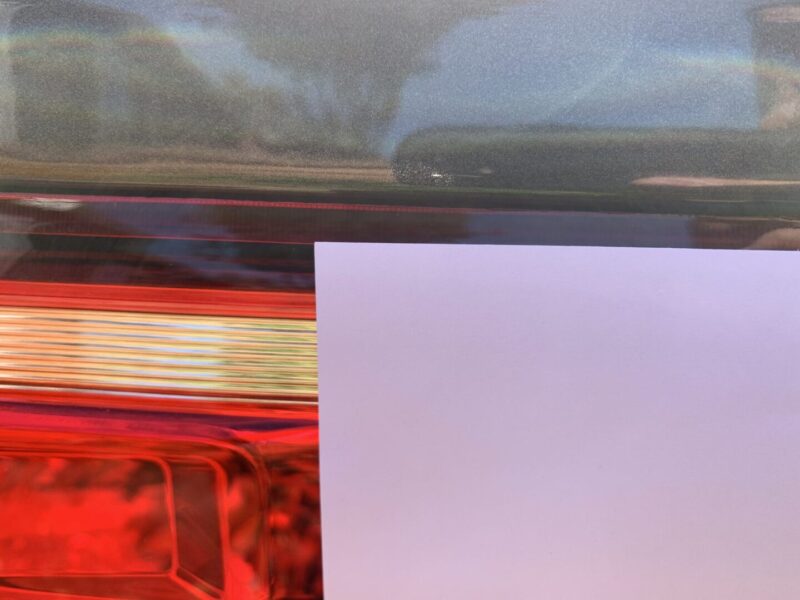
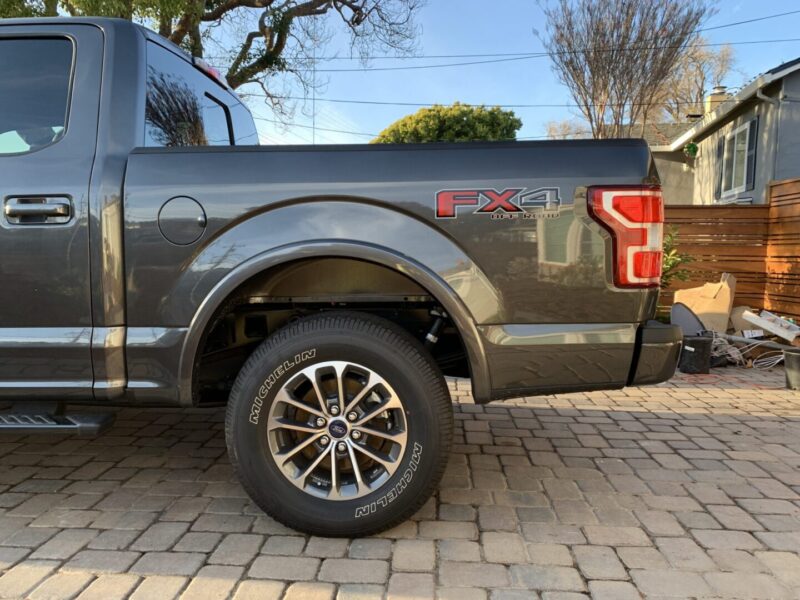
I compared the passenger’s side FX4 decal with the one on the driver’s side and they were obviously installed crooked from the factory. I simply used a sheet of paper and lined up the top of the decal and saw how it lined up with the rear tail lights.
You can see below that the first pair of pictures shows the top of the FX4 decal on the driver’s side lining up to just below the top of the rear tail light. The second pair of photos shows me doing the same thing, but arriving at a very result. The paper shows that the top of the decal on the passenger’s side was installed at a different angle, confirming what my eyes saw.
Call it my obsession for having things symmetrical or straight, but I planned to remove the decal. Because I love the FX4 decals, I thought about just removing the crooked one and installing a new decal, but I wasn’t confident that I could install it perfectly. So, I made the decision to just remove the decals altogether and see how it looked. Many Ford F-150 owners apparently prefer the clean look of no stickers on their trucks, so maybe I’d be perfectly content with having no more decals on my truck.
Tools & Materials
Heat Gun or Blow Dryer
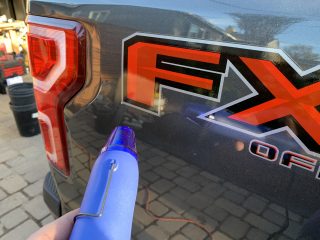
A heat gun is probably the tool of choice for removing decals, as it provides more than adequate heat to facilitate the removal of the sticker from the car’s surface; you may also adjust the heat level by adjusting the temperature level or simply by moving the heat gun away or towards the decal. You may also use a blow dryer to apply heat if you have that laying around the house.
Heat Gun: Search results on Amazon
Adhesive Remover
I’d recommend having some of this on-hand if your decal is not brand new. Even if you’re removing a decal that is on a brand new car, there is a chance that some residue might be left behind so an adhesive remover will be useful to have around. Any of the below adhesive removers will work, it’s just a matter of preference what type you’d prefer. The 3M is an aerosol spray type and the Goo Gone formulas are offered in a spray gel or liquid type.
3M Adhesive Remover, Goo Gone Spray Gel, Goo Gone Liquid
Optimum No-Rinse (ONR)
I use ONR for a lot of different applications, but I always have some diluted with water in a spray bottle that can be used to quickly clean any particular area I’m working on. I had to clean the area of the remaining dirt around the decal after I had removed it to check for any remaining adhesive residue. You can also use some car wash soap or quick detailer to clean the area.
Microfiber Towels
Microfiber towels are a mainstay in detailing and in the case of claying, you use it to wipe off the excess residue after using the clay and lubricant. You can get away with not wiping away excess residue if you continuously rinse it off with a hose to make sure that the residue does not dry and stick on the paint surface. In most cases, it is easier to keep a microfiber cloth on you to wipe off the excess from the just-clayed surface.
Zwipes Microfiber Cloths (48-Pack), AmazonBasics Microfiber Cloths (24-Pack)
Removing my FX4 Decals
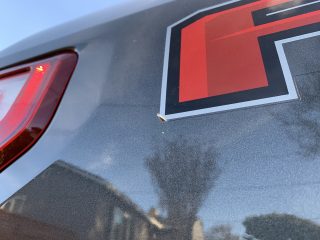
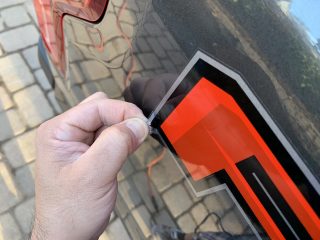
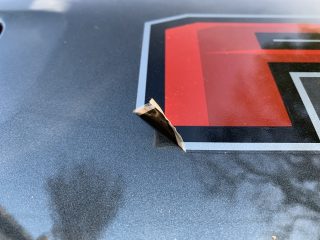
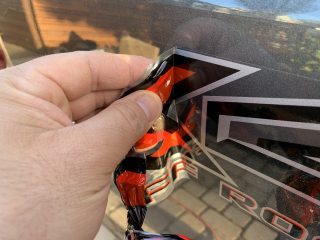
I used a heat gun and applied heat as I peeled back the decal away from the car. Because I removed the decal on a new car rather than doing it at a later date, the decal came off quite easily. If you’re interested in how to remove decals without leaving any evidence of it behind, check out this post.
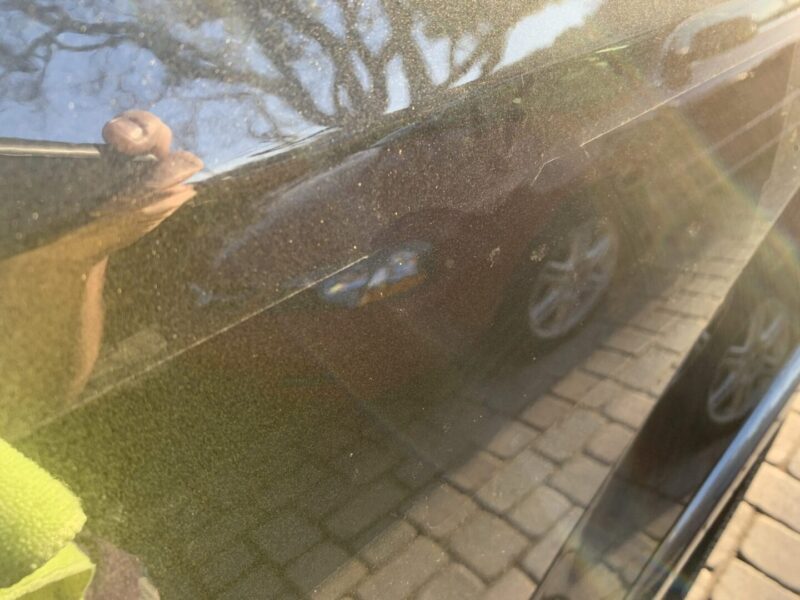
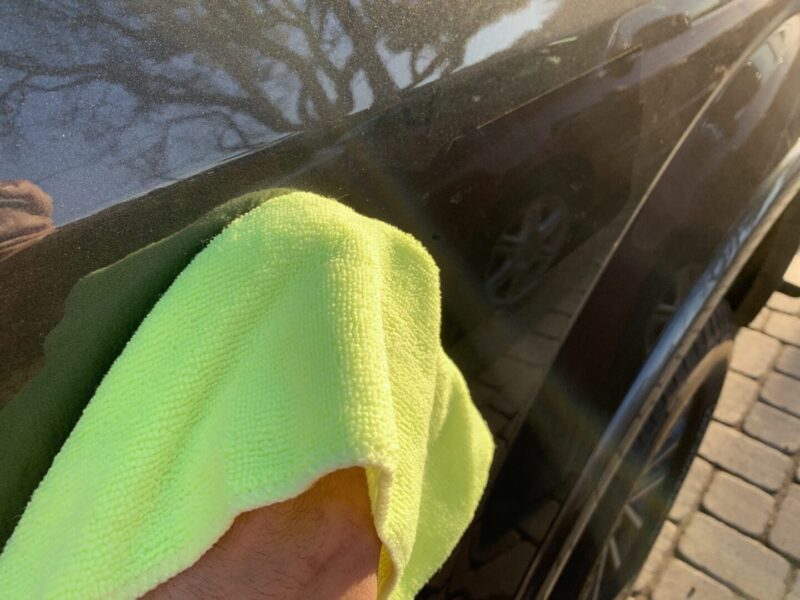
After removing the decals, I was only left with a bit of dirt and dust around the outline of the decal. I simply cleaned it off with some ONR and a microfiber towel. I didn’t even have to use an adhesive remover. But, if there is any sticker residue left behind, adhesive removers work wonders so you don’t have to mechanically remove them.
Before and After Removing the FX4 Decals
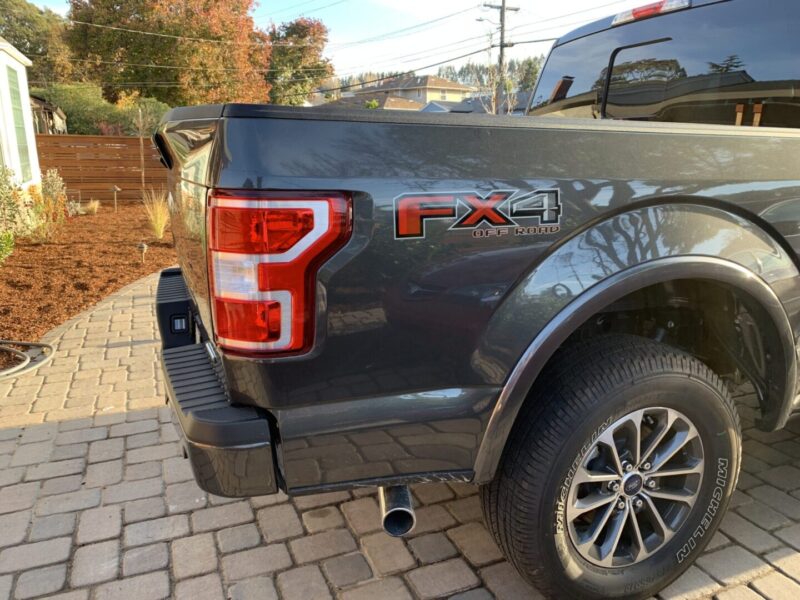
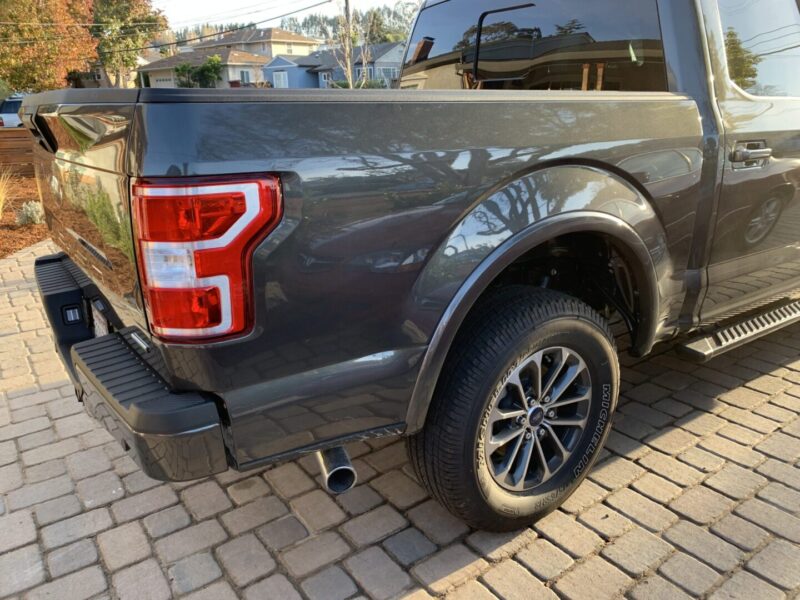
Here are some images of the before and after removing the FX4 decals. Like I mentioned before, I really love the look of the FX4 decal and wish I could have kept it on. However, given that I was able to remove the decals fairly quickly, it left a pretty clean looking rear end on the F-150, so I’m still content with out how it turned out. Who knows, if I ever decide that I do indeed like the look of the decal, I can always stick it back on again.

