When you make purchases through links on this site, The Track Ahead may earn an affiliate commission. Also, these posts are based off my own experiences. I am not responsible for any action you take as a result of reading this. Learn More
Washing your car is fundamental to maintaining your vehicle whether you’re doing an occasional maintenance wash or getting the vehicle ready to perform a more involved detail. The main purpose of washing the exterior is to remove loose contaminants like dirt off the surface of the paint.
For the occasional wash, the main reason why you’re doing it is to remove all the dirt and whatever else has collected on the surface of your car’s paint. If the surface of the paint is clean, then obviously the car will look better due to the pristine surface of the paint.
For a more intricate detail, you’ll need to remove all of the contaminants before you use detailing products to compound, polish, etc. If the contaminants are not completely removed prior to the detail, then those very bits of contaminants can scratch your paint; completely negating everything you’re trying to do which is to remove scratches for a pristine surface.
Tools & Materials Needed
Car Wash Soap
Chemical Guys Honeydew Snow Foam – for use in a foam cannon, rich lather, smells great
Optimum No Rinse Wash – for waterless wash or for use as a quick wipe down
Popular alternatives: Sonax Shampoo, Meguiar’s Gold Class, Meguiar’s Hyper-Wash, Chemical Guys Mr. Pink, Duragloss 902
Bug/Tar Remover
Stoner Tarminator Tar Sap & Asphalt Remover– recommended in detailing community
Bugs N All – Cleaner/Bug Remover – very high rating on very well-reviewed on Amazon
Foam Cannon
Torq Cannon Snow Foamer – quite expensive, better to get the foam cannon/snow foam combo for about the same price
Off-brand foam cannons: TriNova, Tool Daily – significantly lower price than brand name, possible QC issues
Other no-name brands: Search Amazon – a bit cheaper than off-brand models, possible QC issues
Pressure Washer
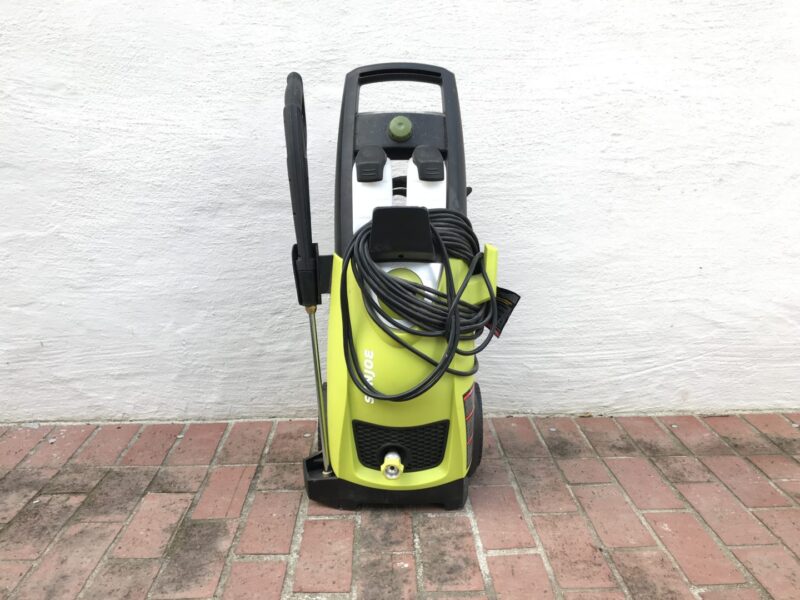
Sun Joe SPX3000 Electric Pressure Washer – highly rated, tried-and-true
Another option: Sun Joe SPX3001 Electric Pressure Washer – same as above but with convenient reel for hose and mount for hose attachments, pricier
Car Wash Buckets (2 qty)
Chemical Guys, Carrand, Walmart or other home improvement or paint store
Grit Guard Inserts (2 qty)
Grit Guards (use color options to distinguish between soap and water buckets if desired)
Detailing Brush
Detailing Brush Set – 5 Different Sizes – excellent reviews on Amazon, works great for cleaning tight spots and around emblems
Another option: Off-Brand Detailing Brushes – essentially all the same, choose well-reviewed brands
Microfiber Towels
Zwipes Microfiber Cloths (48-Pack) – cheap and well-reviewed
Another option: AmazonBasics Microfiber Cloths (24-Pack)
Wash Mitt (2 qty)
Relentless Drive Microfiber Mitt (2-Pack) – more control than microfiber towel at washing, get XL size (L size is very small and doesn’t even fit smaller hands)
Another option: AmazonBasics Microfiber Car Wash Mitt
Drying Microfiber Towels
Meguiar’s Drying Microfiber Towel – larger microfiber towel for drying, less effort to dry than with smaller towels
Another option: Chemical Guys Drying Microfiber Towel
Before/After Exterior Wash
Washing the exterior is usually the start of the whole process of any maintenance wash or detail. It is wise to wash the wheels prior to this step because of the potential for brake dust and grime splattering onto the paint’s surface during the wheel wash process. You may also choose to spray some bug/tar remover onto the front of the vehicle to let it sit if you have some hard-to-remove bug/tar contaminants there.
You can stop right after the exterior wash if you just wanted a simple car wash. If you wanted to proceed with a detail, you can then possibly clay bar, compound, polish, and wax. It all depends on what you want to do and the condition of the vehicle’s exterior.
Rinse Before or After Soap?
There are two lines of thinking on rinsing down the car as a very beginning step towards washing a car:
Some people think it’s better to rinse down the car with water first before applying soap. The reason for this is to physically spray off any larger particles so that it doesn’t get introduced into the towels or mitts during the soap wash.
Others think that it’s better to start with soap on the car prior and to forego the initial spray with water. The reasoning here is if there is already water all over the car’s surface, then applying soap onto the car’s exterior is not going to be as effective.
I don’t think it makes much difference which method you go with. I have always started by rinsing off the car first and I will continue to do so. My opinion is that it’s important to get as much larger debris off of the vehicle. I also believe that the use of soap and agitation from a wash mitt or microfiber cloth will still be very effective at getting contaminants off of the vehicle’s exterior.
How to Wash a Car Exterior
The purpose of car wash soap is simply to pick up foreign matter (i.e. dirt, oils, foreign matter) off of the surface of the car and to trap them in the soap itself. The soap is then washed off with water to completely remove the particles trapped in the soap off of the car. No matter what car wash soap you use, it will essentially do the same thing: remove and lift off contaminants off the exterior of the car.
Start by getting all of your materials ready: 2 buckets, one filled with water and one filled with soapy water. If you want, you can have an additional bucket for the wheels since this tends to harbor the most extreme contaminants. Insert the grit guards into each bucket.
Pre-Rinse and Pre-Soak
Begin pre-rinsing the vehicle with a pressure washer or a garden hose with attachment. Rinse off all of the loose dirt and contaminants from the entire vehicle. Try to rinse the car from the top-down so that any contaminants run from the top to the bottom of the car.

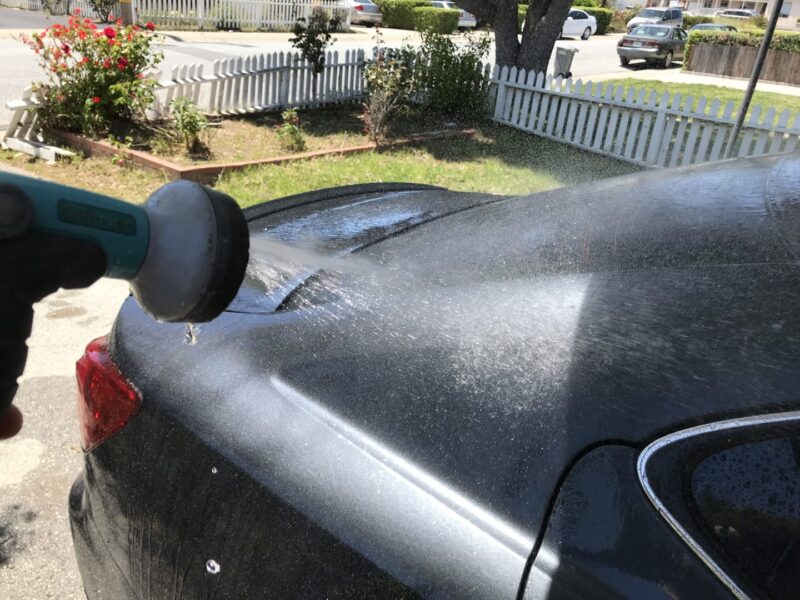
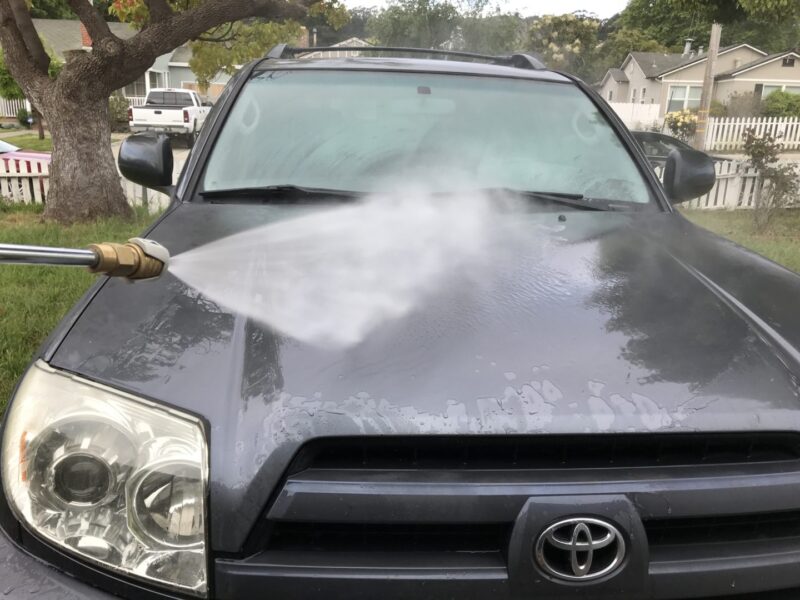

After the entire car is rinsed down, apply the car wash soap. Soap can be applied by:
- Foam cannon (maximum lather)
- Foam gun (more lather)
- Bucket method (less lather)
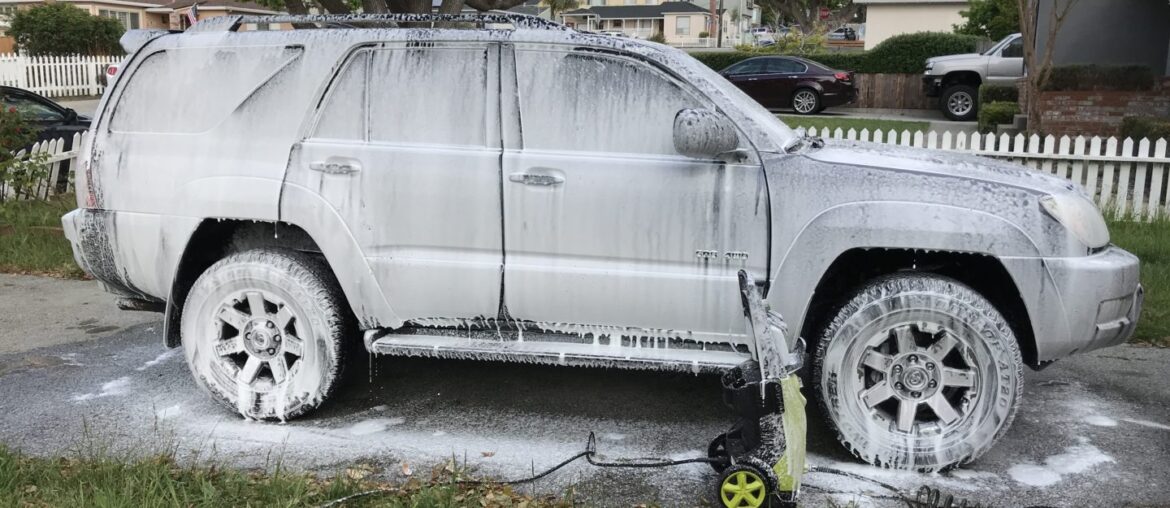
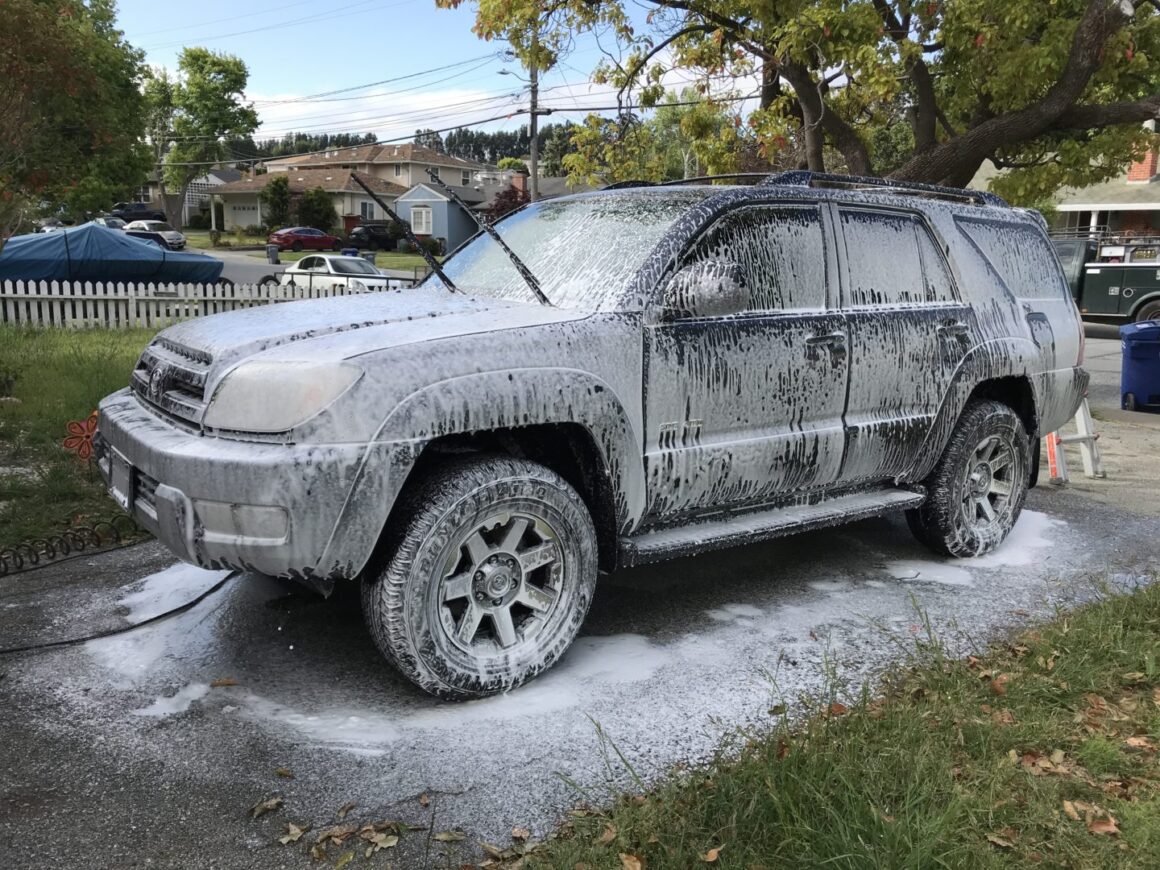
If using a foam cannon or foam gun, you will pre-soak the car by foaming up the entire vehicle. You’ll want to mix the right consistency of soap to water so that after it is sprayed on, the soap stays put and does not run too quickly down the car. The soapy foam acts as a pre-soak; you are still to use a two bucket wash to complete the actual washing of the car.
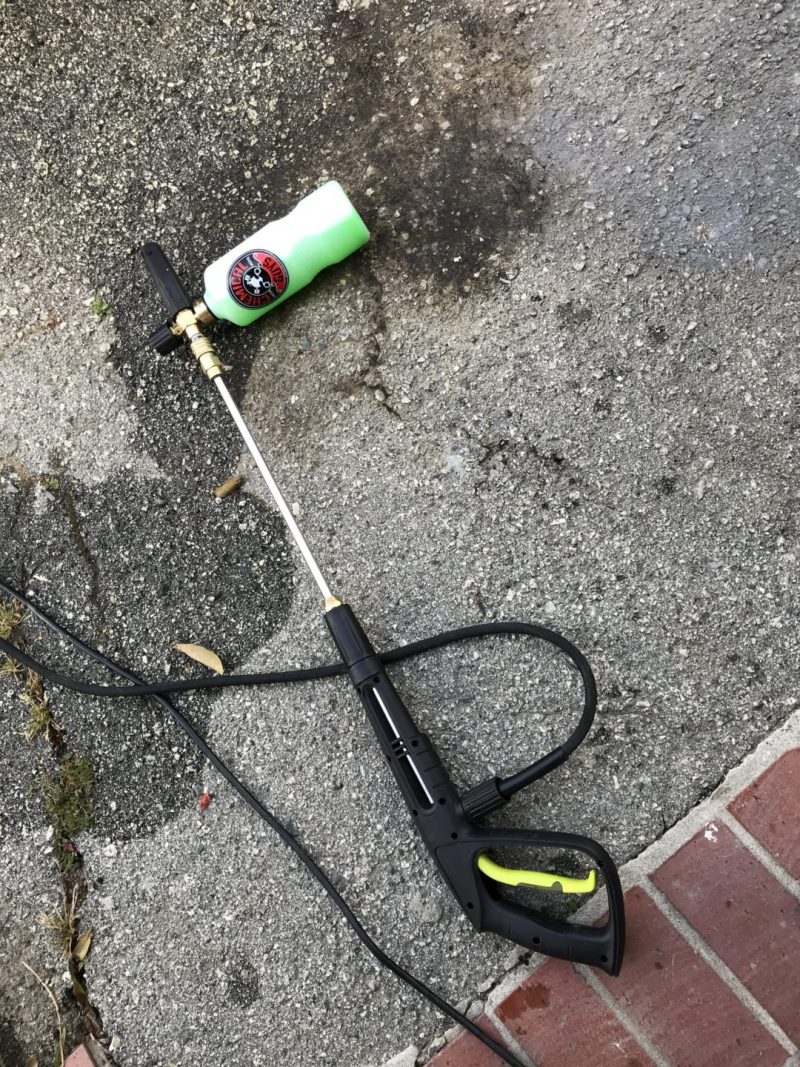

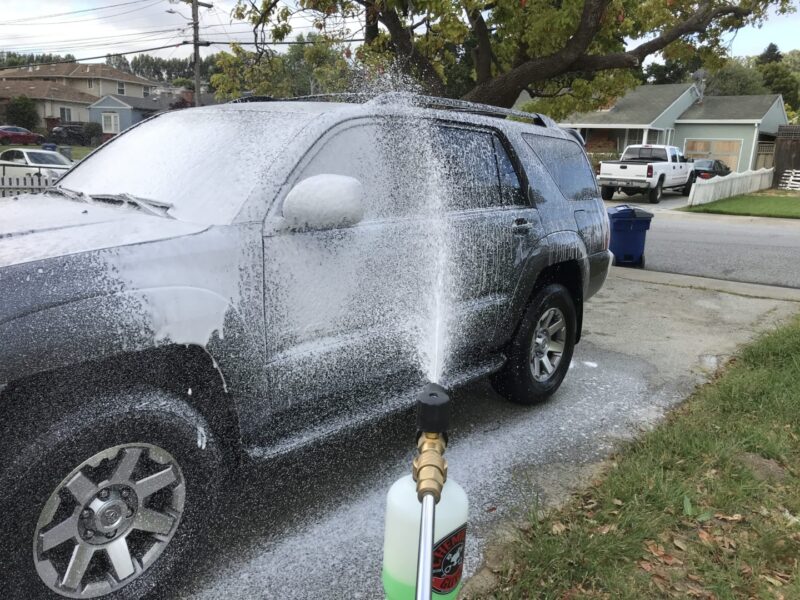

After foaming the vehicle, there is no need to rinse off prior to starting the car wash; just roll right into the two-bucket method after spraying on the foam and letting it sit for about five minutes.
Be careful if working in direct sunlight. The ideal weather to wash your car in is an overcast day, however we can’t control the weather. So, if you find yourself washing on a sunny day, ensure that you are working quickly to soap, rinse, and dry. If soap or water is left on the car to dry, the water evaporates leaving behind a dirty residue that sticks to your car’s surface.
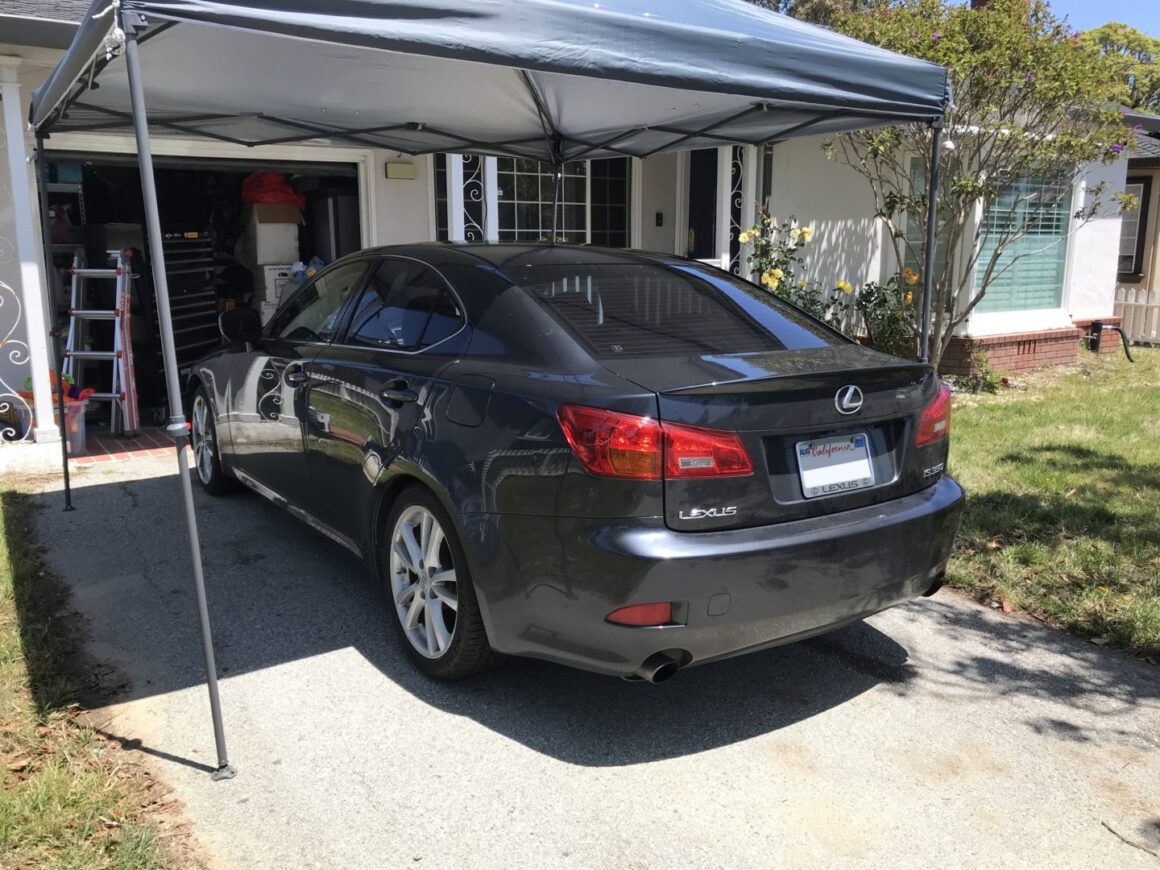
If you don’t have cover, you can use a canopy to work under. This works great if you’re working on a bright sunny day because it keeps you and your car out of the sun. However, the issue is that it is cumbersome to open and close, especially if you’re doing it yourself.


The Two Bucket Car Wash Method
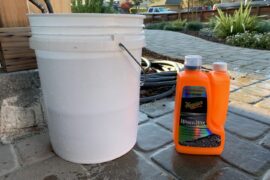
The two-bucket wash method involves having two buckets: one bucket filled with soapy water to and another bucket filled with water only to collect the contaminants. A grit guard should be placed in each one of the buckets.
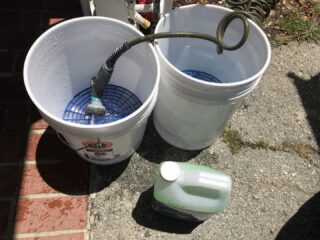
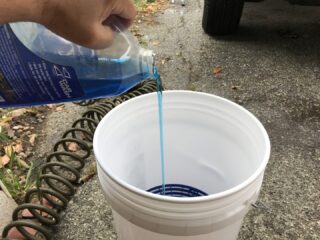

The purpose of applying soap is to help remove contaminants from the paint, but it also lubricates the surface so reduce the amount of scratching during washing. There are some detergent-free soaps, which will not strip off any previously applied waxes, sealants, or coatings. However, these no-detergent soaps should only be used on cars that have already been previously detailed since they will only remove light dust and dirt on the car’s paint surface. Other soaps are the more traditional cleaner soaps, which will be more effective at removing contaminants from the surface.
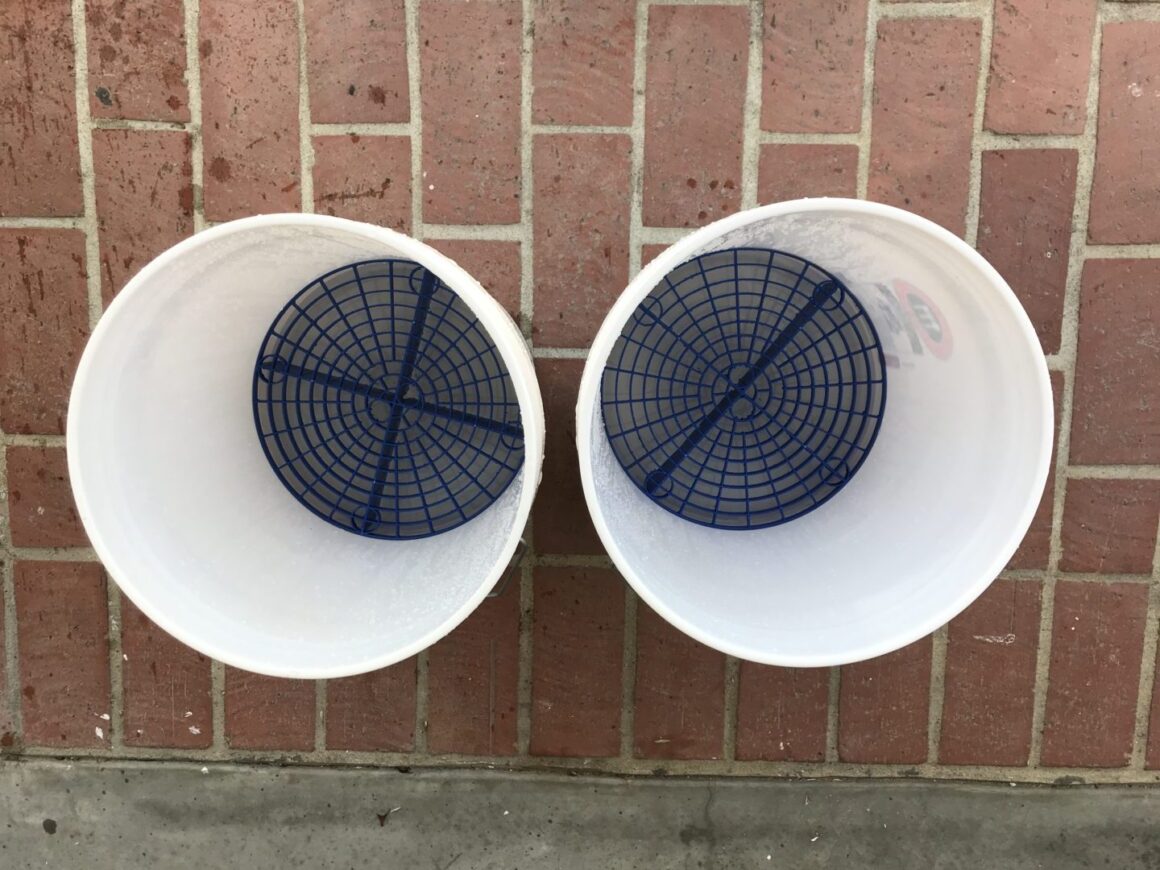
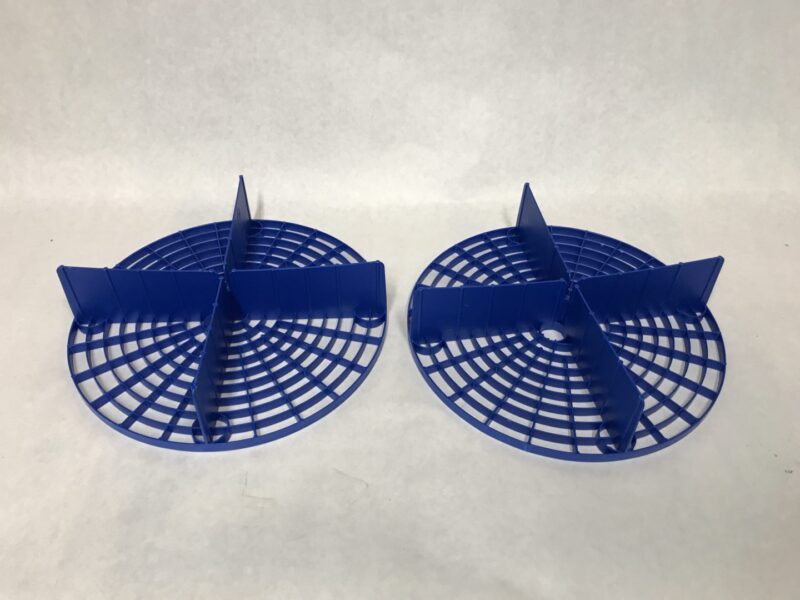
The grit guards are elevated grilles that sit at the bottom of the bucket. When a dirty mitt is put into the bucket and rubbed against the grille, the particles come off the mitt, fall through the grille, and get trapped below at the bottom of the bucket. It keeps the dirt from coming back up and getting back onto the wash mitt.

Essentially the two bucket wash method ensures that you reintroduce as little of the contaminants you wipe off the car, back onto the car. Every time you scrub the car’s surface and collect dirt on your wash cloth/mitt, you may put this back on the car again when you scrub the next part of the car. The dirt and abrasives you’ve left on your mitt will continue to scratch the car’s surface over and over again.
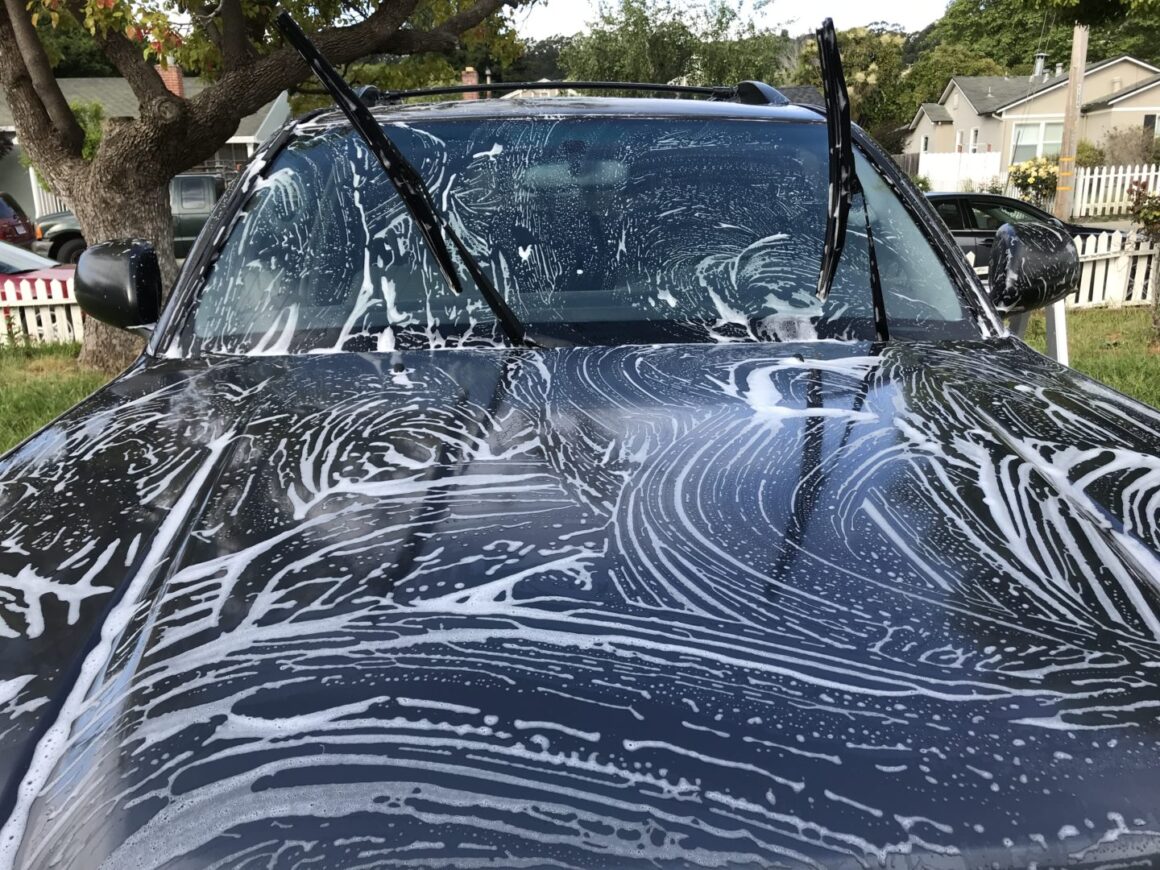
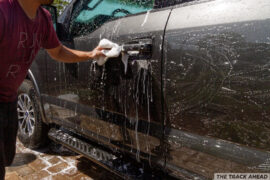
The two bucket wash method involves dunking your mitt into the soapy water, then running it over the car’s surface to remove contaminants from the car’s surface. You then take the mitt and dunk it into the water-only bucket and rub the mitt against the grit guard to remove as much of the contaminants as possible. This mitt (which should now be free of dirt/abrasives) can then be wrung out and put back into the soapy water bucket for you to start wiping down the next part of the vehicle.
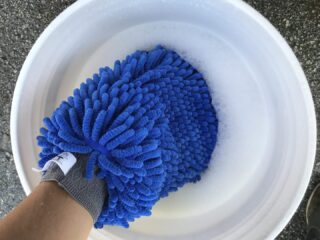
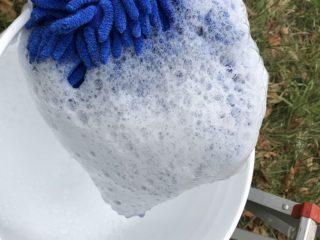
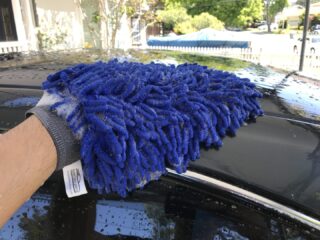
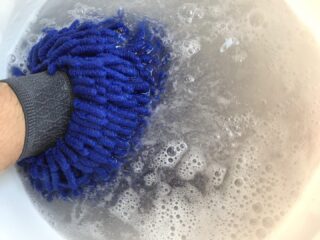
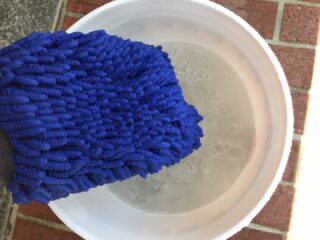
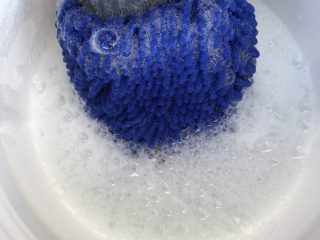
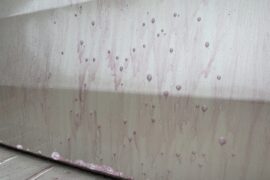
Once you start washing your car this way and seeing how much dirt and grime sits at the bottom of your bucket at the end of your wash (see below photos), you’ll see how much of these contaminants would be re-applied to the car during a wash. If you are not performing at least a two bucket wash, you’re likely creating more scratches on the car’s paint with every wash.


Washing Technique
When washing the car with your wash mitt or cloth, you don’t need to scrub the surface hard, nor do you need to rub the same surface over and over again. The wash mitt should simply be run over the surface once or twice with little pressure, letting the soap do the work. Remember that the particles that are bonded to the clear coat, should not and would not be removed by soap. These particles that are embedded into the clear coat would only be removed using a clay bar. Trying to remove these embedded particles with pressure and numerous passes will result in a greater chance of producing scratches and swirls.
You should also follow a sequence of working the dirtiest areas last. The dirtiest parts of the vehicle in order of dirtiest is generally as follows: wheels, front bumper, lower sides, rear bumper, rear of vehicle, roof, and sides of car. The reasoning behind this is straight-forward as you don’t want to use a wash cloth or mitt on a very dirty spot, and then work on a cleaner portion of the vehicle.
Of course, you want to still use the two-bucket method which will mitigate some of the contaminant issues, but you want to avoid reintroducing any contaminants as much as possible. Keep in mind that you should be using several wash mitts/cloths for different parts of the vehicle.
I have two wash mitts, one for the upper portion of the vehicle and one for the lower portion of the vehicle. I make a note on the label with permanent marker to distinguish the two. I also plan on getting a separate wash mitt in the future specifically for the wheels as this is the dirtiest part. This is due to the bits and pieces of brake dust, which appears all over the wheel surface.
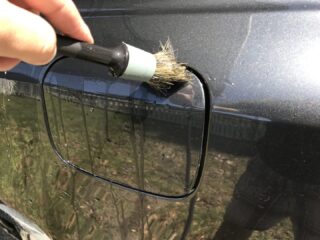
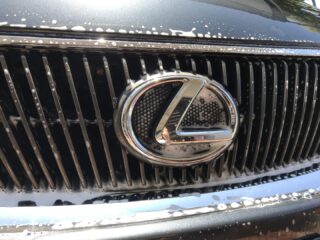
Take the opportunity while adding soap to the car, to clean around the car emblems. In order to get into the small crevices around the emblems, apply soapy water using a soft-tip detailing brush and brush in both clockwise and counter-clockwise circles. The detailing brush gets into all the areas that a cloth or mitt doesn’t get access to.
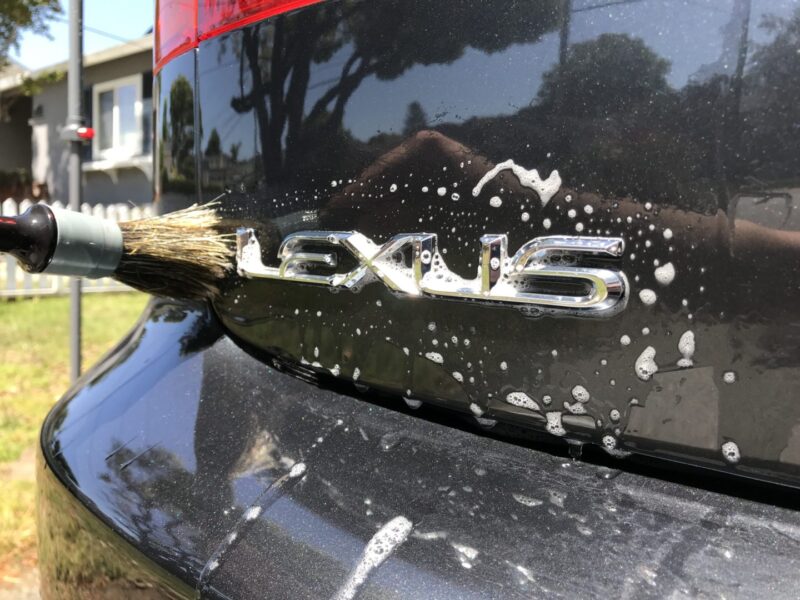

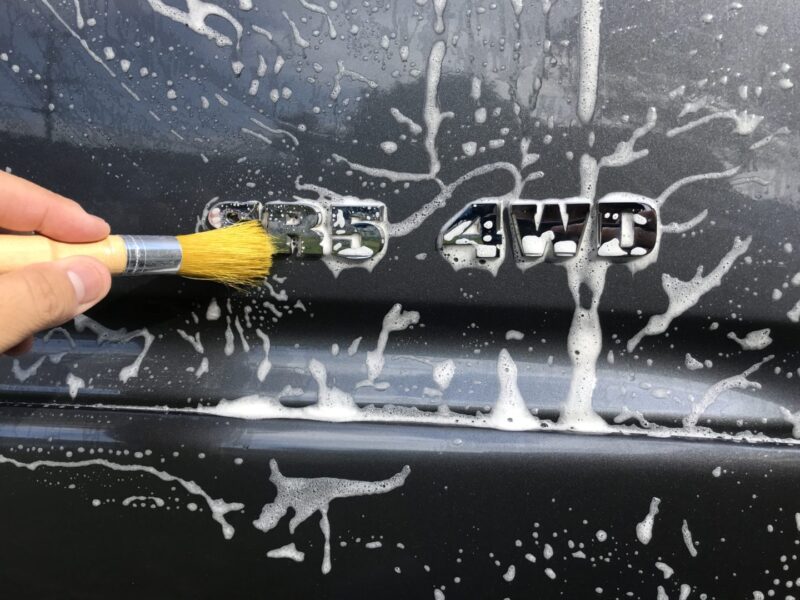
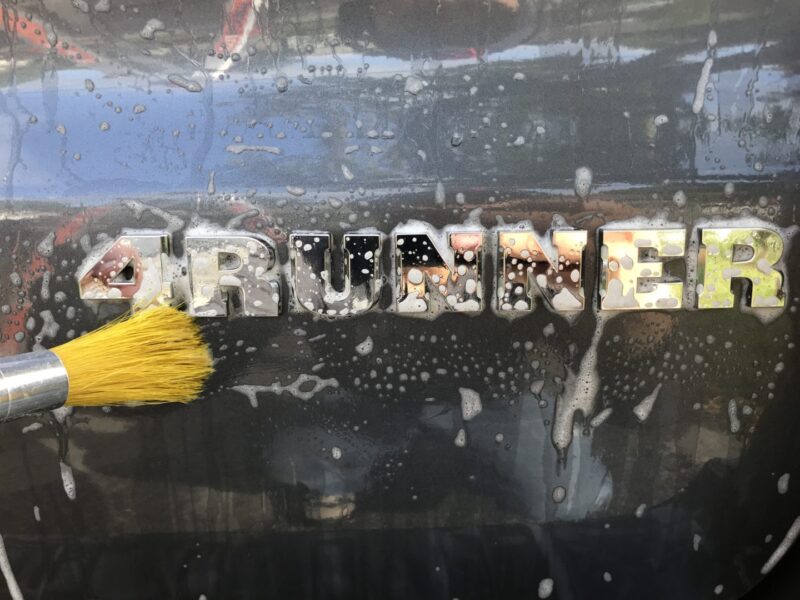
Also, take the time to work the detailing brush in hard to reach areas, such as around door handles, the gas tank door, and the grille.

Rinsing/Drying
After the entire car has been agitated and wiped down with a wash mitt, use water to spray down the vehicle. Spraying the top down to the bottom of the vehicle will be most efficient at rinsing the vehicle clean. Make sure that all of the dirt and grime you worked loose is rinsed off, otherwise it may scratch the paint surface while the car is being dried off.

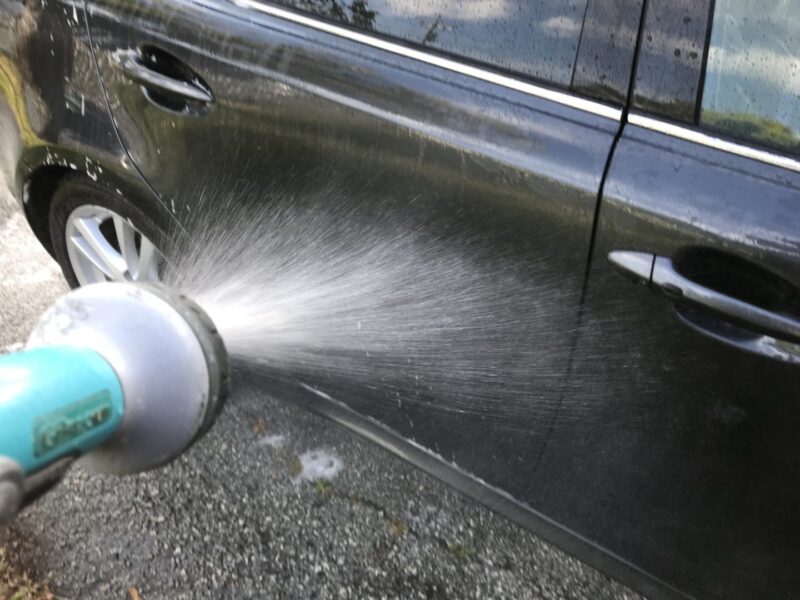
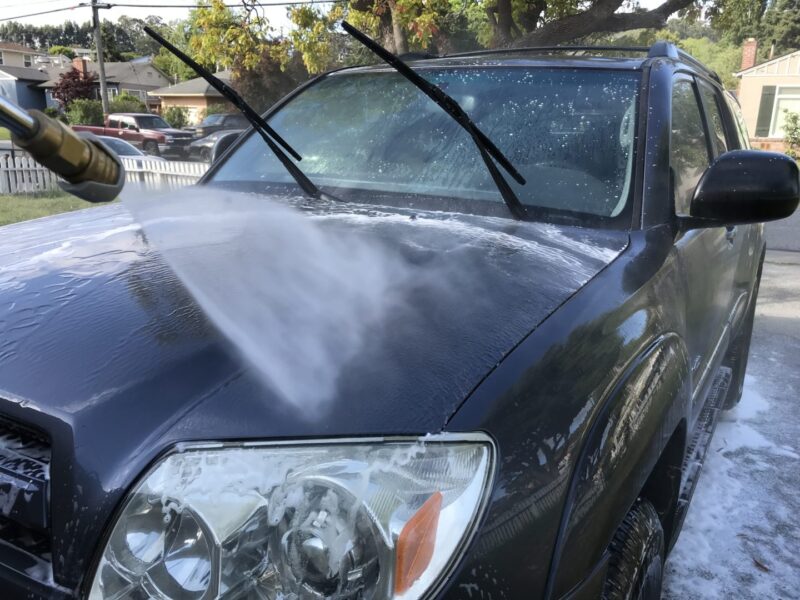
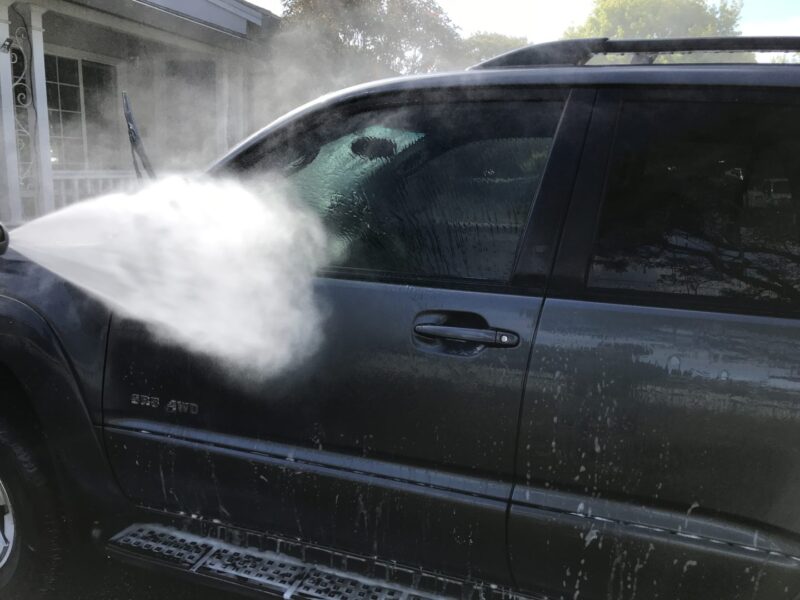
After the vehicle is rinsed off, it needs to be dried completely, otherwise water spots will appear on the car after it has dried.
Drying the vehicle can be just as important as the process for washing the car. The mindset of keeping contaminants from being placed back onto the car’s surface should still be kept during the drying process. Imagine if you use a drying cloth on the car and there is some dirt or sand that get between the drying material and the car’s paint, then it will scratch the car while the cloth is being run across the paint surface.


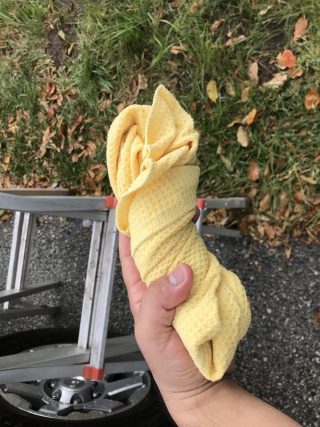
Chamois are the main culprit for creating scratches in a car’s clear coat or paint. Don’t think of drying the car as trying to remove as much residual water as quickly as possible. A chamois is excellent for water absorption, but it has a flat drying surface which will certainly scratch the paint. So don’t use a chamois for its alleged convenience as it will only damage your paint further.
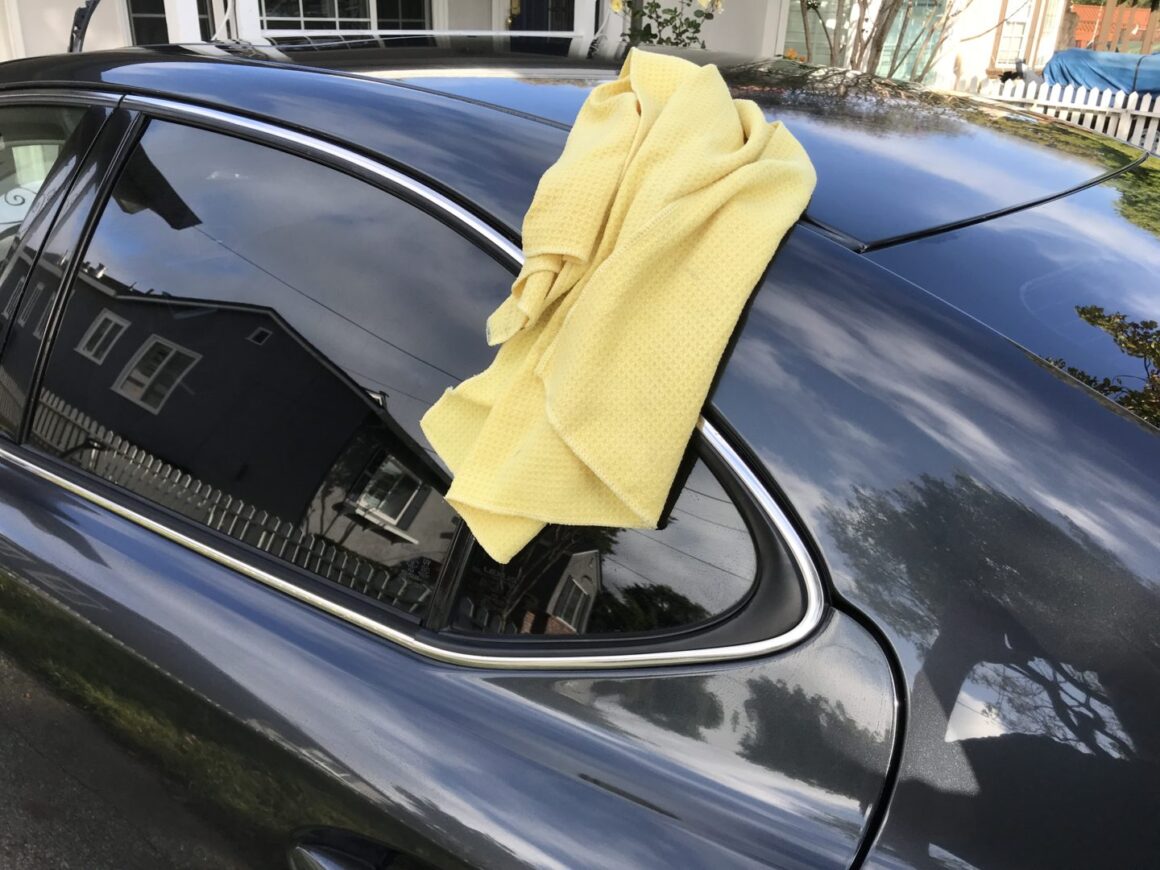
The best drying material is microfiber as it has many grooves in its surface that will trap and hold contaminants in case it is present. This reduces the chance of reintroducing scratches on the car’s paint surface because if the microfiber cloth is rubbing against the paint with a piece of dirt stuck in it, there is a good chance that the dirt is hidden within the microfiber grooves so that it is not in direct contact with the paint.
An alternative to using a drying microfiber towel is to use a blower. The blower will blow a concentrated area, making it very effective at getting all of the water off the car. It is even better at getting water that is behind the nooks and crannies of the door jambs.
Using normal microfiber towels will work for drying the car, however you’ll probably need quite a few towels and require a lot of work to completely dry off the car. The best solution here is to get a microfiber drying towel, which is essentially a larger microfiber towel. A microfiber drying towel covers more area than a normal microfiber towel to reduce the amount of time and effort for drying.
Drying the car with a drying microfiber towel is not that much more work than if you were to dry off with a chamois. The only difference is you’ll probably need to wring out microfiber towel much more, but this is a small price to pay to avoid scratching your car during the drying process.
Just like the rinsing process, dry the vehicle off from the top down to the bottom. Run the drying towel over the surface for the first few passes to squeegee off the majority of the residual water on the car’s surface. After most of the water is off of the car, then next few drying passes will remove the remainder of the water.
Once you’ve finished drying the entire exterior, you could stop here. However, the moment you open and close any of the doors, you’re likely to experience water splashing up onto the dry surface.
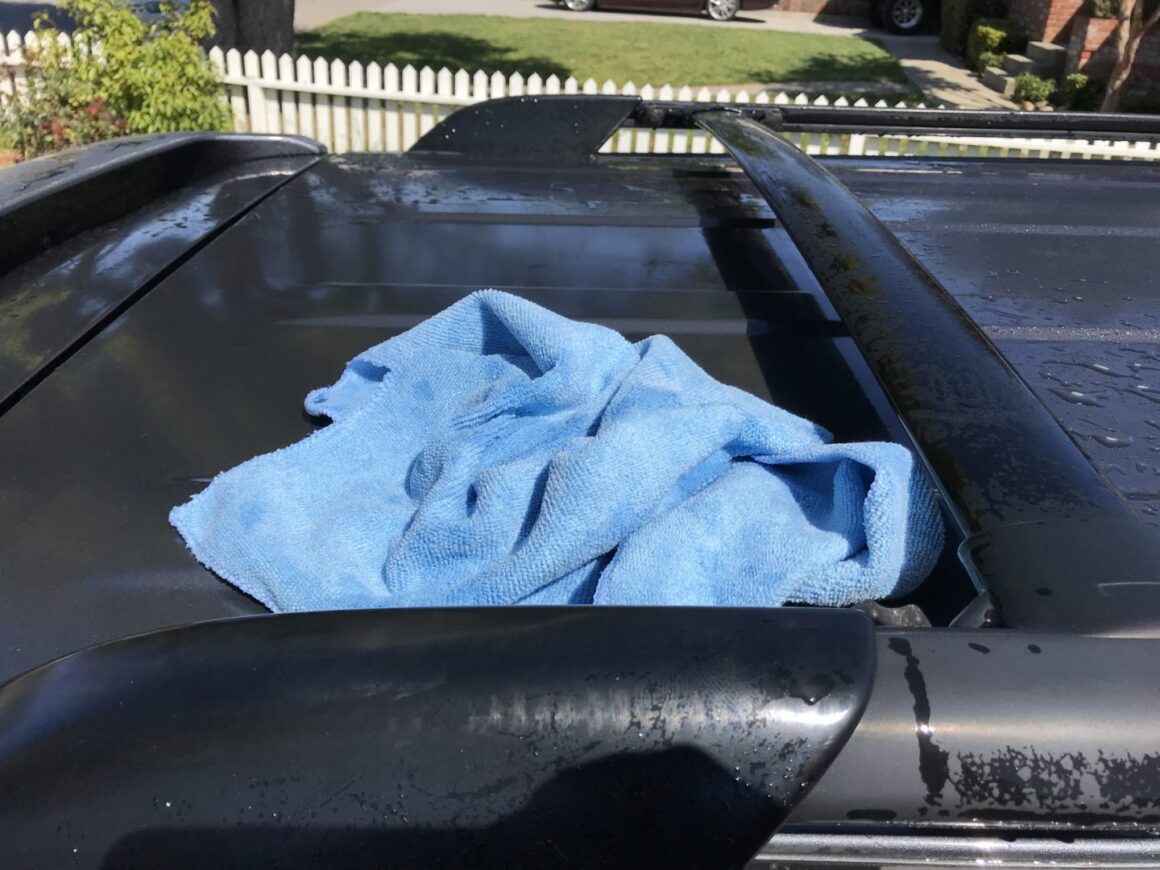
You need to take one important step to eliminate this from happening: open the hood, all doors, trunk/tailgate, and wipe down every jamb area on both the car side and the door side. I normally use a throwaway towel for this purpose as these areas can be extremely dirty, usually exhibiting grease and dirt that gets on the towel you’ll use.

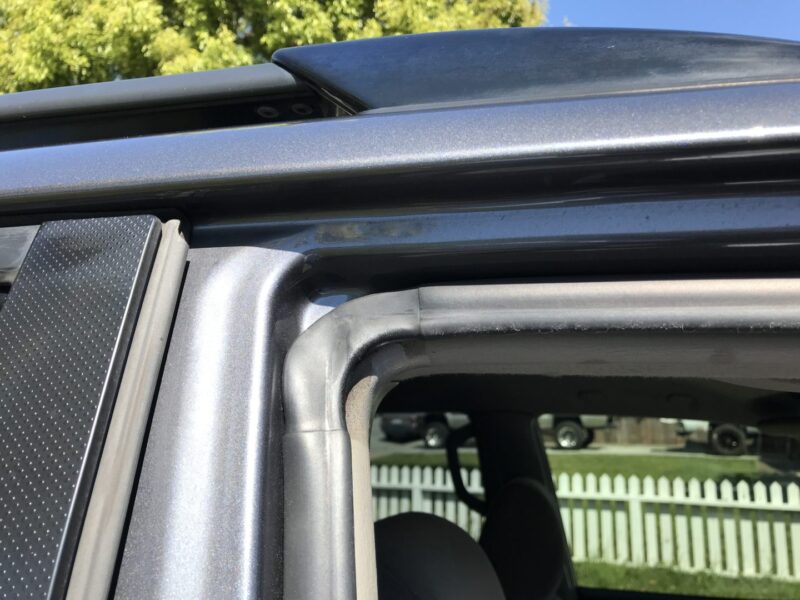

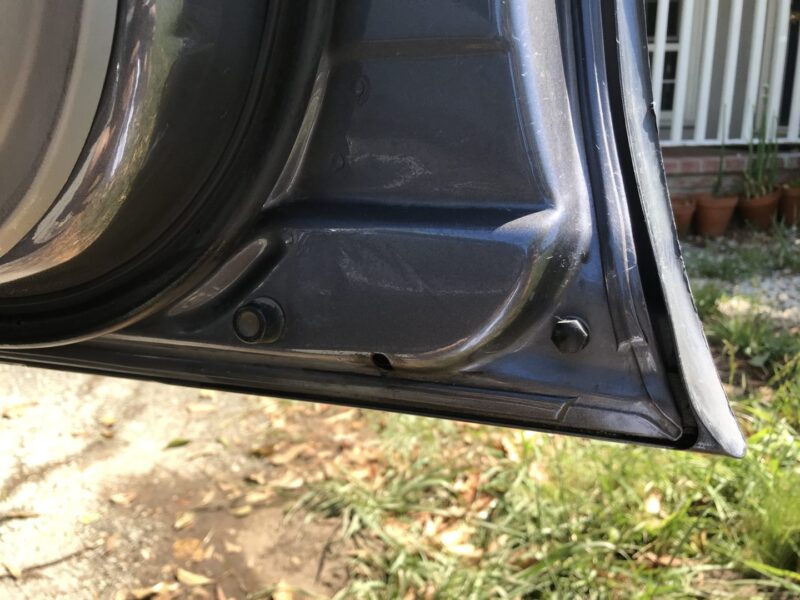
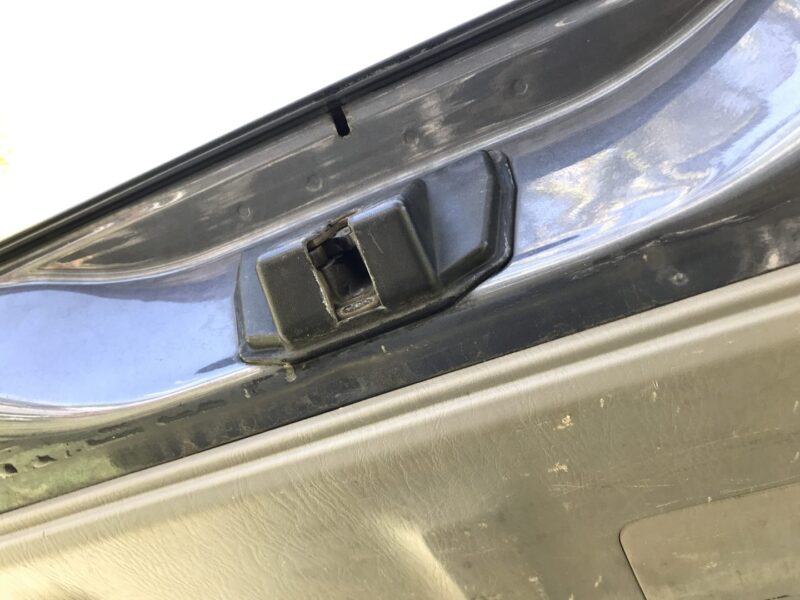


After drying off the car completely, the exterior car wash process is complete. A proper car wash will effectively remove most contaminants from your car’s surface, while at the same time prepare the surface for the next step in any detailing steps you plan to perform.
Before Exterior Wash
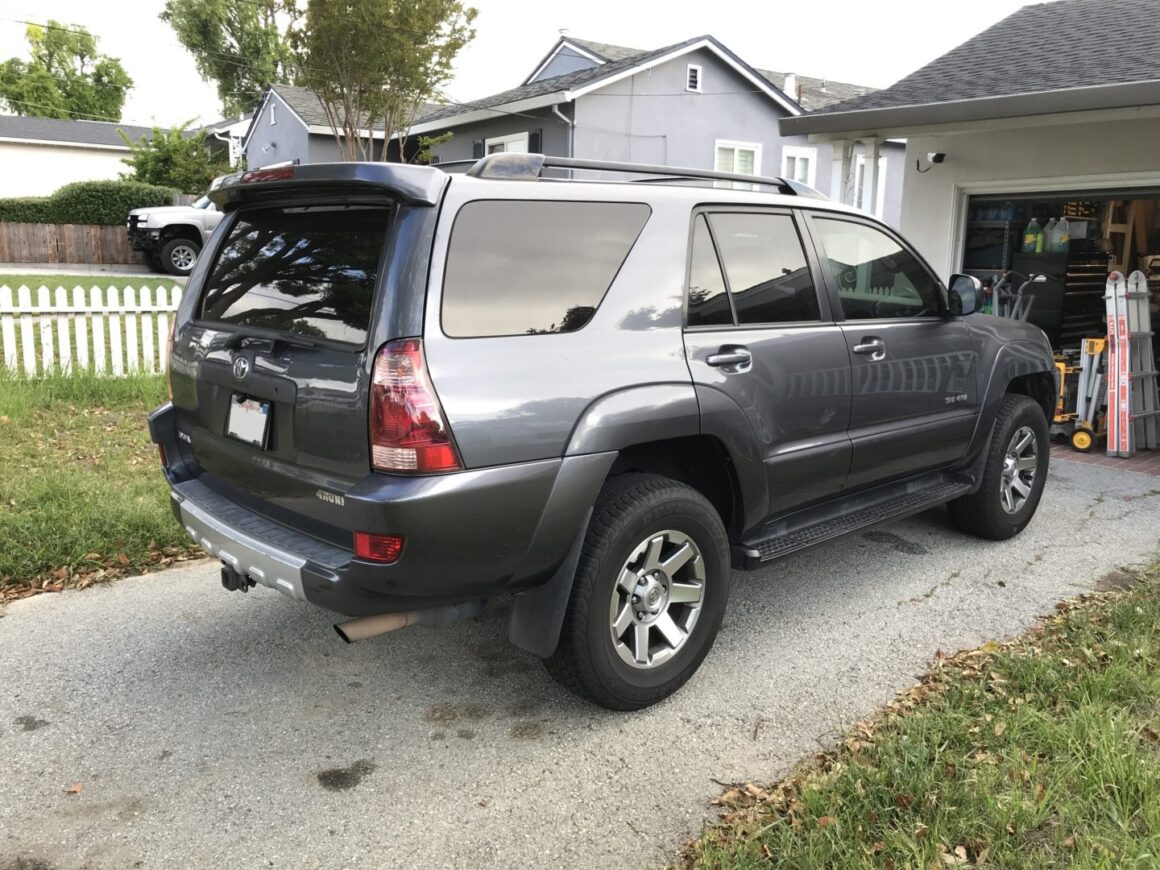
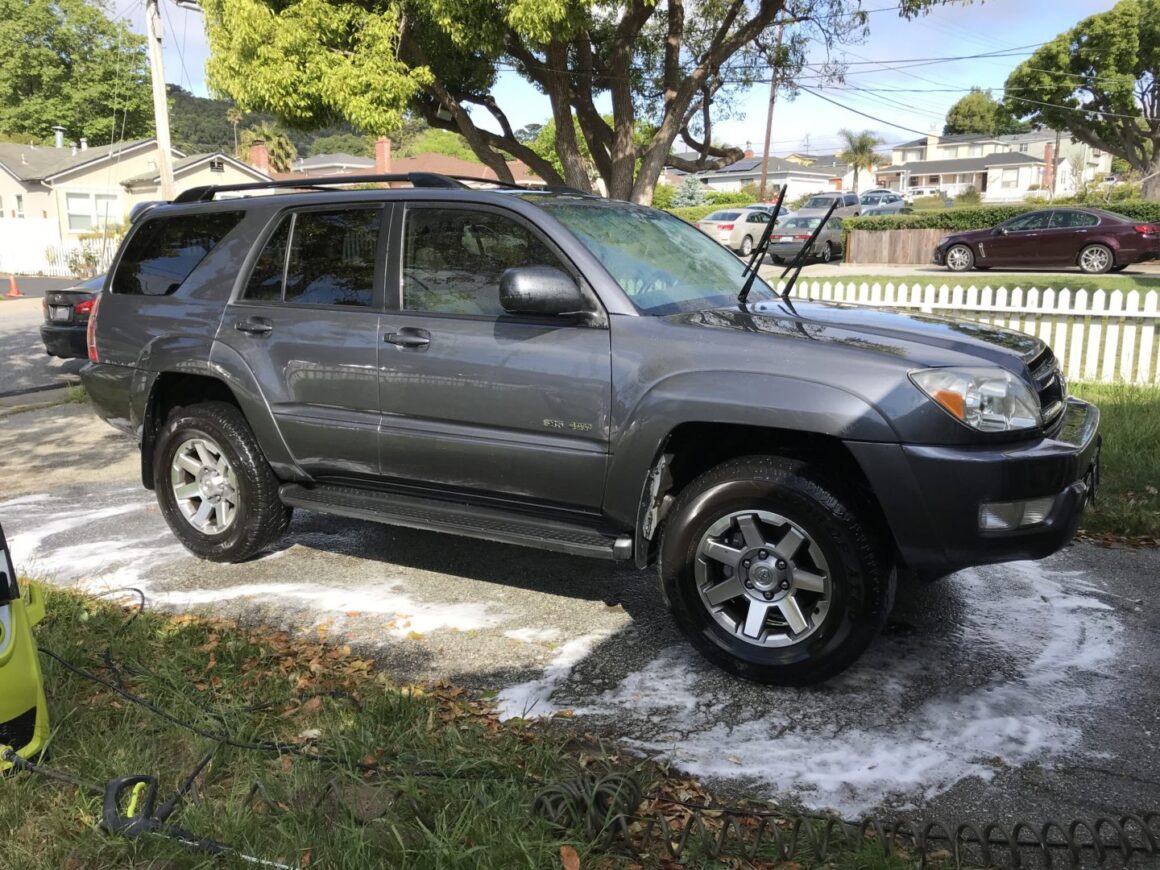
The Toyota 4Runner had last been detailed around the time I purchased the car about five years ago. Since then, I had not done much maintenance on the exterior of the car except for maintenance washes. The car was in serious need of a major detail. I started with an exterior wash and inspected the paint. With so many swirls and scratches from the many years of owning the vehicle, I determined I would need to do a clay bar, compound, polish, and wax which I proceeded to do after the exterior wash.
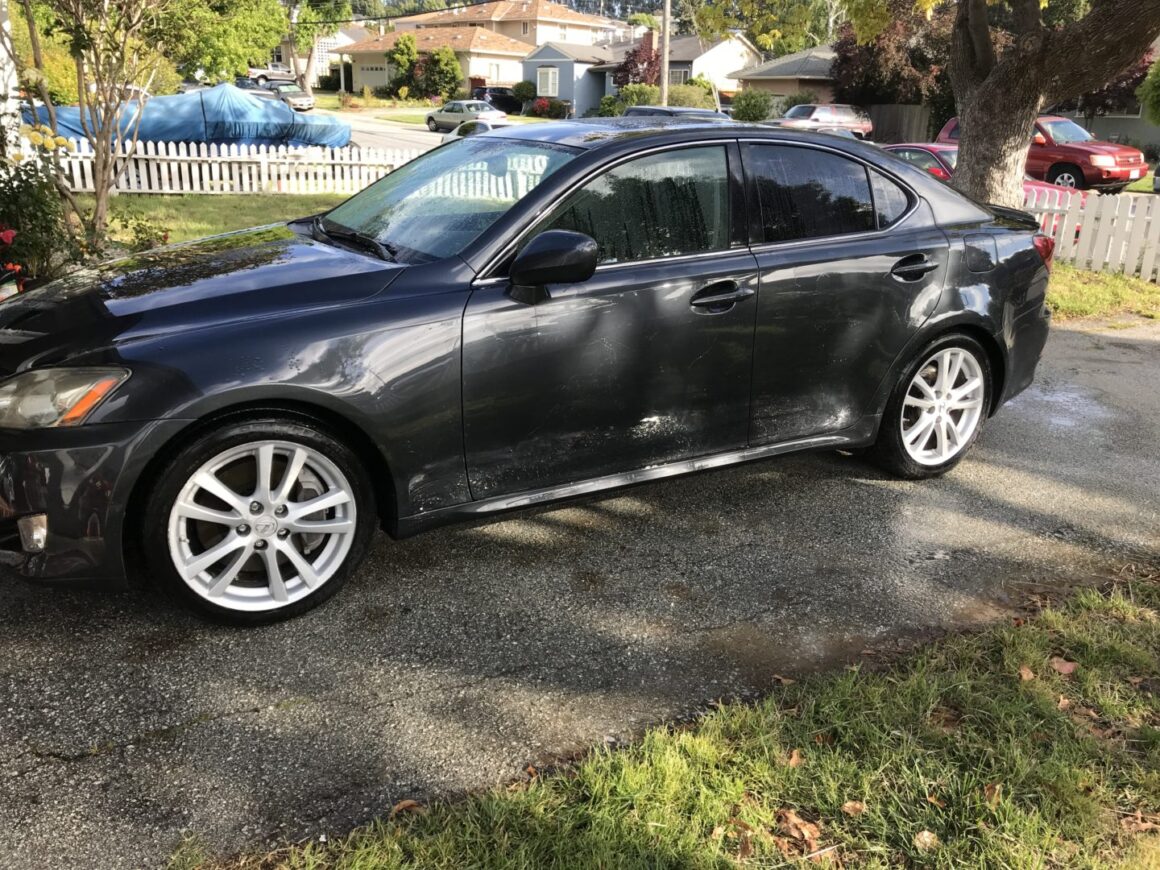
The Lexus IS350 on the other hand was in better shape than the 4Runner. However, there was still a significant amount of scratches and swirls since I don’t believe I’ve ever done a full detail on the car. Therefore, I decided to perform a full detail including clay bar, compound, polish, and ceramic coating once I was finished with the exterior wash.
After Exterior Wash
After the exterior wash, the Toyota 4Runner looked pretty clean, however the paint still had a lot of embedded contaminants which would need to be removed with a clay bar. A simple wash of the outside alone instantly brought back the shine of the car’s paint.
With a low-mile car such as my wife’s Lexus IS350, an exterior wash brought back the pop of the metallic paint quite easily. The downside to being able to see the instant shine of the paint is that you start to see all of the imperfections of the paint. As you get closer to the car, small dings and scratches become more noticeable. However from afar, the car looks pristine; it’d be hard to tell that this car is 13 years old.

