When you make purchases through links on this site, The Track Ahead may earn an affiliate commission. Also, these posts are based off my own experiences. I am not responsible for any action you take as a result of reading this. Learn More
Aside from working on cars, I also enjoy taking on home improvement projects from time-to-time. I recently moved to a new home and with it came a 3-car garage space. After getting the floor coated with epoxy and polyaspartic, I was then able to start moving onto the rest of the garage renovation.
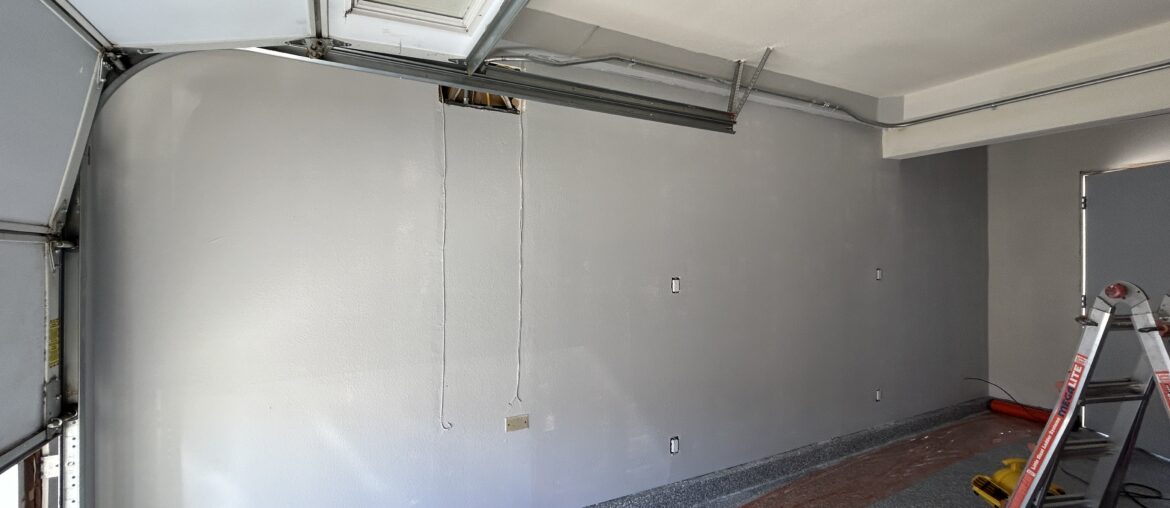
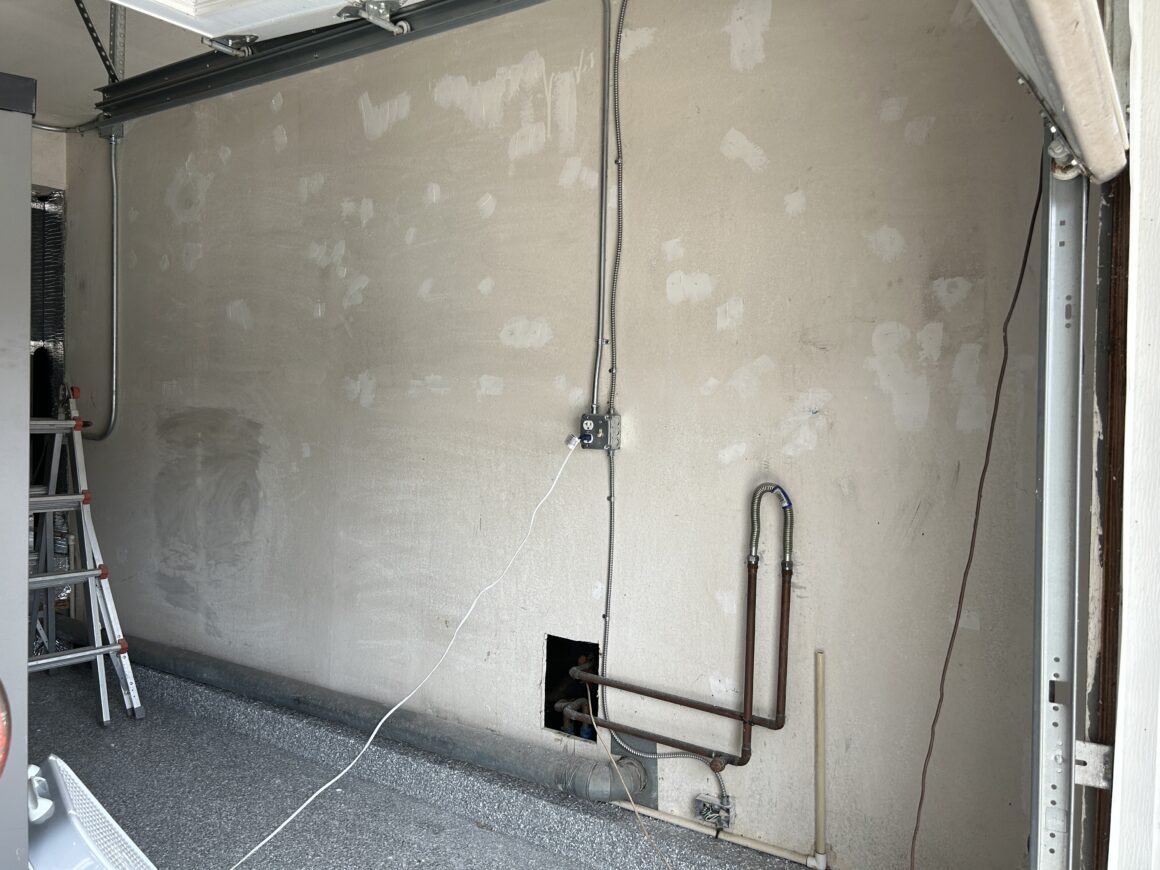
The garage has both finished and unfinished walls; the unfinished walls will get insulation and drywall, and all walls will be painted. But, because we have to use the garage to stage a lot of the boxes from our move at the same time, I would have to paint the walls in stages. Here’s what some of our walls looked like right before the garage got filled up with packing boxes.
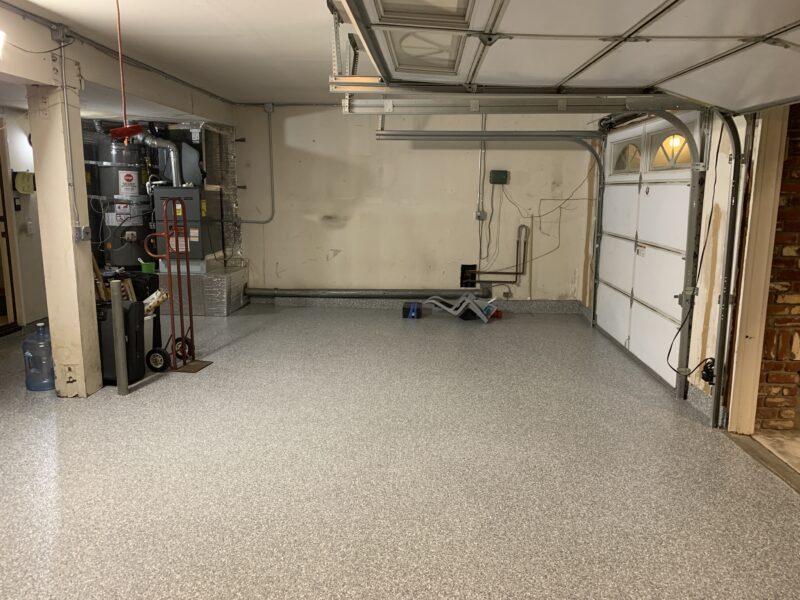
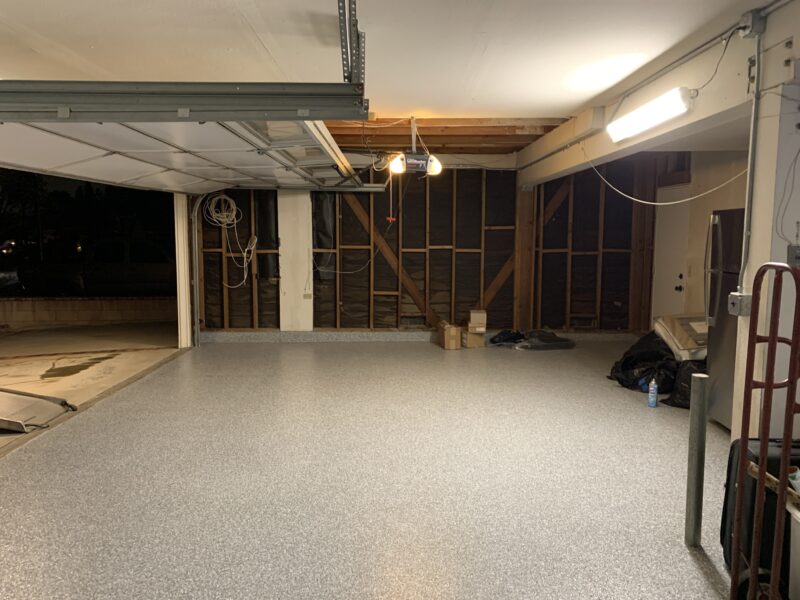
I wanted to detail the painting process I typically use and provide a guide to painting walls. The most typical, economical, and in my opinion easiest way to paint is with a simple paint brush and roller. It’s possible to spray the paint on as well, but I wouldn’t recommend doing so unless your walls are highly textured and you cannot find a paint roller with a thick enough nap to get into all of the grooves of the textured wall.
As with any home improvement project, you’ll need quite a few tools and materials to properly paint your walls. There’s of course the primer and paint, and then the products used to prep and paint the walls. The process takes a day or two, but it may take longer if you need to prep your existing walls. At the end, it’s satisfying when you see fresh paint on the walls–it really transforms the garage space into a place that you want to spend time in.
Tools & Materials Used
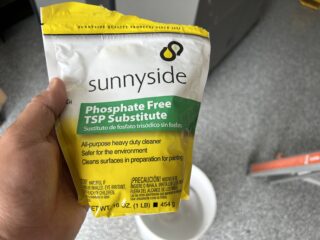
TSP (Trisodium Phosphate)
There are different cleaners you can use to clean the walls prior to laying on paint. TSP is good option as it cleans off dirt, grease, and even to an extend etches the surface. It’s a great heavy-duty cleaner for prepping the paint surface. Make sure to wear long chemical-resistant gloves when using.
Centaurus AZ TSP with Gloves: Powder (4.5 lbs) / Liquid (1 gallon)
Rags and Bucket
Arkwright Terry Cloths – (Pack of 60) 14 x 17 in, White
Rubbermaid Roughneck Square Bucket, 15-Quart, Blue
Pliers, Utility Knife, Screwdrivers, Hammer/Pry Bar
You may already have these, but this is just a variety of tools that is useful for removing nails, screws, and other kinds of fasteners off the walls.
BLACK+DECKER Plier Set, 4-Piece
Amazon Basics Folding Utility Knife, Lightweight Aluminum, Light Blue
Rotation 6PCS Magnetic Tip Screwdriver Set, 3 Phillips and 3 Flat
Stalwart 16-Ounce Claw Hammer
Edward Tools Wonder Bar Utility 15″ Pry Bar
All Purpose Joint Compound
All purpose joint compound is my preferred patching product (especially the ready-mixed kind). There’s other things like patching plaster that can work, but in my experience this is the best for filling holes. You can even fill larger holes using this product with fiberglass mesh tape.
USG All Purpose Joint Compound, 3.5 Qt (3.3 liters)
Flexible and Stiff Putty Knife
A flexible putty knife is used to spread joint compound, meanwhile a stiff putty knife is used as a scraper for scraping off gunk off the walls. In my case, I had to use it to scrape off some old drippings of paint, as well as leveling some areas of the wall to make it smooth.
Sunex Flexible Putty Knife, 3″
Sunex Stiff Putty Knife, 2″
Primer
You can find gallons of primer at paint stores, hardware stores, or even online. However, the ones online are a bit more difficult to find especially if you’re in a state that has VOC limitations.
Zinsser Bulls Eye 1-2-3 Water-Base Primer, Gallon, White, 2 Pack
Paint
Just like with primer, you can find paint at the same places: paint stores, hardware stores, and online. Paint is also difficult to find online due to certain VOC restrictions (if you live in certain states) and due to shipping costs. If you must get it online, Amazon has a brand called Prestige Paints that seems to have a lot of good reviews; it’s even a 2-in-1 primer and paint can save you some time by combining the primer and paint stages.
Prestige Paints Interior Paint and Primer 2-in-1
Paint Brushes
Nice quality paint brushes feel great, but even regular quality ones you find are decent too. Just don’t get cheap ones where there isn’t a thick set of bristles on the brush. I like the angle brushes, which make it easier to paint in edges on walls (makes it easier to cut in edges than flat head brushes.)
Pro Grade – Paint Brushes – 5 Ea – Paint Brush Set
Bates- Paint Brushes, 6 Pack
Floor Protection From Paint
These are different ways to mask off floors to protect it from paint splatter. No matter how careful you are, you will always get paint on your floor. I’ve used these two types of options in the past and both work well.
Masking Paper, Paint Masking Paper with Adhesive, 20 Inch x 50 Feet
Canvas Drop Cloth for Painting (Size 4 x 12 Feet – Pack of 2)
9″ Roller Covers
If your walls are flat or are mildly textured, you can go with a 3/8″ nap. If you have more textured walls, go with at least a 1/2″ nap to ensure the paint gets into all the valleys of the wall texture.
Amazon Basics Microfiber Paint Roller Covers – 9″ x 3/8″, 6-Pack
Pro Grade – Paint Roller Covers – 1/2 X 9 Inch Microfiber 5 Pack
9″ Roller Frame
You’ll of course need a roller frame to go with the roller covers.
Grip Tight Tools Classic Roller Frame, 9-Inch / Wooster Roller Frame, 9-Inch
Paint Roller Pole
Extension poles for your roller frames are nice because you can adjust the pole quickly for the needed length while painting. Depending on how high your ceilings are, this may be a necessity.
Wooster Brush Extension Pole, 2-4 feet / Shur-Line Twist ‘N Reach Extension Pole w Roller Frame
Paint Tray and Liners
Don’t skimp on this, it makes the job much easier if you have it. A paint tray and liner makes cleanup so easy when you’re done painting.
9-Inch Roller Paint Tray Liners with Hard Shell (10pk): Cascade Tools / Touri
Ladder
In case you don’t have a ladder, I’ll recommend one that I use that is highly versatile. These Little Giant Ladders are able to be rotated and telescoped to turn a step ladder into a higher-reaching extension ladder.
Little Giant Ladders Velocity 17 Ft, Multi-Position Ladder, Aluminum, 300 lb. Wt Capacity
What Kind of Paint Do You Use for Garage Walls?
There are plenty of paint companies out there that you can go to in-person where you can select the type of paint, choose your desired color, and select the sheen you want. Here in California, you have your Kelly Moore, Dunn-Edwards, Sherwin Williams, Benjamin Moore, etc. You can’t go wrong if you go to a paint store to get all of your paint and paint supplies, it may just cost more than your big box hardware store.
There’s endless possibilities for colors that you can choose from. Check out photos of other peoples’ garages and choose what you like. Personally, I went with a light grey color for the walls and purchased the paint from Sherwin Williams. For paint supplies, you might end up paying a bit more at the paint store, but you don’t waste as much time as if you had gone to a larger and more crowded big box hardware store.
Another thing to consider is the sheen of the paint. Nowadays, you have (in order of highest gloss to no gloss) gloss, semi-gloss, satin, eggshell, and flat. There’s even different gloss levels in between! In general a glossier finish will be more durable, but more institutional-looking. If you go with a flat finish, it won’t be as durable but it will certainly feel more cozy and inviting. I opted for a matte finish (in between flat and eggshell) because it was more important to me to have a more comfortable feel in my garage.
How to Prep and Paint Garage Walls
I’ll go through the process of both prep and paint because out of the two, painting is the easy part. Doing the preparation for painting is critical in getting yourself a good looking paint job. If you’re dealing with an existing wall, you have to removal anything stuck in the walls, fill in the holes left behind, sand it down, and clean the walls prior to painting.
Conversely, when you’re painting a new wall, you will forego a lot of this, but you do still need to prep by cleaning the walls before you lay down paint.
The photo on the left is one of the existing walls I had in my new-to-me garage and it’s an excellent example of the random stuff you might find on an existing wall. The wall on the right is a newly drywalled wall, but it will still require cleaning before paint.
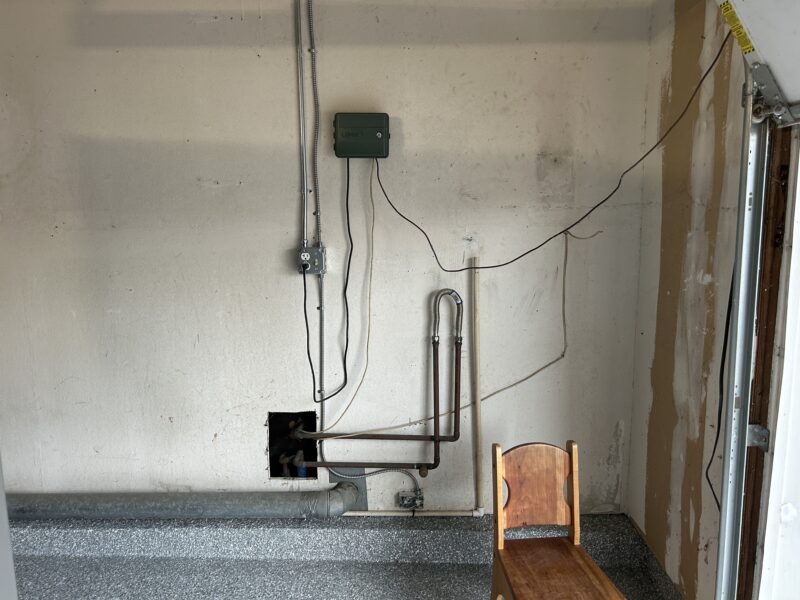
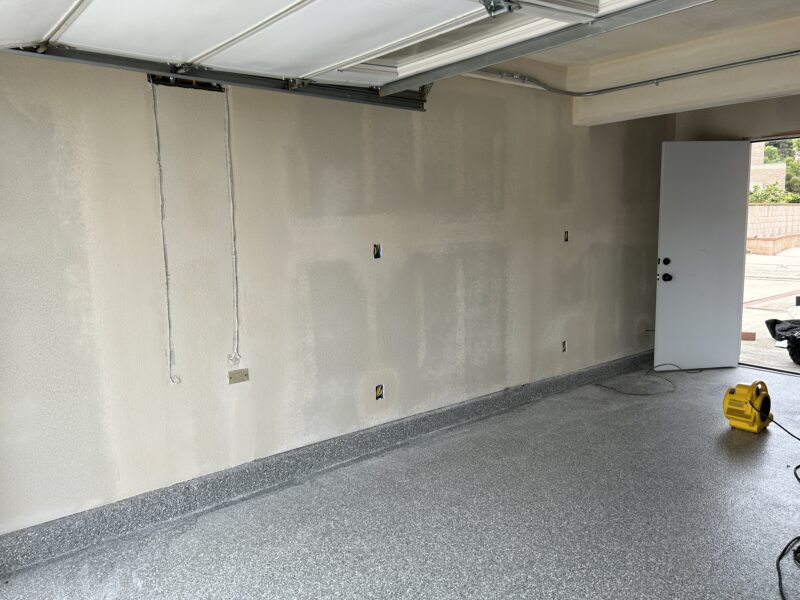
For prepping an old wall, you need to first remove all fasteners and random things attached to it. Here are examples of some of the things you’ll encounter:
- nails: remove with hammer, prybar, or snippers (by grabbing onto and prying off.)
- screws: remove with screwdriver or required bit.
- drywall anchors: for screw-in ones you can use a screwdriver to remove, or for plastic wedged ones, use a utility knife to cut out the outside part sticking out of the wall so that it doesn’t protrude out of the wall.
- electrical wires, plumbing, garage door or lighting wiring, etc. (remove these as needed, this may require more thought as to how to safely and properly remove and may depend on your ability to remove it will depend on your skillset on handling these various things; you may have to leave some of these components in place.
- peeling paint: use a hard scraper to peel back any loose paint.
- light switches and outlets: temporarily remove the covers with a flat head screwdriver.
- high spots of joint compound or other material: scrape off with scraper.
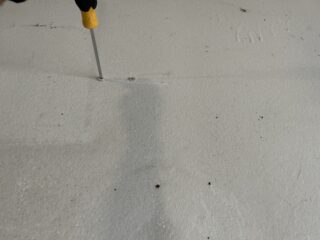
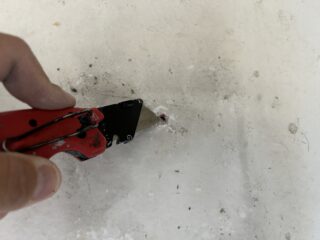
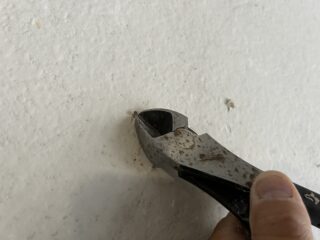
As you can see, here is all of the stuff that I had to remove from my existing wall. It was a variety of old nails, screws, drywall anchors, shelving brackets, and old low-voltage wires.
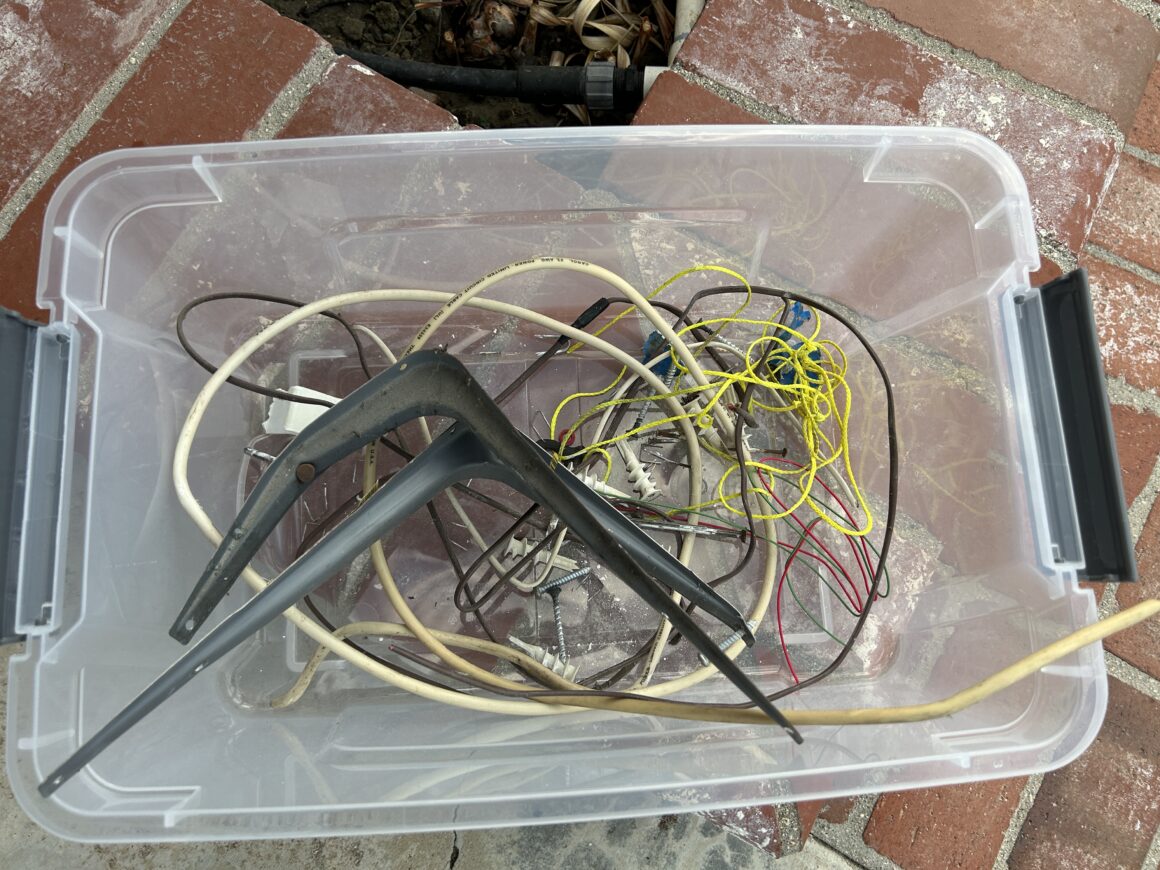
Now, onto cleaning the walls. We still need to patch up the walls, but if your walls are not clean, your patchwork won’t adhere well to the surrounding walls. If you had to remove as much hardware off the walls like me, then you’ll have holes everywhere that will require filling.
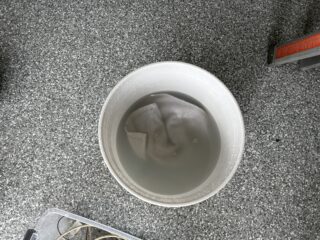
I typically use TSP for cleaning walls prior to paint. It comes in either a liquid or powder form, but either will be put into a bucket along with warm water to mix. Then, used along with a rag, it can be used to clean the walls. You want to clean the entire wall surface, otherwise the primer/paint may not adhere to effectively. You may need to clean it several times depending on how dirty the walls are.
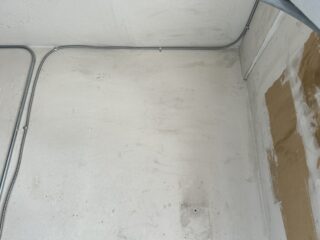
Sometimes, poor paint from the previous paint job can haunt you. If there’s peeling paint from a bad paint job, you will need to scrape any loose paint off with a scraper until there is no more loose paint. This can be an issue if there was something like past water damage. Scrape as much loose paint off as needed, otherwise you will be painting onto a bad substrate and it will eventually peel off. It’s better to take the time to properly prep the surface rather than dealing with worse issues later.
With filling, there’s a number of different products you can use out there. The most common is joint compound. There are two types generally: one that is used for smoothing out (fine finishing) and another that is more “all purpose” that can fill deeper imperfections. Use the All Purpose Joint Compound, as you need the ability of this type of product to fill holes and larger imperfections that you will likely encounter.
You may also need some fiberglass mesh tape to fill in larger holes as it gives the needed strength for holding the joint compound in place. Make sure not to apply too much joint compound at once and to apply it in layers. If you apply too much joint compound, it won’t dry adequately and won’t hold as well as if you did it in layers.
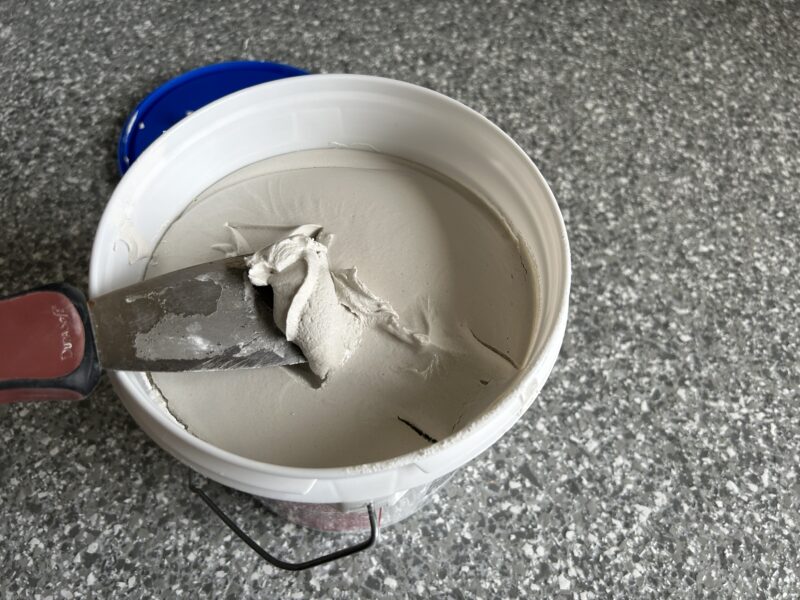
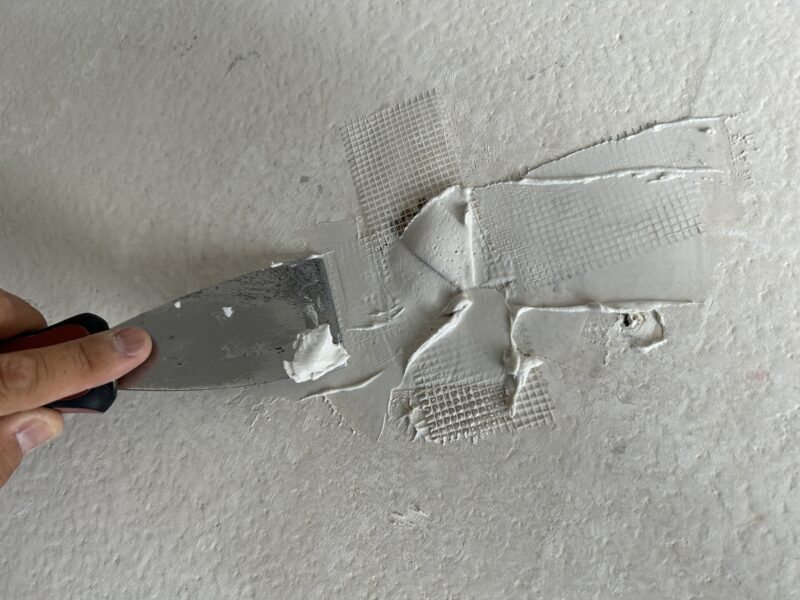
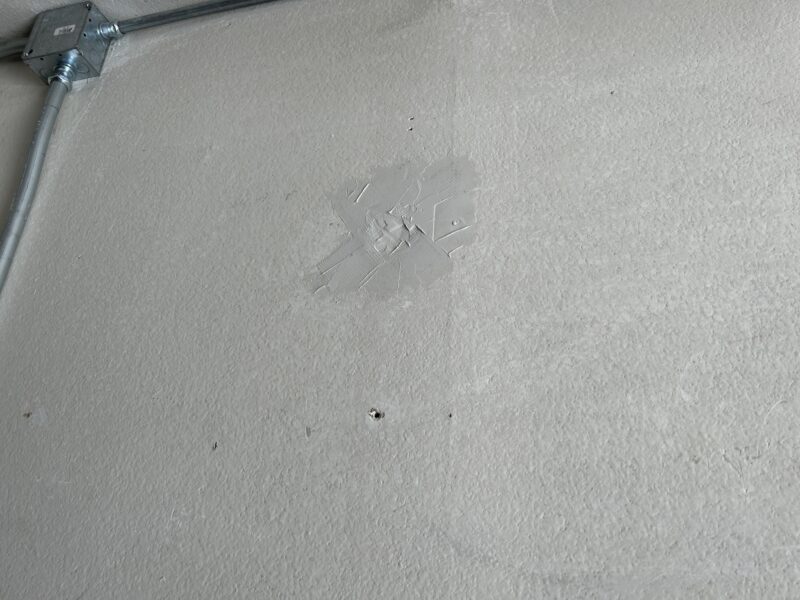
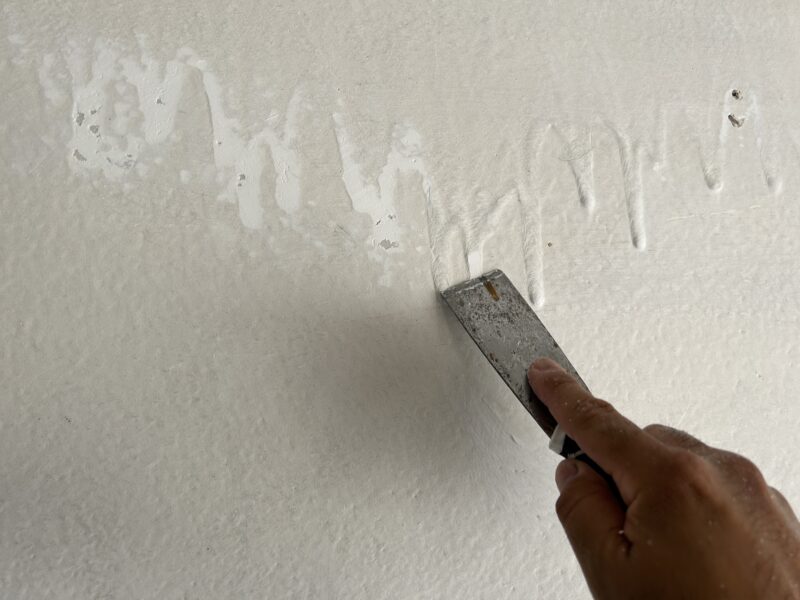
After you’ve adequately filled all of the holes in the wall and the joint compound has all dried, you’ll need to sand the spots smooth. Use 220-grit sandpaper to sand as this will provide you with a nice smooth finish for paint. If you sand, you’ll probably need to wipe down the walls again with cleaner again (or at the very least wipe all the dust off the walls) because of the sanding dust left behind.
When painting the walls, you should have be using your paint brush and paint roller concurrently because you need to paint the edges and then roll on the paint everywhere in between right after. If you paint with a brush and paint with the roller too long a time from one another, you might have an unsightly edge due to the edge drying first. Essentially, you don’t want any edges drying otherwise you might see it later. It’s best to paint in one-shot from edge of wall to edge of wall.
Lay down some protection on the floor to keep paint from dripping off your paint brush and roller along the floor near the wall. It’s a good idea to have a wet rag around so that in case you get any paint on the floor, you can wipe it up right away. If you leave paint splatter to dry on the ground, it may be too difficult to remove later on.
It is highly recommended to first apply primer to the walls, letting it dry, and then applying paint to the walls for the best results. Follow the primer’s instructions for application and dry time before you apply paint. The way you apply primer will be the same way you apply paint (outlined below). If you want to cut down on the time for applying primer and paint, you might consider using a 2-in-1 primer/paint combo.
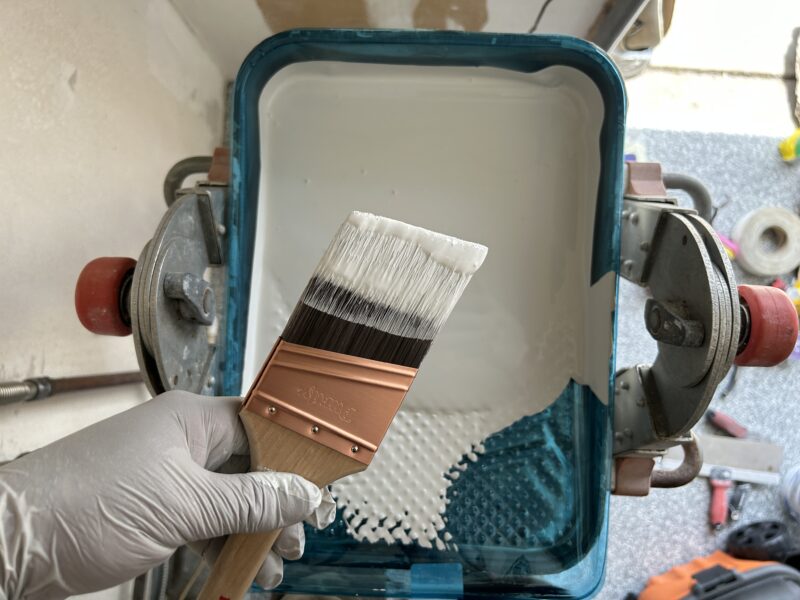
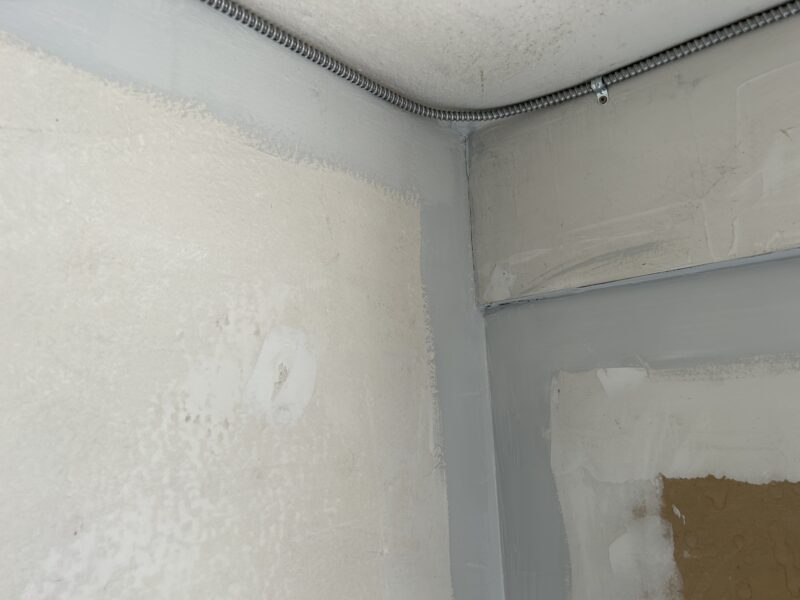
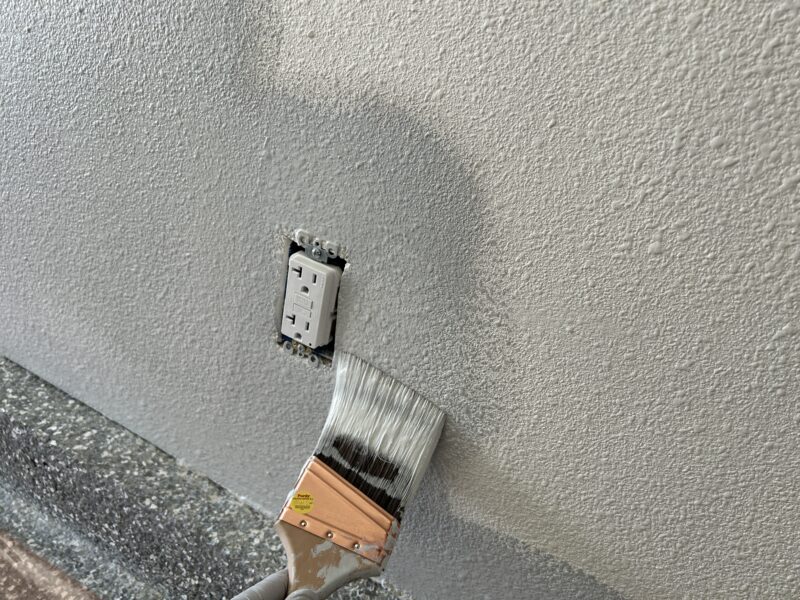
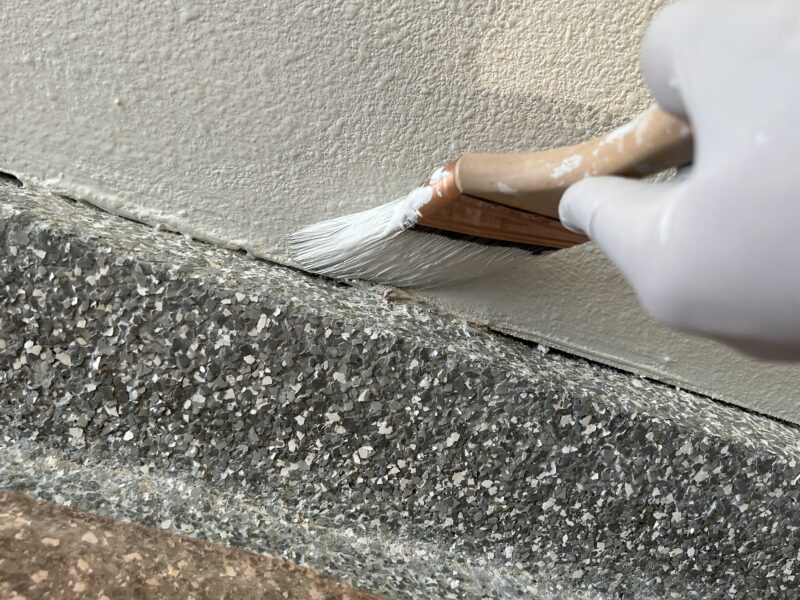
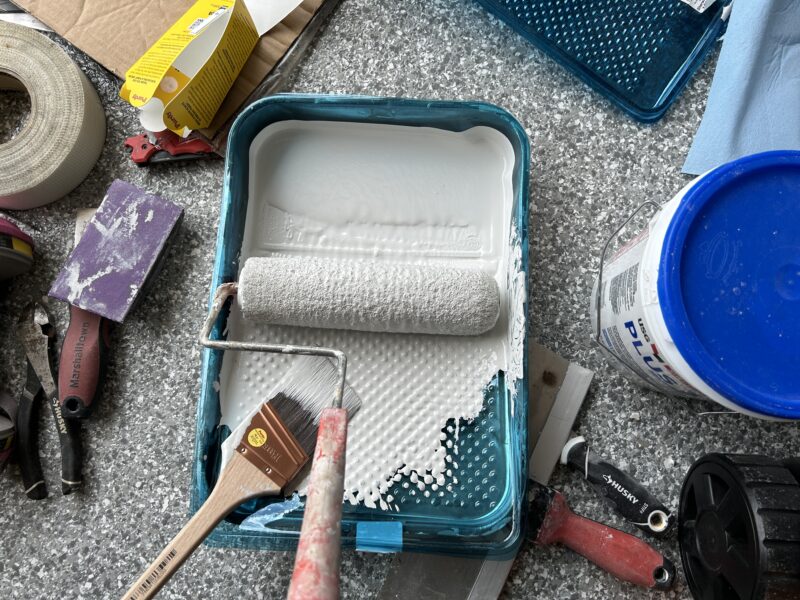
In case you haven’t painted with a paint roller before, you will have your paint in a lined tray, which you will then get some paint on the roller and roll it on the pan to get the paint evenly distributed. Then when you apply the paint, you’ll apply it in an ‘M’ or ‘W’ pattern to get the paint onto the wall, and roll in up-and-down sections until you get an even application of paint. I’ve found I can generally paint an approximate 6′ x 6′ section with the roller before having to get more paint.
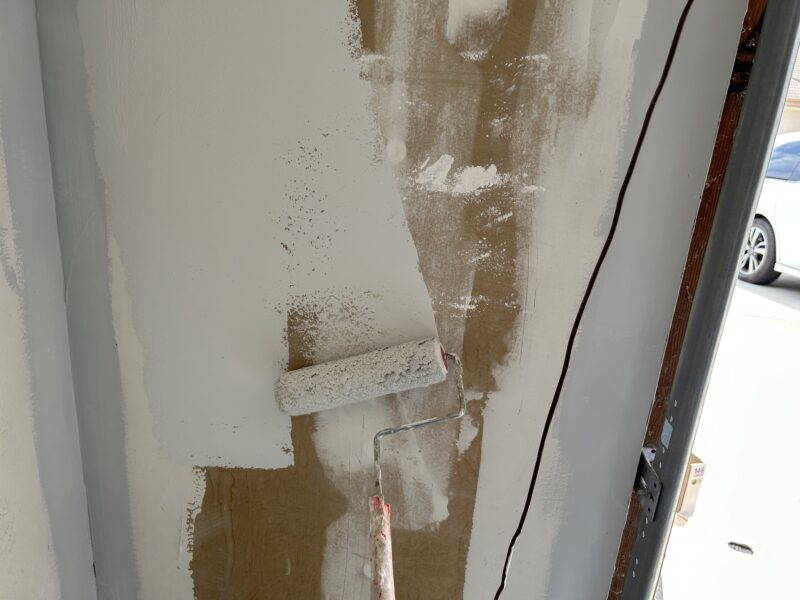
You need a minimum of two coats of paint for a decent looking paint job. Only applying one coat of paint will not be enough and it will not look good. This is because you will still be able to see the wall behind the paint. You need two coats of paint a minimum.
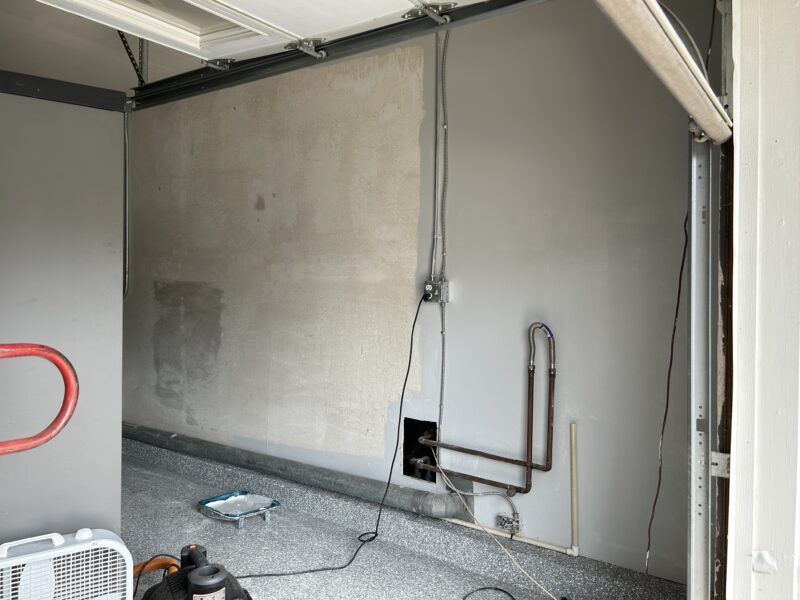

Existing walls will take longer to paint than new drywall a lot of time because you might have existing utilities or appliances on the wall. Because you need to use a paint brush to paint around all of these obstacles, it does take longer to brush rather than being able to roll a nice big area on a flat wall.
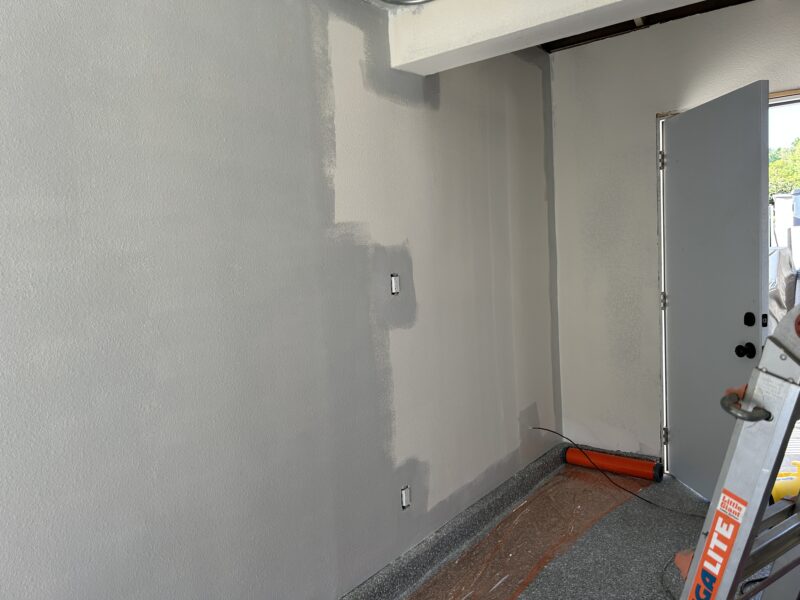
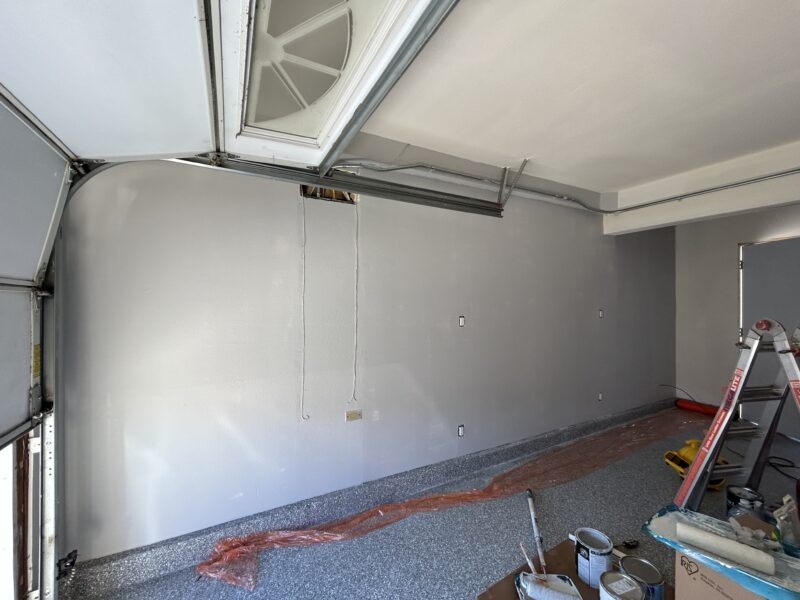
Paint is one of those things you can easily do yourself and it makes a huge difference in the look of your garage. It makes your garage walls look uniform in color–none of that ugly drywall/joint-compound look that you always see in unpainted garages. It also makes the space look finished and creates a space that you want to spend time working in. After I painted the garage and painted it, I love to spend more time in here wrenching and detailing cars.

