When you make purchases through links on this site, The Track Ahead may earn an affiliate commission. Also, these posts are based off my own experiences. I am not responsible for any action you take as a result of reading this. Learn More
As I was getting my garage cleaned up and organized this past summer, I got to experience the extreme heat inside of the garage. Aside from getting extremely hot and stuffy inside, it would also linger long after the temperature went down at night. I have a section of the garage that was never finished, so I decided to install fiberglass insulation here before putting up drywall.
If you already have drywall up, there are ways to install insulation behind the existing drywall, but for the purpose of this post, I’ll be focusing my attention on insulating unfinished walls. The most economical way to install wall insulation is to put in fiberglass insulation between the studs of the walls. If plan to run new electrical in an unfinished wall, you will need to do this prior to installing the insulation.
Fiberglass insulation effectively decreases the amount of heat entering when it is hotter outside and also prevents heat from escaping during the cooler months. Insulation is rated by the R-value. The higher the R-value, the more effective it is at insulating effectiveness. Generally, the thicker and more dense the insulation, the greater the R-value.
For walls constructed of 2×4 studs, you can get get R13 to R15 fiberglass insulation, while if you have 2×6 studs, you can obtain an R-value of R19 to R25. These values are limited mainly due to the thickness of the walls and the insulation properties of the fiberglass material.
You also have the choice of installing rolls or batts of fiberglass insulation. In roll form, the fiberglass insulation is unrolled and then cut to length as needed. For the batts of insulation, they are precut-lengths that are set for standard wall heights. Depending on your situation, one may be more convenient over the other.
If the framing in your garage is pretty consistent (i.e. stud spacing at consistent widths), then installation of your fiberglass insulation can go fairly quickly and easily. However, if it’s the opposite case, you might have a harder time. Unfortunately for my garage, the spacing of the studs was wildly inconsistent which made it much more difficult to install. No matter the situation, you make do with what you have and install the insulation to fill up as much of the wall space as you can. Doing so while minimizing any air gaps will provide you with the best possible result for insulating your garage.
Tools & Materials Used
Faced Fiberglass Insulation on Amazon
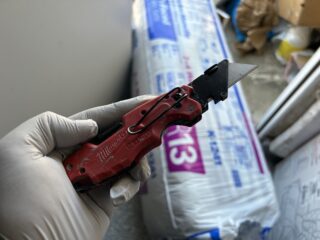
Utility Knife: WORKPRO Folding Quick-Change Utility Knife
Extra Blades: WORKPRO Utility Knife Blades, 100-Pack with Dispenser
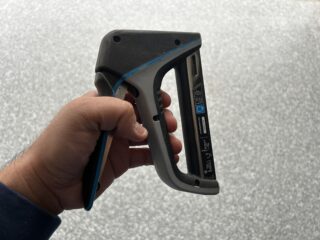
Staple Gun & Staples: Arrow T50X Heavy-Duty Staple Gun and Extra T-50 Staples
Measuring Tape:
N95 Masks: 10-Pack Respirators or Reusable Respirator with Filter Elements
Gloves: Nitrile Gloves or Nylon Gloves (you want gloves that cover your wrists as well)
Safety Eyewear: Safety Goggles or Safety Glasses
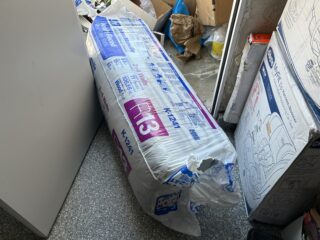
How to Insulate your Garage Walls with Fiberglass Insulation
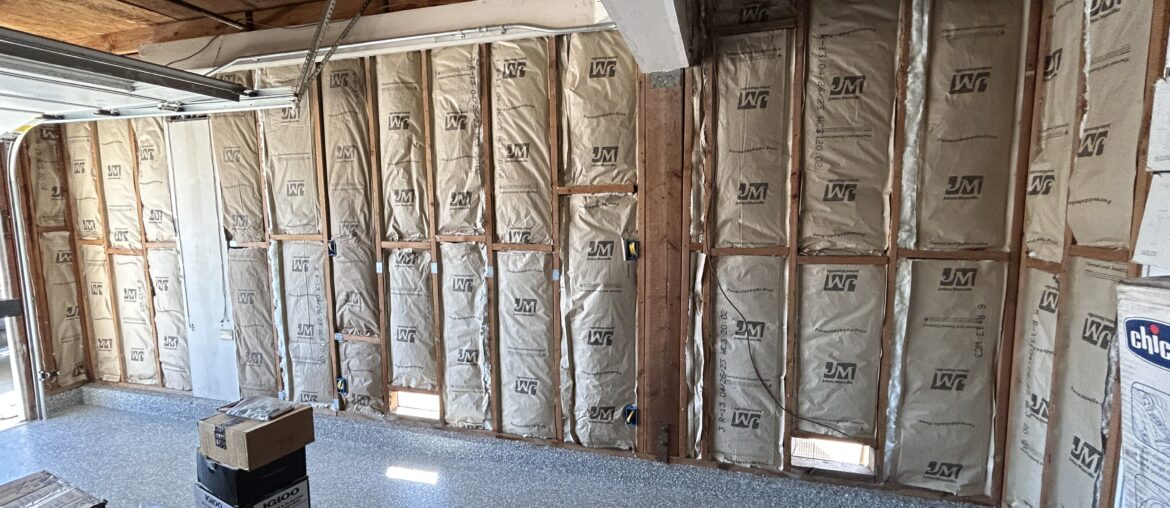
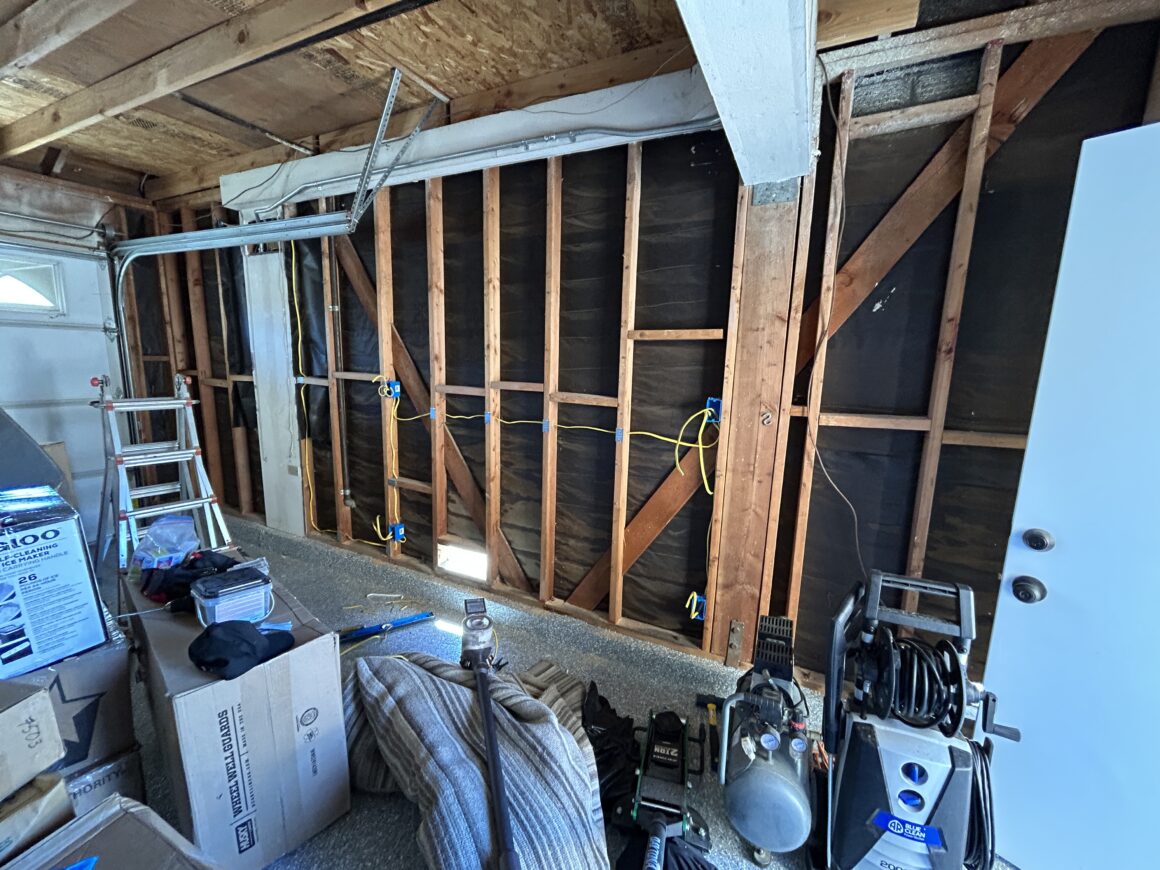
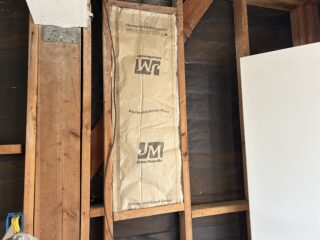
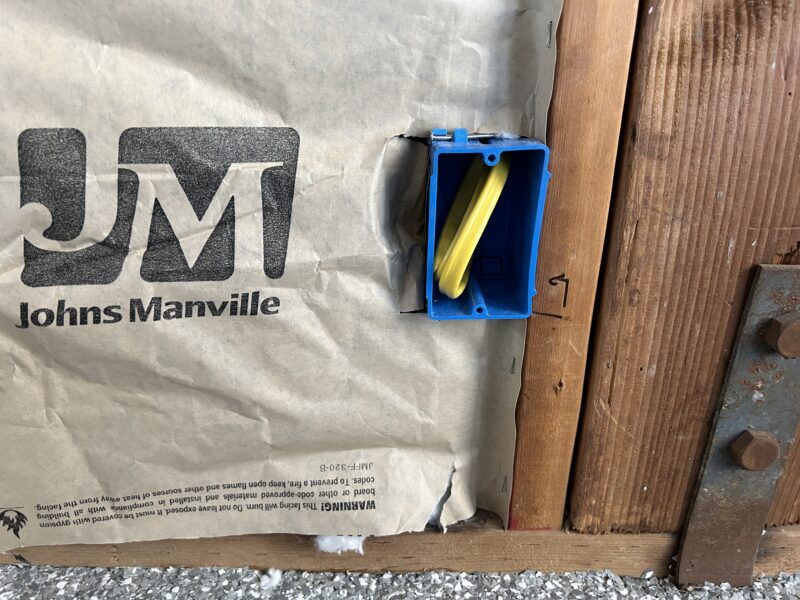
This is the unfinished wall in my garage where I had just installed a new electrical circuit and outlets. I’ll be installing R-13 fiberglass batt insulation in these walls.
There are some general safety-related things to know when you’re working with fiberglass insulation. Fiberglass can irritate your eyes, your skin, and your lungs. It is highly recommended to wear safety goggles (or safety glasses if goggles fog up too much for you), gloves to protect your skin (fiberglass is extremely itchy if you touch ), and an N95 respirator as inhaling fiberglass particles can be hazardous to your health.
First, make sure you have plenty of space to work. You will need a large open space to unpack the insulation. What also helps is having an area where you can freely cut the insulation with a utility knife. If you have a place outside where you can lay out a large piece of scrap plywood, you can use this to cut the insulation over.
When you cut the fiberglass insulation, you’ll use a utility knife to cut through the many layers of insulation and through the paper. If you don’t apply pressure when cutting, you’ll need several passes to cut all the way through which can be time consuming and frustrating. It will also not leave you with a clean cut. My preference is to hold the insulation (paper faced up) and apply pressure on the blade to cut all the way through the fiberglass insulation. I actually cut my fiberglass insulation on the concrete floor outside.
I recommend having a large number of utility blades on hand because cutting through fiberglass easily dulls the blade. If the blade is not sharp, you will have a much harder time cutting the insulation. When I cut the insulation on the concrete floor outside, I had to change out the blades very often. So definitely have a lot of extra blades and use a utility knife that has a quick-change feature to make swapping out blades quicker and pain-free.
Start by using a measuring tape to measure the width of the stud spacing to check if you can use the standard width of the insulation you have, or if you need to cut/fill as needed. Then measure the length (from ceiling to sill/bottom plate, or to the fireblock). Go to your roll or batt of insulation and measure out the width and length and cut the dimension slightly more than what you measured to ensure the fiberglass has a nice snug fit into the stud space.
Take the strip of insulation you just cut, and start at the top of the wall. Hold the insulation into the space between the studs and run it down the wall. Ideally with the insulation width matching your stud spacing, it should fit into the space between the studs and stay up on its own.
The faced paper on the insulation is then folded outwards and stapled to the side of the studs. Not only does this keep the insulation in place before the drywall goes up, but it also makes the insulation fit optimally in the stud space. When installing the insulation, you want it to fill the entire open space, making sure not to leave any voids that could compromise your insulation barrier.
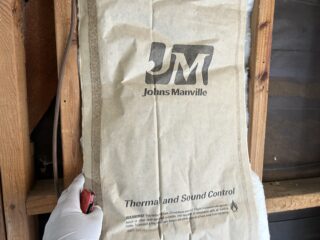
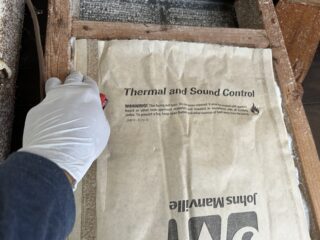
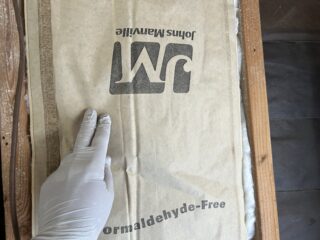
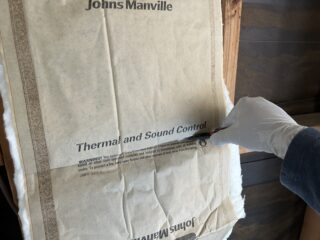
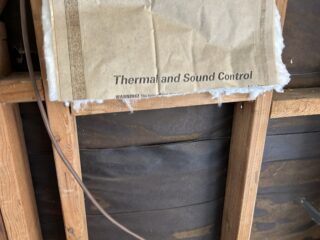
When working around electrical boxes, there are ways to work with the insulation so as not to leave voids around the box. When you get to a box, simply cut the insulation paper the width of the box above and below, then fold it inwards into the side of the box. Another method is to also make the cut above and below the box, but to take half of the insulation (closest to the inside) and tuck it behind the box, while the front half with the paper is folded inwards into the side of the box. Both are accepted ways of working around receptacle boxes.
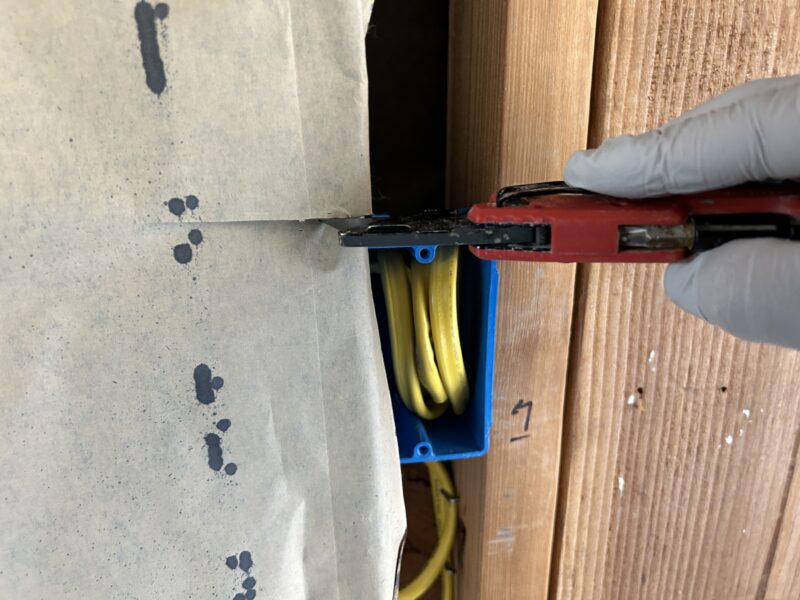
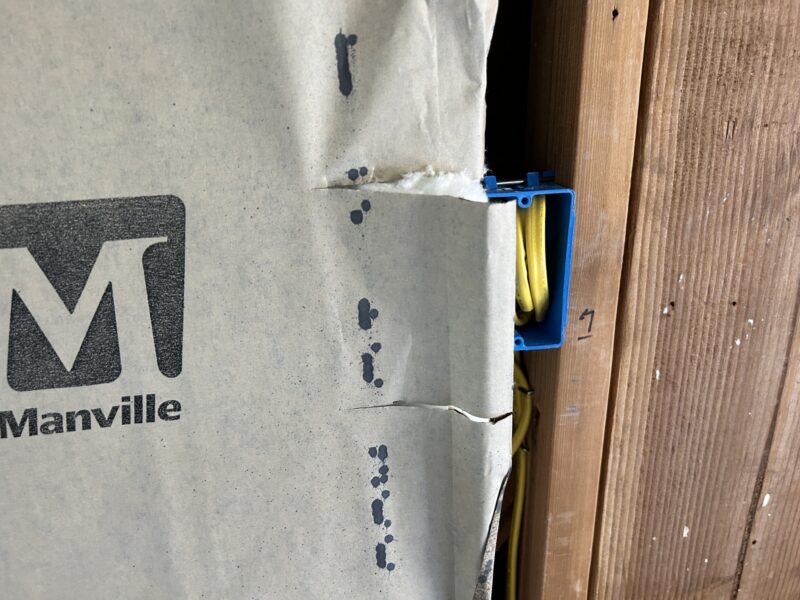
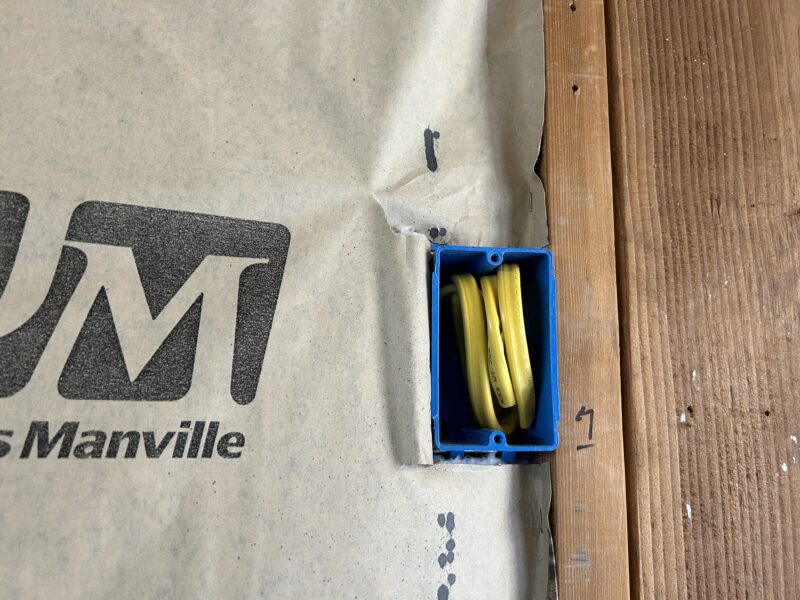
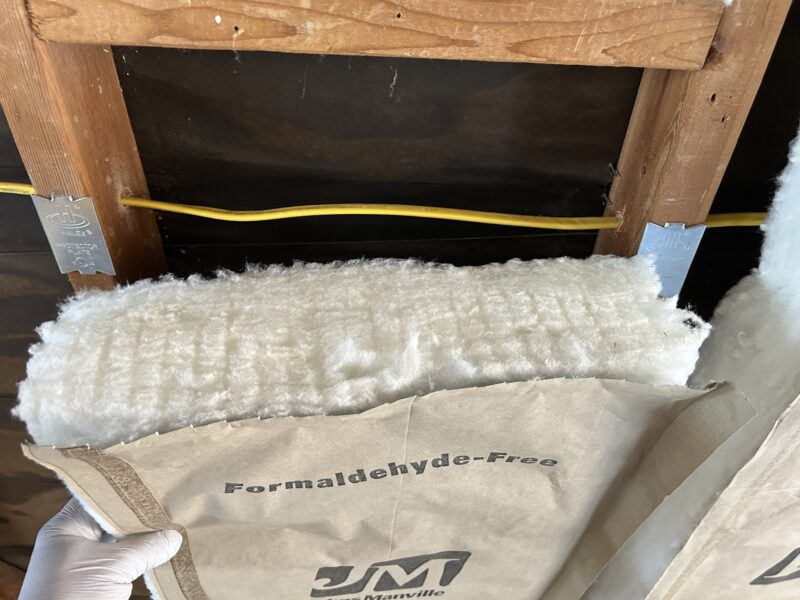
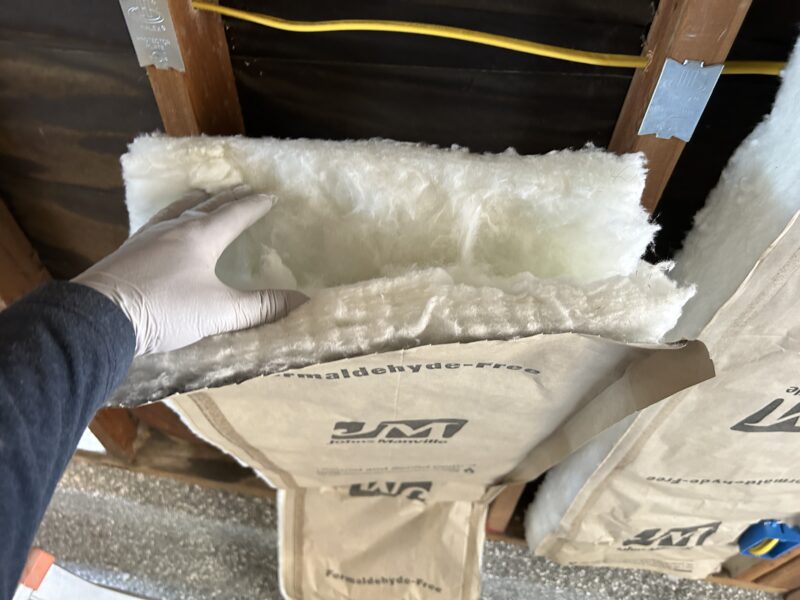
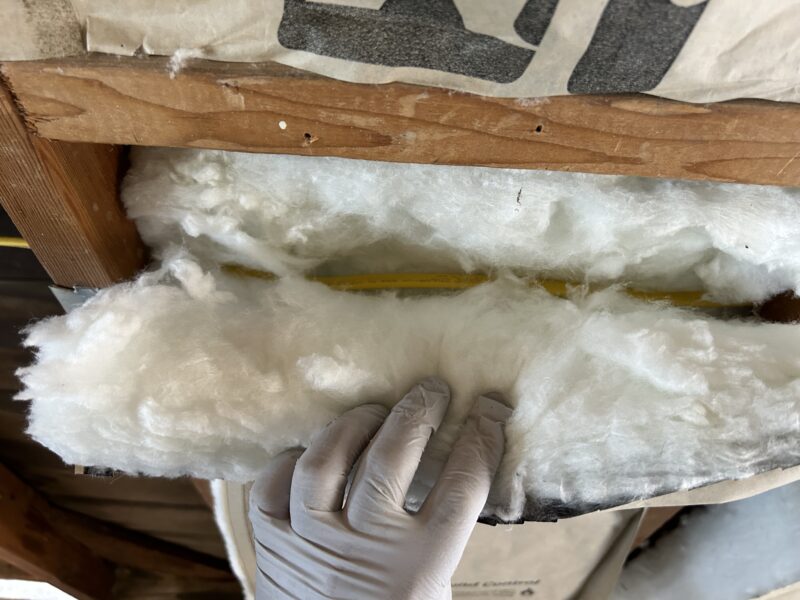
When working with insulation around wiring, you must split the insulation depending on how deep the wiring is run, then sandwiching it around the wiring as you install it. This ensures that the insulation does not all sit on the front side of the wiring, leaving a gap between wiring and the outside wall. By splitting the insulation and sandwiching the wires, you ensure that the insulation is not compressed it evenly filling the void on both sides of the wiring.
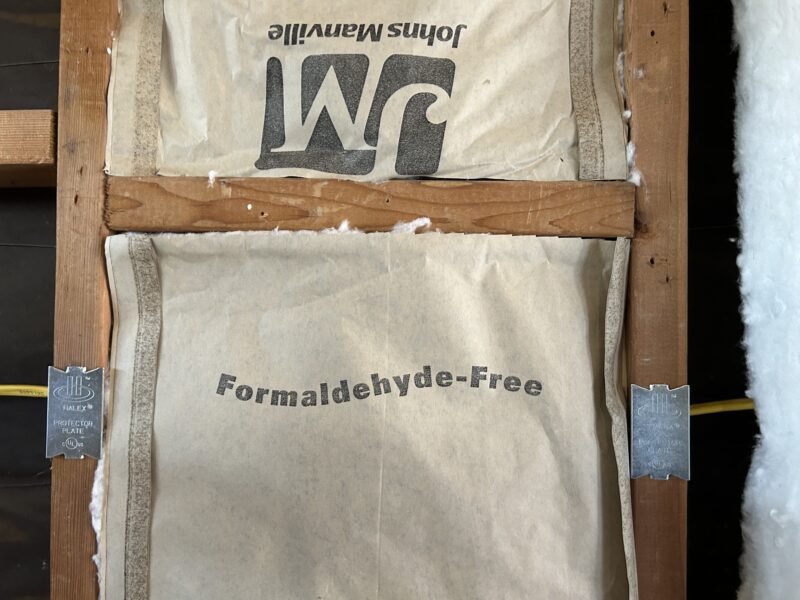
A handheld staple gun is ideal for stapling each side of the paper against the sides of the wooden studs. The job goes a lot faster if you can measure, cut, and fill all the insulation first, then go back around and staple all the faced paper to the sides of the studs.
In cases where the insulation is wider than the stud spacing, you’ll need to cut along the length of the insulation to fit. Using a long ruler (or 2×4, long strip of plywood, etc.), mark out the length of the fiberglass so you can cut a clean line. If you try to free-hand it, you’ll end up with an uneven cut line, resulting in air gaps when this piece is installed.
Likewise, if the stud spacing is wider than the insulation, then you’ll need to install more than one length of insulation and cut it to fit. Again, a clean straight line is key here, and when the two lengths of insulation are fit into place, use an insulating tape to tape the two strips of insulation together.
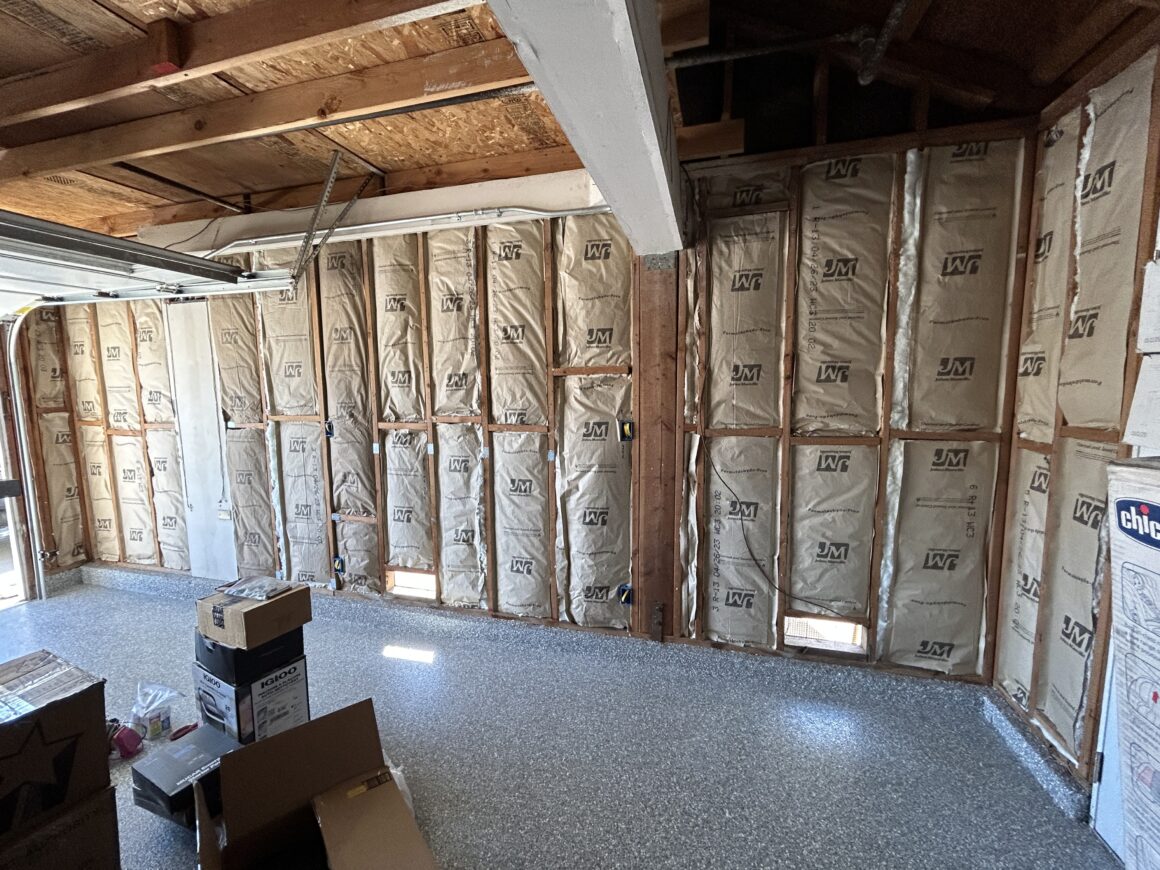
At the end, the fiberglass insulation should cover every open space in between the studs and be secured to the sides of the studs via staples.If you find any areas that have openings you can always take additional fiberglass insulation and fill it as needed. Just remember that you want to ensure that the fiberglass itself is not compressed, otherwise it loses its insulating effectiveness.
After the insulation is installed, it will be ready for drywall installation. Do a last check to make sure all the insulation is fit in between the studs properly without any pinch points. You also want to make sure there is nothing that will impede the installation of the drywall. Hopefully this was helpful in guiding you through the process of installing fiberglass insulation in the walls of your garage.

