When you make purchases through links on this site, The Track Ahead may earn an affiliate commission. Also, these posts are based off my own experiences. I am not responsible for any action you take as a result of reading this. Learn More
If you have a car bumper that you’ve repaired and refinished, the last thing to do to make the bumper cover look like new again is to give it a fresh coat of paint. Well, there’s a little bit more to it than that as you will need to prep the bumper, primer it, paint it, and apply clear coat. Even within each of those steps are more specific details that you’ll need to know in order to get the best finish possible.
On this guide, I’ll be showing how to prep the bumper cover, apply several coats of primer for the optimal adhesion of the paint, spray on several coats of paint, and finish it off with 2K clear coat. There are a lot of things that are important to know, but I’ll do my best to make sure they are noted throughout this guide.
There are a lot of different materials and tools you will need, so it’s best to have it all ready ahead of time. Hopefully you have an enclosed shop or garage that you can spray paint in. If you do not, you can get away with using a spray tent outdoors. A good sheltered/controlled environment will yield the best possible results from spraying paint as you don’t have to worry about miscellaneous flying debris getting on your paint surface.
As for the primer, paint, and clear coat, we will be spraying all of it via spray cans (rattle cans). The 1K primer and color-matched paint used on this tutorial are purchased from Paintscratch, and the 2K clear coat can be found online. Even if you’re using rattle cans to spray paint your bumper, you can get amazing results if you have a good color match and use a 2K clear coat, which hardens up to a professional-level finish.
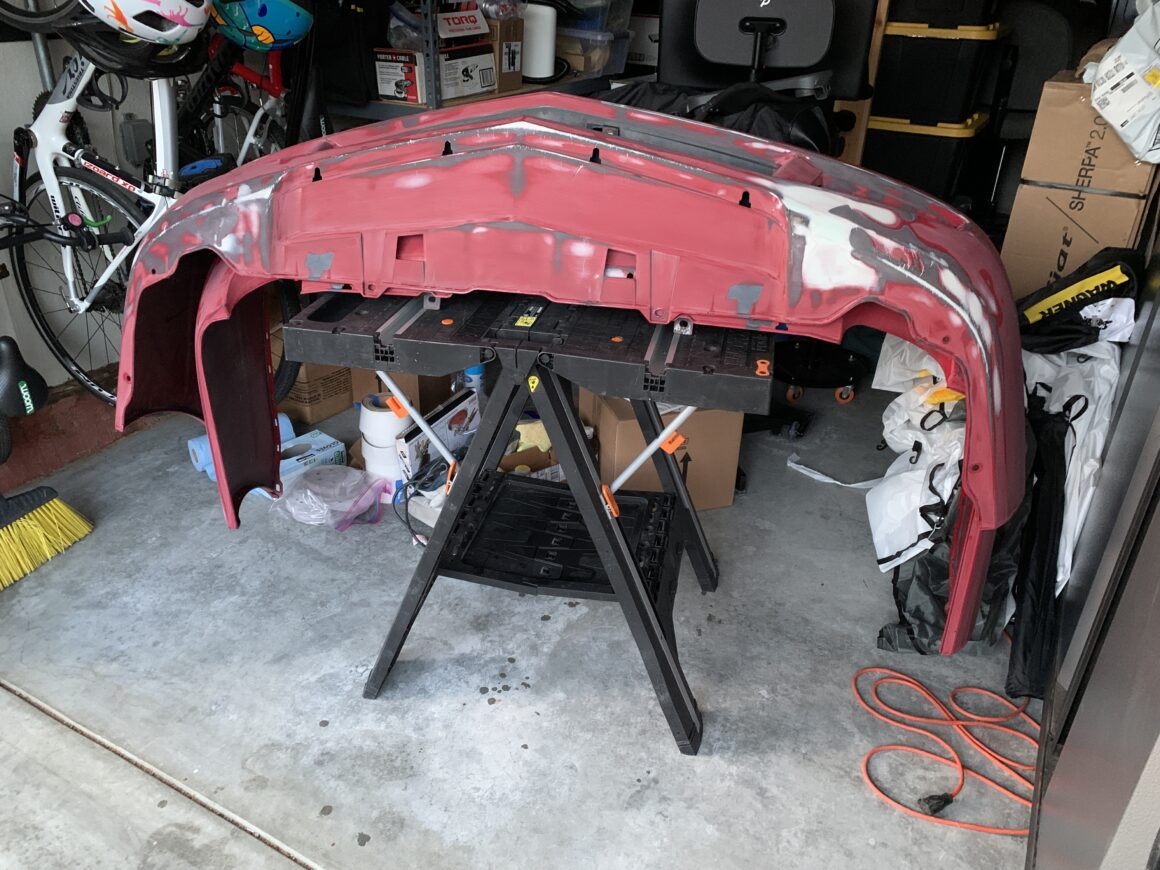
Below are some photos of the original car bumpers we’ll be working on. As you can see, there are plenty of cracks, scratches, as well as significant clear coat failure. After repairing them, refinishing them, and repainting them, they will look like new again. I hope this guide helps you if you are planning to repaint your bumper covers.
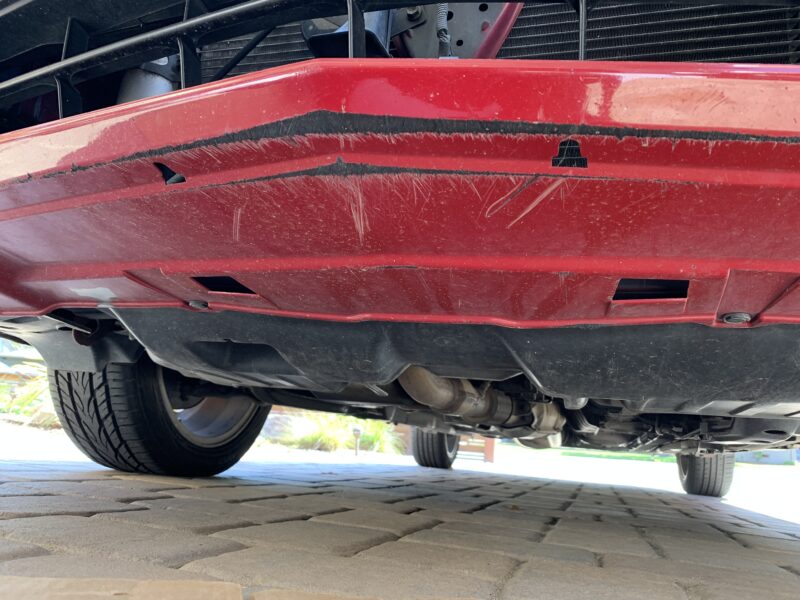


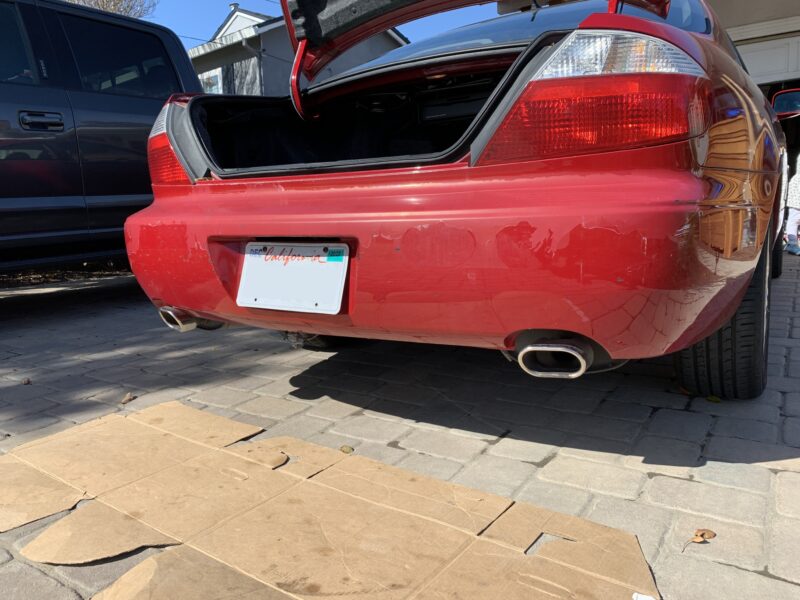
Tools & Materials Used
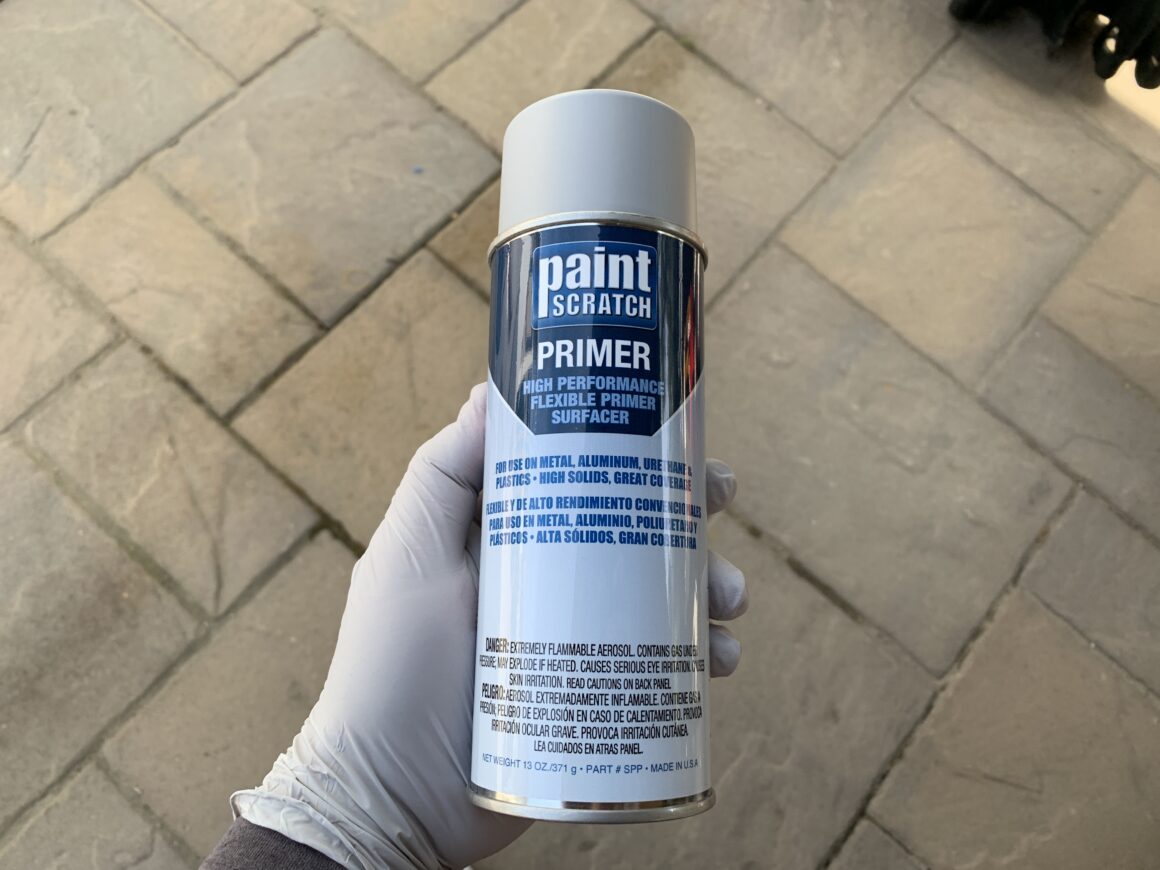
Primer
Although I know you can buy 1K primer almost anywhere, I chose to buy from Paintscratch since I was already buying the color-match paint from them. From what I’ve heard, it’s best to stick with the same brand when you go with these paints as you can be rest assured that the paints are compatible. This specific primer sprays on grey.
These 12.5 oz spray cans cover about 4 square feet of area if you’re applying 2-3 coats of primer. I used about 3 cans per bumper cover.
Color-Matched Base Coat Paint
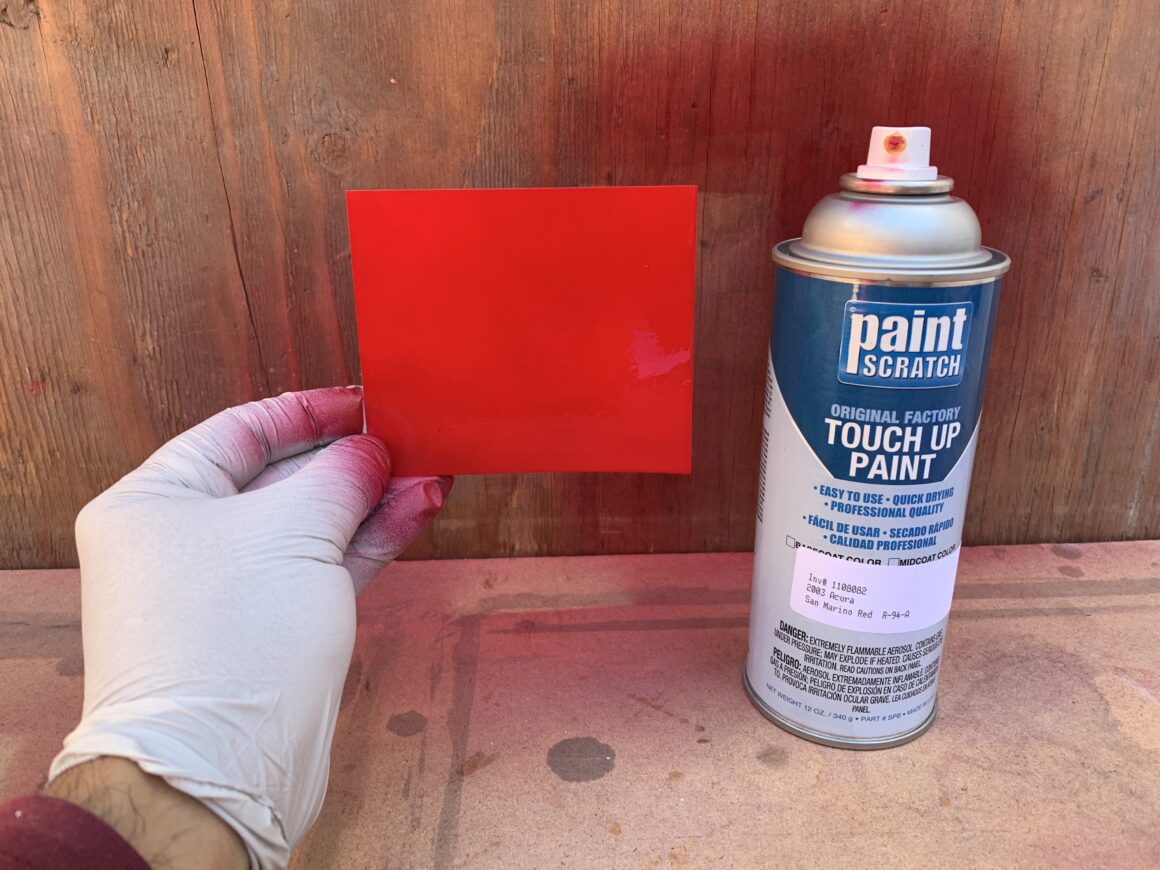
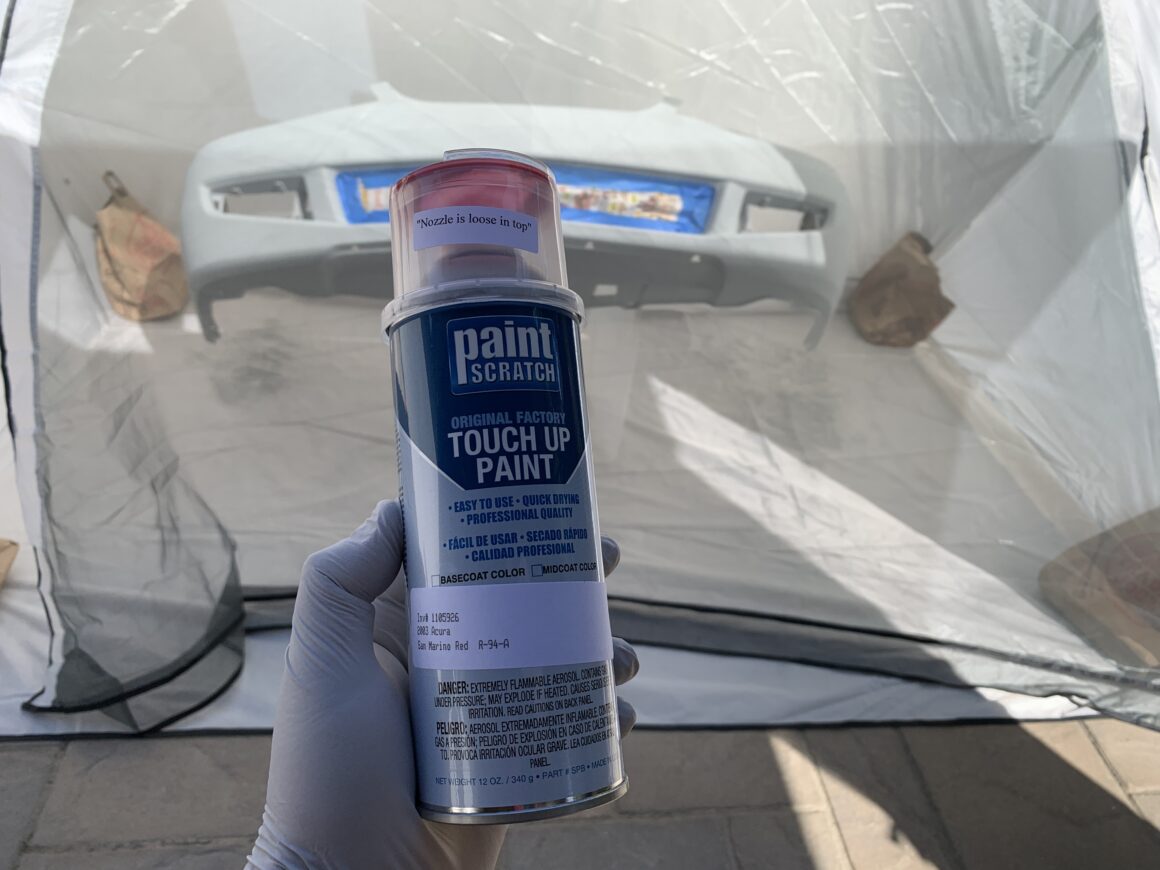
The touch-up paint I purchased was also from Paintscratch. I obtained the color code from my driver side door jamb, and inserted the information into the website. After about a week, I received my order of touch-up paint. Make sure to test out your paint by spraying it onto a test card and hold it up to your existing paint. You cannot trust that the color-match will always be accurate.
From what I understand, Paintscratch sends out these orders to local paint shops and they mix up the paint for you. I personally had an issue with the shop that screwed up a couple batches of my paint, so absolutely do not just assume that your color-matched paint will be correct. You don’t need to test out every spray can, but just one of them in your batch.
Similar to the primer with these 12.5 oz spray cans, they cover about 4 square feet of area if you’re spraying 2-3 coats of paint. I used about 3-4 cans per bumper cover. I needed slightly more paint than the primer for the same area because I needed to ensure there was enough coverage of the paint more so than the primer. Furthermore, when you get to the last bit of paint in the can, you start experiencing some splatter. So, you may end up having to stop spraying base coat before you get to the very last bit of paint in the cans. As a result, you’re using about 90% of the paint in the spray can, but you avoid paint splatter on your paint surface.
2K Clear Coat
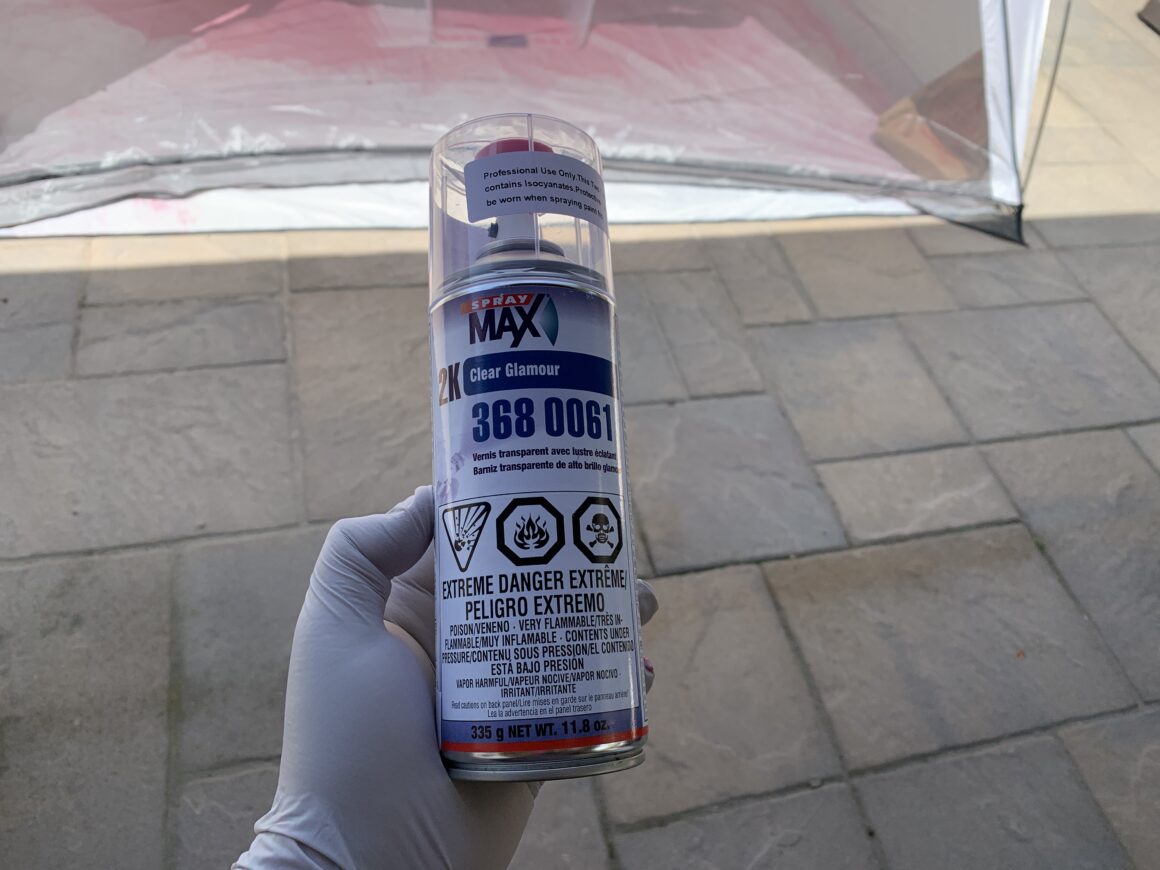
This is the stuff that truly makes your paint pop at the end. It is a 2-part clear coat, which is activated by pressing the provided red cap into the bottom of the can before using. This activates the hardener and is what allows you to get that professional-looking automotive finish.
SprayMax 2K High Gloss Clear Coat: 1pk / 2pk / 4pk / 6pk / 12pk
600-Grit Sandpaper
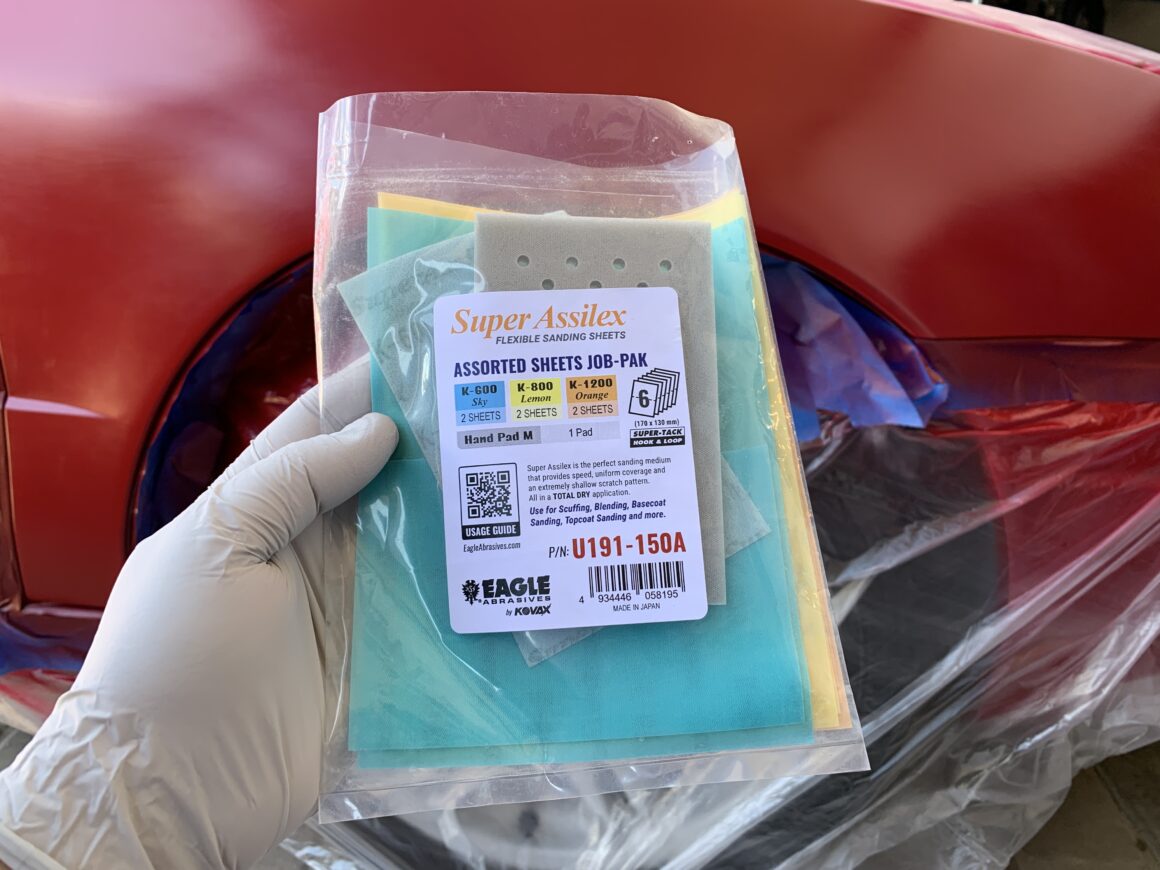
After you’ve applied primer onto your bumper, you will need to sand it down with 600-grit sandpaper. This smooths out the surface after the primer is applied and allows for a better paint finish afterwards. You can either use a 600-grit sandpaper, or you can use the K-600 dry sandpaper that comes in this Eagle Abrasives Job-Pak.
3M 600 Wet-or-Dry Sandpaper 5pk
Eagle Abrasives Job-Pak (K600-K1200) – 6 Sheets + 1 M Hand Pad
Backing Pad for Sandpaper
It’s useful to have a backing pad for the sandpaper when you’re sanding to conform to the many curves of a bumper cover. If you use the Eagle Abrasive Job-Pak, it already has a thin foam backing pad, which can work for this kind of job. Otherwise, a flexible sponge pad such as the one below will work for your standard sandpaper.
3M Wetordry Sponge Pad 20, 05526, 5 1/2 x 2-3/4 in x 3/8 in
Tack Cloths
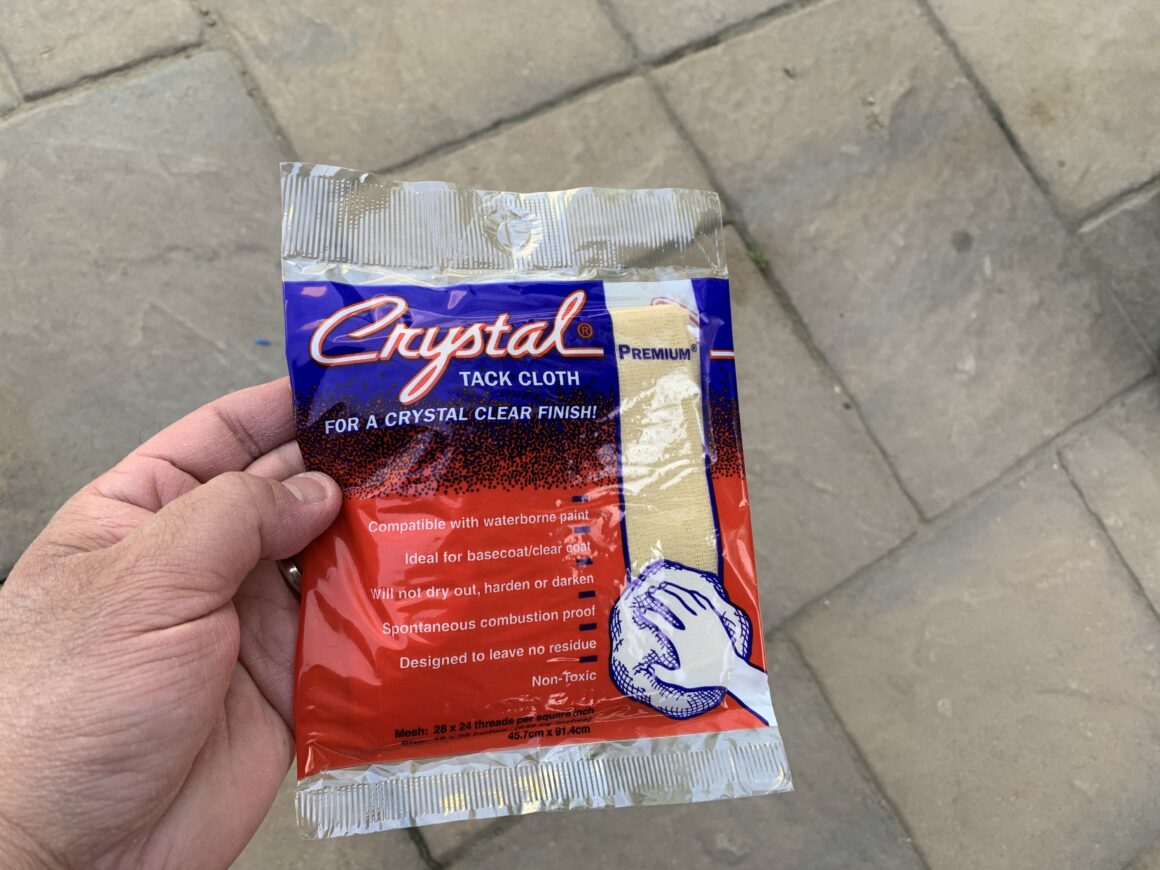
A must-have for doing a final wipe-down right before spraying primer, paint, and clear. This ensures no lint is left behind and removes any other remaining dust or miscellaneous debris to provide a clean surface to spray primer, paint, and clear coat on.
Premium Tack Cloths, Bond Crystal Brand 18″ x 36″ 12 Cloths Per Box
Scuff Stuff and Grey Scuff Pad
The use of an abrasive surface prep and grey scuff pad gives you a final prep of the surface after sanding to cover any edges and corners that you might have missed with sandpaper, as well as smooth out the surface even further to prepare for primer/paint.
Presta Scuff Stuff Surface Prep, Quart
Search on Amazon for Grey Scuff Pad
Grease & Wax Remover
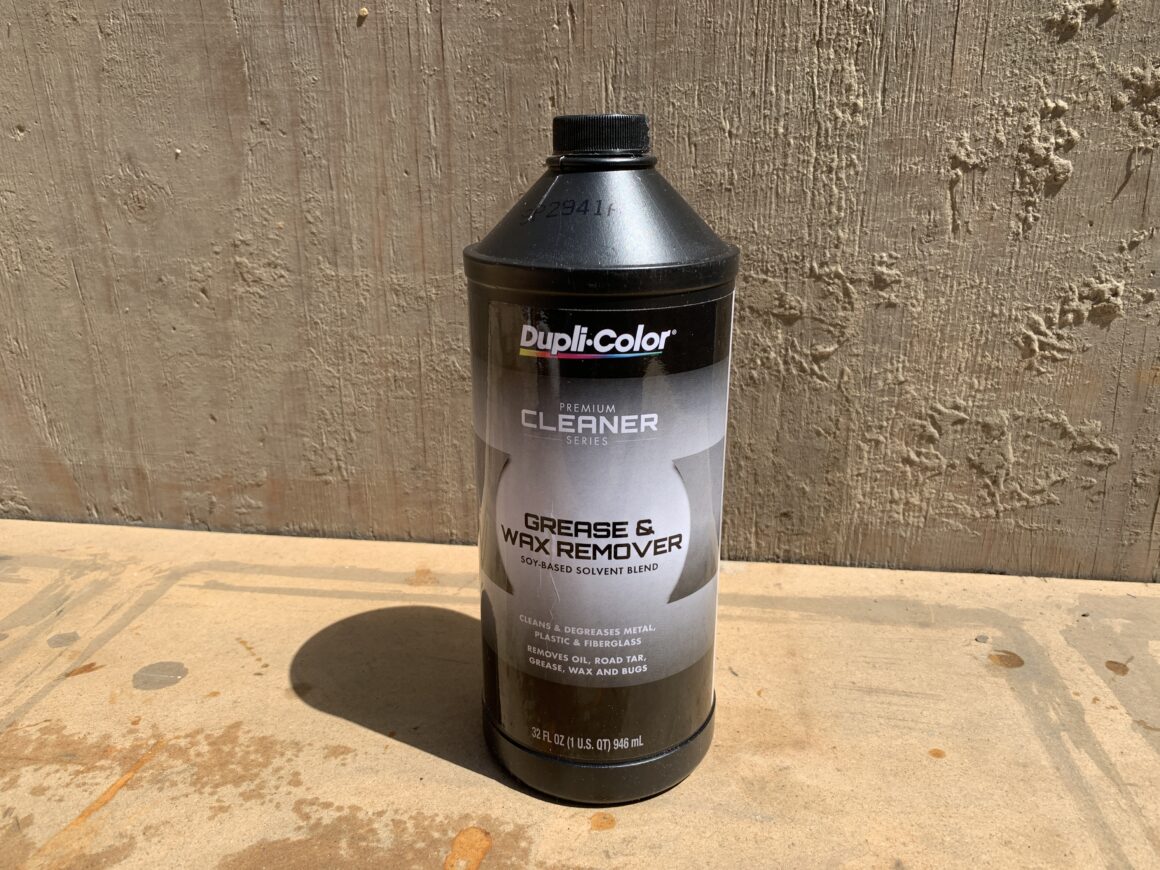
A grease and wax remover is necessary for removing oil-based contaminants. Since you want the best adhesion for your paint, this will remove unwanted greases/waxes that may weaken the bond between the bumper and the primer/paint/clear coat.
Dupli-Color Grease and Wax Remover, 32 oz.
Alcohol-Based Cleaner
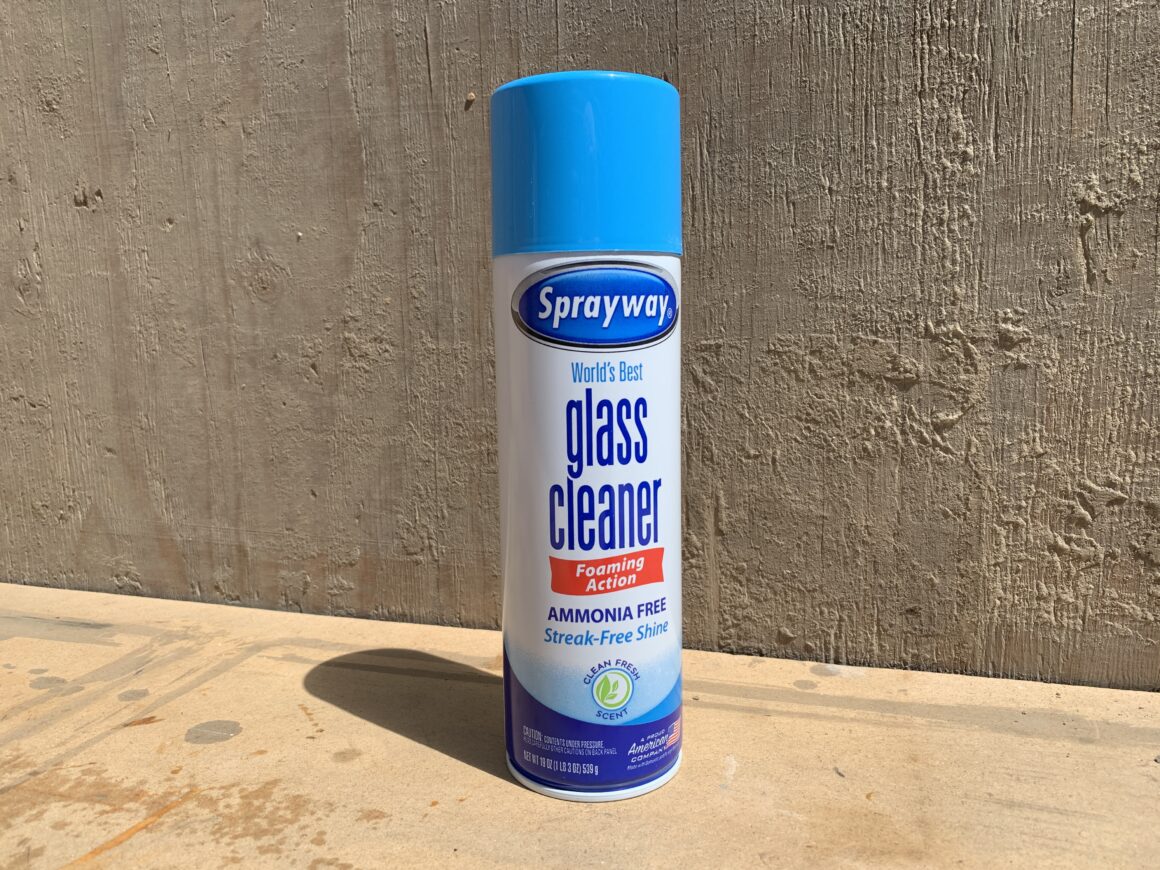
Alcohol-based cleaners are used in addition to grease and wax remover to clean water-based contaminants such as fingerprints, sweat, etc. A popular product in auto body shops is Sprayway Glass Cleaner, which is used for this purpose.
Sprayway Glass Cleaner Aerosol Spray, 19 Oz, Pack of 2
Automotive Masking Tape
Automotive masking tape is great for masking off the areas you don’t want to get paint onto. Painters tape works well for this as well.
3M Automotive Refinish Masking Tape, 06653, 24 mm x 55 m
Painting Technique with Rattle Cans
I just to point you to several YouTube videos from Paint Society that really helped me out with spraying paint with paint cans. Some things are best shown in a video format and since I don’t do video content, I wanted to reference some really good videos that will show you some good techniques for painting.
How to Repaint a Car Bumper
If there is any damage such as cracks, dents, scratches, then these should be all repaired and refinished prior to using this guide for repainting a car bumper. Here are some written guides for prepping a bumper cover if you need it:
How to Repair a Cracked Bumper
How to Refinish a Bumper to Prep it for Paint
One of the most important things about painting is keeping your workpiece clean. This means that the car bumper in this case is completely washed and cleaned of dirt, oil, dust, and any other contaminants. Aside from cleaning the outside surface of the bumper, you might want to consider cleaning the inside of the bumper as well. If there is debris on the inside of the bumper, sometimes moving or bumping the bumper can cause the buildup to come off and get into your paintwork.
If you’ve already prepped your bumper, it will likely already be cleaned with either a surface prep cleaner, and/or a combination of grease and wax remover and water-based cleaner. The purpose of cleaning the surface of the bumper is to ensure the best possible adhesion for the primer and paint to adhere to. Grease and wax remover cleans (as the name suggests) grease and wax, and alcohol-based cleaner removes water-based contaminants such as sweat, fingerprints, etc.
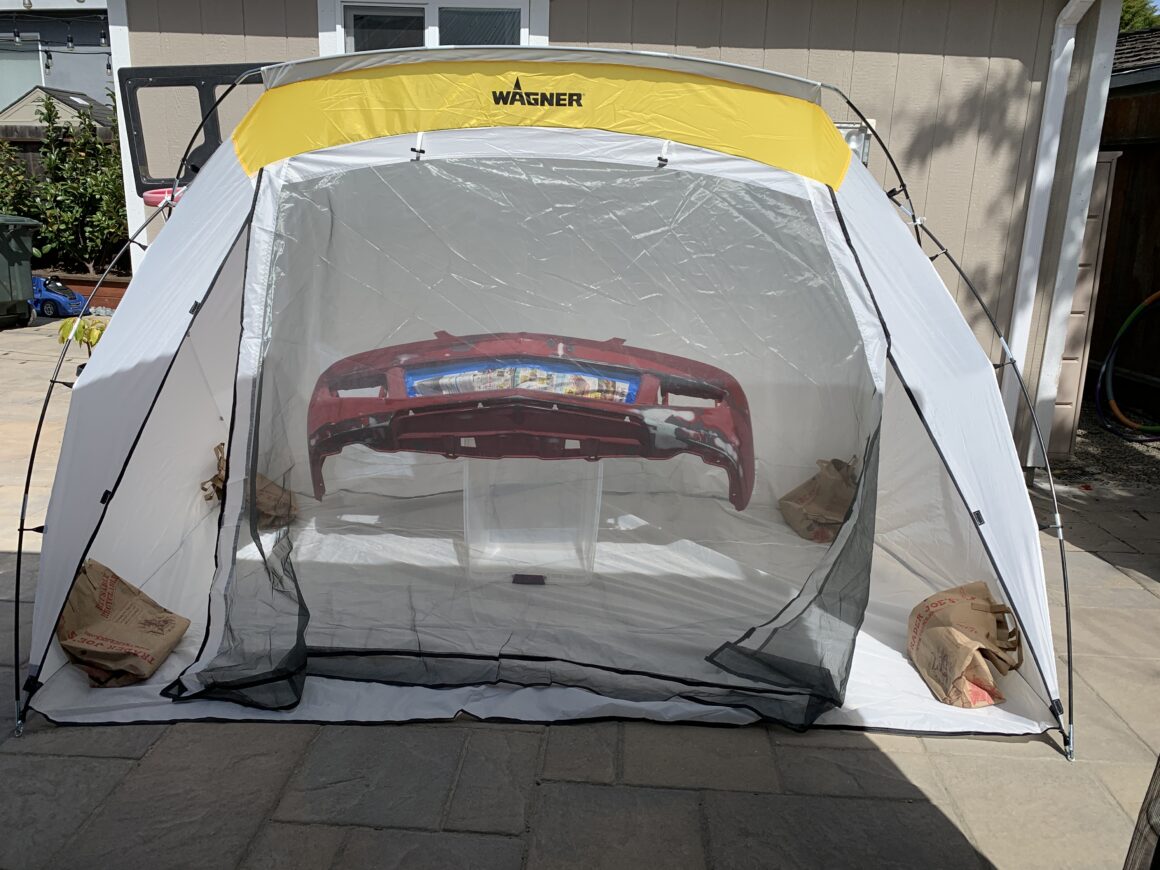
In addition to having a clean paint surface, you should also strive to paint in a clean environment. Obviously a paint booth is ideal, and second-to-that is an enclosed shop or garage. But, if you need to paint outdoors, you can try one of these paint tents. I used a large Wagner Spray Paint Tent (pictured below) to paint, which offers shelter from falling debris and shields you a bit from the wind.
Since rattle cans only spray when they are upright or mostly upright, you will need to ensure you use something to prop the bumper up. There are bumper stands out there that will do this, but you may be able to find something that you don’t mind getting paint on to prop it up, if you want to save some money.
You should also take this opportunity to prep areas that you don’t want painted. This means removing any trim pieces that are easily removable and taping/covering areas of the bumper that should not be painted. There may also be vehicle identification stickers on the bumper that may need to be taped over to prevent them being covered with paint.
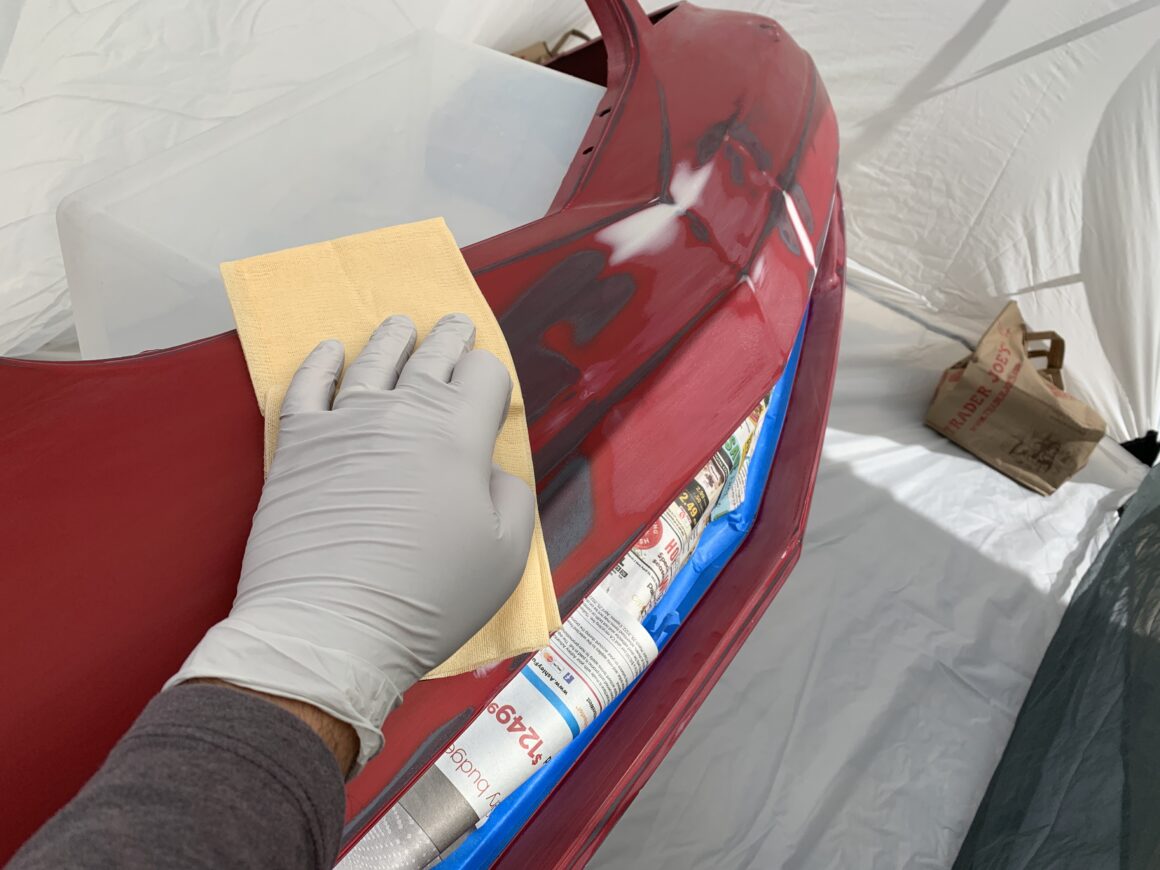
Prior to doing any painting, I’ll use a tack cloth to ensure I get every bit of dust or lint off of the surface of the bumper cover before spraying primer.
Spraying Primer
It’s time to start spraying primer. Remember to wear a respirator when painting! Wear nitrile gloves and pull them back tight. Sometimes if the glove is loose on the trigger finger, it can interfere with the spray causing a bunch of splatter on your paint surface. Yes, this has happened to me plenty of times.
I’m using a 1K primer from Paintscratch here. Shake the rattle can per the instructions on the can to ensure the primer is well-mixed. Spray from about 6-8 inches away from the surface and make sure you apply even and slightly overlapping strokes. You should apply about 2-3 coats of primer depending on how good of coverage you get. You should wait about 10-15 minutes in between coats.
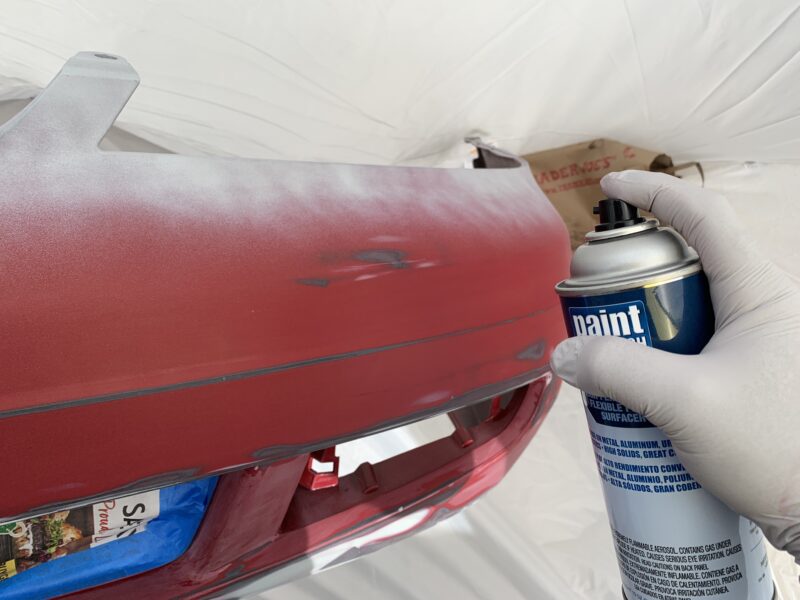
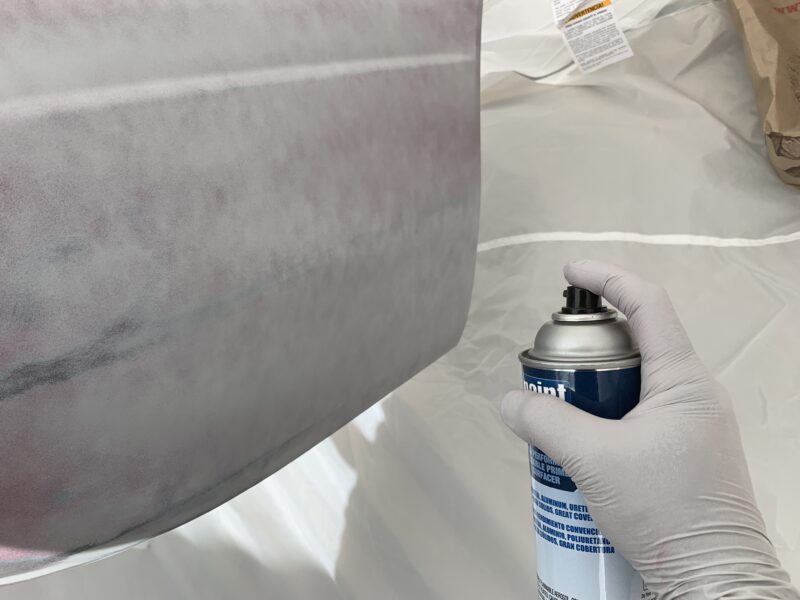
Once you’ve completed your primer coats, you should allow the primer to dry at least 8 hours, but preferably overnight. Since primer can shrink down slightly, it is best for this to happen prior to spraying base coat, rather than having it happen after.
After waiting overnight, you may find that the primer surface is somewhat rough. It’s best to sand down the bumper with 600-grit wet sandpaper, as well as a grey scuff pad on areas that the sandpaper has trouble getting to such as corners and edges. An alternative to using 600-grit wet sandpaper would be to use Eagle Abrasives K-Series K-600 grit sandpaper, which sands dry.
Also if you have taped off areas on the bumper from unwanted paint, you’ll need to remove it at this point as it may trap water from wetsanding and cleaning. You don’t want water to leak out of these areas later while you’re painting.
Ideally, you’d want to apply a guide coat over this surface prior to sanding. If you apply a guide coat (dry rub on or spray on are available options) and then sand the surface down, you will see all the areas that you either did not sand, or did not sand enough. Since the guide coat pigment stays within the scratch marks that you’re trying to sand out, it’s an excellent tool for ensuring you’re sanding out all of the larger sanding scratches in the bumper.
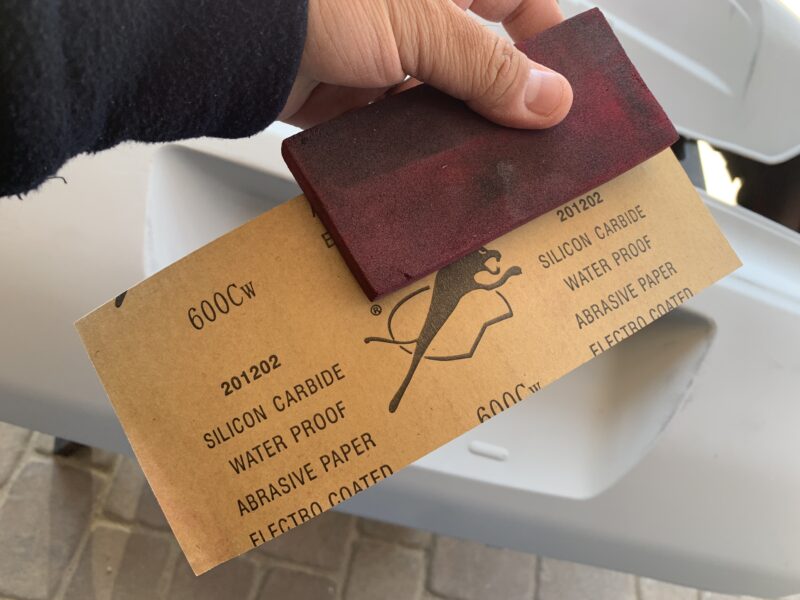
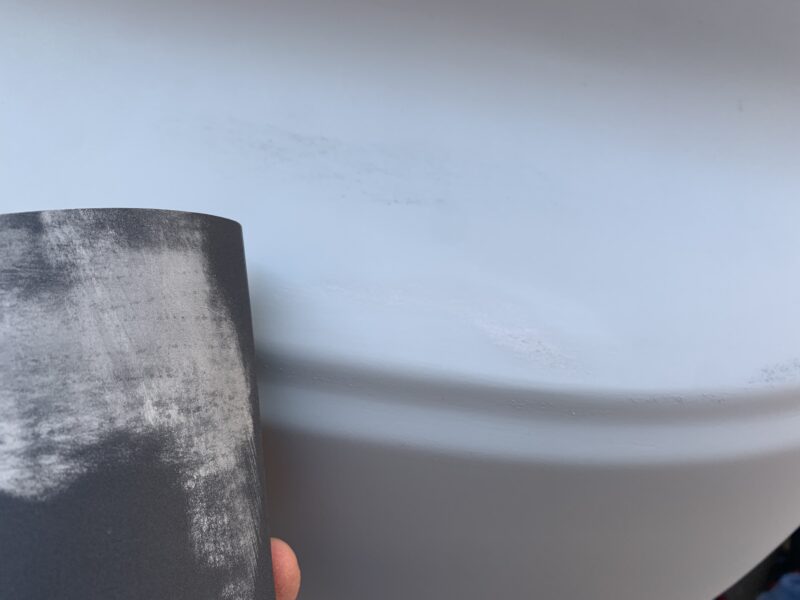
After sanding down the bumper with 600-grit sandpaper, you want to use a grey scuff pad along with Scuff Stuff surface prep to get a nice uniform and smooth surface. It also cleans the surface in preparation for paint. After scrubbing the whole bumper down, rinse it off and let it completely dry.
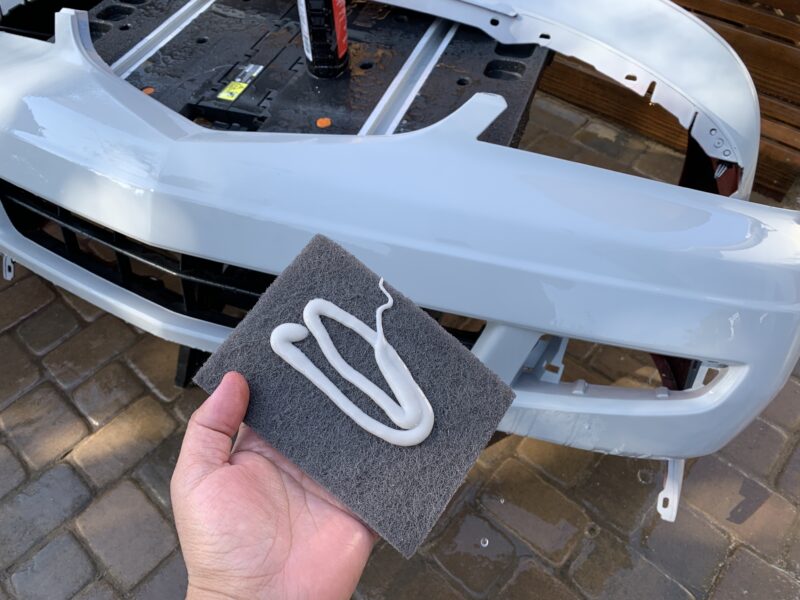
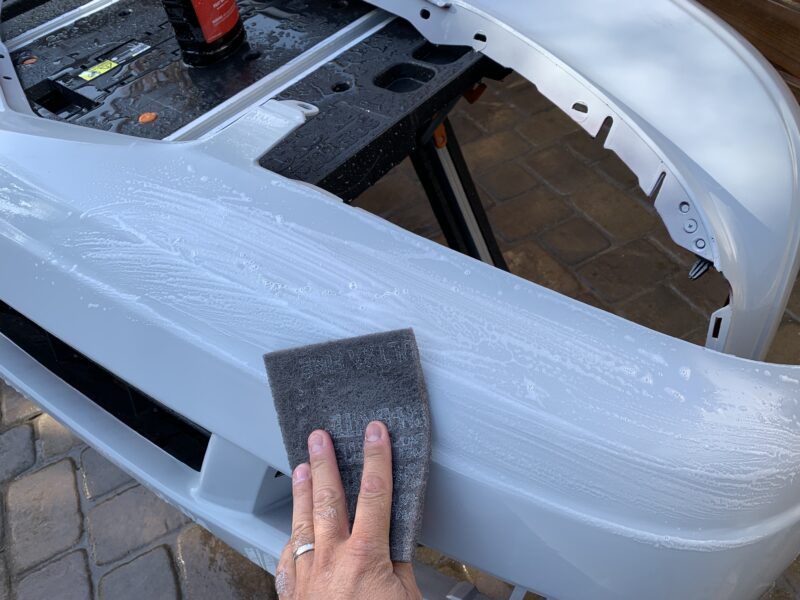
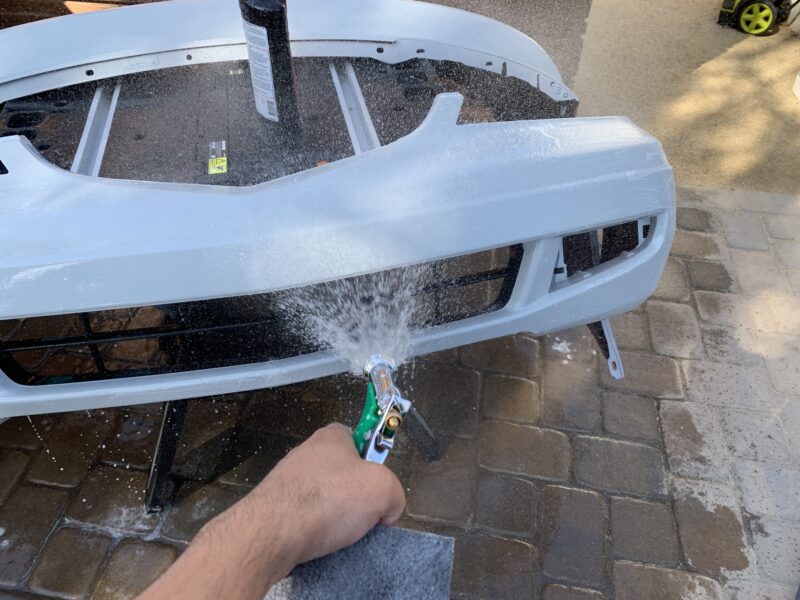
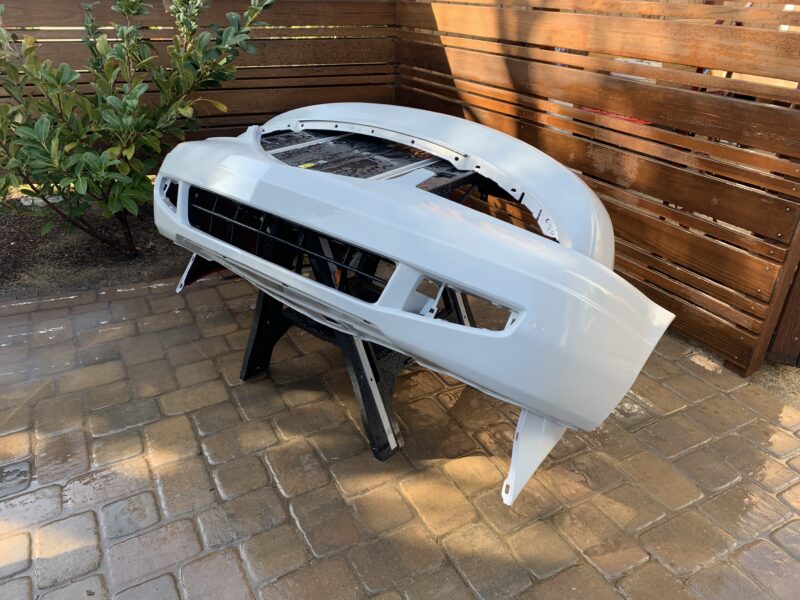
With the bumper prepped, it will be ready for paint. The primered bumper should feel smooth and appear uniform in color (the primer’s color). Re-tape the areas that you don’t want paint to get onto once more.
Use a grease and wax remover and alcohol-based cleaner with a microfiber towel and wipe down everything to ensure it is absolutely clean. Then follow-up with a tack-free cloth to get rid of the last bit of dust and lint from the towel during cleaning.
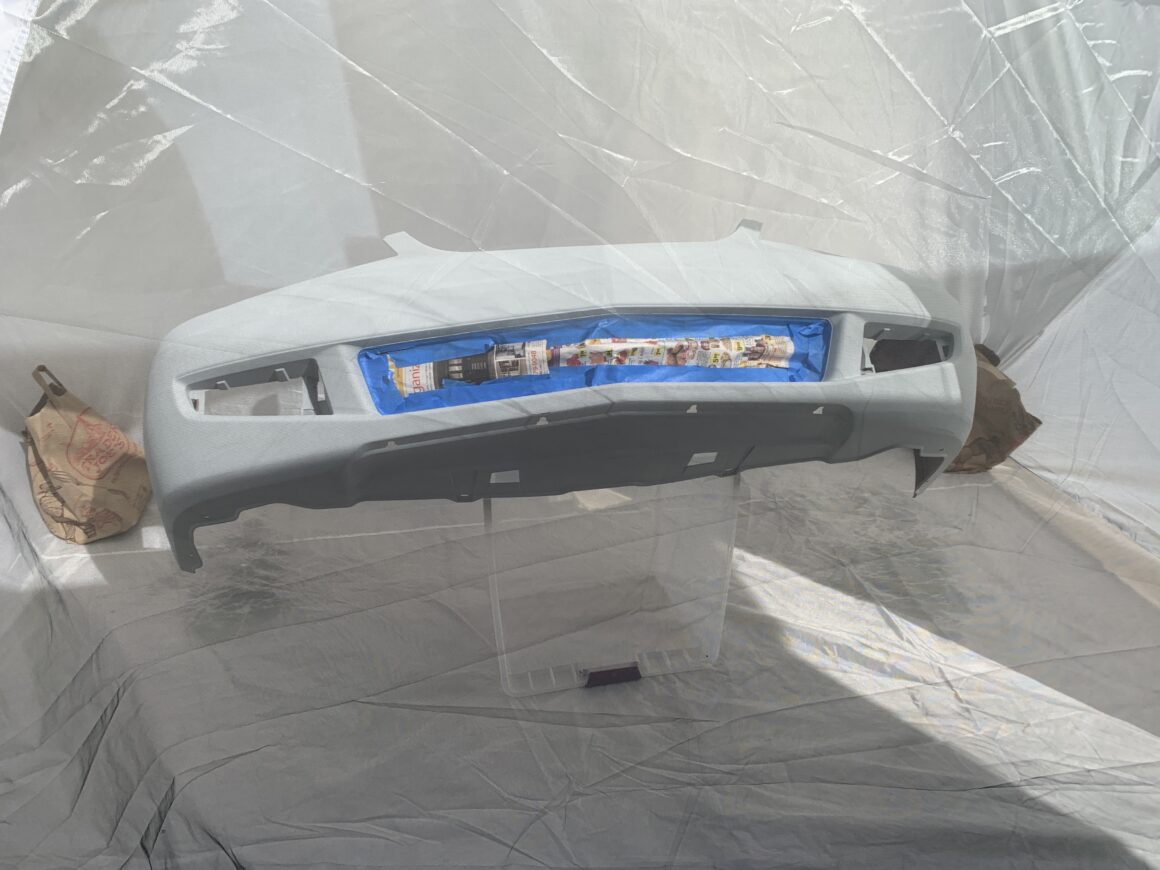
I’ll be using Paintscratch’s touch-up paint here, which I ordered to match my car’s paint. However, upon receiving your touch-up paint, you should test the paint to make sure it is a good match for your vehicle. This is very important and can save you a lot of time and headache later.
Testing Your Color Match
Paint color-matching companies such as Paintscratch will say that they cannot guarantee an exact paint match, especially if your vehicle is an older one. You can’t trust that the paint match will be an exact one on the account that the mix is going to be the exact same on every batch that goes out.
Paint Scratch sends out these orders to a dedicated paint mixer to mix, therefore your paint match is only as good as the shop that mixes up the paint. If they screw up your batch (like it did mine), then you’ll encounter something like I did. If you look at the pictures below, you can see how different two batches of paint came to me.
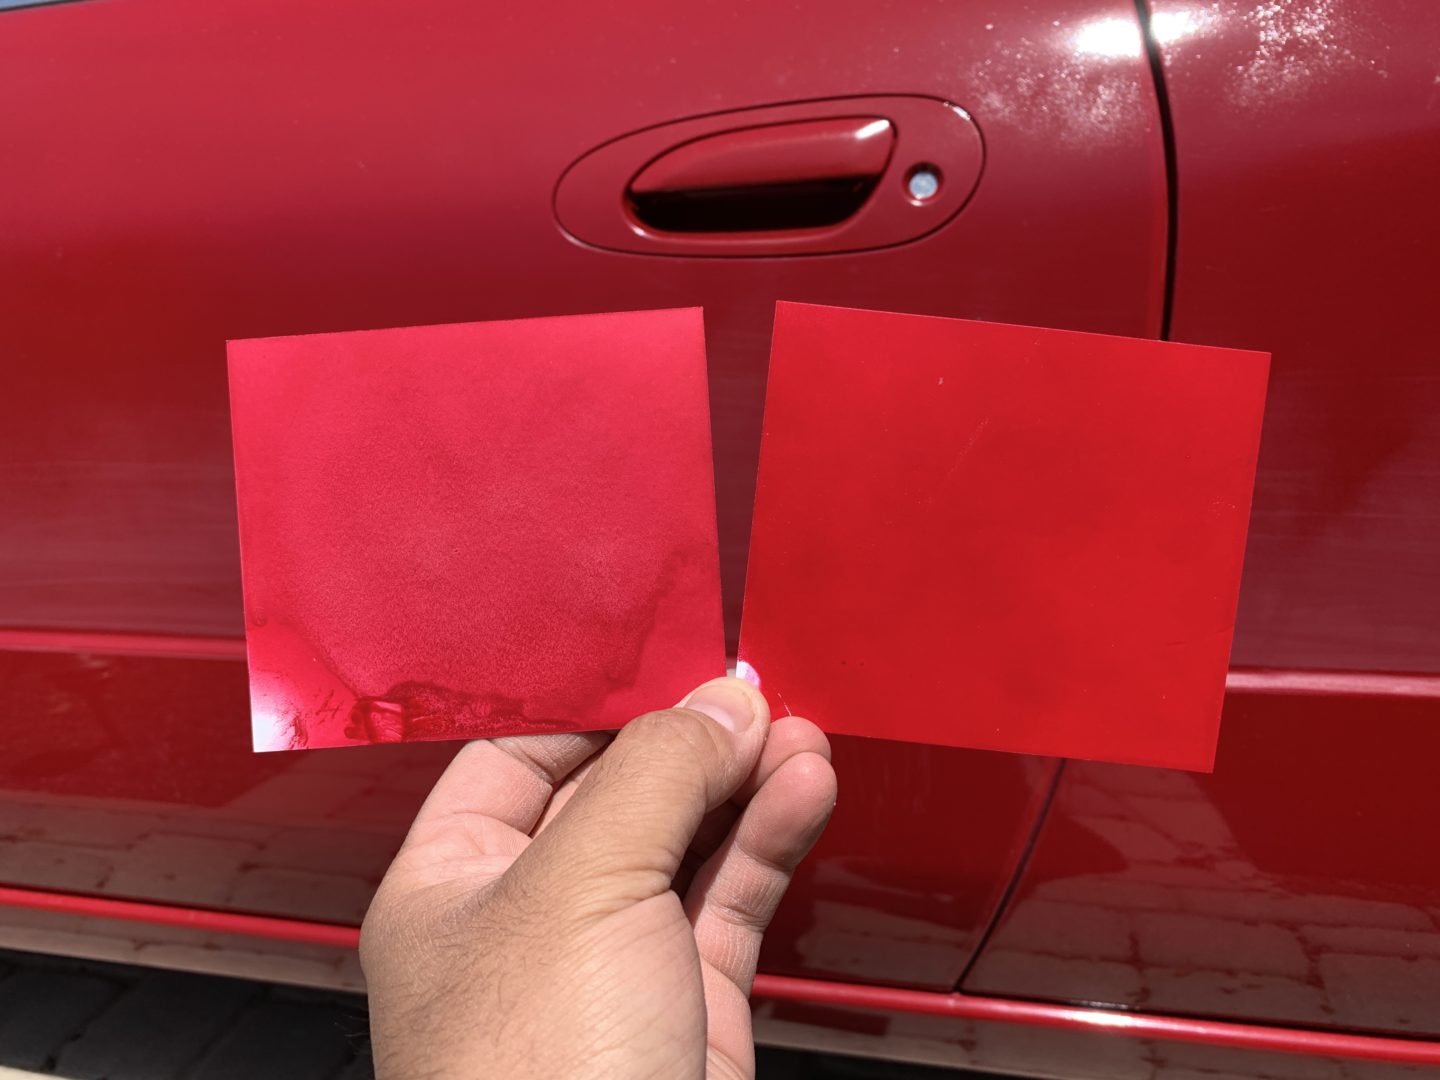

One of the batches of paint came to me and it looked good. It sprayed well and the pigment of this red immediately sprayed onto the test card. Although it’s not a perfect match to my existing paint, I don’t expect it to. The paint on my car is almost 20 years old, so the shade is expected to be slightly off.
However, I received another batch of paint that was just screwed up. When I sprayed the paint out, it sprayed out mostly clear with bits of the color coming out. It didn’t have the same type of sheen as the other batch did, and even the smell was different as it sprayed out of the can.
Now, imagine spraying paint with a bad batch of paint and all of the work that you’ll need to re-prep and re-paint. So for each batch of paint, use the included test card to test out your paint color and ensure that it is a good batch before proceeding to paint. If you have any issues with your paint, reach out to the place you ordered from as soon as possible to get the issue addressed.
Spraying Base Coat
Shake the base coat can per the instructions on the can to properly mix up the paint. Then spray 2-3 coats of base coat onto the bumper so that you have full and even coverage on the bumper. To obtain the best results, you want to spray the paint on wet; if you spray it on wet, it will go on with with a more even texture and result in a good uniform color.
To spray it on wet, you want to keep close to the workpiece— about 4-6 inches. You may want to work in small sections at a time to keep the paint going on wet. If you spray across too large of an area, the paint will dry too quickly and you won’t end up getting a good coat from it.
On your last coat of base coat, you may want to spray about 6-8 inches away to get a more even dust coat, which just applies a more uniform texture and doesn’t leave ‘tiger stripes’ in the finish.
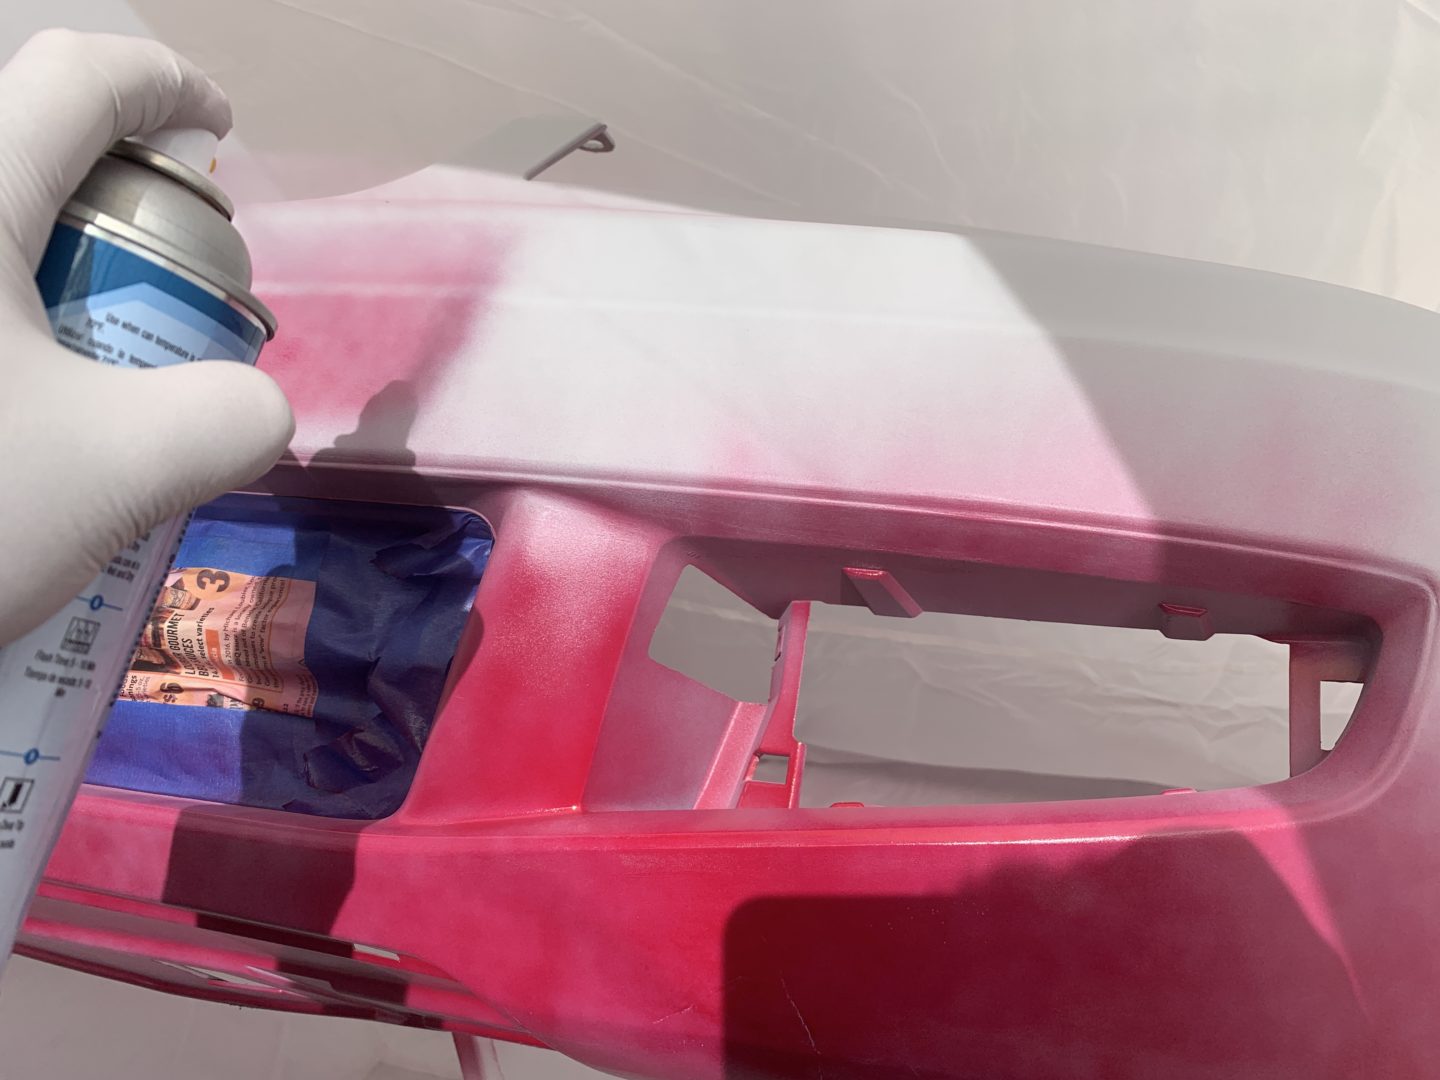
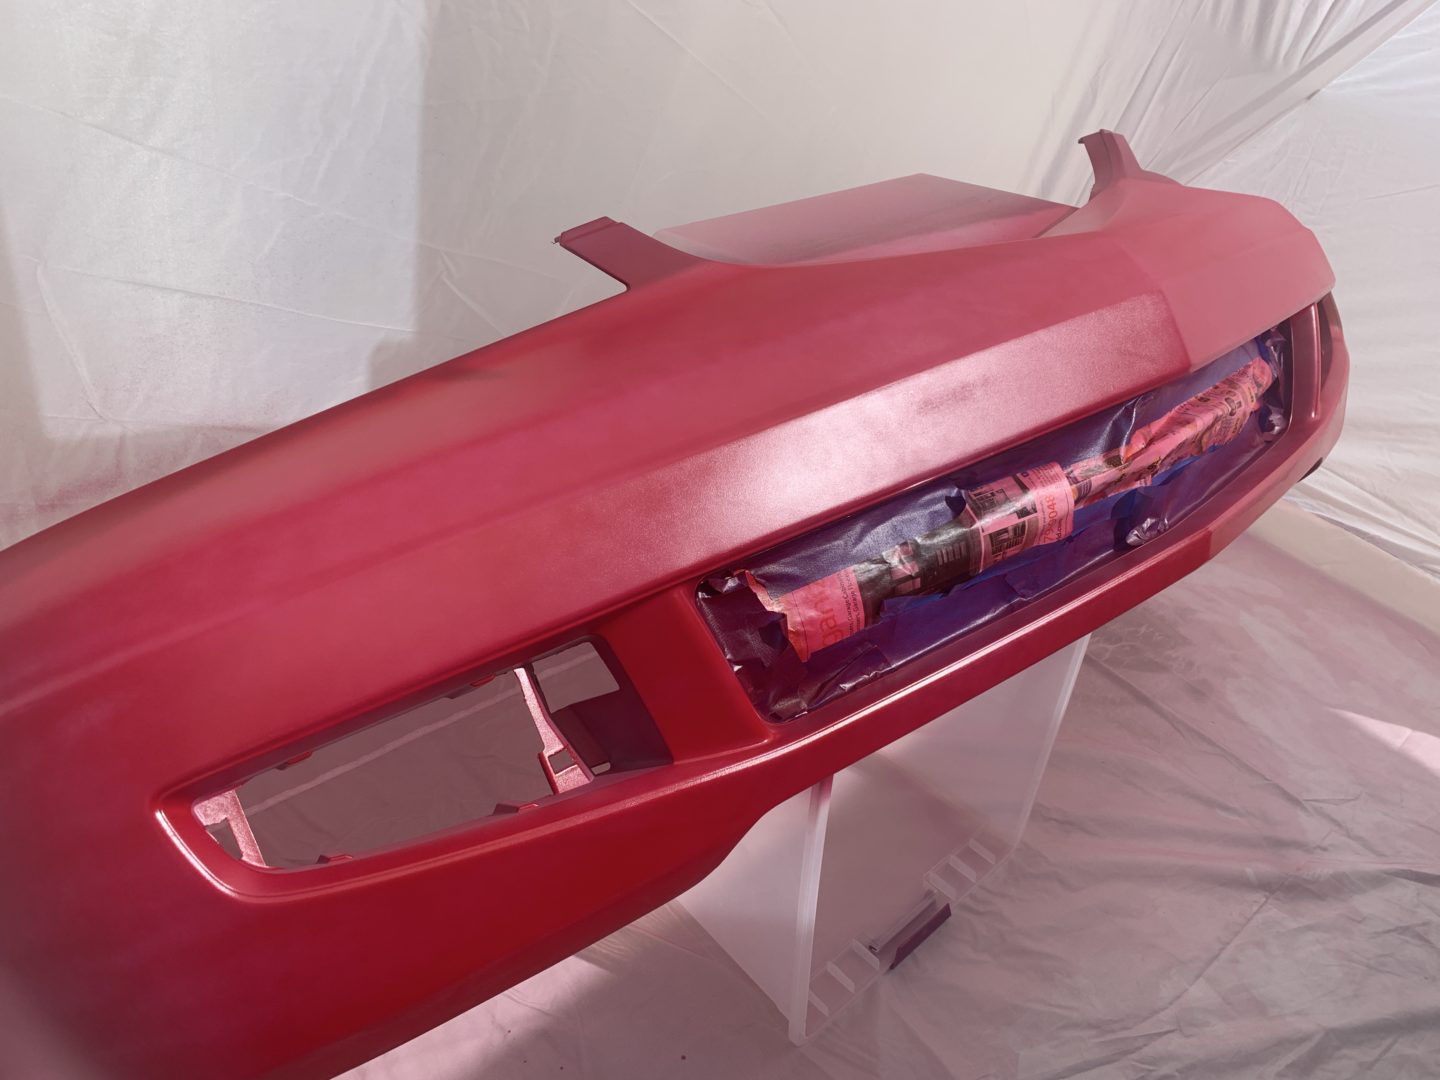
The first coat of base coat usually looks pretty spotty, which is not a big deal. As you continue on with the second and/or third coats, your bumper will look much better. It’s okay if there is a bit of splatter, which happens sometimes when you spray out of a rattle can. This is usually unnoticeable once you spray on the clear coat.
In between coats, you should wait about 10 minutes. The previous coat of paint should be barely tacky (you can test this by pressing with your finger on an oversprayed area). When the previous coat of paint is barely tacky, that means it has cured enough but it is still tacky for the next coat of paint to fuse to.
If you get a bug, lint, or other debris in the paint, you can use a rolled up piece of tape to remove it. Just be extra careful not to cause further damage to your painted surface when doing so.
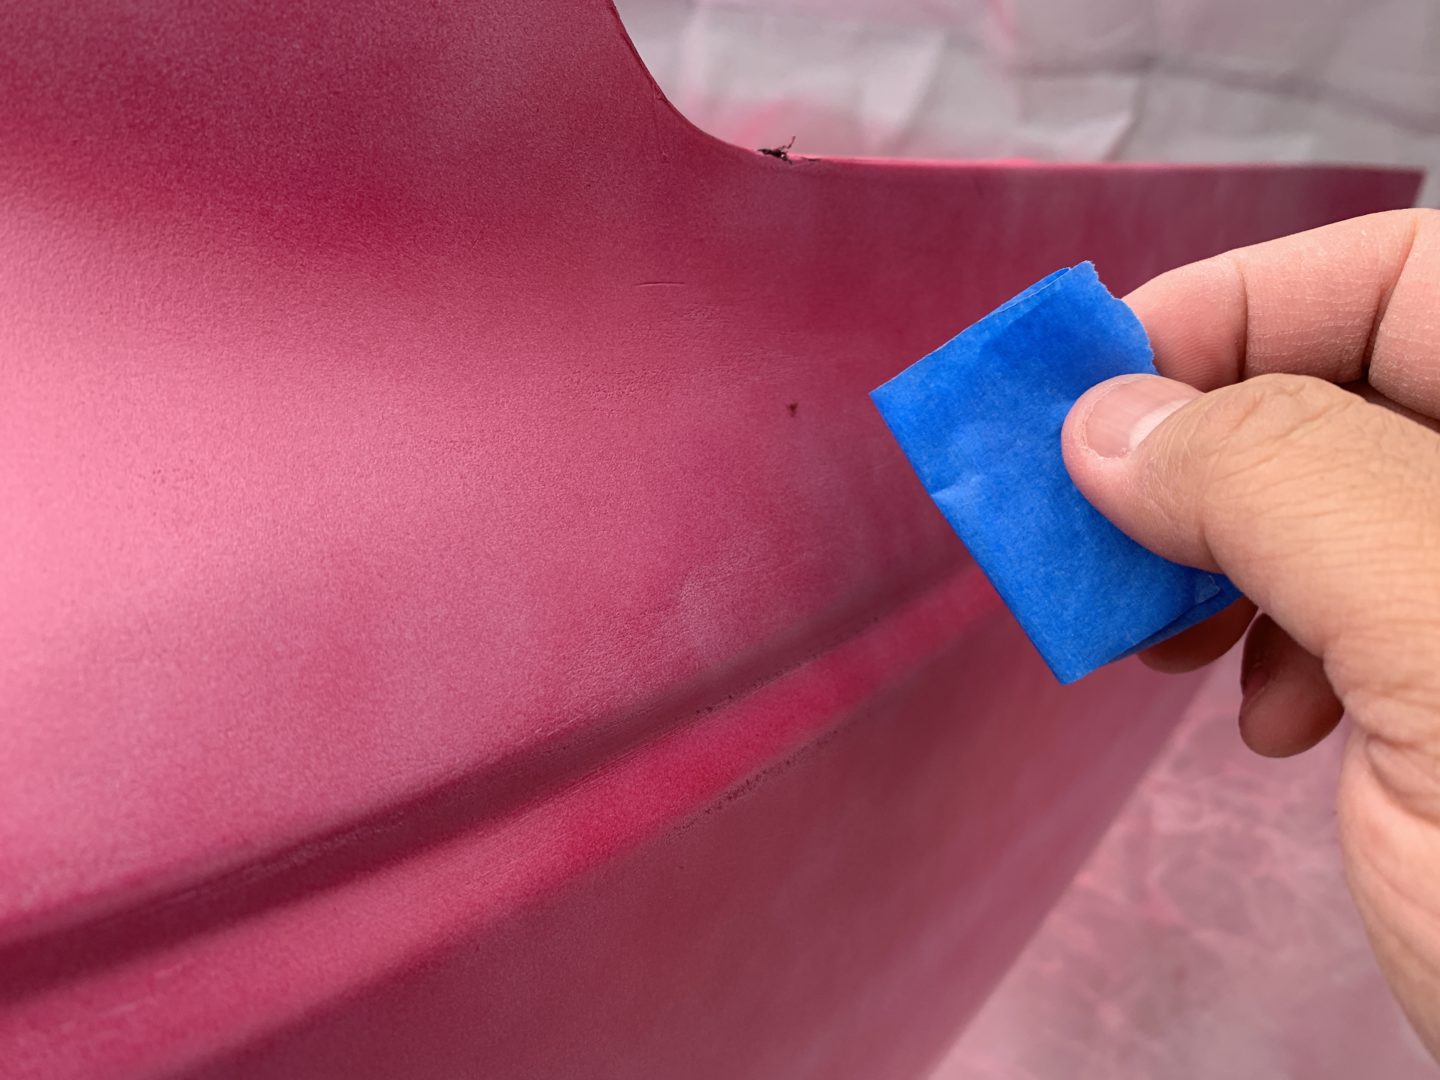
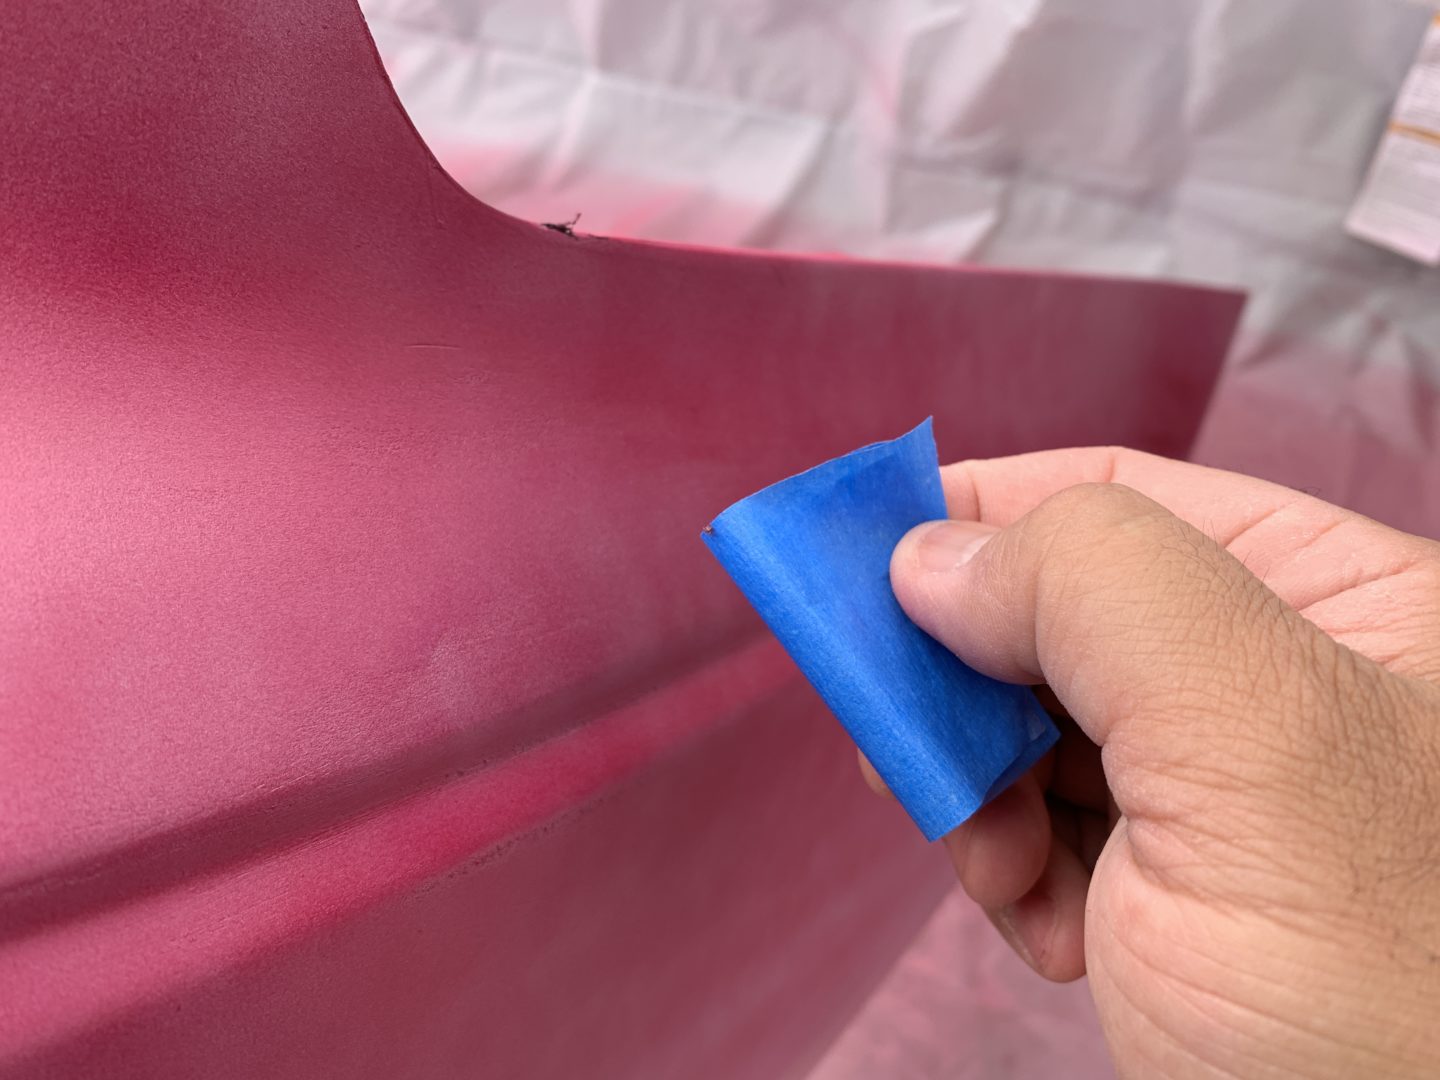
When you paint such a large area such as bumper, you’ll want to split the bumper up into sections. This is largely due to the fact that the rattle can has a small fan and dries up pretty quickly. Therefore, you want to keep the paint being sprayed onto the bumper wet, which is accomplished by spraying small sections at a time.
Also, keep in mind that if you are painting in the sun, the paint dries super quickly. Therefore, it’s best to stay out of the sun while painting. If you have no way around it, you may have to shorten your paint strokes to smaller footprints in order to keep the paint wet.
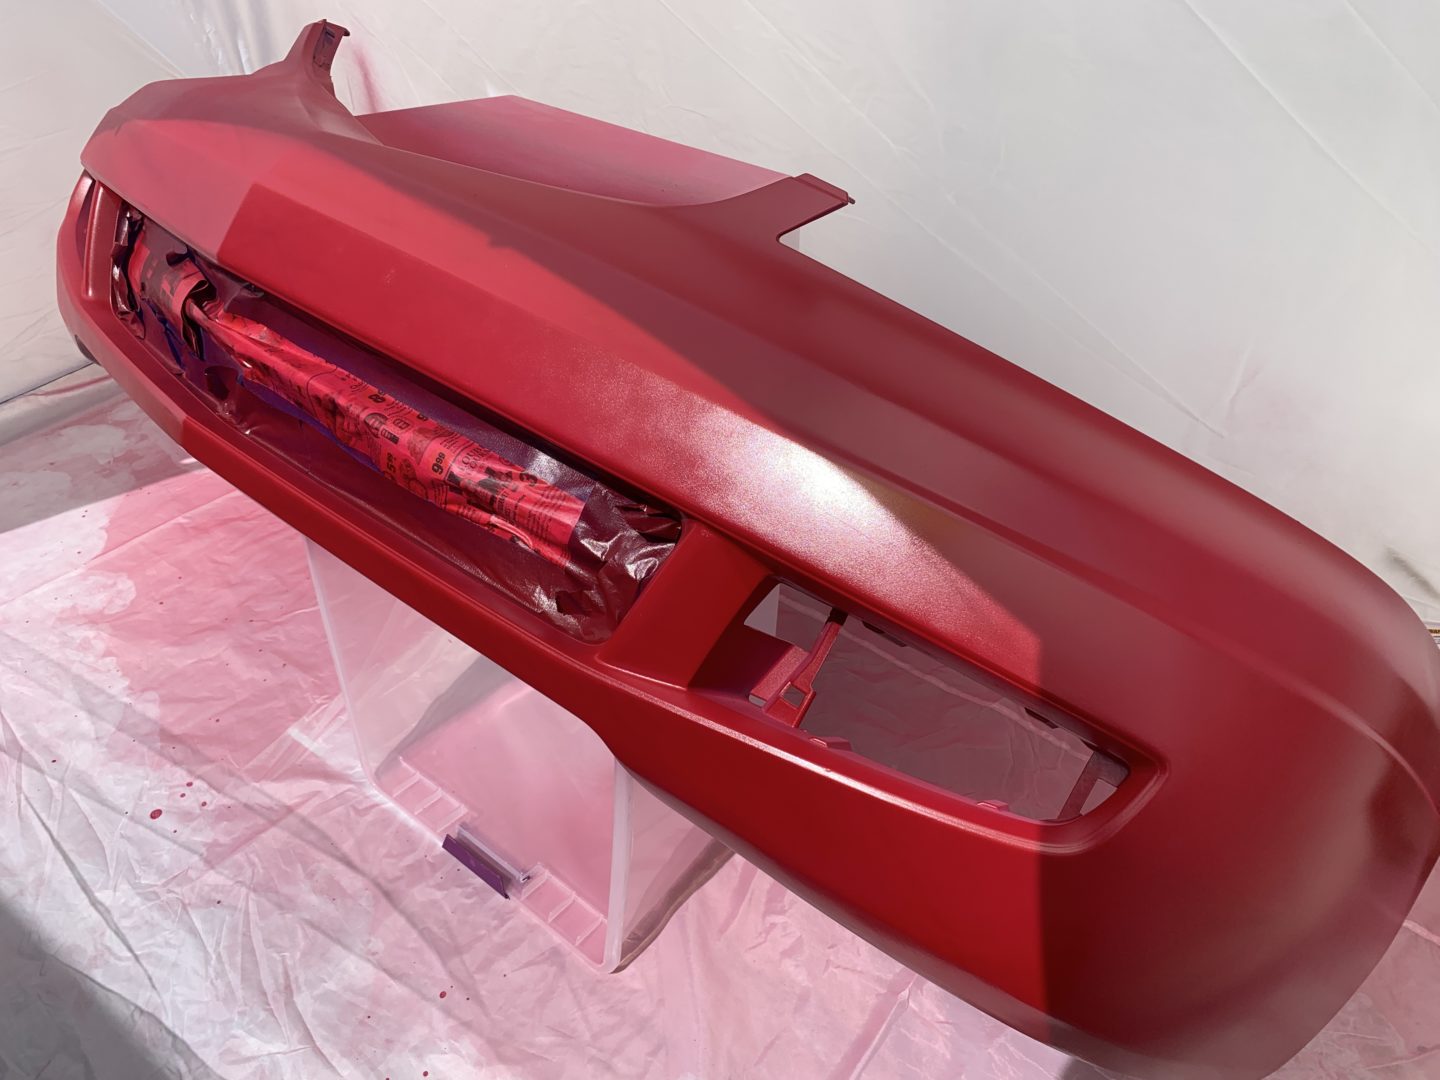
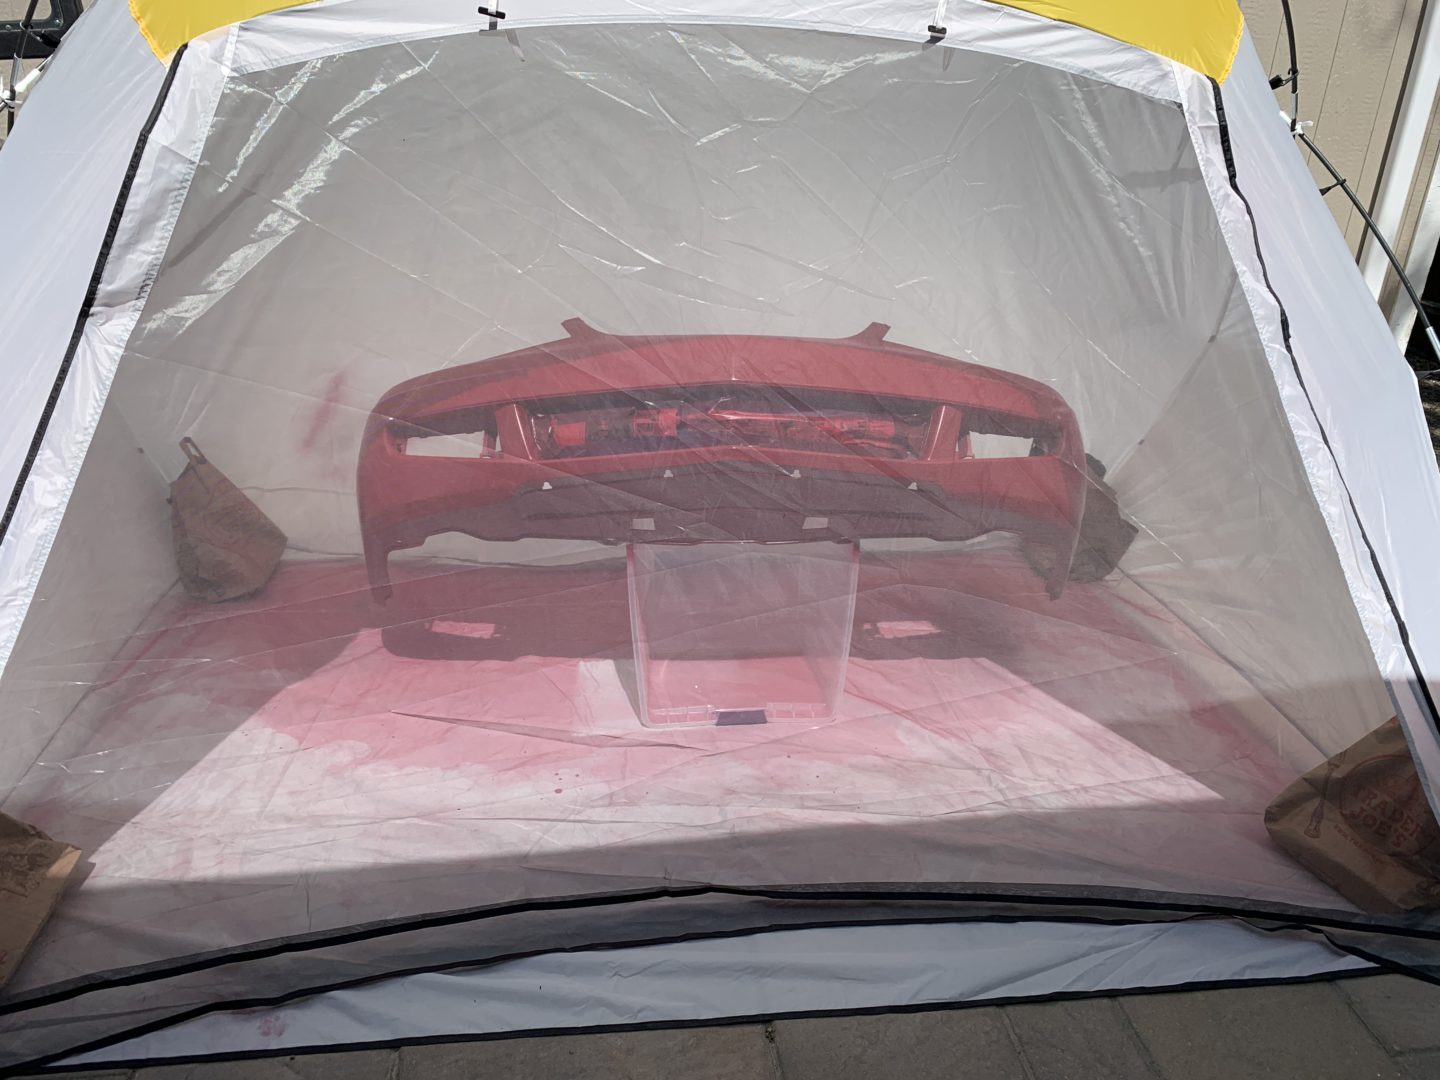
For areas of the bumper that have crevices or edges, you really need to spray perpendicular to those surfaces. That means you need to move your spray can around the entire bumper making sure to spray 90 degrees to each of the different angled surfaces of the bumper. This will ensure even coverage of paint.
Let the bumper dry and then take a very close look at the bumper for coverage of color. It’s sometimes hard to tell if the base coat has fully covered the bumper; you need a lot of light to be able to see if there are any lighter spots that need more base coat. The best way to tell if you have good coverage is looking at the bumper in direct sunlight. When you’re in the shade, it’s difficult to tell.
Finally, if you look at your base coat and the color coverage is good but the texture just doesn’t seem all that smooth. You can always lightly sand the entire surface with 800-grit sandpaper (ideally you use the Eagle Abrasives K-800 so you can sand it dry and then wipe it all off rather than using water with wet sandpaper) and then spray one last coat of base coat before applying clear coat. This technique also works well if you have any paint runs while spraying your base coat.
Remember that you cannot sand the last coat of base coat before applying clear because you’ve sanded and dulled the base coat, so spraying clear over that will still give you a dull finish.
Spraying 2K Clear Coat
From the information I’ve gathered, it is best to spray your 2K clear coat between one hour and one day from when your last coat of base coat was applied. This ensures the best adhesion and results when you are spraying your clear. I like to spray my clear about 1-2 hours after I’ve sprayed my last coat of base coat.
I’m using Spray Max’s 2K Clear Coat (Clear Glamour). This is your common 2K clear for getting that awesome professional-looking automotive clear coat. The 2K clear has a small red cap on the top of the can that you remove and press into the bottom of the can. After you press the red cap to puncture the bottom of the can, it releases the catalyst and allows you about a day of use. I’ve heard it may even last up to a week, but it’s ideal to spray the clear within one or two days of releasing the catalyst.
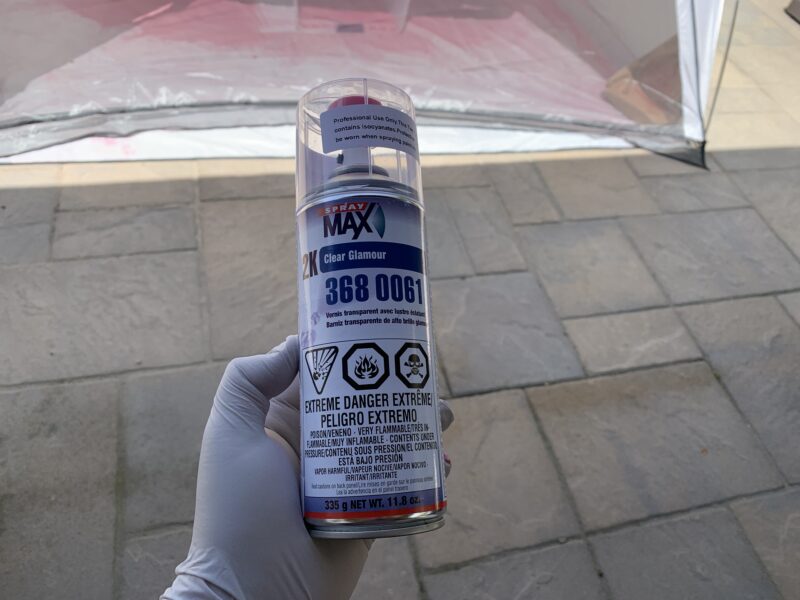
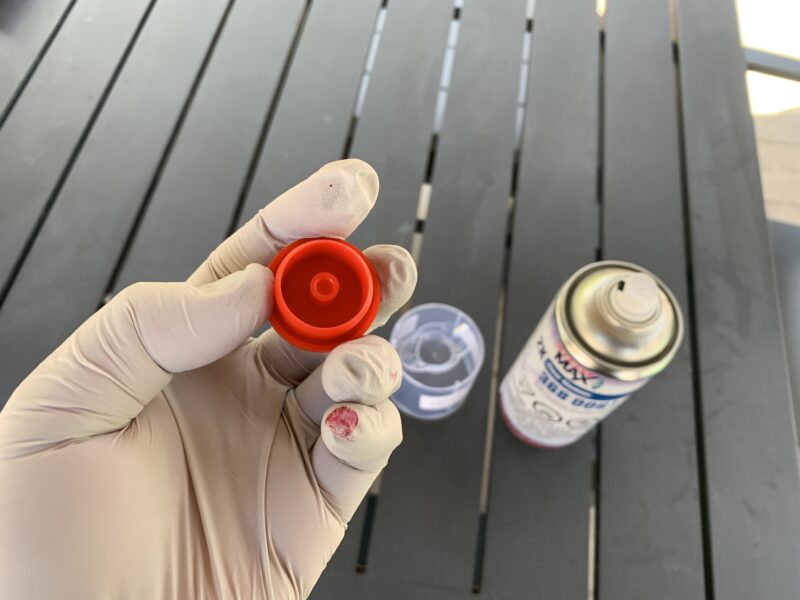
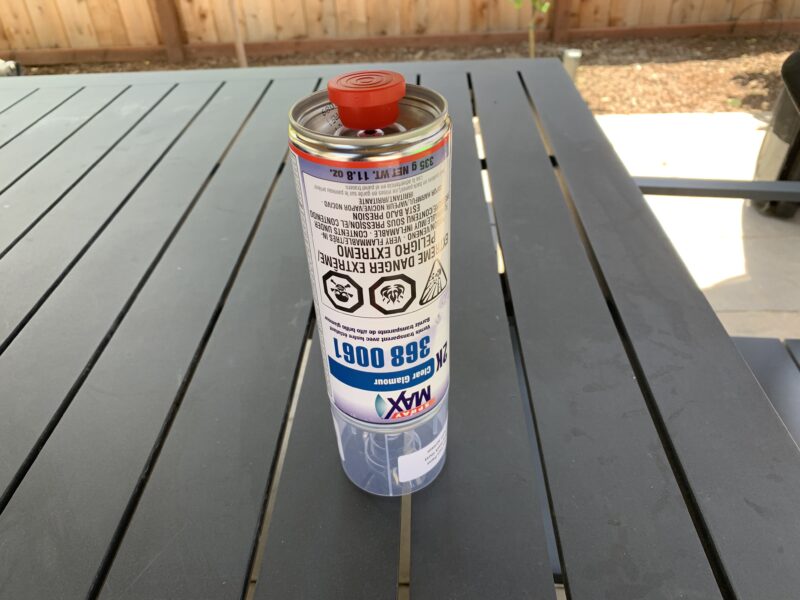
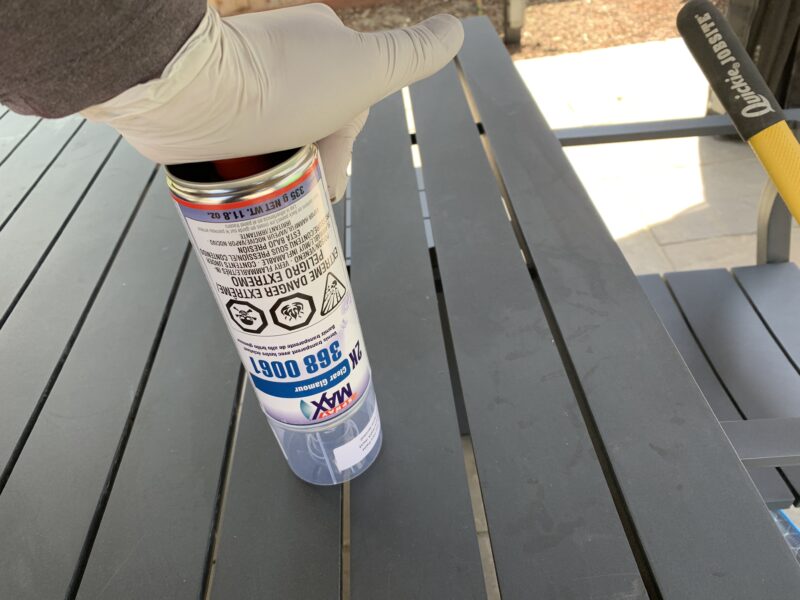
Shake up the can to mix the clear coat per the instructions on the can. This is the part where your finish starts to look amazing. Before spraying the 2K clear, your painted bumper may look good but it just doesn’t have that pop. Well, after the clear coat is applied (especially after the second and third coats), you’ll see some amazing results.
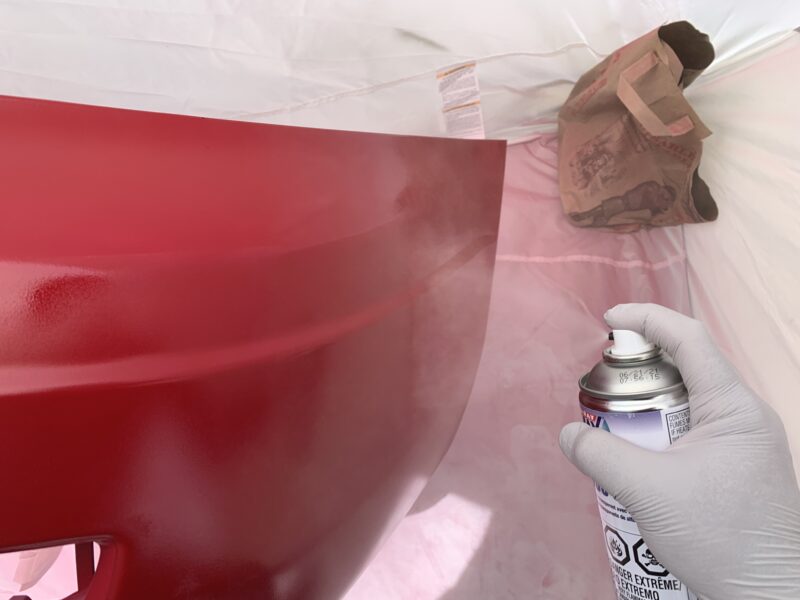

Spray 2-3 coats of the 2K clear coat onto the bumper similarly to the base coat. The Spray Way 2K clear coat comes out with a slightly wider fan than the base coat, and seems to goes on a bit easier than the base coat. It’s important for the clear coat to go on wet, so maintain a slower consistent speed across the panel will achieve this.
The flash time on this product is 5-10 minutes, so you should wait at least this amount of time before spraying on the next coat of clear. After the first coat of 2K clear coat, you will notice that each subsequent coat of clear will give you a bit more clarity in the finish.

If you get any bugs or debris onto the clear coat while it’s drying, you may be able to use the tape method (mentioned earlier during the base coat application) to remove it very carefully. Since the clear coat is going to be your final layer on your paint, you don’t want to mess around too much with clear coat. If the particle is not going to be terribly noticeable, you may want to just leave it be as sometimes messing with it might cause even more noticeable blemishes like gouges or fingerprints in the clear coat.
When you finish spraying on the clear coat, don’t handle the work piece for at least 4-6 hours. Technically, the piece may be dry after an hour or so, but the finish hasn’t hardened enough to be handled. So don’t try to touch or move the workpiece until it is fully cured. Seriously, don’t touch it at all… if it is not fully cured, just touching it lightly can leave a fingerprint or worse in the final finish.
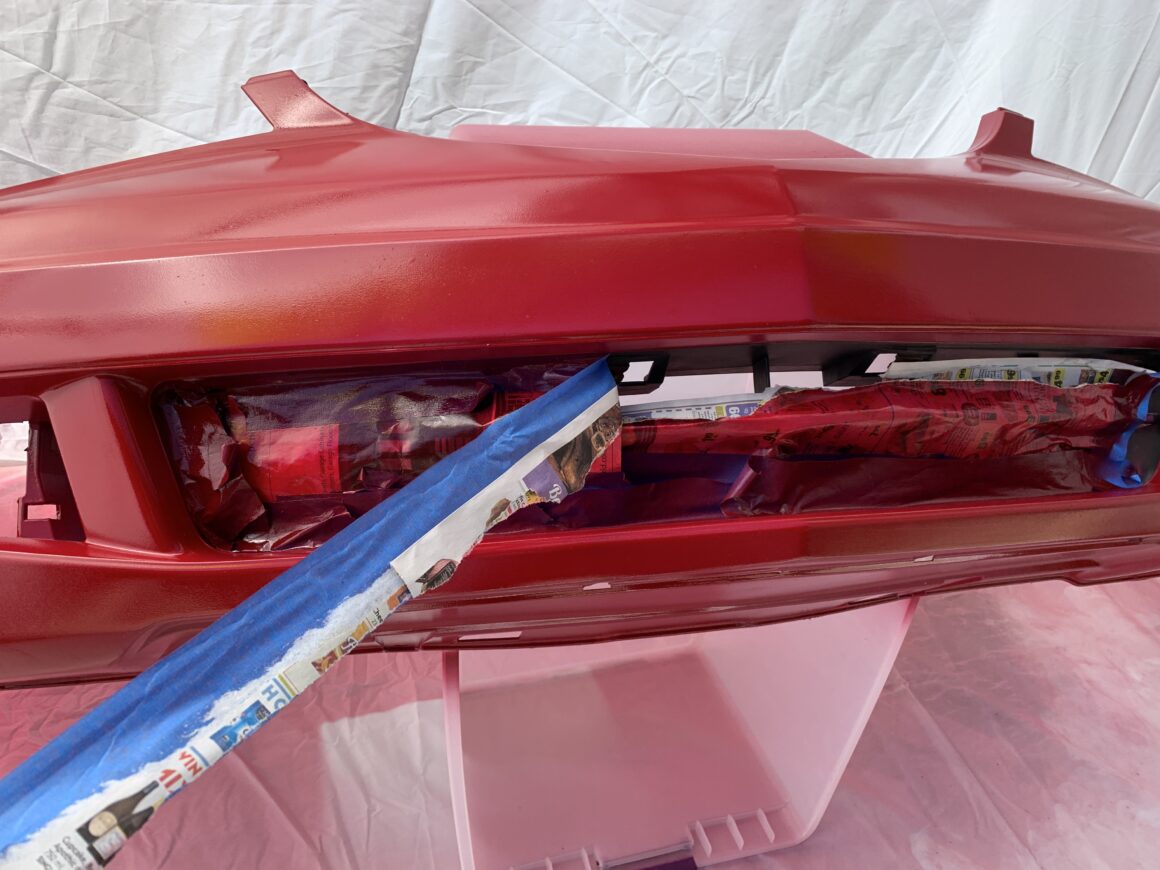
When the clear coat has dried at least 4-6 hours, you can remove any taped off areas and move the bumper to a location where it can fully cure overnight. Then you can be confident that the bumper can be safely reinstalled onto your vehicle without causing damage to the finish.
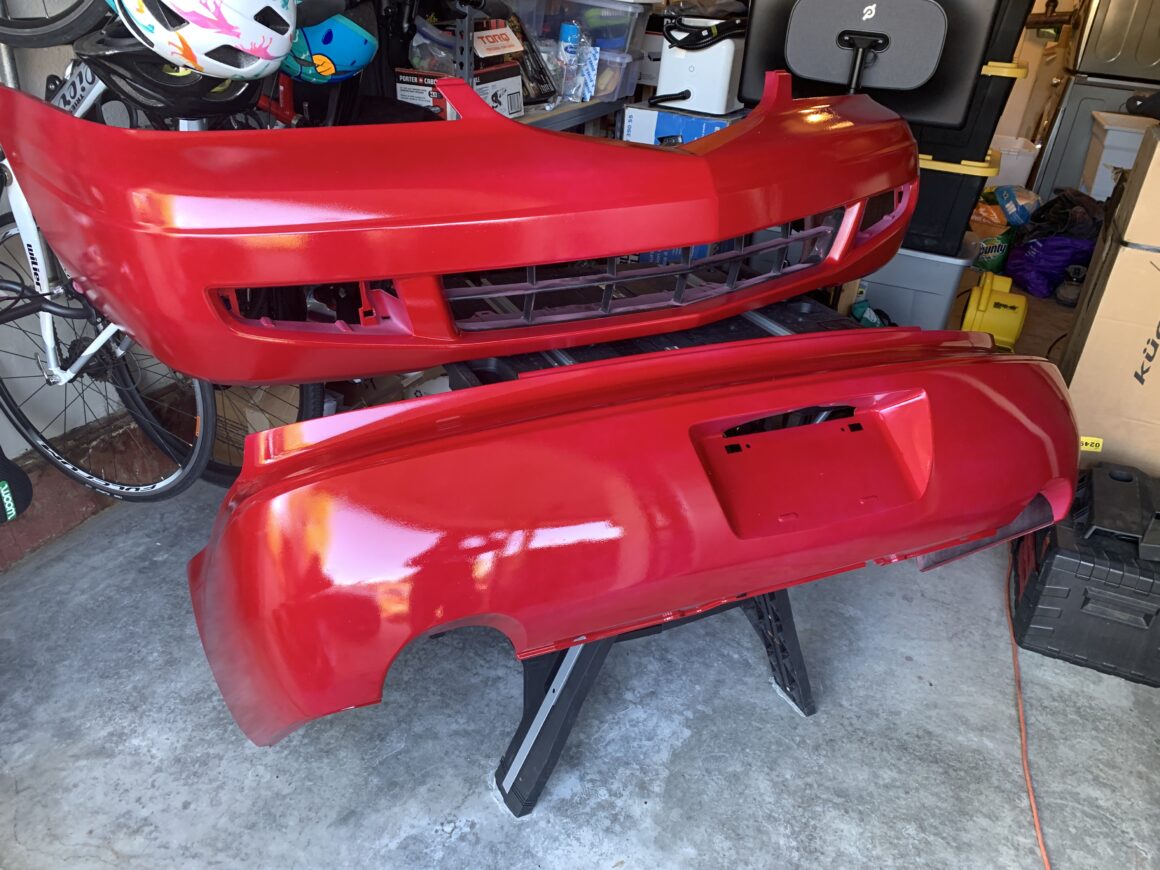
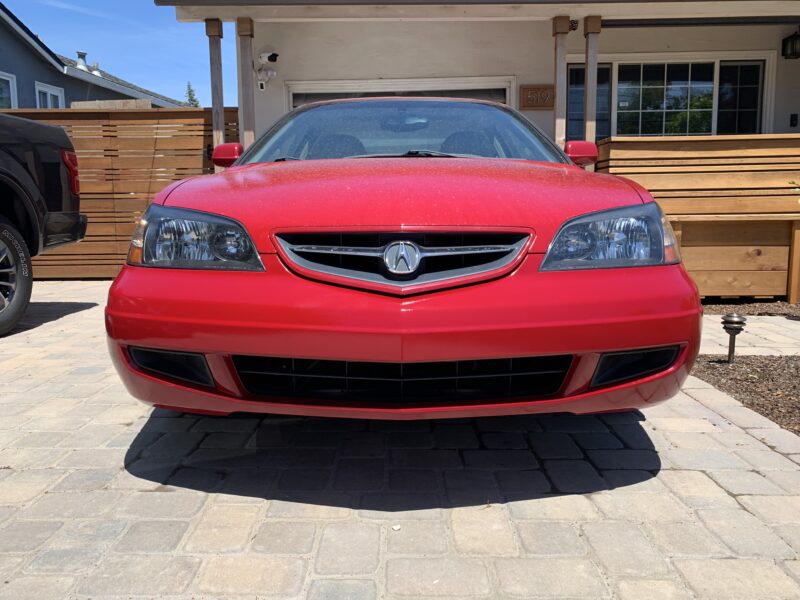
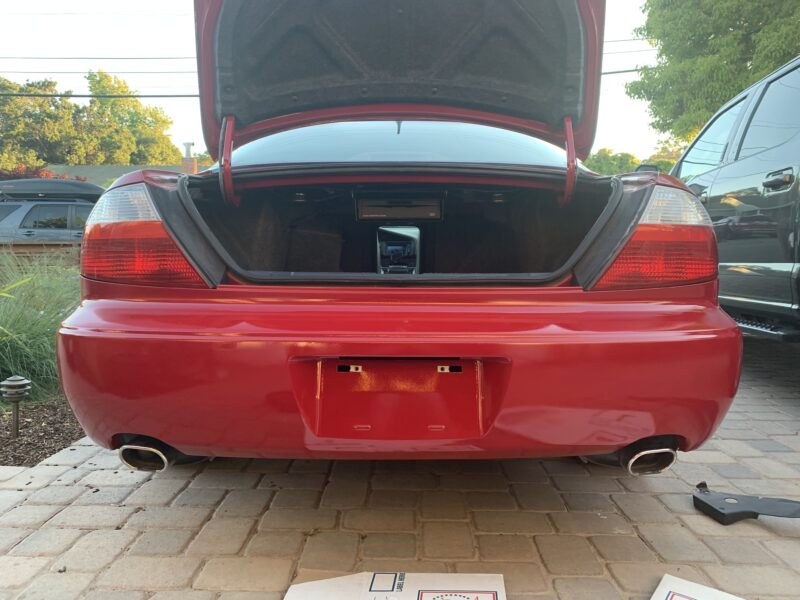
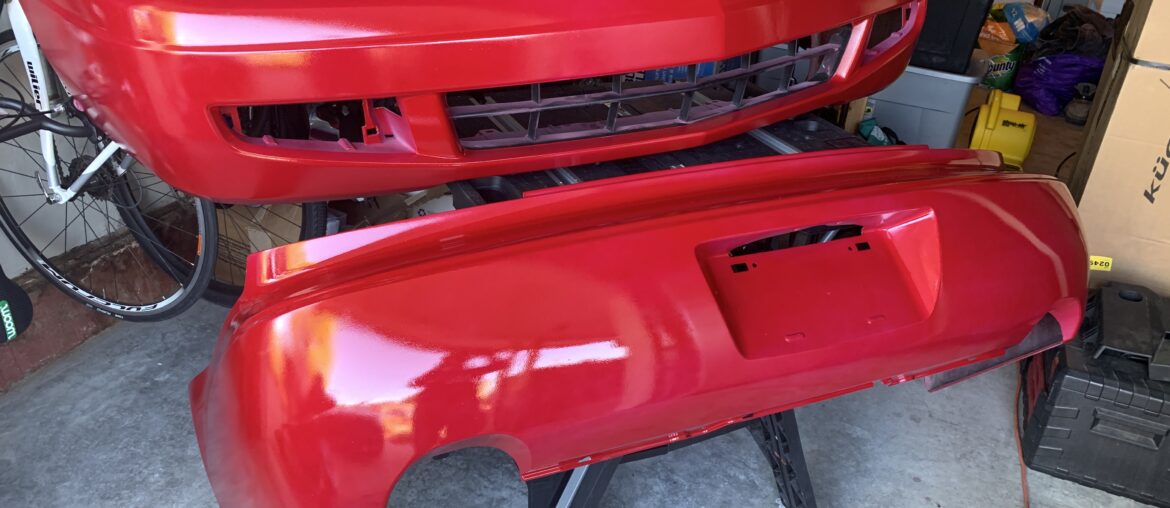
Here is the final product after using the 1K primer and color-matched paint from Paint Scratch, and finishing off with the 2K clear coat from Spray Max. I could not be happier with the finish. There is going to be some significant amount of orange peel simply because the clear coat is being applied via spray can, but that can be remedied with wetsanding, and following up with compound and polish.
