When you make purchases through links on this site, The Track Ahead may earn an affiliate commission. Also, these posts are based off my own experiences. I am not responsible for any action you take as a result of reading this. Learn More
Bumpers can take a beating considering it is located low on the ground, and will be the first thing to get hit if the car hits something in front or gets hit from behind. The damage that can occur can result in cracks, gouges, scratches, dings, dents— you name it.
To refinish a bumper so that it looks new again, you’ll first need to repair the major damage so that it is structurally sound. And then prior to spraying primer, paint, and clear coat so that it looks pristine again, you will have to prep the bumper by filling in the damaged parts of the bumper with body filler, and sanding it smooth.
This guide will go into the preparation stage of refinishing the bumper cover so that the surface is completely smooth and ready to apply primer. This involves cleaning, repairing failed clear coat, filling in the voids of damaged areas of the bumper, and sanding through various grits in order to provide the final finish in preparation for spraying primer and paint.
Tools & Materials Used
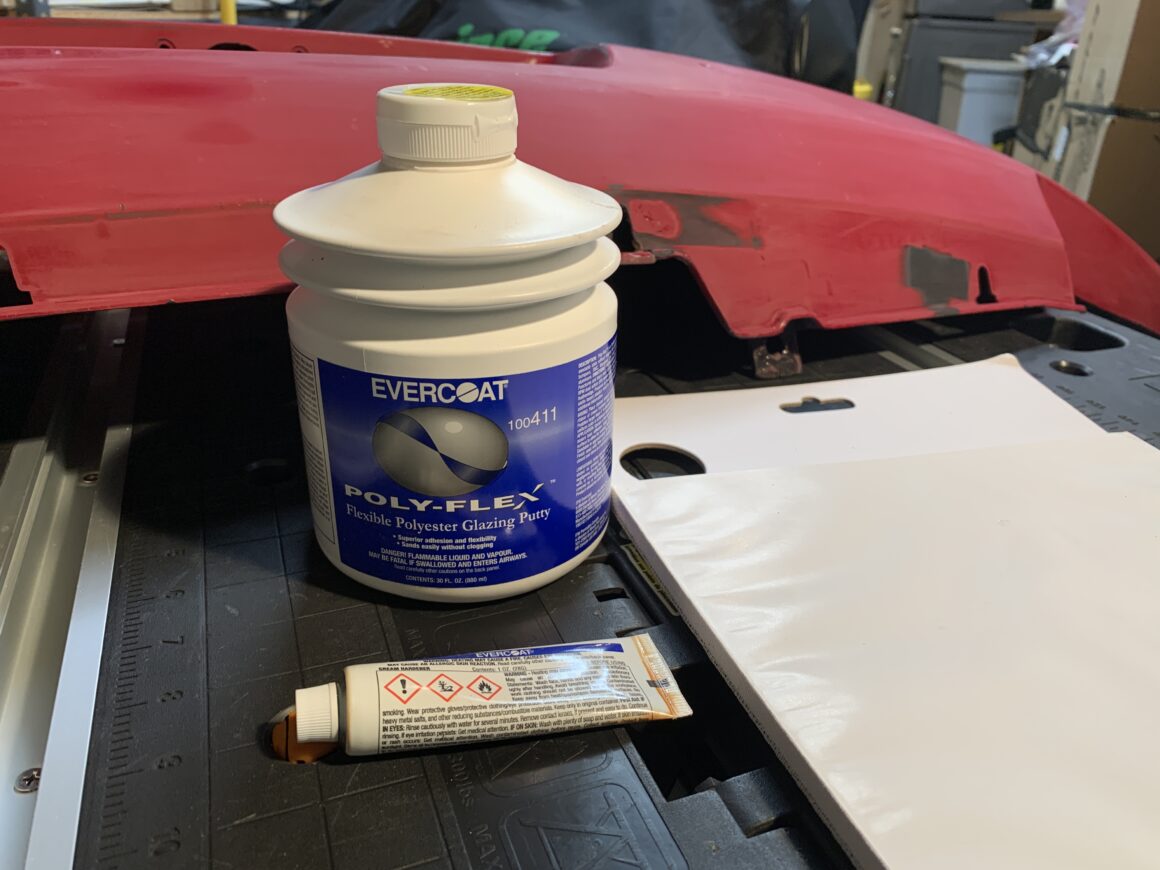
Flexible Glazing Putty
Since we’re working with a flexible plastic bumper, you will need a flexible body filler. If you use a regular body filler, you risk having it crack. These flexible glazing putties are used to fill in shallow imperfections. Once sanded, the surface will be smooth and ready for primer and paint. I included the very popular Evercoat Flexible Glazing Putty below, but also an alternative product since prices can fluctuate quite a bit.
Evercoat Poly-Flex Flexible Polyester Glazing Putty – 30 Fl Oz
U.S. Chemical & Plastics USC GarageTM Flexible Glaze -8 Fl Oz
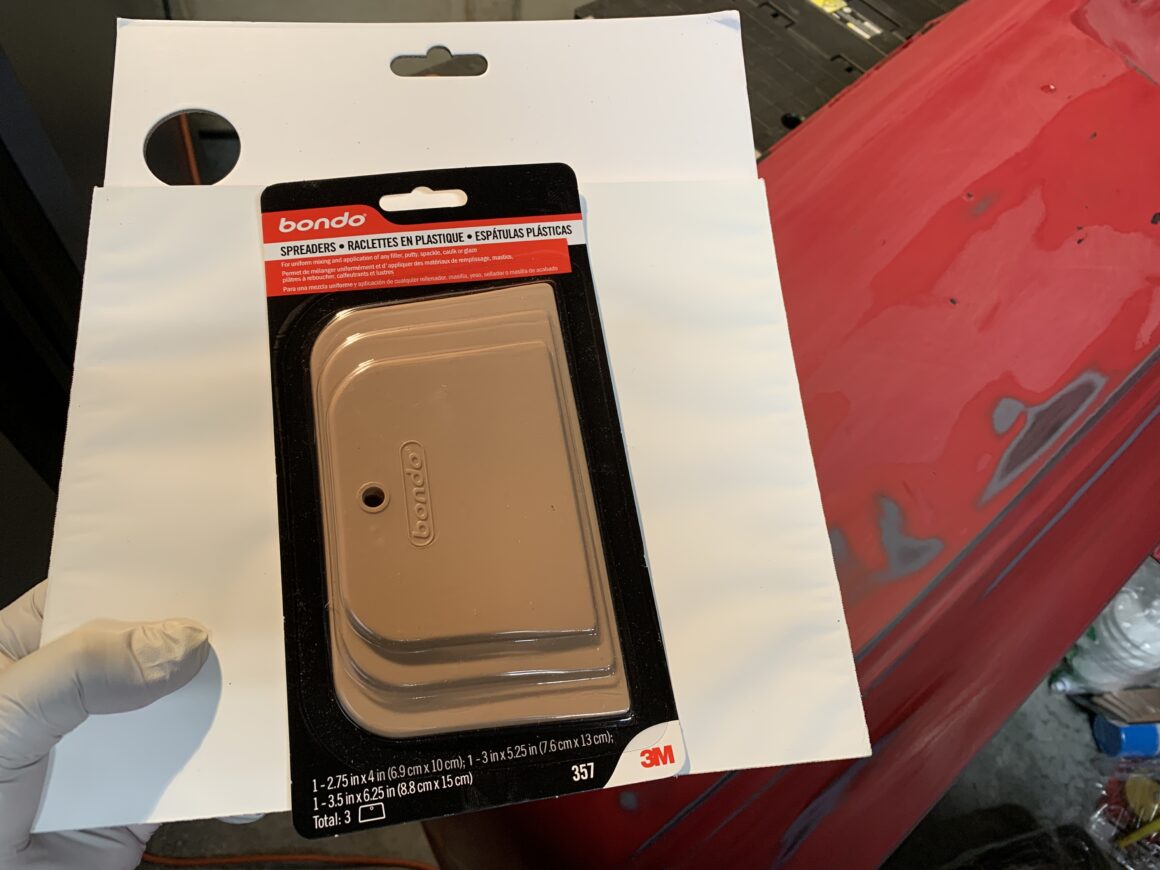
Body Filler Spreaders
Mixing Board
A mixing board is board with many specially-formulated sheets of paper that avoids soaking up resins and solvents. It’s a time-saver if you’re mixing up batches of body filler, but if you don’t want to buy one of these, you can simply use a plastic sheet taped down over a piece of cardboard. Obviously, it saves a lot of time and headache if you go with a mixing board.
Custom Shop Body Filler Mixing Board Sheets (100 Sheets)
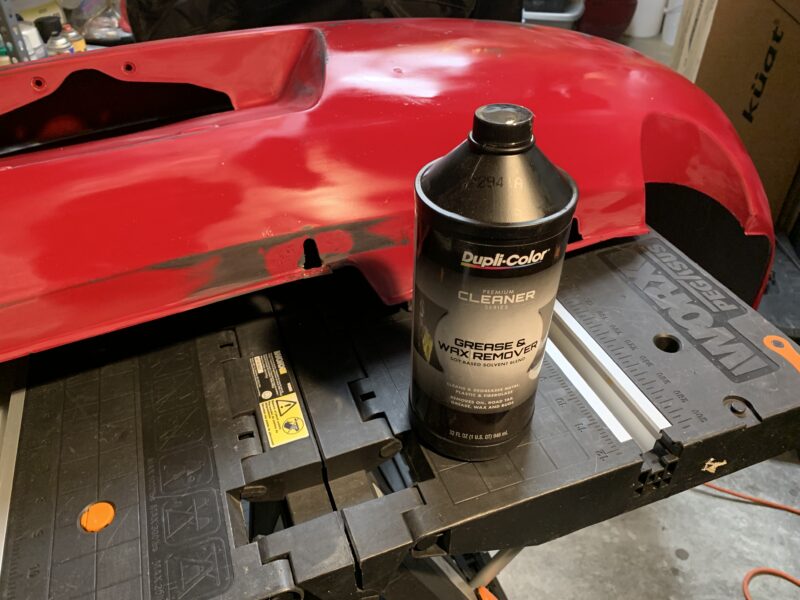
Grease & Wax Remover
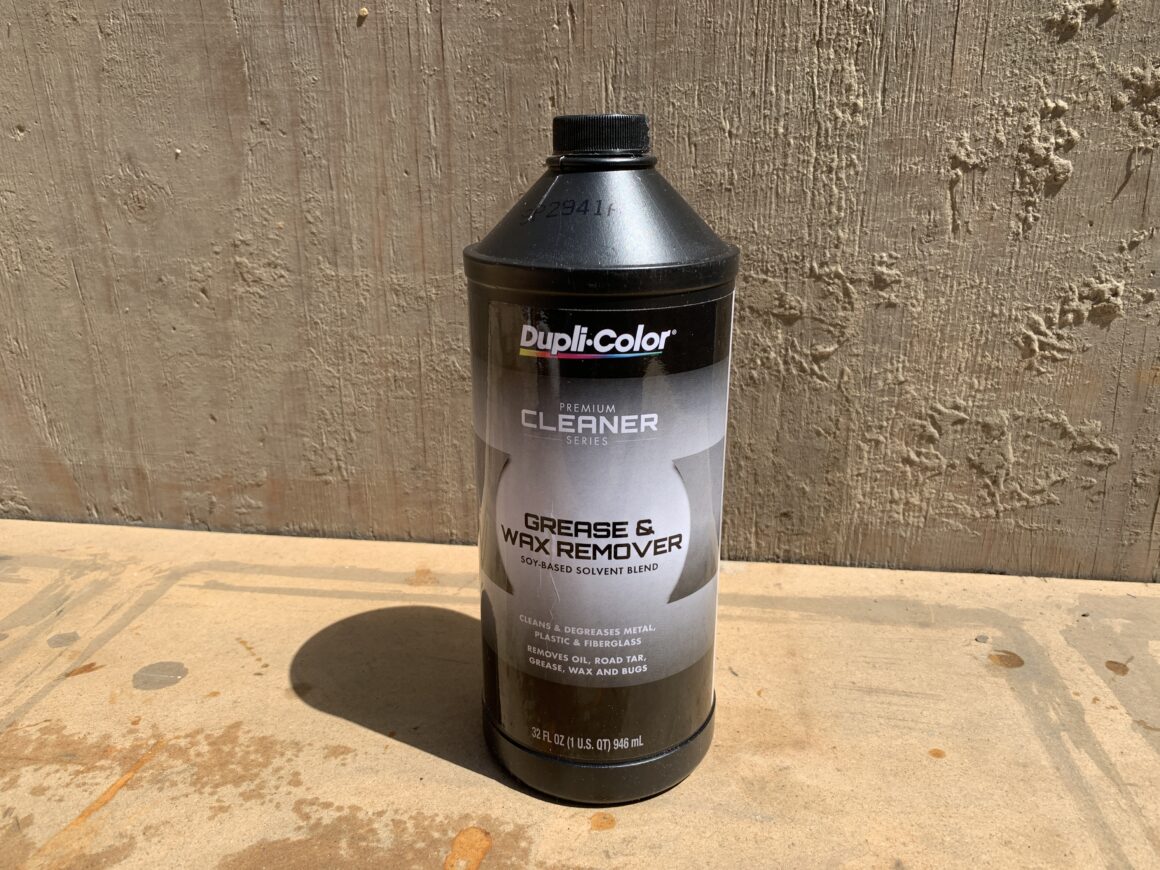
A grease and wax remover is necessary for removing oil-based contaminants. Using this preps the bumper surface for better adhesion for body filler.
Dupli-Color Grease and Wax Remover, 32 oz.
Alcohol-Based Cleaner
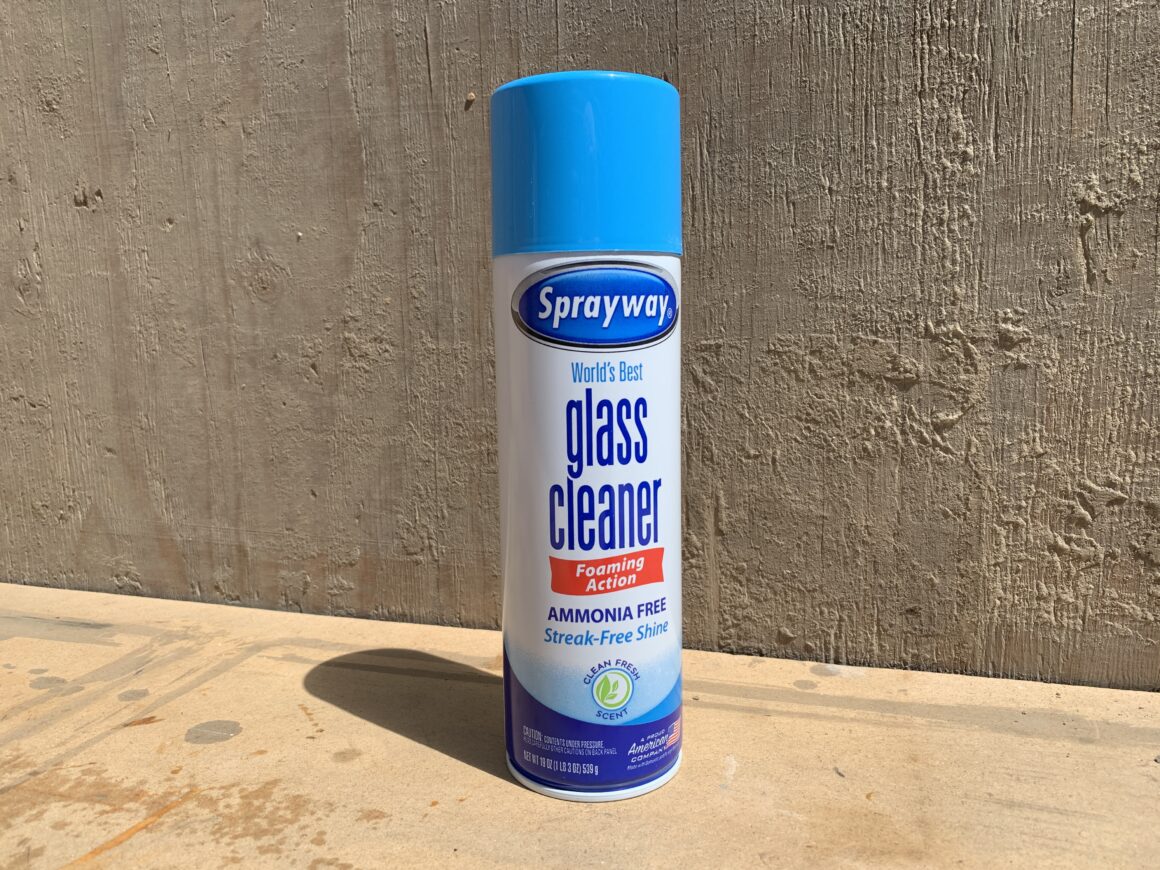
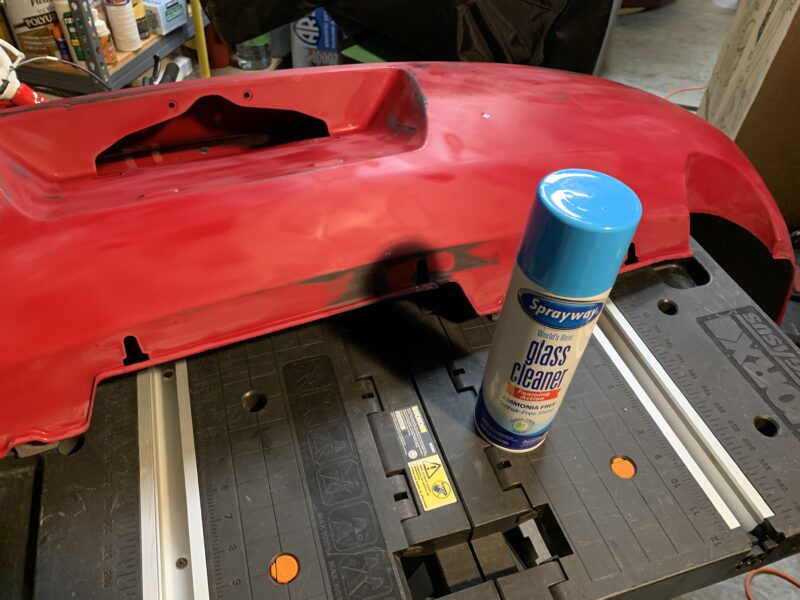
Alcohol-based cleaners are used in addition to grease/wax remover to clean water-based contaminants such as fingerprints, sweat, etc. A popular product in auto body shops is Sprayway Glass Cleaner used for this purpose. Another option that other people use is denatured alcohol.
Sprayway Glass Cleaner Aerosol Spray, 19 Oz, Pack of 2
Sanding Backing Pads
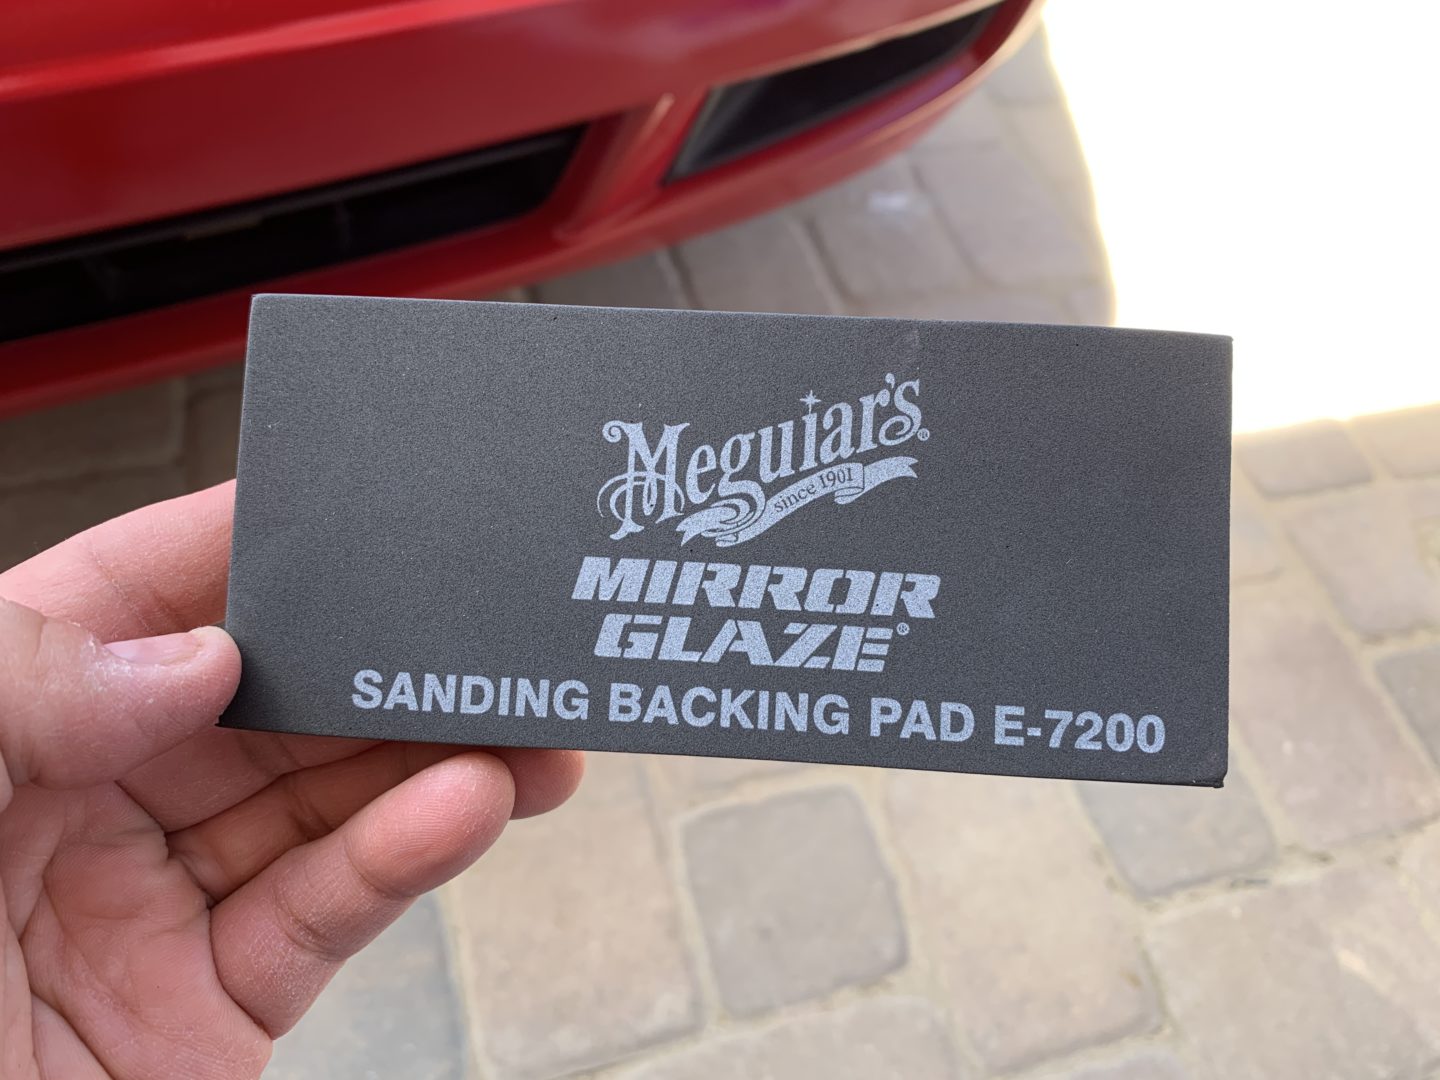
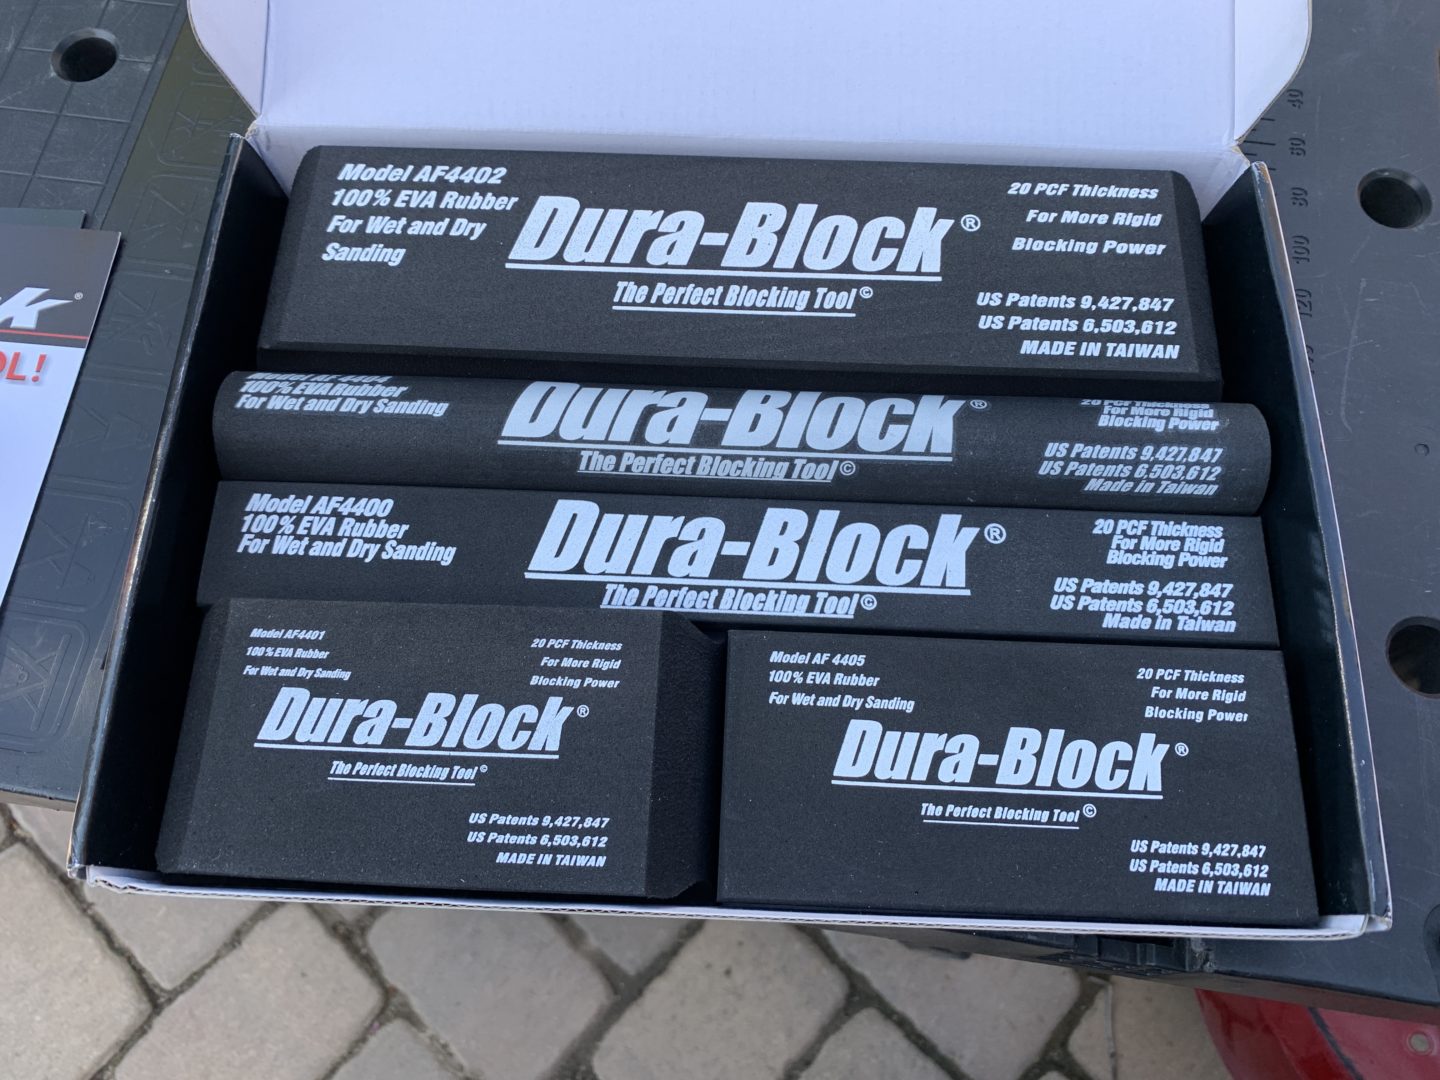
Backing pads are great for sanding as it provides a nice flat backing for sanding. If you use your hand with sandpaper directly, there is less even pressure being applied so it is always best to use a backing pad. Since bumpers have a lot of curved surfaces, you probably want a more flexible sanding backing pad such as the Meguiar’s one below. However, when you are sanding away body filler, it’s better to use a backing pad that is more dense and less flexible such as the Dura-Block ones below. The Dura-Block set below has a number of different types of backing pads for depending on what you’re sanding.
Dura-Block AF44A Black 6-Piece Sanding Block Set
Meguiar’s E7200 Mirror Glaze High-Tech Backing Pad
Adhesive-Backed Sandpaper
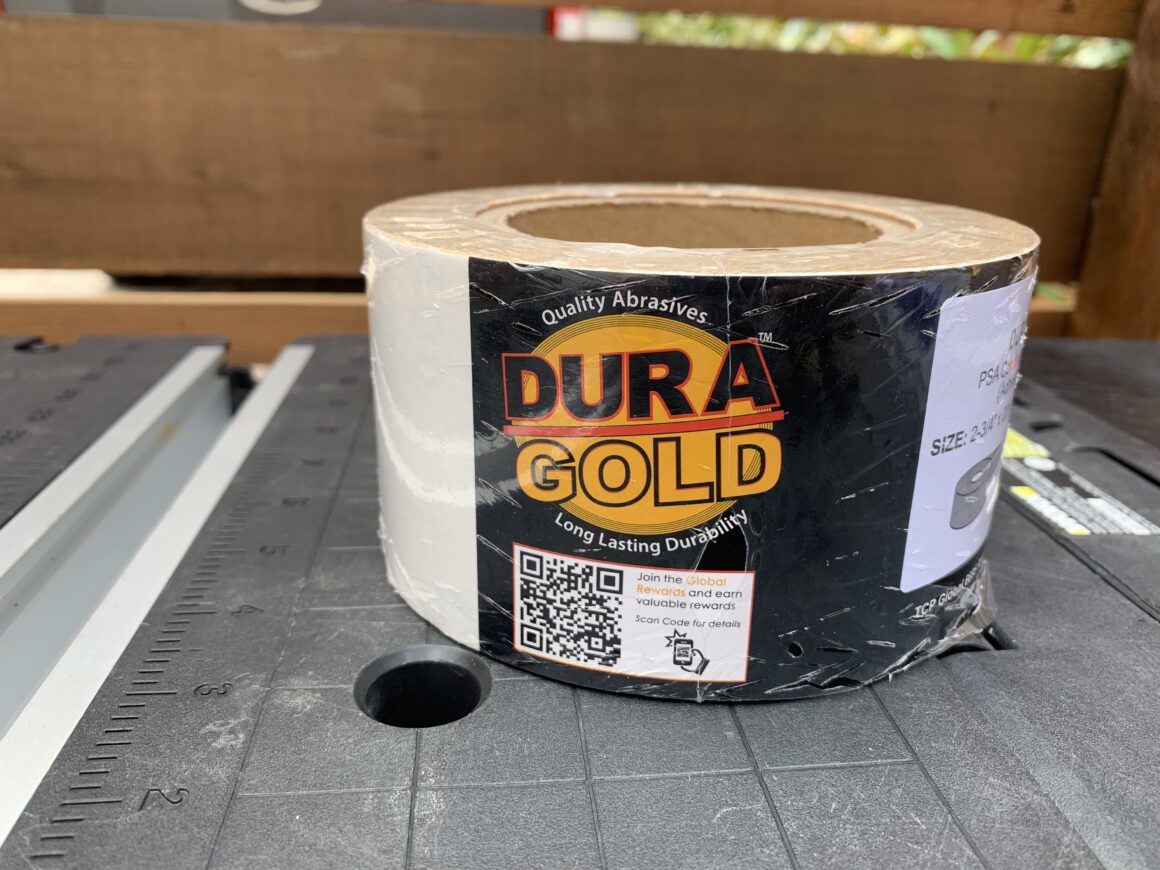
I used adhesive-backed sandpaper along with the backing pads listed above. There is a lot of cheap sandpaper out there that doesn’t sand well, which can leave you frustrated. The Dura-Gold ones listed below are high quality and sand efficiently. They come in rolls, so you do end up with a lot of sandpaper, but you won’t have to worry about running out. I listed the 80-grit sandpaper below in case you want to quickly knockdown the body filler, but you definitely need the 180-grit, 320-grit, and 400-grit.
Dura-Gold 400 Grit Sandpaper 20 Yard Long Roll, 2-3/4″ Wide
Dura-Gold 320 Grit Sandpaper 20 Yard Long Roll, 2-3/4″ Wide
Dura-Gold 180 Grit Sandpaper 20 Yard Long Roll, 2-3/4″ Wide
Dura-Gold 80 Grit Sandpaper 20 Yard Long Roll, 2-3/4″ Wide
Random Orbital Sander and Sanding Pads
It’s not necessary to use a pneumatic or electric random orbital sander, but if you are working with a lot of damage on the bumper, it may save you a lot of work to use one of these. I know many auto body folks like to use pneumatic, but I had an electric one I use for wood working that I put to use here.
Search Amazon for Orbital Sanders
You’ll want to get the compatible size sandpaper to go with your orbital sander if you choose to use one. I used the ones listed below, but I didn’t think the quality was all that great. However, it had all the sizes I needed (80, 180, 320, and 400-grit) and more.
Scuff Stuff and Maroon Scuff Pad
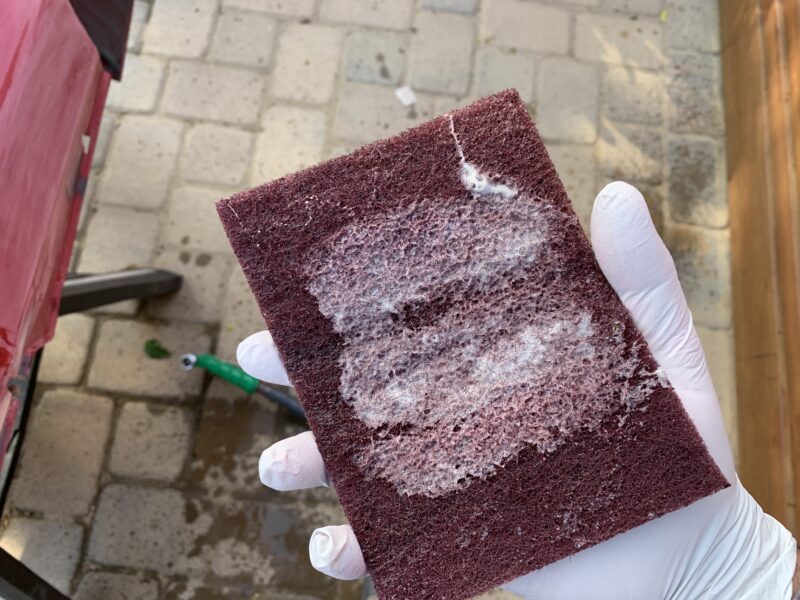
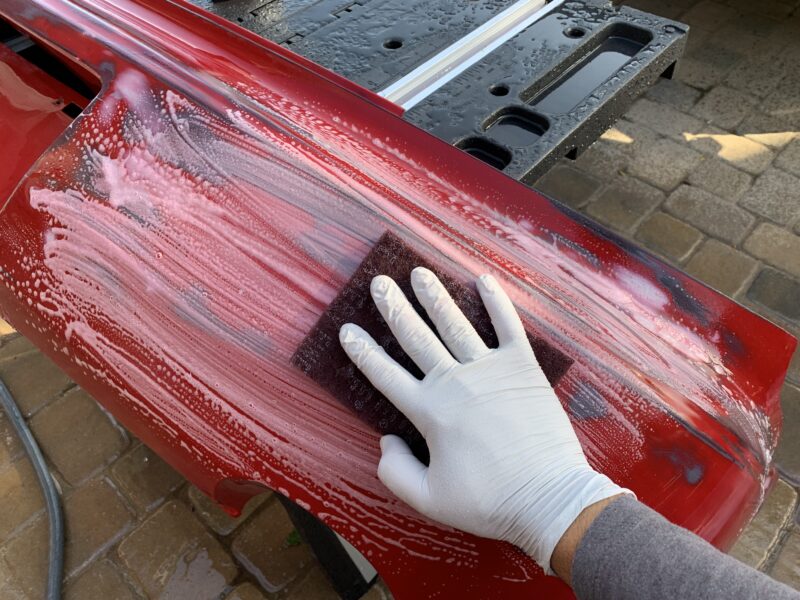
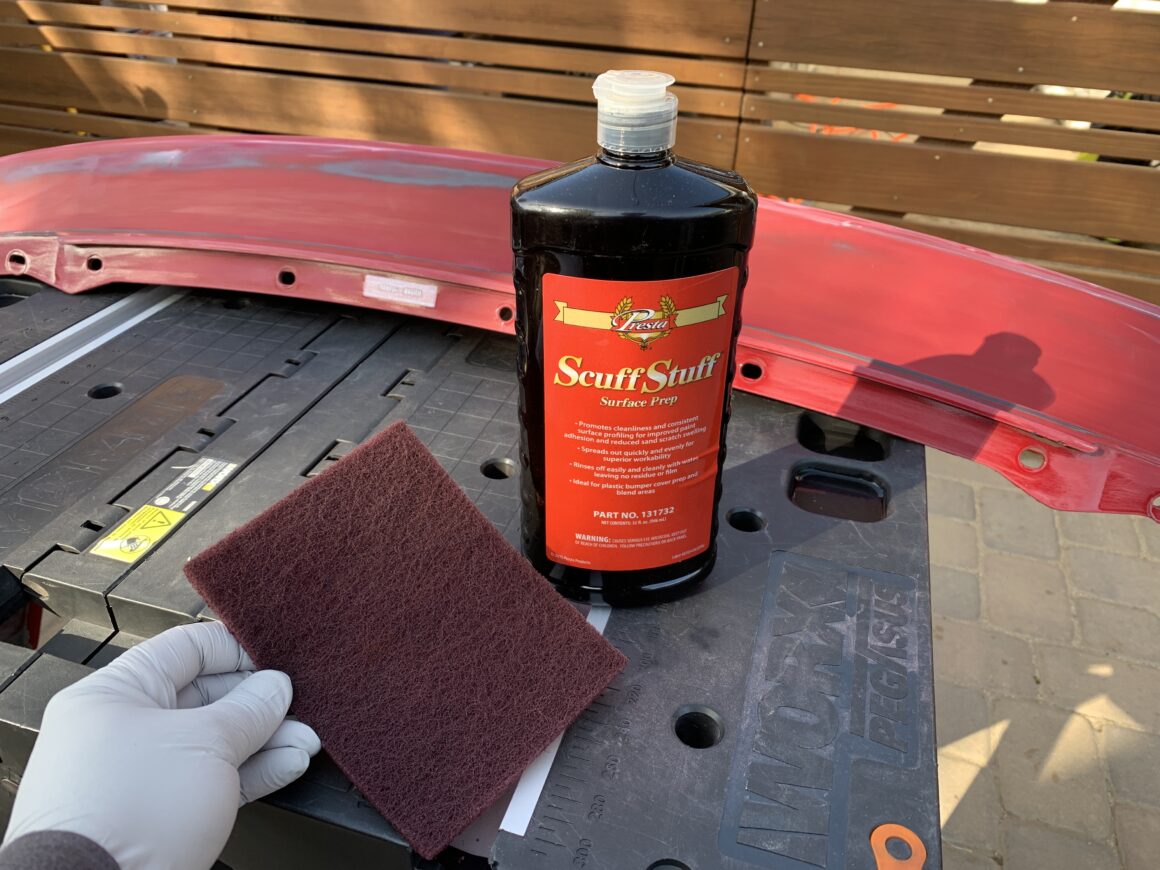
The use of an abrasive surface prep and maroon scuff pad gives you a final prep of the surface after sanding to cover any edges and corners that you might have missed with sandpaper, as well as smooth out the surface even further to prepare for primer/paint.
Presta Scuff Stuff Surface Prep, Quart
Search on Amazon for Maroon Scuff Pad
How to Refinish a Bumper to Prep it for Paint
This writeup will be focused on refinishing a modern-day plastic bumper and getting it fully ready to be primed and painted. To do the best job of repairing and refinishing your bumper, you should remove the bumper from your car to best work on it.
Usually, bumpers are held onto the vehicle via clips and screws on the top of the bumper (accessible when you open the hood or trunk), underneath the bumper, and on the sides attached inside of the wheel well. Once you’ve removed the retaining clips and screws, the bumper can be pulled out away from the vehicle.
Cleaning the Bumpers
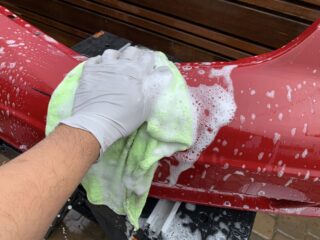
With the bumpers off of the vehicle, give it a good wash with a car wash soap that doesn’t have any added features such as gloss enhancers or wax is best. You want to simply wash off the dirt and grease that is currently on the bumper, you don’t want to add any protection or anything like that since you’ll be sanding. Another great alternative is to substitute dish soap for car wash soap for this purpose.

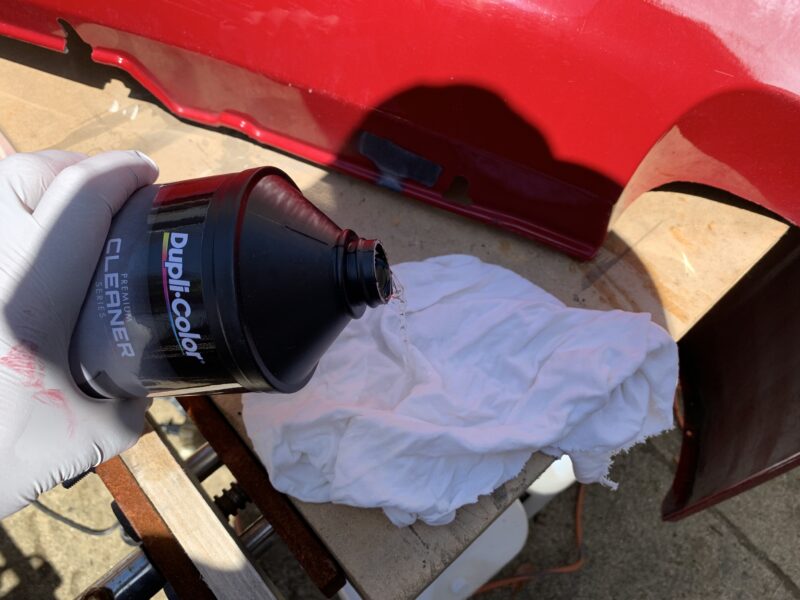
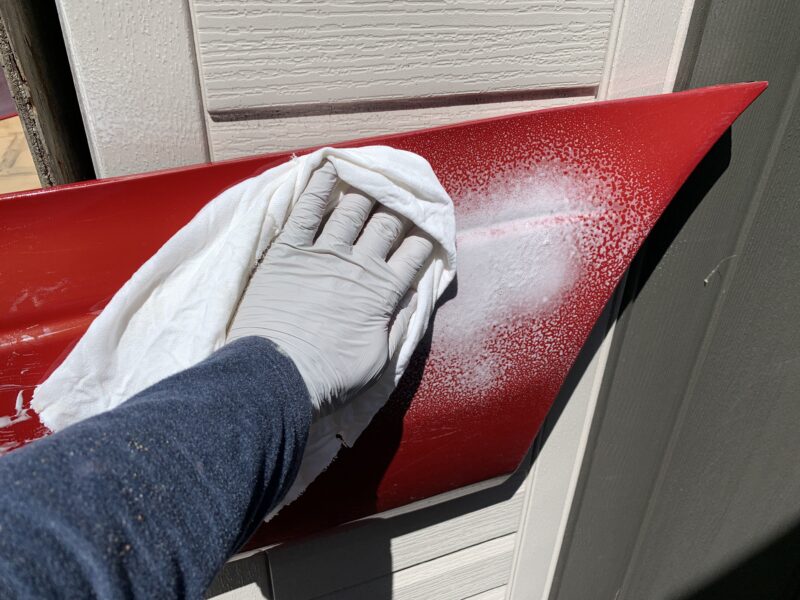
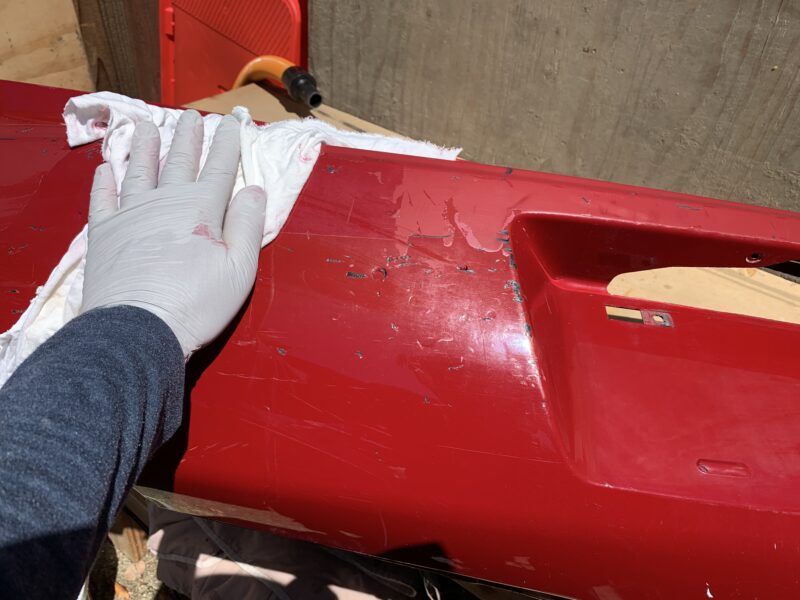
Although not totally necessary, I use some grease and wax remover and a rag to clean the bumper even more. I follow that up with a wipe-down of water-based cleaner. Since I already have these products for the purposes of prepping and painting the bumpers, I used them in an effort to further clean the surface to minimize clogging of my sandpaper when I sand the bumpers.

Removing Existing Failed Clear Coat
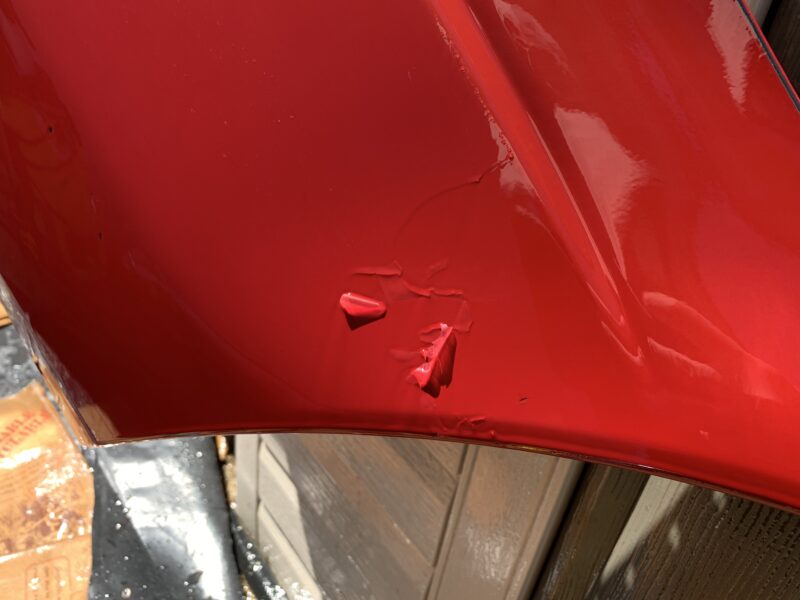
With clear coat failure on bumper covers, I tend to see the cleat coat peel. I believe that the flexibility of the bumpers plays a part in this type of failure mode with bumpers. Since you need to sand away all of the failed clear coat, you may be spending a lot of time sanding the peeling clear coat away.
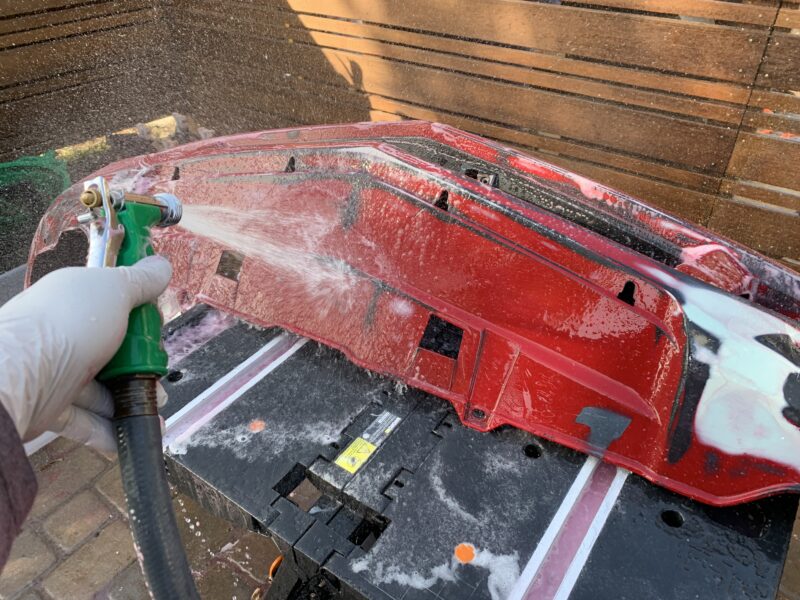
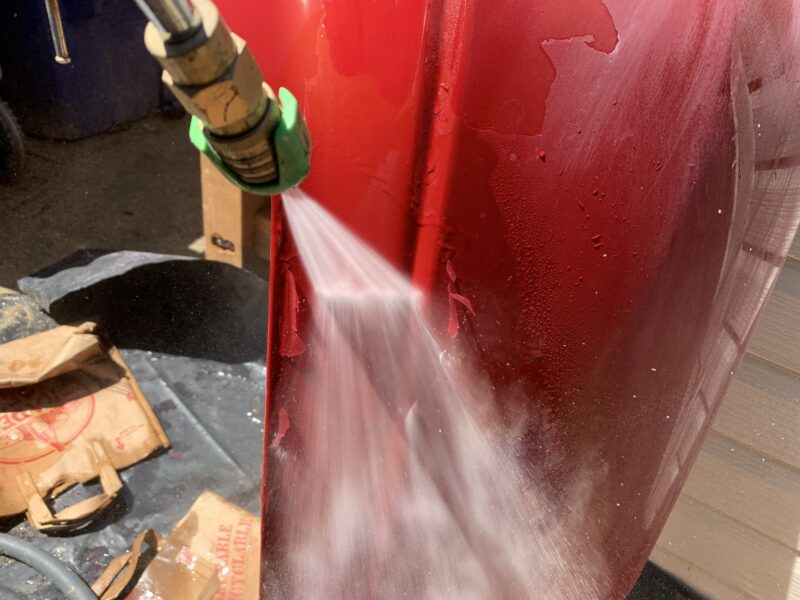
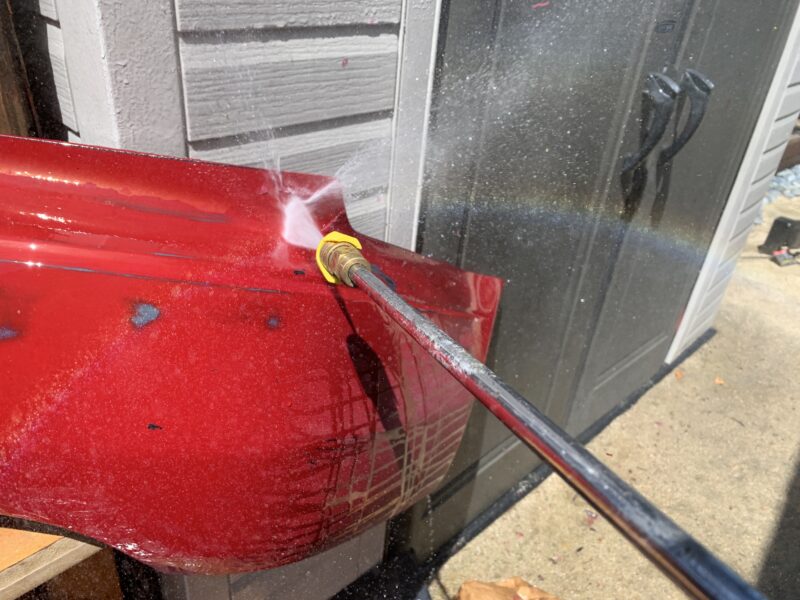
I found that using a pressure washer on the peeling clear coat was an incredibly easy way to remove the failed clear. You want to remove all the clear coat that has delaminated from the paint underneath. You can still paint over existing paint, but you really do not want to paint over clear coat that does not have a good bond to the paint.
I wouldn’t recommend using a pressure sprayer tip that is too harsh or you will blast the paint and primer off. You want the least aggressive sprayer tip you have that will remove all of the peeling clear coat. If you somehow get too aggressive and spray chunks of paint/primer off, you can always use flexible body filler later to fill it.

Repairing Cracks or Holes in Bumper
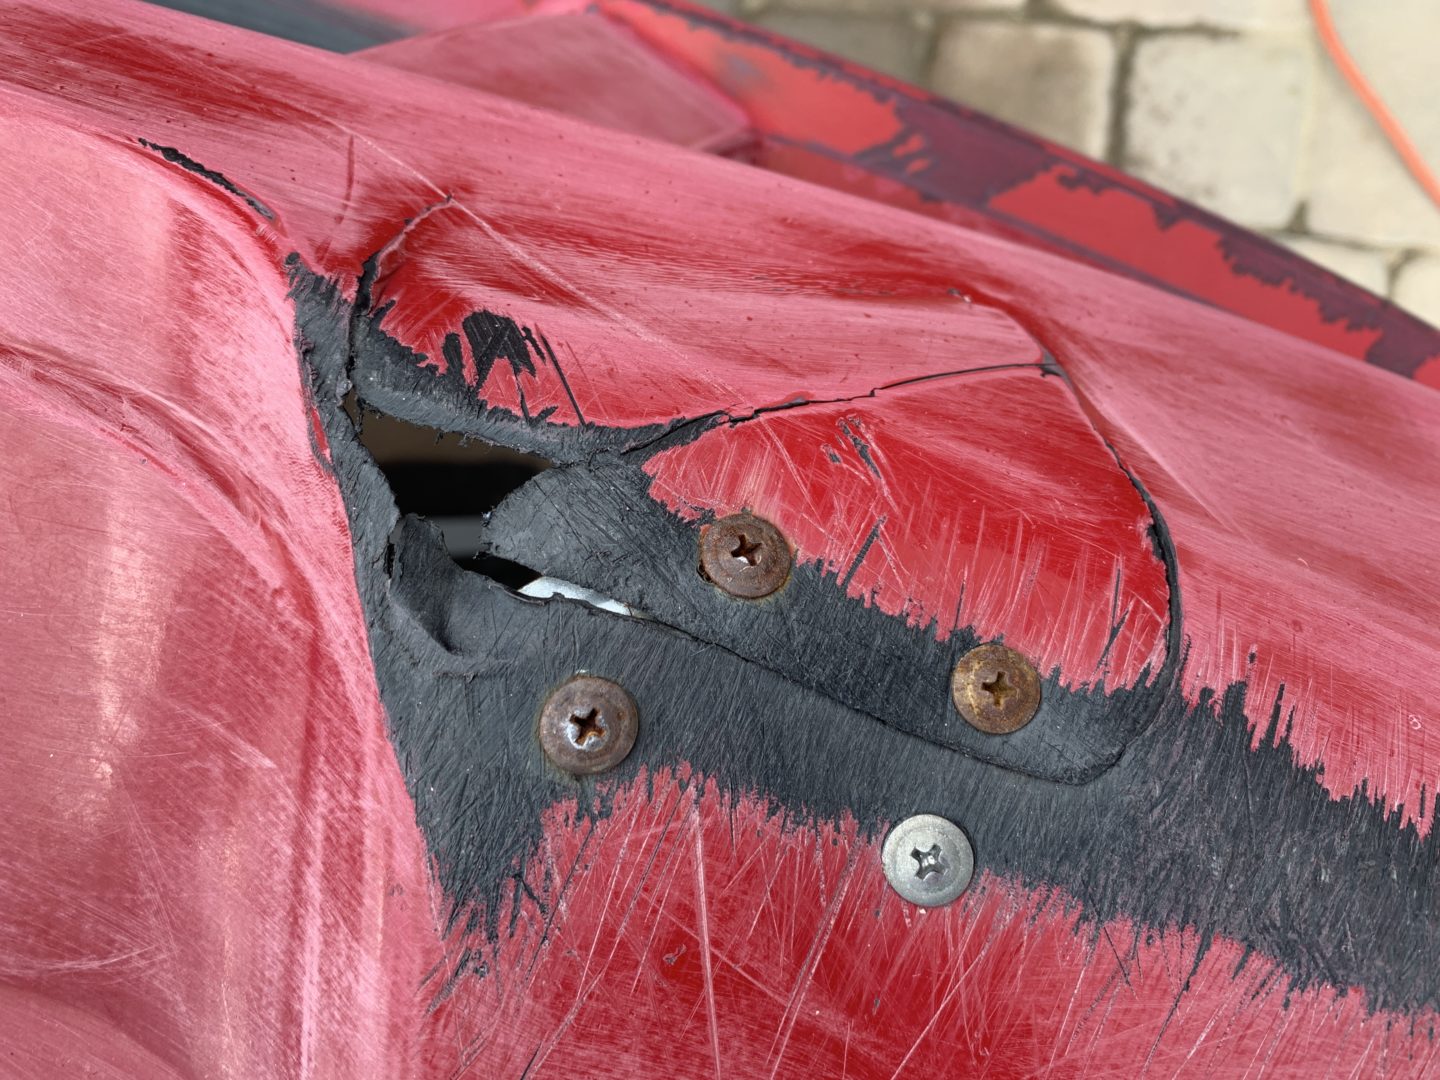
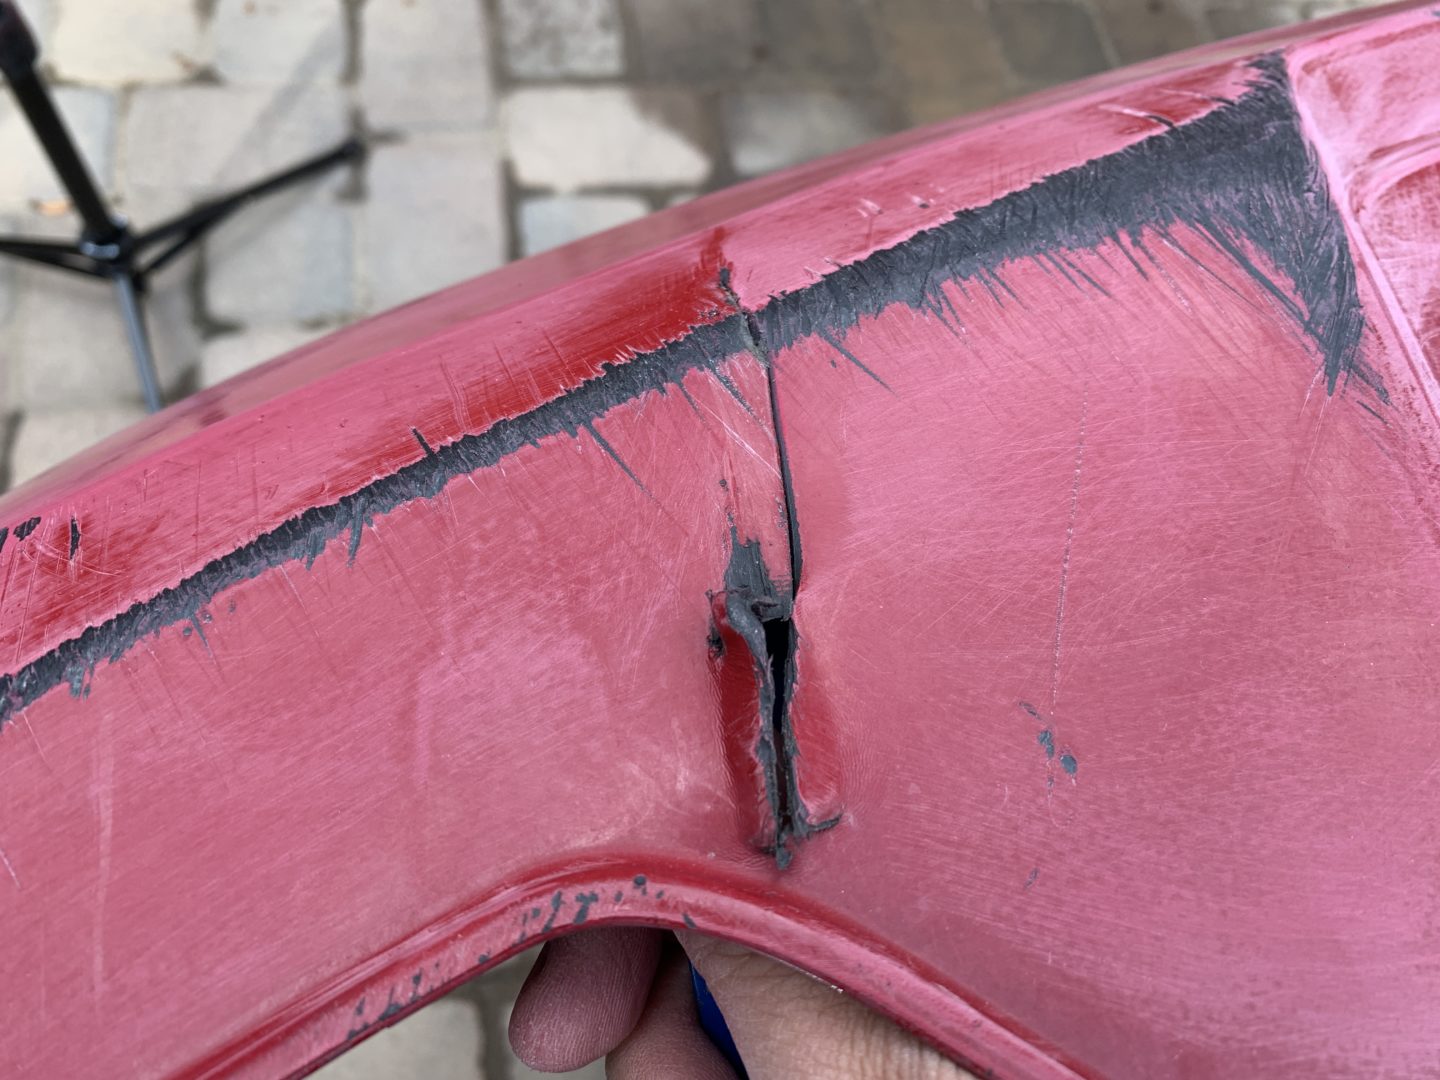
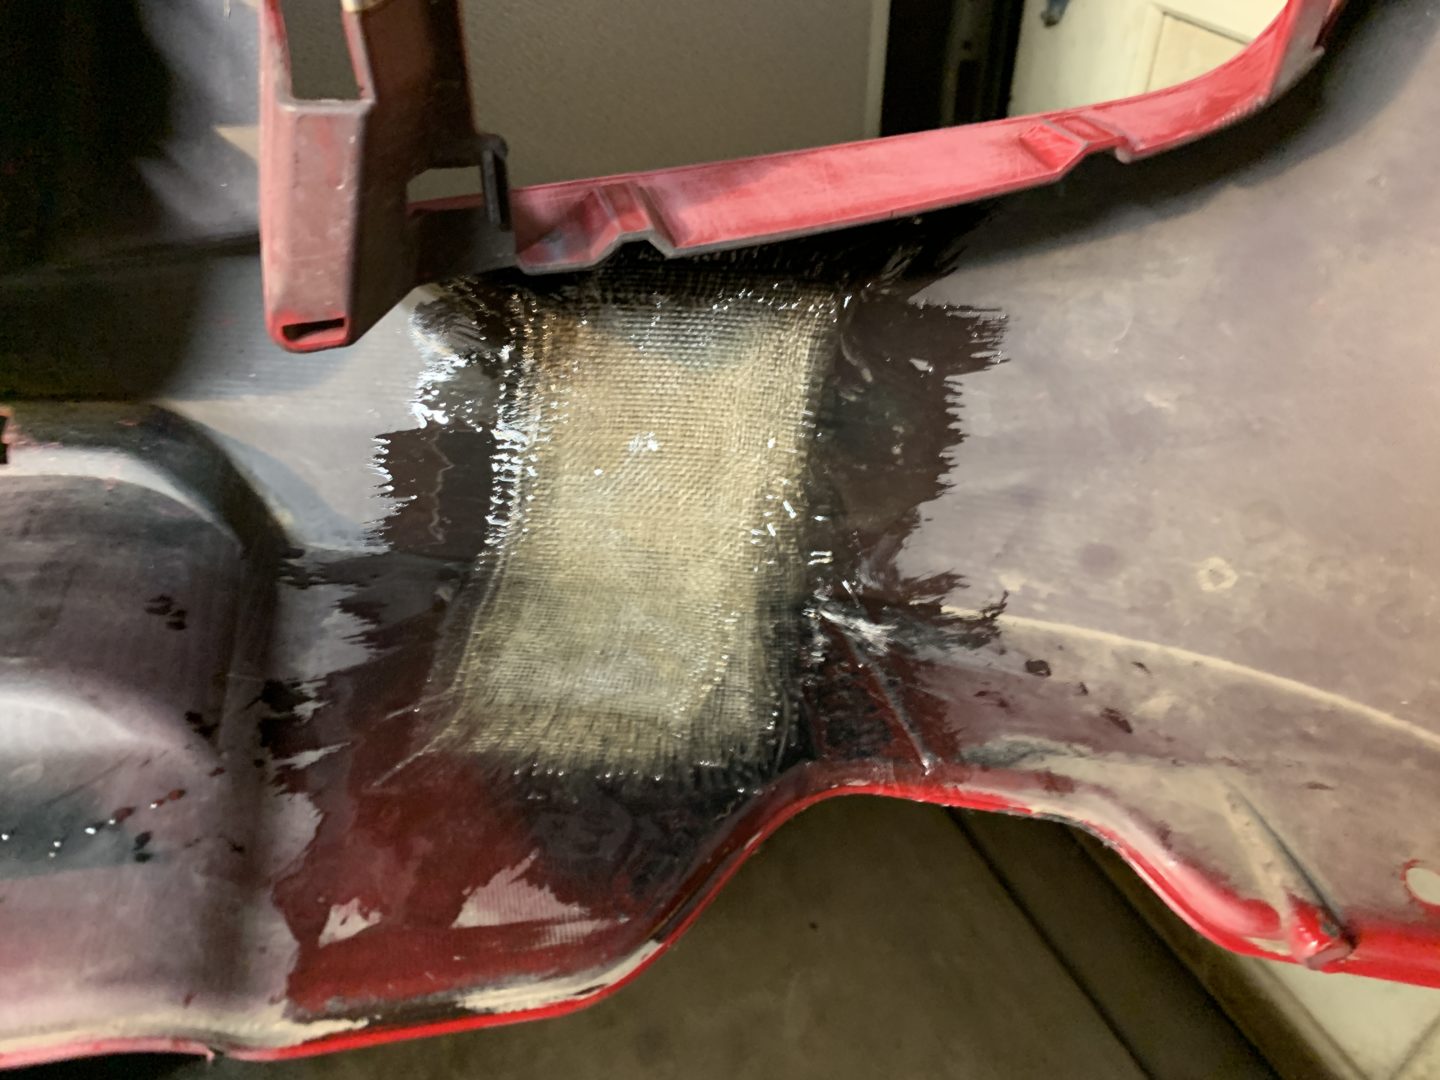
At this time, you may want to repair any major cracks or holes in the bumper. Since these types of imperfections are structural, you’ll need to repair it using either a structural body filler epoxy, or a combination of fiberglass resin, cloth, repair epoxy, and flexible body filler. If you need to repair a crack or hole in the bumper, follow this guide to using the latter repair method before moving forward with sanding.
How to Repair a Cracked Bumper

What Grit Should I use before Applying Primer or Paint?
Before continuing, you should understand the end goal of not just the fact that you are prepping the bumper to be ready for paint, but how exactly you intend on getting there. If you are planning to apply primer (and subsequently paint and clear coat) over existing paint, you need to sand down to 400-grit. 400-grit is the best for primer to stick to.
Applying primer first is a better option than simply spraying paint over your existing paint because of two things: one, it has the ability to fill in fine scratches as opposed to paint which does not, and two, it provides a better intermediary bond between the existing paint/clear and the new primer/paint.
Even if you are planning to apply paint instead of primer over your existing paint job, you should still consider using 400-grit as that is the general consensus for the best grit for applying primer or even paint to. I’d say 600-grit is even doable for applying paint over your existing paint.
Sanding the Bumpers
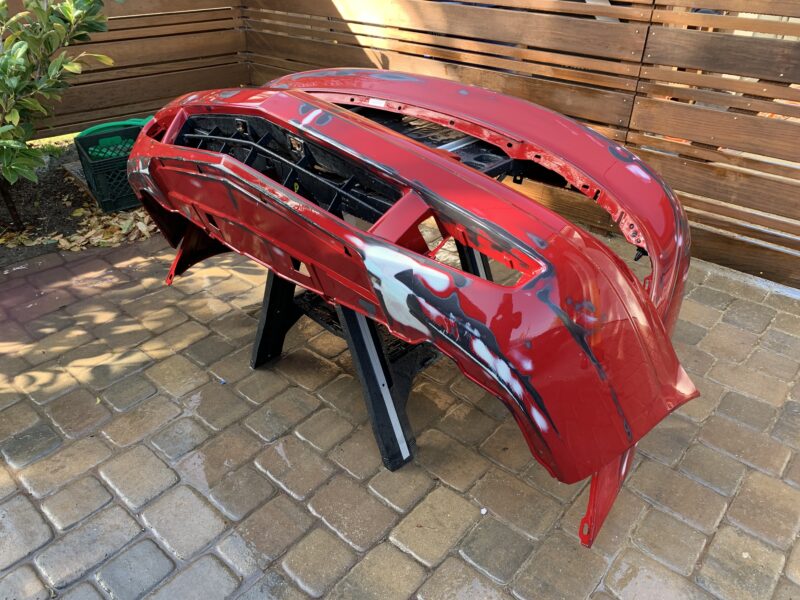
On this guide, I’m sanding the bumpers to 400-grit and applying primer over that. Therefore, I’m first removing all the loose clear coat as possible. This was done for the peeling clear coat via the pressure washer as done earlier, but you’ll need to sand to remove the rest of the loose clear. You basically will sand until you get to the areas where the clear won’t sand off easily—this means that the existing clear still has a good bond to the paint underneath. This is fine to primer or paint over, as long as you have applied the 400-grit scratches into the existing clear.
However, using 400-grit sandpaper across the entire bumper is not going to be aggressive enough to sand way all that failed clear. 80-grit is too aggressive as it will start gouging into the plastic of the bumpers. 180-grit is a good starting point and has enough coarseness to sand out the failed clear coat. You’ll then need to work your away from 180-grit, to 320-grit, to 400-grit in order to fully remove the damaged clear coat, and to reduce the 180-grit scratches to the 320-grit and 400-grit scratches (the higher the grit, the less aggressive the scratches) so that it has a smooth enough surface for primer/paint.
If your bumper looks like mine, there are scratches and imperfections on almost every part of the bumper. Therefore, I chose to make thing simple and sand the entire bumper with 180-grit, then 320-grit, then 400-grit. If you only one or two spots that need repairs, then you’d sand down to 180-grit so the body filler can adhere to it, apply body filler, then sand down with 180-grit smooth, and then continue with sanding the area with 320-grit, and then the entire bumper with 400-grit.
Since bumpers are not very flat, you’ll probably need a combination of different flexible sanding backing pads to help apply even and consistent pressure. I like the Meguiar’s backing pads as they are quite flexible. The Dura Block backing pads are more dense and are less flexible, however they work better for more flat areas and because they are more stiff, they provide better sanding power.
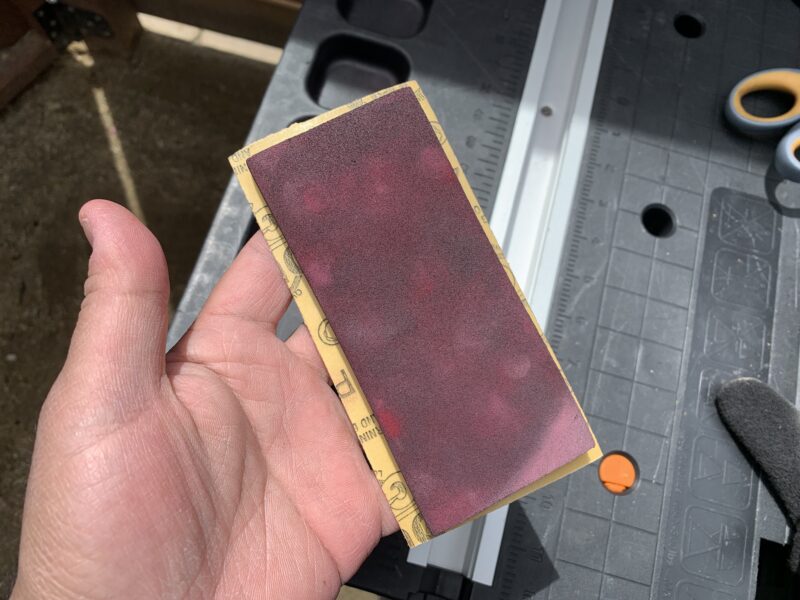
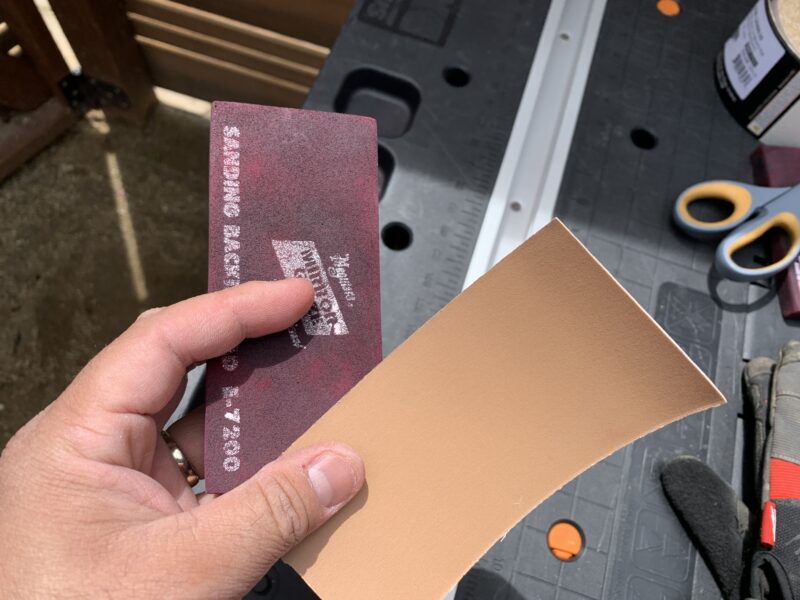
If I only had one backing pad, I’d use the Meguiar’s backing pad as it can bend and conform to all of the curves and crevices of a typical bumper cover. For the more flat areas, it may take longer but it can still be done. Ideally, you want a variety of different backing pads as it will make the job go quicker. Personally, I used both Meguiar’s backing pads and the Dura Block sanding block set.
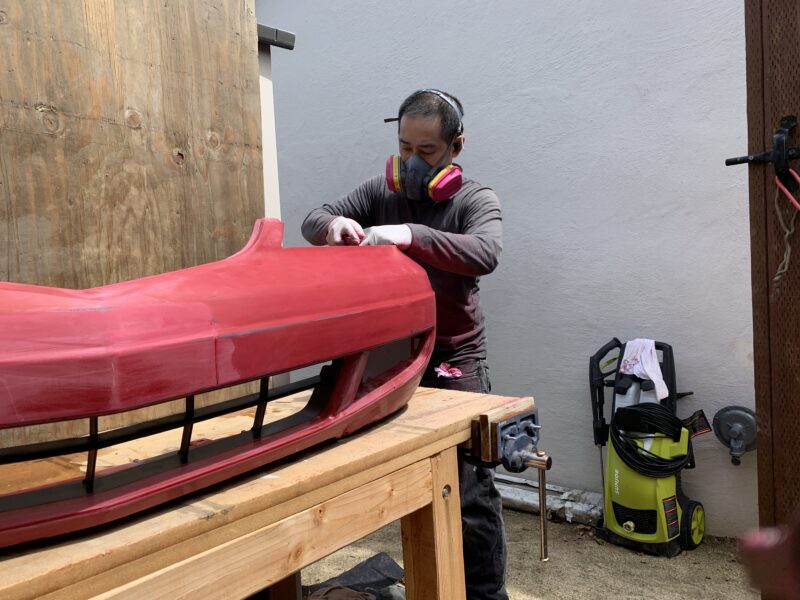
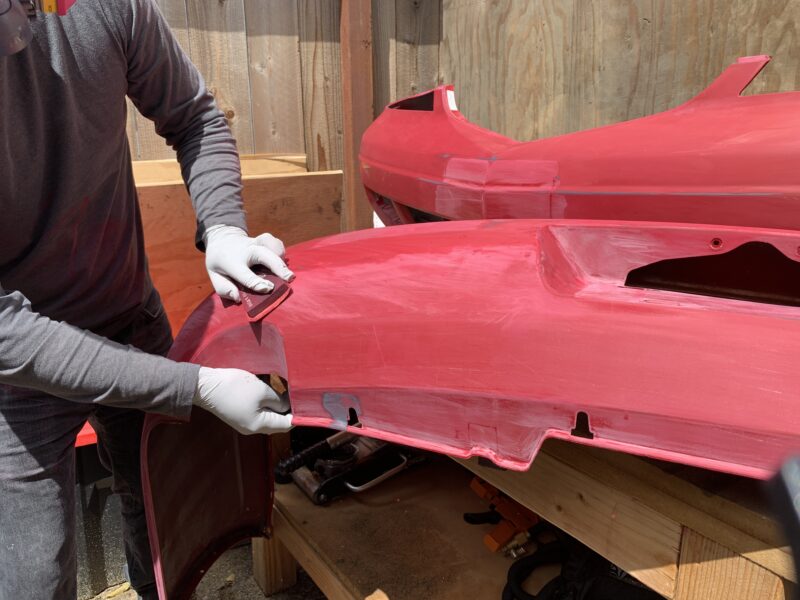
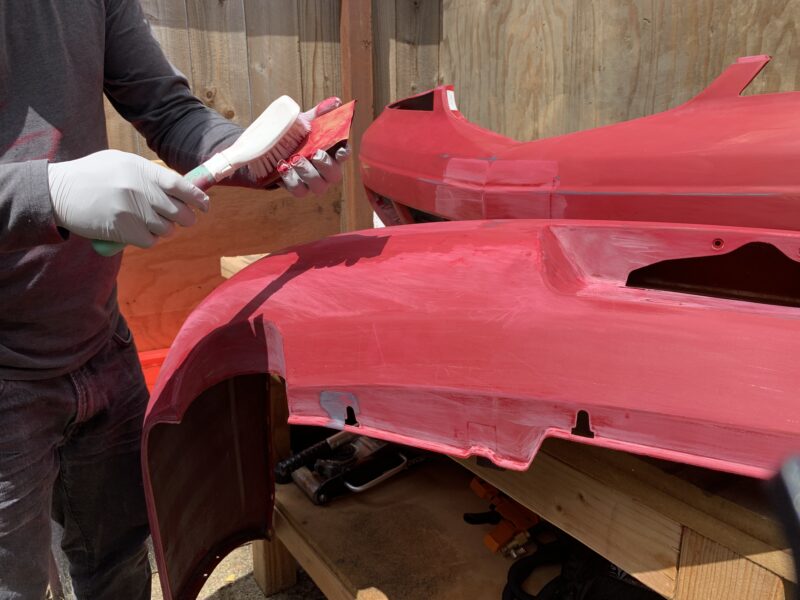
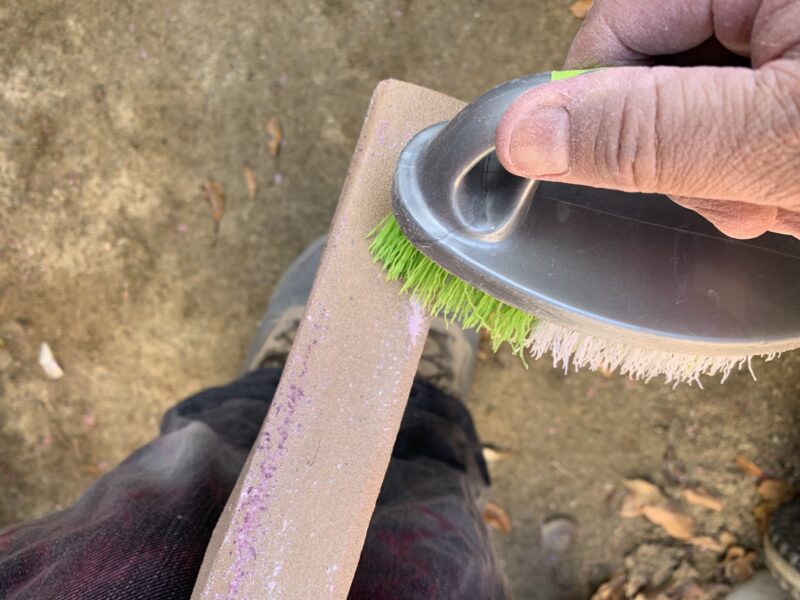
Since there was clear coat failure all over my bumper, as well as a ton of imperfections, I start with 180-grit sandpaper and completely sand the entire bumper, noting areas that need to be filled in with flexible body filler. For edges and intricate crevices/corners, I will use my hand with the sandpaper. Use a brush or compressed air to clean off the clogged up sandpaper as you work. Once the bumper is sanded down, blow it off with compressed air or wipe the bumper down of dust.
Applying Flexible Glazing Putty to Fill in Imperfections
Previously, we’ve repaired major damage such as cracks and holes in the bumper. All that is left little imperfections in the bumper such as small dings or dents and scratches. You can use flexible body filler to fill in these types of imperfections. Flexible body filler such as the Ever Coat glazing filler putty best adheres to a surface that has been sanded down to 180-grit.
With the areas needing body filler, they are sanded down with 180-grit sandpaper and cleaned off of sanding dust. You should sand the repair areas extending about an inch outside of the repair area.
Clean and prep for flexible body filler. Wipe it all down with grease and wax remover, and then follow it up with a water-based cleaner.
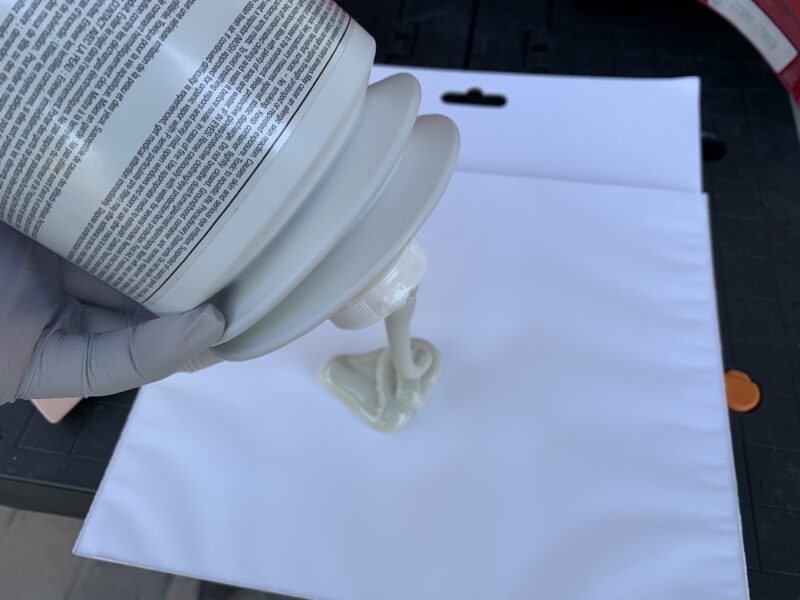
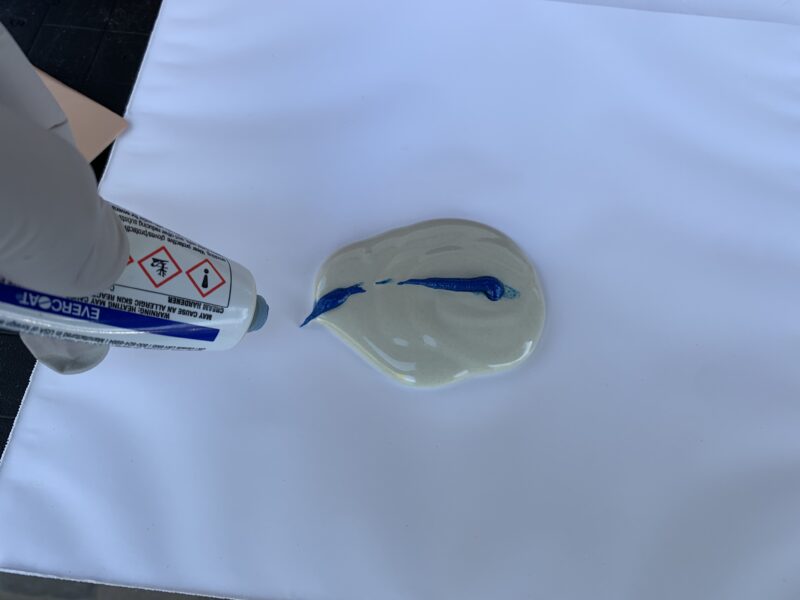
With the repair areas already sanded down to 180-grit and cleaned, you can now apply flexible body filler. Mix up the filler according to the manufacturer’s instructions. I’m using Ever Coat Flexible Glazing Putty mixed up on a mixing board, and then applied via Bondo spreaders.
I’ve mixed up a batch of the glazing putty with a bead of hardener along 1/2-3/4 of the diameter of the putty. I hear a lot of folks recommending running a bead along the entire diameter, but my experience using this product in California is a 1/2 diameter works best.
Mix up the glazing putty and hardener together thoroughly until the color is mixed and is consistent.
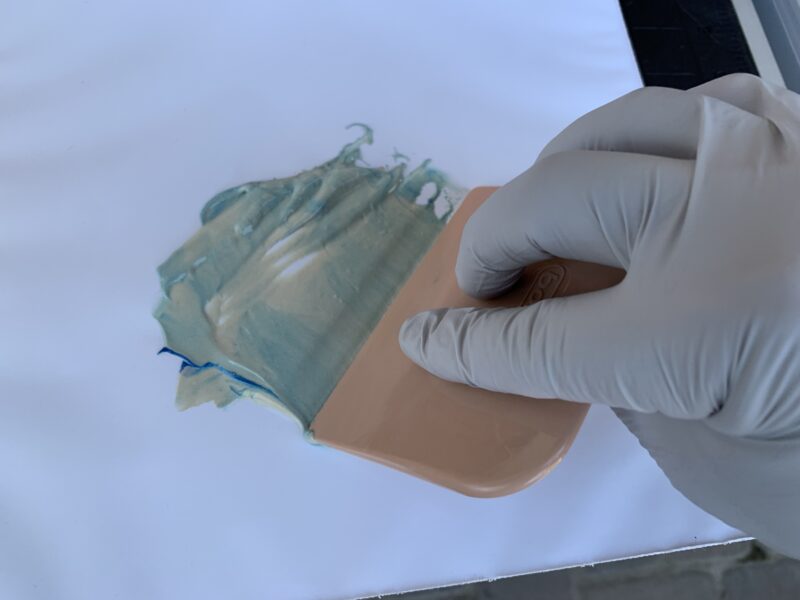
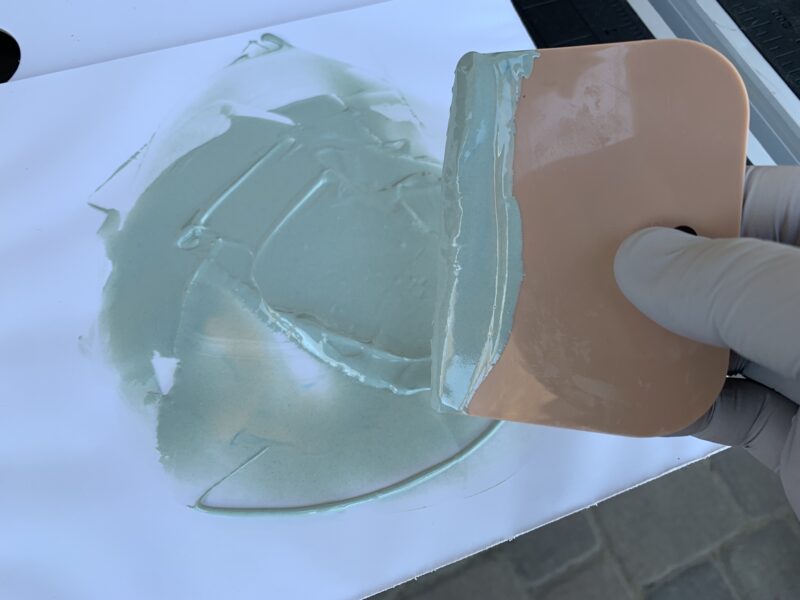
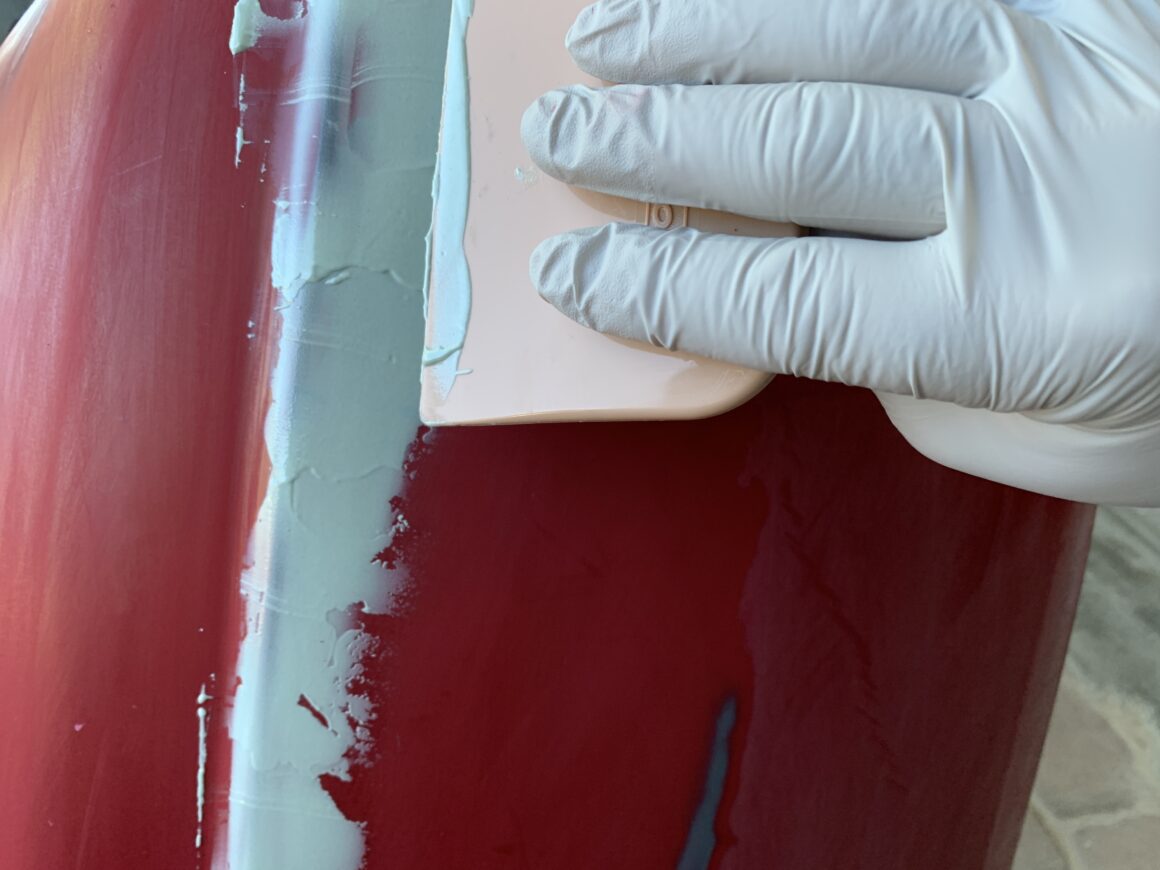
Spread the body filler over the areas needing filling. When spreading, apply firm pressure with the spreader and even lighten up the pressure a bit to build up a slight hump to the filler area. This will allow for some shrinkage and provide you with some extra material to sand down flat and smooth with the rest of the bumper surface.
I had to use a variety of different blocks, including an electric sander to sand down the glazing putty since I had so much of it. If you really have to, you can use 80-grit to knock down areas with high build-up of body filler, but be extremely careful as 80-grit scratches in your bumper will require more body filler to cover up. My recommendation is to stick with 180-grit, to get about 90% of it smoothed out. When you follow-up with 320-grit, it will sand down the remaining 10%.
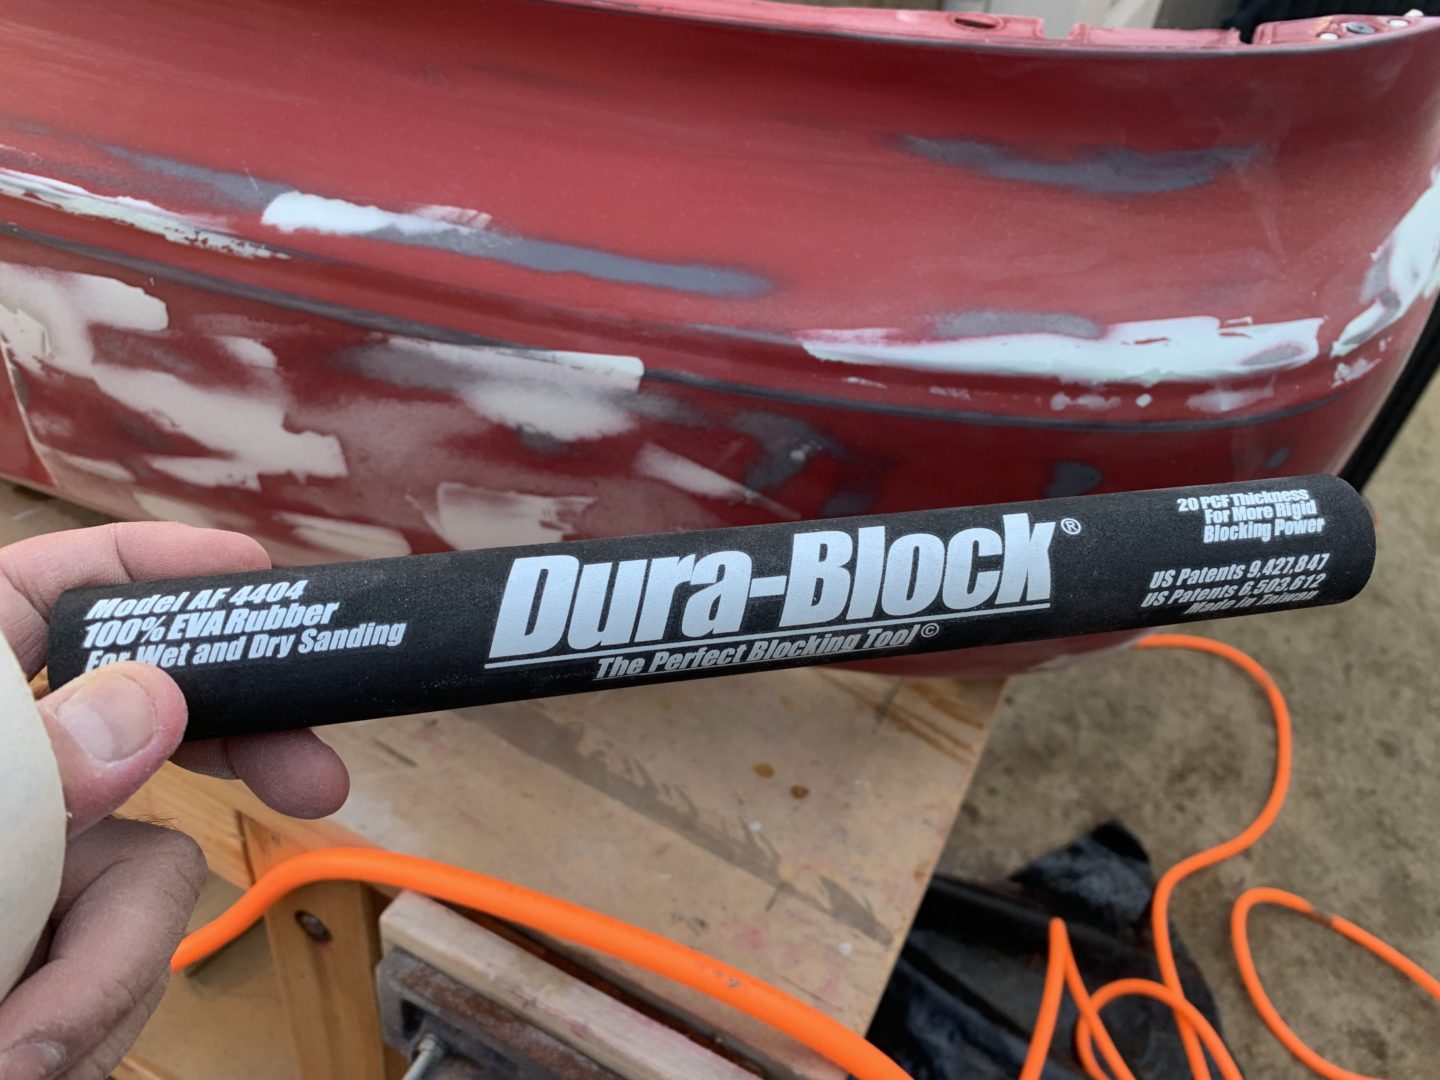

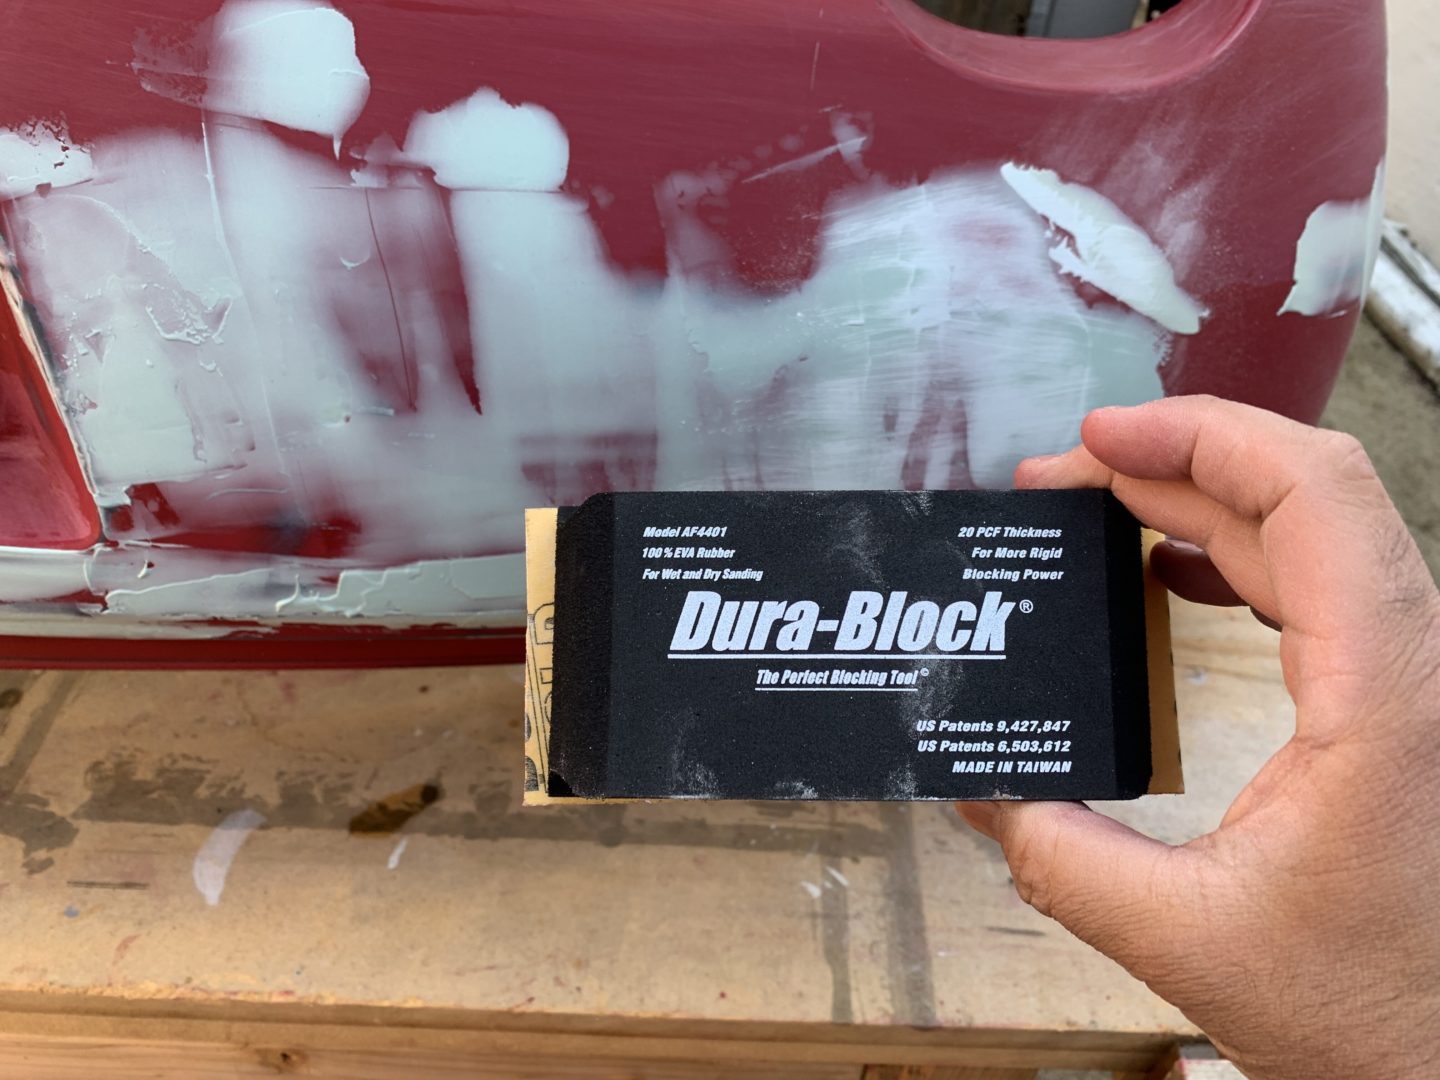
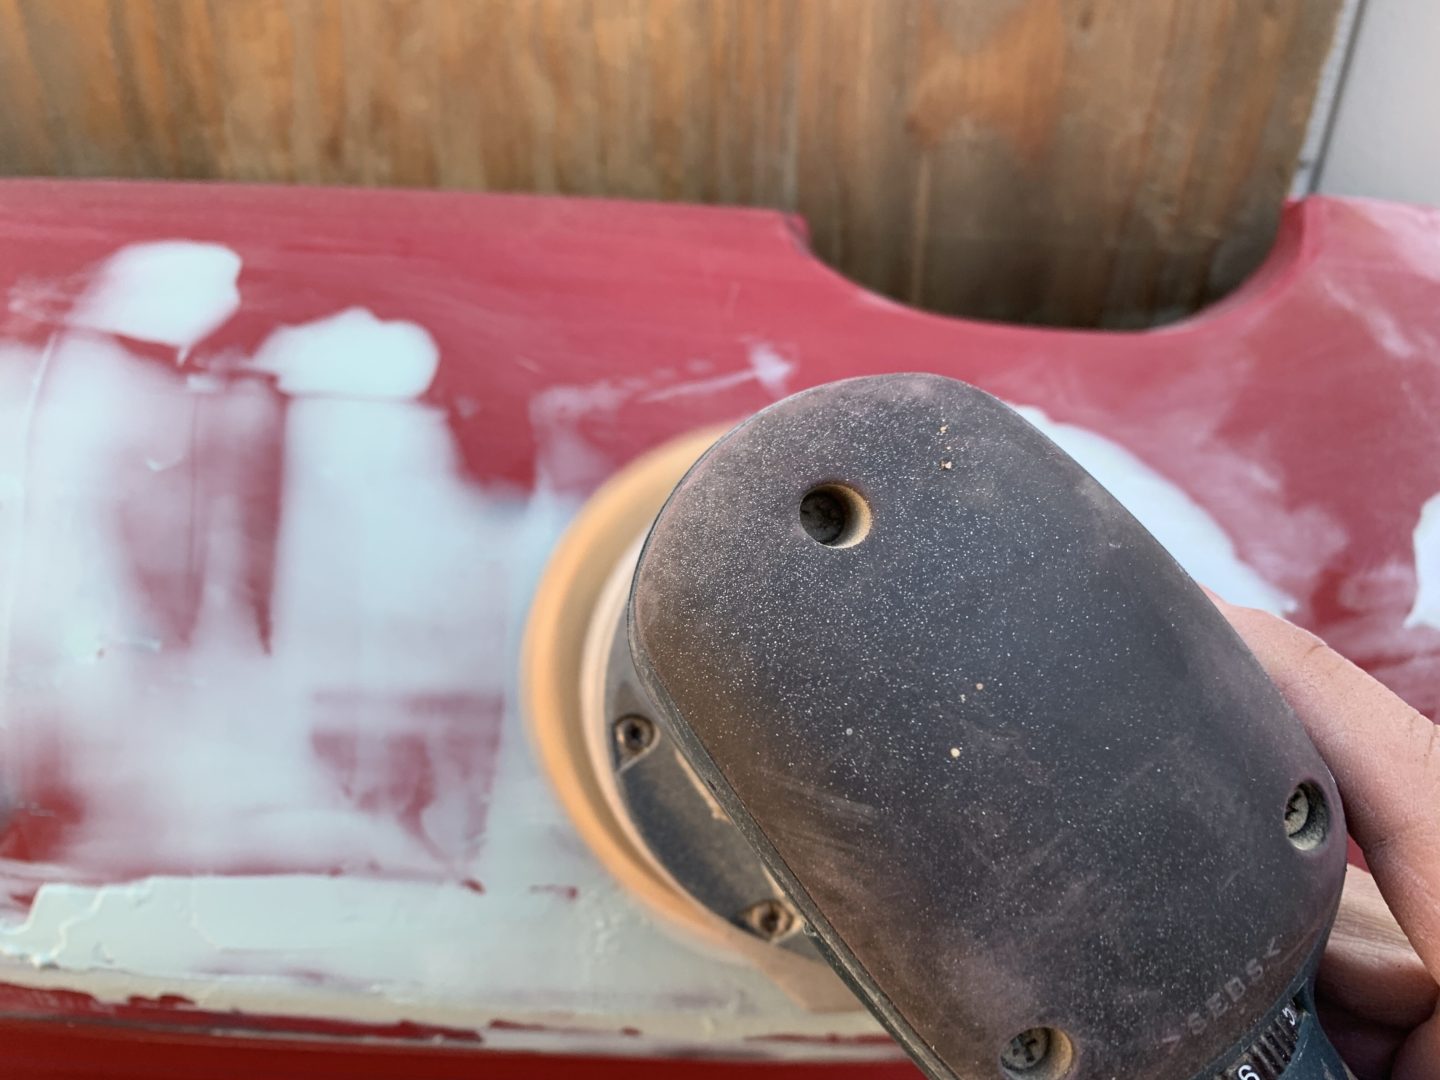
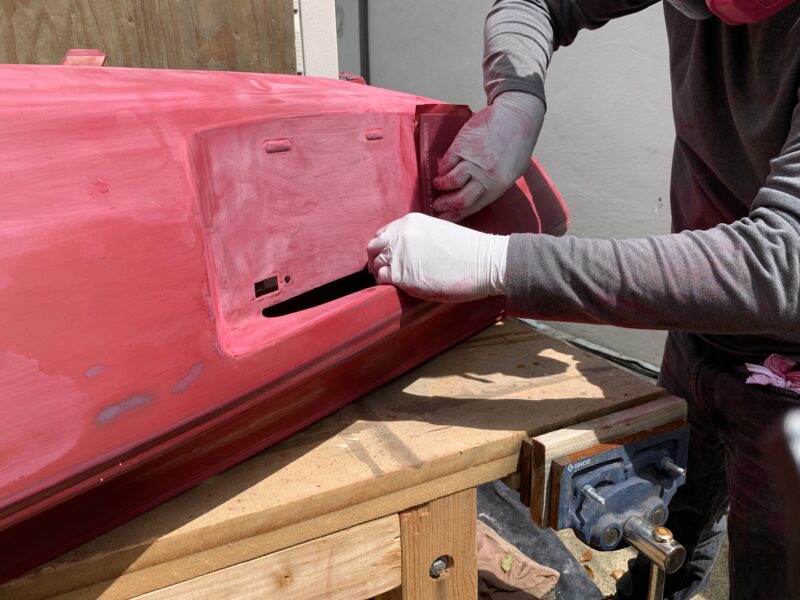
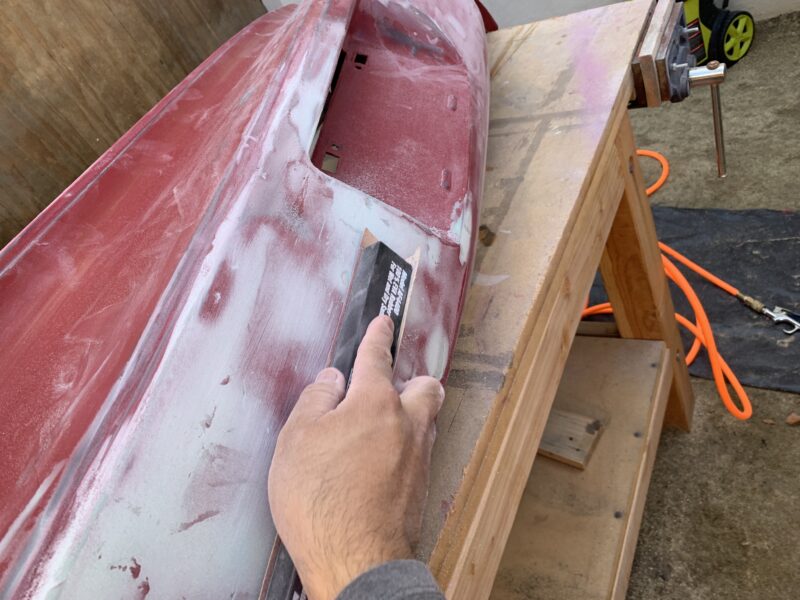
Even when the bumper has flat areas, it still has a bit of a curve to it. So for me, using this narrower but long sanding block worked best for me in the flat areas. It sands away material quickly. Again, use a stiff brush to unclog the sandpaper as you sand.
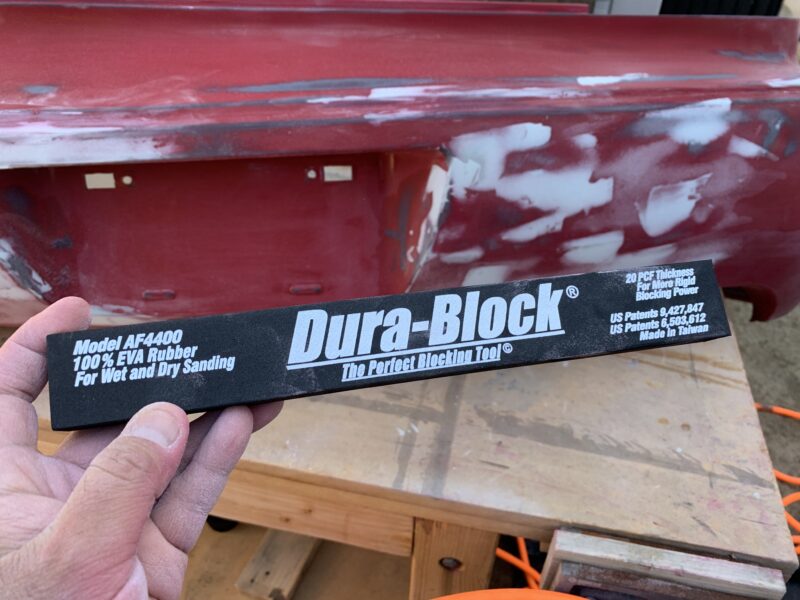
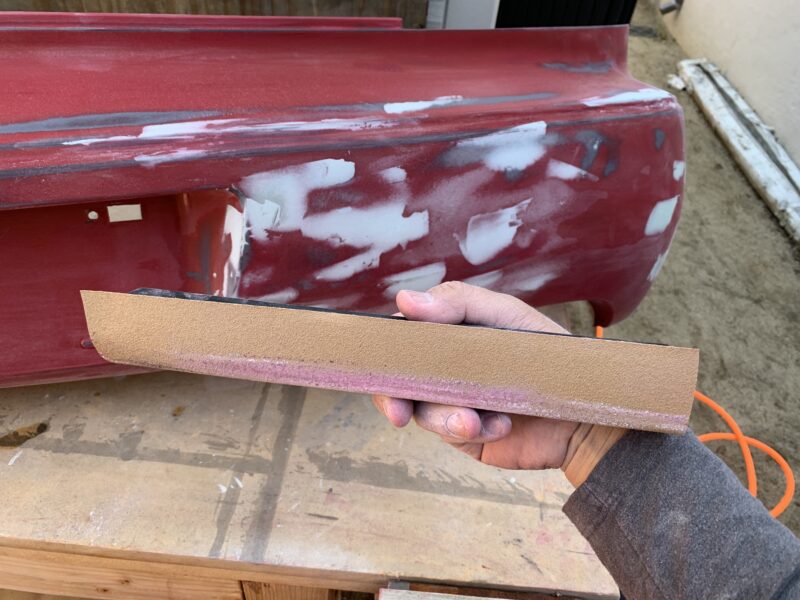
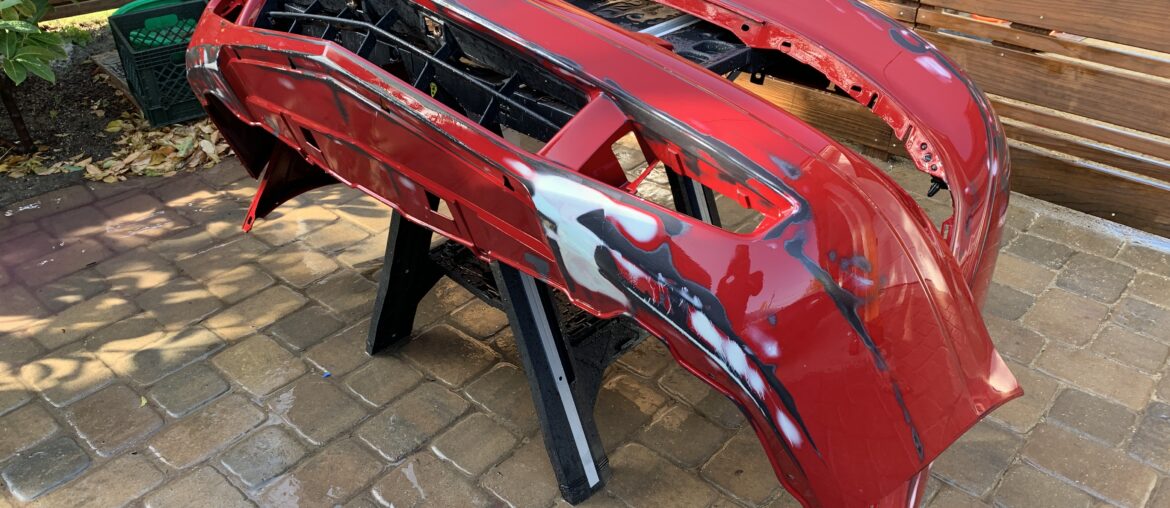
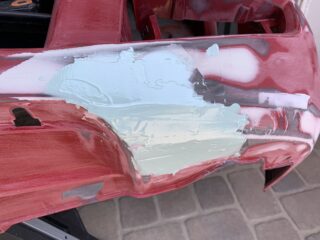
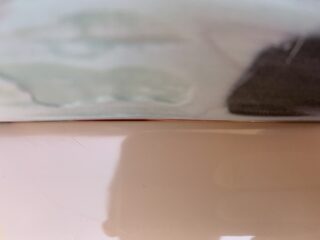
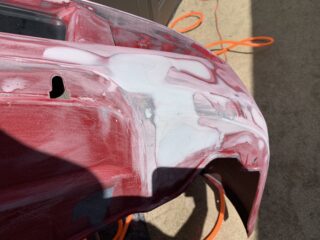
After you sand down the areas you applied body filler to, check to make sure they are completely smooth and even with the surrounding bumper surface. As you can see below, I had this low spot from a repair that needed a few layers of glazing putty. The second photo below shows the small indent in the applied putty that still needed filling. Since glazing putty isn’t intended to fill deeper repairs, I built-up several layers of this stuff to smooth out the surface.
After 180-grit, use 320-grit sandpaper to sand out those 180-grit scratches. To ensure you sand out all the 180-grit scratches, you can use a guide coat to apply onto the 180-grit scratches before sanding with the 320-grit sandpaper. If you miss an area or don’t sand enough, then the guide coat will remain showing you the area or areas you need to continue sanding with.
When you sand with 320-grit sandpaper, sand all the 180-grit sanded areas and extend your sanding area further an additional 1-inch or so out.
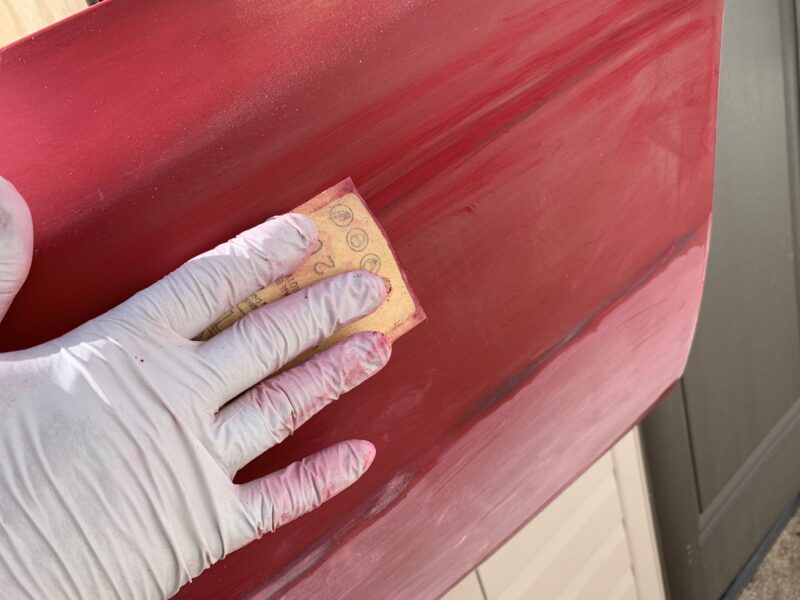
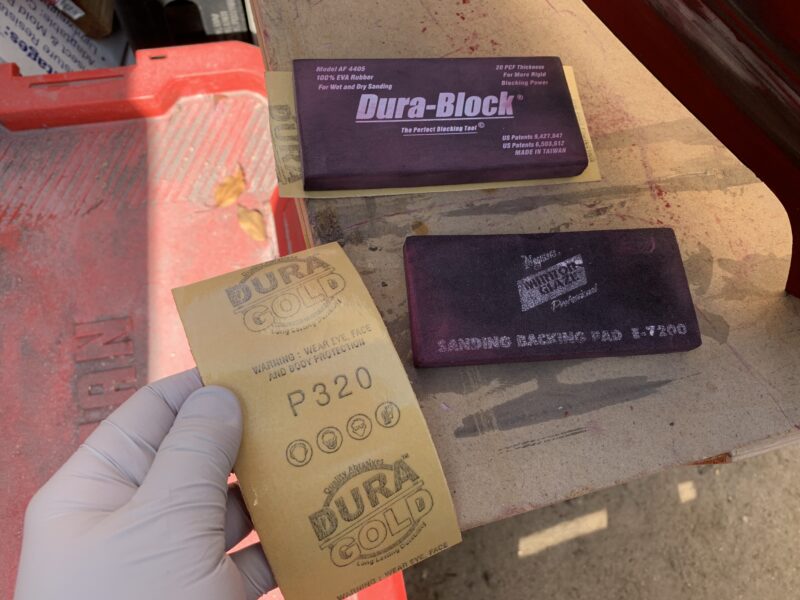
Now with the 320-grit sanding completed, it’s time to clean the bumper all off of the sanding dust and start sanding with 400-grit. Since 400-grit will be the last grit that you will be doing before primer/paint, then you will be sending the entire bumper with the 400-grit sandpaper. Take your time and sand everything. I’ll usually make at least two passes in different directions to ensure I get good sanding coverage.
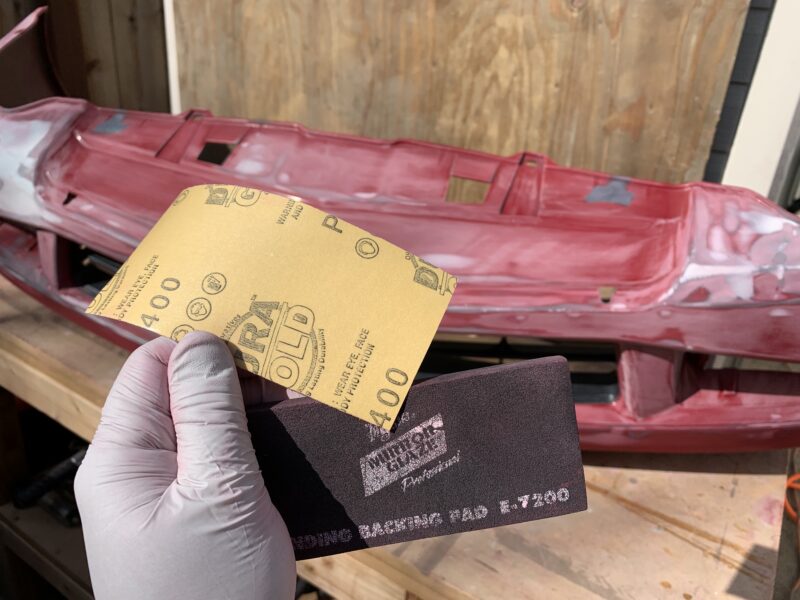
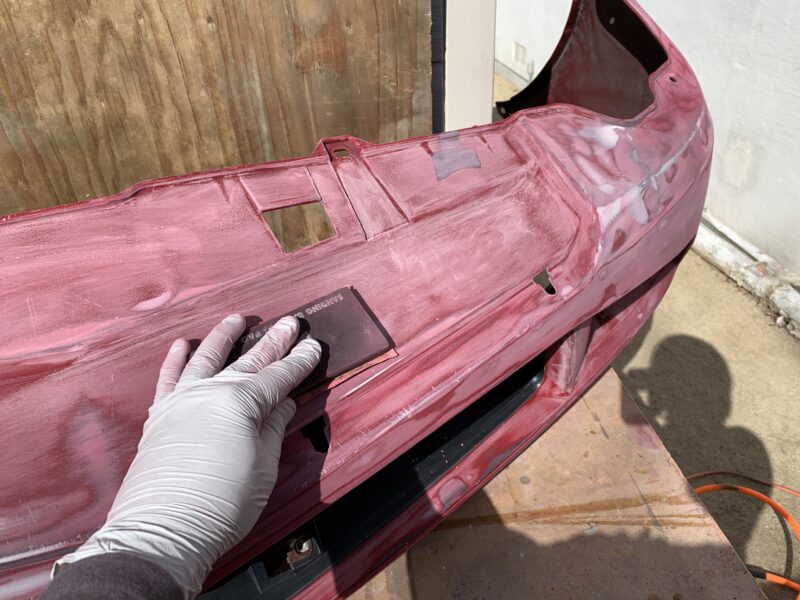
When you are done sanding the entire bumper with 400-grit sandpaper, rinse it down with water. Double-check that you’ve sanded all of your bumper surfaces and that everything is completely smooth. If you’ve missed any spots, hit it up with sandpaper again 180-grit, 320-grit, and 400-grit, until you are satisfied. Any imperfections will likely show through your paint later so it’s best to get your surface smooth now rather than pay for it later.
Then, use Scuff Stuff which is an abrasive surface prep, along with a 3M Maroon Scuff Pad. The 3M Maroon Scuff Pad is rated between 320-400 grit. Using this maroon pad along with Scuff Stuff and water will help to provide an even scuffing of the bumper surface, but it will also get into any grooves or edges of the bumper that you perhaps had missed with sanding. Then, rinse it all off and let it all dry. The bumper should now be ready for primer or paint.

