
When you make purchases through links on this site, The Track Ahead may earn an affiliate commission. Also, these posts are based off my own experiences. I am not responsible for any action you take as a result of reading this. Learn More
Installing sound deadener in your car is a pretty extensive project that can provide you with a number of benefits. However, the primary reason why people install sound deadener is to reduce noise coming from outside of the car. Not only does it make driving less distracting without the loud noise from driving on the road surface, wind noise, and other ambient road noise, but it also allows you to speak and hear your passengers more easily. Further benefits include better sounding music in your car and a more sturdy-sounding vehicle.
Now, you should know that applying sound deadener in your car can be a very involved project and is not for the feint of heart. It involves taking much of the interior of your car apart, and applying multiple layers of sound deadening material to the body of your car. If you have the patience and are careful when removing and installing your car’s interior, it may be worth the time and effort for a certain level of noise reduction.
What Exactly Is Sound Deadener?
Sound deadener is a makeup of several layers of material that is applied to the inside of your vehicle’s body panels, which essentially block and damp external sound that enters the cabin of the vehicle. There are different methods of installing sound deadener, but I will focus on the 3-layer application of sound deadener as this is most DIY-friendly for the majority of people looking to do this.
The Three Layers of Sound Deadening Material
In order to effectively apply sound deadener to your vehicle, it’s best to apply it in three layers. You have the MLV (mass loaded vinyl) layer that acts as the primary sound barrier. You also have the butyl deadener layer, which is used to kill the resonance of the thin sheet panel of your car. And finally, you have the layer of CCF (closed cell foam) that goes in between to act as a de-coupler between the two sound deadening materials.
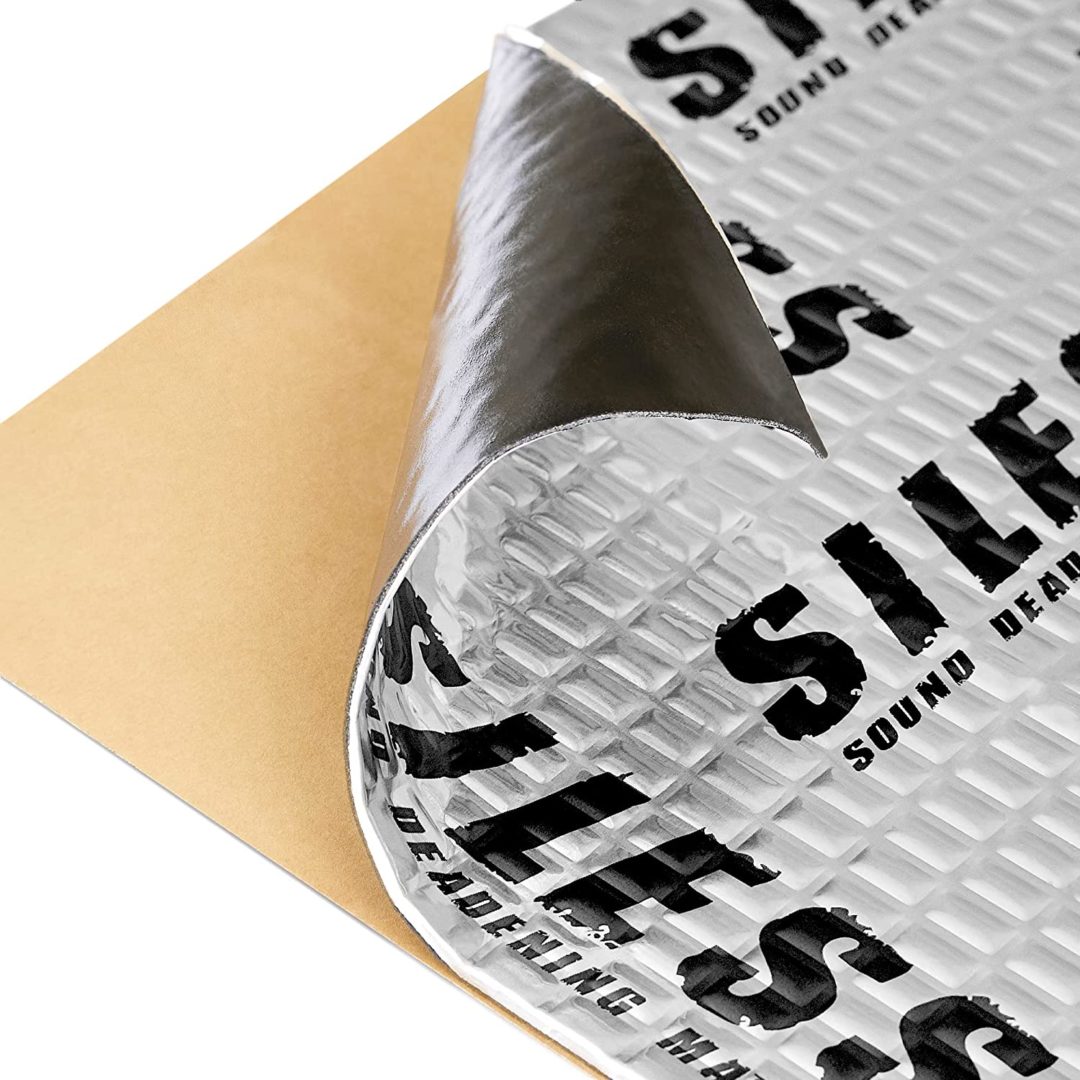
1st Layer: Butyl Deadener
Butyl deadener is the first thing applied to the body panels. This material effectively kills resonance or vibration of the panels. It only needs about 30-50% coverage in order to accomplish this, so you’re not completely covering the panel with it. This product is normally referred to Butyl Deadener Mats since they typically come in sheets, rather than in a roll.
The butyl material itself is sandwiched between an aluminum material that not only acts as an acoustic barrier, but also reduces head transfer. The other side is a wax paper that easily peels off so that you can stick the butyl onto the body panel of the car.
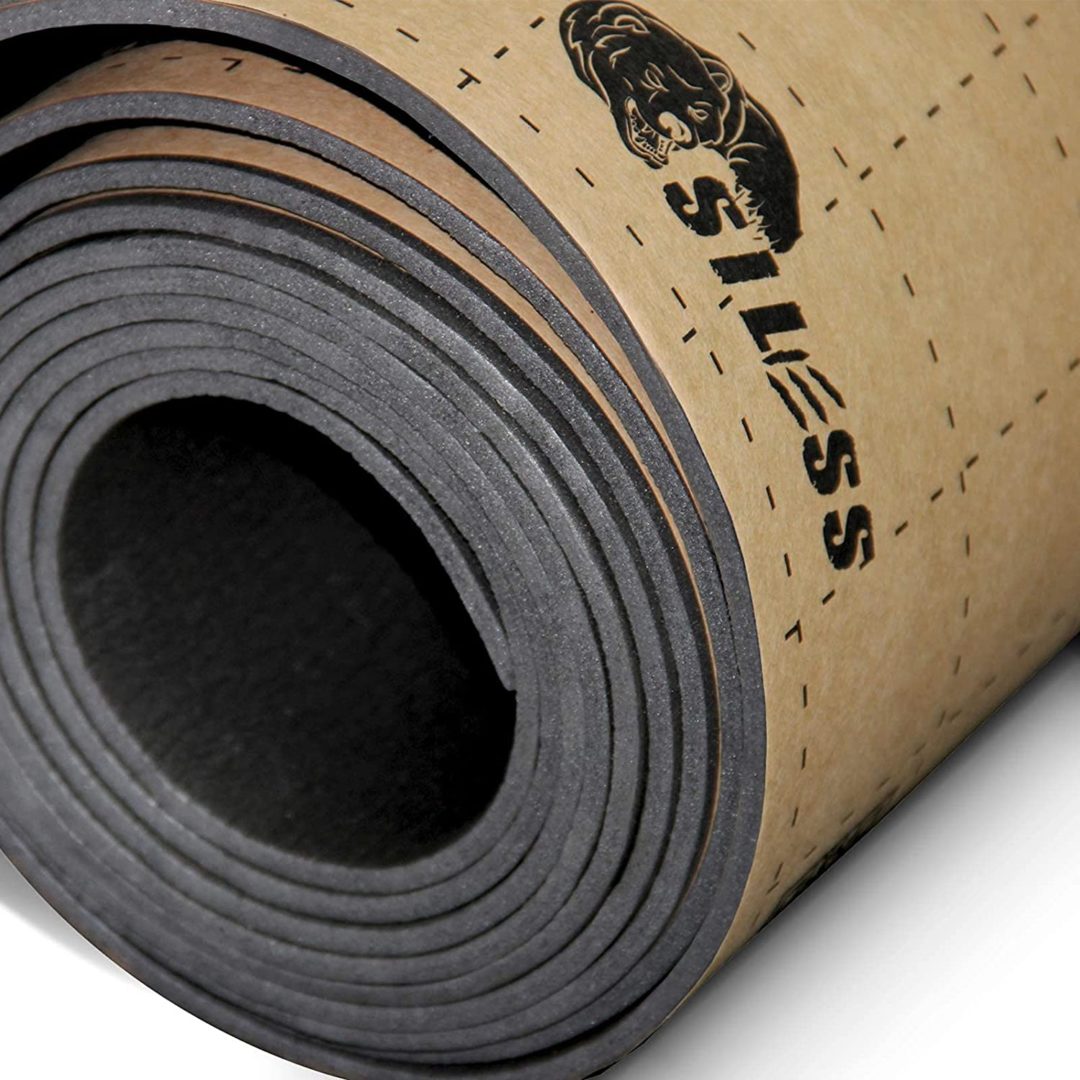
2nd Intermediate Layer: CCF (Closed Cell Foam)
Closed cell foam is known as a de-coupler, as it is used as an intermediate layer between the butyl deadener and mass loaded vinyl.
Mass loaded vinyl (used as the 3rd layer) is a highly dense material that does a great job at blocking sound. However, if you were to simply put MLV directly against the sheet metal of a car, it would block external sound well, but it would sound terrible because it would be directly in contact with the vibration of the sheet metal. This is where CCF comes in; it decouples the MLV layer from the butyl deadening layer.
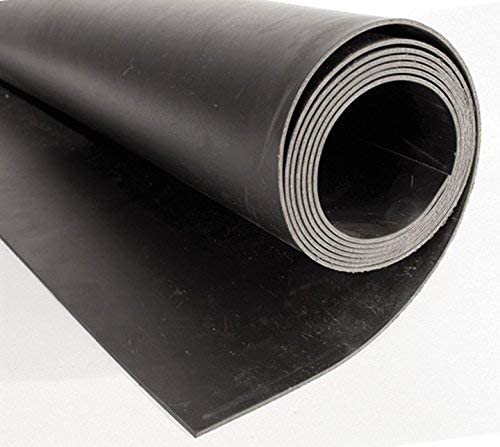
3rd Layer: MLV (Mass Loaded Vinyl)
MLV is a very dense and heavy material that does the heavy lifting with regards to noise reduction. Where butyl deadener only requires 30-50% coverage to kill resonance, MLV needs full unbroken coverage in order to effectively stop sound transmission from outside the vehicle to inside the cabin.
MLV usually doesn’t come with a sticky side for adhesion, which I suspect is due to the fact that it would not be strong enough to hold such a heavy material upright (e.g. door panels where the MLV is fighting gravity.) MLV would be best adhered to the CCF with a strong adhesive such as contact cement.
Is Sound Deadener Worth it?
In my opinion, if you have a lot of time to dedicate towards carefully taking your vehicle’s interior apart in order to install sound deadening and you also plan on keeping your vehicle for a long time, it’s worth it to do. When I installed sound deadener in my 4Runner many years ago, I spent a few days taking everything apart, carefully applying the layers of sound deadening, and reinstalling the interior parts. After I finished, I noticed the following benefits:
- Road noise was extremely quiet on normal roads.
- Road noise was reduced a minimal-to-moderate amount on the highway.
- My music sounded better in the cabin.
- The doors had a satisfying ‘THUD’ noise when I closed them.
- My passengers and I didn’t have to shout at each other anymore to hear each other at highway speeds.
There were some negatives that I’d like to point out:
- It took a very long time for me to install sound deadening to the car. Nowadays, I have kids and I would think it’d be impossible for me to do this again, especially if I’m using the car on a daily basis.
- Whenever you remove and reinstall interior parts of your car, there’s a high likelihood of breaking plastic pieces and clips. This usually ends up leaving you with trim pieces that don’t fit perfectly anymore and/or with constant rattling of interior parts.
- With the material build-up of these sound deadening layers, you might have trouble with some parts being reinstalled afterwards. For example, with the sound deadening applied underneath the carpeting, I reinstalled the seats, but the seat trim pieces (that covers the bolts holding the seats down) wouldn’t fit anymore due to the added height of the carpet.
- For the amount of time and effort put towards installing sound deadener, it didn’t seem to decrease the road noise at higher speeds as much as I’d like. As I mentioned in the positives above, it did reduce the noise by a bit, but not significantly enough to justify the amount of work I put in for the install.
Where to Buy Sound Deadening Materials?
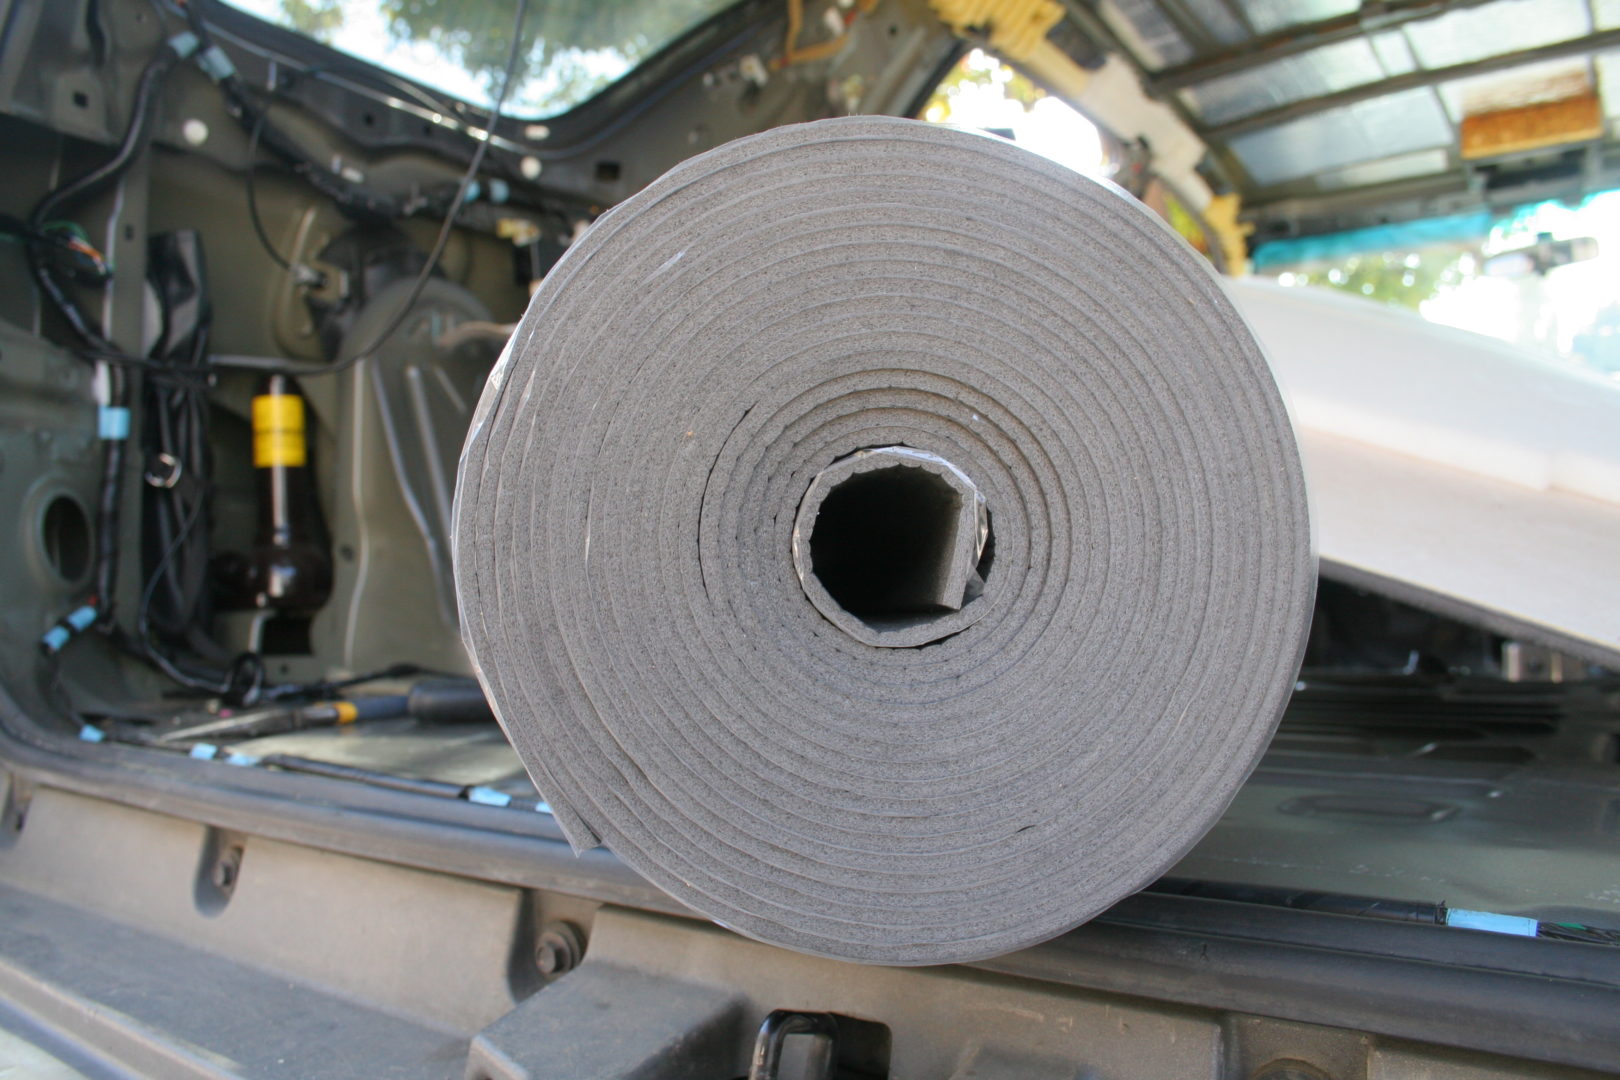
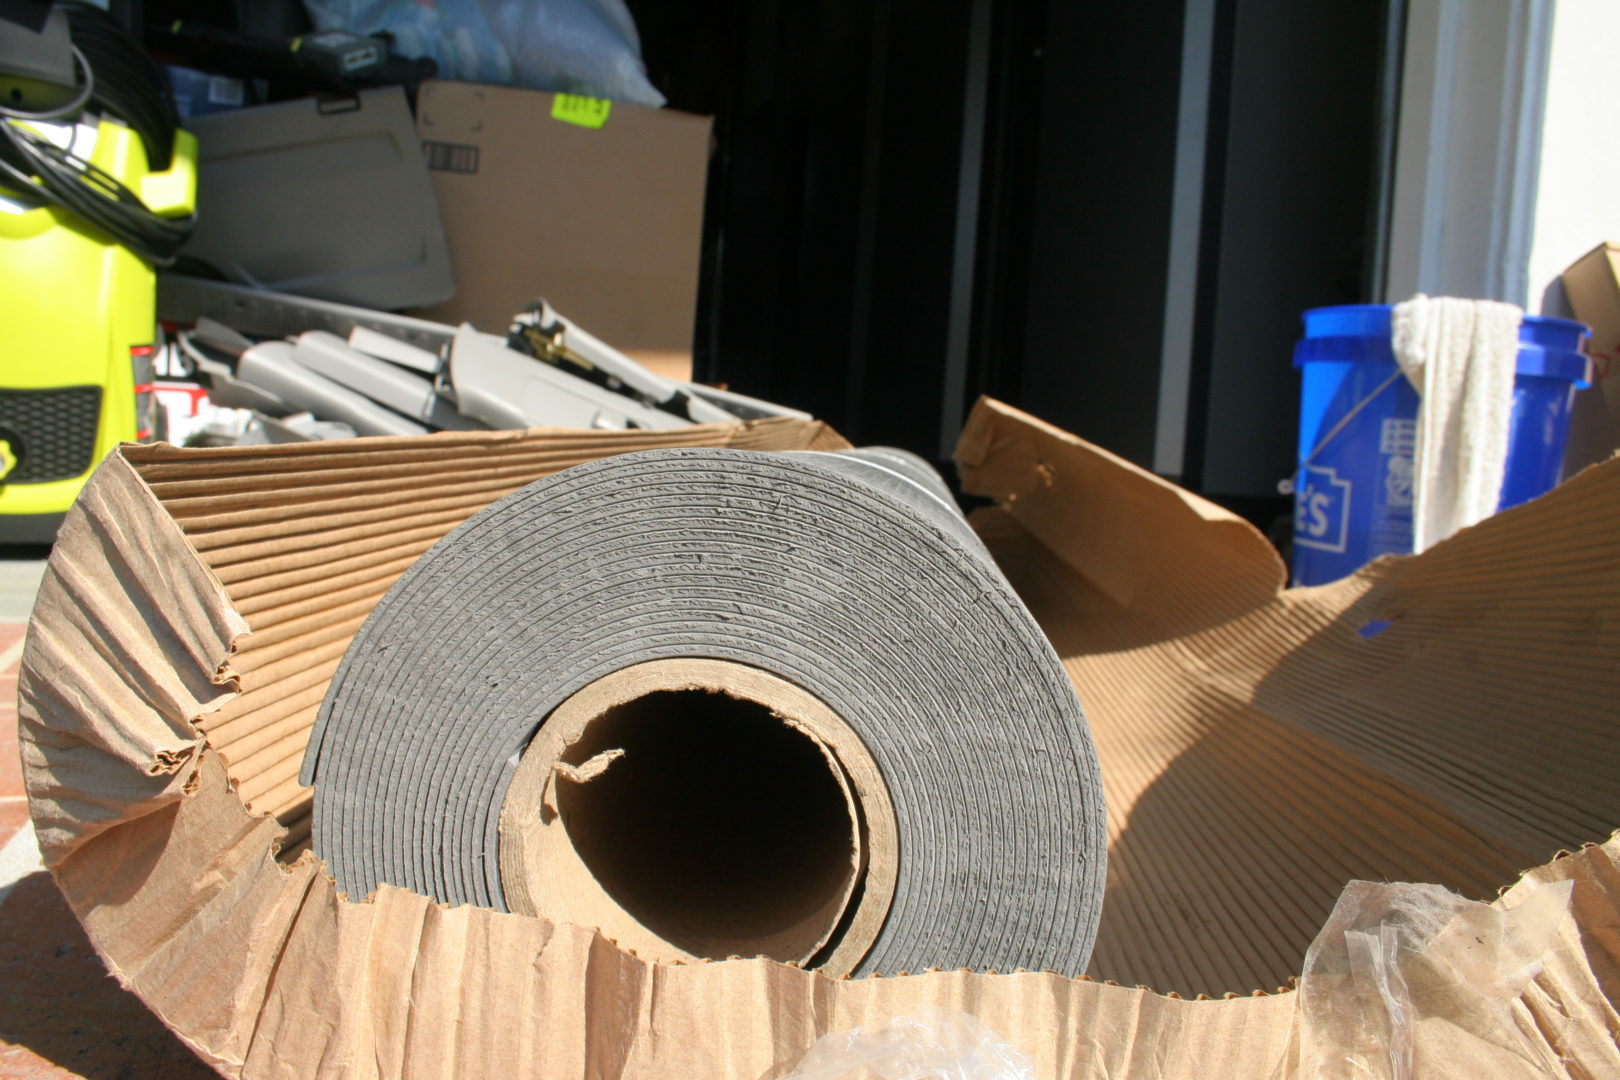
Amazon and Ebay are my go-to for buying these materials. Some of the exact materials I purchased many years ago aren’t still available, but the materials will be the same no matter where you get them. You might have different thicknesses of sound deadener, which can give you better sound deadening performance. Typically butyl deadener (1st layer) comes in sheets, while CCF (2nd layer) and MLV (3rd layer) are generally sold in the form of a roll.
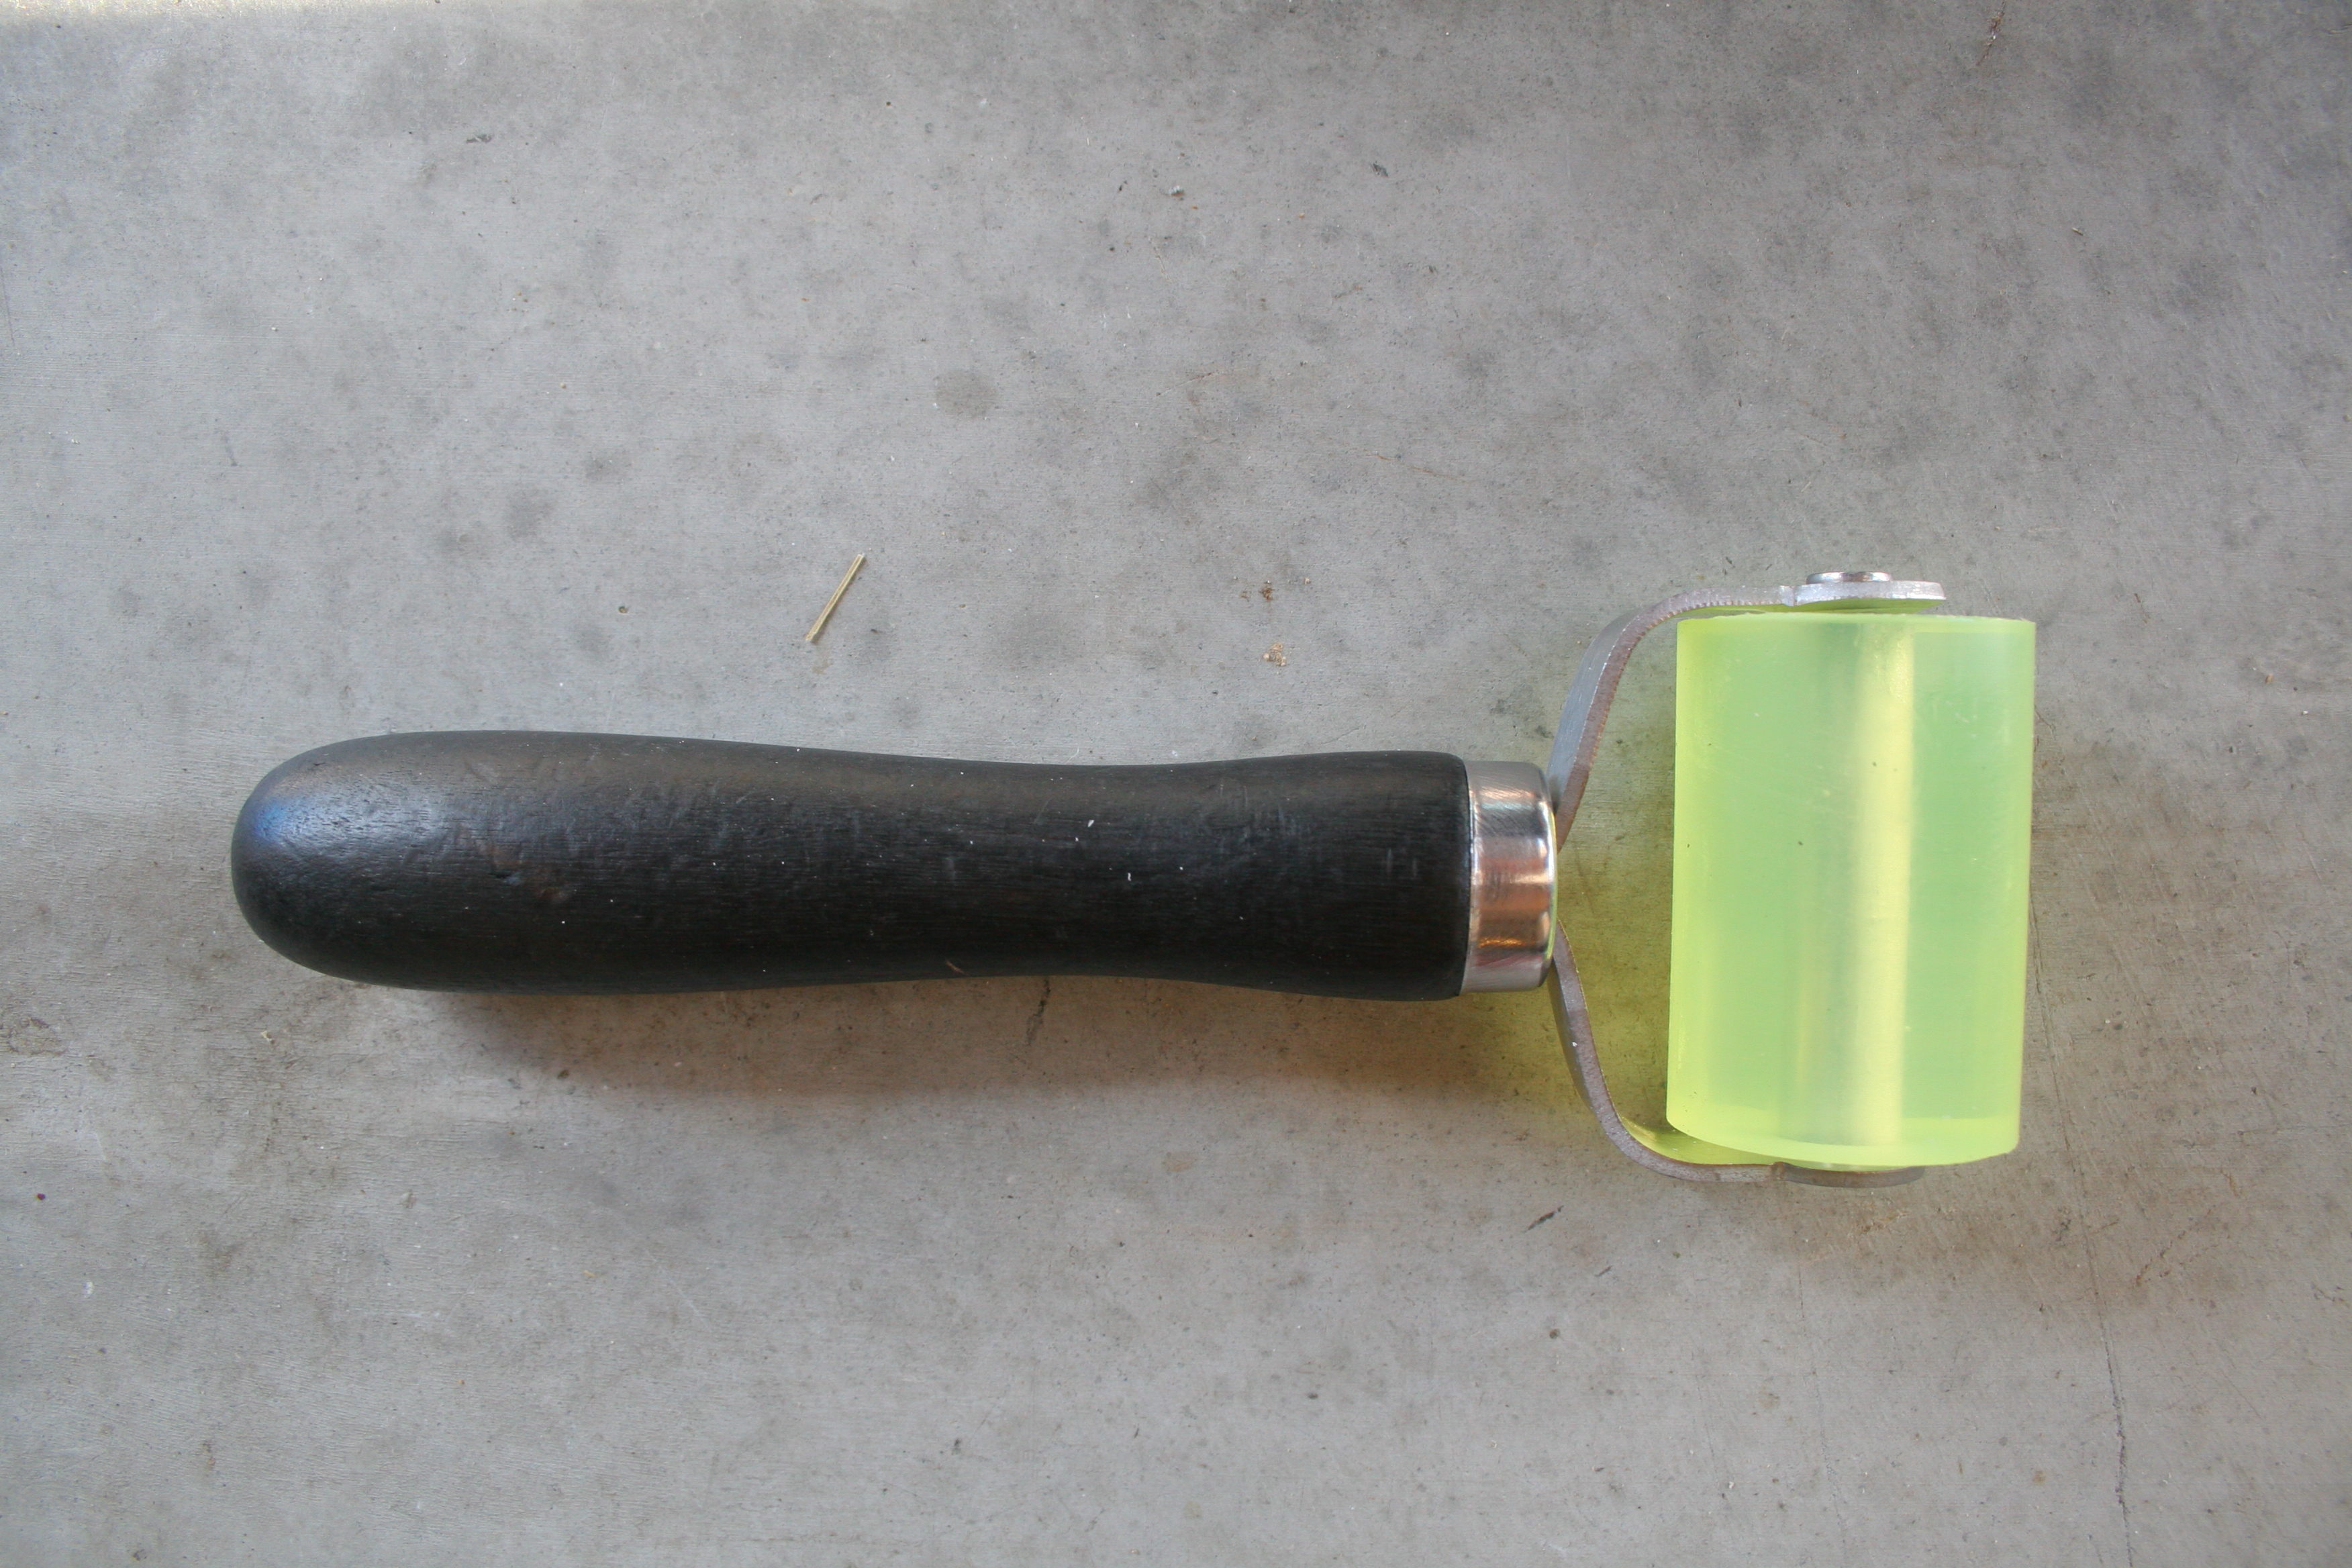
You will also need a wheel roller to properly and entirely adhere these materials to your vehicle. I added some of the various tools like trim tools, mechanics tool set, and mechanics work gloves. I highly recommend using the Mechanix Work Gloves when installing the butyl deadening mats because the aluminum edges can easily cut your hands.
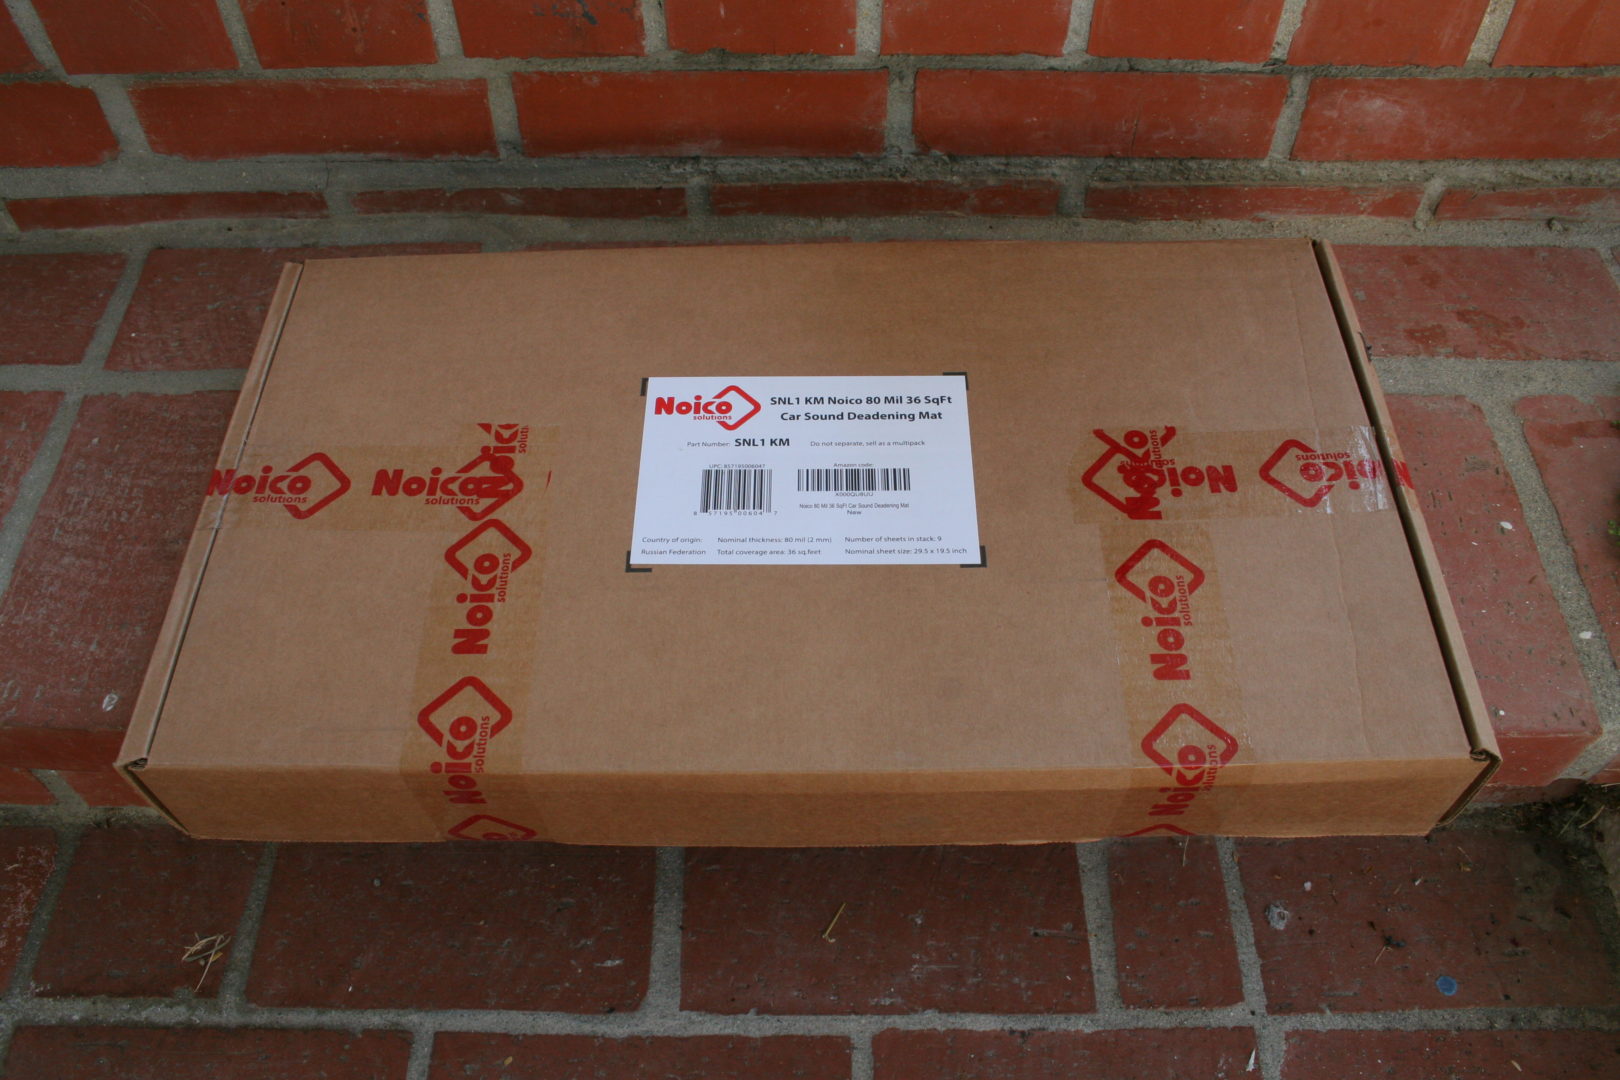
Butyl Deadening Mats
Noico: 80 mil (2 mm) 36 ft2
Siless: 80 mil (2mm) 36 ft2 / 50 mil (1.3mm) 52 ft2
Closed Cell Foam (CCF)
Siless: 157 mil (4 mm) 36 ft2 / 157 mil (4 mm) 51 ft2
Uxcell: 315 mil 6.46 ft2 – 40″ x 24″ / 315 mil 10.76 ft2 – 40″ x 40″
Mass Loaded Vinyl (MLV) – 1lb Mass
Noise Grabber: 4.5′ x 30′ (135 ft2) / 4′ x 25′ (100 ft2) / 4′ x 15′ (60 ft2)
Soundsulate: 4′ x 25′ (100 ft2) / 4′ x 15′ (60 ft2) / 4′ x 10′ (40 ft2)

Wheel Roller Sound Deadening Applicator
Lumiteco Wheel Roller
Uxcell Wheel Roller
Other Various Tools You Might Need
HH-66 Contact Cement
Dewalt 205-piece Mechanics Tool Set
Tresalto 5-piece Trim Tool Kit
Mechanix Wear Work Gloves
All-Purpose Cleaner & Microfiber Towels
Ridgid Shop Vacuum
How to Install Sound Deadener in Your Car
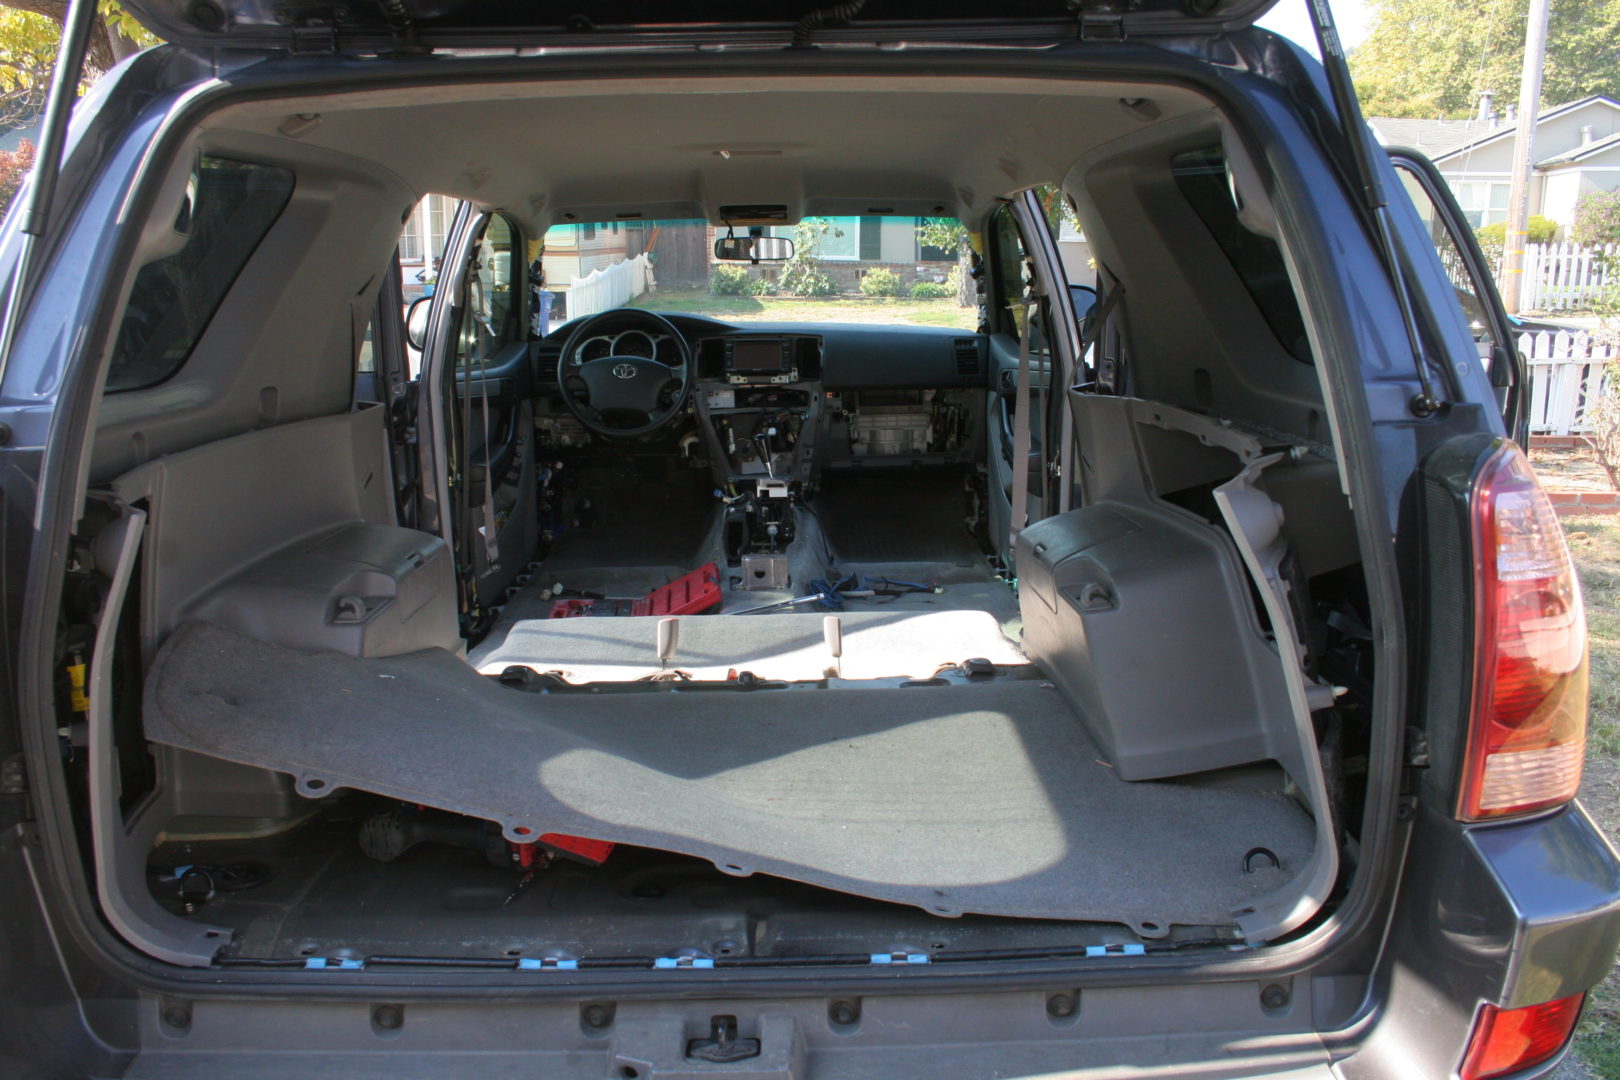
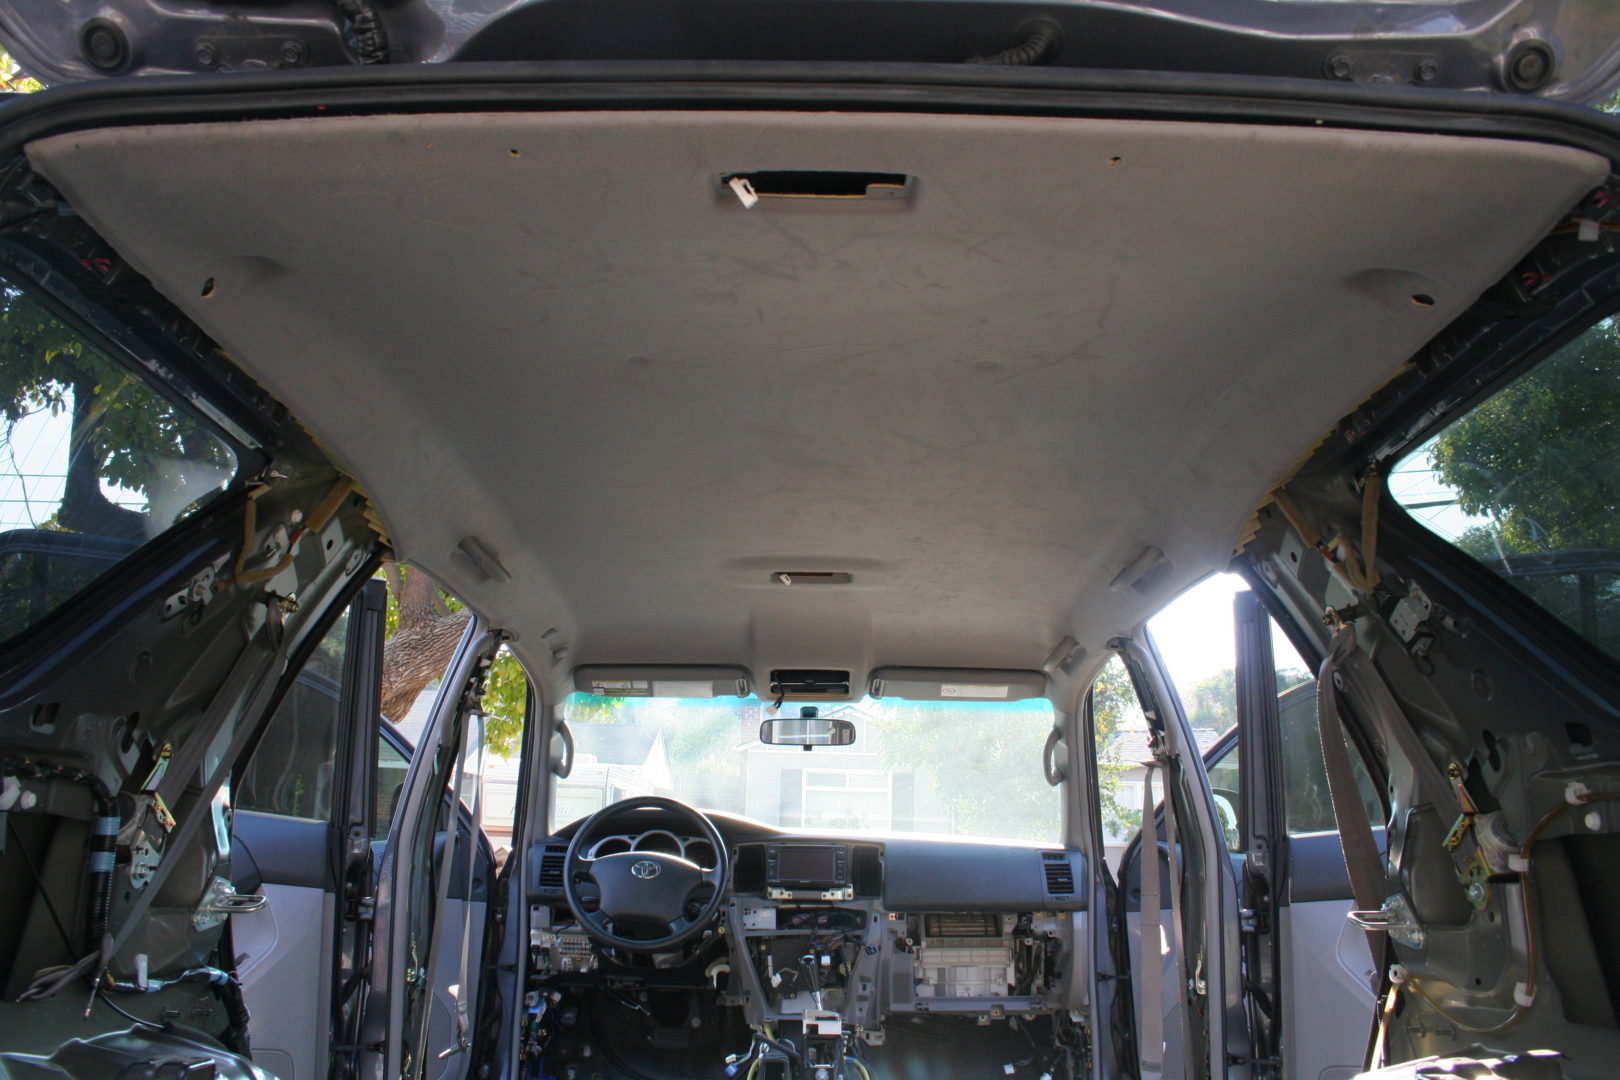
Since sound deadener is installed against the inside panels of your vehicle, the first thing you need to do is to take your interior apart. This obviously varies from vehicle-to-vehicle, but it makes the process easier if you do some research on your specific car prior to removing the interior. I’ve always used some combination of the service manual, Haynes Manual, online forums specific to your vehicle, and YouTube videos to figure out the best way to remove different interior parts.
You should also determine how much sound deadener do you want to install. Do you want to install it in the door panels? The floor? The headliner? Everywhere else and in-between? Based on how much area you need, you might want to add an additional 10-20% of material as a buffer. For CCF and MLV layers, you’ll be doing full coverage, meanwhile for the butyl deadening layer, you only need 30%-50% coverage… so order your materials accordingly.
As I said earlier (it’s worth mentioning again), every time you remove interior parts, there is a high likelihood of breaking plastic trim and clips. Even if you have the right tools, are extra careful, and remove them the proper way, it’s still possible for these plastic pieces to break especially if this is an older vehicle.
Because you’ll have the doors open for a long period of time, you probably want to disconnect the battery. If you have a tailgate that is opened electronically, you’ll want to open them prior to disconnecting the battery. With the battery disconnected, you don’t have to worry about interior lights staying on, which could eventually drain your battery.
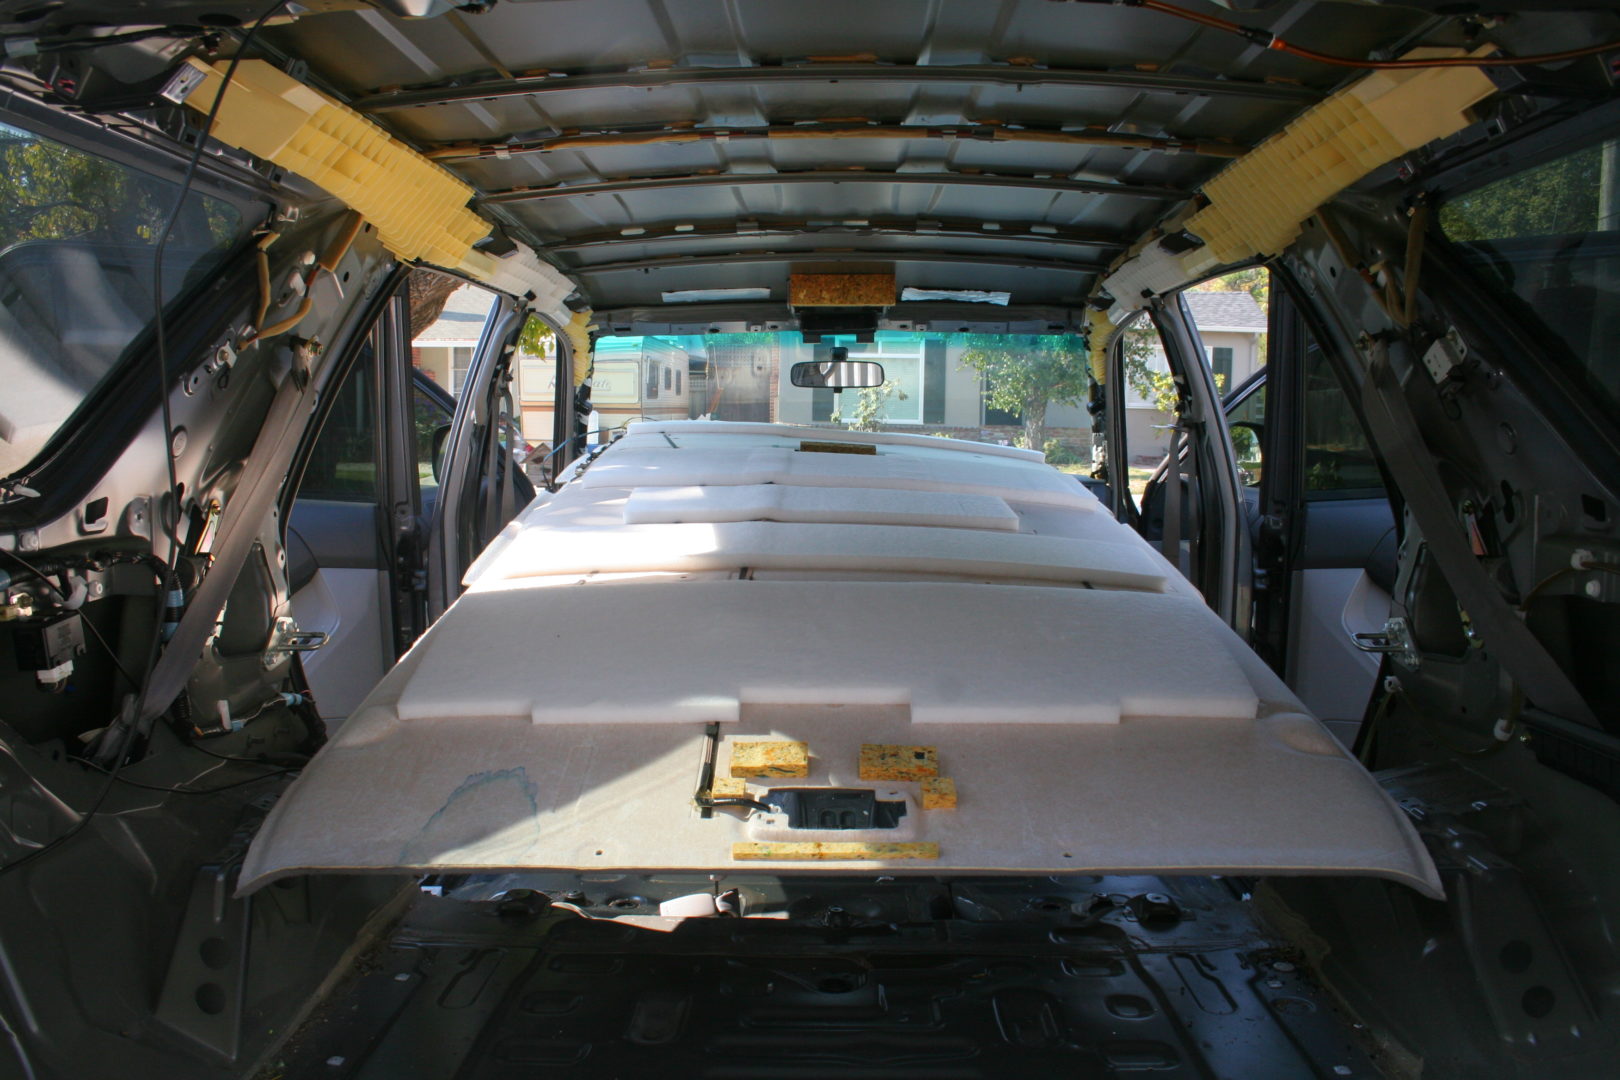
To show the sound deadener install process, I’ll be showing my install on my Toyota 4Runner. I installed sound deadening material on the floor, door panels, headliner, and other areas behind the trim and carpet. When applying the layers of sound deadener, you want to use the wheel roller to fully press and roll on the entire area of the layer you’re applying.
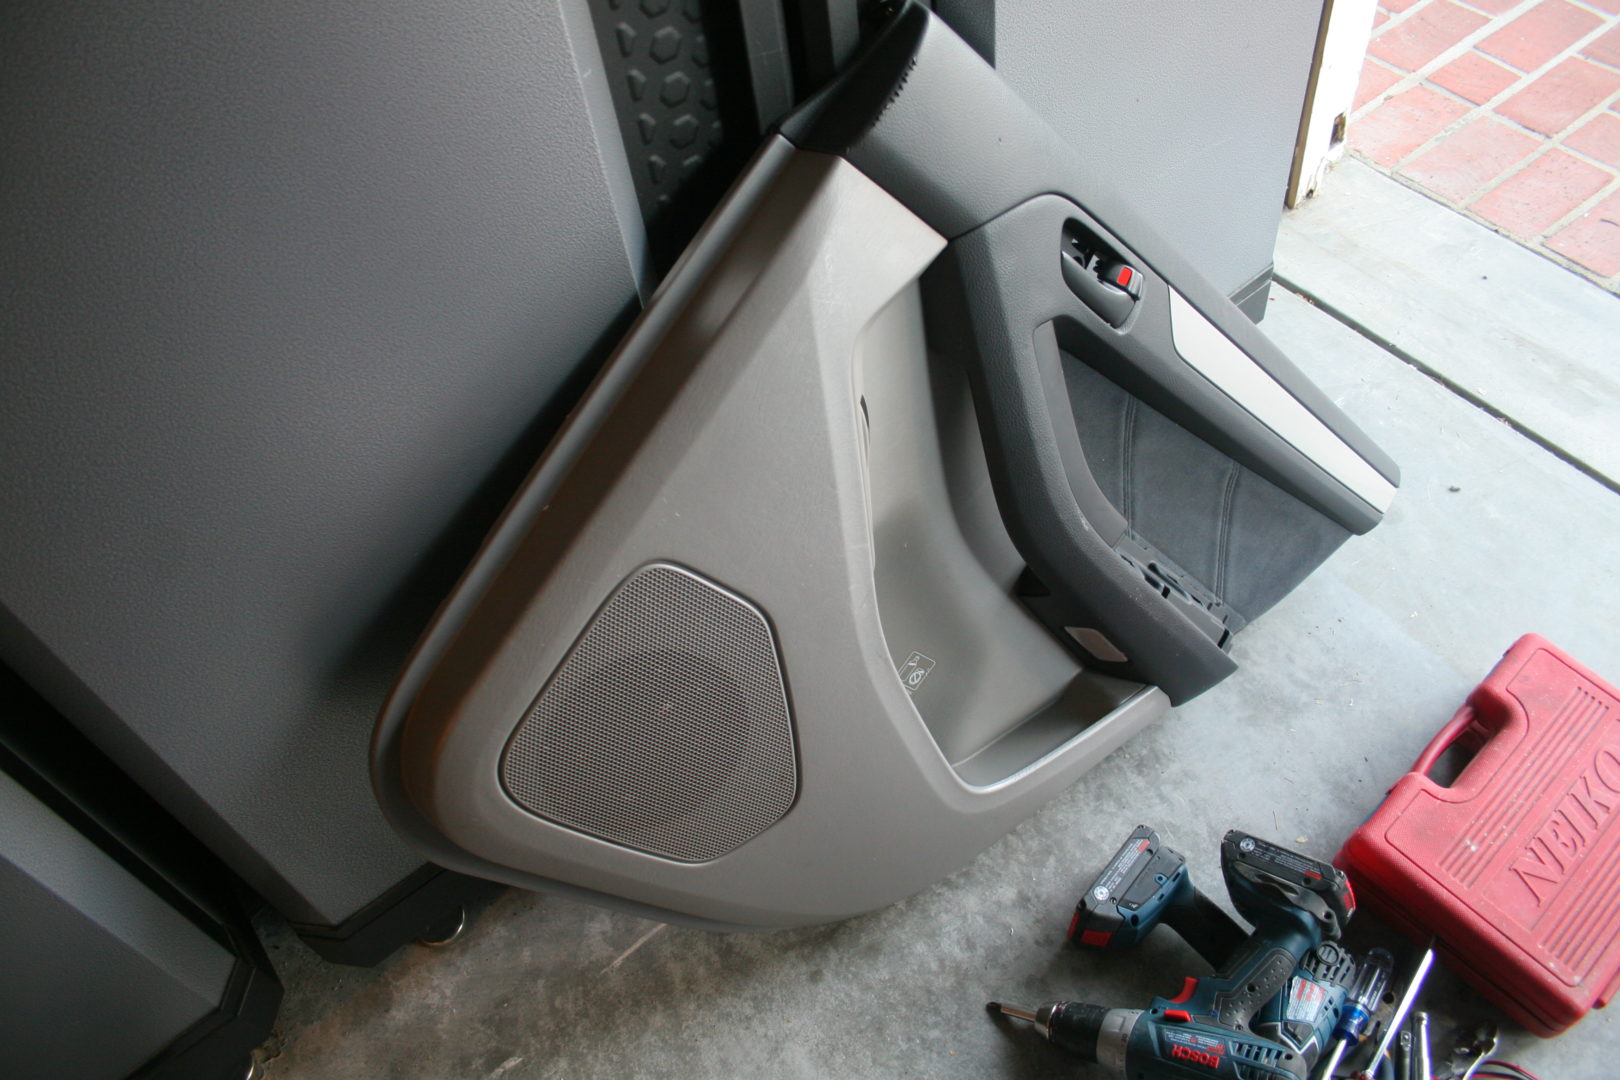
The first thing you probably want to remove are the seats. These are usually held in by bolts at the four corners to the floor. Disconnect any electrical connectors and carefully remove them from the vehicle. Then, remove the trim and carpet carefully.
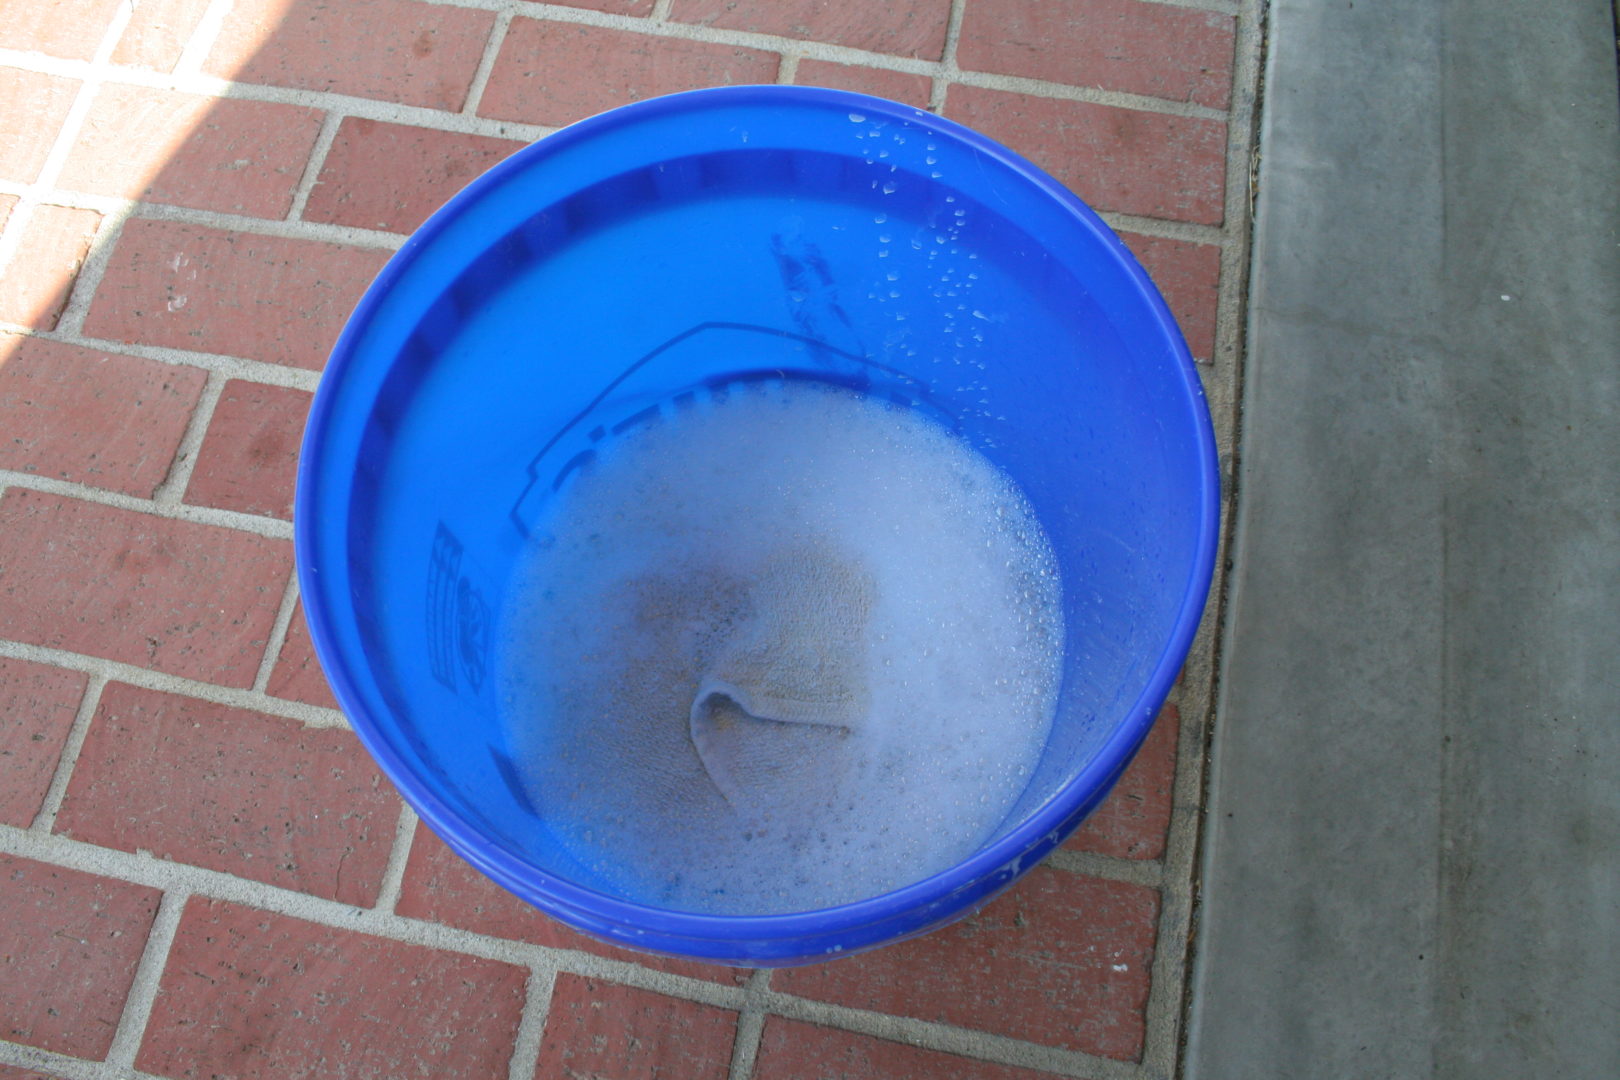
As you expose the panels that you will be applying sound deadener to, you will need to vacuum and then clean with an all-purpose cleaner. If you don’t, you won’t have a good clean surface for the sound deadening to adhere to.
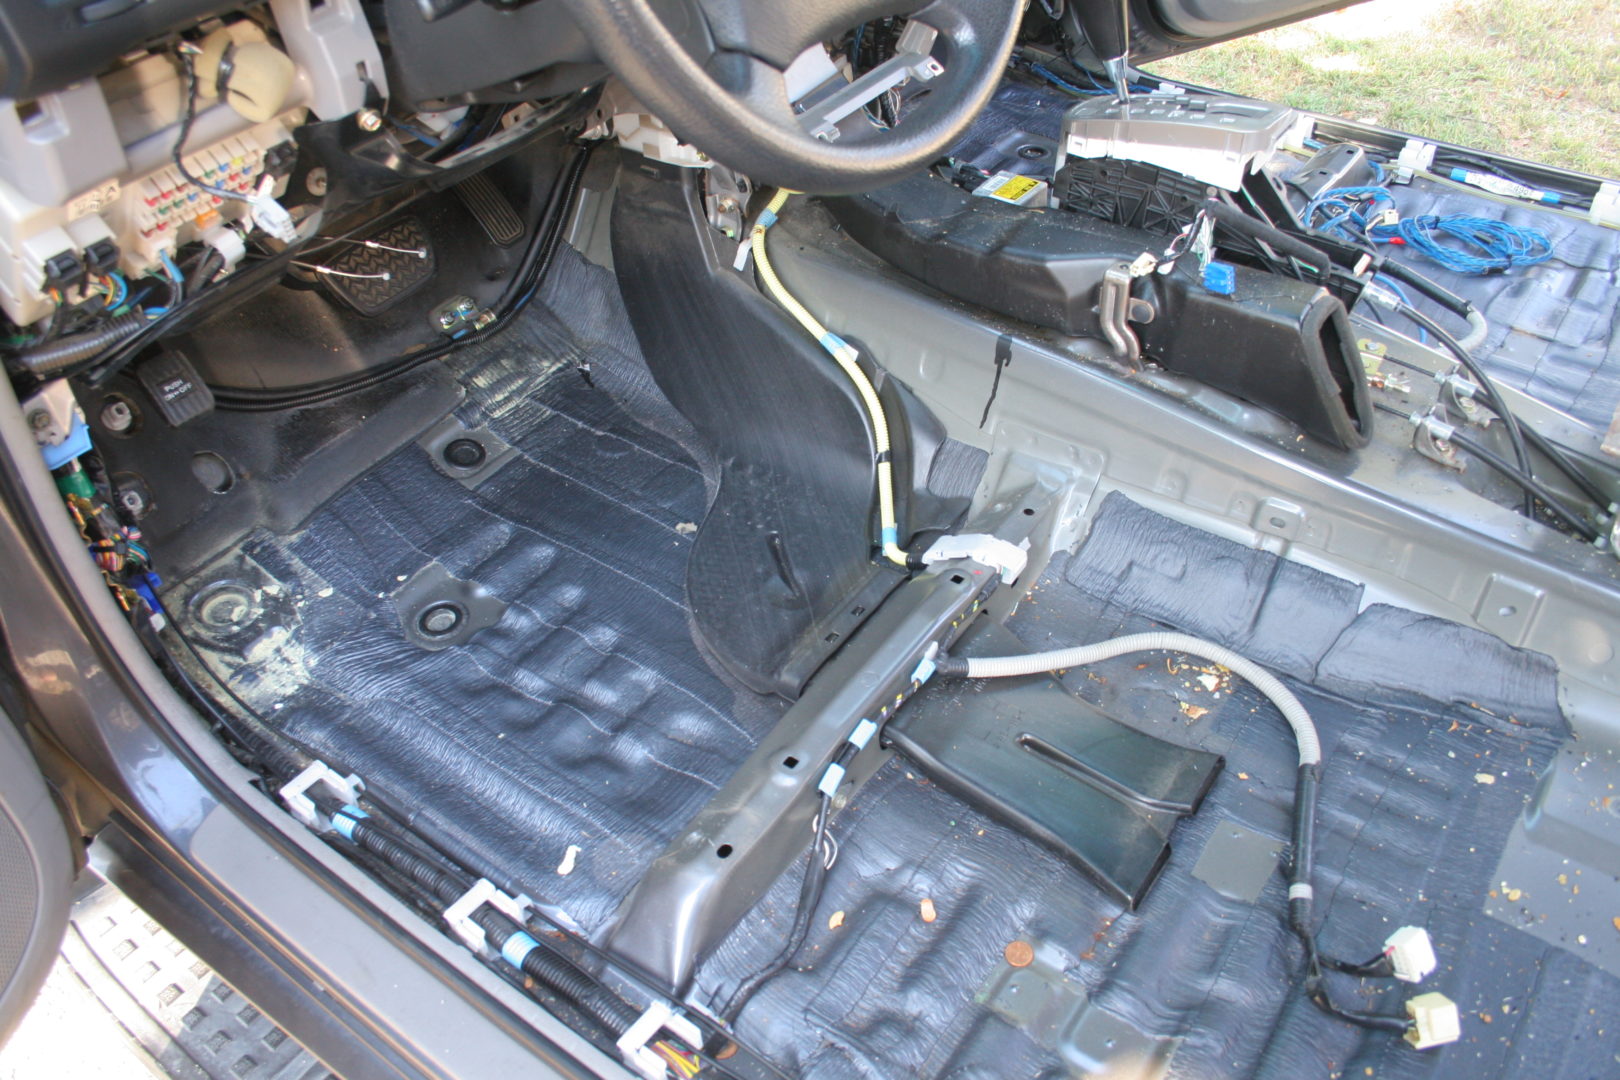
I recommend taking photos along the way and/or taking methodical notes during the removal process. It’s ideal if you have a place where you can store your interior and associated fastening hardware. This will all make it easier to reference while you’re reinstalling the entire interior later.

Personally, I recommend applying sound deadening to your headliner first if you are planning to do the roof. This way, you don’t have to worry about the headliner getting in your way when you do the rest of the vehicle.
With the surface vacuumed, the first thing I do before installing butyl deadener is to clean the surface with all-purpose cleaner. This removes any dirt and oil from the panel so that the butyl is able to effectively stick to it.
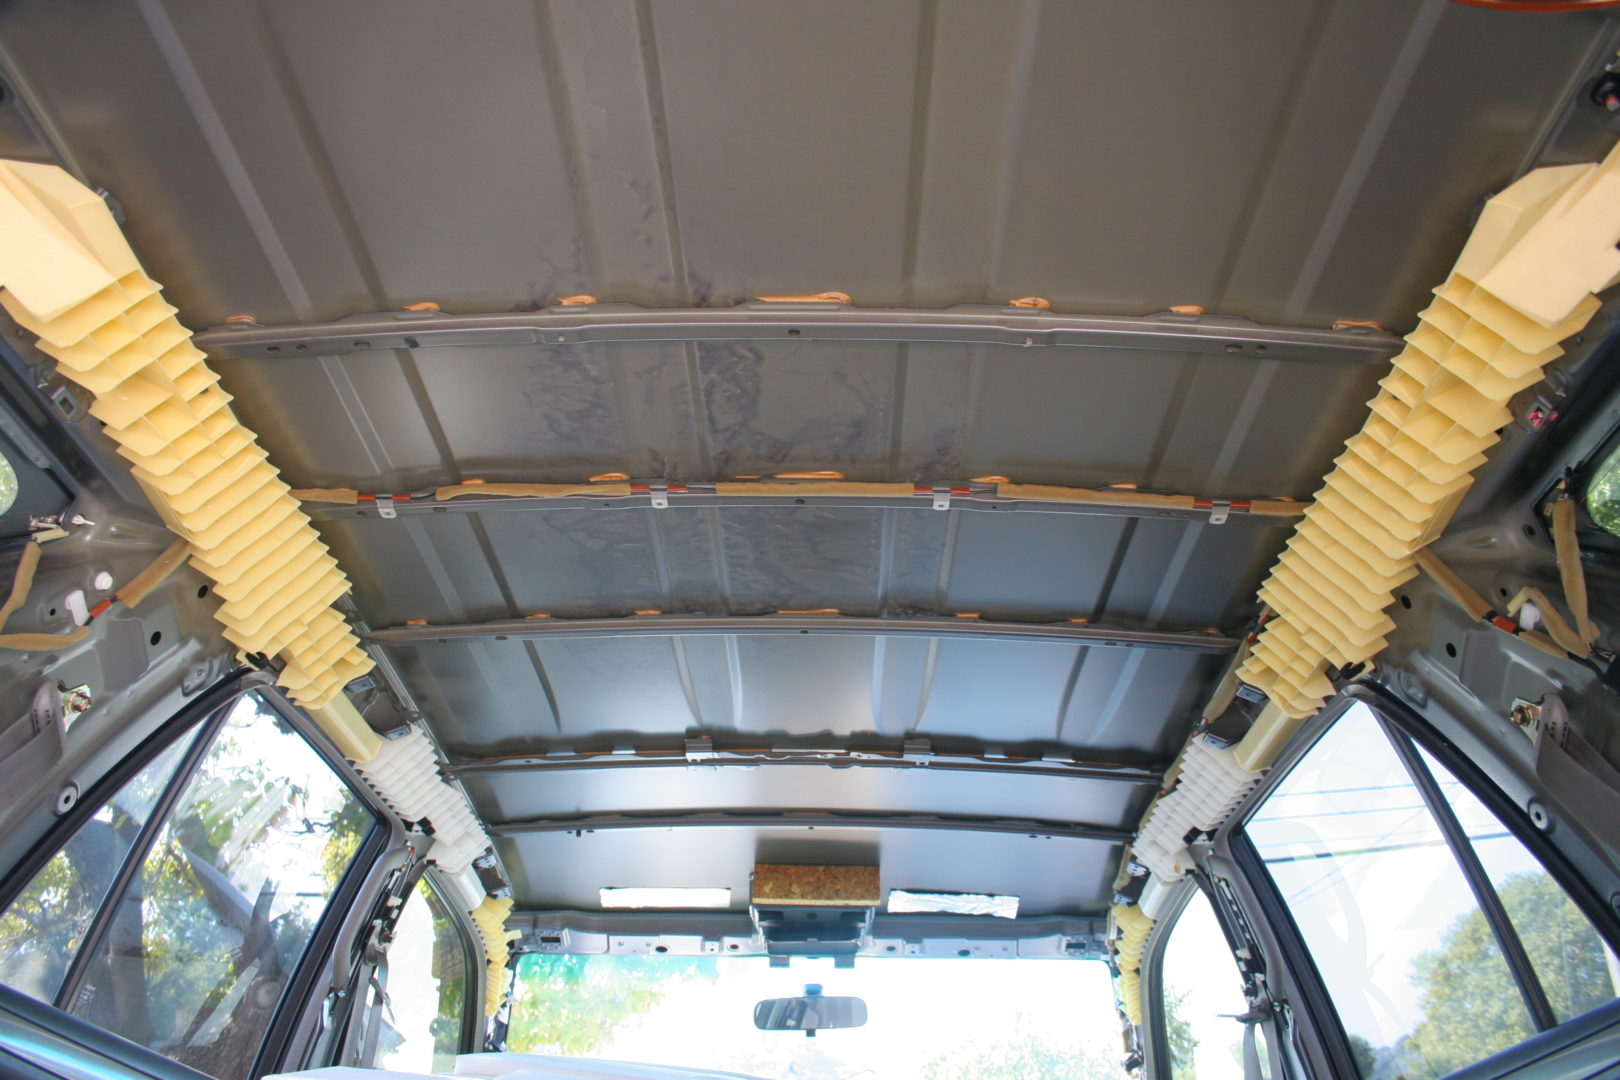
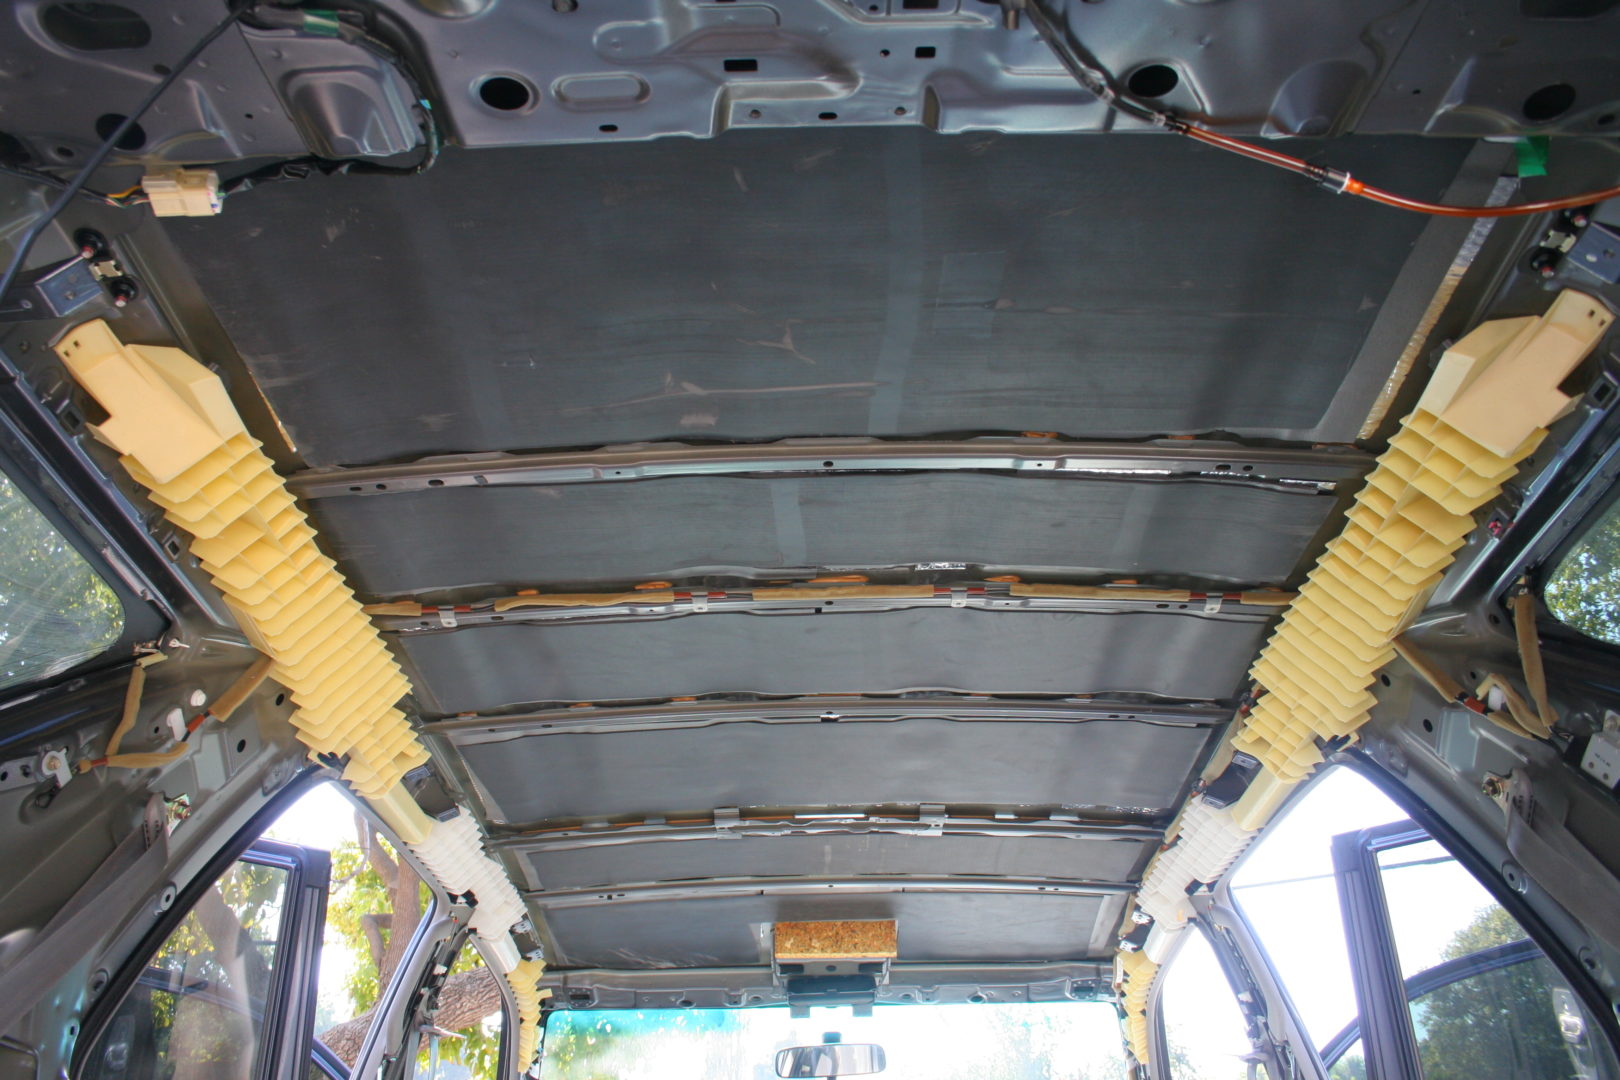
For the headliner, I chose to install only butyl mats and closed cell foam. I left out the mass loaded vinyl because I didn’t want to put such heavy material up on the roof of the car, which would raise the center of gravity of the vehicle. This was just my personal preference, however, had I installed MLV as well, I probably would have gotten a better result with noise reduction. Nonetheless, I didn’t want to compromise on safety.
With the roof completed, you can put the headliner back and any trim needed to have this part of the sound deadening install complete. You may want to install sound deadener on the pillars of the vehicle prior to putting the trim back.
I find it ideal working on the vehicle from the top-down, as you can reassemble your headliner and pillar trim pieces first. Getting these extra parts back onto your car first minimizes the possibility of them getting mixed up with the rest of your disassembled interior parts.

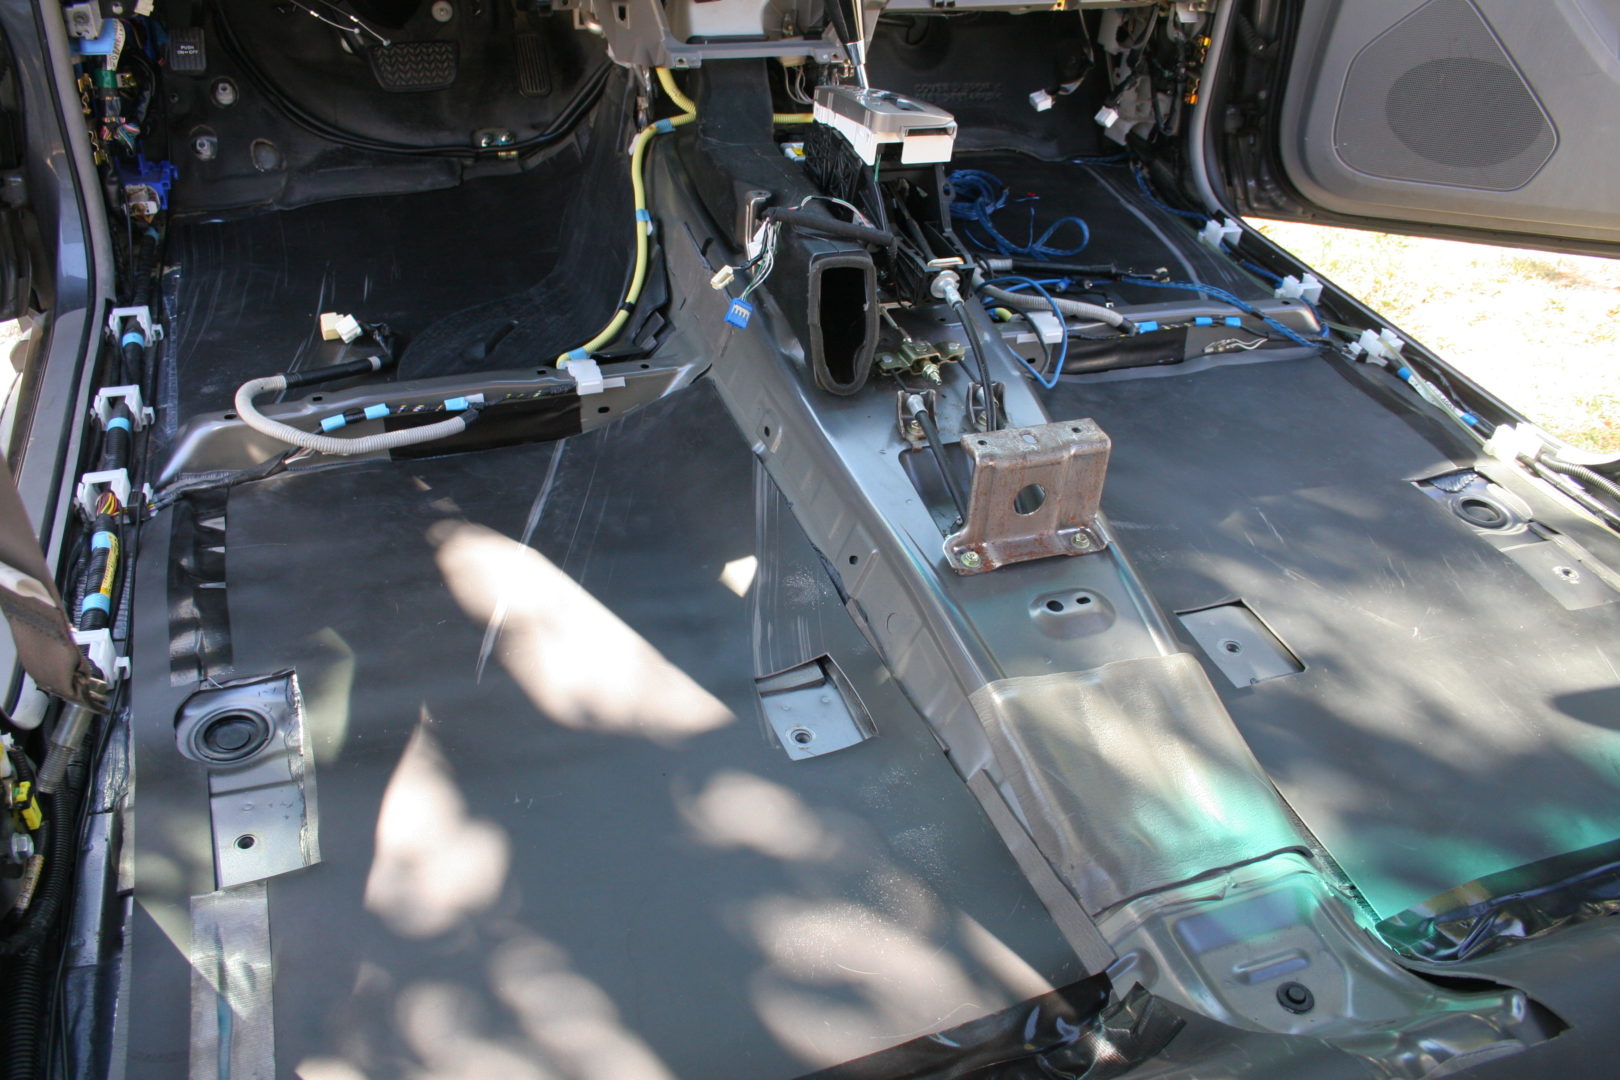
Now, onto the floor… after vacuuming and cleaning the floor, let it fully dry. Then apply the butyl mats to the areas you can easily stick to. Remember that butyl deadener doesn’t need full coverage. You can use scissors or a utility knife to cut the butyl mats to fit, but you’ll probably need to discard it after the project because it will get dull from the aluminum backing and sticky from the butyl goop.
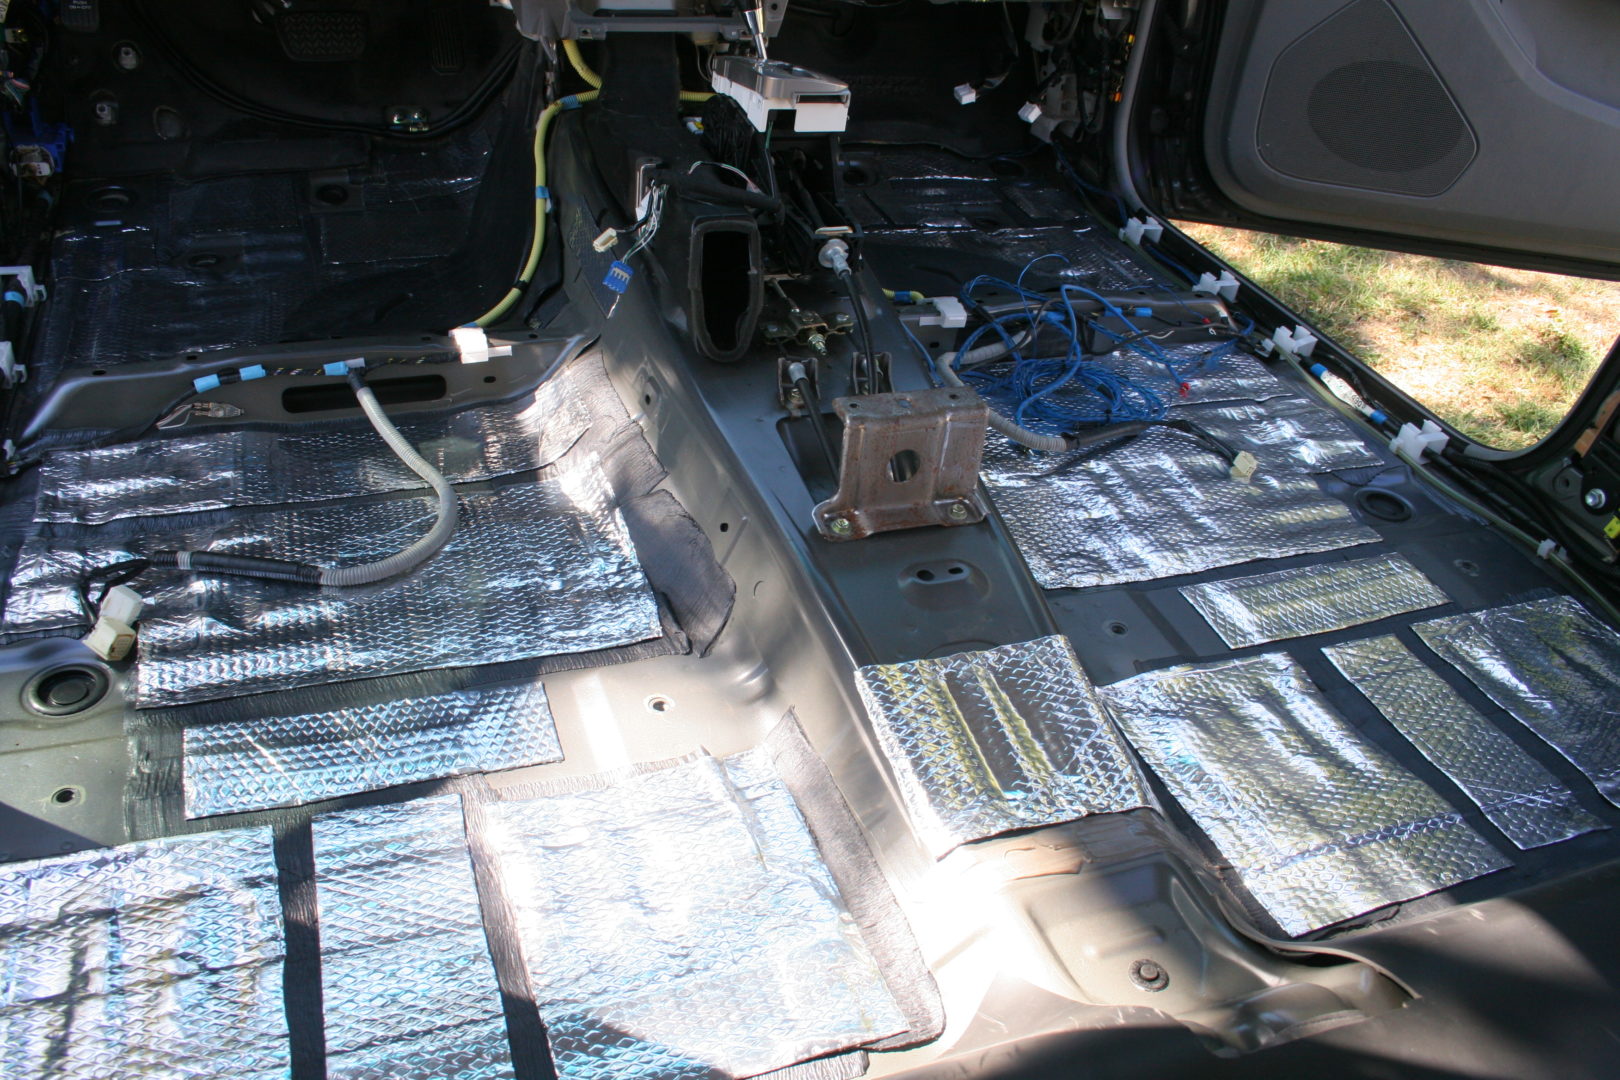
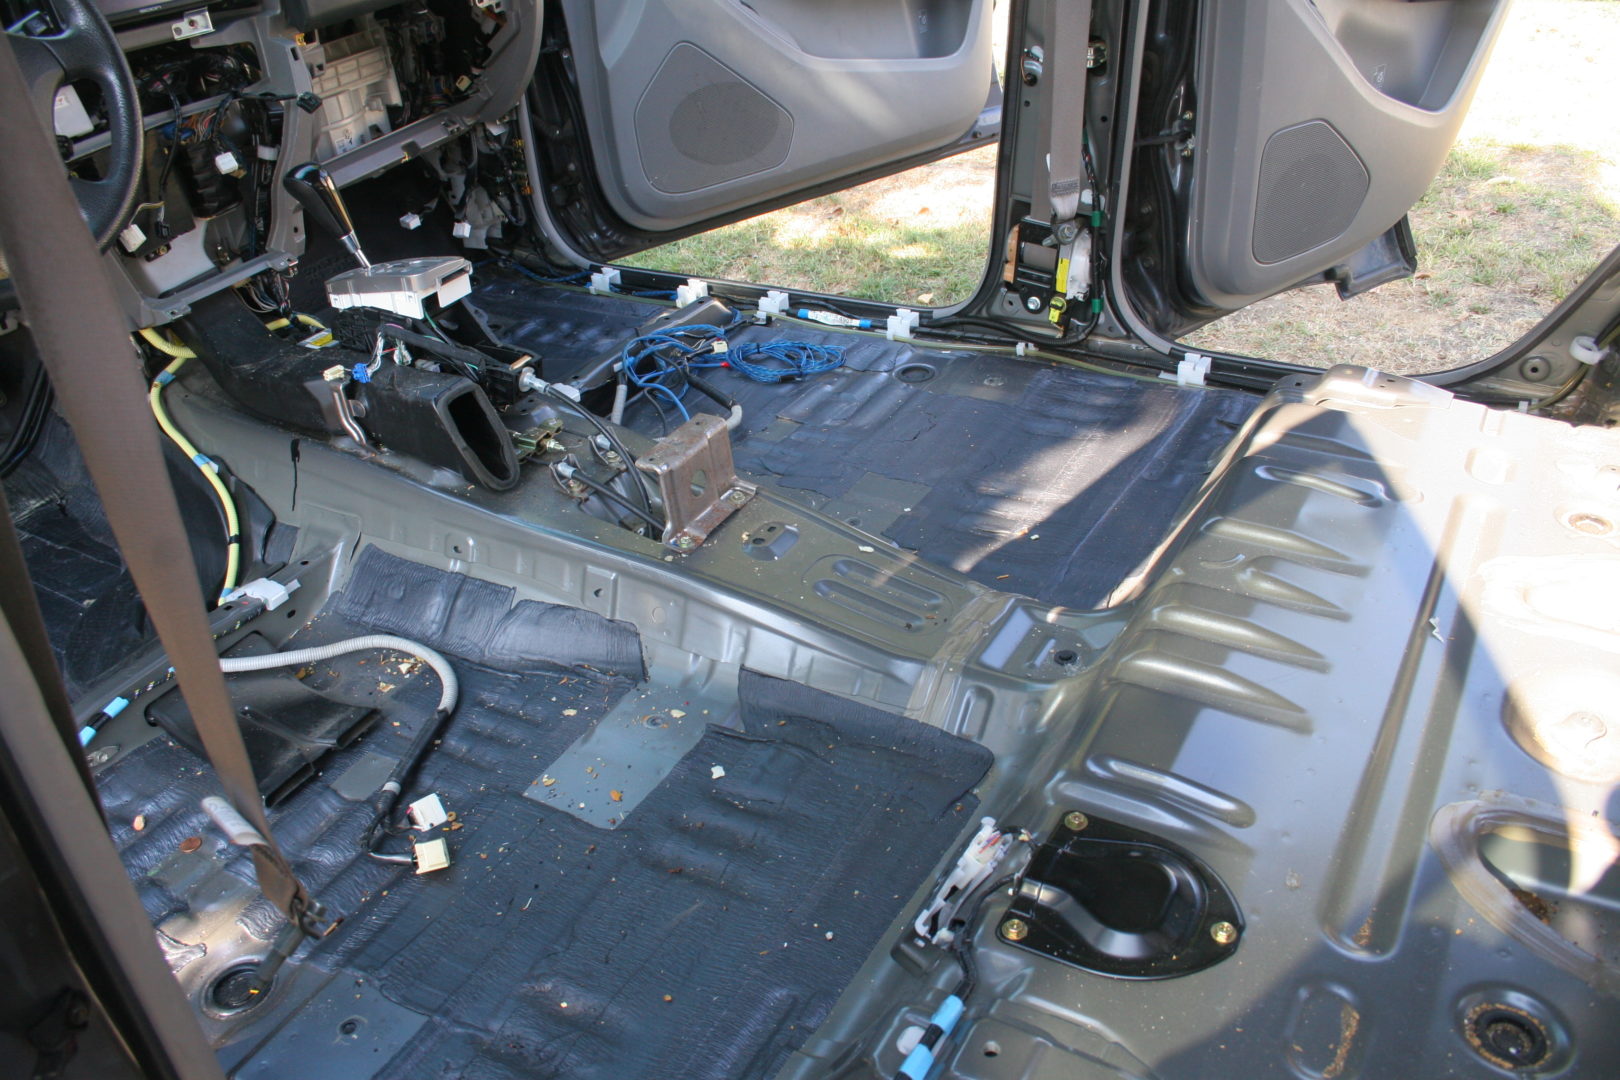
Next layer that goes on is the closed cell foam, which should be applied on top of the butyl deadener layer. Since CCF is so lightweight, it’s probably the easiest out of the three layers to install. Just like the butyl deadener, CCF should also be rolled on with the wheel roller.
It’s better to have full coverage of the CCF on top of the butyl mats. Not only will the CCF acoustically separate the butyl deadener from the mass loaded vinyl, but it can also partially seal the voids and seams of the mass loaded vinyl.
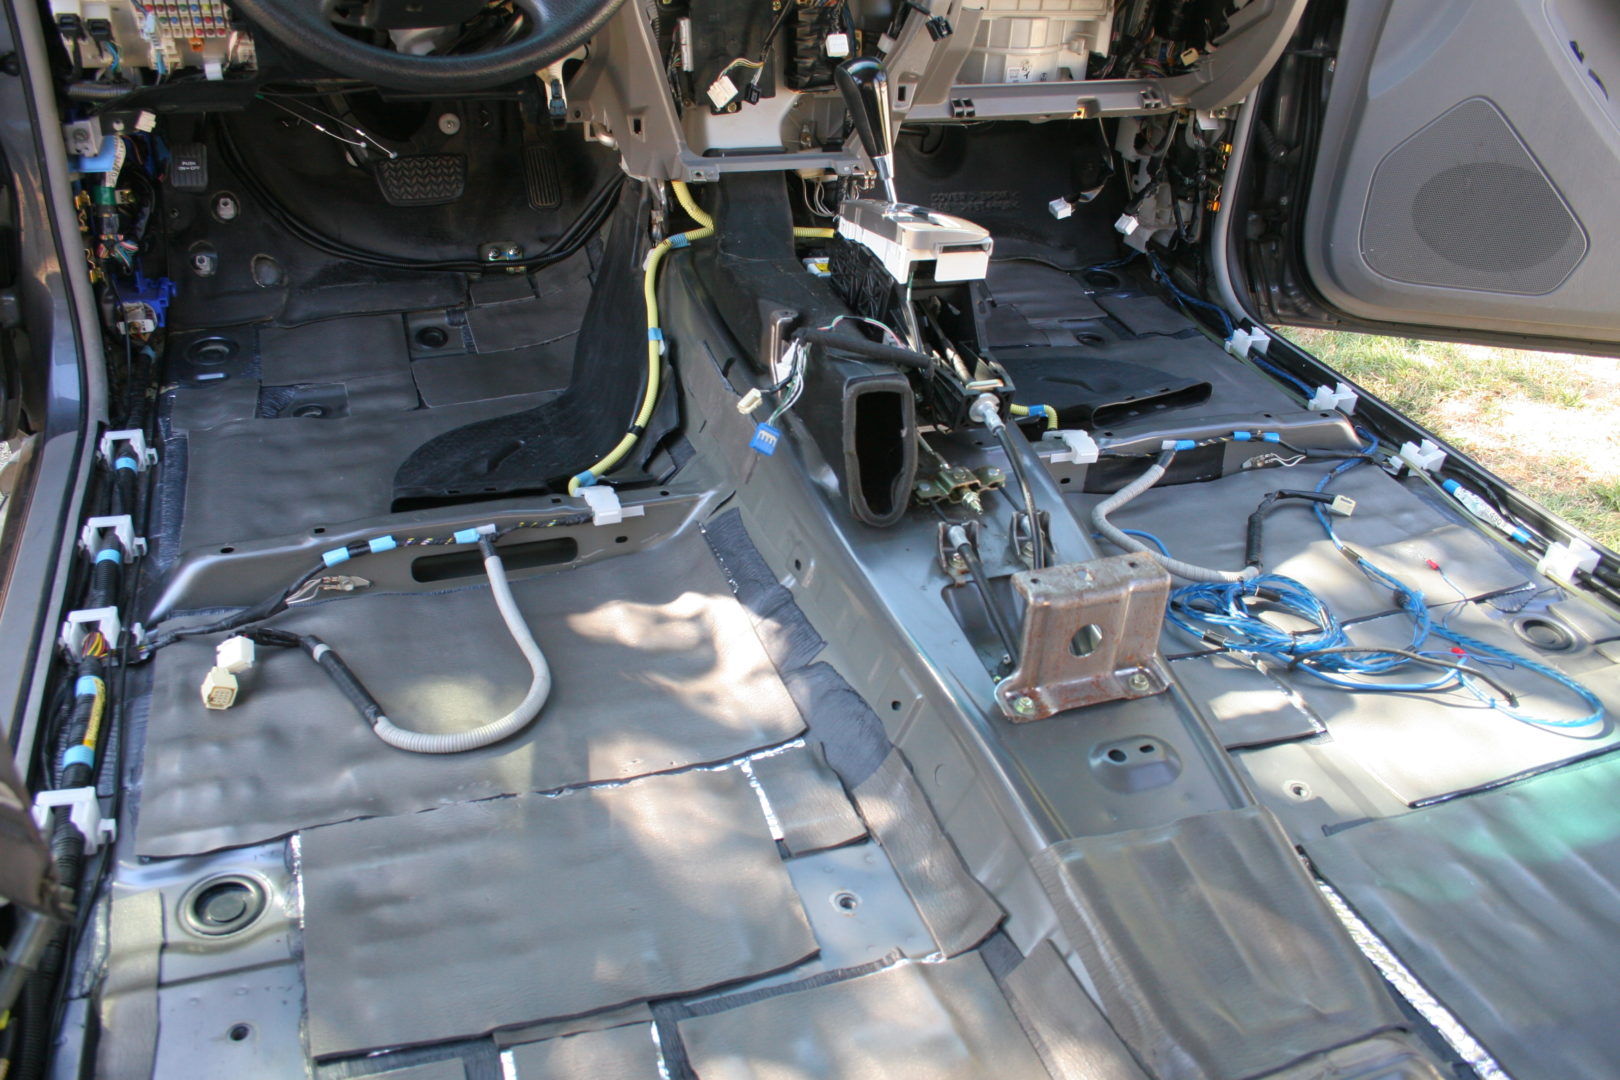
Finally, the mass loaded vinyl that goes over the CCF. Apply contact cement and apply the MLV. Since this is the floor it will be held down by gravity, you can forego the contact cement here if you wish.
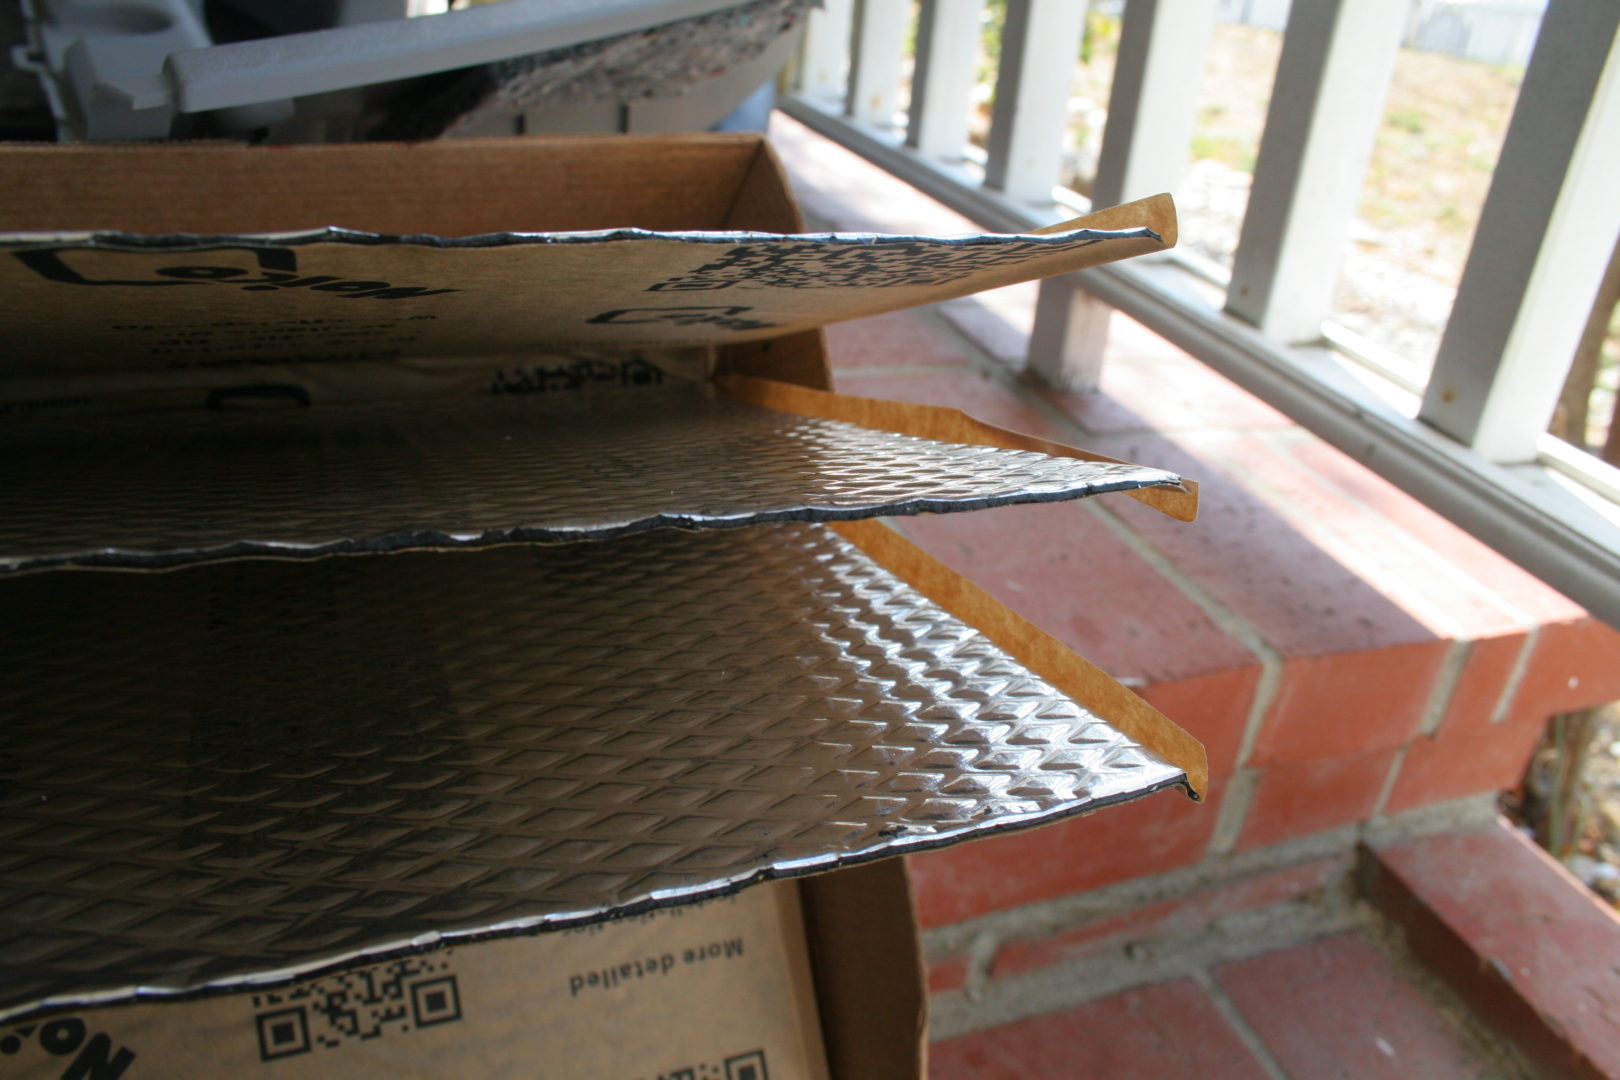
Be mindful of where there is hardware that needs to be reinstalled. For example, you can see that there are openings in the photo below where I left open for the seats to be bolted back onto the floor.
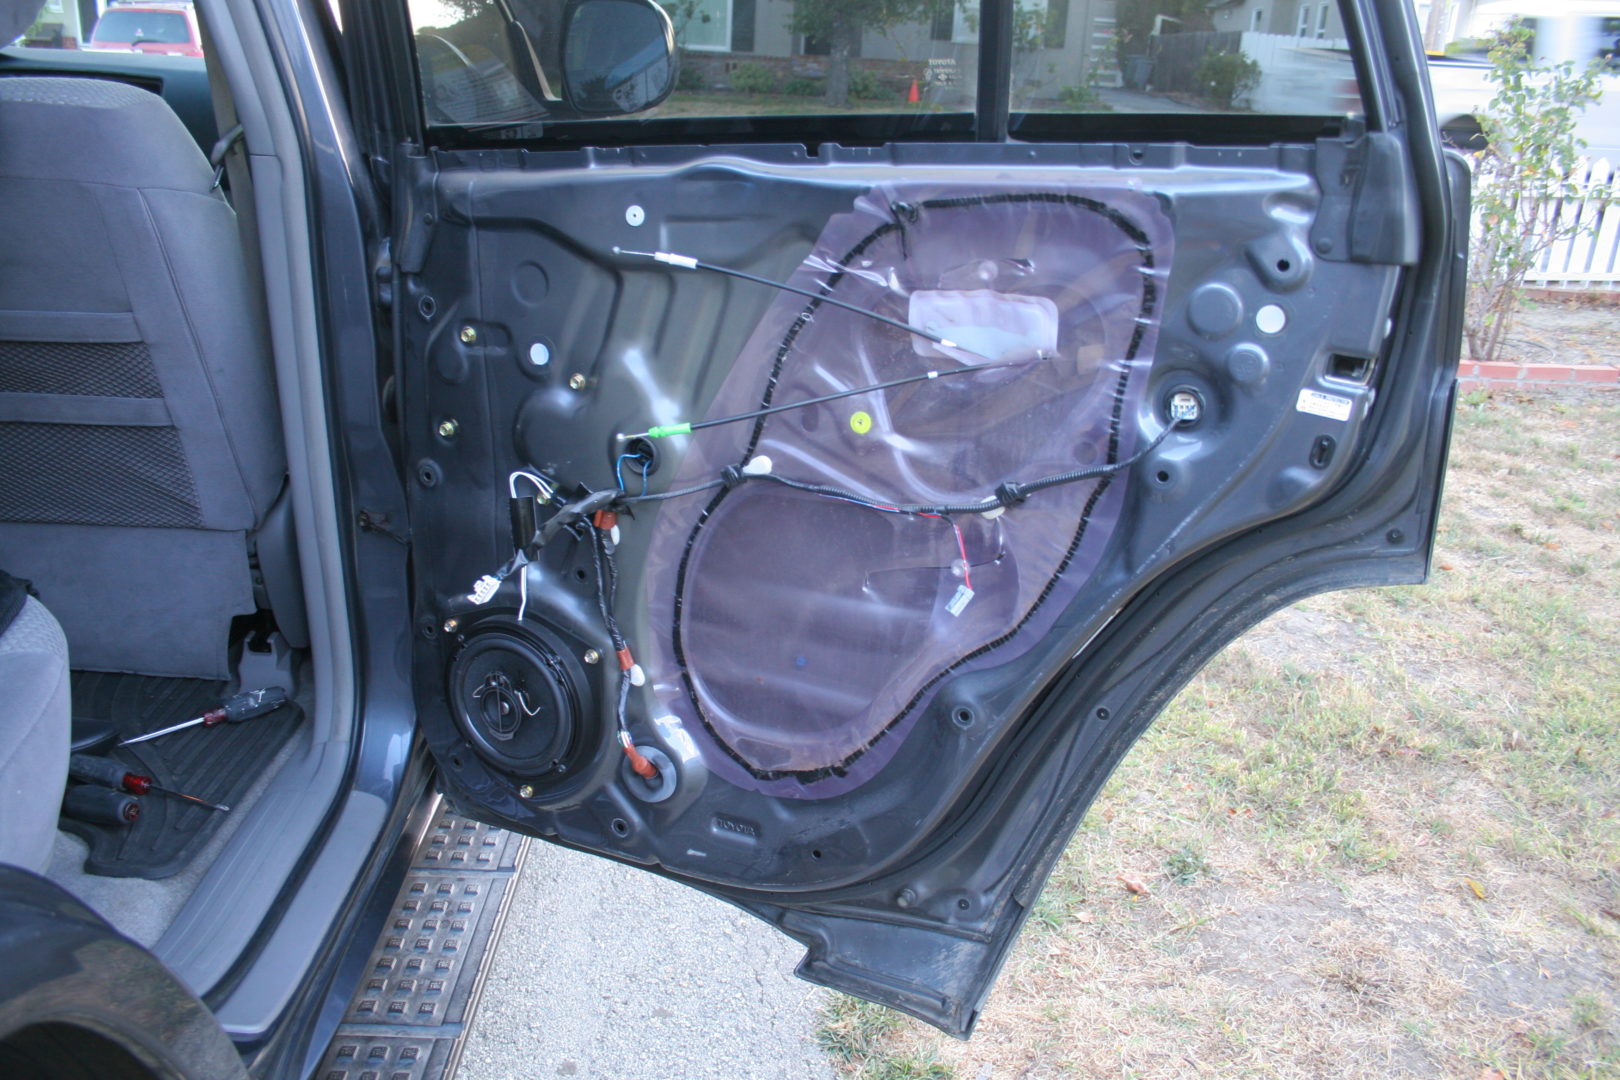
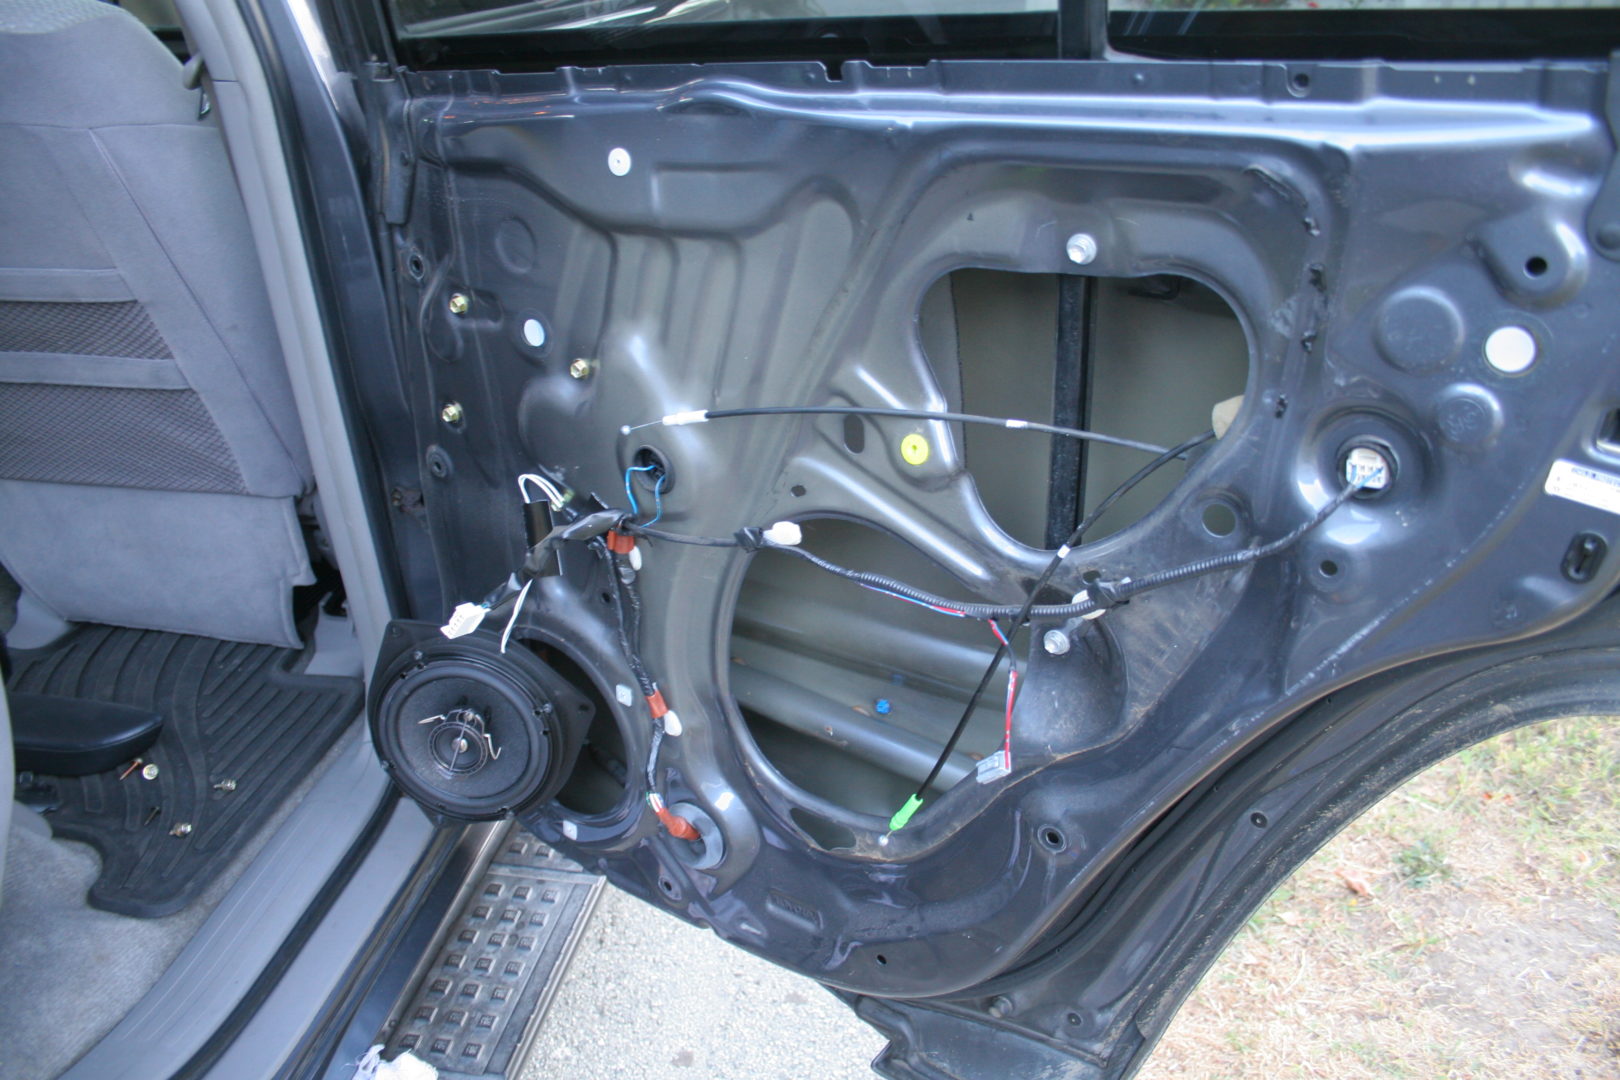
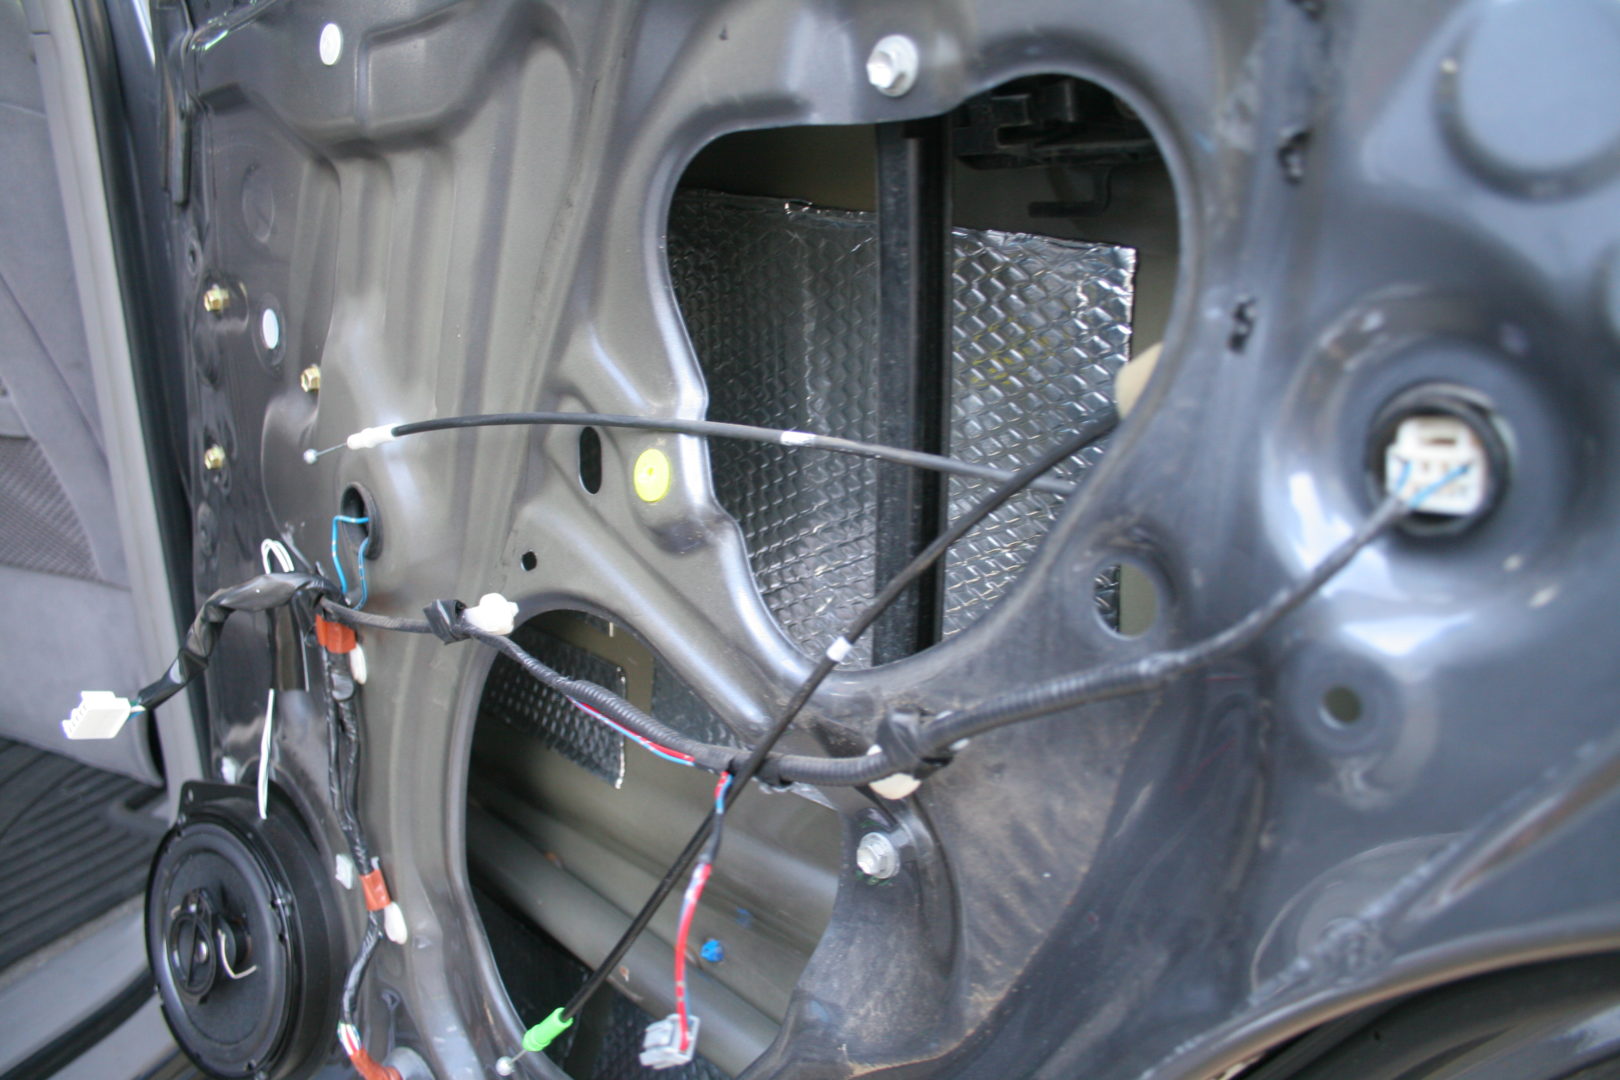
With the doors and trunk/tailgate, you would remove the door panels and apply the 3-layer sound deadening in the same fashion. Doors are a little bit different from the other panels in that may have a moisture barrier that needs to be removed in order to access the back outside panel of the door. You’ll need to carefully peel this back and apply your sound deadener on the door itself, then reinstall the moisture barrier.
Doing the doors can be tricky because everything you apply is perpendicular to the ground and therefore gravity will be pulling your sound deadening material down. You don’t really have too much of an issue with the butyl deadener mats and the closed cell foam (since they usually have an adhesive backing to them), but the mass loaded vinyl will definitely need a contact cement to hold it in place.
One of the most noticeable differences after applying sound deadening to your doors is the satisfying “THUD” sound when you close the doors. In fact, just the single layer of butyl alone will instantly give you these kinds of results. It’s a nice sound and it makes your car feel more expensive and sturdy.
My Thoughts After Doing a Sound Deadener Install
As you can see, installing sound deadener to your vehicle can be quite the undertaking. My recommendation is that if you’re planning to do this, set aside plenty of time to do it. Also, if you’re going to spend the time to do this and you want to the best noise reduction results, apply sound deadener to as much of the vehicle as possible especially with the MLV layer. You also want to minimize the amount of seams and openings with the mass loaded vinyl.
If you don’t have much time to invest towards a time-consuming project like this, I wouldn’t recommend doing it. You may end up rushing the job and you won’t end up with any worthwhile results. You must be patient and take the time to carefully and completely cover your vehicle with sound deadening.
When I did my sound deadener install, I did notice some of those benefits that I mentioned at the beginning of this post. Some of the most notable was the satisfying solid close of the doors, the minimized noise when driving at city speeds, and more clarity with my sound system. I also noticed it was easier to speak to other passengers or to my children inside of the cabin.
If you were to ask me if I’d do it again on one of my cars now, I probably wouldn’t. That’s not to say that it wasn’t worth it to install sound deadener in my car. The reason why I wouldn’t is simply a lack of time. I currently have young children and it’s just not the kind of project that I can dedicate a large uninterrupted amount of time to right now.
Also, part of the reason I could justify spending all that time installing sound deadener on my 4Runner before was that I had plans to keep it until I ran it into the ground. Maybe in the future, if I can dedicate a few full days time and I had another vehicle that I planned to keep for a very long time, I could see myself doing a project like this again.


