When you make purchases through links on this site, The Track Ahead may earn an affiliate commission. Also, these posts are based off my own experiences. I am not responsible for any action you take as a result of reading this. Learn More
Climate Control LCD Display Screen Out
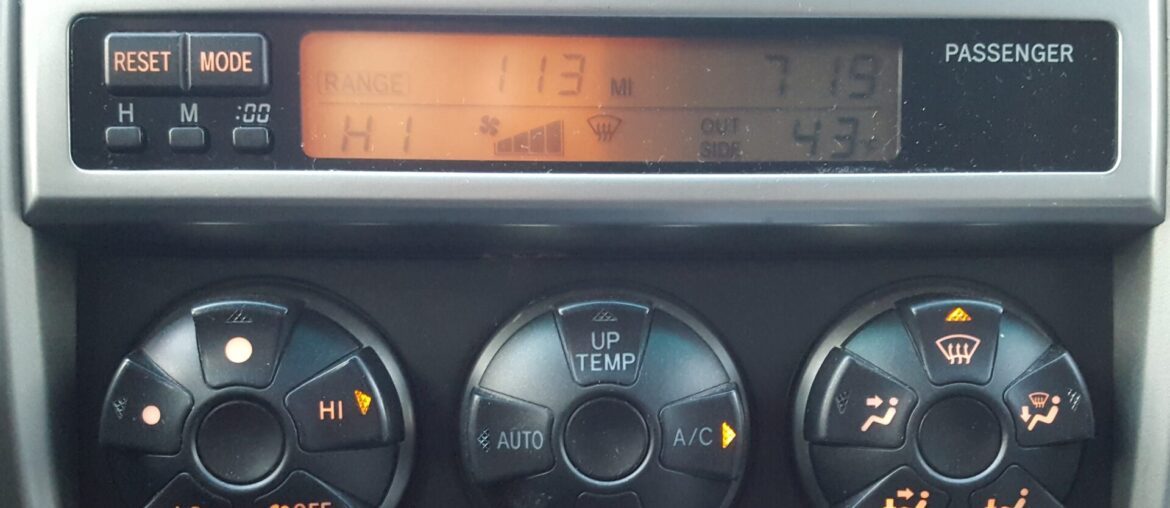
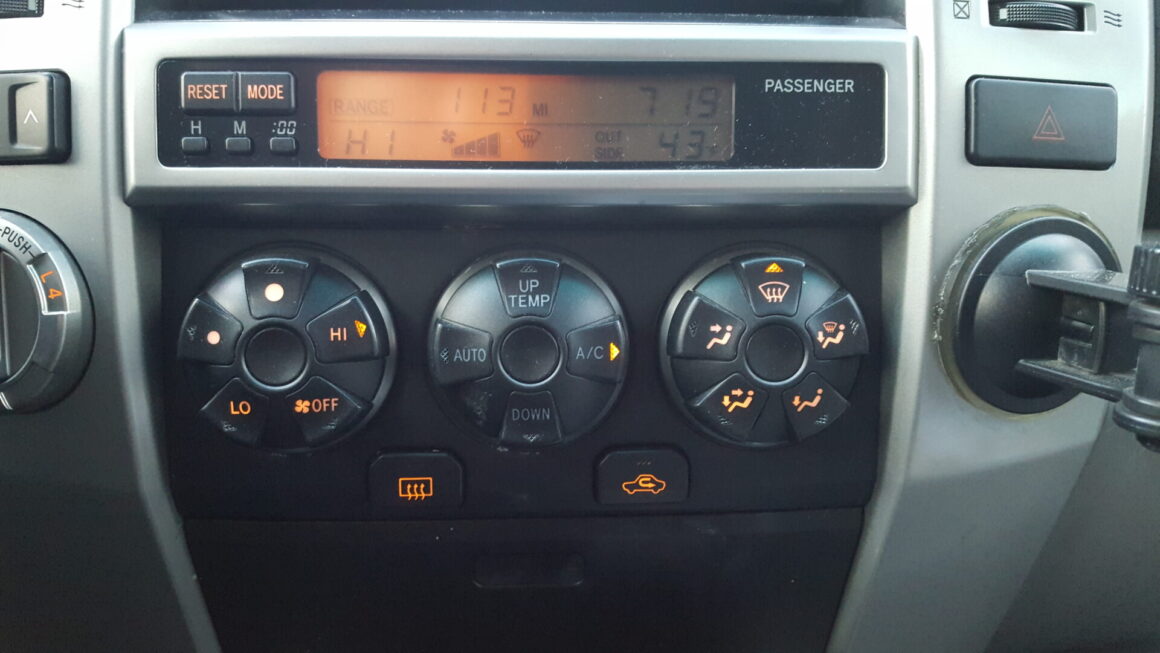
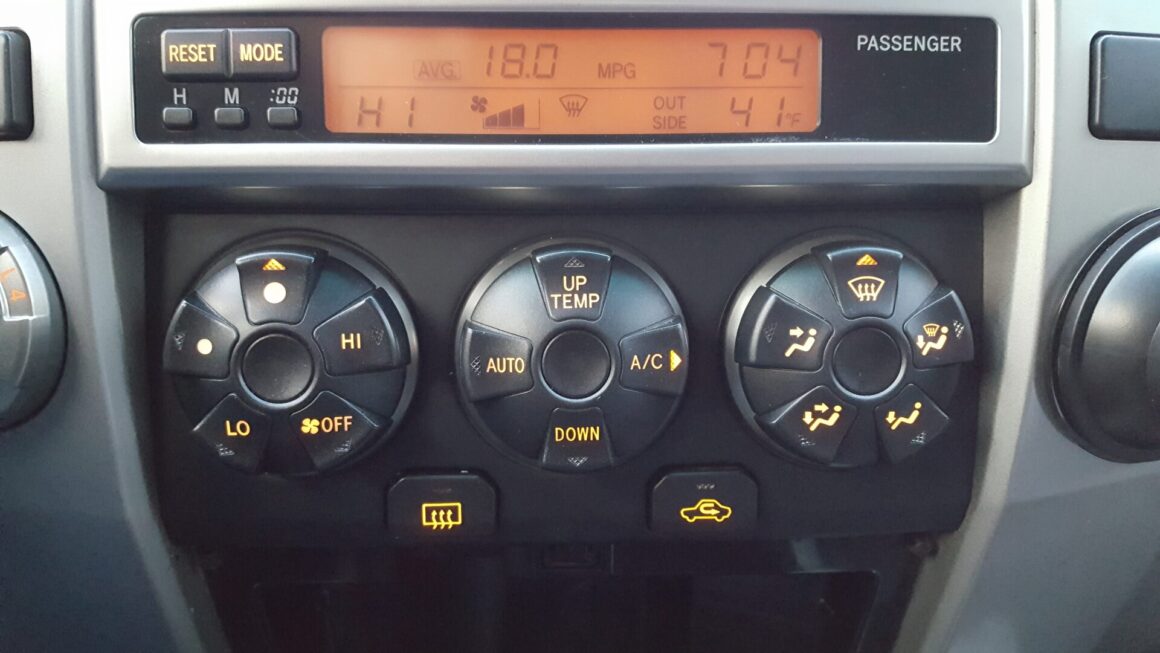
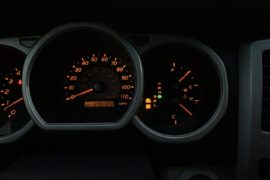
If you’ve owned your vehicle for long enough, interior bulbs going out won’t be an uncommon occurrence for you. On my 4th generation Toyota 4Runner, I’ve had my fair share of interior bulbs burn out, but recently half of the climate control LCD screen went out. This is the screen that displays the trip computer, clock, outside temperature, and climate control information.
The fix is extremely easy and doesn’t require many tools to replace. Just make sure to order the right part and you can switch the bulb(s) out in less than 5 minutes.
If you have other bulbs that need to be replaced on the climate control dash, see my post here which shows all of the bulbs you will need whether you choose to replace or re-wire them as well as how to do it all.
LCD Screen Bulb Part Numbers
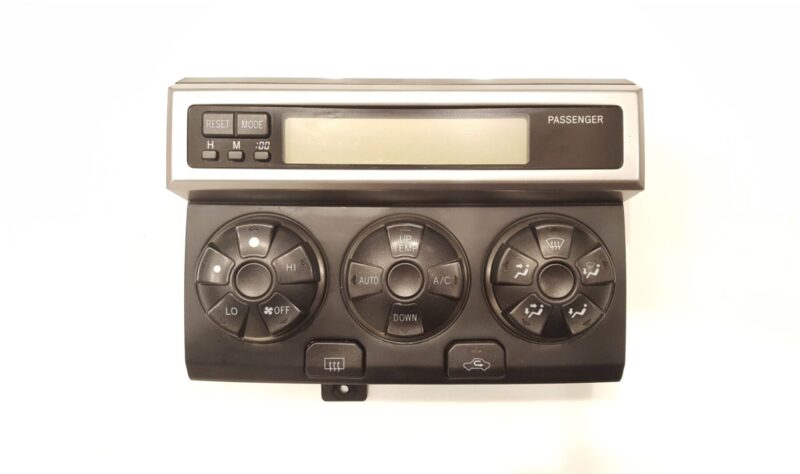
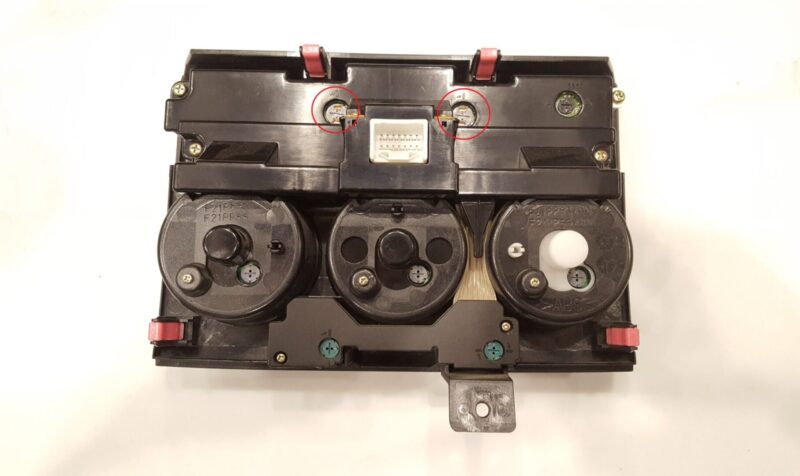
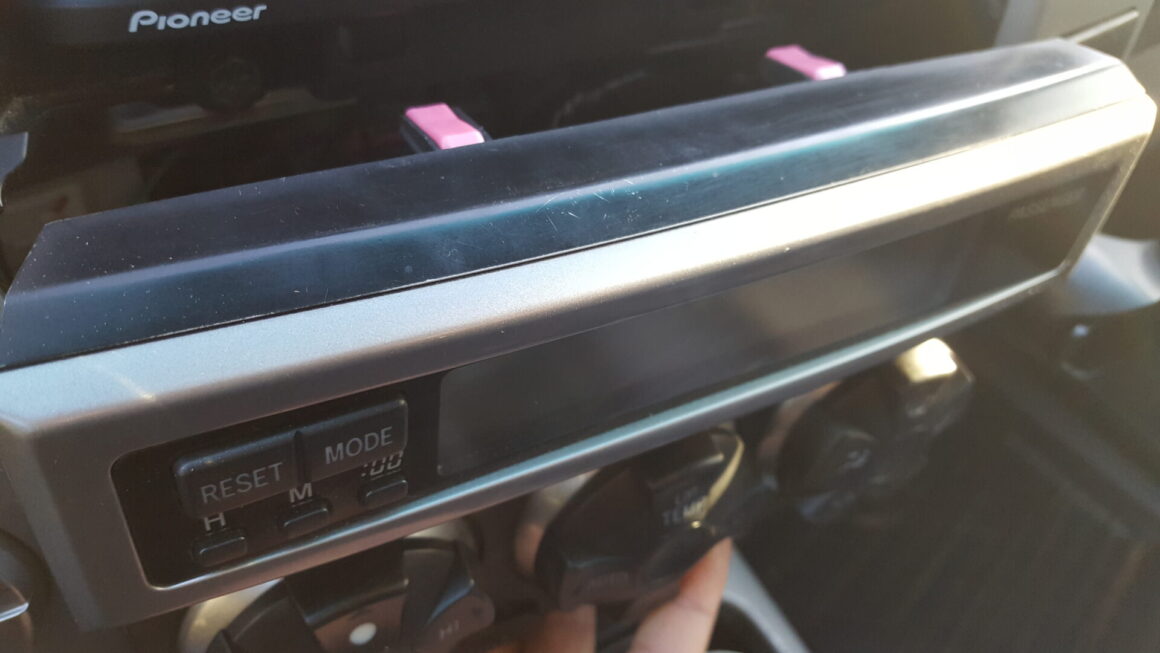
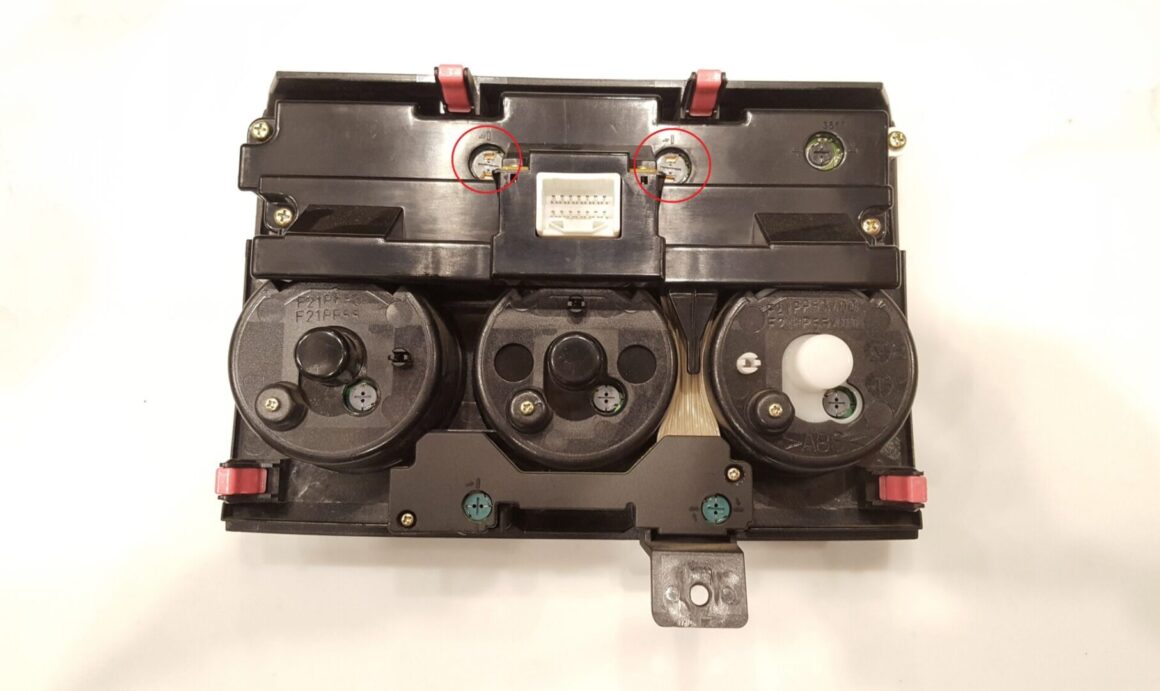
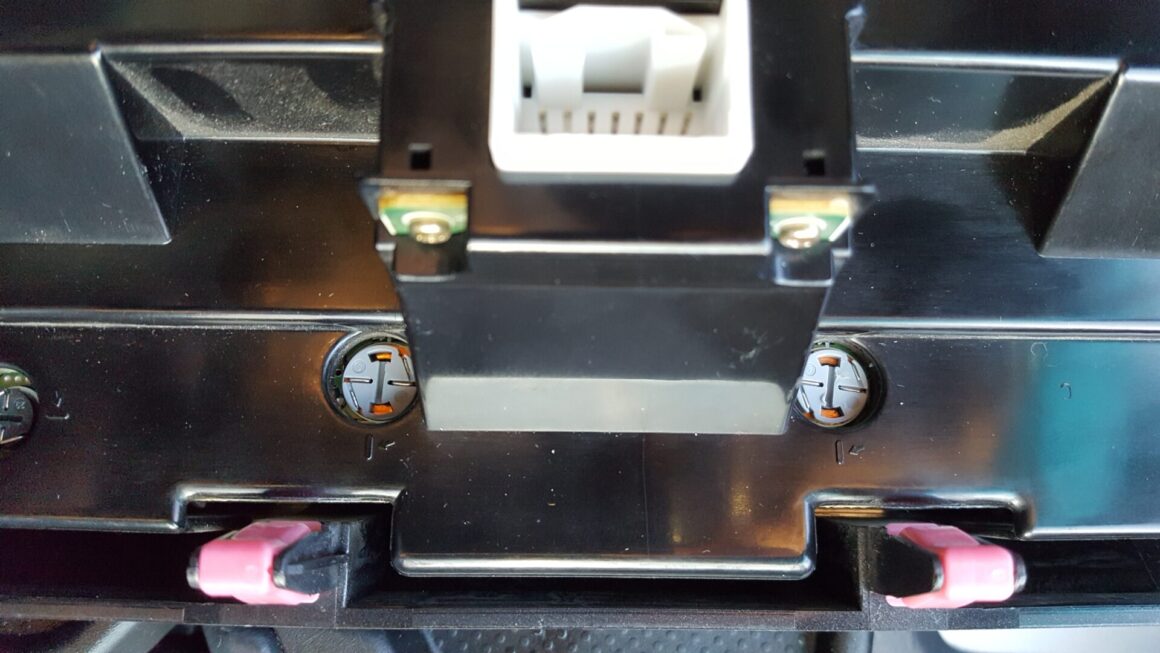
The LCD screen is lit by two bulbs behind the unit. Below are photos of the front and back of the climate control unit. As you can see on the back of the unit, there are two bulbs (circled in red) that light up the entire LCD screen. If only one side of your LCD screen has gone out, then you can replace the bulb on that side only. Or, you can spring for replacing all the bulbs so you don’t have to worry about either bulbs in the future.
My suspicion from seeing all the LCD screens going out on these 4th gen 4Runners is that something is causing the bulb on the right (looking at the front) to prematurely go out. My recommendation would be to replace that bulb only.
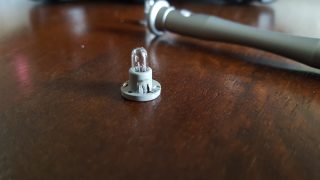
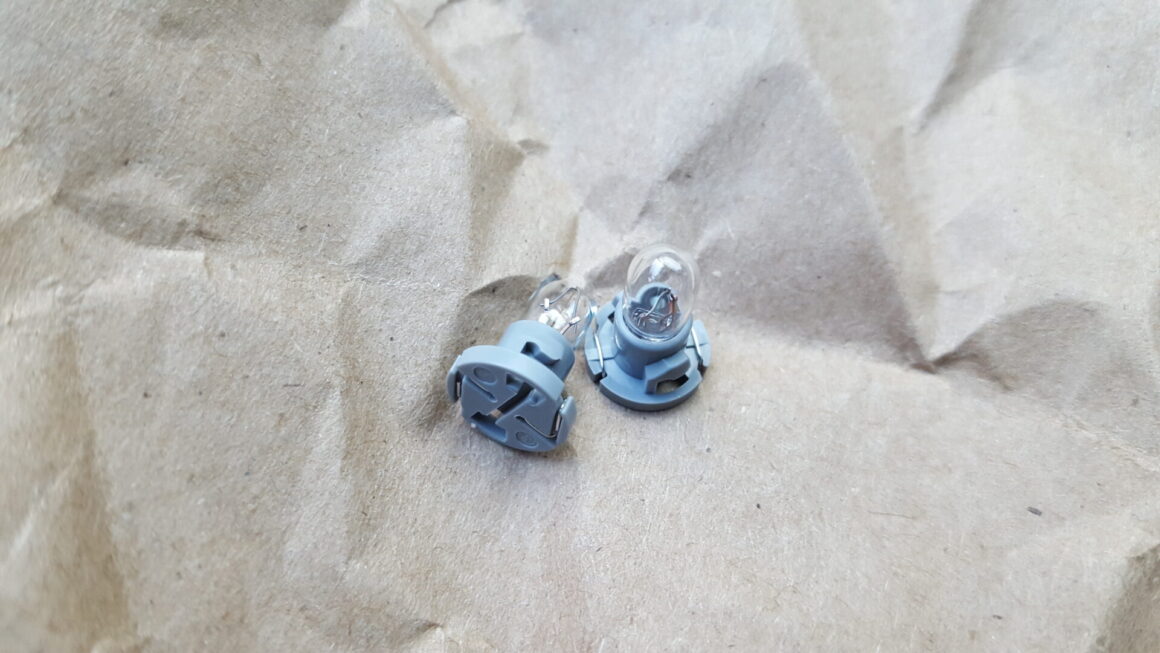
The part number for this bulb is: 90010-09017
If you want it fast, I recommend Amazon:
Dash Light Bulb Kit for Heater A/c Climate Control (Set of 2 Bulbs)
If you can wait, you can probably get a lower price on Ebay:
Search results on Ebay
Why It’s Easier to Buy the Whole Bulb
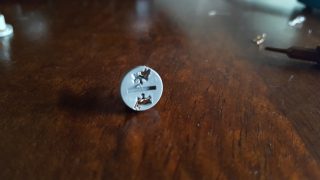
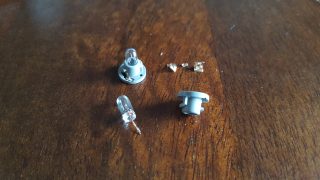
These bulbs are a bit pricey, but buying the whole bulb is the easiest. I’ve replaced just the bulb itself and wired the bulb to the bulb holder on other interior lights, but it’s much more difficult on these particular climate control lights. The reason is that the leads not only need to be wired to the bulb holder, but there some additional contacts that need to be removed/installed. I simply can’t see these contacts as being serviceable parts without some very specific precision tools.
Well, I can’t say that I didn’t try. I recommend on these particular 90010-09017 bulbs to simply replace them completely. It may cost more to buy the bulb, but there are only two of these specific type of bulbs on the 4Runner’s climate control. The rest of the bulbs can be replaced easily without the obstacle of the additional metallic contacts.
How to Replace Climate Control LCD Screen Bulbs
First, make sure the vehicle is off. Remove the tray right below the climate control settings. This will expose a Phillips head screw that will need to be removed.
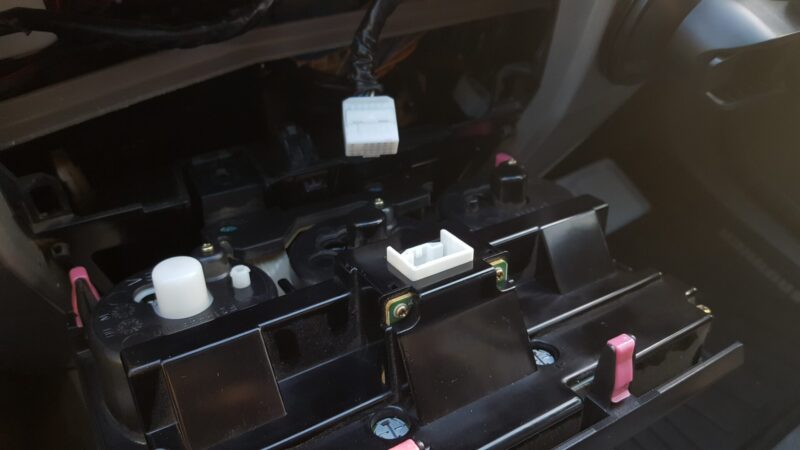
The whole climate control unit can now be pulled off with your bare hands. Start by gripping the bottom part of the climate control piece and pull straight out towards you. This should pop the bottom two tabs out. You may then proceed to pull the whole unit by getting your fingers behind the unit. Once you pull the whole unit out, you will see how it is held in place. There are four tabs that secure the climate control unit.
After the unit pops off, there is still an electrical connector behind it that is still connected. Disconnect this connector and the unit should be disengaged from the rest of the car.
With access to the back of the unit, you’ll see the two bulbs that need to be replaced (circled in red). Again, replace the appropriate bulb if only one side is out, or if the entire screen has burned out, you can replace both sides.
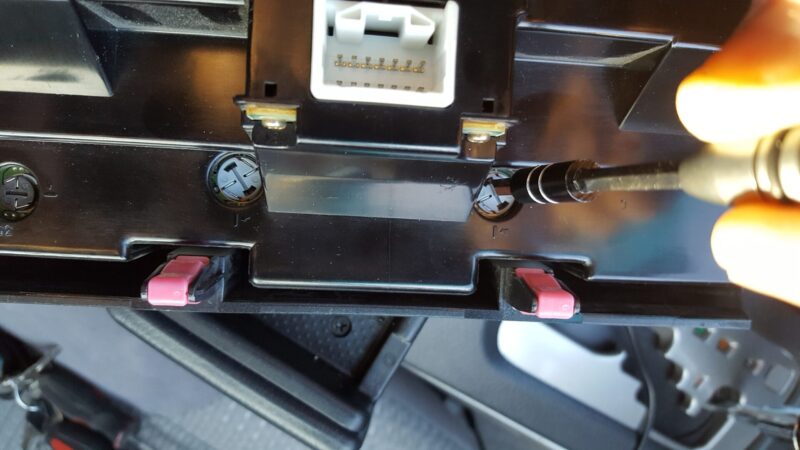
Using a flat head screwdriver, insert the flat tip into the back of the bulb holder and turn a quarter-turn counter-clockwise to release it from the unit. You might need to turn the unit upside down and give it a few light whacks for the bulb to come out.
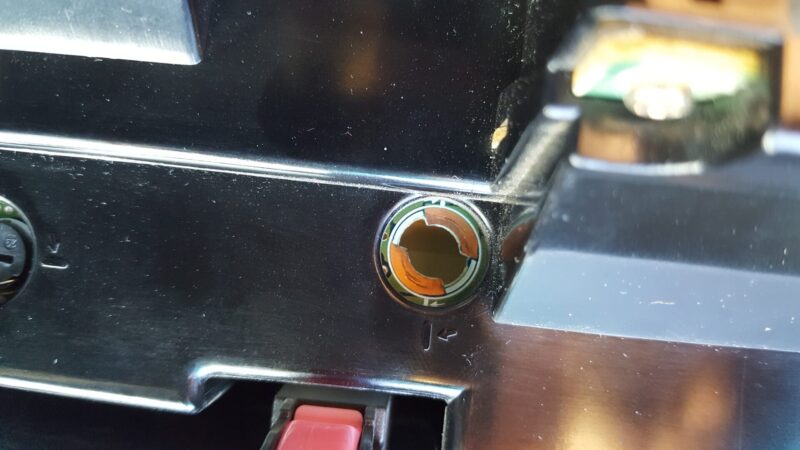
Take the new bulbs and insert into the opening, making sure that you line up the tabs of the bulb holder and the unit.
Take the flat head screwdriver again, press down on the bulb, and then screw the bulb clockwise a quarter-turn to lock it in place.
With the bulbs replaced, install everything back again in reverse of removal. Now, the LCD display screen should be fixed! It doesn’t get much easier than that.

