When you make purchases through links on this site, The Track Ahead may earn an affiliate commission. Also, these posts are based off my own experiences. I am not responsible for any action you take as a result of reading this. Learn More
What is Iron Decontamination?
Whether your car is a brand new car just purchased off the lot, or a car that you’ve owned for a number of years, chances are that there is some level of iron contamination on your car’s paint. These iron contaminants, are tiny bits of ferrous (metallic) material that can get stuck on your car’s clear coat, which is the layer atop your car’s paint. This ferrous material can come from everywhere: rail dust, brake dust, exhaust, etc. This material is pretty much all around us and with cars moving all around us all the time, this stuff continuously gets kicked up onto everyone’s car.
If you own a lighter-colored or white car, you may have noticed orange or yellow specks in the car’s paint. This may be indicative that ferrous material has embedded itself into the clear coat. The iron particle eventually begins to rust, leaving these yellow/orange colored specks behind, which spreads on the light colored paint of the car.
What do Iron Removers do?
Iron removers have an active ingredient, thioglycolic acid (a.k.a. mercaptoacetic acid), which accelerates the oxidation process of iron. This in-turn changes the physical structure of the iron particles and loosens its bond from the car’s paint surface; this allows them to be easily washed away with water. You’ll know when the iron remover has come into contact with ferrous material when it turns (typically) red or purple in color; this indicates the chemical reaction is taking place.
Thioglycolic acid is also the same chemical that is used in hair perm chemicals; as such, iron removers tend to have an offending smell. It is a stark contrast to other car detailing chemicals typically having very pleasing smells.
Keep in mind that iron removers are an eye/skin irritant and may be hazardous if ingested. I would recommend wearing a respirator, gloves, and clothing that covers your skin.
Tools & Materials
Iron Remover
Iron removers are generally all similar as they all have the same main ingredient: thioglycolic acid. Because of this, the smell will be horrid no matter which brand of iron remover you use. If you do a number of vehicles, you might want to consider purchasing a larger volume. Price is also a main consideration especially since iron removers all do the same thing using the same main ingredient.
Popular Iron Removers: Adam’s Iron Remover, CARPRO IronX Iron Remover, GYEON Quartz Iron Remover
Spray Bottle or Pump Sprayer
If you purchase a smaller packaged iron remover, it will probably already come in a spray bottle. If you purchase a larger-sized container, you might have to pour it into a spray bottle to use.
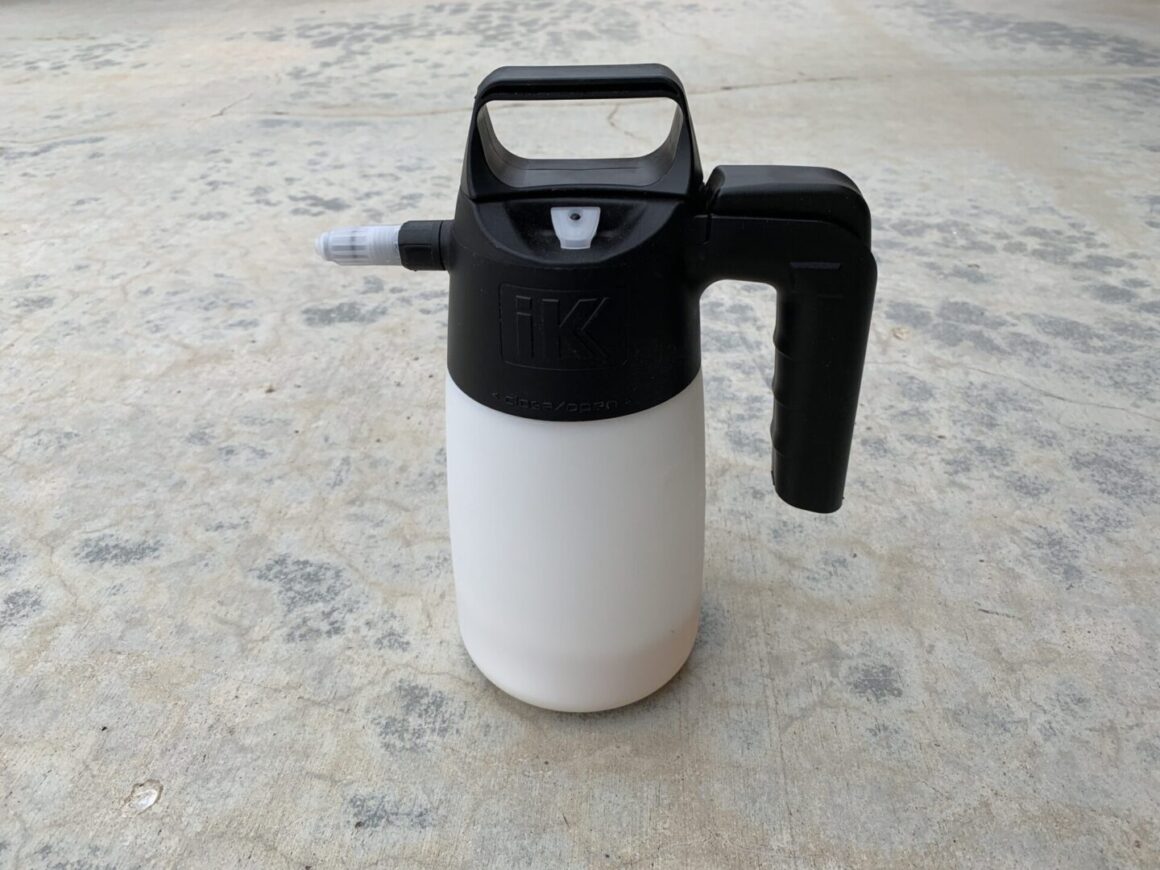
iK Goizper – Multi TR 1 Trigger Sprayer
If you only need to do the occasional iron decontamination, a spray bottle will suffice. But, if you have to do any more than that, you might want to consider using a pump sprayer. Using a trigger spray will really wear out your hand muscles so consider invest in a pressurized spray bottle if you do it more often.
iK | 35 oz | Multi-Purpose Pressure Spray
Before/After Iron Decontamination
When you perform a physical and chemical decontamination, you should spray the iron remover (chemical) on before you clay bar (mechanical). This is because if you spray iron remover first, the chemical would help to loosen the ferrous material on your car’s paint to be rinsed away. If you did not perform this step first, then these ferrous materials would be picked up by your clay bar, resulting in clogging up the clay bar with contaminants more quickly. This will in turn increase the possibility of creating more scratches/marring in your paint when you run the clay bar across your paint during mechanical decontamination.
My preferred method for using an iron remover would be to wash your car with car soap and then rinse it off. Then spray on iron remover and let it sit for a few minutes. Use water to rinse it all away making sure there is no iron remover left that will dry on the car’s paint. You may then consider proceeding with a mechanical decontamination using a clay bar.
When do you Need to Use an Iron Remover?
Depending on how your car was maintained, the frequency of the use of an iron remover may vary if at all. Obviously with a regularly-maintained vehicle where contaminants are constantly washed away during a car wash, you will have less chance of these iron particles getting stuck in the car’s clear coat. On the other hand, neglected vehicles will see these iron contaminants that get stuck in the clear coat, further embedding themselves into the clear coat. Neglected even further they can rust and further propagate into the paint layer, causing even more damage.
Regardless of whether your car was maintained well or poorly, it is always wise to perform an iron decontamination (along with a mechanical decontamination) as preparation for a wax, sealant, or coating. The reason for this is that if you are going to apply an LSP (last step product) such as one of these mentioned, you don’t want to be sealing in any iron contaminants, which could continue eating through your paint. If you ever plan to apply a protective wax, sealant, or coating, consider doing an iron decontamination with an iron remover.
How to Perform and Iron Decontamination
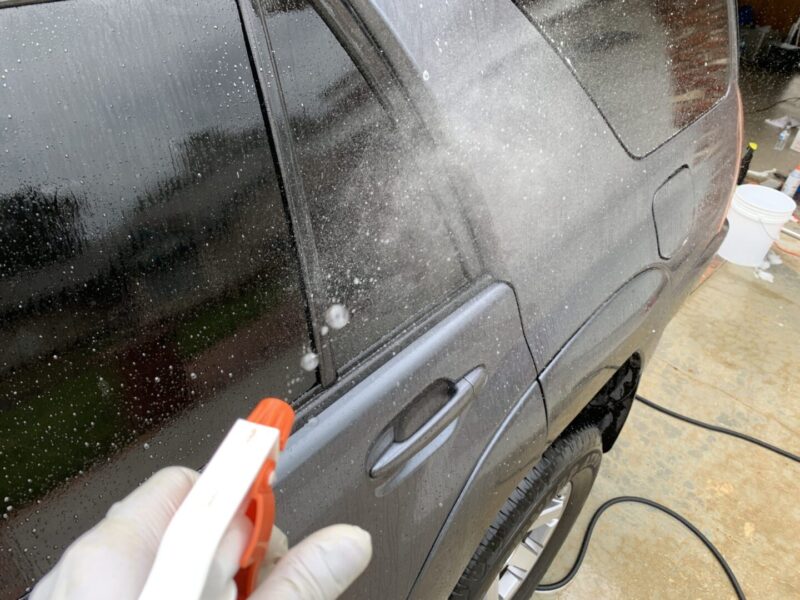
Honestly, doing an iron decontamination is one of the easiest things you can do on your car. It’s as simple as spraying the iron remover onto your car, letting it dwell for a few minutes, and then rinsing it off with water. Make sure that you don’t let the iron remover dry on the car’s surface, otherwise it will stain and be more difficult to remove later.
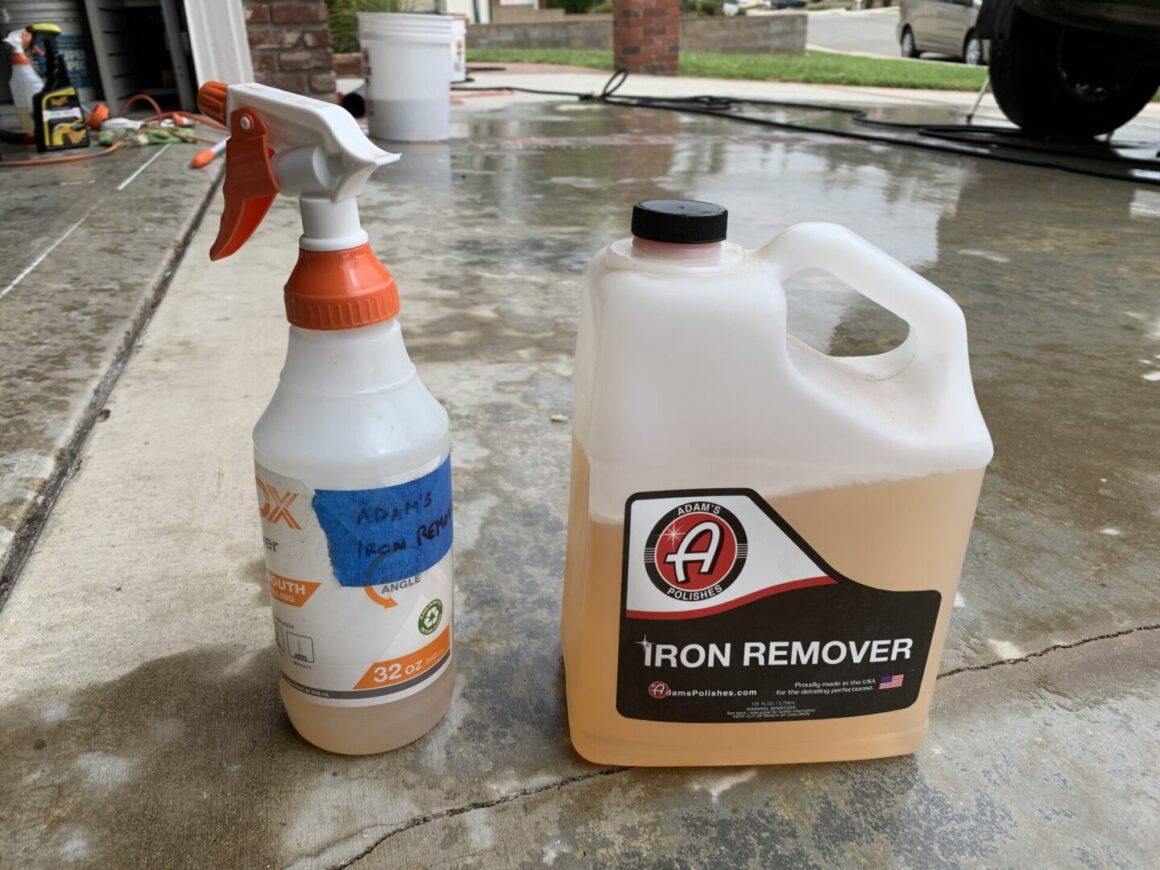
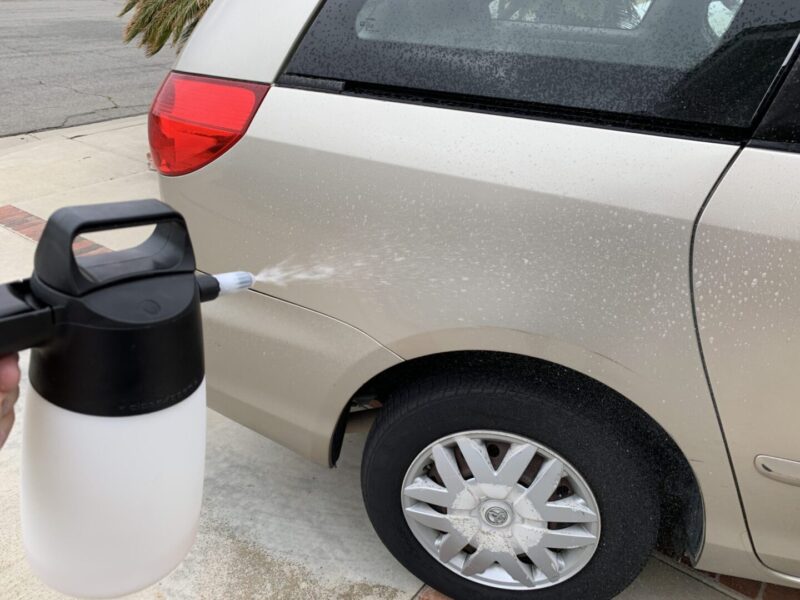
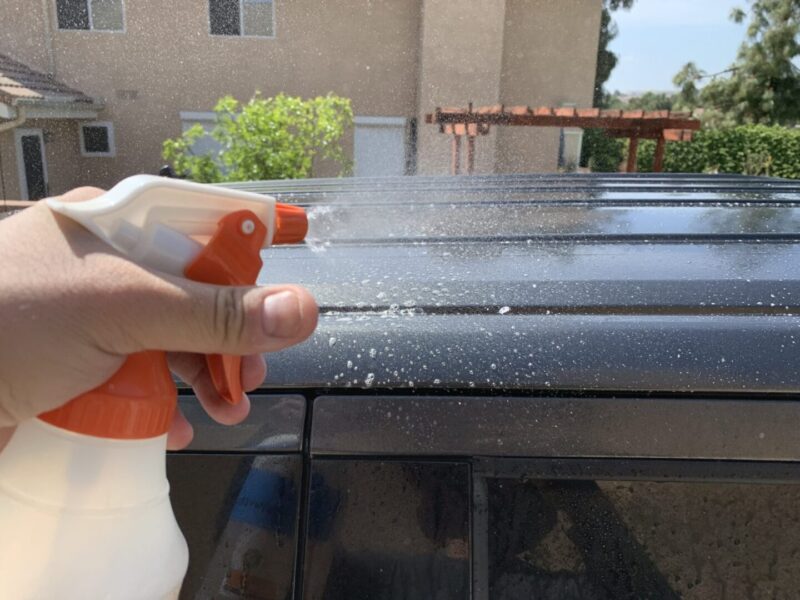
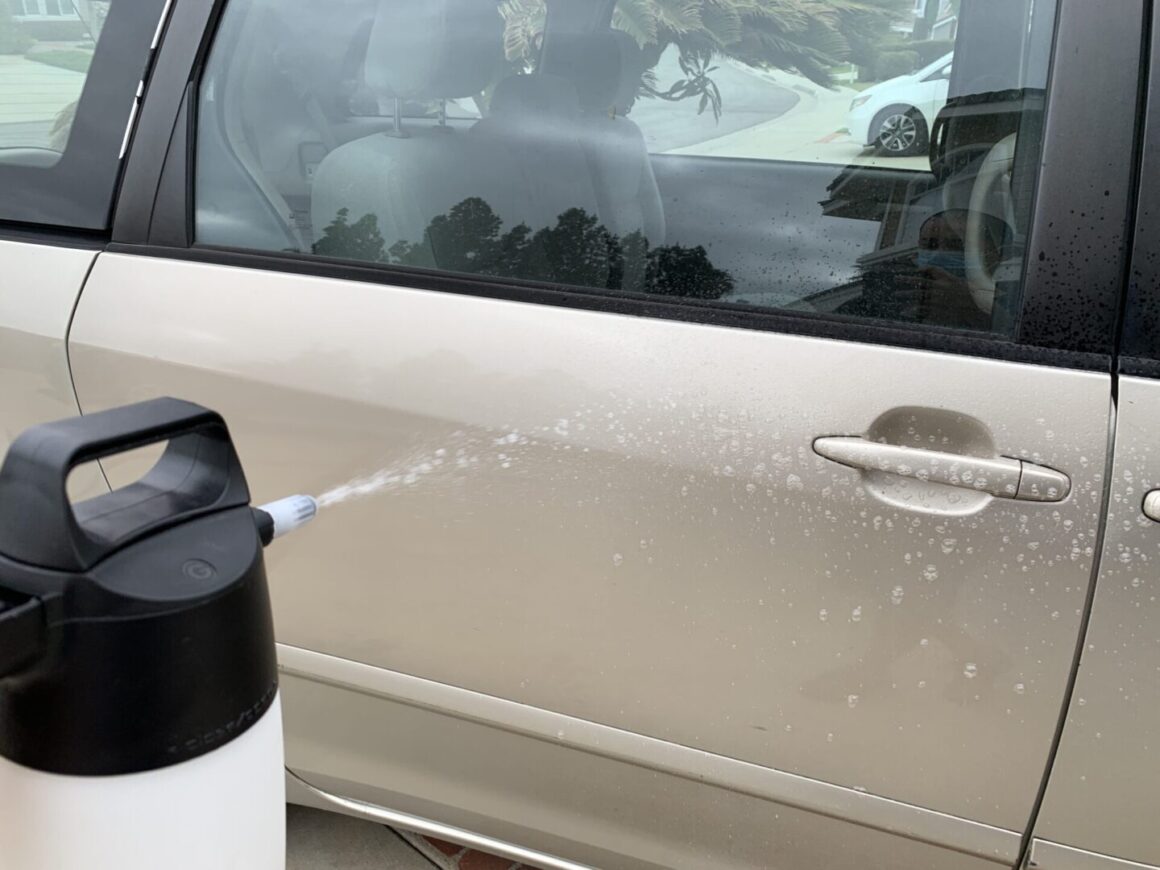
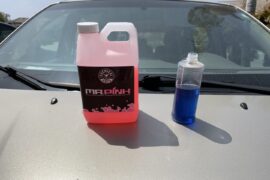
Here, I have a gallon of iron remover that I’ve poured out into a separate spray bottle. Spraying works fine, but you do get fatigued with your grip after having to spray down an entire vehicle. Another option is to use a pump sprayer like the iK 1.5 Pump Sprayer. With something like this, you can pressurize the tank with a few pumps and then spray continuously rather than having to constantly pull the trigger on a regular spray bottle.
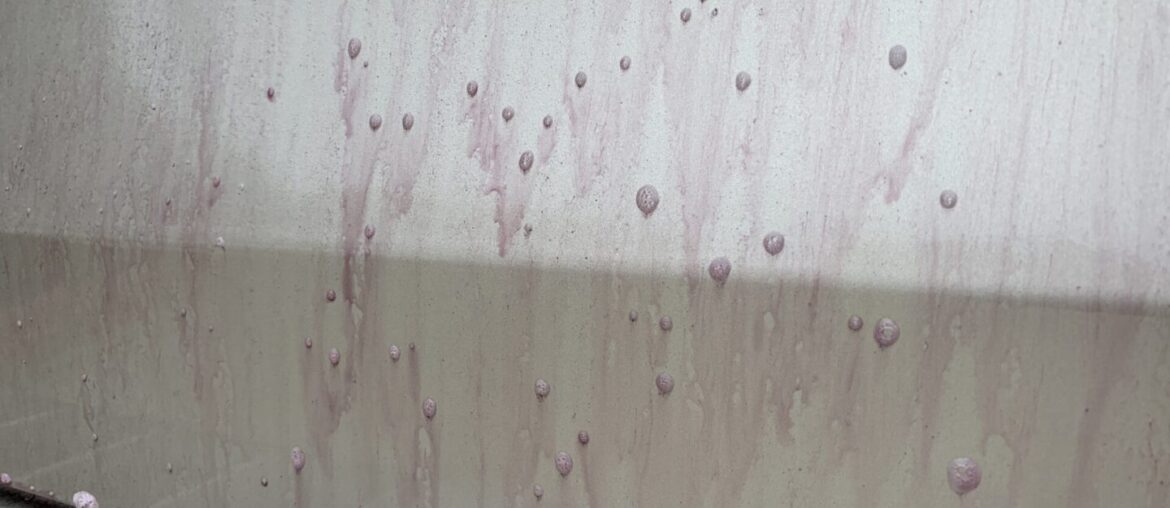
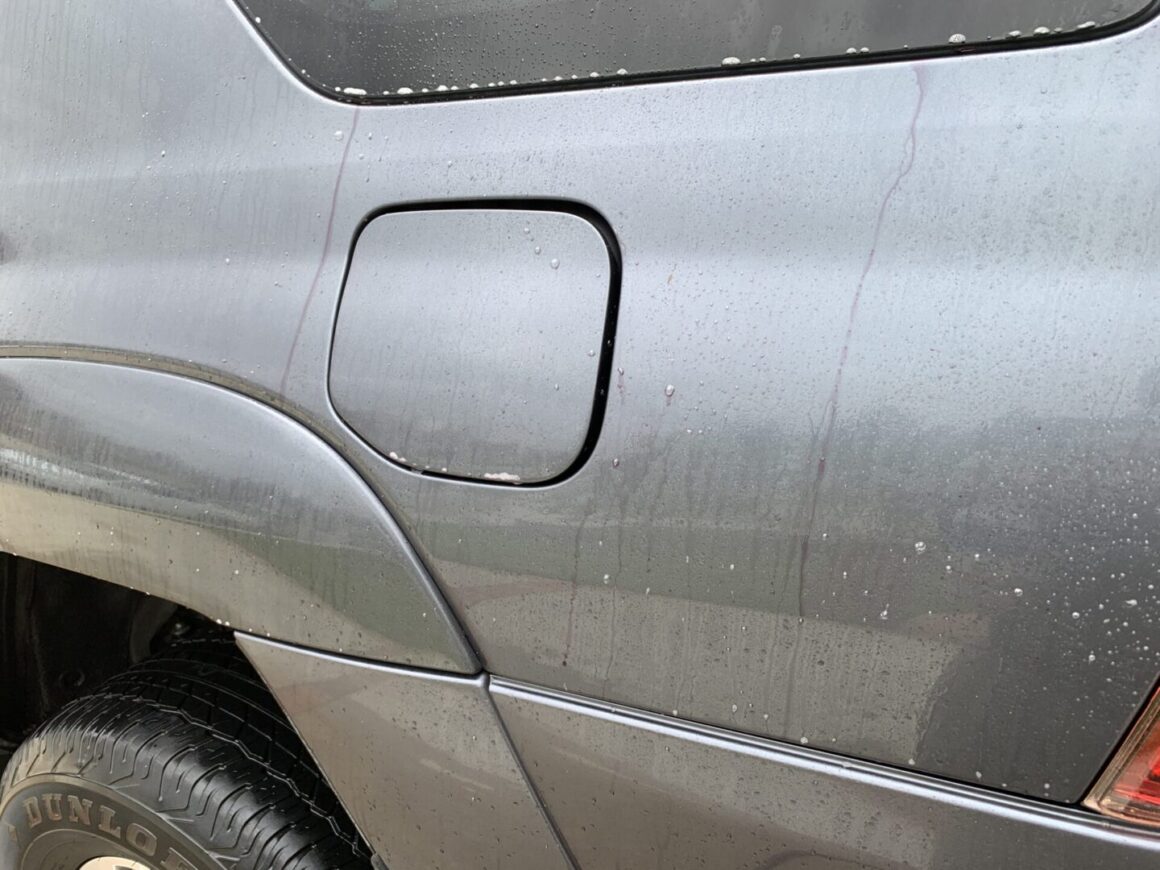
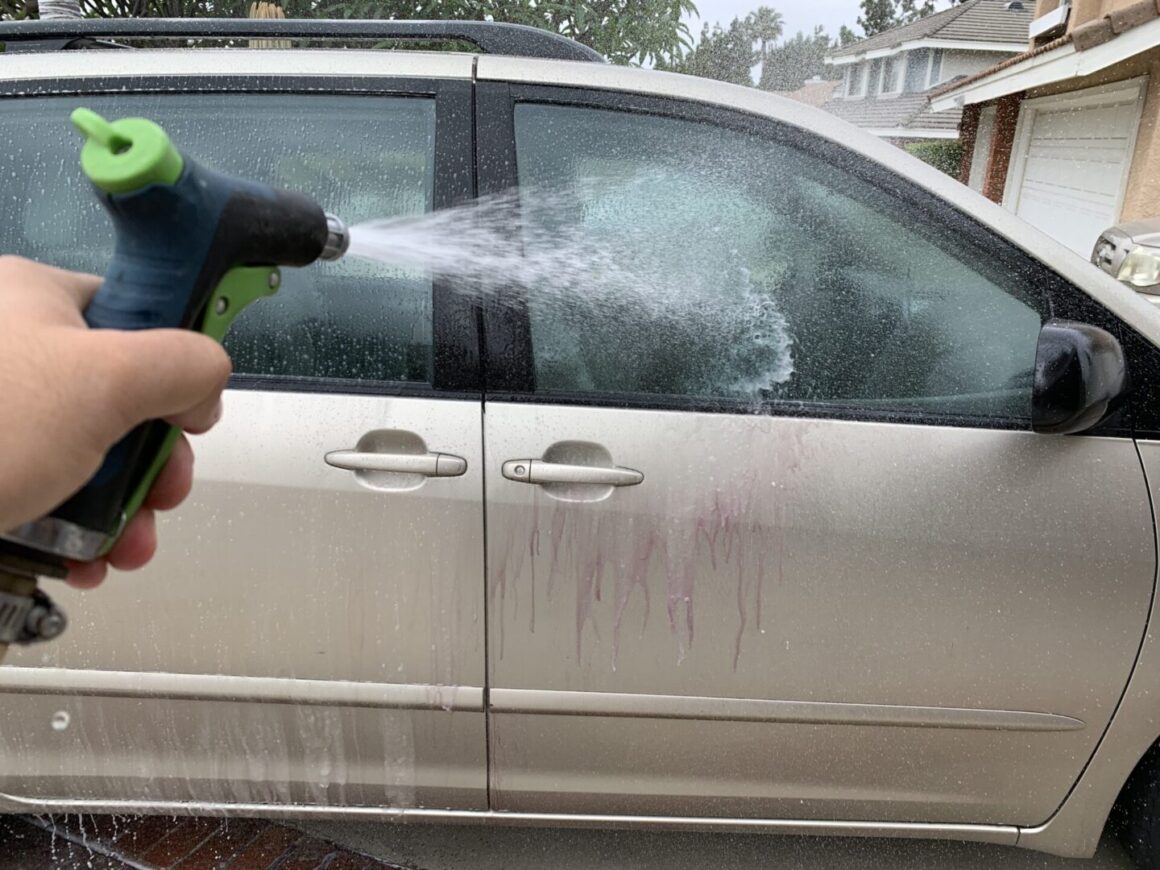
After spraying iron remover on the car’s surface, wait a few minutes and you’ll start seeing the (usually) red/purple bleeding effect if the chemical is reacting with ferrous materials. As you can see below, there are some bleeding where the iron remover is working.
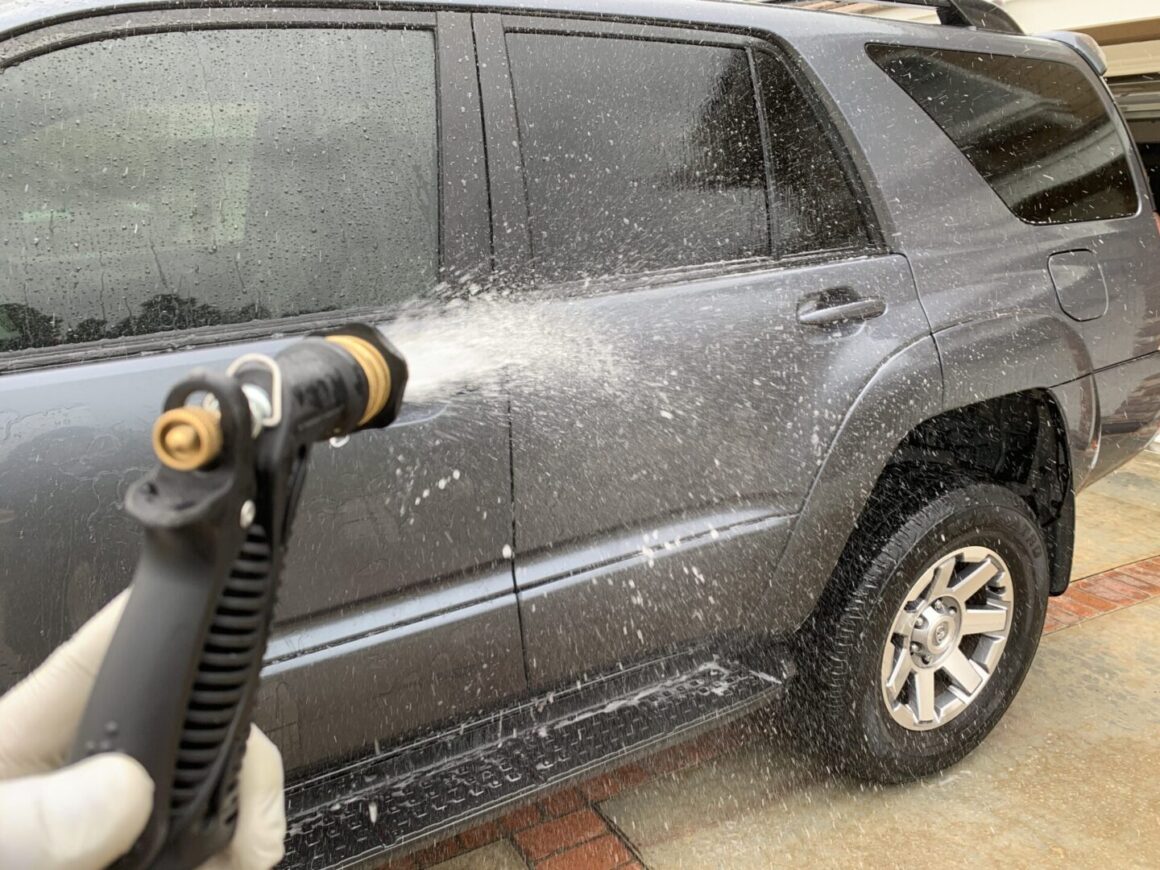
After a few minutes, spray down with water to rinse off all of the iron remover. And it is as simple as that, no need to wipe or scrub, just rinse it all off with a hose.
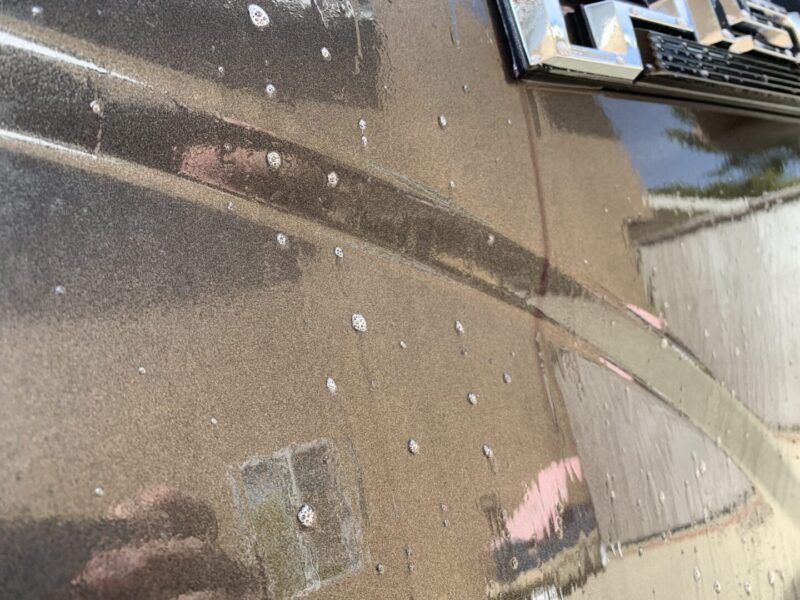
On some cars that are newer or have not had as much exposure to iron contaminants, you may see either little to no ‘bleeding’. On a new car as shown below, I saw almost no bleeding on the entire vehicle with the exception of the areas behind the emblems.
On the opposite side of the spectrum, the below is an example of a car that has been neglected and has never had an iron remover applied (in the 15 years of its life). Pretty much the entire panel had turned purple during this iron decontamination.
Performing an iron decontamination is a very easy job to do as it really is as simple as spray on, let dwell, and rinse off. Not only is using an iron remover a good practice for prevention of iron particles rusting and damaging your car’s paint, but it is also highly recommended for prepping your car for application of a wax, sealant, or coating.
References
https://en.wikipedia.org/wiki/Thioglycolic_acid
https://www.detailingwiki.org/decontaminating/what-is-a-fallout-remover/

