When you make purchases through links on this site, The Track Ahead may earn an affiliate commission. Also, these posts are based off my own experiences. I am not responsible for any action you take as a result of reading this. Learn More
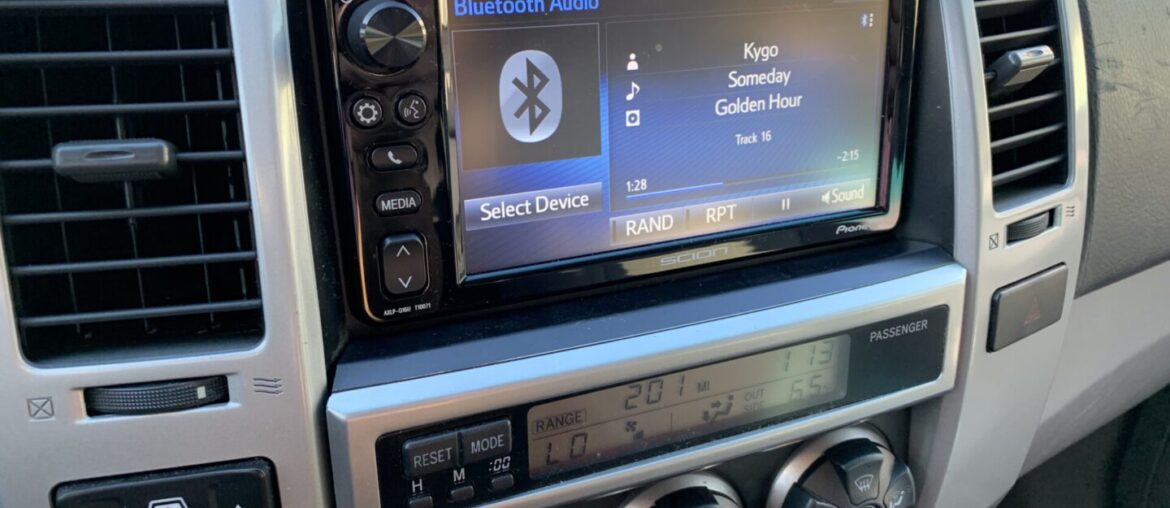
Update (12/20/21): When I used the T10017 Scion head unit in my 4Runner, everything worked great with the exception of the bluetooth connection to my Iphone. Sometimes it would connect to my phone easily and sometimes it wouldn’t. I wasn’t sure if it was my specific head unit, my phone, or the interaction between the two, but I heard from someone else that they experienced the same issue. Therefore, I believe there may be a bluetooth connection issue between the Scion T10017 head unit and some smartphones. I never got to try connecting my Iphone via a USB cable to the head unit; that was an option I was exploring before I went back to my Scion T10015 head unit.
I may have an obsession with swapping in Scion head units into my 4th generation Toyota 4Runner. I started off upgrading my original OEM head unit to several non-touch screen Scion head units, then over to a Scion T10015 head unit, which I believe to be the ultimate Scion head unit for the 4th gen 4Runner. This head unit checked off all the boxes that I was looking for, which is good sound, option to hook up a subwoofer, touch screen for a backup camera, bluetooth connection for my phone, and amber color controls to match the rest of my 4Runner’s interior OEM lighting.
Unfortunately after a long road trip using the T10015, I must have overheated the unit. Suddenly, the touch screen wasn’t working in some spots on the screen. I managed to get by using the unit for at least a year since I mostly use the bluetooth function and therefore, no need for the touch screen much. The T10015 was offered in Scion vehicles in the years of 2012-2015.
I realize that I could probably do a similar radio swap with a Scion T10017, which is offered on Scion vehicles in 2016+. Since I had already done most of the work on installing the adapters on the Scion T10015, it would probably require minimal work to get the newer T10017 unit working. I’ve written the below post assuming that you are installing the Scion T10017 head unit from the beginning.
Scion T10017 Head Unit Upgrade
The Scion T10017 offers some nice upgrades over OEM such as:
- Bluetooth Audio & Phone
- USB & AUX Connectivity
- Rear View Camera Capability
Just like with the T10015, you may have the option to get a T10017 with the additional navigation module. However, I normally use my phone for all navigation purposes, so I opted for the standalone T10017 unit.
I’m not sure if there really is much of a difference between the T10015 and T10017; the only thing I noticed that was different was that on the T10017, there is the option of using Aha, an app that allows you to personalize your music.
Like the T10015, this unit will require additional wire harnesses and connectors in order for it to work with the OEM Toyota radio wiring. The only difference between the T10015 and T10017 units, is that if you hook up a backup camera, you will need a different wiring connector for that function.
For Backup Camera Wiring
Scion T10015 (PT546-00140): Uses CAM-TY11 Connector
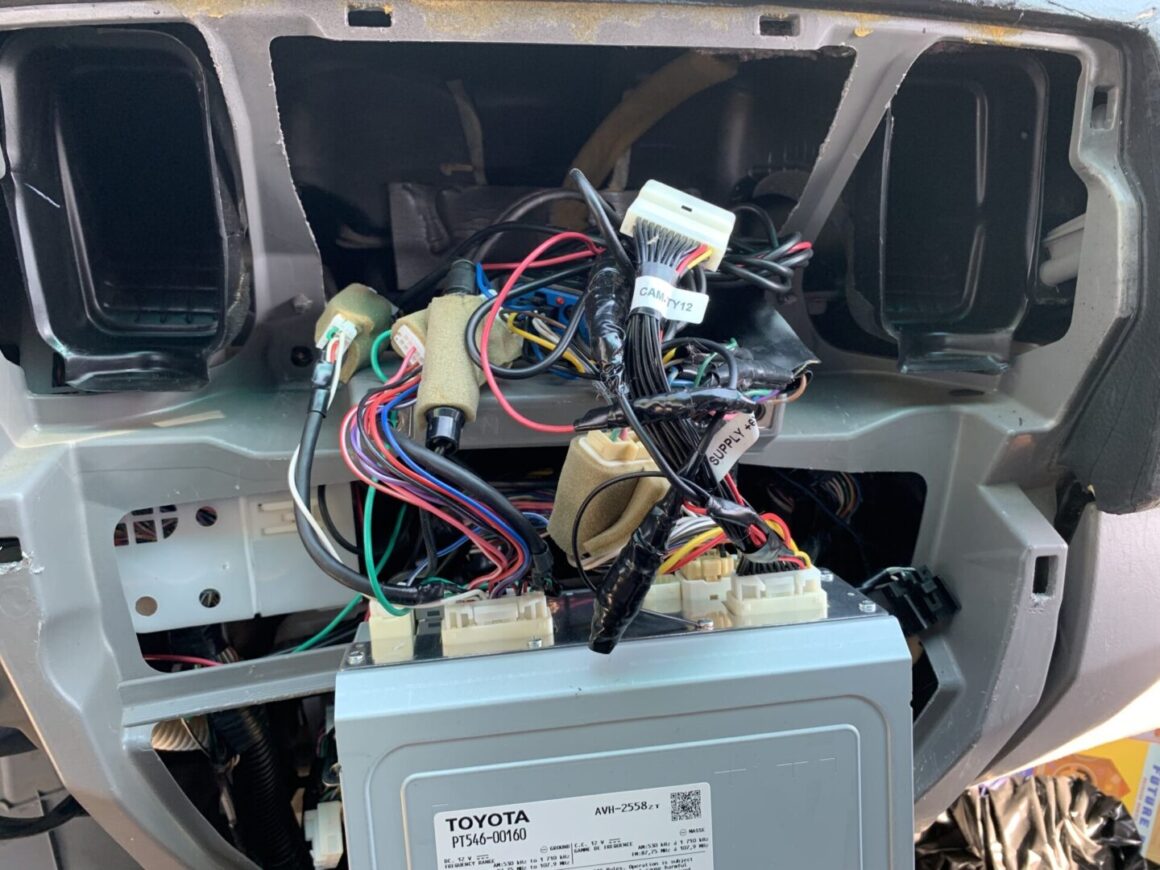
Scion T10017 (PT546-00160): Uses CAM-TY12 Connector
Another thing that is different and will stand out especially at night, is that the background control lighting is blue instead of the OEM amber/orange color. If you want it to match the OEM color, you’ll want to go with the T10015 or some of the older Scion head units. Normally I would want to match it, but I was curious if this newer Scion head unit would work in the 4th gen Toyota 4Runner.
Buying a Scion T10017 Head Unit
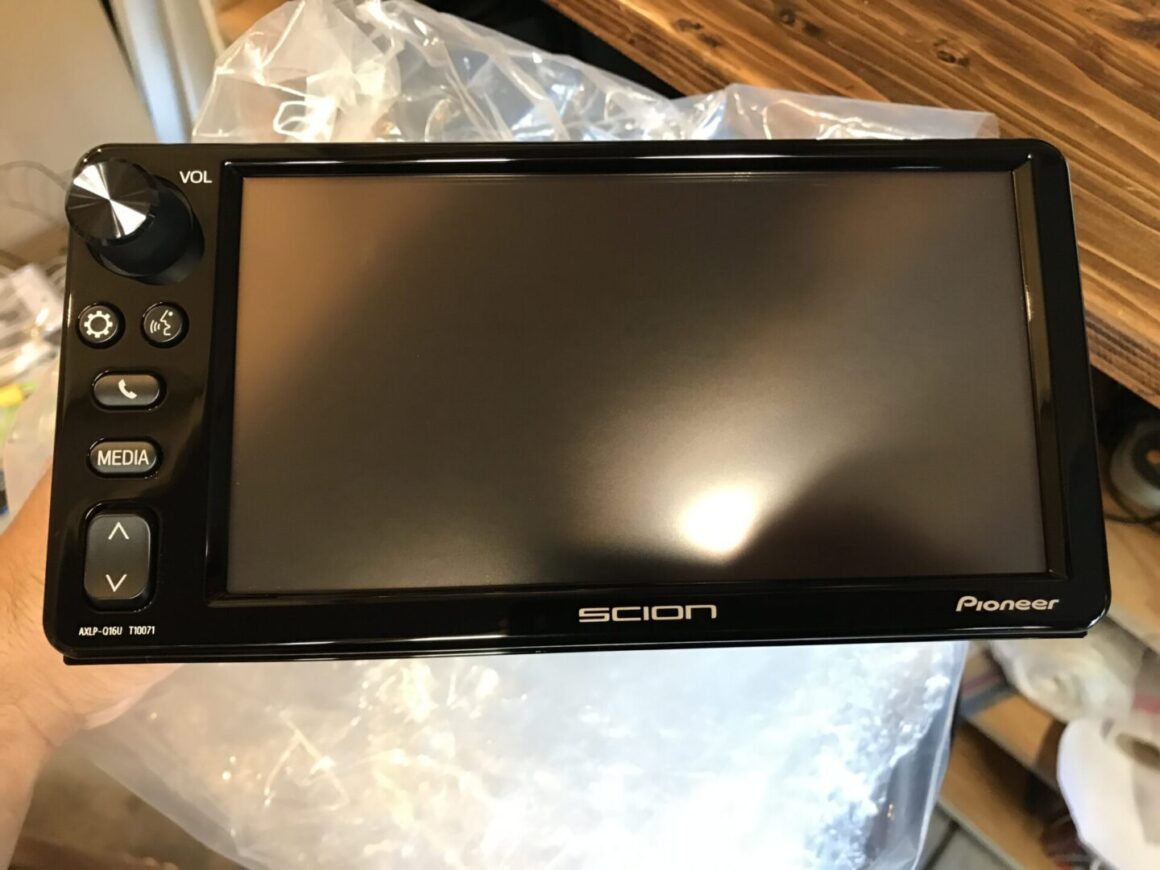
At the time of this post, the going rate of this unit is about $200 on Ebay. If you are patient, you might be able to find a deal as I did. I found one for $140.
Find on Ebay.com: T10017 Scion Head Unit
Some tips for finding a deal on OEM head units:
– The name of the head unit you’re looking for my be called a Scion T10017, but try finding out what the model number is called. This one can be found in the manual: AVH-2558.
– Almost every part in a car has a part number; the same goes for the head unit. The Scion T10017 (or equivalent model number AVH-2558) also has an OEM Toyota part number PT546-00160. More useful search terms to use.
– Do some online research to find out what years and model vehicle the T10015 head unit was used in (this one was used in Scion years 2016+). These can also be searched for to further expand your search to find hidden deals.
Connectors and Harnesses Required
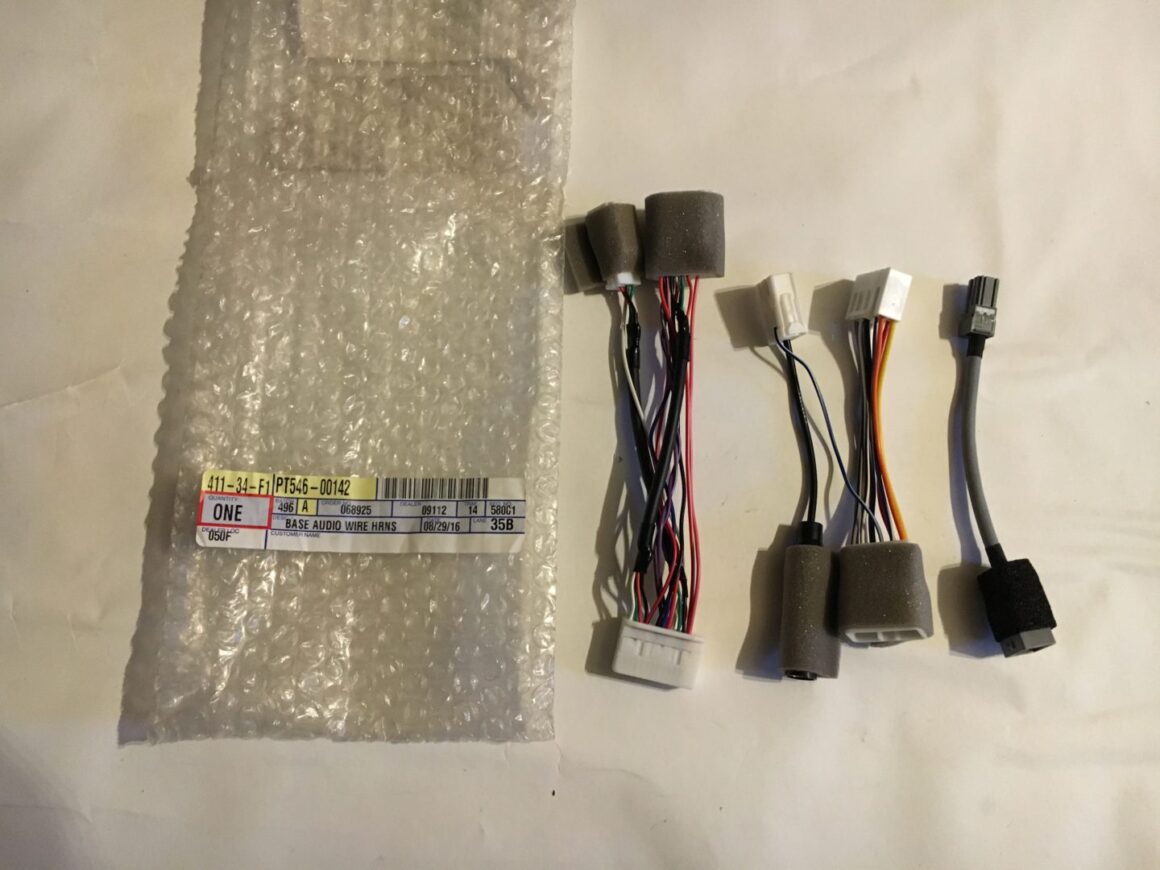
20 to 28 Pin Harness: PT546-00120-CH (needed to connect T10017 head unit to existing 4Runner wiring harness; can be purchased as part of a bundle *see below PT546-00142)
Buy on Amazon.com
Find on Ebay.com
Antenna Adapter: PT546-00120-AD (needed to connect T10017 head unit to existing 4Runner antenna cable; can be purchased as part of a bundle *see below PT546-00142)
Find on Ebay.com
USB Conversion Cable: PT546-00120-US (needed if USB functionality is desired; can be purchased as part of a bundle *see below PT546-00142)
Buy on Amazon.com
Find on Ebay.com
Base Audio Wiring Harness: PT546-00142 (the 3 wire harnesses above are all packaged utilizing this part number)
Buy on Amazon.com
Find on Ebay.com
This kit contains three wire harnesses:
- USB conversion cable (PT546-00120-US)
- Antenna conversion cable (PT546-00120-AD)
- 20 to 28 Pin conversion cable (PT546-00120-CH)
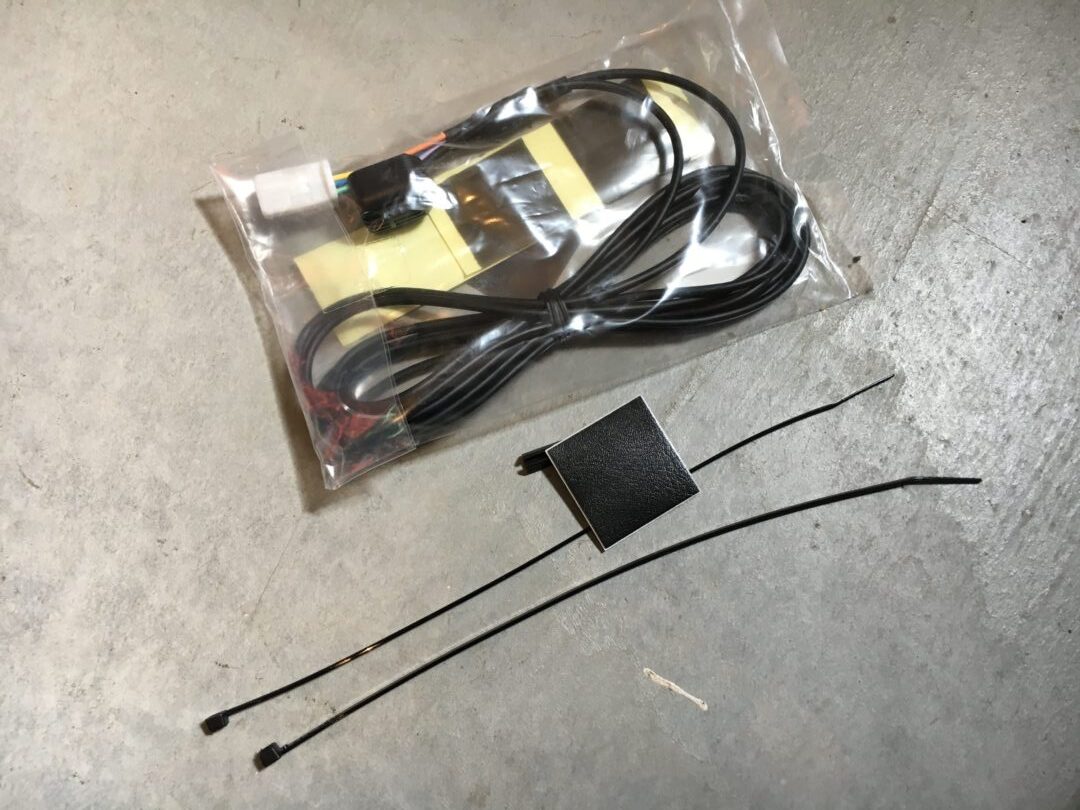
Microphone Kit: PT546-74120-MC (needed if you want Bluetooth phone capability)
Buy on Amazon.com
Find on Ebay.com
Rear View Camera Adapter: CAM-TY12 (makes it easier if you want to hook up a rear view camera to the screen *compatible with only several models of rear view cameras)
Buy on Amazon.com
Line Output Converter with Remote Turn On: PAC LP7-2 L.O.C. PRO Series 2 (because the T10017 head unit only has digital line inputs, this is needed to convert analog to digital outputs if you have an amp or subwoofer)
Buy on Amazon.com
Small-to-Large Antenna Jack & 2-to-1 Y Antenna Adapter (since the OEM head unit has two antenna connections—one small and one larger, you will need a 2-to-1 jack to convert the small antenna to a large antenna jack, and then a Y-adapter to take those two antenna jacks and combine them into one; this will plug into the T10017 head unit)
Small-to-Large Antenna Jack
2-to-1 Y Antenna Adapter
Take your time and gather all the necessary materials and parts for your needs. I took a long time finding deals on the parts I used; eventually I had everything I needed for this installation.
Wiring
After getting all the necessary wiring and connectors, it’s important to know what they should be connected to. Not everything is a direct plug-and-play with this setup. Sometimes you may need to splice in your own wires into connectors, and other times you can get away with purchasing one already made up for you.
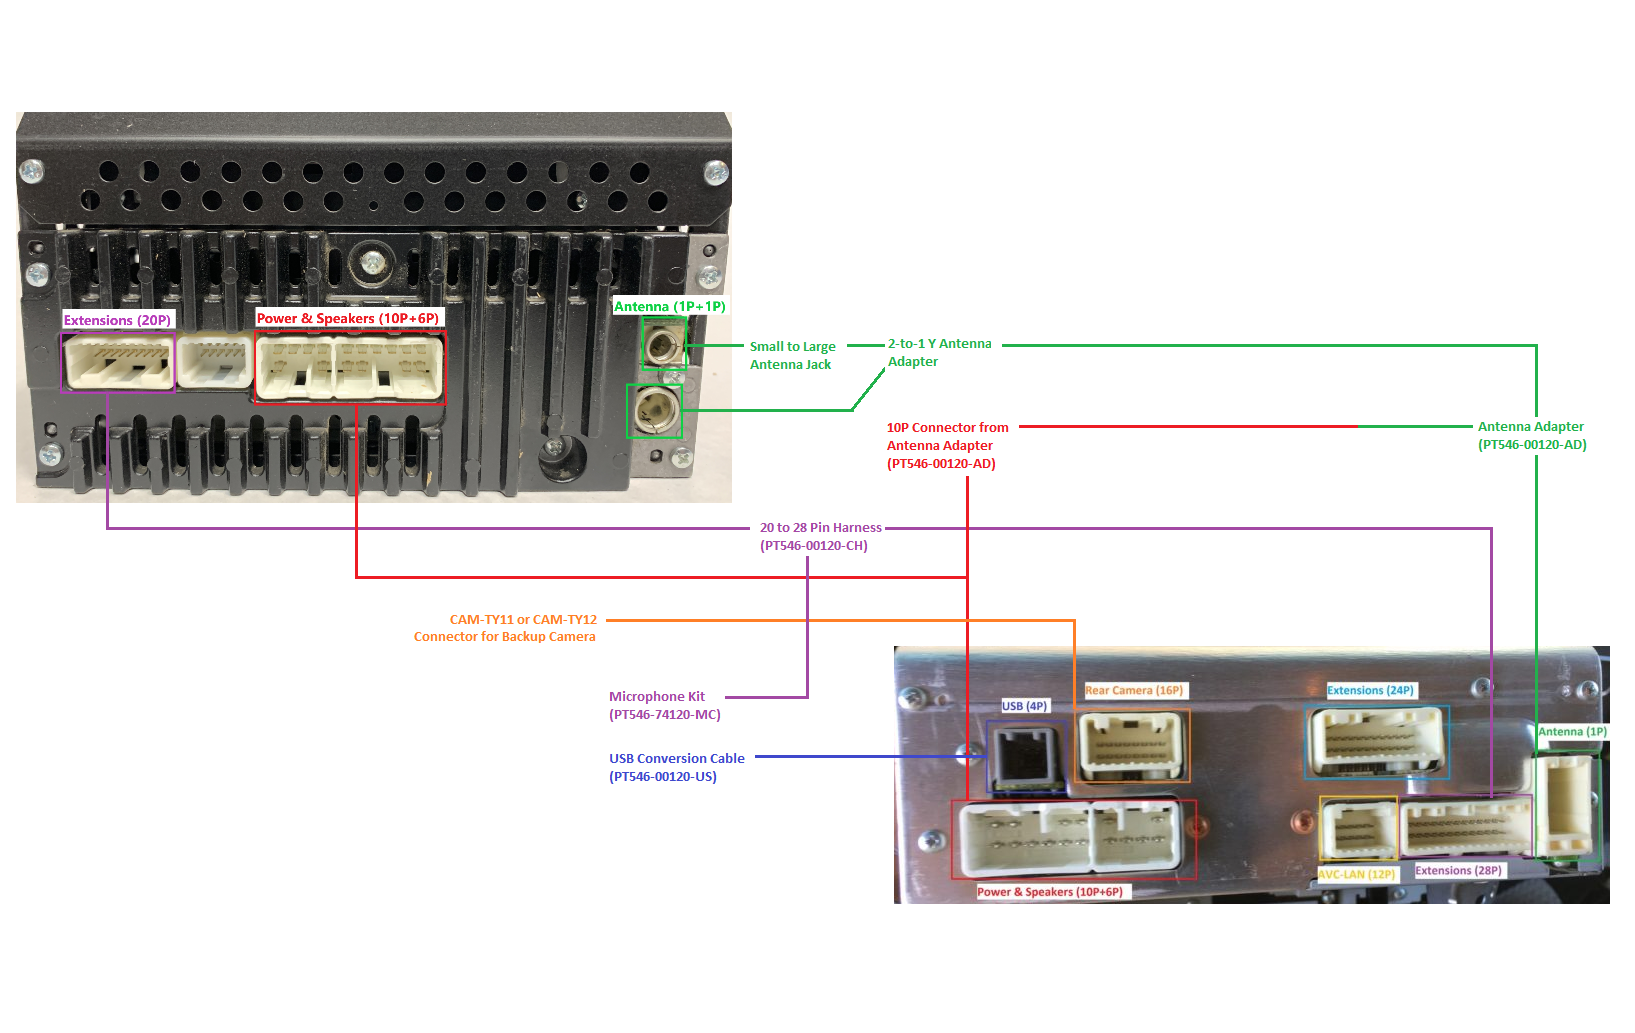
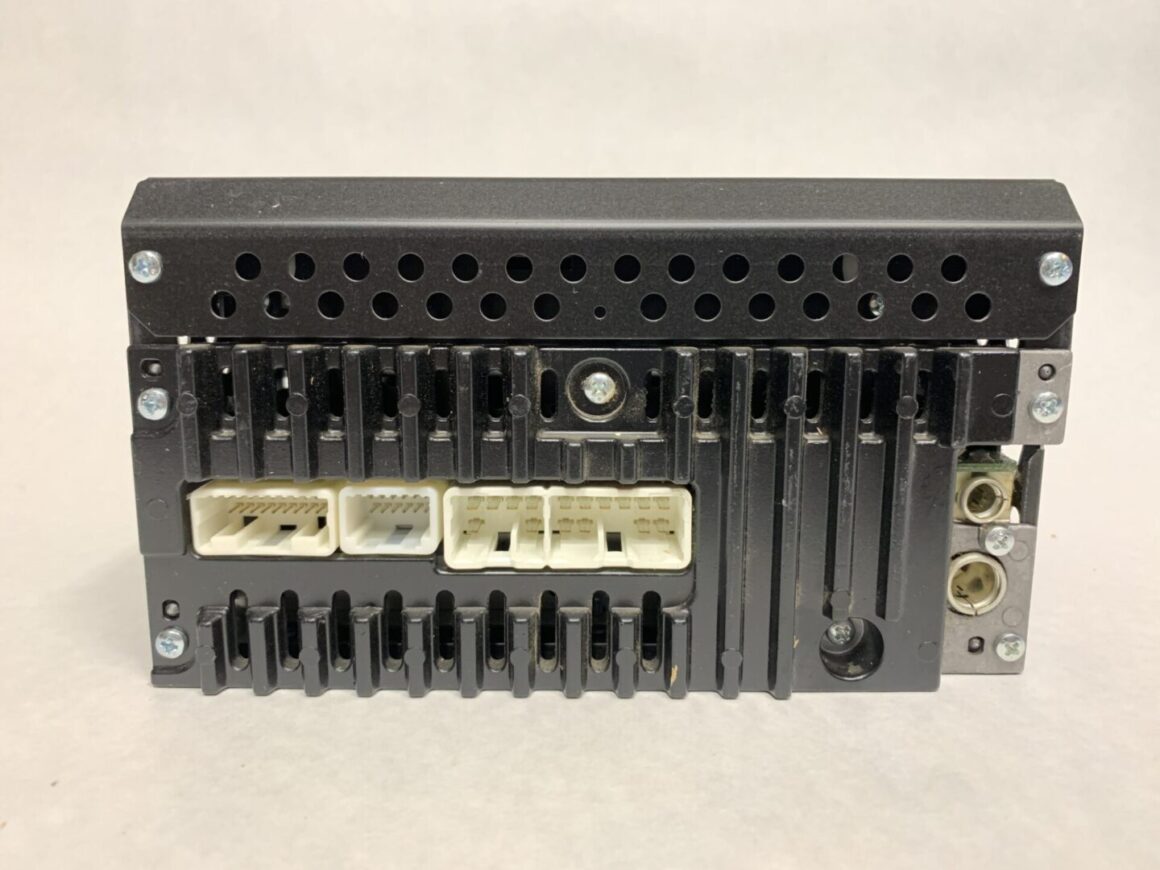
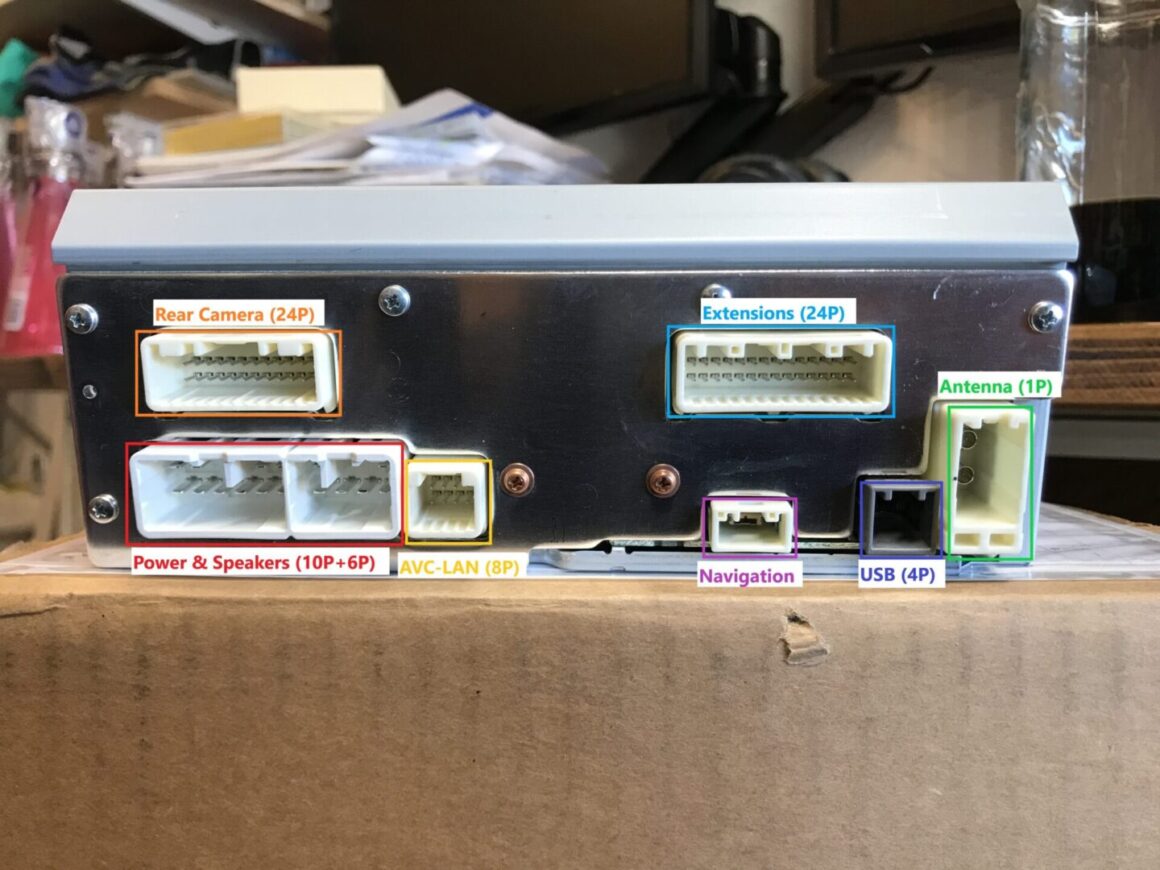
Below are the labels for the various connections on the back of the Scion T10017 head unit (#PT546-00160). The only connections I did not use are the AVC-LAN, Navigation, and USB. I did not plan to use the USB connector as I normally use the bluetooth connection. The AVC-LAN and Navigation connectors are used for the navigation system, which I do not have nor need.
You can use the below diagram to help understand how the connectors and harnesses are supposed to be hooked up. The diagram shows the back of the OEM head unit and the Scion T10015 head unit. So for the Scion T10017 head unit, the only difference you can see is mainly with the location of the connections, and the rear camera connection being a 24-pin connection instead of a 16-pin connection. This is the reason for using a CAM-TY12 connector, which is a 24-pin connection versus the CAM-TY11 which has a 16-pin.
Keep in mind that some of the connectors/harnesses you need to get for this upgrade, have several connectors that are tied to one another. As a result, you might have for example, the antenna adapter, which plugs into your existing antenna wiring and the new head unit, but it also ties into the 10-pin power/speakers connector as well.
Installation of Scion T10017
I went through many Scion head units in the past including the T1806, T1814, and the T10015. The below installation photos may be a mix of photos from my installation over the years, but my intention is to show how you might install a T10017 head unit if you have an OEM radio. This procedure is for a non-JBL 4th generation Toyota 4Runner.
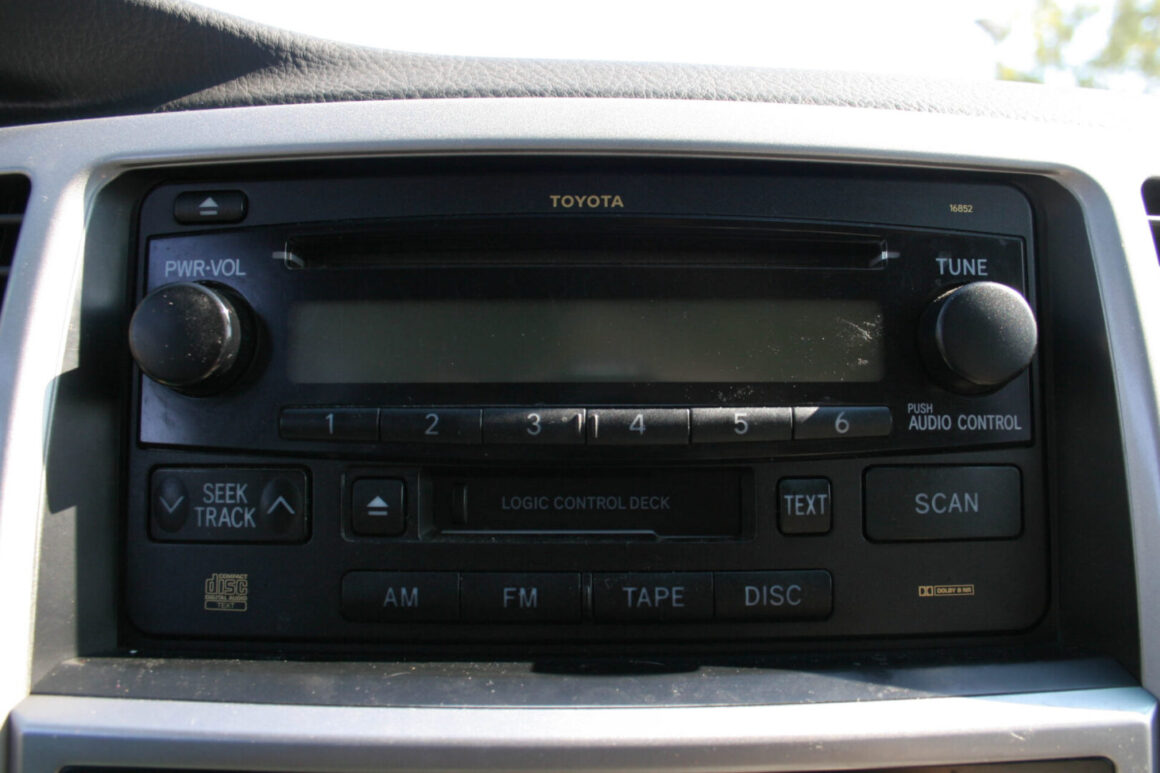
First, remove the center trim to the point where you can remove the head unit from its place.
After the trim is removed, I removed this head unit by undoing the four bolts holding it in (two front bottom, two recessed on near the back on each side).
Remove the existing connectors from the rear of the Toyota OEM head unit. There should be four connectors and two antenna connectors. Remove all the connectors.
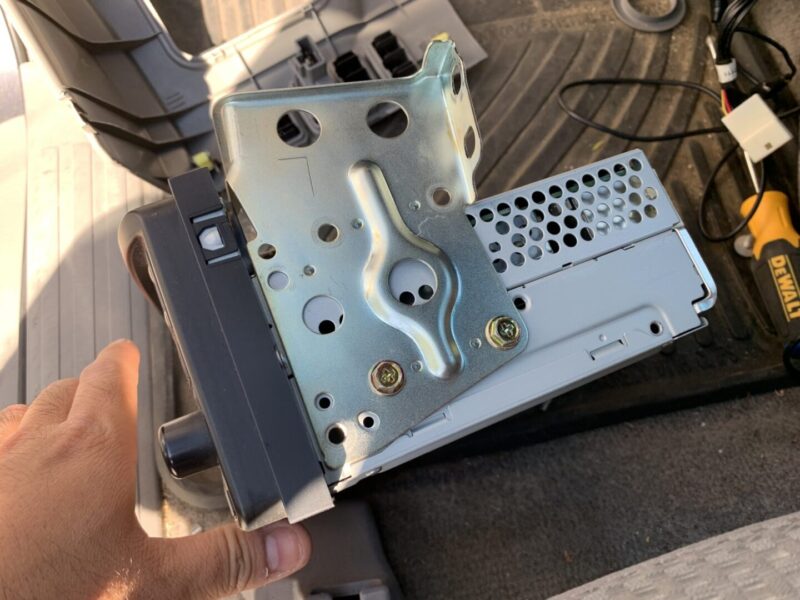
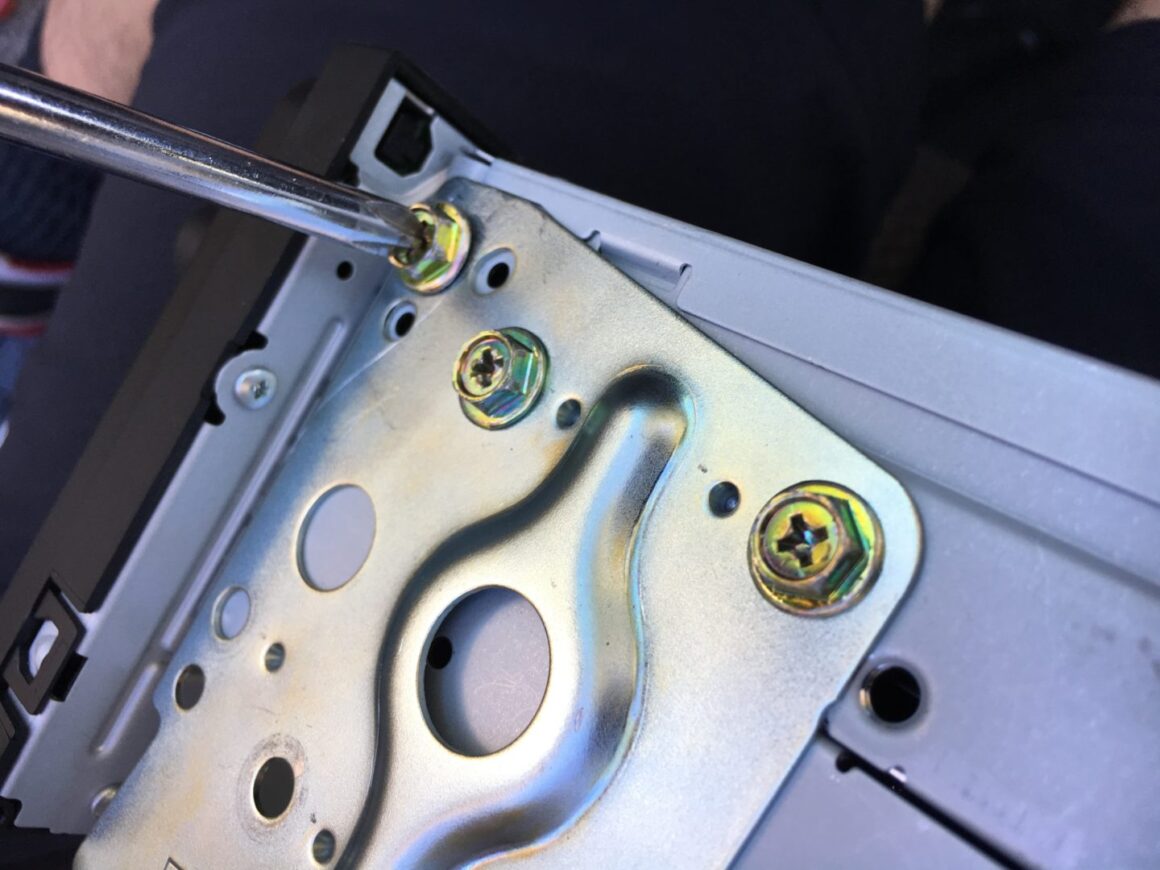
Remove the brackets with the 3 screws on each side of the existing radio. After using a Phillips screwdriver and almost stripping the heads, I’d recommend using a socket wrench instead.
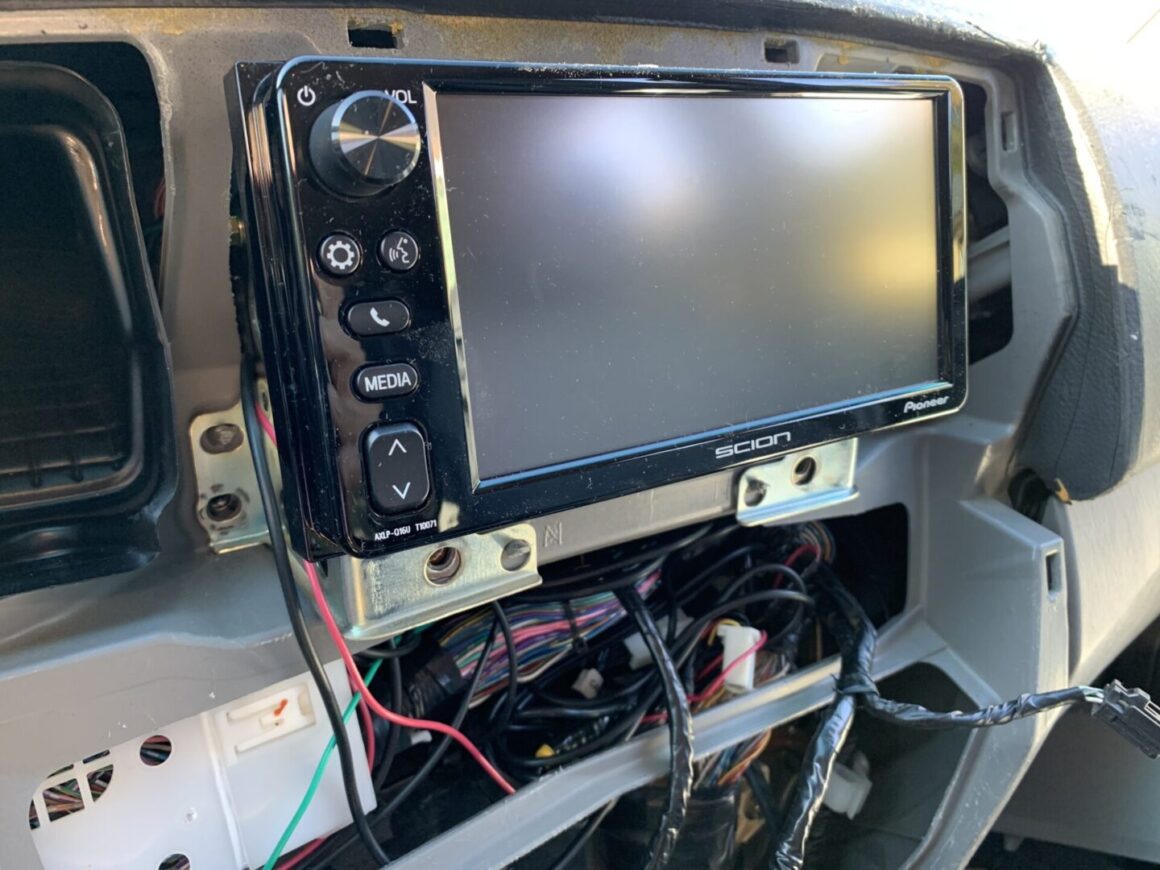
Attach the brackets to the new T10017 radio — the bolts line up exactly. If the T10017 radio came with brackets already, they likely won’t fit on your 4th generation 4Runner, so you’ll need to swap the brackets with the ones you already have on your car.
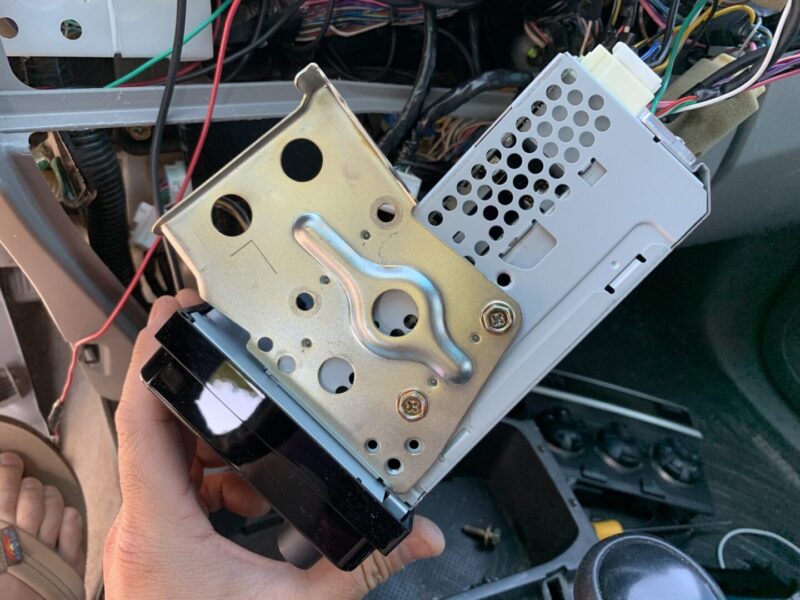
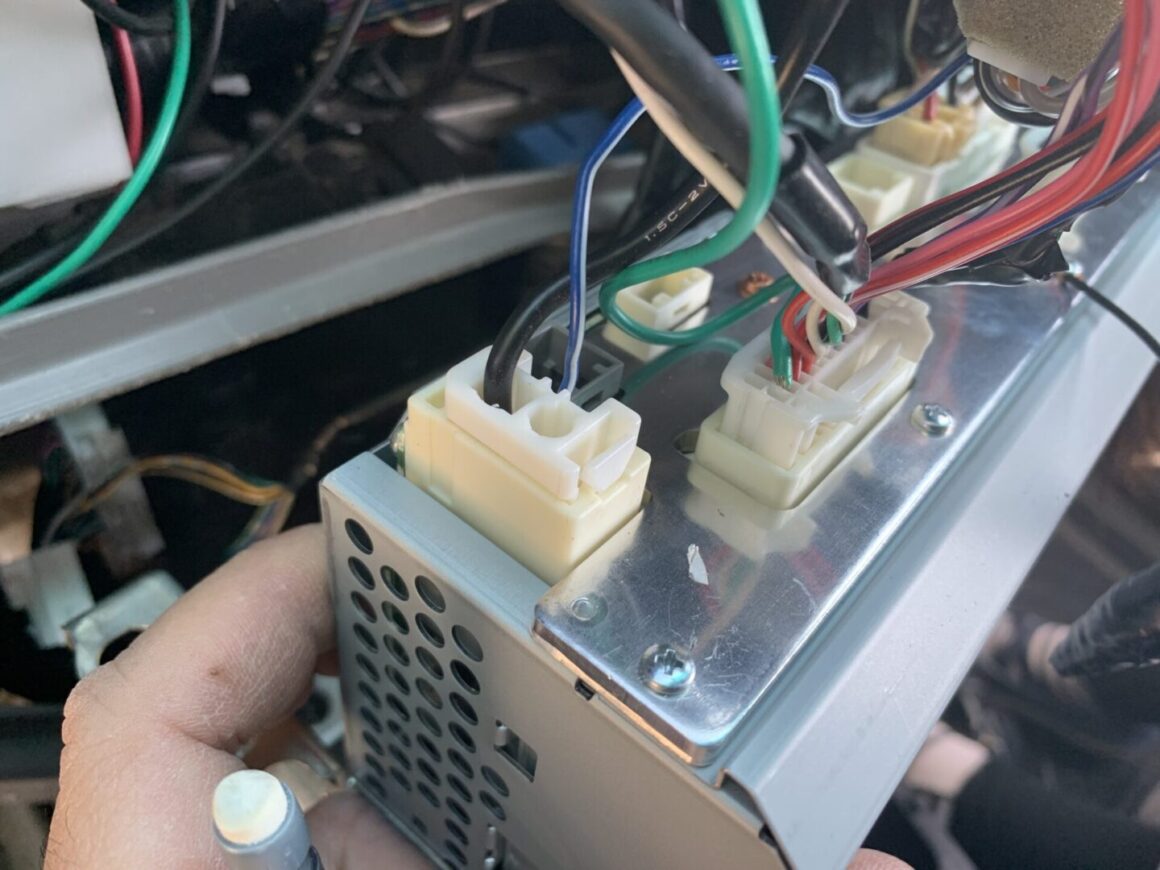
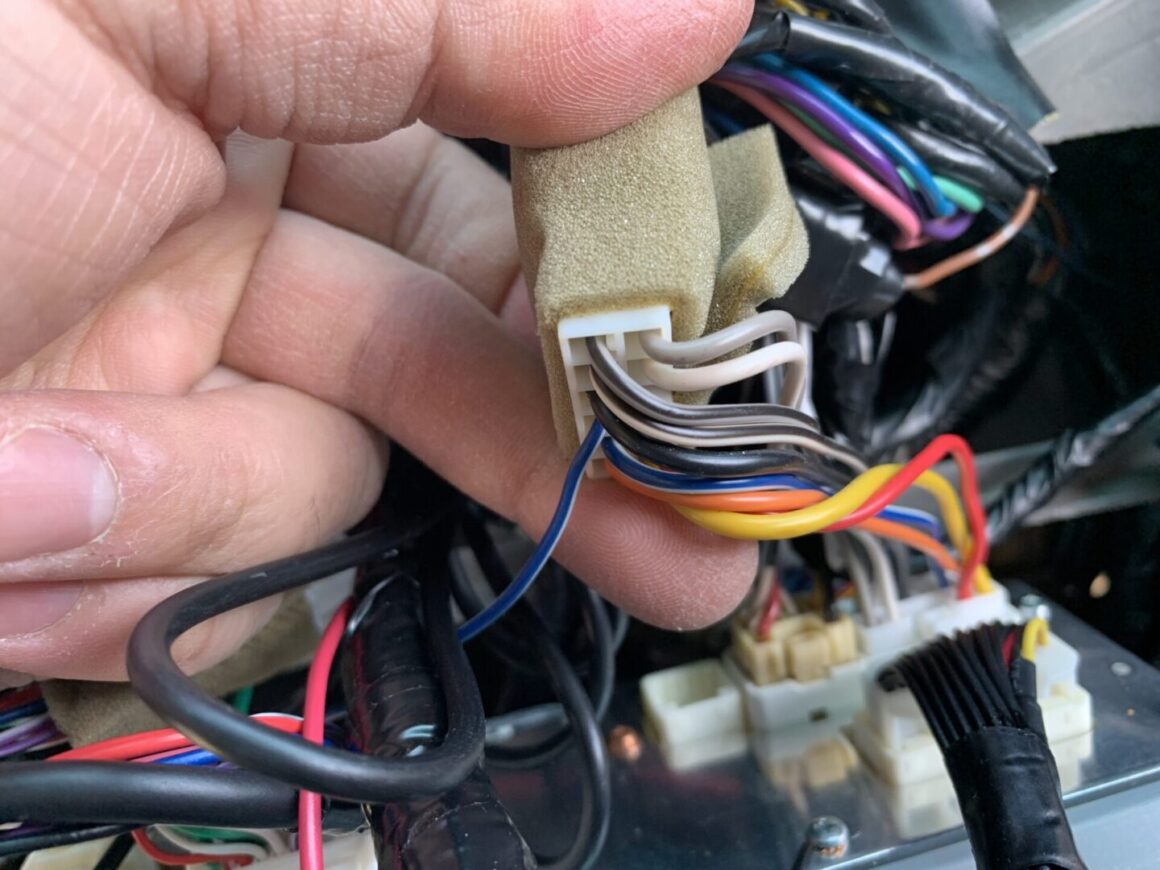
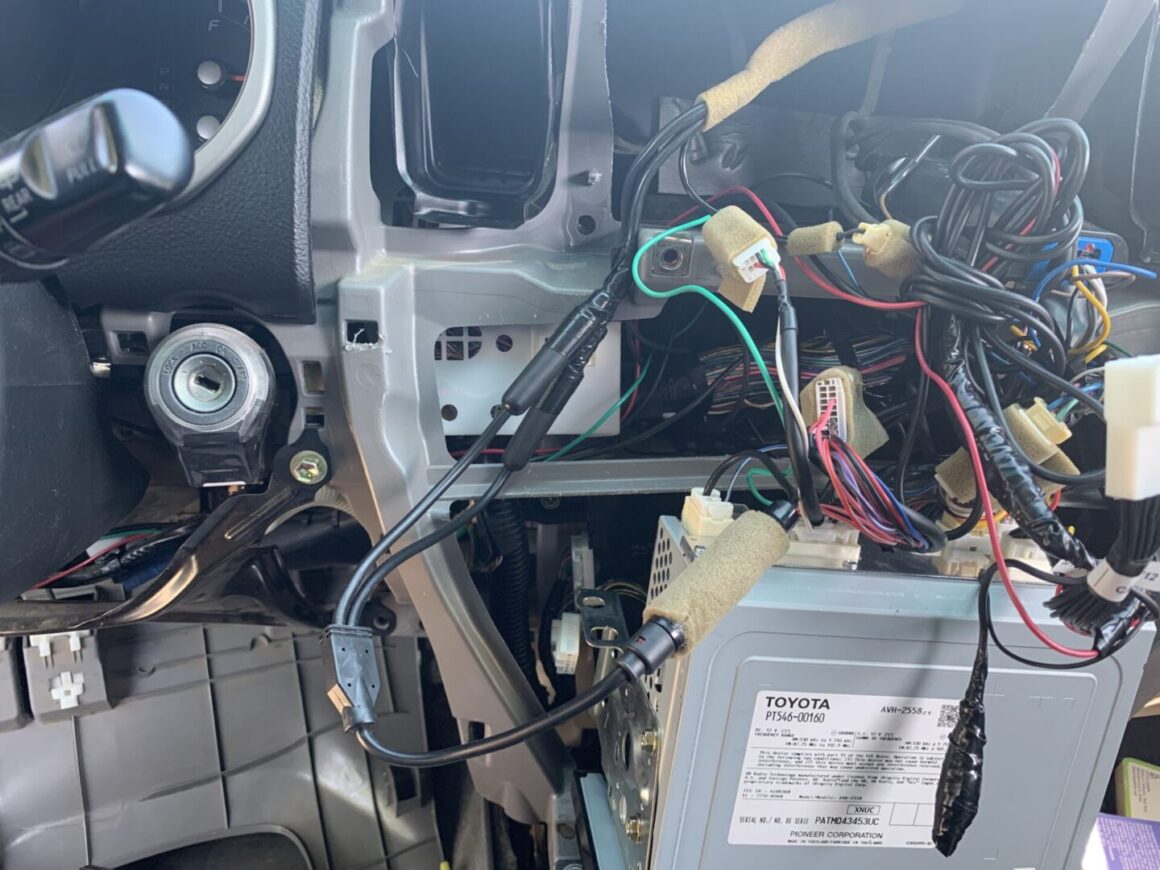
After connecting everything up to the new unit; take your time with the connections. I ended up not using the USB connector in the end because I didn’t have a use for it. Also the USB connector is not a direct attachment to a blank switch location; FYI if you desire to wire it up that way, it will take a bit more work to make that possible.
Here are some installation photos, but the best reference is the wiring diagram I made earlier in the post. You can match up the pins on the connectors, so that helps mating up the matching connectors.
Notes on Subwoofer and Line Out Converter
I added in the line-out converter that includes a remote turn-on wire. This is mainly needed for the two analog cables that come from my subwoofer. It converts the analog signal to a digital one, which is needed for the Scion T10017 unit. Make sure to follow the instructions with your line-out converter as it provides details on how to splice the power wires into your existing speaker wires to get power.
The option for remote wire turn-on with this LOC (line-out converter) can be used to power on the unit when the ignition is switched on. Unfortunately, the subwoofer will still have that loud thump/pop when your turn on the ignition. If you hook up the remote turn-on wire using this unit (or hook up the power for your head unit directly to the ignition wire), the line-out converter will get its power whenever the key is turned to the ignition position. I found no way around this to get the sub to turn on only when the head unit turned on, unless you used an aftermarket head unit that actually has a connection for a remote wire turn-on. However you decide to power your sub, ensure power is off when the car is in the off position to avoid a constant electrical drain leading to a dead battery.
About the Microphone and Antenna
I installed the microphone kit and ran the wiring through the center console to the steering wheel area. This is one part that disappointed me. I expected something that is marketed as a microphone kit would sound really good compared to the aftermarket ones you can buy for cheap. Unfortunately after testing out a few calls, I came to the conclusion that my phone calls sounded about the same to the person on the other end of the call as if I were talking on speaker phone. Expect the person you’re calling to hear a ton of road noise along with your voice, especially if you are driving on the freeway. But it still does work to get me hands-free while driving; and it works better if you are talking during non-highway driving.
The 4Runner antenna from the factory comes with two wires, one smaller and one larger. I found a 2-to-1 adapter that connected the two Toyota factory antenna wires to one, which then connected to the antenna connector. I have read that your antenna will still work perfectly fine if you taped off the smaller one and hooked up only the larger antenna wire, but I can’t confirm this. If you want to be safe, you can always look for that adapter like I did.
I’m constantly attaching the microphone to areas nearby my steering wheel to get the best possible position in order to pick up my voice. It currently sits right behind my steering wheel on the steering column.
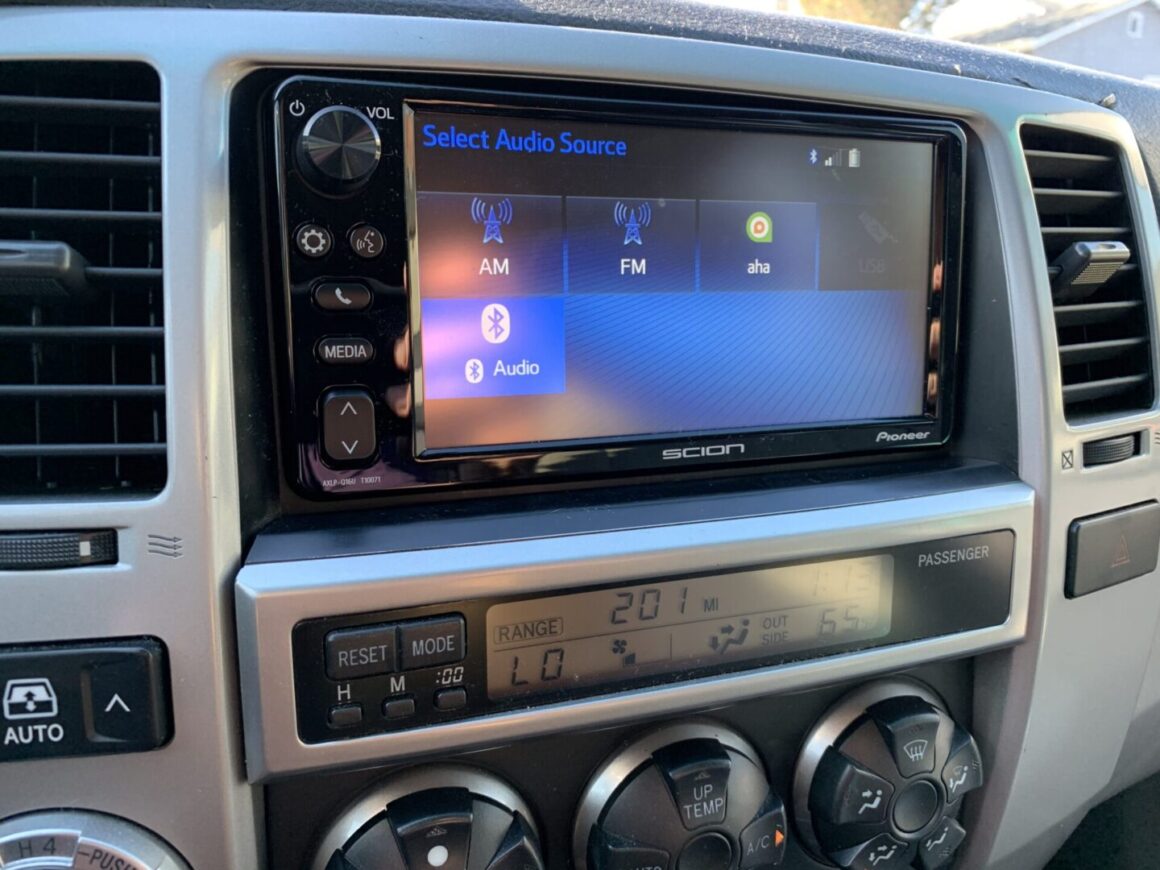
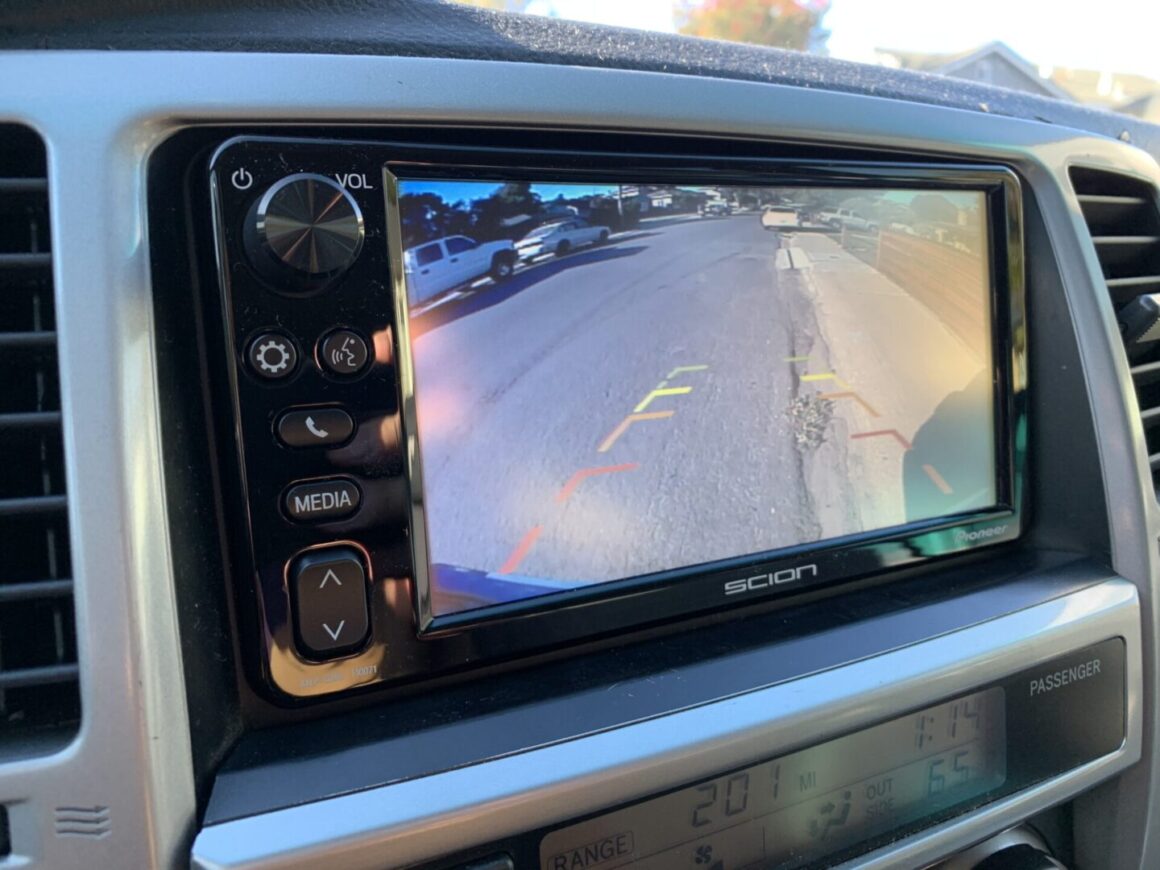
My favorite Scion head unit in the 4th generation 4Runner is the T10015. The T10017 is a close second, but mainly because it does not have the matching ambient lighting color as the rest of the OEM amber interior lights. In terms of capability, it does pretty much everything that the T10015 does.
The unit is technically plug-and-play, but that is of course with the additional wiring harnesses and connectors as mentioned in this post. If you have additional accessories like the backup camera, subwoofer, etc, you may need to do some further splicing to the existing system to make it work.
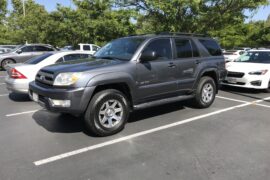
I’m pretty happy with the T10017 head unit in my ’03 Toyota 4Runner: it sounds great, hooks up to my subwoofer, allows me to output my backup camera to the screen, plays music from my iPhone via Bluetooth, handles Bluetooth phone calls, and looks great (minus the white button lighting versus the OEM amber interior lighting). I just want to reiterate there is one issue with the bluetooth connection to my phone, which I’ve provided an update on at the very top of this post.


8 Comments
Thanks for these writes ups. One of the questions I have, is that I already have an aftermarket camera installed ( https://www.amazon.com/gp/product/B07DGS11CM ) Any idea if I can just plug this video feed in? The camera is wired into rear parking light
I don’t think it will work for a couple of reasons. One, the backup camera in the link is powered by 12 volts (as is with many of these types of backup cameras). The Scion head unit sends out 6 volts power, so the voltage is incompatible. The other thing is that the Scion head unit works in a very particular way in that it sends out a power signal at startup and looks for a return signal from the backup camera. It then activates the backup feature if it senses this return signal at startup whenever the car is shifted to reverse.
You mentioned that the camera you have is wired into the rear parking light. I am assuming you mean the reverse light? That way it is activating when you shift into reverse and subsequently the reverse light receives power? Anyway, these two systems are incompatible and therefore to my knowledge will not work. If you want more info on how the Scion head unit and backup camera works together, I wrote a post about my Rydeen backup camera which is powered by 6 volts rather than 12:
https://thetrackahead.com/projects/rydeen-backup-camera-install-2003-toyota-4runner/
Hi Scott, first of all great thx for the thread. huge help. my question is, is there no option to change the blue background light to amber via hidden menu like it was the case with the T1809 where u had to push the menu button for a few seconds while ignition was on and the hu off?
I honestly have never tried it and I wish I still had mine so I could try. I tried looking online to see if changing the color was possible, but never found anything.
I recently went back to the T10015 because I wanted to have that matching amber color. If you ever do find out if this works, let me know… I’m really curious.
Hi Scott,
Do you by chance remember what the AVC-LAN cable from the 4Runner does?
Mine has the connection and there are only three cables in there (green, yellow, pink; some with white dots).
Thanks!
Hi Stefan,
I never used it as I didn’t have the connector for it. From what I’ve read online, it’s used for communication control for audio functions of the whole system.
Just picked up a 2007 Toyota 4Runner SR5 without JBL. I’ve been looking into upgrading the stock headunit with the Scion TC mentioned (probably the T10015). How has the radio and the backup camera been holding up? I’ve been trying to look for a backup camera that is powered by 6V that has high resolution with backup lines and swerving lines.
I think the T10015 was my favorite and it worked the best with the Rydeen backup camera (https://thetrackahead.com/projects/4th-gen-toyota-4runner/rydeen-backup-camera-install-4th-gen-toyota-4runner/). I did upgrade to the T10017 later on, but it had some Bluetooth connection issues that I never figured out. And unfortunately my 4Runner got totaled years back, but up until the end the whole setup was working just fine. I would definitely prefer the look and functionality of the T10015 over the T10017. Best of luck!