When you make purchases through links on this site, The Track Ahead may earn an affiliate commission. Also, these posts are based off my own experiences. I am not responsible for any action you take as a result of reading this. Learn More
Frozen Touch Screen
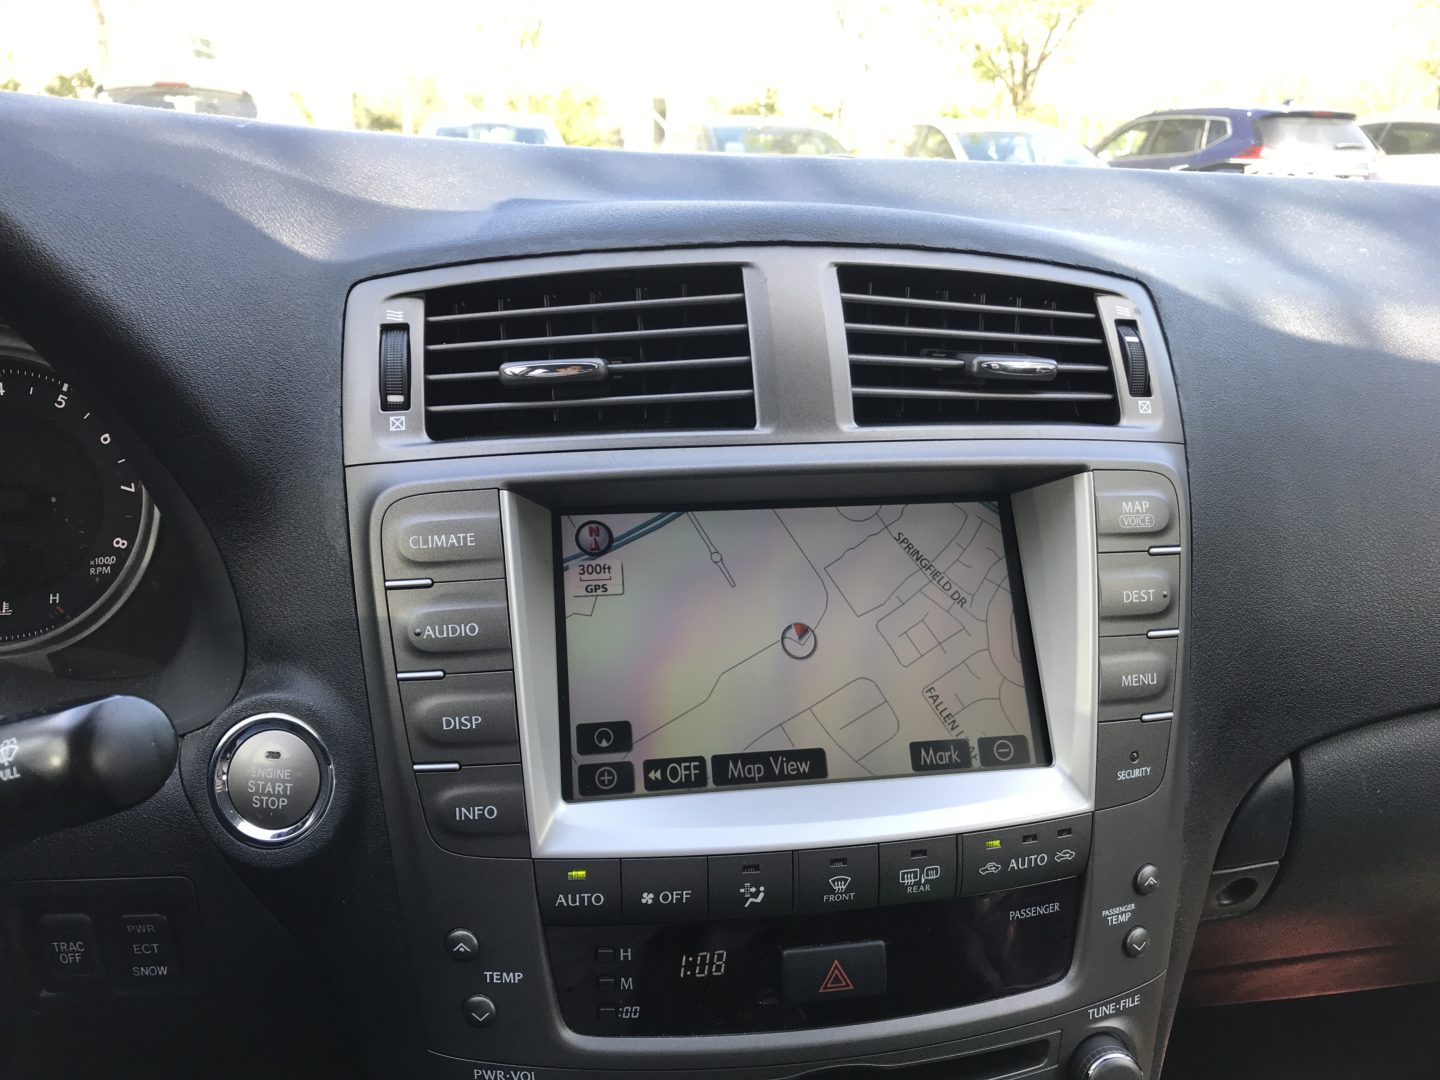
Suddenly, the touch screen in your Lexus IS doesn’t work. It looks like it’s frozen; the physical buttons work, but the touch screen won’t register the touch of your finger. If you’re like me, you then proceeded through the following list of steps:
- Do a quick search on the online forums to hopefully find an easy fix to the issue.
- Find out that this is a common problem and that it’s not going to be as easy as I think.
- Find videos online and tutorials about how to remove the touch screen and repair the contacts for the touch screen digitizer using a conductive ink pen.
- Either have this repair fail, or realize that this is only a bandaid leaving the repair open to fail again in the future.
- Replace the entire digitizer and fix the problem once-and-for-all.
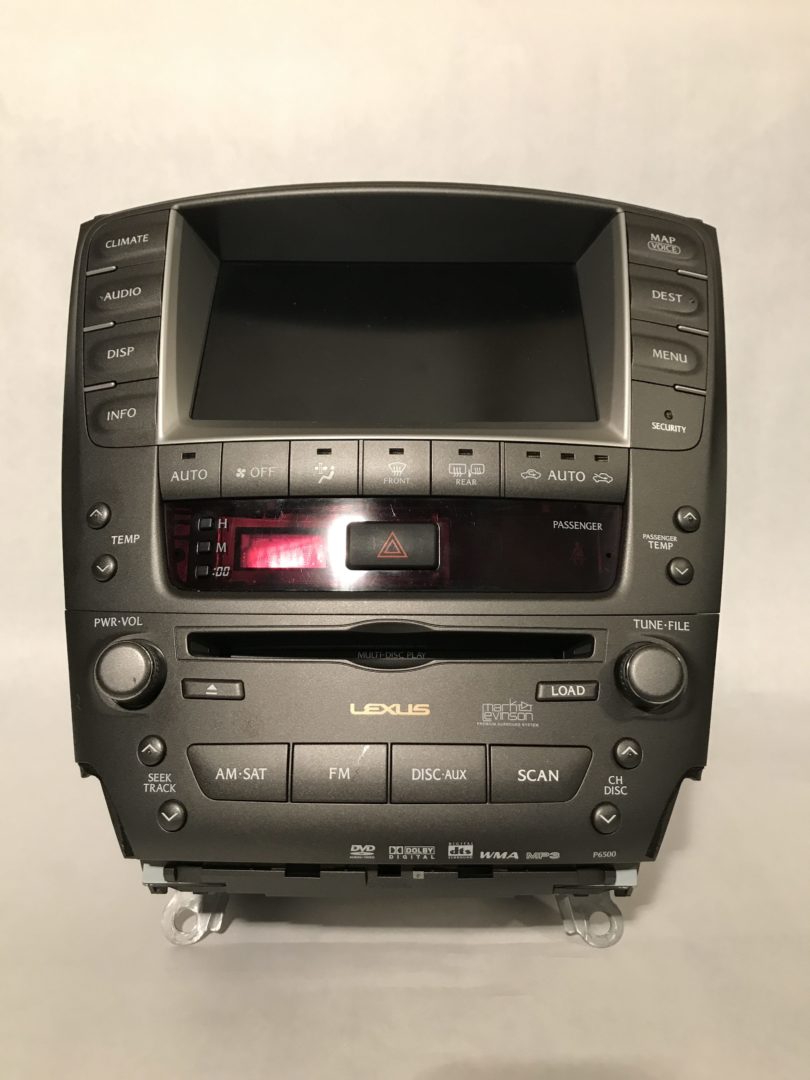
For those of you with a working touch screen, the caution screen below is just a nagging screen that goes away after pressing “I Agree” every time you start your car. For those of us whose touch screen is frozen, this screen is the most annoying thing to look at because you can’t press “I Agree” in order to close the screen.

Materials Needed for Digitizer Replacement
I used all of the items below when I replaced the digitizer on my Lexus IS350. Not all will be an absolute requirement, but they will make the job a lot easier than without.
Digitizer
The digitizer is the part that needs to be replaced. This is a transparent sheet that sits on top of the actual LCD screen. The digitizer essentially takes analog signals (your touch, swipe, etc.) and converts it into a digital signal. This digital signal is transferred from the digitizer, through the data ribbon cable, to the head unit.
I wasn’t able to find an option for an OEM digitizer, as I’ve found the only way to get a new one is to purchase the entire head unit with the digitizer included. But why spend hundreds of dollars for a used unit, when you can purchase the digitizer itself for about $20. This would be an aftermarket unit, but from my experience it is well worth it.
The exact digitizer I purchased below is from user 832901shu on eBay.com for about $20. It looks like the digitizer is no longer be sold by this seller, but there are plenty more on Ebay. If you want to shop around for other digitizers, here are the search results for some other digitizers on eBay. Also, this digitizer seems to be a better quality digitizer at a slightly higher cost, but less likely to have a rainbow effect.

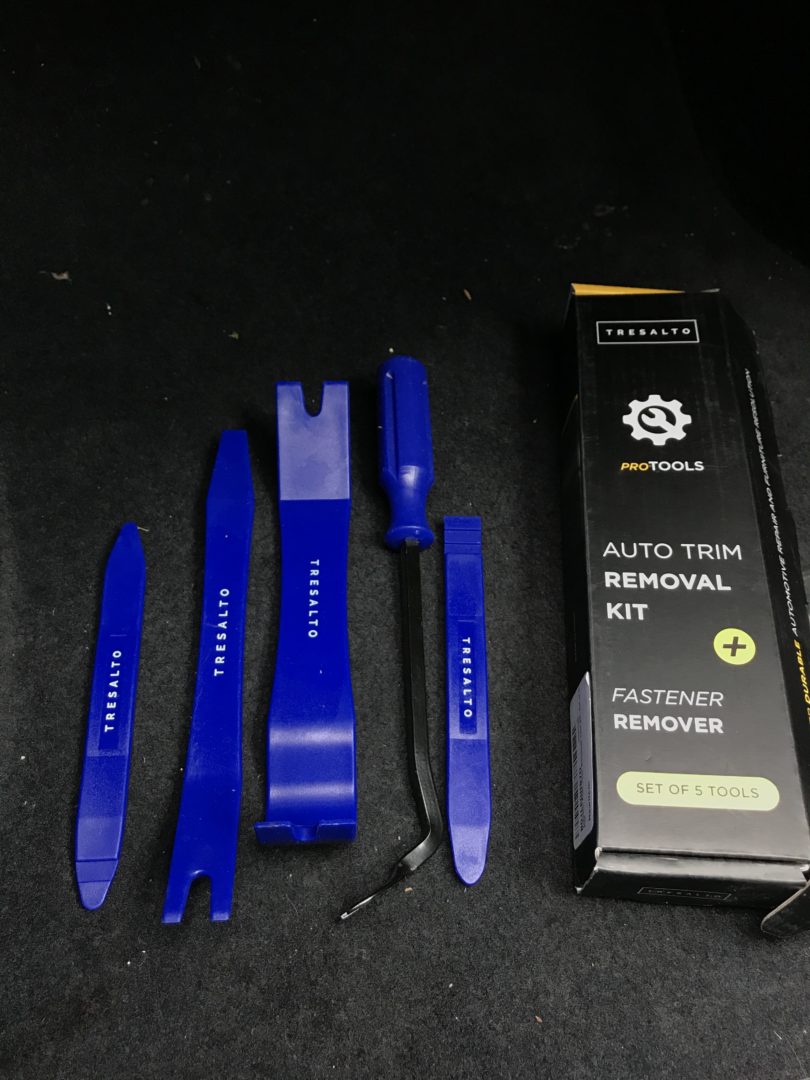
Auto Trim Removal Kit
After many years of using a flat head screwdriver with blue tape wrapped around the end, I decided to spend the $10 to get an actual trim removal kit. This kit is made out of plastic and helps protect the trim that you remove. Totally worth the money.
Tresalto Auto Trim Removal Kit on Amazon.com
Multimeter
This should be a staple in the average mechanic’s toolkit. In this particular case, you’ll be using it to test the existing and new digitizer. By checking the resistance between contacts on the digitizer data ribbon, you can tell whether there is a proper connection or not.
Multimeter Search Results on Amazon.com
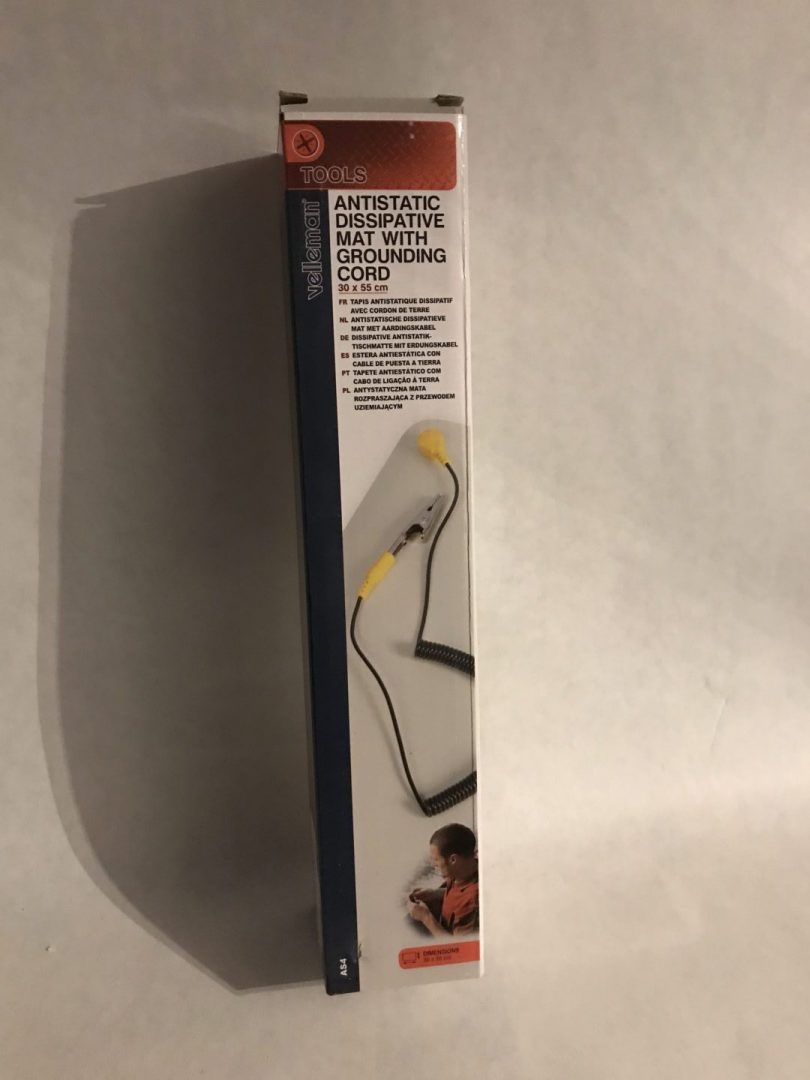
Anti Static Mat
This is key in preventing electrical shorts in sensitive electronics. Being that we’re dealing with an expensive Lexus navigation head unit, this is inexpensive insurance. The mat has a ground cable that can be used to redirect any surges directly to ground. Easy purchase through Amazon, but if you want to save a couple dollars, you can go through eBay.
Anti Static Mat Search Results on Amazon.com
Anti Static Mat Search Results on eBay.com
Heat Gun
The heat gun is useful for removing the existing digitizer. Heat needs to be applied to the edges so that the adhesive softens and allows the digitizer to be pulled away from the lcd screen. A heat gun tends to be a lot safer than using a blow dryer because it applies the heat at a lower temperature and ensures more even distribution of the heat to the vulnerable electronics.
Heat Gun Search Results on Amazon.com

X-Acto Knife
Here’s something you probably already have. It will make it so much easier to deal with separating small parts and with more precision than a flat head screwdriver.
X-Acto Knife Search Results on Amazon.com
How to Fix a Broken Touchscreen
There isn’t anything terribly complicated about replacing the digitizer, but you just have to have the right tools and the patience. Take notes or take pictures to help you remember the steps involved in order to help you put everything back together properly.
Prior to removing anything on the car, I’d suggest disconnecting the negative battery terminal to prevent any shock to you and damage to your car’s electrical components. Here are the steps that I took to replace the digitizer on my 2006 Lexus IS350.
Removing the Trim
Here’s a link specifically addressing: how to remove the center console on a Lexus IS350.
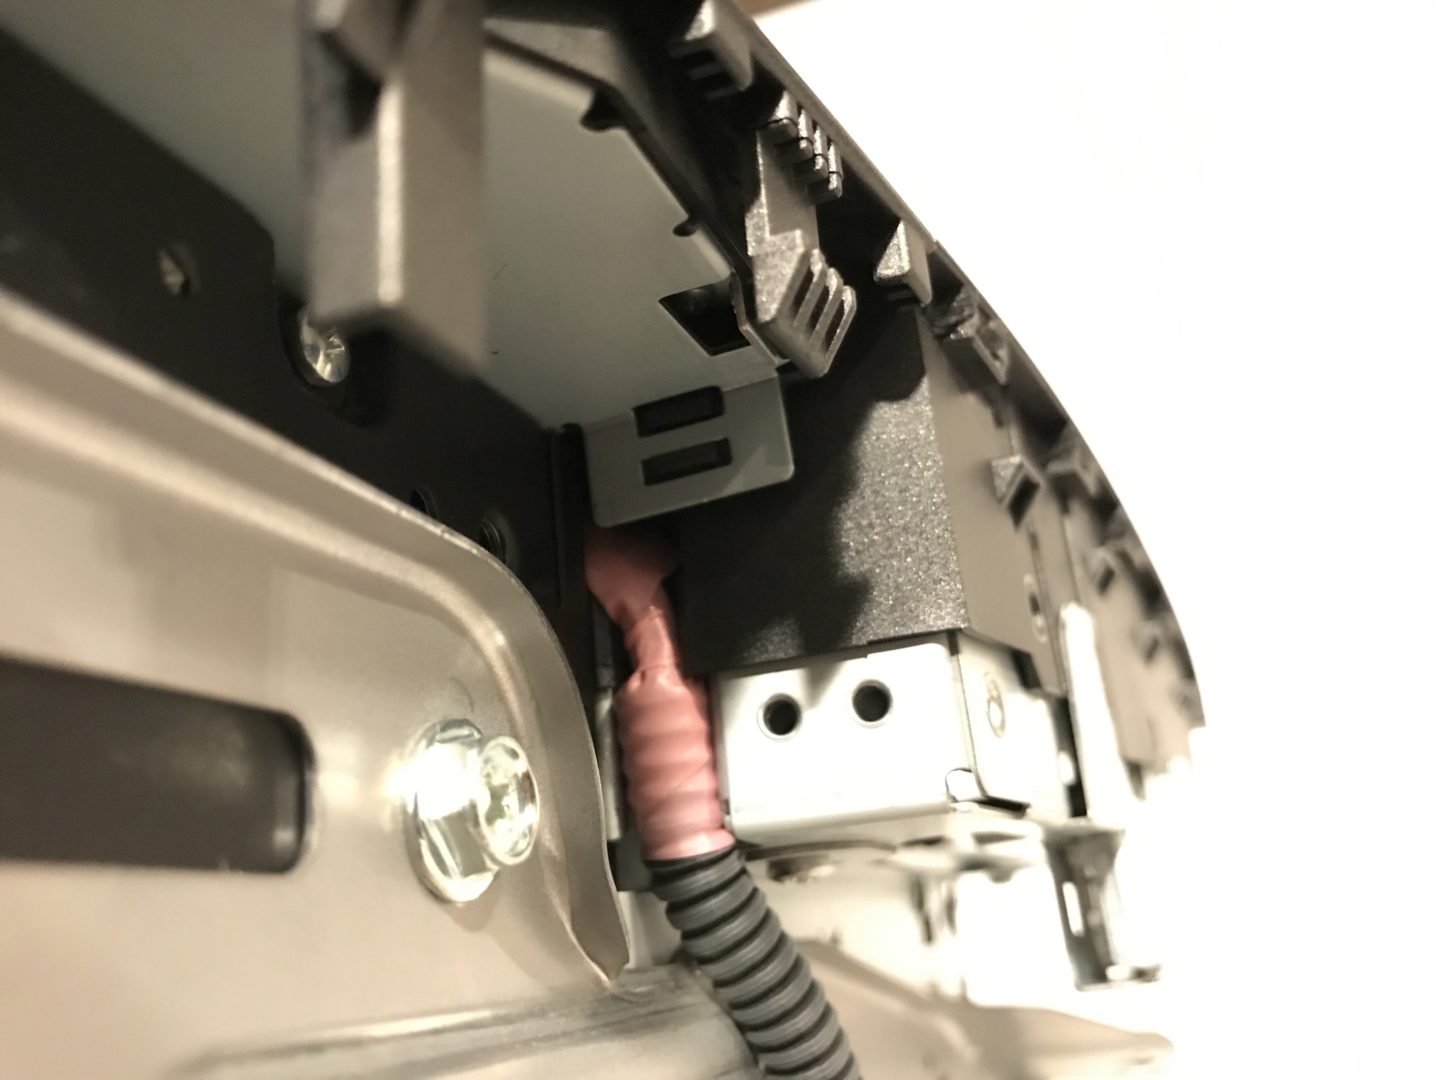
Disconnect all Connectors
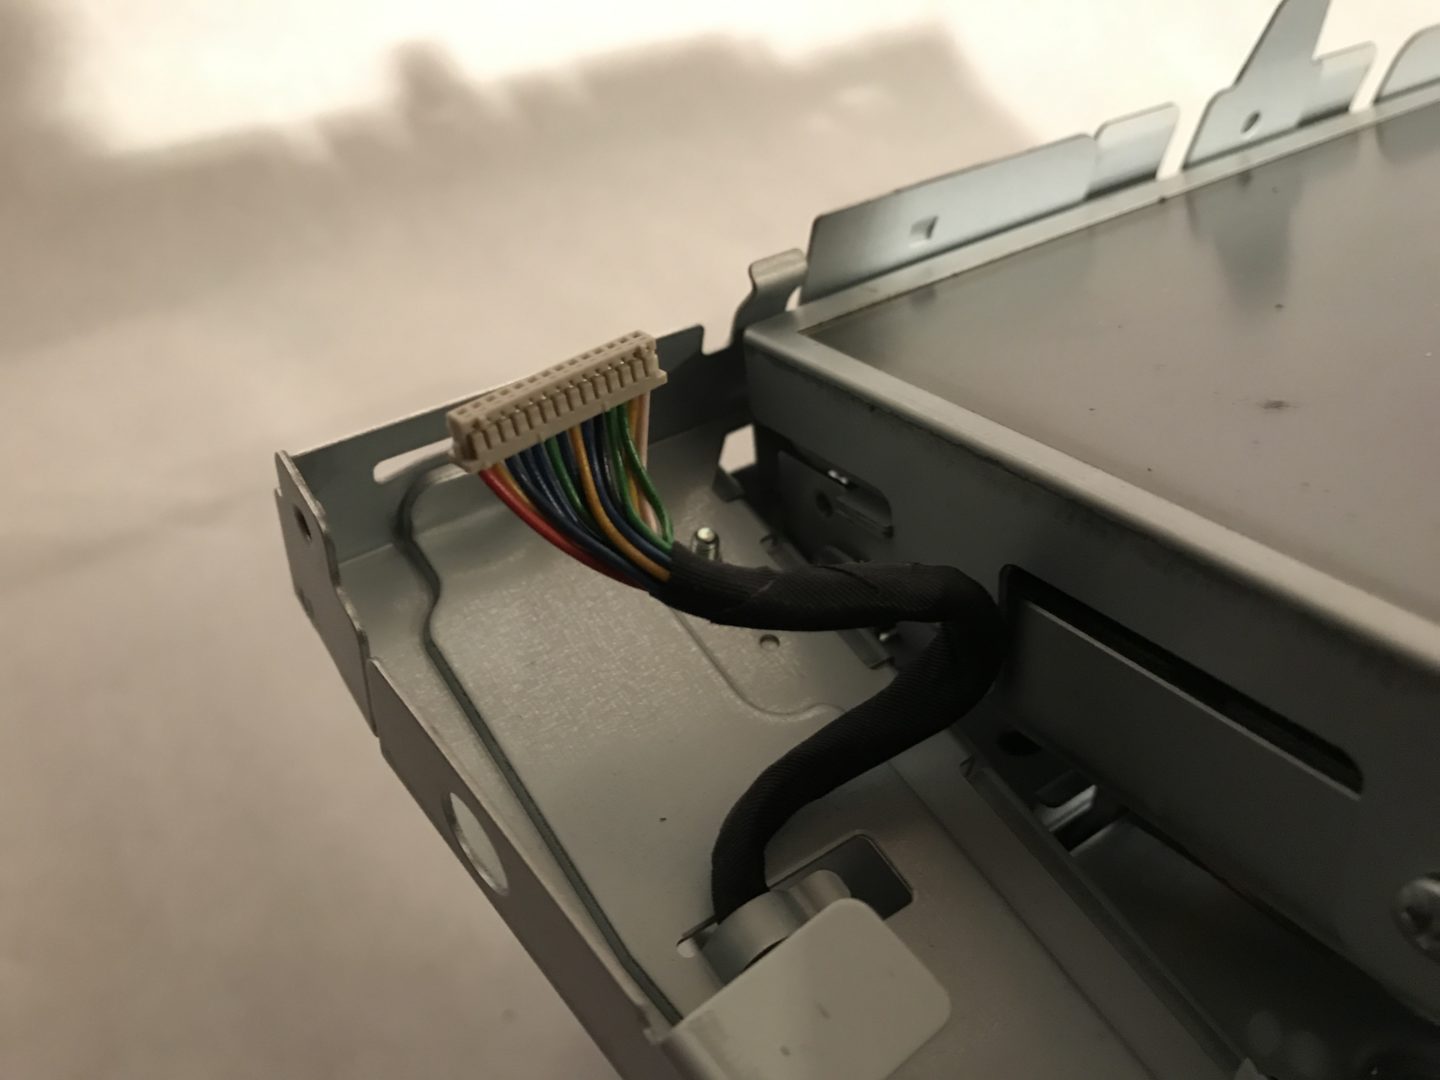
Begin removing all of the connectors that are holding the unit to the car.
All of these connectors are different, so keeping track of what goes where is not totally necessary. However, taking pictures (or using the photos on this page for reference) is a good way of remembering the order of removal. This makes it a lot easier when putting everything back together.
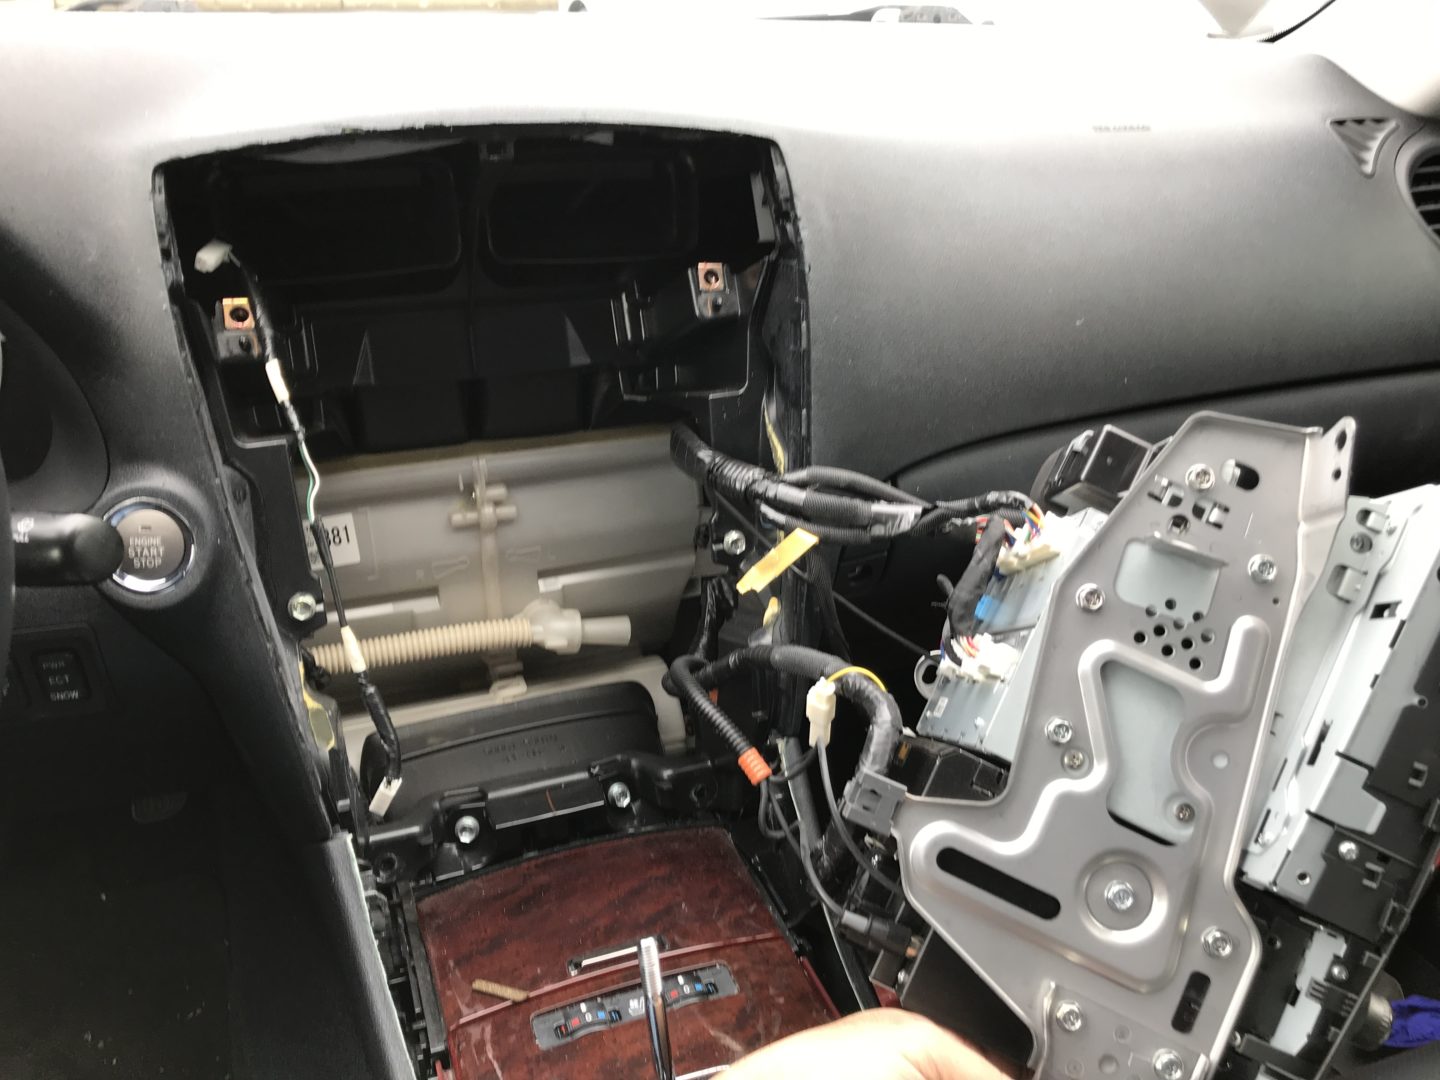
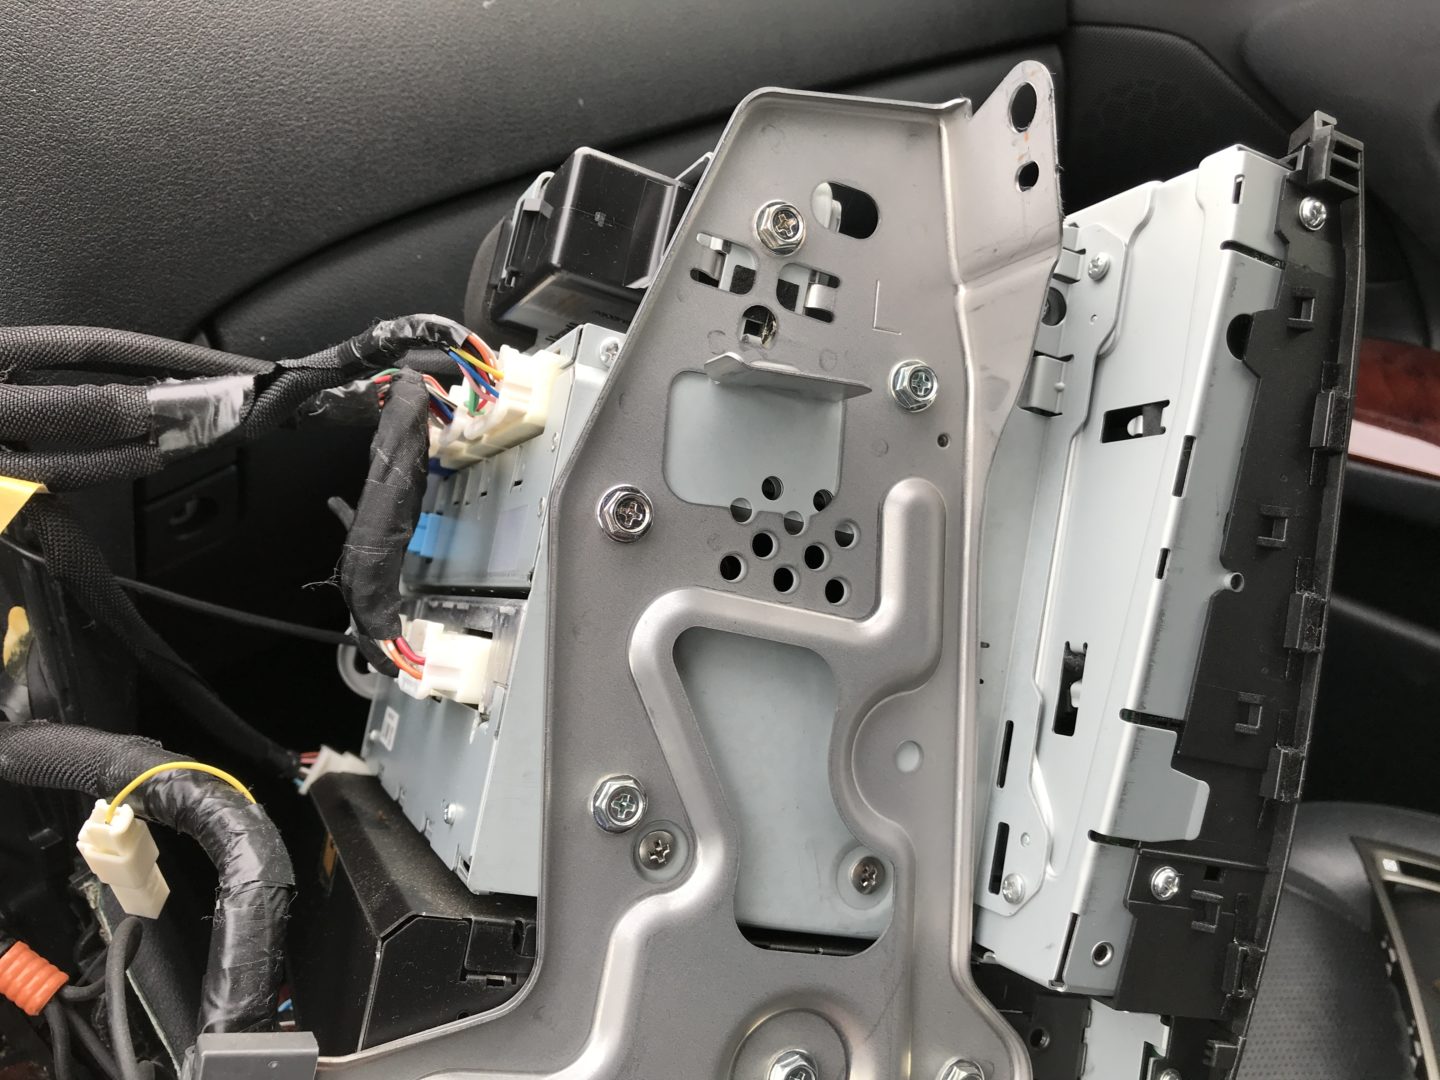
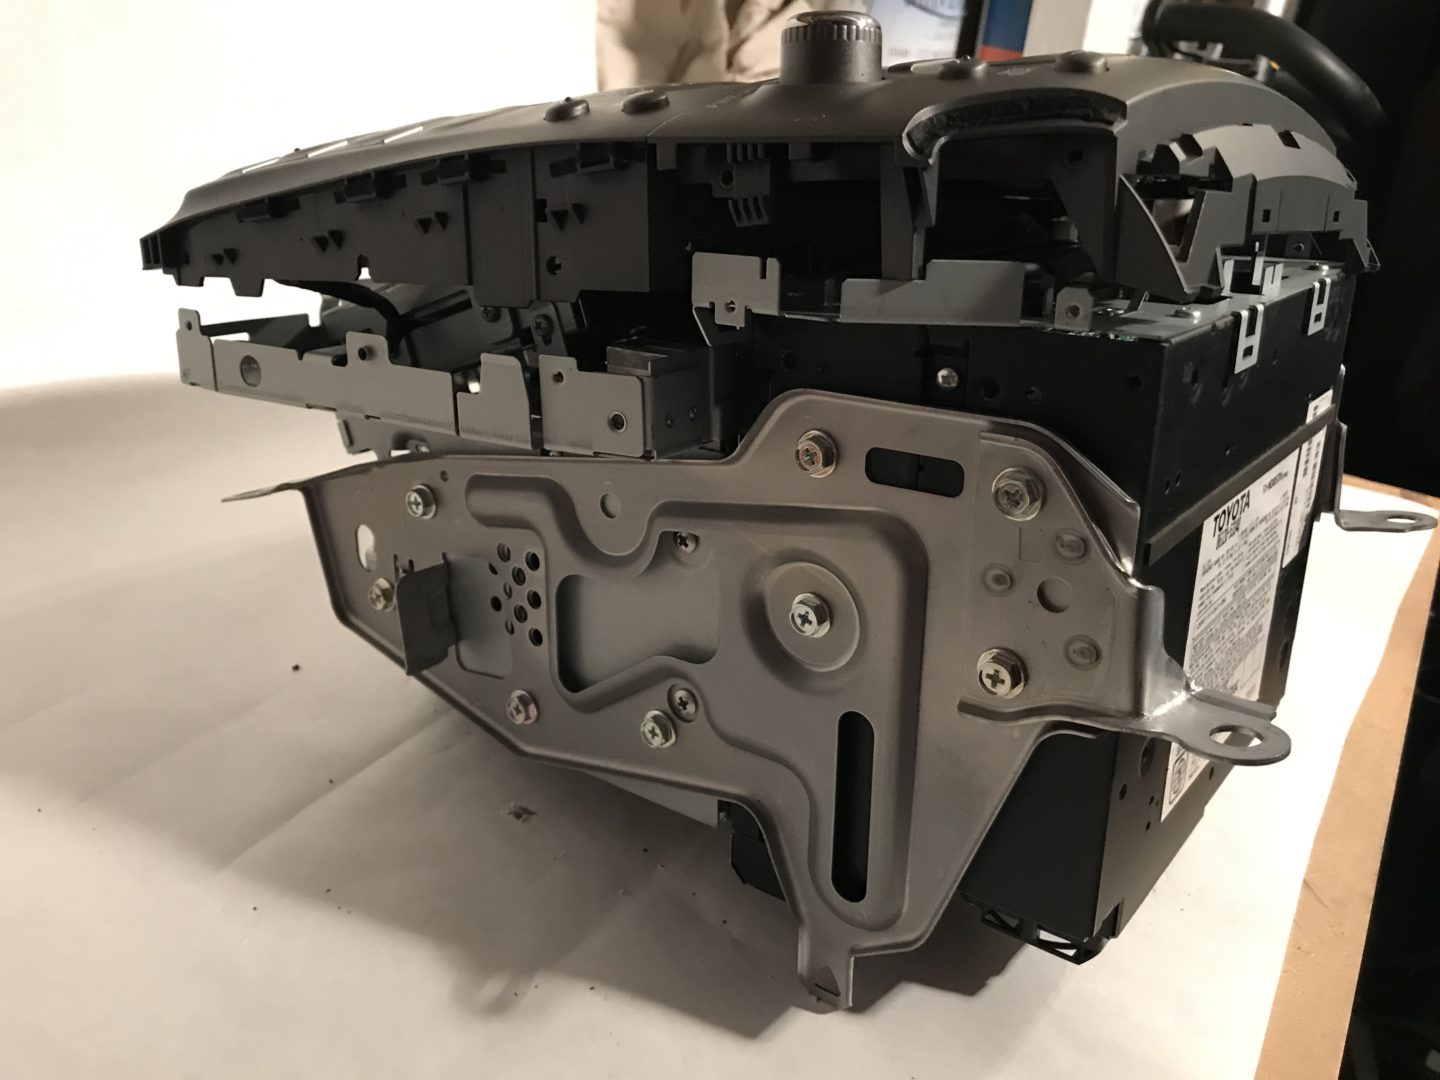
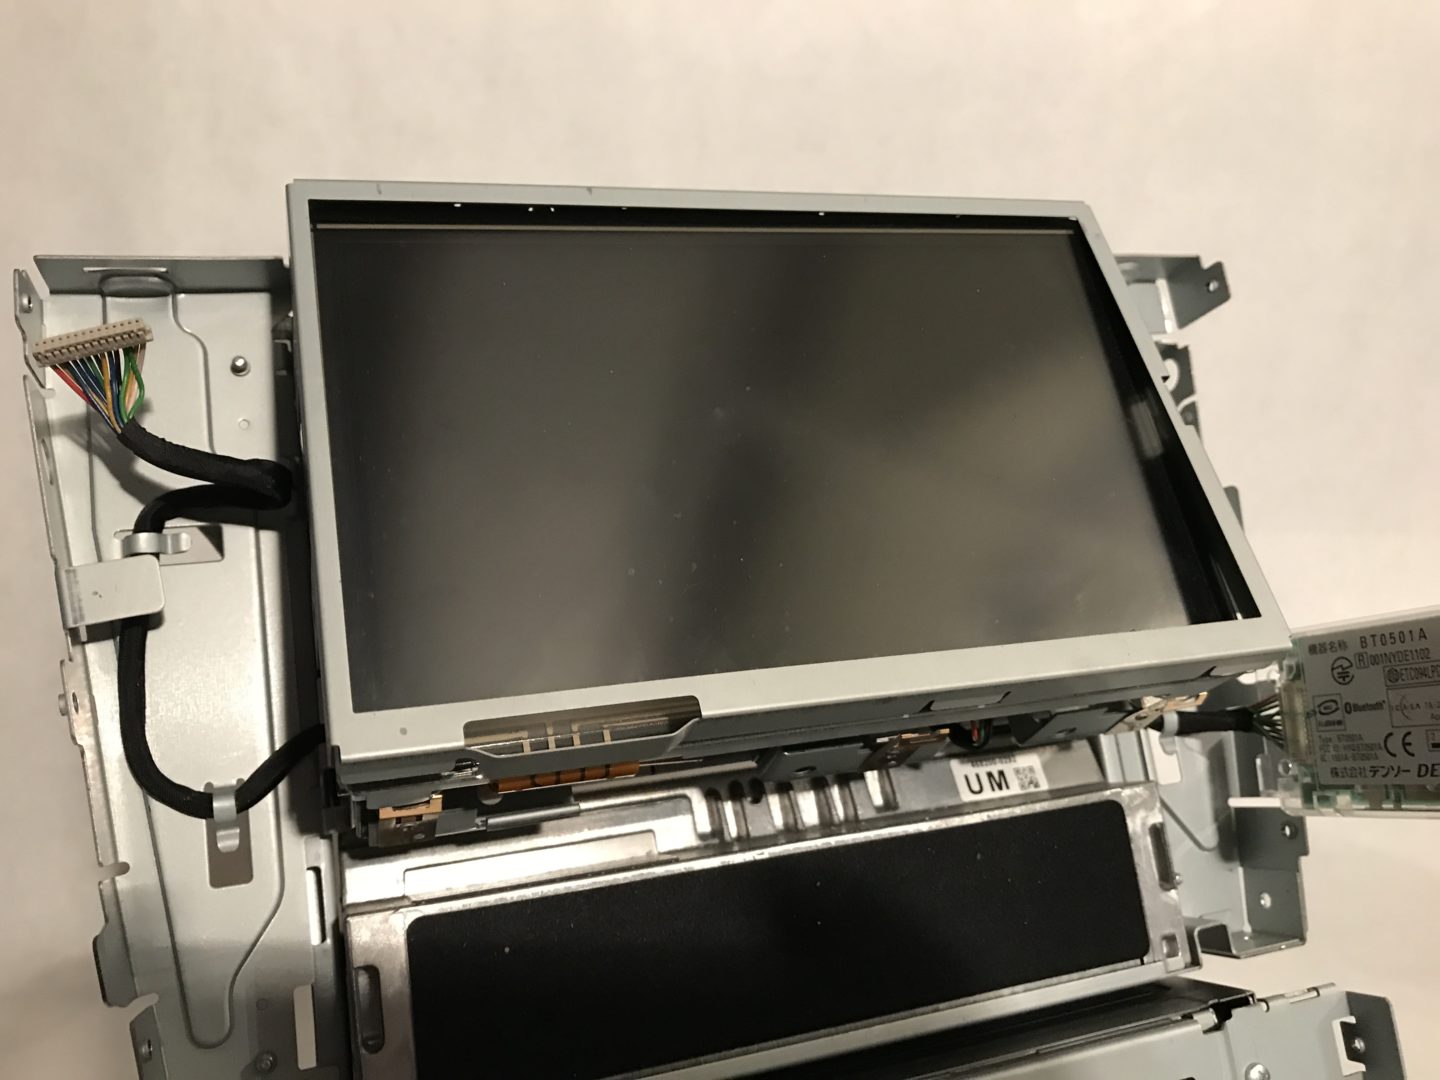
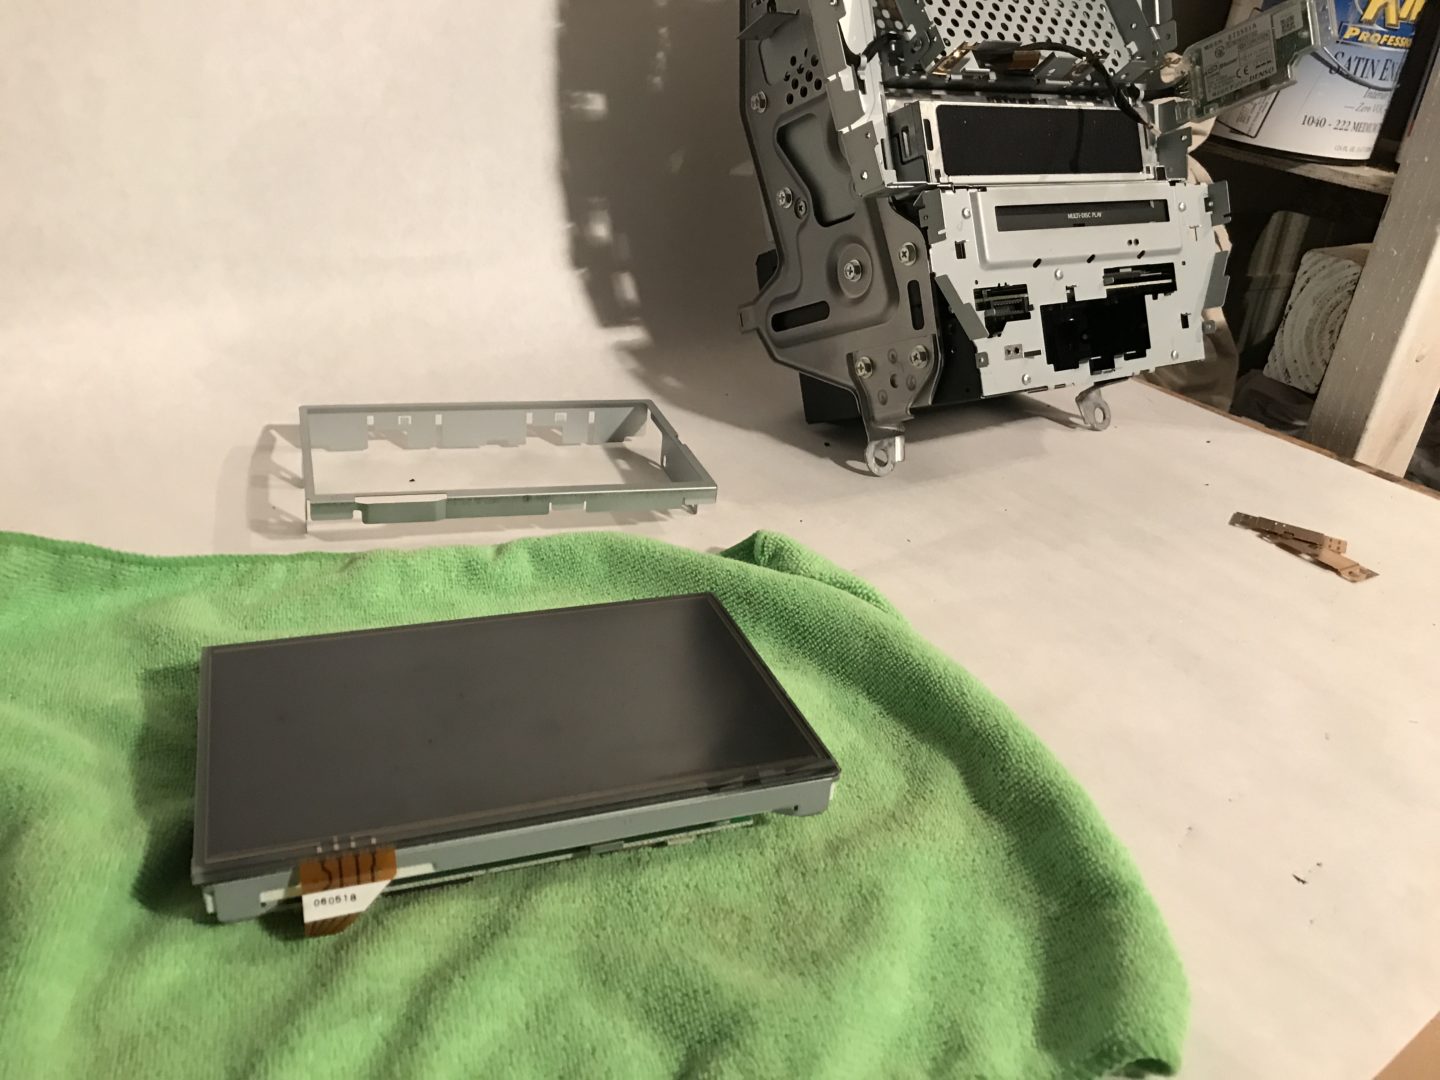
Here are some all around photos of the entire center console with all of the connectors removed for reference.

Removing Touchscreen from Center Console
Make sure to work on any electrical components on top of an anti-static mat to ensure that any electrical discharge is properly grounded and doesn’t damage any electrical components that’s being working on.
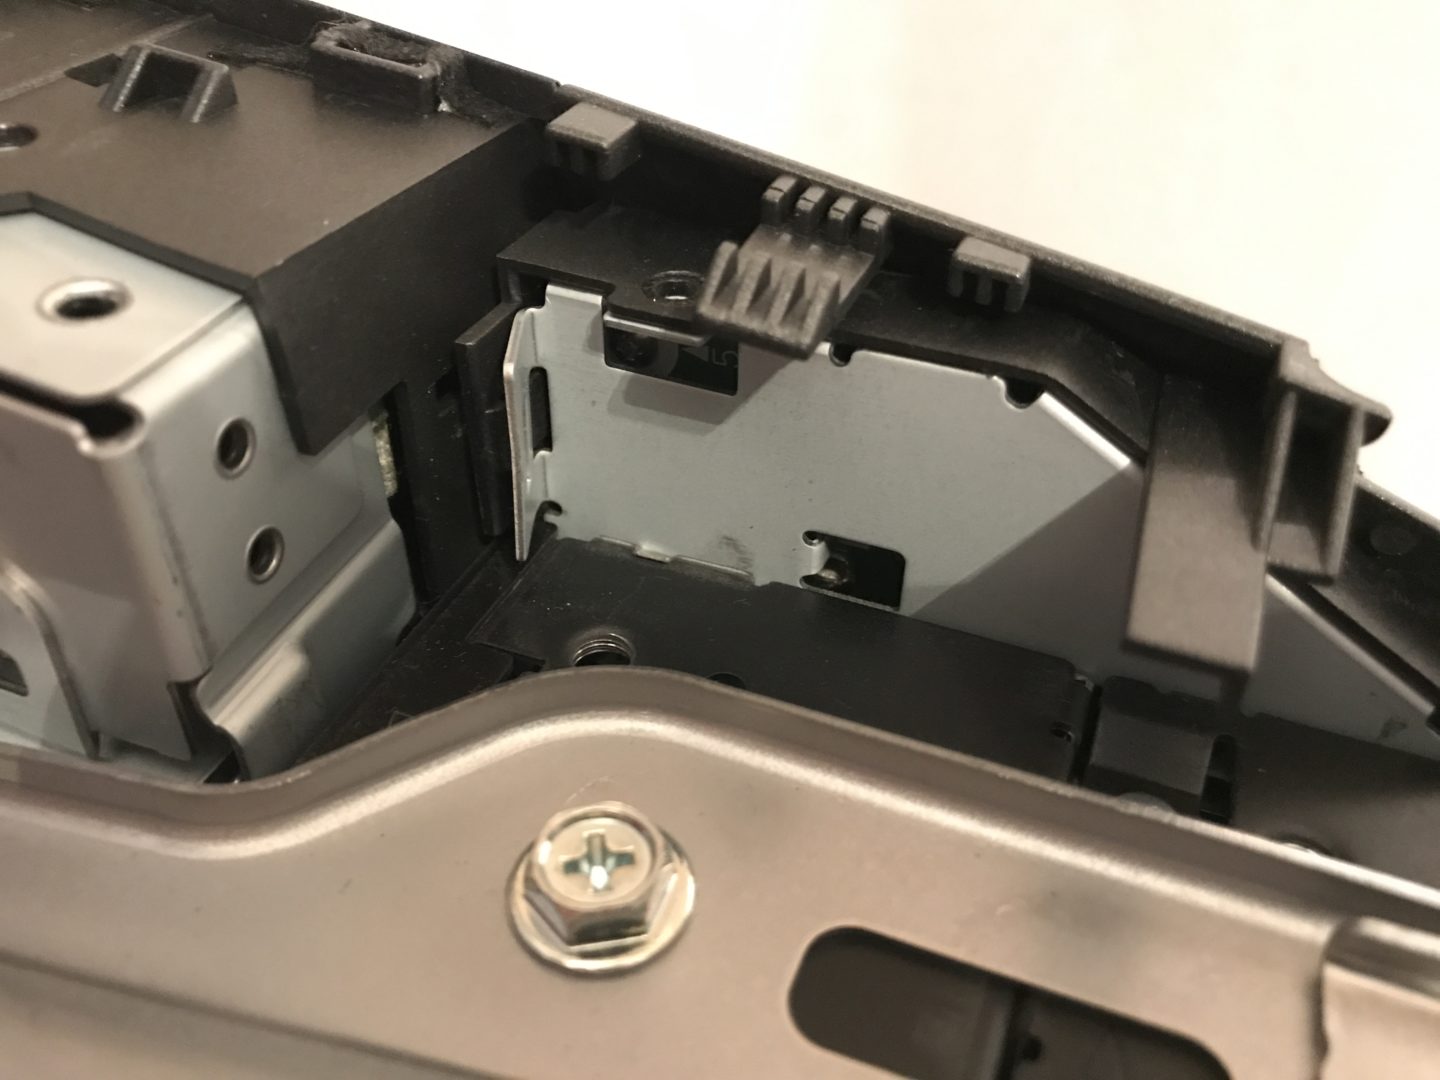
The front dark grey plastic fascia needs to be removed. Begin by removing the four Philips head screws that connect the front grey plastic fascia to the rest of the unit. There are two screws on each side of the unit. In the photo on the left below you can see the two screws on one side installed, and in the second photo on the right below you can see them removed.


Next, use a flat head screwdriver, release the two clips at the bottom of the unit.

A flat head screwdriver works well to pull the metal fins away from the black plastic clips.
After the metal fins are pulled away from the clips.
Now, you should be able to begin to pull the front fascia away from the entire unit.
Make sure to undo this connector as it will be keeping the fascia from being completely removed.

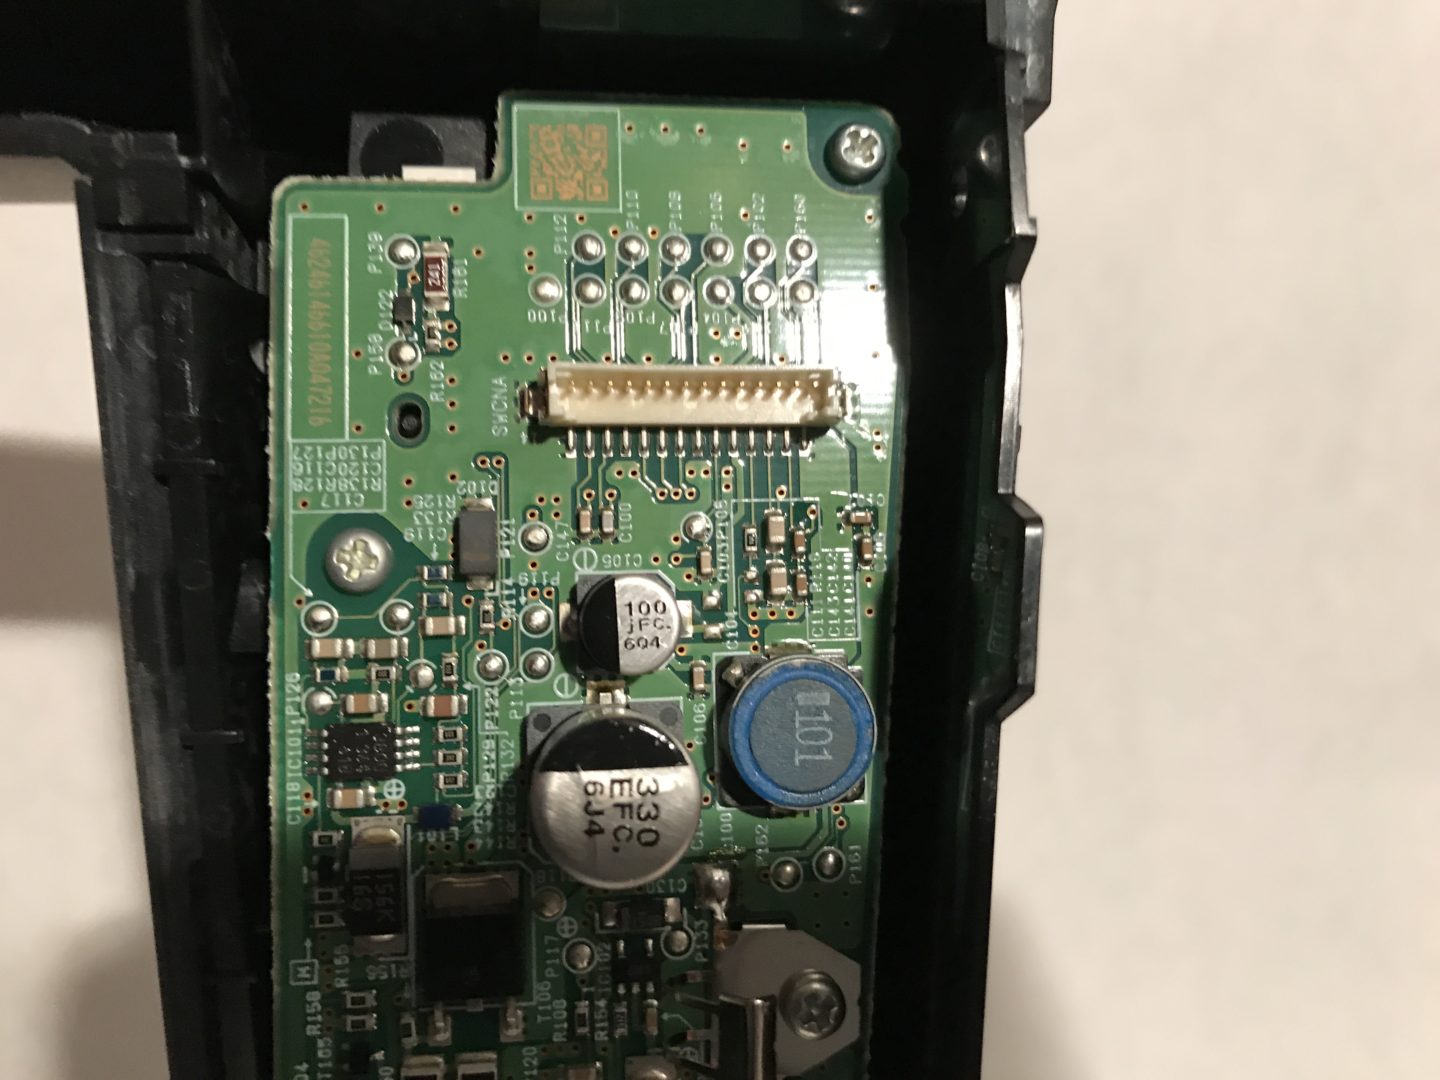
And lastly, remove this connector from the circuit board under the fascia.
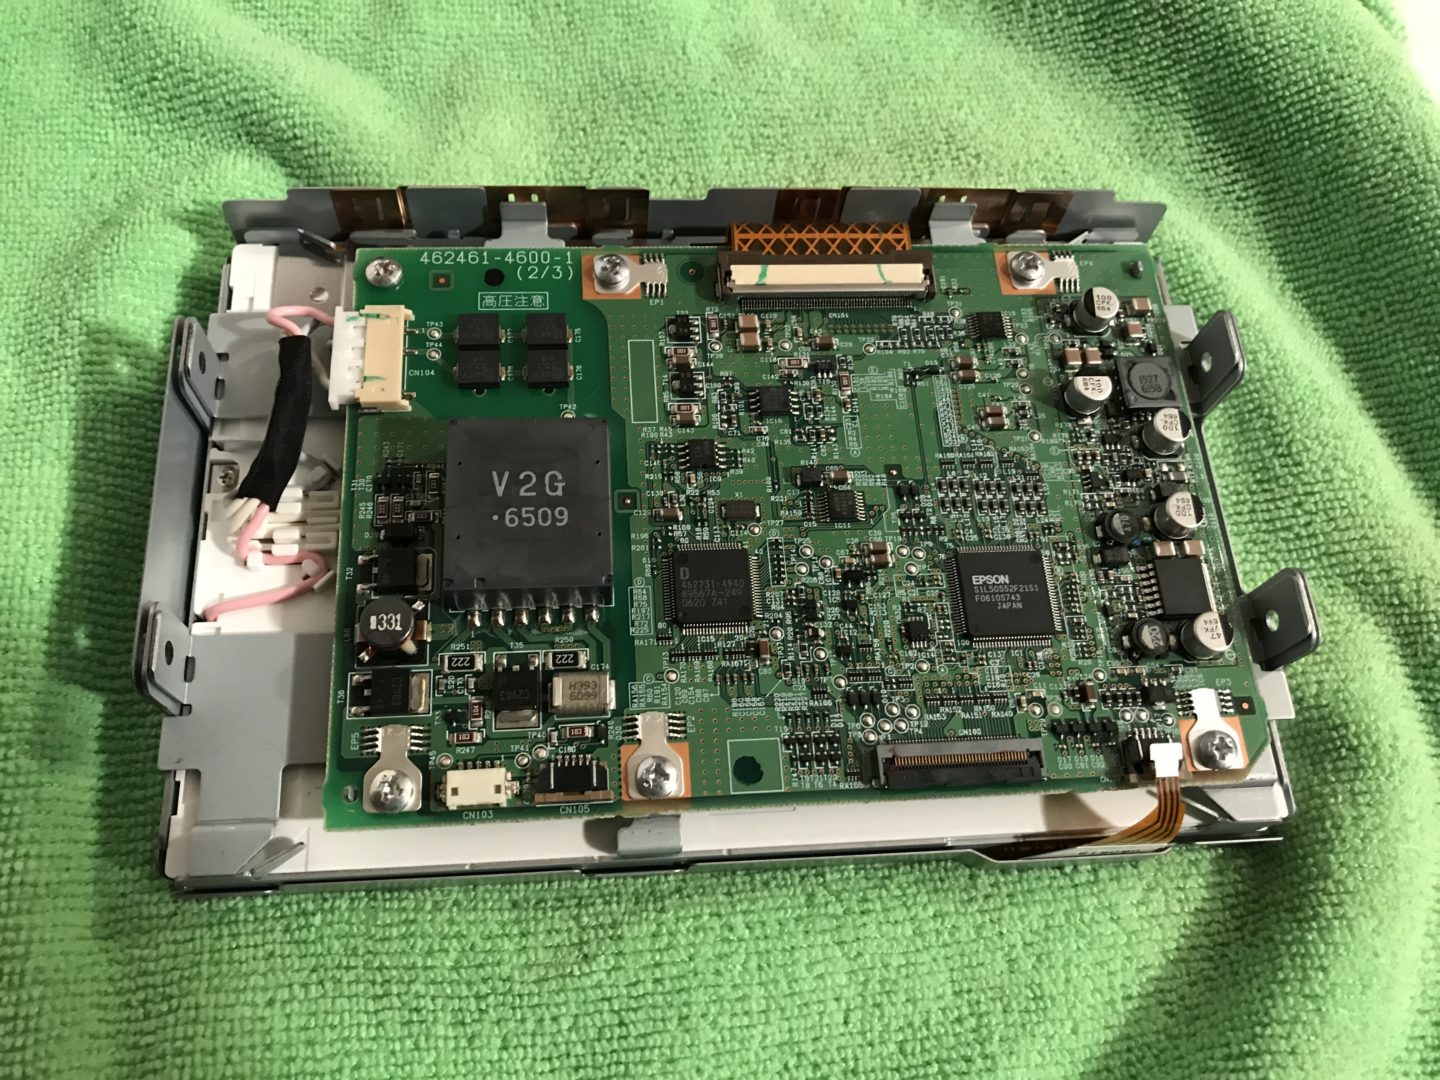
This is the circuit board located on the back of the fascia piece that the above connector is removed from.
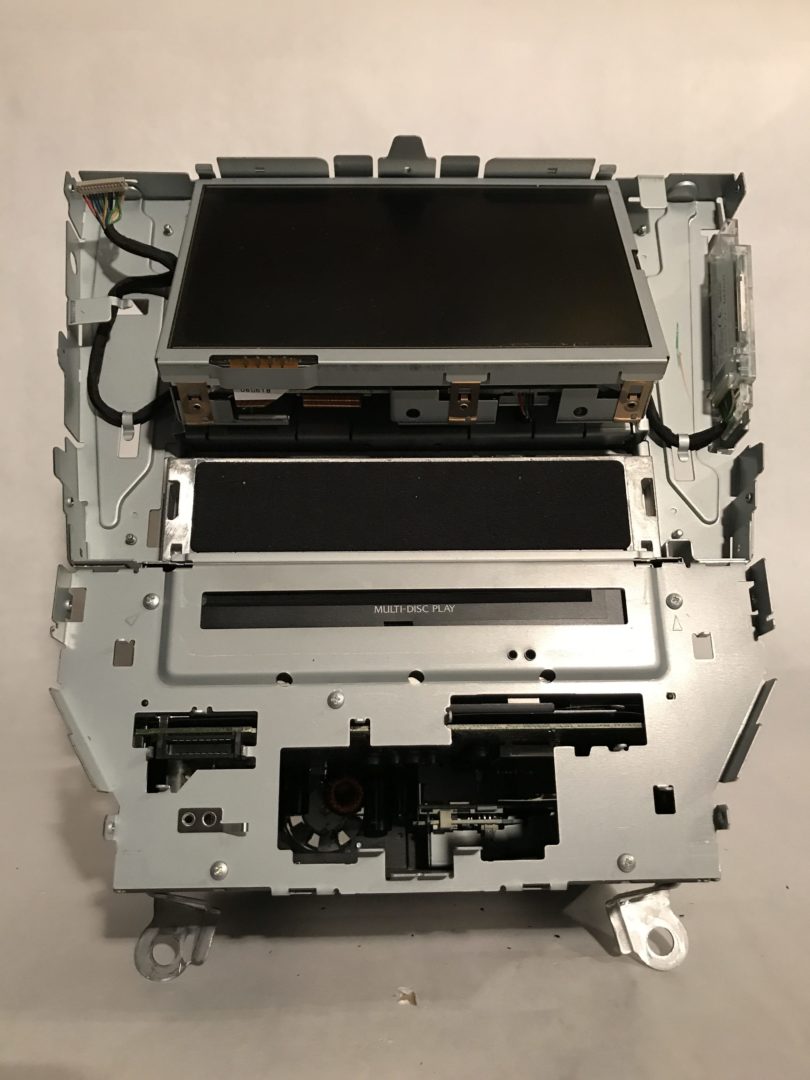
This is what you should be left with after pulling the front plastic fascia trim.
These screws need to be removed (4 Phillips screws total, 2 on each side).

Pull this board out of the way.
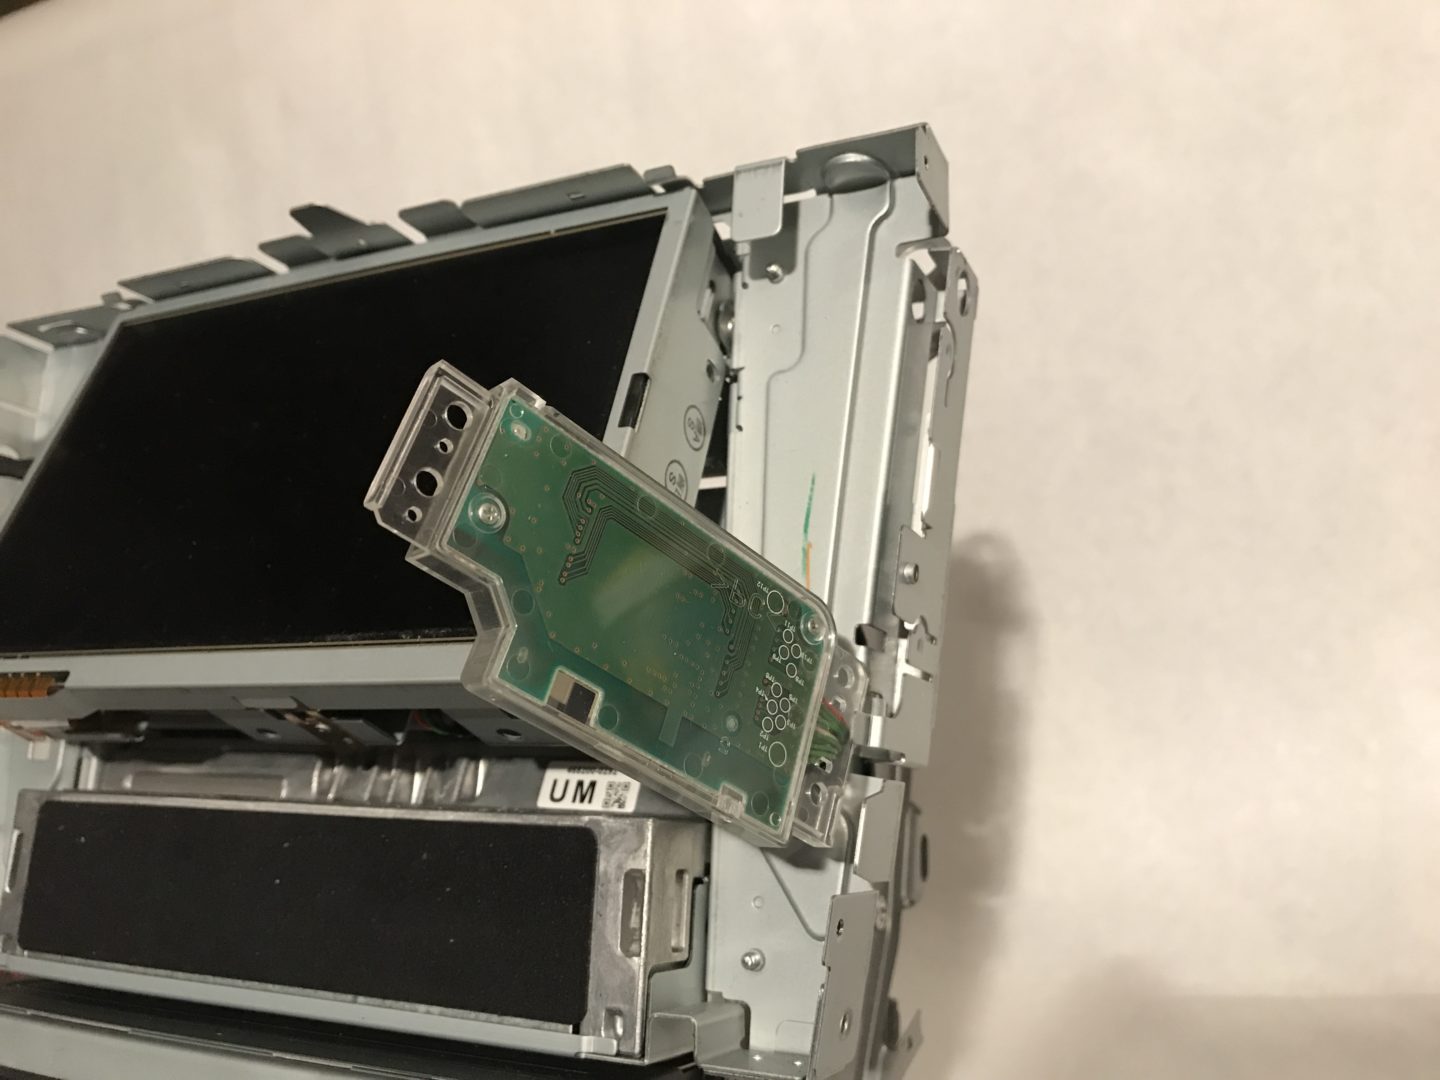
Now the screen can be separated.
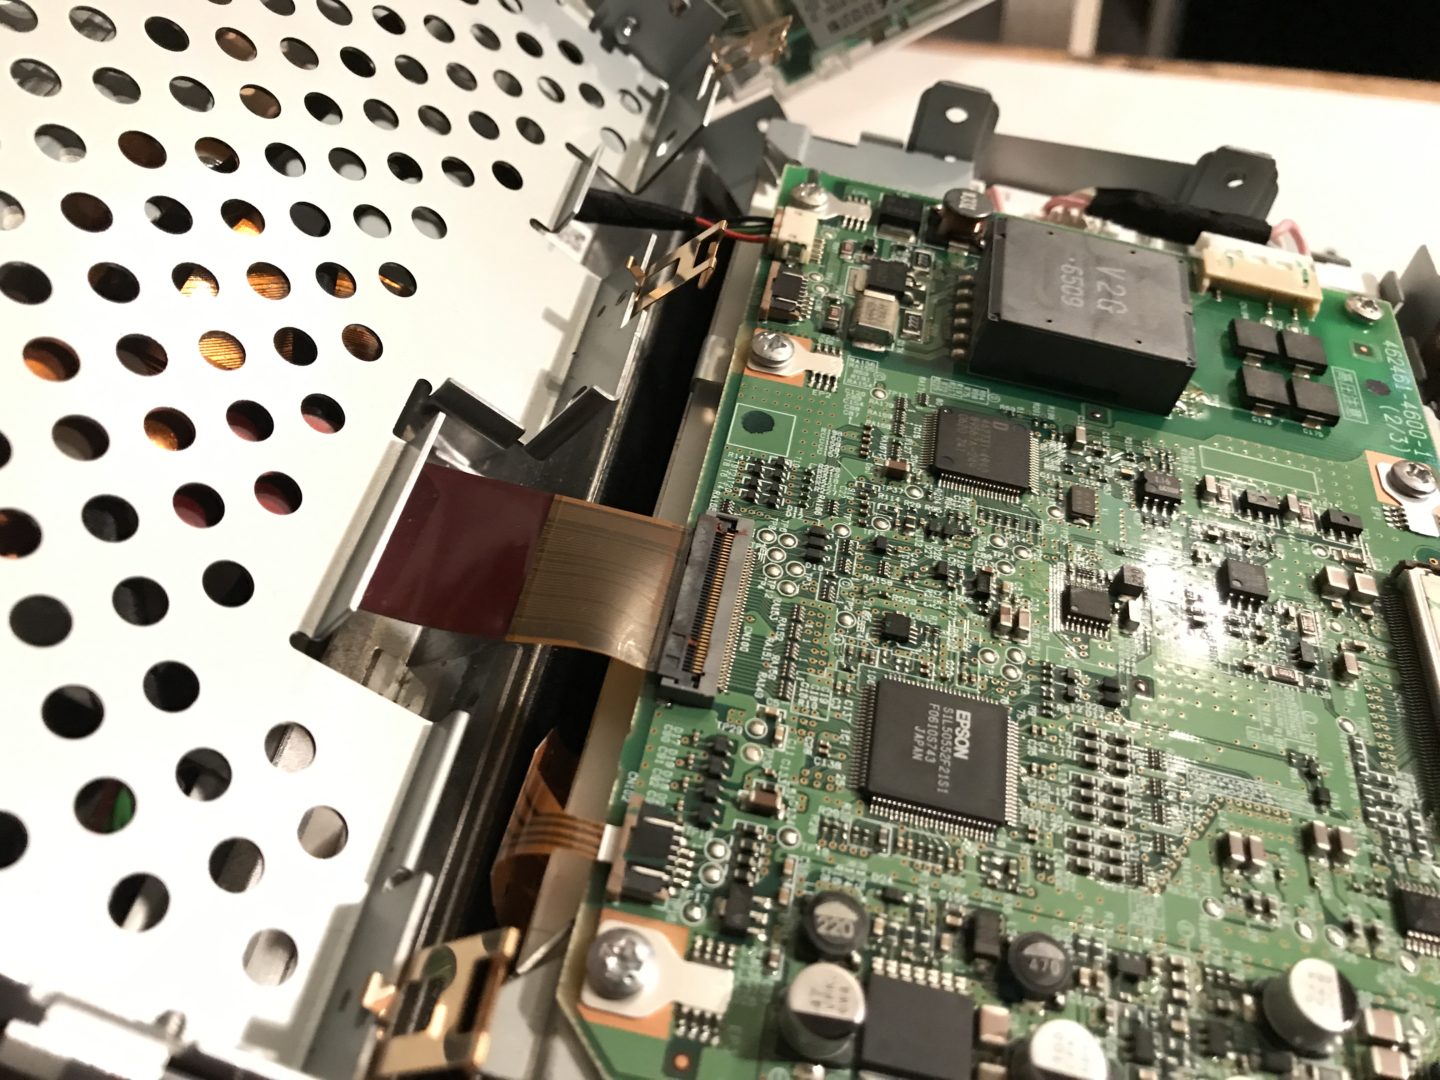
There is still a data ribbon that needs to be removed.
Now the touch screen unit can be removed completely.
Next up is removing the front metal trim from the front of the touch screen. Slide these copper clips out towards the back of the unit.
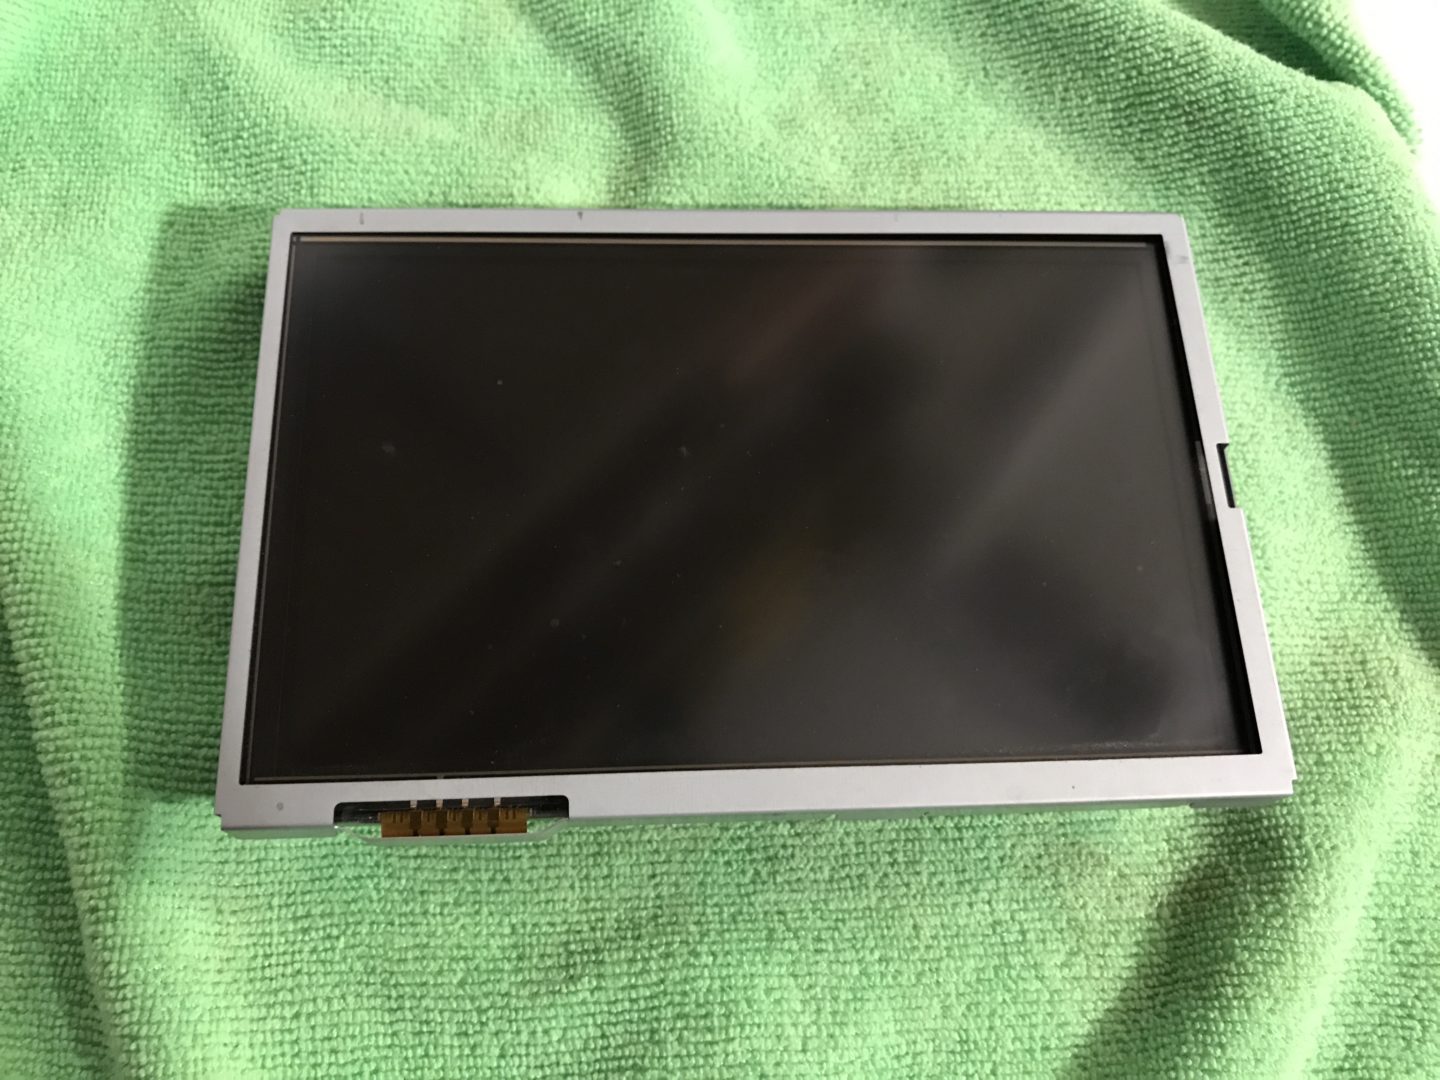
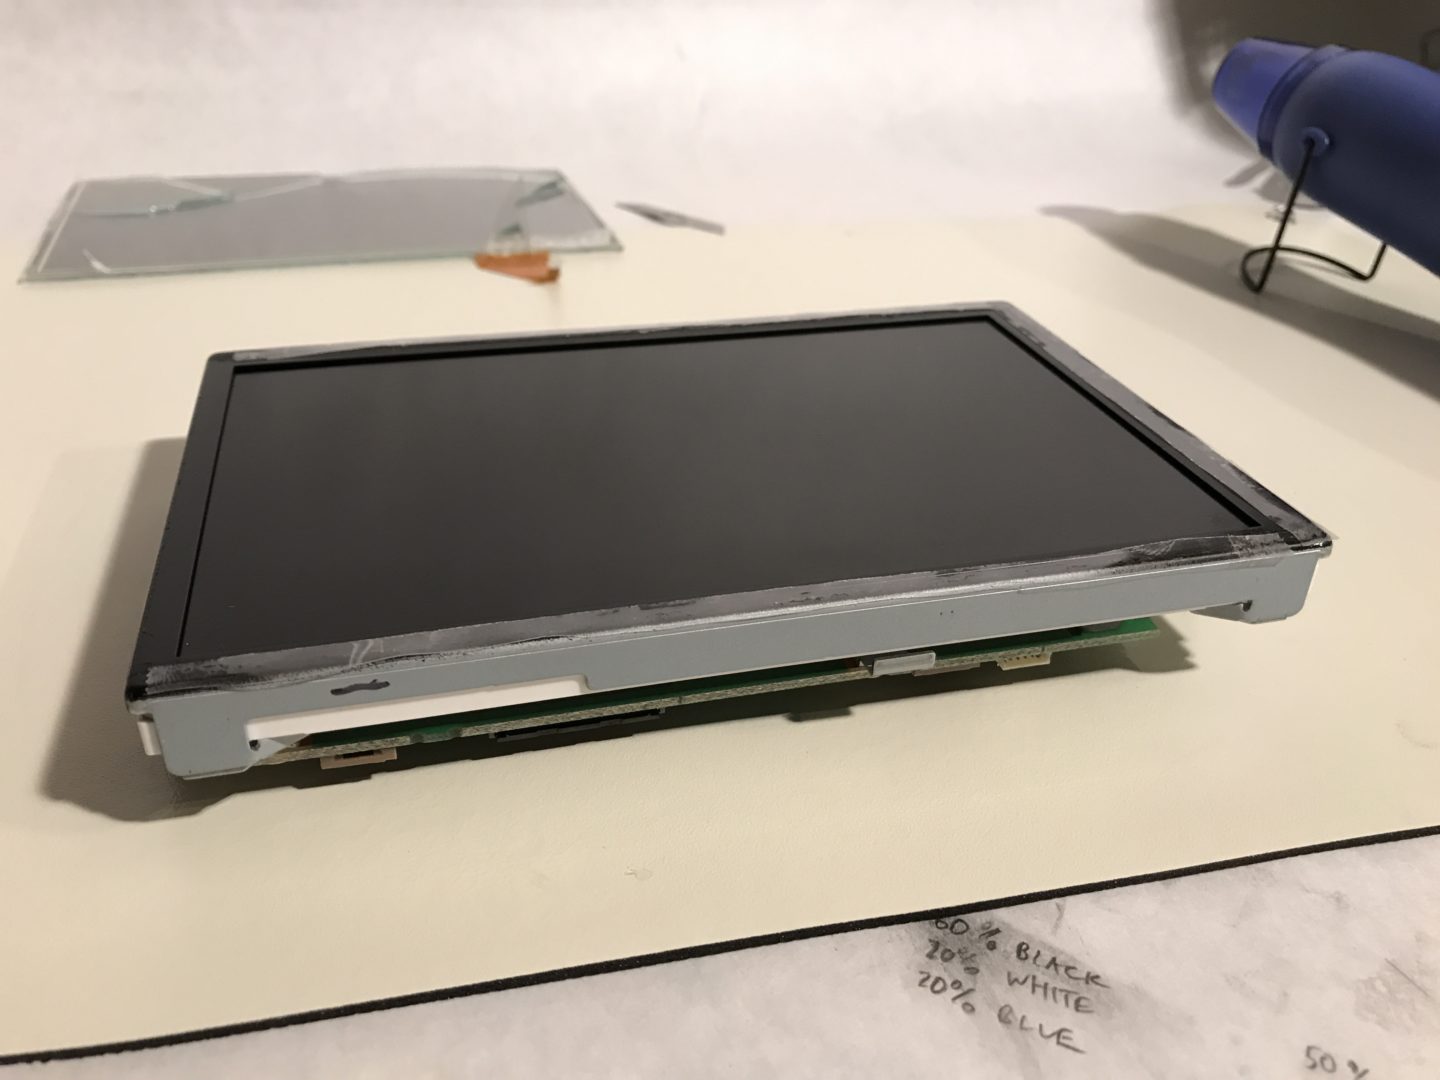
The front metal trim can then be pulled off, leaving just the screen.
To remove the ribbon that goes from the digitizer to the circuit board use a flat head screwdriver (or even better a knife/box-cutter), and using it to release the clip (wedge the tool between the black and brown edges to open).
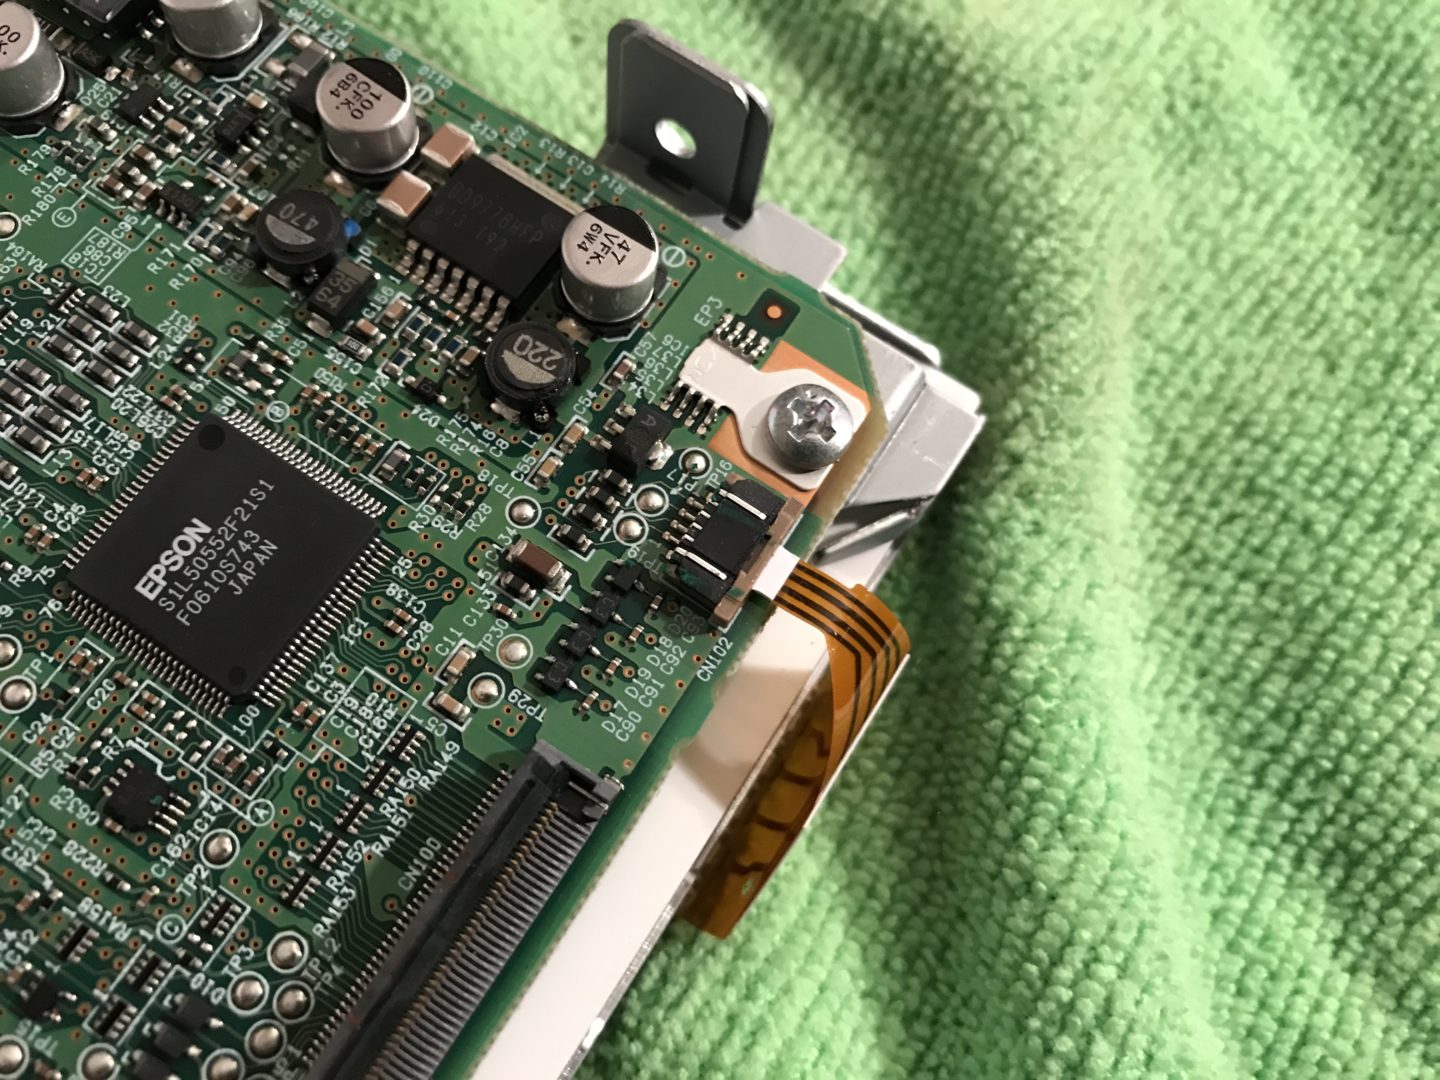
Testing the Digitizer
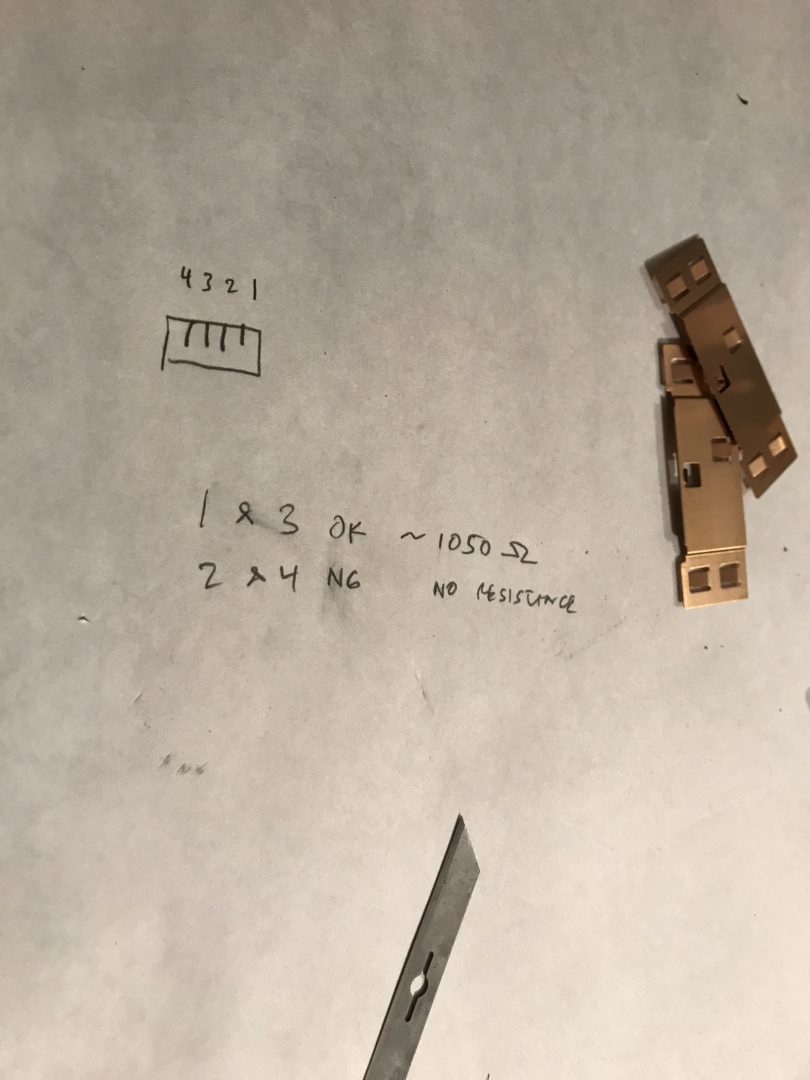
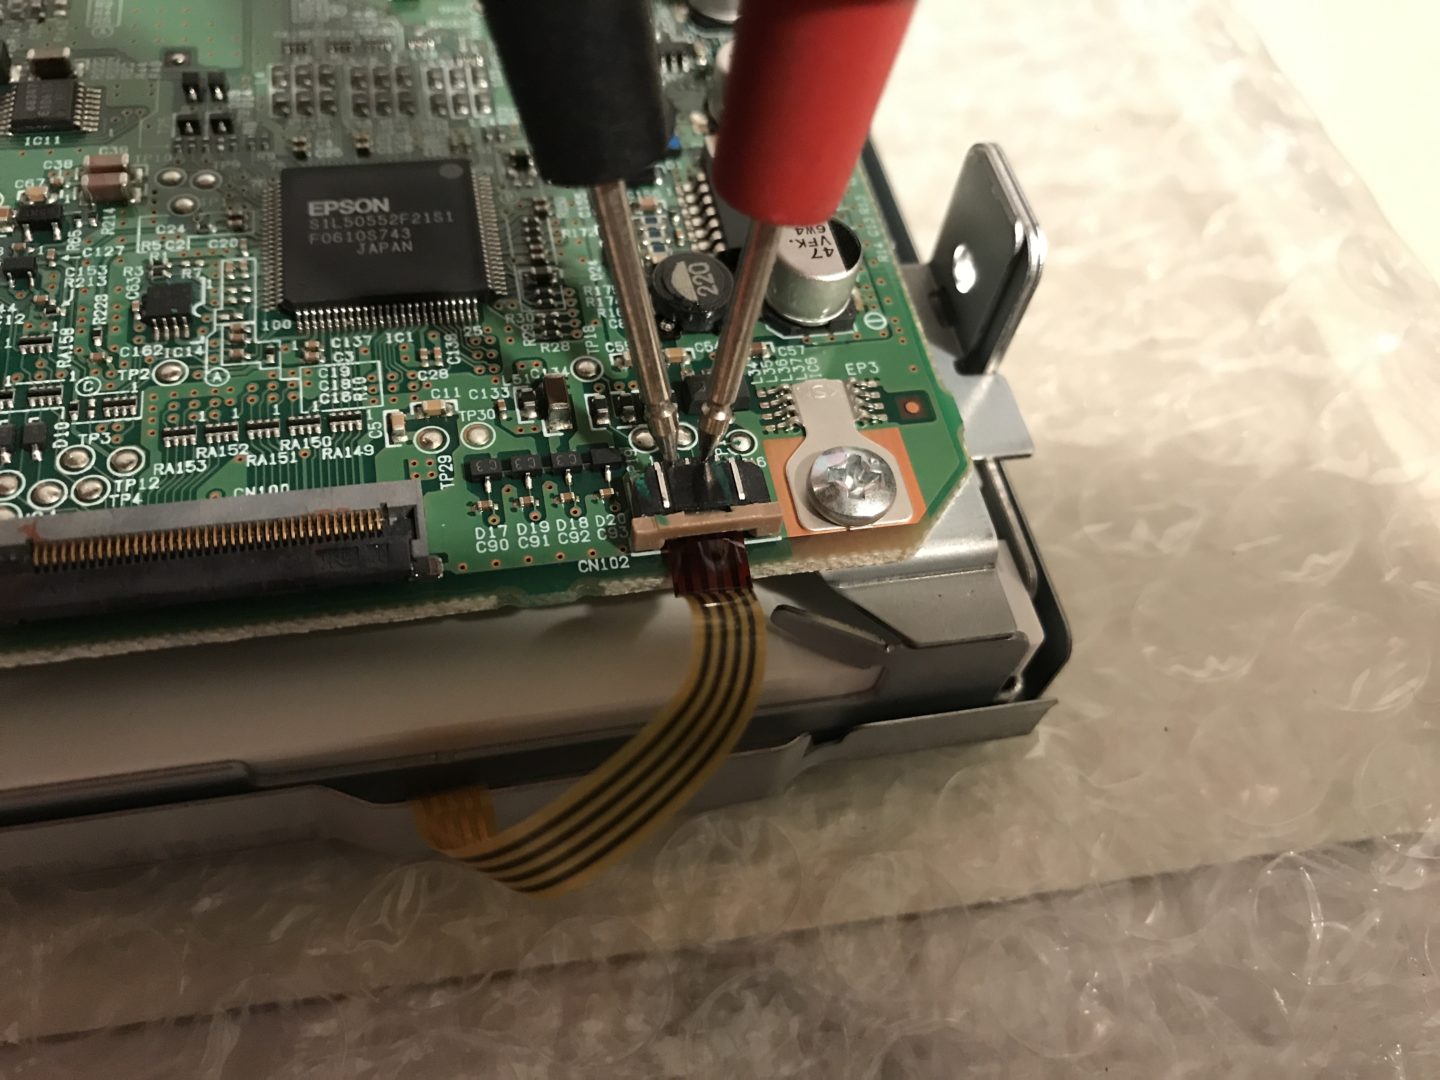
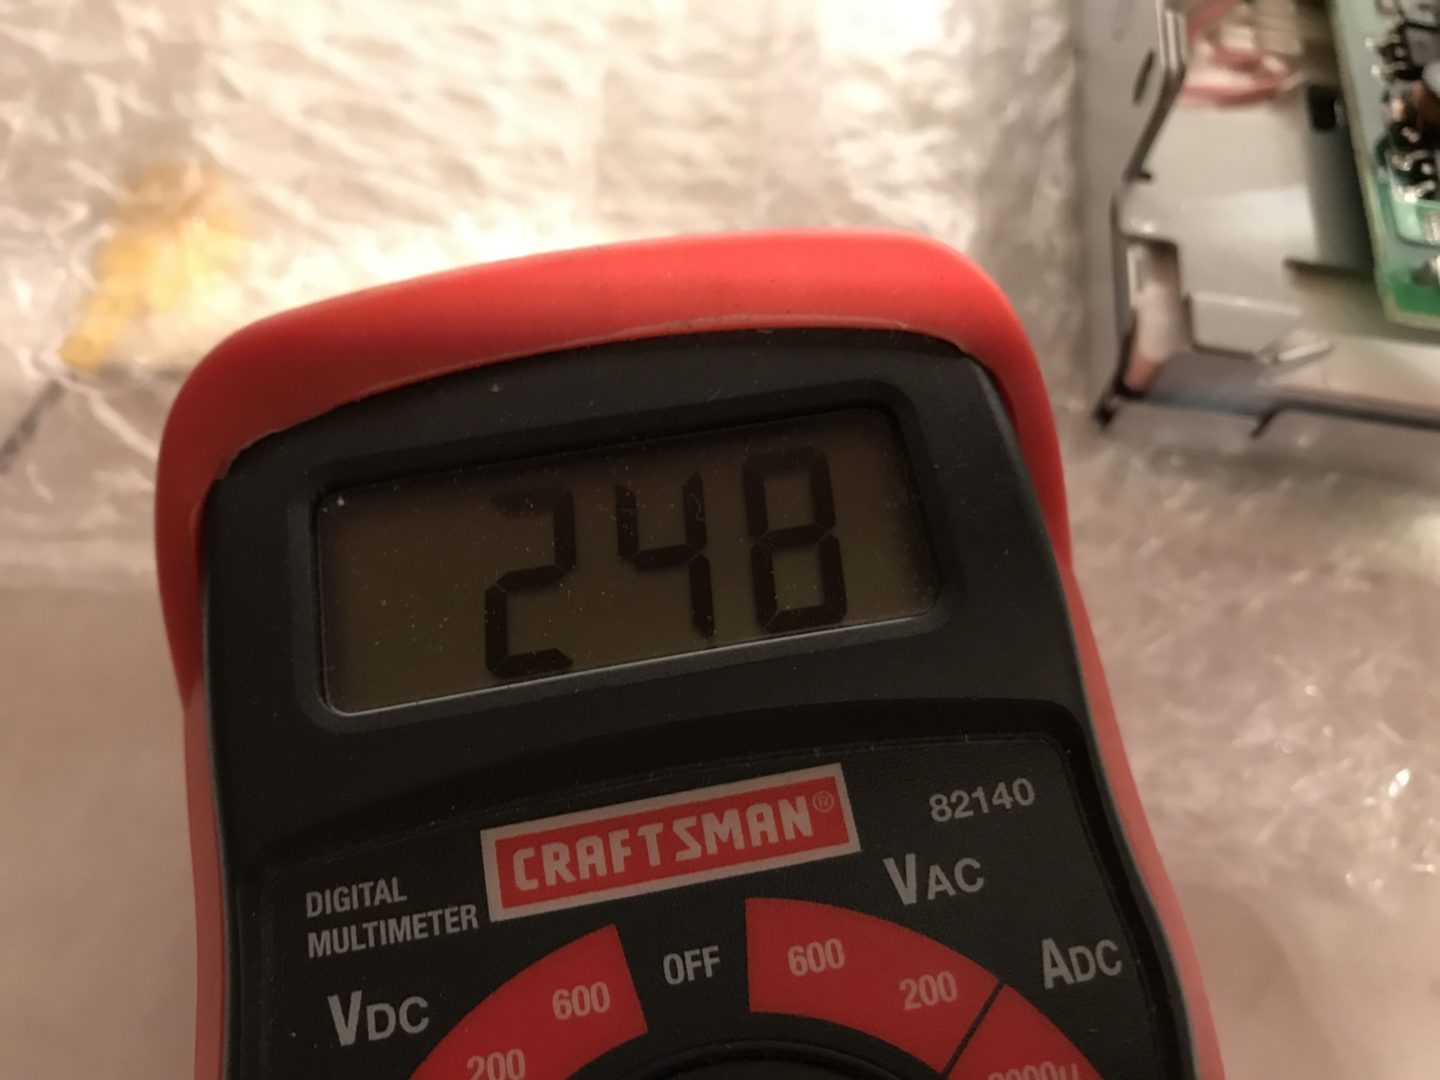
Following the mini diagram below, use a multimeter and check for resistance between connections 1 and 3, and between connections 2 and 4. The resistance should be somewhere below 2k ohms for both. In my case, I had a resistance of about 1050 ohms between 1 and 3, but no resistance between 2 and 4.
Now, before I go any further, I want to talk about the quick fix that you might see online about using a silver conductive pen to repair the digitizer contacts. Basically what the repair is doing is making a repair to the damaged contacts to the digitizer in the below photo. At the point where the ribbon meets the digitizer, the conductive material gets damaged over time, and in turn loses connection between the digitizer and circuit board.

This “repair” entails is using an X-Acto knife to cut away at the digitizer screen and filling in the damaged electrical contacts with a silver conductive pen. This is a mediocre repair at best and will eventually result in a frozen touchscreen yet again in the future. I tried this “repair” and it didn’t work for me.
Because the electrical contacts are so thin and delicate, it’s difficult to repair properly (or at all). For just $20 for an aftermarket digitizer, you can do a full repair and not worry about it failing again in the foreseeable future. My attempt at the silver conductive pen repair below.

Separating the Digitizer
Now continuing on with the show. While separating the digitizer from the lcd screen, it goes without saying that you need to be extremely careful not to damage the lcd screen. The digitizer can get damaged as it is being replaced, but the lcd screen must be preserved.
Start by using an X-Acto knife and/or flat head screwdriver to pry the digitizer away from the lcd screen.

As you lift it away, use a heat gun to warm up the perimeter of the digitizer/lcd screen. The perimeter of the screen is where the digitizer is adhered to the lcd screen. The heat gun will warm the adhesive allowing it to soften and facilitate the lifting of the digitizer off the screen.


As you heat the next part of the screen perimeter, pry that portion off. Then move to the next part and continue… until the entire digitizer comes off.

Carefully use that X-Acto knife to clear up the remaining adhesive and plastic in order to have a good surface for the new adhesive.
I used double-sided tape as an adhesive, but you can use something similar for the same purpose. Double-sided tape was used simply because it was the closest thing I had around to an adhesive. Plus, it was easy to use and still did what it needed to do: keep the digitizer adhered to the lcd screen trim.
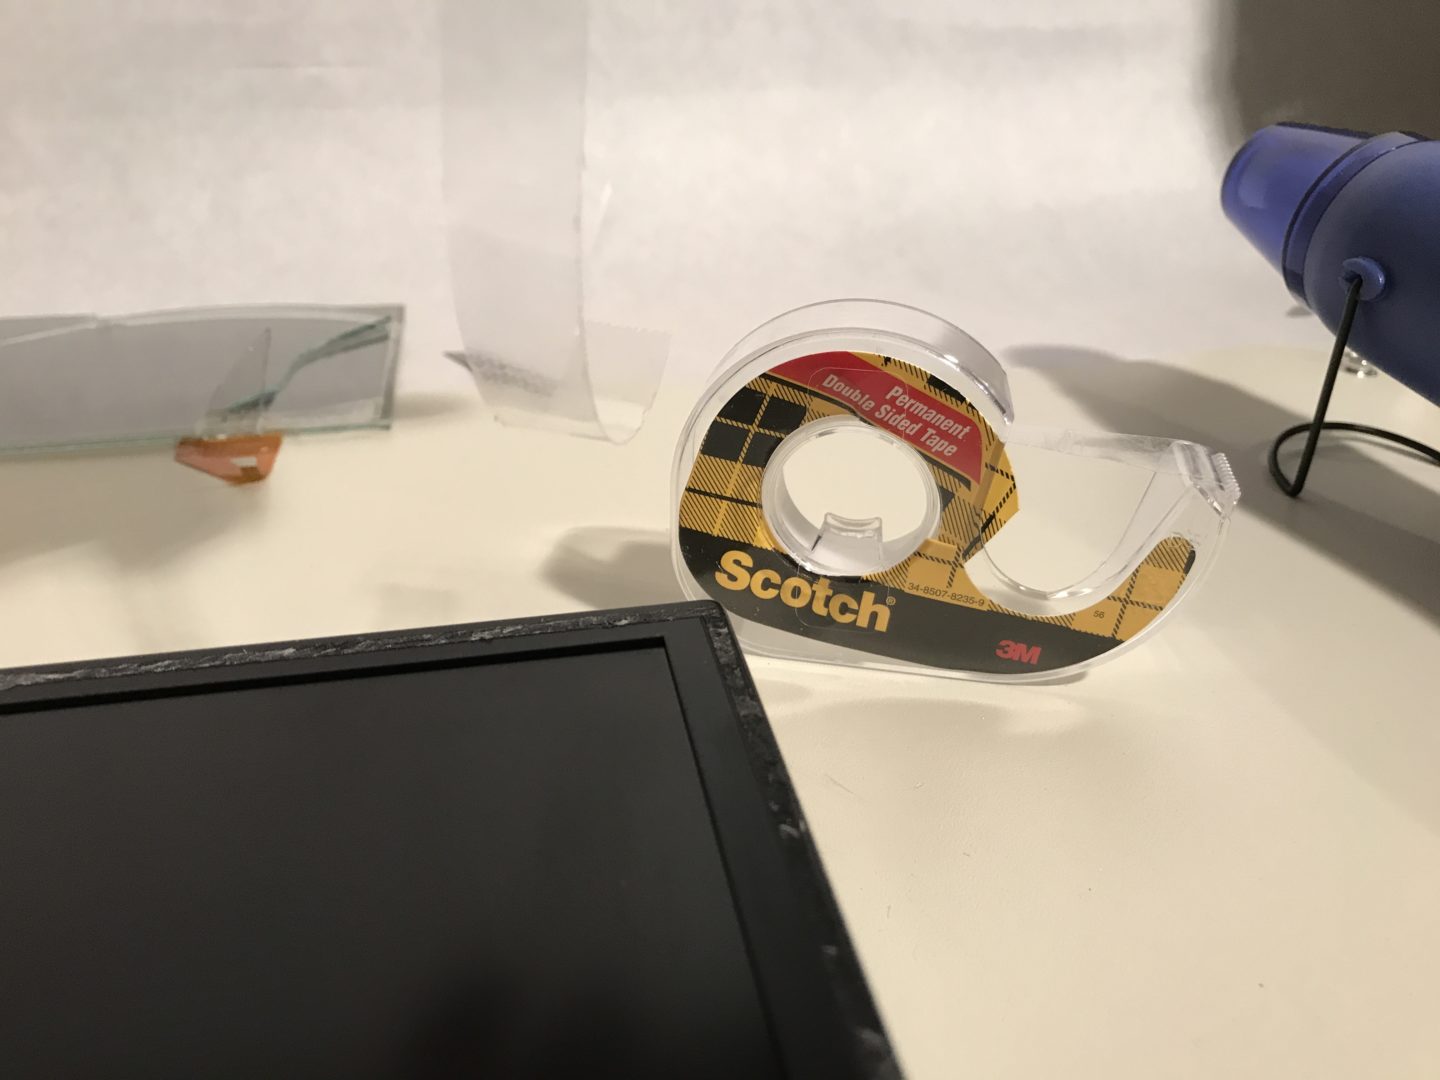
I rolled the double-sided tape out, and folded it over so that it was only about half a centimeter wide. The tape was used around the perimeter of the lcd screen trim.
Installation of New Digitizer
Carefully remove the new digitizer from its packaging.
Make sure to remove the protective clear screen from both the back and the front.


At first, I removed the protective screen only from the back of the digitizer. When I reinstalled everything and began using the screen, it displayed an extreme rainbow glare.
The protective screen needs to be removed from the front of the screen as well. It looks like there is no protective screen on the front (which is why I missed it the first time around), but trust me that there is one. Use an X-Acto knife to remove the front protective cover if you have to.
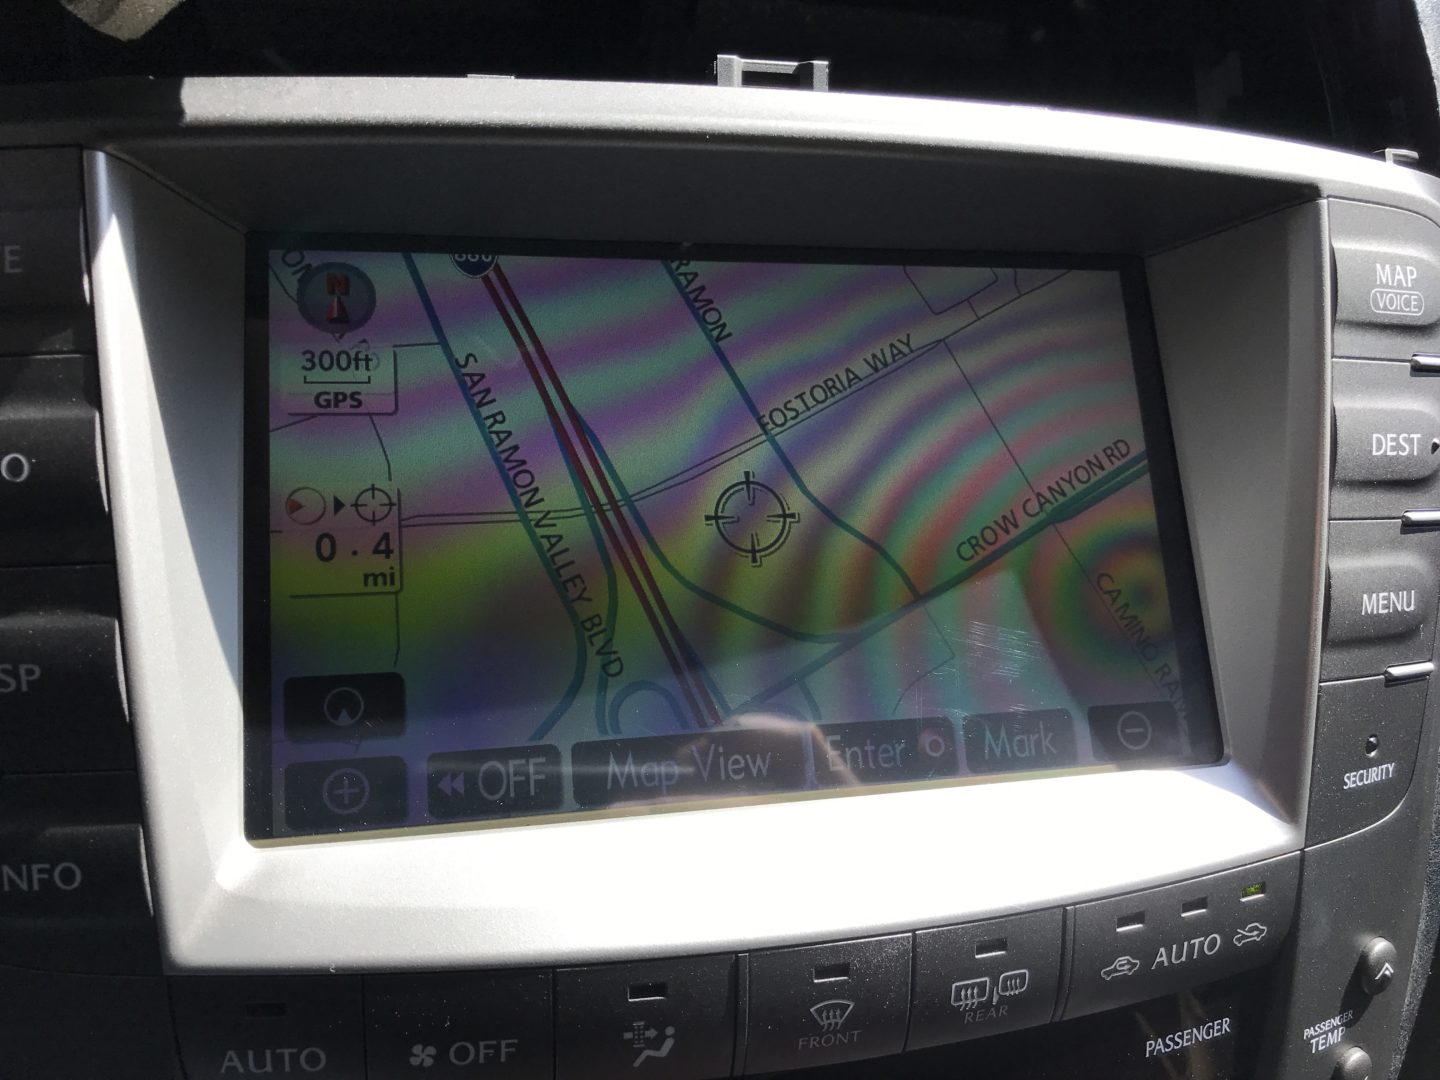
If you look at comments online about people who use aftermarket digitizers, you’ll see lots of complaints about the “rainbow glare”. The blame tends to be put on the manufacturer of the digitizer, but in reality it is because the front protective screen was never removed.
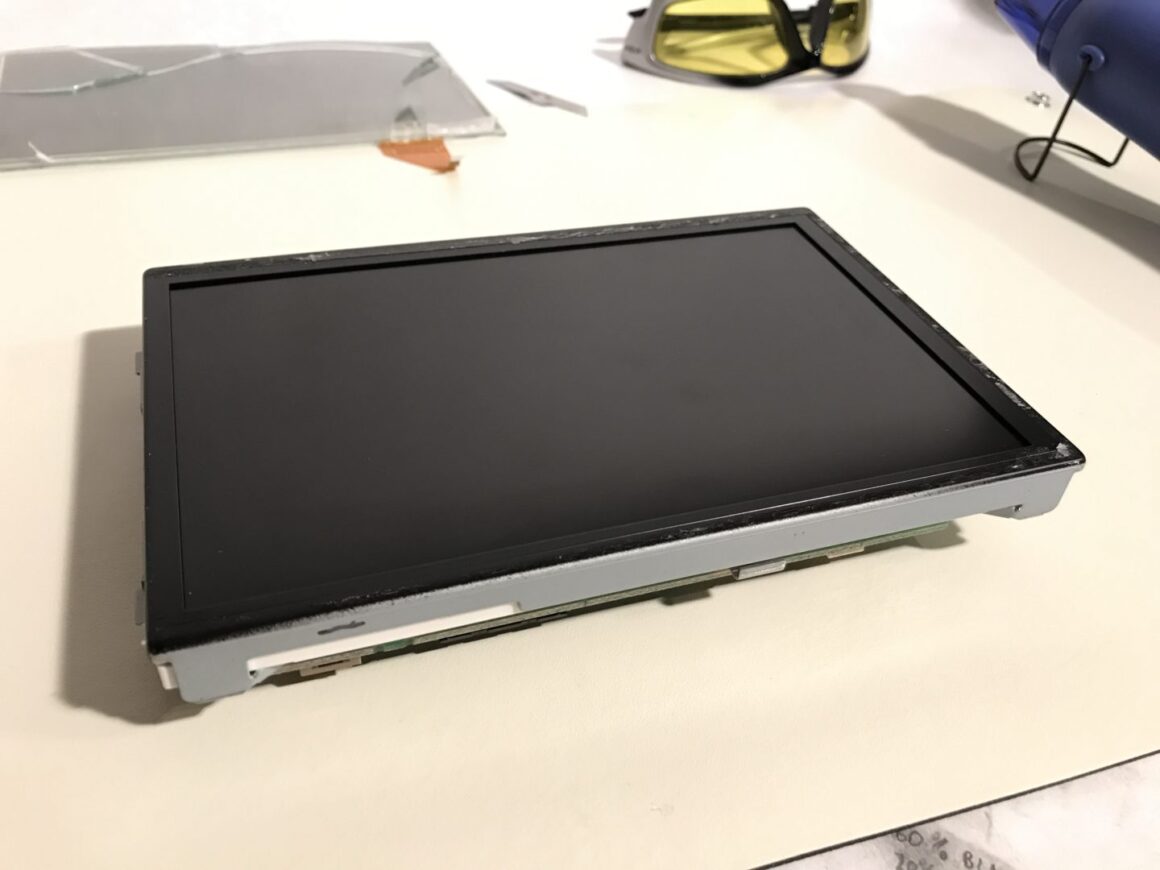
After removing both protective screens on both the back and the front of the digitizer, I’ll admit that there is a tad more of a rainbow glare on the screen than OEM, but it’s not very noticeable. Here is what it looks like when both protective screens are removed. The small amount of rainbow glare that is visible below is what you might expect with an aftermarket digitizer.

Now back to the install. Carefully place the digitizer onto the adhesive/tape on top of the lcd screen.
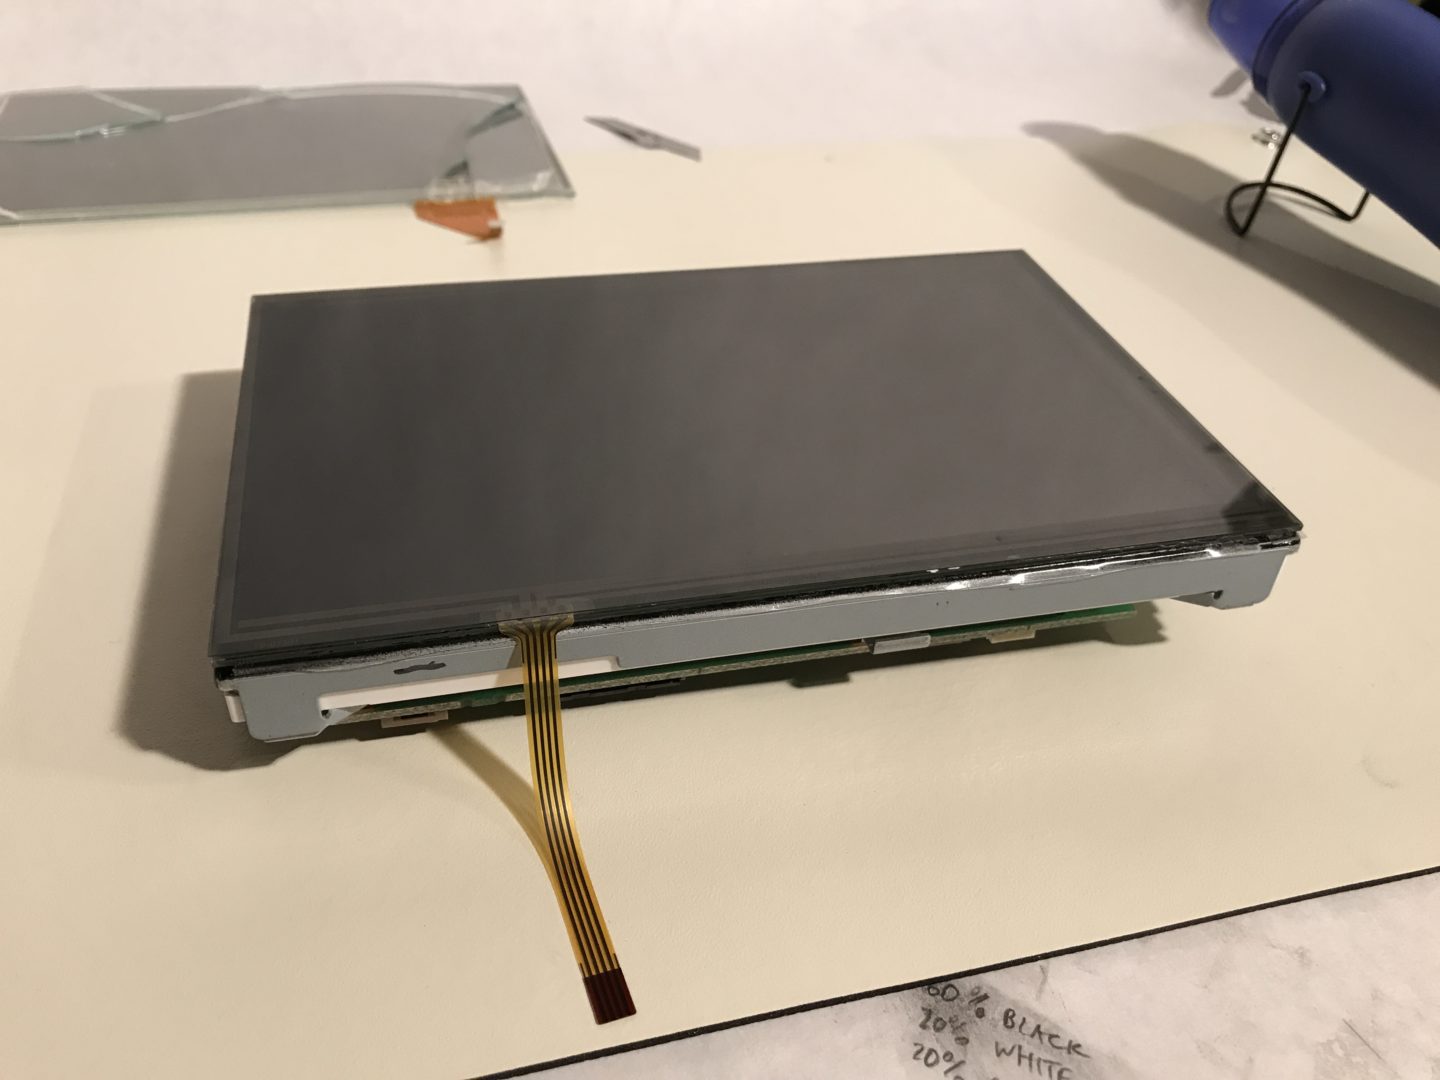
You may notice that the digitizer ribbon doesn’t look like the OEM one. That is perfectly okay because there are still 4 contacts. There may be a significant offset of the installation of the data ribbon, but it still plugs in and works the same way as the original.

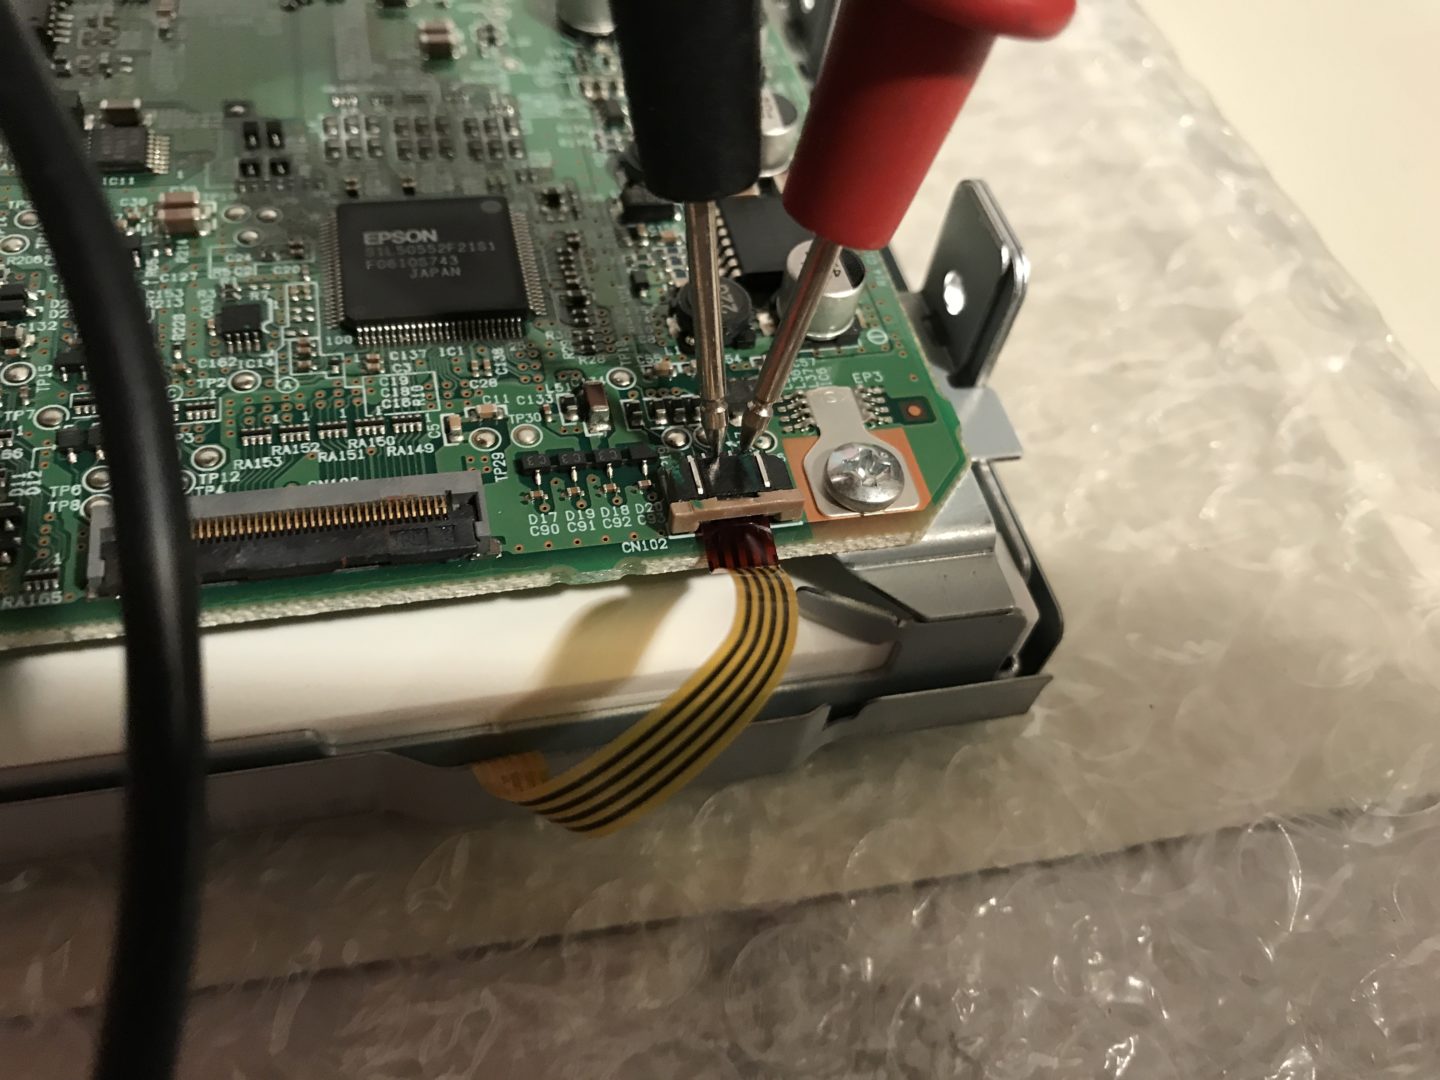
If you want to make sure the digitizer is working correctly prior to putting everything back together, you can do so now. Here you can see that I’m testing the resistance with a multimeter between contacts 1 and 3, as well as between contacts 2 and 4. Remember that you should be getting some resistance less than 2k ohms to know that it is working properly.
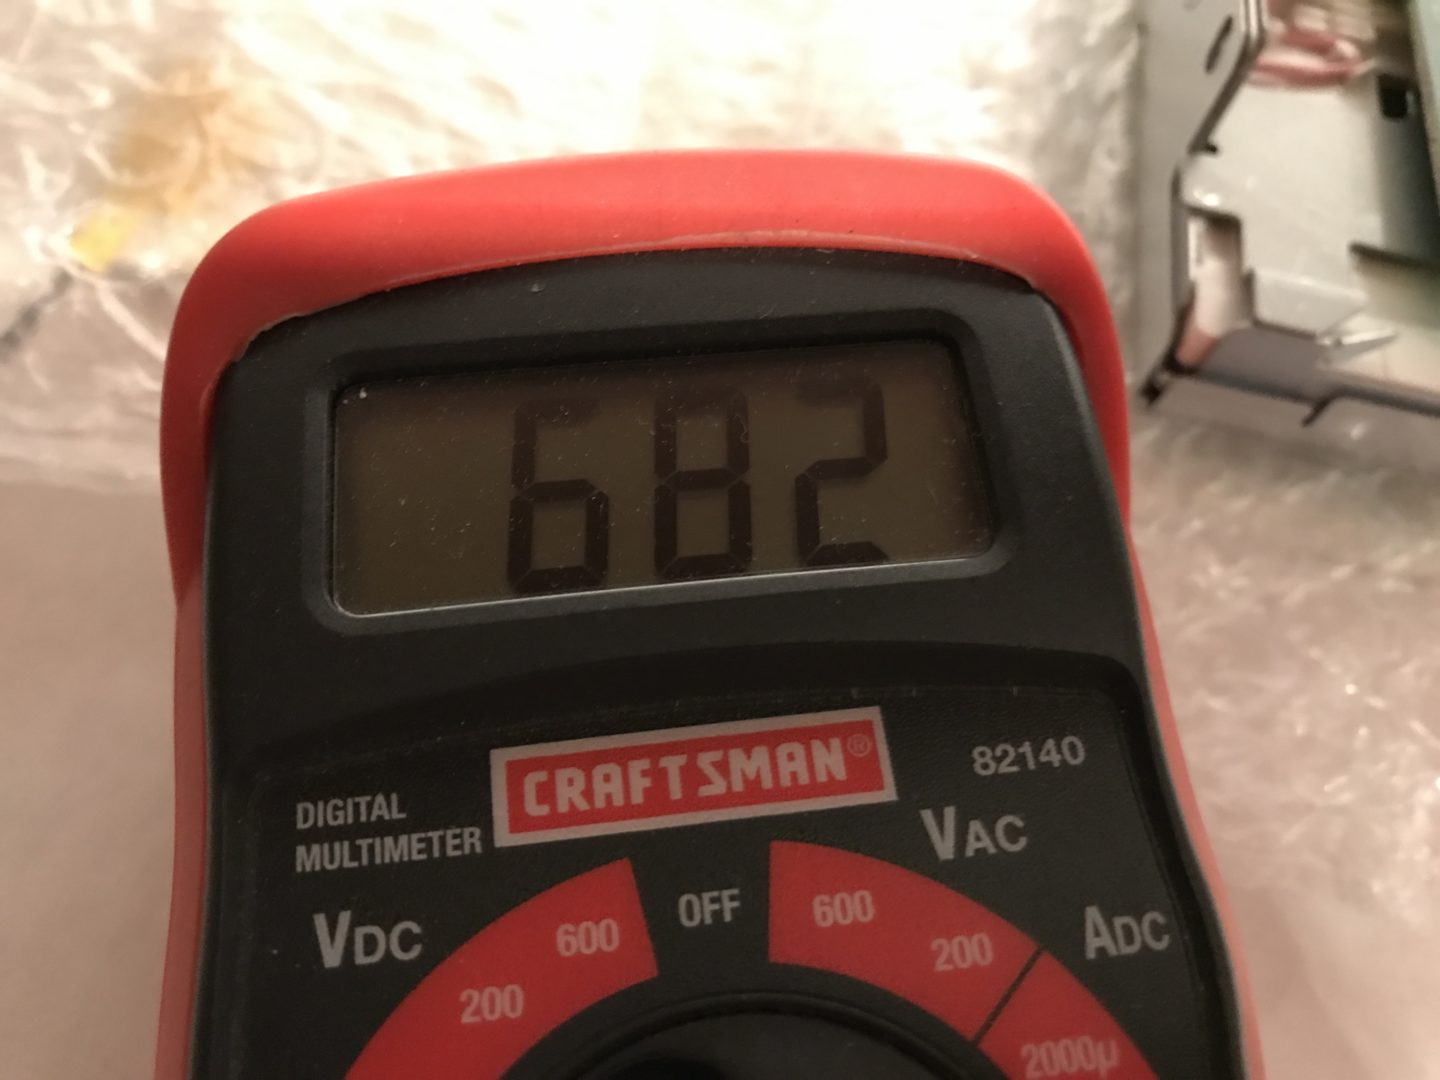
My digitizer tested good with both connections. Now put everything back together is reverse order and you should yourself a working touchscreen again!


: 2nd Gen Lexus IS350")
6 Comments
Hi, I have the exact same issue with my 2006 IS-250. How is the new digitizer responding to the touches on the screen? Is as responsive as the OEM screen or you have to insist sometimes?
Hi Alex. The new digitizer that I used works perfectly with touches to the screen. The quality of the digitizer is not top-notch, so you might see a very slight rainbow effect and it does appear a bit dimmer. I did link to a specific display that supposedly is a better quality digitizer, however I myself have not tested it out. Hope that answers your question, let me know if you have any others.
Unfortunately that one is no longer available and it does not ship to Spain.
I bought this one: https://es.aliexpress.com/item/32995647403.html?
I´ll let you know how it goes.
Oh darn, but good luck on that one! Hope it works out.
I finally got and installed the digitizer. It was not difficult. I got my screen back working and functional but the quality is very poor. It reflects a lot, it has a rainbow effect and in the sun you can even see the sensor dots. Can’t recommend it to anyone.
Sorry to hear that Alex. I can’t speak for the exact digitizer you purchased off AliExpress. I know that the one I got was dimmer than the original by a bit, however I have heard of some that are better quality.
Just wanted to check but, did you remove the screen protector on both sides of the screen before installing? I remember I removed one side’s screen protector because it didn’t look like there was another screen protector on the other side. I installed it and the rainbow effect was quite bad. I removed it again and noticed that it really doesn’t look like there was another screen protector on the inside, but there is. It took some effort, but I removed that one as well.
After installing it again, the rainbow effect was less noticeable, but brightness was still not as good as OEM.