When you make purchases through links on this site, The Track Ahead may earn an affiliate commission. Also, these posts are based off my own experiences. I am not responsible for any action you take as a result of reading this. Learn More
This write-up has been broken up into two parts as there is a ton of information on doing an HID projector retrofit. This is Part 2, which covers the installation of the wiring harness, ballasts, and HID bulbs, as well as the final calibration of the whole setup. Part 1 covered the disassembly of the headlights, installation of the projector, and re-assembly of the headlights.
This HID projector retrofit write-up pertains to the ’03-05 model years of the stock 4th generation Toyota 4Runner. These stock halogen headlights work adequately for lighting up the front of the vehicle, but there is much more left to be desired. The halogen lamp that comes stock on the 4th generation Toyota 4Runner is pretty dim in today’s standards. I’ve ran the original OEM head lamps for many years, but wondered what options there were for the 4th gen 4Runner.
If you’re looking for information about the ACME Projector Retrofit Kit that I purchased from The Retrofit Source, as well as the different lighting options available for the 4th generation Toyota 4Runner, you can find that in a previous post: HID Projector Retrofit: 2003 Toyota 4Runner (Part 1)
Tools & Materials Needed
Projector Retrofit Kit
I purchased the ACME Super H1 Projector Retrofit Kit for this project.
The Retrofit Source
Zip Ties
Used for securing wires safely within the engine bay.
Search Results on Amazon
Blue Tape
Used to make marks on the wall and on the ground during the projector headlight aiming process.
Search Results on Amazon
Foam Pipe Insulation
Used as a wedge between reflector and headlight housing to address bouncing/vibrating headlights.
Search Results on Amazon
HID Projector Retrofit How-To (Part 2)
In Part 1, I showed how to disassemble the 4th generation Toyota 4Runner headlight, install the projector, re-assemble the headlight. Now, we need to install the HID (high intensity discharge) bulbs and wire them up to the existing wiring harness. Then, we’ll do a calibration of the HID lighting to ensure we are optimizing the output pattern of the HID’s.
HID Bulb Installation
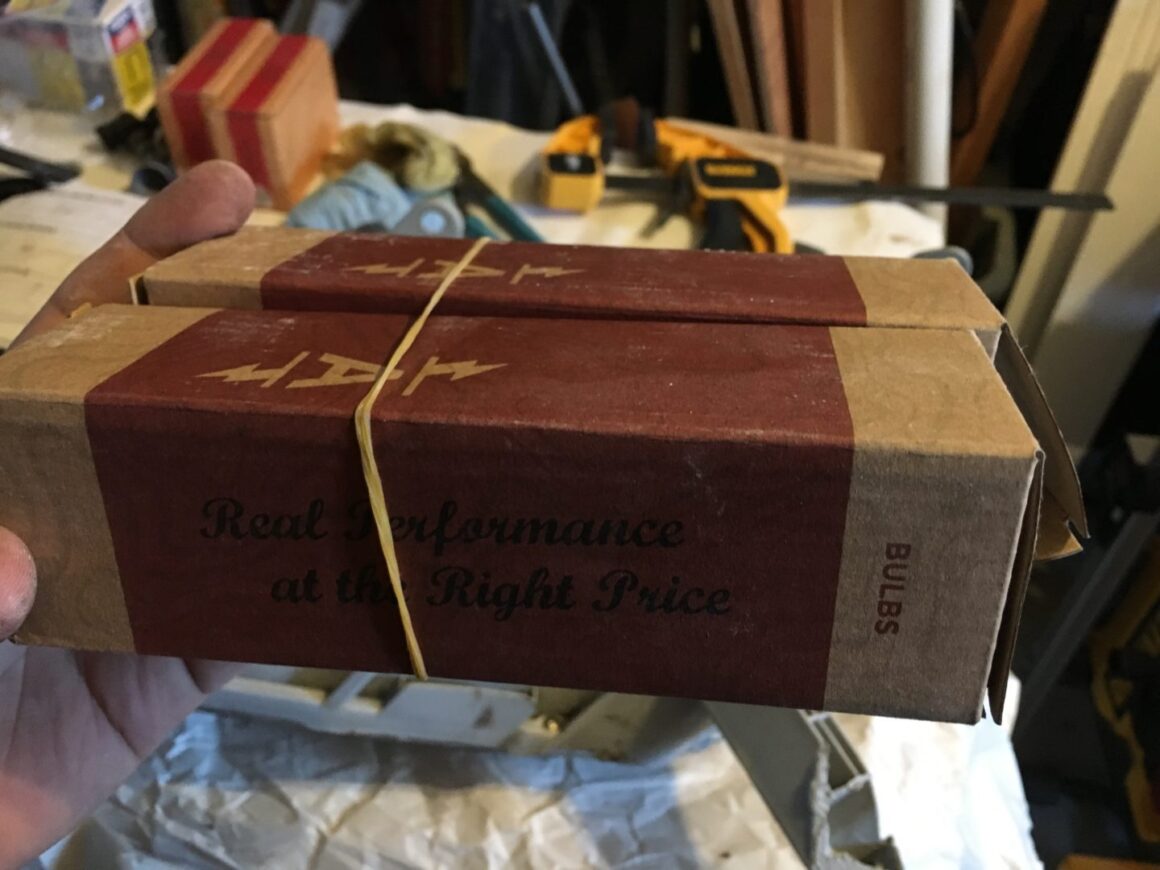
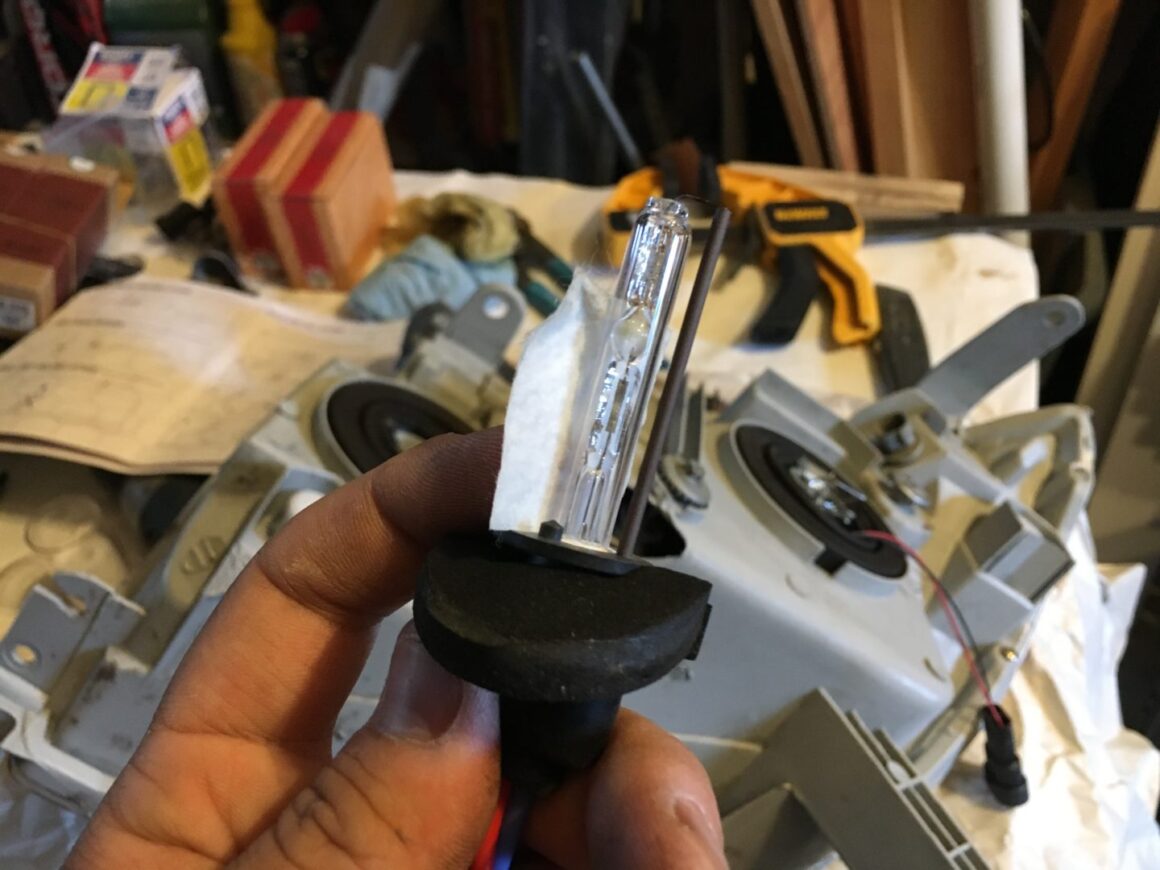
The HID bulbs are individually packaged in these cardboard boxes with the bulb and electrode protected in cylindrical cardboard pieces. Remove the bulbs and ensure that you don’t touch them with your hands.
For the same reason you don’t want to transfer any grease/oil from your hands onto the surface of a halogen bulb, you want to prevent the same thing with the HID bulbs. In fact, it is recommended to use a rubbing alcohol wipe to clean the surface of the bulbs thoroughly prior to installing them.
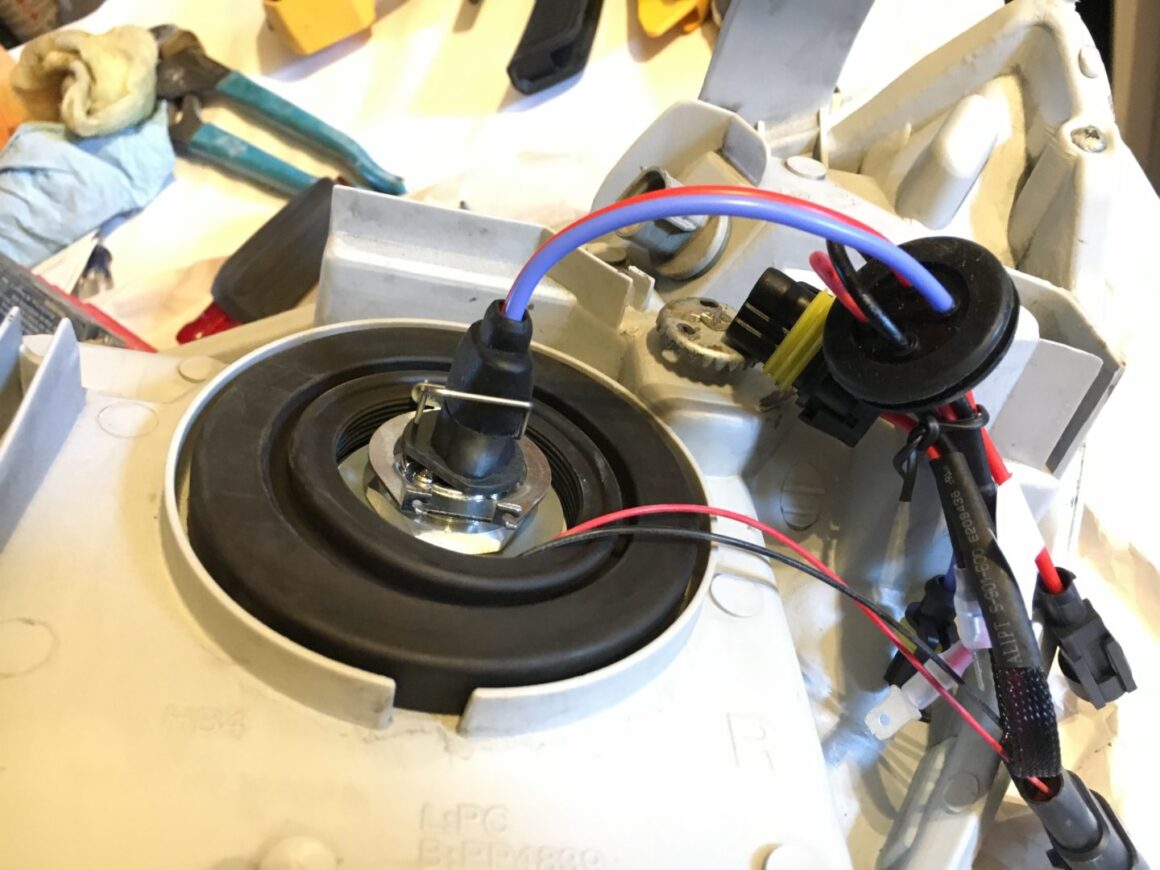
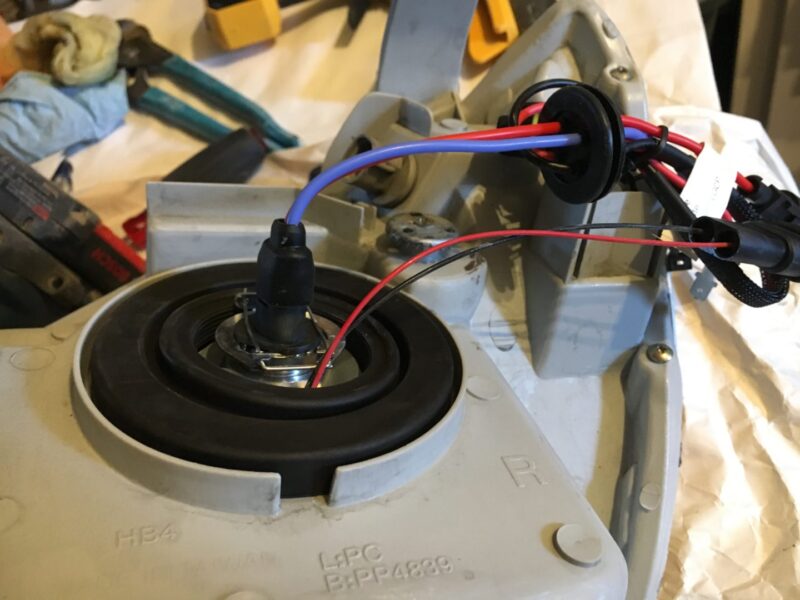
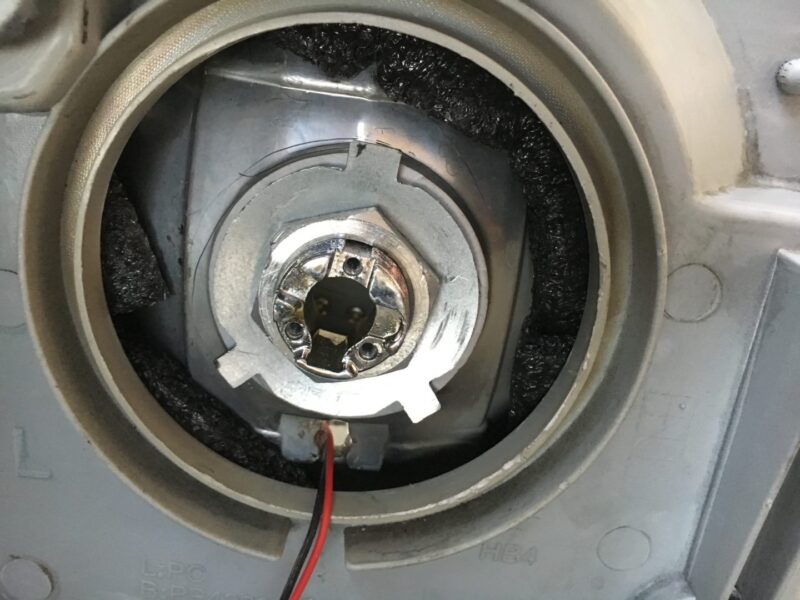
Carefully insert the HID bulb into the projector that you installed previously during the projector retrofit. Insert the bulb until the bulb is fully seated into the opening. The electrode should be facing down in the 6 o’ clock position.
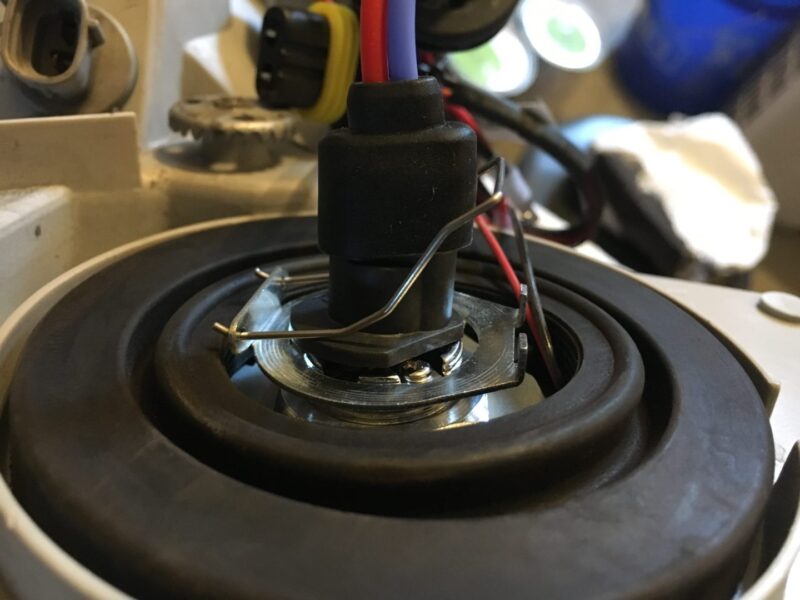
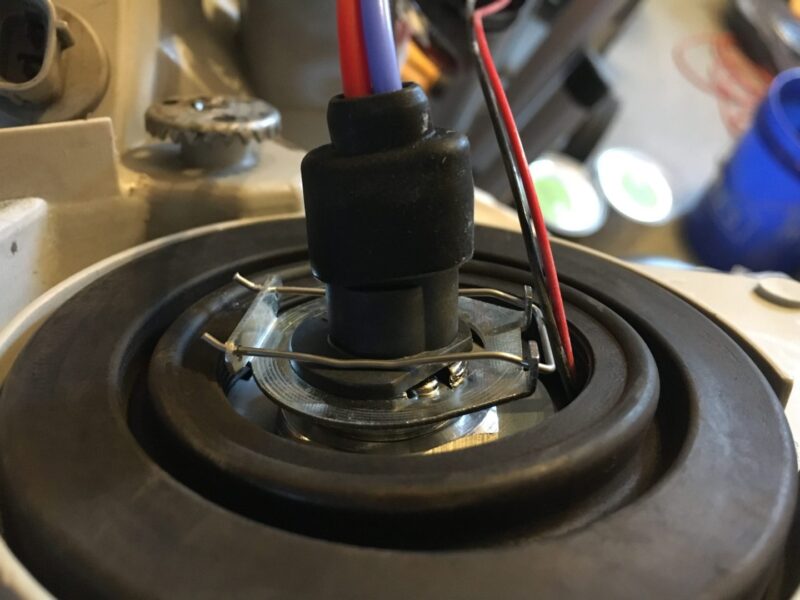
With the bulb fully inserted, take the small clip provided with the bulb and insert both ends into the holes of the metal bulb holder. The tips of the metal clip should be pointed upwards as seen below. The other end of the clip will then press down against both sides of the bulb, while the clip is hooked into the metal bulb holder.
This clip and bulb holder setup is a tad janky in assembly and finicky with setup. It’s worth mentioning that there is some play to the assembly and so a slight movement of the bulb (manually with your hand), can cause some change to the beam pattern. However, once the bulb is clipped into place and you no longer touch the bulb, it will essentially hold securely. The HID bulb on the other side should be installed in the same manner.
On the other end of the HID bulb are wires that go through a rubber grommet (which was of no use in this installation) and then to wiring ends that would eventually plug into the ballasts and the existing wiring. But first, let’s install the ballasts.
HID Ballast Installation
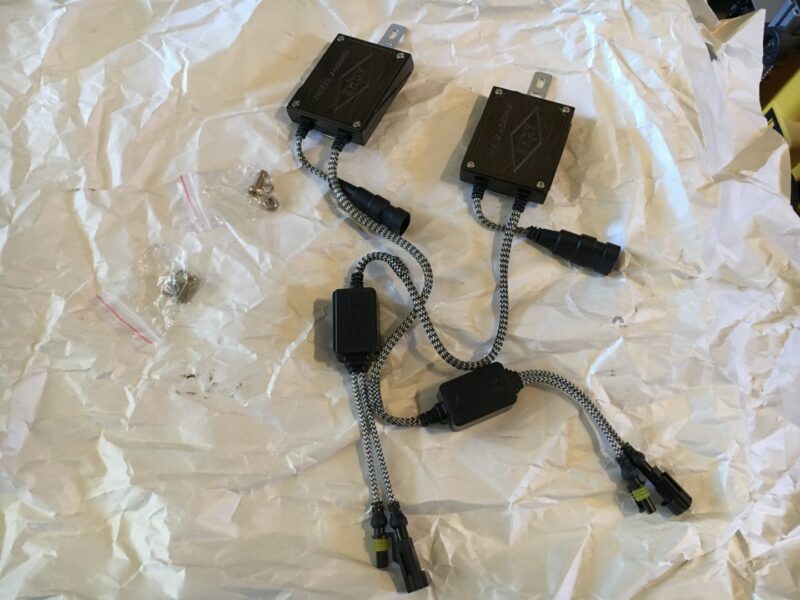
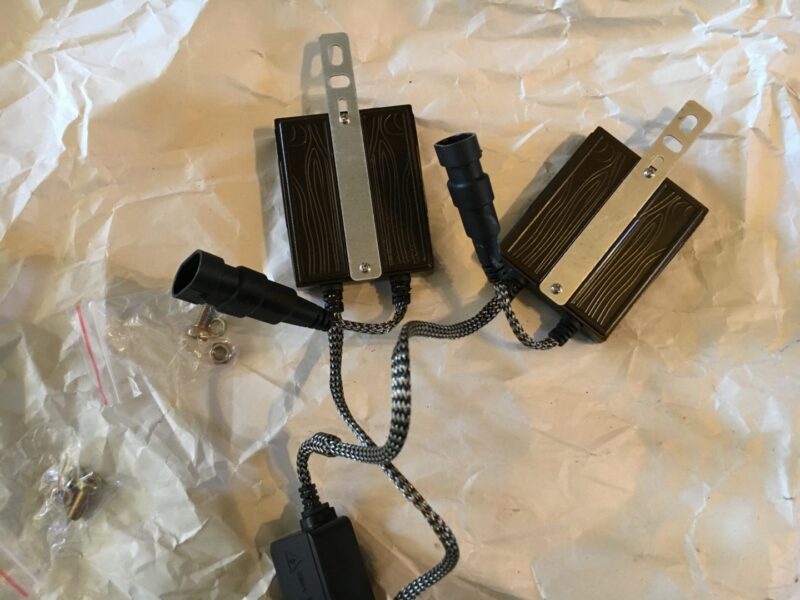
HID’s operate on a higher voltage than the car’s 12-volt battery provides. Therefore, ballasts are required to run HID bulbs by stepping up the voltage in order to properly turn on/off as well as operating the lights.
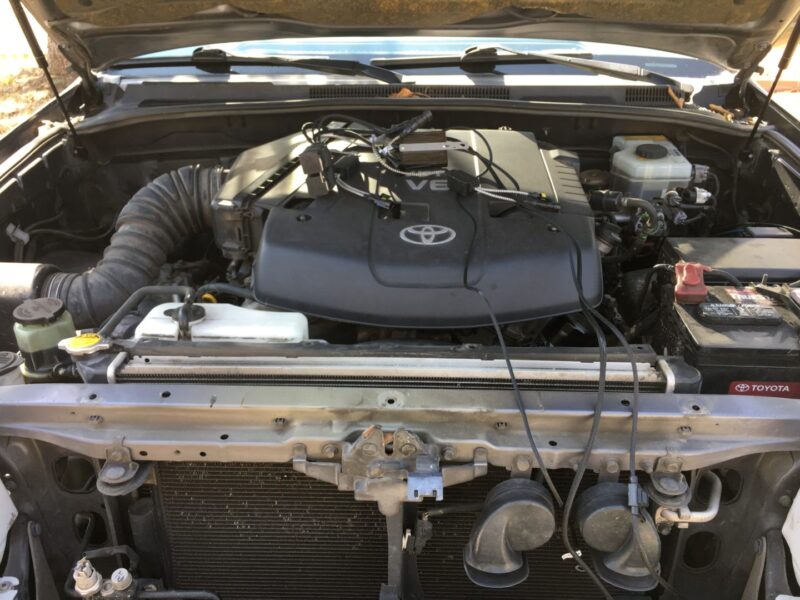
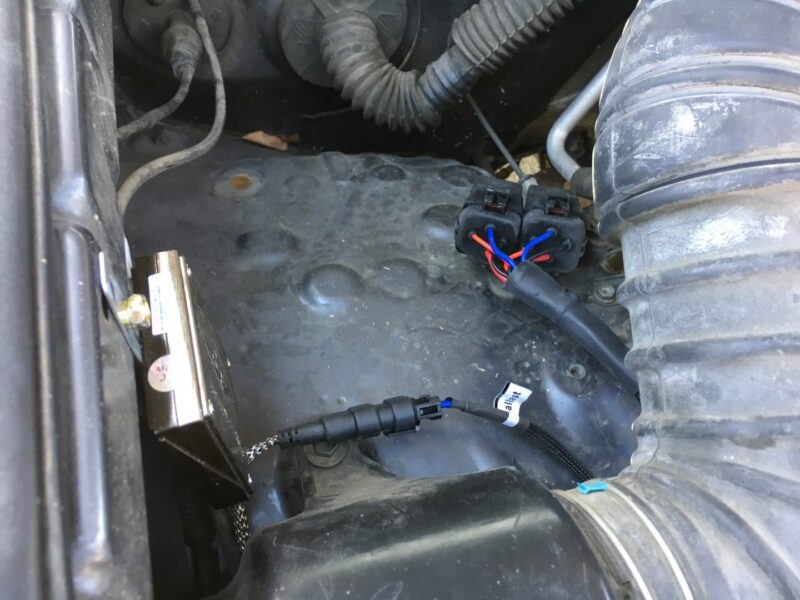
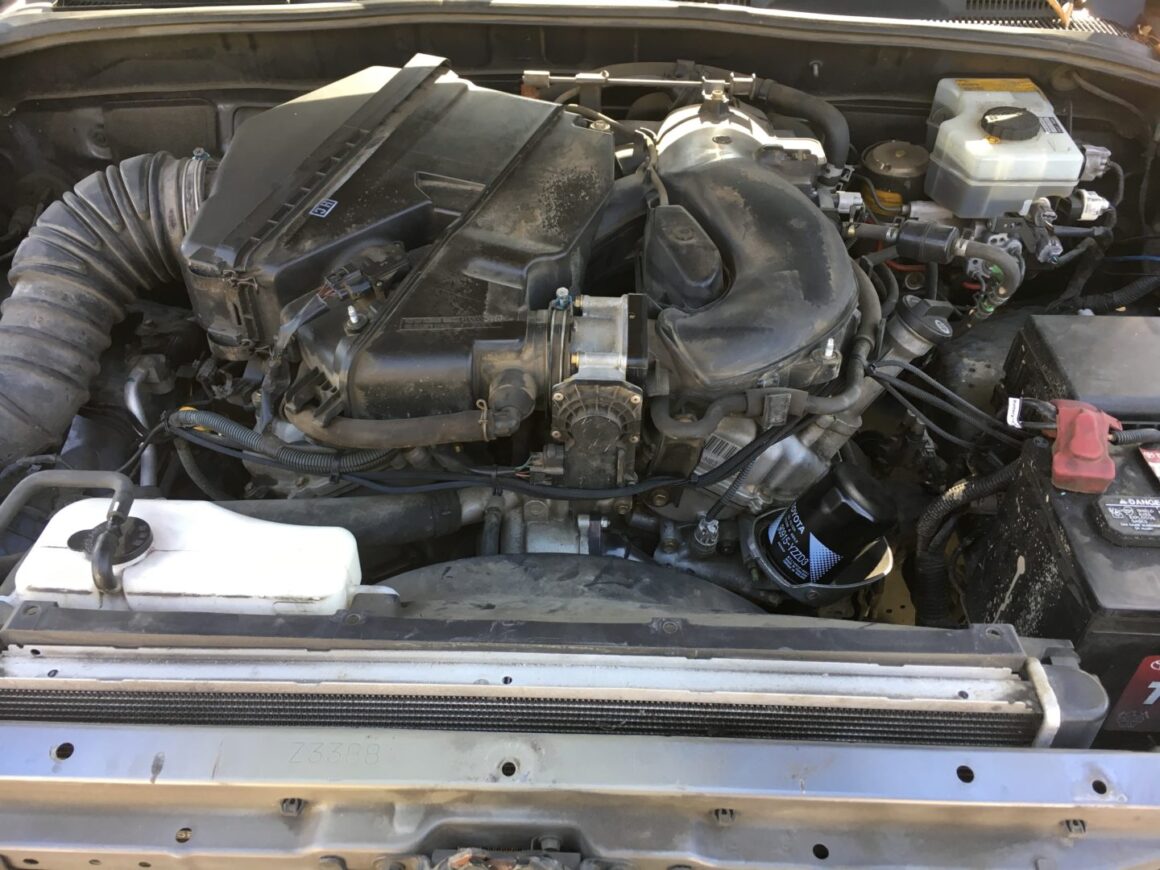
The ballasts will need to be connected to the car battery, and also to the connections coming from the HID bulbs. On the Toyota 4Runner, there is so much room in the engine bay that mounting all the ballasts and wiring is really easy to do. With all of the available space, there’s endless options for mounting the required components.
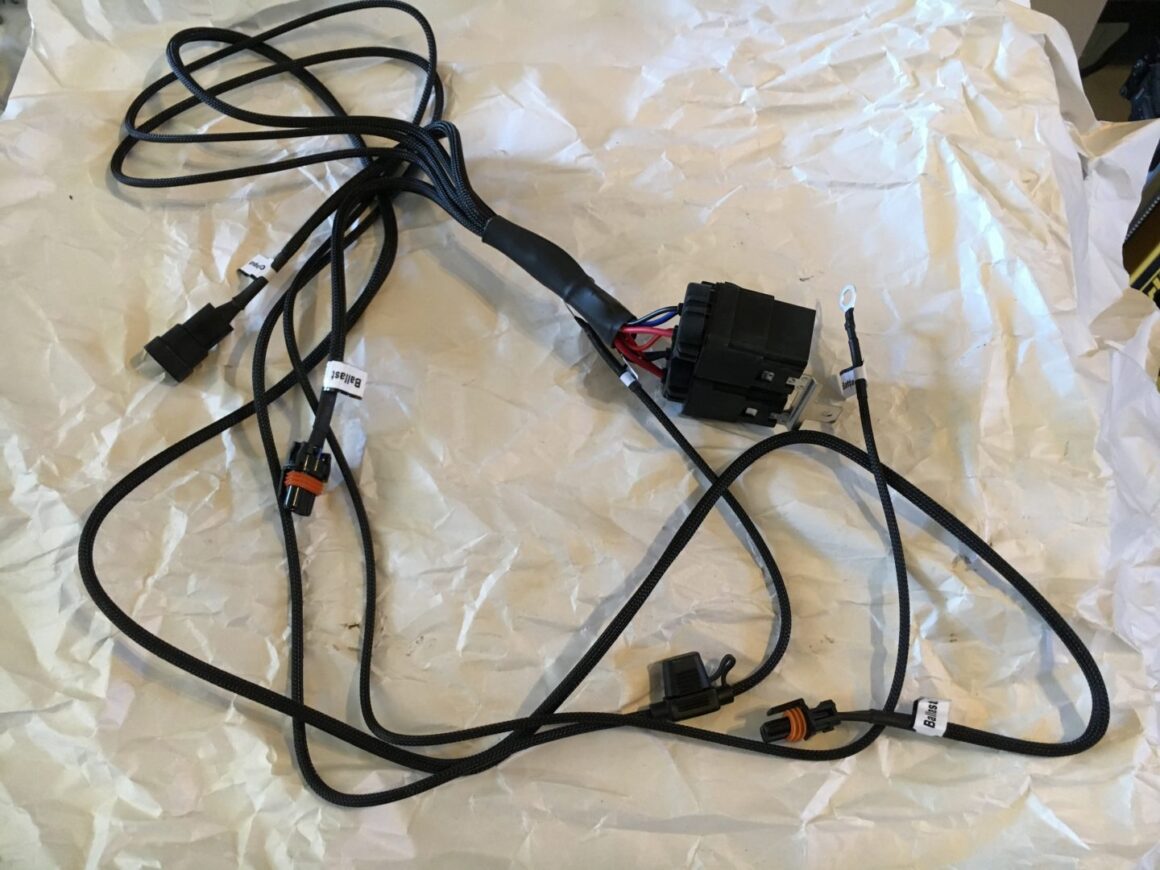
The wiring harness that comes with the HID projector retrofit kit can be laid out so you can plan your wiring runs. The wiring harness includes the relays, as well as a connection to the battery terminals (with fuse protection).
It is recommended to mount the ballasts with the wiring exiting the ballast faced down. This helps prevent water from entering the ballast through the wiring entrance.
ACME HID Projector Retrofit Kit Wiring Diagram
Here is a wiring diagram that comes from The Retrofit Source, that lays out the connections amongst the projectors, bulbs, ballasts, wiring harness, and car battery.
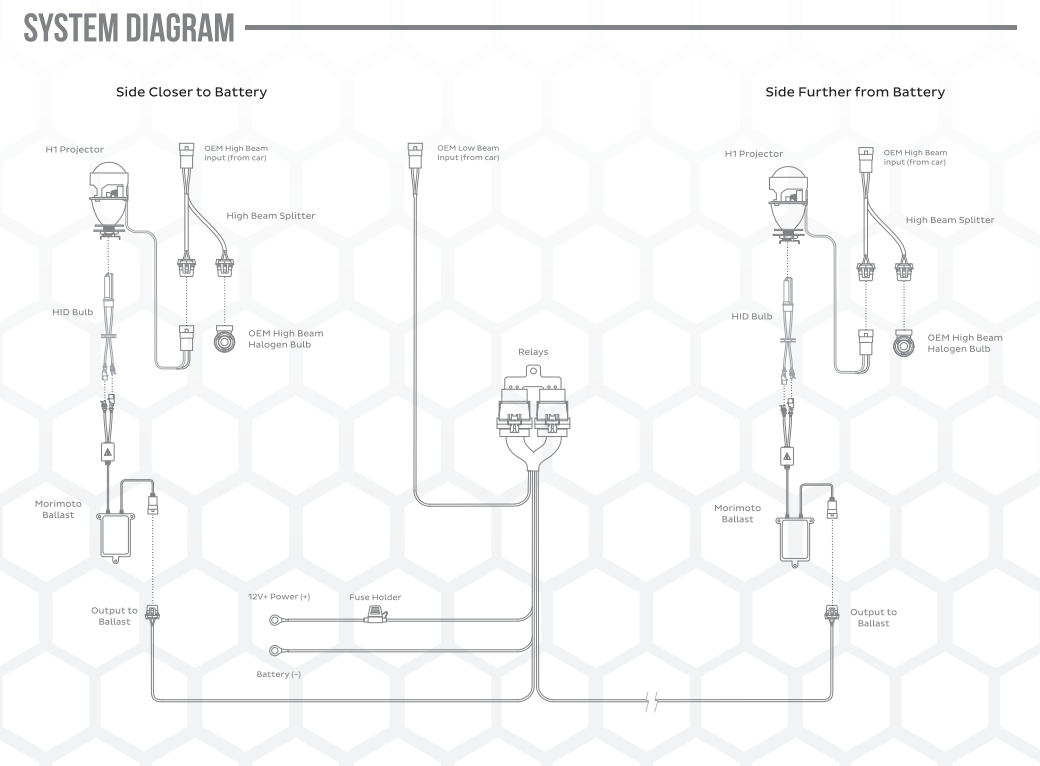
Wiring Layout in Engine Bay
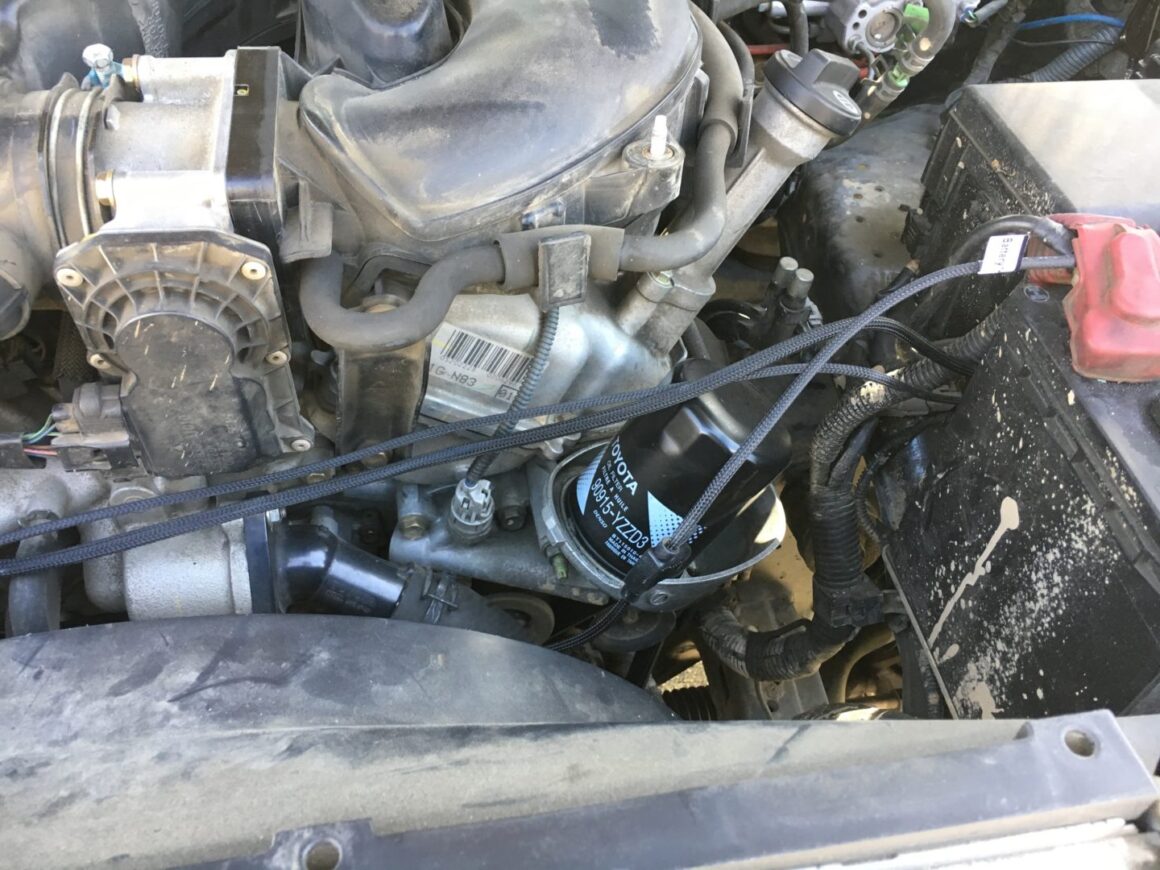
Following the wiring diagram above, start laying out the wiring in the engine bay and plan where the various components will go. For the relay and ballasts, they will need to be mounted to the frame of the car. In the 4th generation 4Runner, there are many existing bolt hole locations where you can mount these parts. If you want to mount these parts to locations where there are no bolt holes, you can always drill new holes or use self-tapping screws.
Try to route the wiring to avoid moving parts, and any components that may be excessively hot. You can zip-tie the wiring connections at particular locations to keep them secure.
Making the Connections
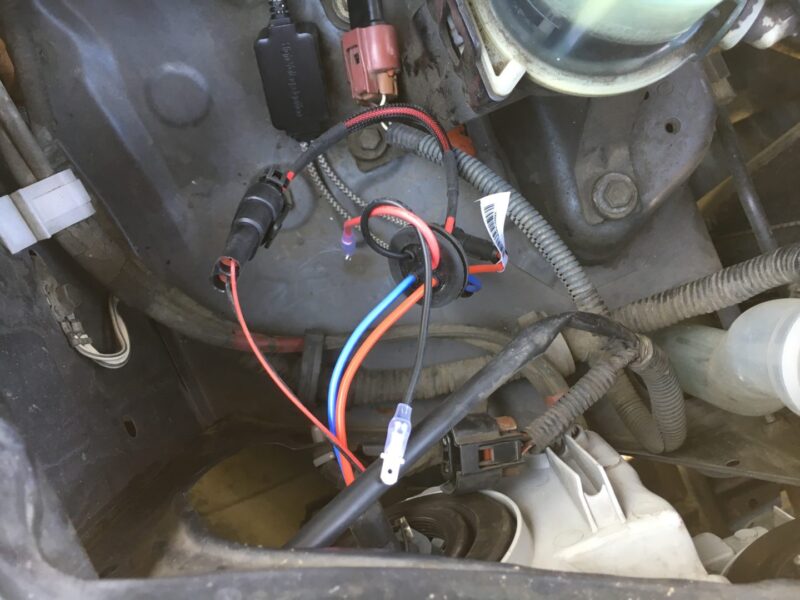
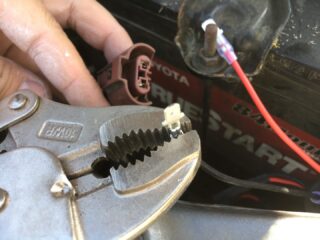
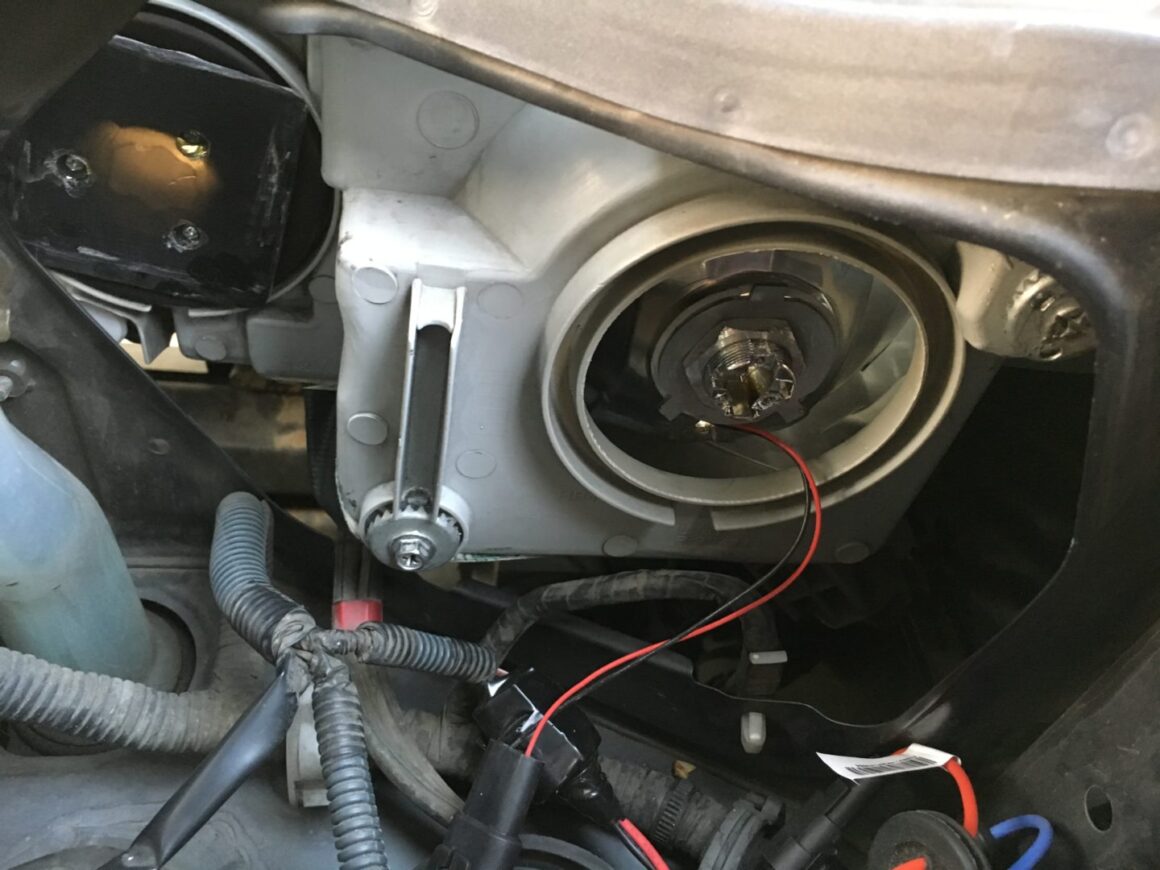
Next, connect the wiring from the headlights and projector. The two wires (red and black) that come from the projector needs to have the pinned ends inserted into the black plastic connector as seen below. There are orange rubber grommets that are over the red and black wires that will need to be inserted into the male 9006 connector along with the wires. Make sure you match up the red-to-red and black-to-black wiring to get the polarities correct.
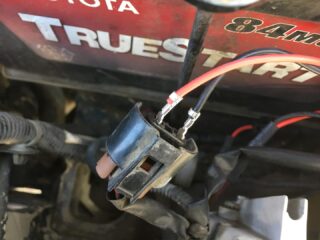
Make all the remaining connections in the wiring harness per the wiring diagram provided earlier in this post. There is also wiring and a connector coming from the relay that needs to be tied into the existing low beam connector. The red wire and black wire pinned ends, need to be manually inserted into the existing low beam connector and then secured. Again, make sure wire colors mate up on both ends.
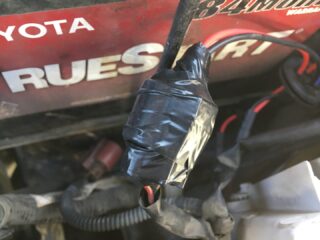
I plugged these leads directly into the low-beam connector. I then wrapped each individual connector lead with electrical tape, and then wrapped the entire connection to hold the whole thing together. A better way to make this connection would be to find an electrical connector that fits into the existing low-beam connector.
Keep in mind that there is only one of these plugs that ties into the existing low-beam wiring. Depending on where you mount your relay, you will need to connect it to the corresponding side’s low beam connector. The other low-beam connector will be left unplugged (or in my case, taped up with electrical tape).
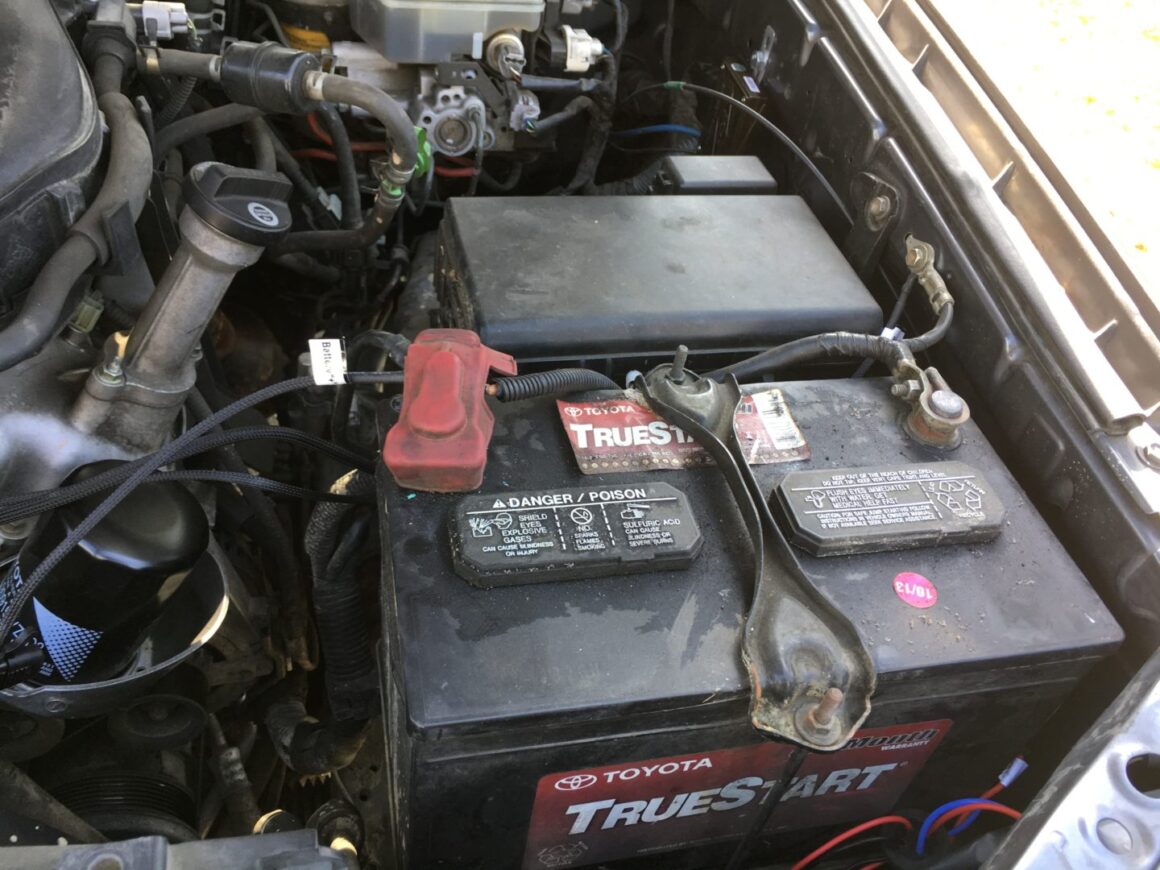
The last connection that needs to be made is at the battery. There is a positive and negative lead that needs to be connected and this is straight-forward to do: positive-to-positive, negative-to-negative.
With all of the connections made up, your wiring of the HID projector lighting system is complete. Check that there is a fuse in the fuse holder and that the fuse is good. Then make sure that all wiring and connections are made secure. Here is my wiring all secured with zip ties.
Testing the HID Projector Retrofit
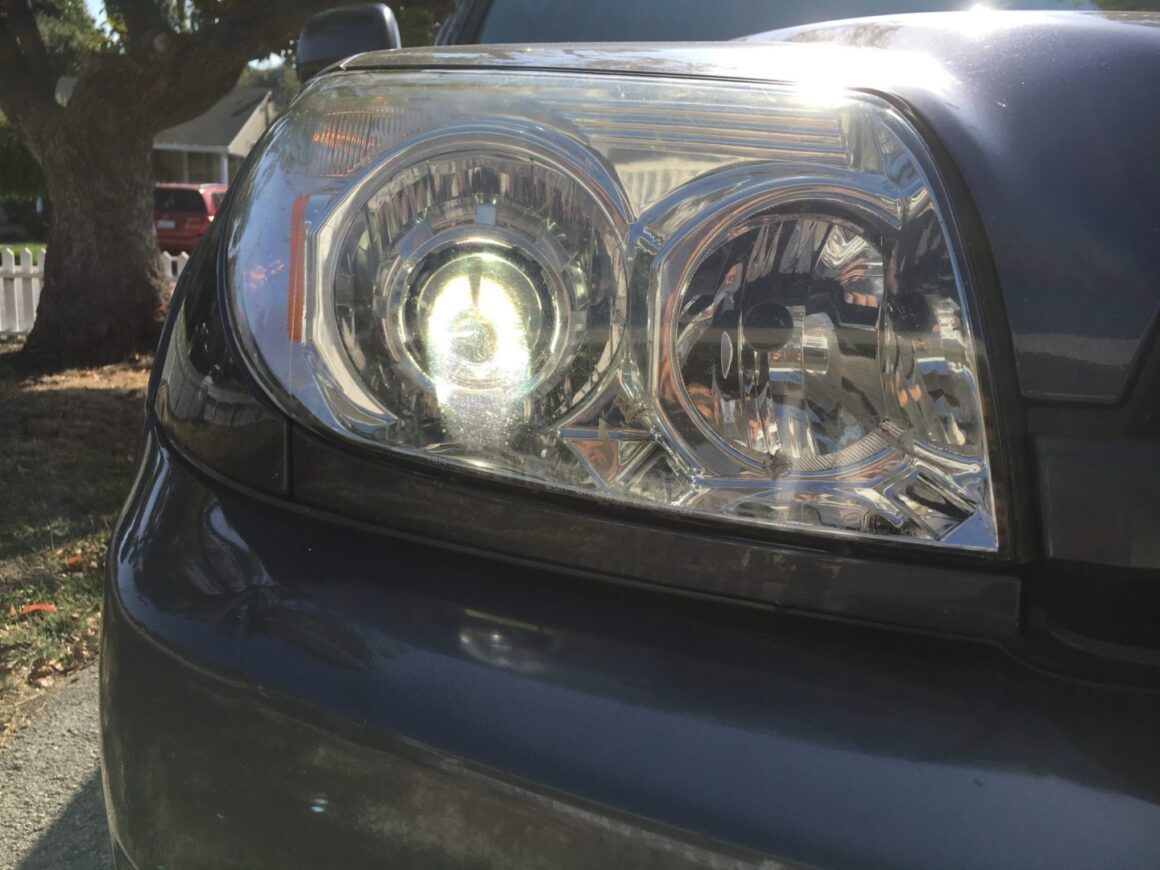
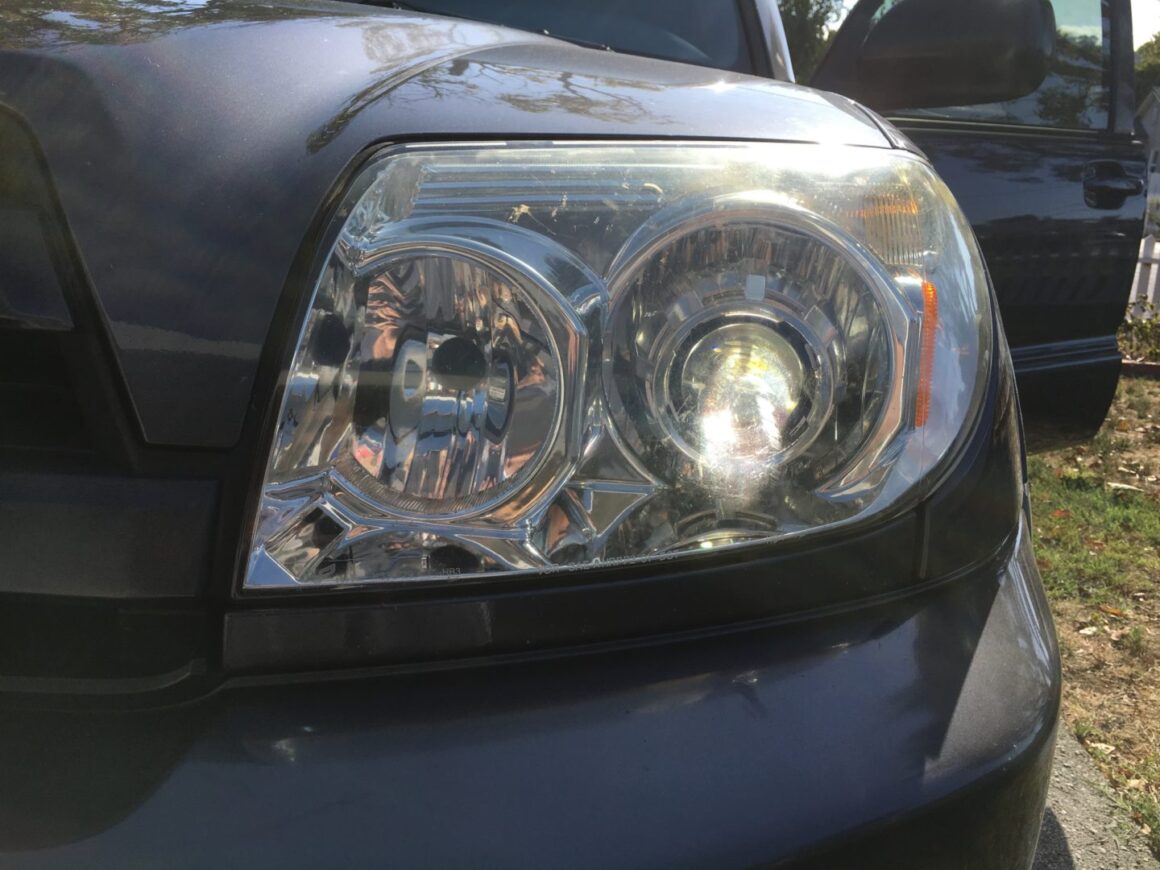
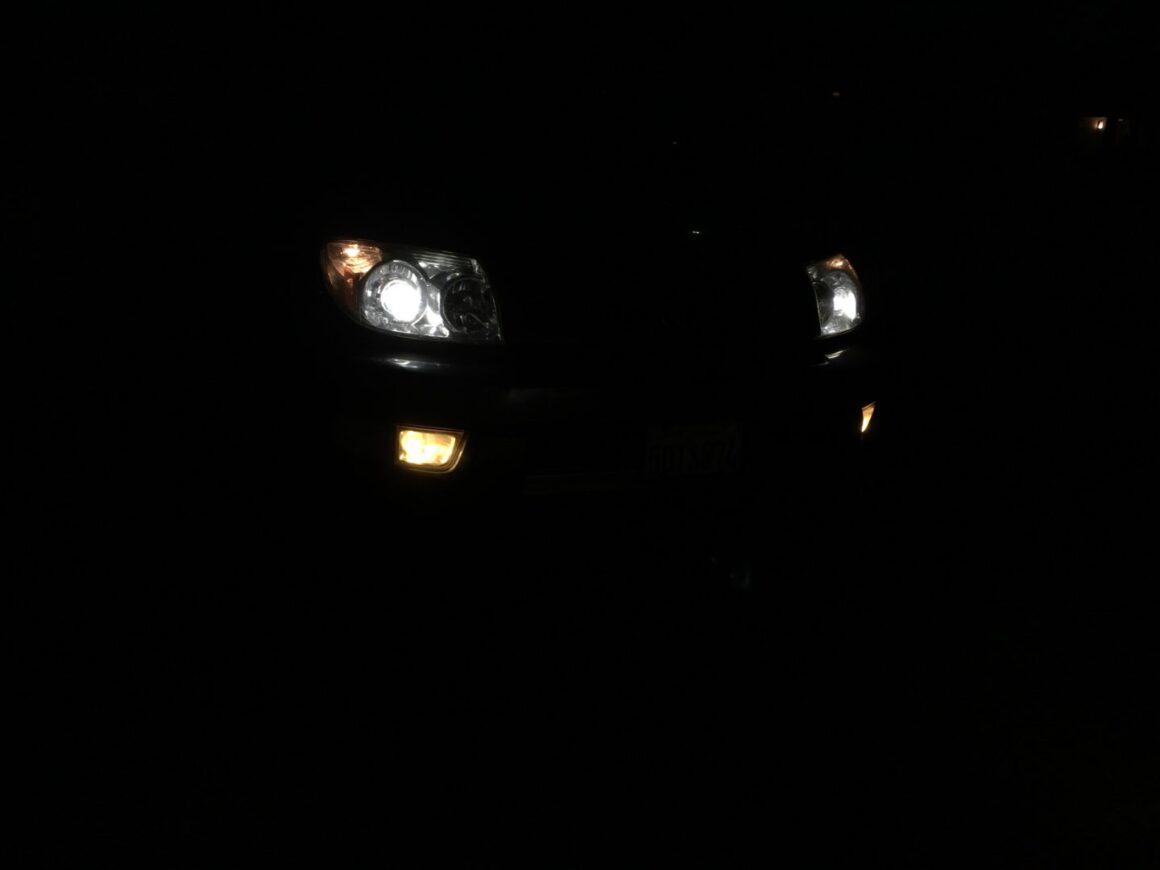
With everything wired up, its time to test out the new HID projector system. With the key in the ignition turned to ON, turn the headlights on. At this point if the installation went correctly, you’ll be rewarded with a brilliant beam of light shining out of your new projectors.
Aiming Projector Headlights
After performing an HID projector retrofit, it is critical to properly aim your new headlights. You certainly don’t want an ineffective beam pattern, but more importantly, you want to avoid blinding other cars on the road.
To aim your projector headlights, follow these steps:
- Find a location where the ground is fairly level and where there is a flat wall in front of you (and make sure you have 25 feet of space behind you too).
- Drive up slowly as close to the wall as you can and stop the car. Turn on the headlights. Also measure 25 feet back from the wall and mark the ground with a piece of blue tape.
- Measure the distance from the ground to the center of the projector.
- Transfer this measurement to the wall, minus 2 inches and then place a horizontal strip of blue tape to mark the spot. The reason you are parked close to the wall is so that you can identify the horizontal alignment of the beam of light.
- Measure the distance between your projectors (horizontal measurement from projector-to-projector) and verify the same on the wall that you marked.
- Now slowly back your car up until your bumper lines up with the blue tape mark you left on the ground earlier that indicates the 25 foot mark.
- Making sure that the headlights are on, go back outside and see where the headlight beam pattern matches up with the marks on the wall.
- Make adjustments to the rotation, horizontal, and vertical alignment of the beam pattern. The horizontal and vertical adjustments are made through the headlight adjustment Phillips screws on the back of the headlight assembly. The rotation can be adjusted by rotating the hid bulb and projector.
- When all adjustments are made properly, the cutoff lines should be level, the two steps should be spaced apart per your markings, and the left step should be 2 inches lower than the right step.
The headlight adjusting screws located on the back of the headlight assembly:
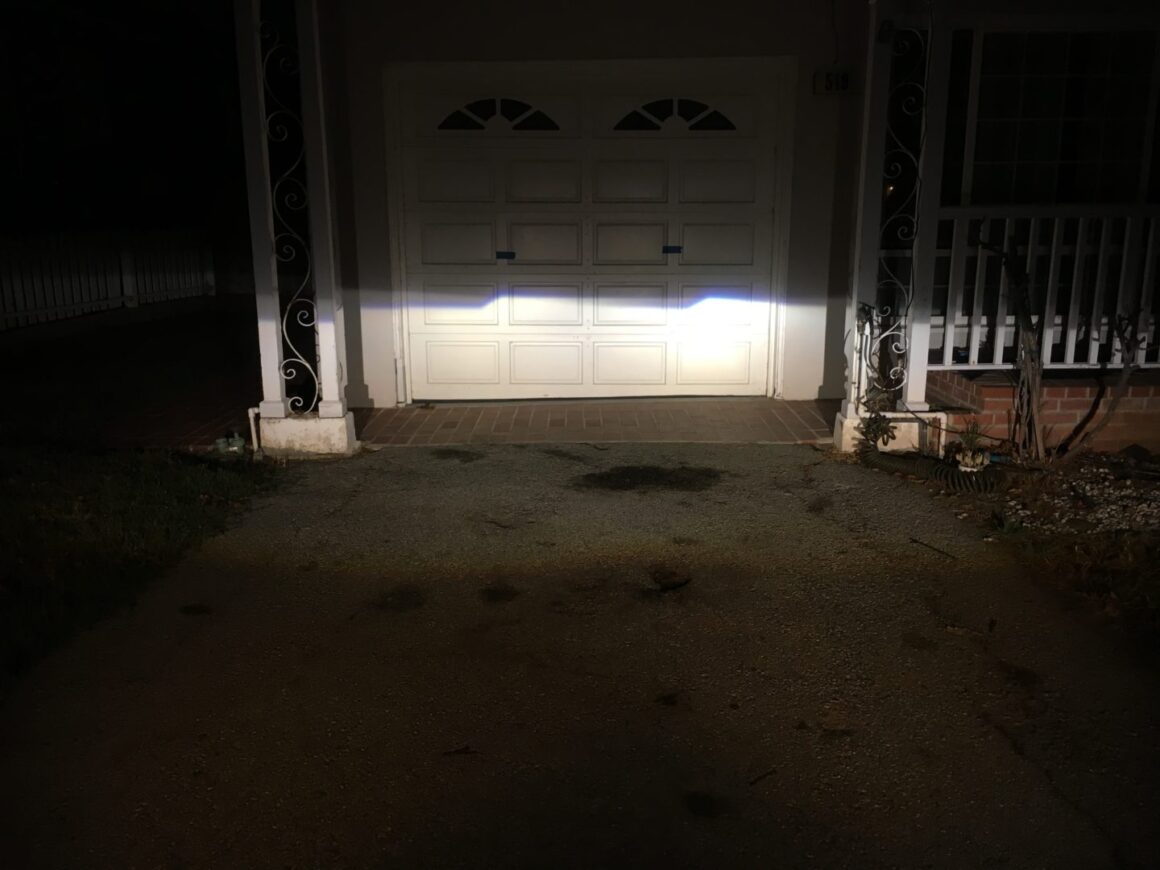
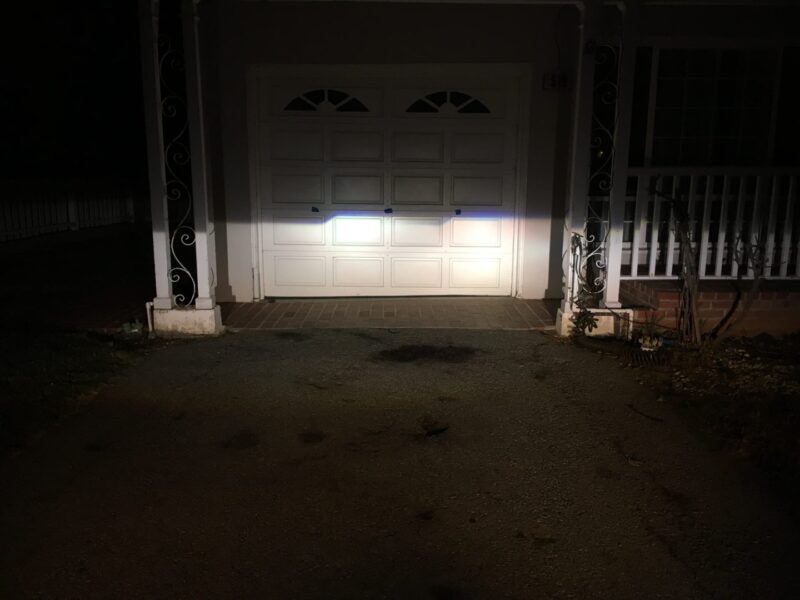
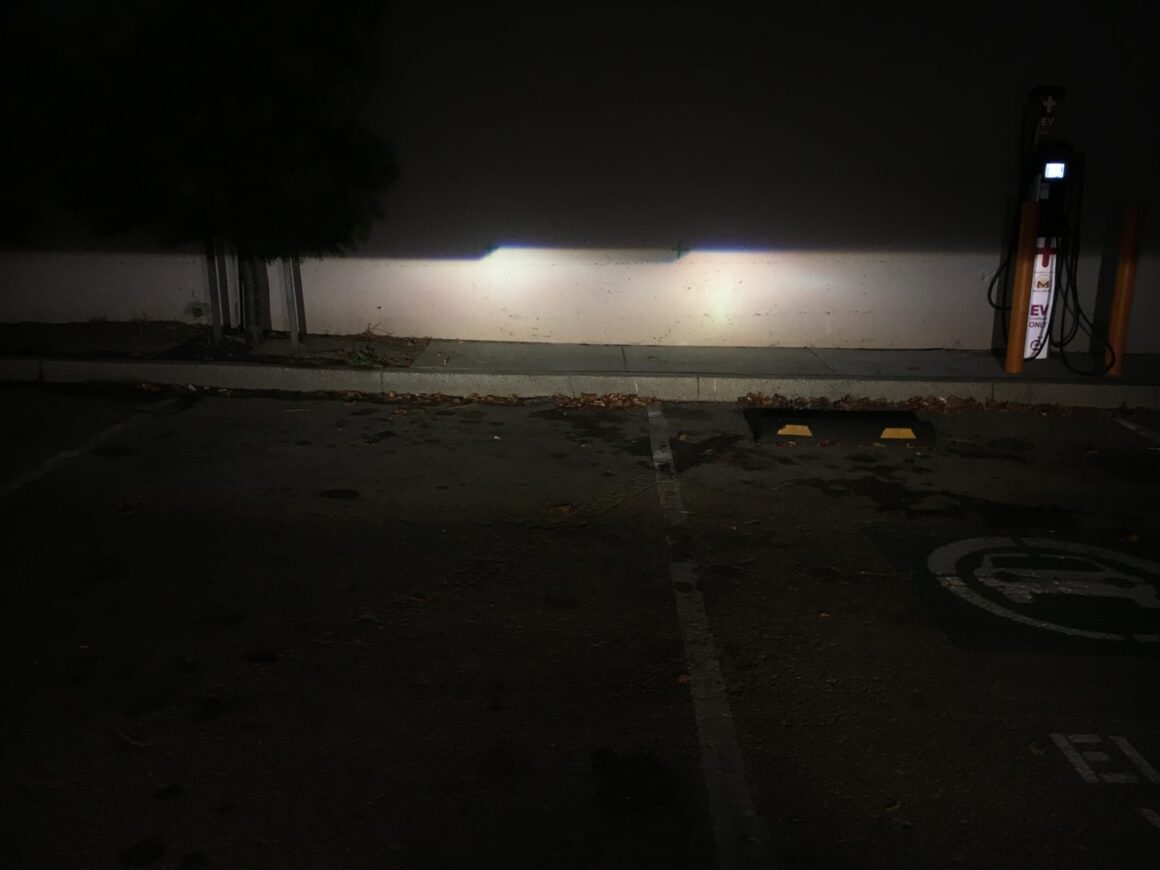
Here’s what my beam pattern looked like immediately after my install. It’s apparent that the projectors are rotated a bit too much to the right causing the line to be tilted to the right. Also, the lights are shining too low.
I made some adjustments are also realized that I didn’t put the blue tape marks down 2 inches like I should have. I was able to make the rotation adjustments with the projector, and did a final tightening of the projector lock ring to secure the rotation in place.
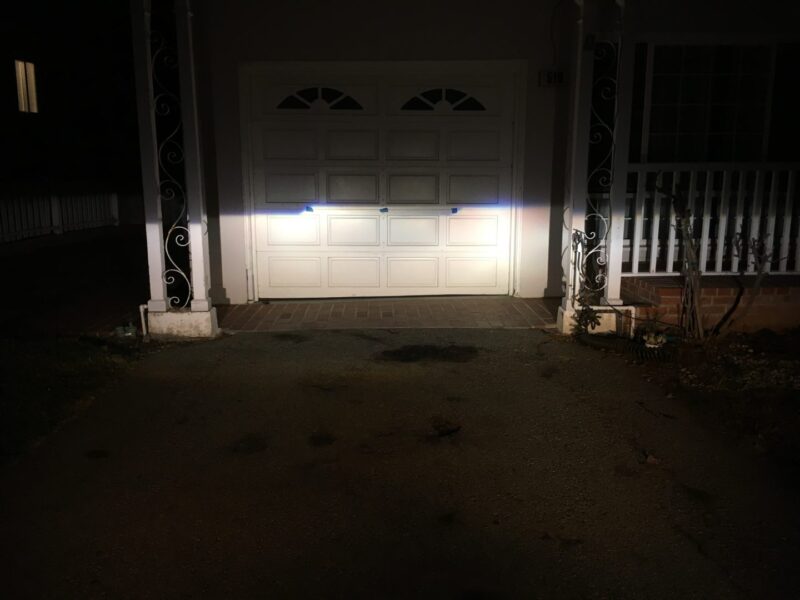
Finally, I was getting close to the marks, but I found that using my garage door was not going to get me as accurate of a measurement as I’d like. So, I found a nearby parking lot that had a nice flat wall. I was able to do the same projector headlight adjustment and see the measurements a lot more clearly. I was very happy with my final adjustments to get the following beam pattern.
How to Fix Bouncing Projectors
Although I was able to get my HID projector retrofit completed and aimed properly, I still ran into an incredibly annoying issue. While driving the car at night, I’d notice that the light was bouncing around as I drove over every bump in the road. The beam pattern looked like it was flickering almost while I was driving.
I discovered that the “bouncing” light was caused by the extra weight of the projectors being held in place only by the lock nut in the back of the projector. Unfortunately, this is one of the downsides of the ACME Projector Retrofit Kit. The lock nut held the projector to the reflector sufficiently, however the reflector does not have a secure enough connection to the headlight housing. Therefore, the whole projector and reflector that it is attached to, vibrates during normal driving.
After experimenting with different ways to more securely mount the projector to the headlight housing, I was finally successful. The solution is a crude one, although it has been working flawlessly for two years now.
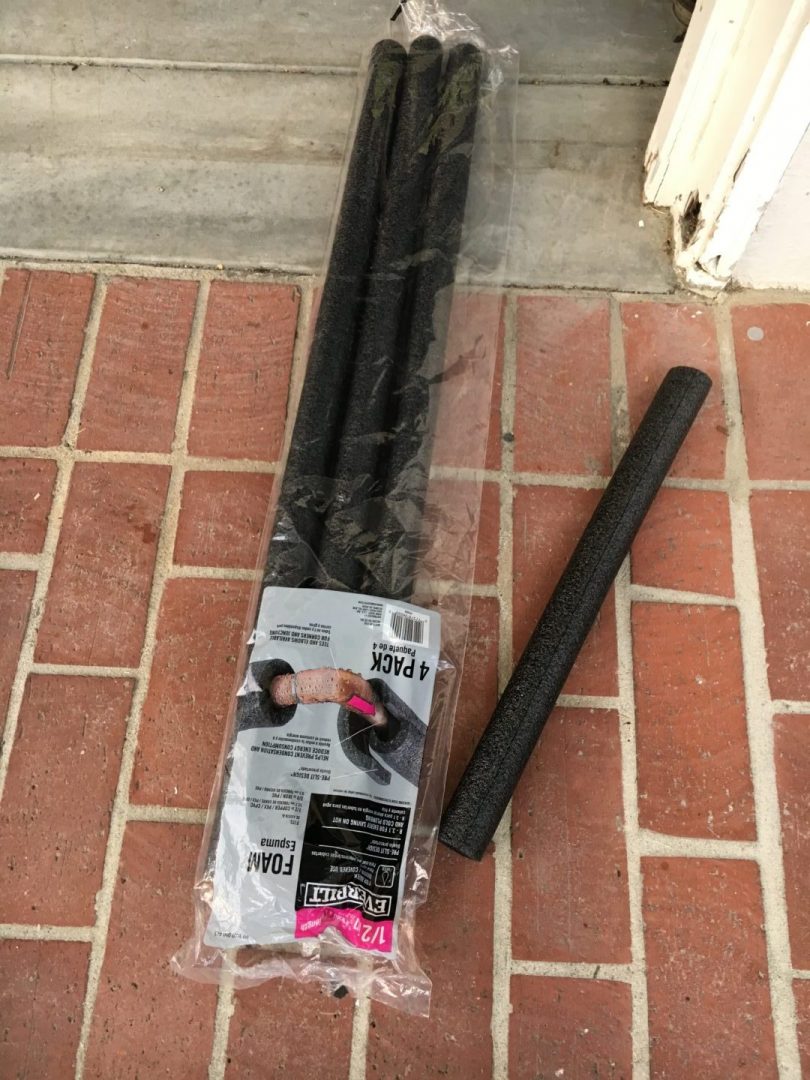
I used foam pipe insulation for this fix. This insulation is the kind used to wrap around pipes in your crawl space or basement at home.
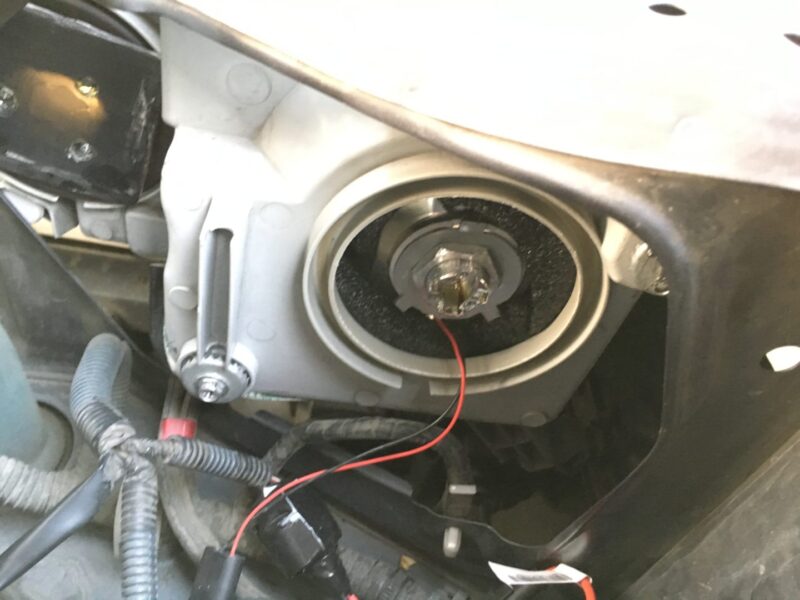
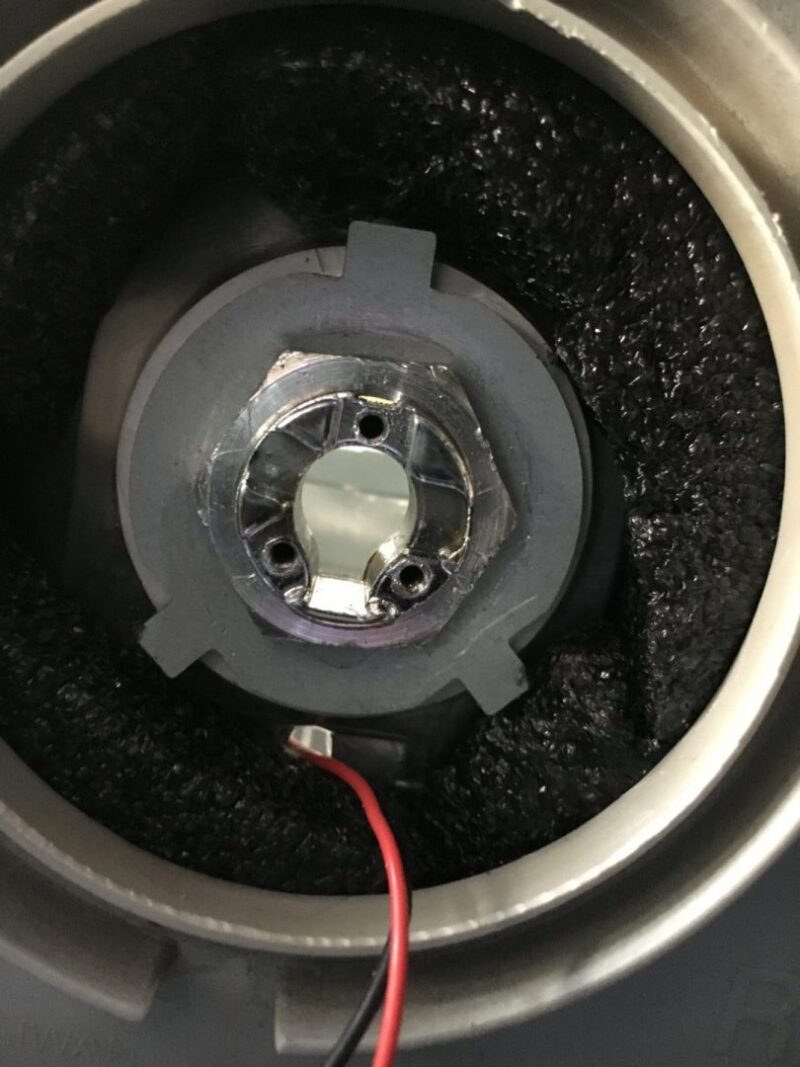
I cut these foam rolls into strips and wedged them between the reflector and the headlight housing. Since the foam is able to be compressed and then decompress, it allowed me to press it into the void between the reflector and the headlight housing.
Take great care to keep the foam away from the actual HID bulb itself, which could potentially be a fire hazard. This simple solution took care of the vibrating/bouncing/flickering issue and I haven’t had an issue since.







4 Comments
Hey, Any update on how these have been holding up for you? Considering doing the same or buying and re-sealing some aftermarket ones.
They are still working wonderfully. I only recently started experiencing one of the bulbs not lighting up (randomly), but I will just turn off and then turn on the headlights and it’ll work again. Probably a sign of the bulb starting to see the end of its life.
I bought a pair of morimoto HID bulbs to see if they would have better light output, however I haven’t got to try it out yet. I’ll probably wait until the current bulbs totally give out. =)
Does that supplied rubber cap do a sufficient job sealing the back of the lamp? Or does the factory cap still fit?
If you’re talking about the rubber cap on the last photo on this post, those are the original caps; they were not included with the projector retrofit kit I got. It’s possible the rubber caps look different from OEM ones as I replaced my OEM headlights with aftermarket ones a long time ago.