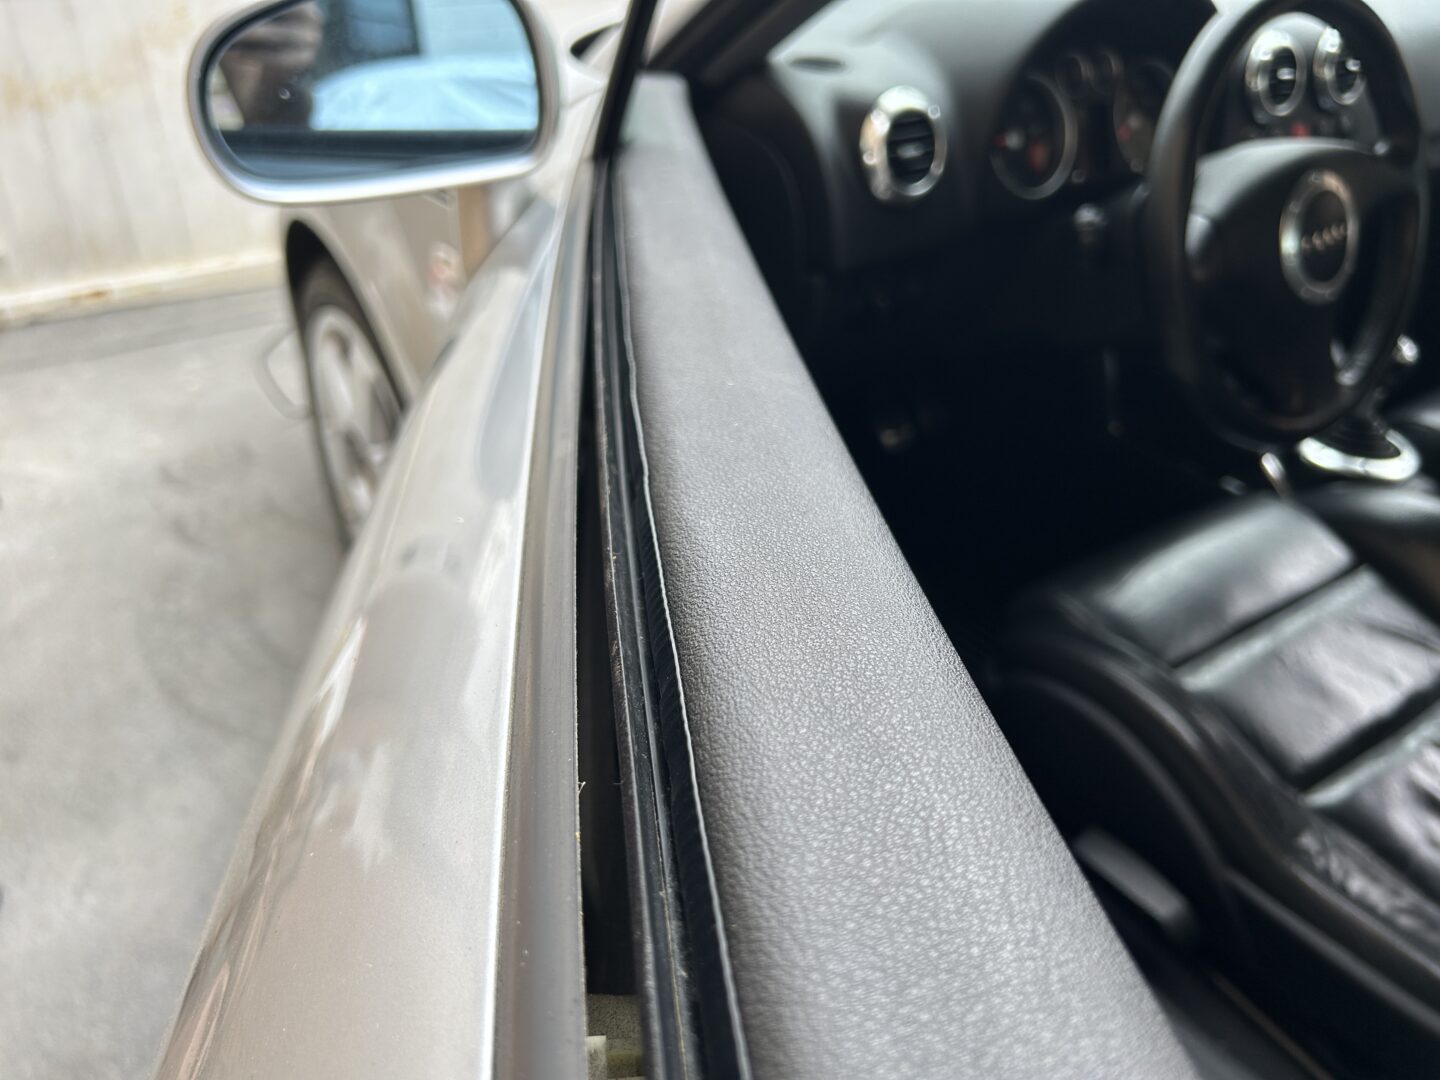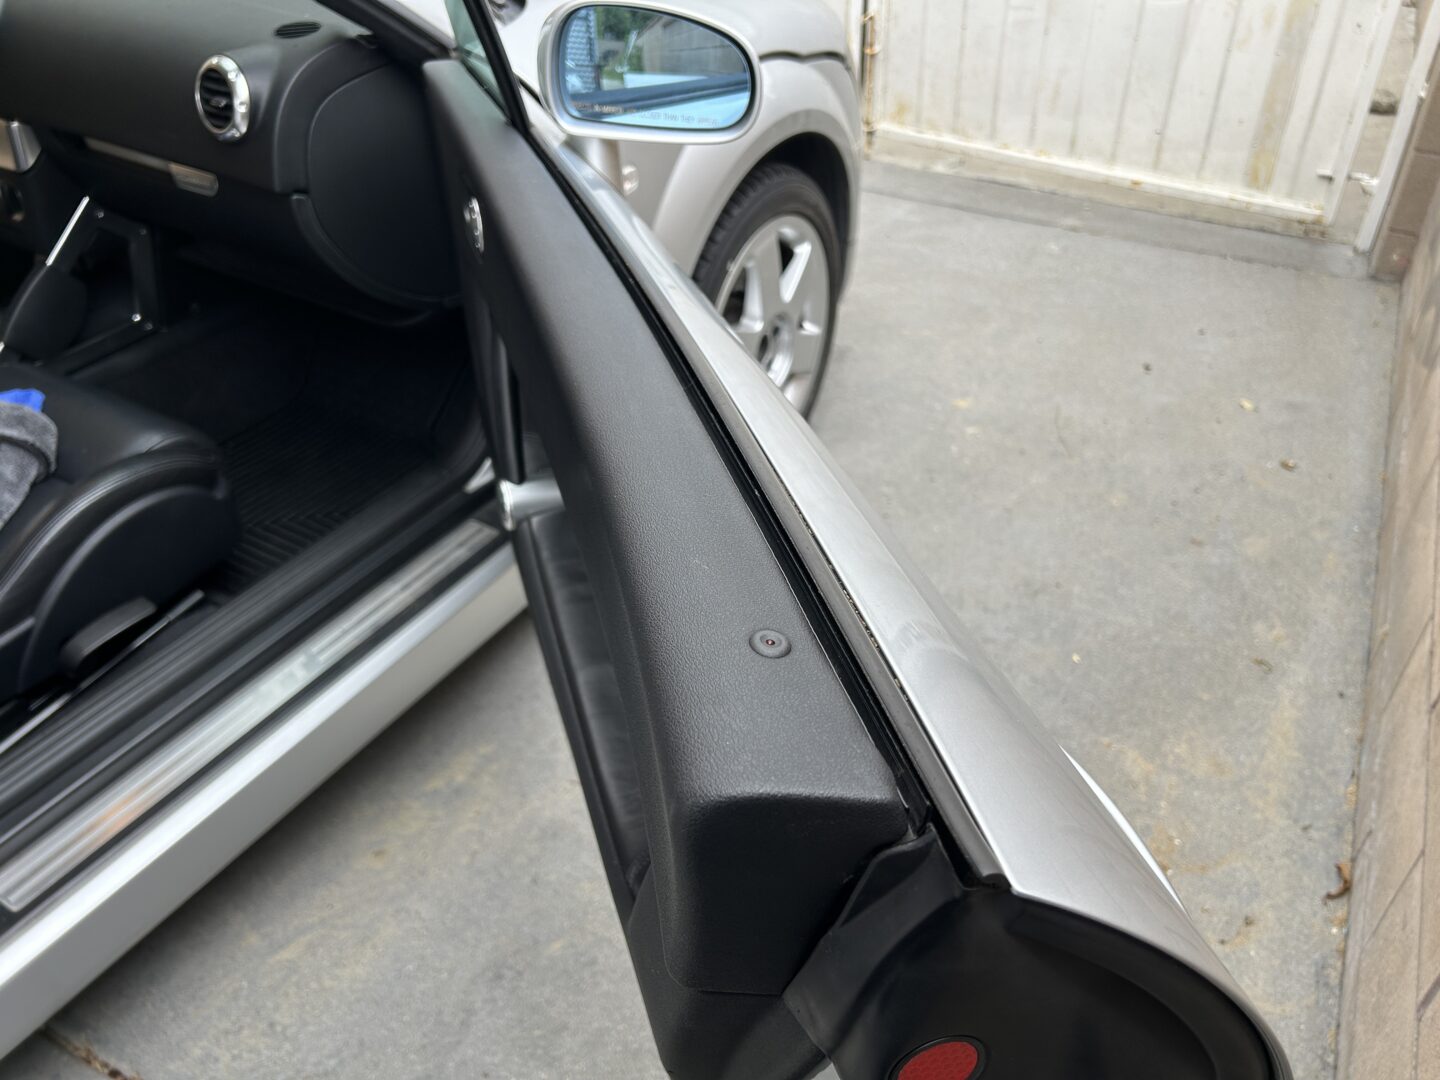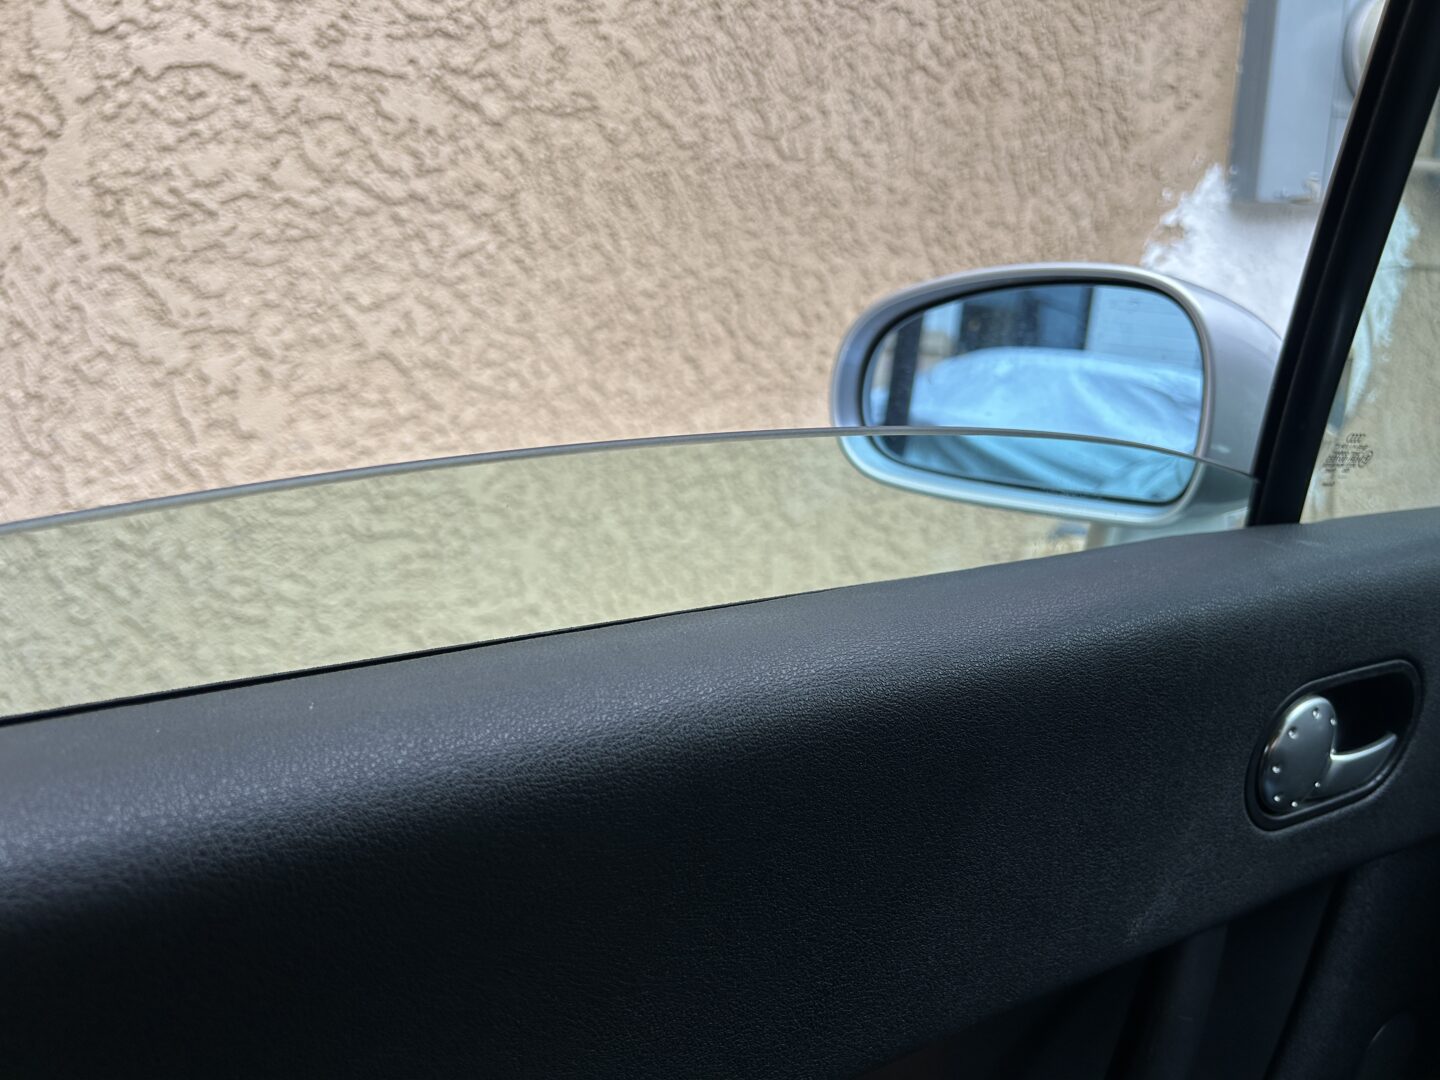
The MK1 Audi TT is notorious for having door panels where the interior upper edge gets lifted up and caught on the windows when you’re rolling the window up or down. This happens because the glue that holds the vinyl material of the interior door panel to the door loosens up. With every each raising or lowering of the window, the vinyl material gets caught on the glass and makes it worse. An unfortunate side effect is the streaks of door panel glue that ends up stuck on the window glass.
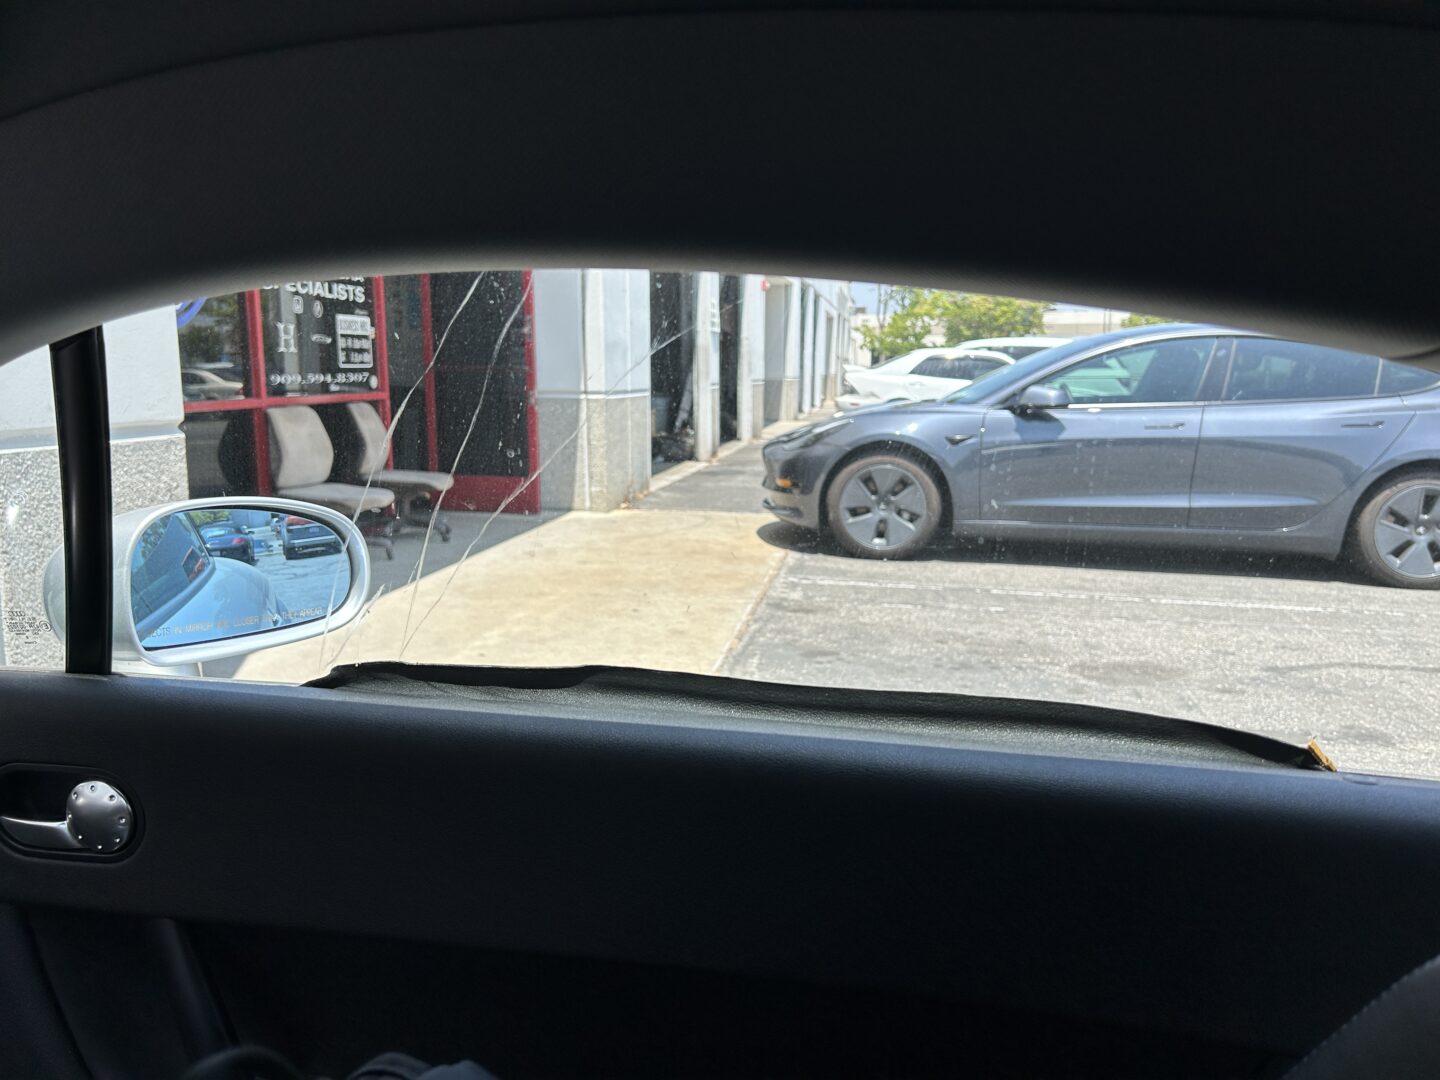
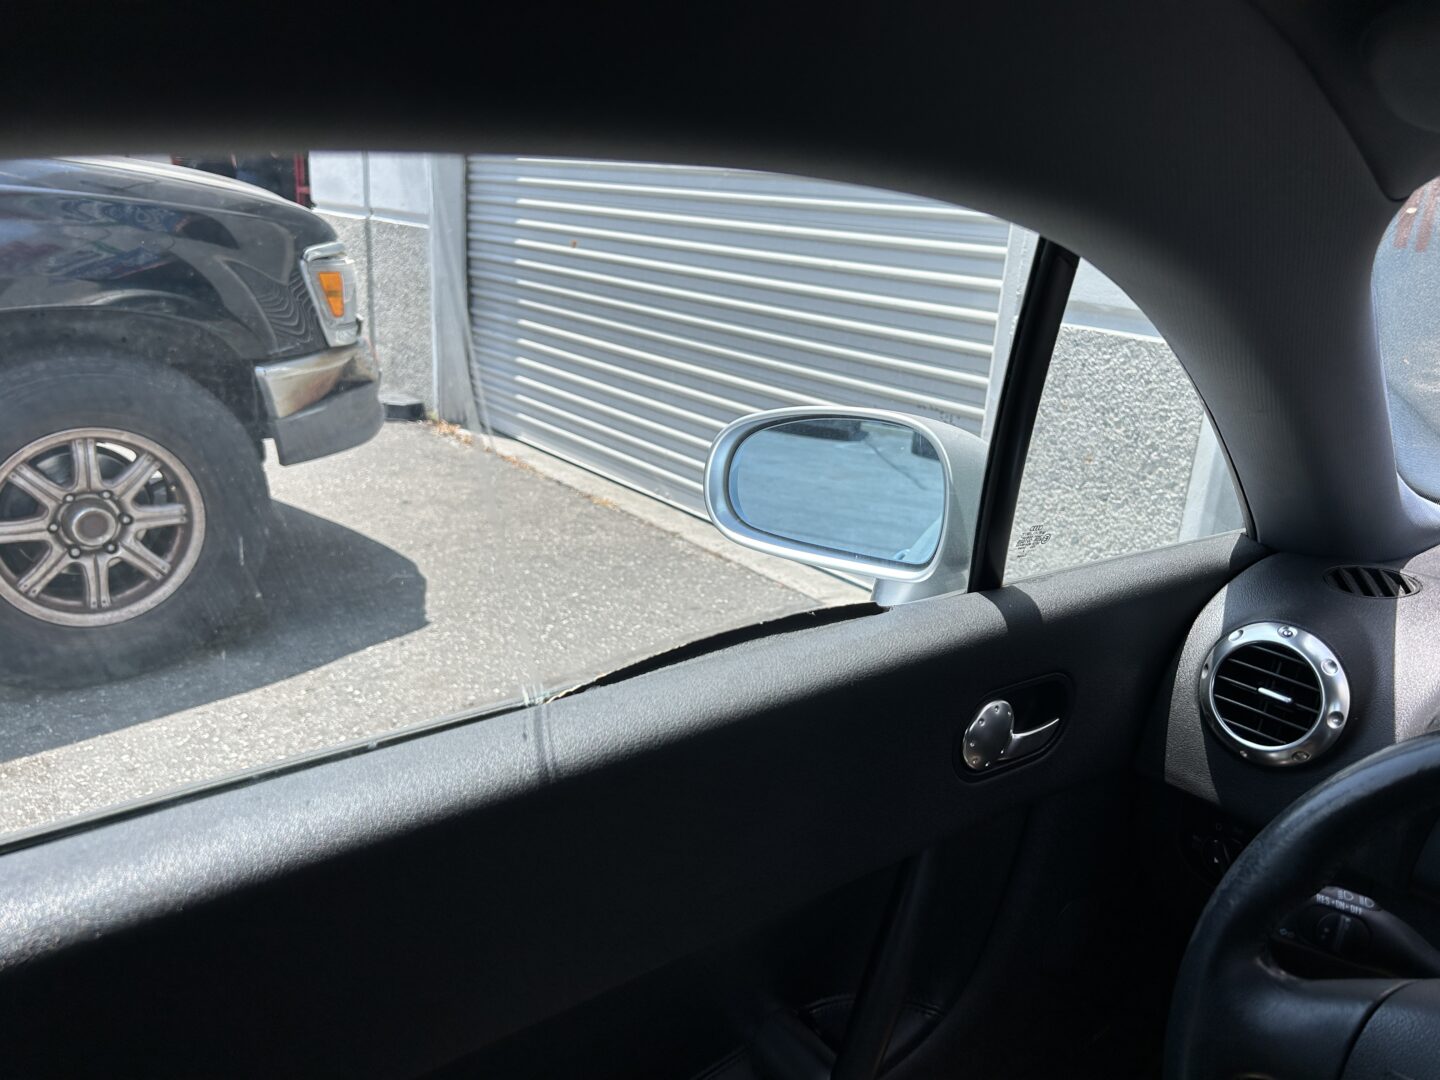
To fix this issue, you’ll need to remove the interior door panel and re-glue as well as re-flatten the vinyl so that it does not separate again. Online, I’ve seen some substandard repairs done by others, but not a lot of good repairs done. I wanted to document my own personal repair as I feel that it offers a very good repair method for this incredibly common issue on the MK1 TT.
Tools/Materials Needed
Torx Bit Screwdriver Set: TEKPREM 12-Piece Security Torx Driver Set
Interior Trim Tools: Tresalto Auto Trim Removal Tool Kit – 5pc
Plastic Spring Clamps: Romda – 12 Pack Plastic Spring Clamps, 3.5inch
Spray Adhesive: DAP Weldwood Landau Spray Contact Adhesive
Door Edge Guard: SYOAUTO 13Ft(4M) Door Edge Guard
Epoxy: Gorilla 2-Part Epoxy, 5-Minute Set, 0.85oz.
All Purpose Cleaner: Simple Green All Purpose Cleaner Concentrate
Microfiber Towels: Amazon Basics Microfiber Cloths 16″ x 12″ (24-pk)
MedPride Nitrile Gloves (Box/100): Small / Medium / Large / X-Large
How to Repair the Upper Edge of the Interior Door Panel
First, you’ll need to remove the interior door panel, which requires you to remove the sealing rubber parts as shown. You’ll also need to unscrew the center cap at the door panel, and then use a Torx bit to remove the long bolt which holds the door panel in.
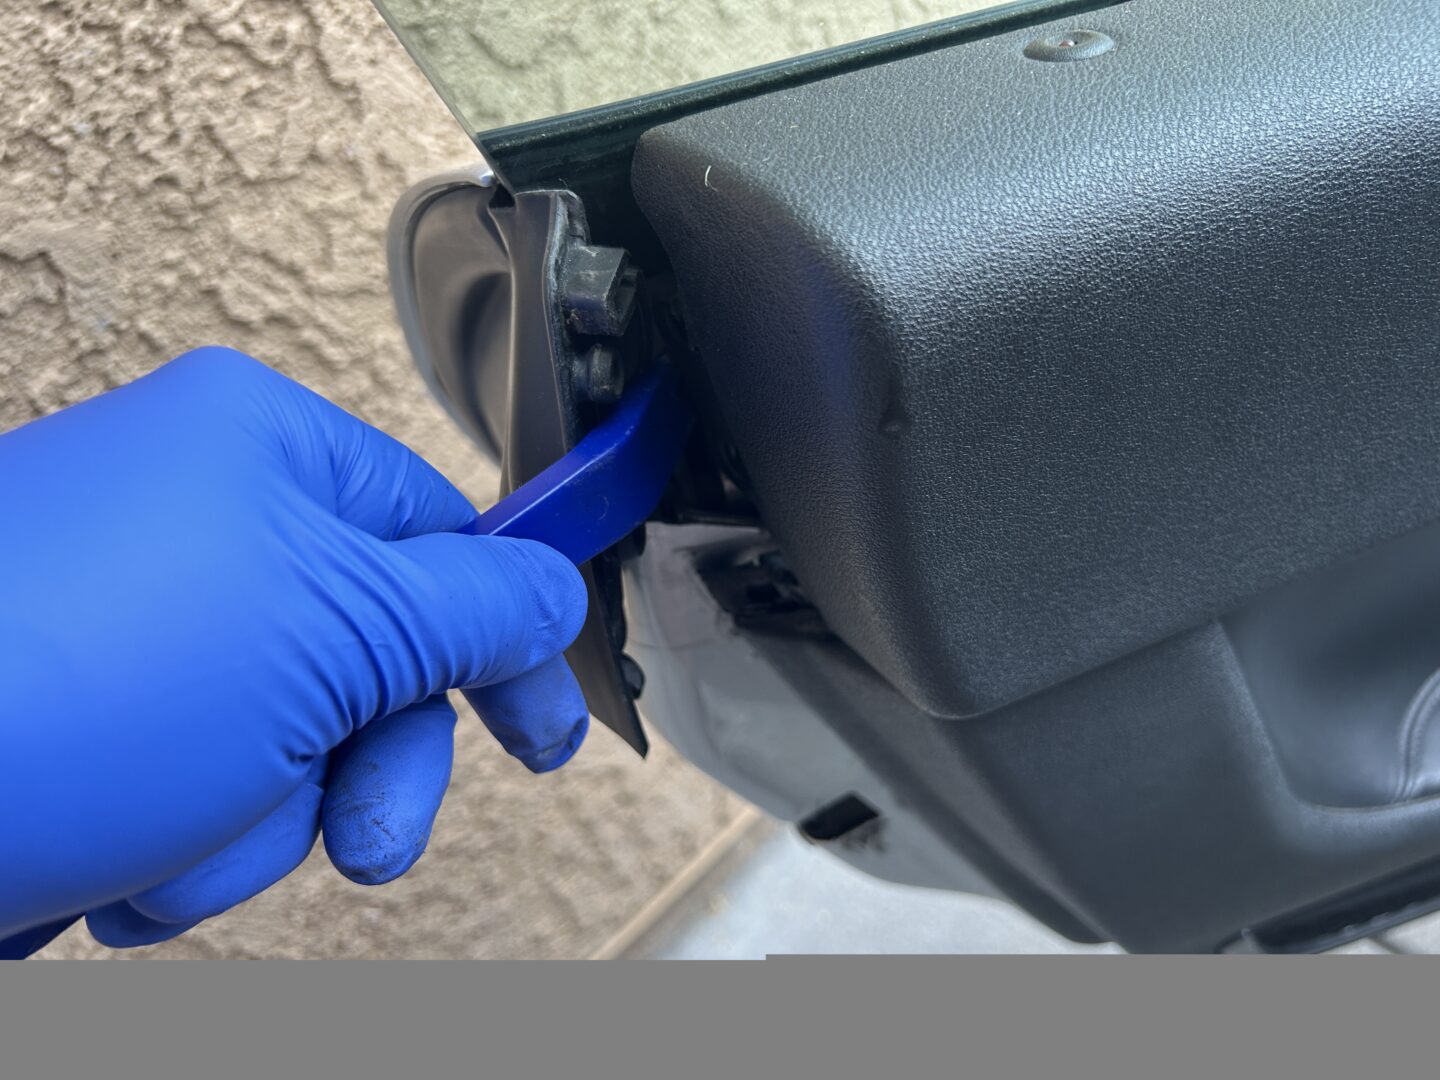
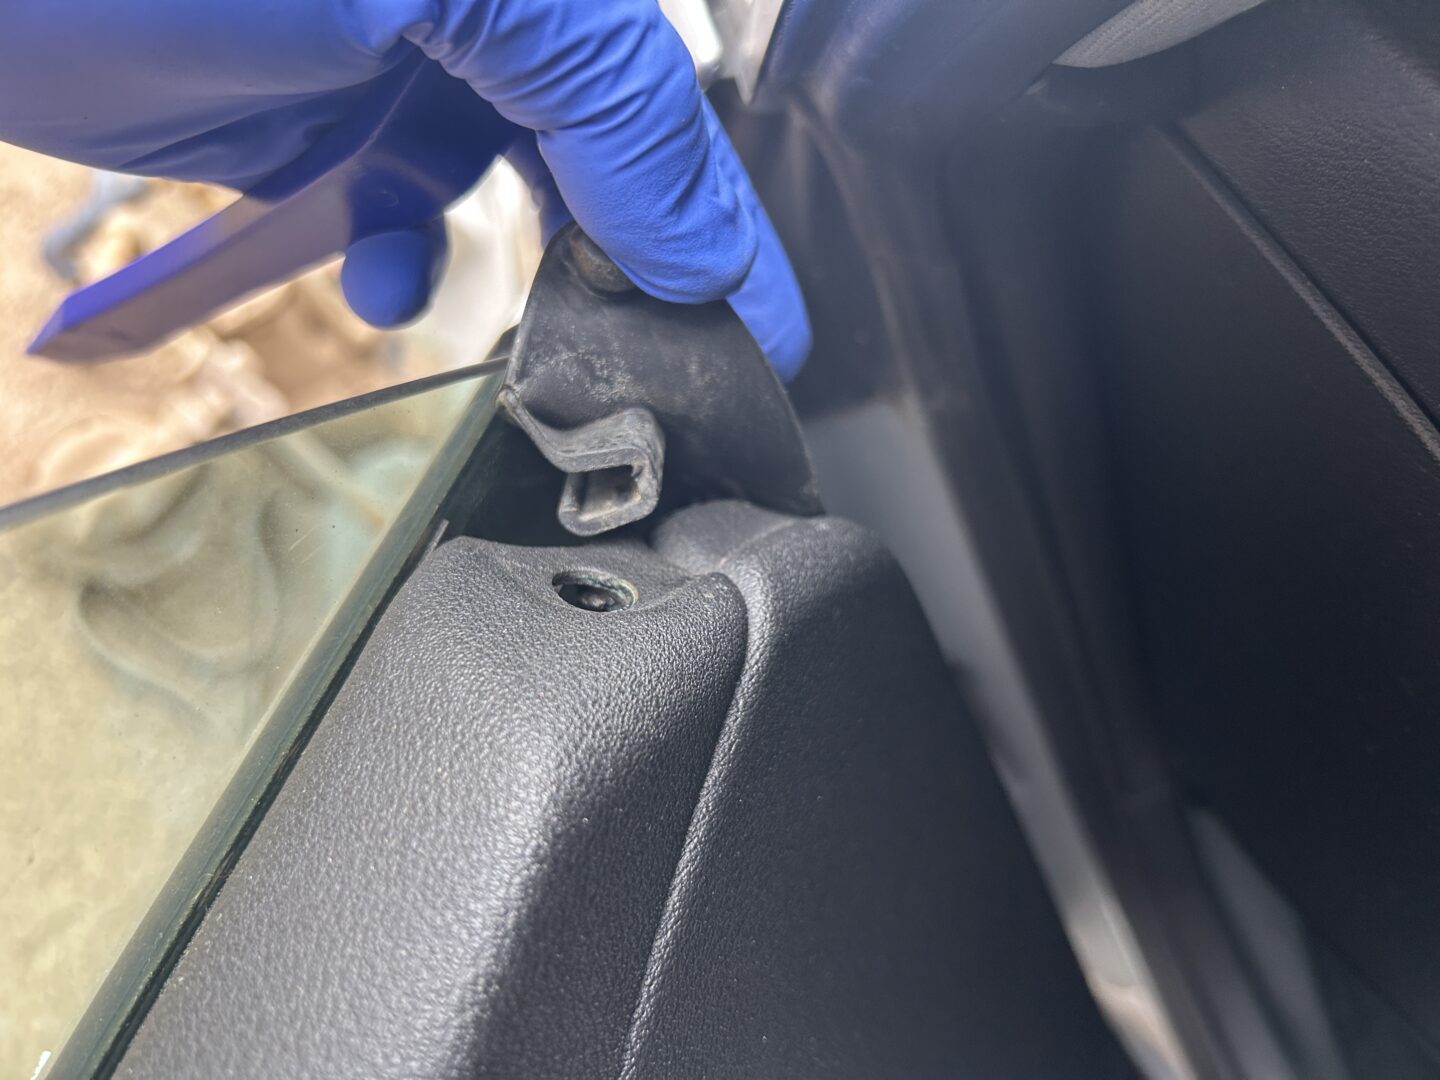
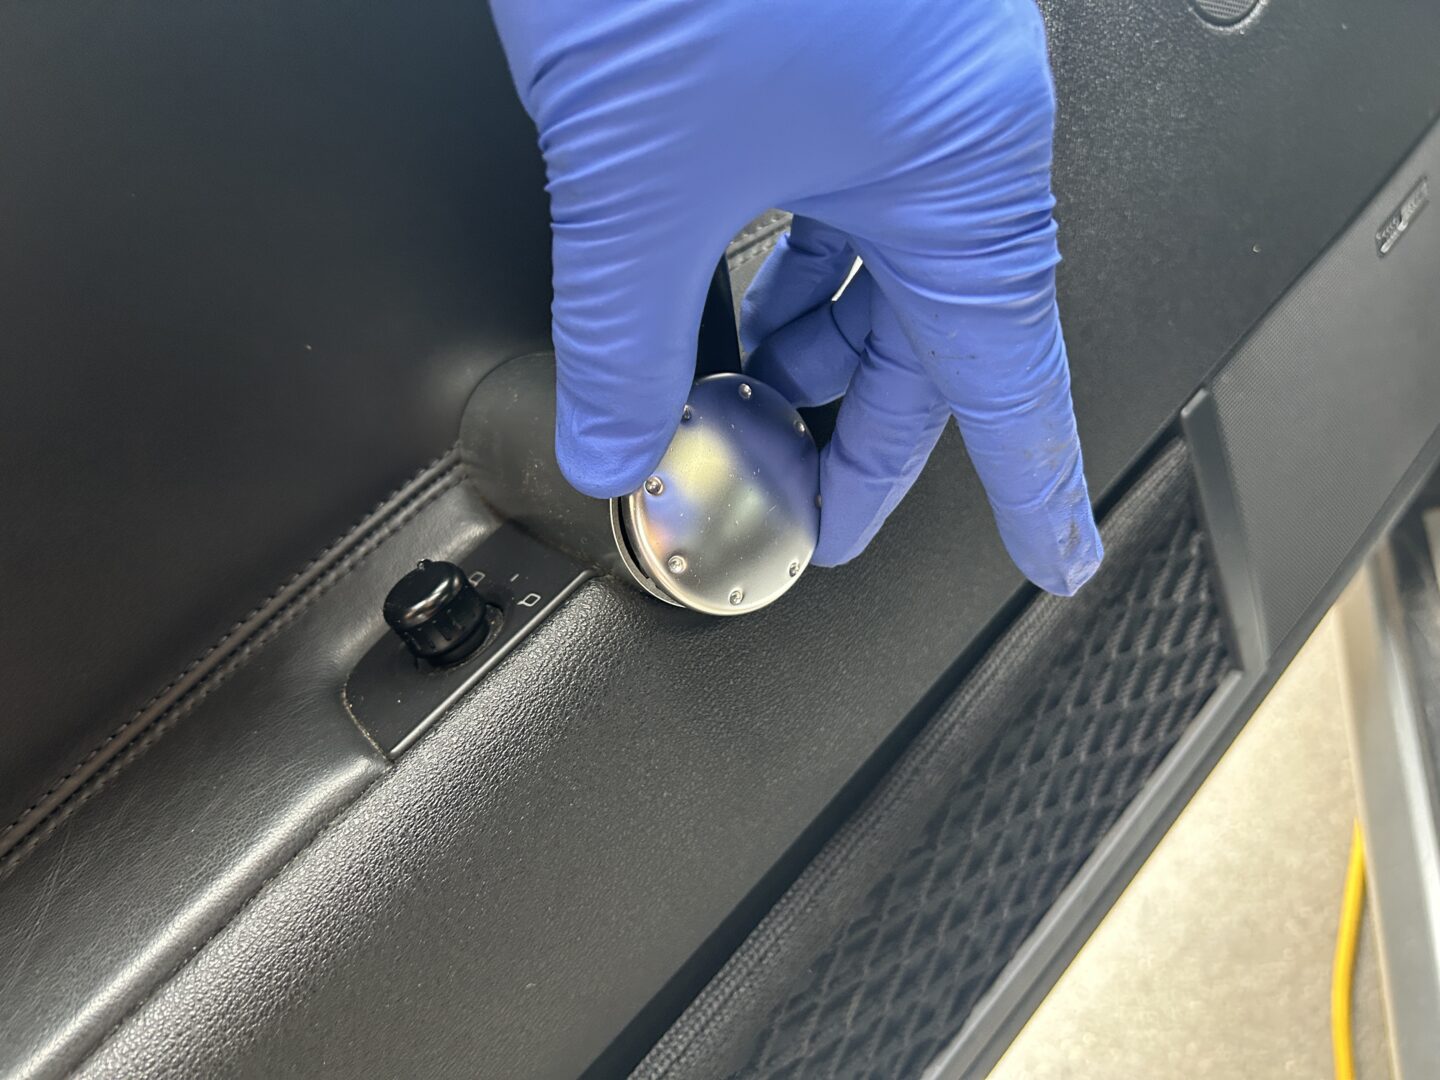
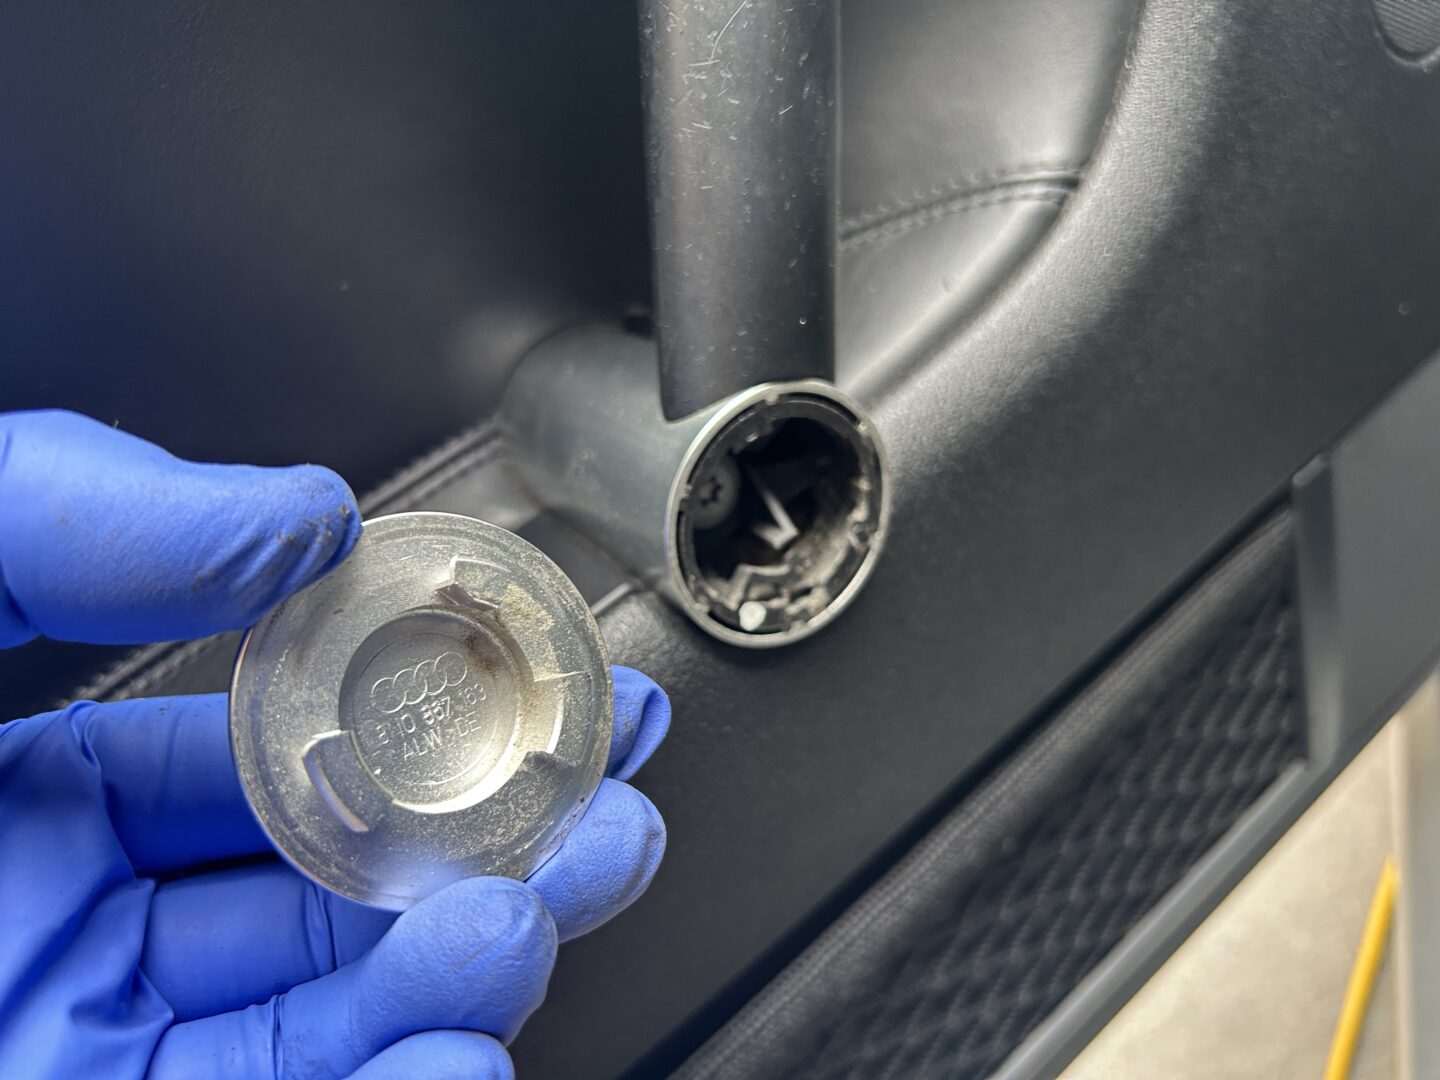
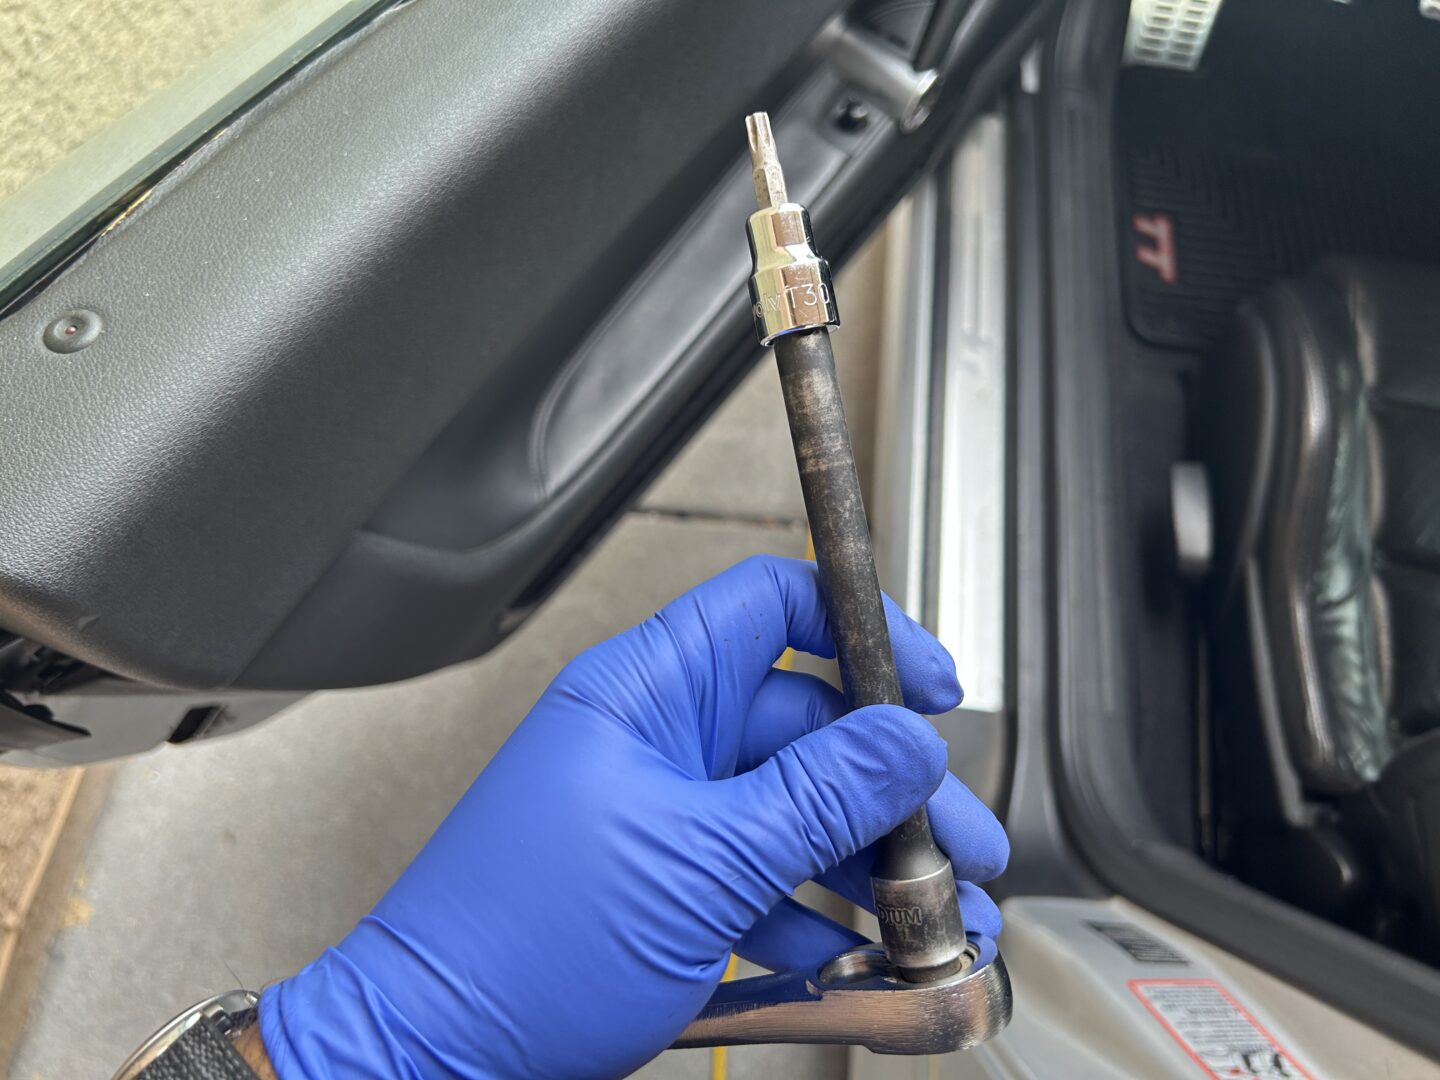
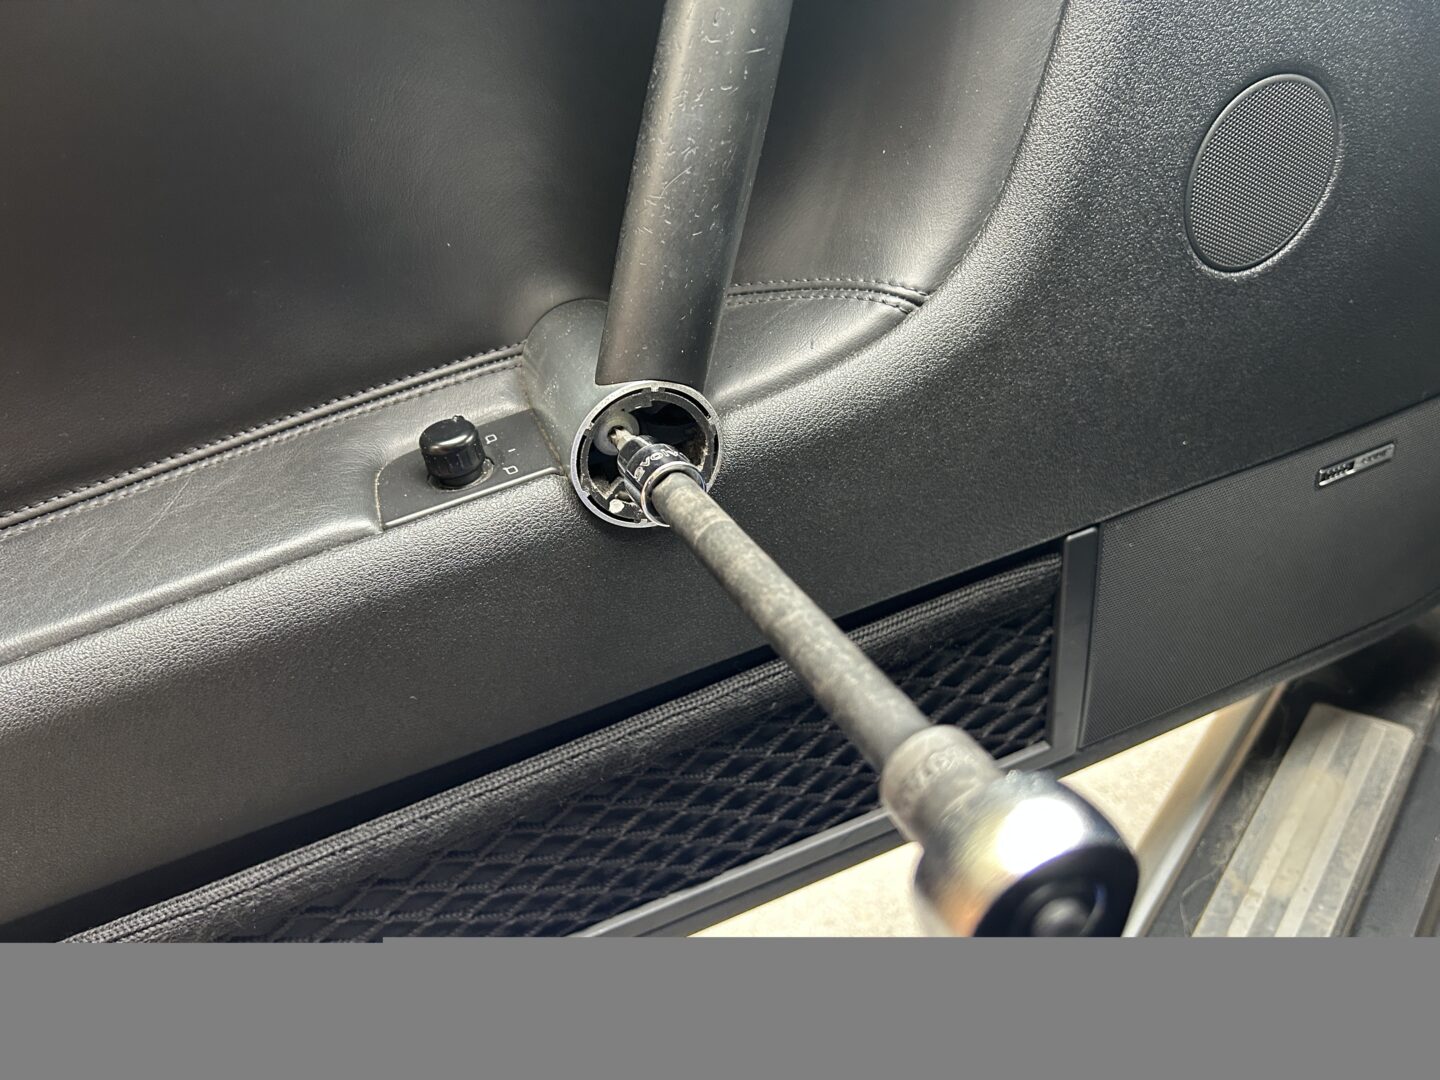
You can now grab the handle of the door panel and lift the whole panel up and then away from the door. You will need to keep the door panel close to the door still as you still need to unhook the door handle hook, as well as disconnect the electrical connectors for the power windows/locks/mirrors.
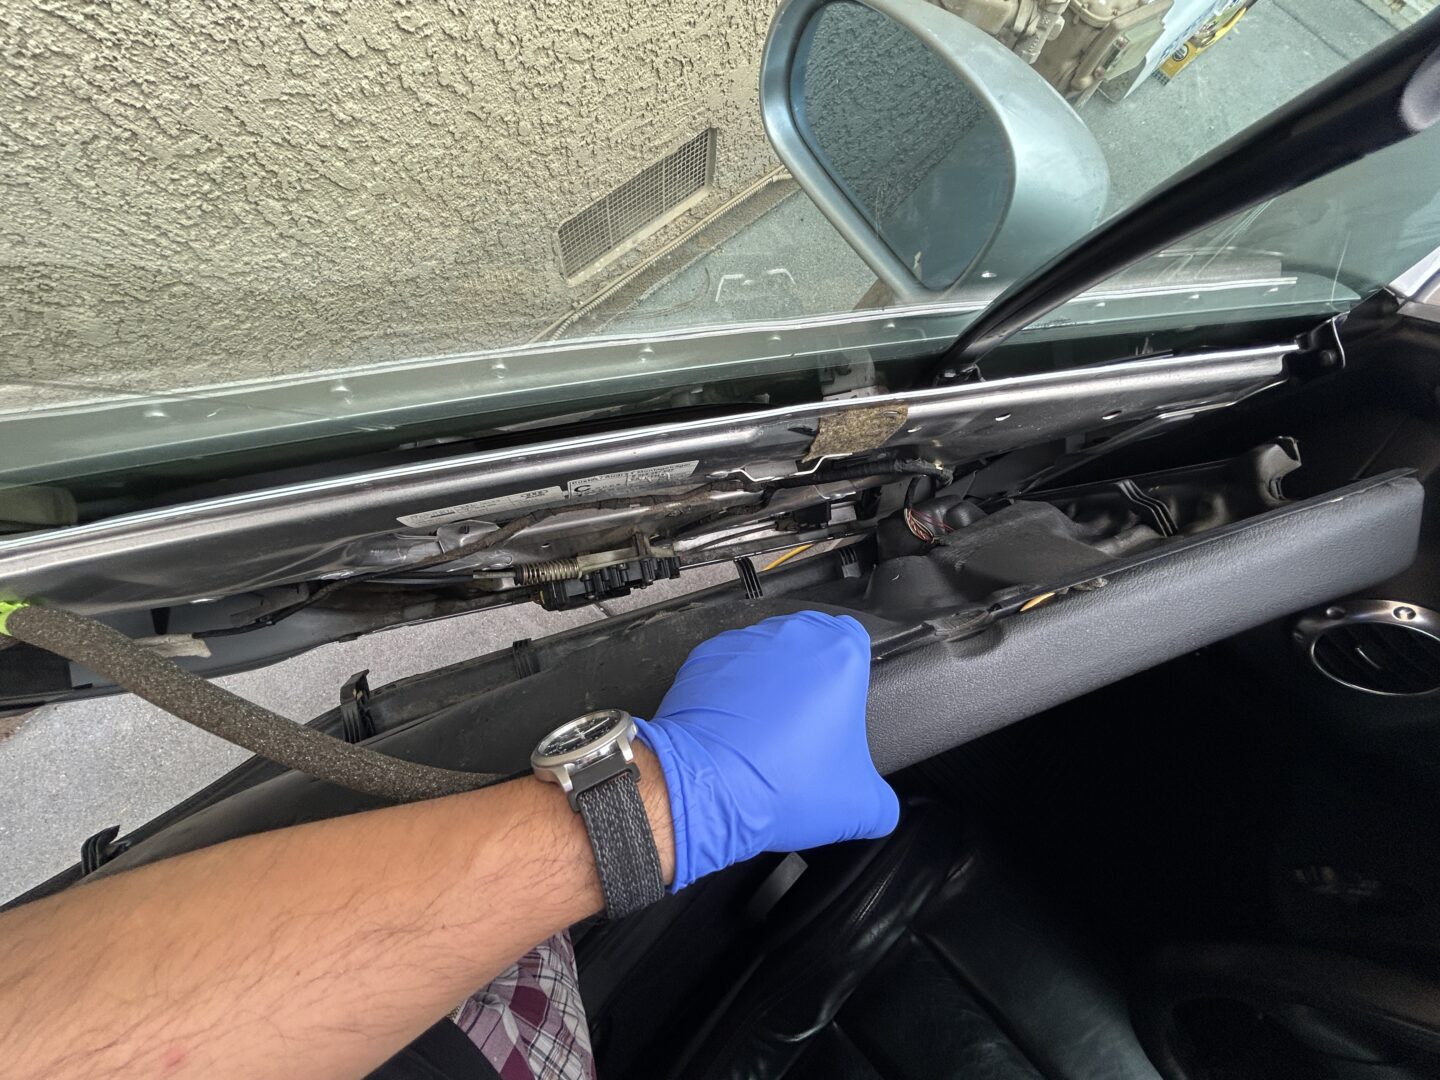
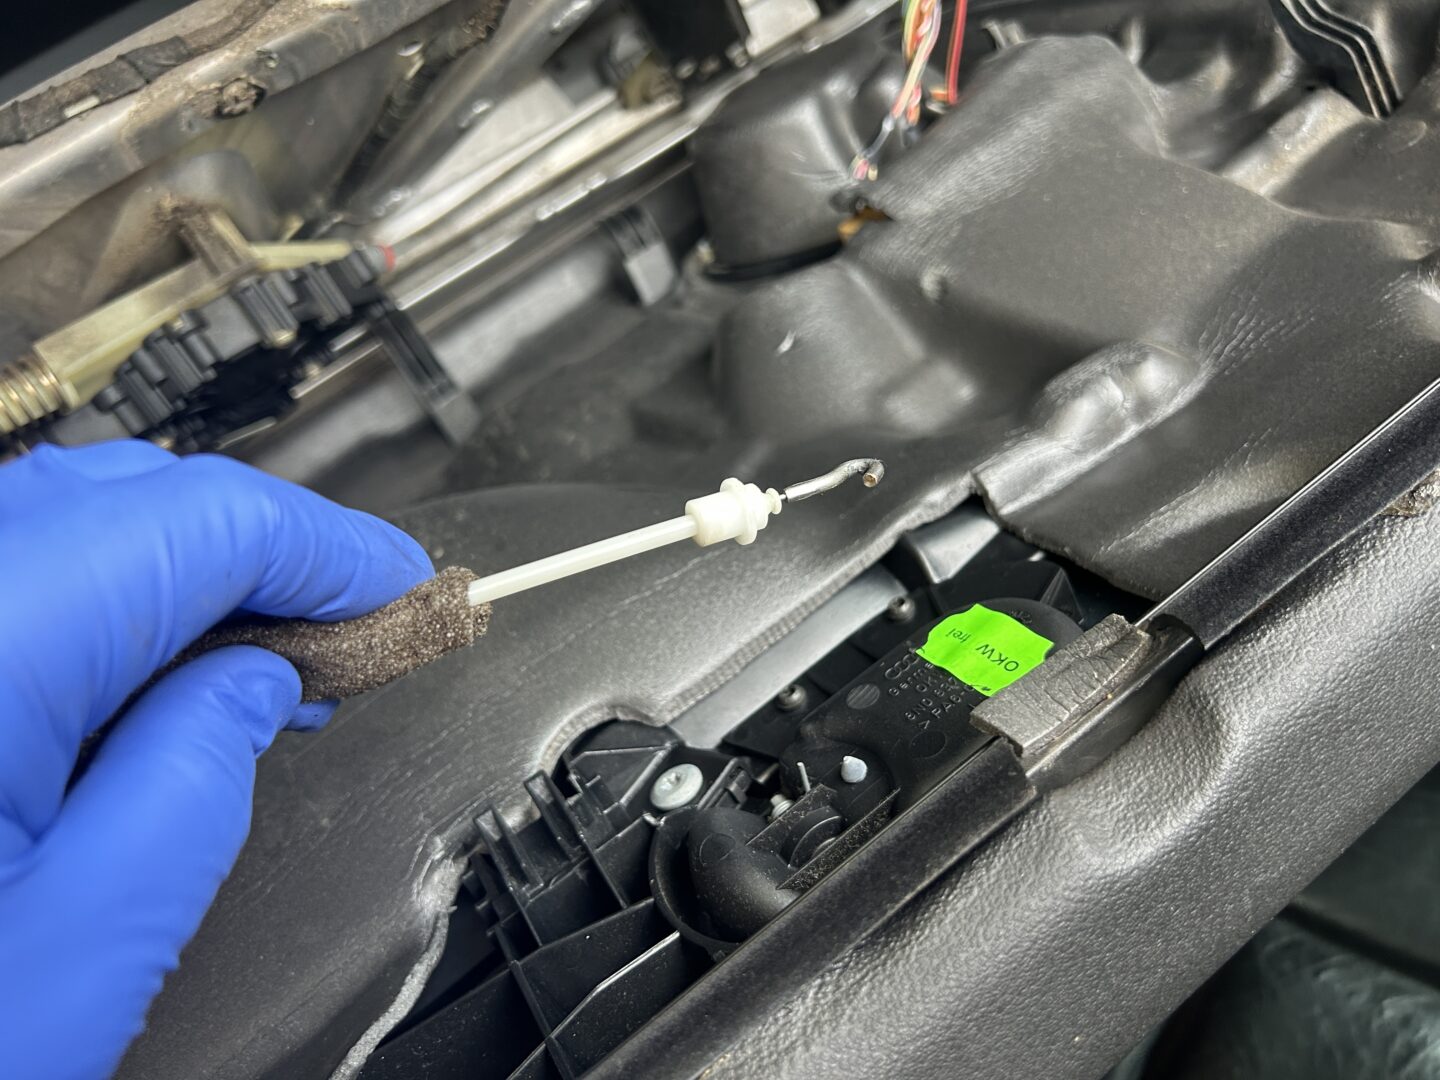
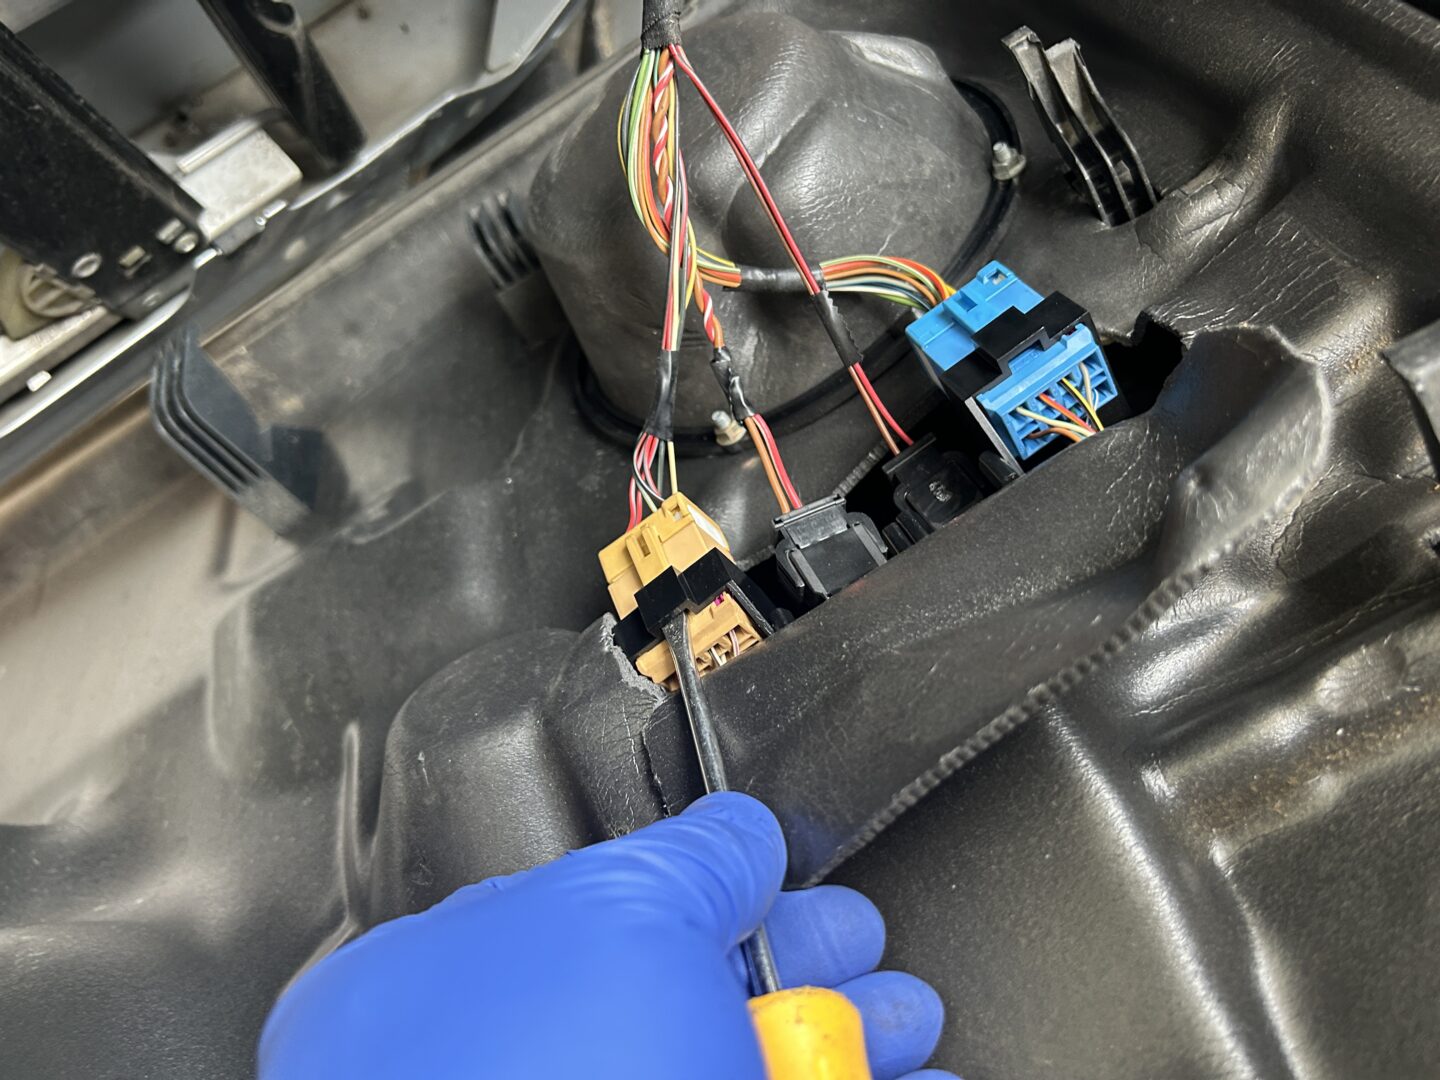
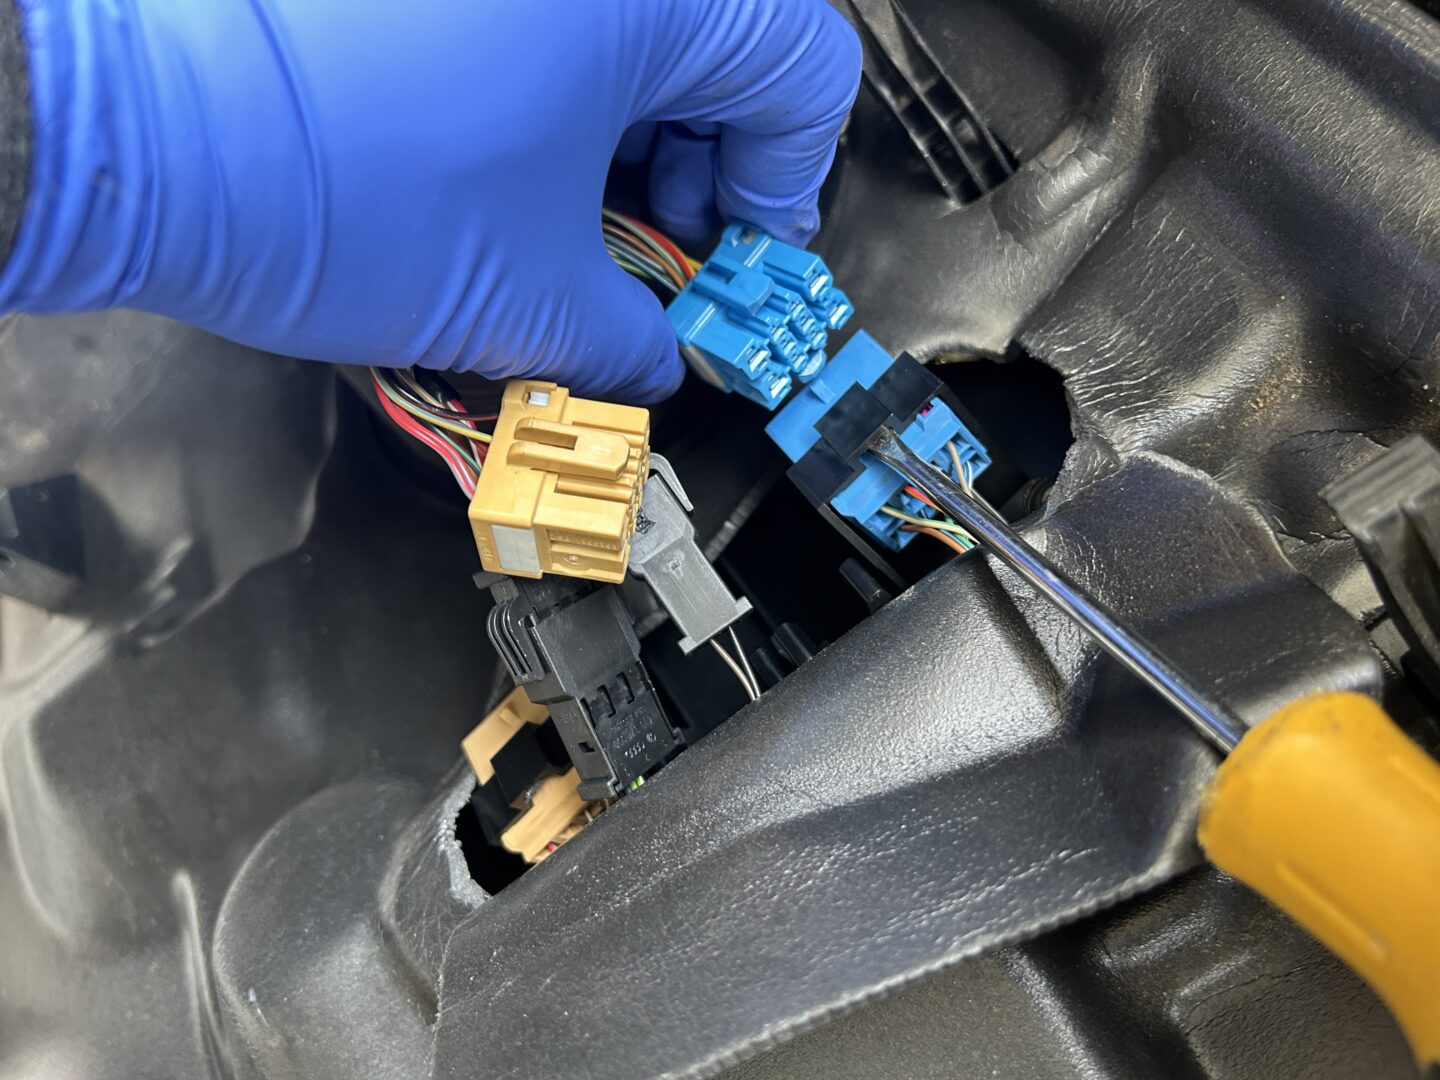
After those components are disconnected and removed, you can take the entire door panel out and set it down. Inspect the damage so you can see what needs repair. On the door panel, there is a long insert piece that may come off as the glue on this tends to come apart as well.
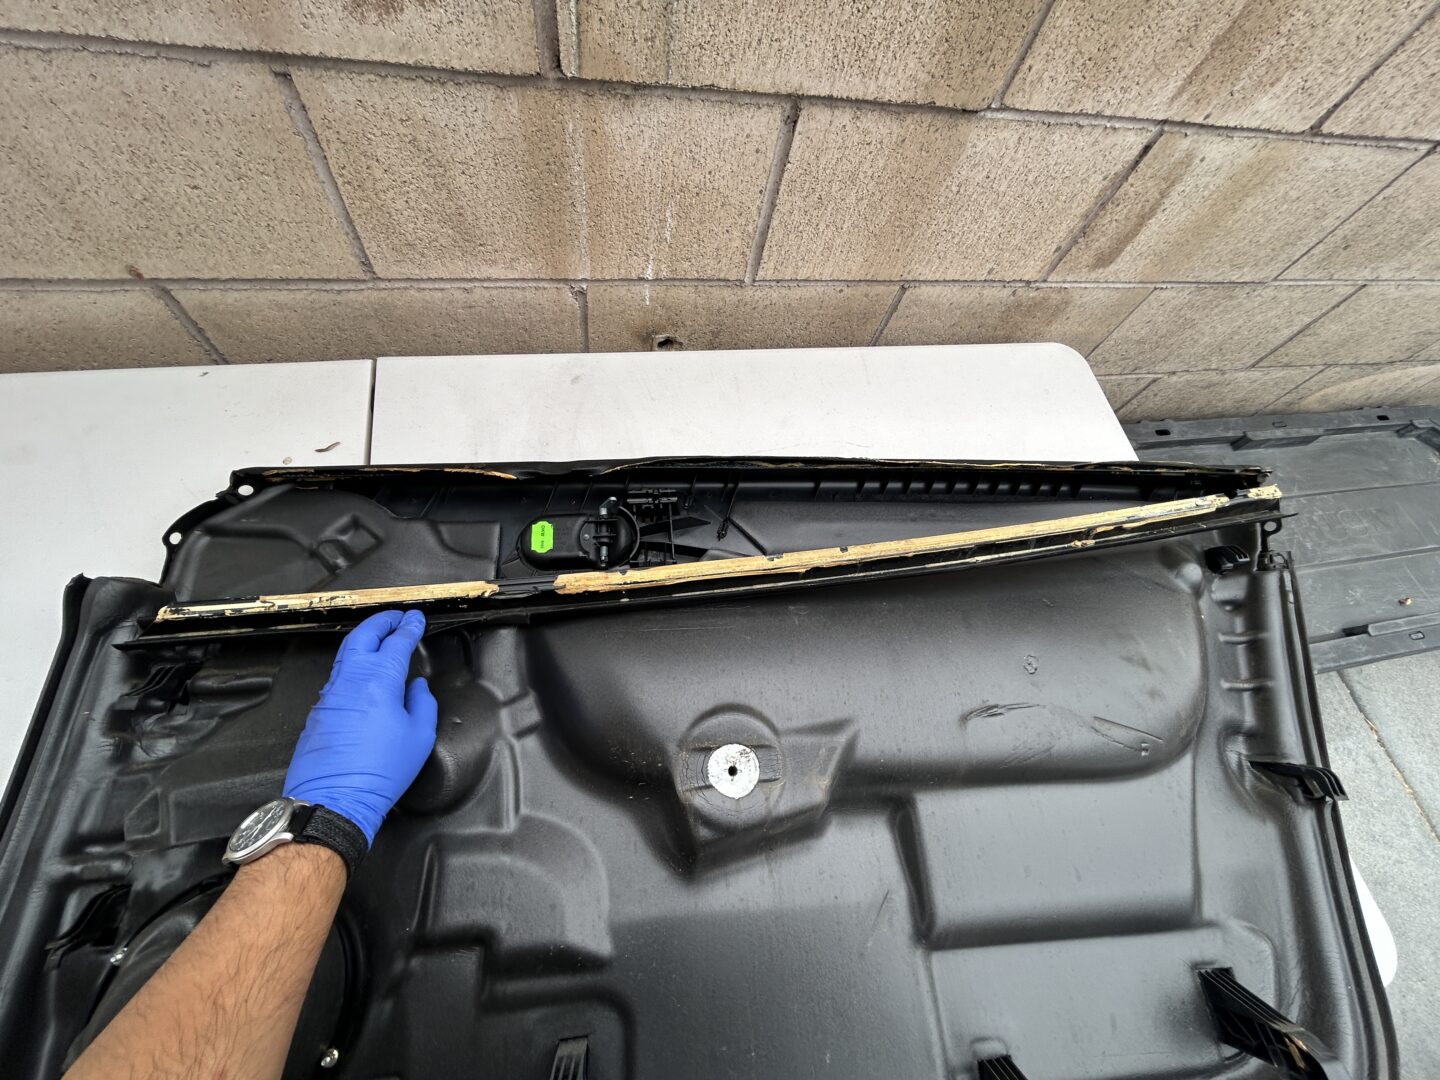
With the insert removed, you can see the flipped up portion of the vinyl that is no longer stuck to the door panel.
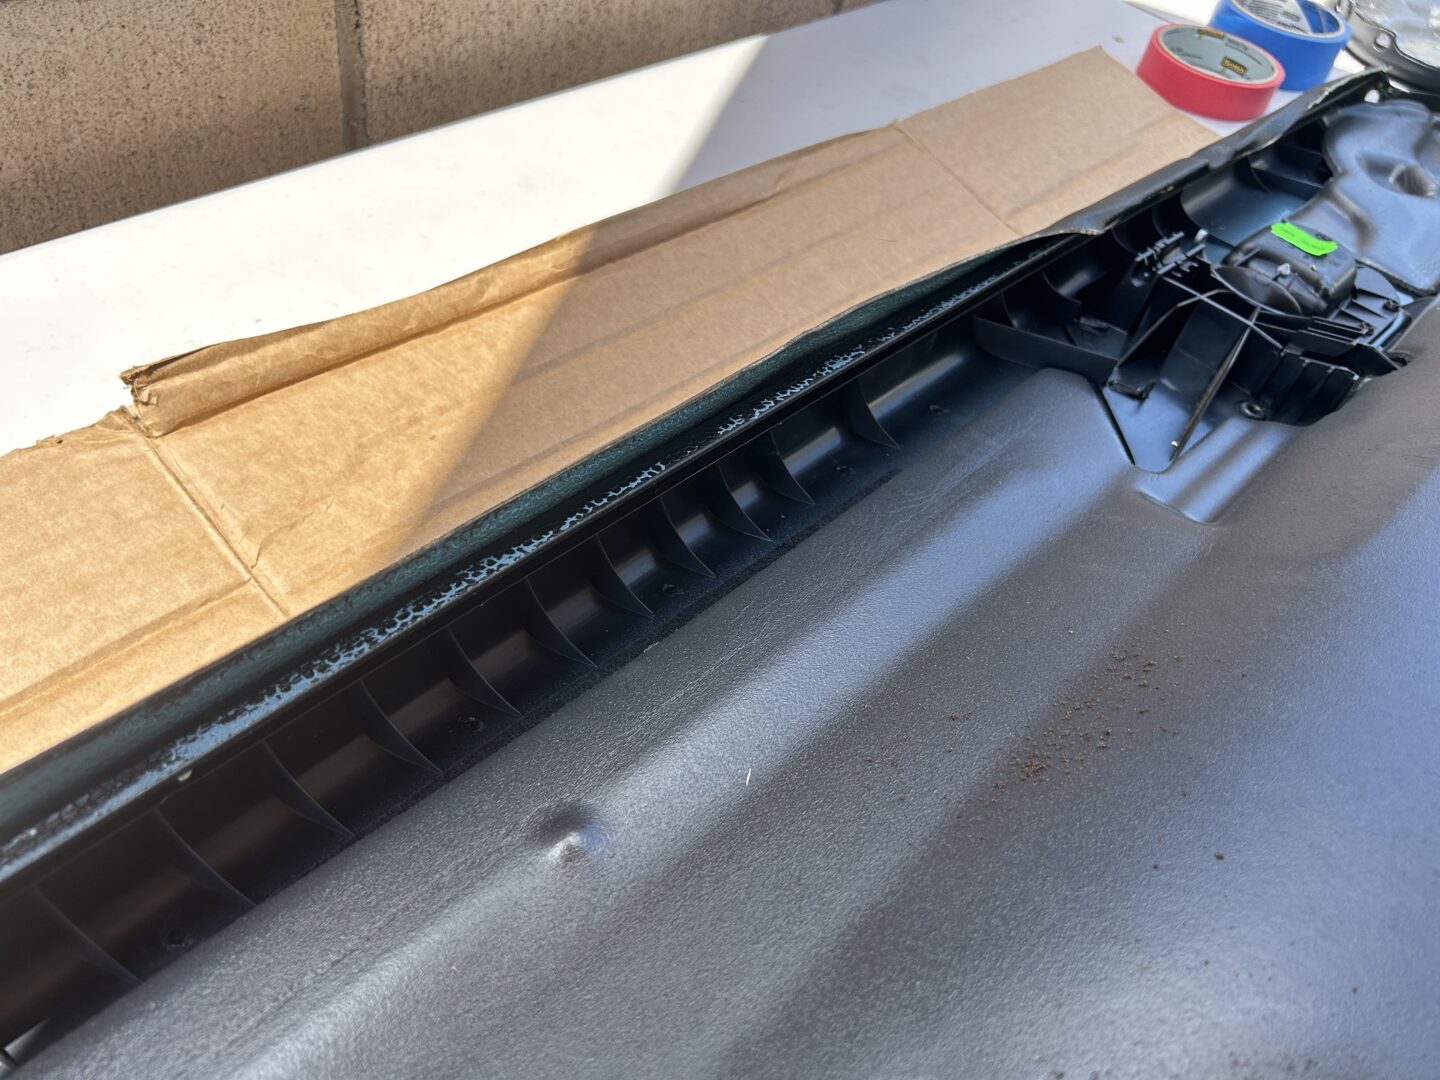
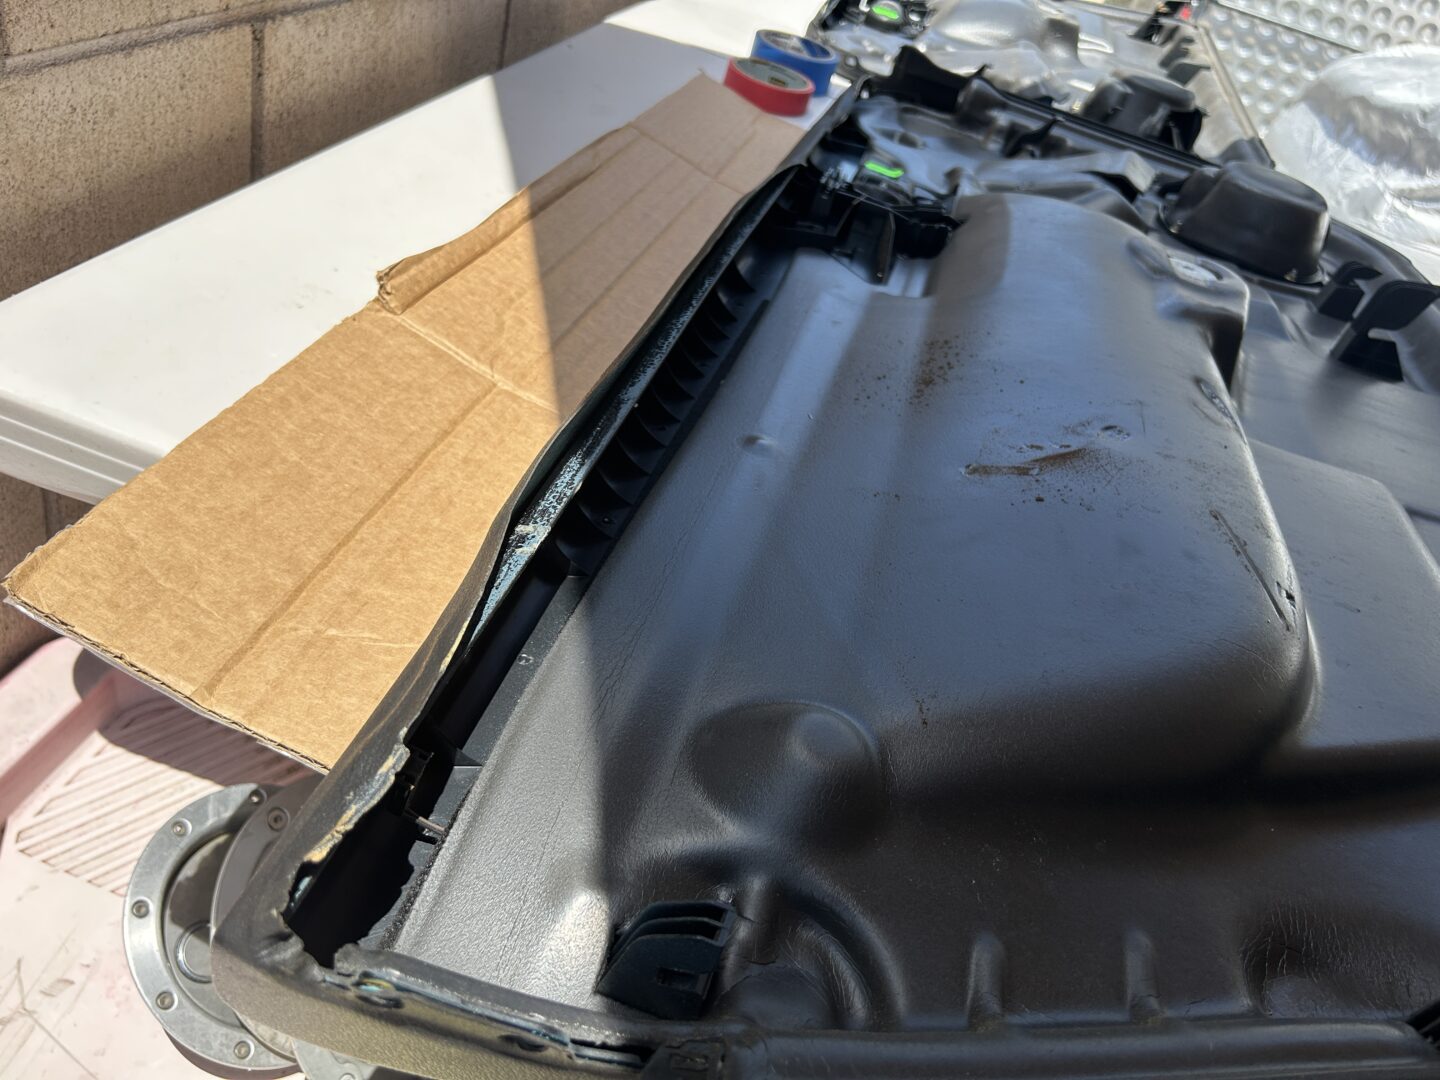
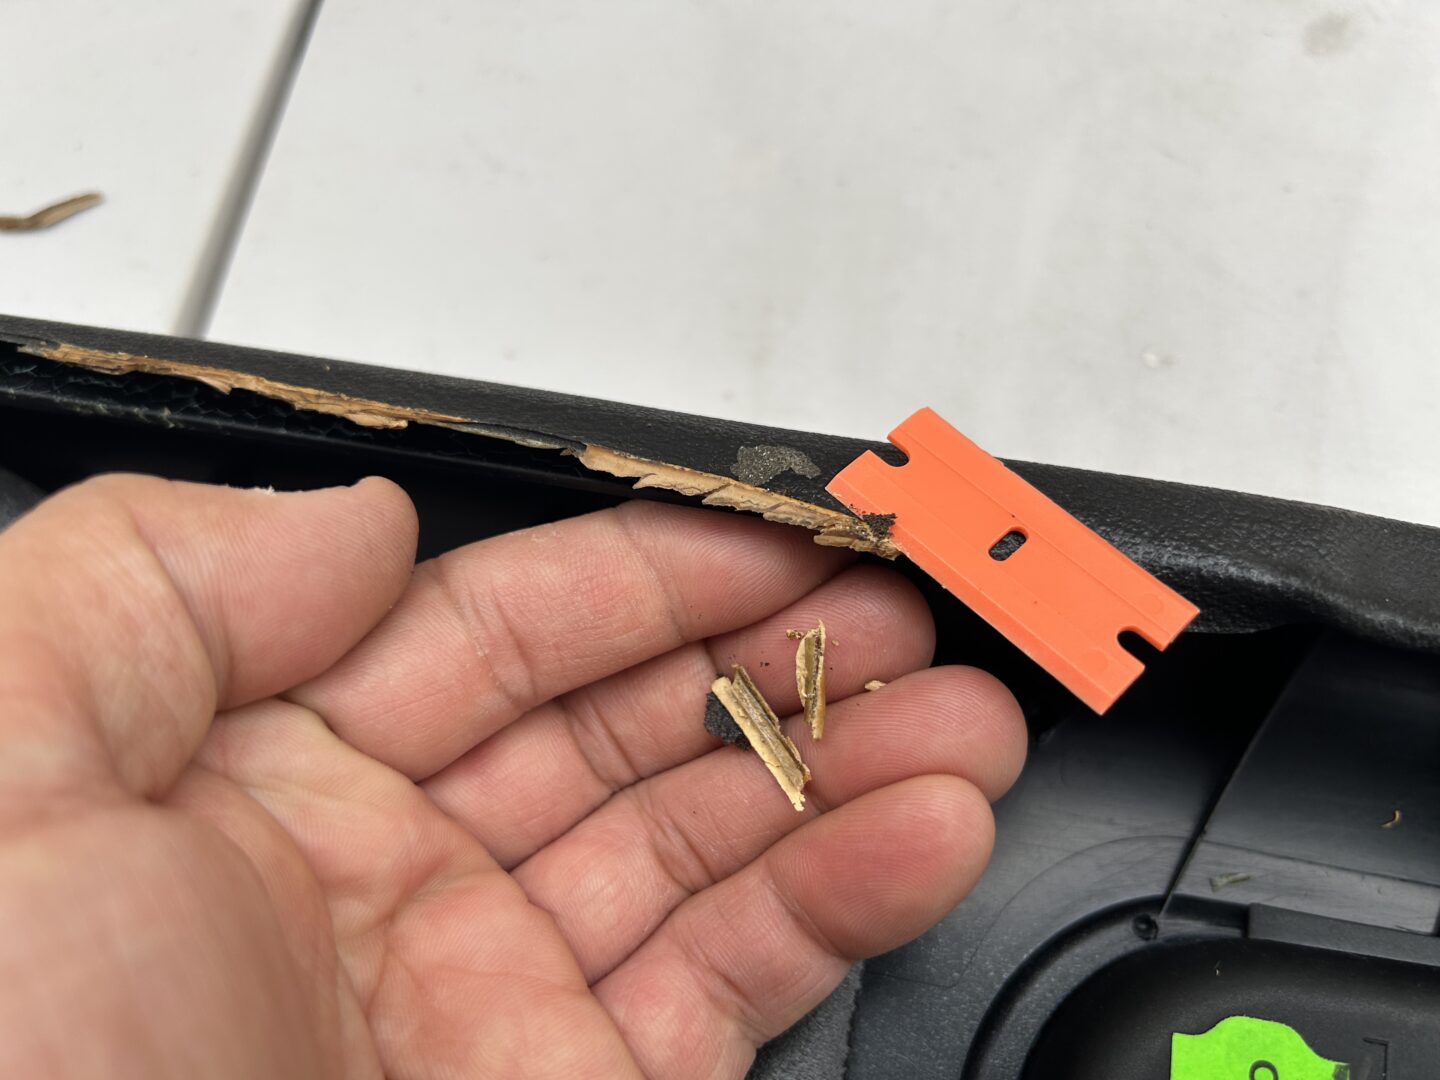
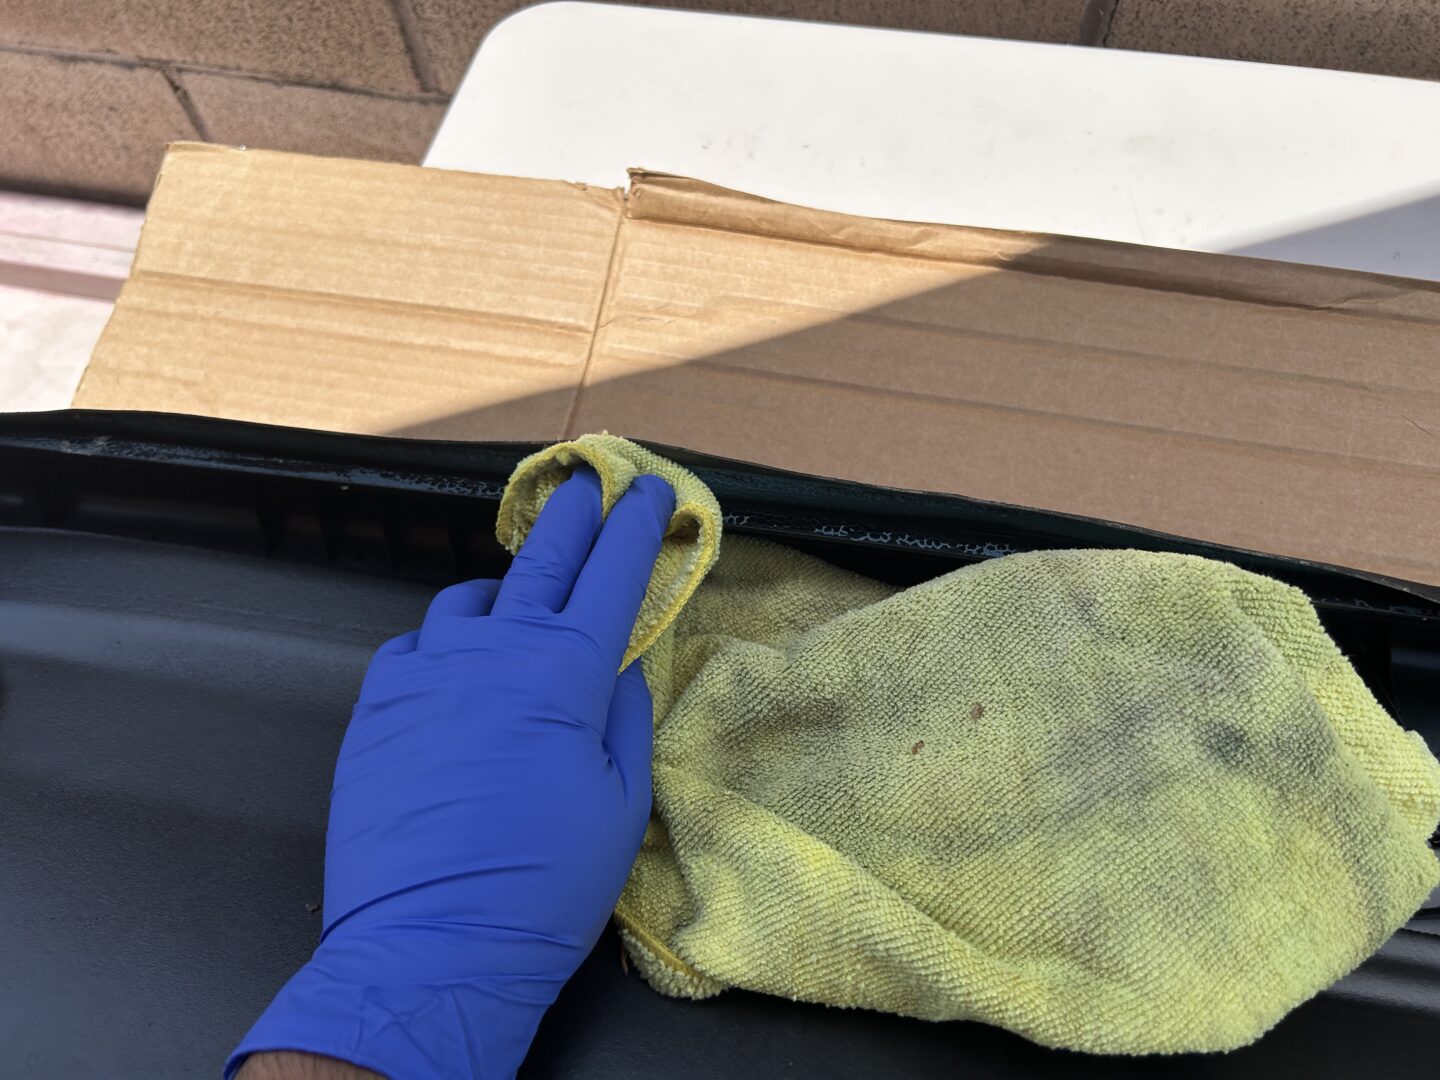
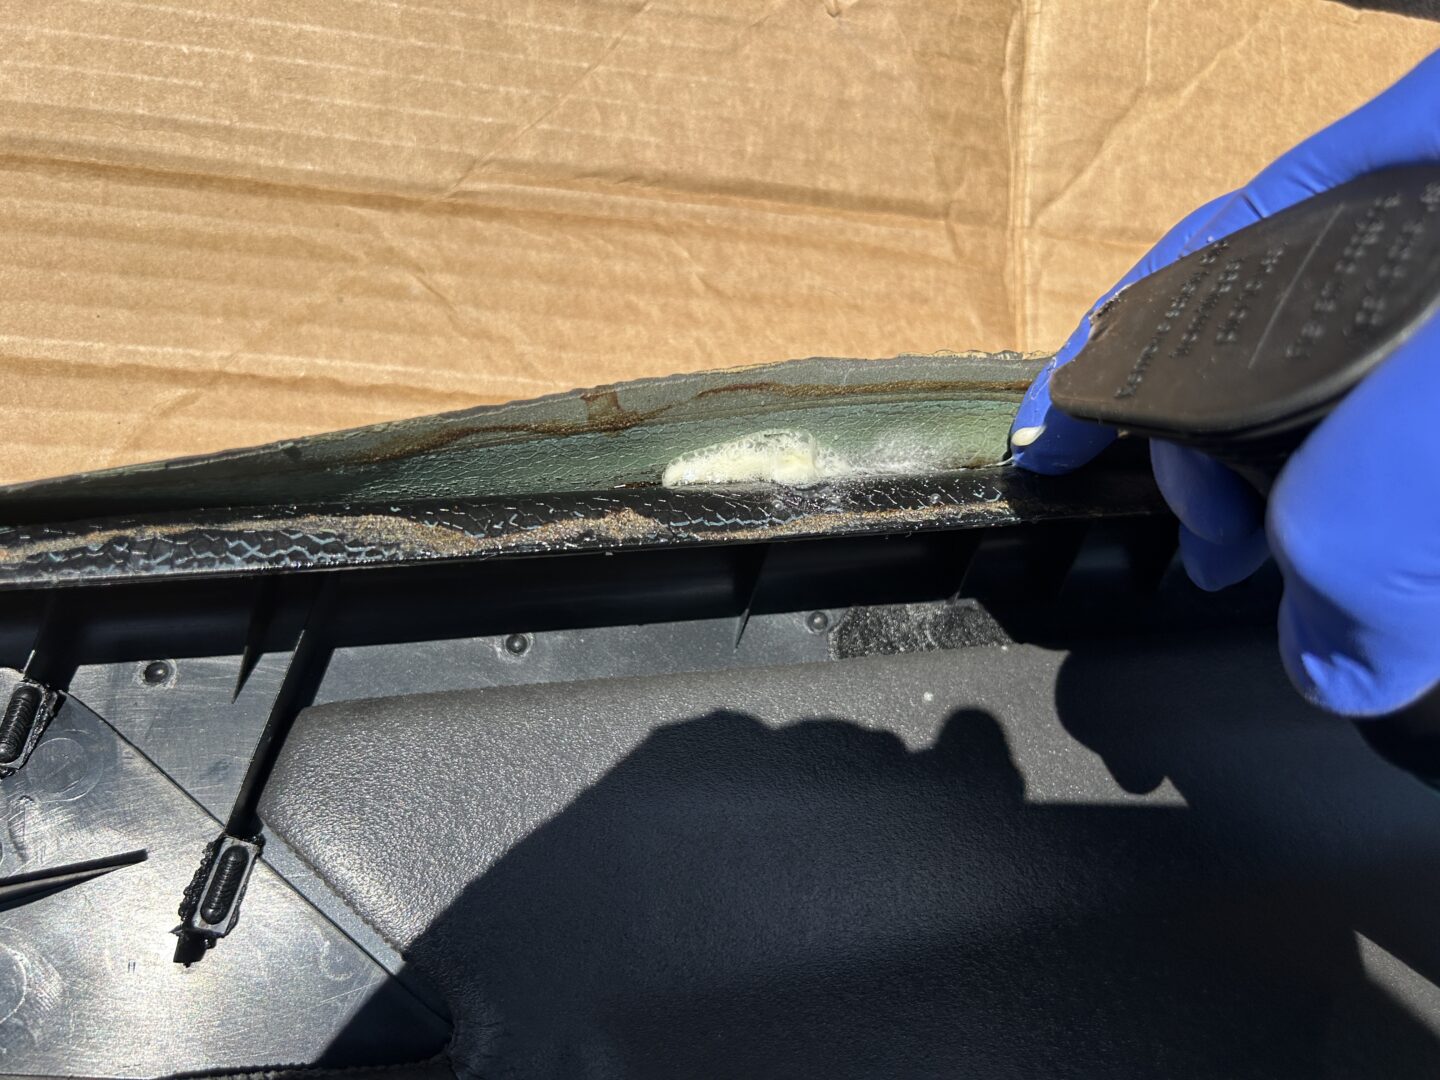
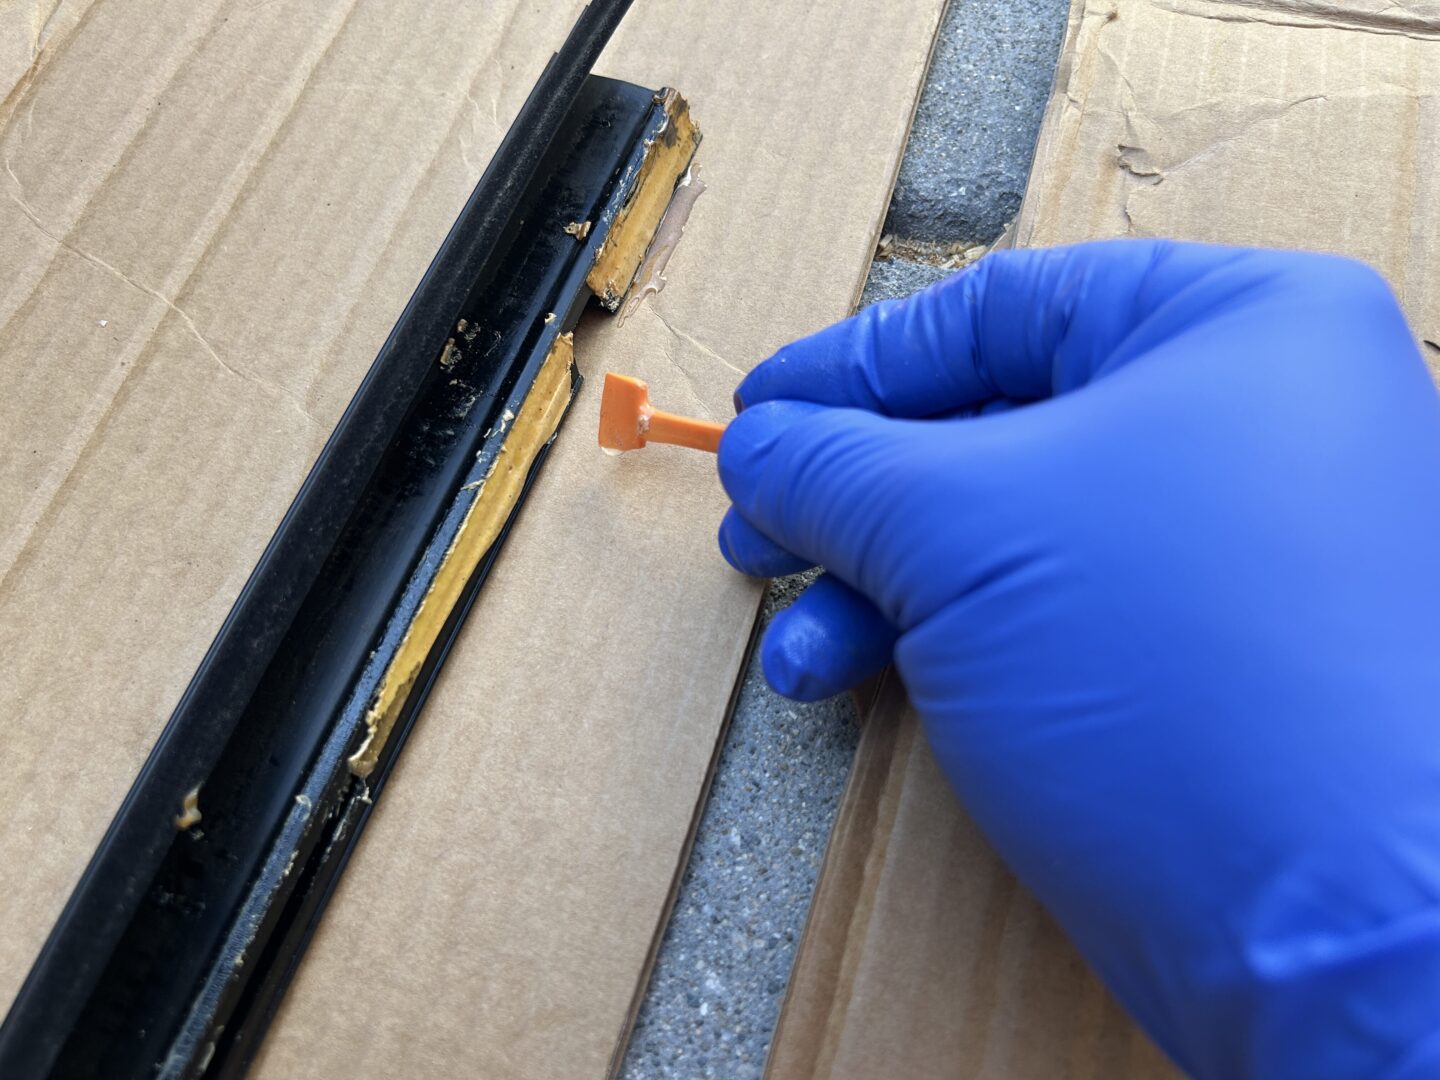
I used a combination of a plastic razor blade and a microfiber towel with some all purpose cleaner to clean up as much of the glue remnants as possible from the door panel. The glue here that gets stuck is the glue that was used for the insert, not the glue that holes the vinyl to the door panel.
The first part of the repair is to re-glue the vinyl that has separated, back onto the door panel. We’ll use an upholstery glue here to spray onto both gluing surfaces. Let the glue sit for about 5 minutes, then press them together for a very good stick. I’m not sure if other adhesives will work, but this one worked quite well for me. I pressed the material together and also used a wheel roller tool to really press the surfaces together for a very good connection.
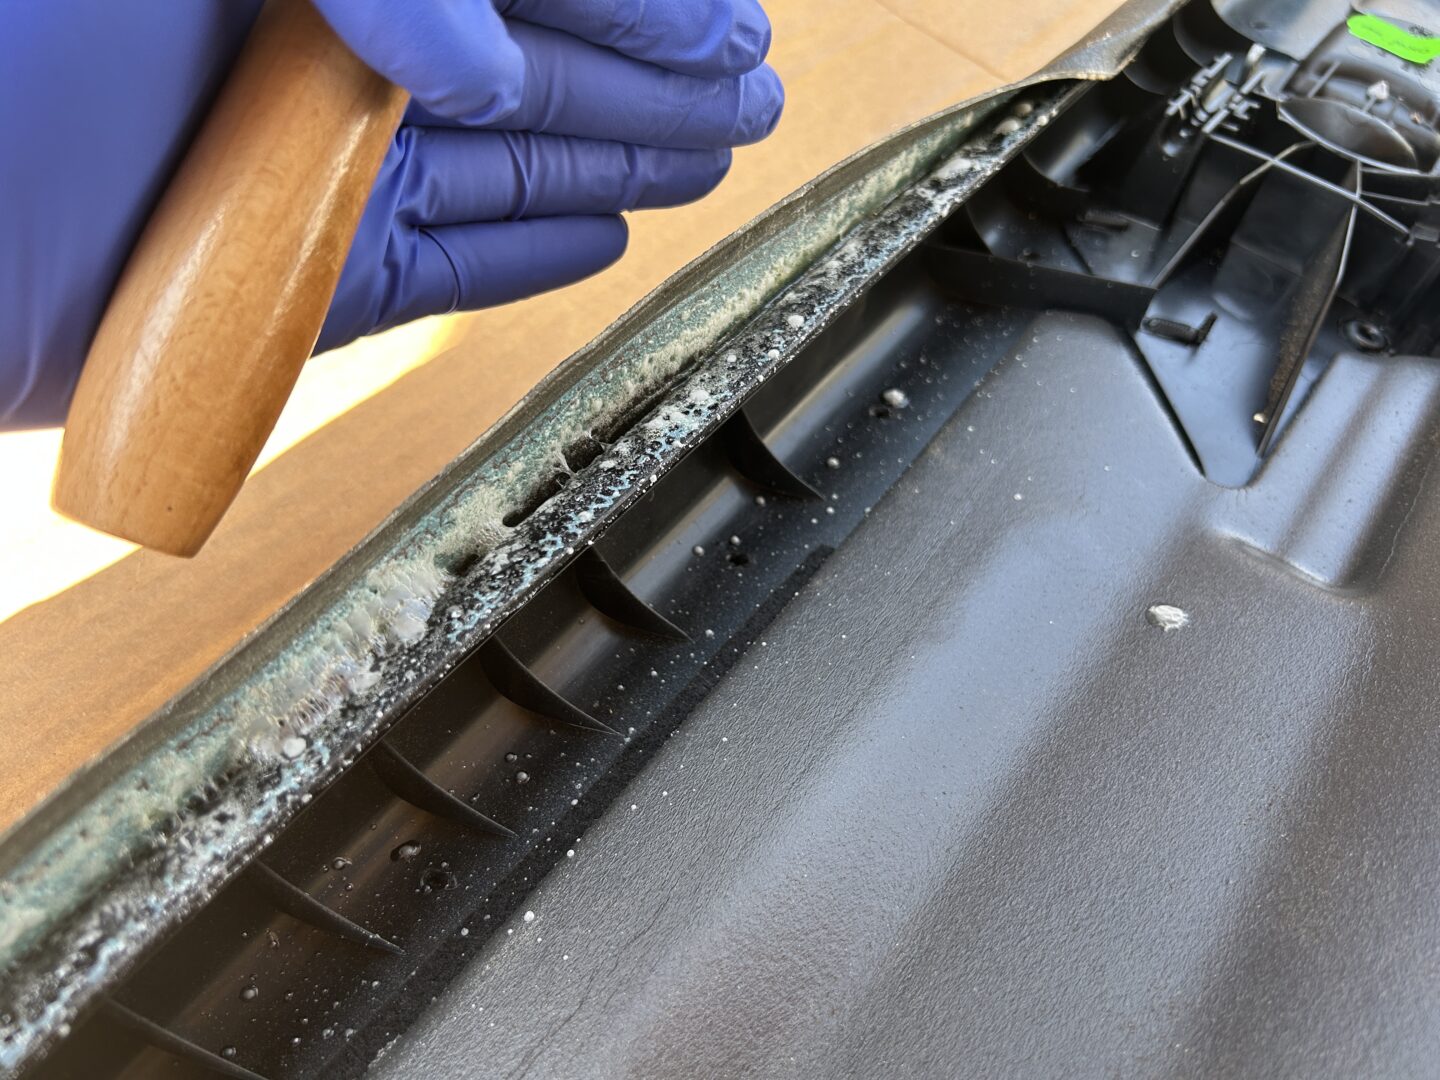
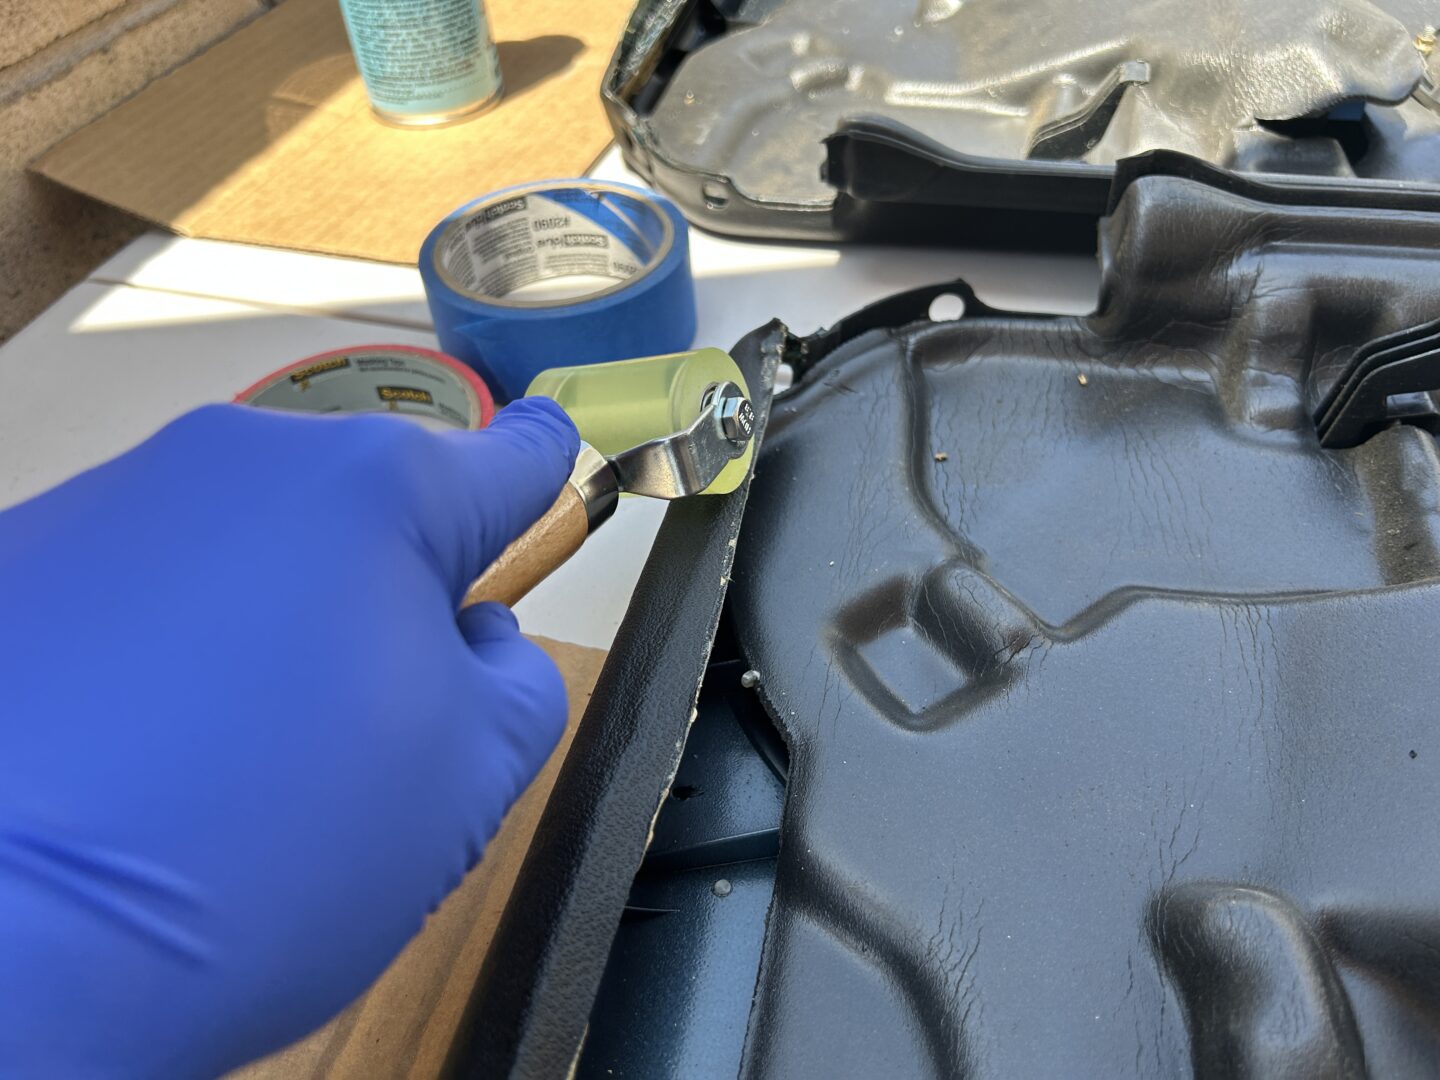
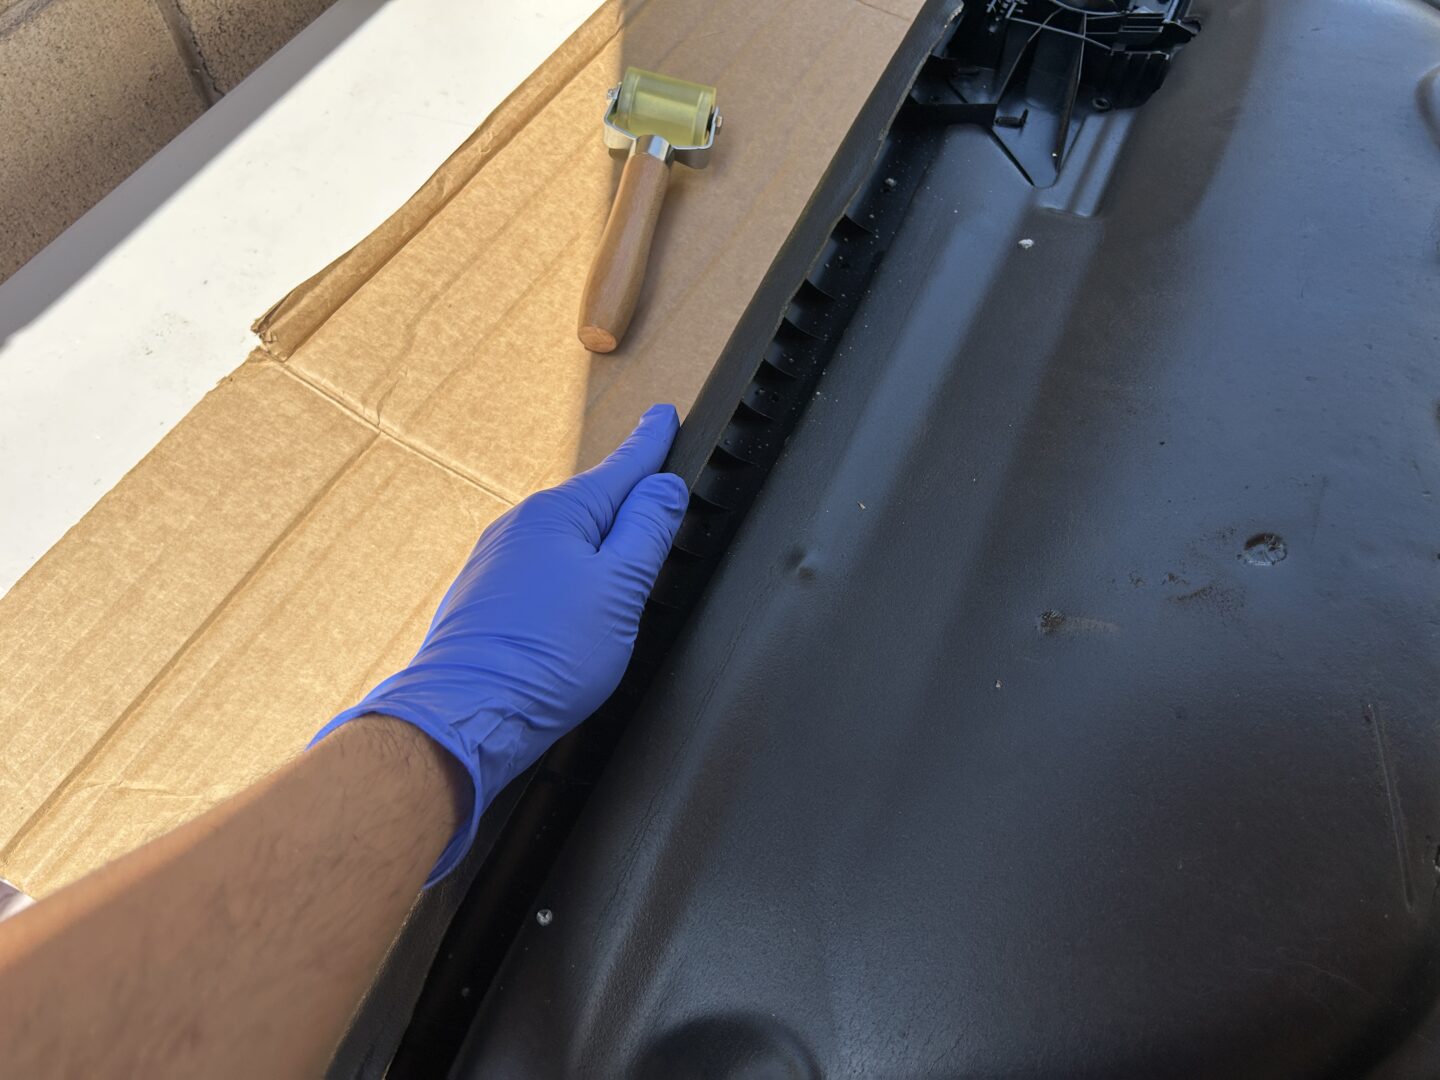
Use the wheel roller tool to roll the vinyl surface all around the curve. After you do this, the vinyl will mostly stick back onto the door panel without separating again.
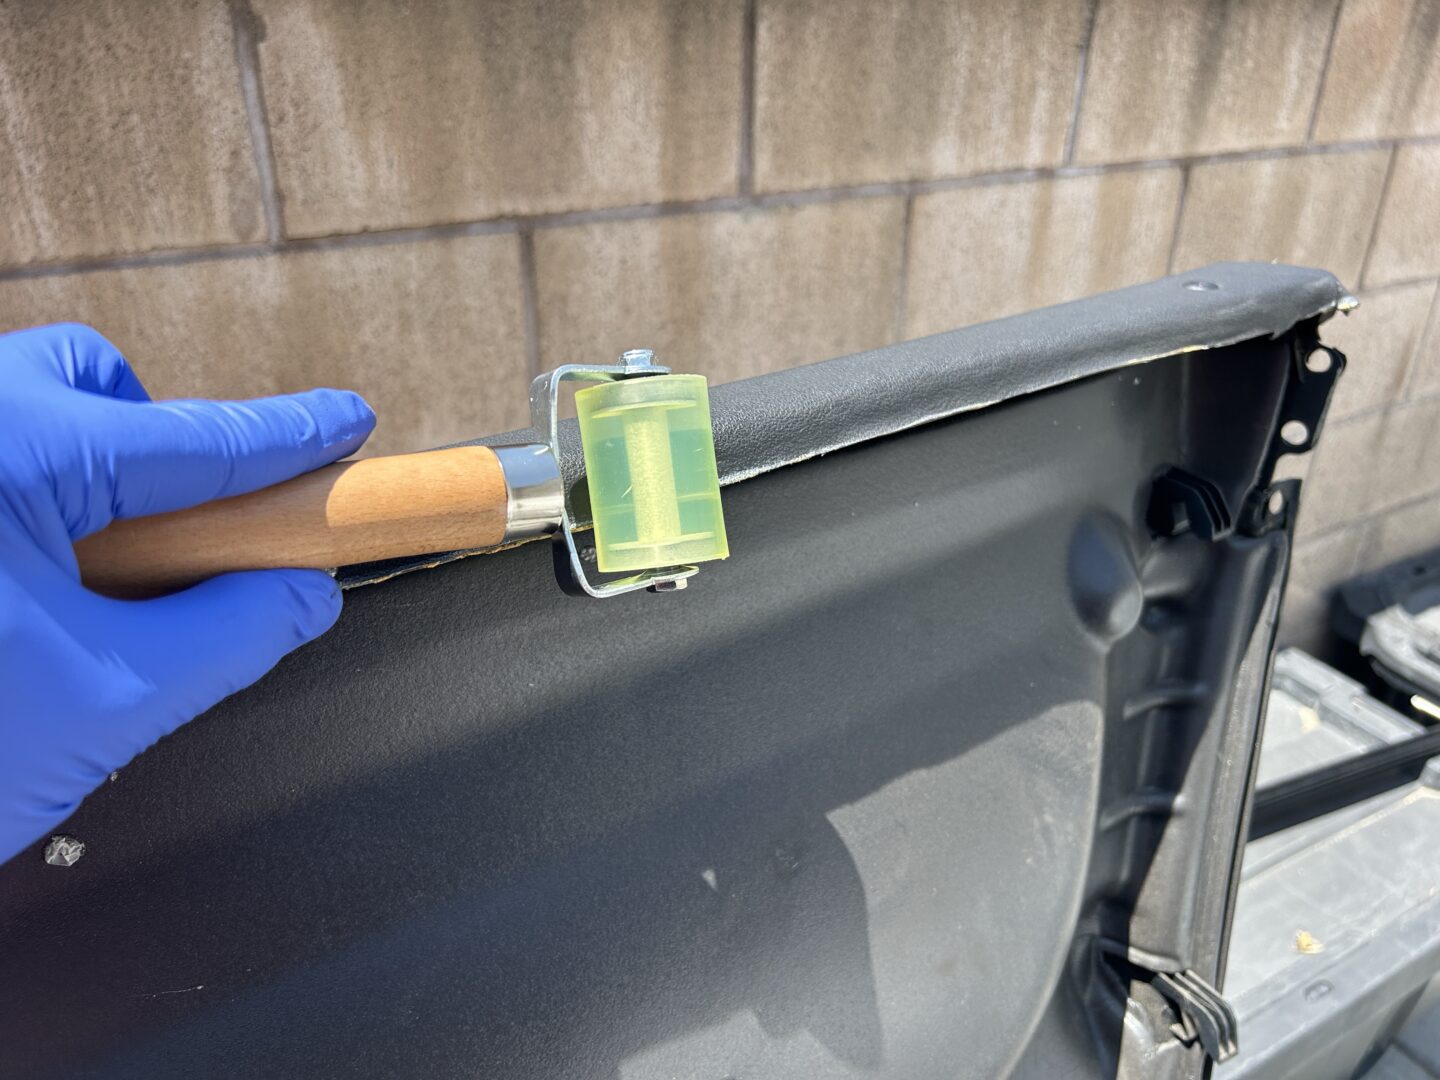
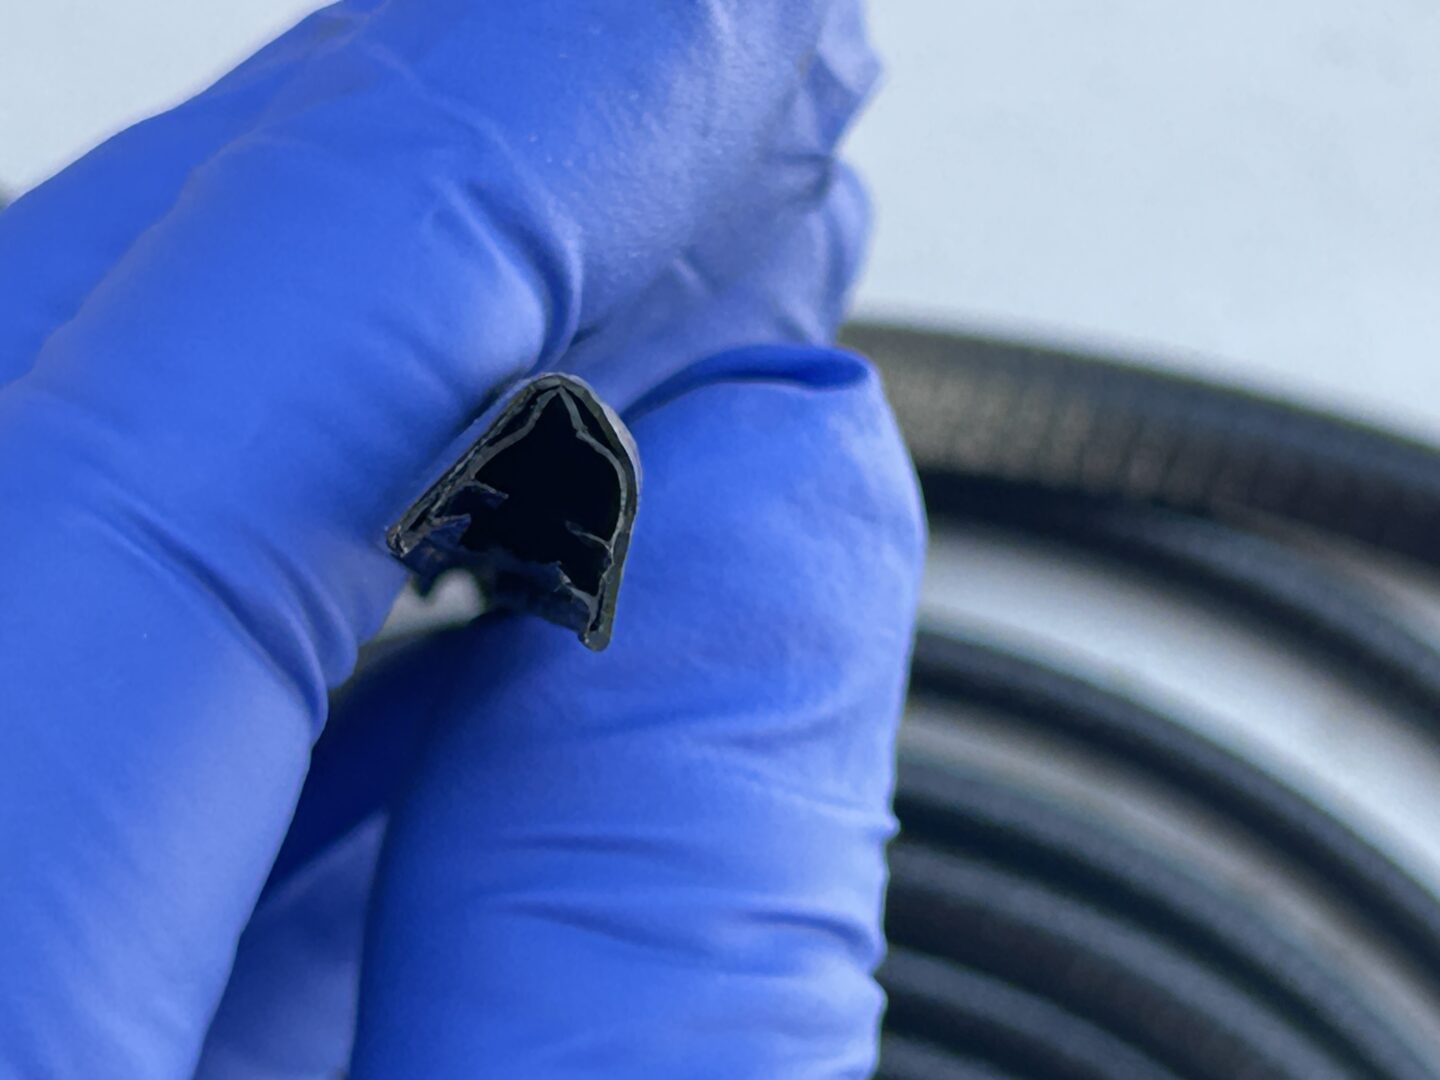
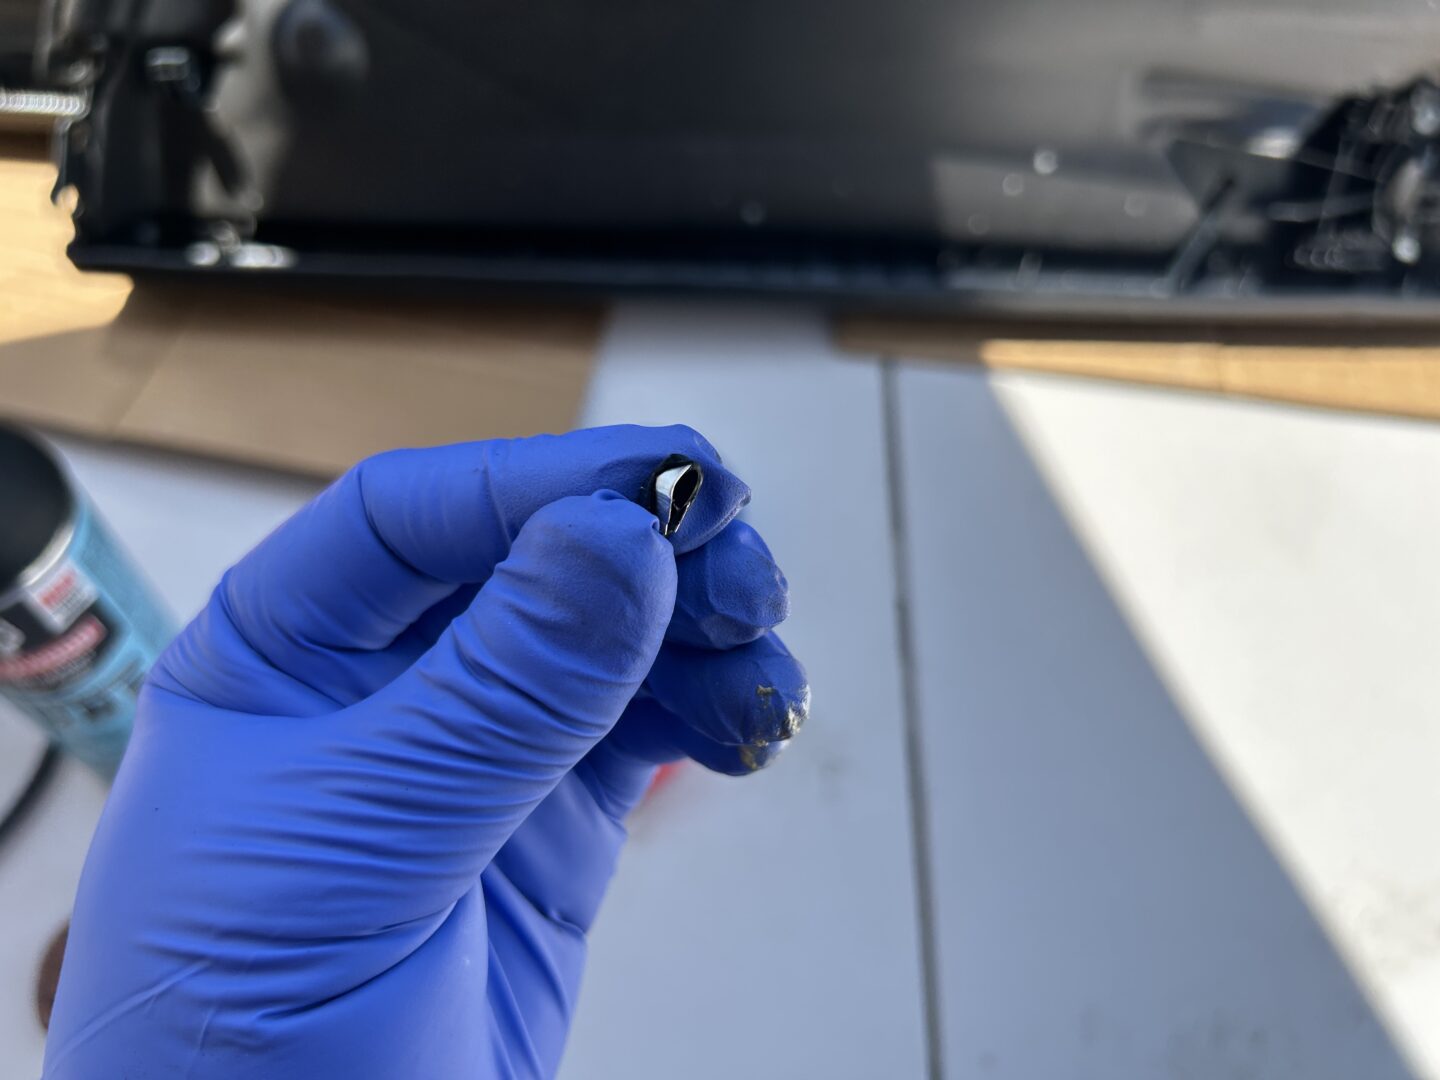
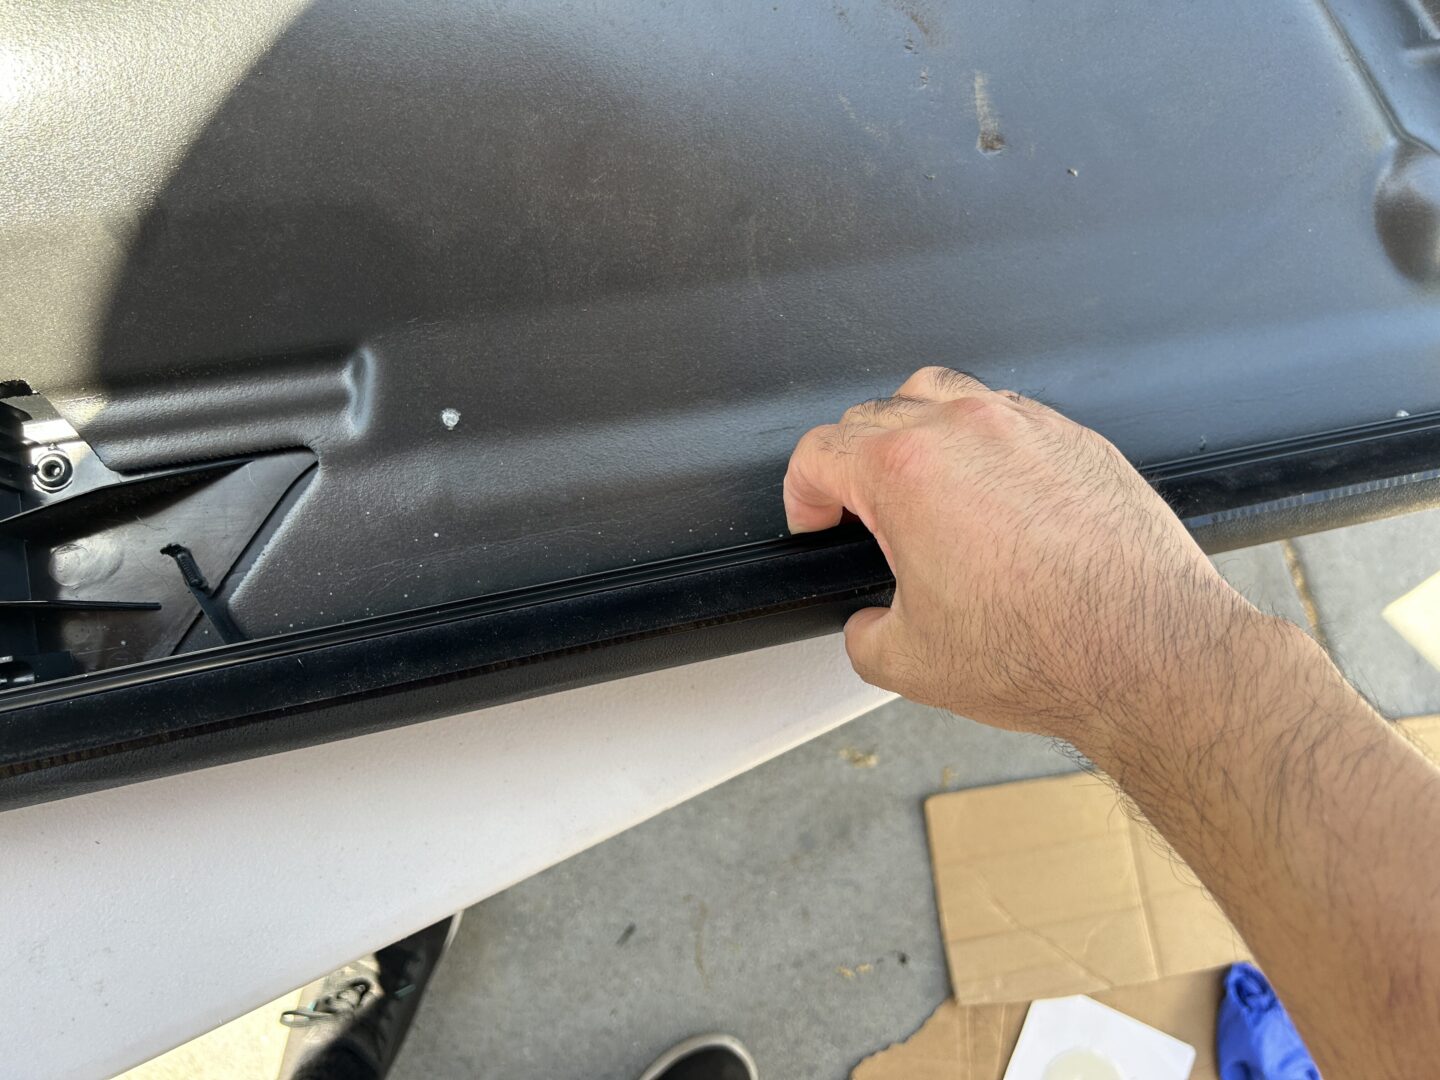
If the vinyl doesn’t fully adhere to the door panel, or if you are concerned that the vinyl may separate in the future, you can use these door edge guards that utilize a metal inner lining that can bend and hold shape. This is great because you can open it up, slide it over the edge of the vinyl fabric and door panel, and then press it together to essentially squeeze down and hold that edge. You might even be able to use this edging alone without any glue, but I chose to do both anyway.
Cut it to length and run it along the length of the upper door edge and then squeeze them down uniformly for a nice smooth look.
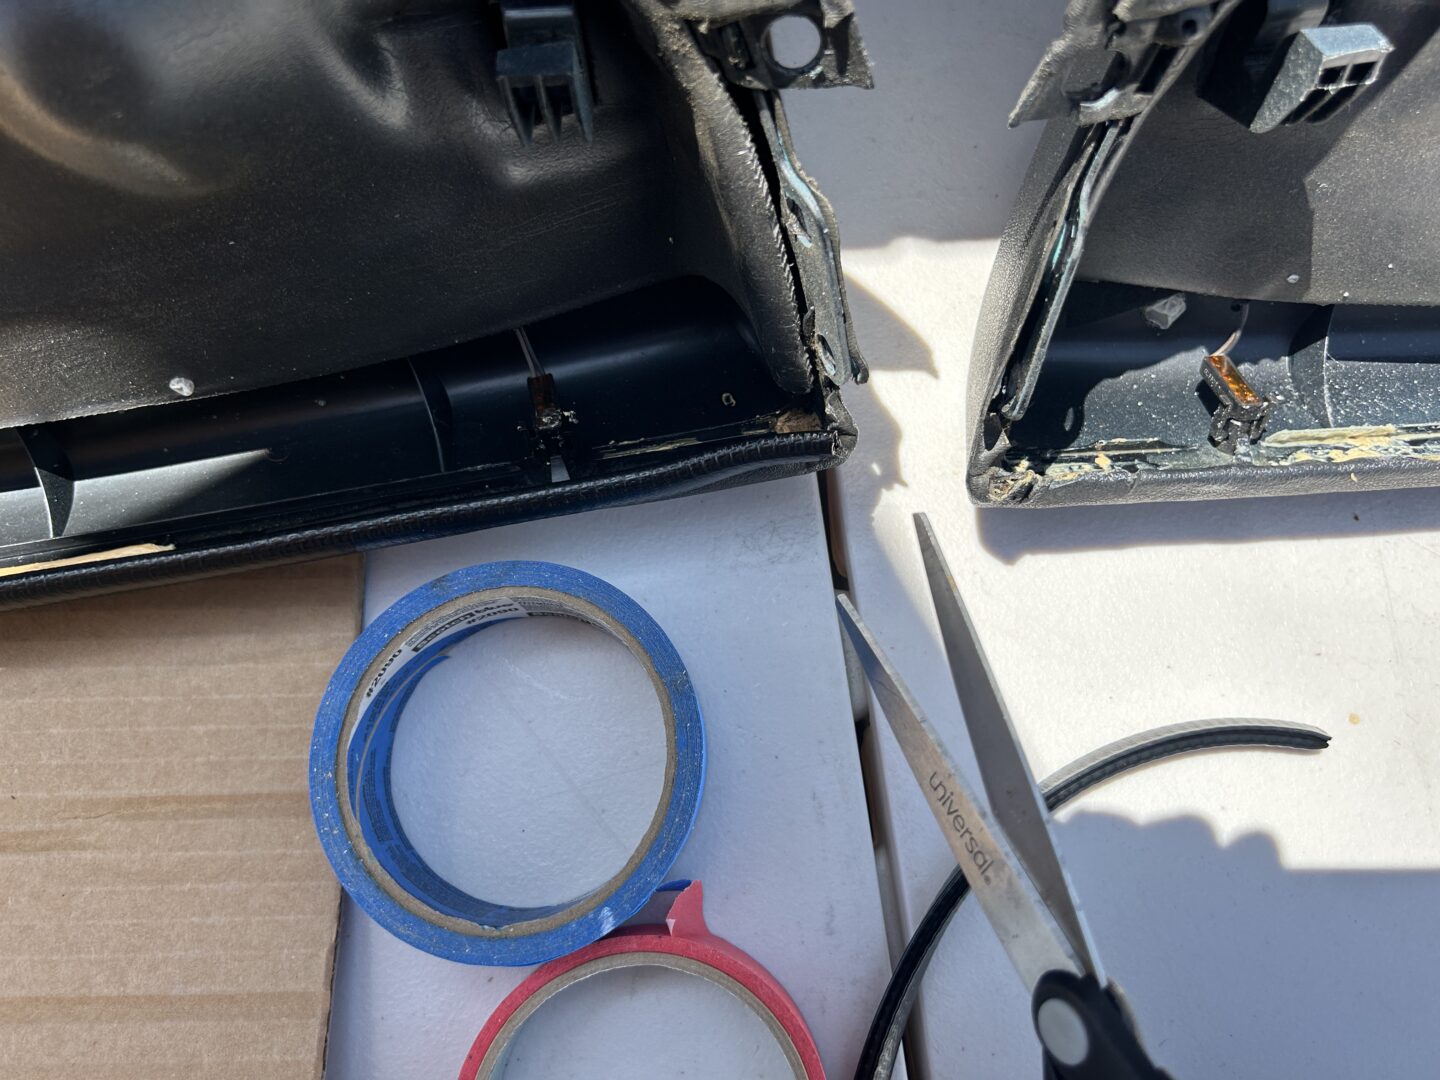
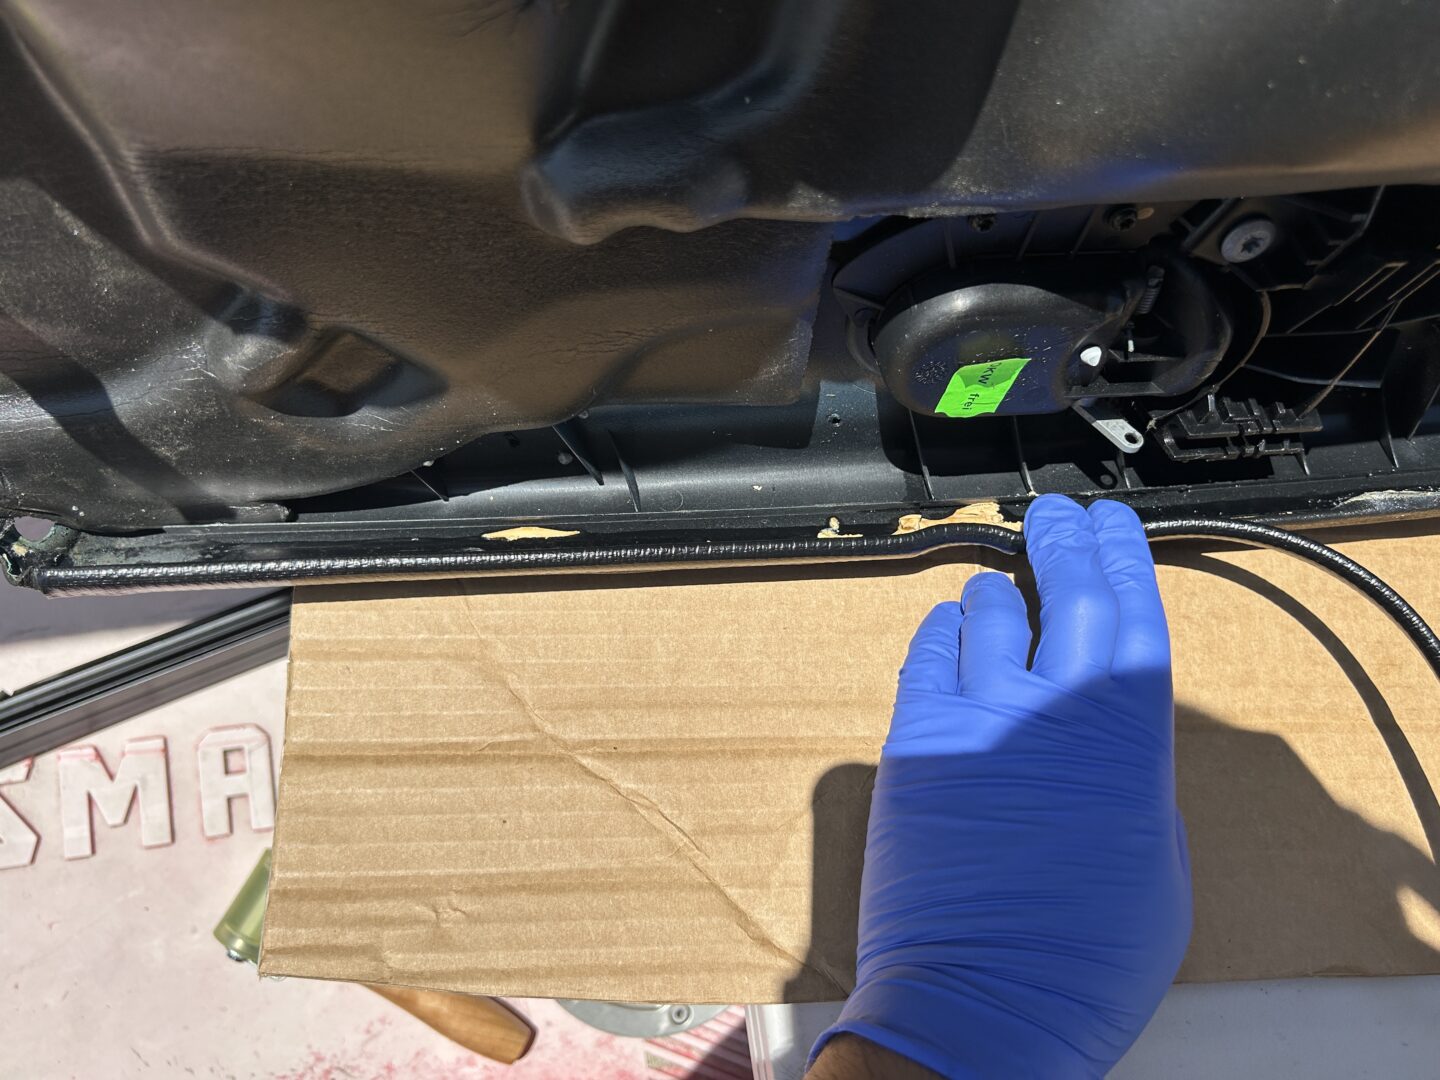
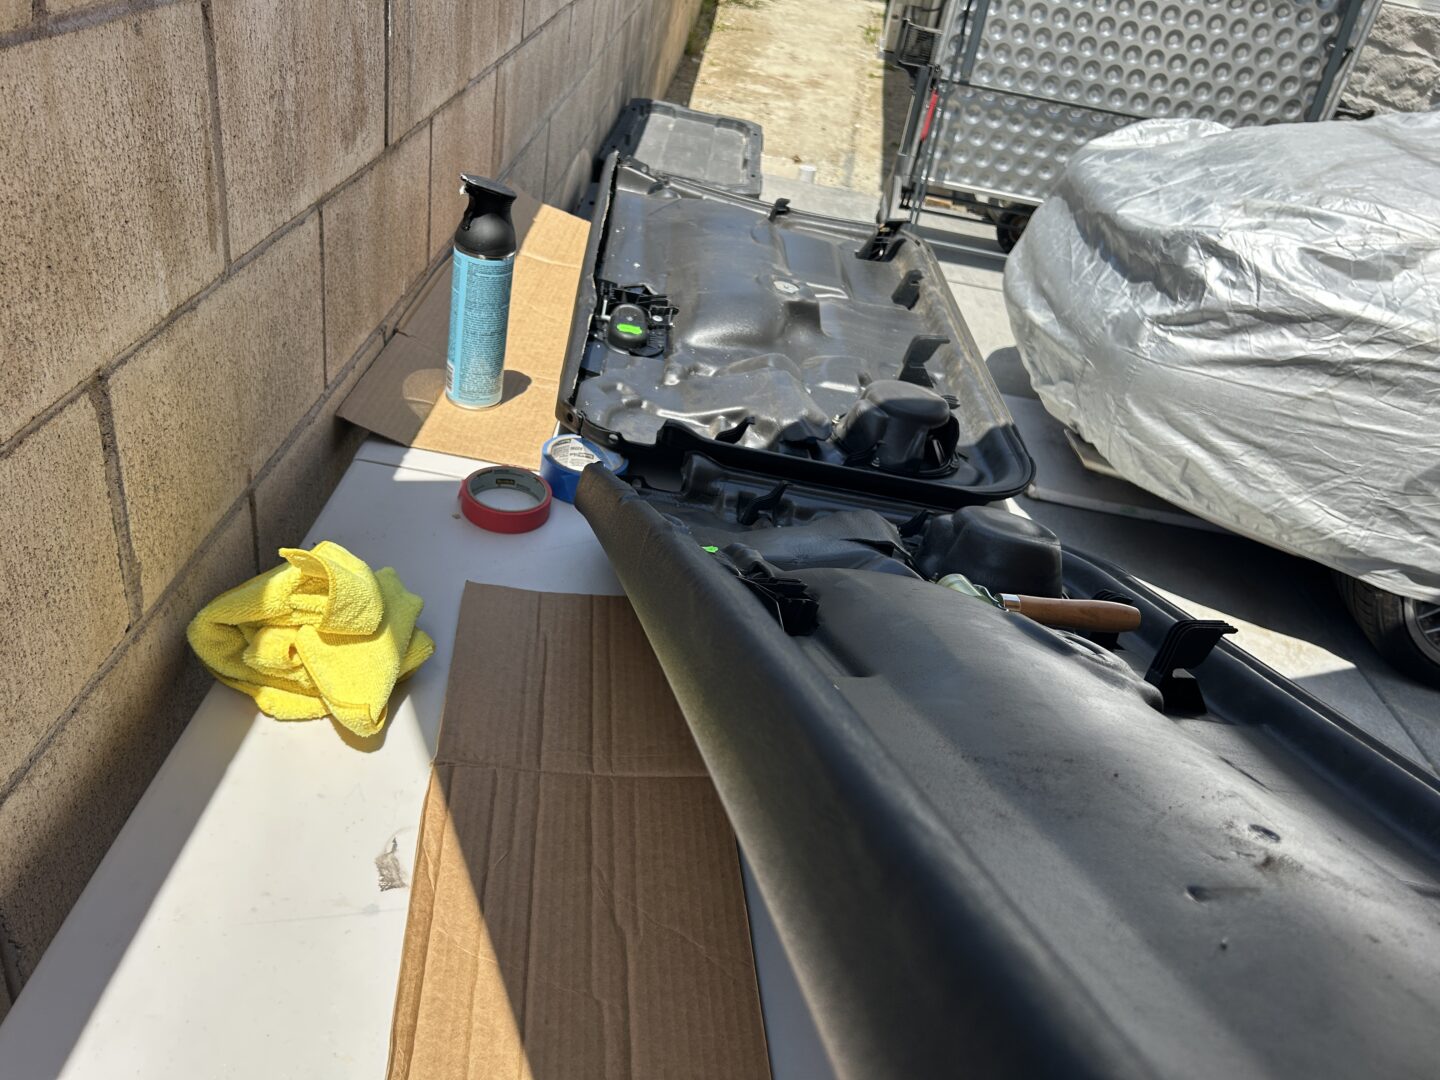
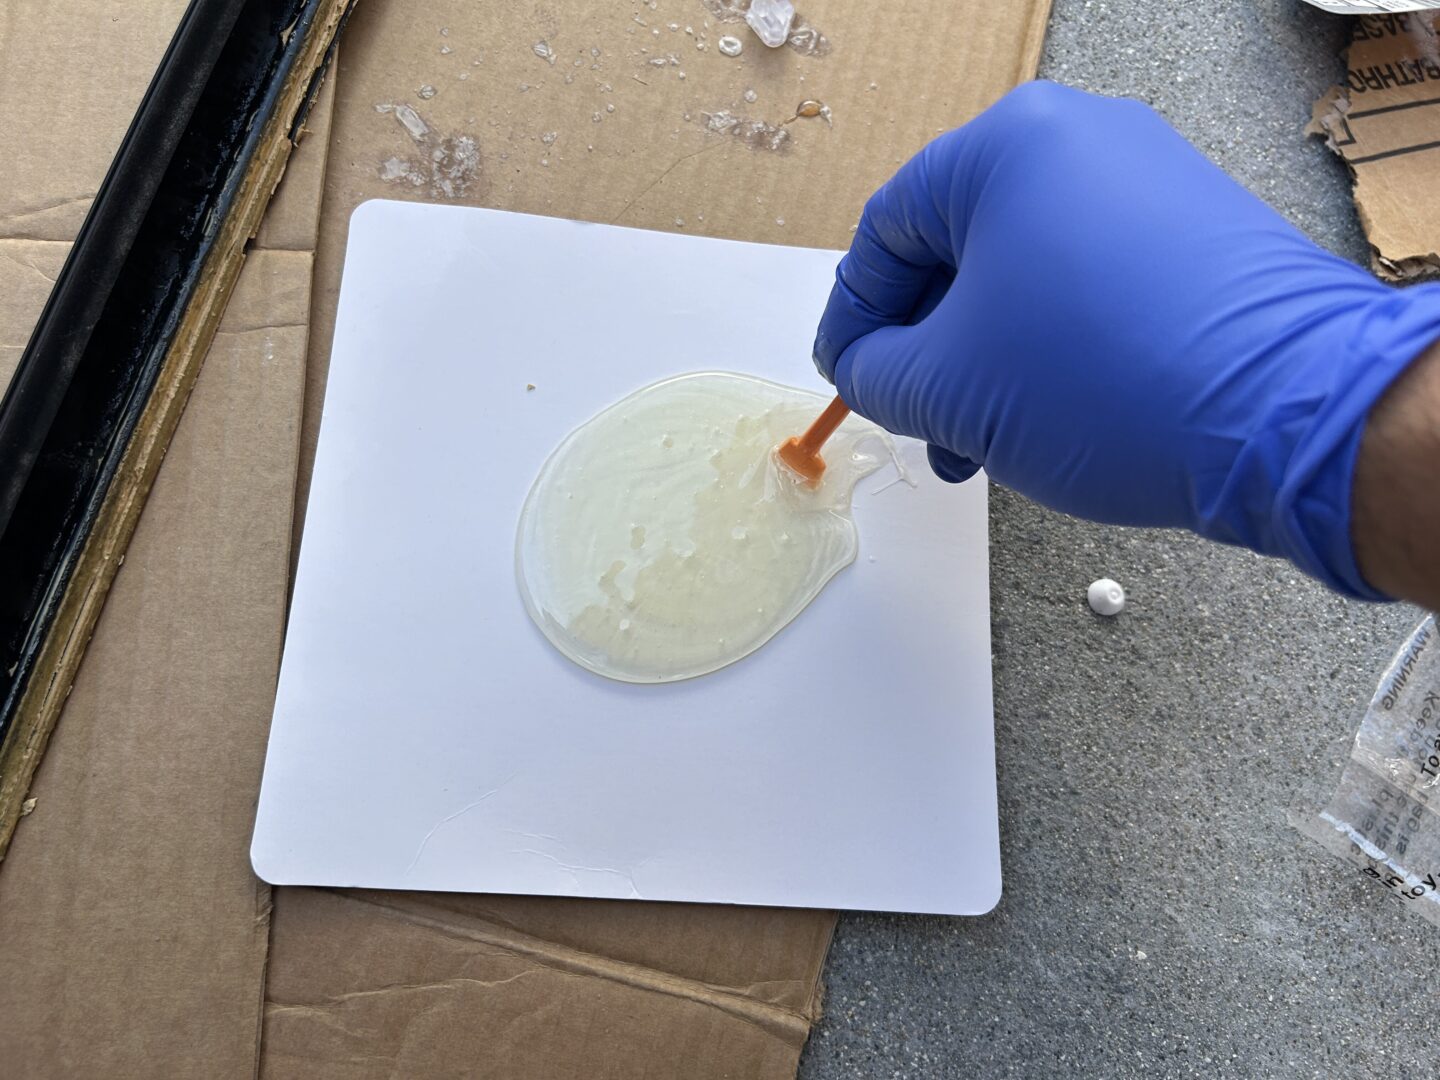
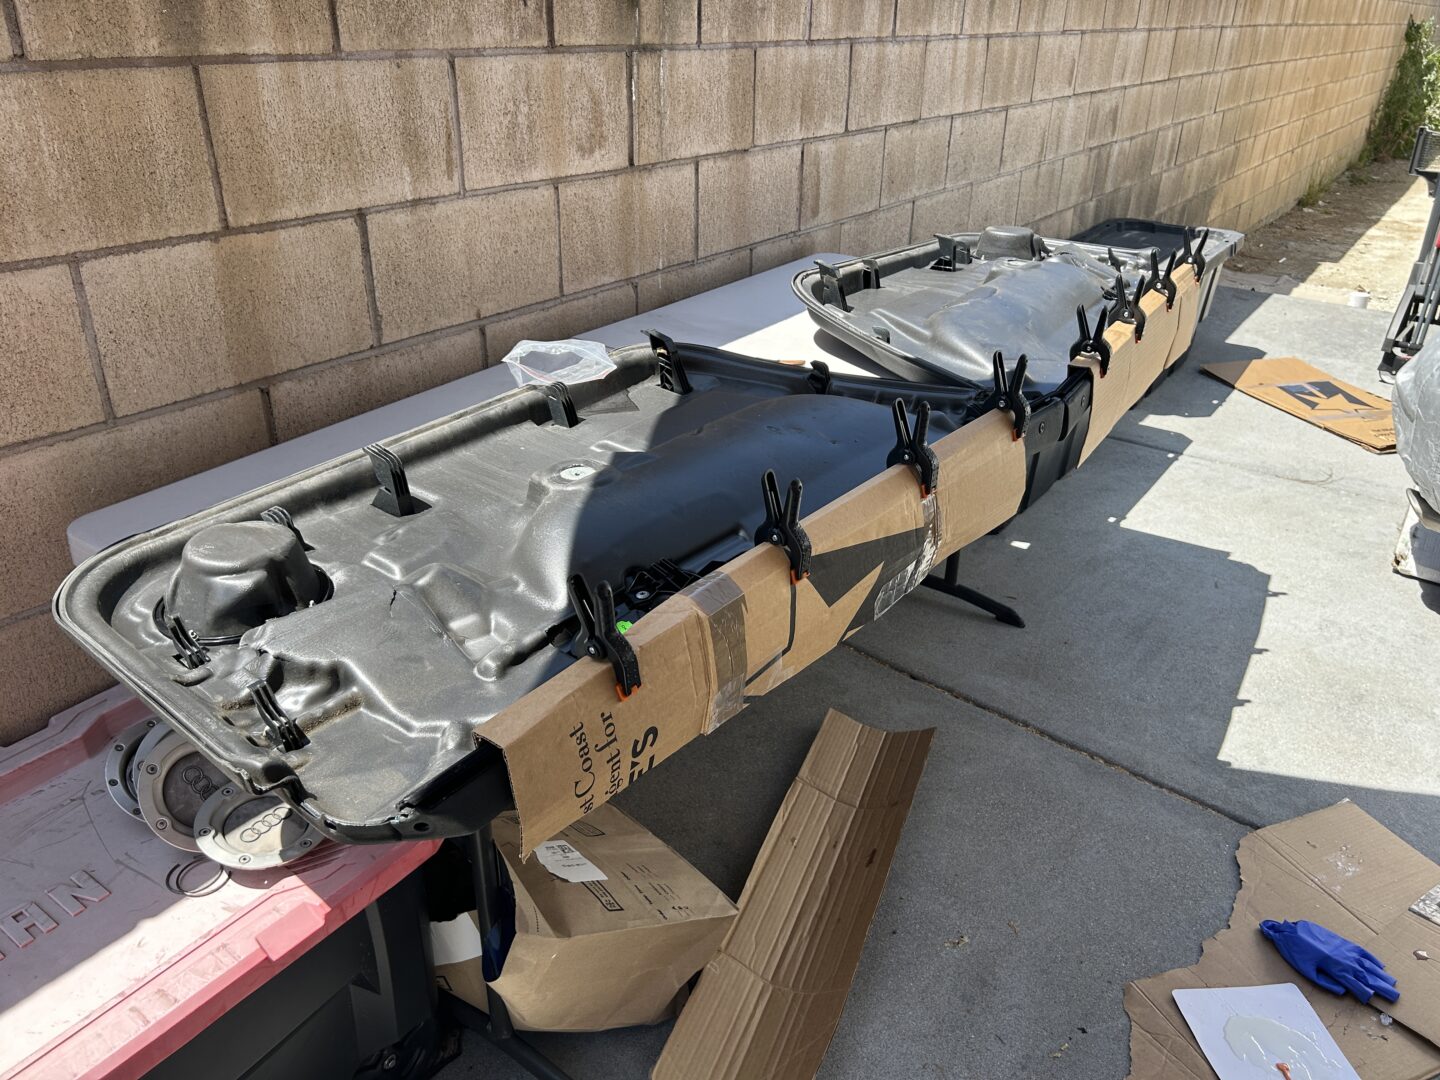
After this, you’ll need some kind of glue to reattach the insert that has come off prior. I would try to remove any loose glue and then glue it back. I personally used an epoxy which did the job. After gluing it and putting the insert back into place, I used a set of clamps to hold the insert in place as the epoxy dried. I used some scrap cardboard to cushion the clamp surface so I didn’t leave clamp marks on the exposed part of the interior door panel.
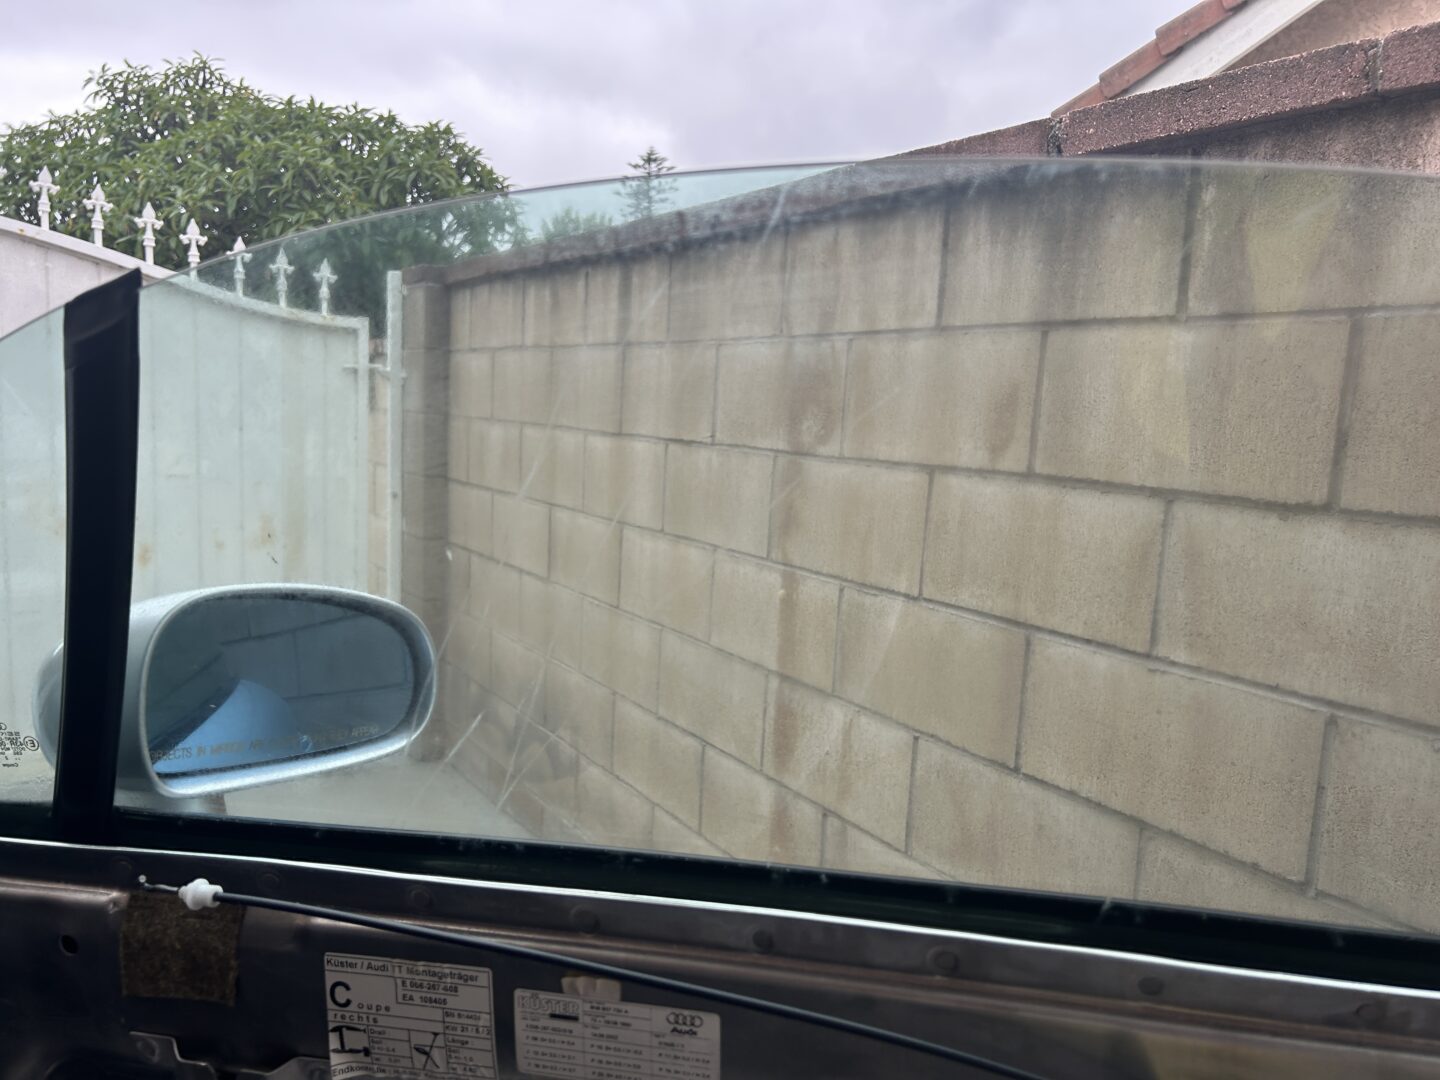
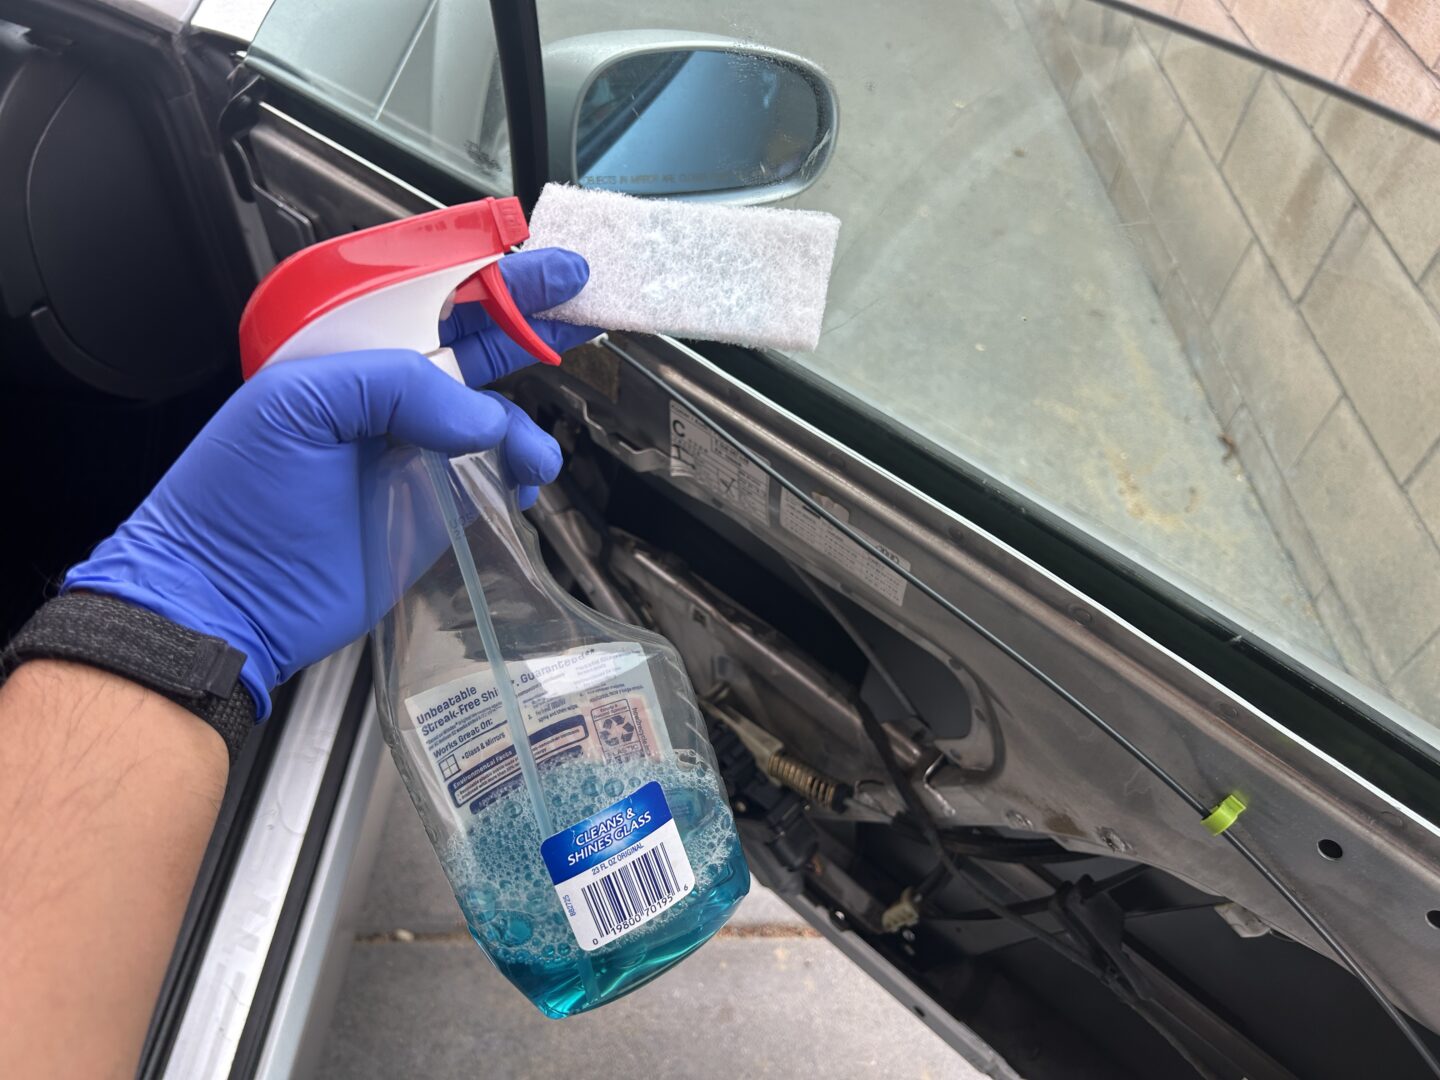
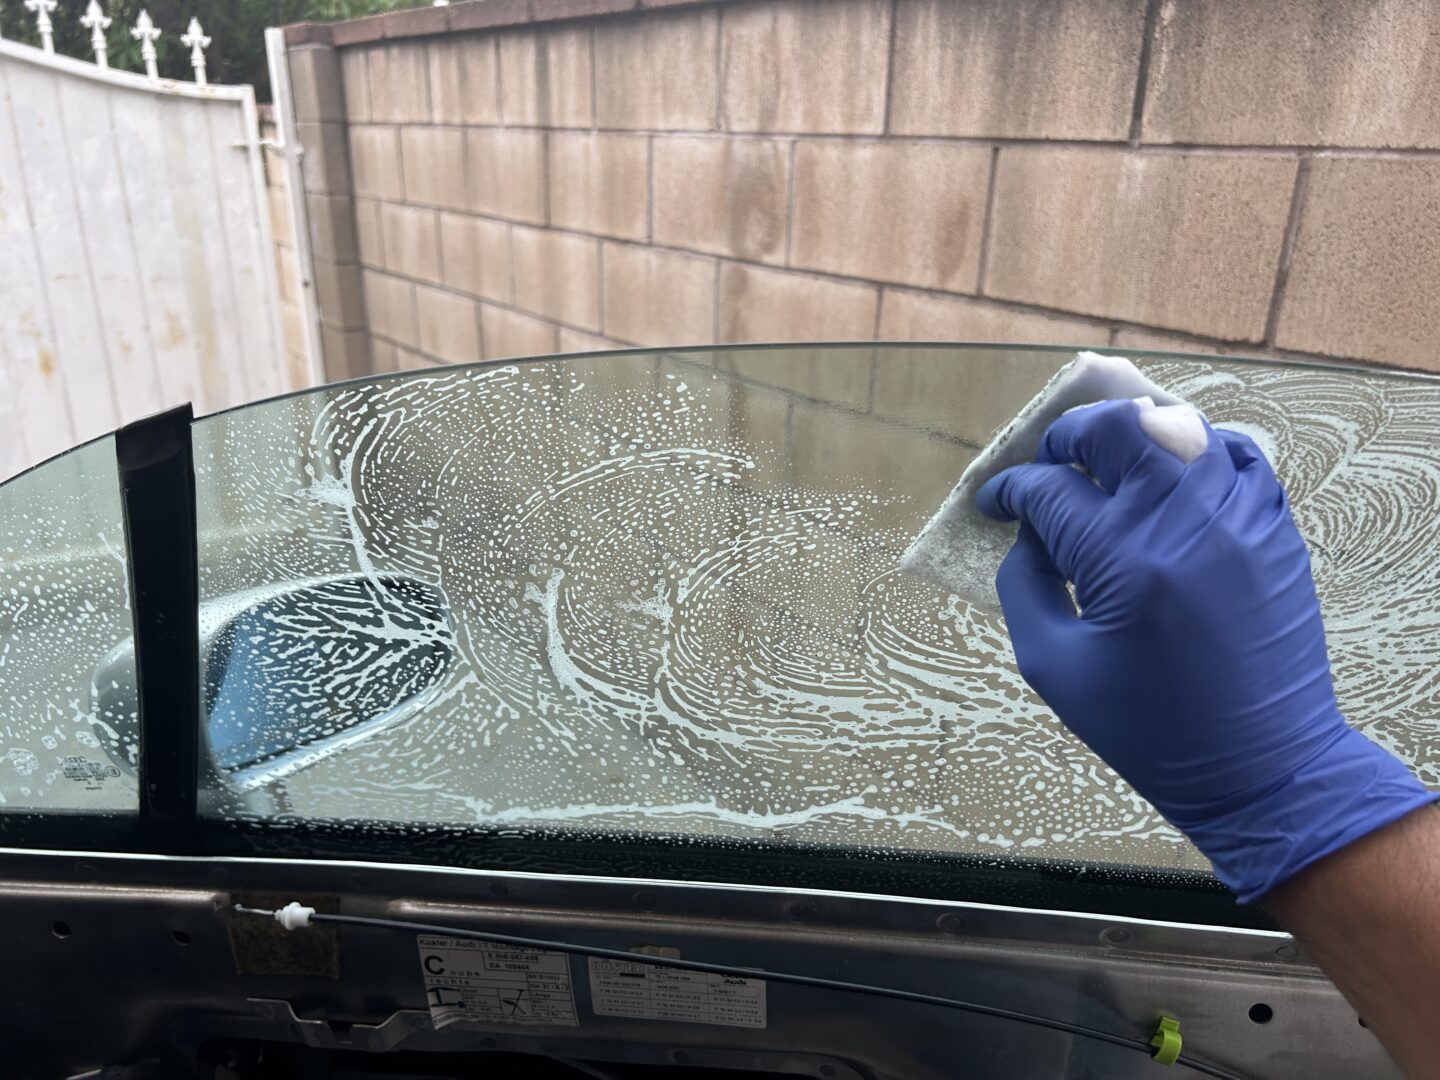
Before reinstalling the door panel, it’s a good time to clean the window thoroughly. If you’ve had issues with the glue becoming undone on the inner door panel, it is likely that you have a bunch of glue residue on the window.
The easiest way to clean your windows is to use a white scuff pad with some glass cleaner and thoroughly scrub your windows. It won’t scratch the glass because a white scuff pad has a very fine grit, which is usually safe for window glass. Be careful however if you have window tint–if you have tint, I would just clean it with a microfiber cloth and a non-ammonia glass cleaner just to be safe
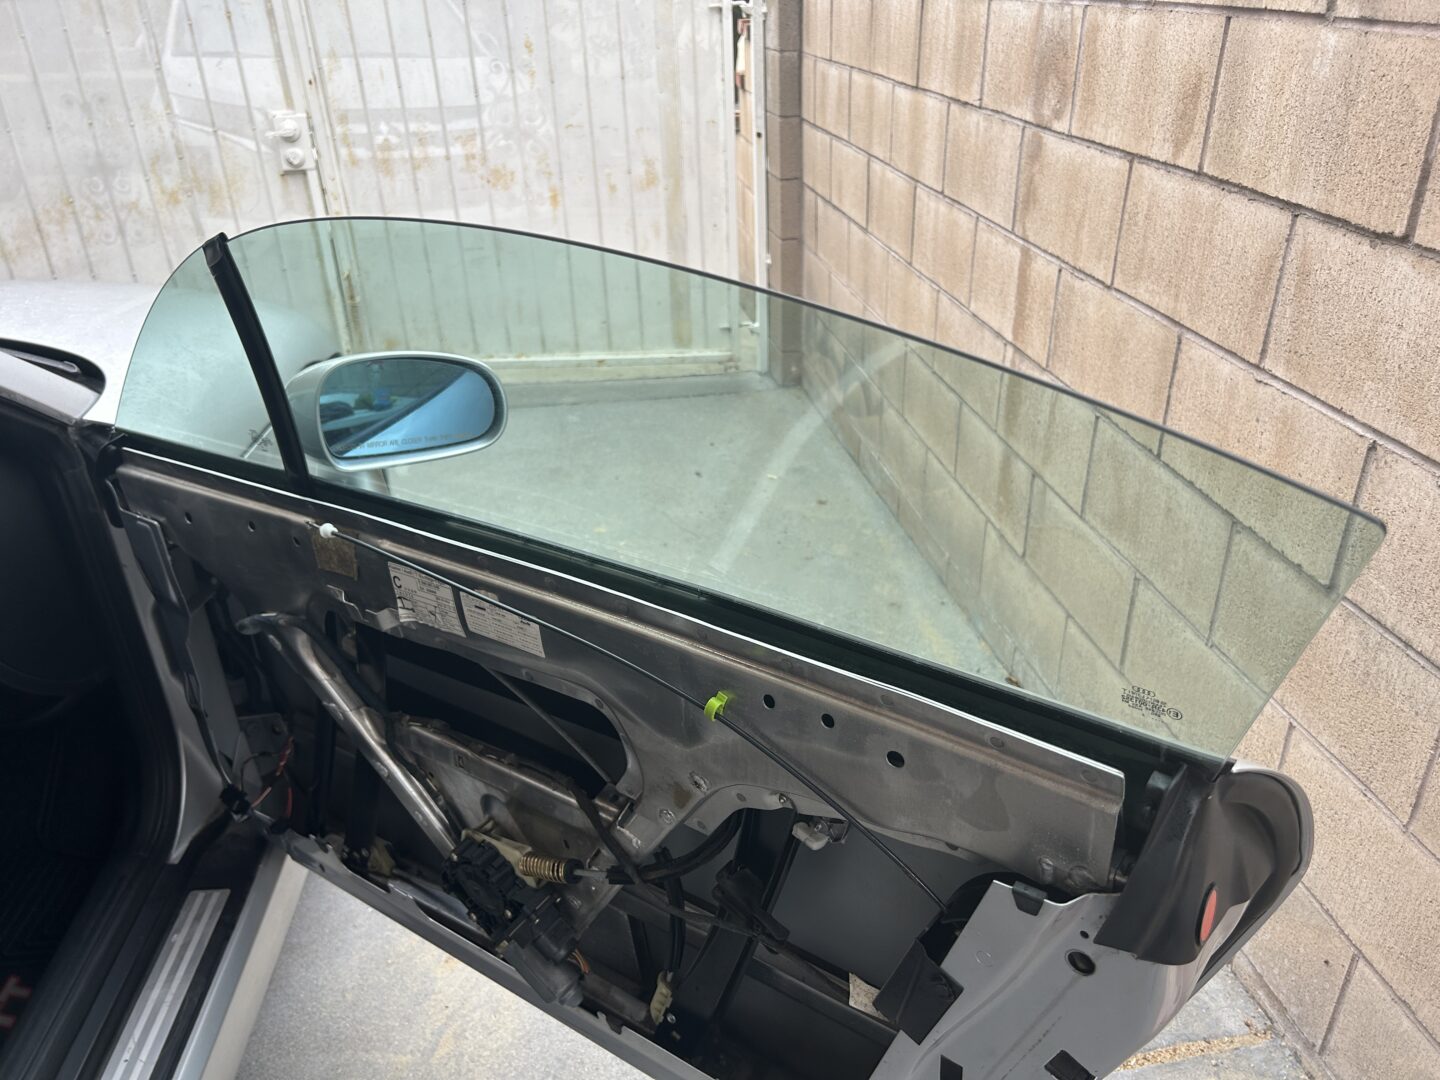
Reinstall your door panel in reverse order of removal and check out the upper edge of your door panels. After I followed these steps to repair the upper edge of the door panels on my TT, I was extremely pleased with the results. Hope your results ended up as good as mine!