")
Probably the easiest job you can do on your 5th generation Honda Odyssey is changing out your engine air filter. Honda also calls this filter, the Air Cleaner Element. Doing this job requires no tools, just the new air filter that you plan on replacing the old one with. When the maintenance sub code number 2 comes up, that means it is time to change out your air cleaner element (engine air filter), replace the dust and pollen filter (cabin air filter), and inspect your drive belt.
To change out the air cleaner element, you’ll need access to the engine bay where you’ll undo a few clips on the air filter housing. I was able to replace my air cleaner element in less than 5 minutes, so it is definitely a job that you should do by yourself rather than paying someone to do it for you.
Tools & Materials
Air Cleaner Element (Engine Air Filter)
There are lots of options for an engine air filter replacement. You normally have your aftermarket filters which are more affordable, Honda Genuine (OEM) option which tends to be twice the price of the aftermarket filters, and the reusable-type filter which will last you a very long time and requires periodical cleaning, but can cost you more than the others.
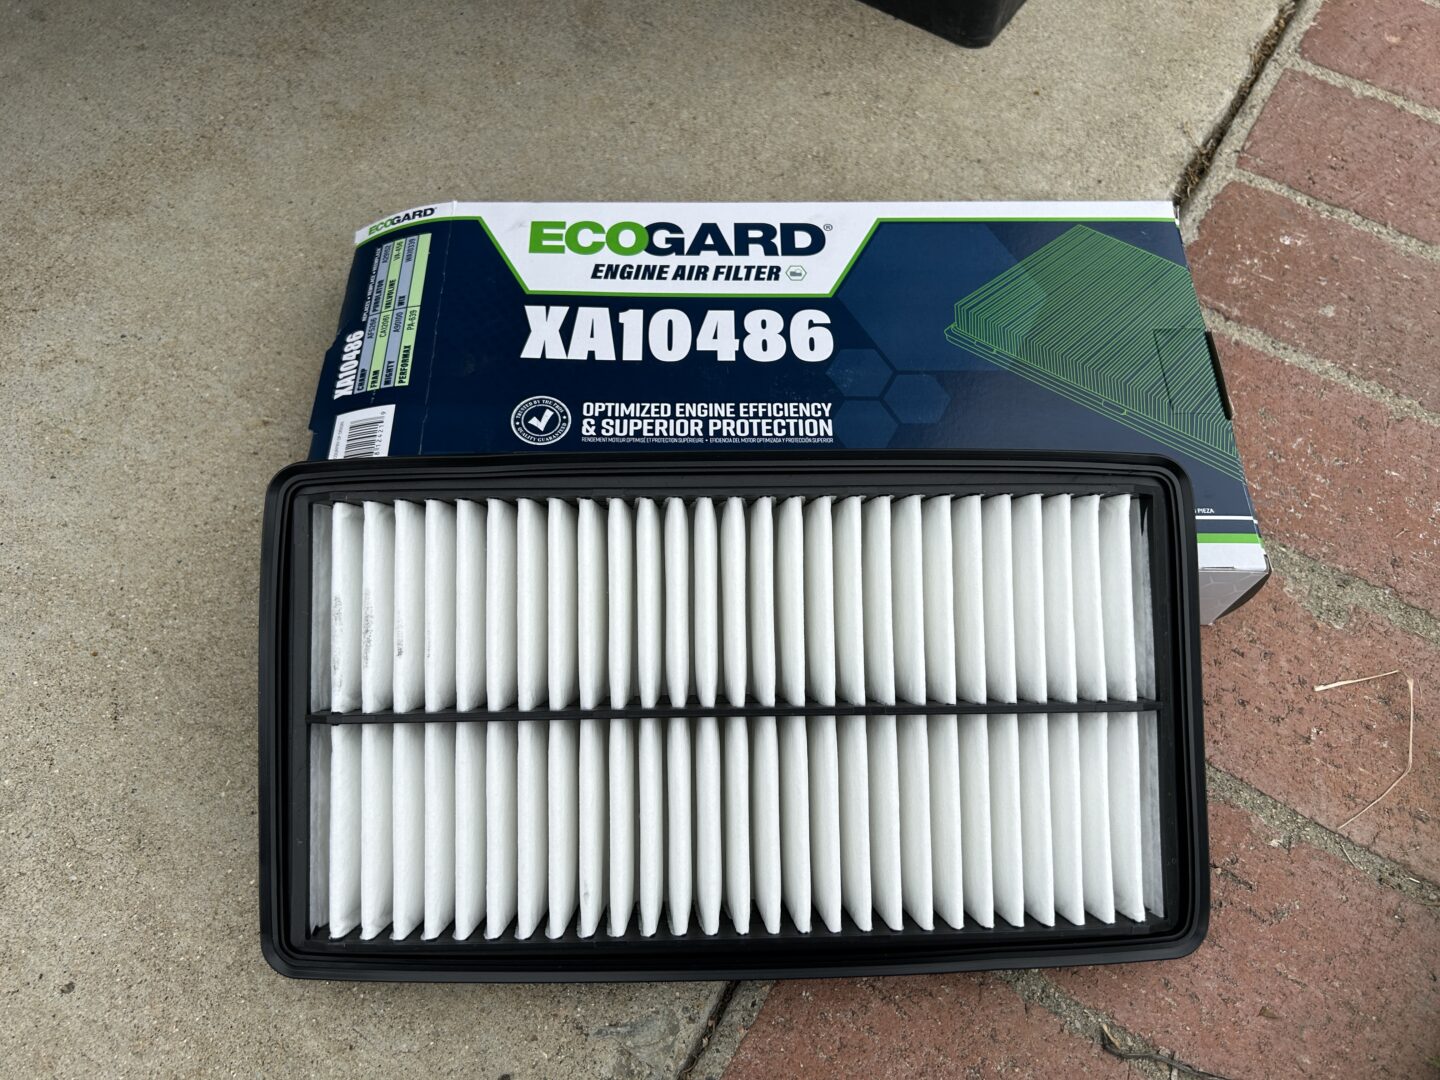
ECOGARD XA10486 Premium Engine Air Filter
Honda Genuine Element, Air Cleaner
K&N Reusable Engine Air Filter
Nitrile Gloves
MedPride Nitrile Exam Gloves, Powder-Free Box/100 – Small | Medium | Large
How to Replace the Engine Air Filter: 5th Gen Honda Odyssey (2018-2024)
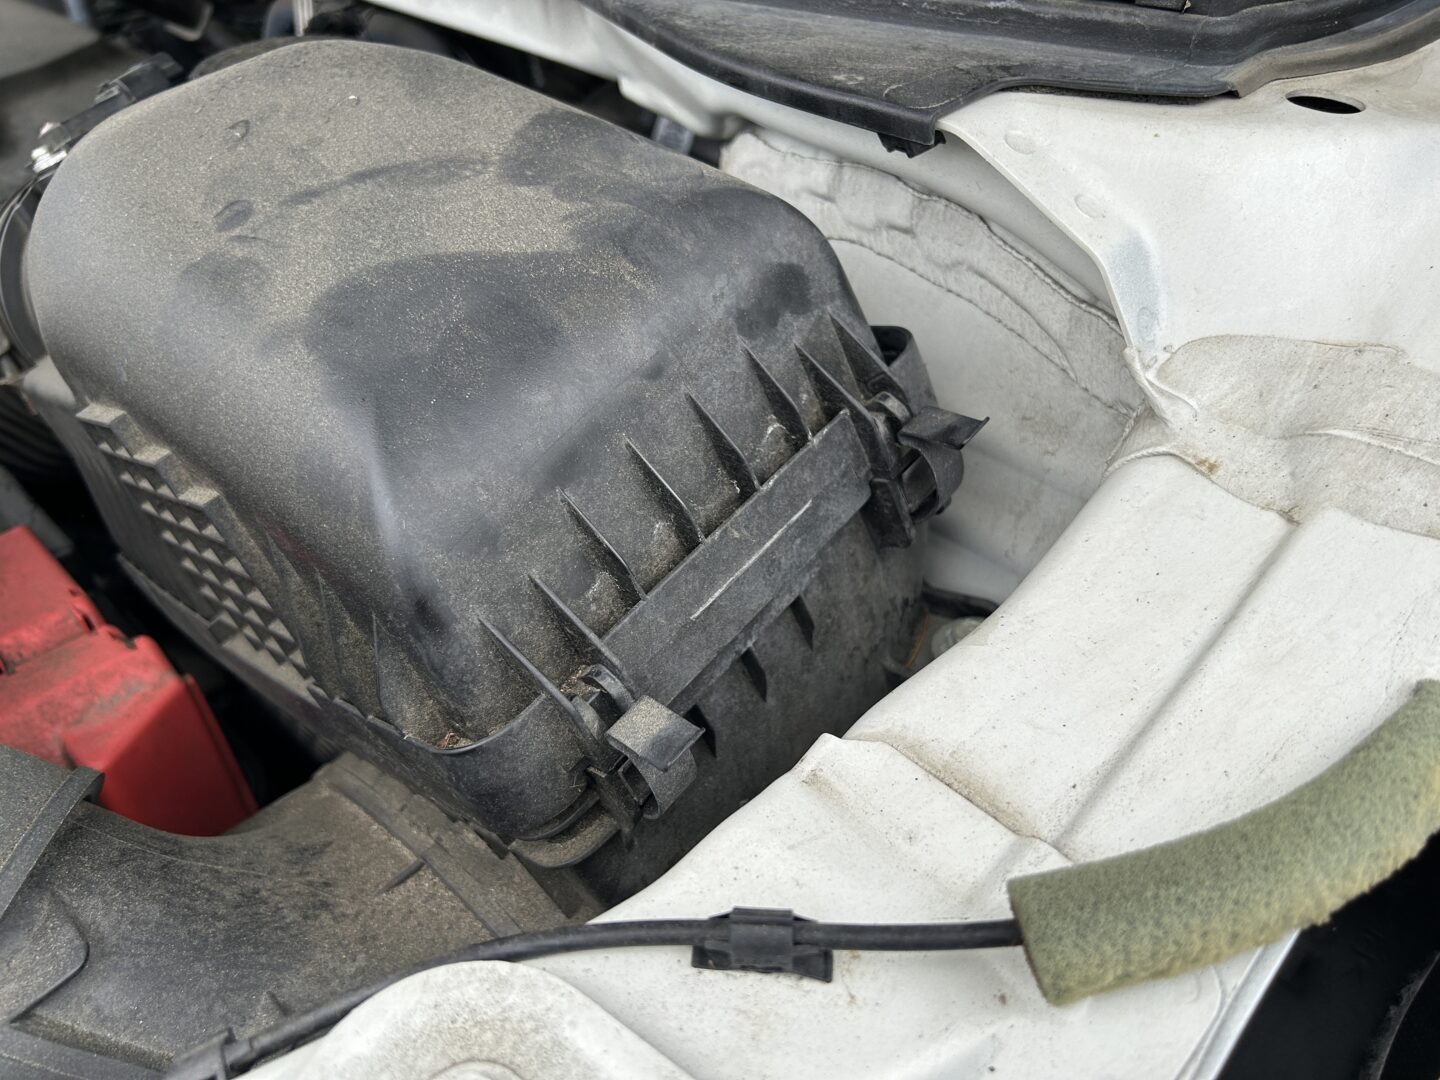
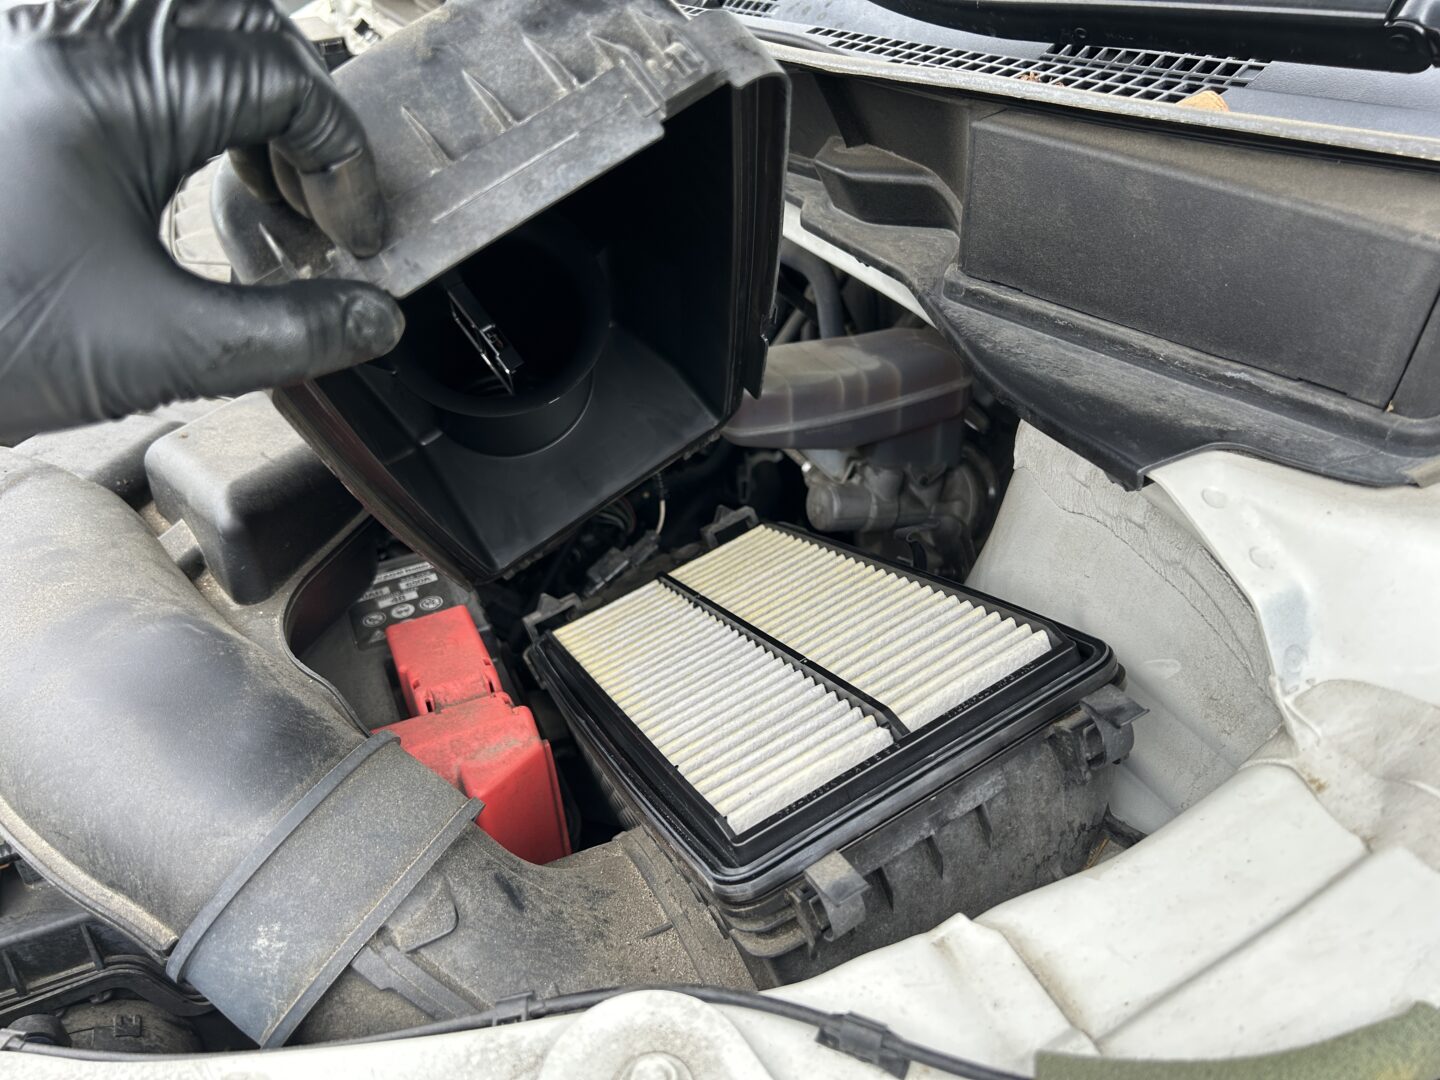
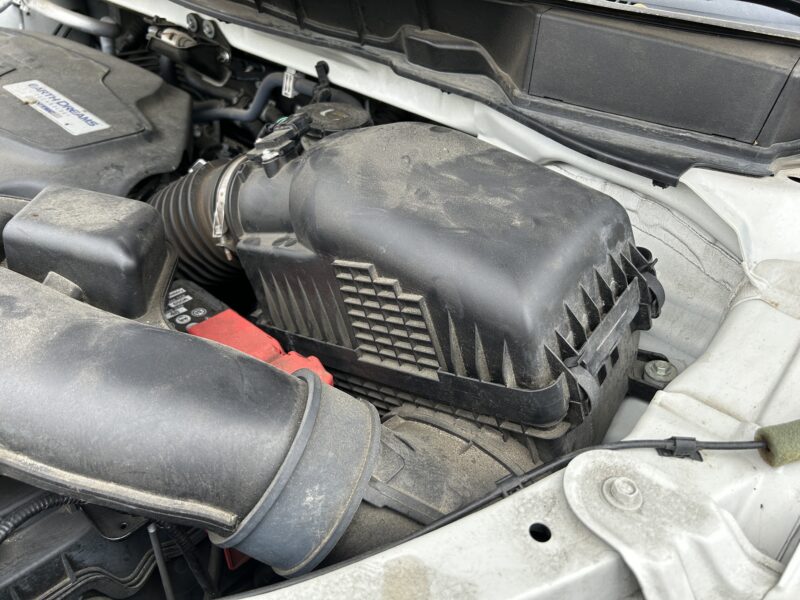
The engine air filter is located on the driver’s side towards the back of the engine bay.
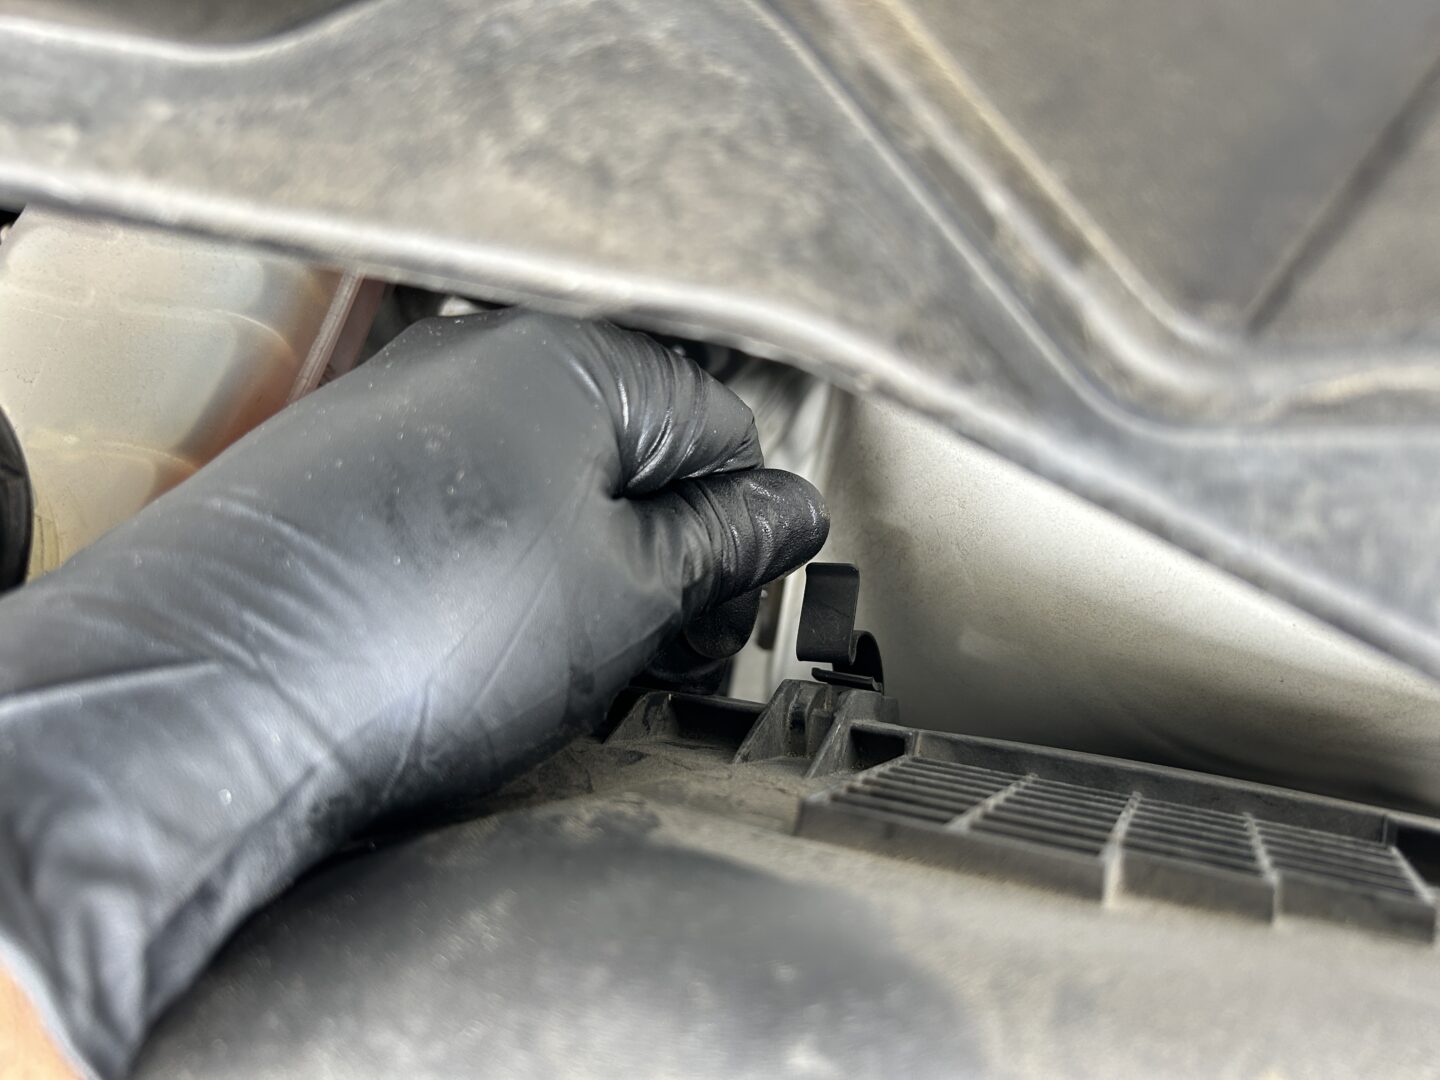
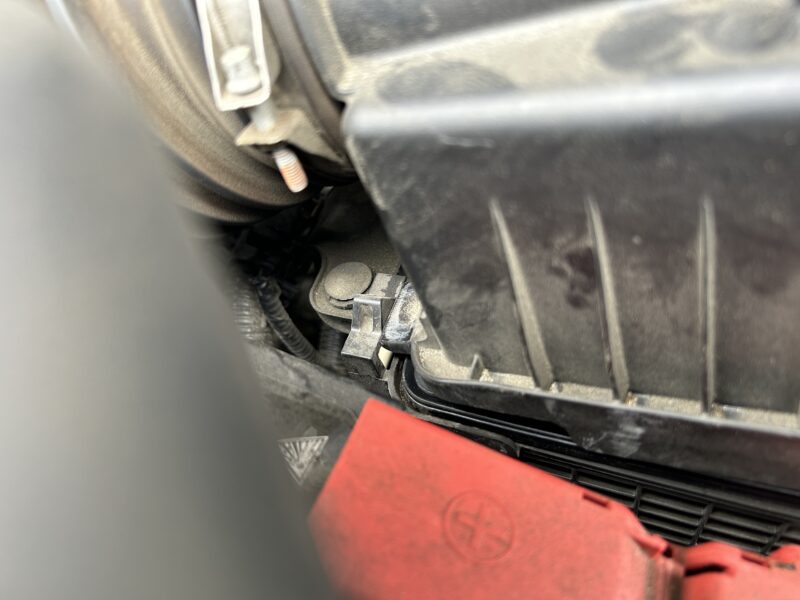
There are (3 qty) clips that will need to be undone by pulling off the clip and removing the hook that holds onto the top of the housing. There are two clips on the side of the filter, and one on the back. You can then lift up the top of the filter housing.
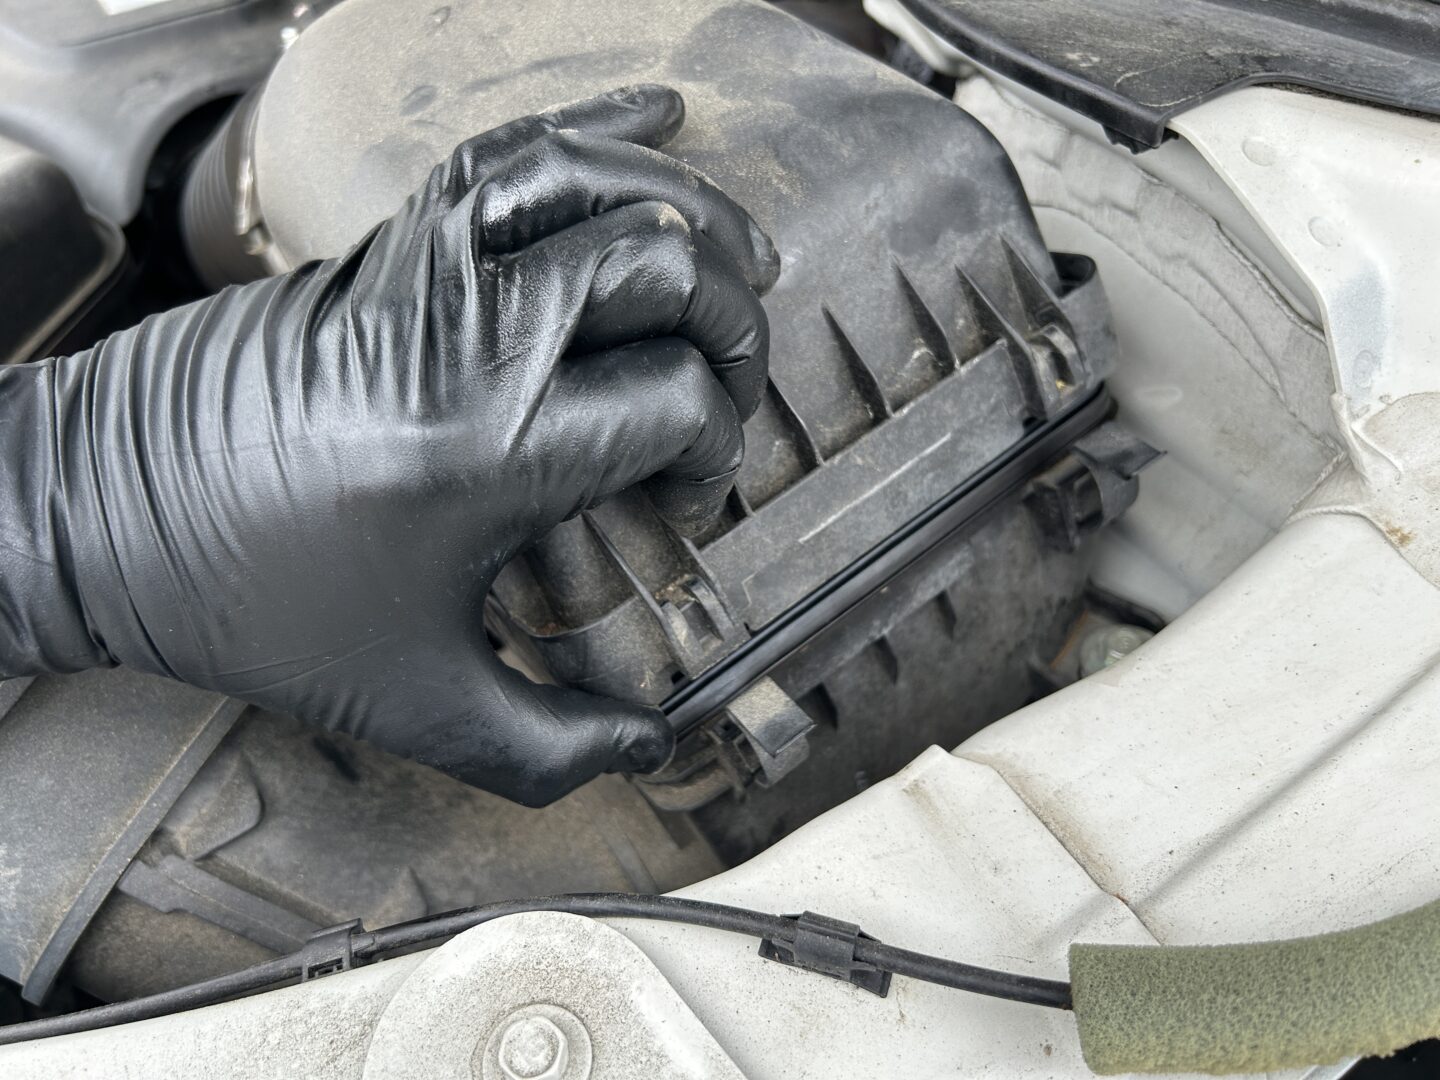
On the opposite side of the housing, there are two plastic tabs that hook into the bottom of the housing. You will need to slide the top of the housing forward (towards you) so that the two tabs can slide out, allowing you to pull the housing up and out.
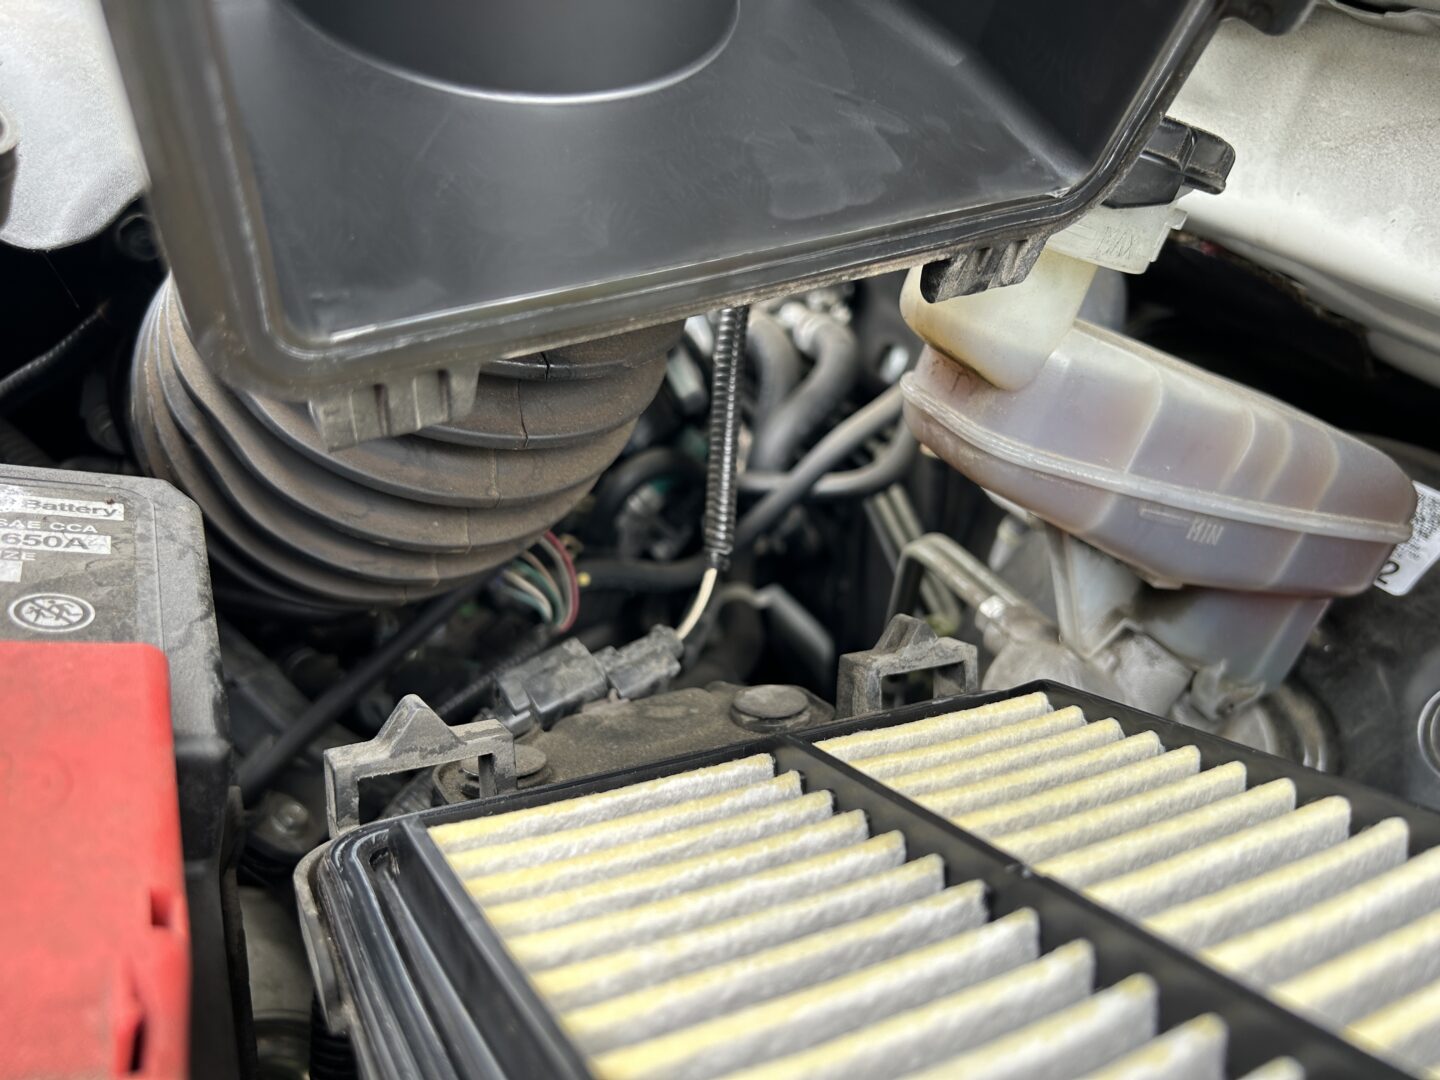
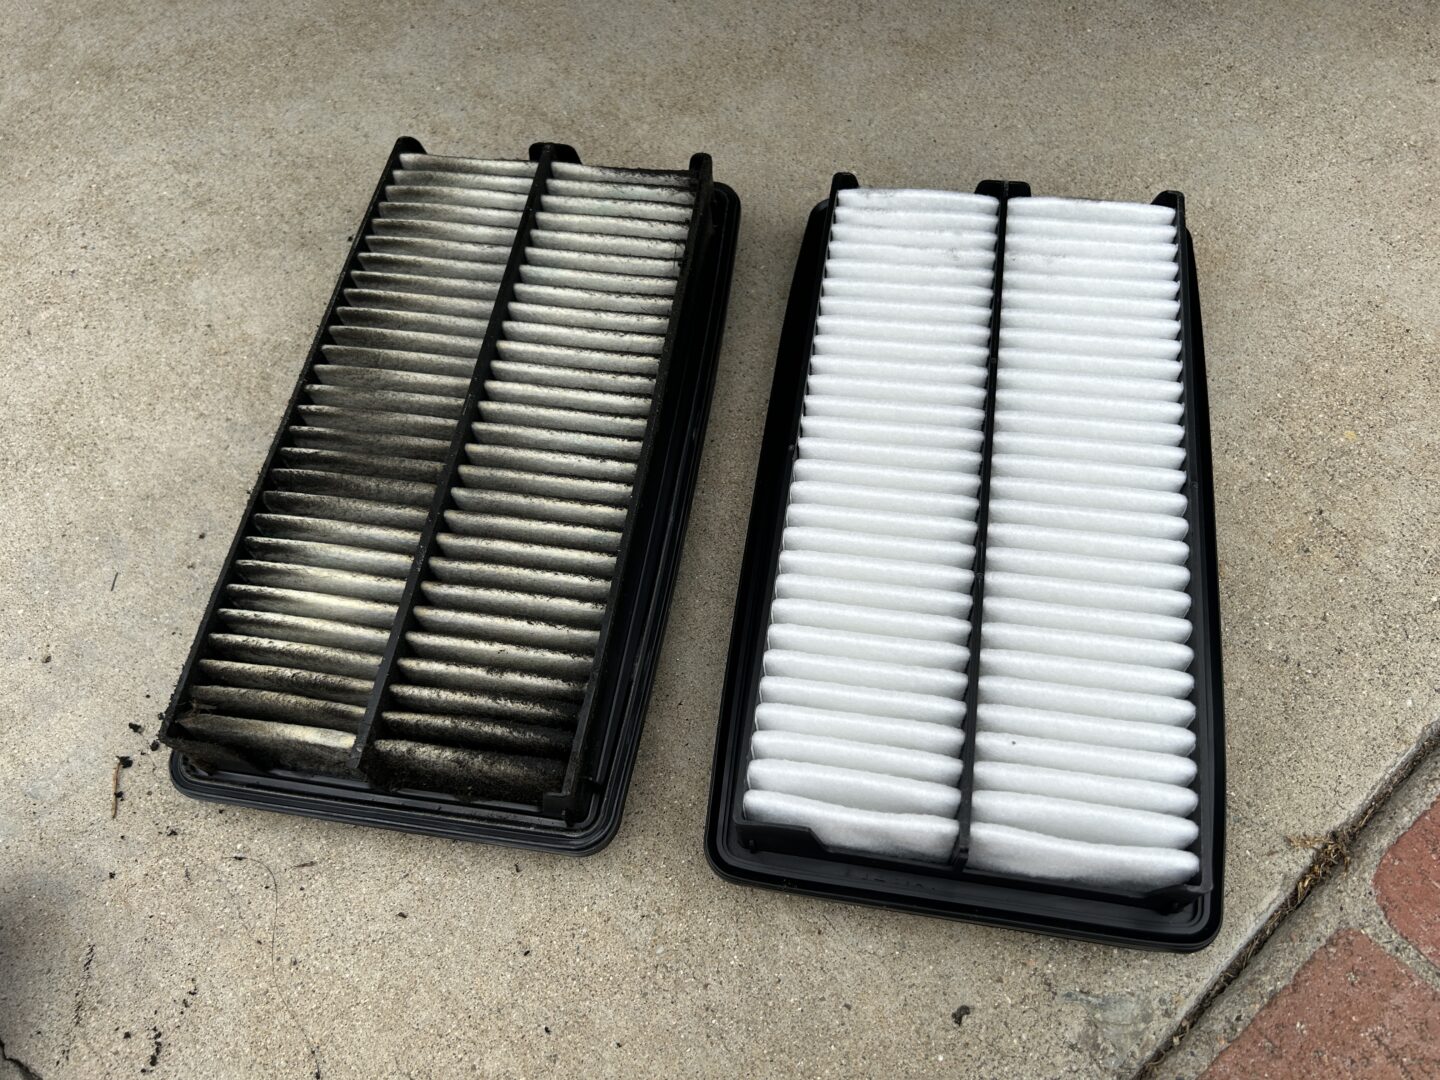
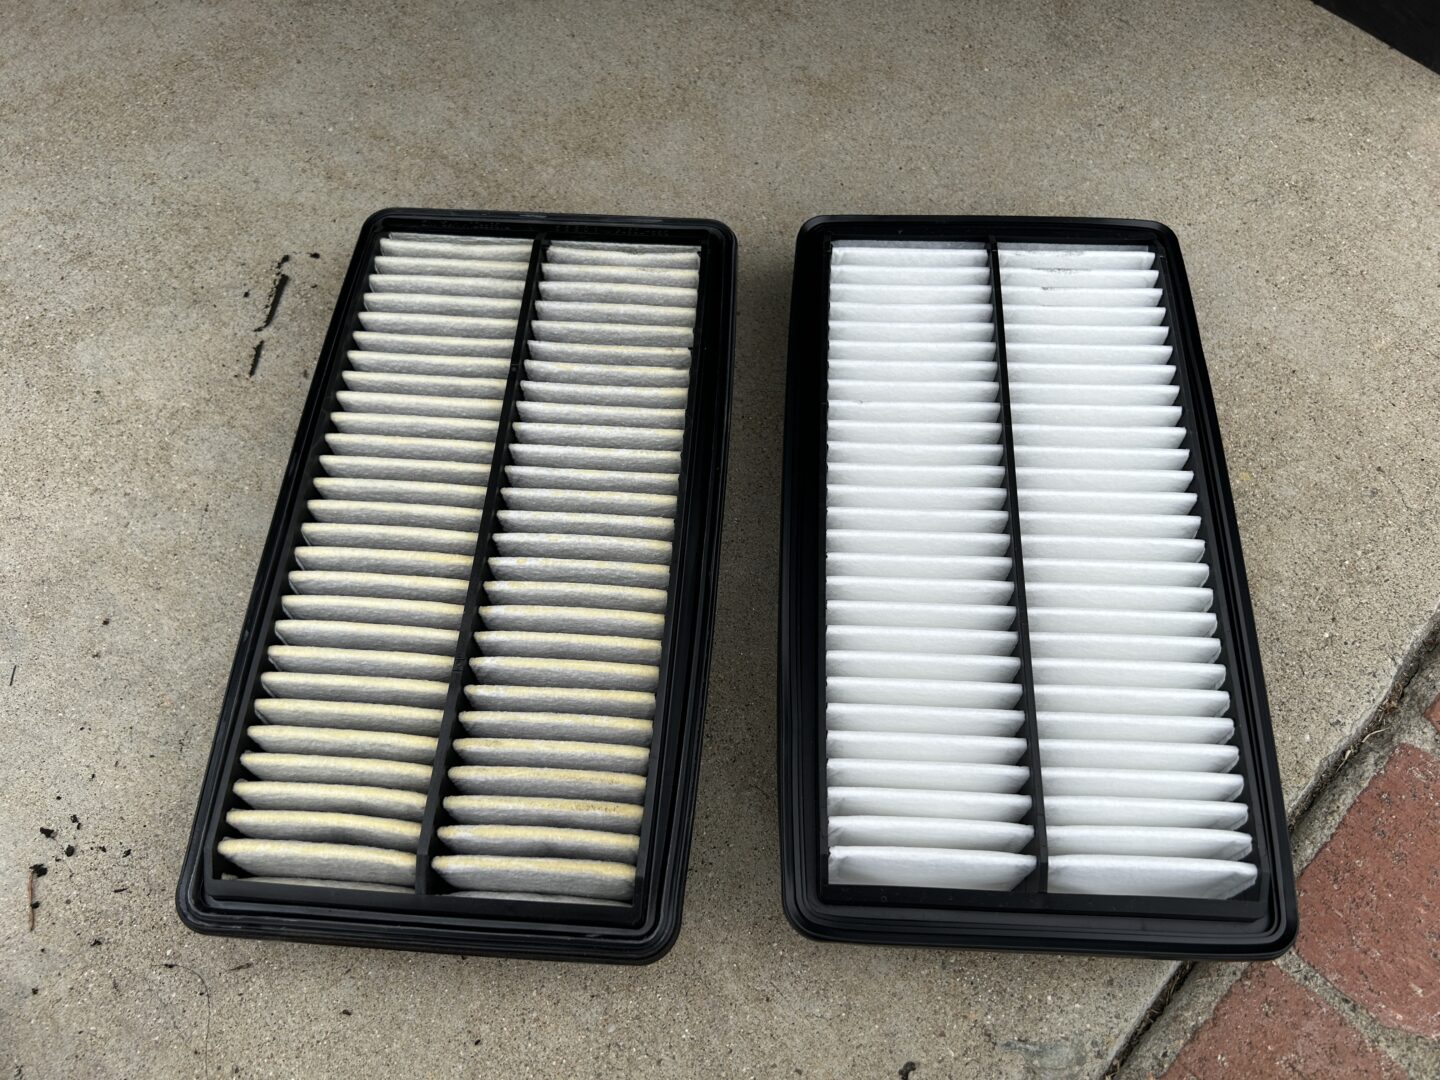
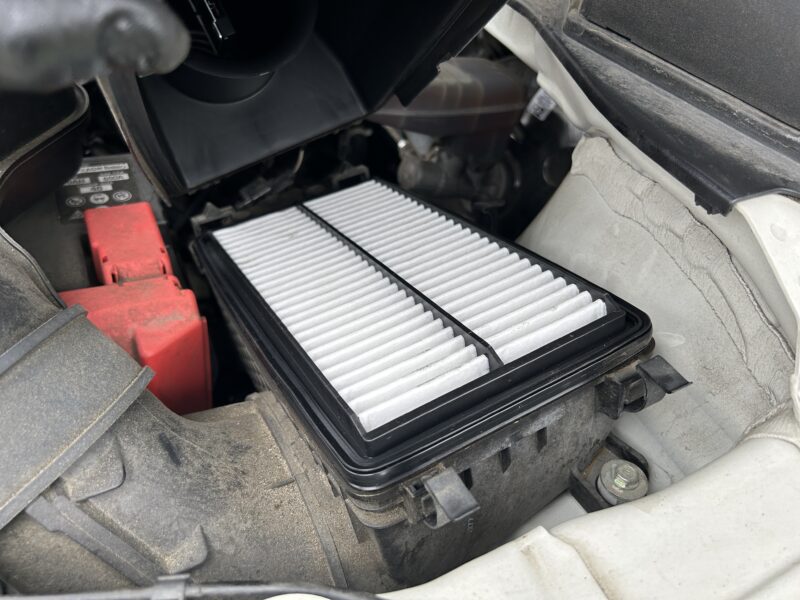
You’ll then be able to lift up on the air cleaner element and remove it. The new filter replacement goes right in the same exact way. I went with an affordable aftermarket replacement. As you can see below, my old air filter was in need of replacement; it has been in the car since new.
When you re-install the top of the housing back on, remember to hook the plastic tabs back in while you press down on the top of the housing. The upper part of the air filter housing should fit perfectly back down onto the bottom of the housing, providing a good seal before you reinstall the (3 qty) clips.
As I said before, this is a sub-5 minute job that you can easily do yourself with no tools whatsoever. Don’t forget to reset the maintenance minder if you’ve completed this service. And if you also need to replace your dust and pollen filter (cabin air filter), that can also be done very easily without any tools.
")
")
")
")
")
")
")

")