When you make purchases through links on this site, The Track Ahead may earn an affiliate commission. Also, these posts are based off my own experiences. I am not responsible for any action you take as a result of reading this. Learn More
Replacing the Serpentine/Drive Belt
The serpentine belt (a.k.a. the drive belt) plays an important part in running the various pulleys tied to critical components of your vehicle. The belt allows the crankshaft to drive the rest of the car’s key accessories such as the air conditioning compressor, water pump, and alternator.
There aren’t really any specific drive belt change intervals on the Lexus IS350, but it is typically recommended anywhere from every 90k miles to 120k miles. Given that drive belts are very easy to replace and the belt itself costs somewhere between $20 and $30, it’s worth it to be a bit more conservative on your change intervals for this part.
Tools & Materials
Lexus IS350 Serpentine Belt (a.k.a. Drive Belt)
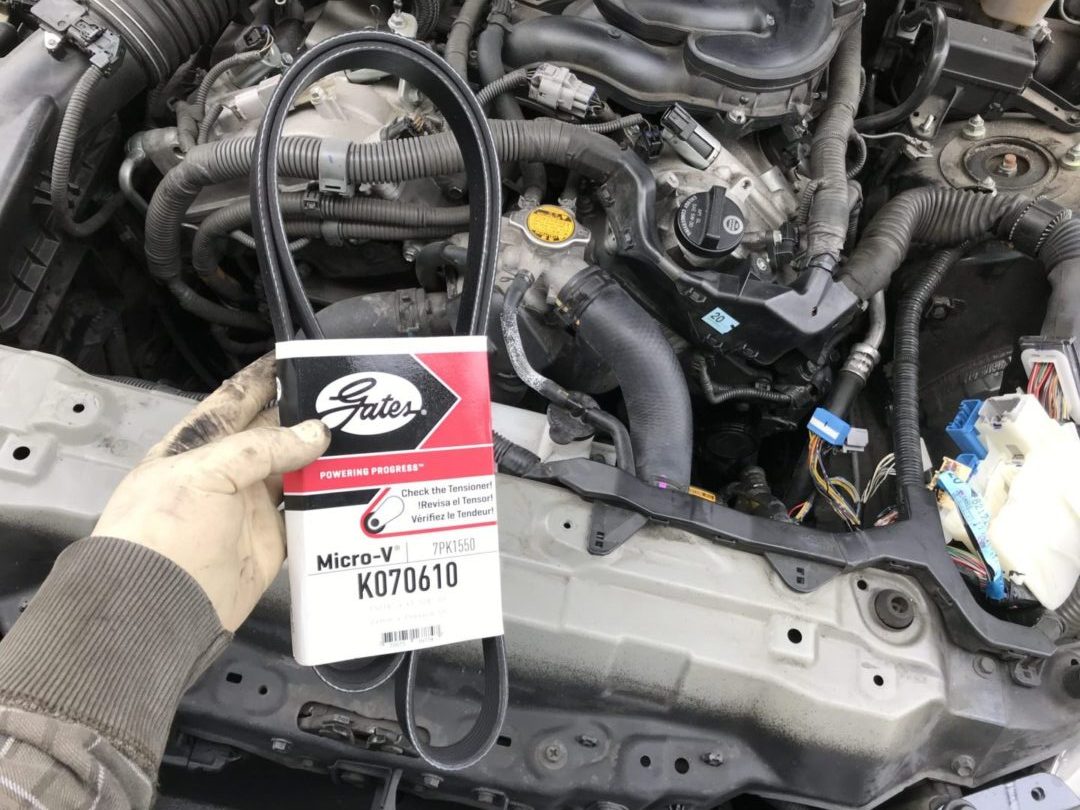
It’s safe to go with OEM, but there are so many great manufacturers that manufacture excellent belts. The ones I usually go to time-and-time again are Gates, Bando, Dayco, and Continental. In fact, many of these companies make OEM belts as well. With the 2006 Lexus IS350, I purchased a Gates drive belt. But really, you can’t go wrong with any of these guys.
Gates / Bando / Dayco / Continental
Mechanics Ratchet Set
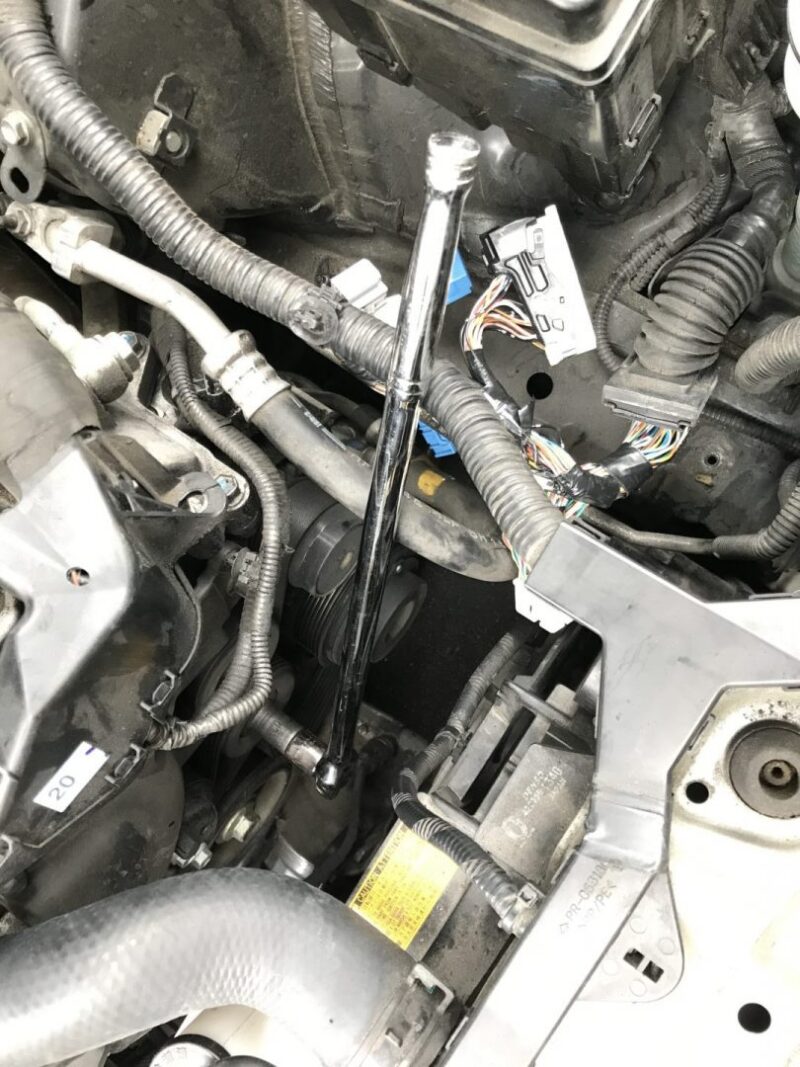
You’ll need a 14mm socket to turn the tensioning pulley. I use my trusty mechanics ratchet set for this. If yours comes with a small breaker bar, then this will come in handy. If not, you can find one here.
Search for on Amazon.com
Guide to Serpentine/Drive Belt Replacement
Gaining Access to the Drive Belt
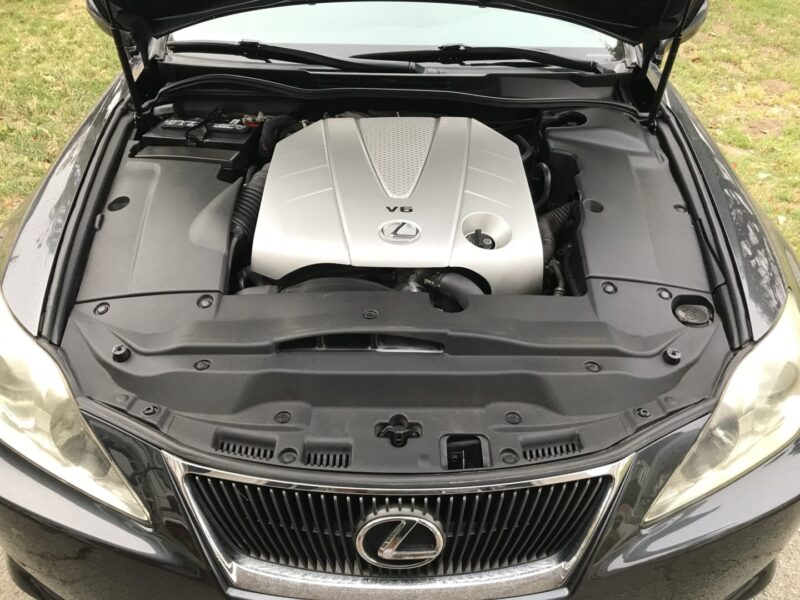
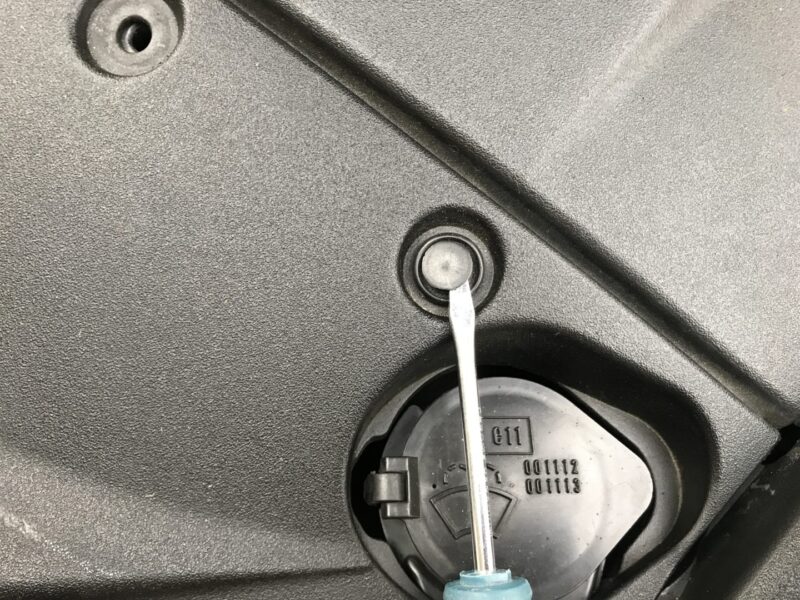
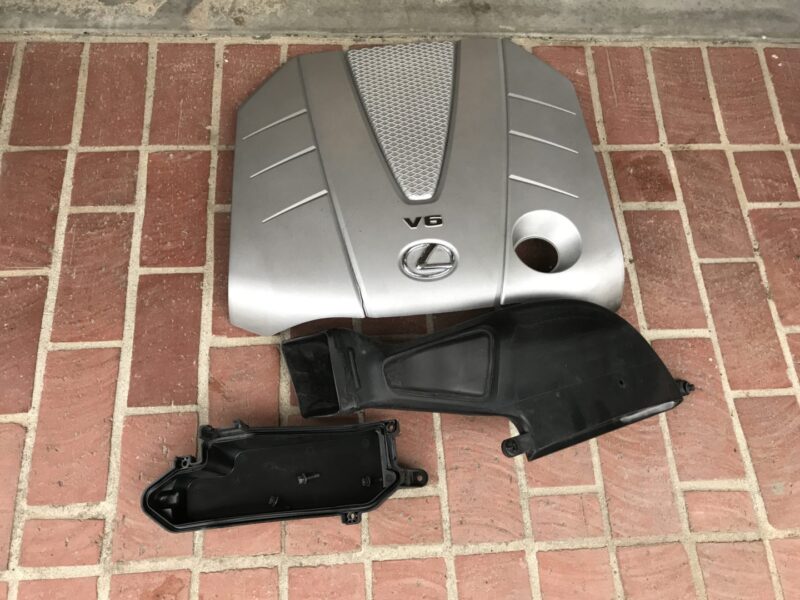
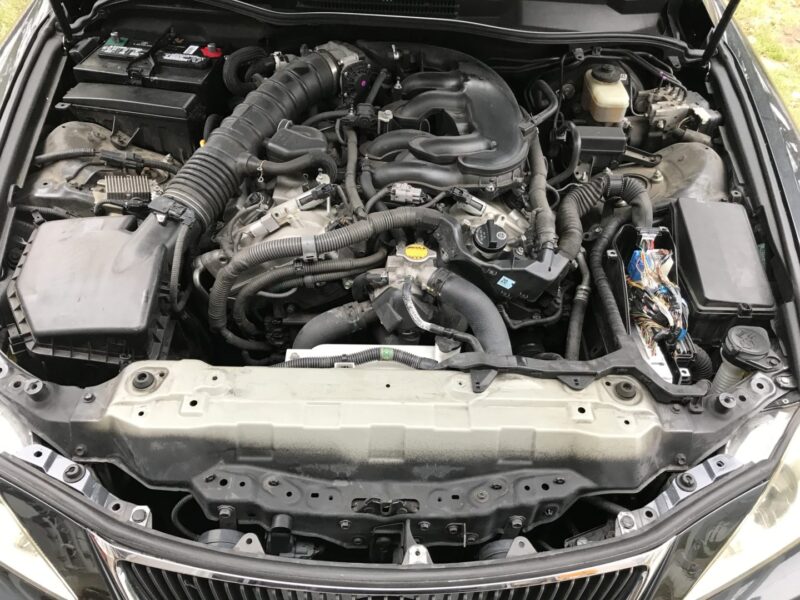
Start by removing all the black trim pieces under the hood. There is one on the left, one on the right, and one in the front. They can all be removed with a flat head screwdriver. The silver engine cover can be removed by pulling up on it.
Also, remove the front air duct and ECU cover.
Removing the Drive Belt
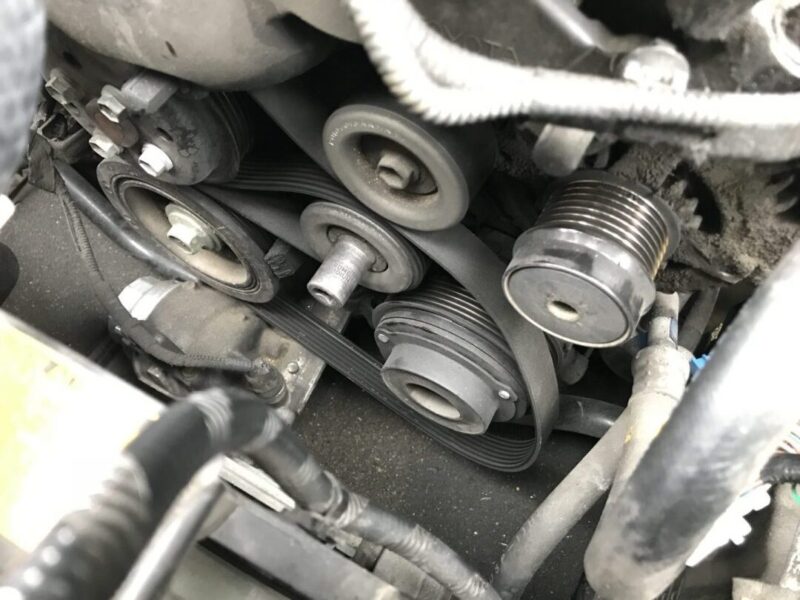
Next, we need to remove the drive belt. Keep in mind that the photos show some other parts removed while I was replacing the alternator so the pictures you see below may look a bit different if you had only removed the trim and air duct pieces so far.
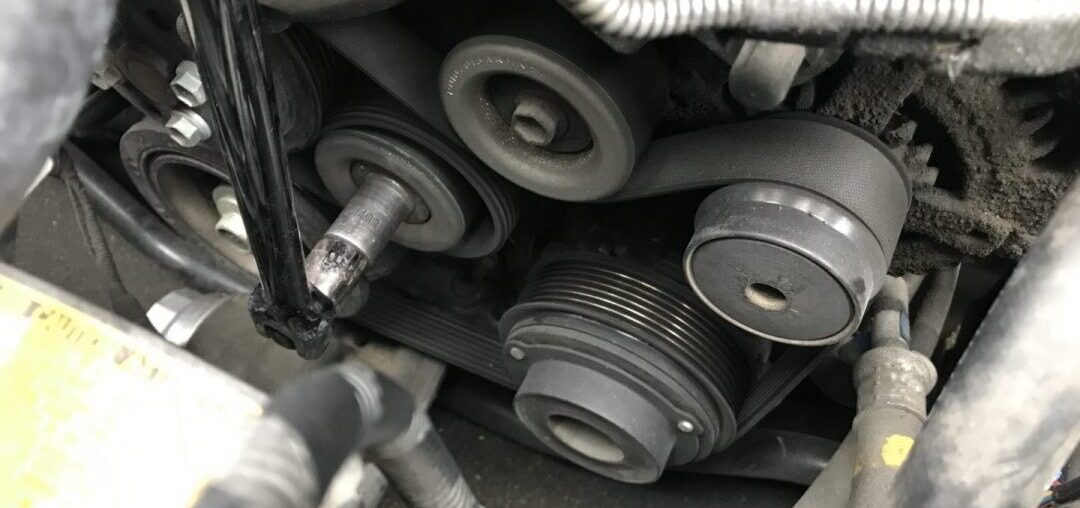
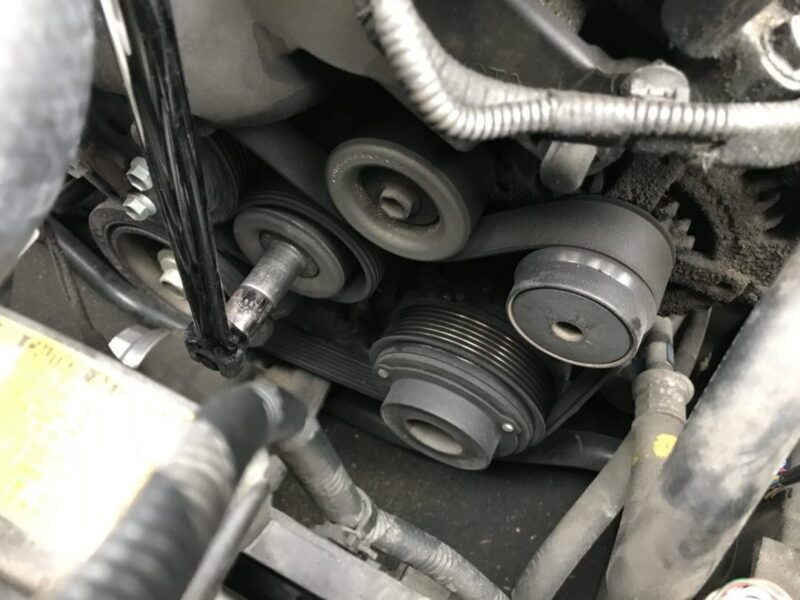
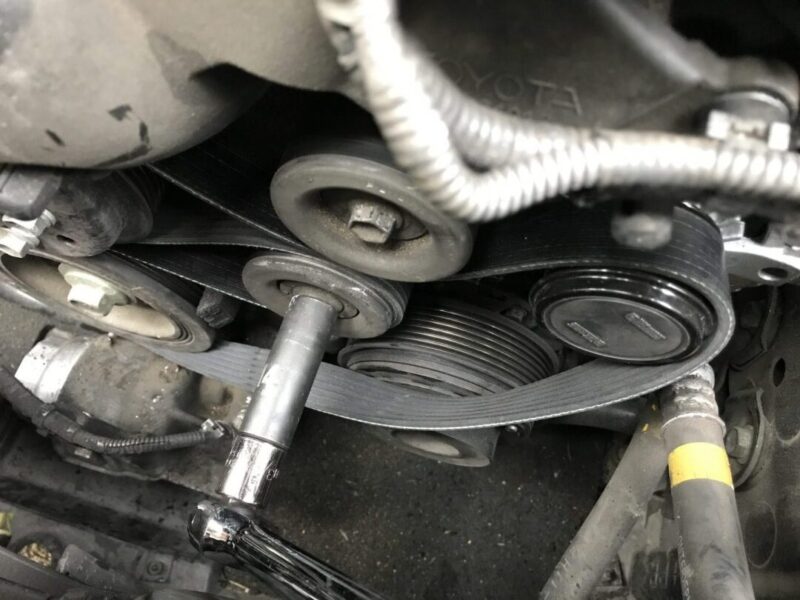
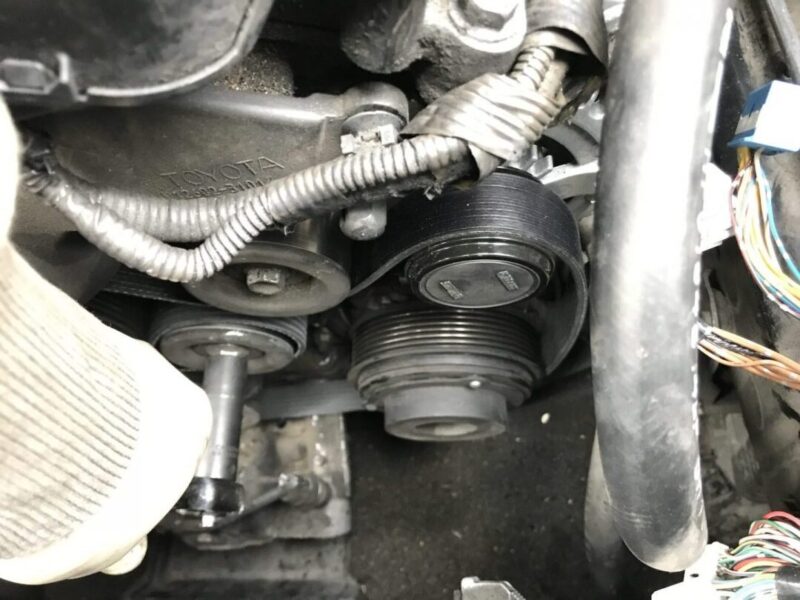
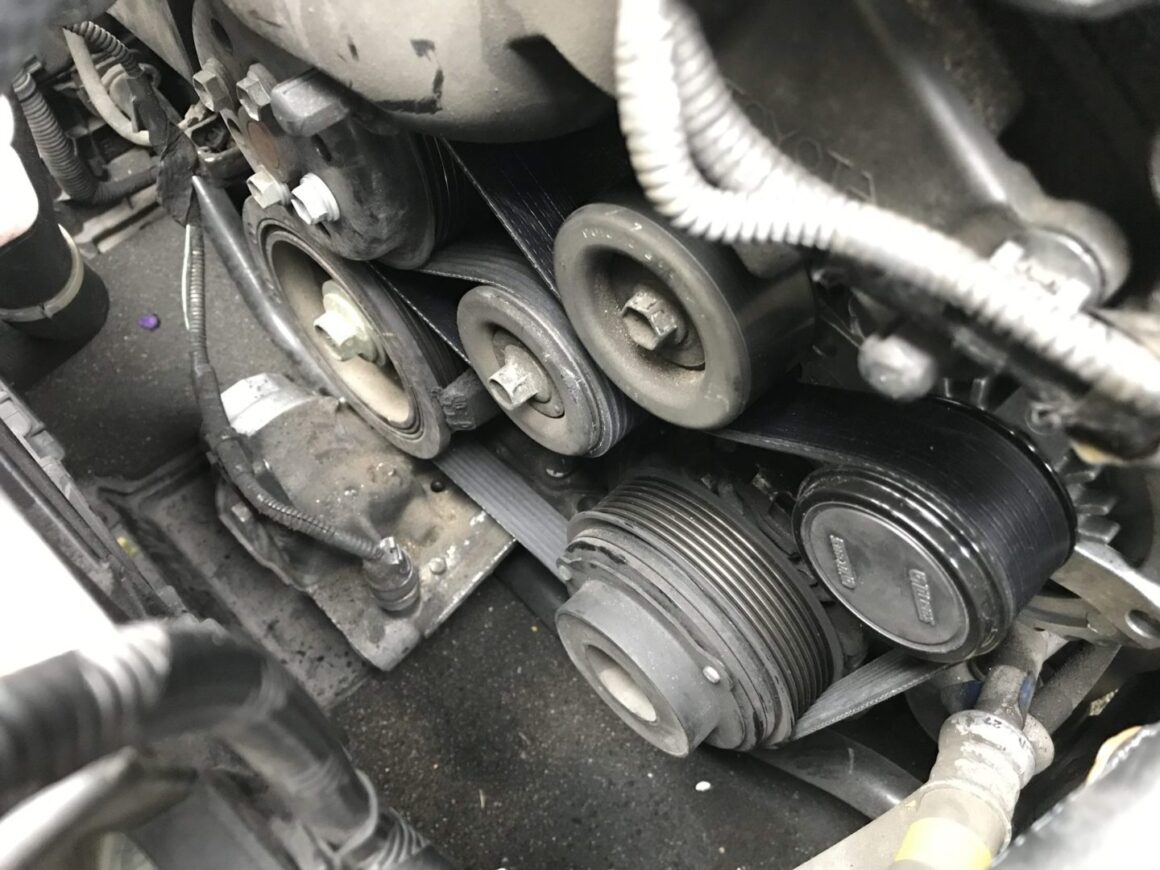
In order to take the drive belt off, you need to release tension on the belt by using a 14mm socket and pulling on the tensioner pulley. This will contract the pulley allowing for slack in the drive belt. I like to use a small breaker bar for this purpose (it helps to not have a ratcheting-action wrench here). Then I turn the breaker bar counter-clockwise; you will then see what appears to be a pulley, slide and rotate over. This results in relieving tension off the serpentine belt.
Take a few pictures of the belt so that you know how to re-install it when you put everything back together.
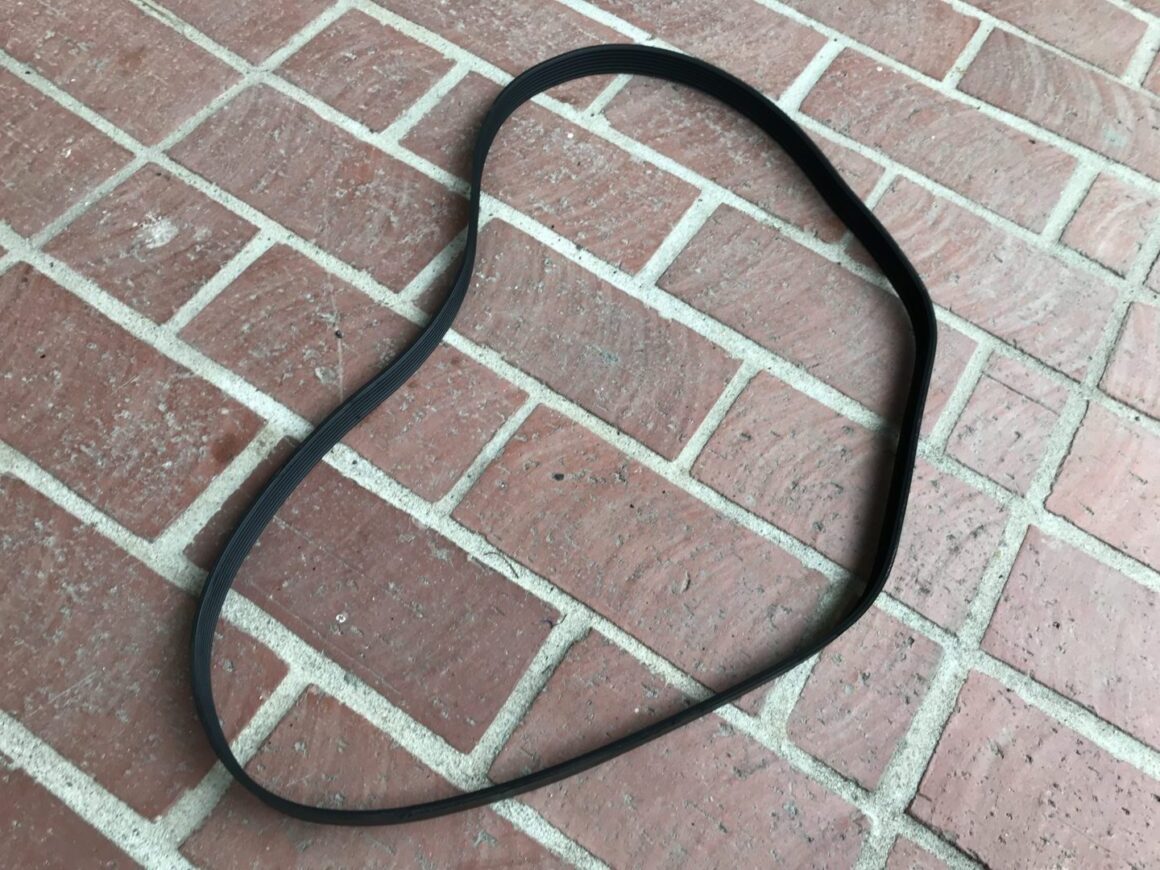
Now the serpentine/drive belt can be removed completely from the engine bay.
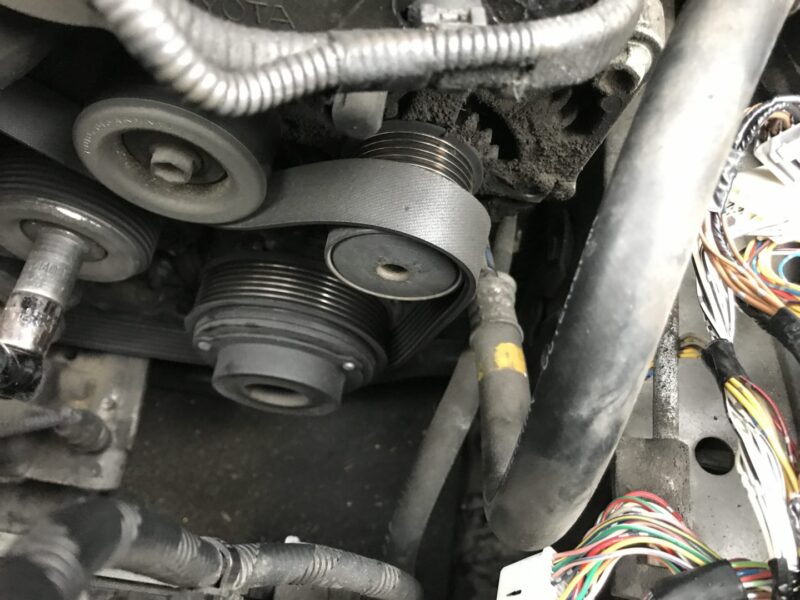
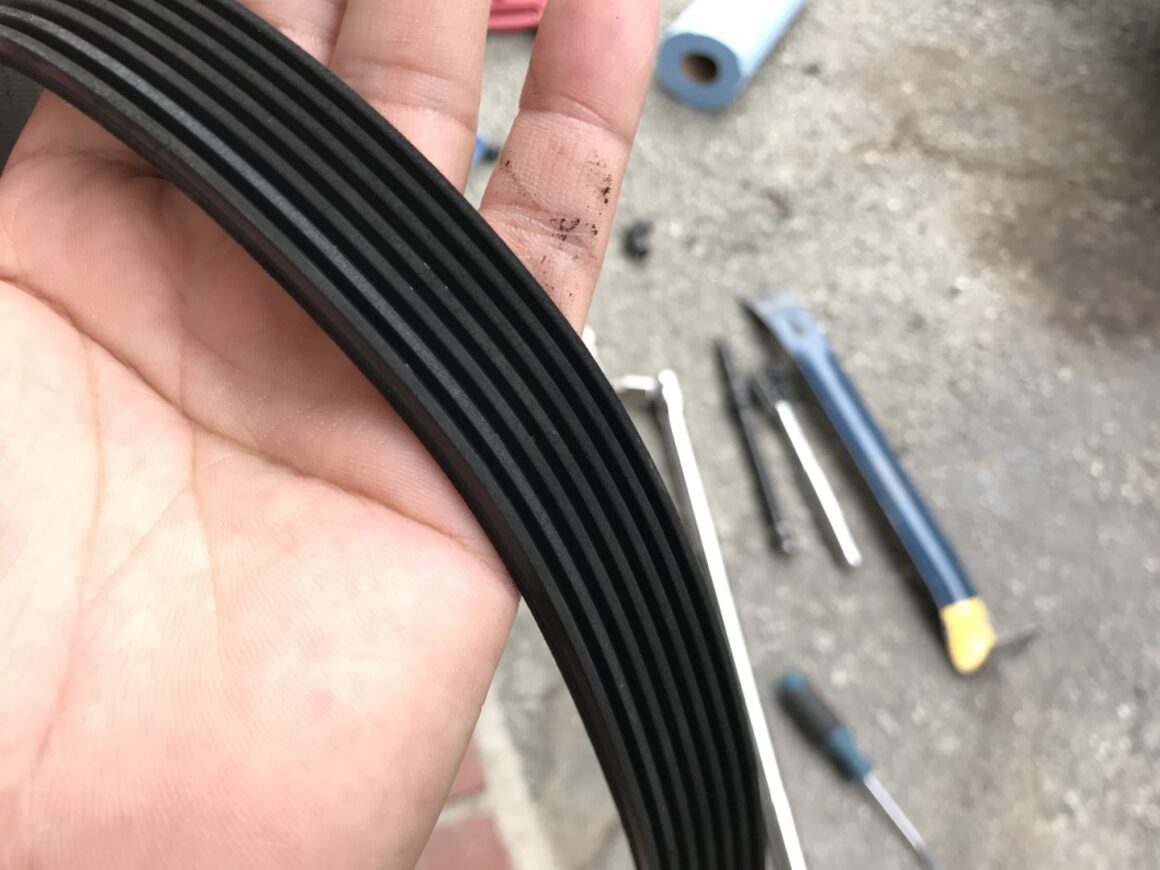
If you are simply inspecting the belt, check the ribbed portion for any damage, cracks, oil stains, etc.
The belt above is an example of one that is still in good condition. This belt could have probably been reinstalled back on the vehicle without any issues for some time.
I went with a Gates Serpentine/Drive Belt as a replacement. My existing drive belt was in good shape, but since I already had the belt off from my alternator replacement, I figured I’d replace the drive belt at the same time for some cheap insurance.
Installation of the Drive/Serpentine Belt
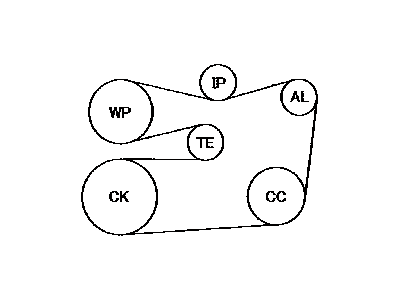
Install the new drive belt (or re-use the old if it is in good condition) by routing the belt through the proper path until you need additional slack to get the belt onto the last pulley. Use the reference photos you took prior to removing the belt, and/or use the diagram below.
Contract the 14mm bolt on the tensioner pulley again to get that additional slack and then get that last portion of the belt onto the last pulley.
Check that the ribs on the belt match up with the ribs on all the pulleys. This will ensure that the belt doesn’t get damaged when you try to crank the car back up again. Start the car to make sure everything is running soundly before reinstalling the air ducts and trim pieces.






2 Comments
Great posts man. I stumbled across your post about the scion radio upgrade for the 4th gen. Thanks for the precise detail and pics of your tutorials. How did you learn to do all the vehicle repair work? Ive owned my 4th gen 2005 4Runner since new, it’s running strong, so I plan to do more of the repair and maintenance and upgrades myself. great posts!
Thanks, appreciate the kind words.
The vehicle repair work has all been a combination of information from the repair manual and online forums. There’s a ton of good (and bad) information out there, so I try to research and present in a way that is helpful. Good luck on the work, it’s certainly rewarding to do it yourself. =)