When you make purchases through links on this site, The Track Ahead may earn an affiliate commission. Also, these posts are based off my own experiences. I am not responsible for any action you take as a result of reading this. Learn More
Removing the Center Console
I would imagine there are other reasons for removing the center console, but the sole reason for me was so that I could remove the head unit. My touchscreen was frozen; not registering my touch. I had to replace the digitizer in order to get it working again. The center console is not that difficult to remove, however there are some things that can make it more arduous.
First thing to be cautious about is the dashboard, which can possibly break apart when contact is made. Some older Lexus’ will have this issue when prolonged sunlight exposure causes the dashboard vinyl to become brittle. Even using plastic tools can damage the dashboard material if you’re not extremely careful.
The other thing that I found troublesome was the removal of the vents. Take your time and don’t get impatient when releasing the clips and pulling the vent trim out. It may take a bit of maneuvering; just make sure not to yank it out from frustration if it’s not cooperating. Again, take your time.
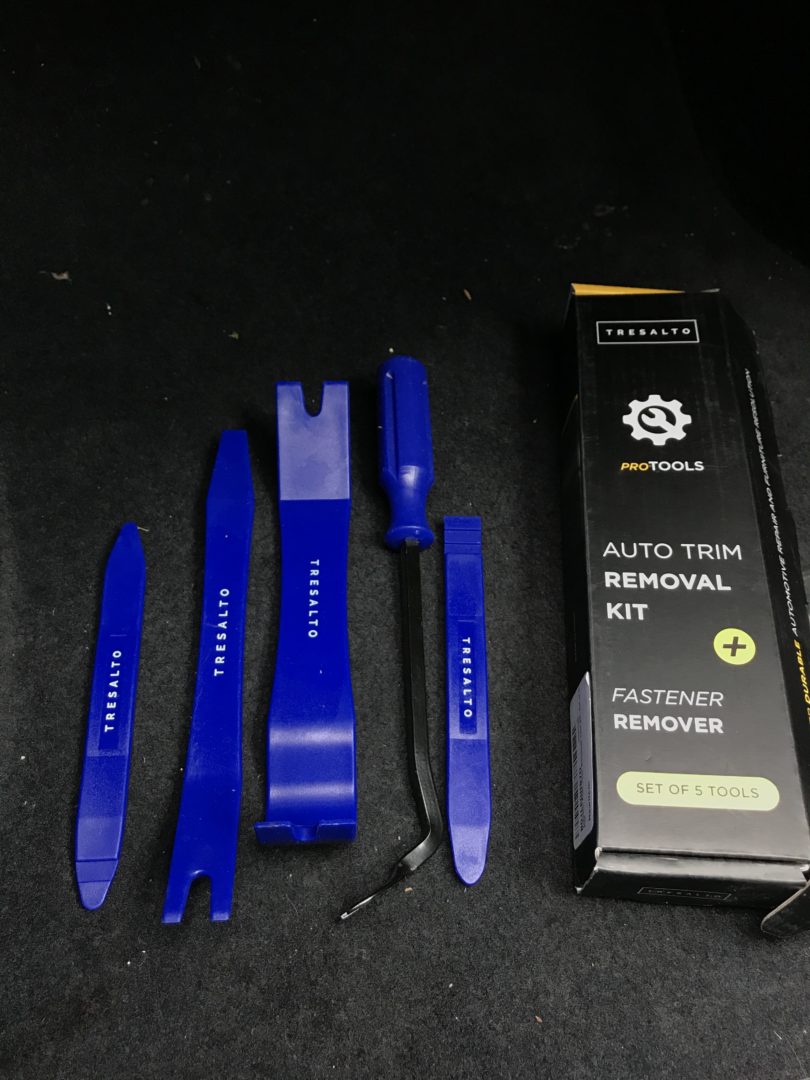
Auto Trim Removal Kit
You might want to invest in a kit like this to reduce the chance of damaging your car’s interior. After many years of using flat head screwdrivers with blue tape on the ends, I decided to spend the $10 to get an actual trim removal kit. This kit is made out of plastic and helps protect the trim that you remove. Totally worth the money.
Purchase on Amazon.com: Tresalto Auto Trim Removal Kit
Removing The Trim
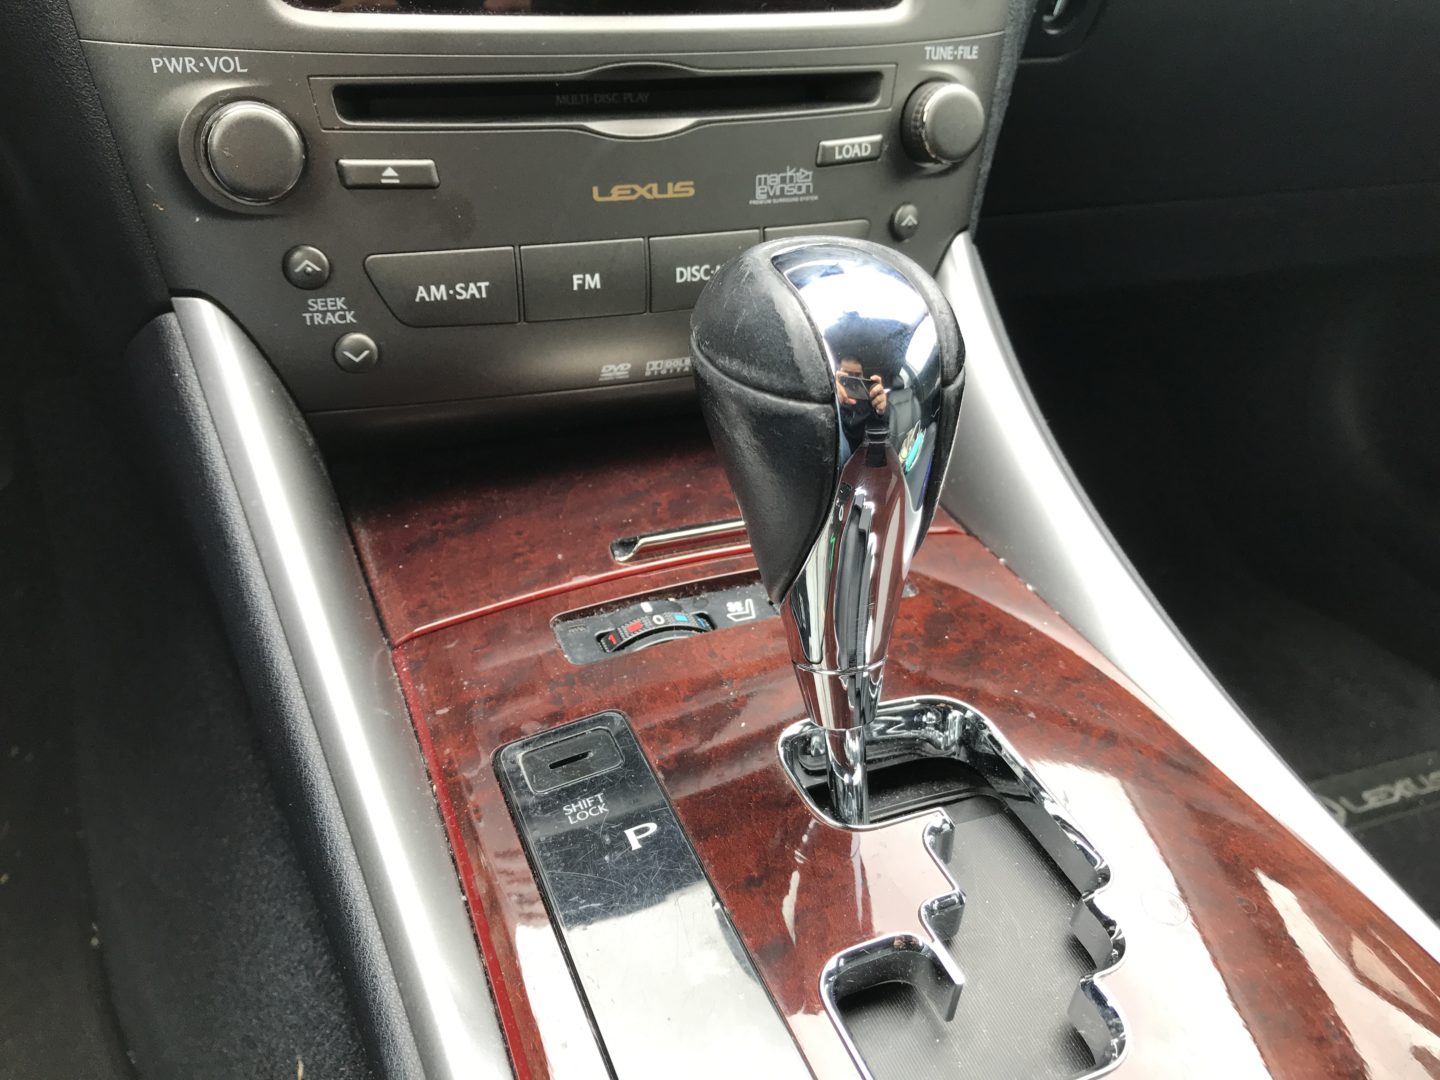
I would suggest moving the shift knob to neutral with the car on (ignition), turning off the car, and disconnecting the battery as the first step. This will prevent potential electrical shortages and shock during the procedure.
Remove the shift knob by unscrewing it off completely. It would be wise to use something to protect the threaded part. I’d suggest a cloth or old t-shirt, wrapped in tape to hold it in place.
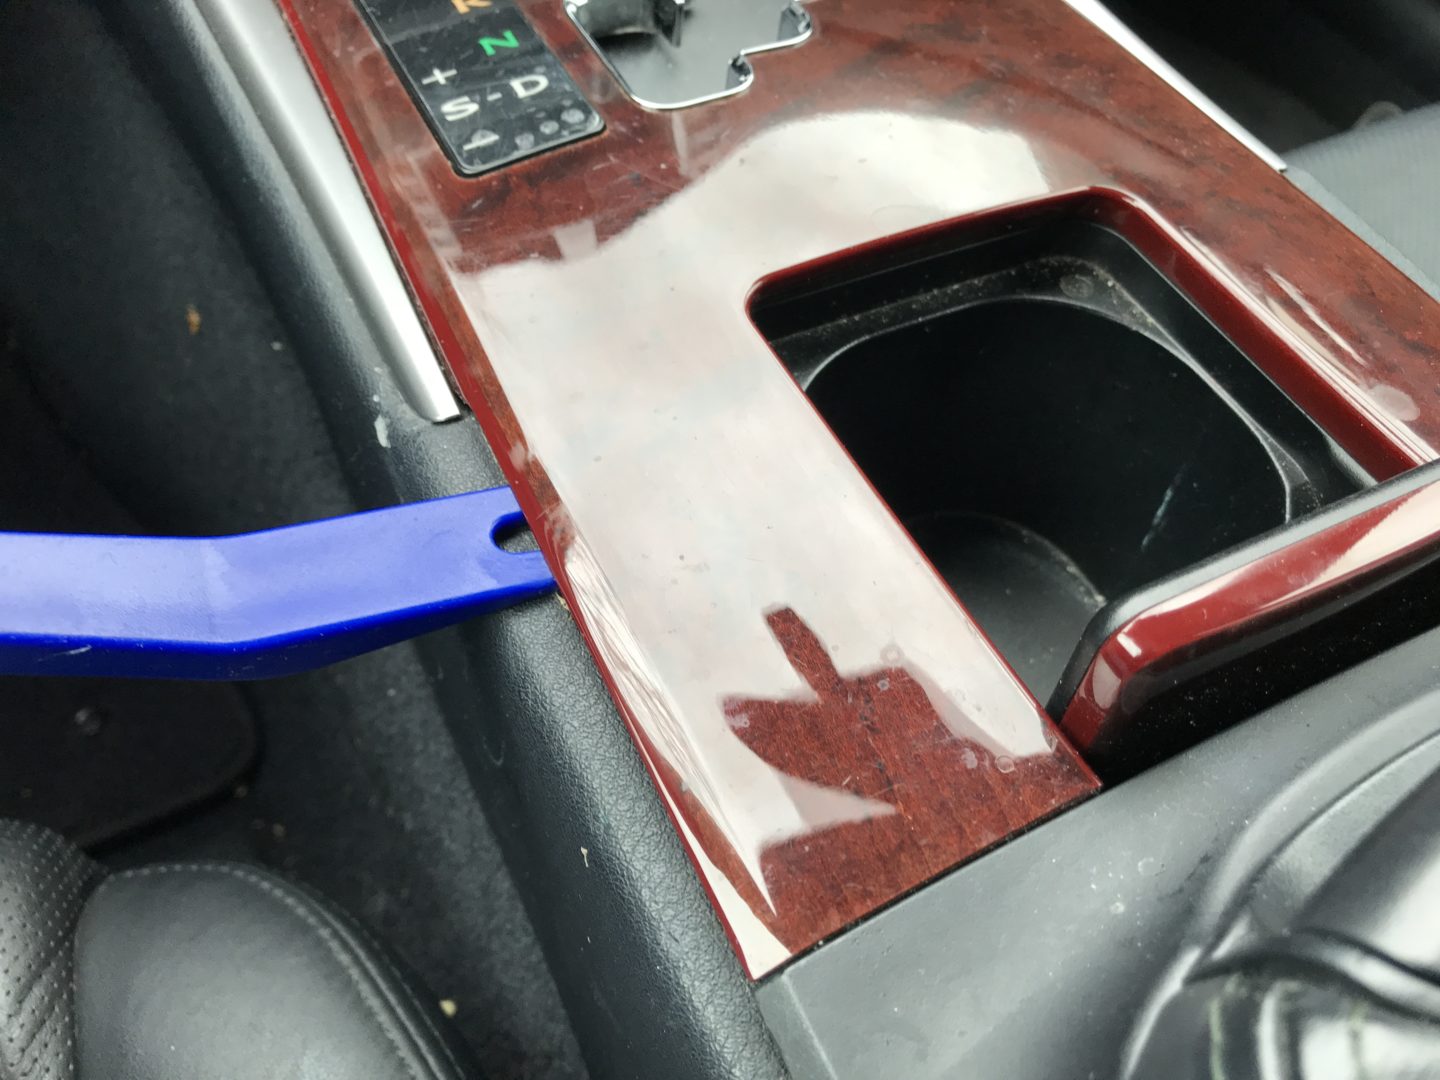
Use trim removal tools and pry off the center faux-wood trim.

Then pry off the grey side trim pieces on both sides.
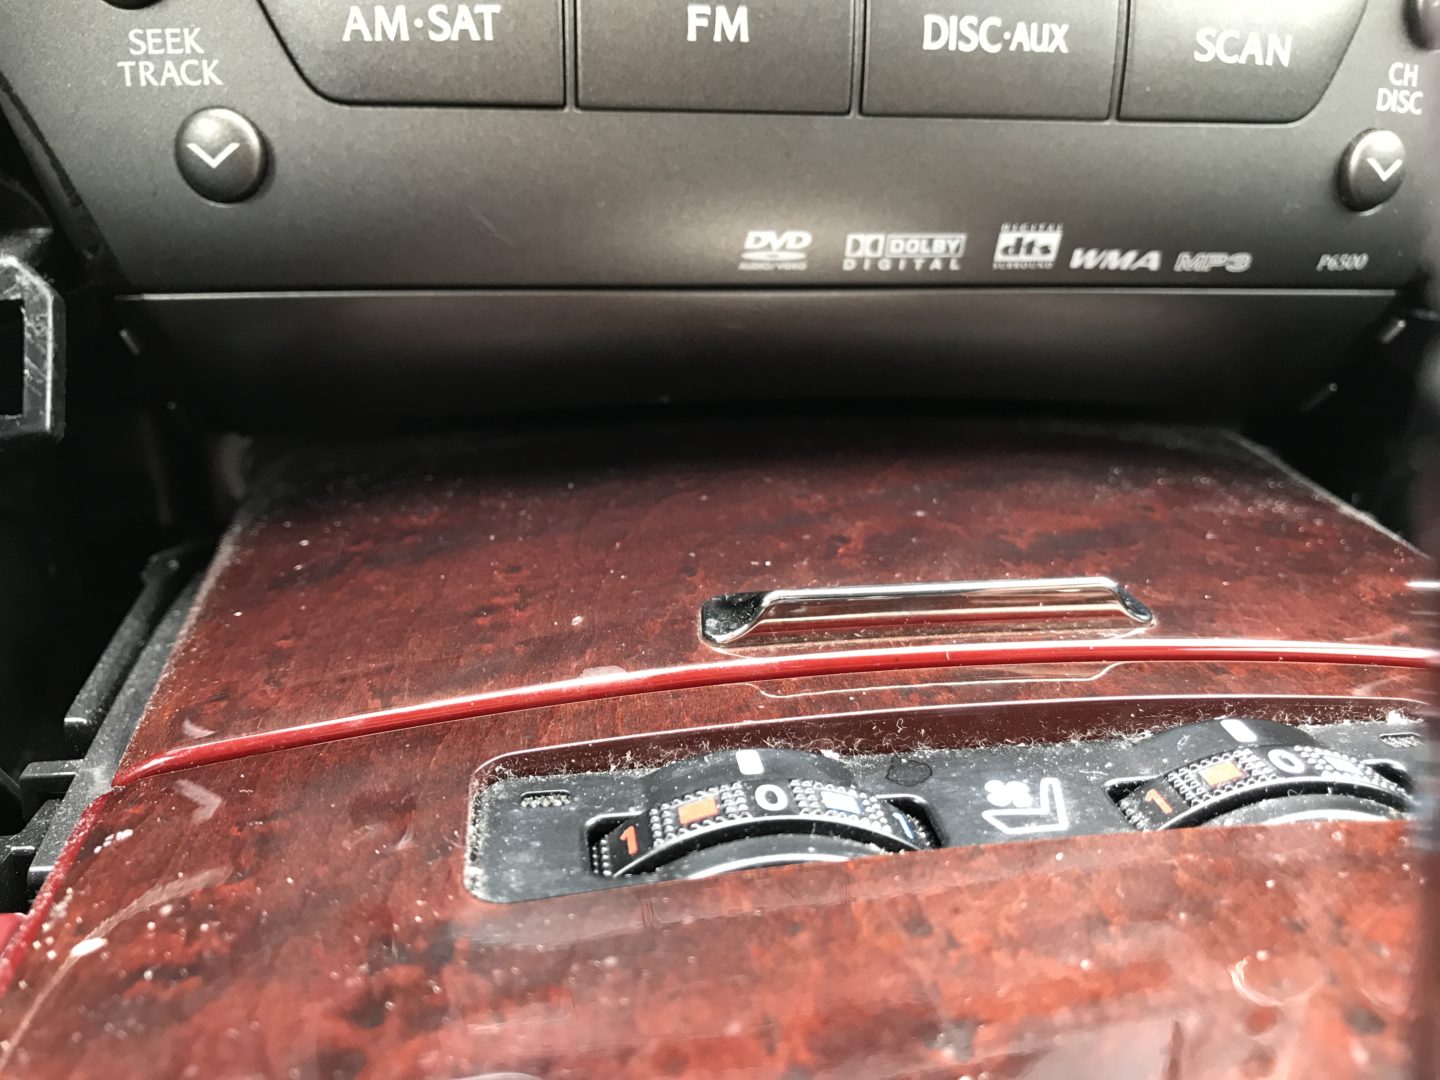
The next piece to come off is the grey trim piece below the radio.

Use the trim removal tool to pry it off on one side. Then you can remove it with your hands by pulling it towards you.
Use a ratchet with an extension to undo the two bolts deep inside on each side.

Here’s another photo where you can see the bolt that needs to be removed.

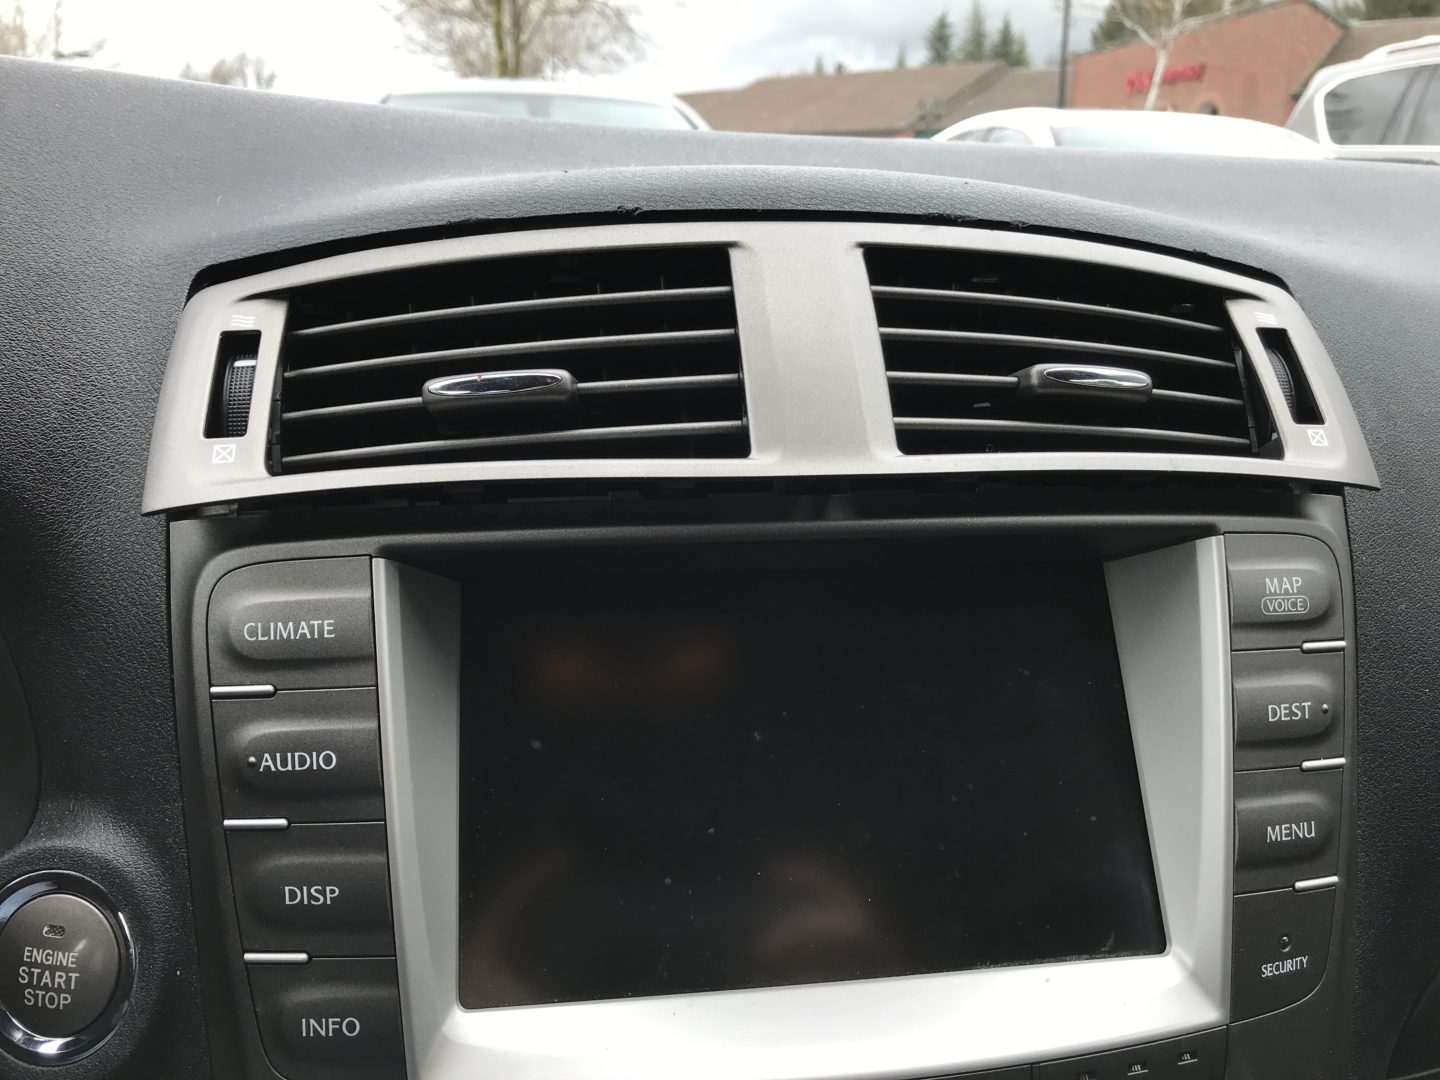
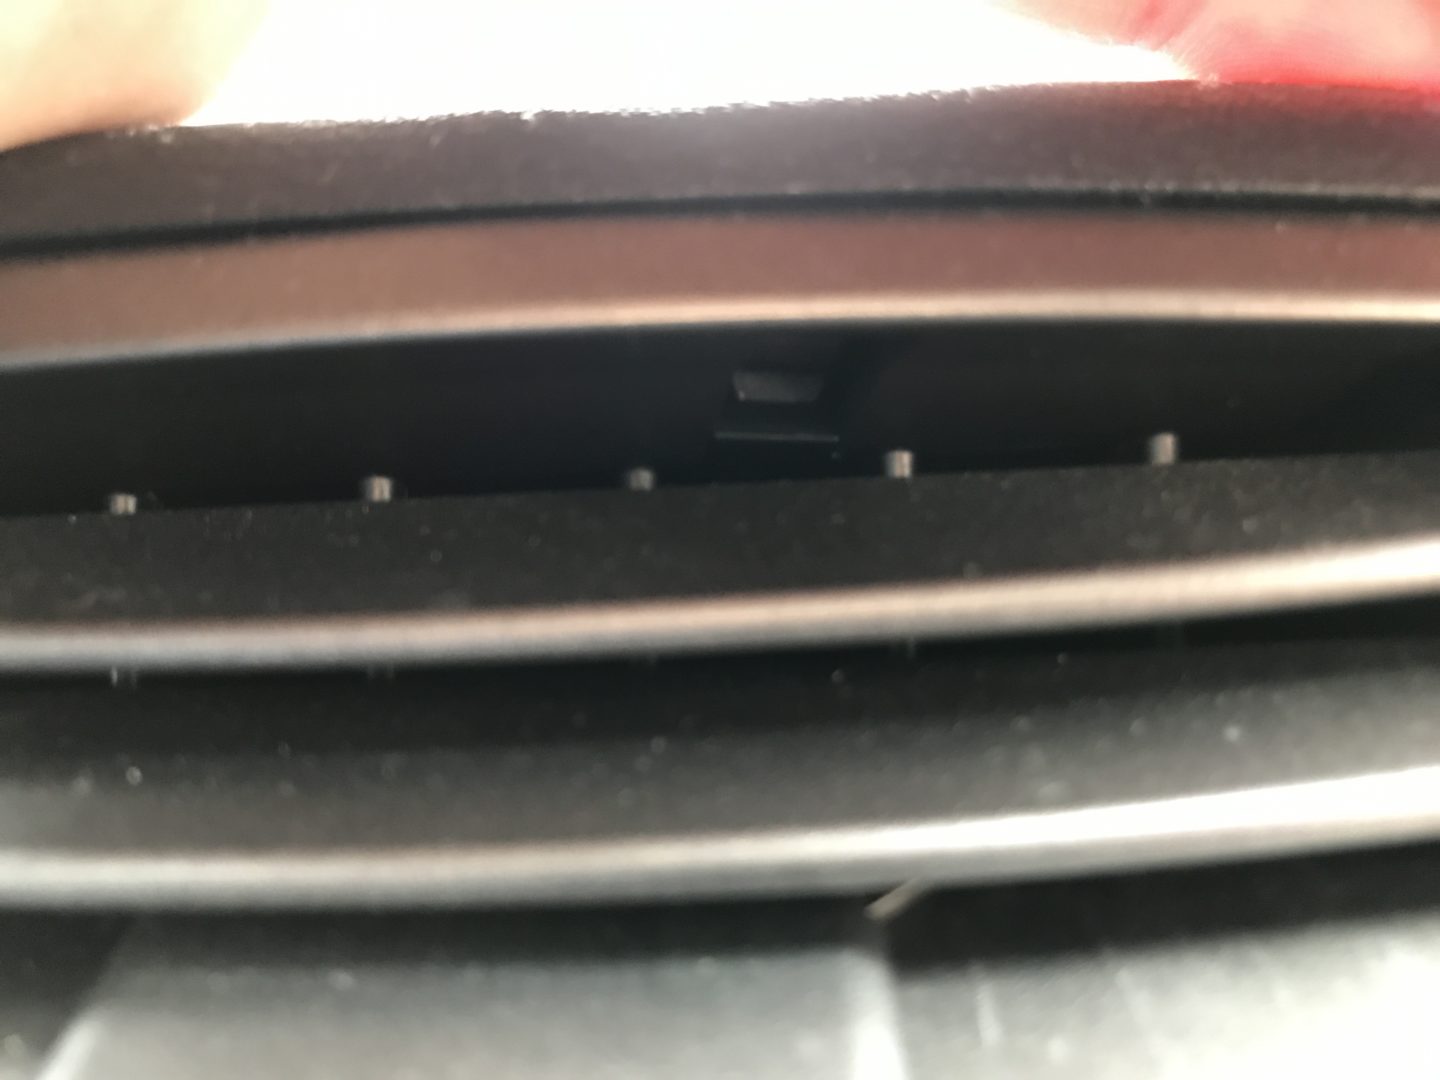
Next up is the most difficult part of this entire procedure. We’re going to be removing the vent trim piece. To remove the trim, look inside the vent on the top section and find an indent with a clip. There are two within each vent opening.
You must push in the clip so that it can release the trim from the dash. Otherwise, it’s near impossible to remove the trim.
Sometimes the vent trim comes off in two pieces (the outer trim and the vent itself). However, to get it all out in one piece, you must do two things:
- Push in the pins within the vents properly.
- And ensure the bottom of the vents do not catch on the bottom of the opening.
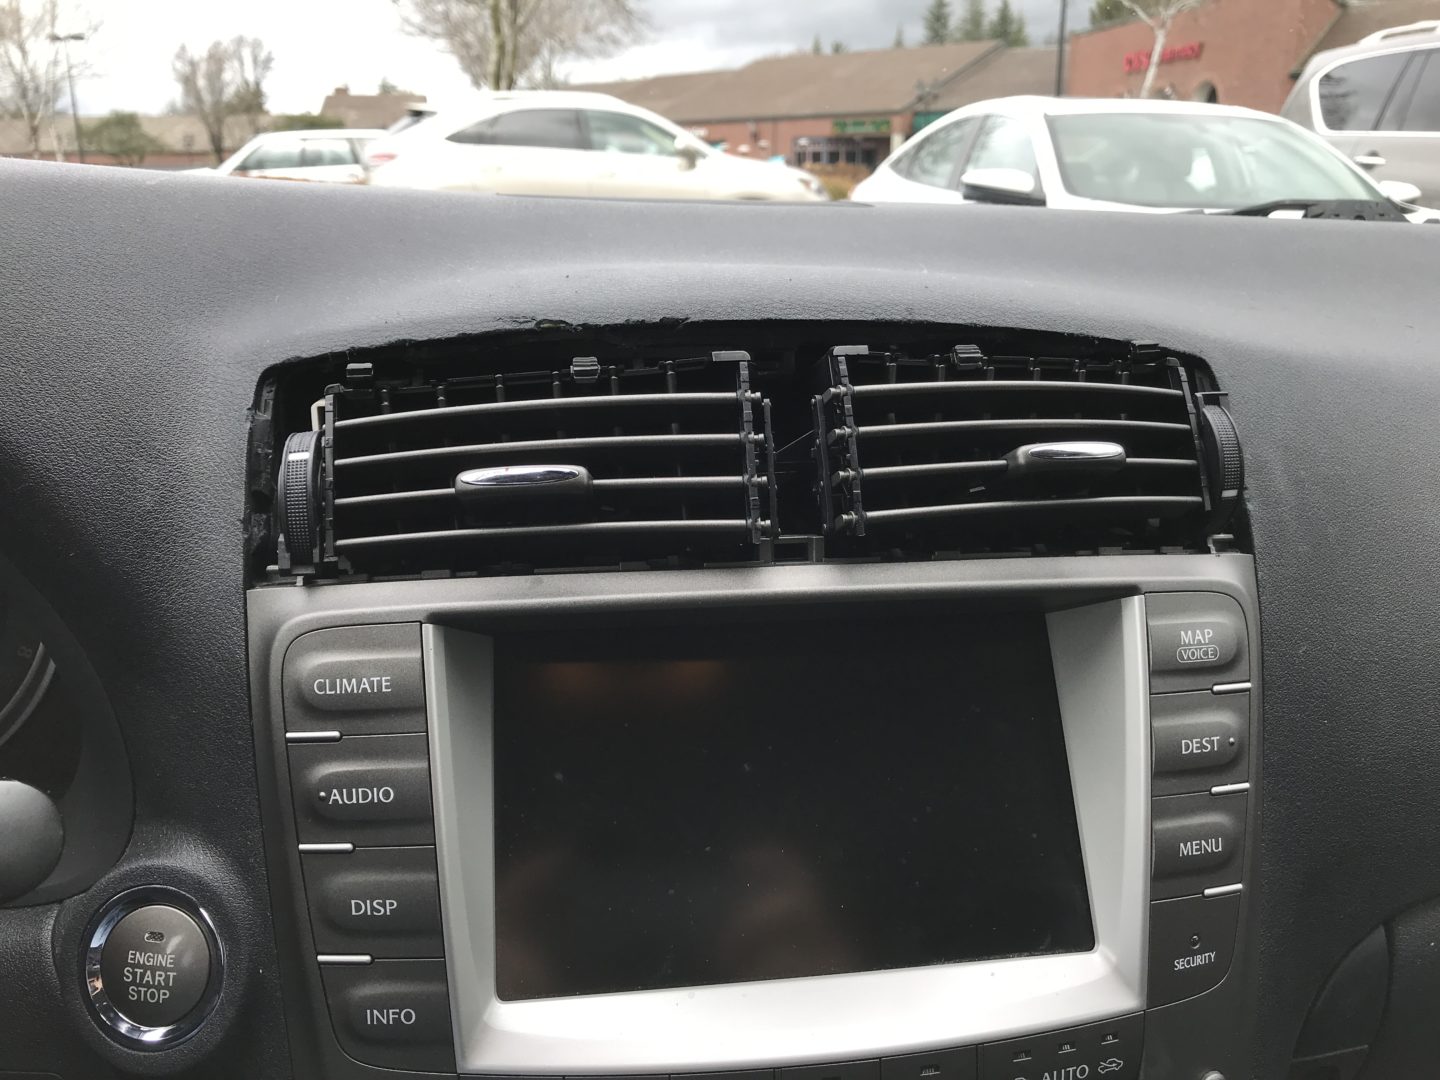
Unfortunately, these cars have dashboards that are notorious for becoming brittle over time due to exposure to the sun. Because of this, you must be extremely careful when removing the vents so that it does not contact the edge of the dashboard. Otherwise, you may experience dash around the edge of the opening, crumbling apart. The damage can be seen below.
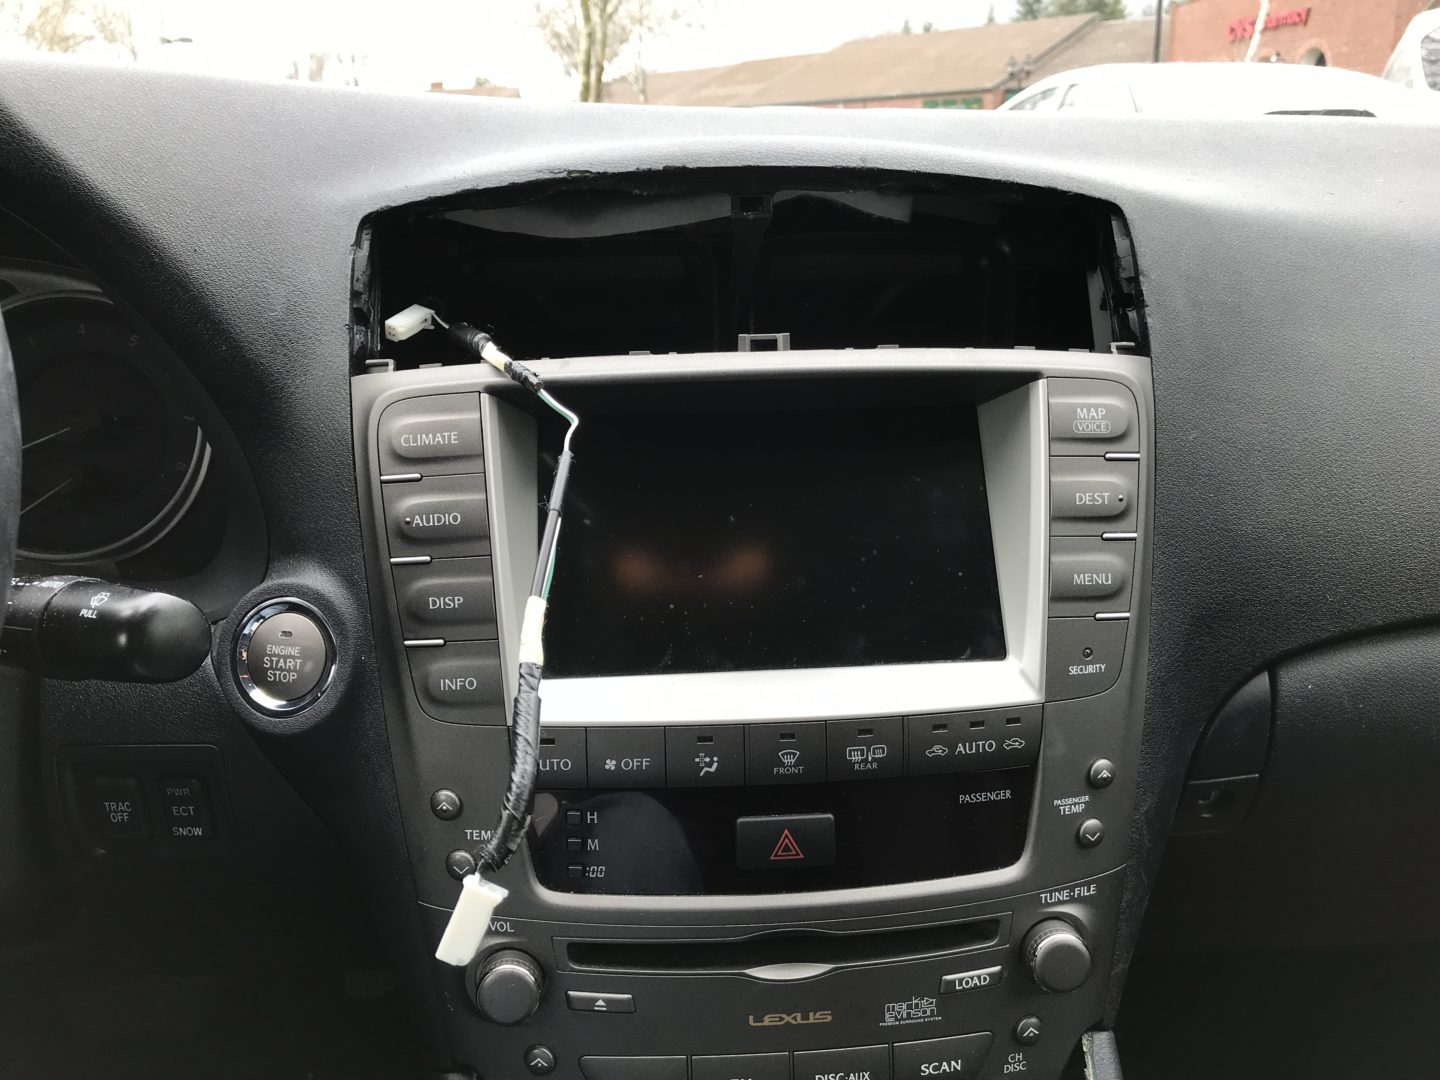
To take the vents out completely, there are electrical connectors on each side that you must release.
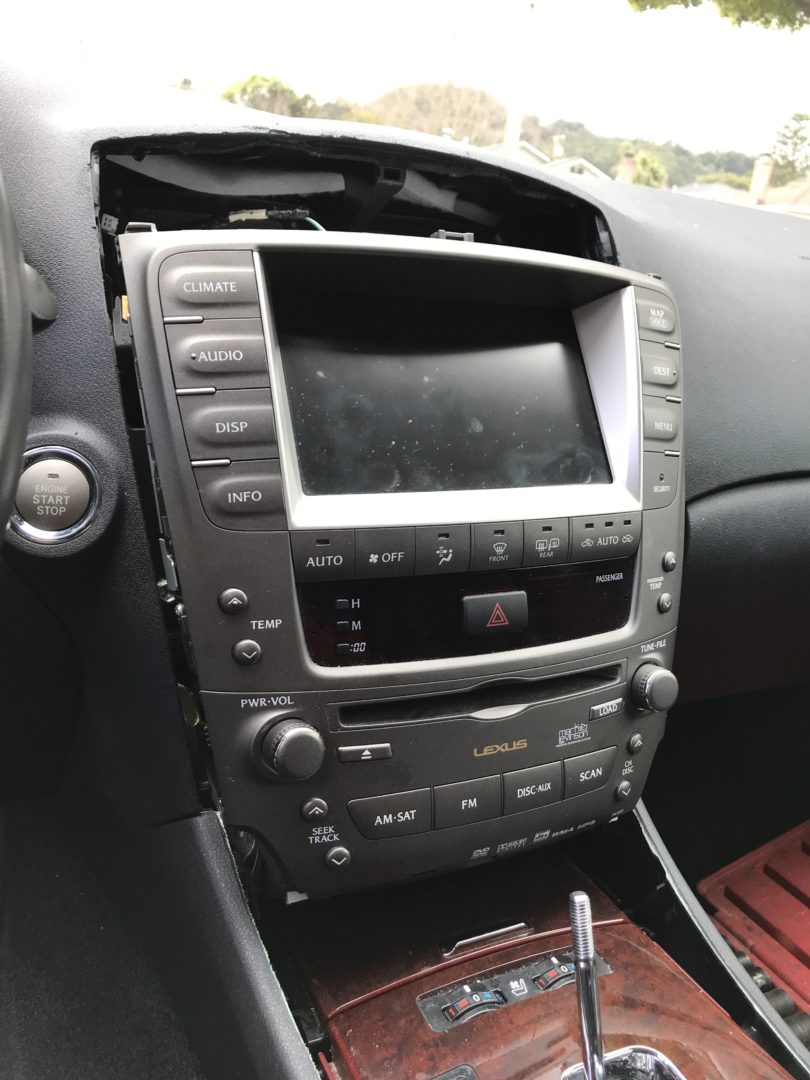
After this, you should be able to pull the whole head unit out from the dash. Again, be careful not to damage the dashboard around the edges during removal.
I would strongly recommend using something to cover the threads on the shift knob with a heavy cloth or something similar. I’ve heard stories of people forgetting to do this and ramming their screen right into the threaded shifter tip.

As I mentioned before, it was at this point that I went forth and disassemble the head unit to replace the digitizer. If your dashboard ended up crumbling apart (like mine did), check to see if your dashboard will be covered under any recalls. If you’re out of luck like I was, then touching up your dash with Sugru might be an option. Or if you can stomach the cost, you can always get it completely replaced too.


: 2nd Gen Lexus IS350")
1 Comment
Pingback: Replacing the Touch Screen Digitizer on a 2nd Gen Lexus IS250/IS350 – dheepthoughts…