When you make purchases through links on this site, The Track Ahead may earn an affiliate commission. Also, these posts are based off my own experiences. I am not responsible for any action you take as a result of reading this. Learn More
Ceramic coatings have become all the rage in recent years with quite a few options becoming available for the consumer market. These coatings form a very strong bond (on the nano scale) to your car’s paint leaving a layer of protection that is thicker and longer-lasting than your typical wax or paint sealant. Ceramic coatings offer protection against light scratches, corrosion, heat, chemicals, environmental effects, and industrial fallout.
Contrary to the misconception that was prevalent when they were first released, ceramic coatings are not bulletproof. They don’t protect against rock chips, larger scratches, water-spotting, and swirl marks. They do however protect against some of the lighter blemishes that you might get from everyday use of your car.
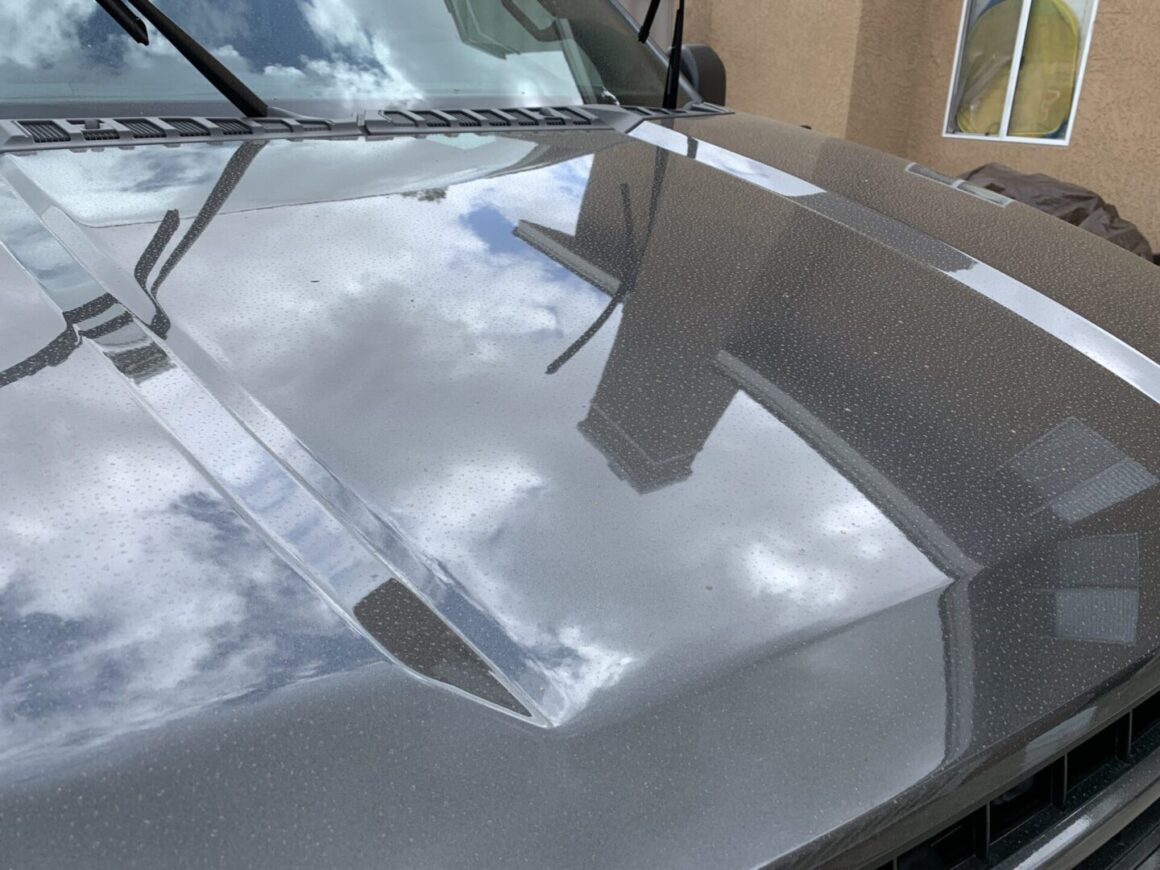
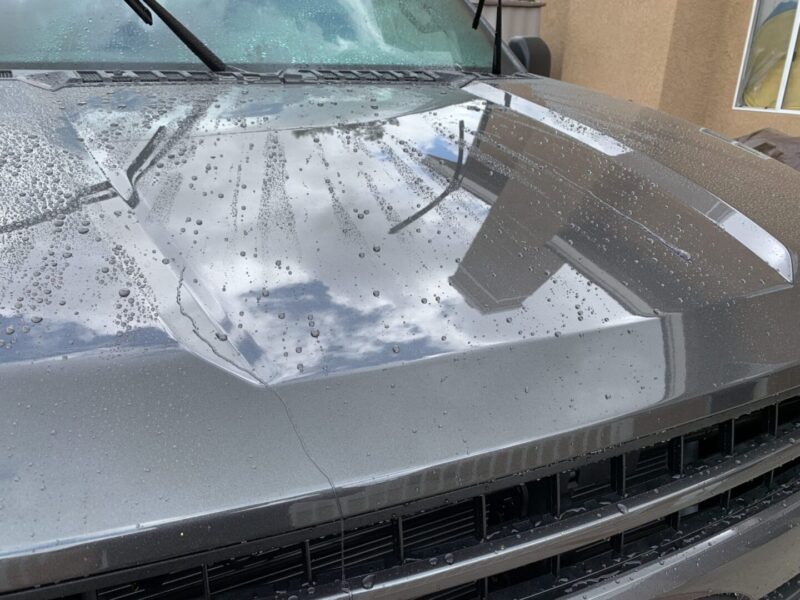
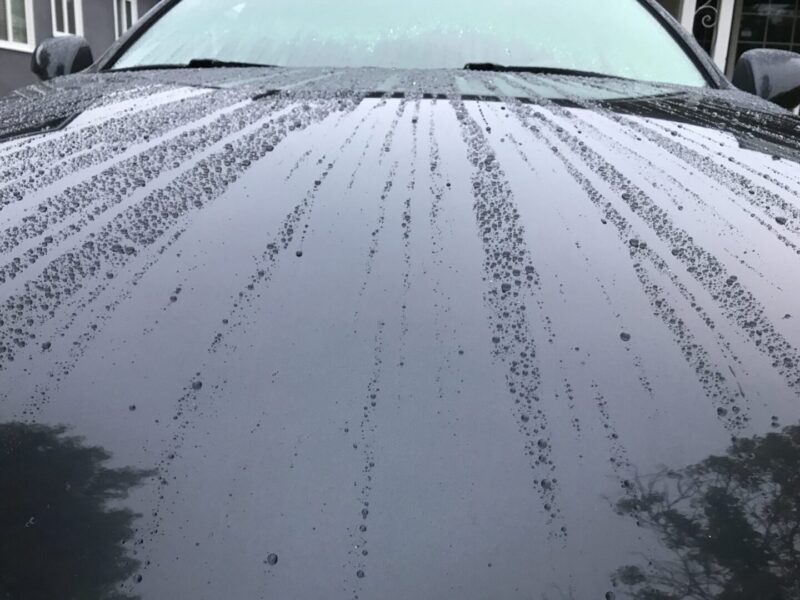
In addition to protection from the elements, ceramic coatings also offer superb hydrophobic properties. This is desirable because it allows water to easily wick off of your car’s paint. This also means that contaminants that get on your car’s paint (which might over time embed itself into your clear coat), will more easily fall off on its own.
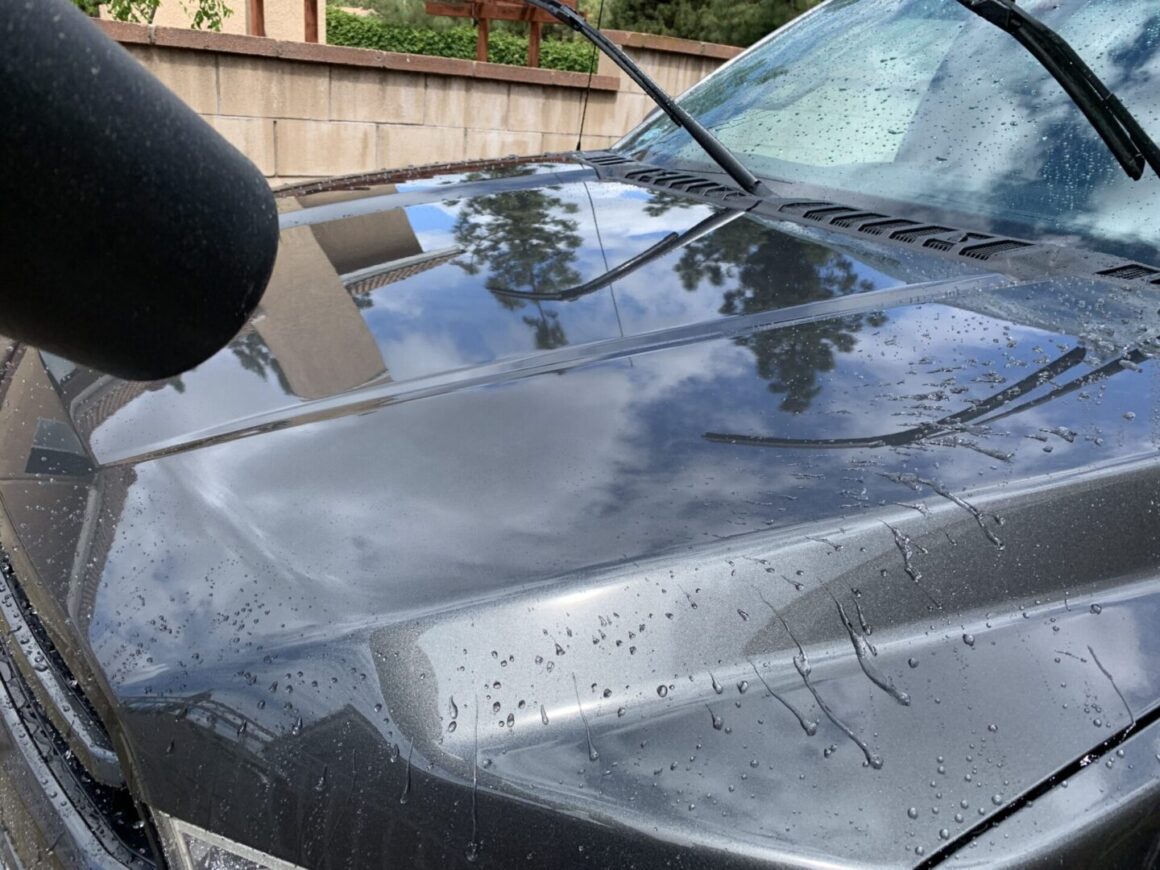
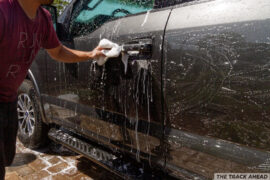
The time that a ceramic coating really pays off is when you wash your car. Washing a car that has been properly prepped and ceramic coated is a pleasure to do. Since contaminants can’t embed itself into the clear coat as a car that one that has been neglected, it is quite easy to wash your car. Additionally, it is incredibly easy to dry the car since a lot of the water already runs off the car. A leaf blower can be used to a majority of water off of the car.
Remember that even if you apply a ceramic coating, you’ll still need to maintain it properly. If you take it to a car wash, you should be taking it to touchless car washes. If you plan to maintain your car yourself, make sure to minimize scratching by washing your car using something like a two-bucket wash method. You should also use a car wash soap that doesn’t have any additional additives that would alter the water behavior of the ceramic coating. Basically, you want the ceramic coating to act like a ceramic coating and not mask it with a superficial layer on top of it. If you use a car wash soap that has no extra additives, then it will simply clean the car and leave it up to your ceramic coating for protection and hydrophobicity.
If you’re still interested in applying a ceramic coating on your car, know that they are not difficult to apply. In fact, it’s probably more time-consuming than it is difficult to do. Also, preparation work is key and that is likely to be where you spend the most of your time: wash, iron decontamination, clay bar, and potentially polish. Once you get through the preparation and finally apply a ceramic coating, you’ll get to experience the benefits of a ceramic coating: enhanced gloss and appearance, added durability from chemicals and the elements, and excellent hydrophobicity to make washing your vehicle easier during future car washes.
Tools & Materials
Ceramic Coating
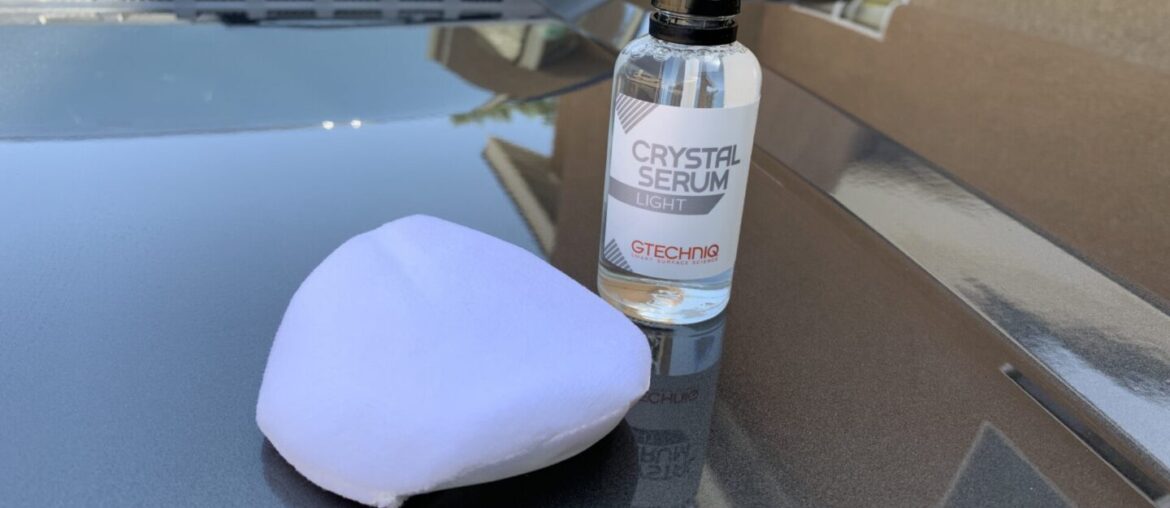
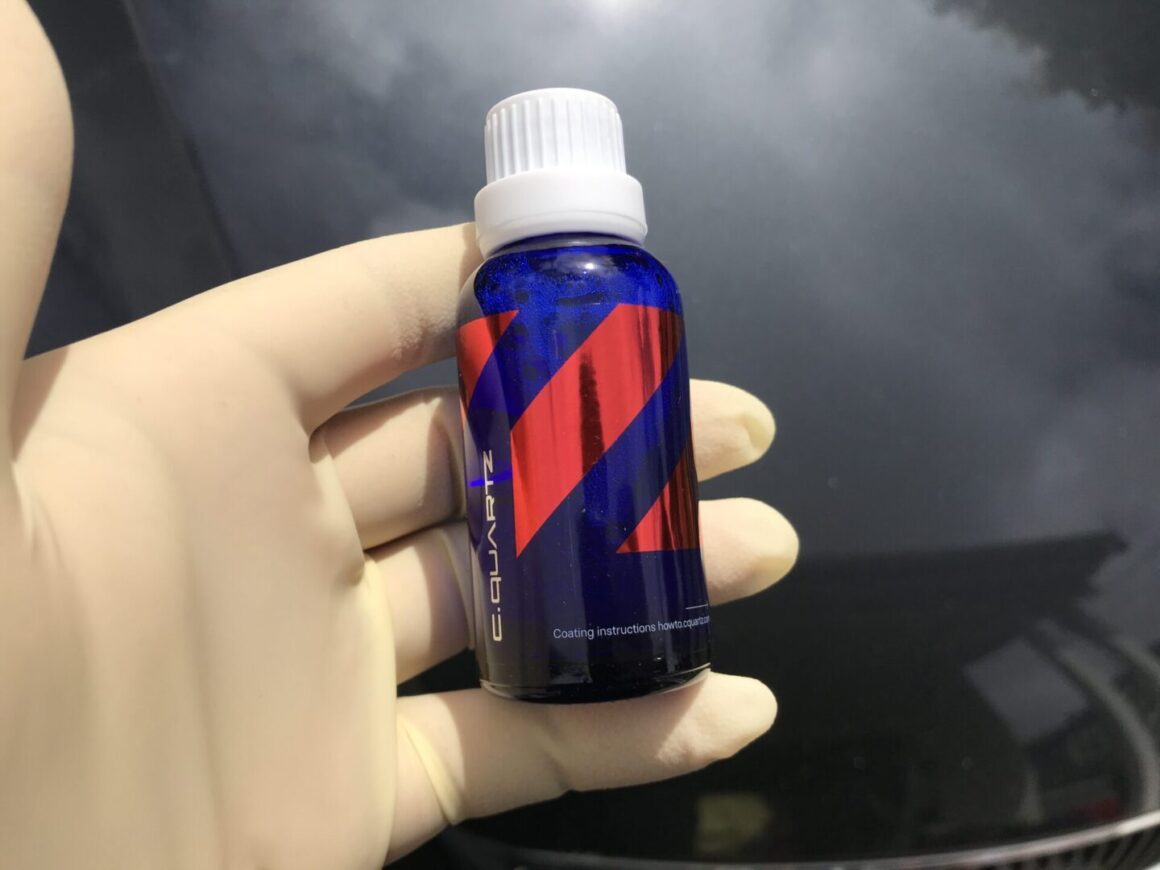
There are so many options out there for ceramic coatings these days. I’ve chosen to include two options here, which are probably the most reputable ones when you talk about ceramic coatings. GTechniq Crystal Serum Light is one of the most user-friendly options and is one I’d recommend for any beginner doing it for the first time. CarPro CQuartz UK 3.0 is another option that is renowned for its durability, but is not as easy to apply as the GTechniq ceramic coating.
There are other hybrids and spray formulas that are not the same thing as a traditional ceramic coatings. We’re talking about true ceramic coatings here; they are ones that come in a small volume (usually 30mL or 50mL) inside of a glass bottle. 30mL is usually good for a smaller vehicle and 50mL has enough product for larger vehicles.
GTechniq Crystal Serum Light: 30mL / 50mL
CarPro CQuartz UK 3.0: 30mL / 50mL
Microfiber Towels
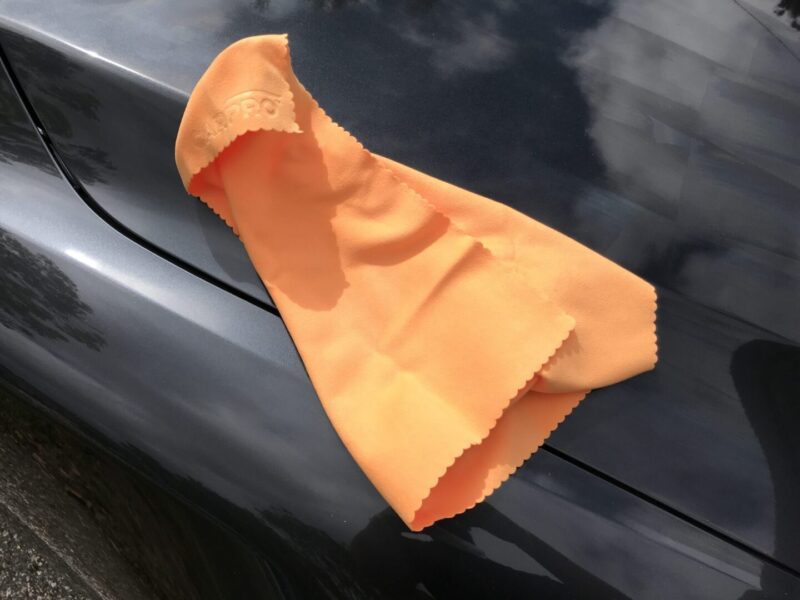
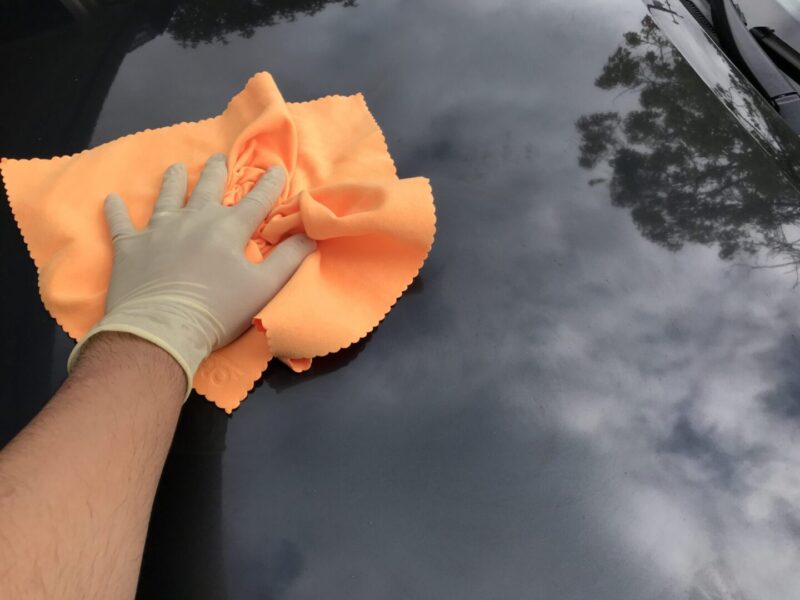
The ceramic coating process requires you to wipe off the excess coating after it cures. For this reason, you will need microfiber towels to wipe the surface with. Using a microfiber towel that is made specifically for wipe-away makes for a more better experience. Also, since ceramic coatings cure to a hard glass-like substance, any microfiber towels you use will need to be tossed wiping off the excess ceramic coating.
Rag Company 320GSM Microfiber Towels (12-pk): Grey / Orange / Green
Sponge Applicators with Cloths
Each ceramic coating comes with an applicator, however each manufacturer offers a different type of applicator. CarPro utilizes a rectangular sponge applicator pad used in conjunction with a sacrificial lens wipe. This is a pretty standard applicator offered with ceramic coatings. GTechniq on the other hand uses a soft, round applicator. If you want to go with a standard applicator, these are some options for purchase. Price can vary drastically depending on the brand you go with.
Gold Label Detailing / Feynlab / CarPro
Nitrile Gloves
I highly recommend using gloves when working with chemicals like ceramic coatings. Nitrile gloves are chemical-resistant and are perfect for this purpose.
MedPride Powder-Free Nitrile Gloves (Box of 100): Small / Medium / Large
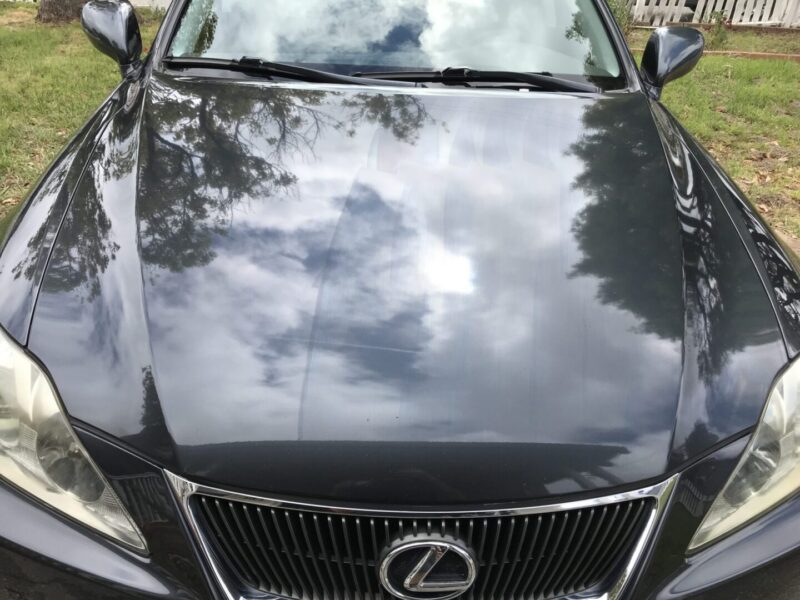
Before/After Ceramic Coating
The most important part of ceramic coating is what happens before applying a ceramic coating. Keep in mind that the prep work can affect how the car will look after the coating is applied, as well as how well it bonds to the surface of the car. For these reasons, you should perform the following steps to ensure that the car is fully ready for a ceramic coating application:
- Wash the car completely including using a bug/tar remover if needed.
- Iron decontaminate the whole car.
- Clay bar the entire vehicle.
- Polish the paint surface for best results. If your car is new or has minimal scratches/marring, you might choose to forego this step. However, you should be aware that to get the best look and the best possible bond of the ceramic coating, polishing the vehicle is highly recommended.
- Do a complete wipe-down of the paint surface with a 50/50 isopropyl alcohol/water mixture, or use a dedicated surface prep solution.
After completing a ceramic coating, you need to ensure proper curing takes place. Ceramic coatings need at least 12-24 hours to cure. Manufacturers generally recommend to keep it completely dry for 12-24 hours for curing, gently wiping up any water that gets on it during that time. It is also recommended not to use any chemicals on the vehicle for about a week afterwards.
Once you make it past the initial curing time, you may be wondering how to maintain that beautiful ceramic coating you’ve applied. If you must go to a car wash for your washes, stick with completely touchless car washes. I still wouldn’t recommend this as they tend to use harsher chemicals since they’re not using brushes to mechanically clean the car and therefore need stronger chemicals to compensate.
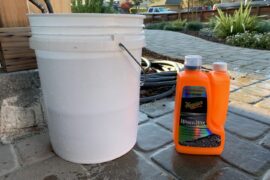
The safest option is doing it yourself, which is what I’d always recommend. That means washing it while minimizing scratching with methods like the Two Bucket Wash Method. You also want to consider a car wash soap that doesn’t have any additives for hydrophobicity. You may want to use a soap like CarPro Reset or Meguiar’s Hyper Wash, which won’t mask the hydrophobic properties of the ceramic coating.
Work Environment when Applying a Ceramic Coating
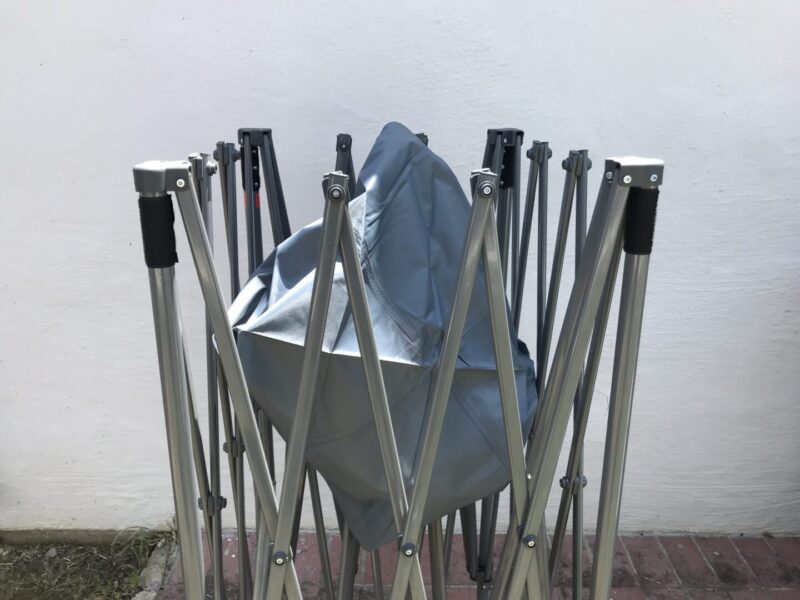
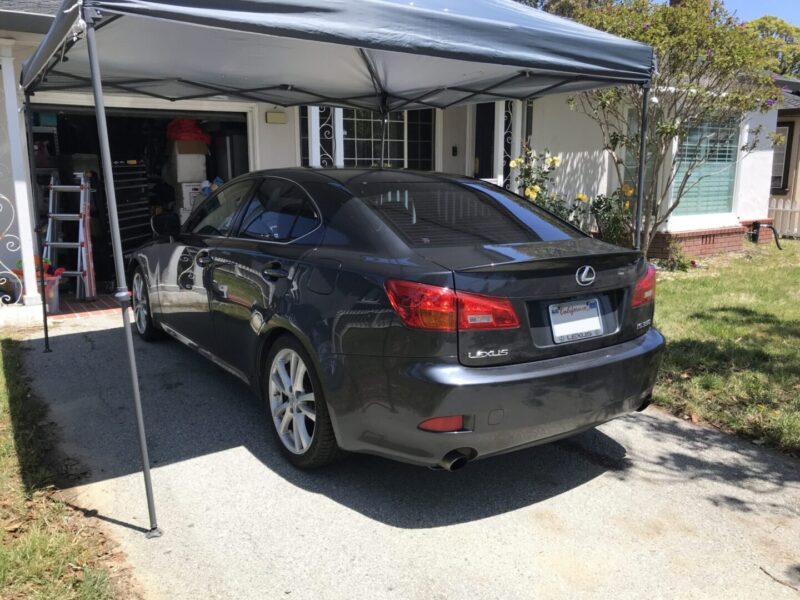
The best environment for applying a ceramic coating would be inside a garage or shop. This eliminates any issues with rain, leaves, miscellaneous dirt or debris from falling onto the car during application and curing. If you don’t have the luxury of working indoors, then try to work under a carport or shaded area. You can even put up a shaded tent if you’d like. If you are outdoors, you should try your very best to do this work when it is not sunny and not raining.
Sun can affect the ceramic coating application because it doesn’t allow the coating to cure properly. This is even worse if its a hotter day. The surface of the car will be extremely hot and applying a ceramic coating will not allow adequate time for it to cure. Instead, the chemical will evaporate and you won’t get as good of a coating than if you didn’t have to work with the sun.
As for other miscellaneous dirt, dust, and debris from getting onto your car, this obviously affects your coating because it won’t allow you to have a nice, uniform coat since you may have to keep removing debris that have fallen onto your vehicle. This may be inevitable and will degrade the quality of your ceramic coating.
Finally, the issue of rain. Don’t attempt to perform a ceramic coating outside if there is even the slightest chance of rain. The last thing you want is to have rain fall onto your coating during the curing time. This is even worse if it happens during the application process.
With all that said, it’s not impossible to apply a ceramic coating outside. If you have a garage or a shop, then you’re golden and you mainly have to worry about having enough lighting. If you have a carport or covering, then you’re still okay. Being outside and uncovered however, you need to be very careful of your surroundings and follow these tips:
- Know right-off-the-bat that you’re probably not going to get as good results as applying a ceramic coating in a controlled (indoor) environment.
- Do your full prep work the same day you do your coating. If you don’t have enough time, you can do all of the prep work the day(s) prior, then on the day of right before you apply your ceramic coating, you can do a wash/surface prep before beginning your ceramic coating application.
- Don’t work if there is any rain in the forecast for the coming days. Ceramic coatings need at least 12-24 hours to cure. Manufacturers generally recommend to keep it completely dry for 12-24 hours and keep any chemicals from being applied to the vehicle for a week afterwards.
- Try your best to work on an overcast day, in a shaded area, or under a pop-up tent. If you absolutely have no choice and have to work out in the sun, make sure it is not too hot of a day. If you’re working in the sun, the best thing you can do is to shorten up your work space so you’re working in tiny sections at a time. This is due to the fact that an increased temperature means a quicker cure time of the ceramic coating.
Water Spotting
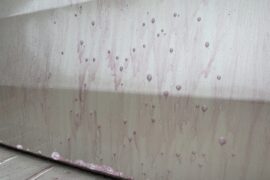
Ceramic coatings are not water spot-proof and in fact, are more susceptible to them. Even after your ceramic coating is applied and cured, water that is left to dry on the car’s surface (e.g. rain, sprinklers, and even condensation) can leave visible water spotting on the ceramic coating. If left neglected for too long, these water spots can etch themselves into the coating making it very difficult to remove. This is just a matter of fact with ceramic coatings and the only thing you can do is to make sure you maintain and wash your vehicle on a regular basis. Don’t feel discouraged by this, nor should you feel the need to jump over to graphene coatings. Claims that graphene coatings prevent water spots is unproven; so don’t fall for the false marketing claims there.
How Long do Ceramic Coatings Last?
Lifespan claims of ceramic coatings can vary across the board, but if you’re talking about real-world lifespan of ceramic coatings, I’d say about one year for consumer grade ceramic coatings. Some may have a shorter lifespan, some may last a bit longer. Aside from the product itself, there are other factors that may affect how long a ceramic coating lasts.
If you’ve prepped your car very well, your ceramic coating will have a better bond and therefore will last longer. If you’ve applied the product uniformly in an ideal environment, you’ll have a longer-lasting product. And finally, if you maintain your vehicle by washing the car regularly with safe products, it will once again, last longer. Deviating from these best practices will likely cause your ceramic coating to not last as long.
How to Apply a Ceramic Coating on your Car
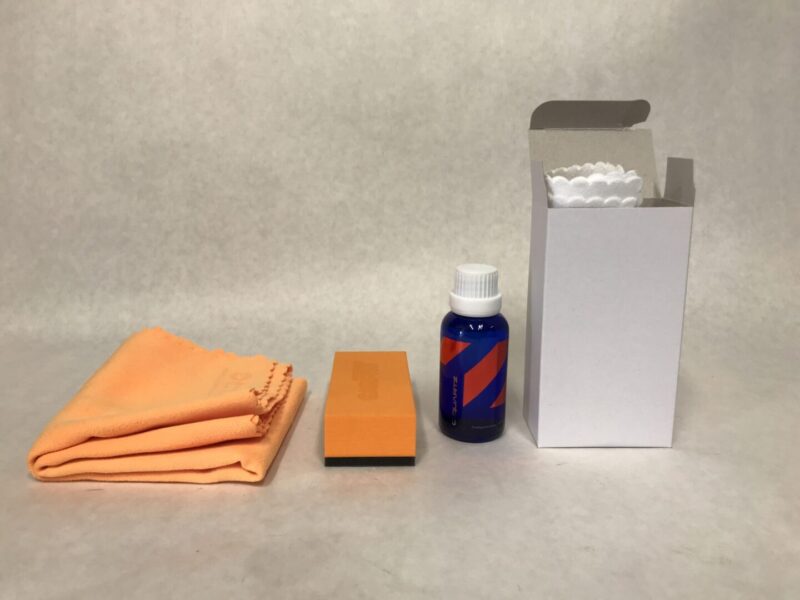
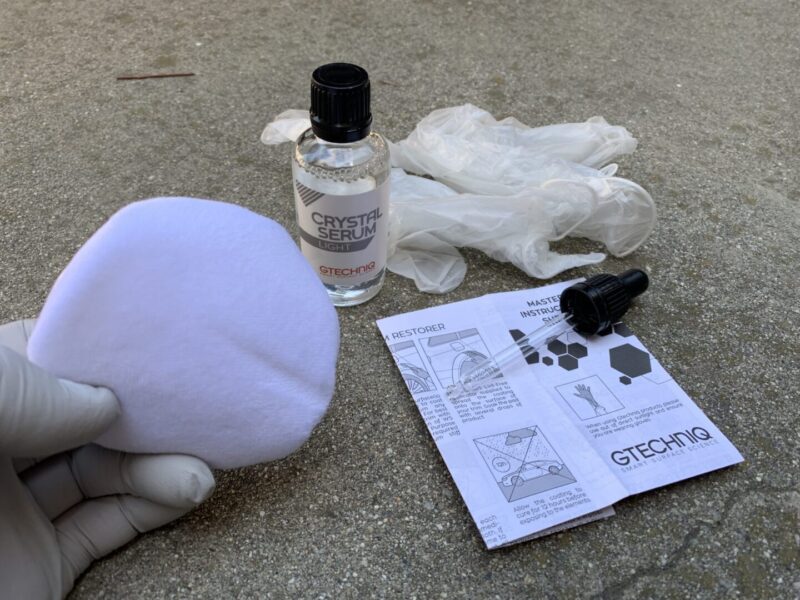
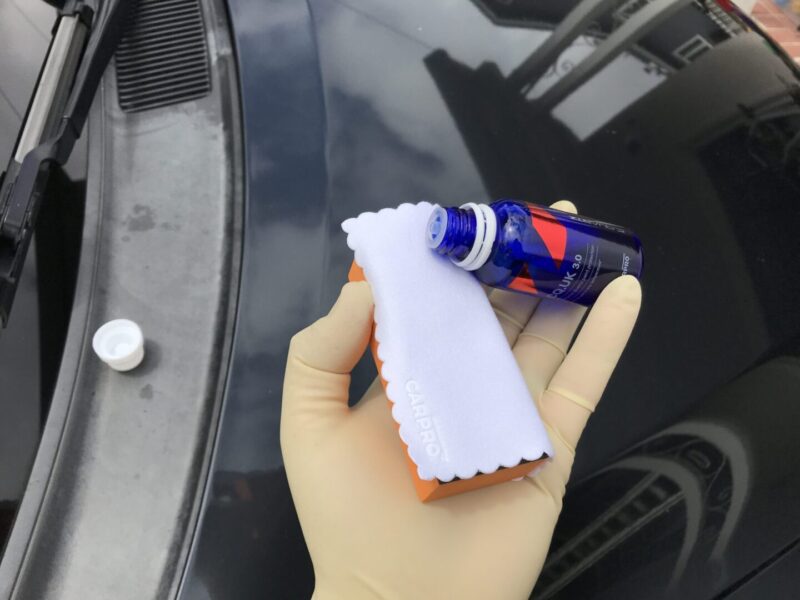
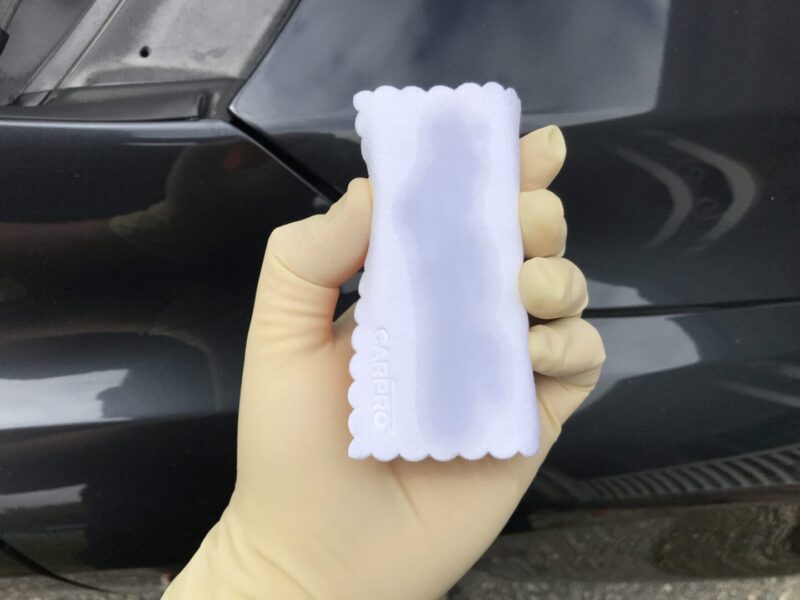
Start off with getting your ceramic coating ready. Your car should be completely prepped and ready for application of the ceramic coating. Below are photos of what you might have with either CarPro CQuartz UK 3.0 (left) and GTechniq Crystal Serum Light (right). With either product, you’ll have the ceramic coating in a bottle and an applicator pad. I recommend you read through the instructions carefully to make sure you’re installing it per the manufacturer’s directions.
With either of these products, you might not have a microfiber towel to wipe away the excess product and you may not have disposable gloves to work with. Obviously a microfiber towel is necessary for applying a ceramic coating, but I also think gloves are necessary when working with chemicals such as a ceramic coating. This is solely for your own safety.
Work methodically when applying the coating, keeping track of exactly which areas you’ve done and where you’re moving onto next. You should work in manageable sections– a common way of doing this is working on one panel at a time before moving onto the next.
Take the bottle of ceramic coating and wet the applicator pad according the manufacturer’s instructions. There are different ways of applying the product to the pad, but you should always go with what the manufacturer recommends.
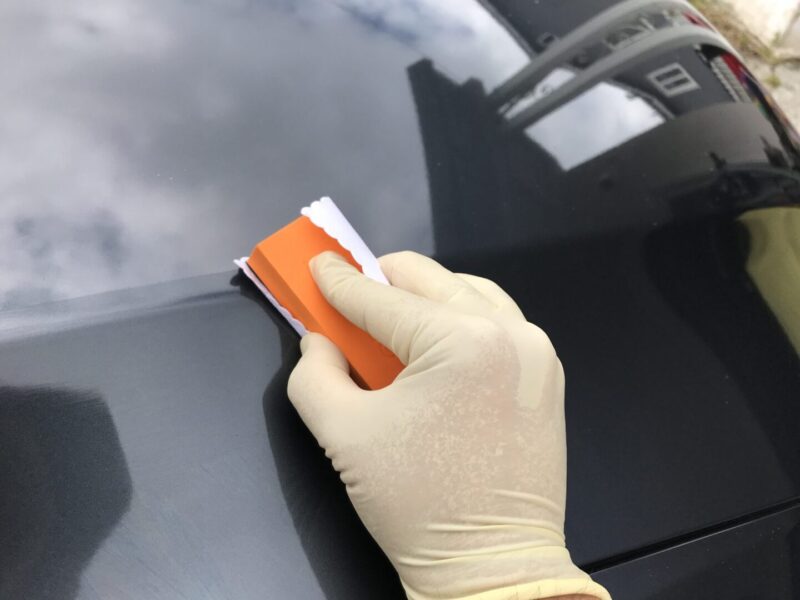
Then wipe the panel you are working on applying it in a side-to-side motion and overlapping with previous wipe about 10-20%, covering the entire panel you’re working on. Then, wipe it the opposite direction in an up-and-down motion covering the area you already wiped. Basically, you are applying the product in a criss-cross hatch pattern: one layer in one direction, and the second layer in the opposite direction. If the panel is too large to work (such as the hood), you might want to split it up into two parts.
After wiping a section in a cross-hatch pattern, allow it to cure, which can take somewhere between 1-5 minutes typically. This curing time can vary depending on the temperature. If the temperature is warmer, flash time will be closer to 1-2 minutes. If it’s a colder day, you are looking at a flash time nearing 4-5 minutes.
The best way to tell if the ceramic coating has flashed is by looking at the coating at different angles. You will notice that it flashes or hazes over with usually a rainbow sheen. When this happens, it has cured and is ready to be wiped off with a wiping towel. If you can’t see this rainbow sheen when the ceramic coating flashes over, then stick with the general curing time rules. However, you should be able to see this iridescent haze appear when the product flashes.
Continue working one panel at a time: apply the coating, let it flash over, then wipe it away. Work carefully and methodically to make sure that you don’t miss any spots, that you apply it uniformly, and that you wipe it away completely after it has flashed. If ceramic coating is applied and is not wiped away properly, it leaves a streaky mess that can only be removed using a polish and polishing machine.
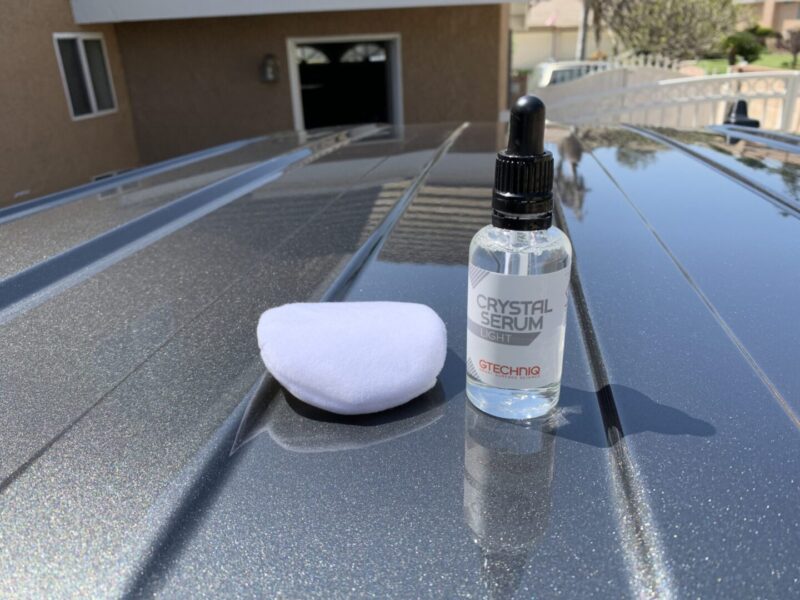
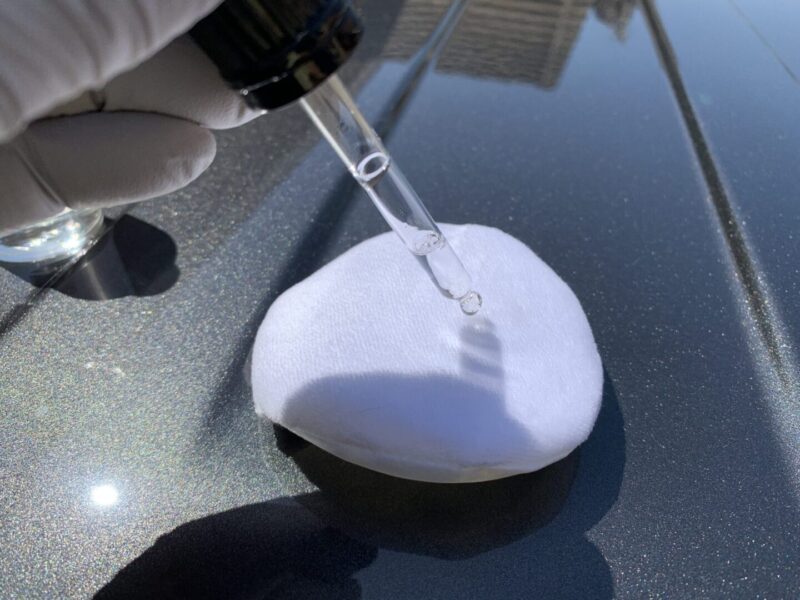
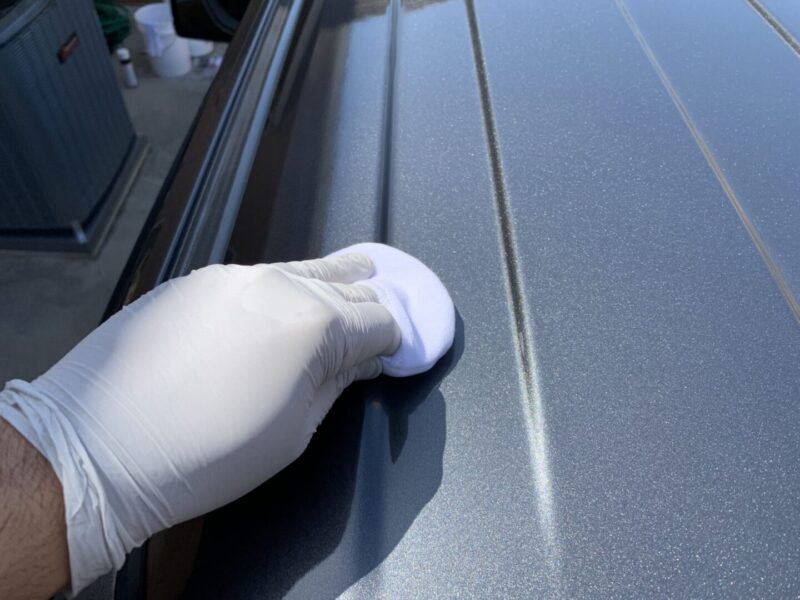
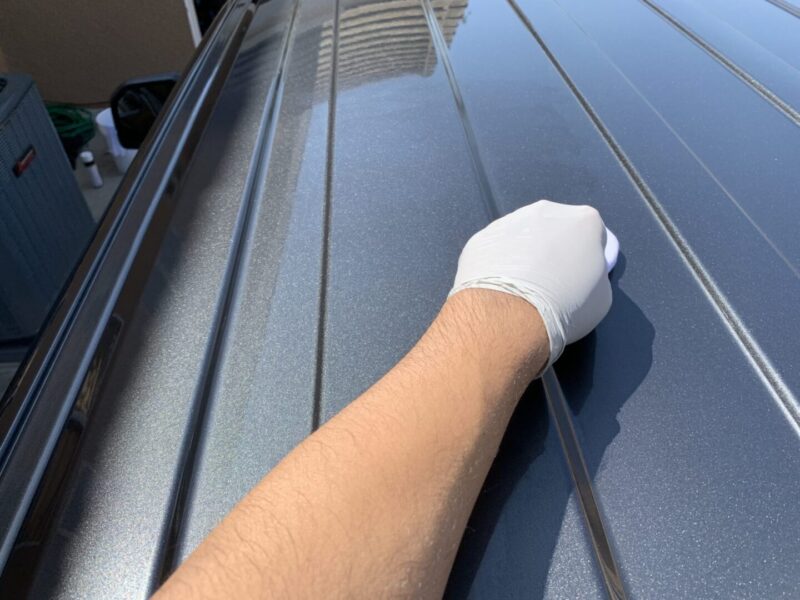
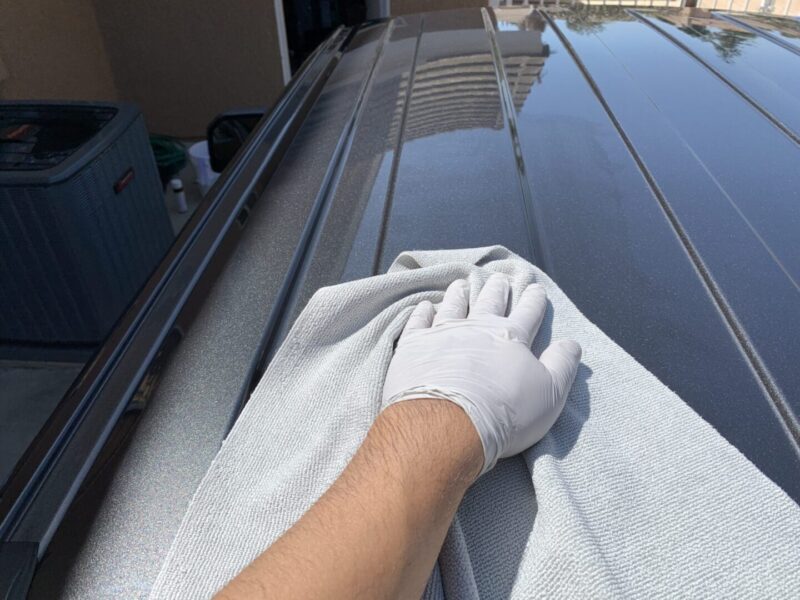
The below images show the application of a different ceramic coating, GTechniq’s Crystal Serum Light (CSL). This one utilizes a bottle dropper and a soft, round applicator pad. In terms of application, the process is the same: apply some product onto the applicator pad, then wipe in a cross-hatch pattern, let haze over, and then wipe off with a microfiber towel. Again, the best thing for the installer to do is to follow the instructions that come from the ceramic coating manufacturer.
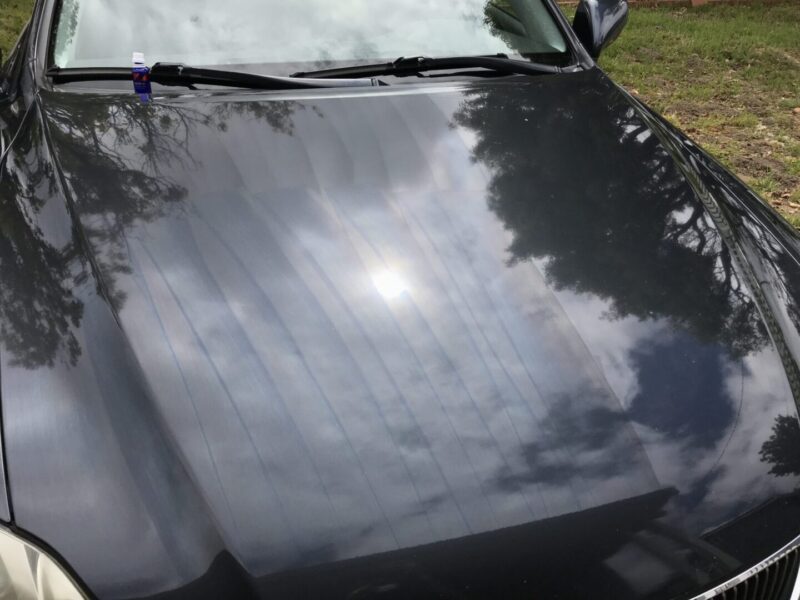
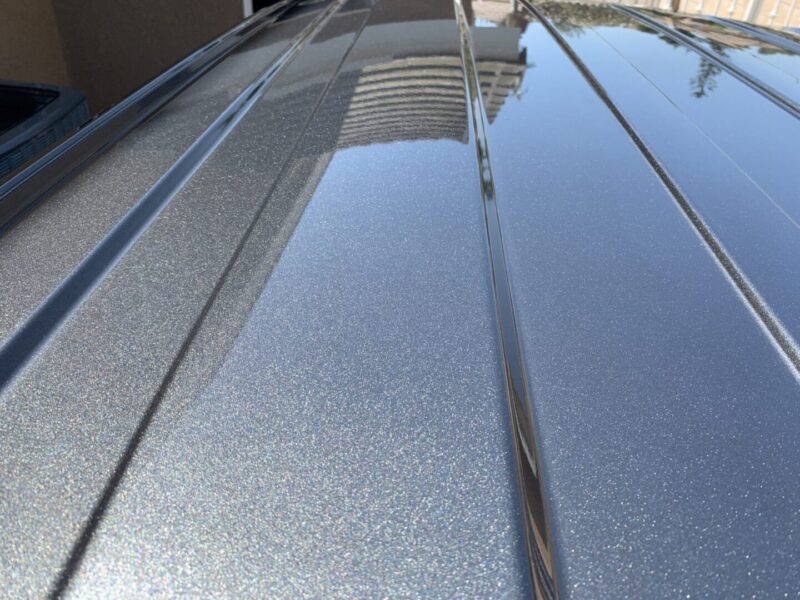
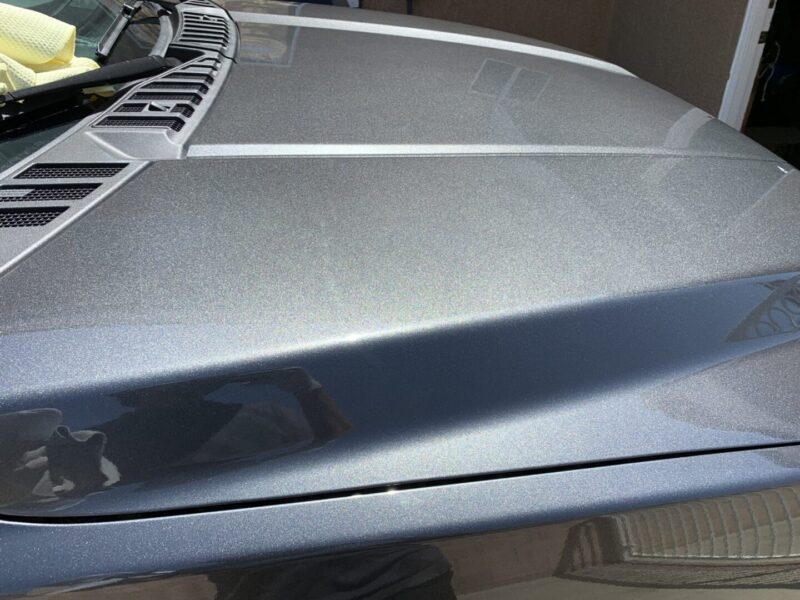
Once you’ve finished applying the ceramic coating over the entire car’s paint, you’ll quickly see that the coating gives a glossy finish that looks amazing. You should be leaving the ceramic coating to now cure, which means that nothing should be touching the surface for the next few hours; even better, for 24 hours. This means no rain, no leaves, no touching (I know the ceramic coating looks amazing, but hands-off please.) If water or something else significant gets on the paint during the next 24 hours, try to wipe it off so that it isn’t left on the ceramic coating during this cure time.
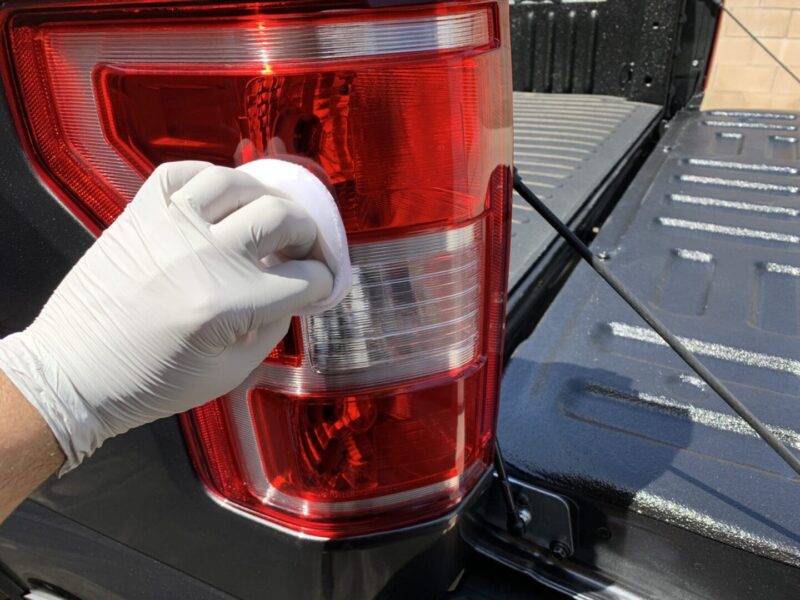
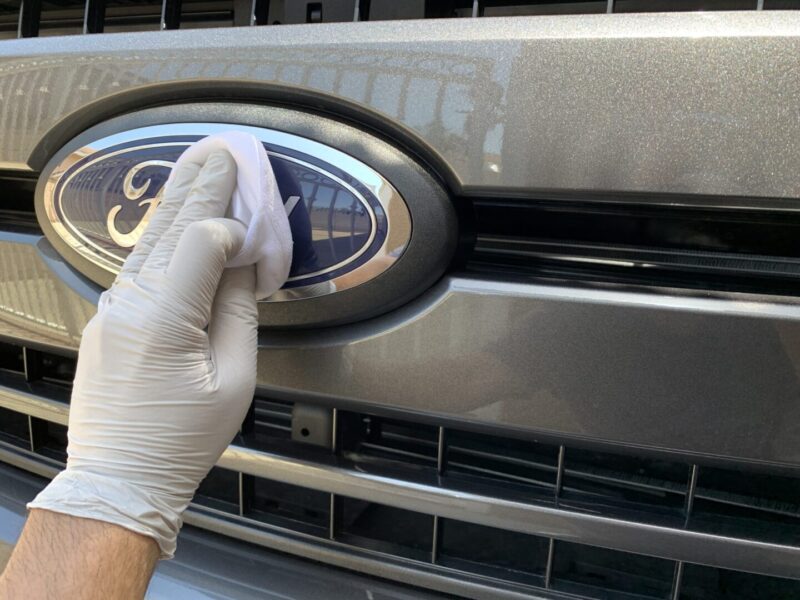
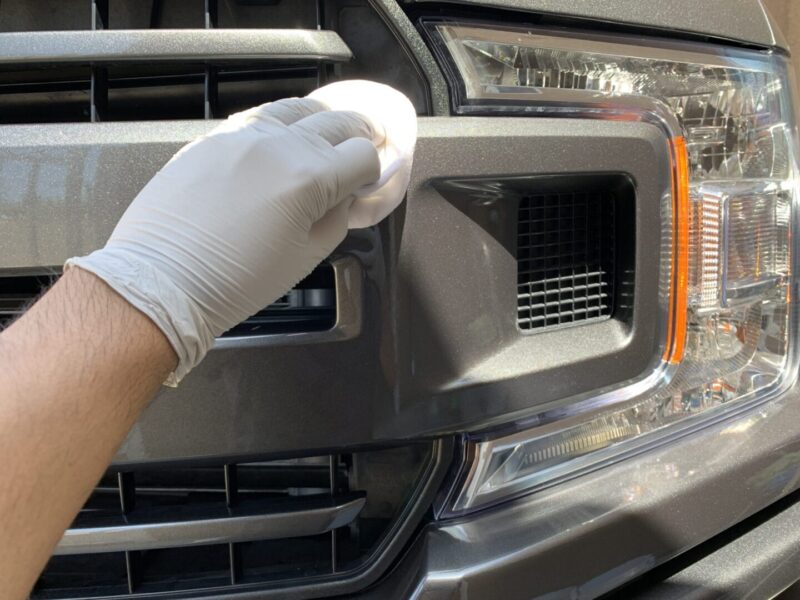
If you have wondered if it’s possible to ceramic coat other parts of your car, it is possible. However, let me just start off by saying I can’t definitely say that applying any particular ceramic coating will be 100% safe to use on surfaces other than a car’s paint/clear coat. It’s entirely possible that Ceramic Coating X may cause a problem if it is applied onto Material Y, so if you really want to apply your ceramic coating on other parts of the car, you will be doing so at your own risk. If you go this route, start with a small test spot. By doing so, you can see if the ceramic coating can be applied safely onto that test spot. Once you can confirm that it doesn’t present any issues, then you can proceed with applying it on the rest of that particular surface.
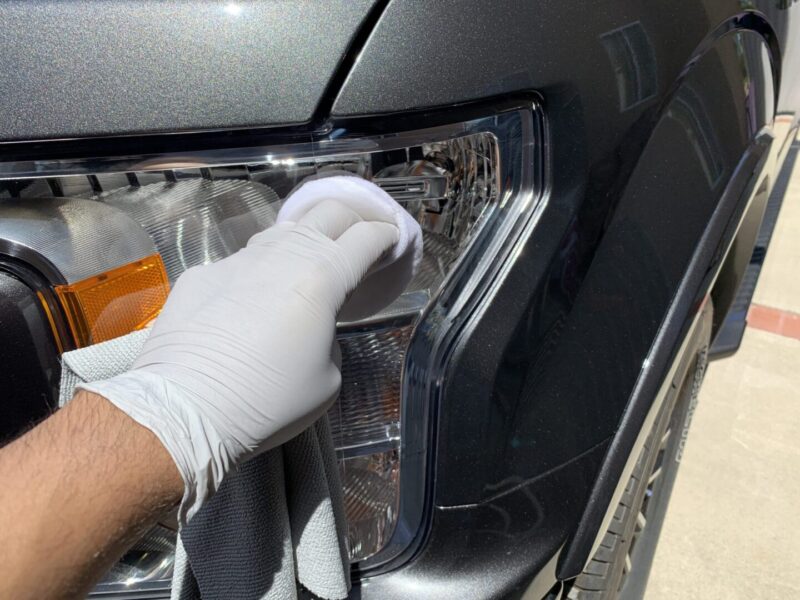
Another option is to buy a coating that is formulated specifically for the particular product you’re trying to apply it to. In my personal experience, I haven’t really had any issues applying ceramic coatings on headlights, tail lights, and emblems on the car. Personally, I would be more careful around rubber/plastic trim and windows. Ceramic coatings can sometimes discolor trim and can cause some issues with windshield wipers chattering on the windshield.
While working with your ceramic coating, you’ll want to constantly check your work. Make sure you don’t forget to wipe any product off after it has cured, otherwise you’ll be left with a semi-permanent streaky haze. Having any of these imperfections will affect how the finished product will look.
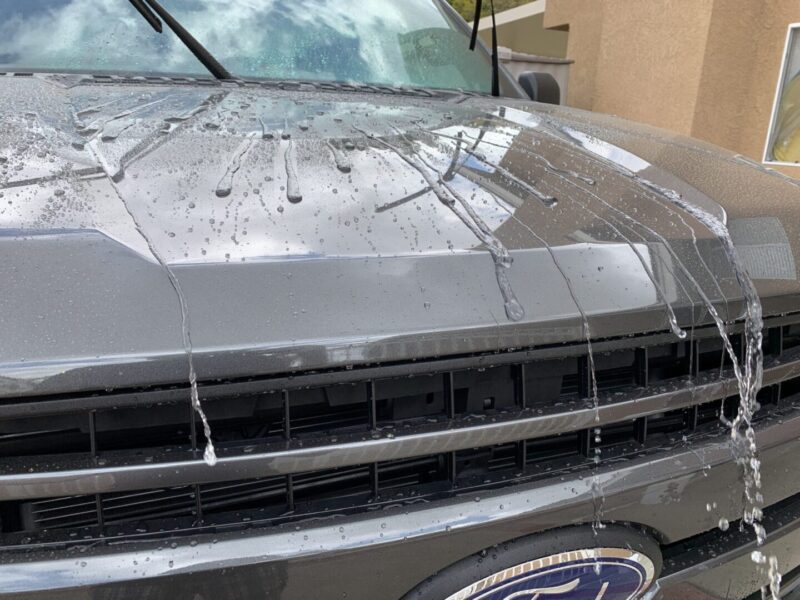
Once the vehicle has completely cured, you can test out one of the advantages to ceramic coating: hydrophobicity. The surface tension is lowered so much that liquids have a hard time staying suspended on the ceramic-coated surface. Imagine how easy car washes will be as most water will end up running off the car without you having to dry it. Car washes are also easier because everyday contaminants don’t get stuck on the car’s surface and therefore it is much easier to clean the vehicle.
And that is all there is to applying a ceramic coating by yourself. It’s a slightly time-consuming process, but not a difficult one. It certainly involves careful preparation and application. Always follow the manufacturer’s instructions as the manufacturer will know how to best install their own ceramic coating. If you take the proper precautions and are careful with your execution, you’ll have a durable ceramic coating that will protect your car and make washing it easier for many months to come.

