When you make purchases through links on this site, The Track Ahead may earn an affiliate commission. Also, these posts are based off my own experiences. I am not responsible for any action you take as a result of reading this. Learn More
If you’ve ever wanted to know how you should clean the engine bay on your car, this guide will be all you need. Cleaning the engine bay isn’t overly complicated, but you do need to be aware of your approach since there different components within the engine bay. Some parts may be more sensitive to water and others, not so much. There’s also all kinds of different materials such as metal, paint, rubber, and plastic, which requires some varying levels of care.
There are a few different ways of approaching how you clean the engine bay and this depends on how aggressive you want to get. In most cases, simple wiping down of the surfaces with cleaner and rags may be sufficient. In more severe cases, you’ll need to use stronger chemicals along with agitation with brushes, and then wiping away or rinsing away with water. The main factor that dictates what cleaning method you should use is the condition of your engine bay.
What’s the Current Condition of the Engine Bay?
For most situations where there are no major oil leaks or heavily dirtied areas under the hood, you can usually get by with a regular cleaning solution along with rags. This is probably the easiest and mildest way to clean as you’re mostly cleaning out dust, leaves, dirt, and maybe a small amount of oil. A lot of times, if you just leave it as-is, there will probably not be any long-term damage to the components under the hood; it will simply just look dusty and a bit dirty.
Other times, if you have had leaks (especially oil leaks), it will require significant cleaning. Not only is it more of a hassle to work under the hood because of how messy it can get, but the oil can degrade susceptible components under the hood. In cases like these, you’ll need the help of chemicals like degreasers, all-purpose cleaners, and rags.
In extreme cases, where there is just too much oily residue to clean and wipe alone, you may need to rinse everything down after cleaning to really get everything cleaned. When you need to clean so much under the hood with cleaning chemicals, it’s very difficult to be able to reach inside every nook-and-cranny and wipe it all away without wasting a ton of time. So the best way in this situation is to wash it off with water after you’ve done the initial scrubbing with heavy-duty cleaners and brushes.
Tools & Materials
If you’re doing light cleaning under the hood where there aren’t any major oil leaks and you’re mainly cleaning off dirt, dust, and minimal amounts of oil, you can get by with just a few simple materials. All-purpose cleaner is a fairly mild cleaner that can be used along with rags or microfiber towels to clean the engine bay. You can use either rags or microfiber towels, but expect them to dirty enough that you will have to toss them.
Rags: Simpli-Magic Shop Rags (100ct) / Arkwright Terry Cloths (60ct)
Microfiber Towels: S&T 50pk (11.5″x11.5″) / Amazon Basics 24pk (16″x12″)
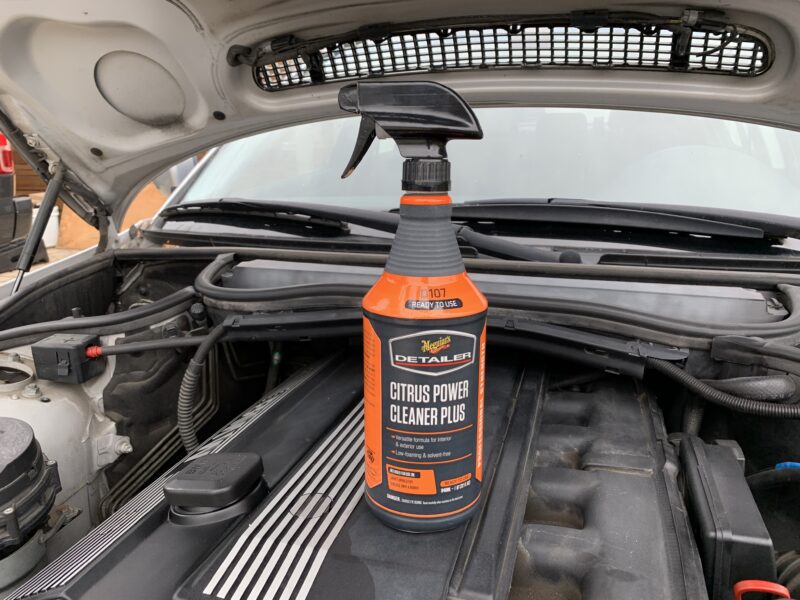
All-Purpose Cleaner: Meguiar’s All Purpose Cleaner / Armor Multi All Purpose Cleaner
If you have a heavily soiled engine bay with lots of oil staining, you will need stronger degreasers to clear out all the oil. All-purpose cleaner can still be used as an overall cleaning solution. A variety of brushes will be needed to get into the various parts of the engine bay. And if you wish, you can even employ the use of a steam cleaner for some additional cleaning.
Wheel Barrel Brush: TAKAVU Wheel Barrel Brush – E-Z Detail Brush – Large
General Brush: Mother’s Short Wheel Brush / Chemical Guys Wheelie
Detail Brushes: Detail Armory 6-pc Detail Brush Set
All-Purpose Cleaner: Meguiar’s All Purpose Cleaner / Armor Multi All Purpose Cleaner
Degreaser: Purple Power Degreaser / Gunk Engine Degreaser Gel
Steamer: Dupray Neat Steam Cleaner with 17-pc Kit
Blower: DeWalt 20V MAX XR Leaf Blower
Method 1: Clean and Wipe
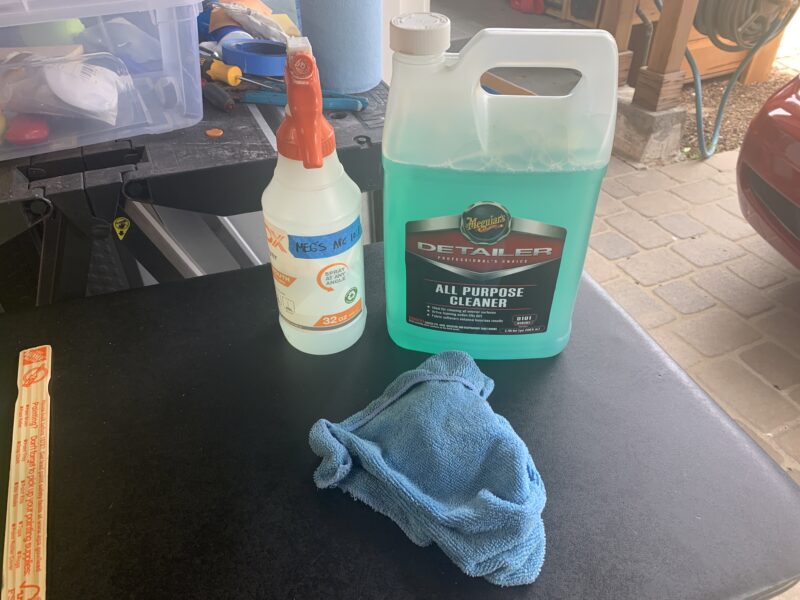
If your engine bay is only a bit dusty or dirty, you may only need to do some regular cleaning every once in a while under the hood. All you might need is just some all-purpose cleaner and some rags. Any sort of rags, old t-shirts, or even microfiber towels will do (terry cloths or rags are generally cheaper.) You’ll want a fabric-type of material to wipe with, which will absorb your cleaning chemical and also have the ability to pick dirty stuff up as you wipe. Using paper towels or even shop towels don’t work as well because it lacks the ability to absorb.
When you’re applying cleaning solution, don’t spray directly into the engine bay. If you do this, you risk those spray marks burning into the plastics and into other materials in the engine bay, which can be difficult to fully clean off. It’s always better to spray into your rag away from the engine bay, then using that damp rag to clean.
If you are patient and follow this method, you will be able to safely clean the engine bay without any risk of damaging any components. It does take time to wipe, and wipe, and wipe, but if you keep at it, you will have a naturally clean-looking engine bay. If you buy all-purpose cleaner that is not pre-diluted such as the Meguiar’s All-Purpose Cleaner linked above, you can dilute it in your own spray bottle and have it last you a very long time.
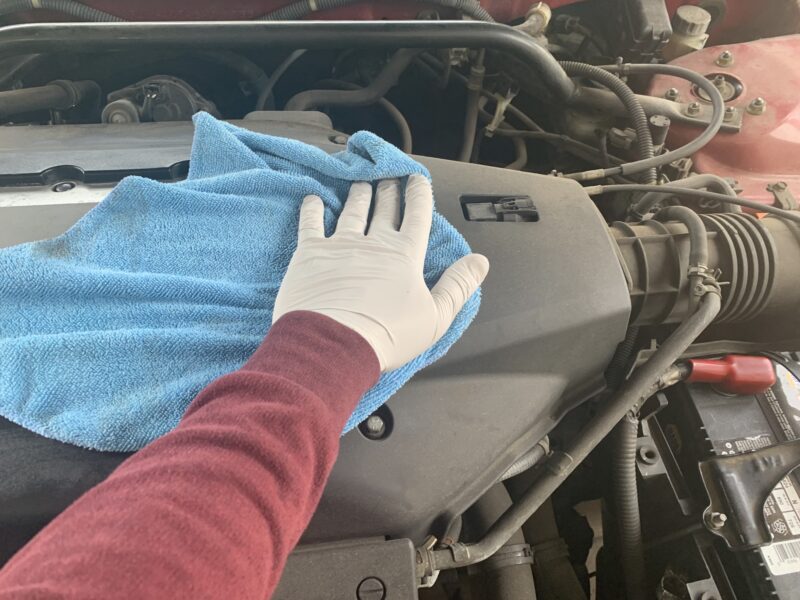
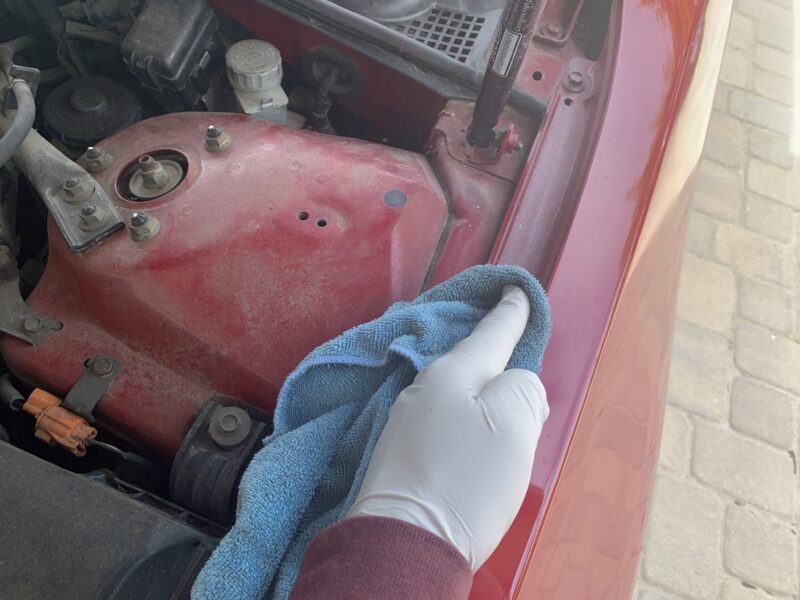
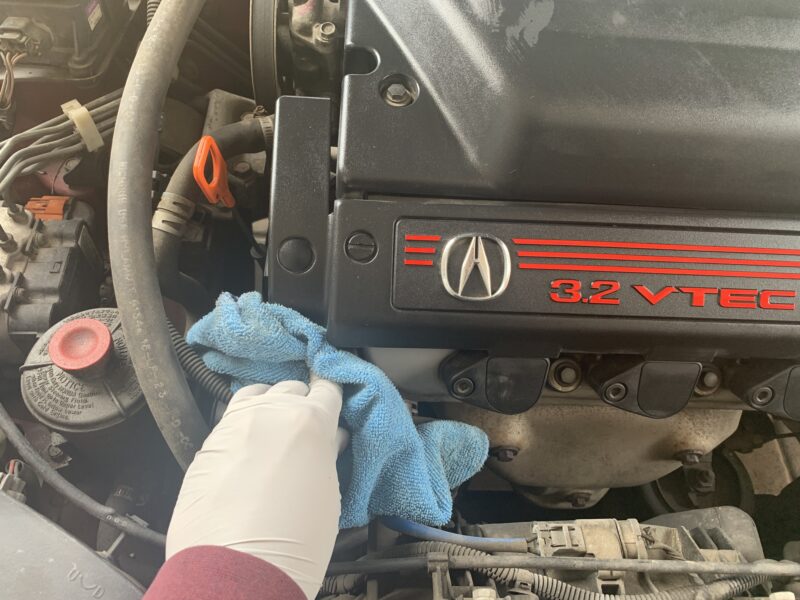
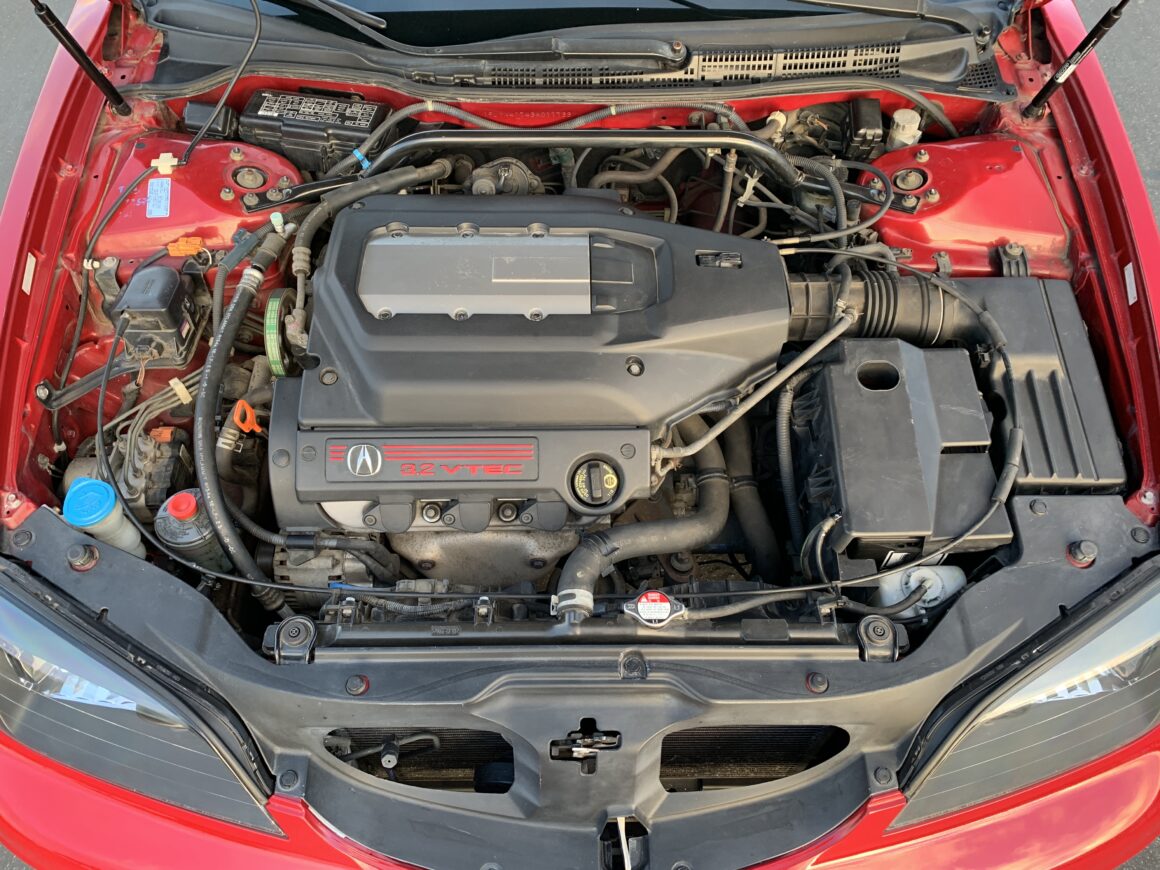
If you take your time wiping down the engine bay, it will eventually look quite clean and natural-looking. Sometimes if you go too aggressive with the cleaning, you will immediately notice a stark contrast between some areas looking extremely clean while other missed spots looking visibly dirty.
With just wiping, you may notice a bit of light dirtied areas especially around corners and difficult-to-reach areas. These can usually be cleaned up with some all-purpose cleaner and a detail brush. If you keep up this light cleaning on a regular basis, it won’t take more than 10-15 minutes of cleaning each time to maintain this look.
Method 2: Using Steam
If you’re trying to step up your game when cleaning under the hood, you should start using various brushes to clean with your all-purpose cleaner (or degreaser if you’re dealing with stuff like oil leaks.) The reason for using a brush is to get into hard-to-reach areas. Some of these hard-to-reach areas may be within sight, such as a small crevice or corner, where wiping with a rag will not reach.
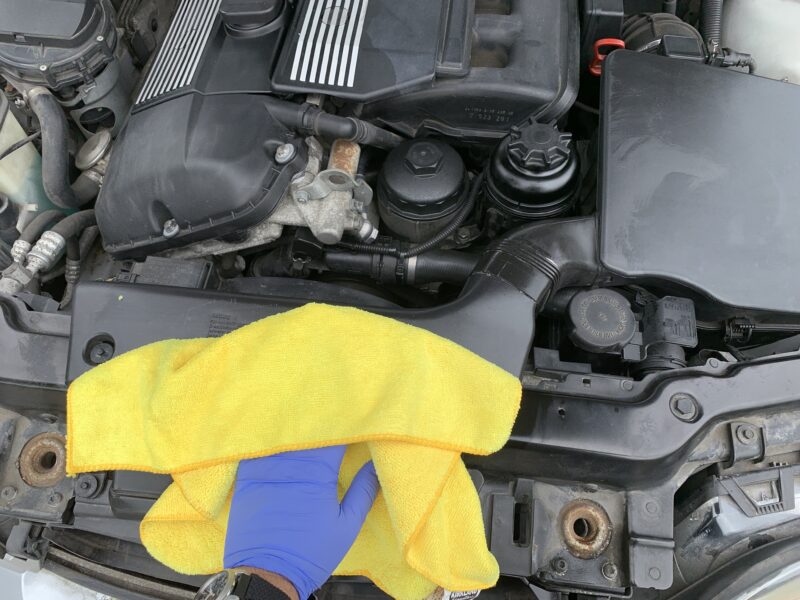
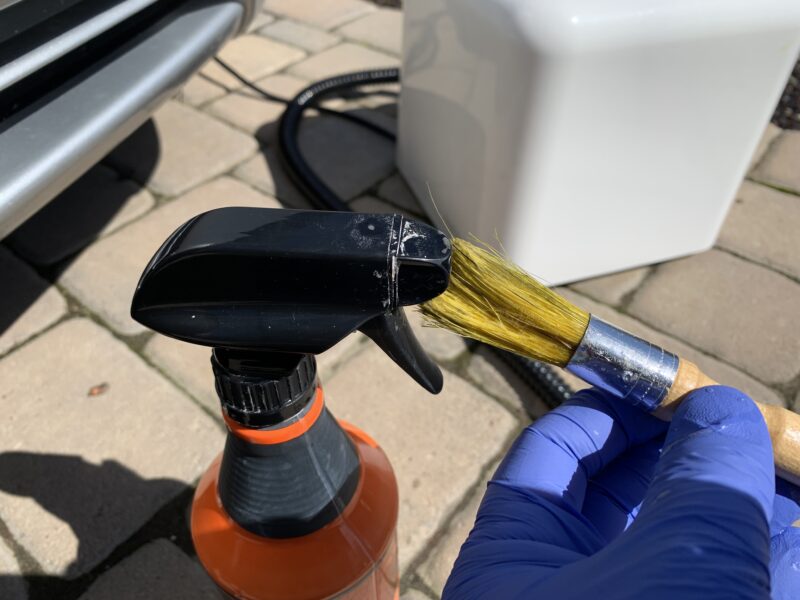
If you spray some cleaner into your detail brush and start brushing that area, you will be able to reach these areas. The problem though when wiping away the dirty foamy solution, is that when you wipe it away, you may end up missing that very spot again. One way to push all that dirty solution out so that you can wipe it away, is to use a steam cleaner.
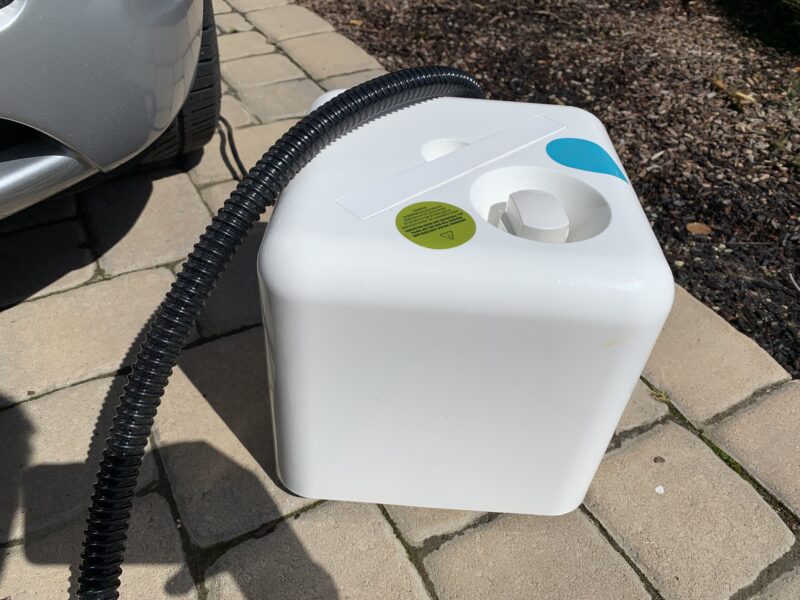
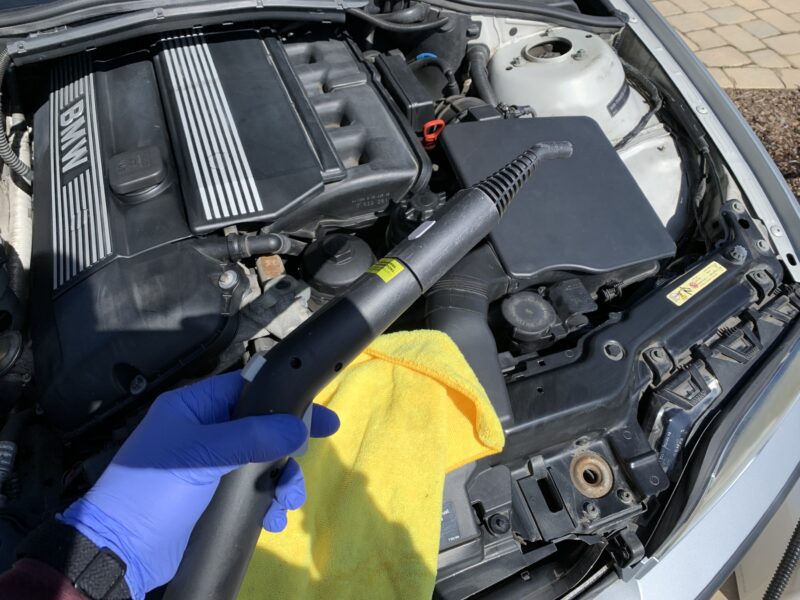
Essentially, you fill up the steam cleaner with water, allow it to heat up, and then you pull the trigger to spray the steam to clean. The great thing about using a steamer, is that it both pushes the dirty solution (produced from using cleaning solution and a brush) out of difficult-to-reach areas, so that it can be wiped away. In addition, it also cleans the surfaces with steam (heat and water.) Sometimes, you may not even need to use a detail brush with cleaning solution–the steam alone is able to clean minimally dirty areas.
However, you should understand that with steam, you’re not really “washing” away the dirty bits. You’re just pushing it along and cleaning the surface that the steam is actually hitting. If you use steam for the entire visible engine bay, you may effectively be just pushing all the oil and dirt around without actually removing it. A final warning: don’t apply the steam directly to parts that may melt, so keep the nozzle away from plastic bits that may melt or get damaged from the steam coming out of the tip of the nozzle.
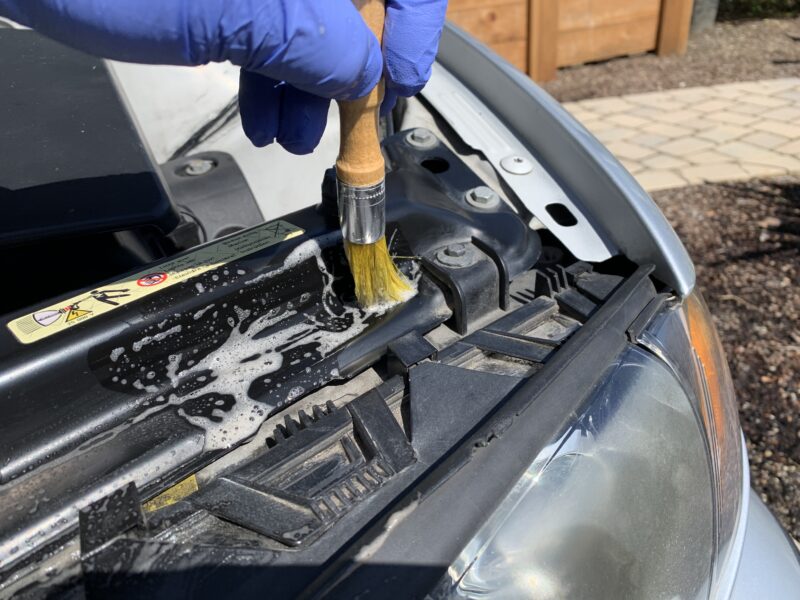
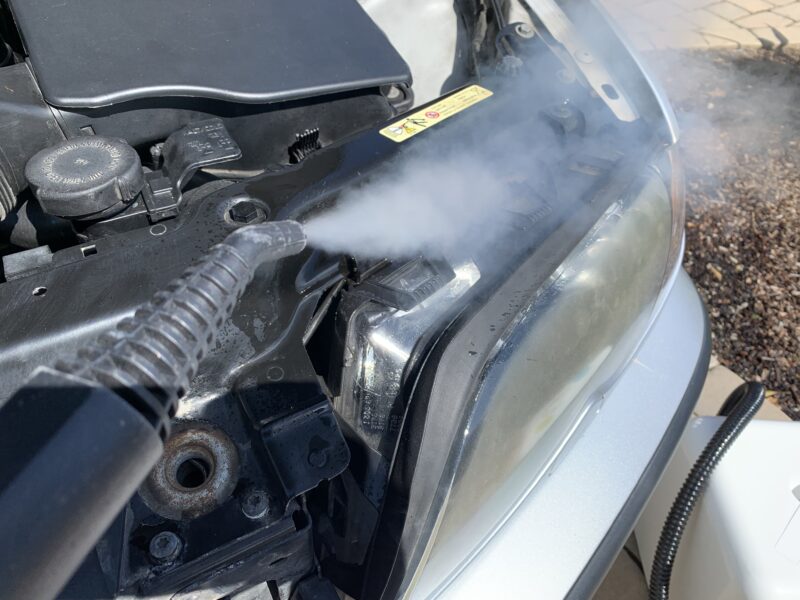
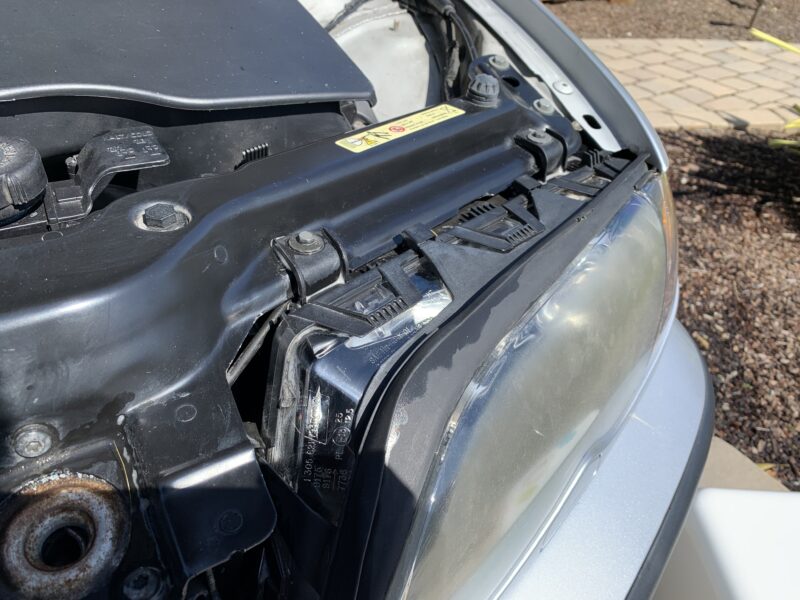
When you clean the engine bay with all-purpose cleaner or degreaser along with the use of brushes, rags, and steam, is a very clean looking engine bay with a lot of those edges and corners looking clean as well. More importantly, if you want a fairly good cleaning, but are concerned about spraying water into your engine bay, then this is a great option to avoid the risk of water damage to your vehicle.
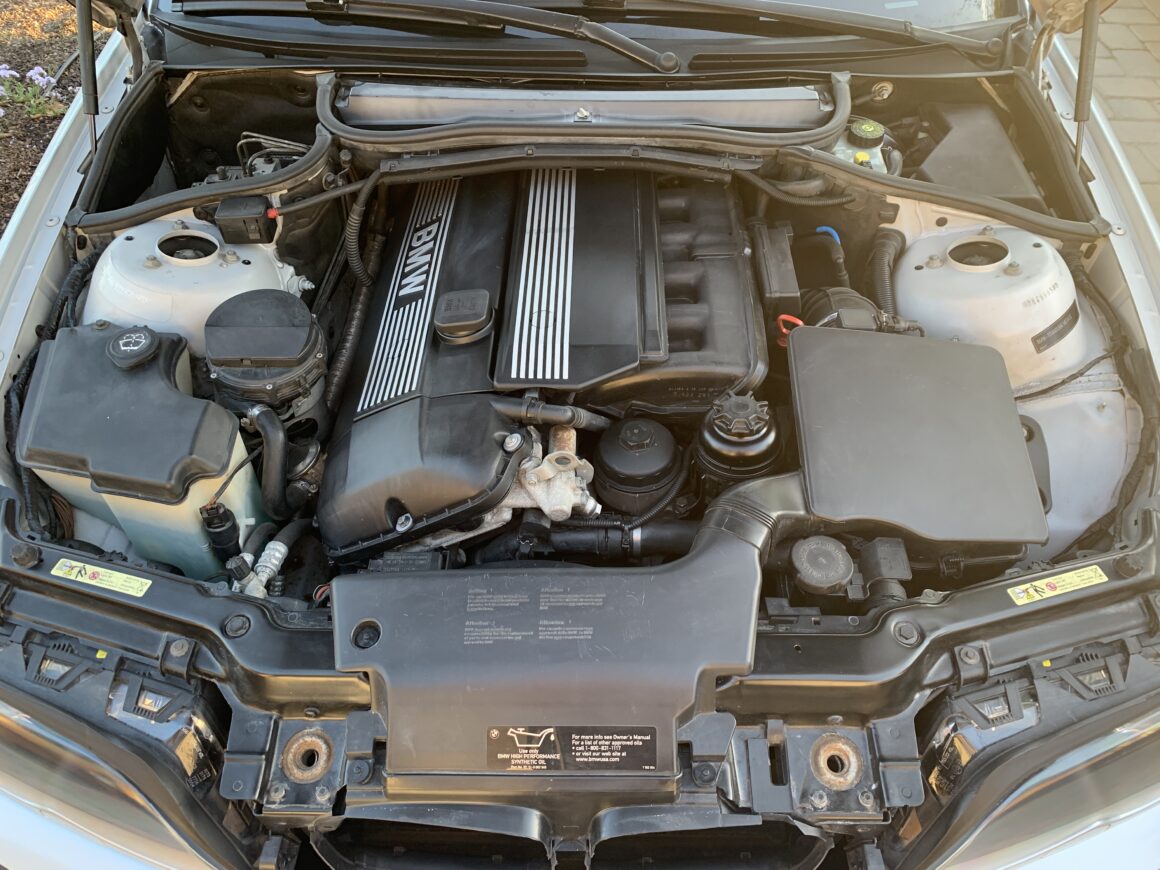
Method 3: Clean and Water Rinse
And finally, if your engine bay is just too dirty and maybe has a bunch of oil leaks that need to be cleaned up, using the previous methods may simply take too much time to clean. It’s not that it can’t be done using the other methods, but you will find yourself cleaning and cleaning and cleaning, and then realizing that it will take forever if you continue down this path. The best way in this situation is to use a degreaser, agitate with various brushes, and rinse it all down with water. If your vehicle has engine covers, I’d remove it and clean them separately prior to cleaning the rest of the engine bay.
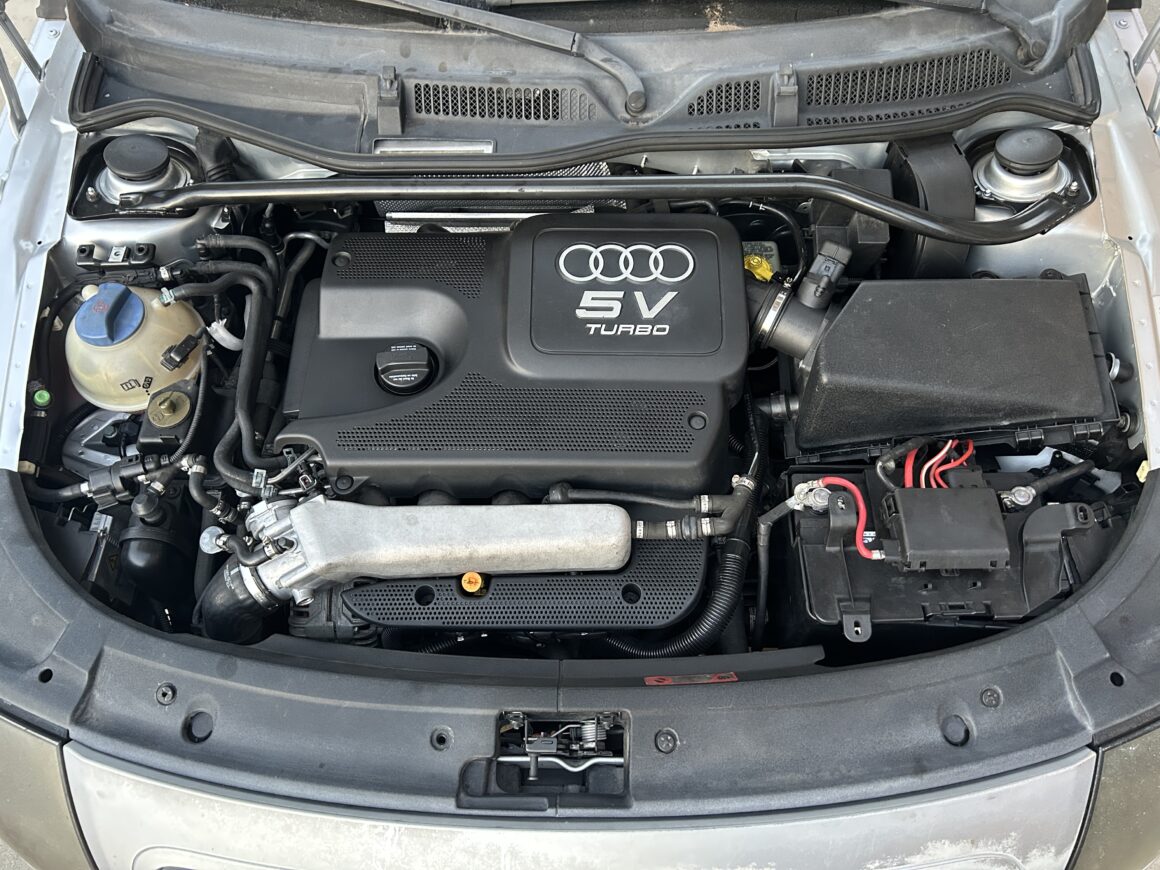
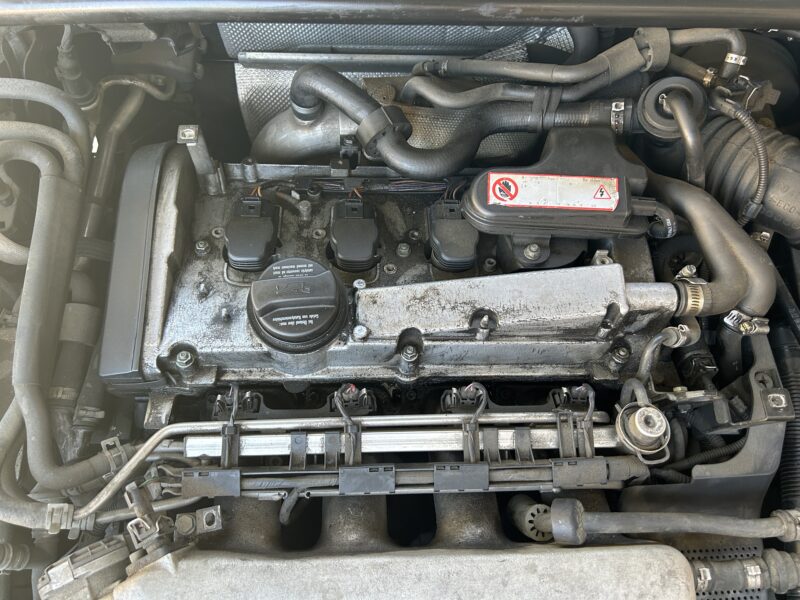
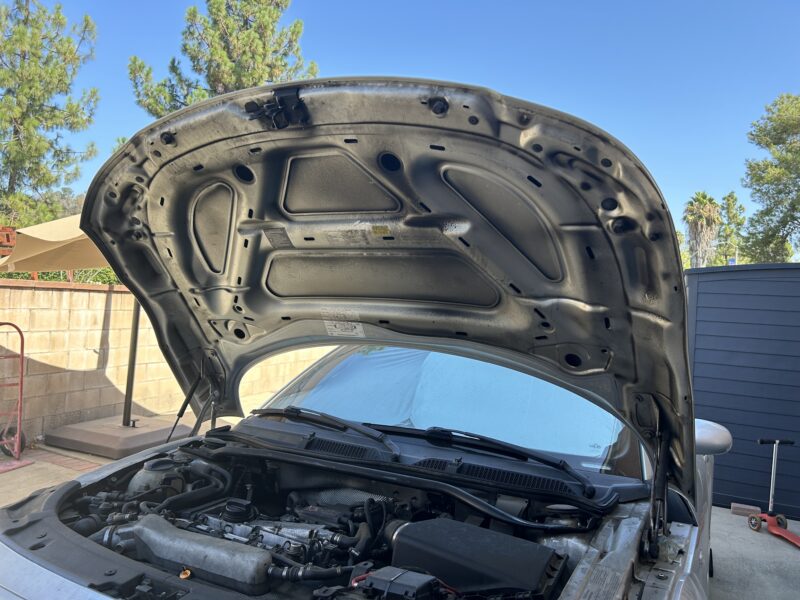
As you can see with my Project Audi TT below, there is so much soot and oil all over the engine bay, and even up on the bottom of the hood. I spent a bit of time trying to clean just the hood area, and that alone took hours to clean by brushing and then wiping away. Even after I finished, it didn’t even look super clean. In cases like these, you just have to clean everything with degreaser and brushes, and then rinse it off with water.
If you’re worried about rinsing the engine bay with water, you’re not alone. It’s a valid concern as water in the engine bay can potentially cause issues especially when it gets into areas such as electrical components and the ignition system.
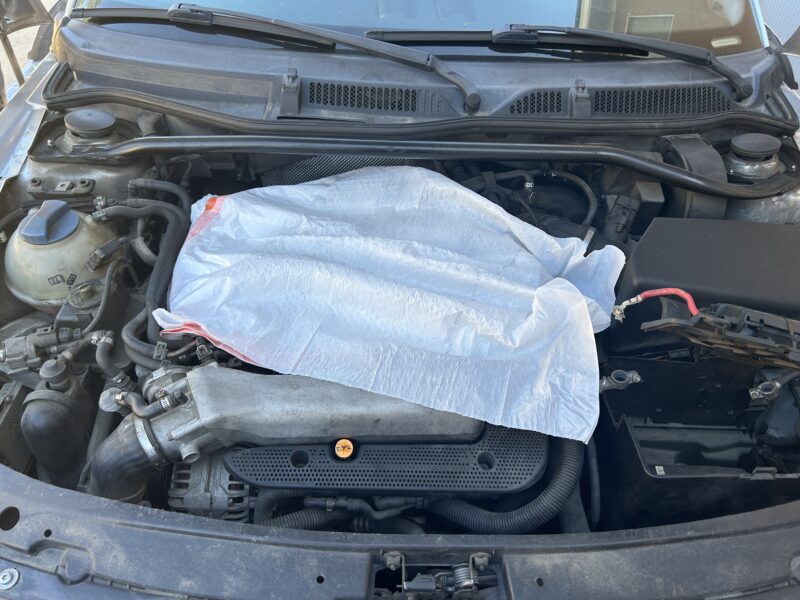
First and foremost, you should disconnect the battery (and remove the battery for further safety) to cut off the electrical supply from the battery. You should also consider covering the ignition components like where the spark plugs are located. Use a cover that is waterproof, like a plastic trash bag or plastic cover and cover the location where the spark plug wires or ignition coils enter the top of the engine.
Also think about the age of the vehicle. If your vehicle is quite old, rinsing the engine bay with water is more likely to cause problems because water can get into cracked and damaged hoses and electrical wiring. If the vehicle is fairly new, you will have much less chance of issues occurring when rinsing with water. So consider the vehicle’s age and how much you are willing to risk for the additional ease in cleaning your engine bay.
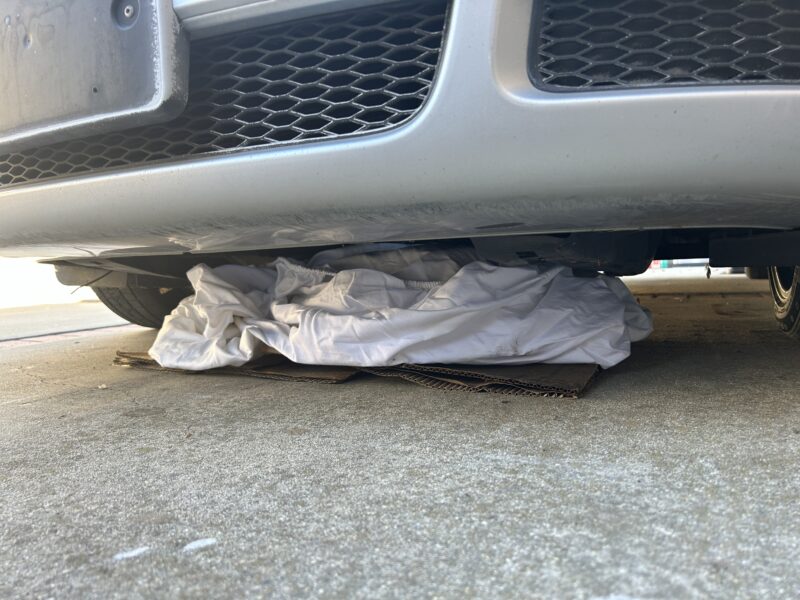
Also if you do plan on rinsing your engine bay down with water, you may want to put something down underneath to absorb all the filthy, oily stuff that will run down to the ground. This is to minimize the staining of the ground underneath. I used an old bedsheet that we no longer used for this purpose, but old cardboard or rags will do.
When you are cleaning the dirt, oil, grease, and whatever else that is under the hood, you can use a variety of cleaning chemicals. Dish soap, all purpose cleaner, degreasers… they all get the job done. My recommendation is to simply use what you have so you can save yourself some money. Use the cleaning solution along with a variety of brushes to get to all the surfaces and hidden areas in the engine bay.
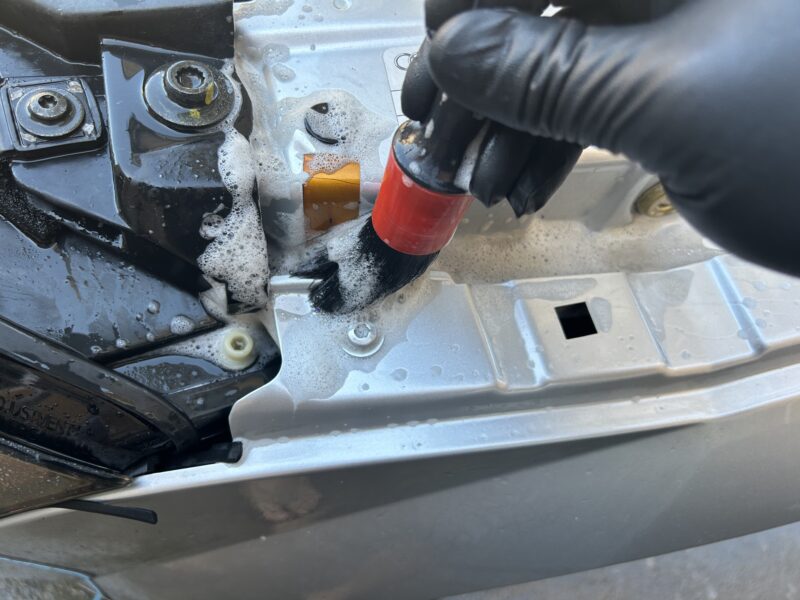
To cover all your bases, it’s good to have a general-use brush (like a wheel/tire brush) for easily accessible and flat surfaces, a wheel barrel brush to reach in deep open spaces that you can’t reach, and a set of detail brushes when you need to focus on cleaning small areas that will get missed from the use of the larger brushes.
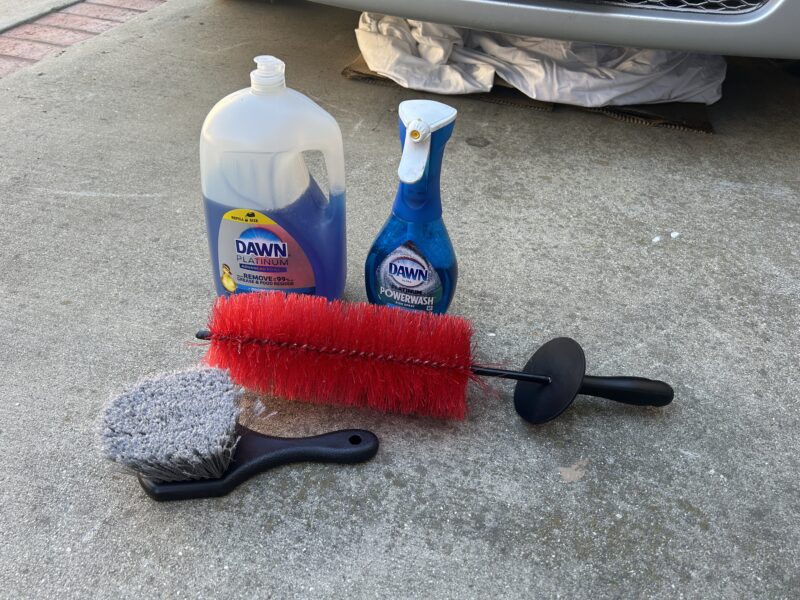

So now is where you just use the cleaner or soap, scrub, and rinse away with water. I start with the hood because everything will be dripping down onto the engine bay, so it’s best to get this part cleaned off first before moving on to the engine bay.
Usually, it takes at least two cycles of cleaning and rinsing, as you may miss a few spots on the first go around. After cleaning and rinsing, you’ll want to dry it all off either with a leaf blower or another rag/towel.
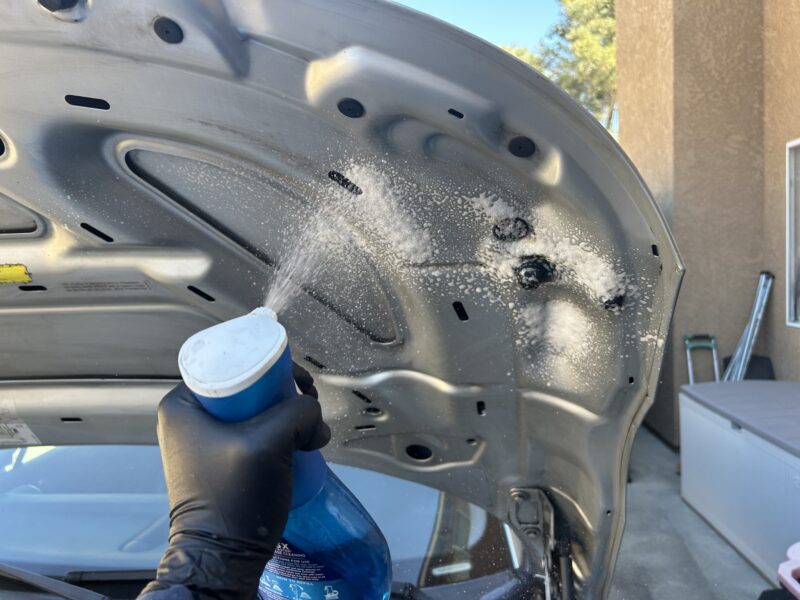
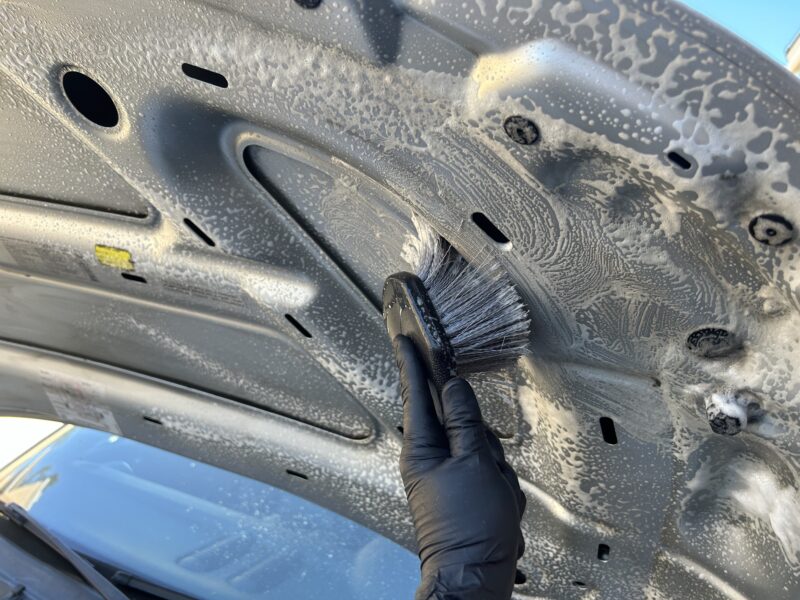
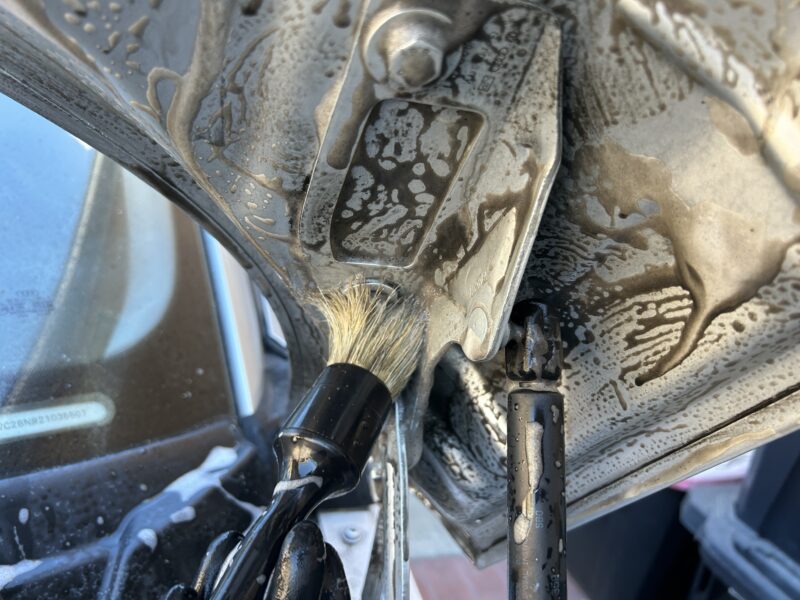
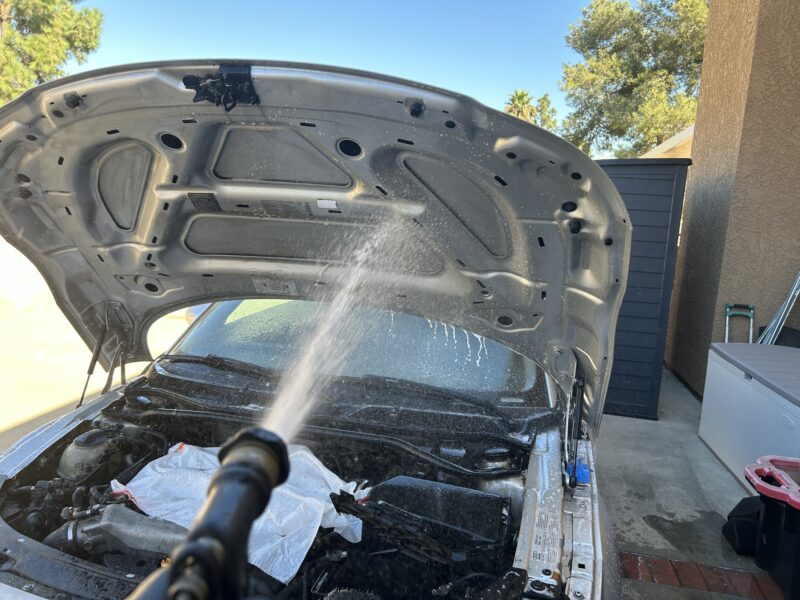
Continue on to the engine bay with the same process of applying cleaning solution and scrubbing away. As you scrub, all of the contaminants will be lifted off of the various surfaces and be suspended in all of the soapy liquid. Work through the engine bay, keeping the areas that you’re working on wet. If it dries, it may be more difficult to rinse off later. If it helps, work on one section of the engine bay at a time.
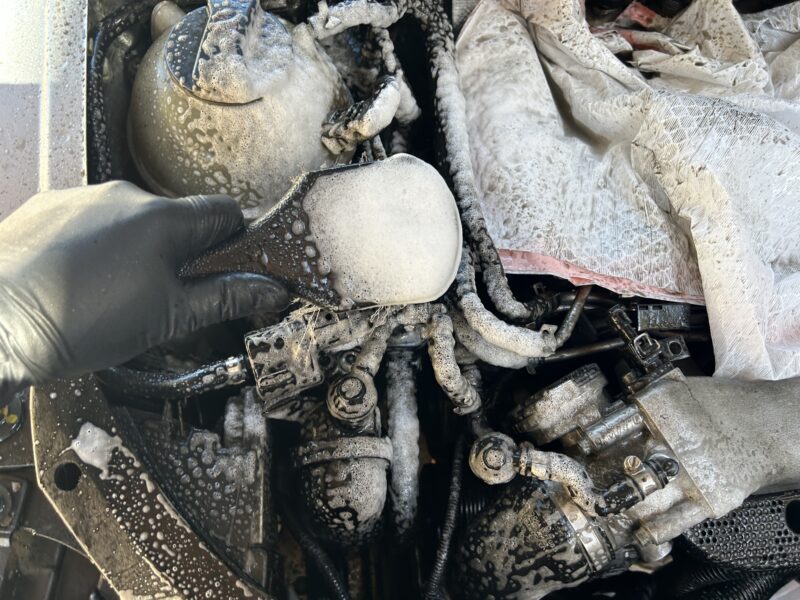
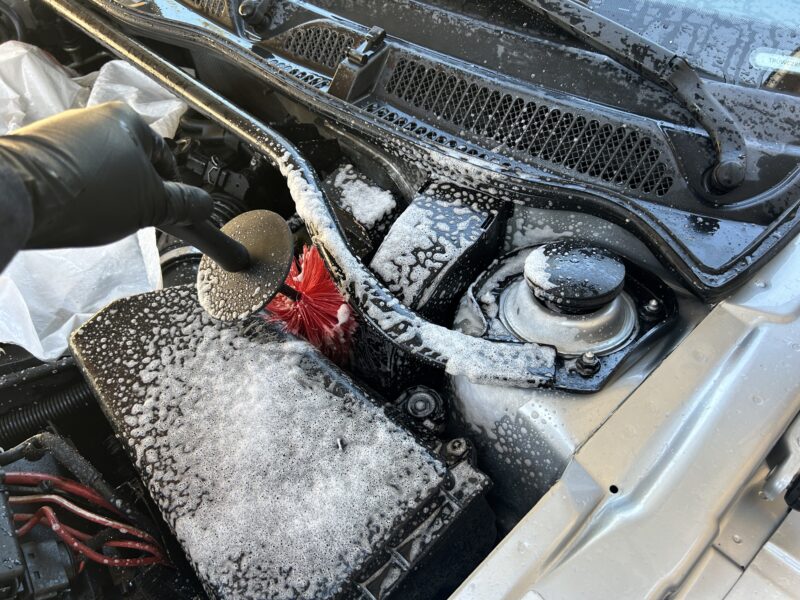
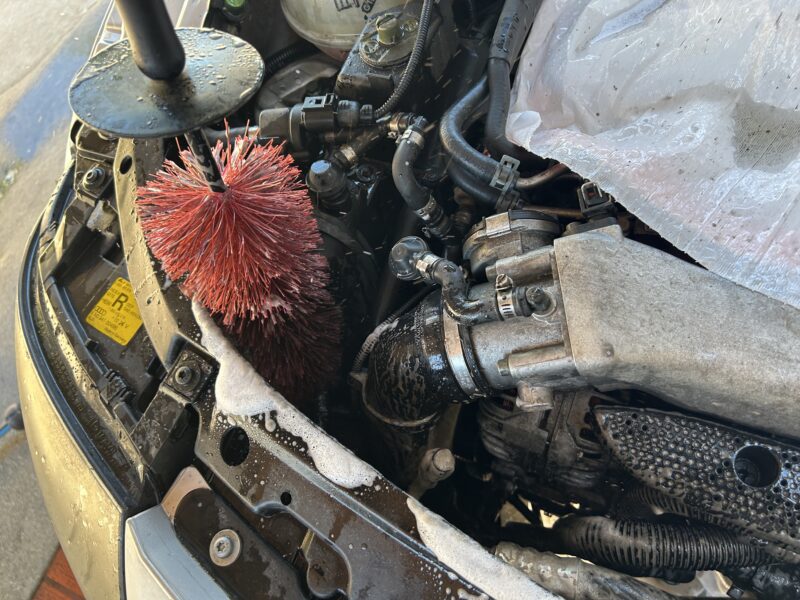
Next, simply rinse away everything with water. I suggest using a gentle spray pattern on your hose if possible so that the water runs down all of the engine components, rather than using an aggressive spray that might force water into areas that you don’t want it to.
I suggest following up with a blower of some sort, such as a leaf blower, handheld blower, or even pressurized air. This will get the excess water out of the engine bay, allowing the remaining water to more easily evaporate into the air. When all is said and done, I recommend using a clean towel or rag and follow up along with some cleaner. This will help to wipe away any of the dirty areas that were not fully cleaned up. A clean rag also allows you to see any spots that you may have missed during the cleaning process.
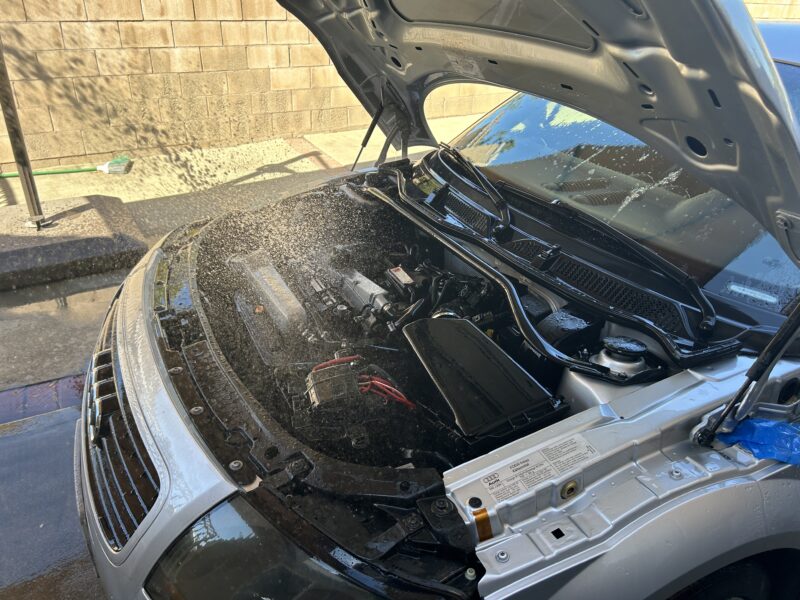
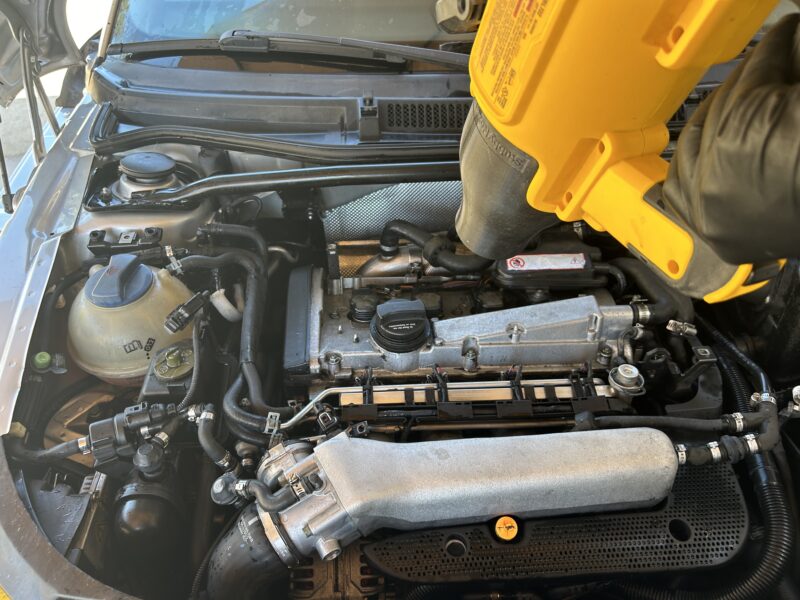
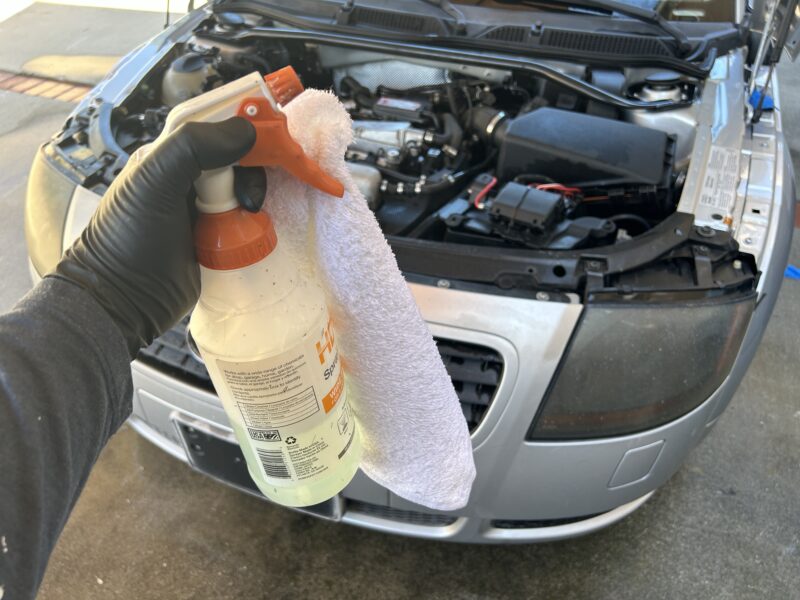
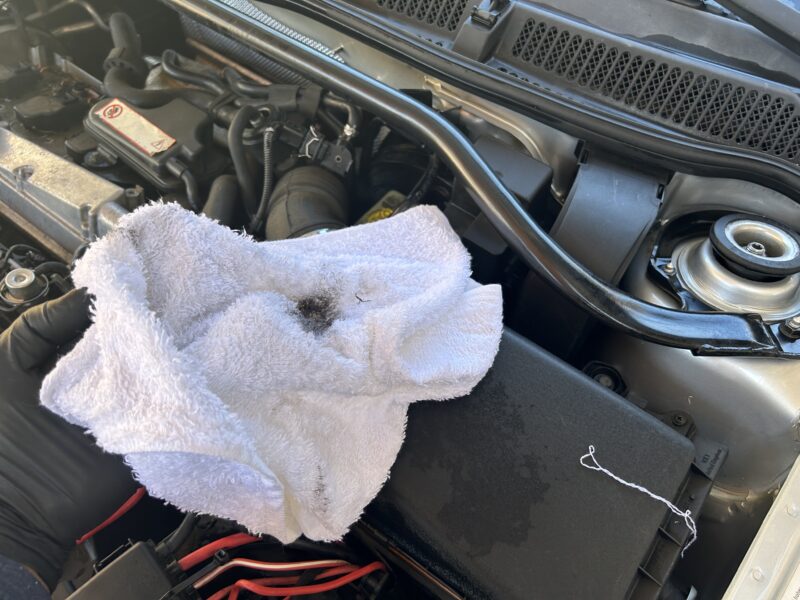
At this point, leave your hood open and allow the engine bay to air dry out in the open.
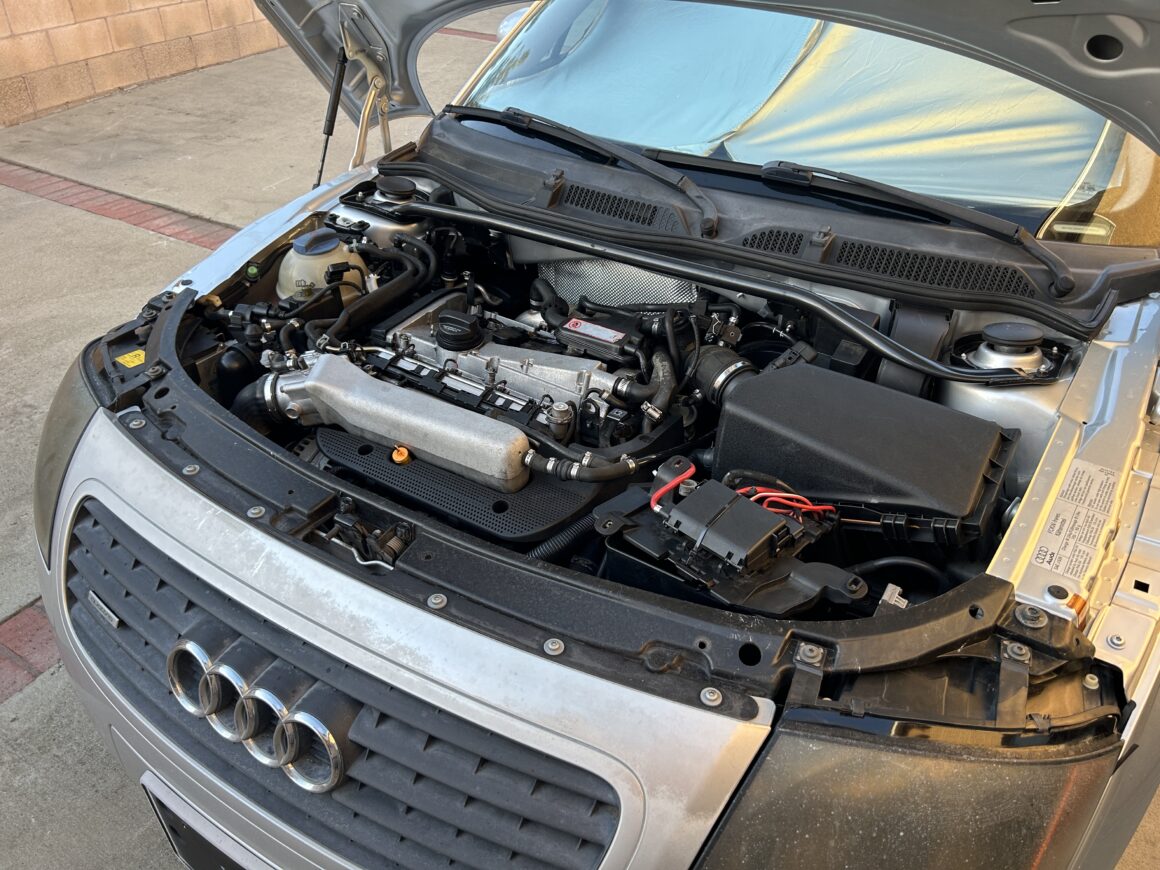
As for the engine covers, they’re easy to clean off to the side with the very same cleaner and brushes. After scrubbing them clean both on the outside and inside of the covers, rinse them fully with water and allow them to dry.
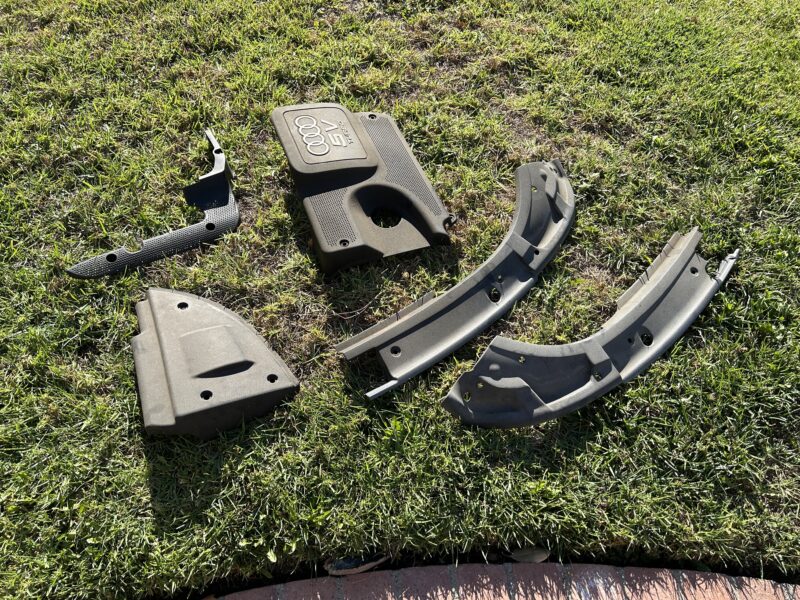
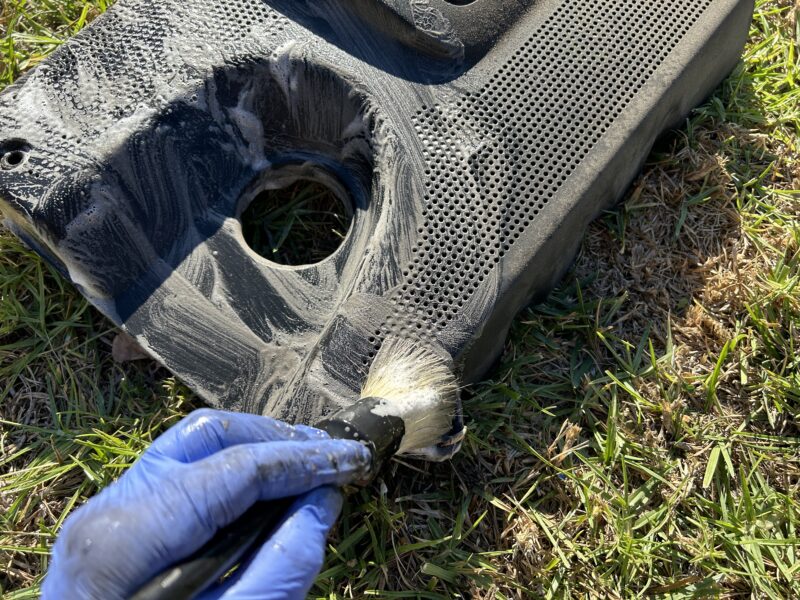
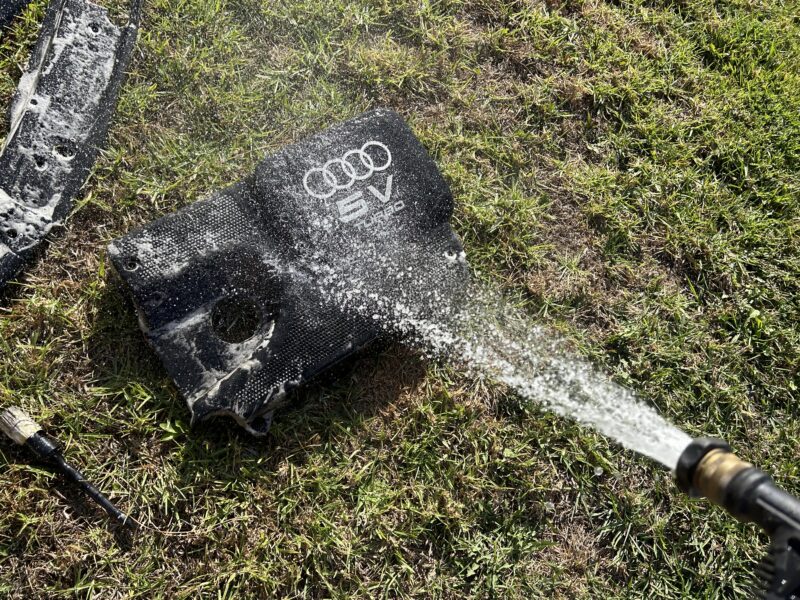
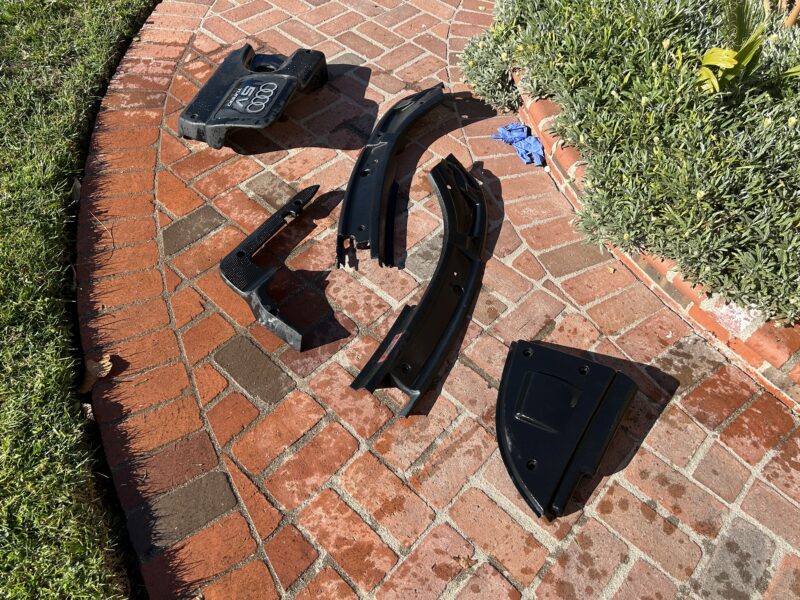
When the engine covers and the rest of the engine bay has dried, replace the covers and you will be left with one stunningly clean engine bay. If you wish to spruce up the engine bay a bit more, you can add some trim dressing or even trim restorer to make the plastic parts more black, resulting in a more beautiful engine bay.
