When you make purchases through links on this site, The Track Ahead may earn an affiliate commission. Also, these posts are based off my own experiences. I am not responsible for any action you take as a result of reading this. Learn More
One of the most important things to have when you’re working in your garage is good lighting. In the past, it was more difficult to install lighting in your garage because you’d need to install enough electrical outlets and adequate circuits in the ceiling in order to accommodate all of the power-hungry shop lights. In addition, the shop lights were heavier and a bit more difficult to install than the LED lights that you come across today.
Because of the vast availability and selection of LED lighting nowadays, it’s a lot easier to install everything. First, LED lighting produces more light and consumes less electricity. This means that you can install more LED lights off of one circuit. They can also be daisy-chained in a row, which reduces the amount of outlets required. Furthermore, the LED light bars are so lightweight now that the brackets used to mount them up on the ceiling are also lightweight and easy to install. Overall, the whole process becomes easier and although it does still take some planning and time to install LED lights throughout your garage or shop, it’s totally worth it when you see how much more visibility you get after installing them.
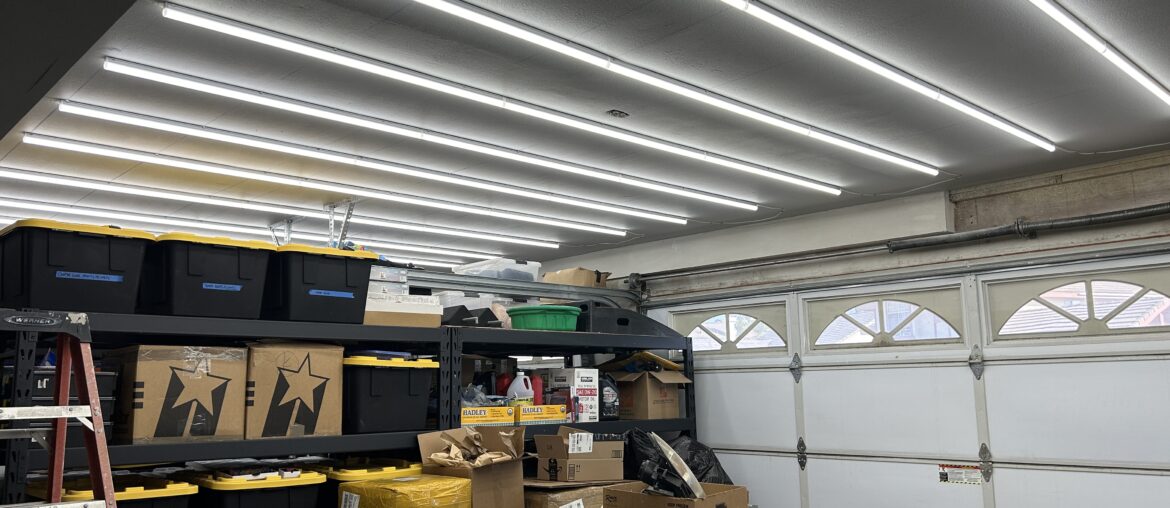
In this post, I will be going over the installation of the Barrina T5 LED 4-Foot Shop Lights in my garage. My 3-car garage is about 10′ deep by 30′ wide, with a third of the garage used for storage. After installing the lighting in my garage, the amount of light produced has been tremendously improved over what I had before. Apart from the application of epoxy flooring in my garage, this is hands-down one of the best investments I’ve made in my garage. In addition to showing you the installation of the shop lights, I will also go over some things you should consider when planning your install.
Considerations When Choosing LED Lighting
When choosing your shop light setup, you’ll need to think about what type of lighting you want to use, as well as how you want to install the lighting. Some major considerations are: the type of LED lighting, temperature (or color) of the lighting, how many to install, and what configuration to install the light bars.
Type of LED Shop Lights
There are all kinds of LED shop lights out there, but I will be mainly focused on LED light bars that mount directly to the ceiling using bracket clips. There are two types of LED shop lights that you’ll most commonly see: T5 and T8. The difference between the two types of LED’s have to do with the size of the lights– the T5 has a bulb diameter of 5/8-inch and the T8 has a diameter of 1-inch. Generally the T8’s will have more lumen output, although the T5’s can produce plenty of light as well.
In general, T8’s tend to be more used in commercial applications, while the T5’s are more common in residential settings. I personally went with the T5 shop lights because I found them to be more affordable on Amazon over the T8 alternative. Also based on my research, I could still produce more than enough light with the T5 shop lights. The installation of the T5’s would also be easier due to their smaller size and weight.
Temperature (Color) of the LEDs
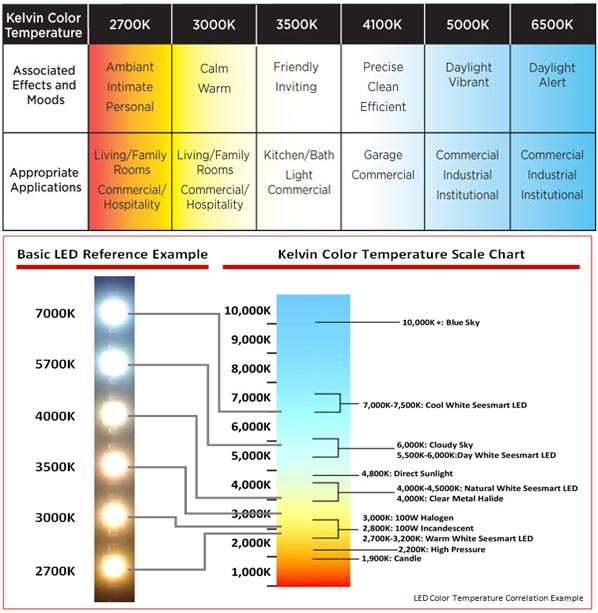
The temperature of the LED will produce a certain color depending on how many Kelvins it is rated at. The lower temperature light produces a warmer, yellowish color, while the higher temperature light produces a cooler, more bluish (sometimes purplish) color. For the Barrina shop lights that I used, they offer the following temperatures:
- 6500K – Bright White
- 5000K – Daylight White
- 4000K – Cool White
- 3000K – Warm White
The consensus generally is that you want 5000K, which best replicates natural lighting you get from the sun (daylight). Obviously, venturing out too far out one way or the other from the standard 5000 Kelvin temperature may result in lighting that is too artificial and uncomfortable to work in.
How Many Light Bars Do I Need?
Another important consideration is how many lights you should install. If you try to research this topic online, you’ll get a wide gamut of answers ranging from 20 lumens per square foot, up to 300 lumens per square foot. Let me elaborate on this topic, because it is important to understand it in order to best calculate what you need.
First, you need to determine how many lumens per square foot you want. Some websites (and usually the generic AI answer you get on Google) will state that you want to strive for 20 lumens per square foot of your garage space. I think this is the bare minimum you can go with, but in my opinion this amount of lighting is abysmal. If I go by this figure for my 600 square foot garage and installing the Barrina T5 4ft LED shop lights that I used, I would end up installing 7 lights in the entire 3-car garage. I would highly recommend not following the 20 lumens per square foot value.
Another figure that I’ve heard is 50-75 lumens per square foot for ambient lighting as a benchmark, which is more reasonable. I would say this is more acceptable for general lighting throughout your garage.
In certain areas in your garage, you might need much more lighting such as a workbench area where you need to see a lot of up close detail. In cases like these, it is recommended to increase the lighting up to 300 lumens per square foot. But keep in mind that if you used 300 lumens per square foot for your entire garage, it might actually be uncomfortably bright.
Because I plan on doing car detailing in the garage, I wanted a greater amount of light output throughout the entire garage. Therefore, I went with 125 lumens per square foot to calculate the amount of lighting that I needed to install. After my install I actually felt that it was a bit bright for everyday use, but highly useful with detailing work.
First of all, to calculate how many lumens you’ll need in your entire garage, take your garage’s total square footage, divide it by the number of lumens per square foot you plan on, and then divide that number by the lumen rating per LED light that you plan on getting. For example, here is a calculation for my own garage:
- My garage’s dimensions are: 20 feet by 30 feet, so 20 x 30 = 600 square feet
- I wanted much brighter lighting for car detailing work: 125 lumens per square foot
- The Barrina T5 4ft LED Lights that I planned on using are rated at: 2,200 lumens per light bar
My calculation ends up being:
600 square feet x 125 lumens per square feet = 75,000 lumens
75,000 lumens / 2,200 lumens per light = 34 light bars
Using this calculation for your own garage or shop space, you should be able to calculate exactly how many lights you’ll need. Look at the lights that you anticipate buying and find out the lumen rating for each light. Also determine how many lumens per square foot you want to achieve and then perform the calculation accordingly.
What Configuration Should I Arrange the Lights In?
Look at the lights you plan on getting and see how many of the lights can be linked in a row. The Barrina T5 4ft LED shop lights that I got would only allow linking up to 8 lights in a row. Keeping this in mind, I planned to link up about 6 lights in a row at various locations. That meant that I would need to run some additional extension cables all to a long surge protector plugged into a dedicated electrical outlet.
Draw out your space and make notes on how many lights you need to install and how you want to space out each light fixture. Keep in mind that you’ll need a certain amount of space from the walls, especially if you have cabinetry that might block the output from the lights.
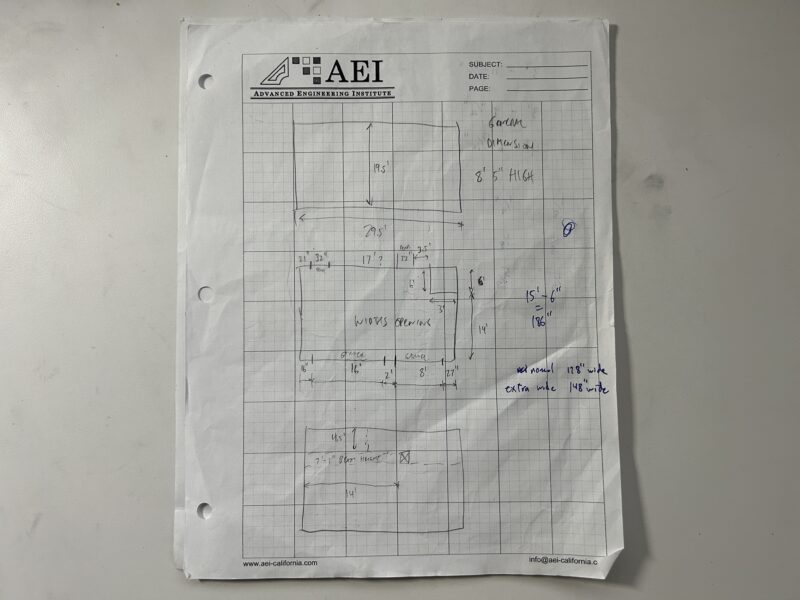
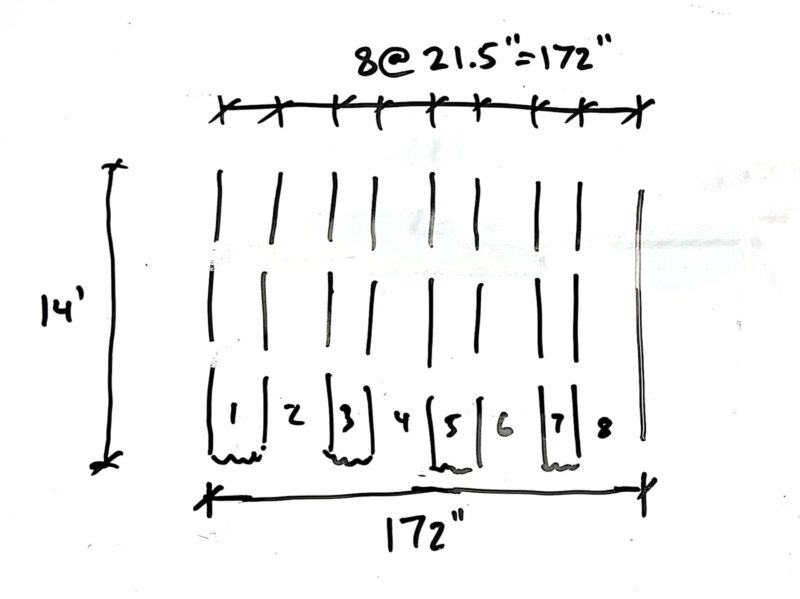
Finally, determine the direction that you want to run the lights. From everything that I’ve researched, I could not find a good reason for installing the light bars either horizontally across the garage or vertically along the garage. For me, I installed them vertically along the garage, because I would be able to better connect them to the existing outlet doing it this way. This will probably be the deciding factor, along with your specific taste in how you want the lights to be arranged.
Materials Used On This Project
There are a lot of choices for LED lighting these days, and I go over all of the considerations above. Personally, I decided on the Barrina T5 type of LED shop lights in the 5000K temperature (daylight color). These light bars come in just shy of 4 feet each, and are able to be daisy-chained in a line of 8 light bars. Make sure to check the actual lengths of the lights bars, as they may not be exactly the length that they are advertised at. For example, my 4-foot LED shop lights are actually 46″ long, not 48″.
Each one of these Barrina LED lights produces 2200 lumens of light, and I ended up installing about 36 light bars. All of these lights total up to about 79,200 lumens, which means I’m lighting up my 3-car garage with about 132 lumens per square foot. I bought 3 boxes of these, with each box containing 12 LED light bars.
Barrina 12 Pack T5 LED Shop Light 4FT, 5000K Daylight White, 2200lm, 20W
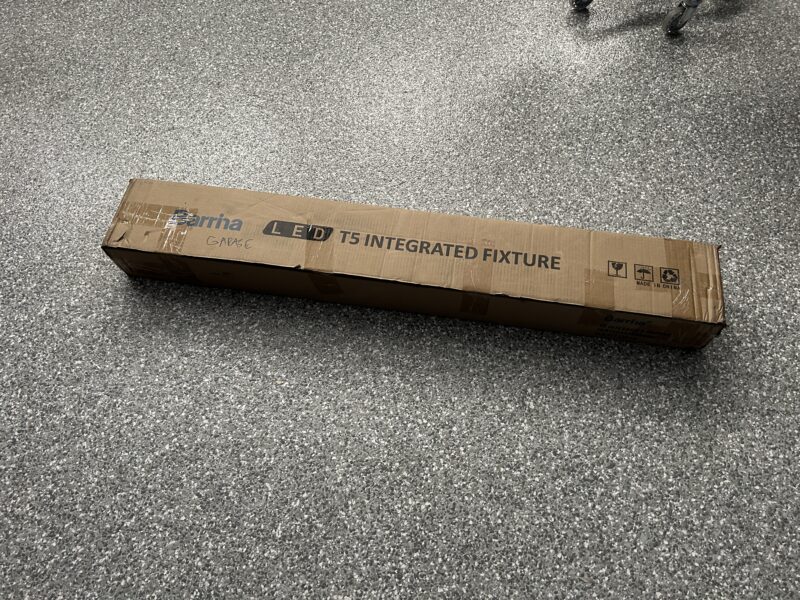
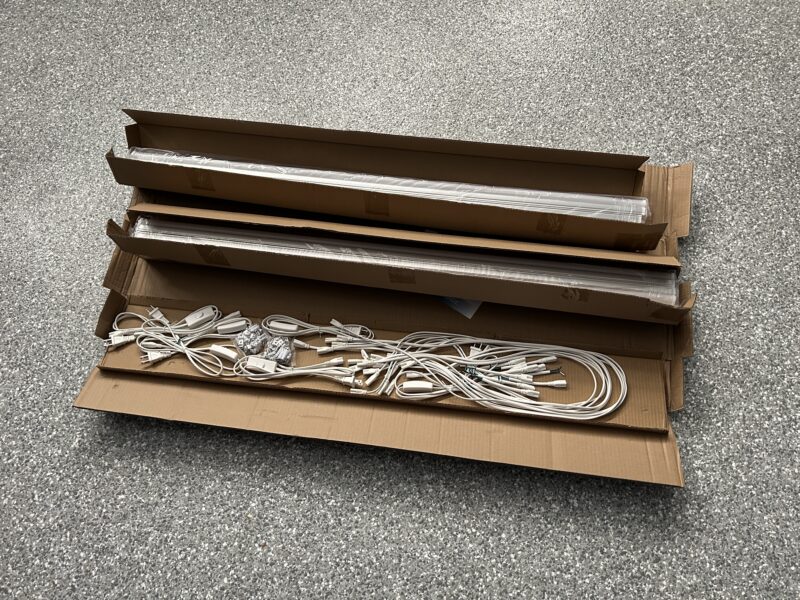
Each box comes with the metal mounting brackets required to install your LED light bars, however I’ve noticed that they don’t always have enough if you wish to install more than 2 brackets per light bar. I like the security of having 3 brackets per light bar, so I had to pick up some additional brackets.
I had a hard time finding the exact ones that Barrina uses, but there are a bunch of differently-sized brackets on Amazon. Some are too short or too long, and won’t work with the Barrina lights. I found one brand called SinLoon that sells brackets that are just slightly longer than the ones that comes with the Barrina LED Lights, but will work for securing the light bars.
SinLoon T5 LED Light Bulbs 20 Clips
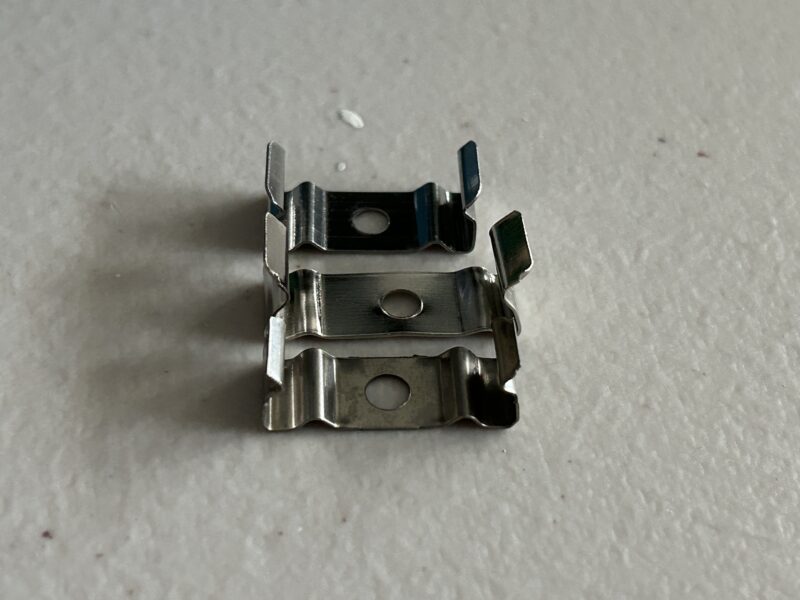
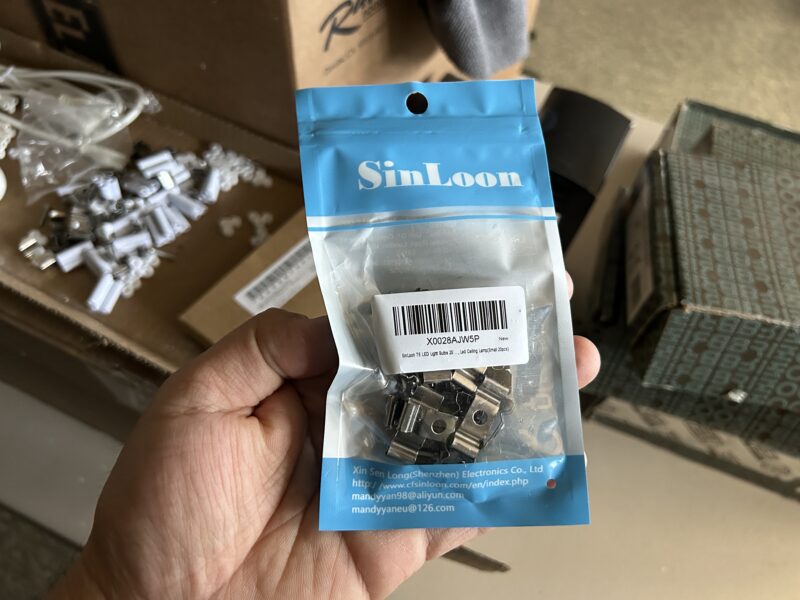
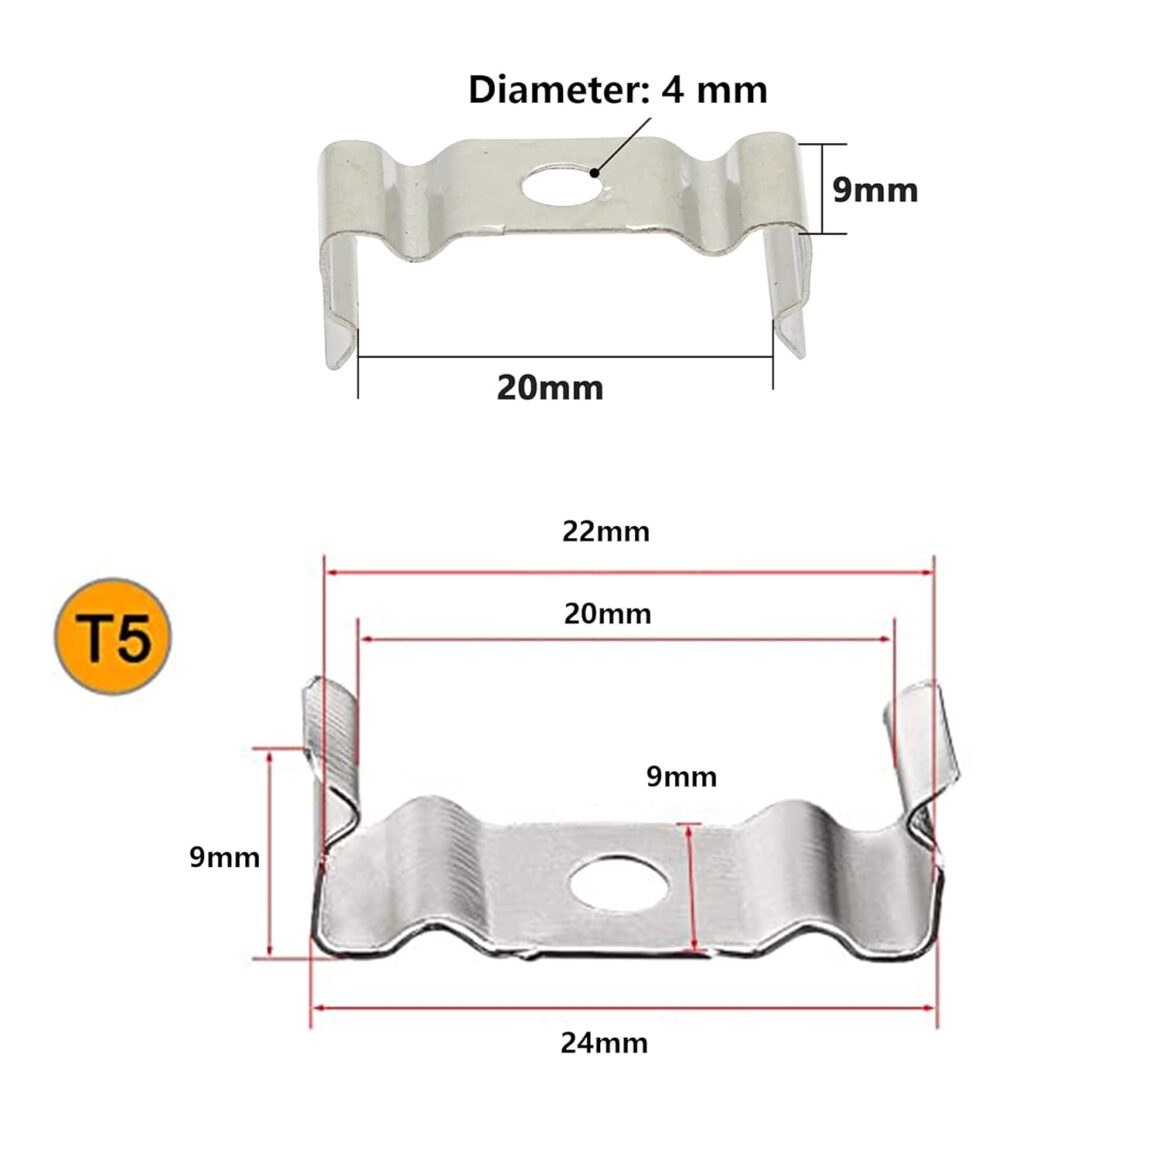
The Sin Loon brackets have the following dimensions (image from their product page), so you can compare with the Barrina brackets, or other bracket if you need them for your T5 LED light bars.
Also something worth noting is that the screws that come with the Barrina LED Lights in my opinion are a bit small and the threads are a bit too fine. These screws go through the hole in the bracket and screw up into the ceiling. Whether you’re installing these screws into wood beams or drywall, these smaller/fine-threaded screws tend to not bite into the wood/drywall very well.
Usually, coarse screws or even drywall screws will hold more than adequately. The smaller and finer thread screws that come with the Barrina’s are the exact size to fit through the opening of the brackets, so if you go with a larger screw, you might need to use a different bracket with a larger opening (such as the SinLoon ones linked to earlier.) I ended up sourcing some other screws elsewhere that were slightly larger and had a more coarse thread for a better bite.
Finally, these are other items I used to install the shop lights. I chose to use a chalk line to snap lines on the ceiling to install the lights, while others may use a laser level to the the same thing. You’ll also need a power drill to mount all of the brackets to the ceiling. To connect the wires, you’ll need a long surge protector as well as a variety of extension cords to connect all of your lights into an electrical outlet. Finally, a hammer and wire staples to secure all of the wiring up on the ceiling and/or walls.
Measuring Tape: Komelon 30′ Tape Measure / 25′ Tape Measure
Chalk Line & Reel: Irwin Chalk Line With Reel, Blue 100ft
Power Drill with Attachment Bits: DEWALT 20V MAX Cordless Drill with 100-pc Bit Set
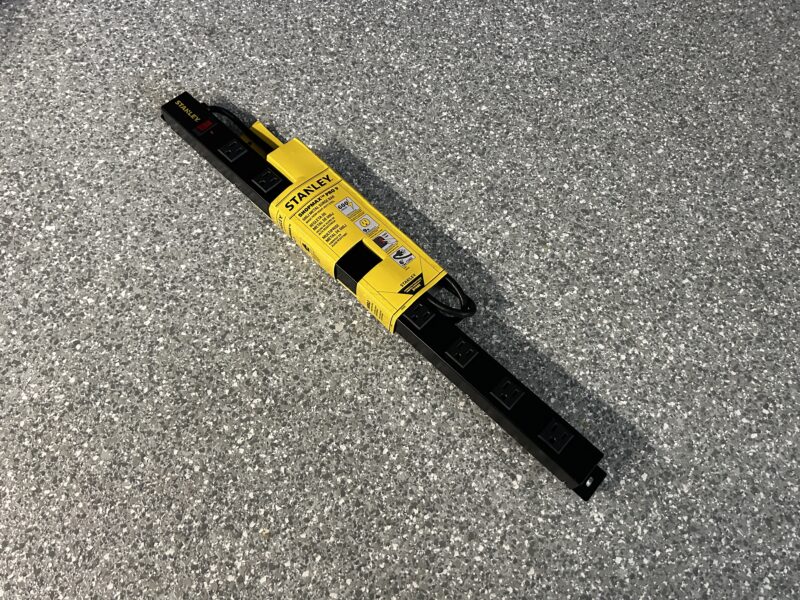
Long Surge Protector: Stanley SurgeMax Pro 9 Outlet Metal Surge Protector, Black, 6 ft
Extension Cords: 1ft / 2ft / 3ft / 4ft / 6ft / 8ft /10ft / 15ft / 20ft
Wire Staples: Gardner Bender 1/2″ Electrical Metal Staple, Blue, 100 Pack
Hammer: IRWIN Hammer, Fiberglass, General Purpose, Claw, 16 oz.
Louisville Fiberglass Ladder: 6-Foot Ladder / 8-Foot Ladder
Installing the Barrina T5 4-Foot LED Shop Lights
After measuring out your garage space and planning out how you want to install the lights, use your measuring tape to measure and mark the locations on the ceiling where you will be snapping chalk lines. Measure multiple times to make sure before you start pulling the chalk lines and snapping them across your ceiling. Get another person to help you with holding the end of the chalk line up on one end and pull the line to the other side. Pull the line taut up against the ceiling and then snap the line ensuring that the chalk line is clearly visible.
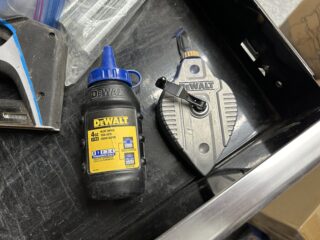
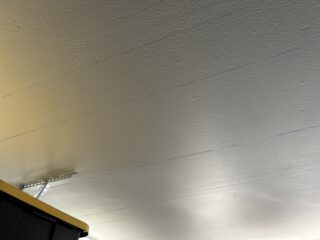
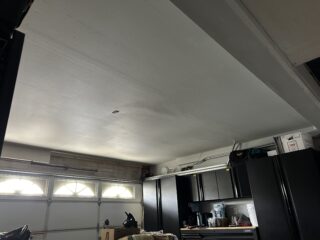
Along the chalk line, use your measuring tape to measure and mark the locations that you’ll be installing the brackets to. Each light bar is very light, which is probably why Barrina only provides two brackets per light. I chose to get additional brackets and install three of them per light: one in the middle, and one on each end. Measure, mark, and drive a screw with a bracket to each marked location.
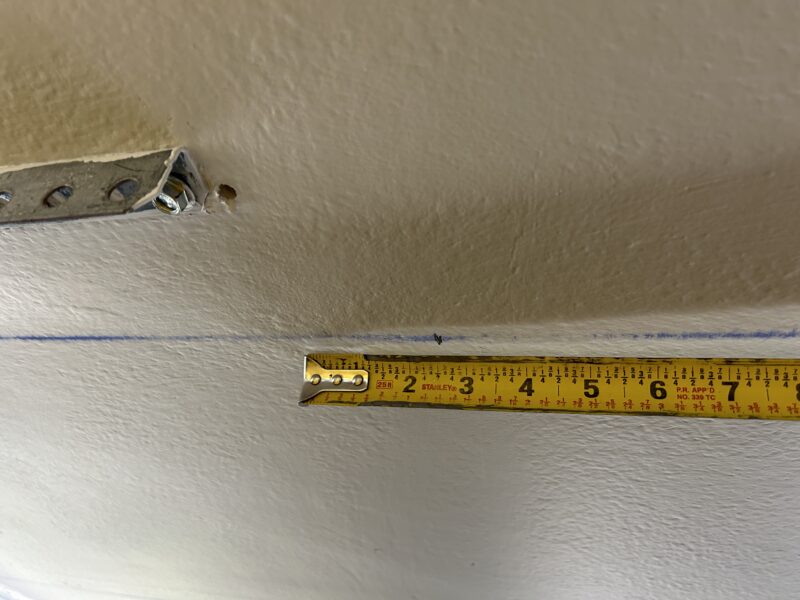
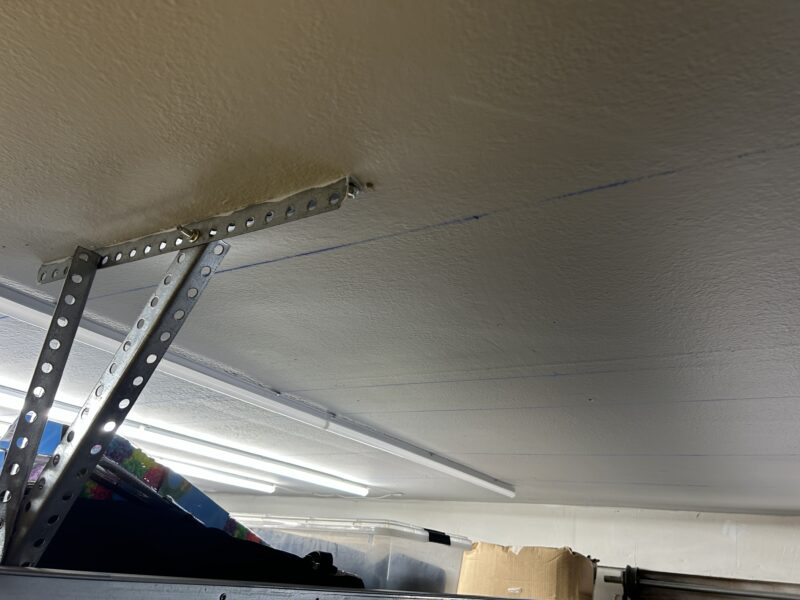
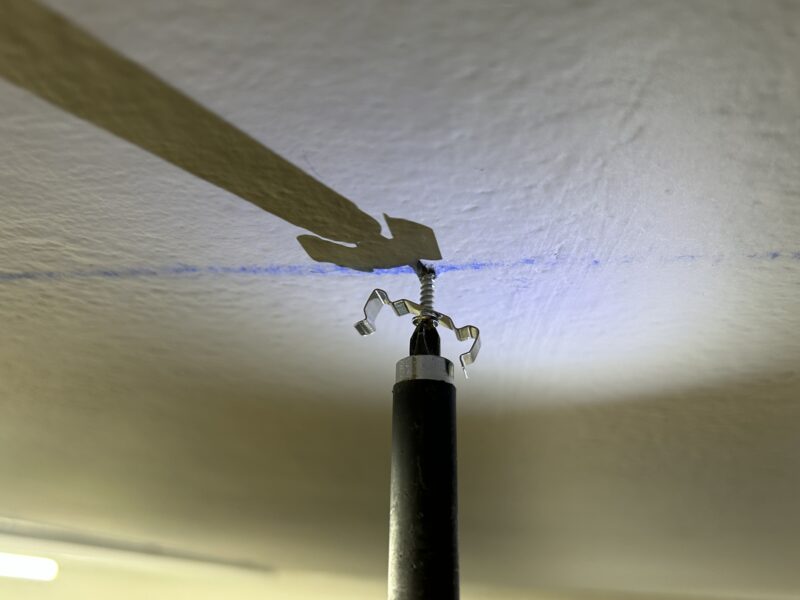
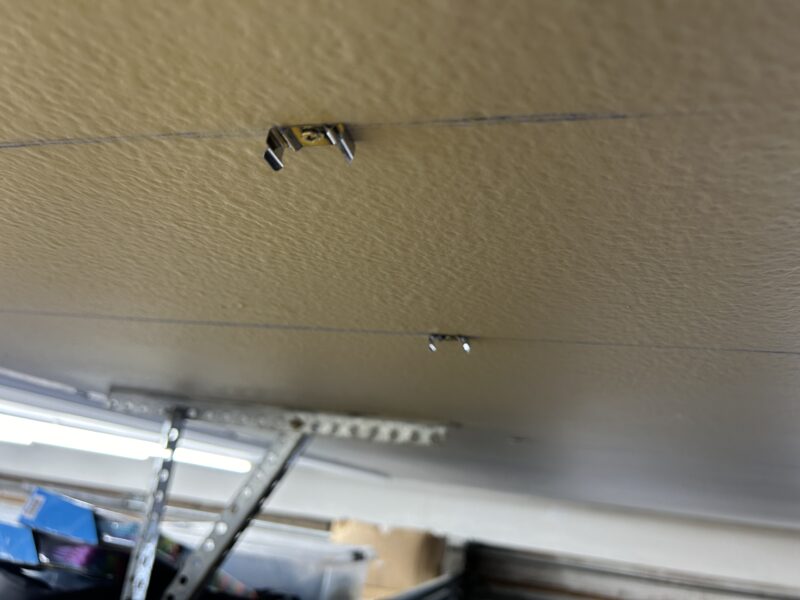
With the Barrina LED Lights, you can either link them directly to one another using the included connectors or using the wired connectors to connect the lights further away from each other. Inspect these connecting pieces as they sometimes come unusable (like the left connector on the third picture below). Barrina supplies a lot of these connectors, so just discard the ones that don’t work and grab another to use.
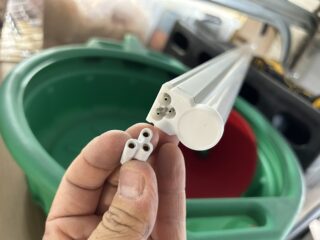
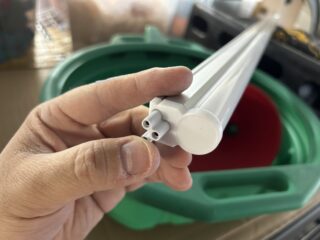
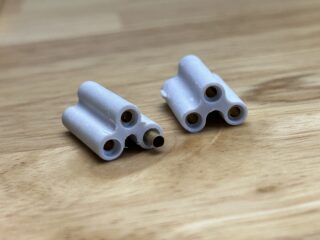
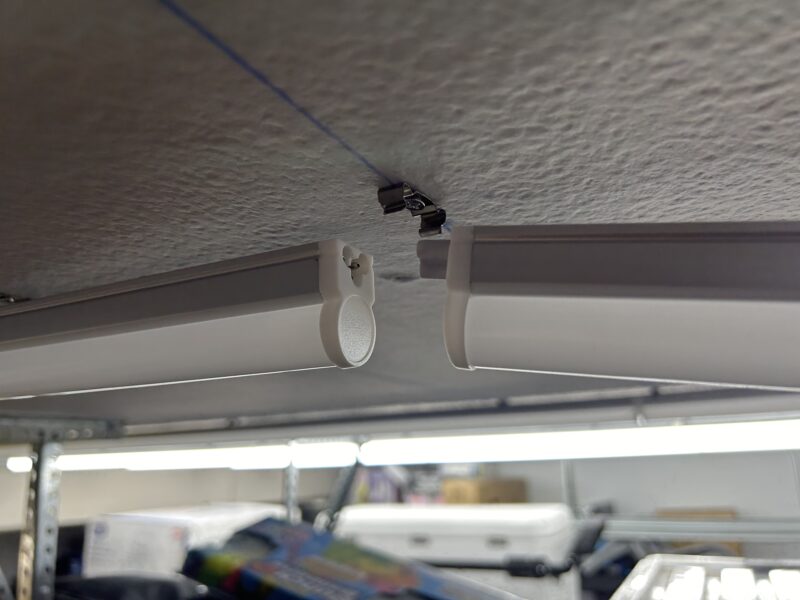
When you are connecting the lights directly to one another, snap the first light bar into the mounting brackets and gently pull down on the end you’re connecting to. Press in one of the connectors and then connect the next light bar to the first one, snapping that line of light bars into the next set of mounting brackets.
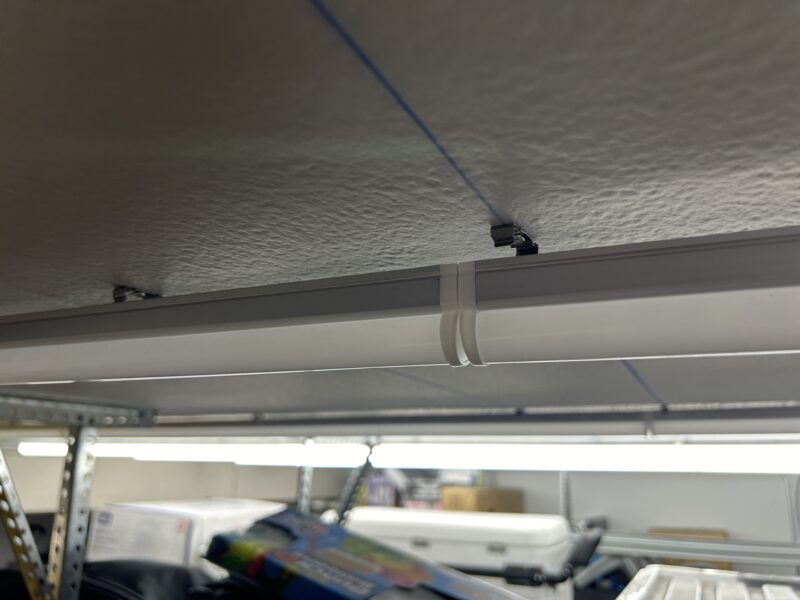
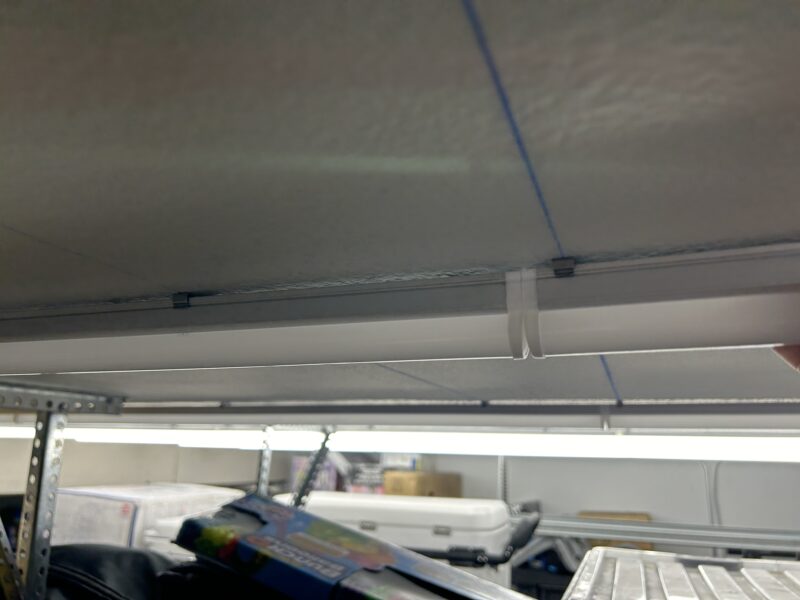
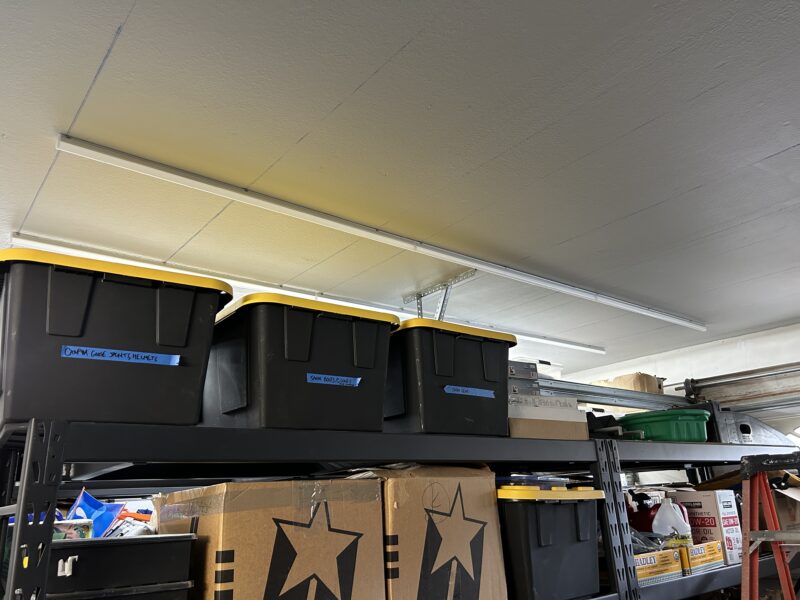
The Barrina lights also come with the wired connectors, that can be used to link across lights further away from each other.
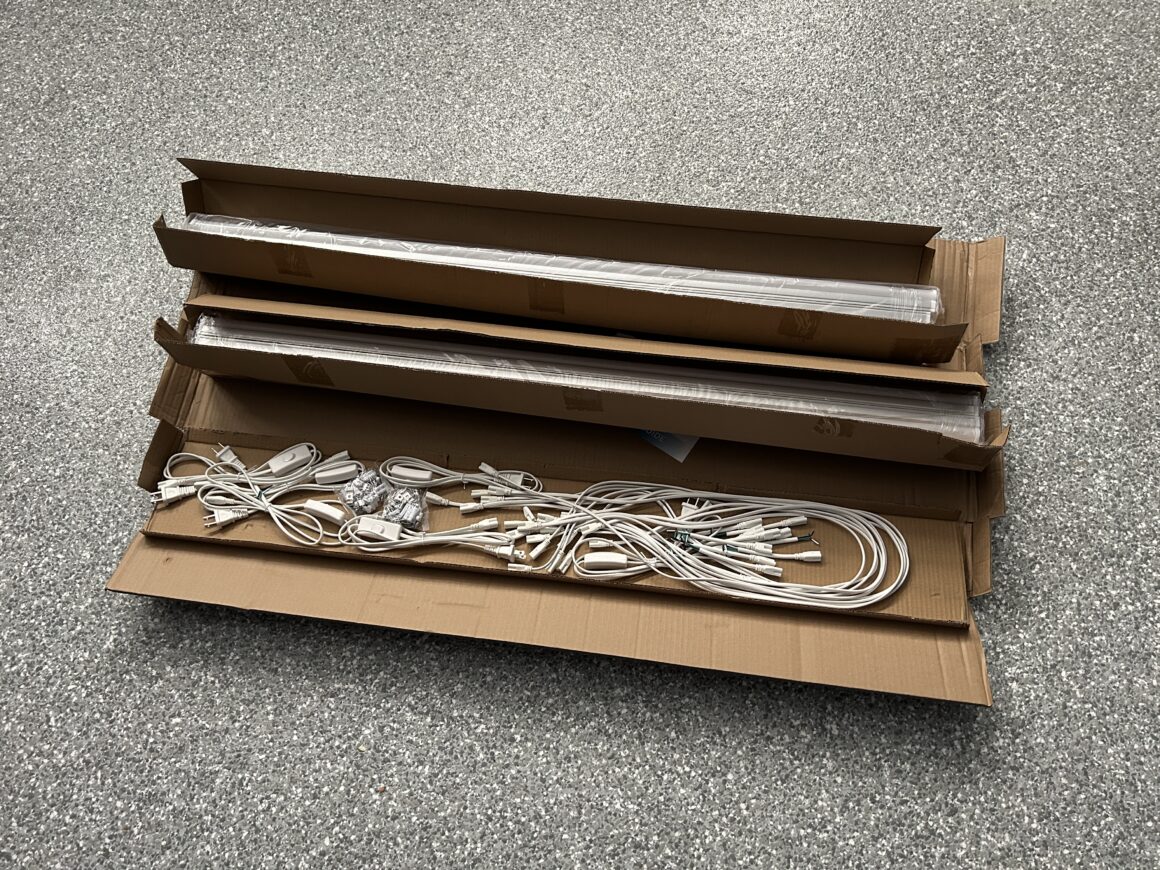
Continue installing the rest of your lights, with extended wire connectors at bends or across lights. On my install below, I’ve linked two rows of three lights each, for a total of six lights linked up together at a time.
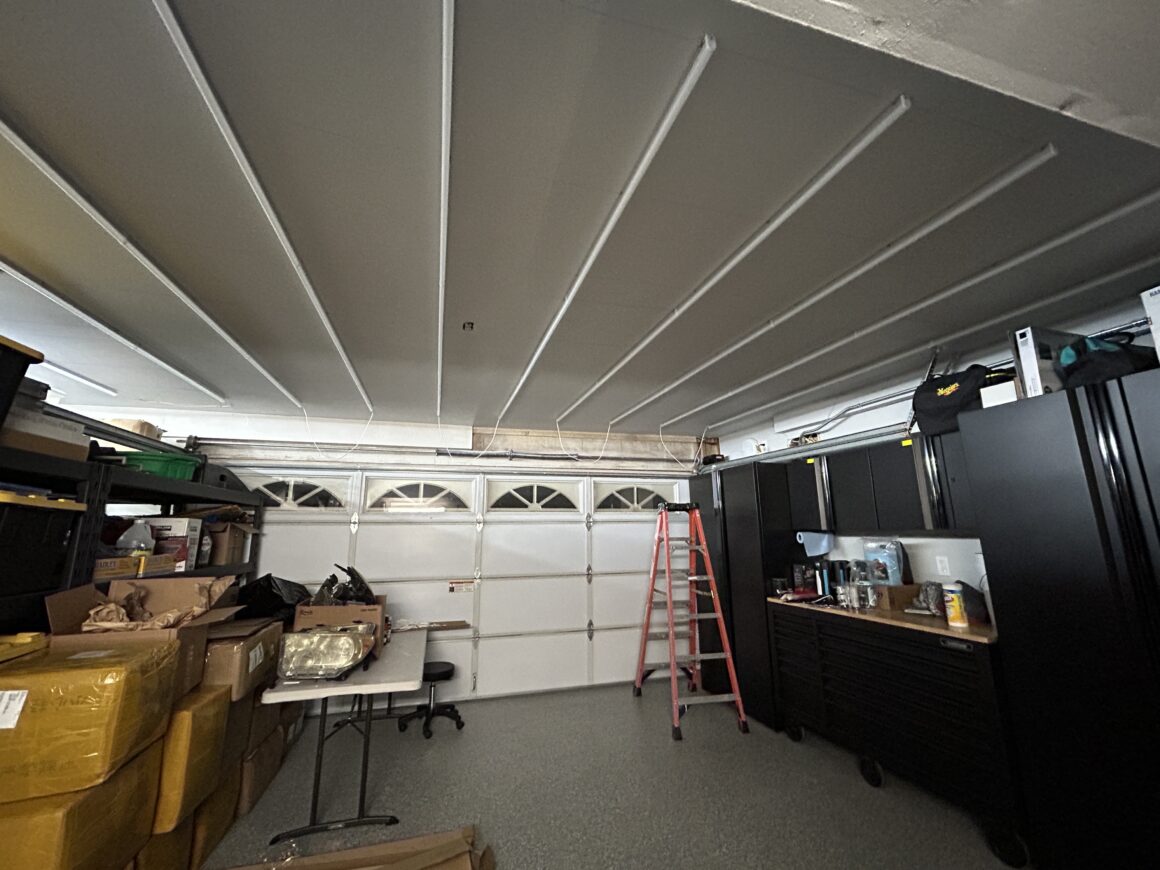
On the other end of the line of lights, you plug in a wire-to-outlet wired plug, which has an inline switch to control the lights, and this wire can plug into an outlet.
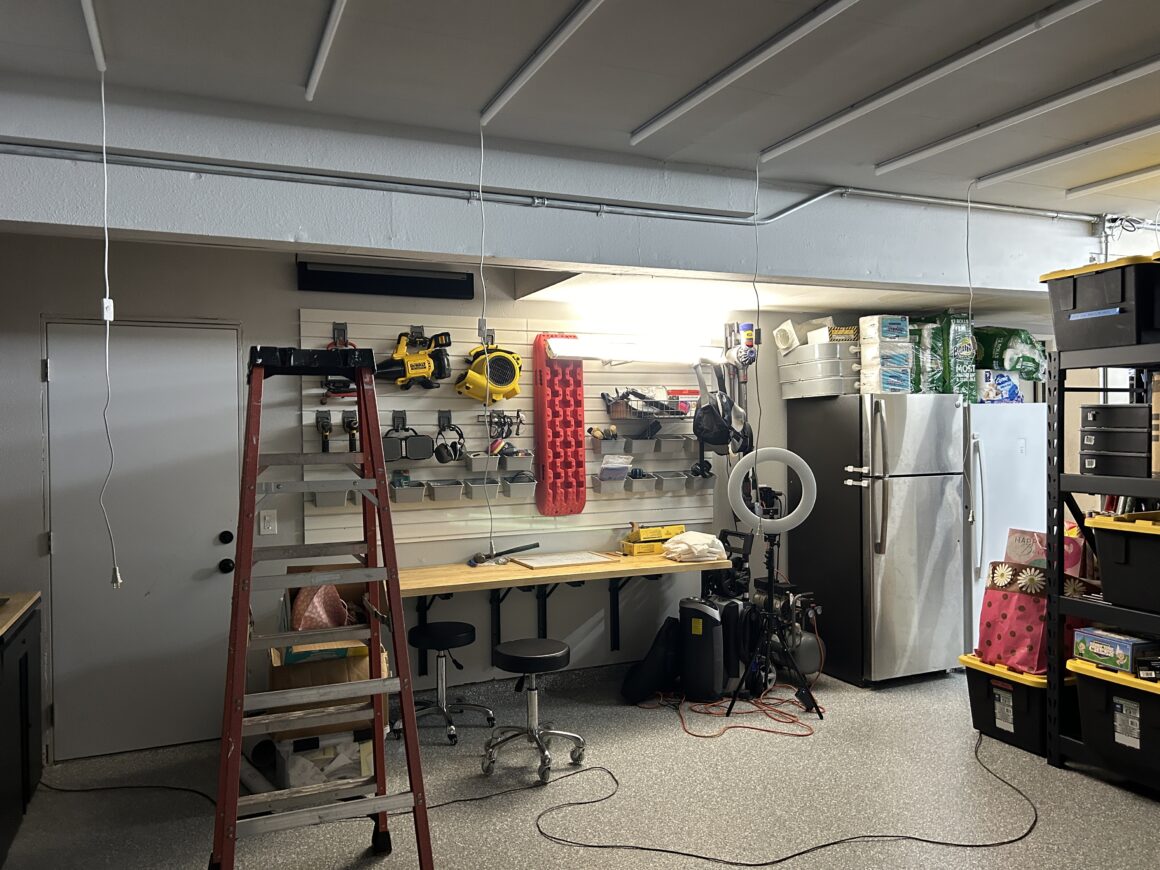
You will need a combination of a long surge protector and varying lengths of extension cords for a clean install. Mount the surge protector and plug in all of the plugs to the extension cords and to the surge protector. Each group of six lights on my install needed to be connected to a particular length of extension cord, and then plugged into the long surge protector mounted on the wall near the electrical outlet.
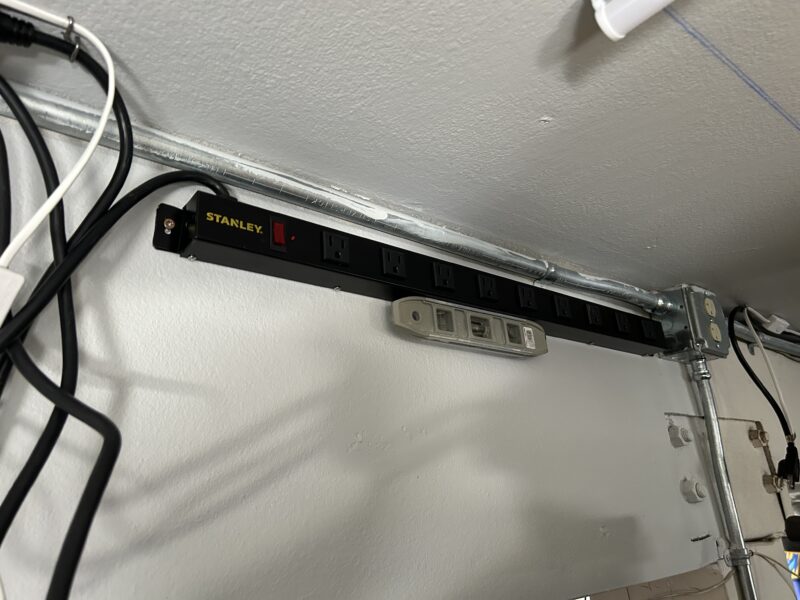
In most cases, running LED lights to your typical 15-amp or 20-amp electrical outlet will not be an issue since the wattage required from these light bars is fairly small (each T5 light bar uses 20 watts of power.)
On a 15-amp circuit, you can have up 1800 watts of power (15A x 120V); on a 20-amp circuit, you can have up to 2,400 watts of power (20A x 120V). If you go by these numbers, you can have up to 90 of these 4ft LED light bars on a 15-amp circuit, or 120 of them on a 20-amp circuit. Do your own calculation based on the circuit you’re running these lights off of (taking into account other loads on the same circuit), and the wattage of the specific lights you’re installing. In most cases with LED lighting, you can run enough lighting within the power capacity of the circuit.
In terms of how you turn on your lights in the garage, there are different ways of doing it. The best way is having a switch wired up in your garage to the outlet that you plug the lights into. I already had a switch wired up this way, so I simply just needed to plug my surge protector (that has all of the lights plugged into) into the outlet. If you don’t a switch set up this way, there are a ton of options for installing a plug switch which can either be switched manually or connected remotely to a switch. There are a ton of options that you can get: Search Amazon for switch outlet plug.
After you’ve wired everything up and confirm that everything is working correctly, you will then need to make it look pretty. A lot of the wires need to be mounted to the ceiling and walls in order for it to not be hanging all over the place. To mount them up to the ceiling and walls, use wire staples and hammer the staples to mount them.
I personally do not like ones that are a c-shaped plastic piece and are mounted using a nail. These never seem to hold to the drywall well and always get knocked out of place from even just moving the wires. I prefer the staples (insulated or not is fine since the wire itself is insulated) which tend to grip to the attached drywall on the wall or ceiling much better.
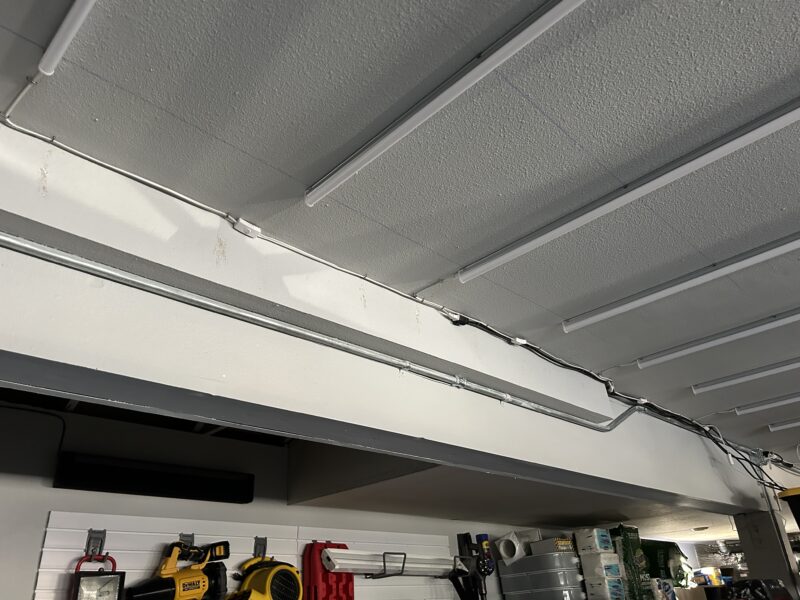
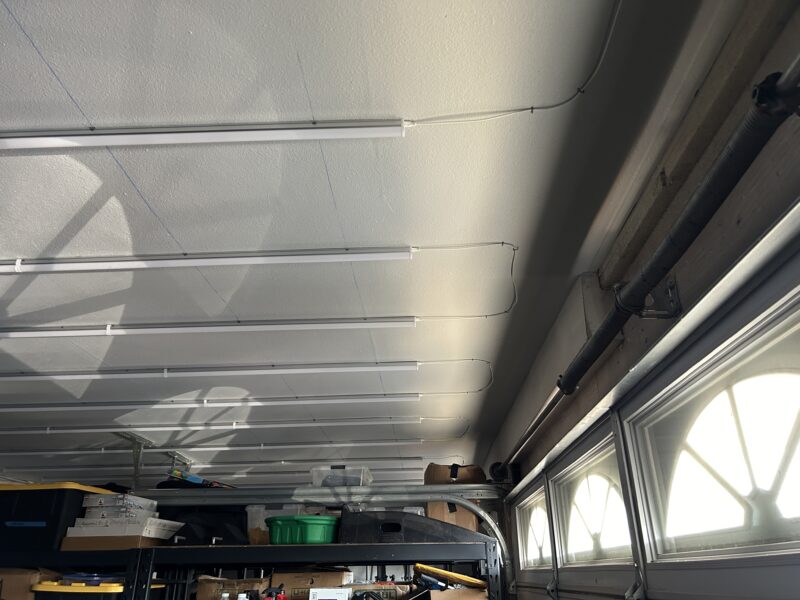
It does take a lot of time moving along the ceiling with a ladder to mark and snap all the lines, install the brackets, install the lights, and then secure all the wiring, but at the end, it is all totally worth it. Also, don’t forget to go back and wipe away all of the chalk lines. I can’t stress enough how much of a difference the improved lighting makes in my garage space.
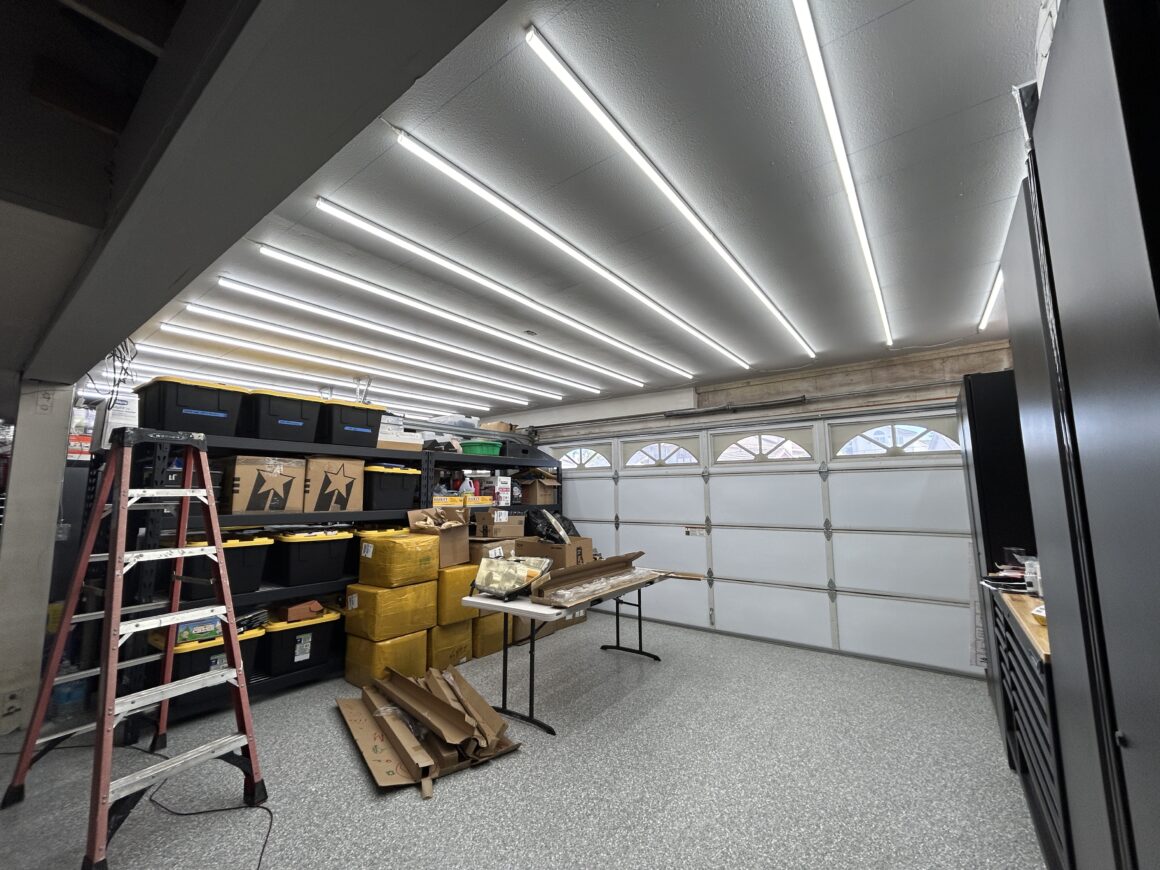
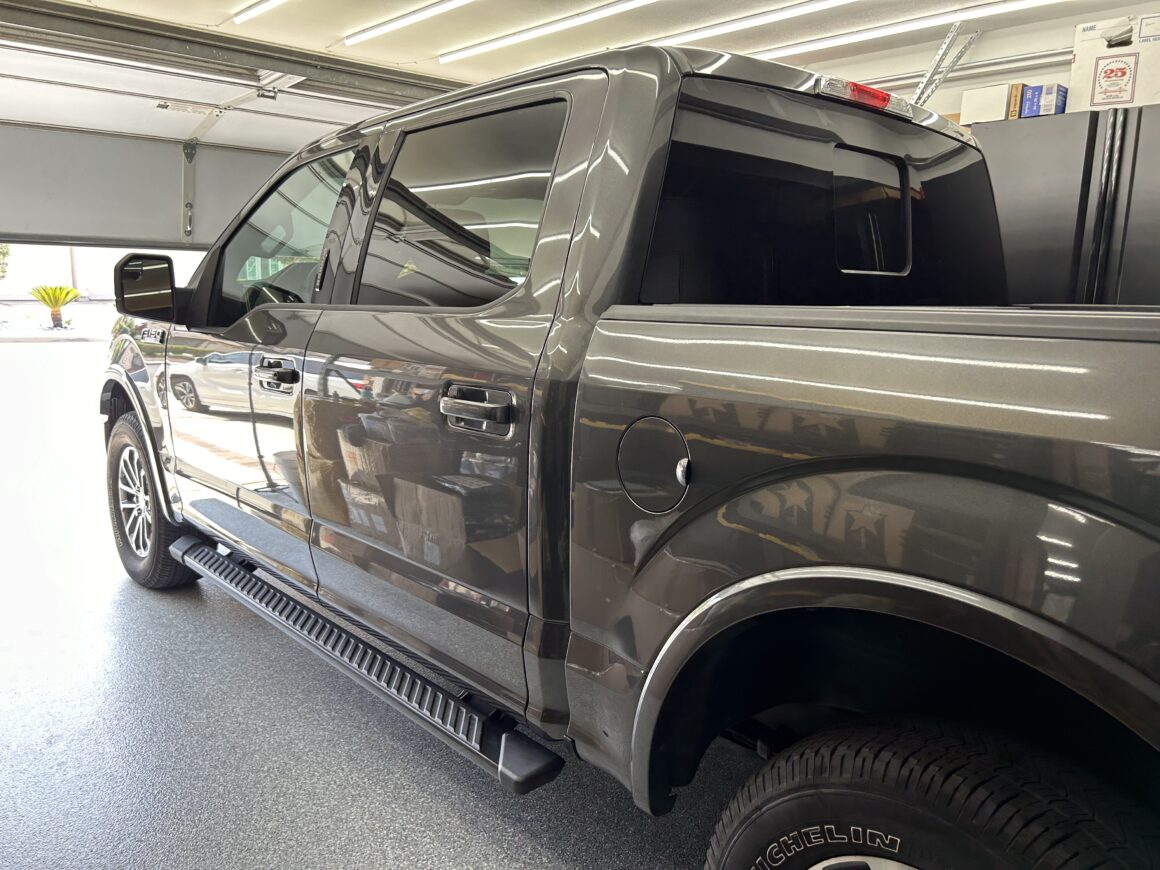
As you can see, the improved lighting makes it possible to do more detailed work on my cars inside of the garage. I recently applied a ceramic coating on my truck inside of my garage, which is a vast improvement over the last time I applied a coating on my truck. Last time, I had to apply it outdoors under the scorching sun, dealing with random debris flying around during the process. Now, in the garage with enough lighting, it allows me to work comfortably without worry of flying debris, while being able to see everything with great detail. If you haven’t upgraded the lighting in your garage/shop, I highly recommend this being one of the first improvements you undertake in renovating your garage or shop space.
