When you make purchases through links on this site, The Track Ahead may earn an affiliate commission. Also, these posts are based off my own experiences. I am not responsible for any action you take as a result of reading this. Learn More
When trying to make use of your garage space, you should consider the options for storage depending on what your needs are and what kind of space you’re working with. As the saying goes, “unique situations require unique solutions.” In my garage space, I have a good amount of room width-wise, however it’s not very deep. To be specific, my garage is about 20 feet deep so it’s not too shallow, but it barely fits a vehicle length-wise.
We have a couple of fridges/freezers at the back of the garage, which would be in the way if we were to park any vehicles inside the garage. I chose to move these appliances off to the side of the garage so that it wouldn’t interfere with moving a car into the garage. However, this left me with a completely empty wall on the back wall, which was not very efficient use of the space.
This is a situation where a wall-mounted storage system would work nicely. With the ability to store items while being mounted higher up on the wall, it would still allow a vehicle to drive all the way up to the wall. I ended up installing a PVC Slat Wall System from Garamer Storage Solutions, which was supplied to me so that I could install and write a review on. The wall slat system ended up working out really well for my space and I wanted to share my experience with the product and the installation process.
Tools & Materials Used
PVC Slat Wall System from Garamer Storage Solutions
As of 2024, the links to the Garamer website and products don’t seem to be working. However, if you’re looking for a PVC Slat Wall System, there are plenty of them for sale on Amazon.
Various Tools Needed For The Installation
DEWALT 25′ Measuring Tape
IRWIN Tools I-beam Level, 36-Inch
Zircon StudSensor Electronic Stud Finder
DEWALT 20V MAX Cordless Drill/Driver Kit with 45-Pc Screwdriving Set
Little Giant Ladders Velocity 17 Ft, Aluminum, 300 lb. Wt Capacity
Options for PVC Slat Wall Systems
There are some popular ones that are offered by Proslat and NewAge, which can be a bit pricey, albeit not much more than the Garamer ones. Comparatively, they are about $20-$40 more expensive for the same type of product. The DLDirect ones on Amazon are just slightly more expensive at around $20 more for a similar product. Be aware when purchasing any slat wall system that they offer them in various sizes, so not every kit sold is the same size.
At the end of the day, they are all similar products, but the options mentioned above do seem to offer a better looking product (includes an outside border and has a design that hides the screws.) If you don’t need the seamless look, you can go with a slightly more economical option: the PVC Slat Wall System from Garamer Storage Solutions.
Installing a PVC Slat Wall System from Garamer Garage Solutions
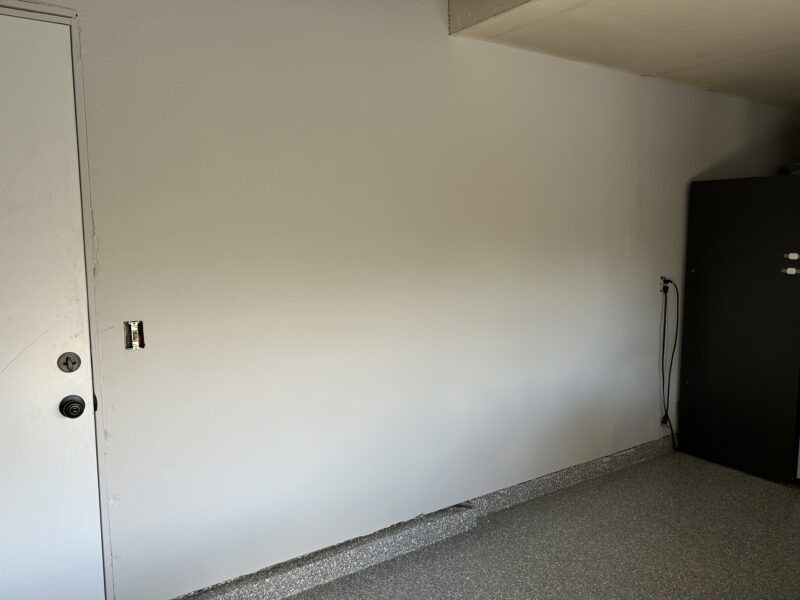
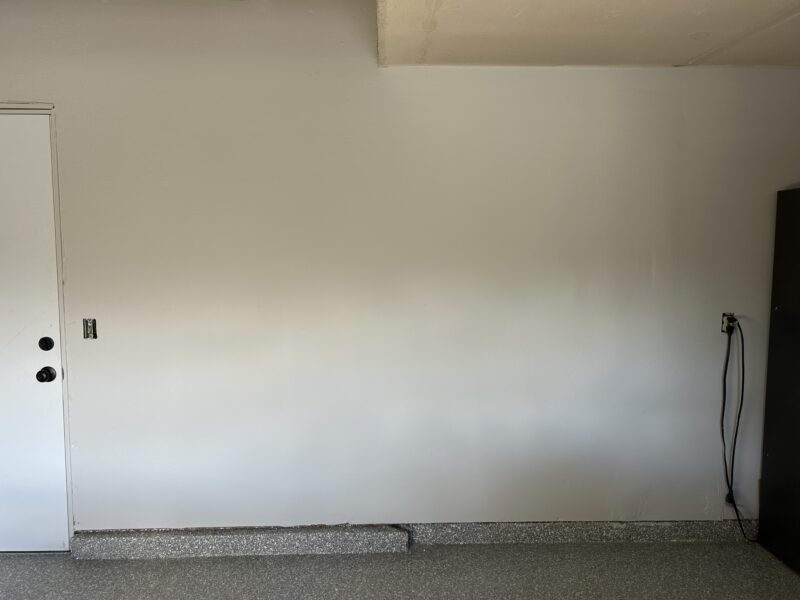
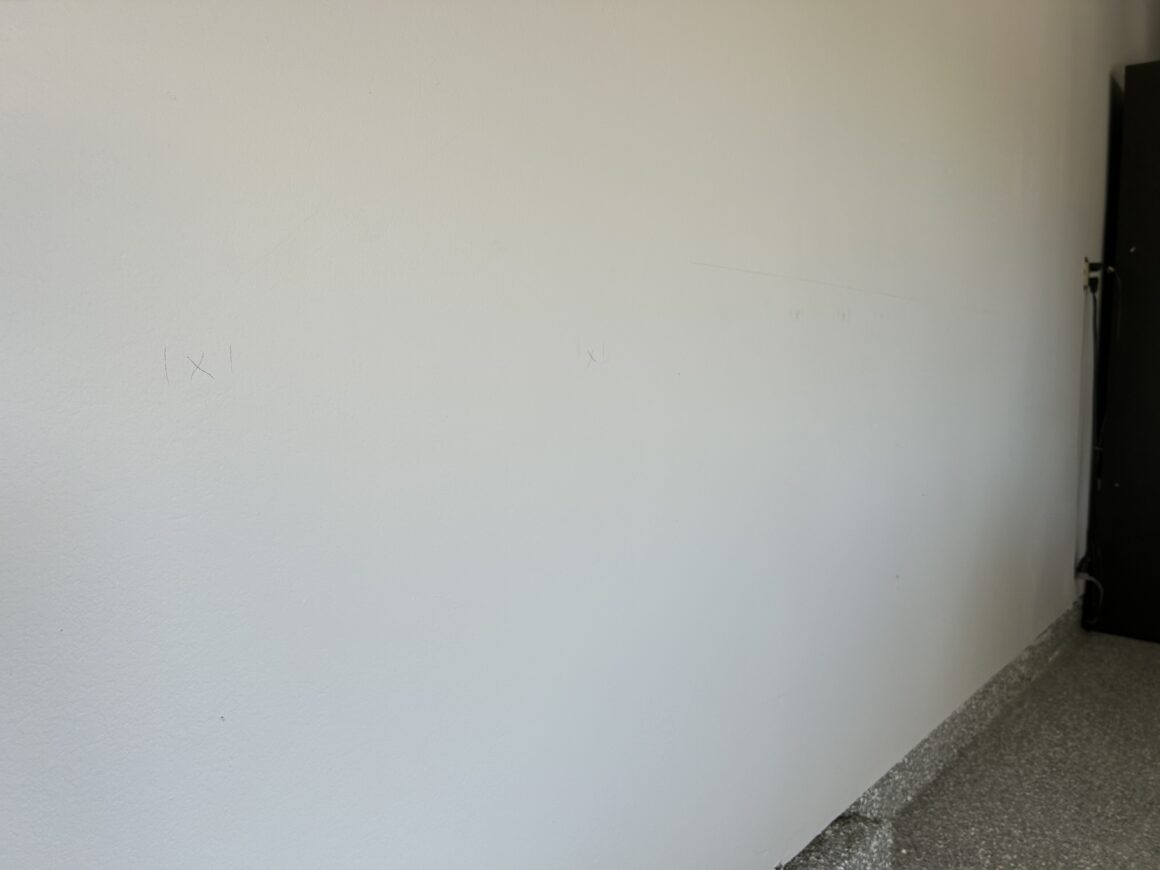
This is the back wall of my garage where I plan to install the PVC Slat Wall System. As you can see, the appliances are moved off to the side so that our vehicles will be able to fit inside of the garage if needed. The available wall space I have here is about 10 feet in width and about 7-8 feet in height. If you’re planning on painting your walls, now would be the time to do it before you install the slat wall system.
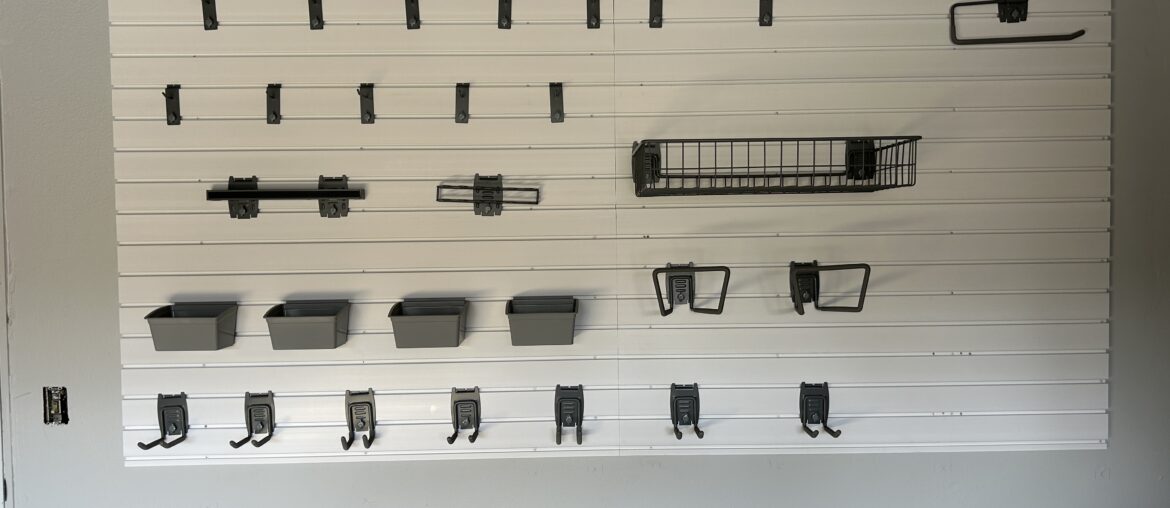
The Garamer Storage Solutions PVC Slat Wall System is sold either as a standalone set (PVC slats only) or in package sets that offer a variety of attachments along with the slats.
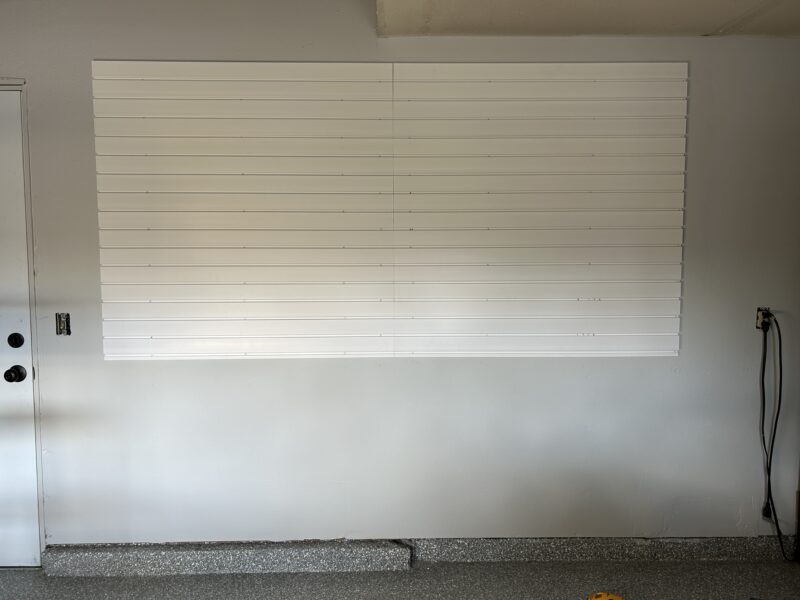
The slat walls normally come in sets that cover a 4′ x 4′ area. I installed two sets of these slat wall systems side-by-side, which left me with a perfectly fitting 8 foot wide by 4 foot high wall-mounted storage system.
As you can see below, the Garamer Slat Wall System comes nicely packaged as seen below. The PVC slats have a groove in them that allows you to hang these attachments on them; there are a bunch of different types of attachments that you can get depending on what you need them for.
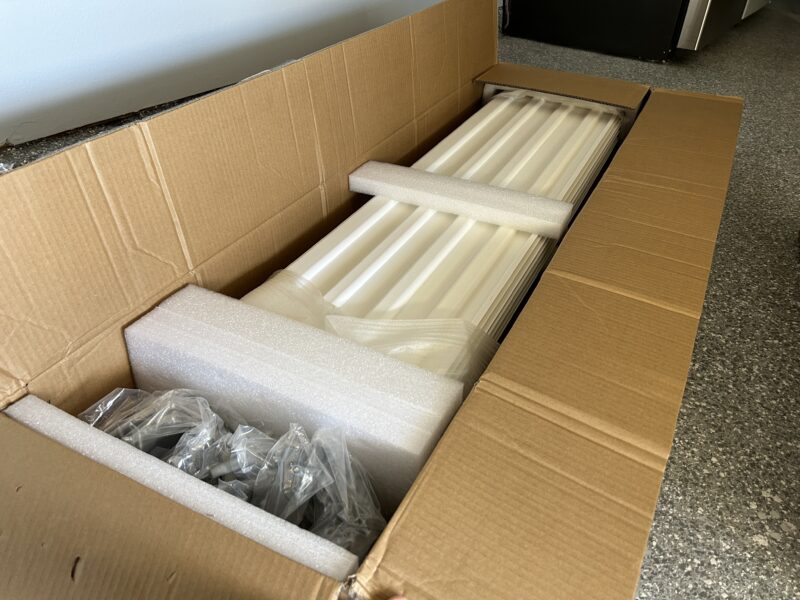
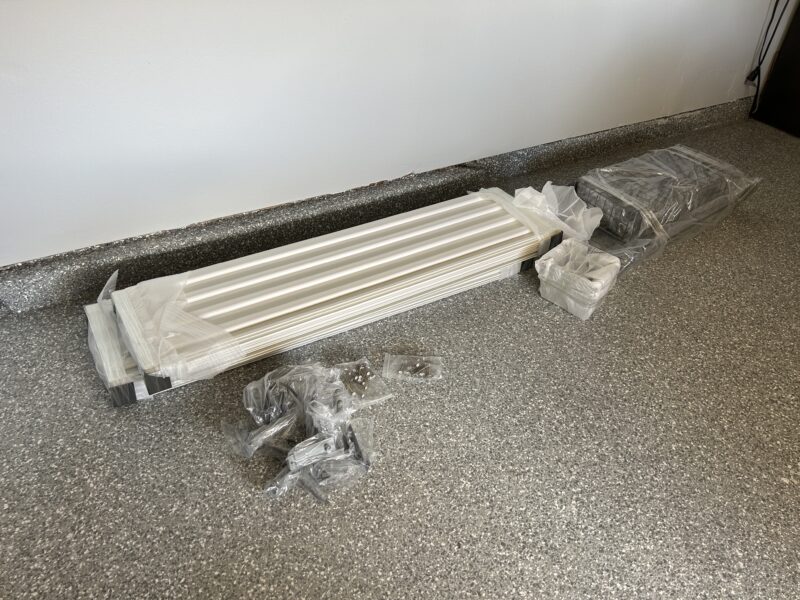
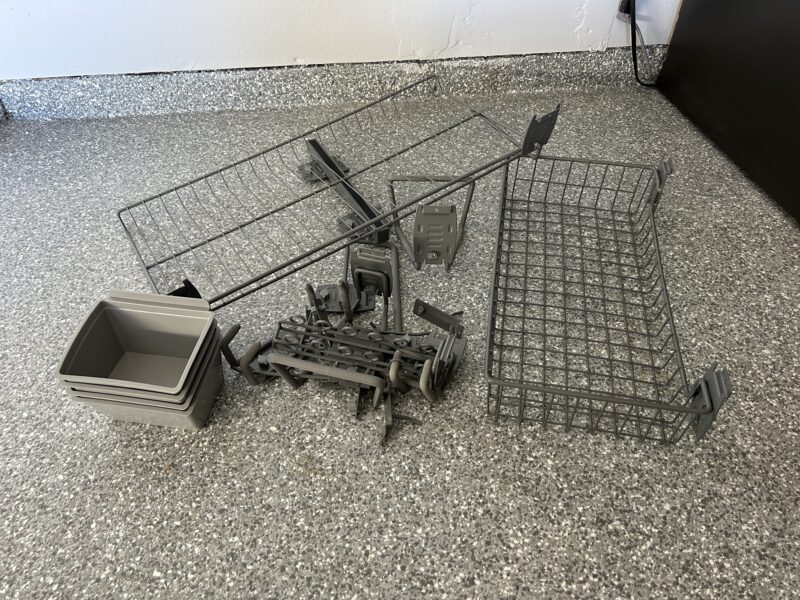
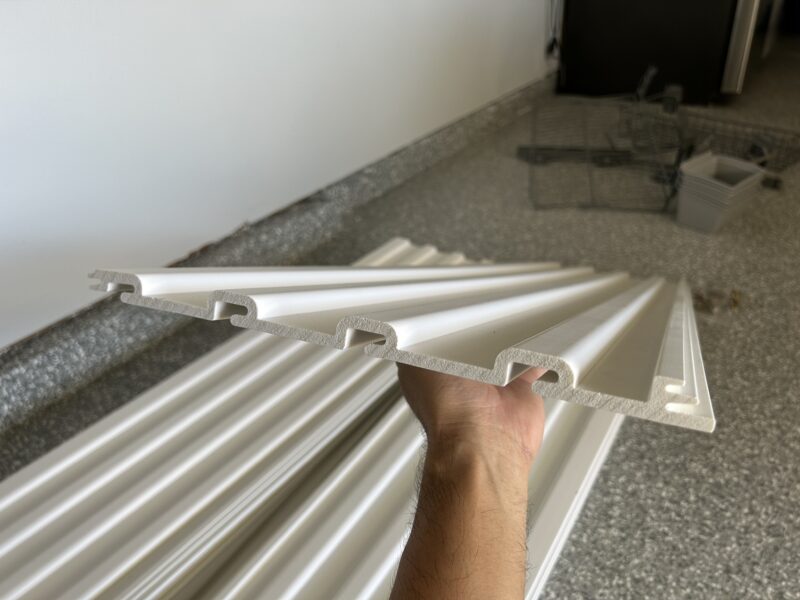
The first thing to do when installing is to measure the area you’re working with. You may want to mark the boundaries of the area where you’ll be installing the slat wall system, while keeping in mind where the studs are. Since these slats span horizontally, they will typically span across several studs, which can be affixed accordingly.
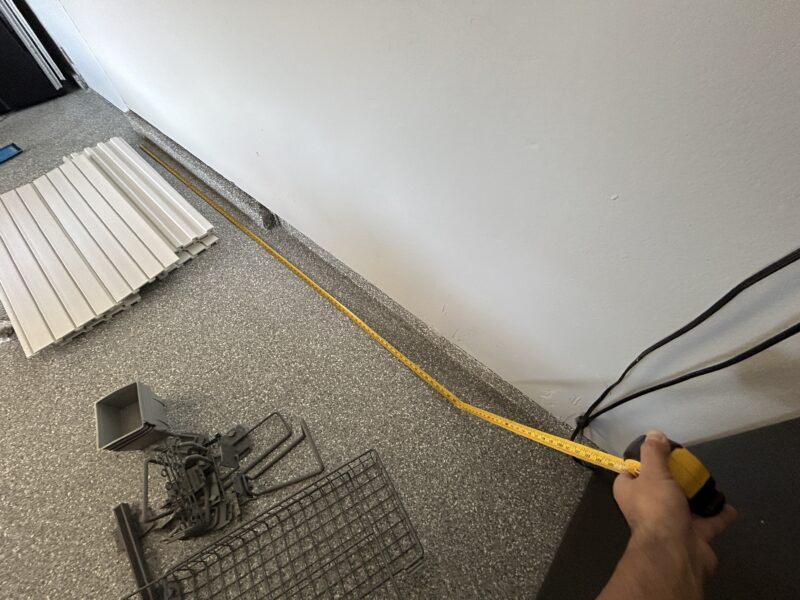
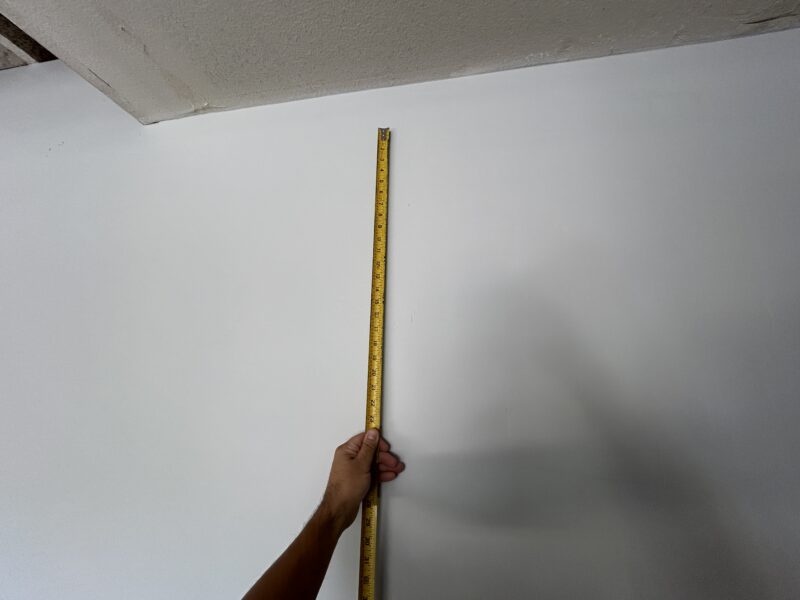
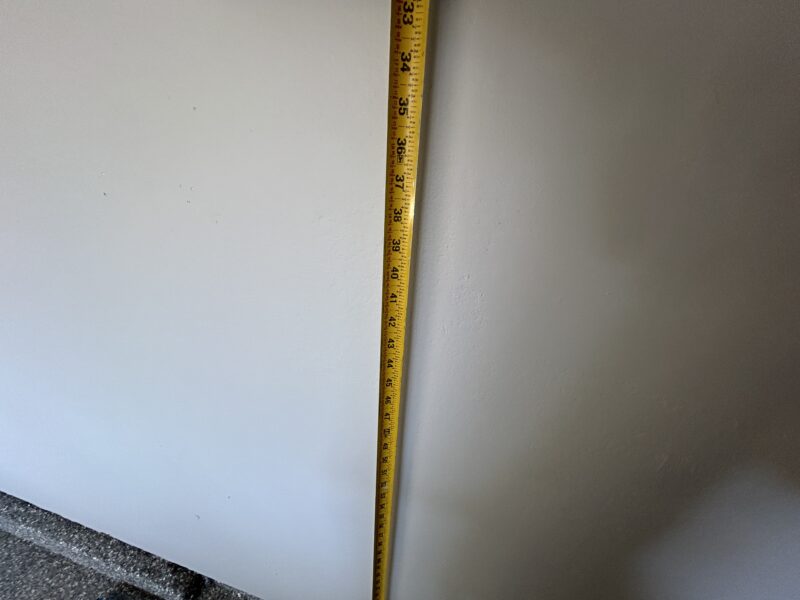
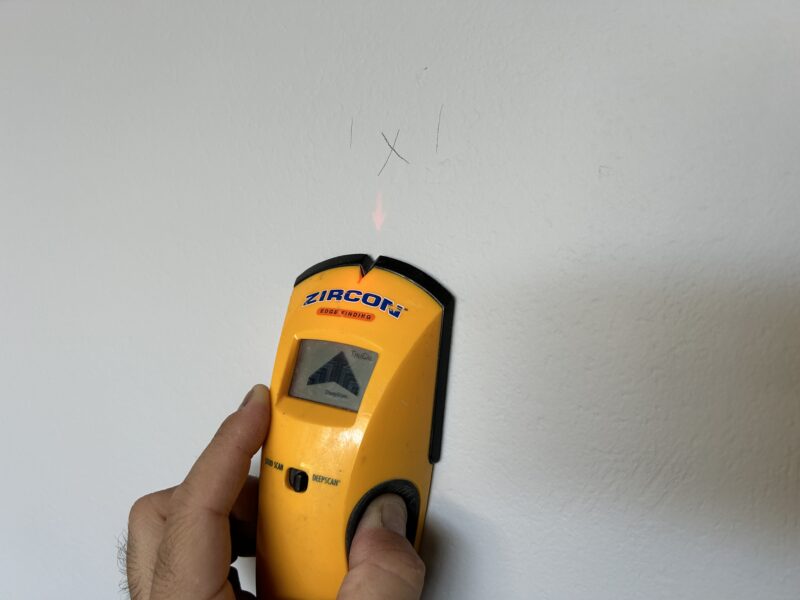
It’s a good idea to start off with your stud finder and mark out all of the studs on the wall with a pencil. I recommend marking the studs throughout the install area because you will be installing the slats in pieces and it helps to see these marks as you work your way up or down.
Don’t worry about where you use a pencil to mark out all the studs. The slat wall will cover any pencil marks within the installation area, and you can always use a magic eraser to clean up any pencil marks outside of the area later.
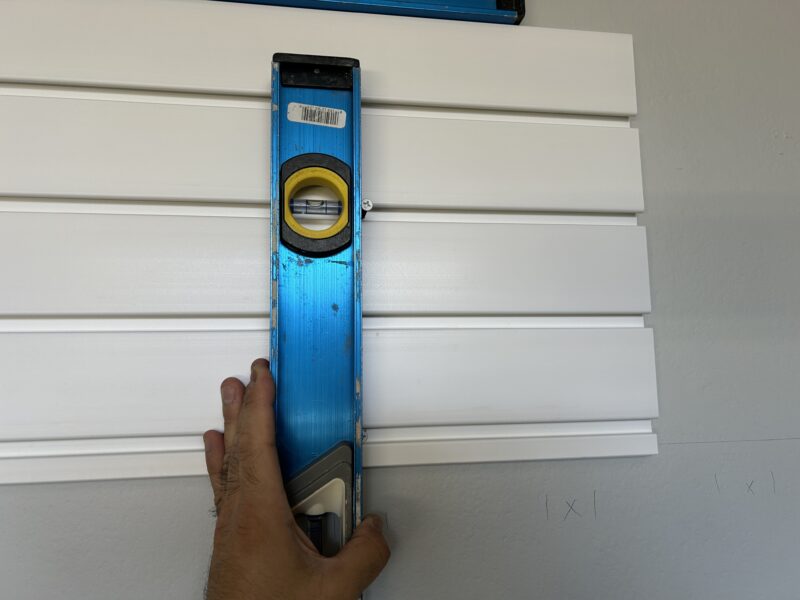
Starting with the first slat, make sure that the groove is facing the correct direction and hold it up to the wall with a level. If you’re doing this yourself, you will need to set up all your tools at hands length as you will need to hold the slat up with one hand with the level balancing on top of it, all while using your drill (with screw on the bit) in your other hand to install the screw. You could also use a laser level, which would make the install a bit easier.
Use wood screws or construction screws with a coarse thread. These screws should be driven through the recessed groove and into the studs of the wall as shown below. You want to again ensure that the grooves are aligned correctly so that the attachment hooks can hook into them properly. Obviously if you install them upside down, the hooks will not hook into the slat wall and hold. The attachment hooks have a bracket that hooks into one groove and then seats into the groove beneath it.
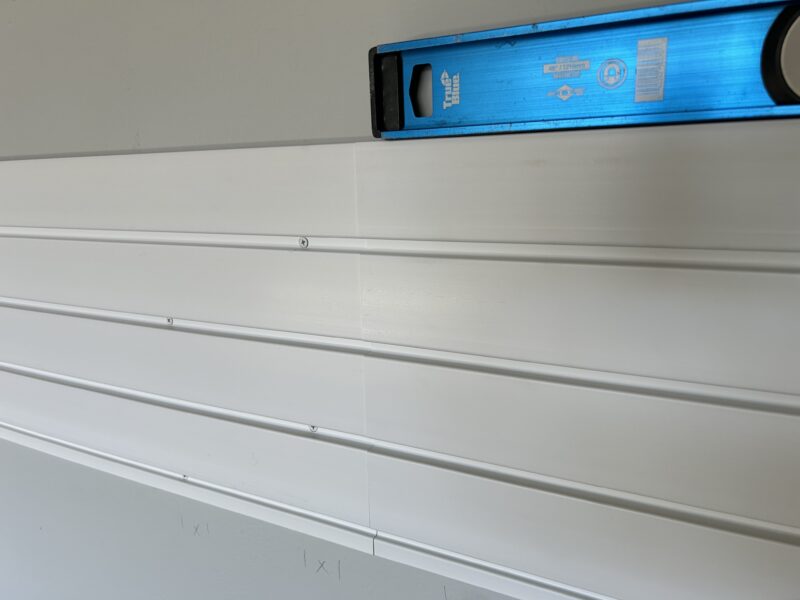
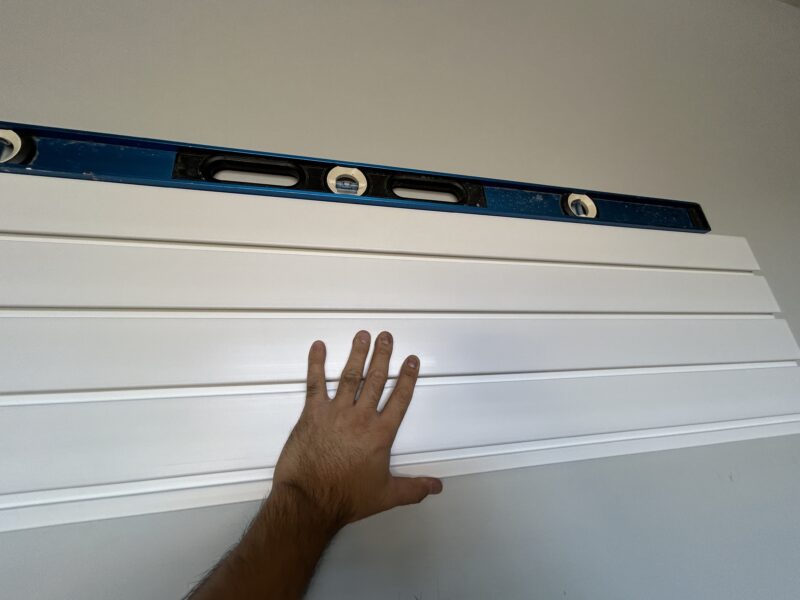
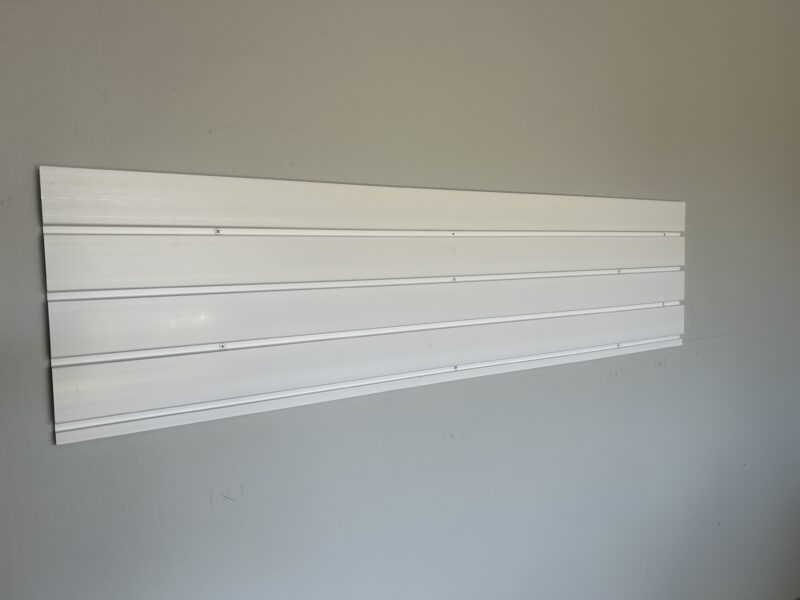
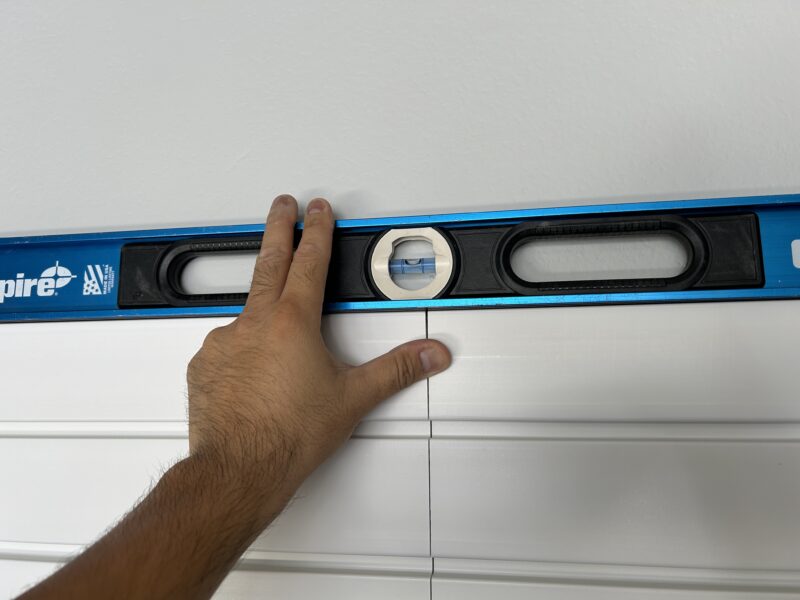
Installing the subsequent slats is pretty easy once you get the first one level and secured. If you started with the bottom slat, you can simply take the next one and seat it onto the one below it (while ensuring that the sides are aligned.) If you’re installing more than one, you may need to check that they are being installed level as you move on up since slats are being installed side-by-side.


The hook attachments have these brackets that hook into the top groove, while seating into the lower groove. The bottom part of the attachments have these little locking knobs that not only keep the attachment from pulling off the slat wall, but it also holds the attachment tight to the slat wall so that it doesn’t rattle around.
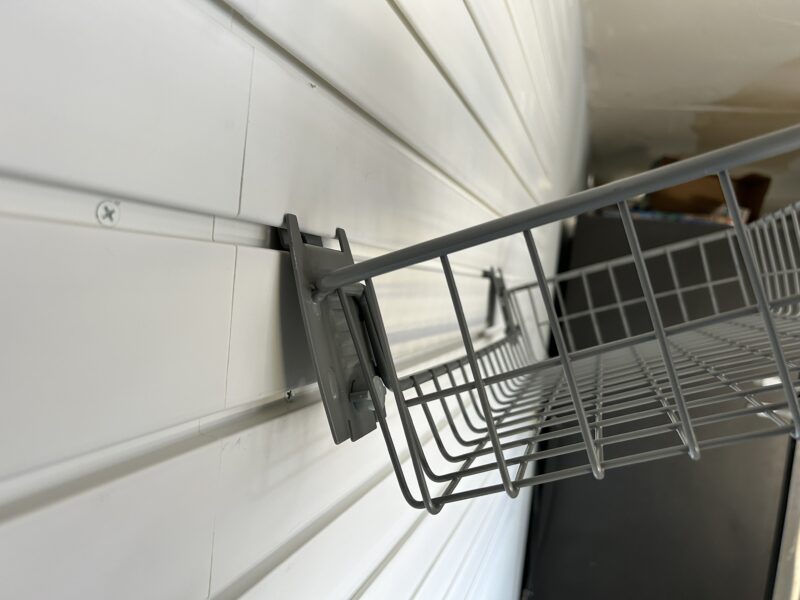
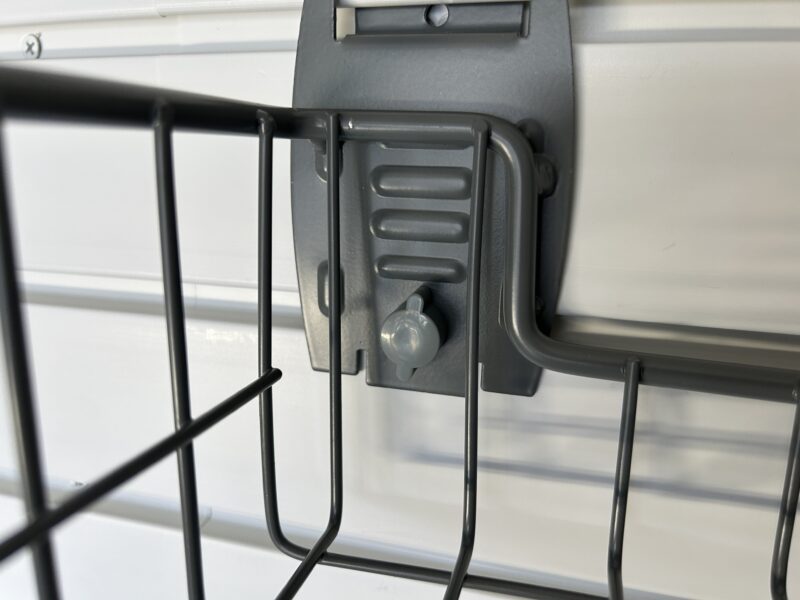
Some attachments do hold tight to the slat wall when the locking knob is turned, however there are some attachments such as these little hooks and the screwdriver holder that still rattle around even with the knob turned to the lock position. Although the attachments are still locked to the wall, I do wish that they all held in tight to the wall as it feels kind of cheap and unsecured when they rattle around in place.
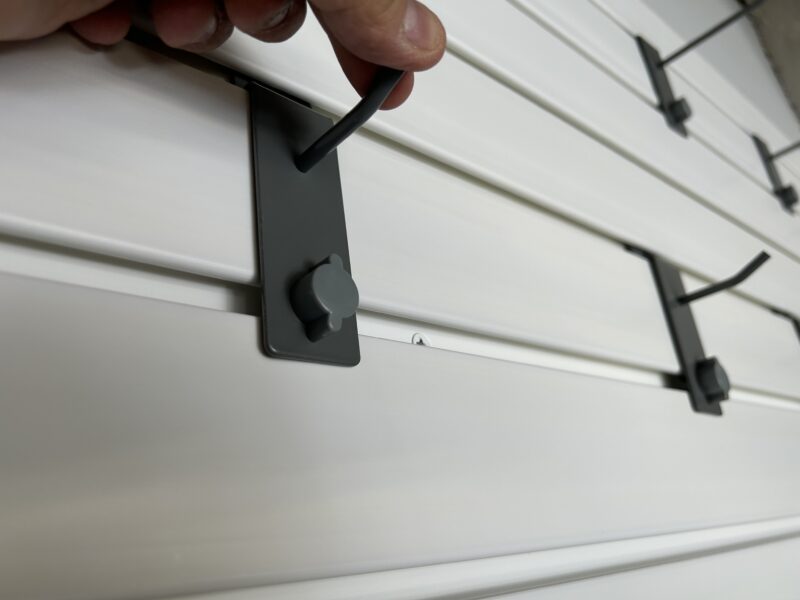
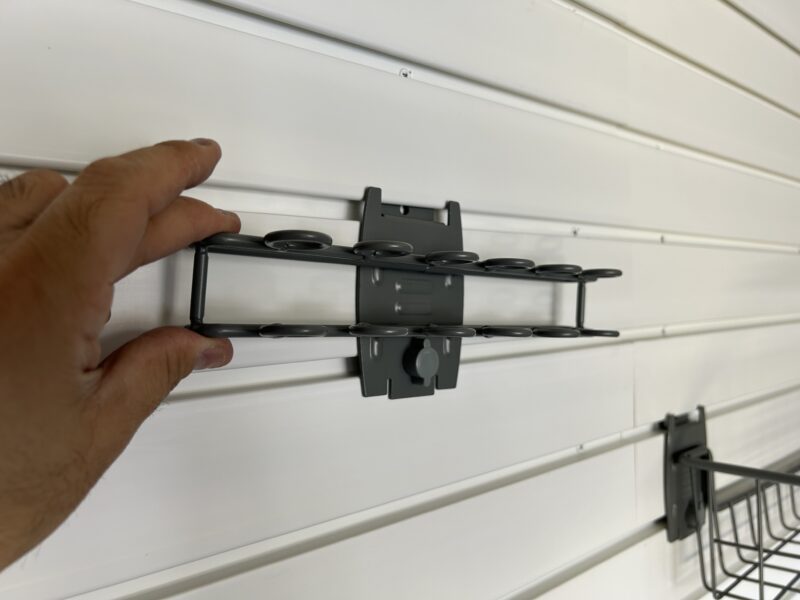
Other slat walls on the market have a perimeter border that surrounds the slats, which give it a more complete look. Some of the alternative slat walls also overlap in a way that hides the screws. But, if you compare the prices of the other slat wall systems versus this one, you’re looking at a $20-$40 price difference. I think the Garamer Slat Wall System looks good even without these things.
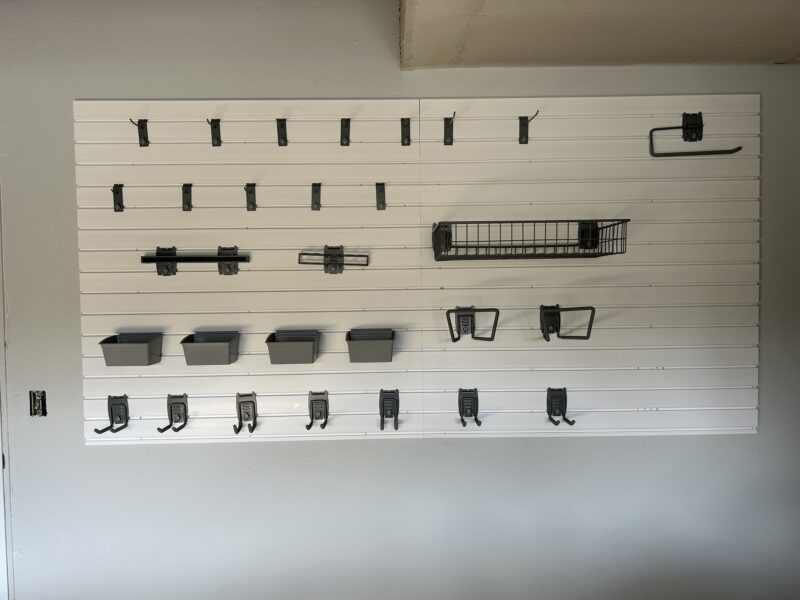
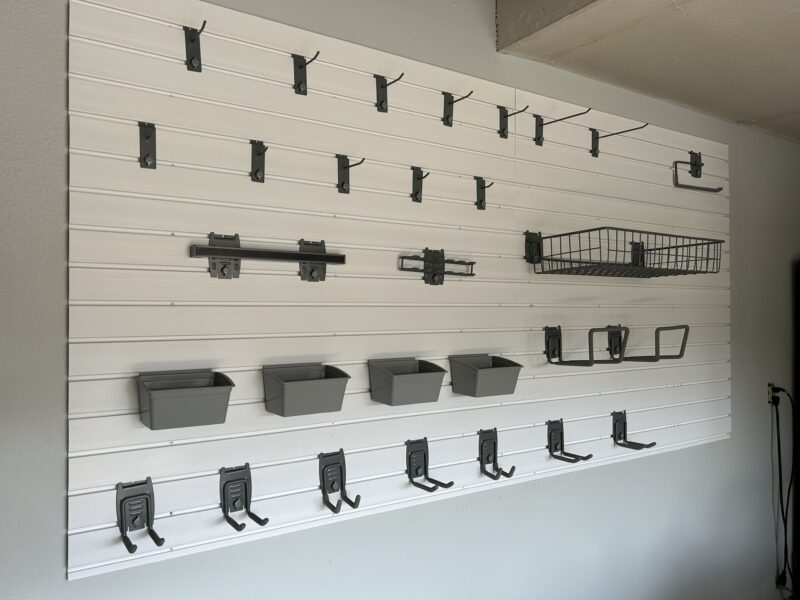
The cool thing about the slat wall and the various attachments that can be used with it is that it is highly customizable. You can arrange the attachments in any way that you like. I like how I can make changes to the attachments based on my needs–to this day, I am still making adjustments to tweak it to my liking.
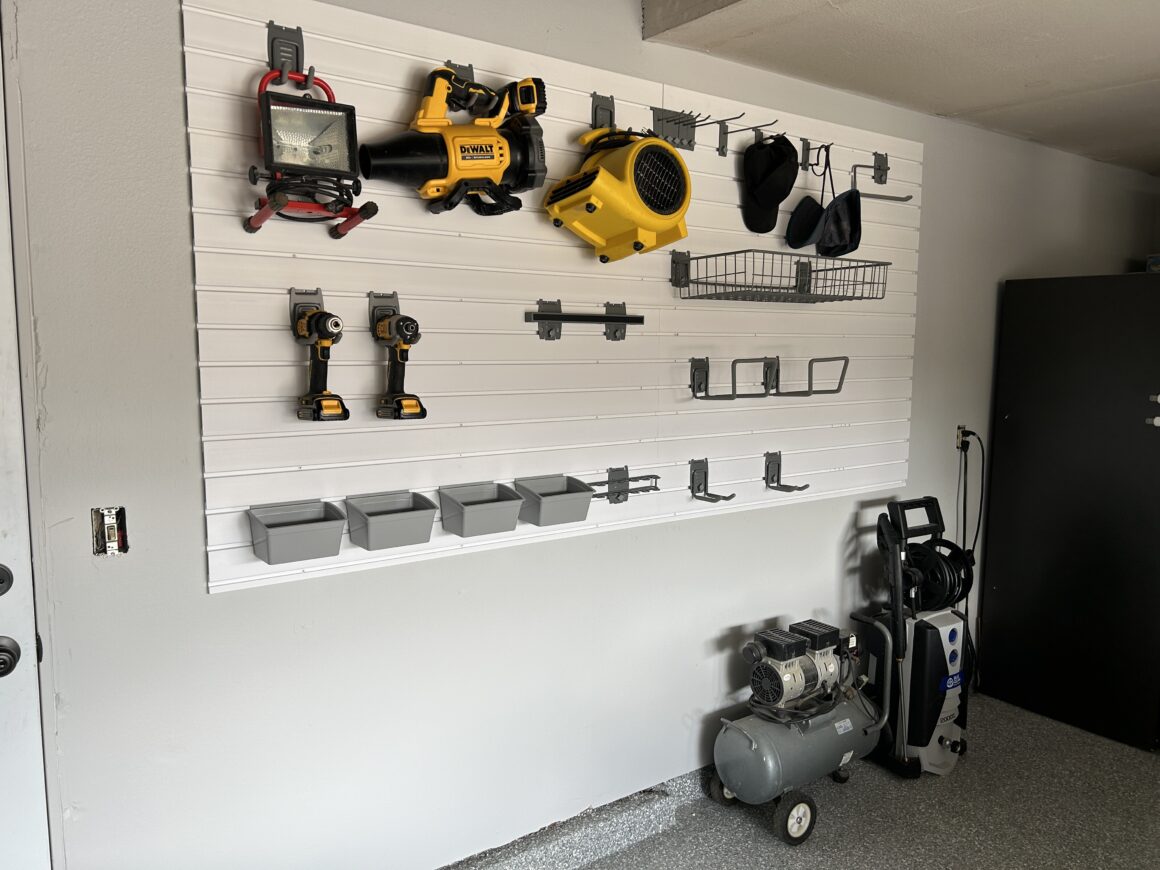
The overall install of the (2 qty) 4′ x 4′ PVC Slat Wall System from Garamer Storage Solutions took me a couple hours to do, with the most difficult part being installing the bottom slats level by myself. Once you get that first row in, the rest of the slats go in pretty quickly.
As for looks, you can spend more and get a different slat wall system that includes an outer border and a slat design that hides the mounting screws. Still, I am happy with the slat wall storage system from Garamer Storage Solutions. Most of all, I’m happy to finally have some additional storage room up on the wall, which still allows me to drive my cars into the garage without interference.

