When you make purchases through links on this site, The Track Ahead may earn an affiliate commission. Also, these posts are based off my own experiences. I am not responsible for any action you take as a result of reading this. Learn More
Why Bend Brake Lines
Brake lines can pre-bent to the exact specifications needed for a particular line on the vehicle. Alternatively, they can be purchased as a straight piece that can be bent to your liking. When replacing a brake line, the ideal case for replacing the line would be to purchase an OEM replacement so that the replacement line matches exactly with the original. This becomes critical when trying to align the attachments on both ends of the line.
It’s not a good idea to bend brake lines by hand because you can kink the line. That is why there are various tube benders available on the market for properly bending brake lines. These tube benders will distribute the bending force evenly allowing for smooth bends and preventing kinks while accurately bending the line.
Recently, I replaced all the brake calipers on my Toyota 4Runner and accidentally stripped the nut that connected the hard brake line to the caliper. Since my 4Runner is a my daily driver, I needed to get the car back together before driving it to work the next day. Since an OEM brake line replacement would have taken a few days to procure, I had to purchase a straight brake line at the local parts store immediately. After dealing with an AutoZone employee trying to sell me a used part, I was able to get the part at another store.
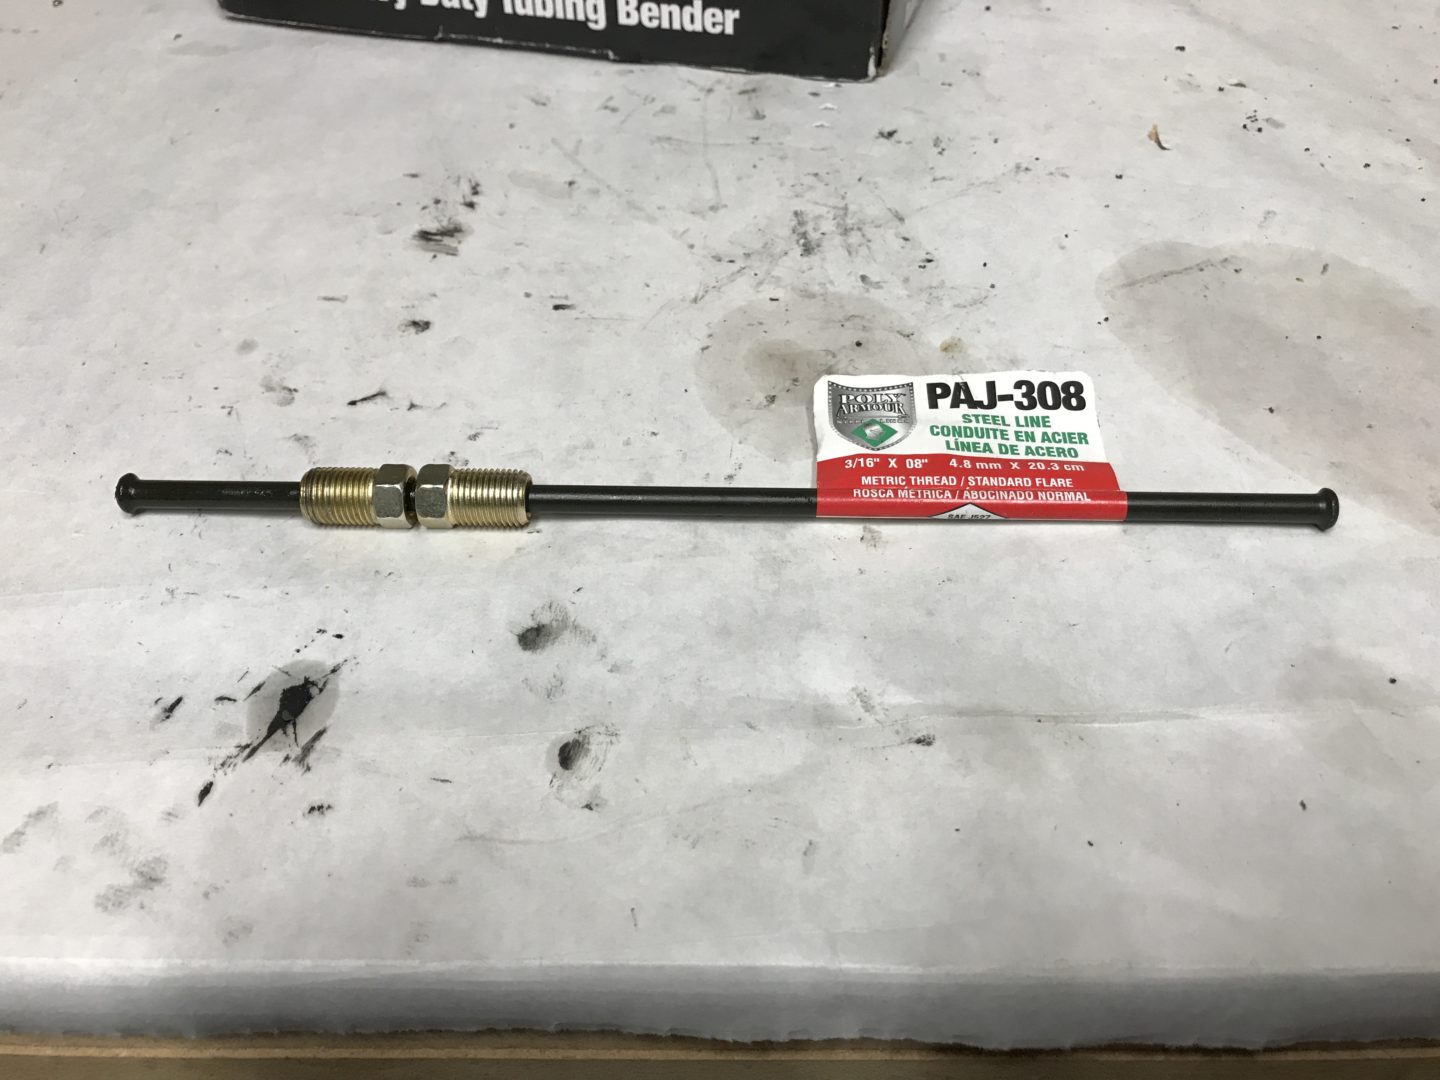
The part is already outfitted with flared ends and the end bolts, which will tie into the brake caliper on one side and the other brake hose on the other side. However, this brake line needs to be bent into shape of the existing brake line in order to fit correctly. The brake line is considered a soft steel (basically a low-carbon steel) which allows for easier bending. This line also has a flexible coating that doesn’t flake or break off during the bending process.
Tools & Materials Used
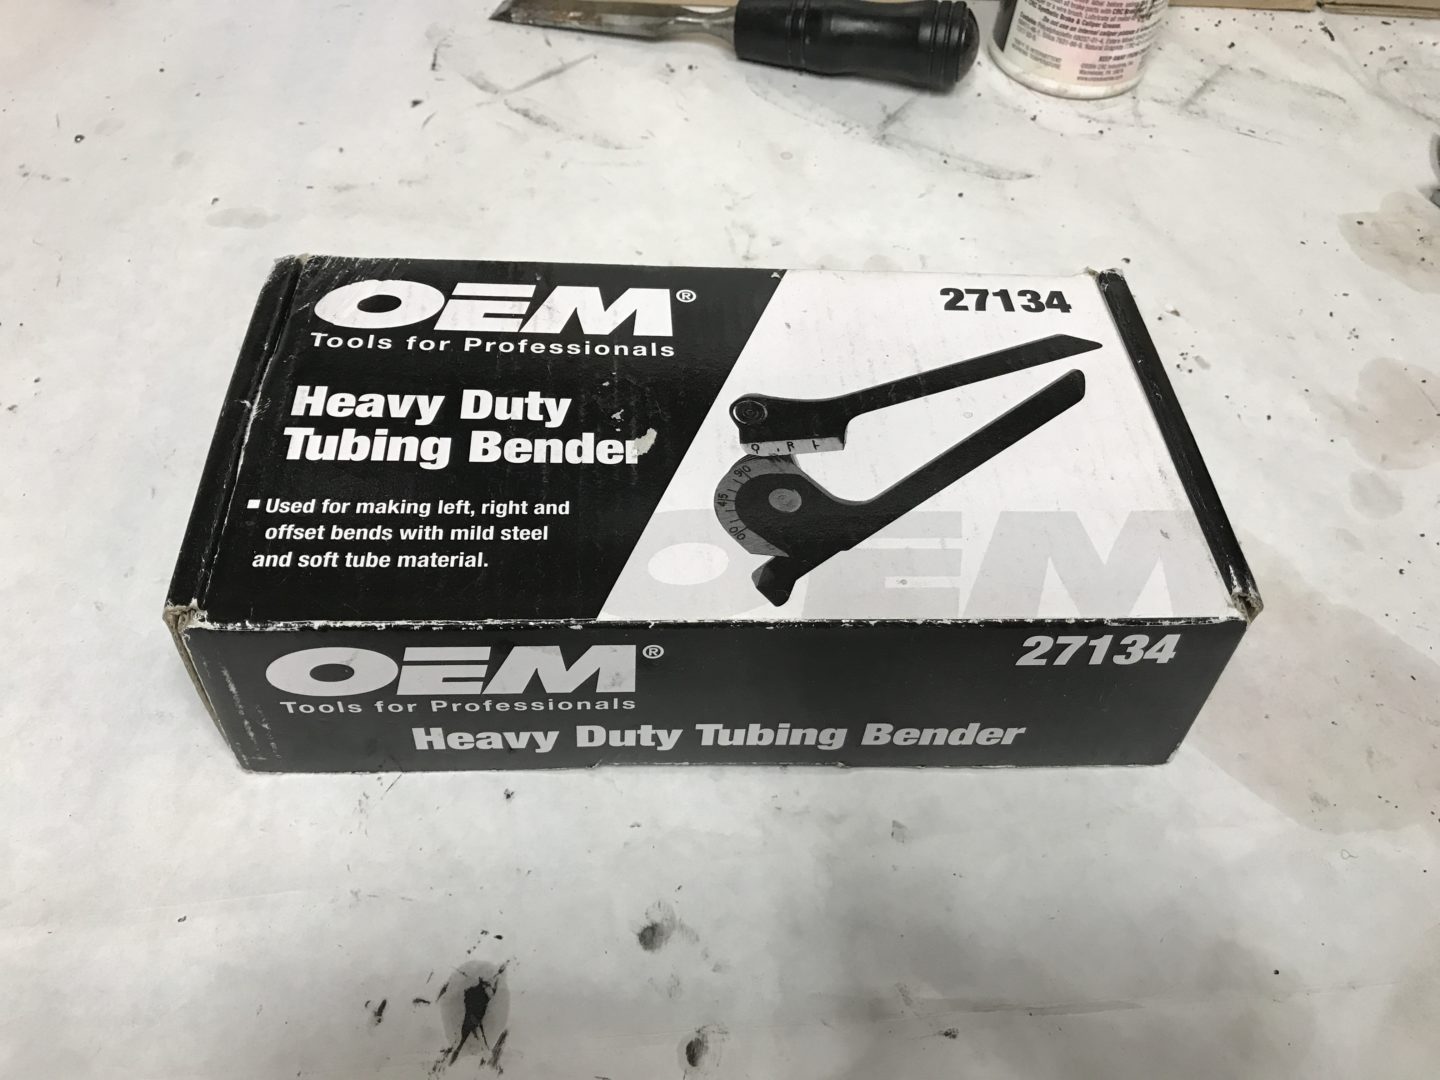
OTC 180 Degree Heavy Duty Tubing Bender
This bender works on three sizes of tubing: 1/4″, 5/16″, and 3/8″ diameter tubes. The larger the tube, the harder and more effort it will take to bend the tubes.
I would like to point out that there are different styles of this type of bender, as well as other types of benders which will do the same thing. Other tubing benders can be found on Amazon.
How to Bend Brake Lines
This is the tubing bender that I used to bend my brake line. There are many styles and types out there, but they all essentially do the same thing: bend the line in a consistent and accurate manner while not kinking the line.
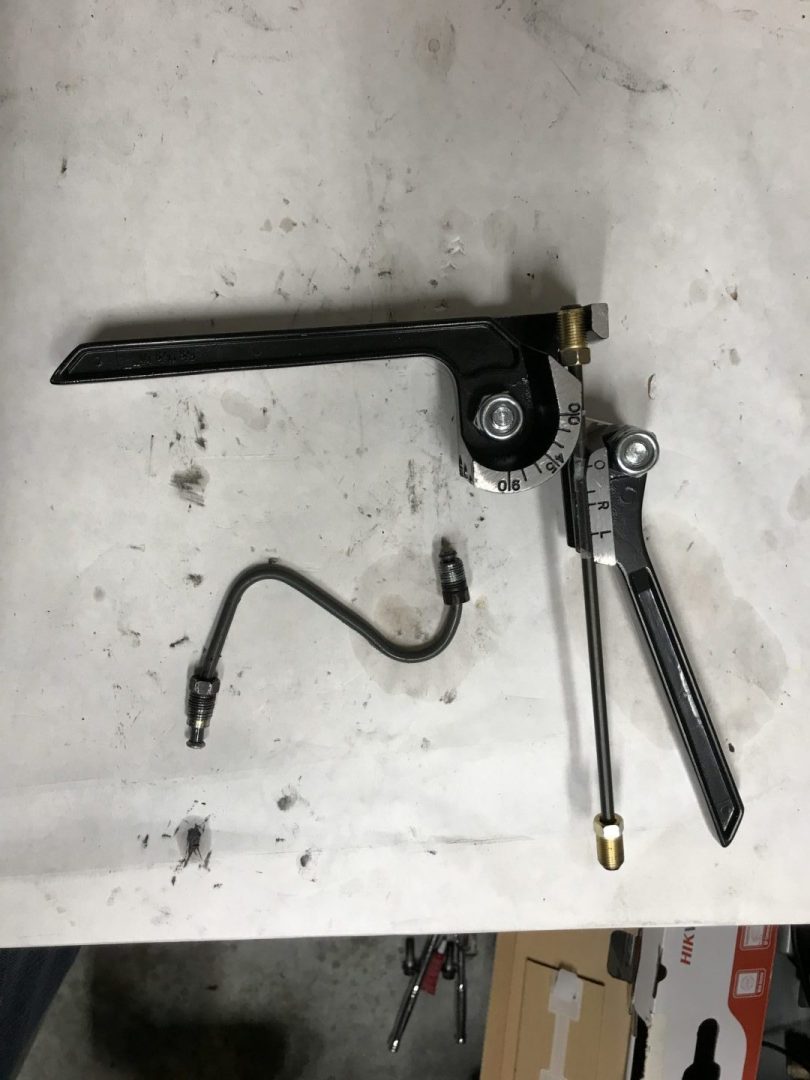
This is the tubing bender out of the box. You can see that it has two handles and grooves at the tip to allow for the tubing to sit in. The one I purchased at the auto parts store only has the degree measurements going up to 90, but the one made by the same manufacturer that I linked to goes up to 180.


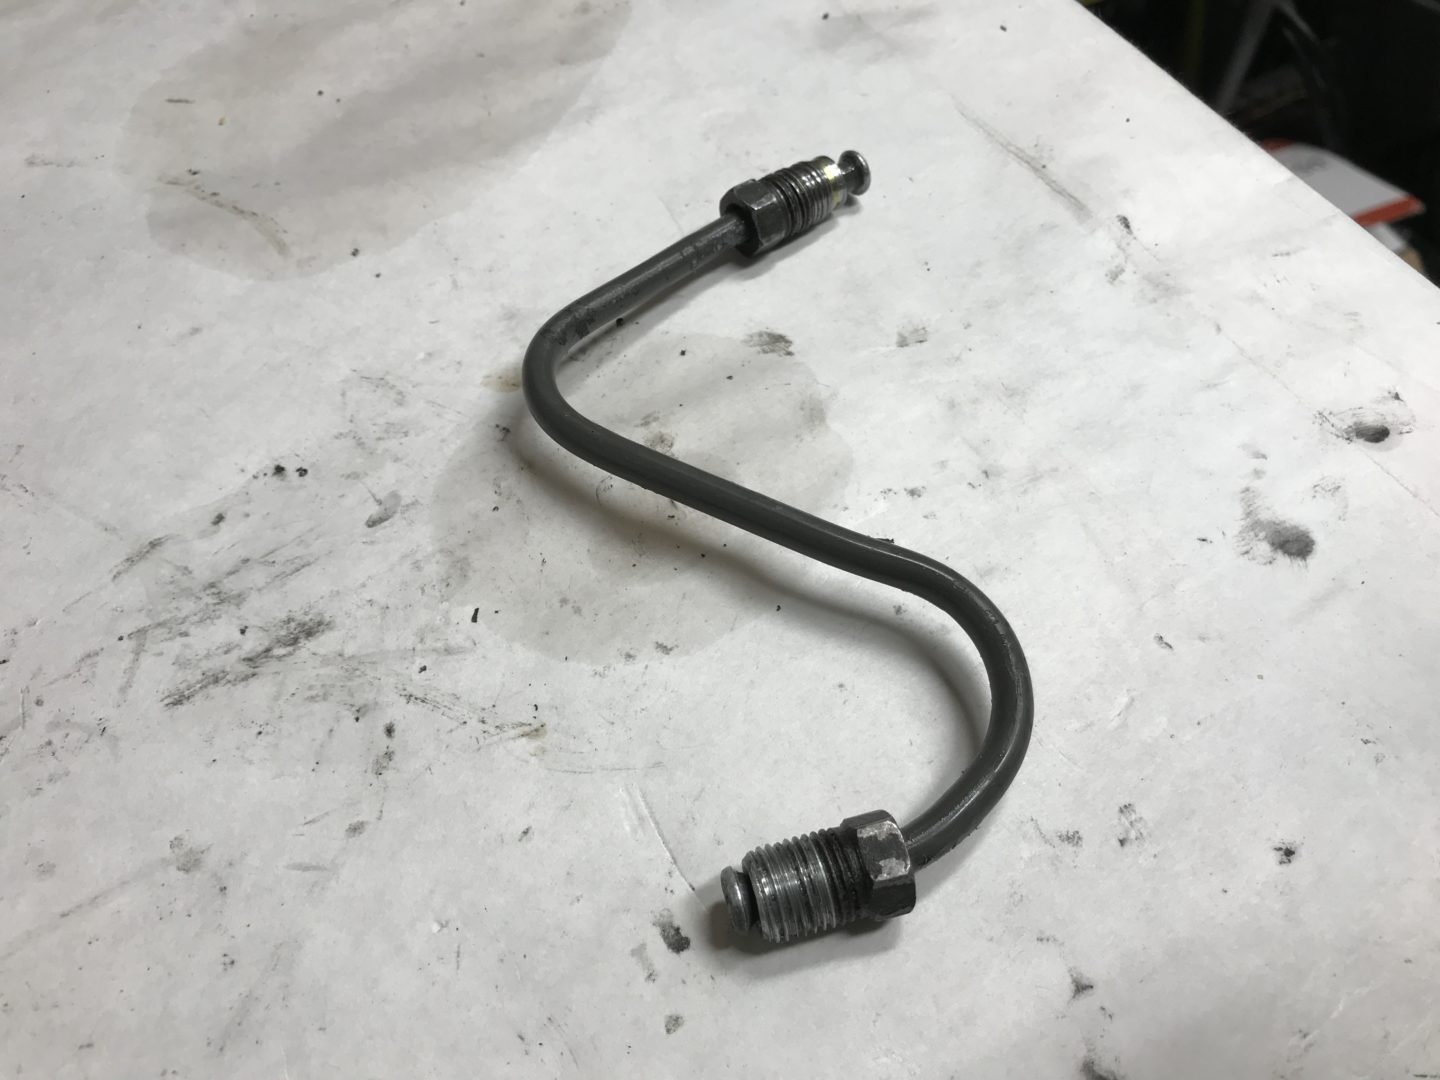
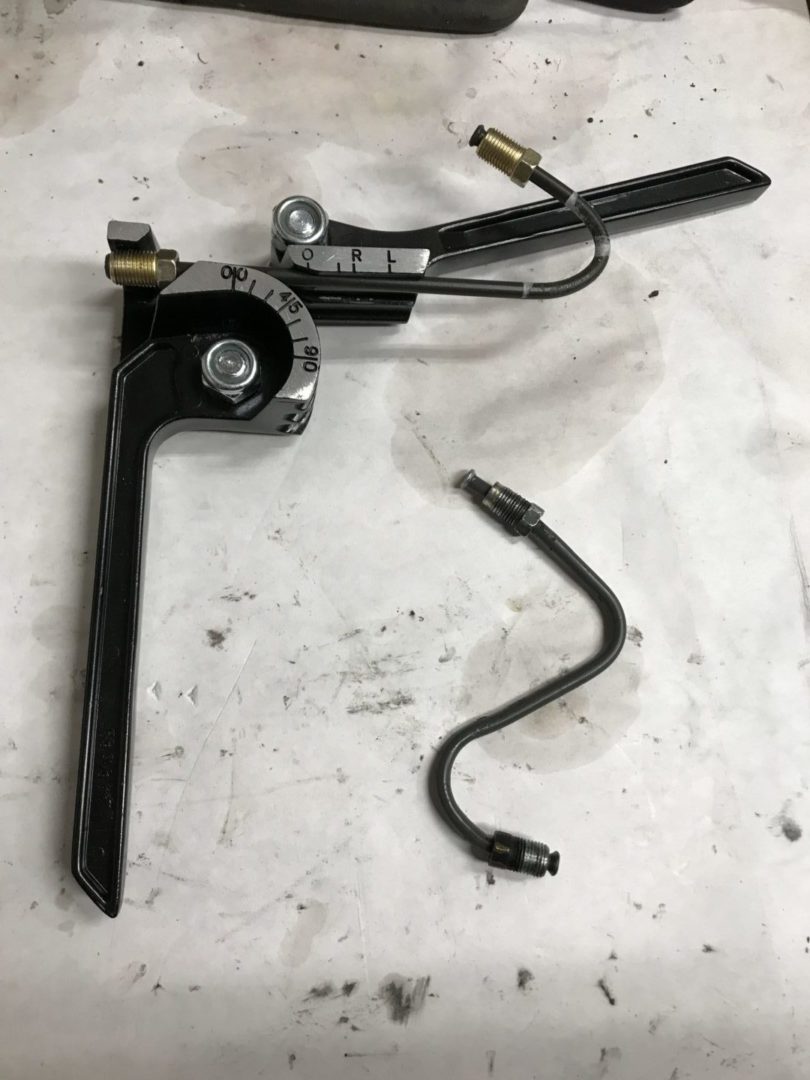
This is the new straight brake line and the existing brake line that I need to get it shaped into. Typically, you’ll want to line the ends up and then see where the existing line starts to bend. You can make a mark with a permanent marker at that location, so that you know where to start bending the new line. Remember that you want to mark it right where it starts to bend.
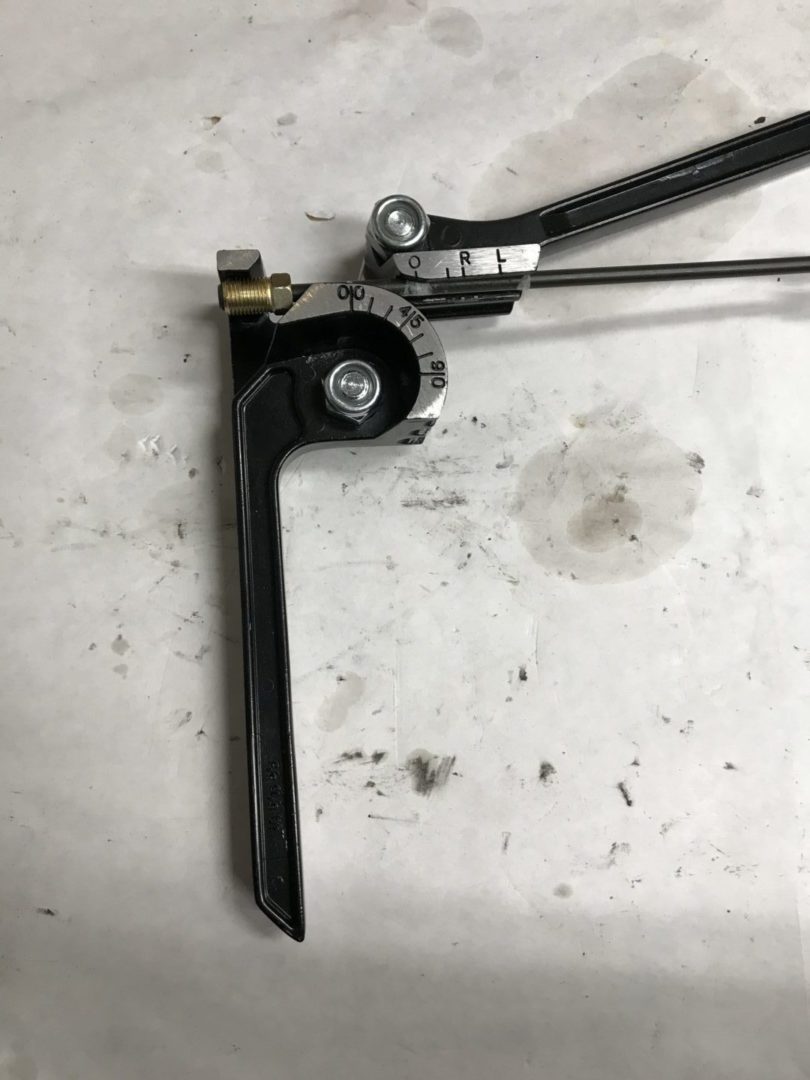
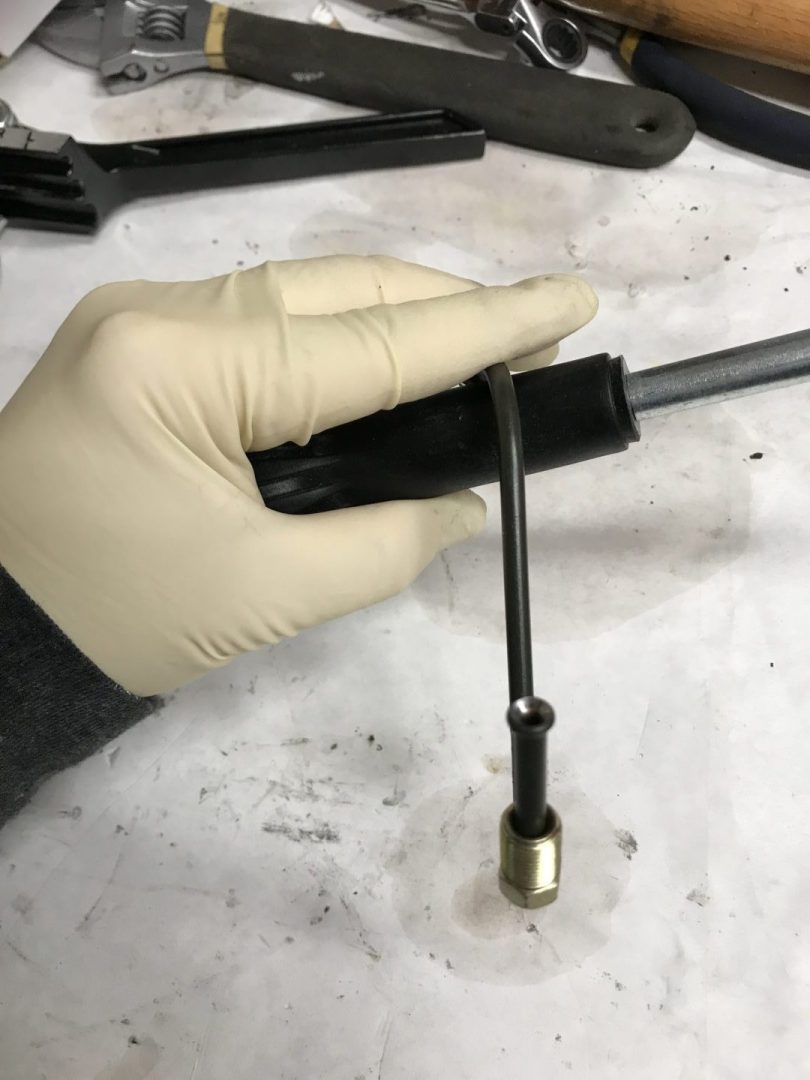
Then, you’ll want to take the new tubing with the marked line of where you want to bend, and place it into the tubing bender as shown below. The mark you made (where the existing tube starts to bend) would be placed at the 0 mark. You can see below how once you draw the right handle, it will start to bend the new line into the shape of the existing line.
You can see below that you will bring the right handle down and it will start curving the new brake line into shape. You want to know how much you’re going to curve the line. The existing line from my car bends from 0 degrees to about 135 degrees so you can see that I needed to pull the right handle down all the way to the 135 degree mark. The bender I got only goes to 90 degrees; a 180 degree bender which I’ve linked in the Tools/Materials section at the top of the post would be a better choice.
Always try to make one smooth motion for the bend. This makes the bend as smooth and consistent as possible; again what you really don’t want are kinks in any type of critical line such as this one.

This was a difficult bend to do because this is quite a short run of line with bends. For tighter radius bends, it might be useful to find a bender that can do that. Otherwise, there is a small bit of finagling to get the alignment in addition to bending with the tube bender.

I even had to use a round handle that I had in the garage to further work the line into the correct bend. The tubing bender does have its limitations especially with tight or awkward bends. Again, if you do this to do some final tweaks, make sure to do as little of it as possible because there is a higher risk of kinking the line. Kinking it will reduce the inner diameter of the line and as a result, reducing the effectiveness of the hydraulic system.
Every little bend in the line results in the end connection being located in a particular spot. So you should try to match the bends the best you can. For long and smooth bends, this shouldn’t be difficult to do. For shorter and tighter bends, you should strive to match it the best you can and know that as long as the end connections are very close to the original, you can work the end a bit to make it fit, albeit not ideal.

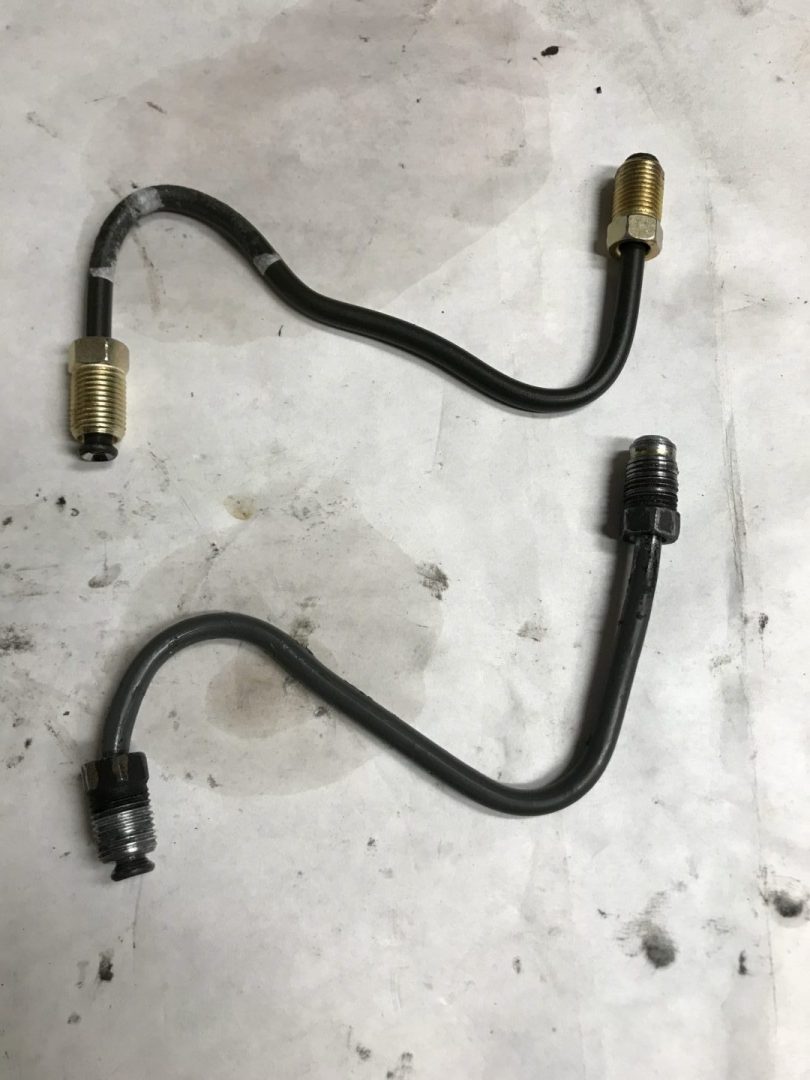
The line I bent was quite close to the original, however you can tell above that there was a bit of variation due to the limitations of my bender. Therefore, I made sure that the orientation and alignment was as close as possible. I then screwed one end into one side, and the very carefully fit the other end into place.
If your line fits up perfectly, then all should be well. However, if you need to maneuver the line a bit to fit your application, you need to be extra careful that you line up the threads completely straight. Be sure that the threads line up while tightening so that they do not strip.
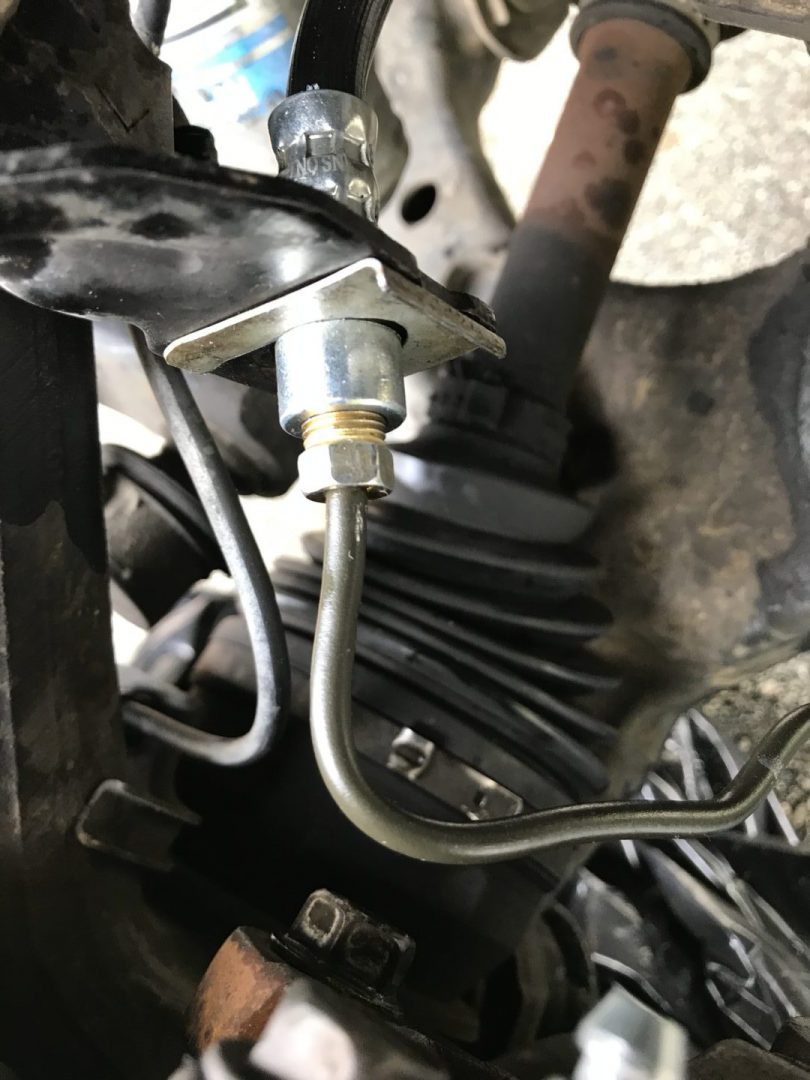

So that’s it, I was able to bend this brake line and have it re-installed properly so that I could take my car to work the next day. I will typically order OEM lines, but in a pinch like this, bending this brake line really saved my bacon.


